Community Brag Posts

Kids Wooden Play Grill

Submitted by Anonymous (not verified) on Sun, 11/03/2019 - 17:10

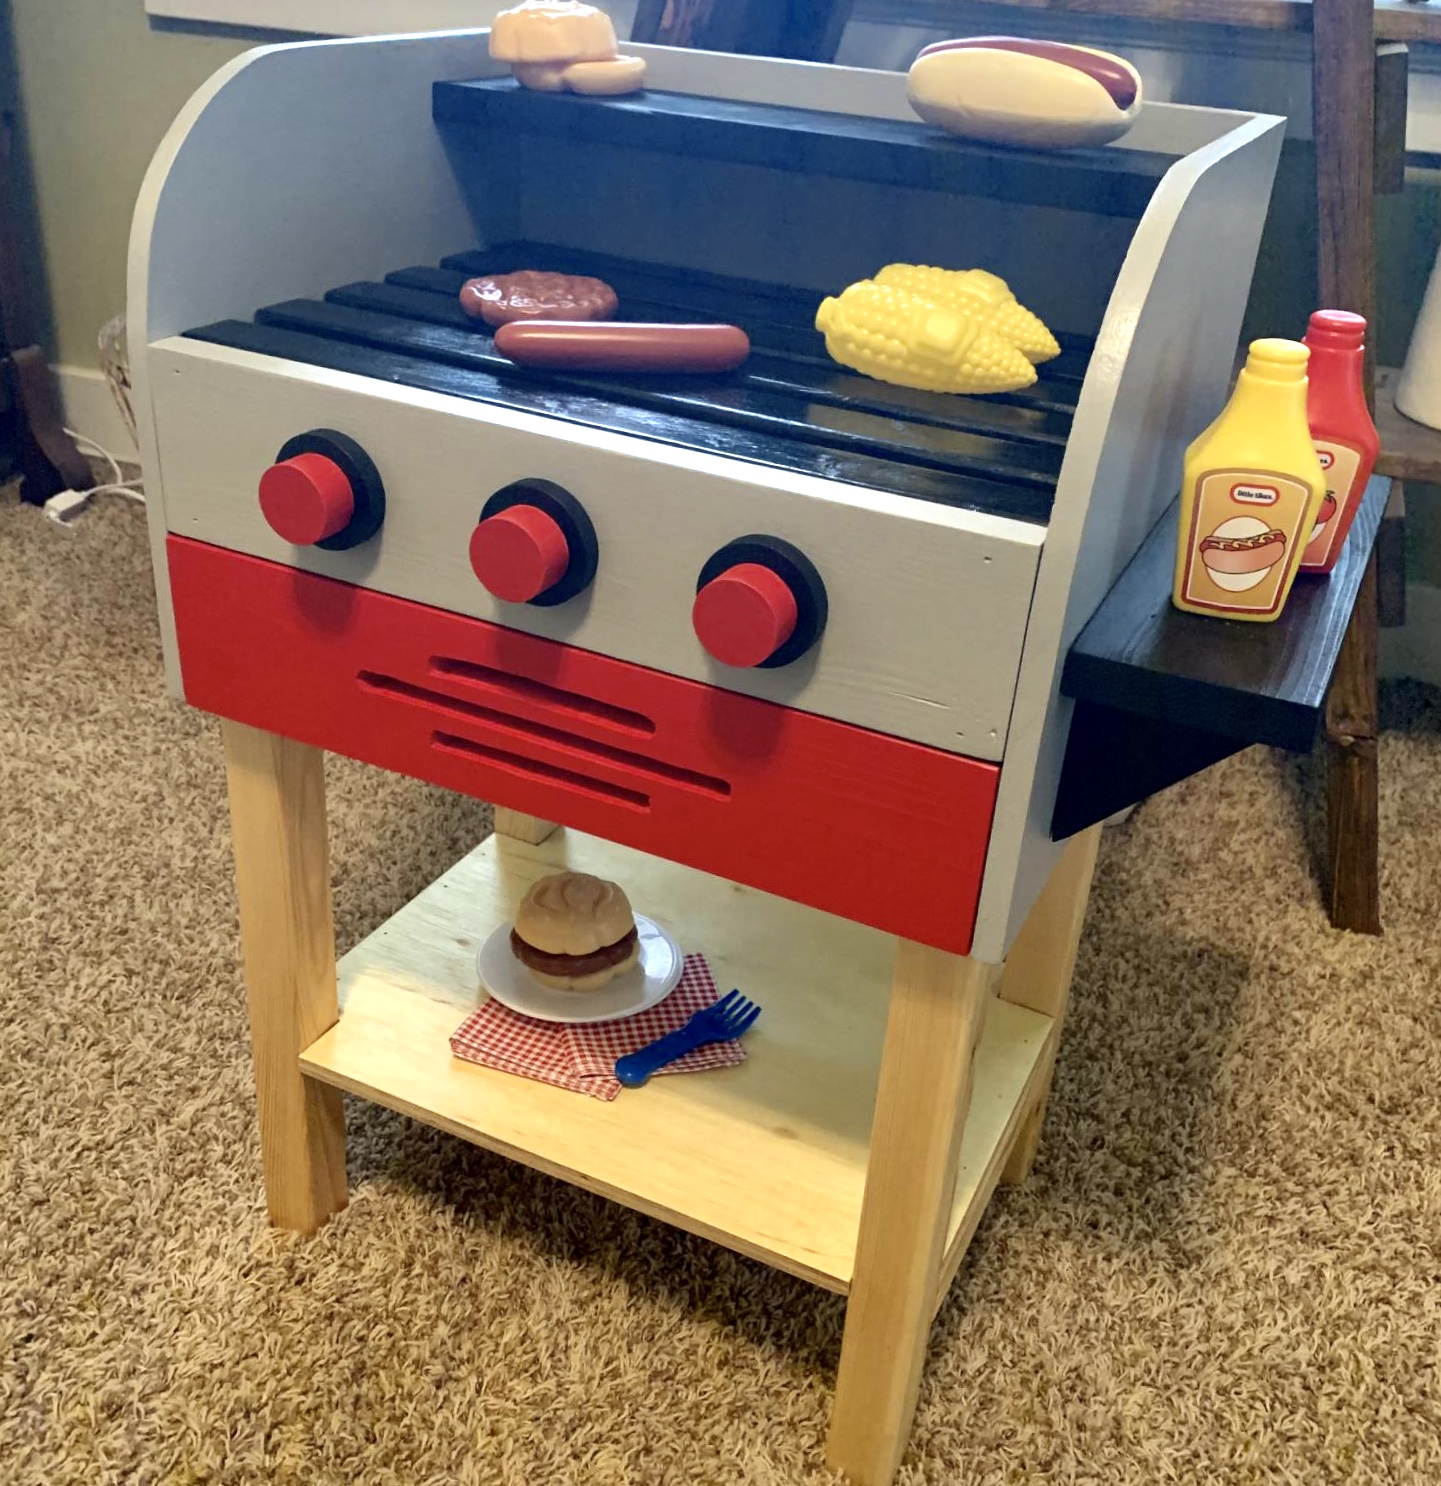
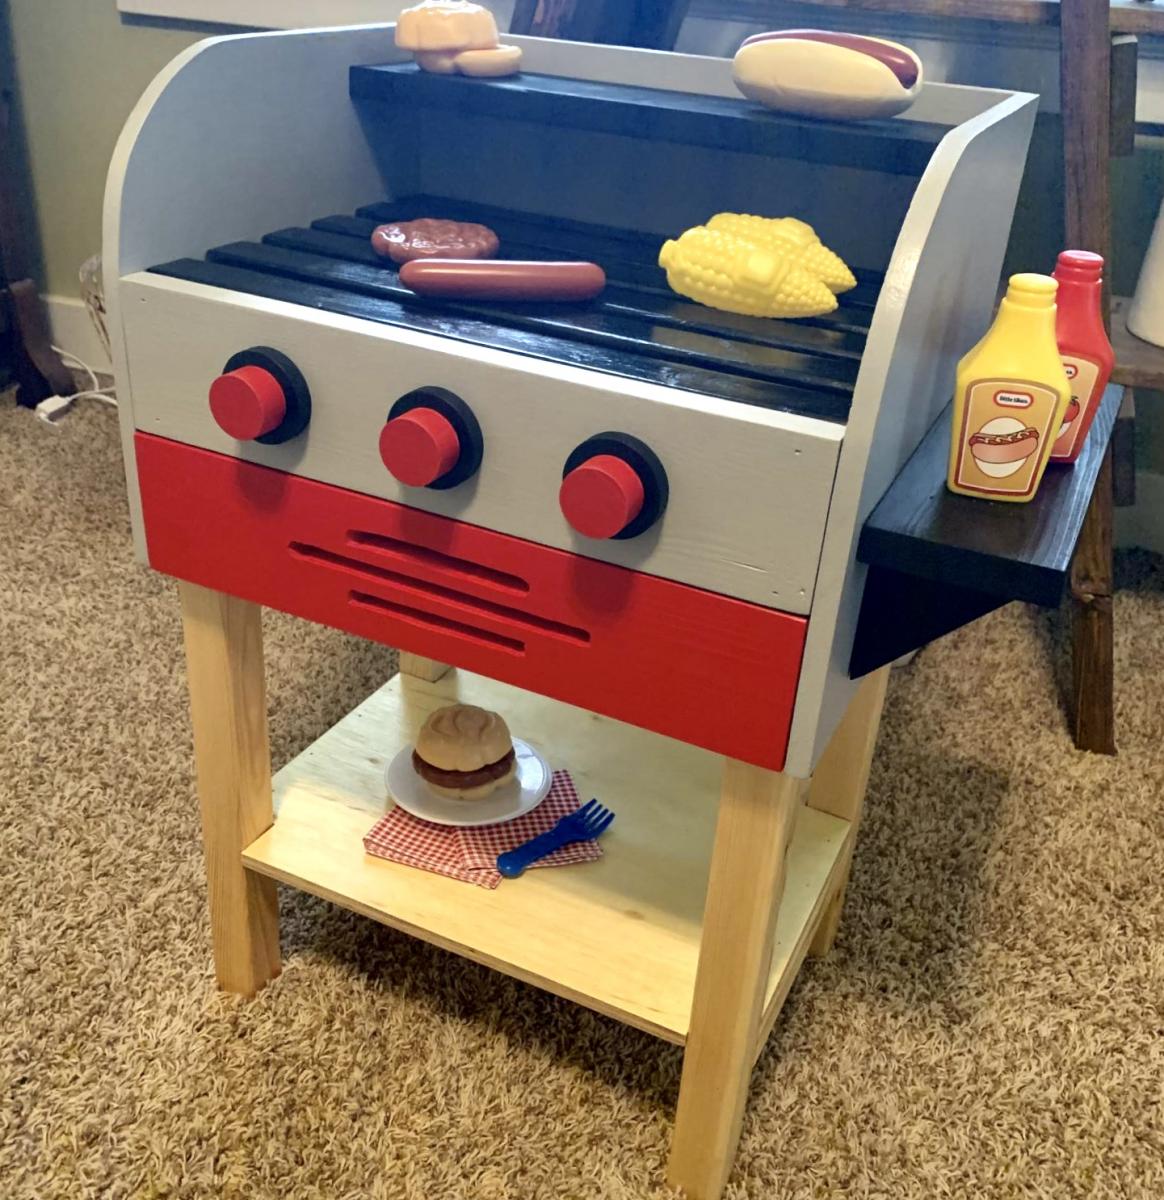
Built this toy grill for my nephews first birthday. Went together without many hiccups. I will say these plans seemed less detailed than other Ana White plans I have worked on...but for the better I guess, as it forced me to figure somethings out on my own. I opted to add the drawer behind the grill plate, like the blogger who also made this grill did. Kept the same color scheme as well. Pretty proud of how it turned out.

Built from Plan(s)
Estimated Cost
$40
Estimated Time Investment
Day Project (6-9 Hours)
Recommended Skill Level
Intermediate

Tall Rustic X Bookshelves

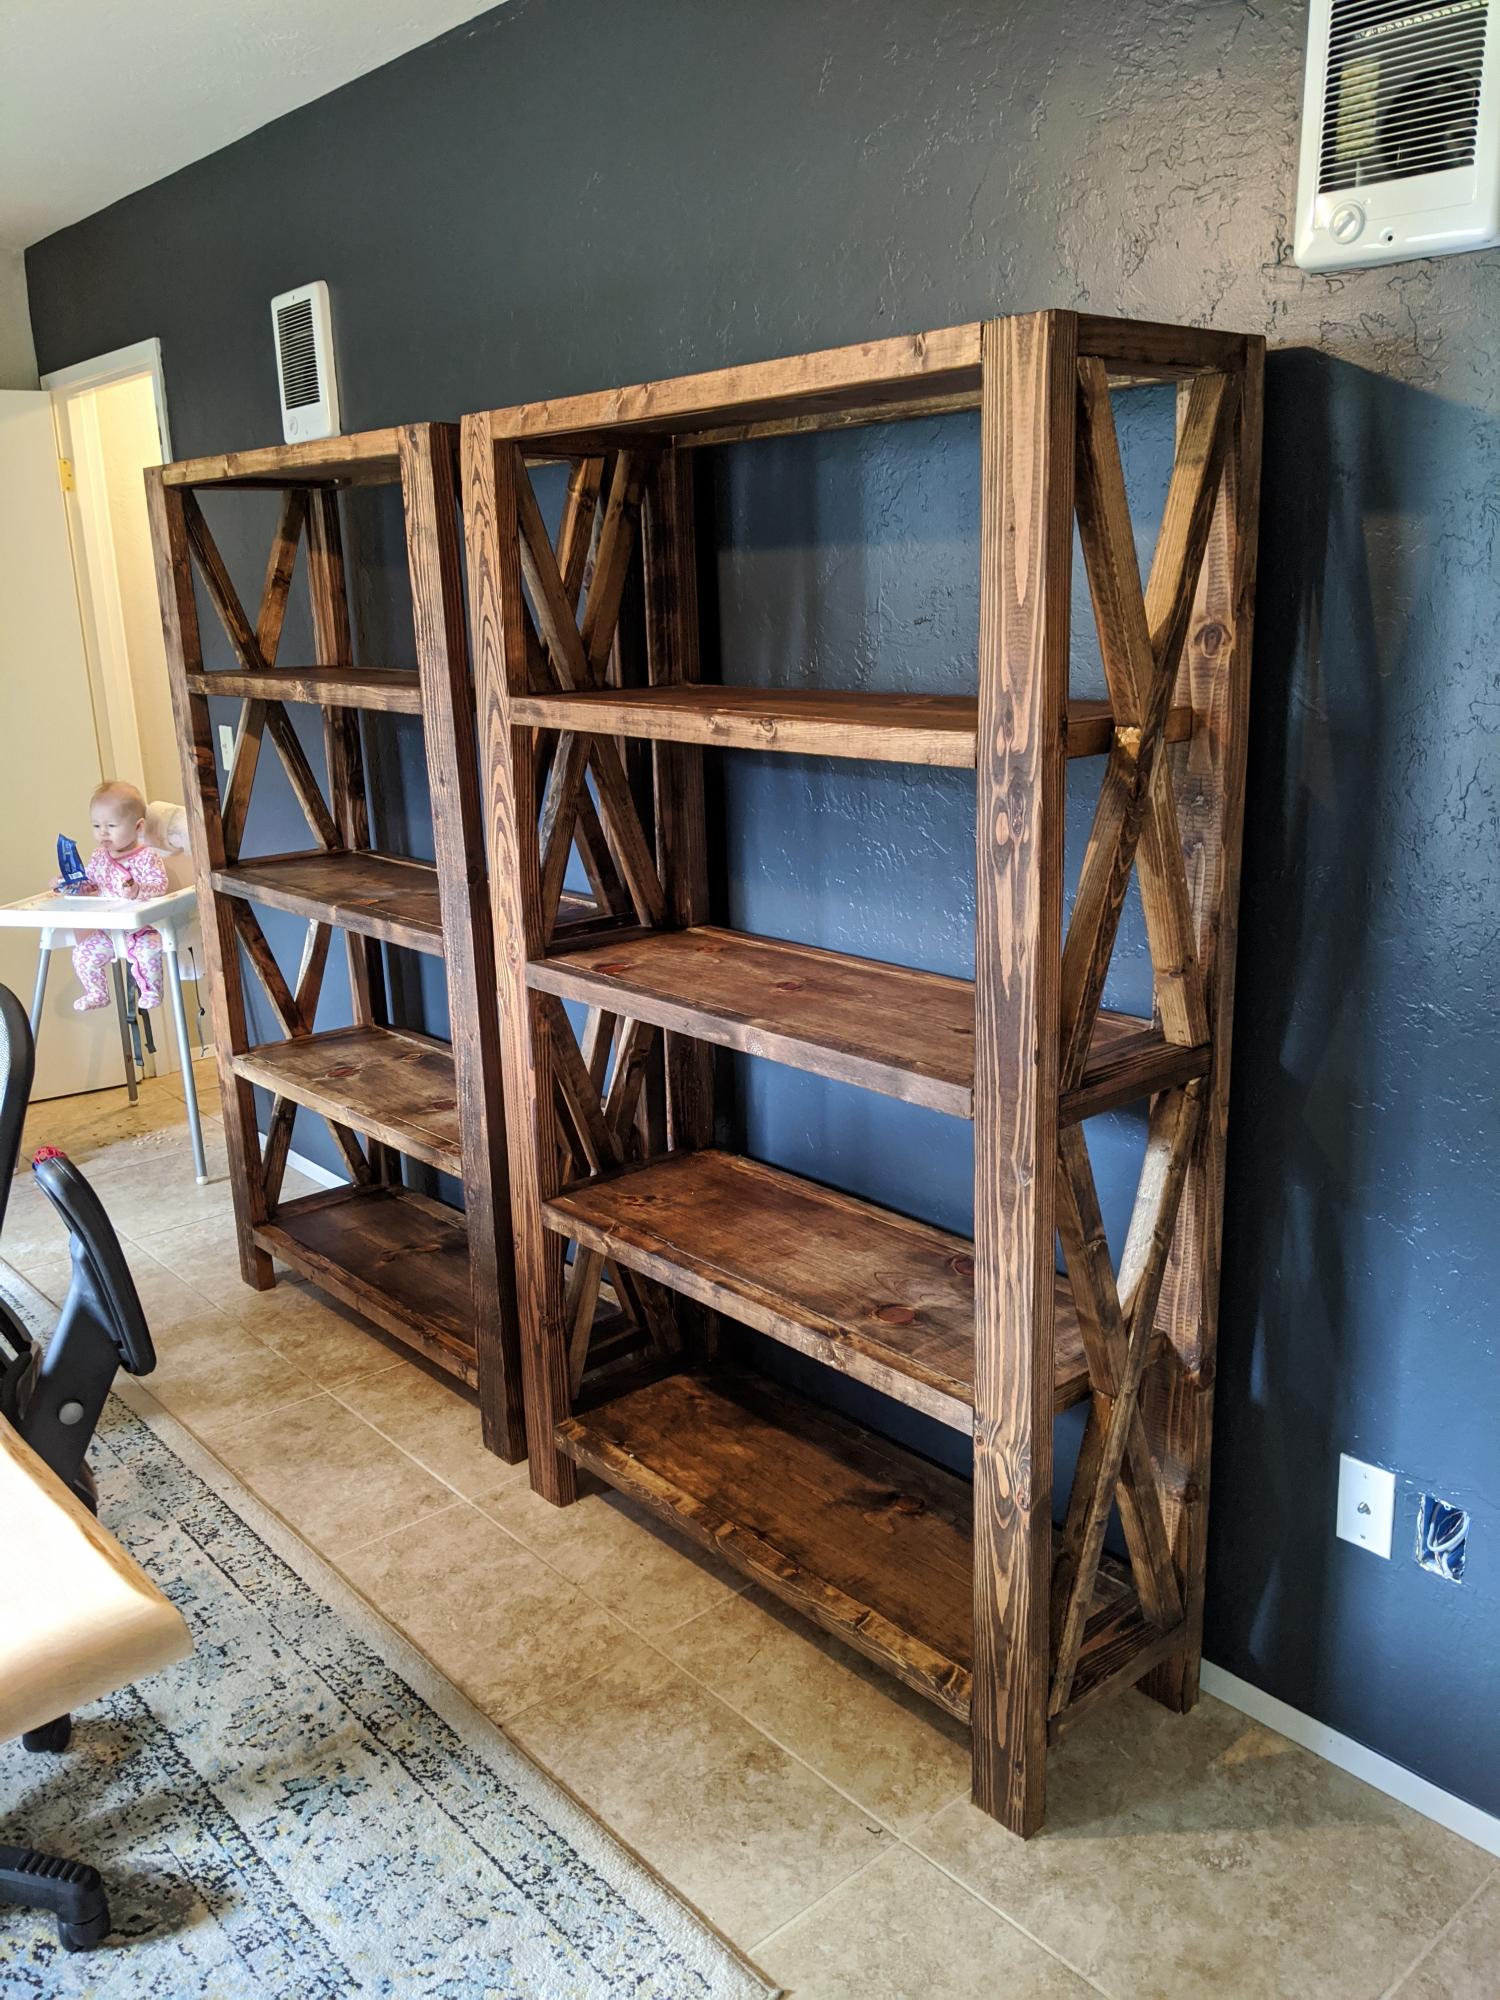
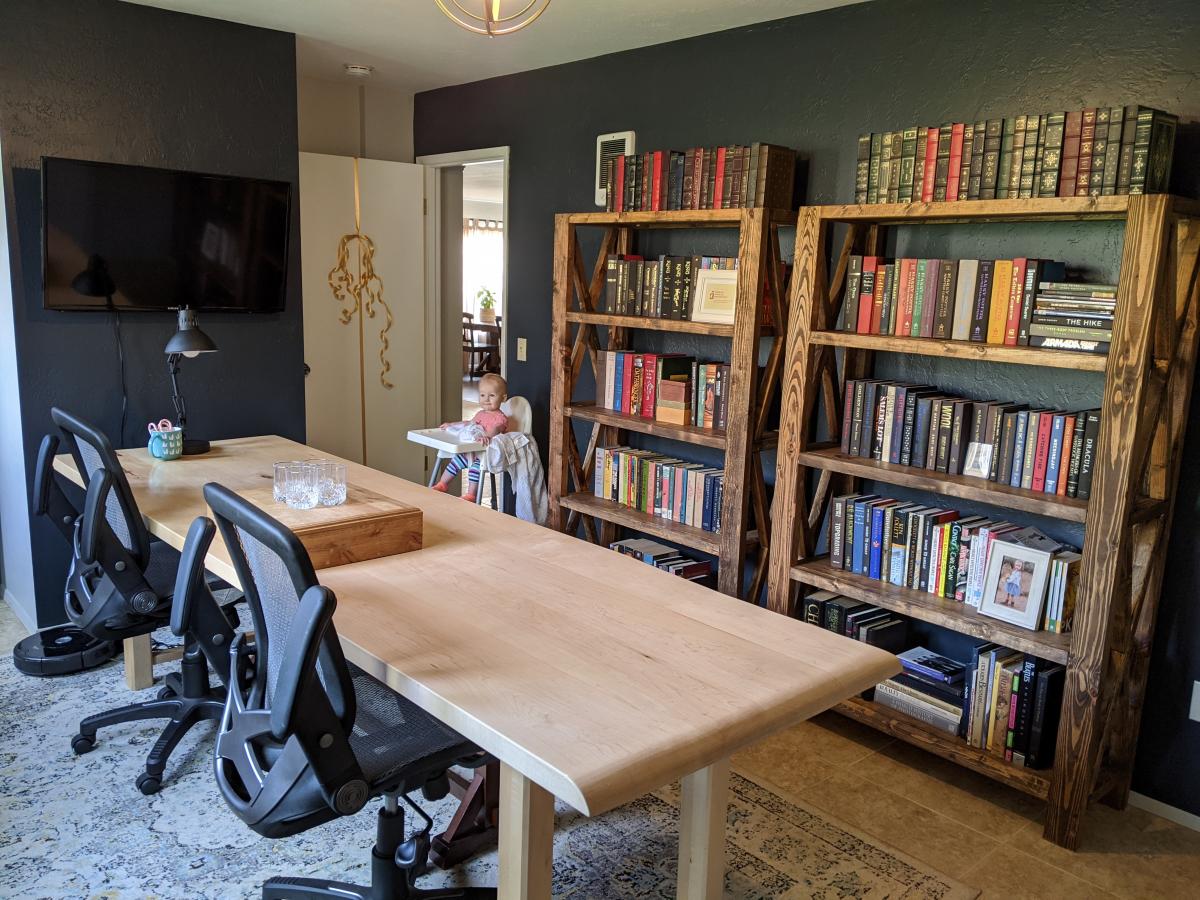
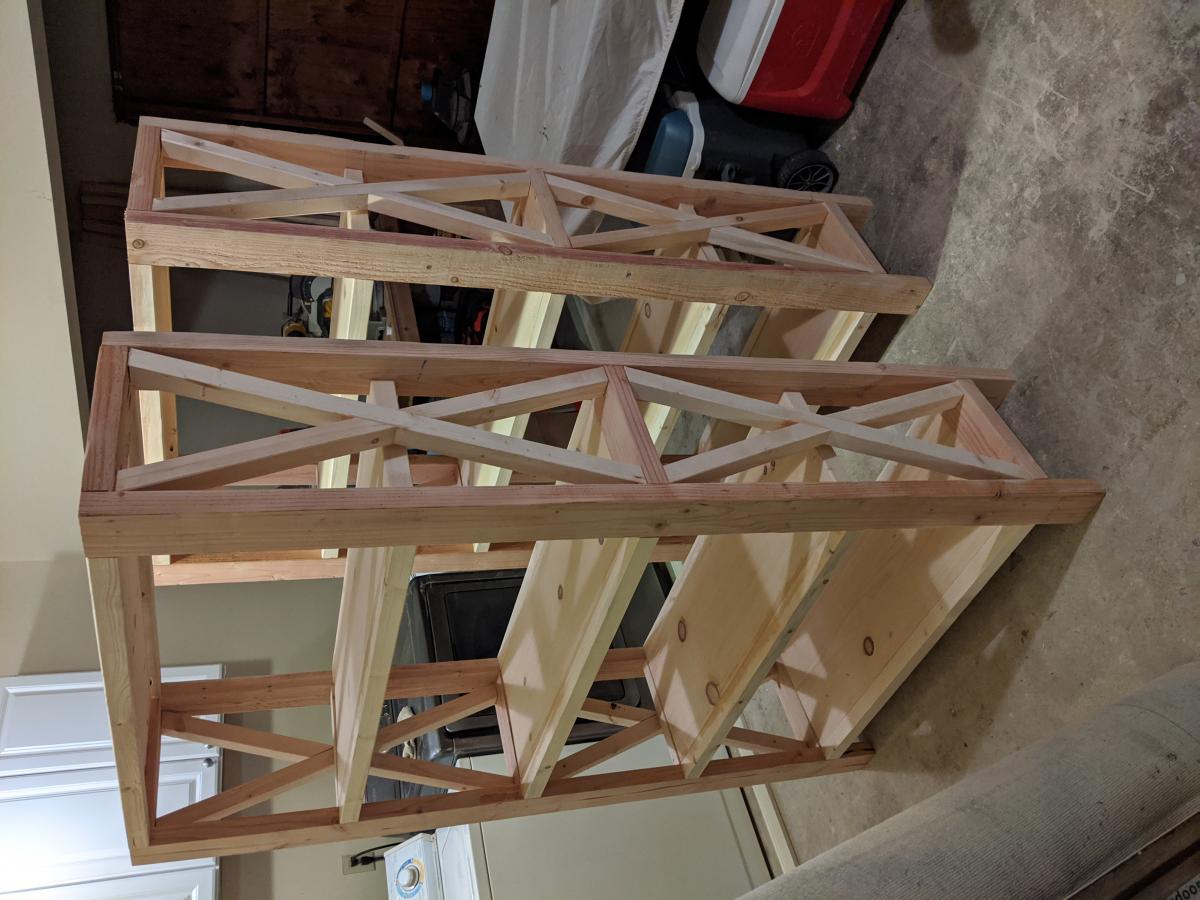
I followed the Rustic X Tall Bookshelf plan to make a set of bookshelves for my husband for Christmas! It was my second ever woodworking project. The plan was really easy to follow and so fun to make! I ended up using an additional shelf piece on the very top for a more modern spin on it. I also bought a pocket hole jig to use on this project. I'm happy with how it turned out!

Built from Plan(s)
Estimated Cost
$75 per shelf
Estimated Time Investment
Weekend Project (10-20 Hours)
Finish Used
MinWax English Chesnut Wood Finish and Paste Wax
Recommended Skill Level
Intermediate

Bookshelf Hidden Doors Over Closet

Submitted by Anonymous (not verified) on Mon, 10/23/2017 - 10:13

Hidden door bookshelves hide a furnace closet.  Built by Kraig Faulkner

Built from Plan(s)
Recommended Skill Level
Advanced

Comments

charkue

Thu, 09/17/2020 - 08:01

I'm currently working on a basement renovation project. I'm probably going to incorporate a feature like this for my mechanicals, too.

One important safety note for anyone who wants to do this: It's recommended that your furnace be a minimum of 30" away from any combustible materials. That includes walls and partitions. The image of this project displayed is right next to the furnace, which is not a good idea.

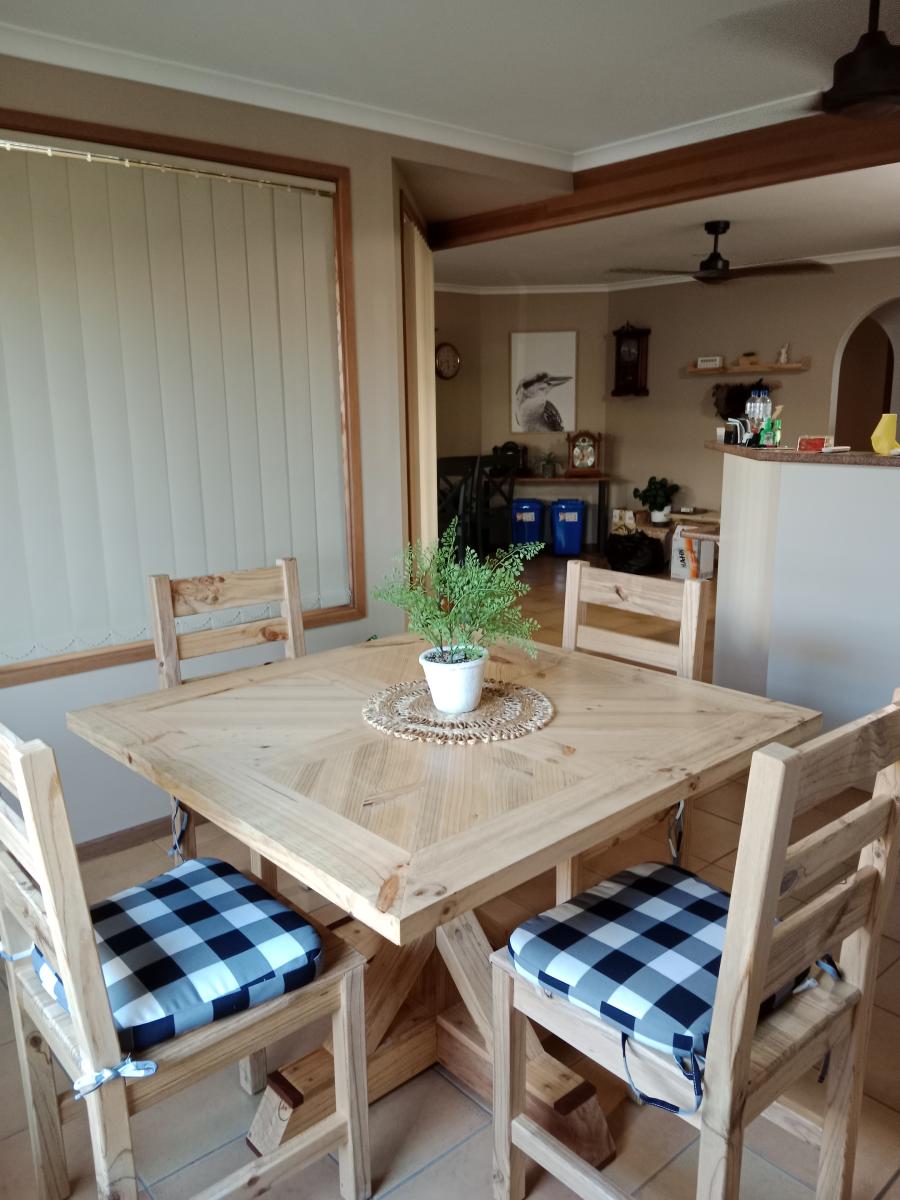
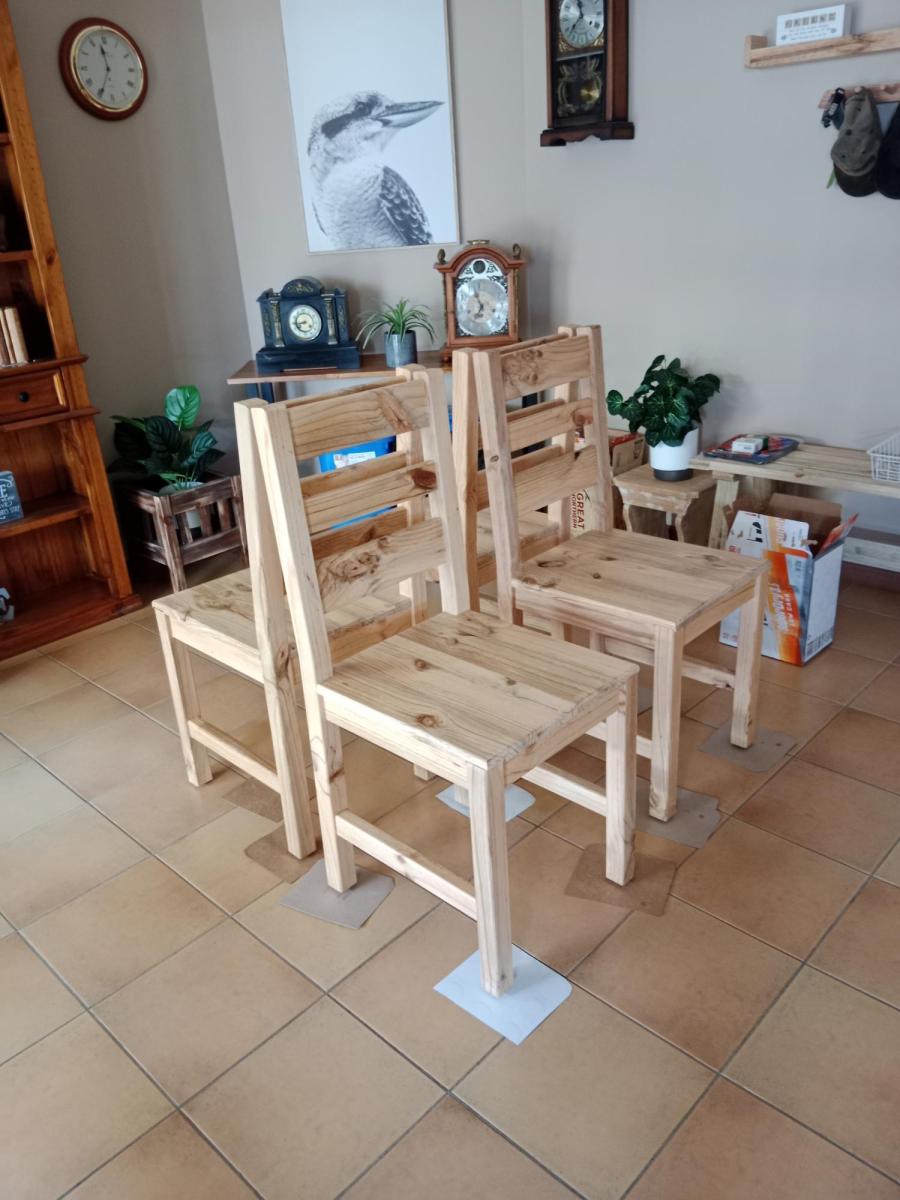
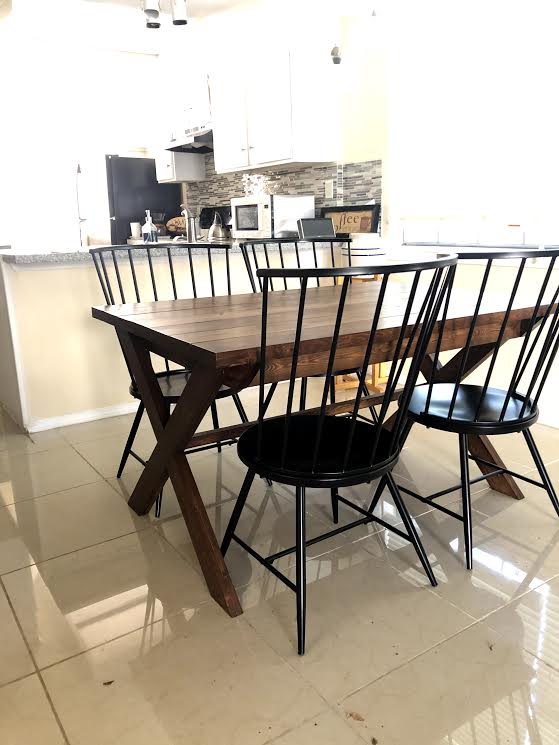
Dining chairs for X based pedestal table

Submitted by Anonymous (not verified) on Mon, 03/06/2023 - 10:15

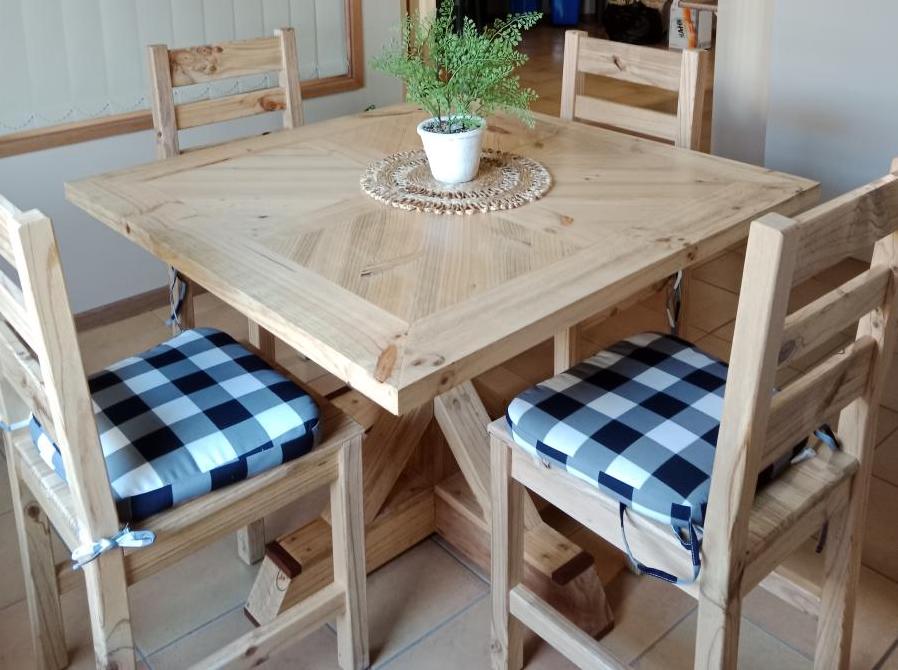
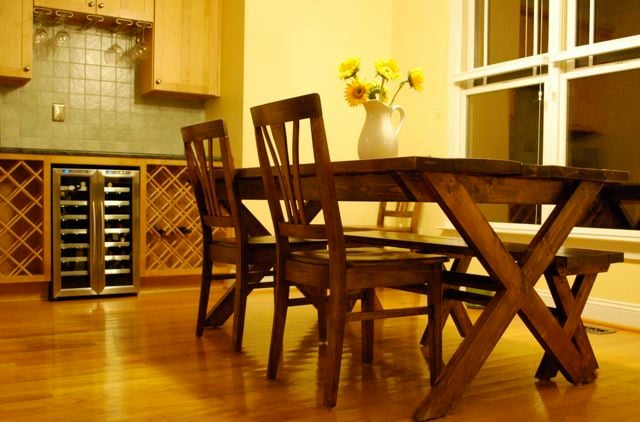
I made the 4 chairs to complete the dining suite. The table was made from the X based pedestal table plan.

The timber was all cut from 200mm x 50mm pine sleepers and finished with Cabots clear finish.

Comments

Porch Swing Glider

Submitted by Anonymous (not verified) on Fri, 05/19/2017 - 09:25

Built the porch swing and was inspired to build the glider frame by another "Brag Post" Looks great and fits perfectly in my back yard!

Built from Plan(s)
Estimated Cost
$200
Estimated Time Investment
Weekend Project (10-20 Hours)
Finish Used
Transparent deck sealant for frame, white exterior paint for seat panels
Recommended Skill Level
Beginner

Comments

Rachael Brown

Fri, 02/18/2022 - 08:20

Are there any dimensions for the glider part? I have first year agriculture students building this, but we are unsure of the cut list for this. I am sure I can figure it out as the teacher, but with 20 students in the class, it would be better to be able to give them instructions to follow on paper. Thank you!!!

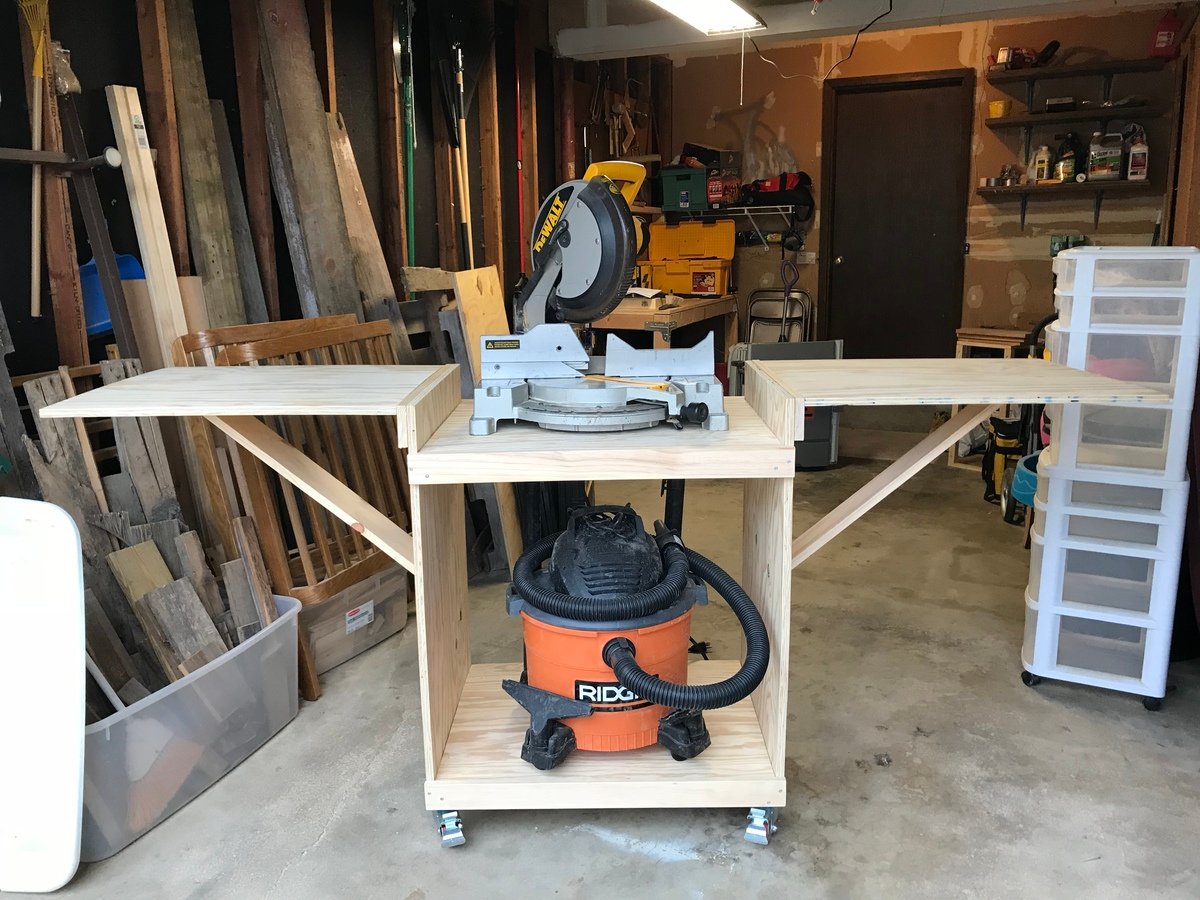
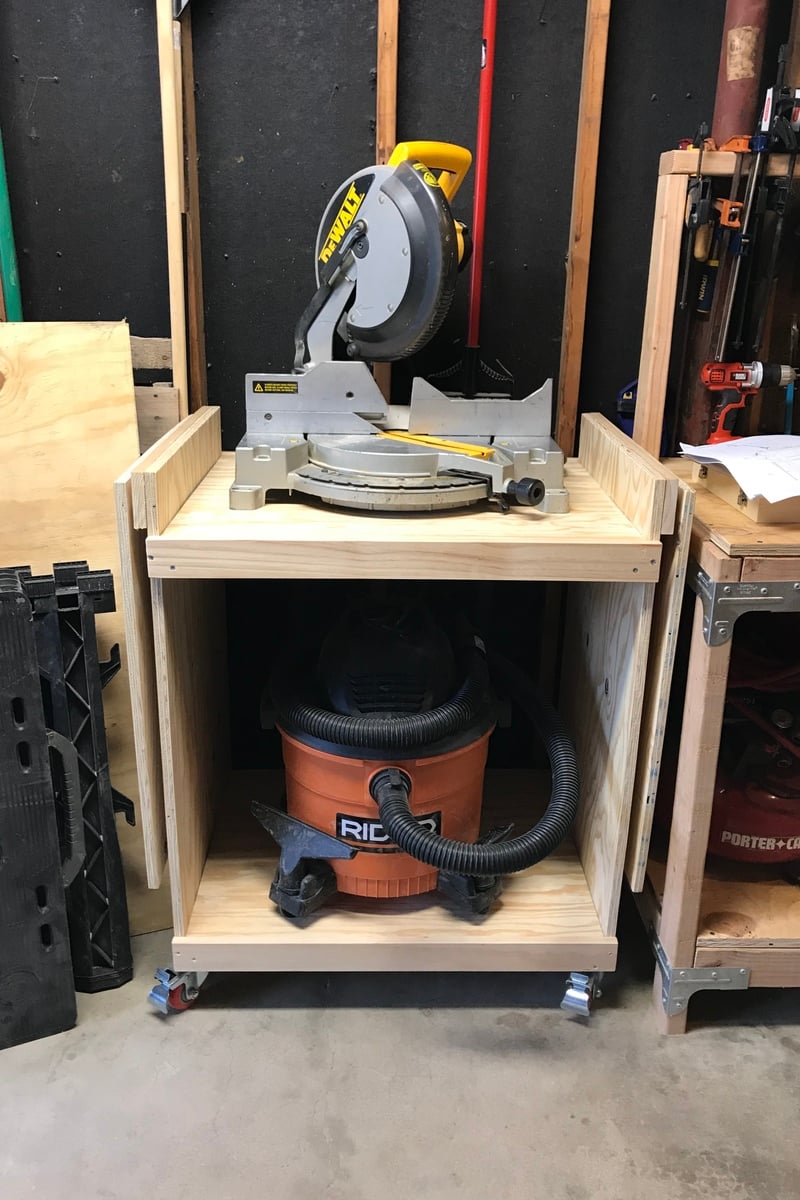
Modified miter saw cart

I love having this new addition! Freed up space in my small shop and now it’s more functional and organized. I followed the plans with modifications in the leaves using scrap 1x’s (which I may decide later to change to 2x4s but I had 1x’s on hand) instead of the brackets and then the extra 1x’s holding on the leaves so they would fall flat to the sides. Love it!

Built from Plan(s)
Estimated Cost
Under $75 (don’t remember exactly)
Estimated Time Investment
Weekend Project (10-20 Hours)
Finish Used
Didn’t finish
Recommended Skill Level
Beginner

Garden Tool Shed (based on plans for Small Outdoor Shed)

Submitted by aceecee on Tue, 09/22/2020 - 14:07

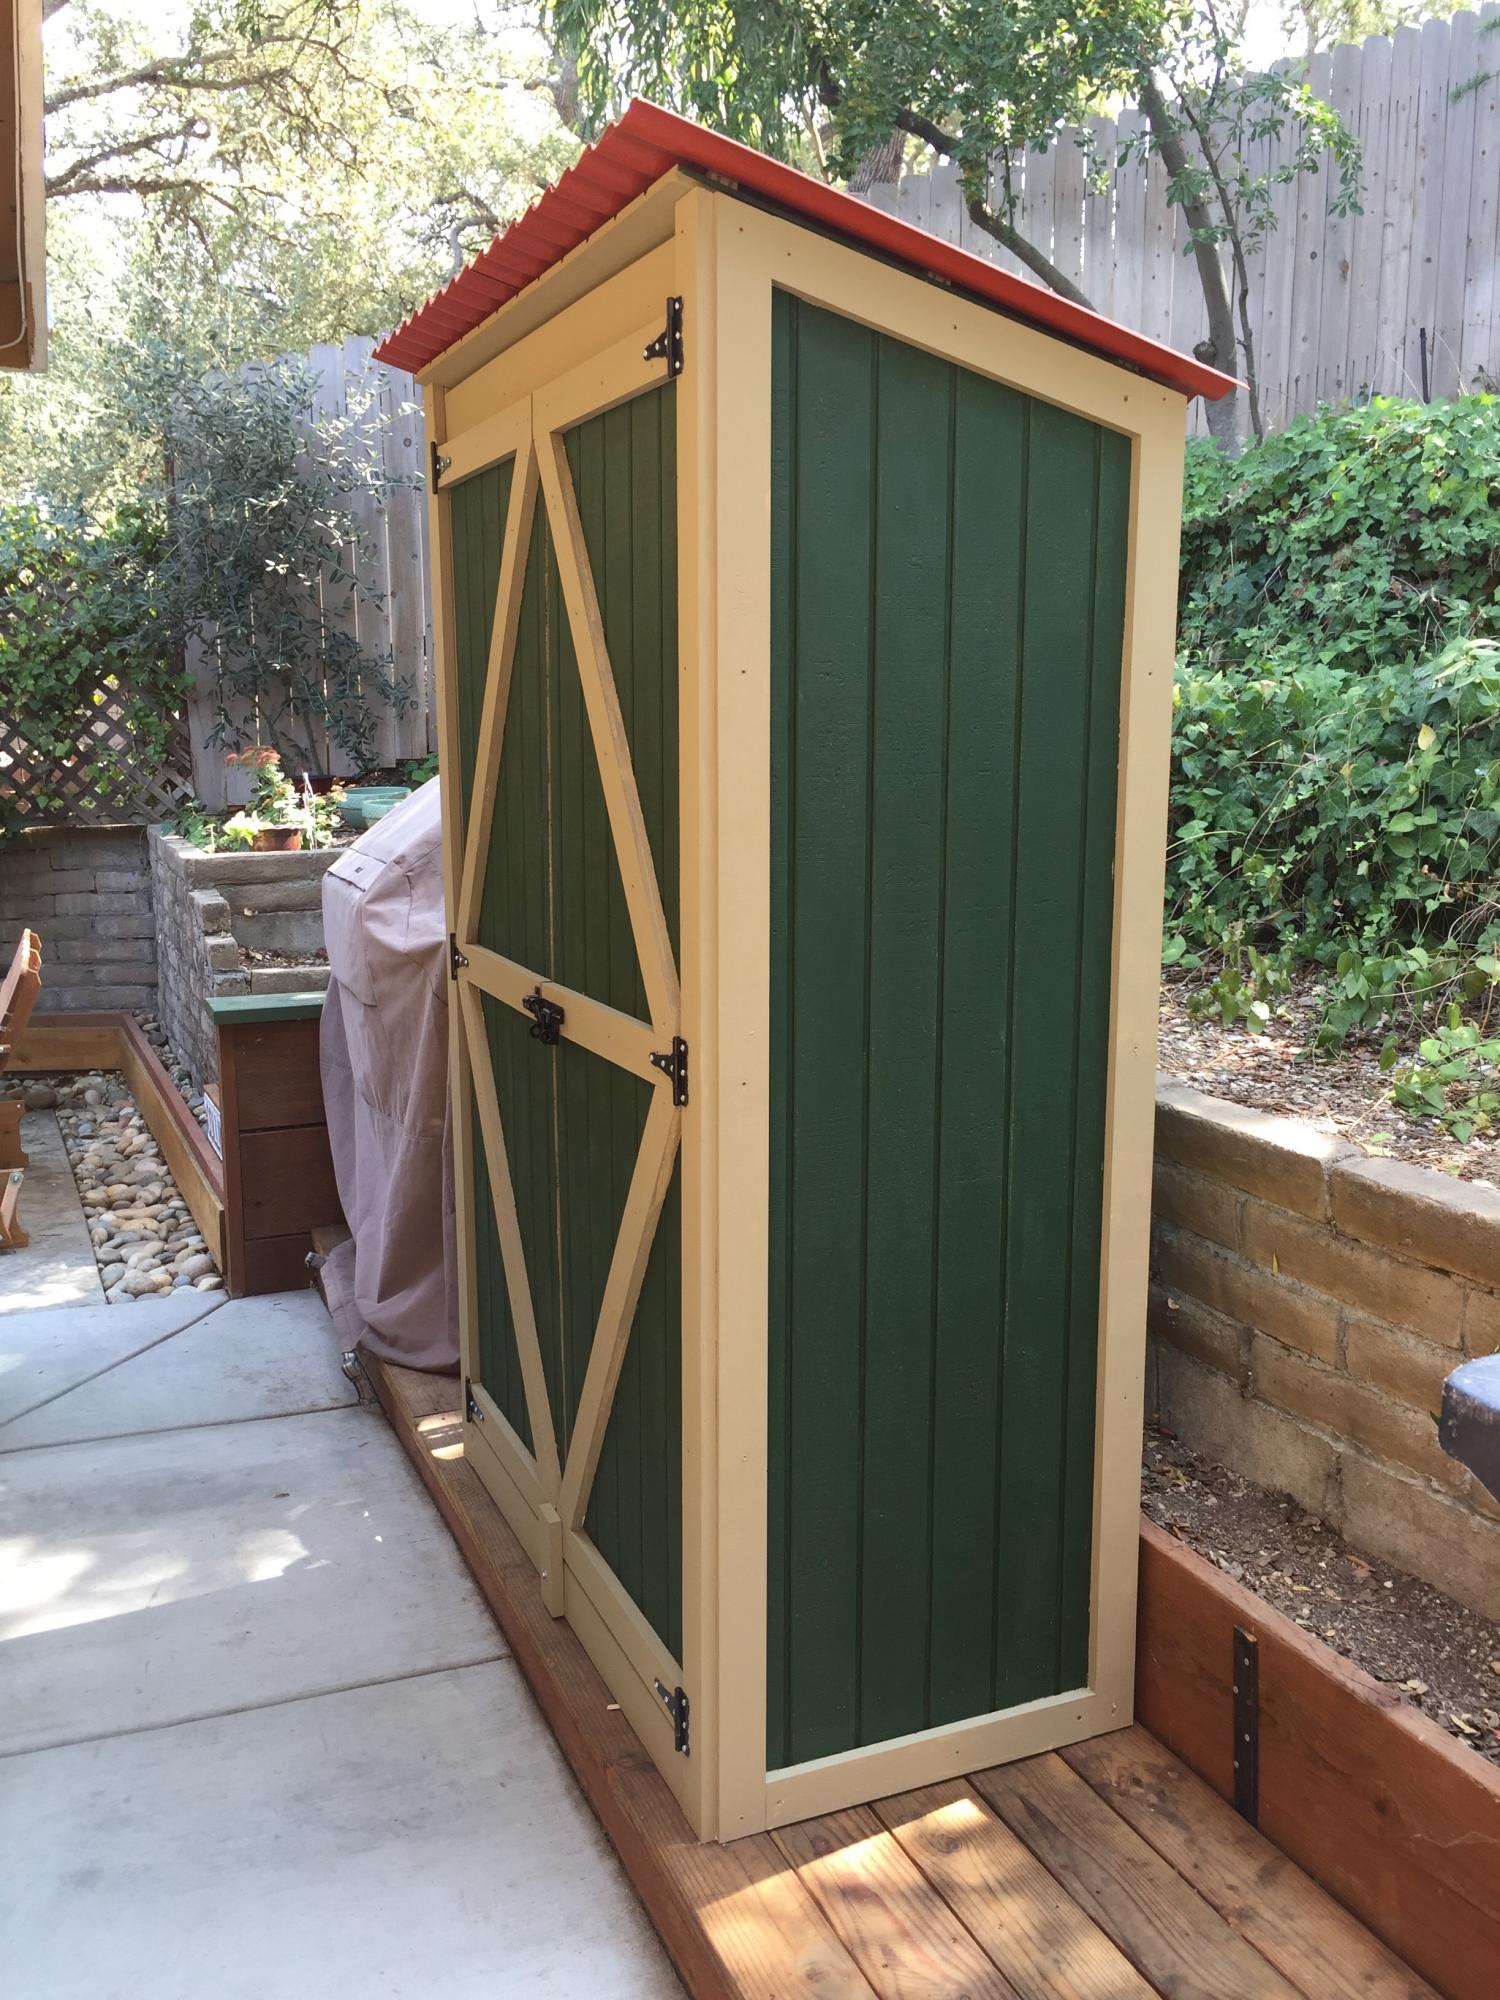
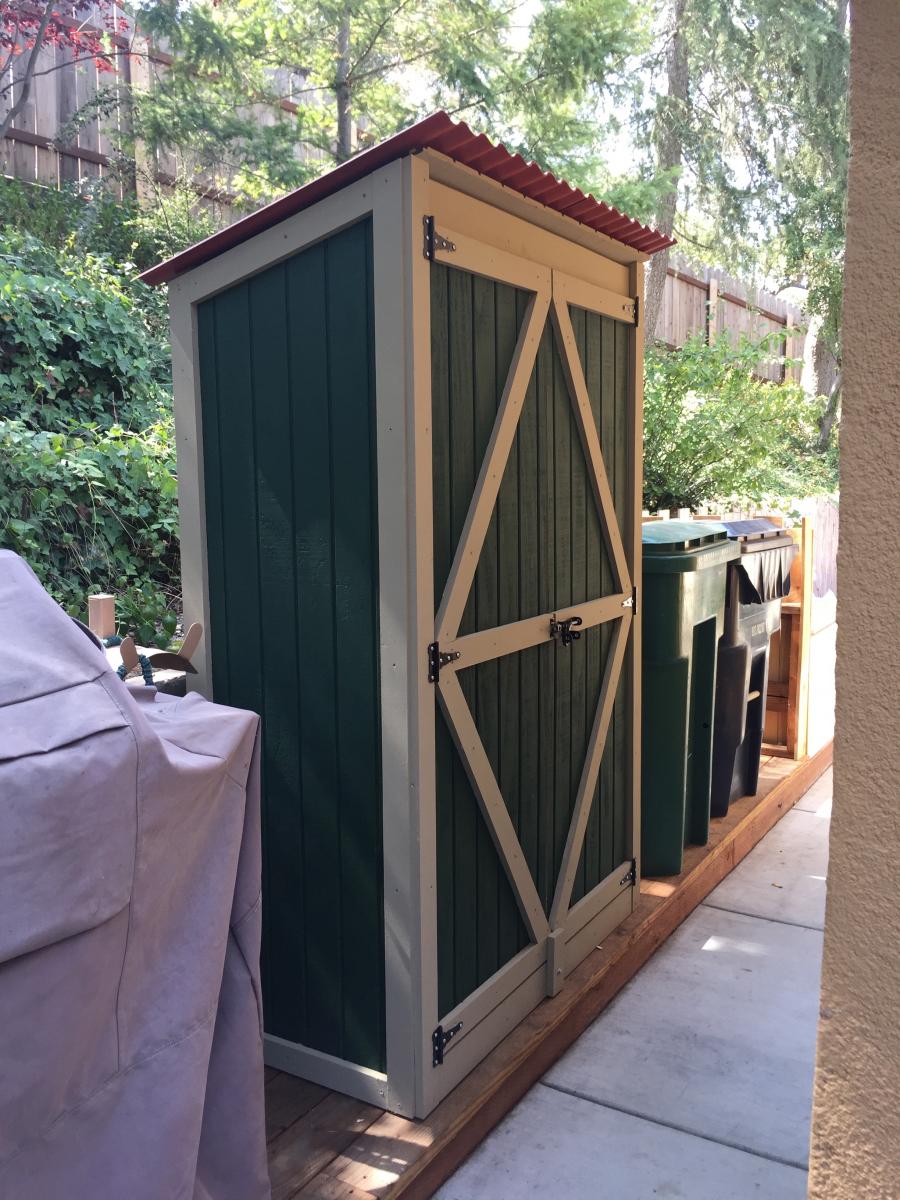
My husband and I built a garden tool shed using your plans for a "Small Outdoor Shed or Closet." We needed exactly this size for our available space. (THANK YOU! The video was really helpful and the plans were very detailed.) We are not handy at ALL, and are definitely beginners when it comes to woodworking. But, when the person who was supposed to build it for us was delayed, we thought we could try it, or at least START.

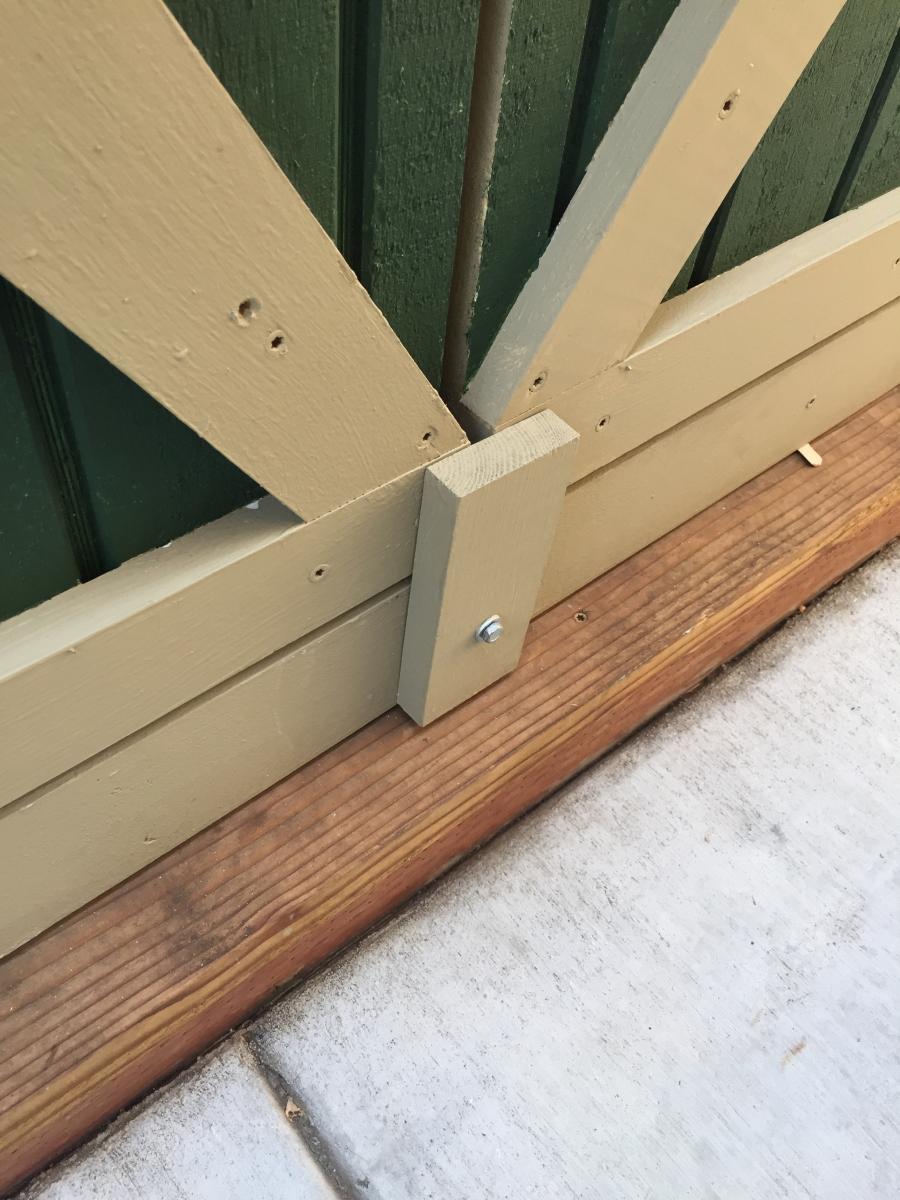
We bought a lower-end Kreg pocket jig and a secondhand mitre saw, and set to work, using T1-11 siding. We ended up building the entire shed ourselves, and were very surprised at the end result (and proud too!). The hardest part was building the doors, since we weren't really sure how to construct them to keep them from bowing. We ended up putting trim all around the edges of the T1-11 plywood doors, inside and out. (We were too far into building them when we realized we probably should have done it differently.) We also couldn't figure out how to get the double doors to stay tightly shut, but ended up using a rotating block (see picture) at the bottom and it works great, especially given that one of the doors had a slight bow at the bottom.

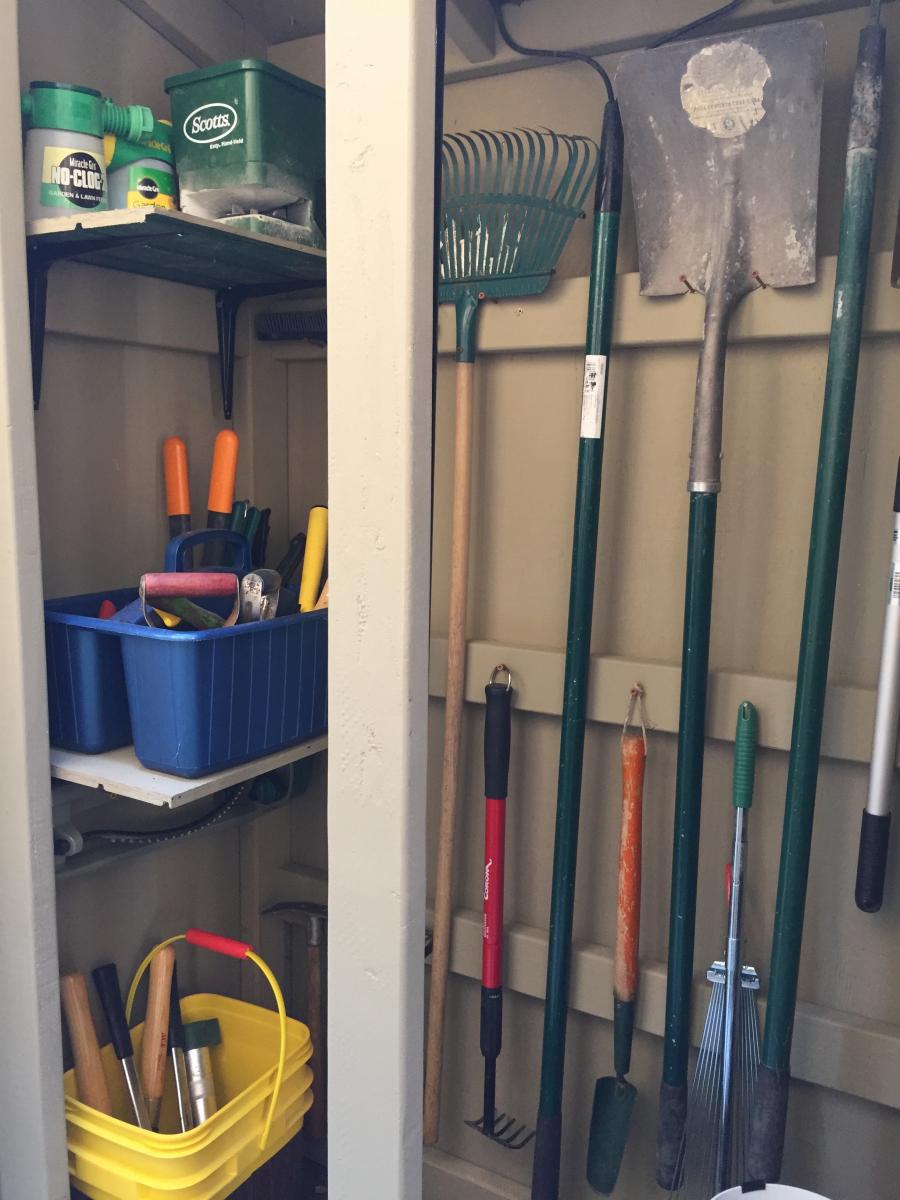
I think the only ways in which we deviated from the plan were that we added trim, an additional 2x4 up high across the back of the shed (for hanging long-handled tools), and two interior shelves on the left (from leftover siding). We used colored corrugated polycarbonate sheeting over the roof instead of asphalt shingles. (Unfortunately you have to use specific screws for the sheeting and one length was too short and the other too long and protrudes through the roofing slightly, into the interior. But we like the pop of color the sheeting adds, and REALLY didn't want to do shingles for such a small area, nor did we know how to do shingles.)

My final suggestions would be that a mitre saw and pocket jig are REALLY helpful and using star head screws is easier. I would also suggest that you paint everything (prime and color coat) before assembly and just touch up afterwards, especially if you use a lot of trim as we did. We primed and painted the siding but just primed the trim, and it was a real pain to put the color coat on all that 1x3 trim after construction.

This plan is listed as an "intermediate" project and I think that's probably a correct designation. As beginners, it just took BOTH of us to figure it all out (we work really well together) and to build it, and it took a much longer time than it would for someone with more experience.
Estimated Cost
I think we probably spent between $300 and $400 on lumber, hardware and paint, not counting buying the secondhand mitre saw and the Kreg jig.
Estimated Time Investment
Week Long Project (20 Hours or More)
Finish Used
Primed and painted, green and tan. (We bought the green and had the tan on hand.)
Recommended Skill Level
Intermediate

Comments

laurawelsh

Tue, 10/06/2020 - 15:56

Well done! I love this! Can I ask what dimension your garden tool shed is? And how did you decide on the new roof size/angle? I have a similar space and am contemplating something similar. Thanks!!

laurawelsh

Tue, 10/06/2020 - 15:56

Well done! I love this! Can I ask what dimension your garden tool shed is? And how did you decide on the new roof size/angle? I have a similar space and am contemplating something similar. Thanks!!

Arts and Crafts Table for My Daughter

Submitted by jpiller on Sat, 02/11/2012 - 07:32

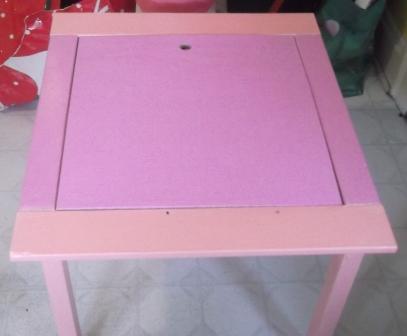
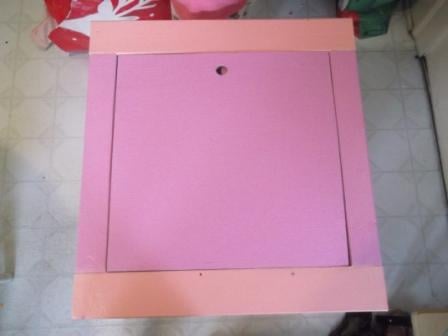
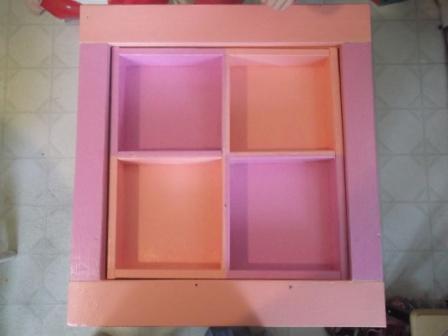
This project was my first from Ana White's plans and my first wood working project on my own. I spent quite a bit of time w/ my dad as a young boy helping him w/ woodworking projects and have been looking forward to doing one on my own.

My daughter is a crazy artist of four years old and she makes more art in a month than we know what to do with. Along with that comes piles of crayons, markers, paper, and so on all over her room, so this table was for her to try and keep organized.

The only real modification from Ana's original plans was that I used plywood for the cover instead of a clear piece of plastic b/c I figured the wood would hold up better under a four year old's abuse.

Built from Plan(s)
Estimated Cost
40
Estimated Time Investment
Day Project (6-9 Hours)
Finish Used
Regular wall paint - same used to paint my daughter's room.
Recommended Skill Level
Starter Project

Comments

jpiller

Sat, 08/02/2014 - 09:46

Yes, i actually had to put two pieces glued together in order to get the correct height to fill it in. It's a little heavy, but my daughter really loves the table and it doesn't seem to be too much of a problem.

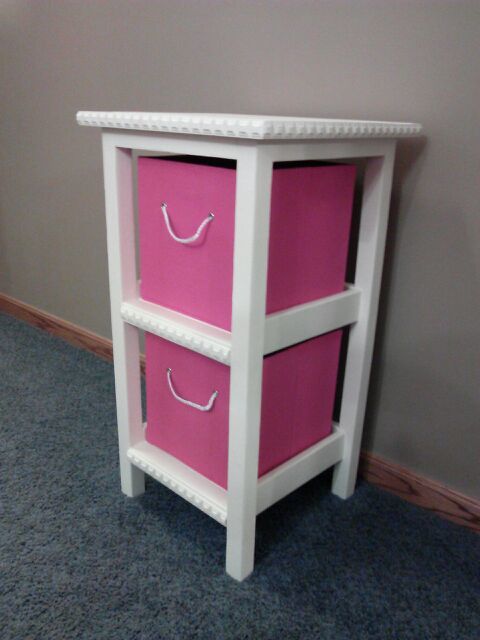
Storage Basket Shelves

Submitted by Debbie440 on Sat, 12/21/2013 - 13:24

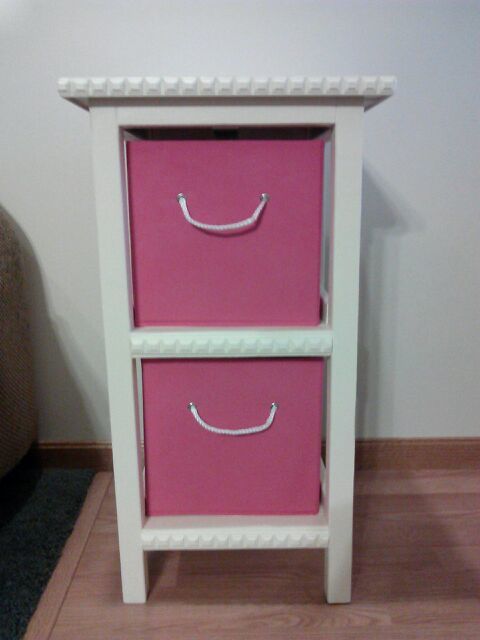
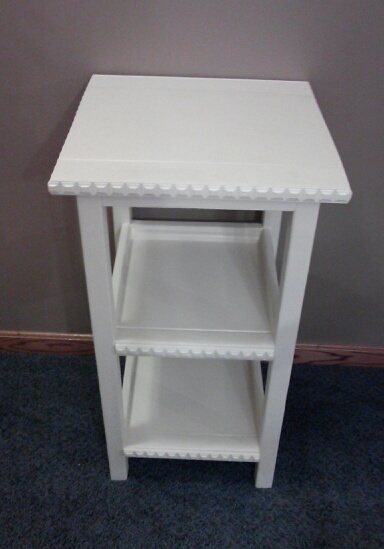
I built this and then ordered storage baskets that fit to the size. I built it exactly to the plan except I did not make the top flush to a back wall and I added decorative trim. I think adding trim really adds a nice look to this project.

The tower was super easy to build and took hardly any time. The most time was spent on the finishing work (sanding and painting).

Built from Plan(s)
Estimated Cost
Unknown/used leftover wood
Estimated Time Investment
Afternoon Project (3-6 Hours)
Finish Used
Sherwin Williams sample paint color matched to an antique white.
Recommended Skill Level
Beginner

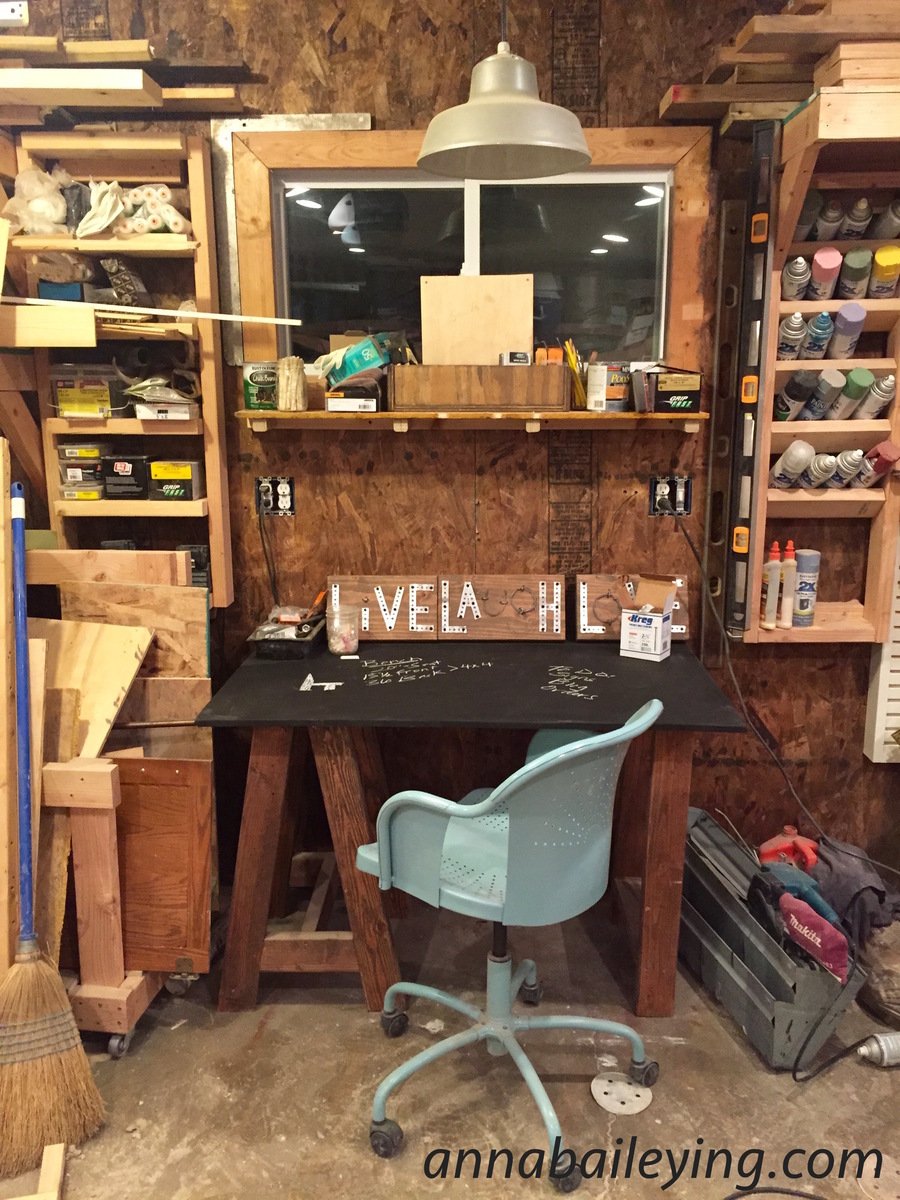
Chalkboard Wood workers planning desk

I needed a new desk for my office workspace in the garage. I wanted something inspired, and that would BE inspiring to me as I sit at it. So, I made this chalkboard surface woodworking planning desk with mismatched legs. I love that the legs are mis-matched. LOVE IT. IT would make type a people squirm, but me. Nope, I love it. I quick made some set of sawhorse legs, and a box leg. Attached a 3/4 piece of plywood cut the the size I wanted. Stained the legs dark brown, and rolled on 3 coats of chalkboard paint on the top. Boom!! And the best part of this design, when it gets messy, I just sand it down. And clean it up again with chalkboard spray paint.

Built from Plan(s)
Estimated Cost
$15-$20
Estimated Time Investment
An Hour or Two (0-2 Hours)
Finish Used
brown stain and chalkboard paint
Recommended Skill Level
Beginner

Classic X Picnic Table

Submitted by WolffA on Fri, 10/11/2019 - 08:11

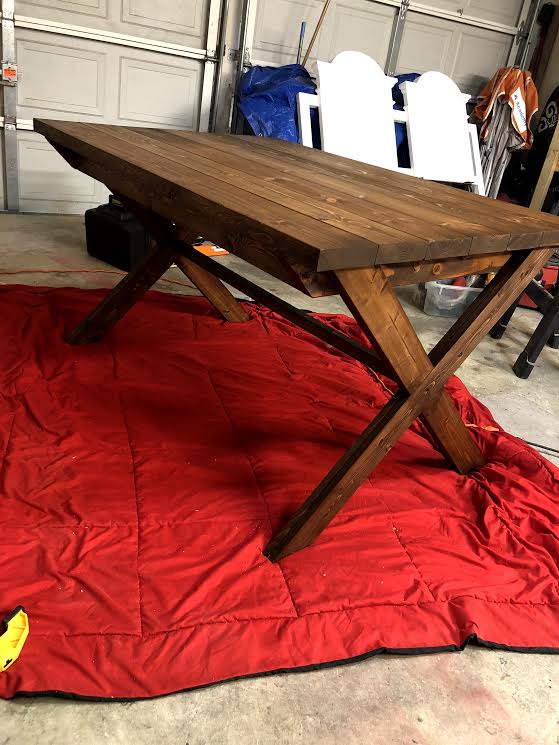
Build exactly from the plans. Stained in dark walnut. 

Built from Plan(s)
Estimated Cost
120
Estimated Time Investment
Weekend Project (10-20 Hours)
Finish Used
Dark Walnut Stain
Recommended Skill Level
Beginner

Our first project

Submitted by Delilah on Tue, 02/14/2012 - 18:53

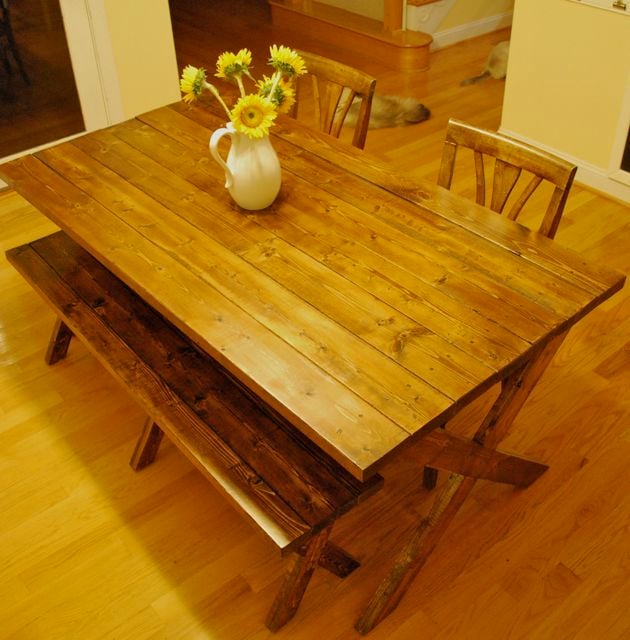
I was looking for plans to build a table like this and found Ana's site.

Estimated Cost
100
Estimated Time Investment
Weekend Project (10-20 Hours)
Finish Used
Minwax Early American and Satin Poly
Recommended Skill Level
Starter Project

Comments

Delilah

Fri, 02/17/2012 - 19:26

I would make the bench first if I could do it again--good practice. You can't fit a lot of people around it but it is good for a small space.
anandereson (not verified)

Mon, 04/30/2012 - 04:55

How did you fasten the tabletop to the base? Did you screw it from under and attach along every cross beam? Or screw from the top and fill the holes with putty? All the way across or just on the ends...this step in the directions is very vague...
Farm House Bar Table

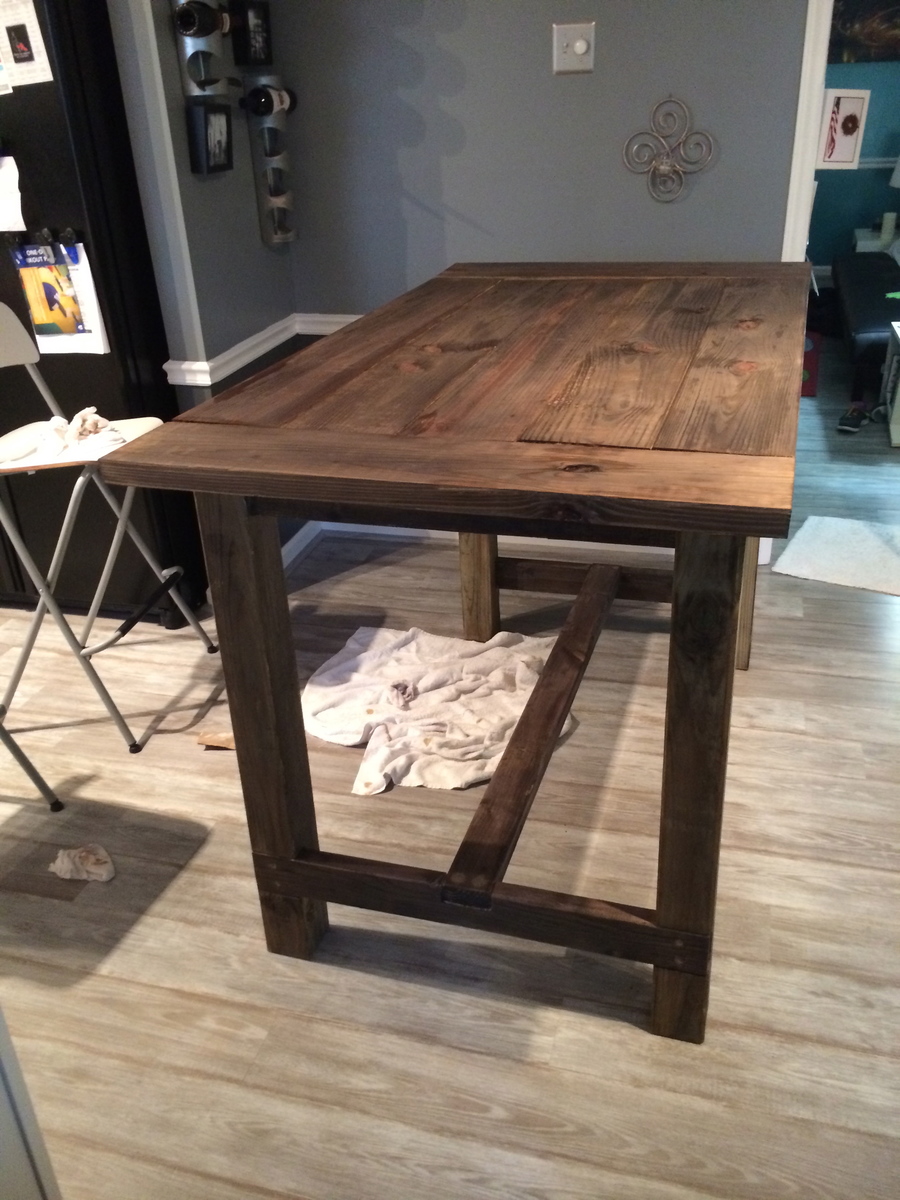
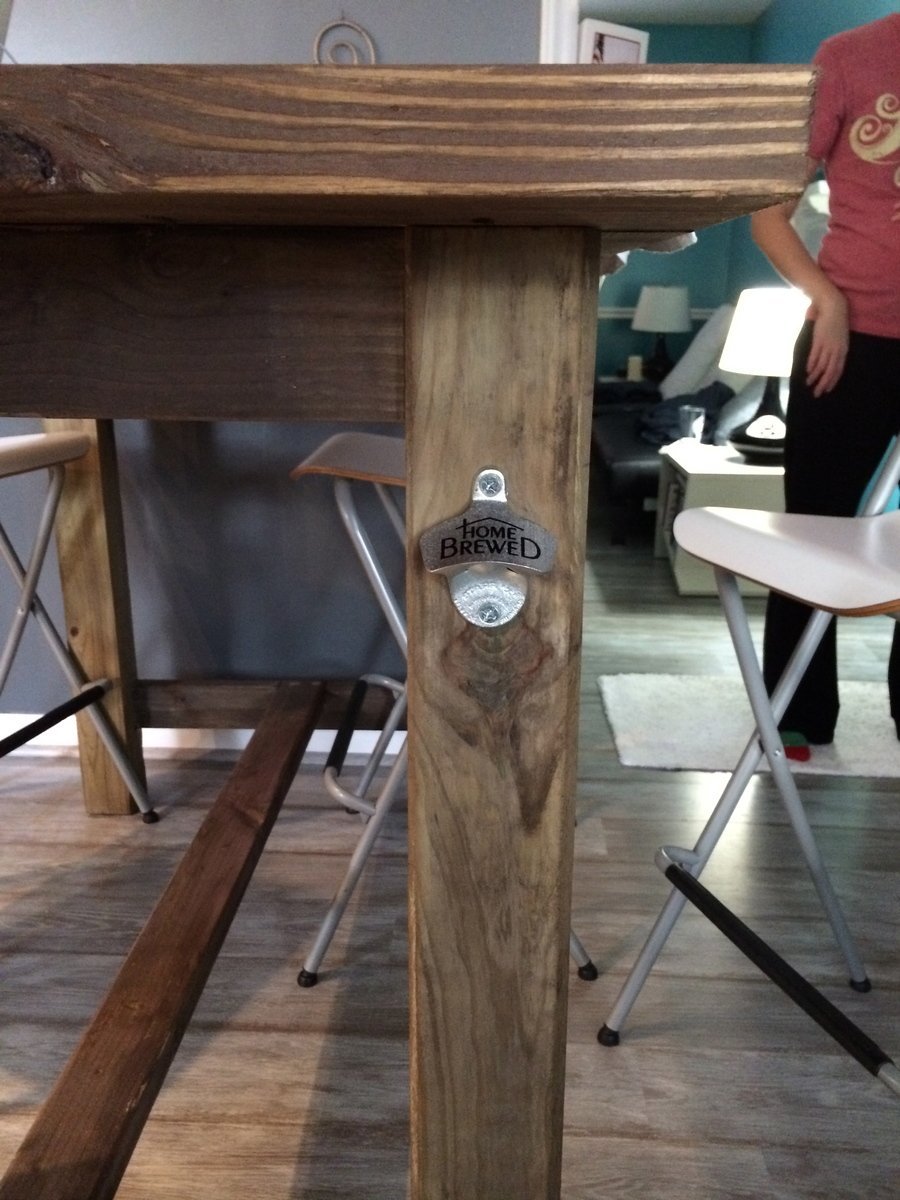
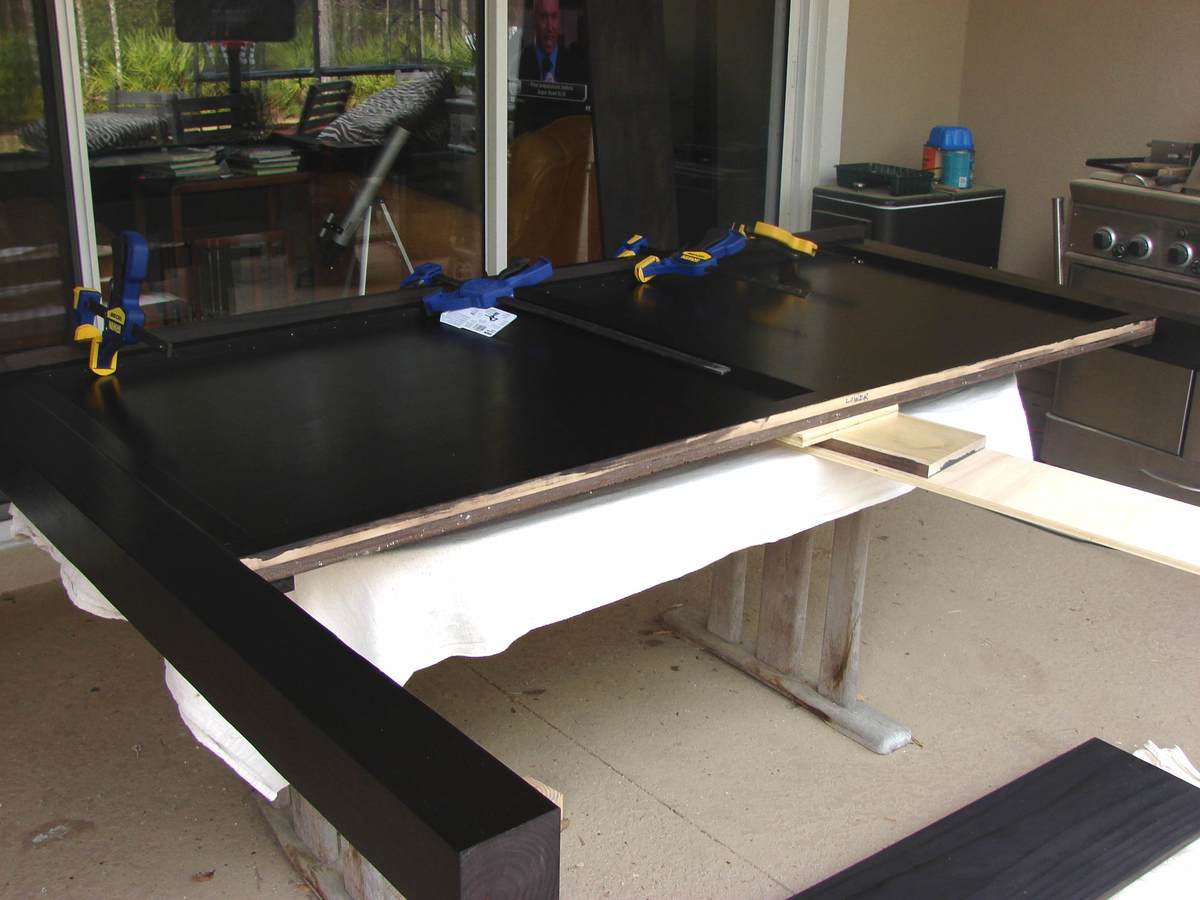
Modification of Ana White's Farmhouse Table adjusted to bar height.

Estimated Time Investment
Weekend Project (10-20 Hours)
Recommended Skill Level
Beginner

Dog Bed

Submitted by big mike on Sat, 03/05/2016 - 00:19

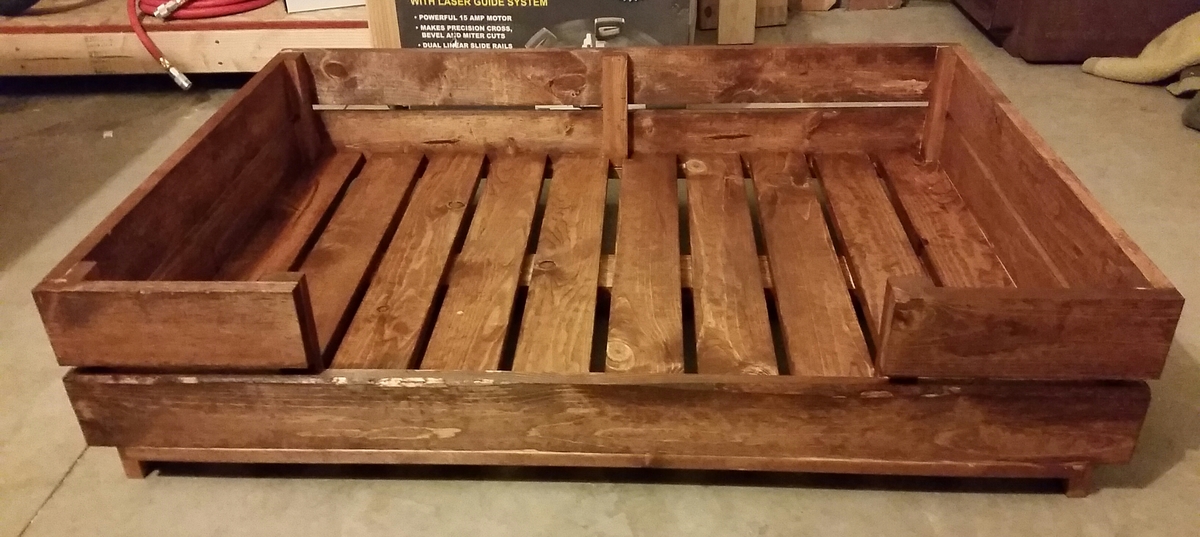
Dog bed for our German Shepherd. I will post plans a little later. 

Estimated Time Investment
Afternoon Project (3-6 Hours)
Recommended Skill Level
Beginner

From Logs to Famhouse Table

Submitted by Anonymous (not verified) on Sun, 10/13/2019 - 18:45

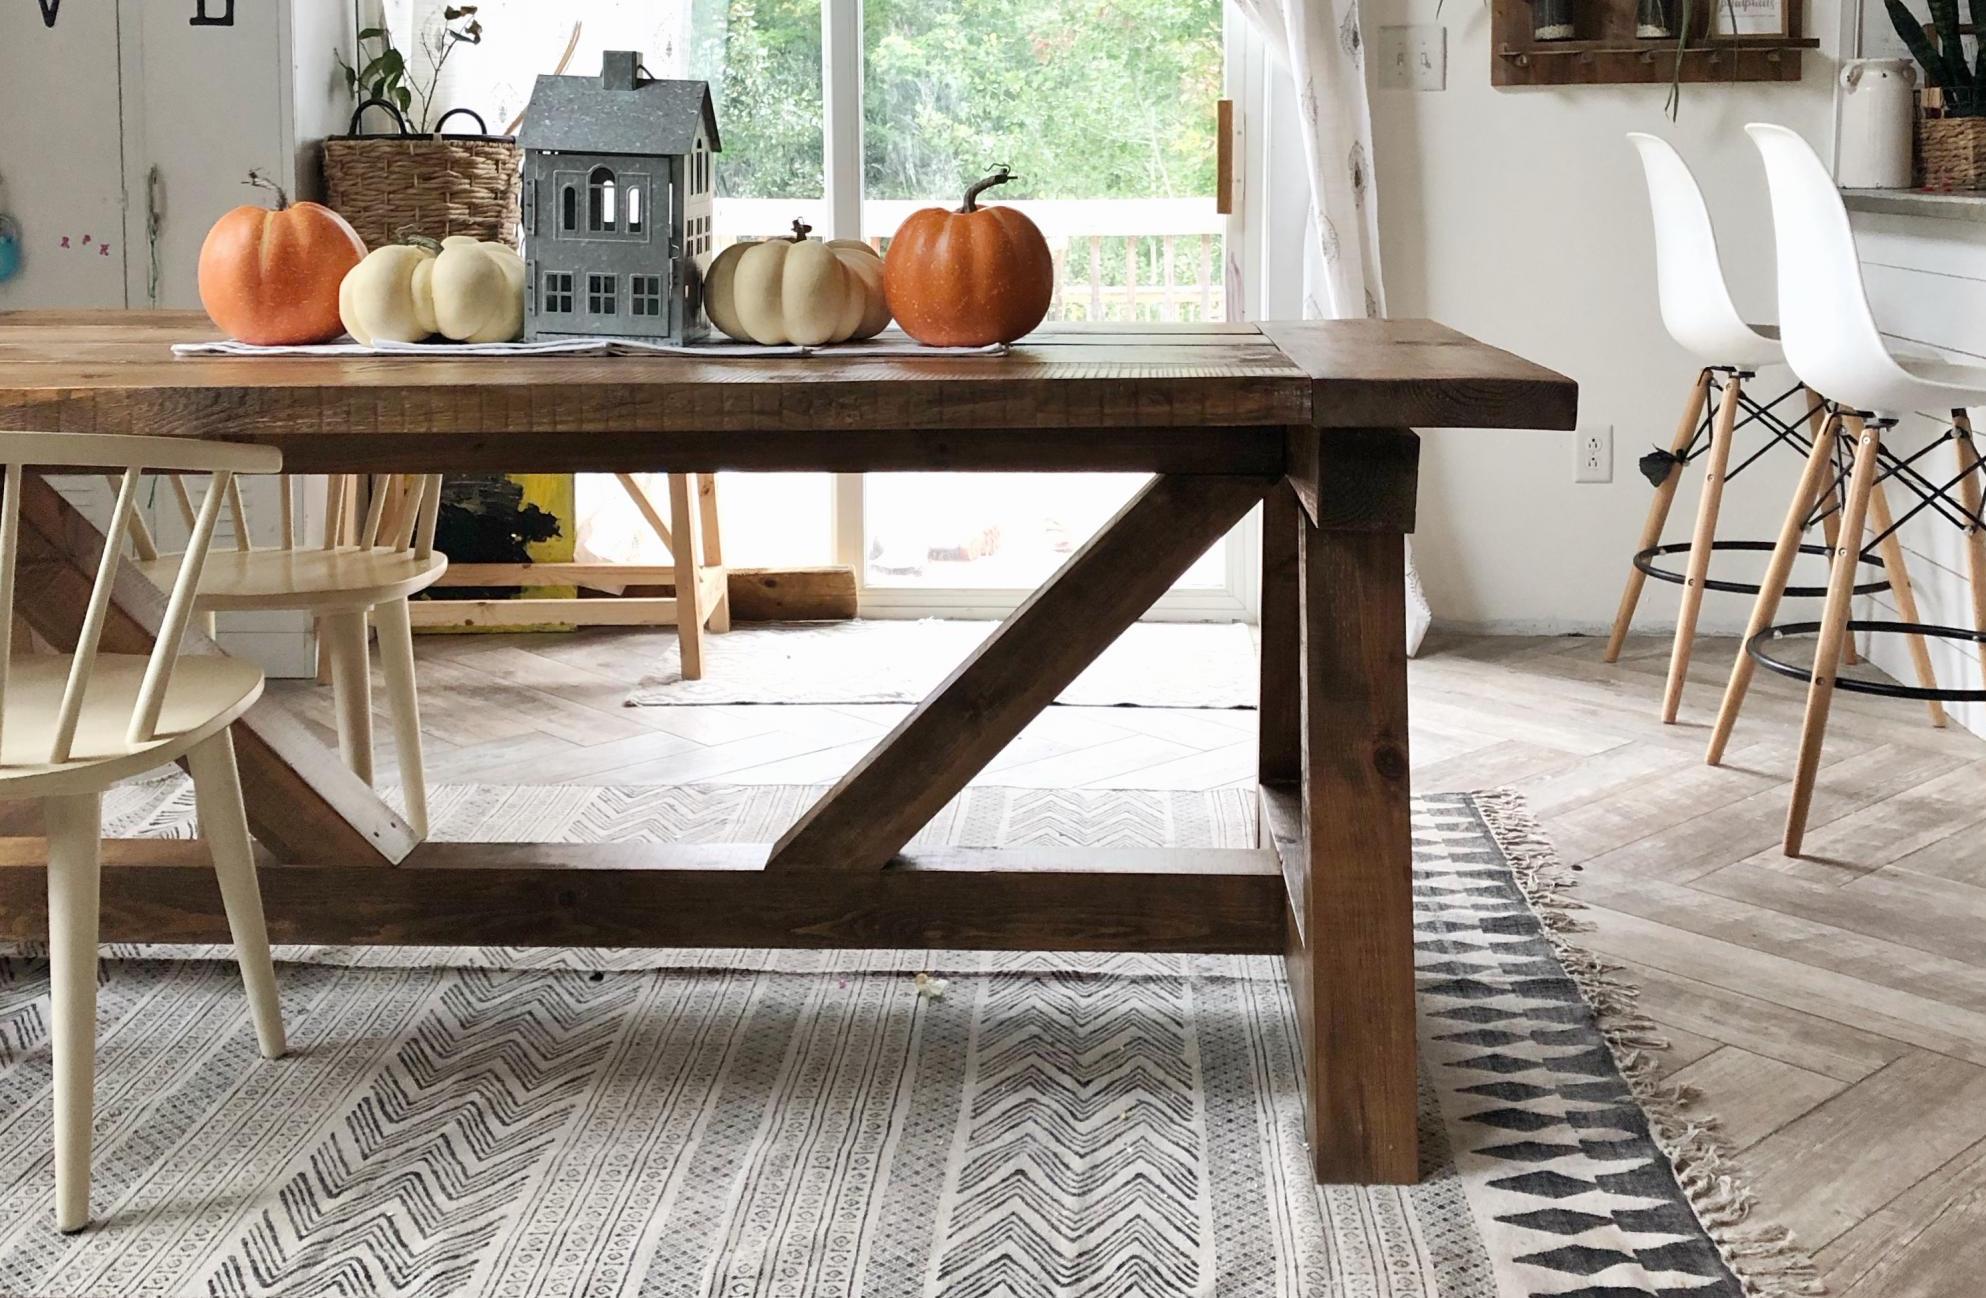
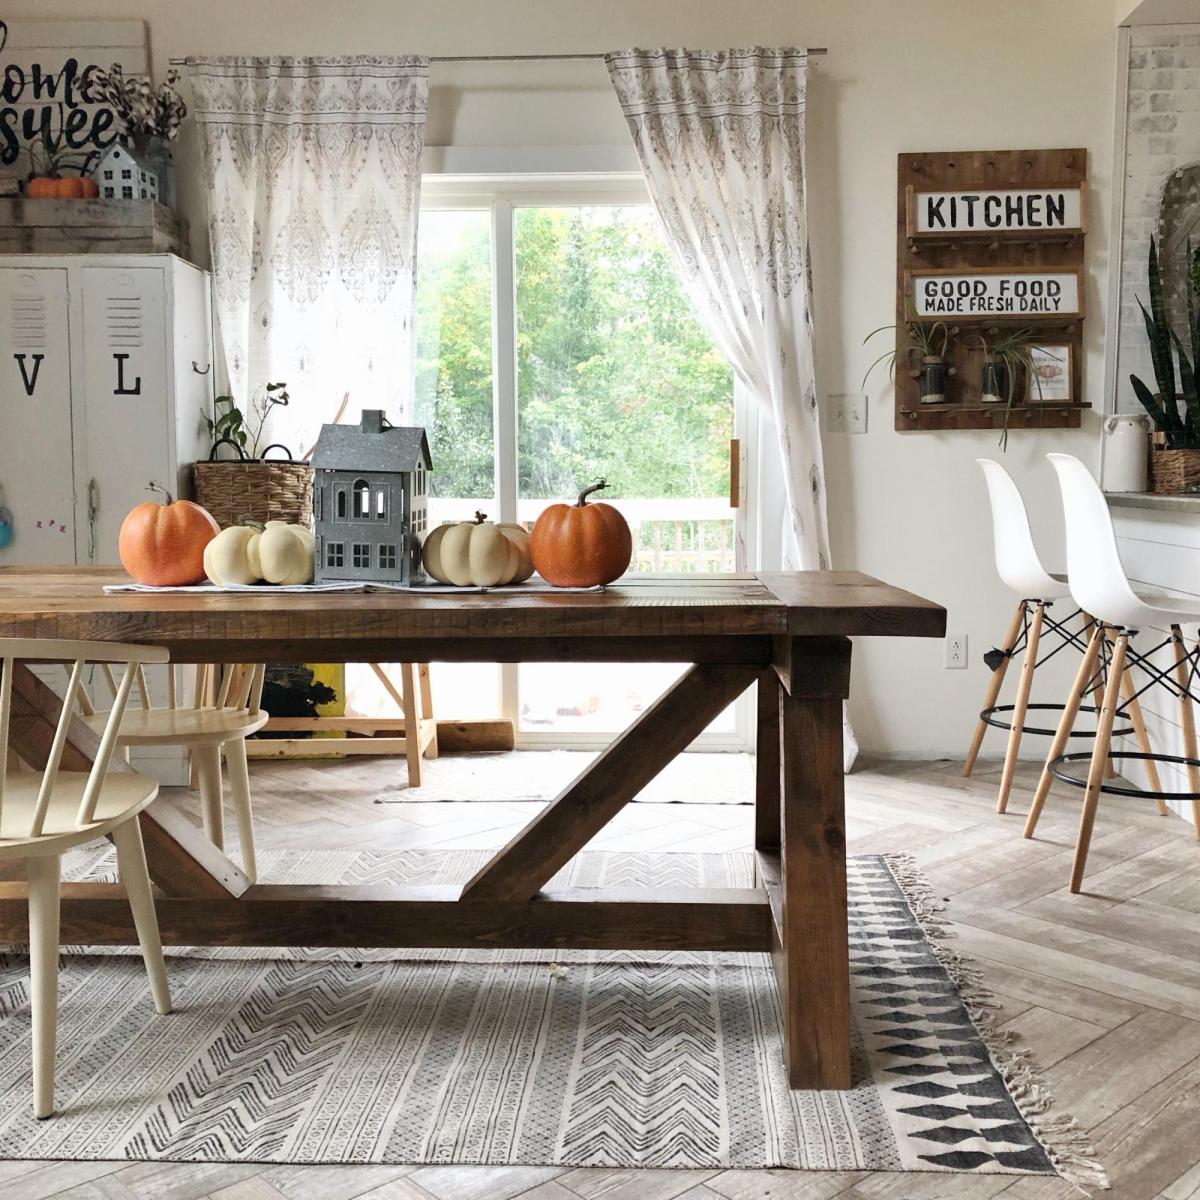
So this DIY Farmhouse Style Table has been on my “make it” list for a while now. And what better time to make it than now, since we just got a saw mill. Check out the blog link below to read all about it.

Built from Plan(s)
Estimated Time Investment
Weekend Project (10-20 Hours)
Finish Used
Minwax Early American Stain
Minwax Polycrylic Clear Sealer
Recommended Skill Level
Intermediate
Seasonal And Holiday

Mimi’s Entryway Storage Bench&NarrowHall Tree Hutch

Submitted by Anonymous (not verified) on Tue, 07/04/2023 - 20:37

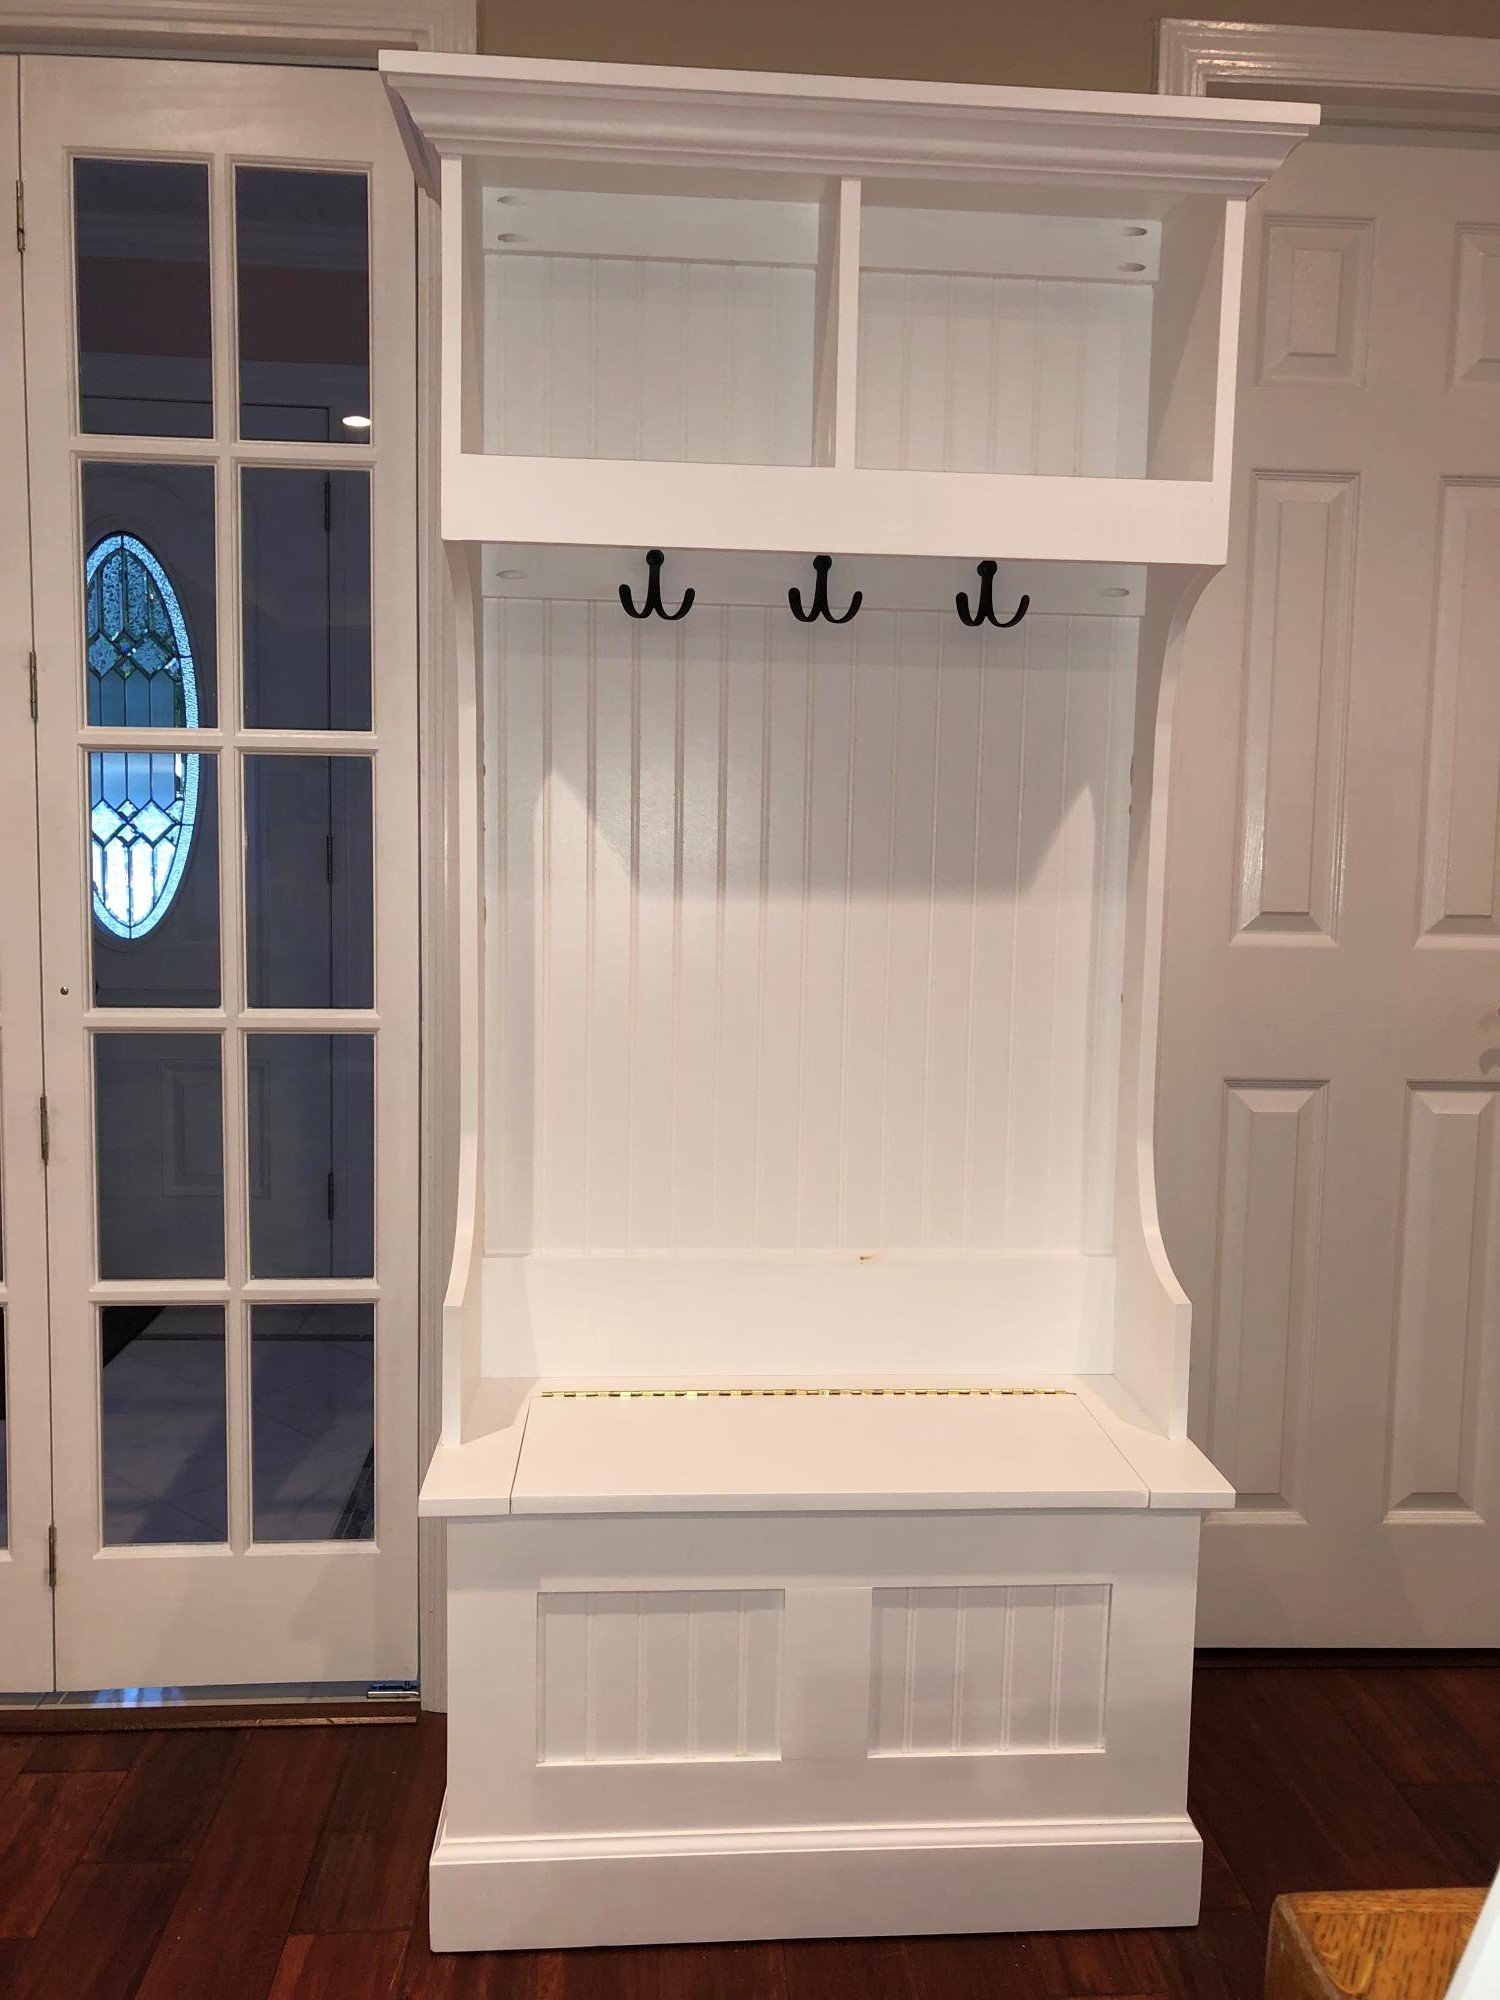
This was a two week project. The width was modified smaller than the plans. The panels on the bench were fitted into dado joints rather than inserting an entire panel on the inside. Also used pocket hole joints where some nails were suggested.
This was my first attempt at a project like this and turned out amazing. My wife loves it too.

Farmhouse bed king modified

Submitted by susanr on Tue, 02/21/2012 - 06:40

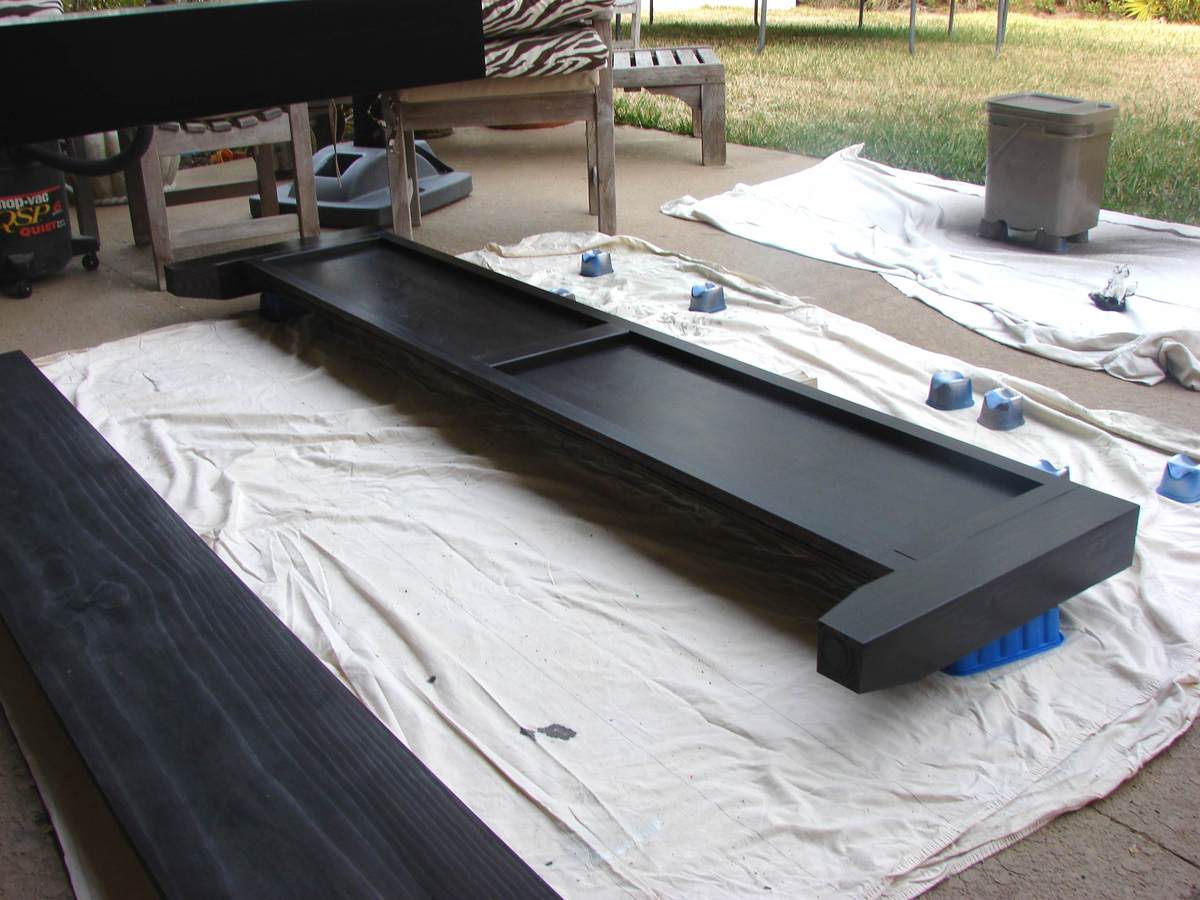
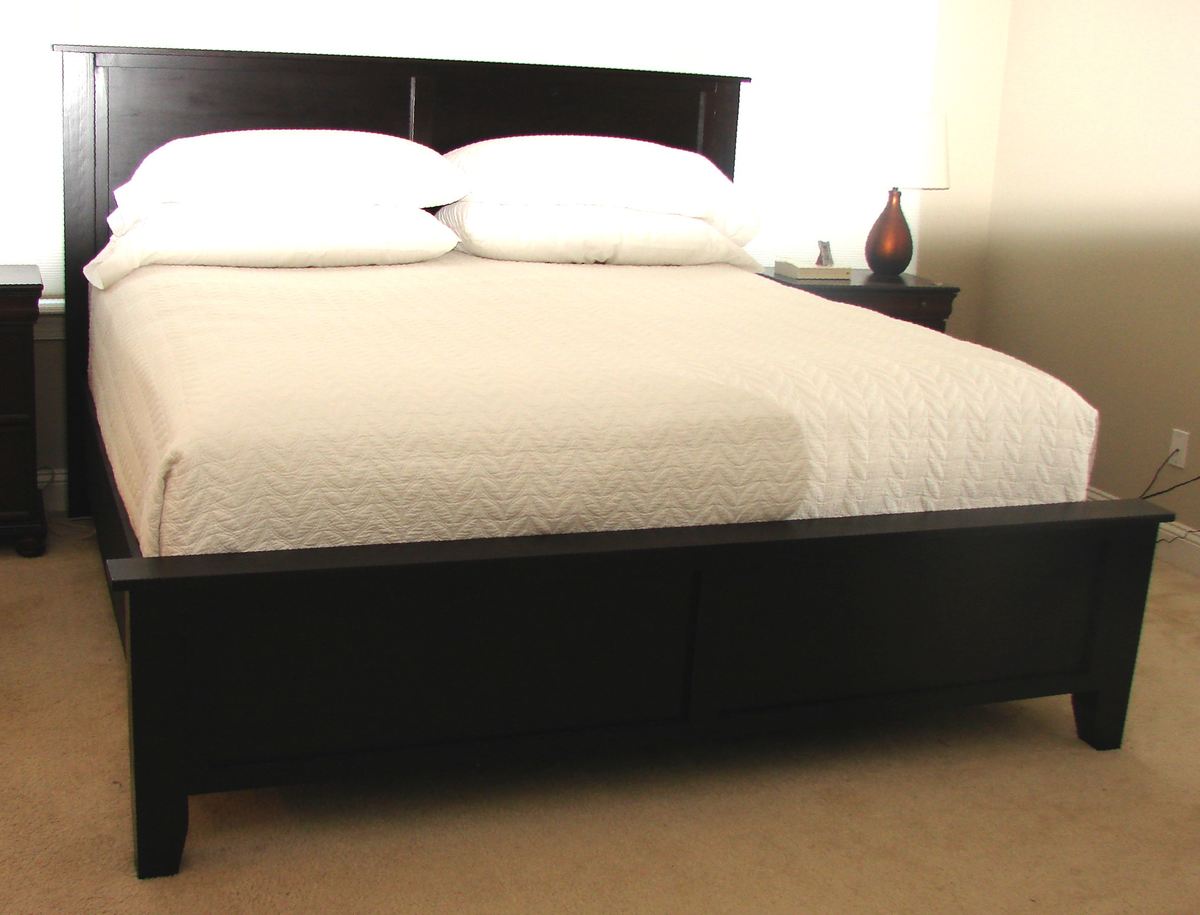
This is a modification of the Farmhouse bed with a panel headboard and footboard rather than individual boards. It currently fits around the mattress/boxspring/metal frame. When we buy a new mattress, we will then add the joists, etc.

The headboard and footboard are both 72" wide. We had the guys at blue do a rip cut at 72" which ensures that both pieces are exactly the same measurement (for square.) Then, they turned the plywood a quarter turn and cut at 15" for the footboard. This left a 33" high headboard. It is 3 inches larger than the original plan, but it doesn't require a second cut and you don't see it anyway. The trim is just a 1x3 with a 1" overhang. (I might make it just a 3/4" if doing it again.)

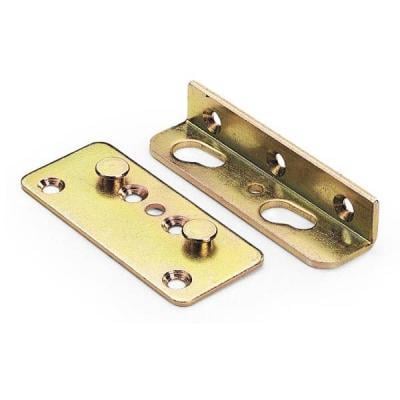
The side boards are 1x12 cut at 80 1/4", but you may want to add a little if your comforter is really thick or if your mattress is much longer than ours at 79 1/2". We used non-mortised (no cutting into the wood) bed rail hardware from Woodcraft, so we could easily take it apart. These were placed 1 1/8" in from the inside edge of the 4x4 post. They were placed on the very edge of the side rail so it would butt up against the post. The 1 1/8" gives us plenty of room to shove the bedding down inside the side rail.

We glued and nailed 1x2s from the back for the trim on each piece.

Estimated Cost
about $190, but you could save $17 by not spilling an entire can of dye/stain on yourself when you foolishly open your completely full pressurized sprayer
Estimated Time Investment
Weekend Project (10-20 Hours)
Finish Used
General Finishes dye stain in Dark Brown; polycrylic - 3 coats; prefinished all the wood before assembling.
Recommended Skill Level
Beginner

Comments

Kate (not verified)

Wed, 02/22/2012 - 05:18

Looks beautiful! We are currently making this bed with the exact samce change to use panels instead of boards and then one board down the middle, except we made our footboard and headboard higher.

susanr

Wed, 02/22/2012 - 07:32

I would love to have the footboard higher, but my husband is 6'4" with large feet, and he asked that I make sure that he could sleep on his stomach with his feet dangling down without touching the footboard! We actually measured it. Make sure you post yours when it is done.

C.Lang

Wed, 02/22/2012 - 20:40

This is a beautiful bed. It is actually pretty much the exact bed i want to build for me and my wife.

sandrabees

Sun, 04/29/2012 - 16:47

I am wanting a king... love the farmhouse plan and I think that hardware is the way ij want to go. Is that where you can slip the side rails in and out of the headboard and foot board?

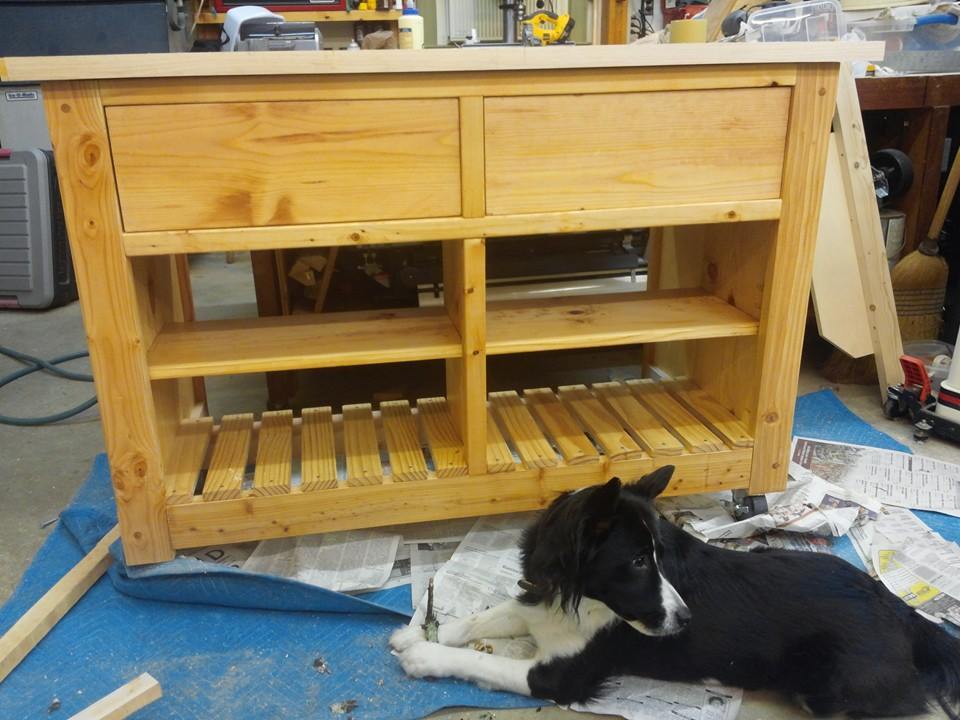
Rustic Kitchen Island with Maple Cutting Board Top!

Submitted by bcanoel on Thu, 12/26/2013 - 14:54

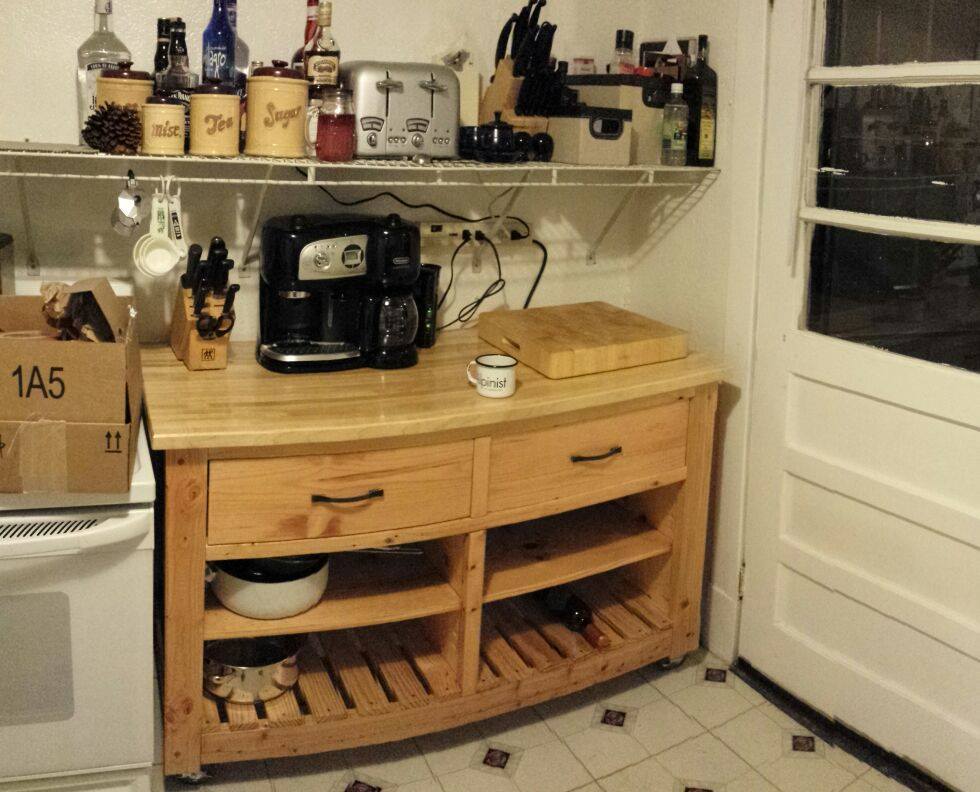
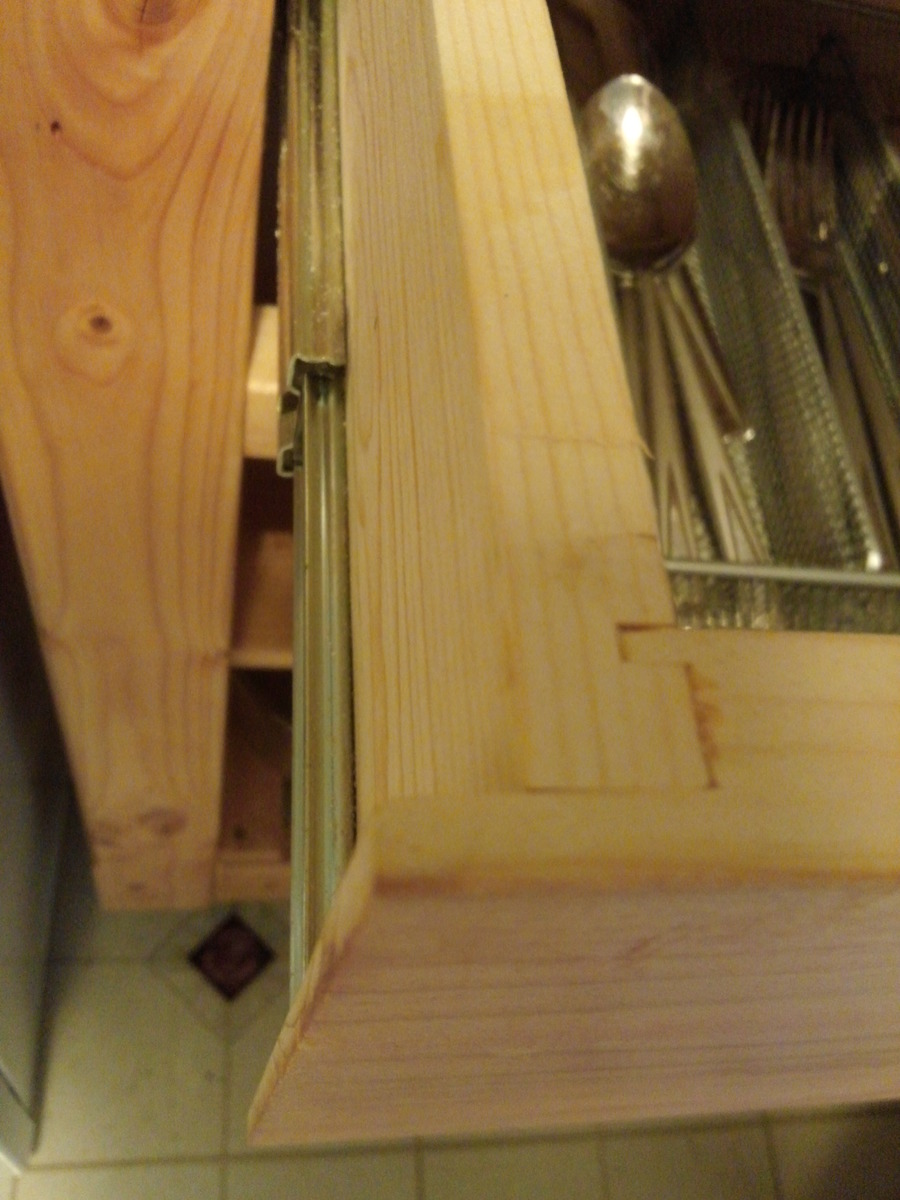
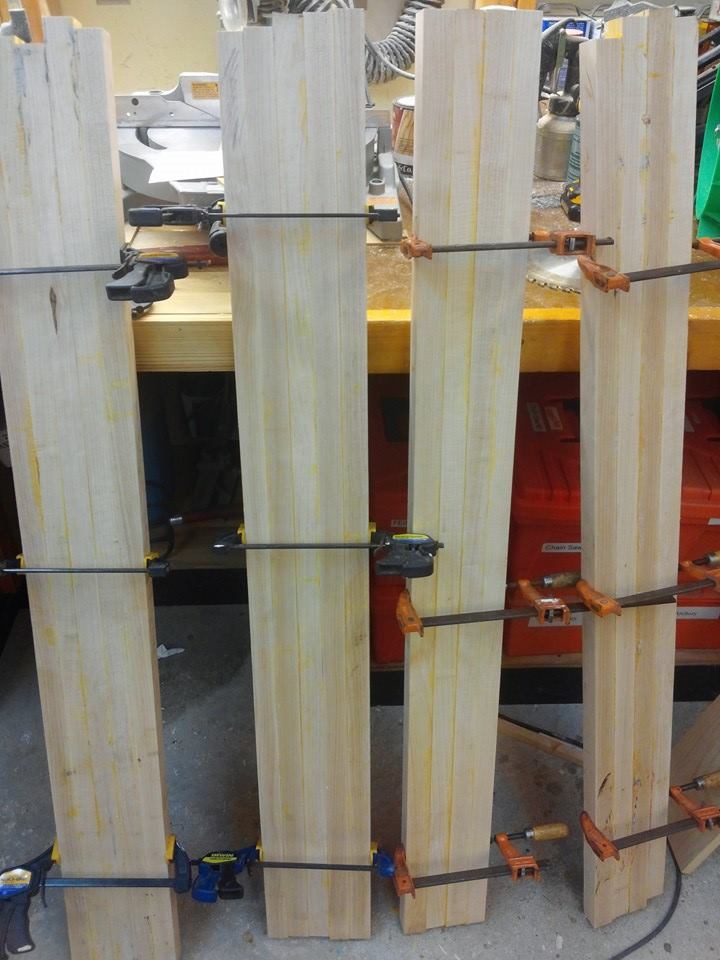
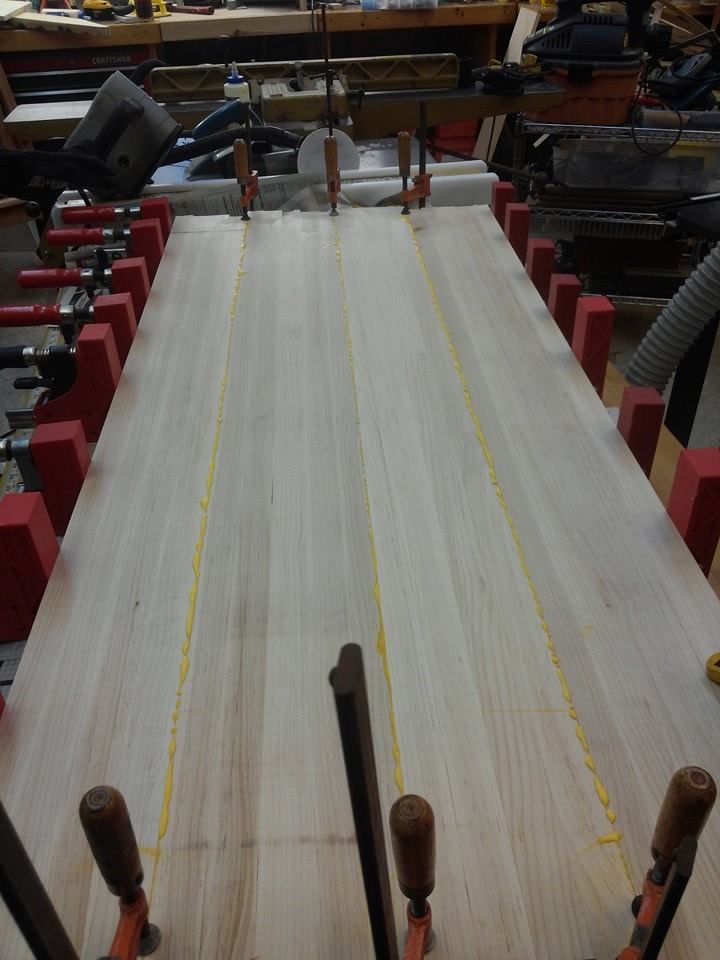
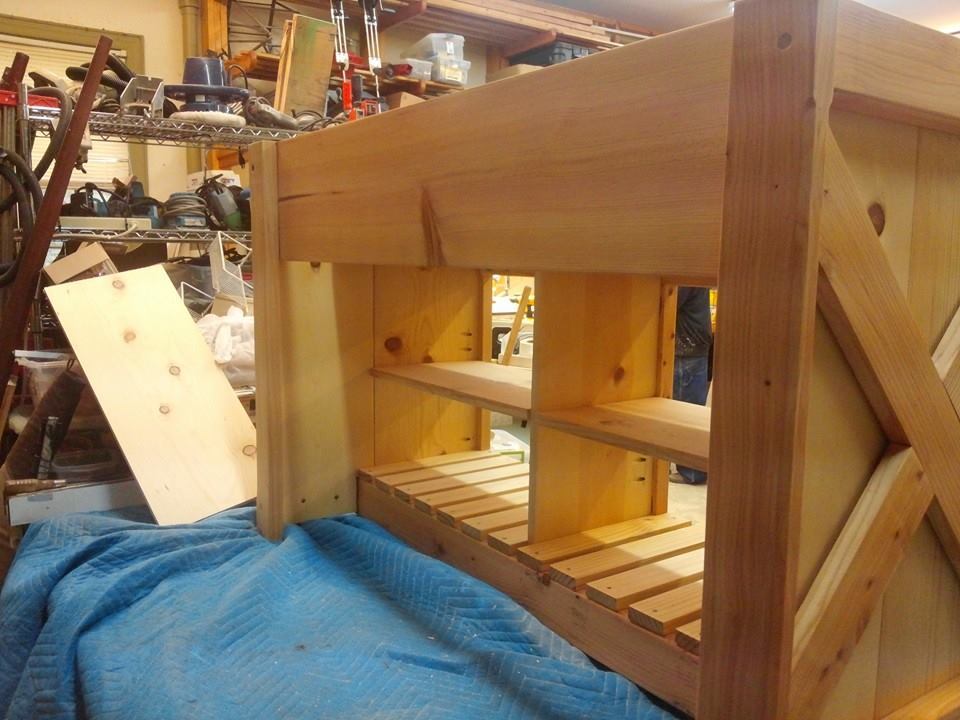
We constructed the Rustic Kitchen Island with a few modifications. My dad, president of the Norm Abrams fan club, built fantastic drawers using rabbet joints and fashioned a maple cutting board top. We also chamferred the edge of the top and the leg ends, very easy and adds a beautiful touch. We finished the cutting board top with "Salad Bowl Finish" which facilitates food prep.

This was a Christmas present for my boyfriend, he is in love with it! I watched him play with it like a little kid for hours after opening it. Thank you, Ana, for your great plans! (Also, Santa brought me your book for Christmas so I will be sharing many more completed projects!)

This was my very first project in the workshop. I was able to complete most of it on my own, which is why I rated it a "beginner" project. However, construction of the drawers using rabbet joints and prepping the maple for the top were considerably more difficult.

Estimated Time Investment
Week Long Project (20 Hours or More)
Finish Used
Bottom & Drawers: Golden Pecan, Minwax (2 coats on pine)
Top: Salad Bowl Finish, General Finishers (3 coats)
Recommended Skill Level
Beginner

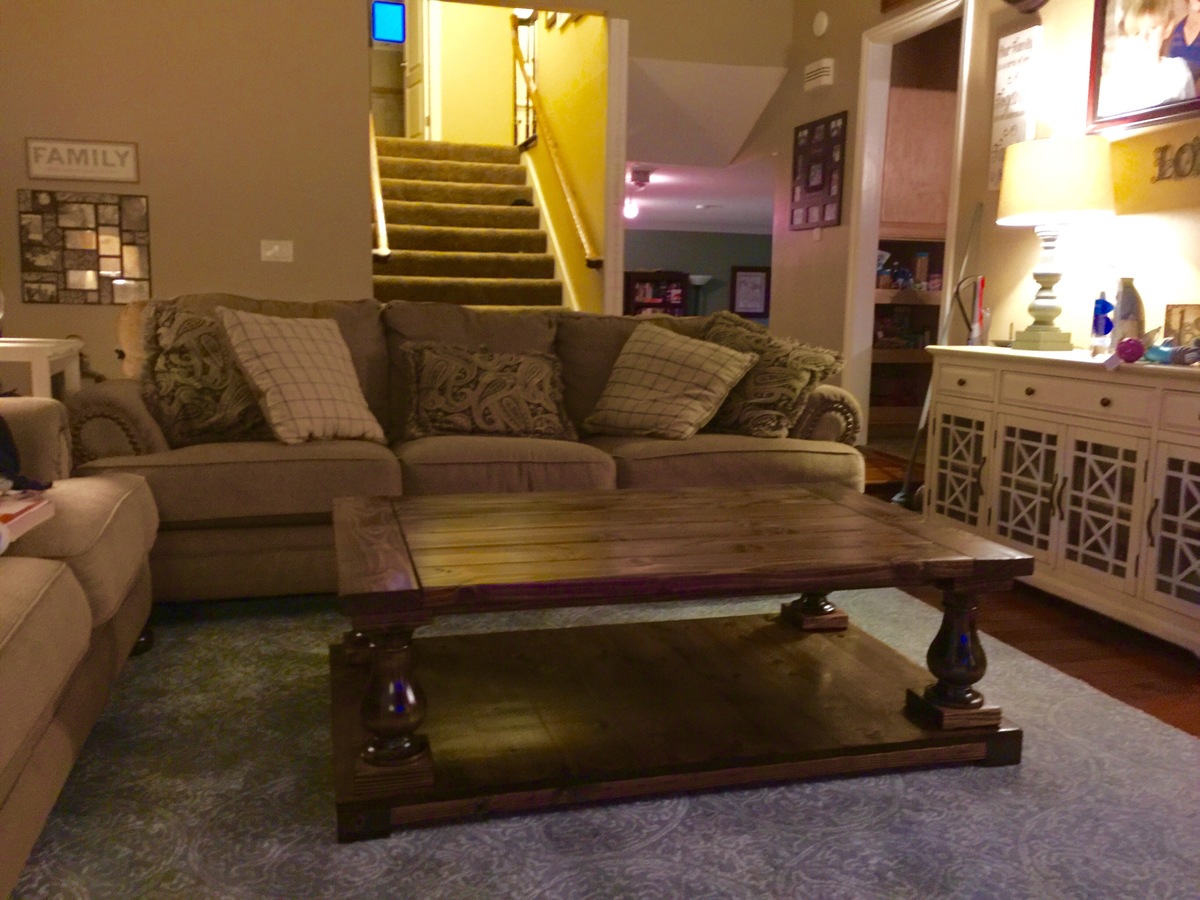
56x34

Submitted by Anonymous (not verified) on Mon, 03/07/2016 - 08:43

Love it. 

Estimated Time Investment
Weekend Project (10-20 Hours)
Finish Used
Minwax dark walnut stain and polycrylic.
Recommended Skill Level
Beginner

Refreshment center console with barn door

Submitted by calcowoods on Sat, 10/19/2019 - 07:10

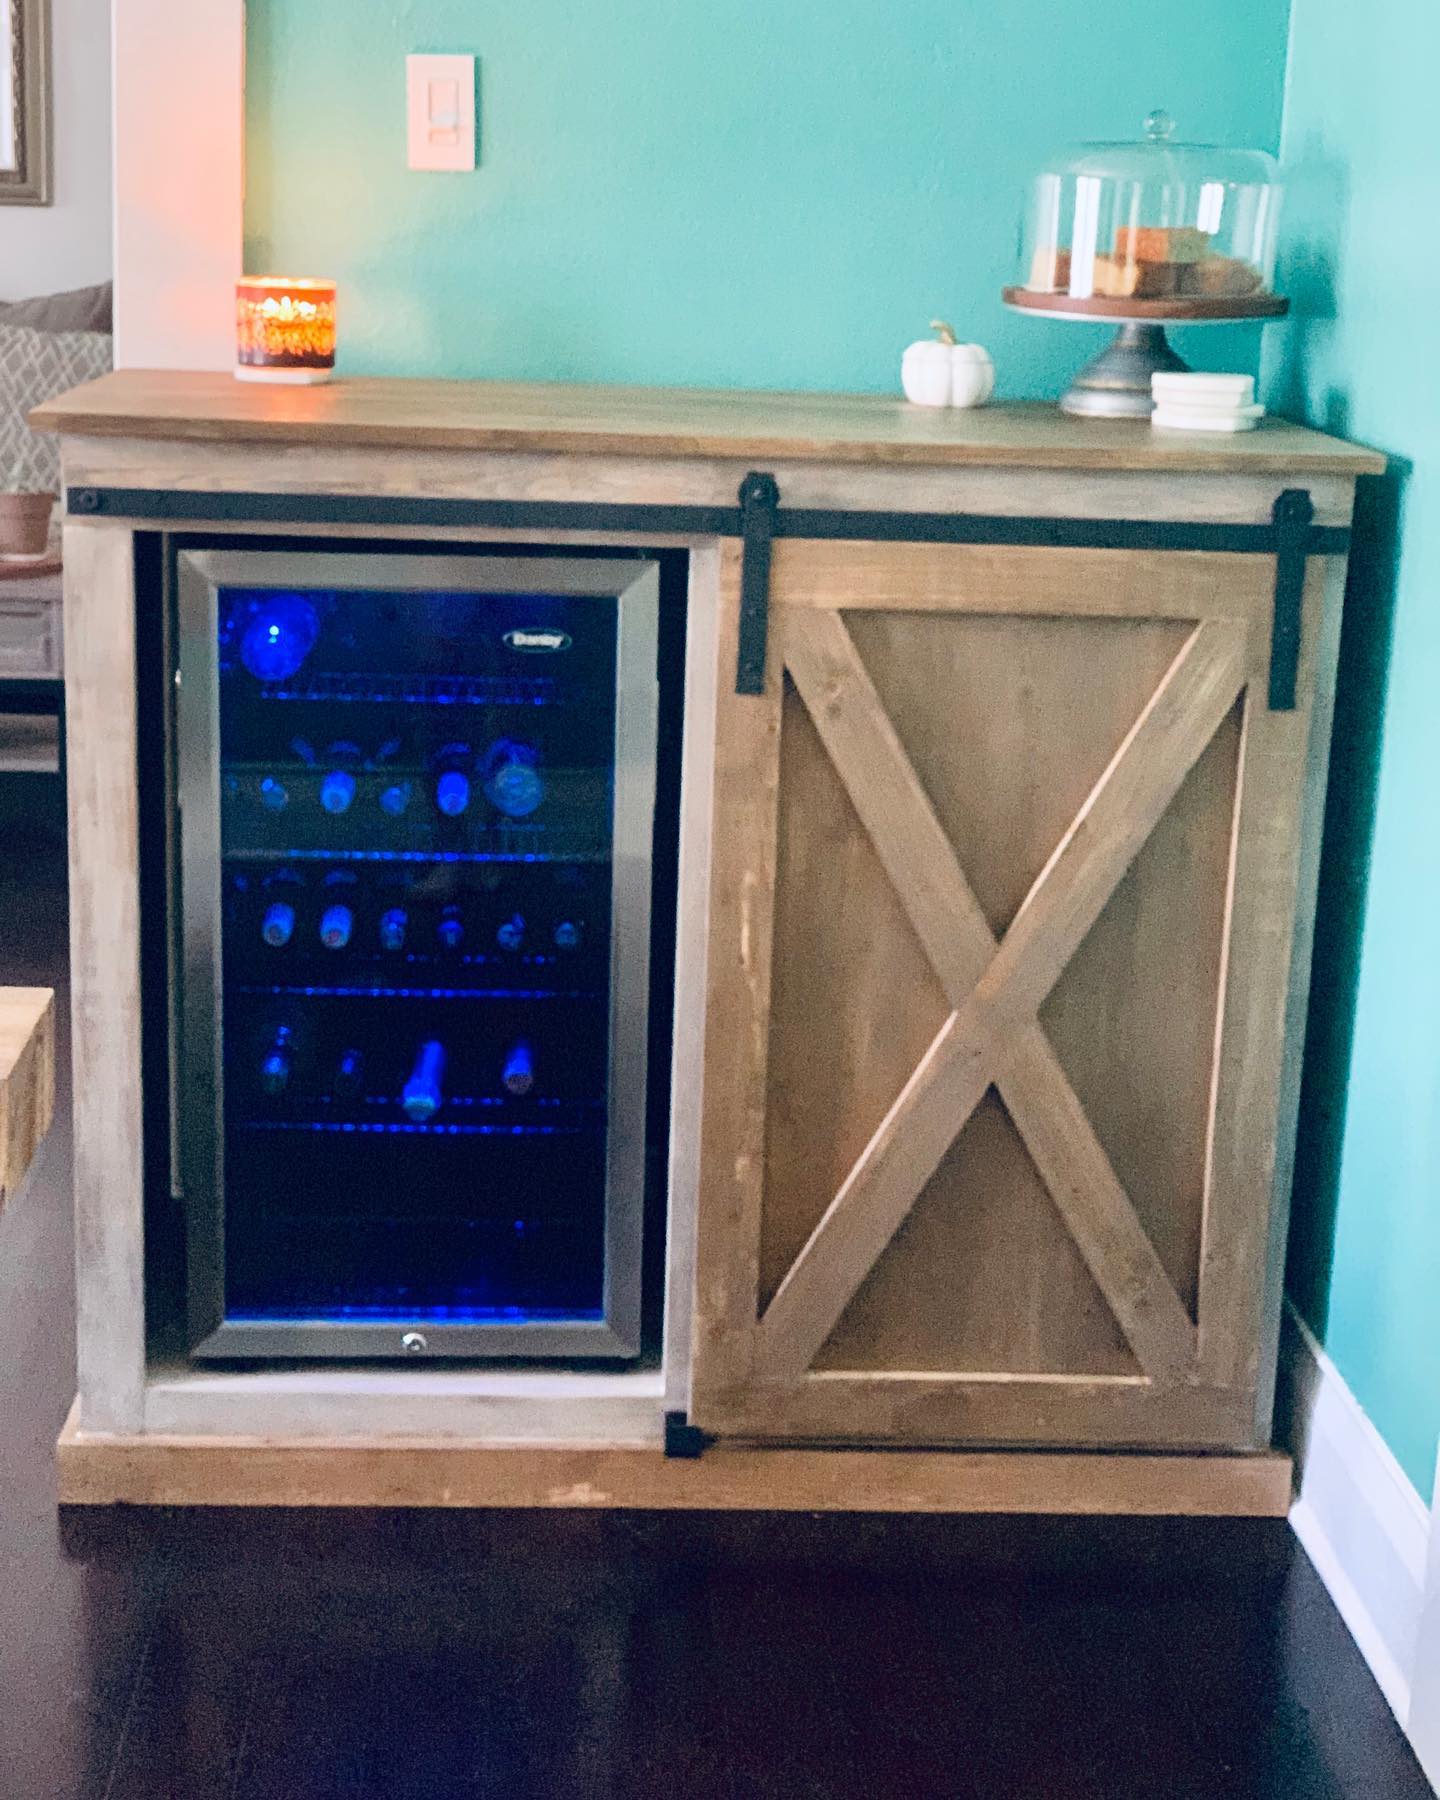
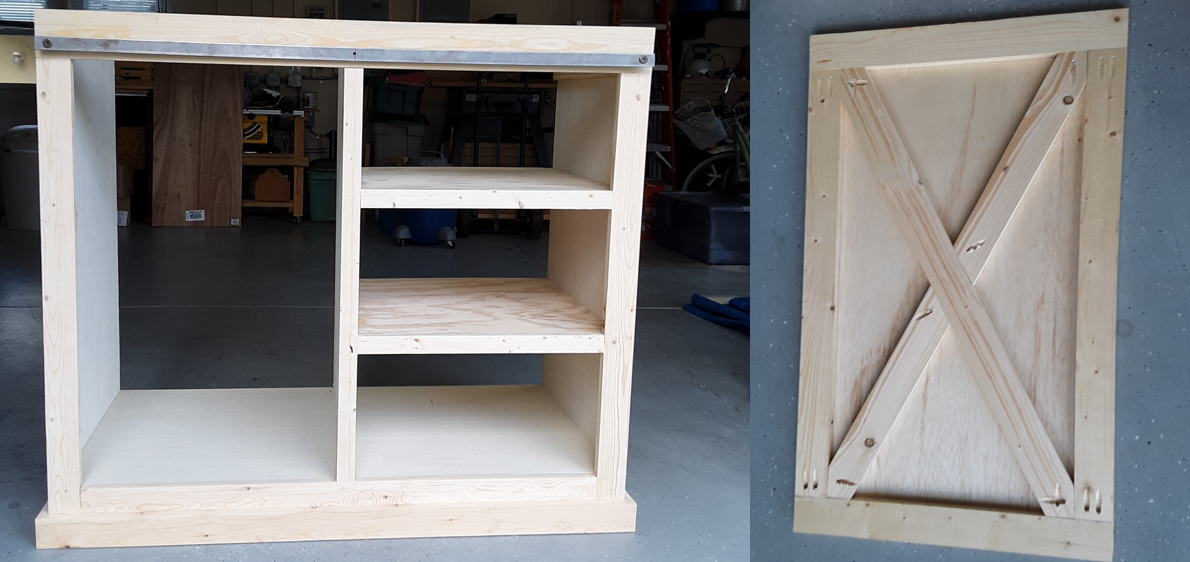
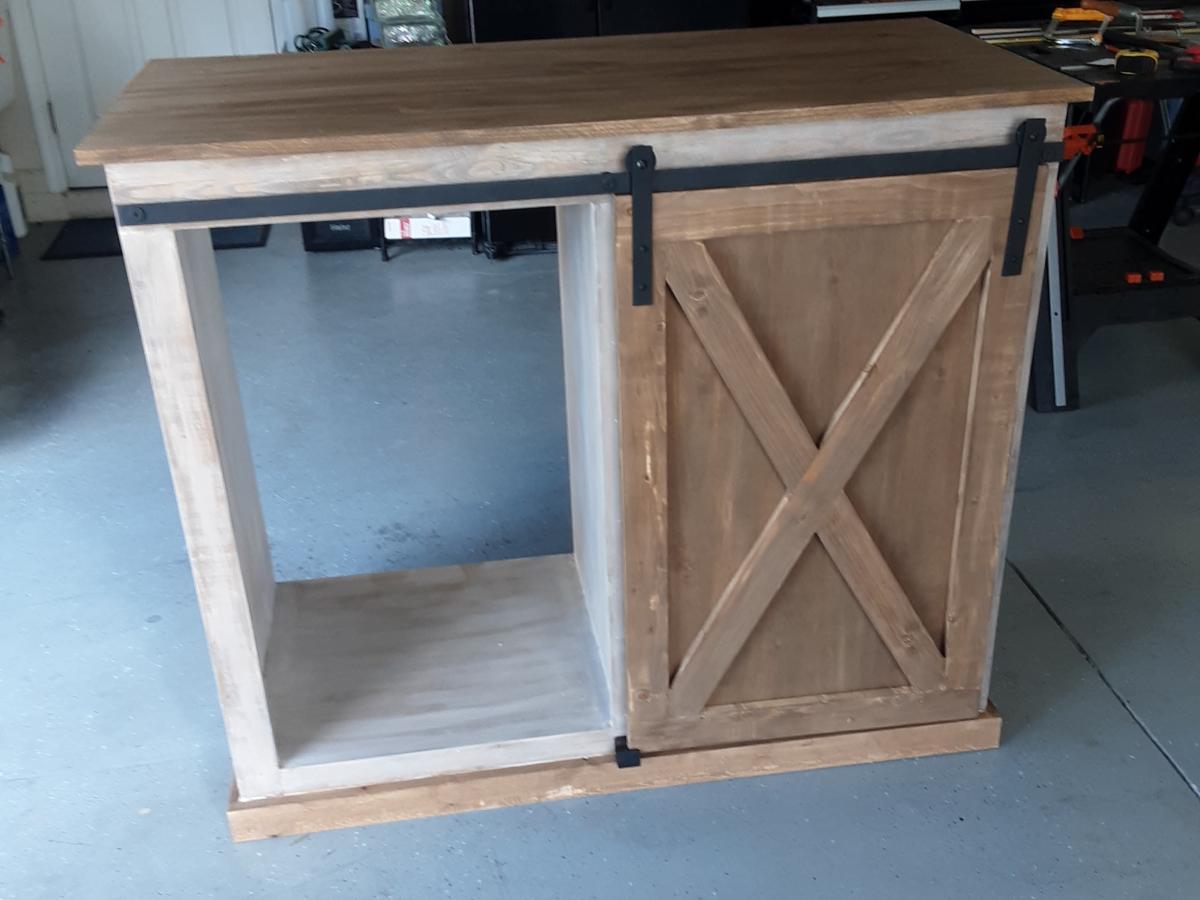
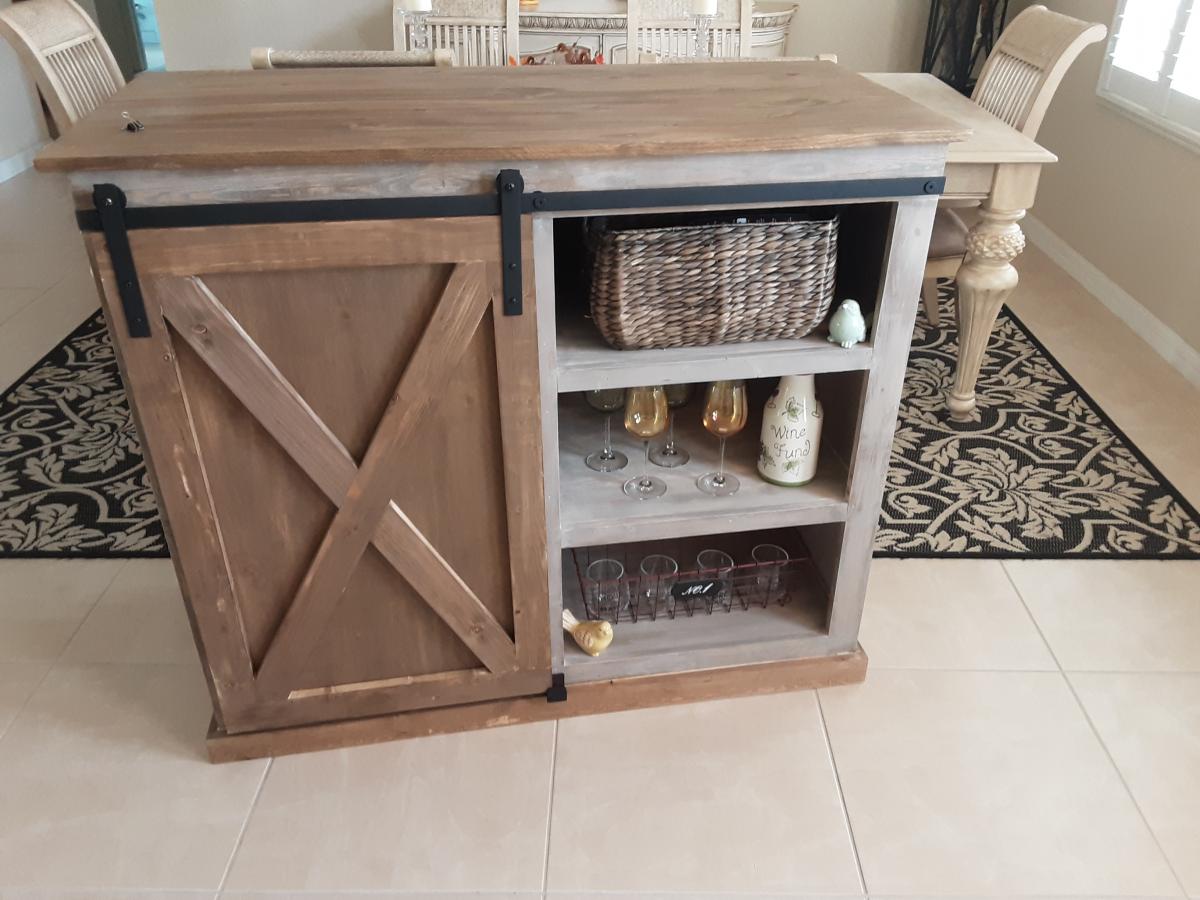
My wife and I built this Refreshment Console as a birthday present for our daughter. She had previously purchased a beverage refrigerator and wanted us to adapt it inspired by your barn door console project. Thus, we modified your plan to accommodate the height of the refrigerator. Also, she wanted three shelves with a closed back on the right side of the cabinet. Simply plan adjustments were all that was needed.

Using your plans, material list and excellent video we were able to construct the barn door rails and hangers using 1 ½ inch fender washers which sandwiched three 1-inch fender washers.  The metal bar was sized to fit the top of the cabinet and connected to the top trim board using spacers, washers and bolts.  As we decided to place a middle support for the bar, we added a t-nut into a center plywood partition so that we could use the same bolts, spacers and washers to support the rail.   

As we were following a rustic theme, we decided to add the X Braces to the barn door and used a project panel board as the top. The barn door is guided at the bottom using a simple U shaped metal bracket that we lined with felt for a smooth glide.

Estimated Cost
$100
Estimated Time Investment
Weekend Project (10-20 Hours)
Finish Used
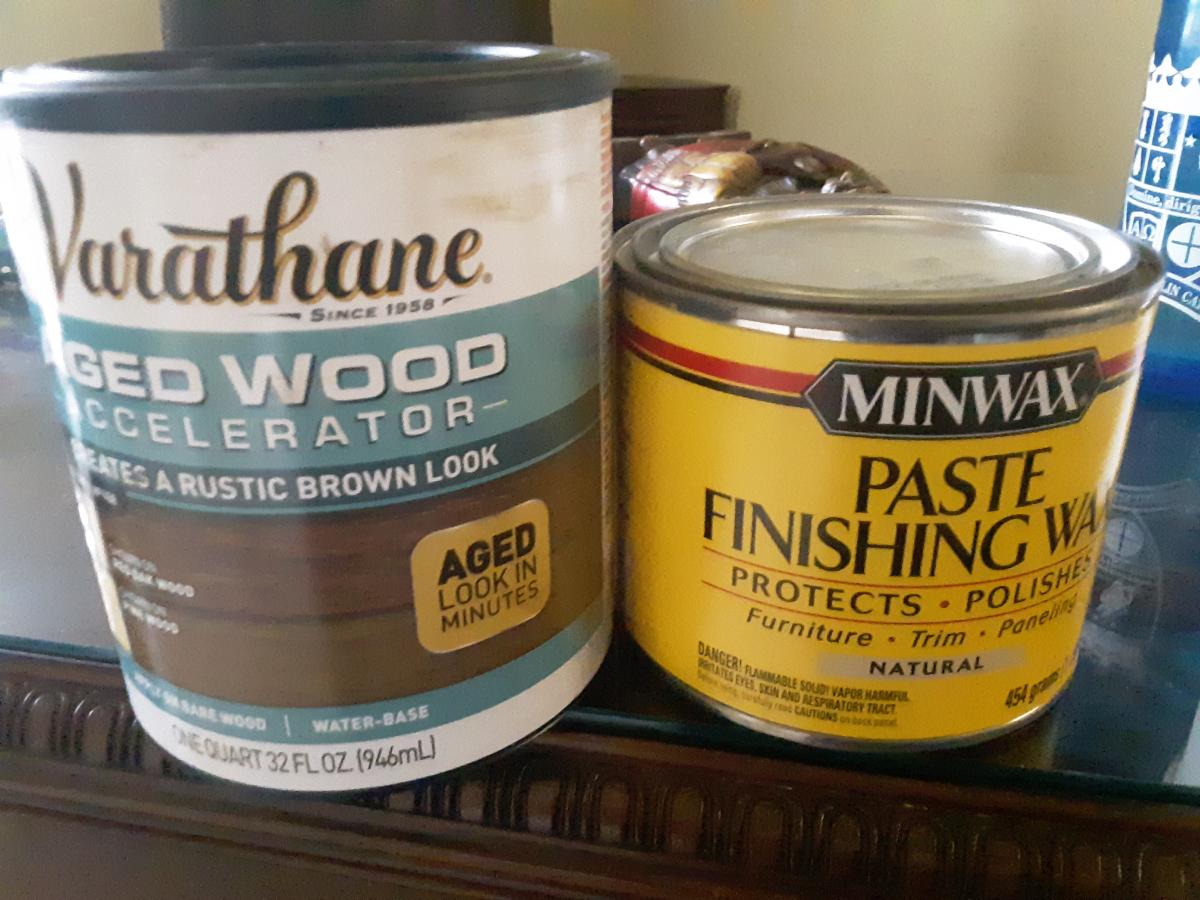
Top, barn Door and Bottom Trim treated with one coat of Varathane Aged Wood Accelerator using a rag to create a rustic brown look.
Cabinet carcass and surrounding trim painted with one coat of Behr Premium Plus Ultra Satin Finish Metropolis Grey.
Entire cabinet finished using MinWax Paste Finishing Wax Natural applied with a rag and buffed for a durable finish.
Recommended Skill Level
Intermediate
Back