Community Brag Posts

Potting Bench

I am a complete newbie to anything woodworking. I just turned 60 and used a drill for the first time about 9 months ago. Thanks to Anna and her plans and videos, I have developed some some self confidence in this art and absolutely loving it.

Farmhouse coffee table and king size bed is next.

Thank YOU Anna!!! You totally rock!!!!!!!!

Estimated Time Investment
Day Project (6-9 Hours)
Recommended Skill Level
Beginner

Comments

Step Dresser

Submitted by calcowoods on Fri, 02/26/2021 - 12:14

Step dresser inspired by a similar design from a boutique furniture store. We actually made three dressers using various dimensions from large, median and even small versions.

Comments

Entryway Bench

Submitted by jjunge08 on Mon, 01/01/2018 - 09:49

My wife wanted an entry way bench that would fit the baskets for a cube storage shelf units.  Each box is 11 1/2 square and accomidates a 10 in basket.  The bench is 50 inches long and and just shy of 19 inches tall.  The depth of the bench is approximately 12 1/2 inches.  My wife made the cushion for the top and we purchased the baskets from Lowes.  

Estimated Cost
Bench cost - $50-70


Estimated Time Investment
Weekend Project (10-20 Hours)
Finish Used
I only used white paint to match the trim in our house where the bench is placed.
Recommended Skill Level
Beginner

Murphy Bed

Submitted by Newfey on Fri, 07/19/2013 - 14:59

This is a Murphy Bed that I made for my daughter Alicia for their getaway home at Canadian Lakes, MI. Due to limited space i had to make it horizontal instead of the normal way of being vertical. It really comes in handy and takes up very little space.

Finish Used
Red paint mixed with Baking Soda
Recommended Skill Level
Intermediate

Comments

JoanneS

Fri, 07/19/2013 - 15:17

Looks great! Love the color and the trims you used. Where did you find your hinge hardware? PS- How did you like the baking soda paint? I've tried ASCP which was good but very pricey, and last time made my own with some plaster of paris. Your finish is lovely.

Newfey

Sat, 07/20/2013 - 18:47

I bought the spring hardware on line. I can't take the credit for the paint as my daughter did that part. She loves the way that the baking soda and paint covers everything and it is a whole lot less expensive than buying the commercial stuff.

Frosted Plexiglass Entry Door

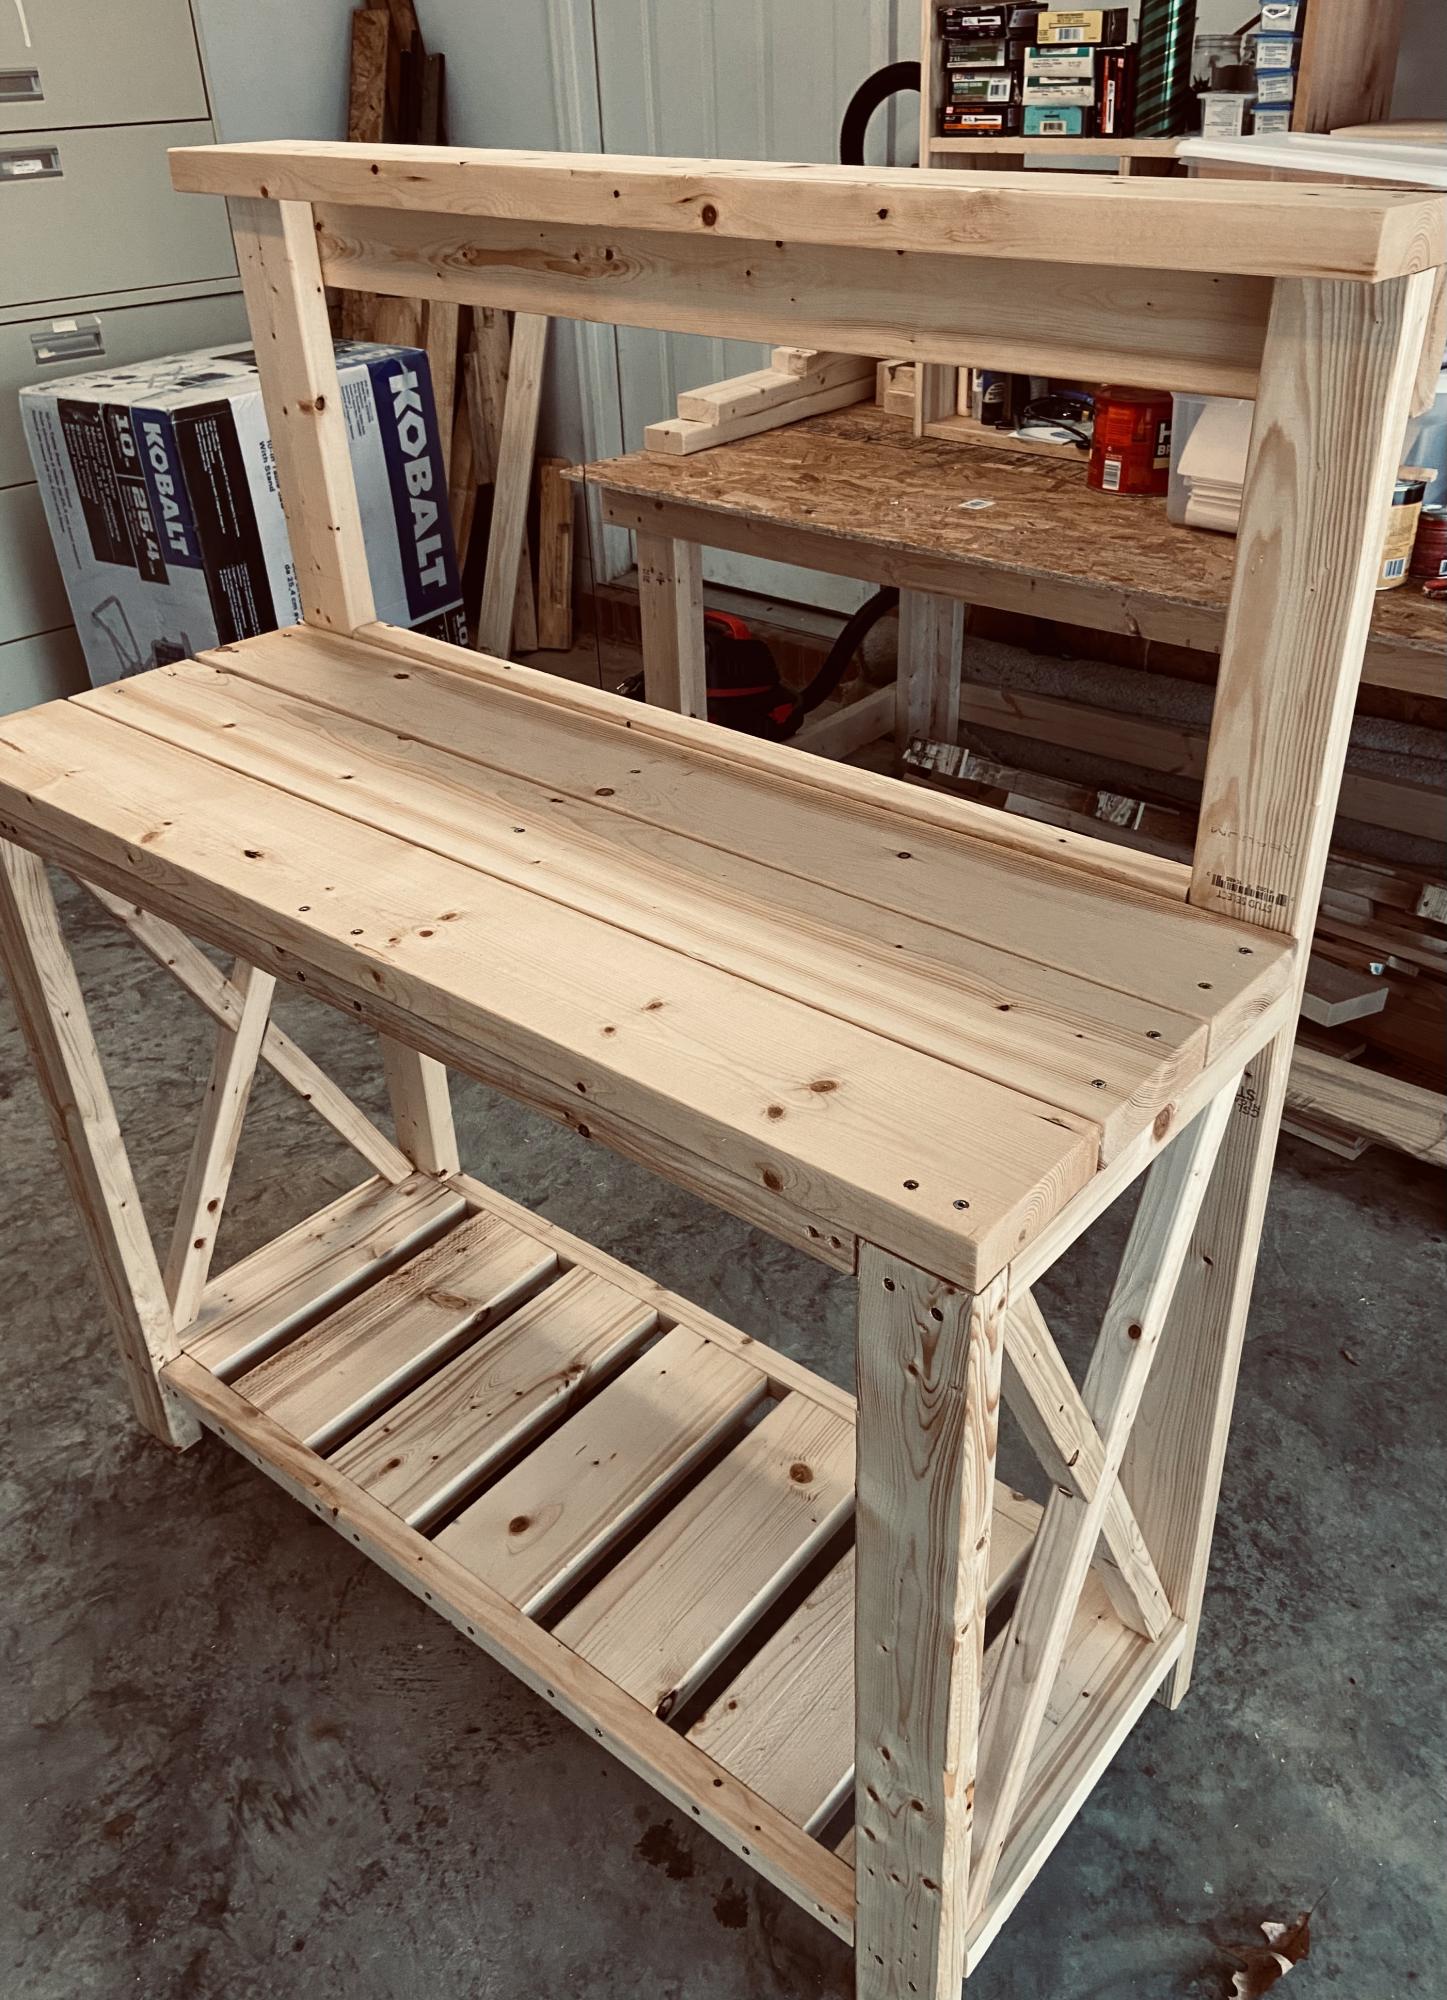
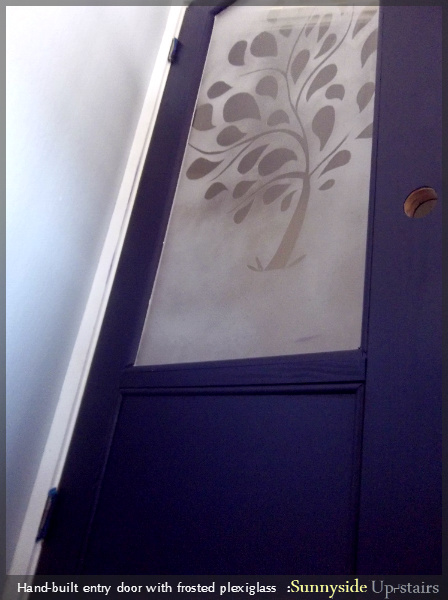
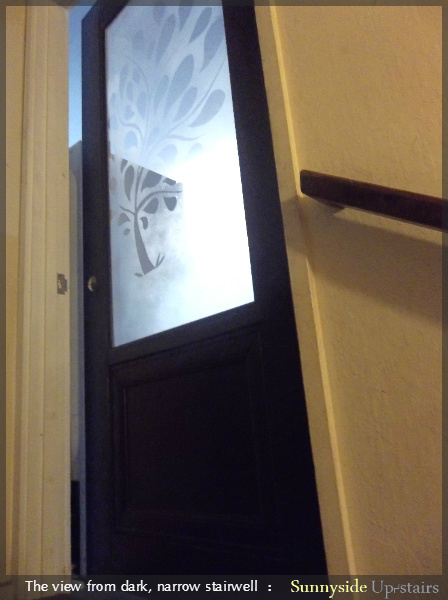
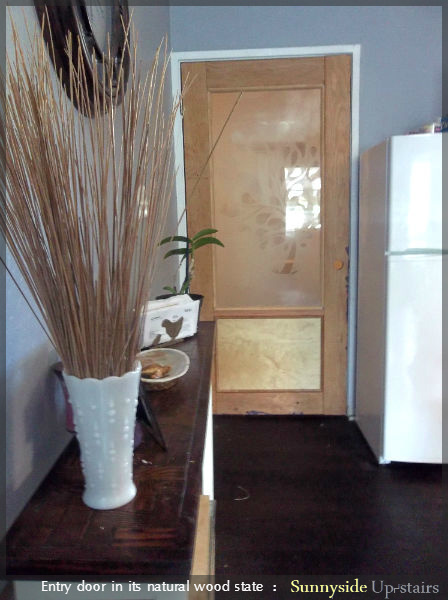
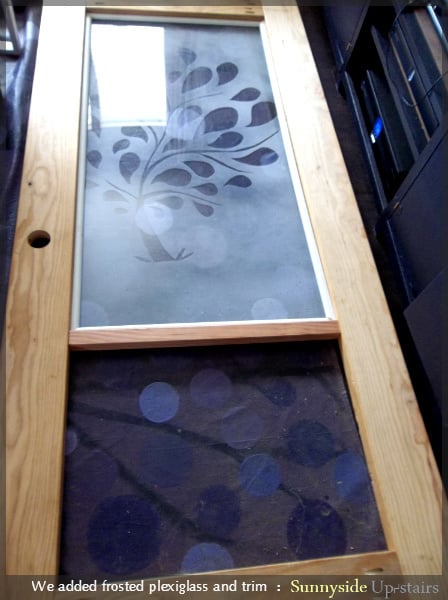
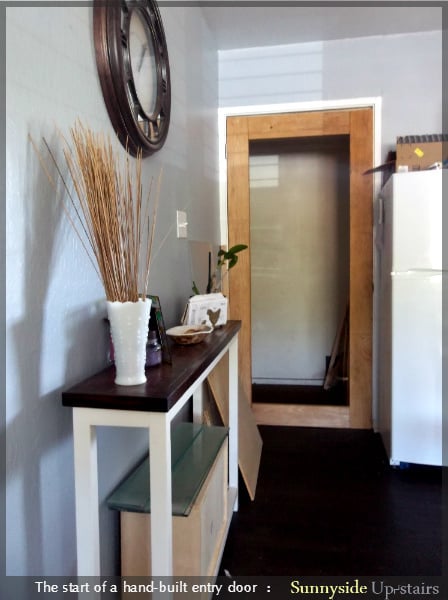
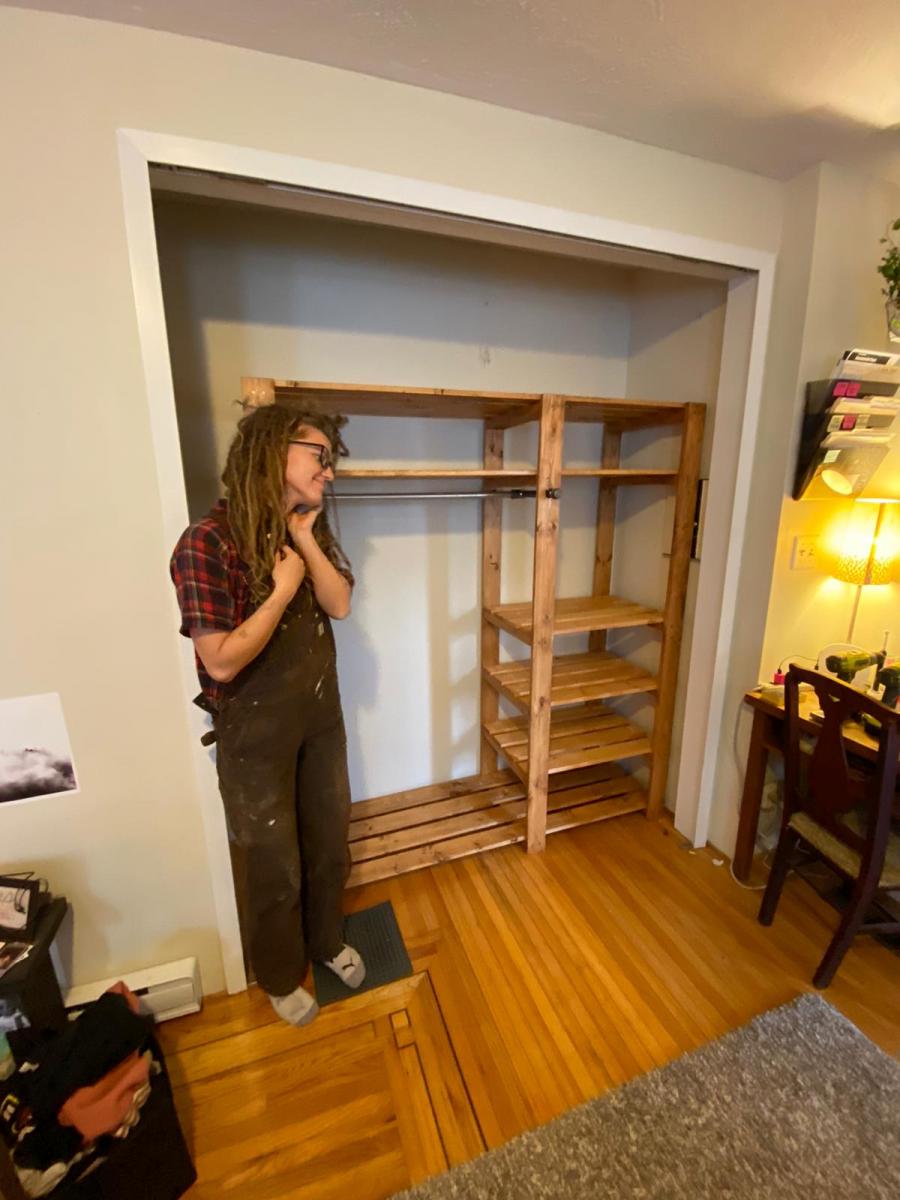
We gutted our above garage apartment a year ago and have been DIYing as much as is reasonable inside. We installed Allure Ultra vinyl flooring throughout, which is thicker than the old, chipping peel and stick vinyl there was previously. Instead of planing the previous termite eaten hollow-core door with heavy, less-than-secure glass jalousies, we decided to build our own entry door.

We were able to use orphaned 2x6s in my mom's garage and old trim we saved from gutting our apartment. The choices we made amounted to a total of about $150 for this door, including basic door hardware and $70 plexiglass. The hardest part was spraying the plexiglass, as I'm a rather unsuccessful spray painter.

We appreciate having our custom door, and we hope someone else in need of an entry door is inspired to save money and try one out too!

Estimated Cost
$150, based on our choices and what wood was already owned
Estimated Time Investment
Week Long Project (20 Hours or More)
Finish Used
Olympic semi-gloss latex paint in a deep purple shade.
Recommended Skill Level
Intermediate

Comments

JoanneS

Thu, 07/25/2013 - 16:04

This is gorgeous! You did such a great job on this, love the custom design features you added to this door. It looks classy and expensive. :)

Laundry Dresser

Submitted by biffnderf on Sat, 07/02/2011 - 23:08

We had a very limited area for these to fit, so my hubby had to change the dimensions to fit these square baskets. We needed enough spots for our family of 10! I LOVE THEM, thanks; Ana!

Built from Plan(s)
Estimated Cost
$50 each
Estimated Time Investment
Afternoon Project (3-6 Hours)
Finish Used
Water based paint
Recommended Skill Level
Starter Project

Comments

Guest (not verified)

Wed, 01/11/2012 - 14:53

We are going to have to turn the baskets the same way due to the space in out laundry room. Do you happen to remember the dimensions of them? Thanks.

Guest (not verified)

Thu, 02/09/2012 - 07:08

Do you have the dimensions for the square baskets? These would work much better in my home.

Guest (not verified)

Tue, 02/14/2012 - 16:42

We did something similar when our family was 8 (6 foster children). We bought 4 baskets (2 people per room) and then just had them on regular shelves. I LOVE the look of these! Unfortunately baskets give out over time and I can't ever seem to find baskets that once again are the same size as previous baskets. Did you order the baskets on-line someplace that you can consistenly get the same size for when the baskets wear out?

Guest (not verified)

Wed, 02/22/2012 - 12:35

I have all the same laundry baskets that I bought at wal mart for like 3 or 4 bucks a piece. I would think that just meausring out the size according to the laundry baskets would work out fine! they have never stopped selling the ones that I buy, i find them at every wal mart I go to

Lindy Holcomb (not verified)

Fri, 03/02/2012 - 06:05

I would love the Dimensions for this shelf.

Lindy Holcomb (not verified)

Fri, 03/02/2012 - 06:19

I would love the Dimensions on this shelf.

Guest (not verified)

Thu, 03/08/2012 - 05:13

Seriously? $50 for these plans. Get real. Fine woodworking plans don't cost this much. Take some wood, make a box, and put slats in it to fit the baskets. The entire set wouldn't cost $50!

davidmac (not verified)

Thu, 03/08/2012 - 06:18

The plans are free. The build costs $50. See the plans on the link above the cost.

christine (not verified)

Sat, 03/17/2012 - 20:54

once again can anyone please give the measurements for this square basket design and the basket model number as well. i am very challenged when it comes to building things, but with the idea of home depot doing the cutting i think i could manage if i had the measurements. i need the square size to work for my space though. thanks in advance.

Guest (not verified)

Sun, 04/01/2012 - 09:18

I have tried clicking on the link above the cost to get the Plans...however it brings me back to the ORIGINAL Plan rather than YOUR plan (skinnier and taller)...Im sorry if I am being dense but I would really love to get the dimensions of YOUR plan but am having trouble accessing them?? Help please!!

Guest (not verified)

Fri, 04/13/2012 - 23:27

Where it says PS there is a link to the other dimensions.

Cari Downing (not verified)

Fri, 04/20/2012 - 14:05

If you use the large wire baskets made by elfa they would not break like the plastic. The initial investment would be more but would save money over time.

Sonya Chapin

Tue, 07/24/2012 - 04:34

Easy and awesome! My teenage children and I made these over the week-end! Super easy and great looking! Our first project was the laundry pedestal and these are a great compliment. We let Home Depot cut the wood due to time restraints and assembly was a snap! Thanks for the great family projects. My husband passed away in April and these projects have really helped us in the healing process (excellent for constructive bonding time).! Thanks again

Modern Farm Table

Submitted by AnnieAtoZ on Sun, 10/06/2013 - 22:44

This project was a true labor of love by a first timer. We are first time homeowners and built our home, which was completed spring of this year. Like most wives, I wanted all the bells and whistles in this home. The bells and whistles add up, and next thing you know, we're eating most of our meals on our granite island upgrade, instead of a new dining set. My husband took it upon himself to purchase tools off of Craigslist and research online for modern farm table plans. He came across Ana's site and loved how she broke everything down in her plans. This was the plan he used http://ana-white.com/2009/11/plan-modern-farmhouse-table-knock-off.html The cutting, sanding, and putting the table together took about four to five hours, but staining and waiting around made the project about twenty hours. Also, everything cost $50 on our end, whereas, the West Elm table I wanted is $700. I'm one happy lady, especially since I think our table looks way better than the one from West Elm. I'm excited to report that my husband is currently refurbishing chairs to go with this beautiful table! Thanks a million for your easy to comprehend plans, Ana. You're the best. Here is a post where I featured my favorite piece of furniture http://www.AnnieAtoZ.com/2013/09/diy-modern-farmhouse-table.html

Built from Plan(s)
Estimated Cost
$50.00
Estimated Time Investment
Weekend Project (10-20 Hours)
Finish Used
Golden Oak mixed with American Standard. Satin polyurethane finish.
Recommended Skill Level
Beginner

Great plan - added to make it even bigger

The plan is great, I followed the instructions exactly.  Then altered the plan to build a second rack that would fit the bottom of the door, with foil, saran and bag storage at the bottom.  Consequently it was heavy and I was very skeptical of the hollow core door anchors, but I installed 3 at the top and 2 at the bottom of both pieces.  It's very solid and secure....would probably have worked fine with even less. This door is only 32" wide but has plenty of room for this project.  Thank you, looking forward to trying more of your plans.

Built from Plan(s)
Estimated Time Investment
Day Project (6-9 Hours)
Finish Used
Primer and latex paint.
Recommended Skill Level
Intermediate

Comments

Easy Work Bench- My first build

This was my very first build. I used all 2x4's except for the top with was a project board from Lowes. I also used pocket holes instead of 2in screws.

Built from Plan(s)
Estimated Cost
$40
Estimated Time Investment
Afternoon Project (3-6 Hours)
Finish Used
No finish
Recommended Skill Level
Starter Project

Storage Dining Bench

Submitted by Anonymous (not verified) on Fri, 03/22/2024 - 07:34

Kitchen dining bench with storage. Due to the plugs being in an awkward position, I opted to build this bench with a facade as opposed to adding a back and sides. This also meant it had to be panelled in situ which was a fun challenge! It has piano hinges as well as soft close pistons making for a great storage bench that is in keeping with the rest of our kitchen.

Farmhouse table

Submitted by Anonymous (not verified) on Thu, 06/18/2020 - 19:25

First table build! We modified the plans with no breadboard ends since we live with lots of humidity and wanted to allow the wood movement. We also used 4x4s for the legs. White chalk spray paint legs and custom mix of special walnut and weathered oak stains. We LOVE it!!

Estimated Cost
200
Estimated Time Investment
Weekend Project (10-20 Hours)

Eric's Cedar Shed!!

Submitted by Anonymous (not verified) on Mon, 07/06/2020 - 21:35

Thank you for the plans, shed turned out great! My association required me to match the siding color, roof color, and anchor to a concrete slab. So I poured 25 bags of 80lbs concrete to make a 9x5 slab. Redid the plans for an 8x4 shed, built the frame with 2x4s and not 2x2's, installed flashing, ice/water shield + felt + matching shingles since I'm near Chicago, and used a flexio finishing sprayer to paint the shed. Saved some $ by using 2 Redwood Grain Fiber siding panels for $22 each at HD.

All in all very happy with my shed and all my dangerous yard tools and woodworking tools can be put away from my toddler.

Built from Plan(s)
Estimated Cost
400
Estimated Time Investment
Weekend Project (10-20 Hours)
Finish Used
Behr Premium Plus exterior paint
Recommended Skill Level
Intermediate

8 foot picnic table

Submitted by Abby721 on Sat, 07/18/2020 - 08:40

This picnic table was a quick build and turned out amazing. I modified the center base support by adding an extra table top support and seat support board to the opposite side of the center legs to give the table symmetry to accommodate an umbrella hole. I also shortened both cross supports by an inch to make sure the base wouldn’t be longer than the top boards. The space between the center table support boards and seat support boards is the perfect size to fit a standard umbrella. I used a 1 3/4” hole saw to make the umbrella hole. The build and stain/paint took me about 5 hours but additional time is needed to properly seal the table. I used untreated pine. Treated pine may give the table longevity but it would also add a lot of weight to an already heavy table. This was a relatively easy and quick build and is a great size to fit my whole family plus a couple guests! I’m happy with how it turned out and would recommend this build to anyone looking for a budget friendly and simple patio table.

Built from Plan(s)
Estimated Cost
$75
Estimated Time Investment
Day Project (6-9 Hours)
Finish Used
Varathane Briarsmoke for the top and Rustoleum Canyon Black Satin for the base. Sealed with 2 coats of Varathane Helmsman Spar Urethane
Recommended Skill Level
Beginner

Comments

Seasonal And Holiday

Basement Storage Shelves

Submitted by Eddie A on Sun, 08/30/2020 - 22:59

We just moved into a new home and had a huge open storage area in the unfinished portion of our basement and we’ve got a lot of stuff so we needed to make the best use of that space and these shelves deliver big time. This shelf is 12’ long by 2’ deep with 2 each 24” and 18” tall shelves. Really simple construction and I got to use my Kreg HD jig for the first time on the cleats so these bad boys are SOLID! My wife love this one so much I’m building another one in the opposite side of the wall with all 4 shelves at 18” tall.

Estimated Cost
150
Estimated Time Investment
Afternoon Project (3-6 Hours)
Recommended Skill Level
Beginner

Lovin the Drawer dividers

Finished this in no time and wow did it create a lot of space. I was able to get rid of my knife block because there’s now room for my knives in my drawer. Thank you Ana for sharing your wood work with us! This was well worth the $25 I spent!

Estimated Cost
$25
Estimated Time Investment
Afternoon Project (3-6 Hours)
Recommended Skill Level
Beginner

Comments

Free Standing Closet

Submitted by Anonymous (not verified) on Sun, 03/28/2021 - 09:13

thank you so much for these plans! We cut the original design in half, so it would fit the space- we used pine so the boards were a little warped but eventually everything screwed down into place and now it really does free stand and its all level! We may add a crossbeam at the back for extra stability. Stained with Ipswitch Pine by Verathane , 2 layers with sanding between, basic piping from the hardware store. Well under $200 total!

5.5 feet tall, 6 feet wide, 2 feet deep

Thanks again, your plans were thorough and easy to follow.

Built from Plan(s)
Estimated Cost
200
Estimated Time Investment
Week Long Project (20 Hours or More)
Finish Used
Laquer - semi gloss
2 coats, sand in between
Recommended Skill Level
Beginner

Comments

Rolling Side Table

Submitted by Bradnag on Sat, 02/03/2018 - 13:04

I had a bunch of scrap 3/4" MDF, so I used that instead of wood. The result is still as sturdy but a bit heavier than if I'd have used pine, which has added to the table's stability. I added a cup holder, but otherwise kept to the base instructions with no extra mods. I put an extra thick layer of polycrylic on the top surface, to protect the MDF from absorbing any spills. This was just a test run, so I didn't bother filling any of the visable pocket holes. Given how cheap and easy this was to build, I imagine I'll end up making 2-3 more.

Estimated Cost
$10
Estimated Time Investment
An Hour or Two (0-2 Hours)
Finish Used
Dutch Boy primer+paint, Minwax Polycrylic
Recommended Skill Level
Beginner