Community Brag Posts

6' Square Sandbox

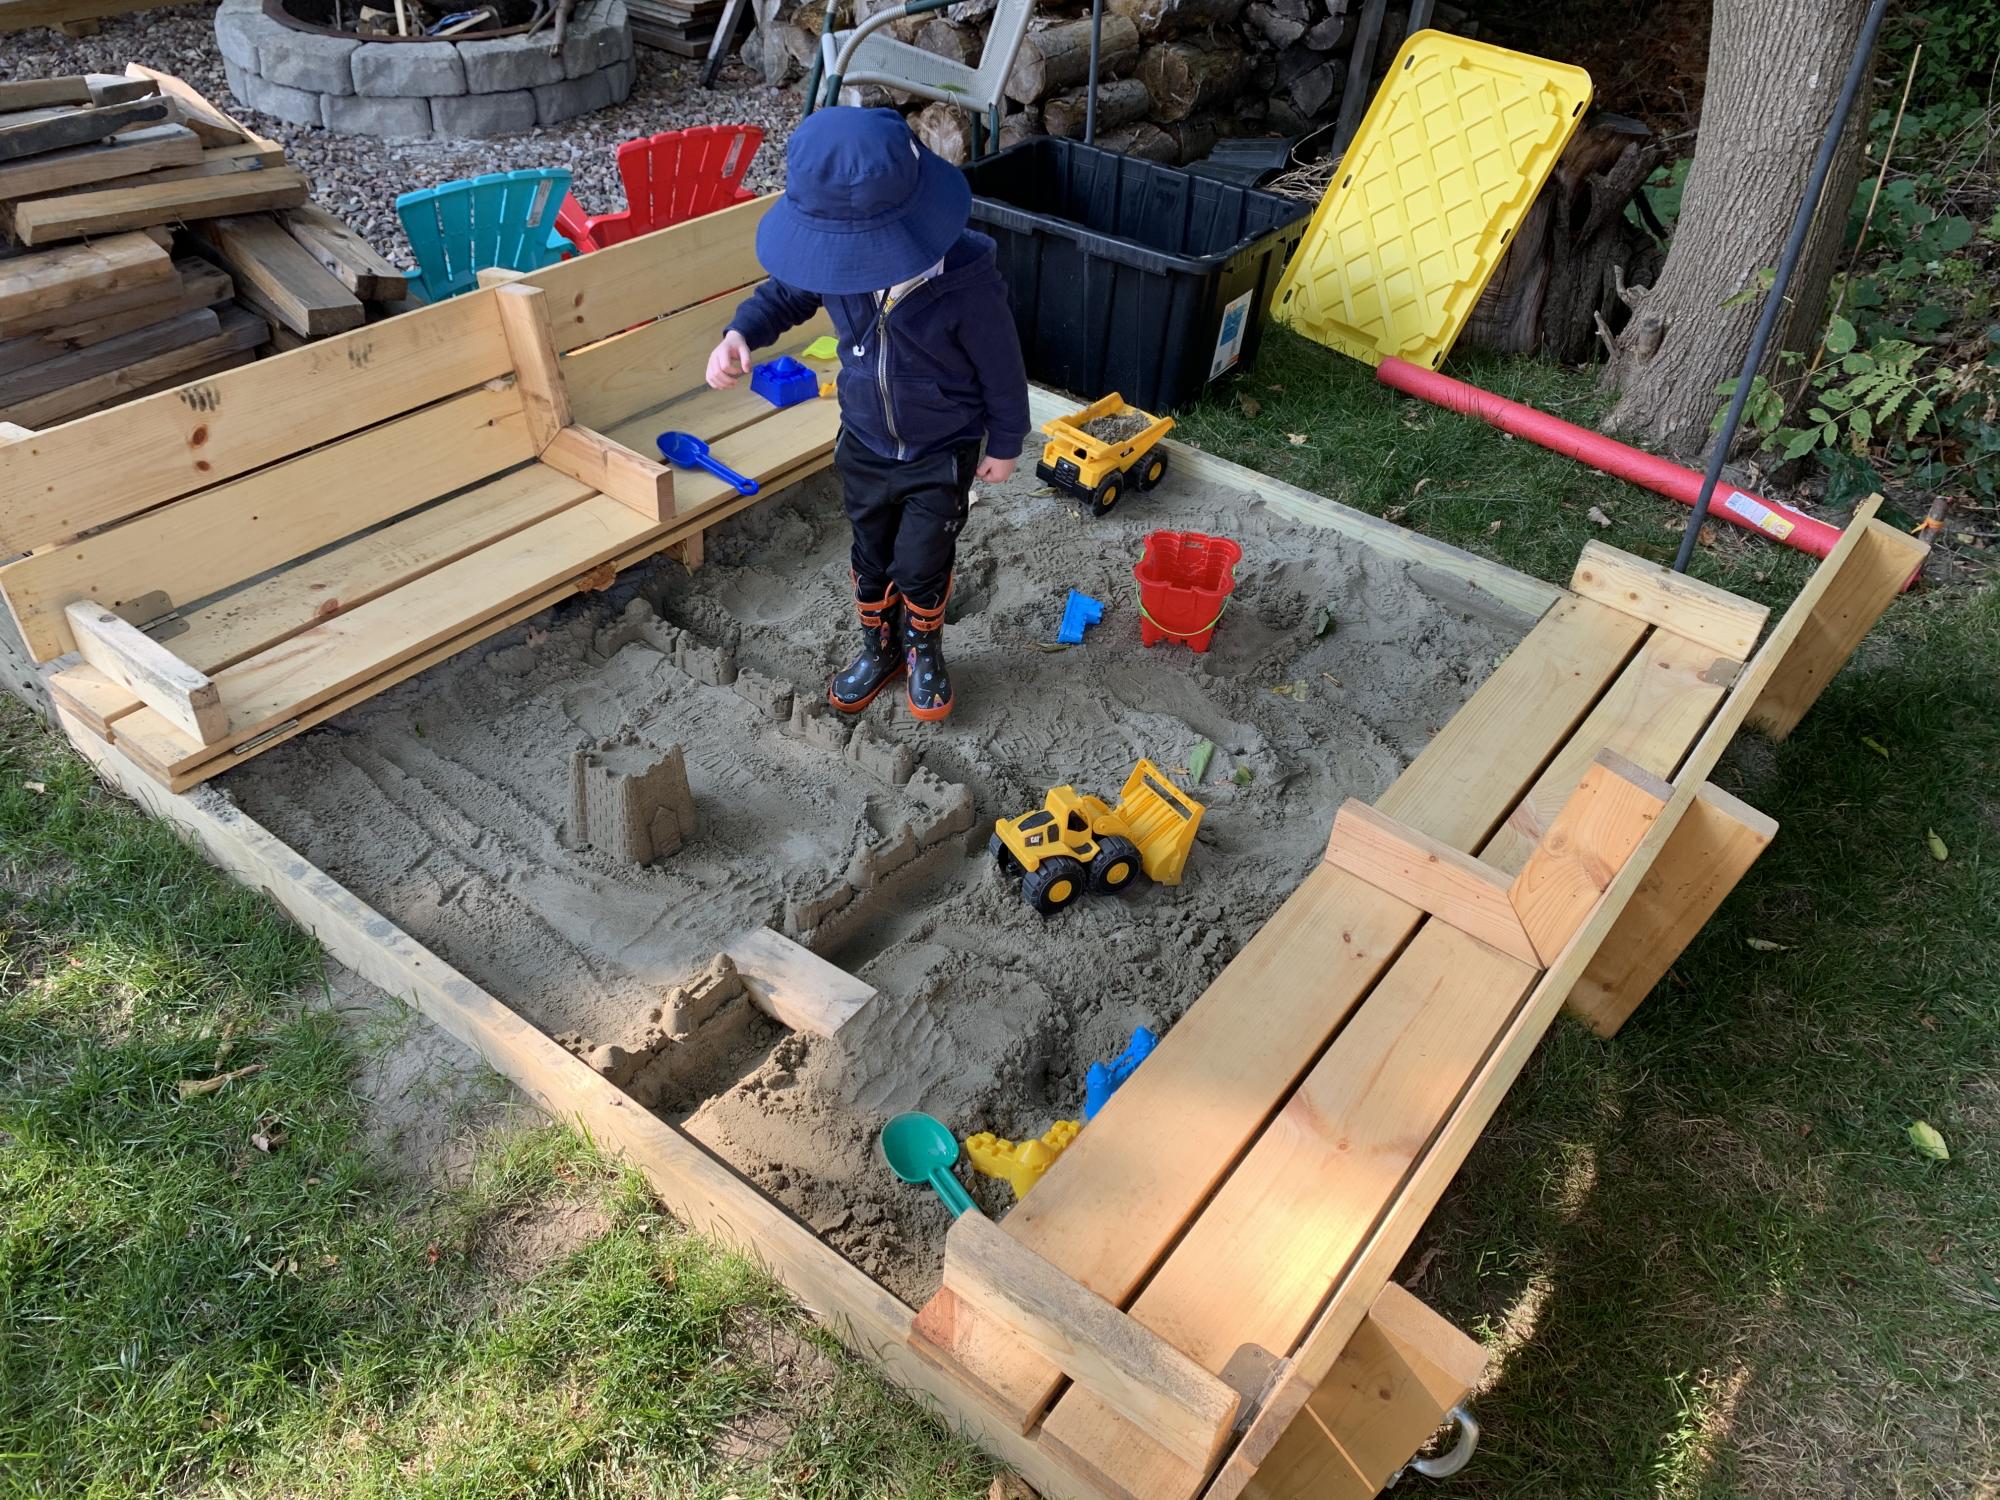
I've been wanting to buy or make a sandbox for my son for a couple of years now. Since seeing this on Ana White I knew I had to make it. My son is 4 yo and I didn't think the 4' square sandbox would be big enough for him, so I made it bigger. Ours is 6' square.

Materials:
4@1x8x6'
12@1x6x6'
2x4 - used leftovers from another project
8 hinges
4 handles
decking screws

Cut lengths:
2@1x8 cut to 71.5 (long sides of the box)
2@1x8 cut to 70.5 (short sides of the box)
did not cut the 1x6 boards (top planks) - actually designed the other boards to fit their length to prevent cutting (saving time) (note that original plan uses 1x4 planks - I used 1x6s so I could use the same number of planks but cover a larger area)
4@2x4 cut to 11.5 (arm rests)
4@2x4 cut to 18.5 (back supports)

followed instructions for assembly otherwise. At my husbands suggestion we put the handles on the sides and can easily open from either side - prevents having to lean over to the middle to open (back saver)

I finished the project in 4 hours including clean up and a couple of small breaks. This is my first Ana White project. It was a lot of fun to build and I hope my son will enjoy it for years to come!

Built from Plan(s)
Estimated Cost
$190
Estimated Time Investment
Day Project (6-9 Hours)
Finish Used
Sand and stain with sealer included
Recommended Skill Level
Beginner

Comments

Mrs. Chellebelle

Sat, 09/01/2012 - 20:59

Wow, this is just what I need! I've been wanting to make a sandbox for under the playhouse but the other plan was too small. This would be great for the little guys. Thanks!

8 foot picnic table

Submitted by Abby721 on Sat, 07/18/2020 - 08:40

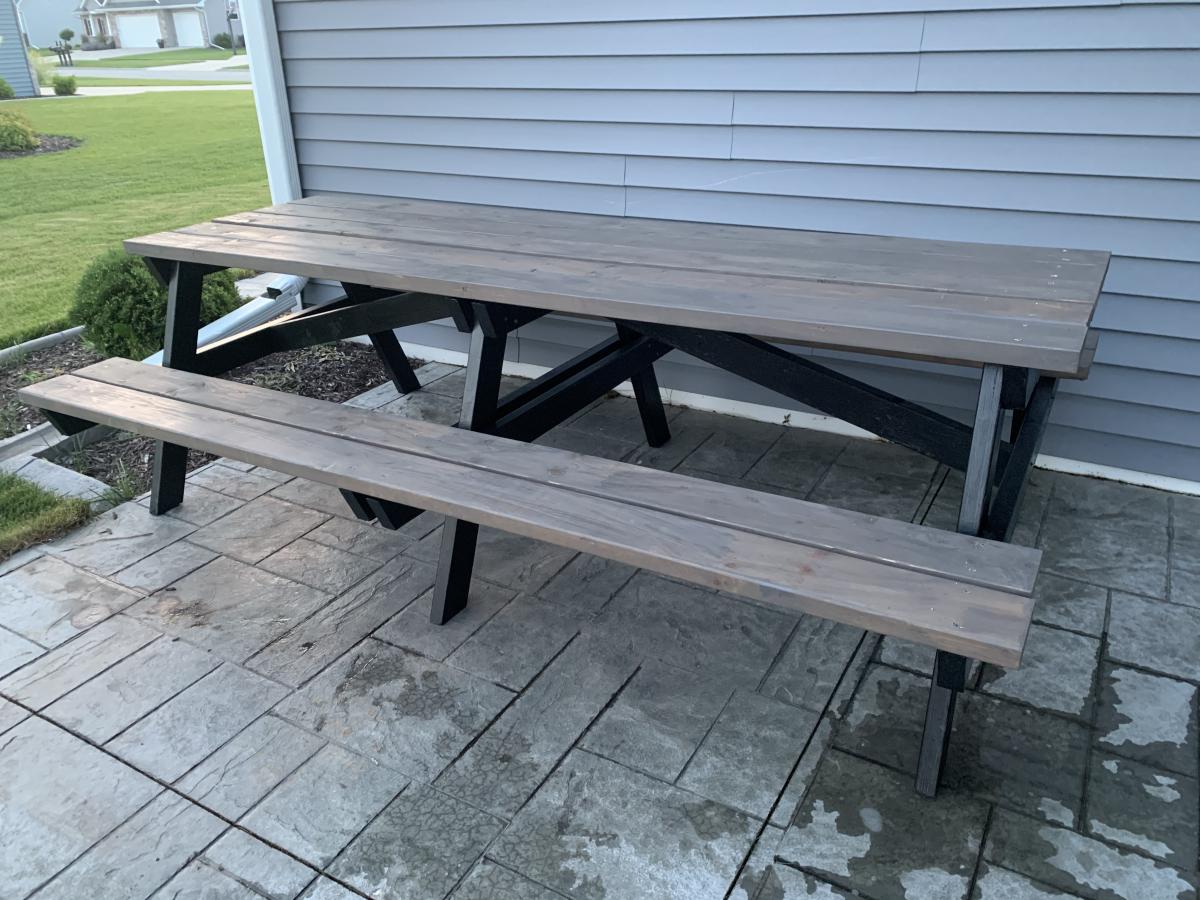
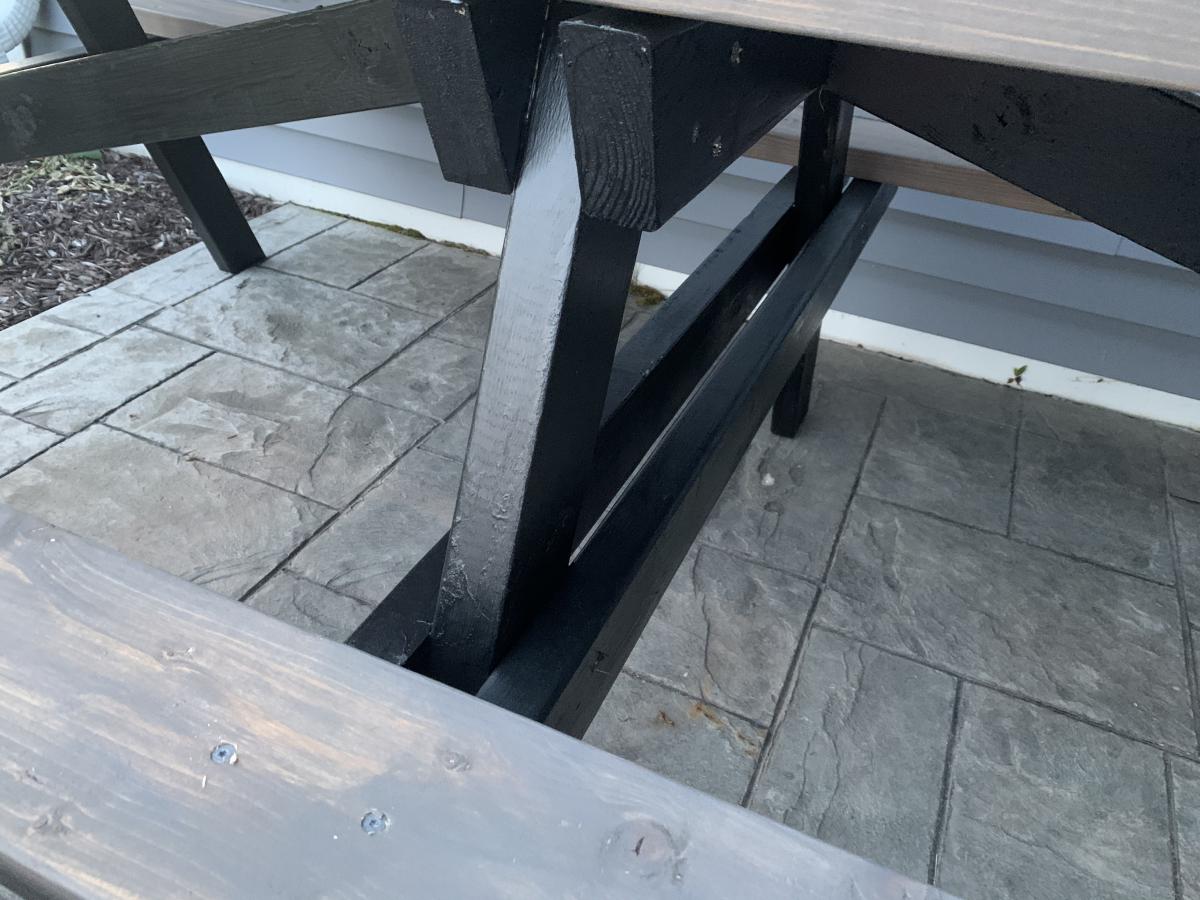
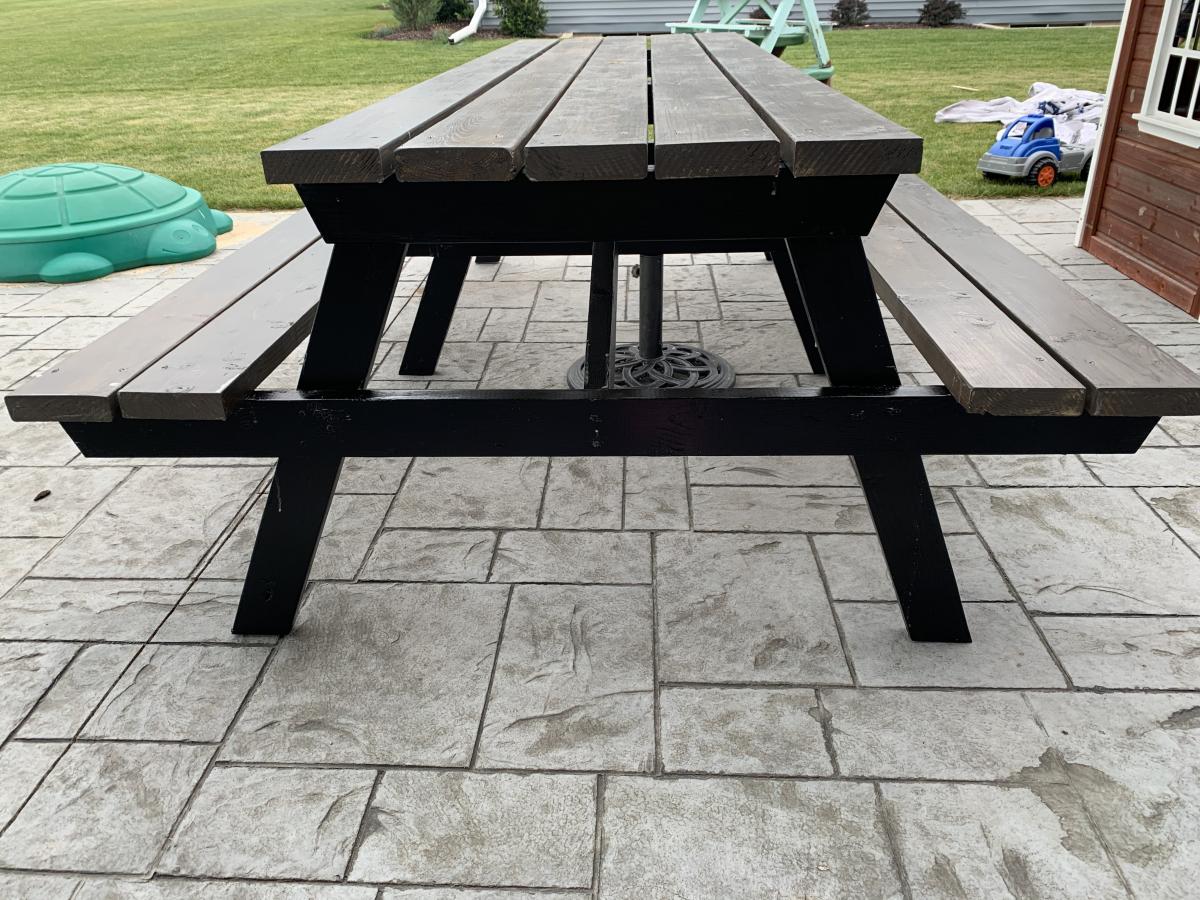
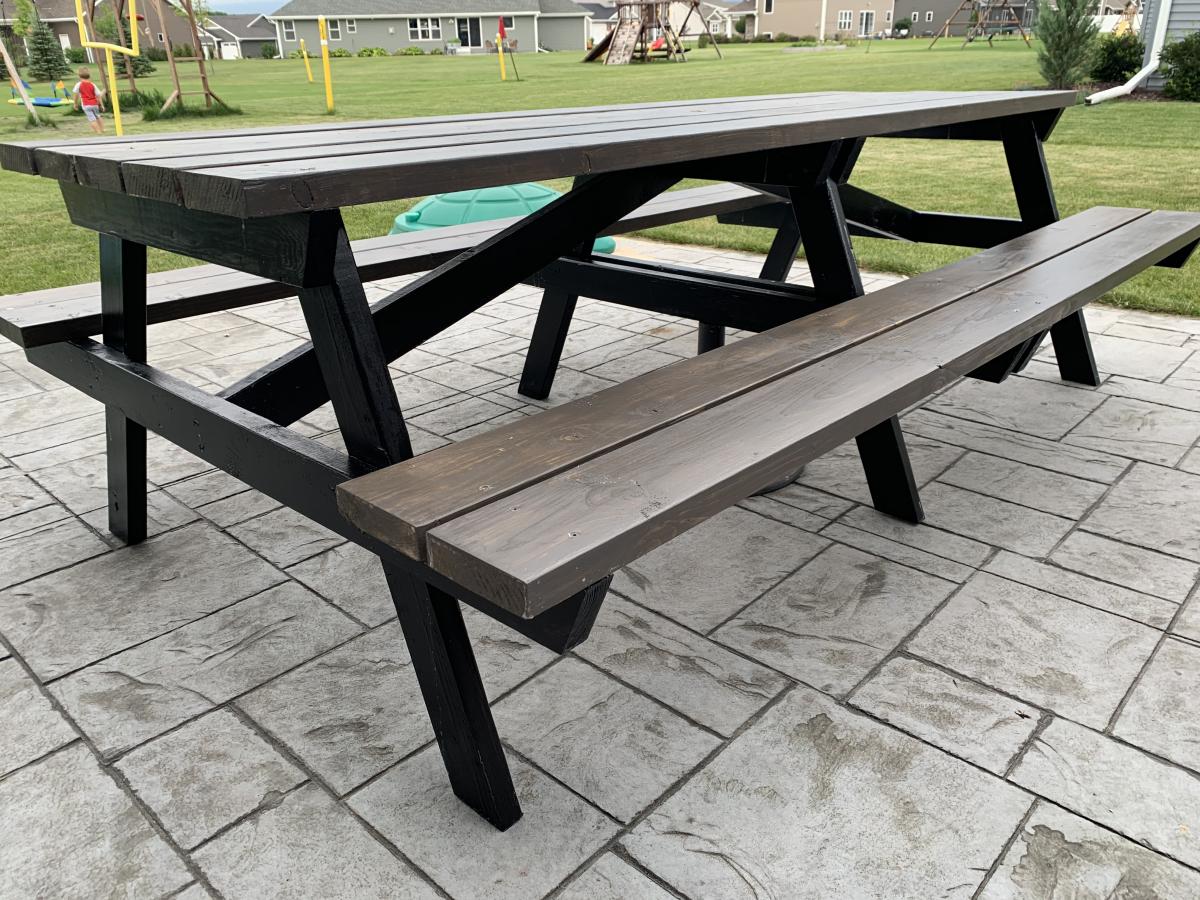
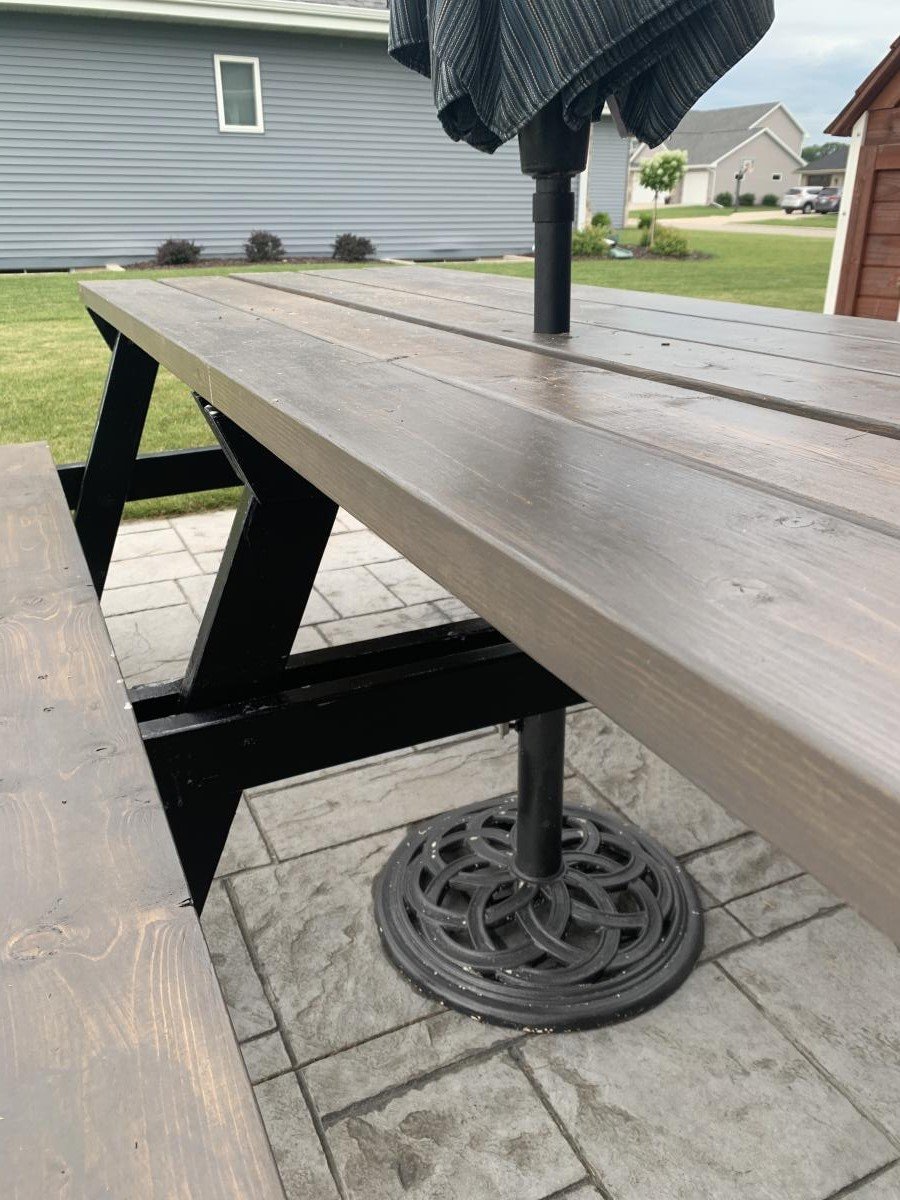
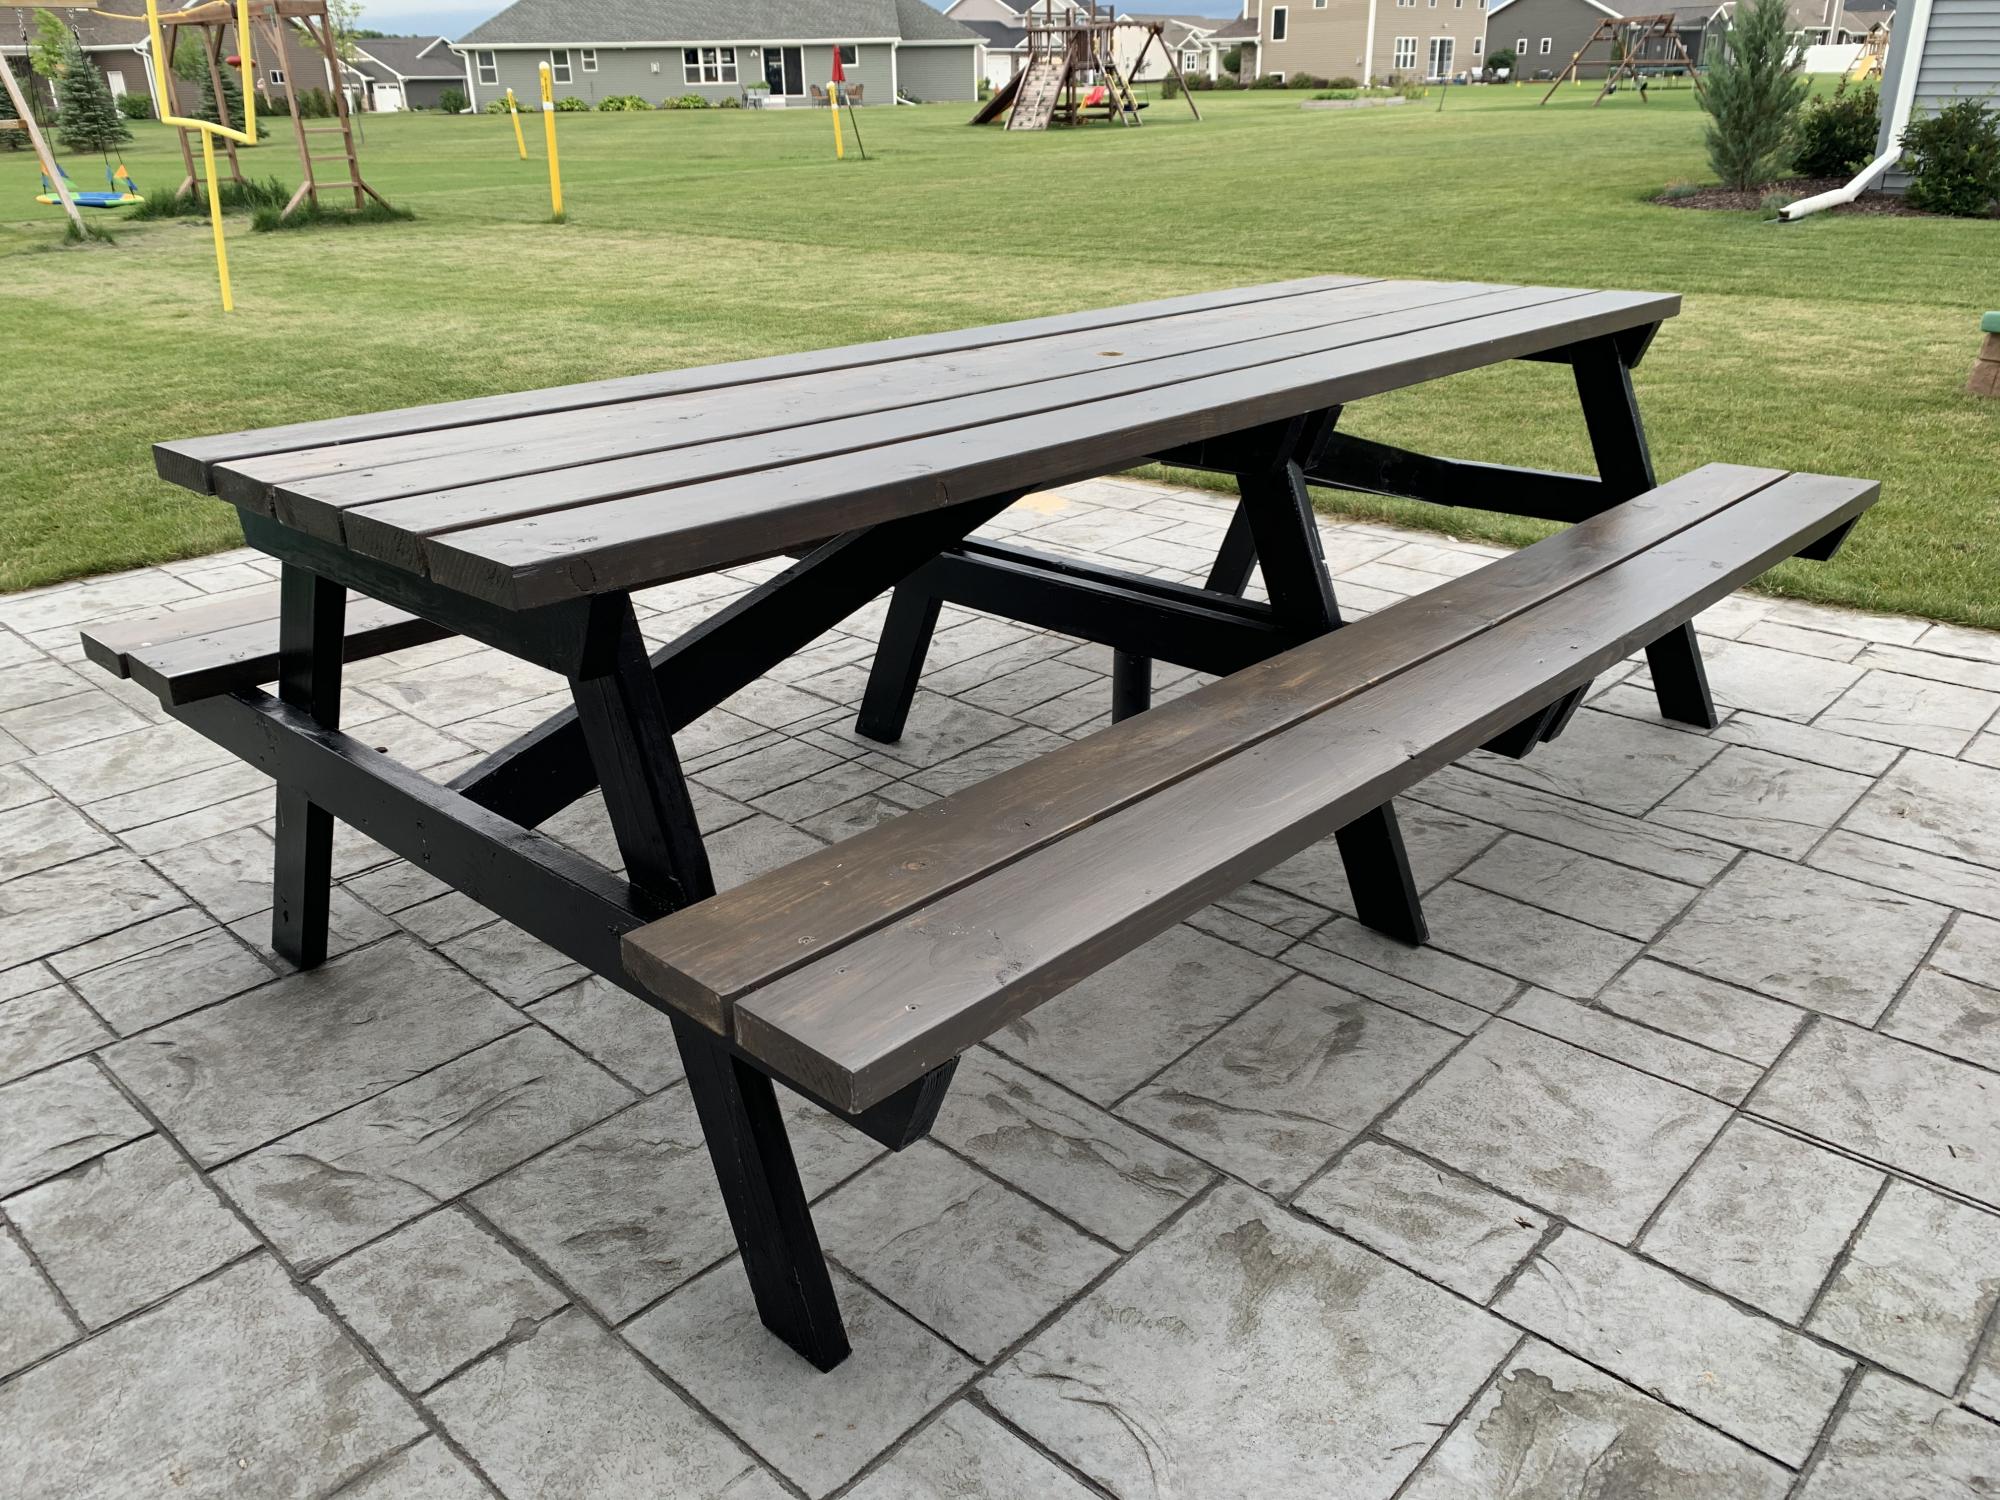
This picnic table was a quick build and turned out amazing. I modified the center base support by adding an extra table top support and seat support board to the opposite side of the center legs to give the table symmetry to accommodate an umbrella hole. I also shortened both cross supports by an inch to make sure the base wouldn’t be longer than the top boards. The space between the center table support boards and seat support boards is the perfect size to fit a standard umbrella. I used a 1 3/4” hole saw to make the umbrella hole. The build and stain/paint took me about 5 hours but additional time is needed to properly seal the table. I used untreated pine. Treated pine may give the table longevity but it would also add a lot of weight to an already heavy table. This was a relatively easy and quick build and is a great size to fit my whole family plus a couple guests! I’m happy with how it turned out and would recommend this build to anyone looking for a budget friendly and simple patio table.

Built from Plan(s)
Estimated Cost
$75
Estimated Time Investment
Day Project (6-9 Hours)
Finish Used
Varathane Briarsmoke for the top and Rustoleum Canyon Black Satin for the base. Sealed with 2 coats of Varathane Helmsman Spar Urethane
Recommended Skill Level
Beginner

Comments

Seasonal And Holiday

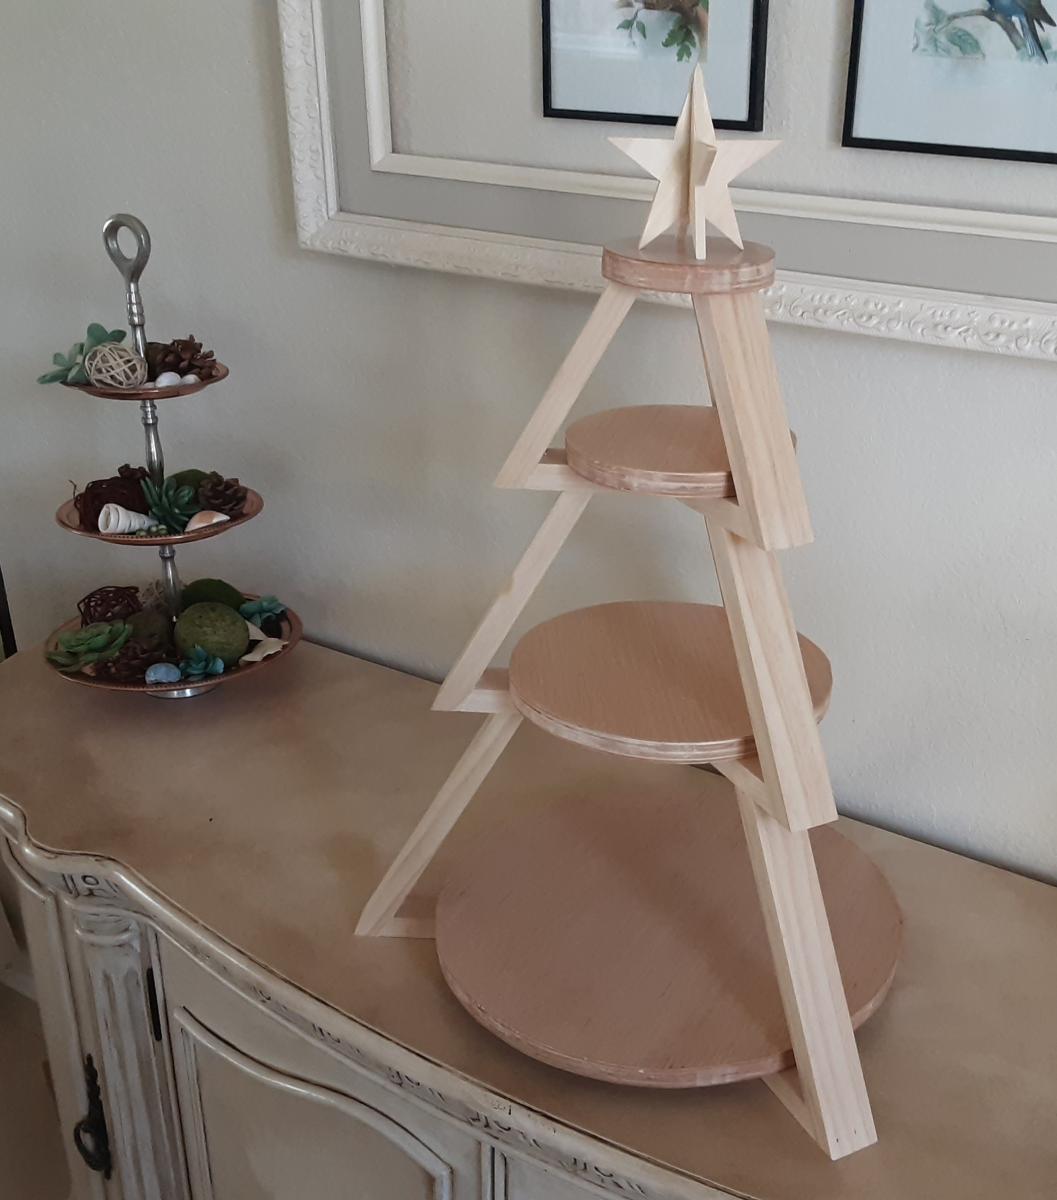
Christmas 3-tier cookie stand

Submitted by calcowoods on Thu, 12/31/2020 - 12:51

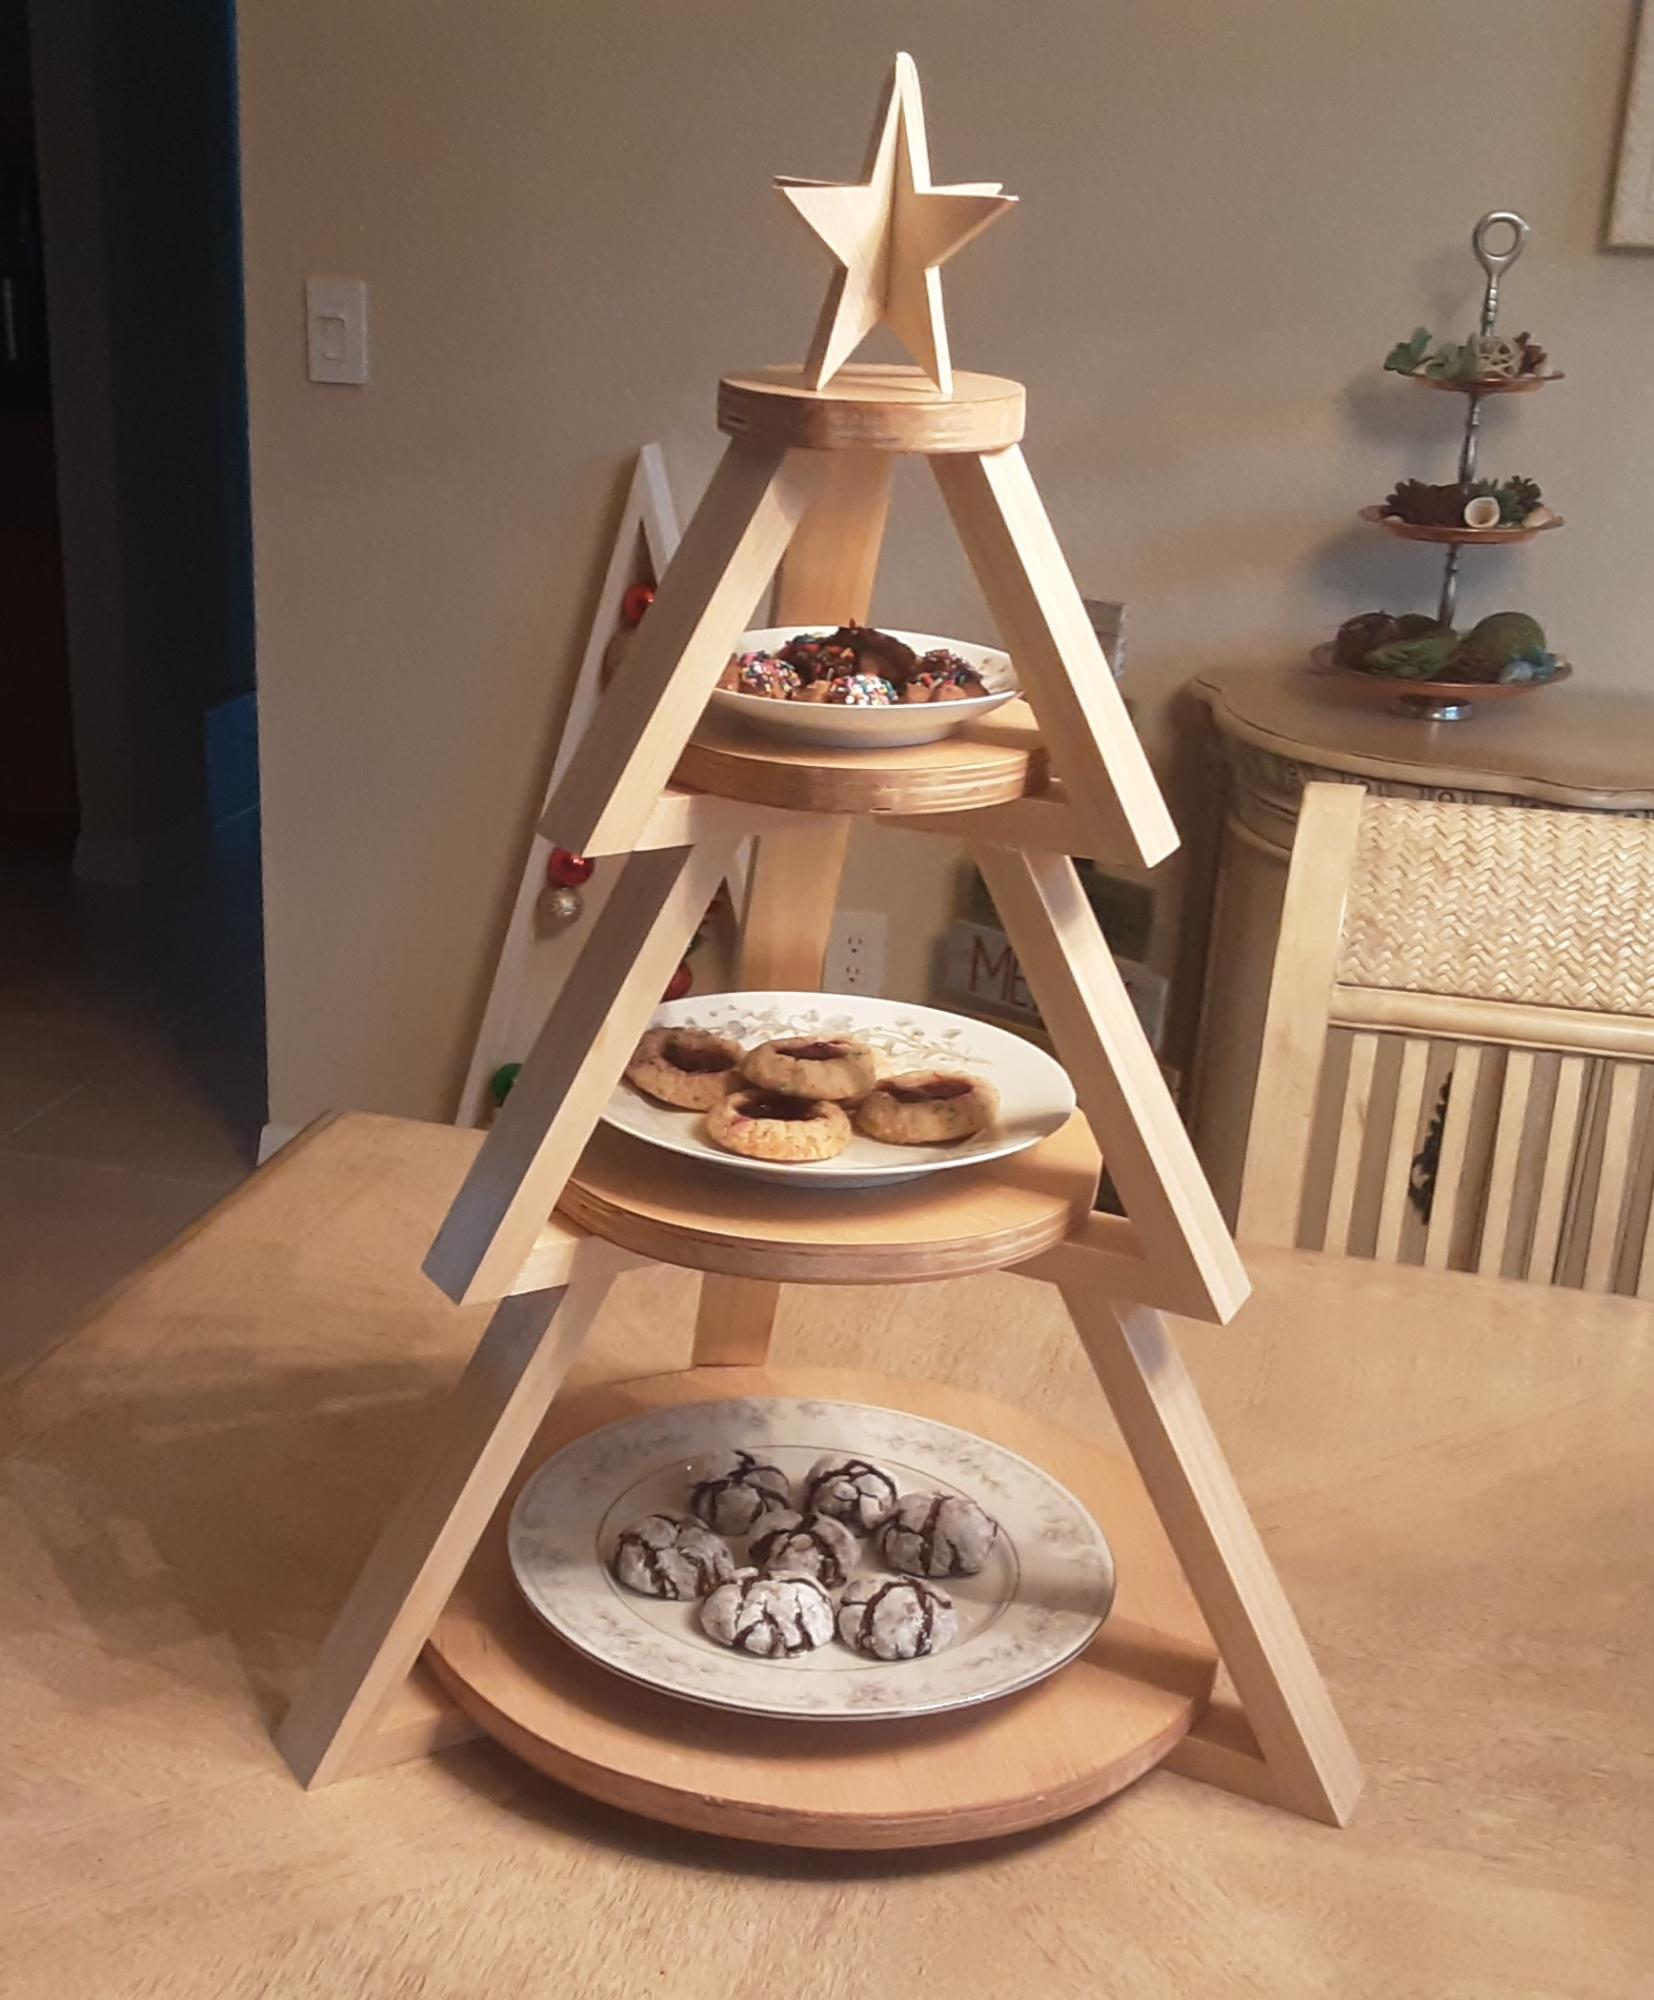
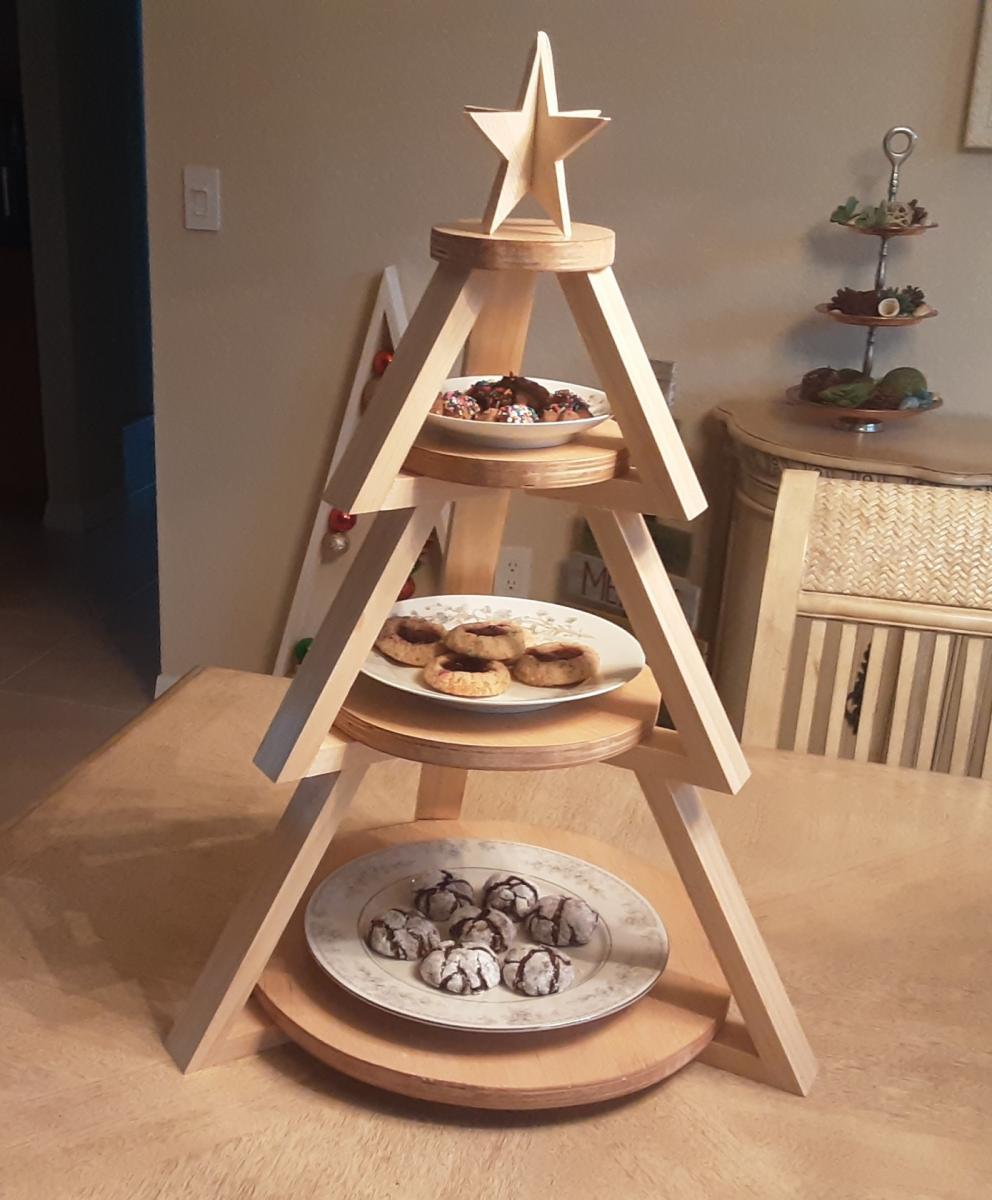
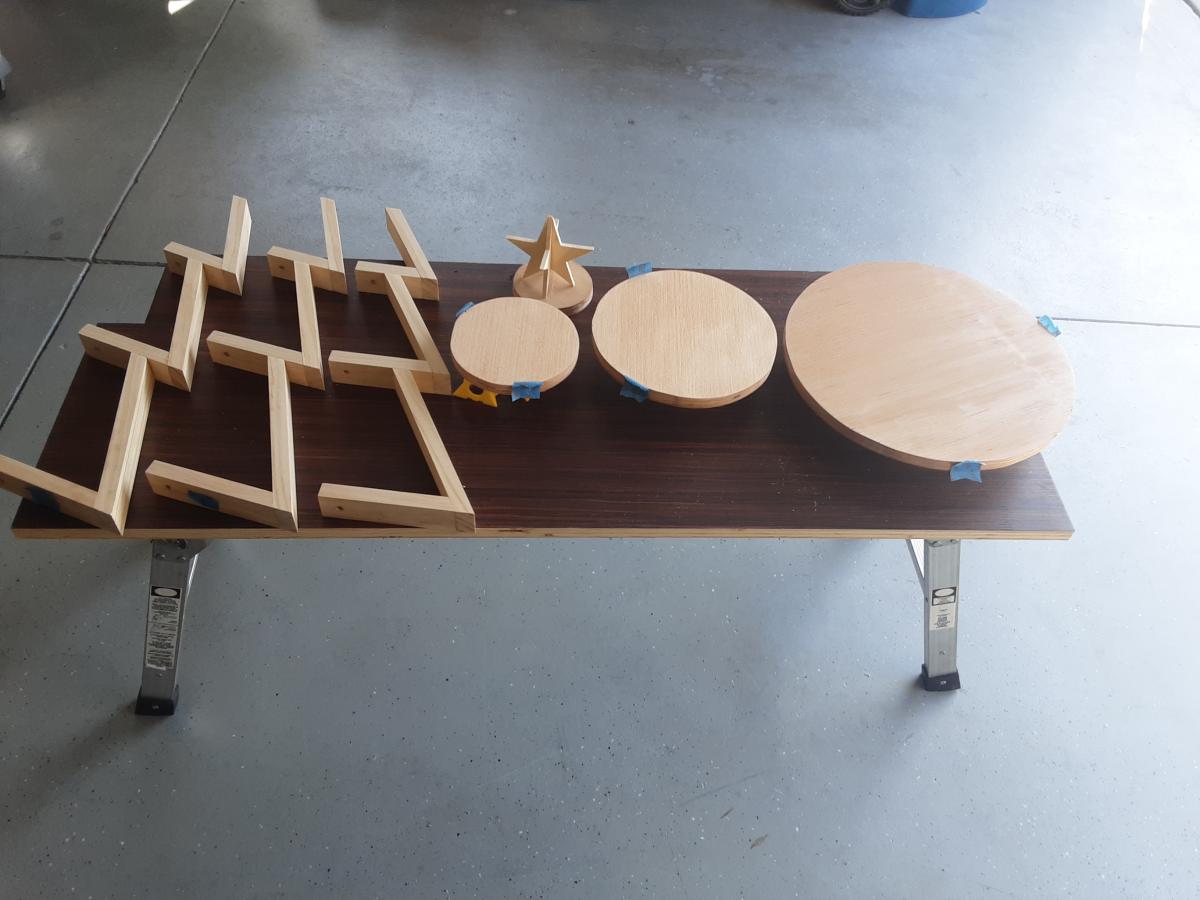
Inspired by Shara of Woodshop Diaries, created this 3 tier tray for displaying cookies for Santa. Added a 3 dimensional star as the topper and simply followed the excellent photos and schematics on Shara's website.

Estimated Cost
$5
Estimated Time Investment
Afternoon Project (3-6 Hours)
Finish Used
Minwax paste wax
Recommended Skill Level
Beginner

Comments

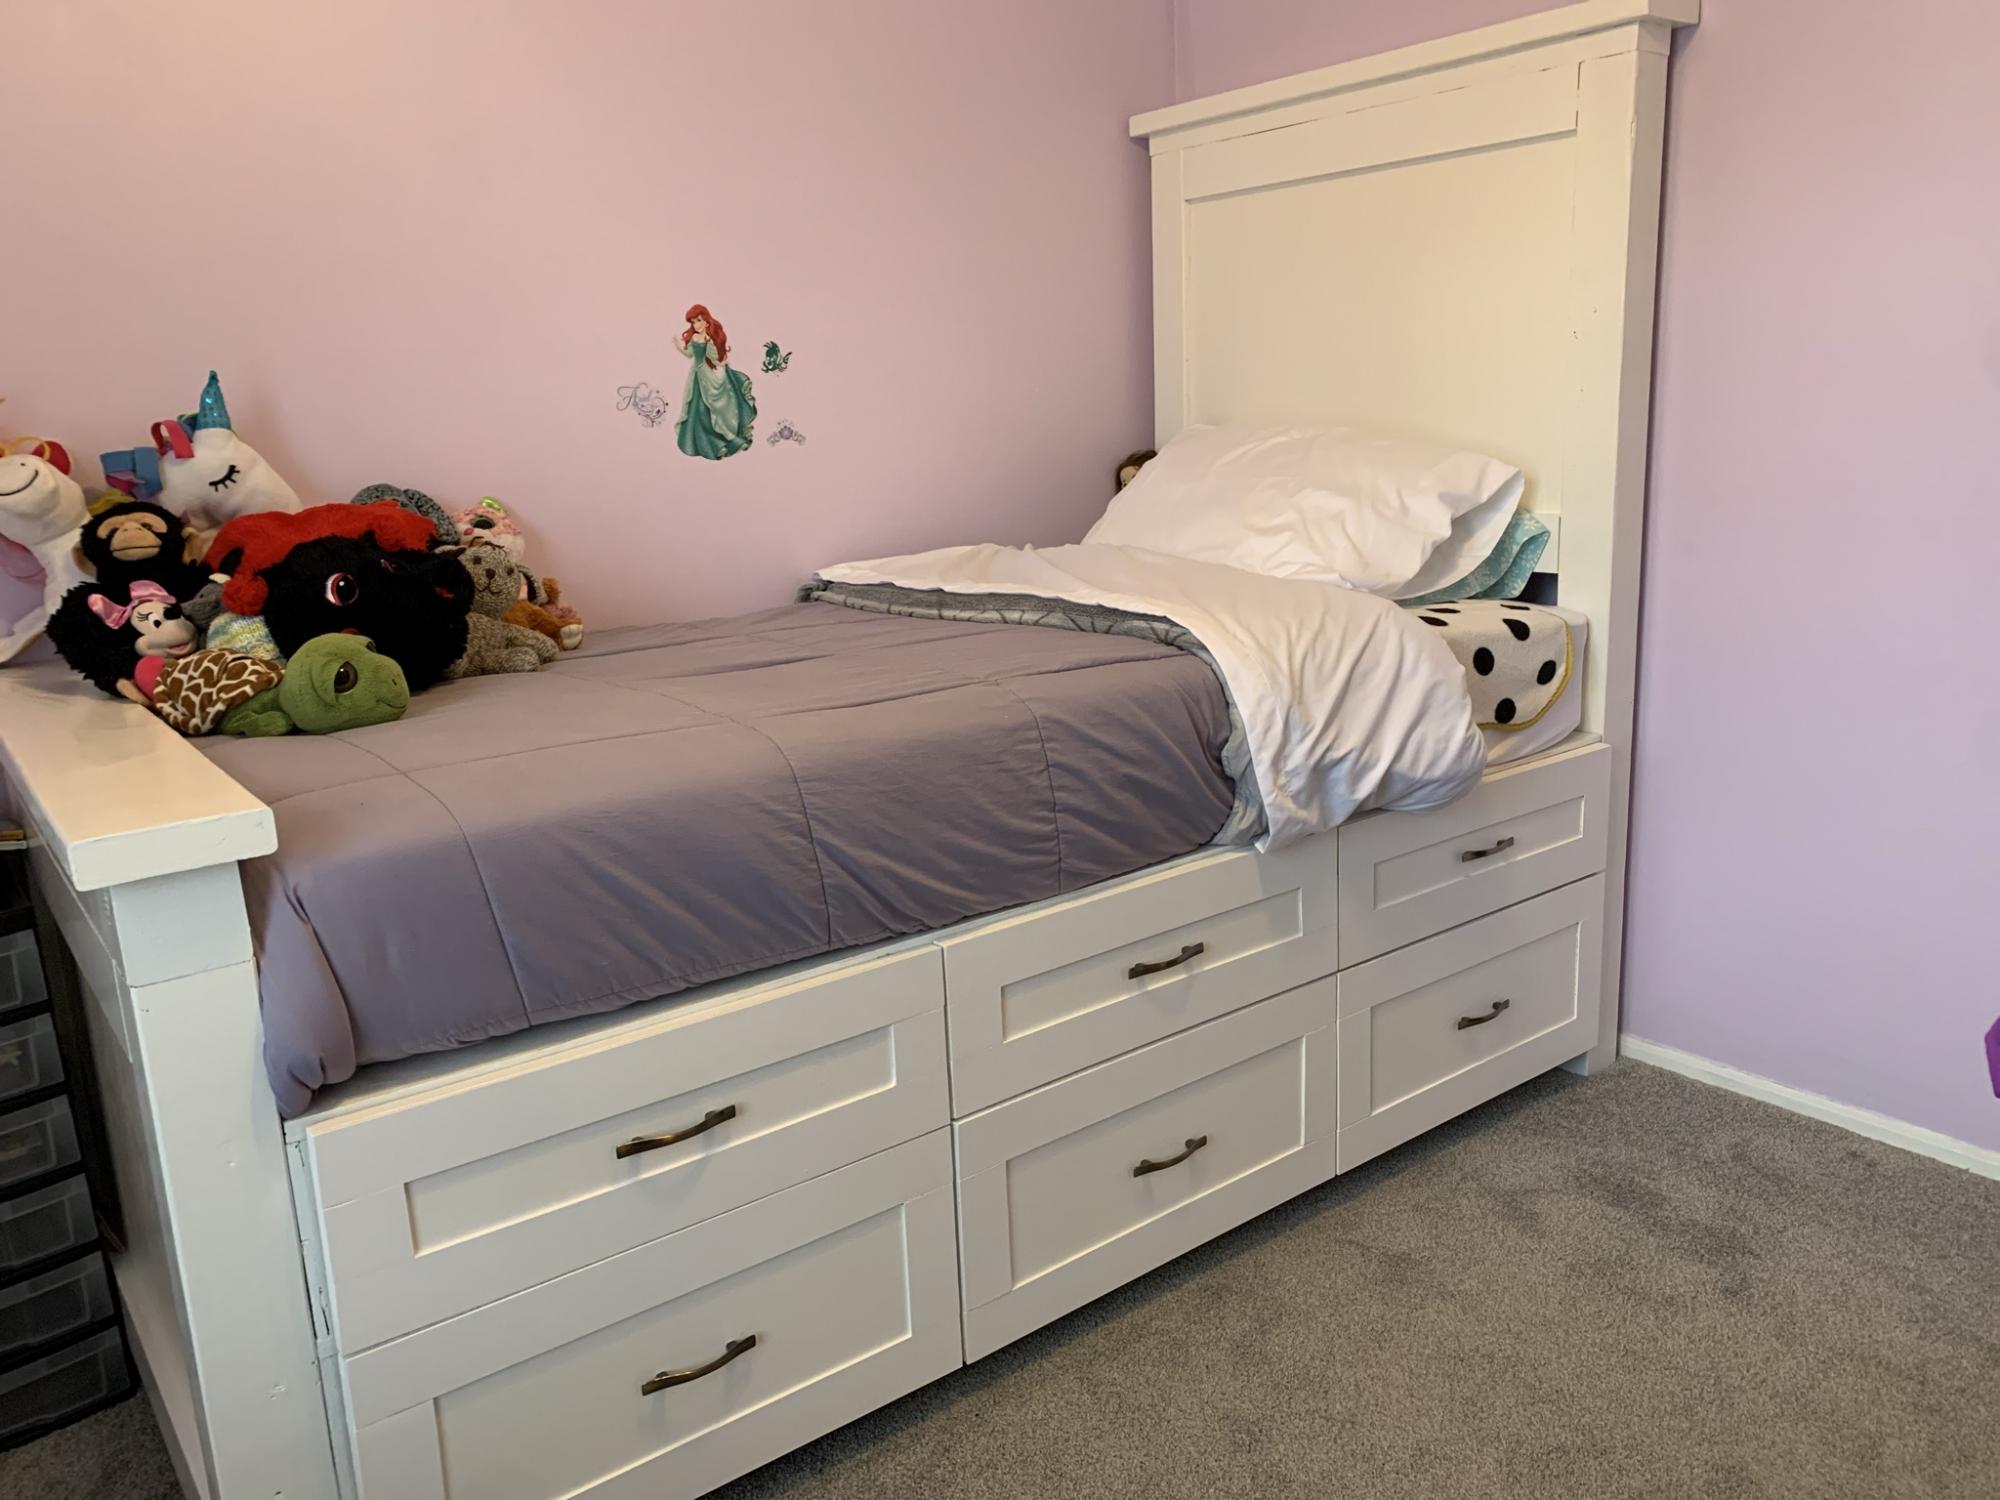
Twin storage bed, but with extra storage!

Submitted by bdrez33 on Thu, 04/08/2021 - 08:15

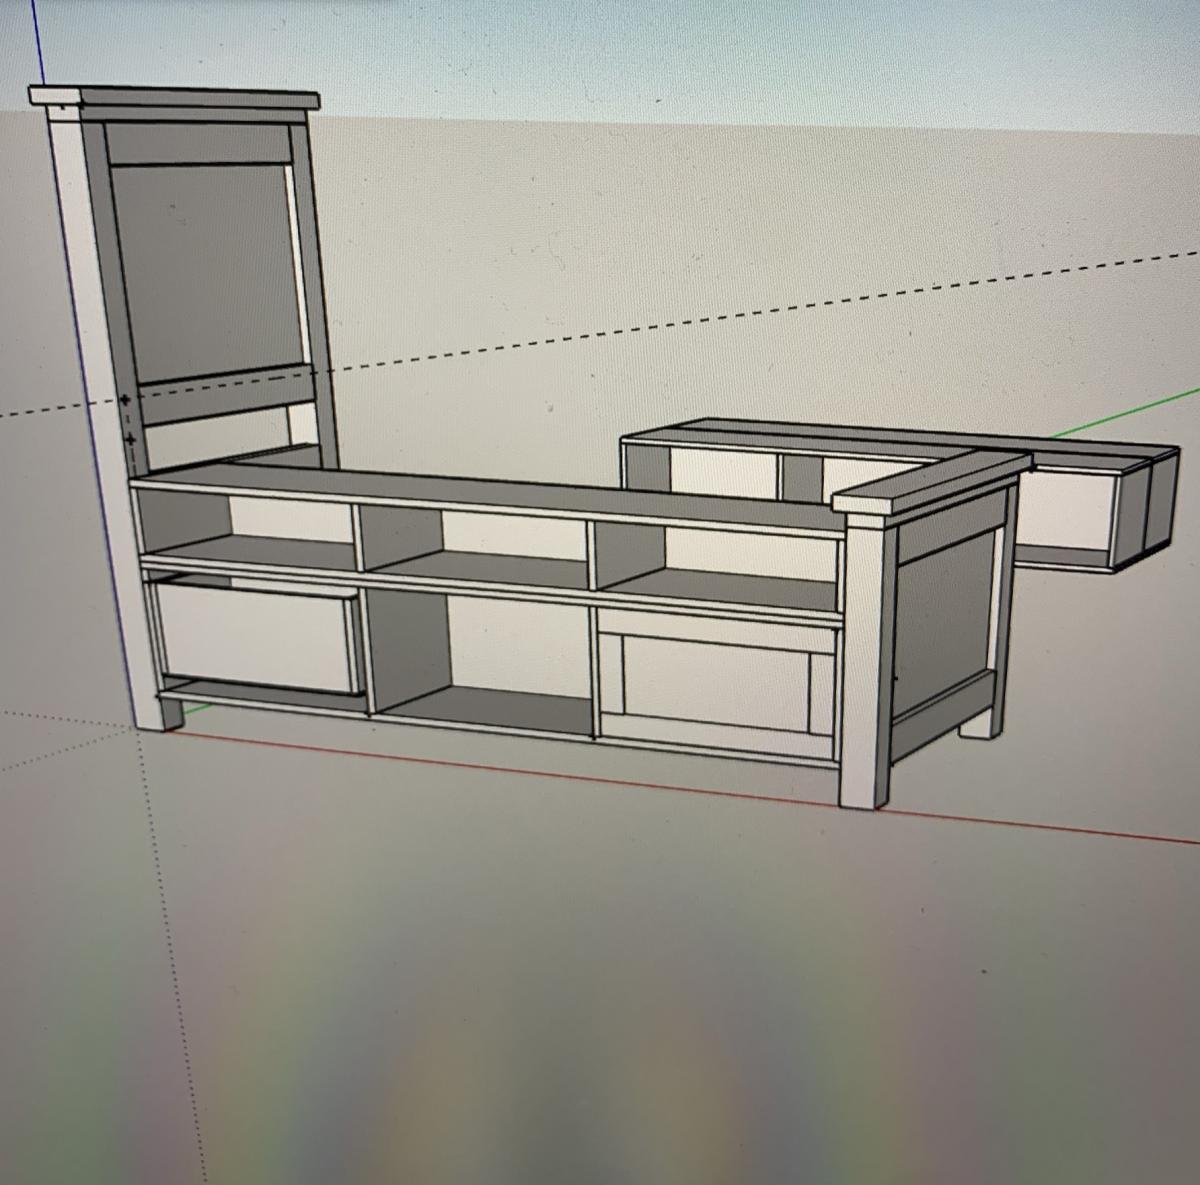
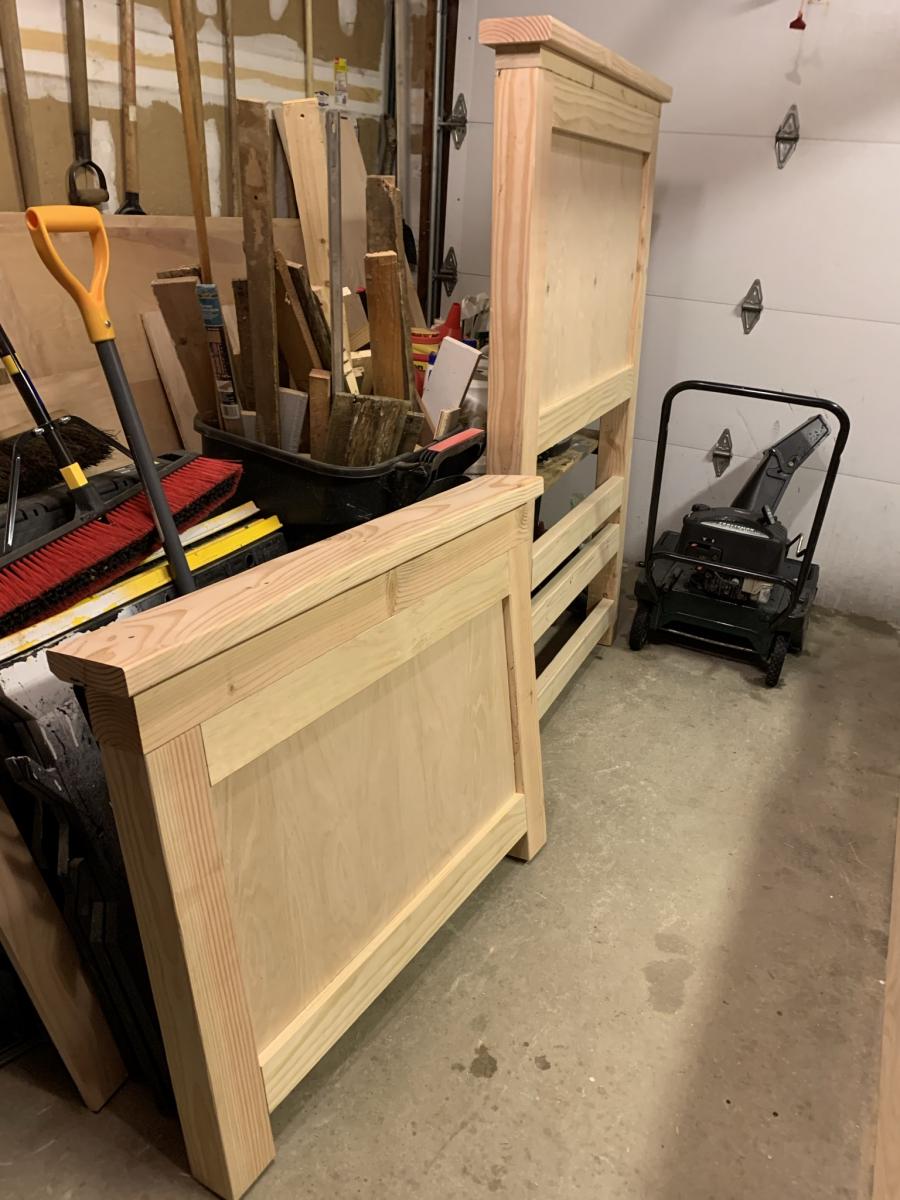
I just finished this bed and wanted to thank Ana White for the plans and directions. I didn’t understand the purpose of the gap between the storage cabinets so I extended the drawers making them deeper. This makes more sense to me rather than having dead space under the mattress. Who couldn’t use more storage?!? I also decided to make a second layer of drawers, so the bed is raised much higher. It was a bit of a challenge, but using the plans from Ana and SketchUp helped me plan. The bed looks amazing and my 6 year old loves the space she has not without a dresser in the room. Thanks, again!

Estimated Cost
$450
Estimated Time Investment
Week Long Project (20 Hours or More)
Finish Used
Semi-gloss white paint
Recommended Skill Level
Advanced

Comments

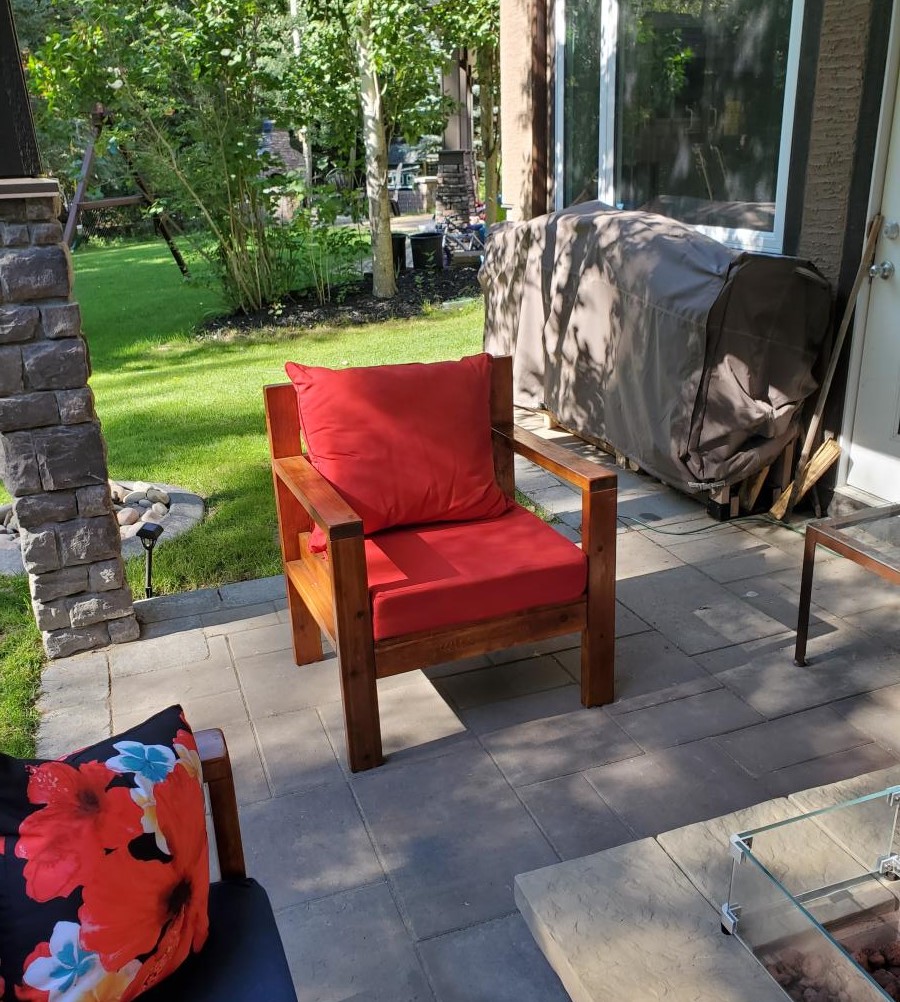
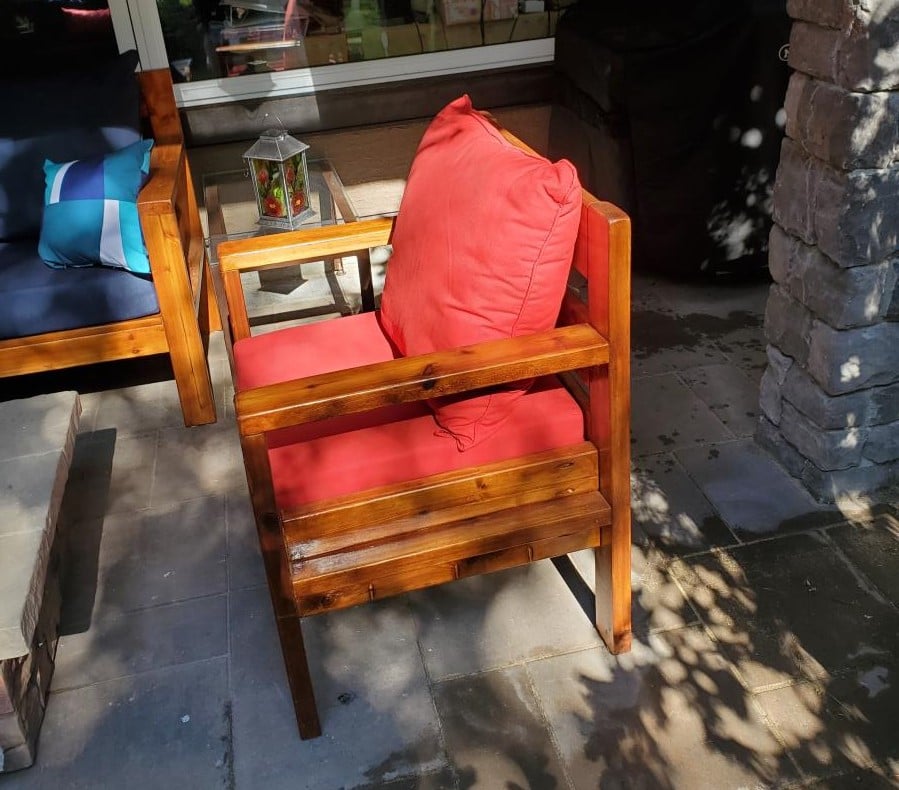
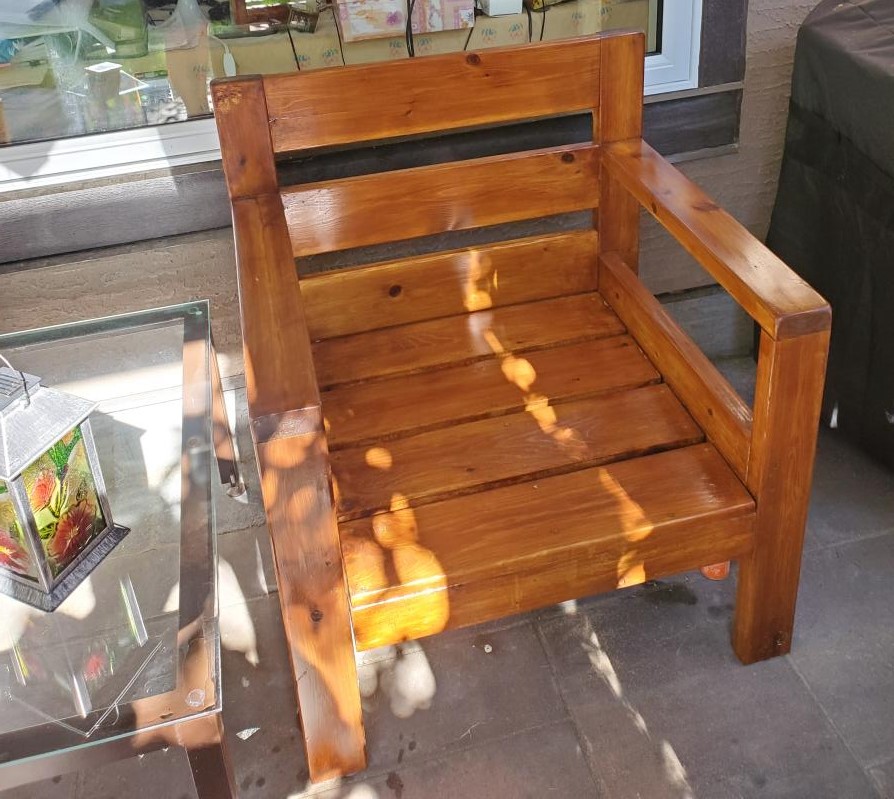
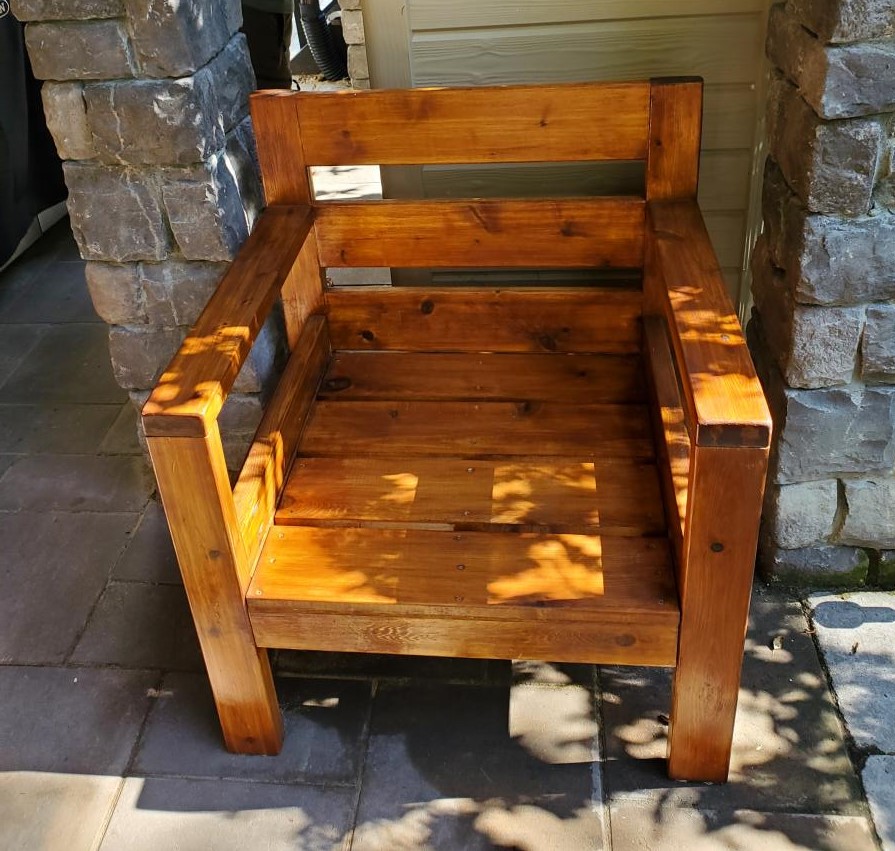
Patio Furniture

Submitted by Anonymous (not verified) on Thu, 09/22/2022 - 13:05

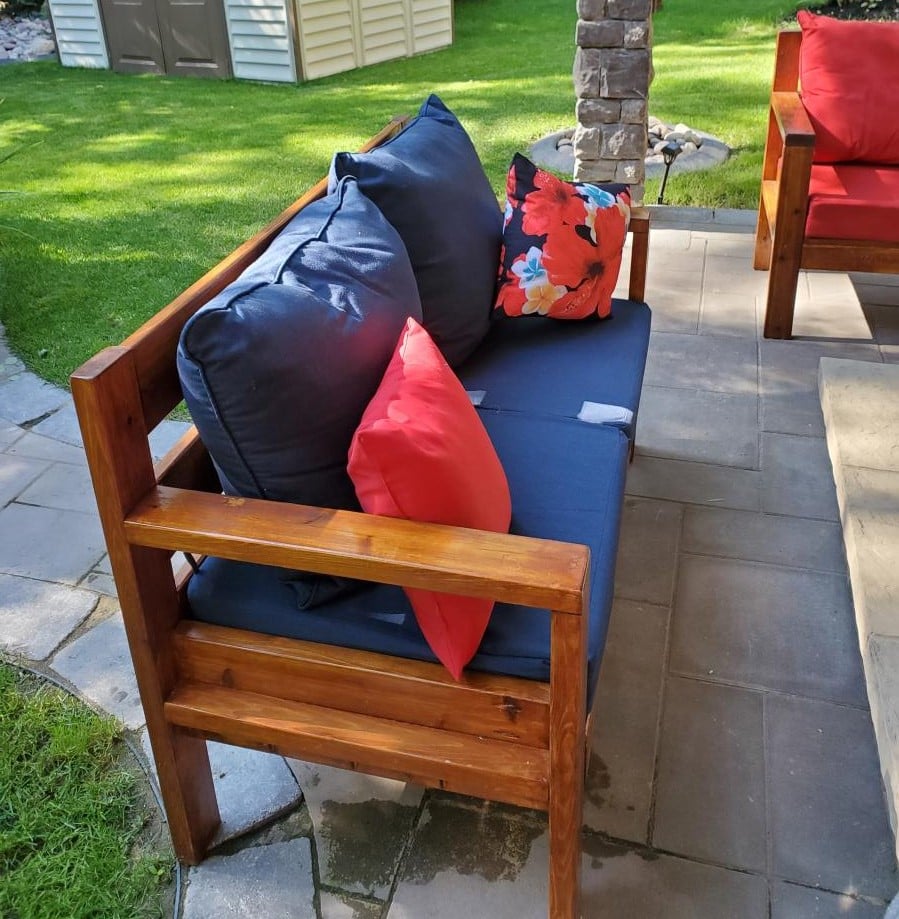
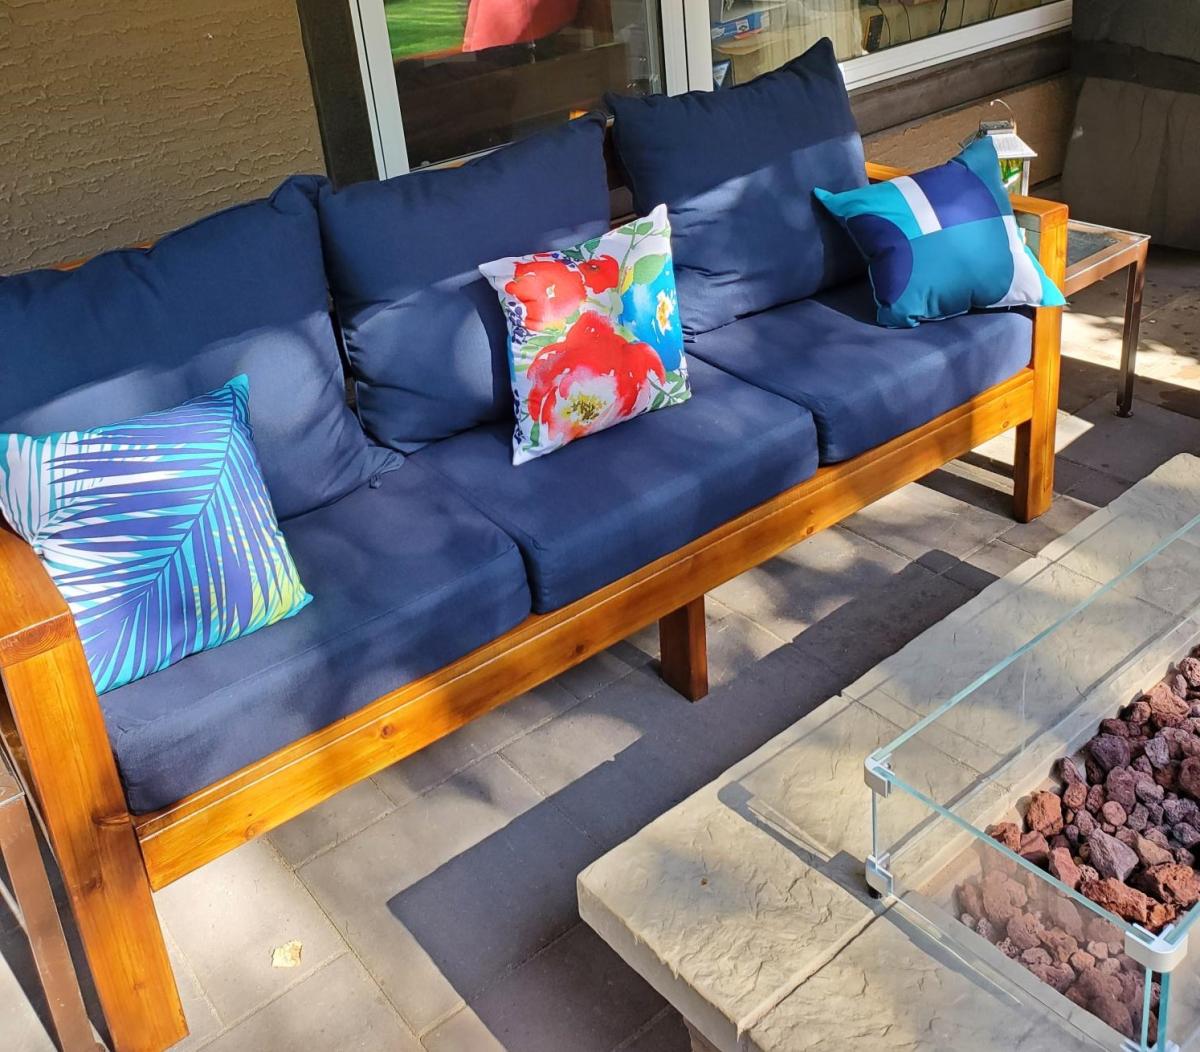
Based on Ana's 2x4 patio furniture blog and plan wirh some modifications.

Built all in cedar.

Seats are 1x6.
Seat back height is at 36"
Backs are 1x6 .

Cushions are from Home Depot:
Bozanto Sunbrella Deep Seating Cushions
24" x 24" seats with 6" thickness
Back cushions are at least 6" thick.
2200 UV hour fade life.
Aceent cushion are from Lowes.

Stain is Cabot Gold Sunlit Walnut put on with 2 coats.

Covers are custom ordered from Covers and all. Www.coversandall.ca

Estimated all in cost lumber, supplies, stain, covers - $2,500.

Much cheaper less than half than the retail cost for similar quality patio furniture.

Comments

Rustic X Farmhouse Coffee Table with Storage

Submitted by Anonymous (not verified) on Sun, 02/05/2023 - 08:54

This project was made from reclaimed wood from my office where they had built a temporary safety railing out of 2x4s and 2x6s. I added a compartment for storage. The top is stained in a classic grey. I painted the body in black followed by white. I then sanded the body to allow the black to bleed through for a distressed look.

Comments

Cedar Fence Board Planter Box

Submitted by iowachap on Sat, 03/15/2014 - 19:40

Using Ana's 10 dollar raised garden planter box idea, I made my own using the cedar fence boards and then used 2 x 3 x 8 studs for the L corner supports and mid center support along with top rail. This photo is the first 3, I will have a total of 6 boxes. Will post more as I progress.

Estimated Cost
20 to 25 dollars per box
Estimated Time Investment
Afternoon Project (3-6 Hours)
Finish Used
I used 6 fence boards, 2 for each side of the 6' long runs, and 1 for each short 3' section cut in half.

I got the 6' x 5 1/2 " x 5/8 " cedar fence boards at the orange box

I used 2 x 3 x 8 boards for the corners the middle support and the top rail. I got these at the blue box

I used 2 " and 2 1/2" exterior star bit screws.

NOTE: I pre drilled holes in the fence boards and screwed all the boards to the L corner sections from the inside out, so the screws are on the inside of the box, they did not poke through the 2 x 3 boards.

Instead of trying to measure how far off the side of the board I needed to go to match the vertical 2 x 3 boards, I just cut 10 11 inch long 2 x3 sections, and then used the 2 1/2" screws and made 4 L corner pieces the shorter side I screwed the short 3 foot length fence boards too, once I had both my short sections screwed to the L corner sections, I then stood one up and screwed 2 of the 6' length boards to the L corner section. Then the other side.

Once all 4 walls were done, I would then measure 3' in the middle of the 6' long side runs, and put in an additional 2 x 3 x 11" again screwed from the inside of the box out.

Now that all the 2 x 3 x 11" L corners and side support sections were connected to the fence boards I then cut 76 1/4" 2 x3 boards one for each length run, and then 2 26" 2 x 3 sections that were all cut on 45 degree angle to complete the top rail.
Recommended Skill Level
Starter Project

Cabin Bed

Submitted by Gorm63 on Mon, 08/15/2016 - 08:57

This was so much fun to build and it turned out really great. It was the perfect gift for my son on his fourth birthday.

Built from Plan(s)
Estimated Cost
$350-$400
Estimated Time Investment
Week Long Project (20 Hours or More)
Finish Used
Milk paint
Recommended Skill Level
Intermediate

Comments

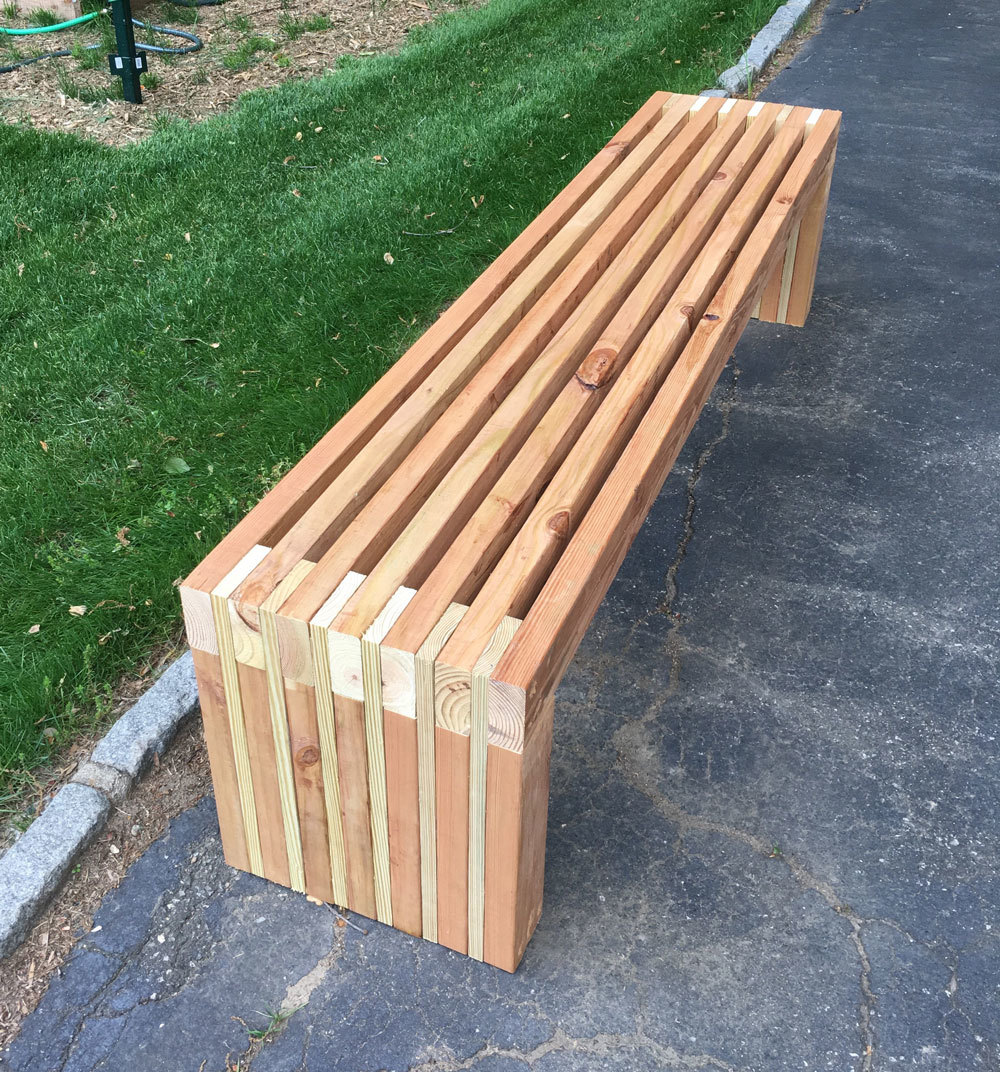
Bench

Submitted by Anonymous (not verified) on Mon, 06/05/2017 - 13:31

Great bench

Estimated Cost
$100
Estimated Time Investment
Day Project (6-9 Hours)
Recommended Skill Level
Beginner

Storage Bed

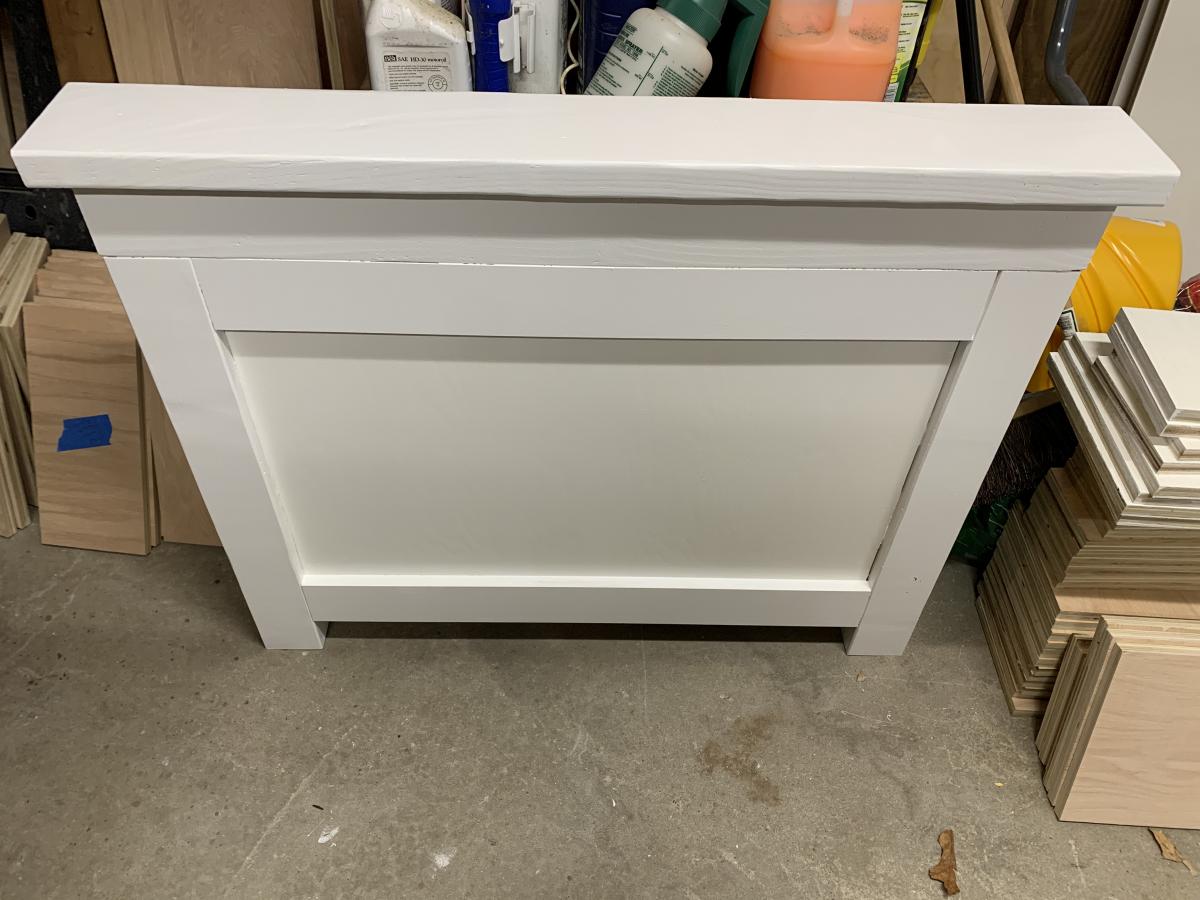
We used the plans for a six drawer storage bed to build this with a custom headboard and footboard. We used plywood to build these boxes but have since switched to using MDF. We use a pine laminate for the drawer faces.

Estimated Time Investment
Weekend Project (10-20 Hours)
Finish Used
Custom mix
Recommended Skill Level
Intermediate

Comments

leftysgirl

Sat, 09/26/2020 - 05:51

I absolutely love this style. I am trying to figure out your modifications.
What size pine planks are those for the foot and head board? 6”?

Thanks!

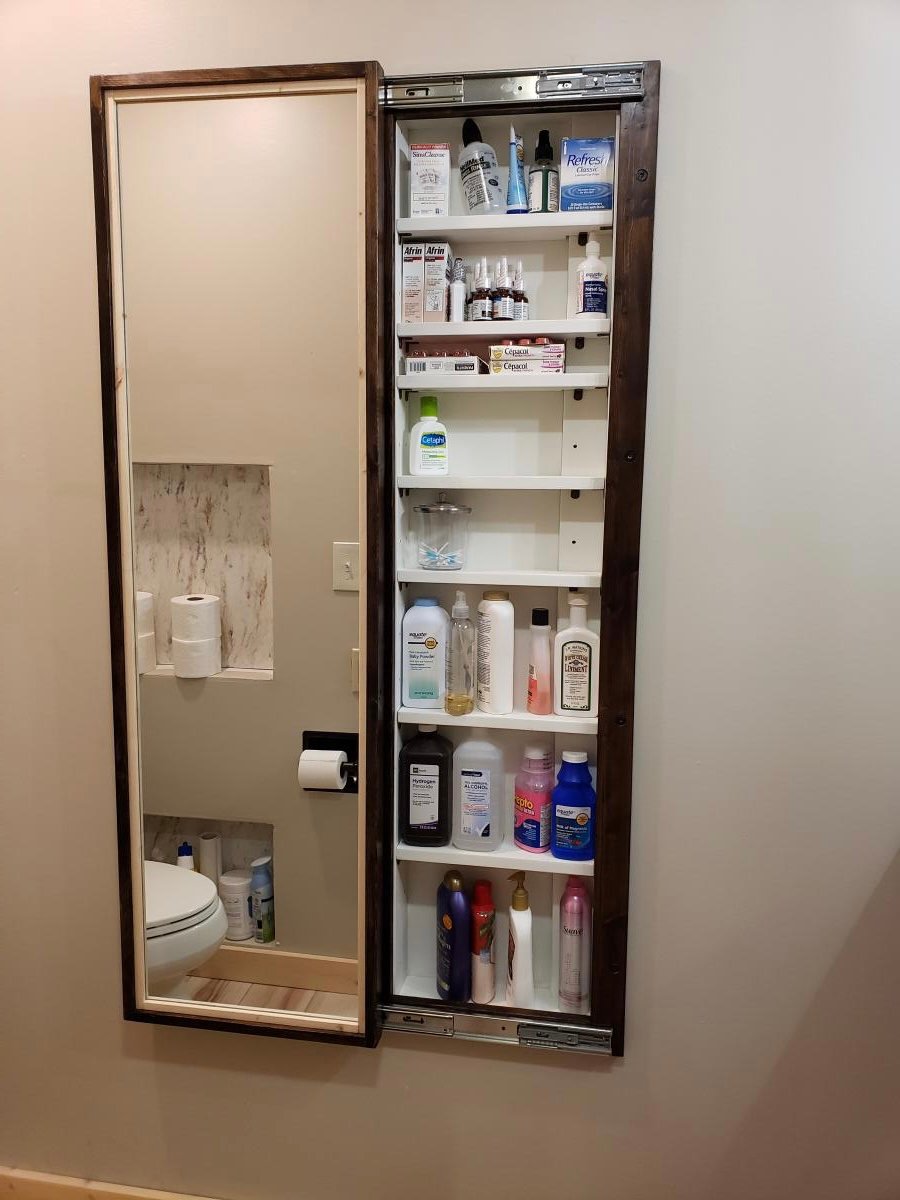
Recessed cabinet

Submitted by Anonymous (not verified) on Fri, 09/02/2022 - 14:14

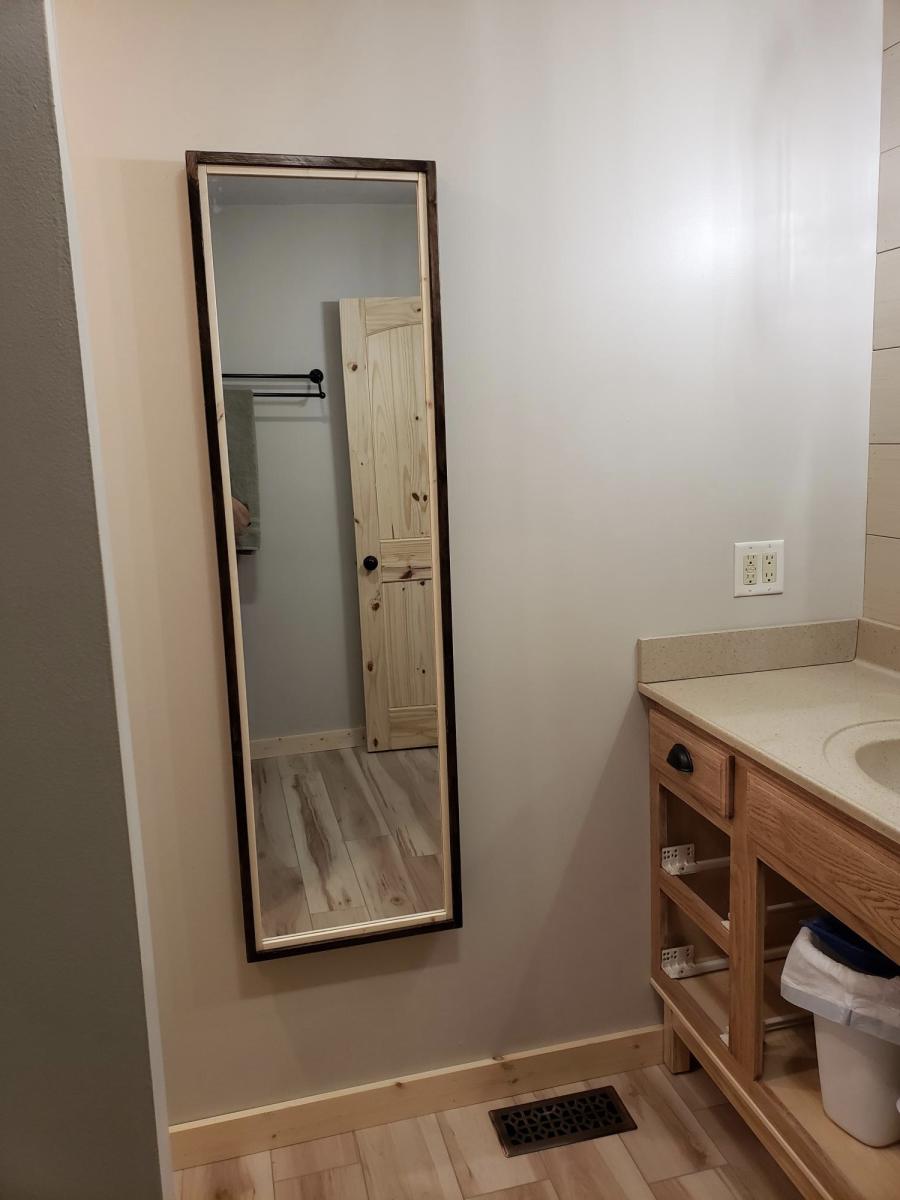
My bathroom has very little storage space. So during our recent remodeling of the room, I decided to add this cabinet. Changed the plan a little to make it recessed in the wall. I love how it turned out!

Comments

Reading Nook turned Tent!

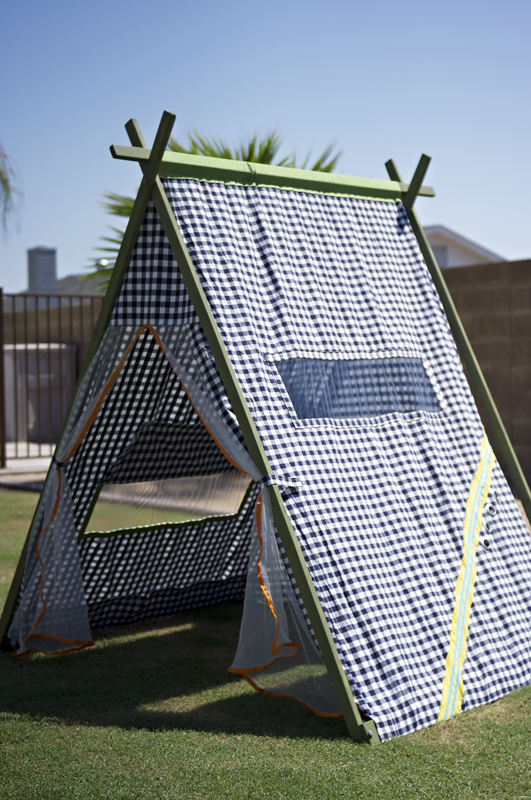
I made this for my boy who's turning four tomorrow! (Sep 1st) He loves building forts and I don't mind rearranging the furniture, but set up and clean up is so time consuming, we'd both rather spend more time playing. This is an indoor tent, but I took it outside for pictures. Aside from the obvious difference of adding doors and a back, the changes I made from the original plans are: using an 8 foot 1x3 so the tent is 4 feet deep instead of 3. Instead of stapling the fabric on the 1x3s at the bottom, I wrapped the fabric around and used velcro so I could remove it for washing. I sewed a tube of fabric and attached it at the top to make removal easier. Time Investment is so long because of the sewing involved for the tent. If you have an Ikea near you, they've got this stuff called glaze paint (more of a stain, I think) in all different colors - it doesn't need a top coat (unless you want it shiny), it's solvent free and, are you ready? $6 for 12.something ounces, MORE than enough for this project. To make it even easier if you're using fabric instead of curtains like me and you've got the room, cut a 8ft 1x3 in half so you've got two 4ft pieces. Most quilting cotton at fabric stores is 44-45 inches wide selvedge to selvedge (the ends that don't fray) and if you follow the plan according to where to drill for the top bolt, you'll need 4-4.25 yards of fabric, depending on whether you are going to use velcro or staple. I would use 4.25 if using velcro, the fabric can go right over the top bar and over the other side if you don't want to sew a tube like I did. If you don't want to sew at all, use iron-on hem tape on the cut edges and iron on velcro. Make sure of placement of the velcro before ironing on. More pictures on my blog =)

Built from Plan(s)
Estimated Cost
$50 - wood, bolts, stain, material for tent (everything)
Estimated Time Investment
Weekend Project (10-20 Hours)
Finish Used
Green Ikea glaze paint
Recommended Skill Level
Intermediate

Comments

Laundry Sorter

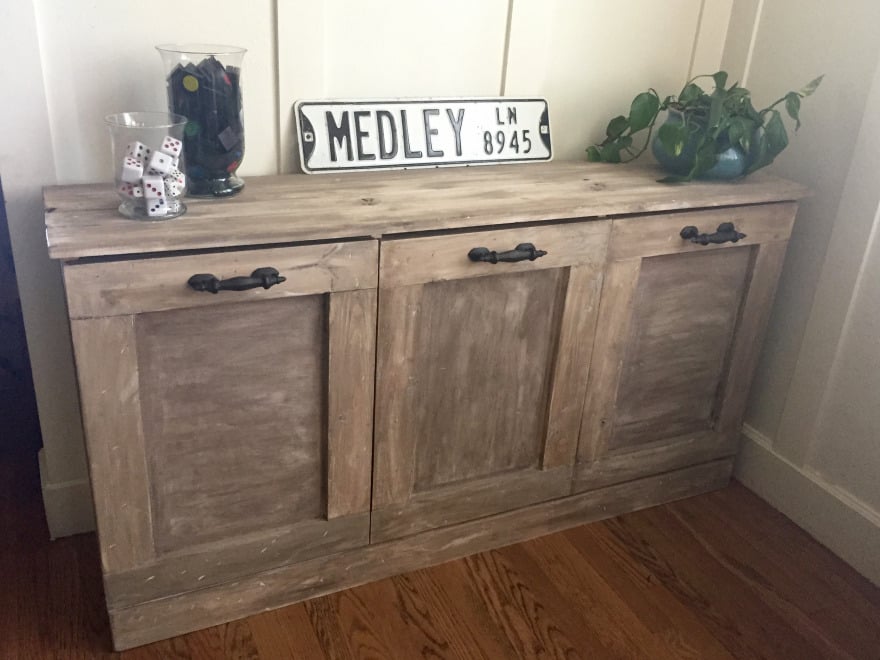
My laudry never looked so good!  I love these plans from shanty2chic and anawhite.  I spent a few days in the garage building, and now, my laundry can be hidden away in any room of my house.  


Thanks shanty2chic and anawhite for your excellent plans. 

http://www.shanty-2-chic.com/2014/08/diy-laundry-basket-dresser.html

http://www.ana-white.com/2011/04/wood-tilt-out-trash-or-recycling-cabin…

Estimated Cost
$200
Estimated Time Investment
Weekend Project (10-20 Hours)
Finish Used
Mix of paint and stain to create whitewashed look.
Recommended Skill Level
Intermediate

Sewing cart/table

Submitted by luxonagel on Mon, 08/17/2020 - 09:08

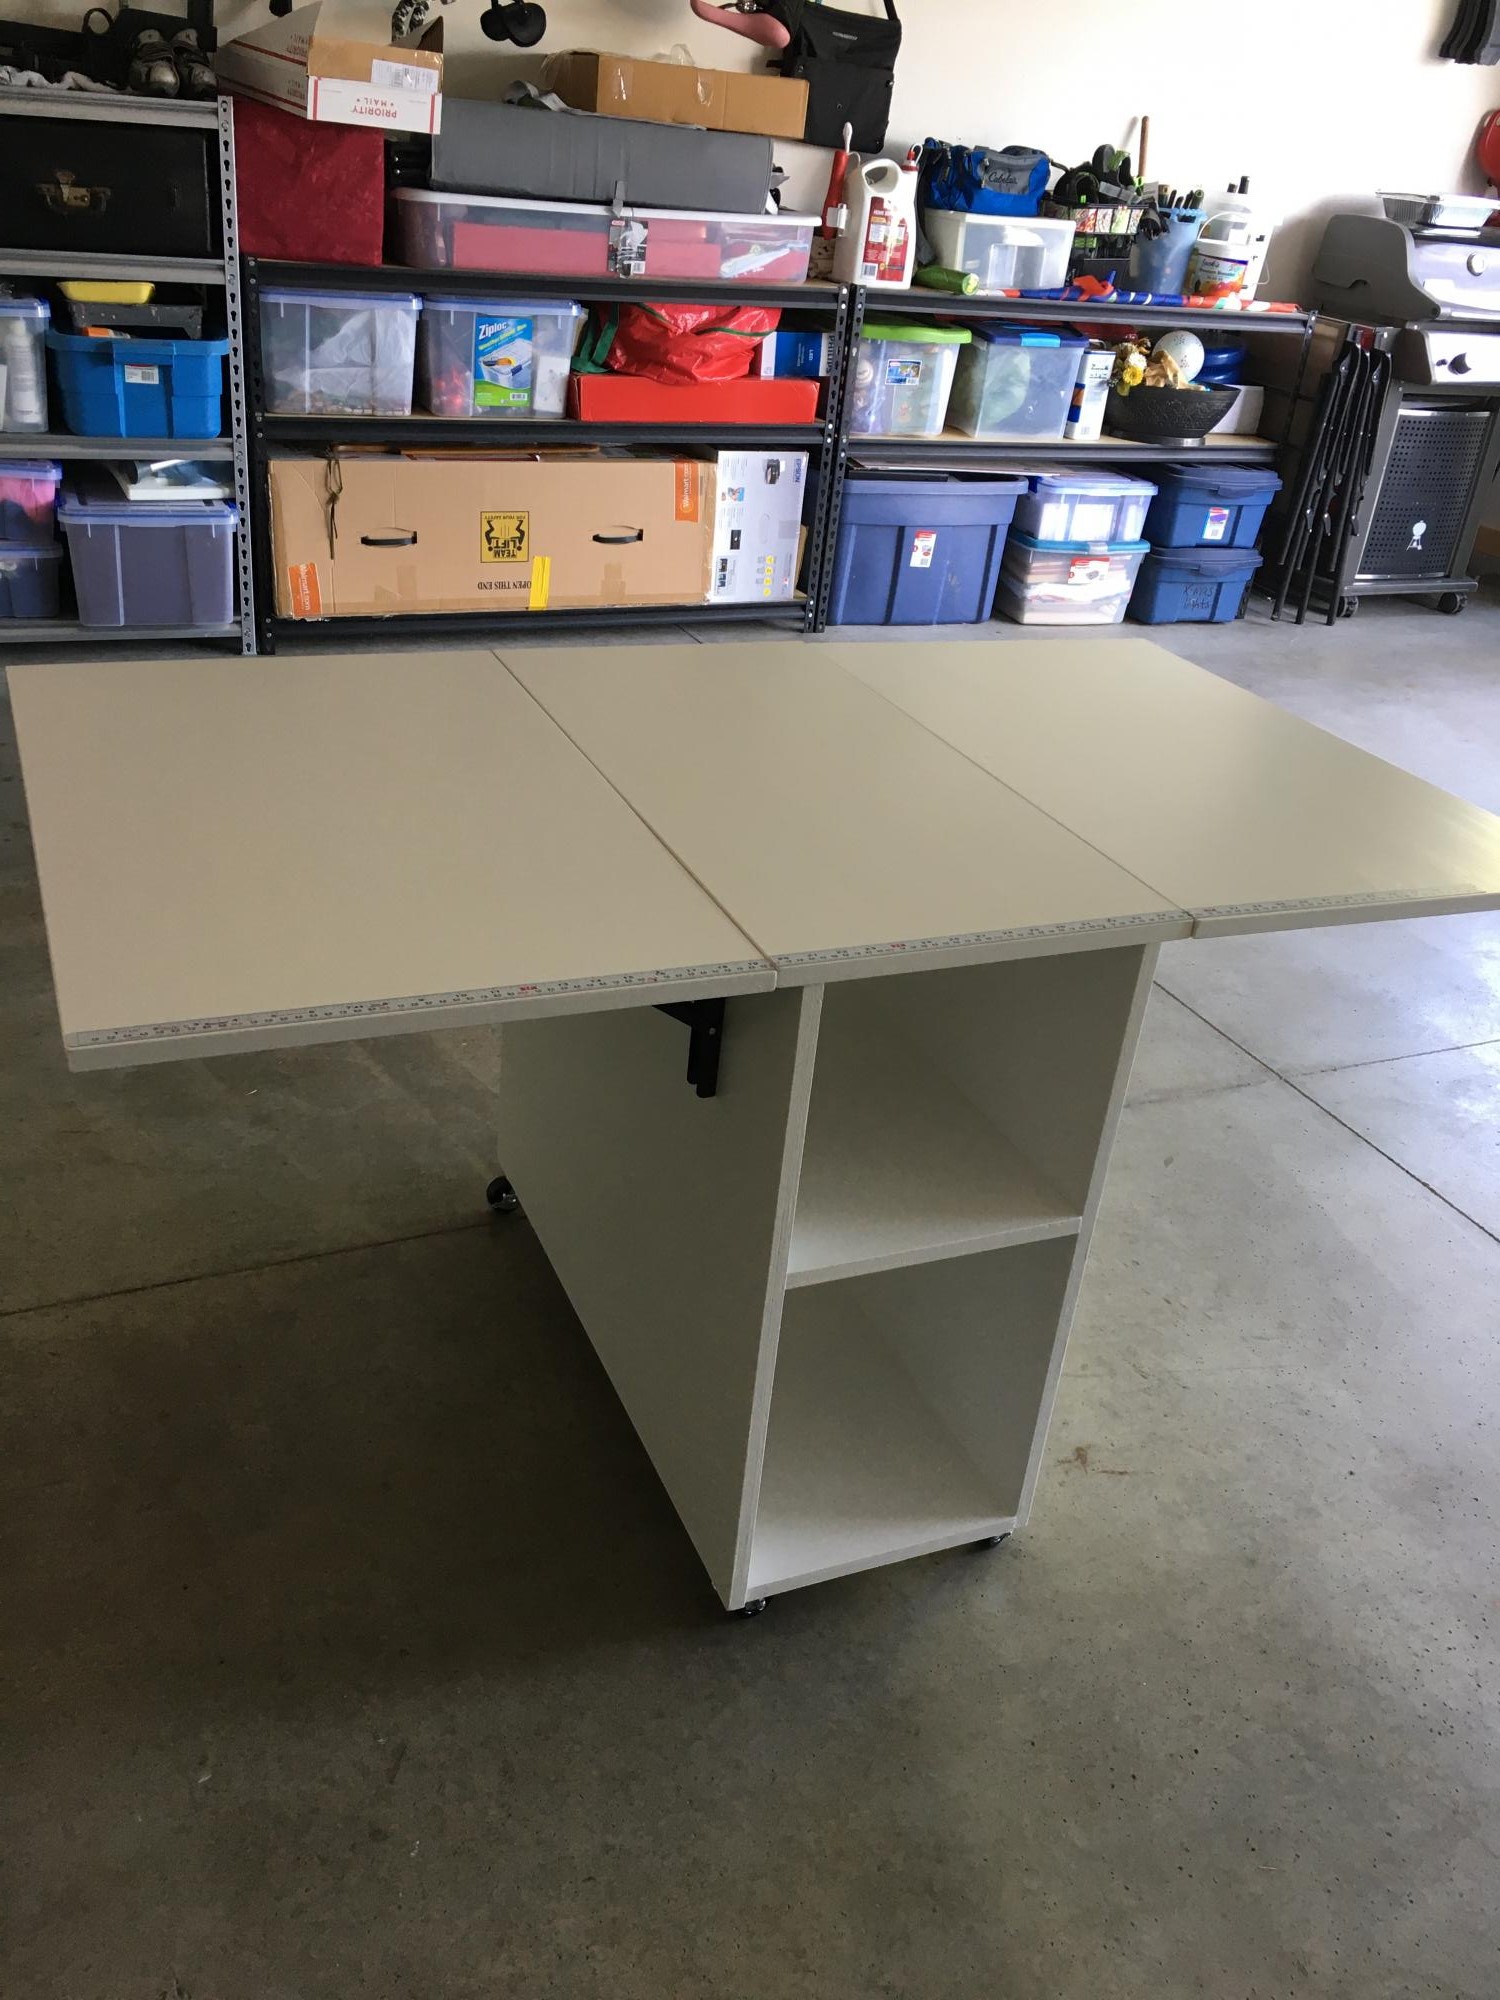
Love this plan! I used locking hinges instead of legs because it will overlap a bed in our guest room when in use. The hinges are rated for 250lbs and have held both of my sewing machines with no issues. I placed the middle shelf to fit my machines on the lower and standard fabric storage cubes on the upper. A metal adhesive measuring tape was added to the edge for convenience. This table will also be used as a buffet for family/group gatherings.

Built from Plan(s)
Estimated Cost
$75
Estimated Time Investment
Afternoon Project (3-6 Hours)
Finish Used
Sherwin-Williams Duration in Snowbound (7004)
Recommended Skill Level
Beginner

Comments

Akroezen

Wed, 12/02/2020 - 09:09

Hi! I need my sewing cart to be used without legs as well and have search everywhere for an appropriate hinge. Could you share with me what type & size you used? Did you change the sizes of the top to accommodate at all? Thanks!

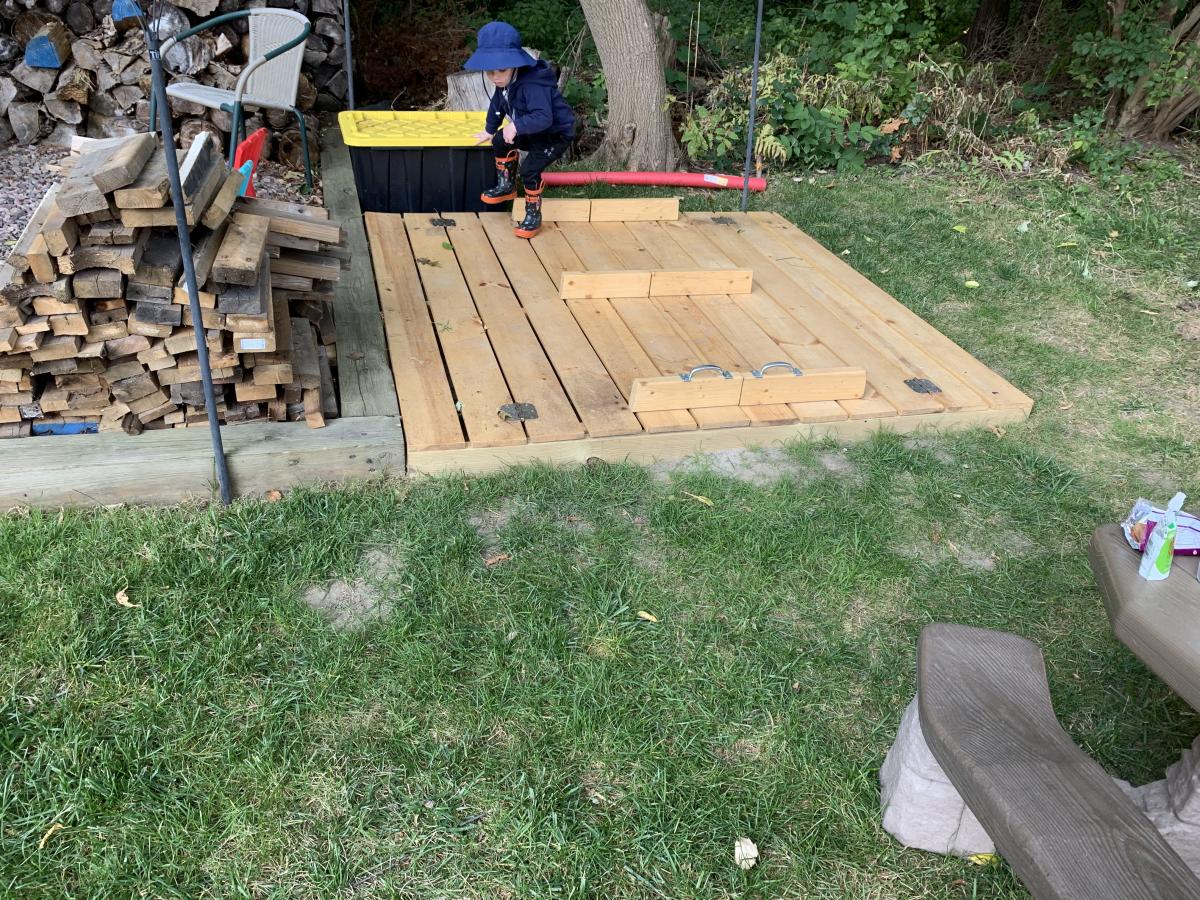
Big Sandbox with Lid

Submitted by flinchball on Mon, 09/21/2020 - 13:18

Made the sandbox 6x6. Recessed it so it sits flush with the timber’s around our fire pit area. I added extra armrests in the middle that double as supports when the lid is closed in case anyone wants to walk on it. Filled the sandbox full enough that the armrests sit on the sand when closed. It’s very sturdy now for walking on and the kids have tons of room to play. Thanks for a great plan to work from.

Built from Plan(s)
Estimated Cost
$100
Estimated Time Investment
Day Project (6-9 Hours)
Finish Used
Boiled linseed oil.
Recommended Skill Level
Beginner

Comments

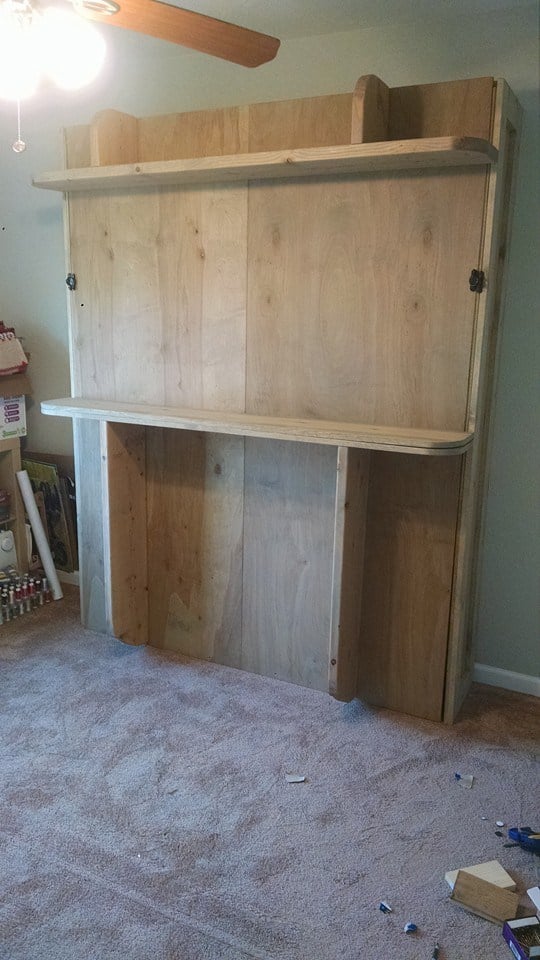
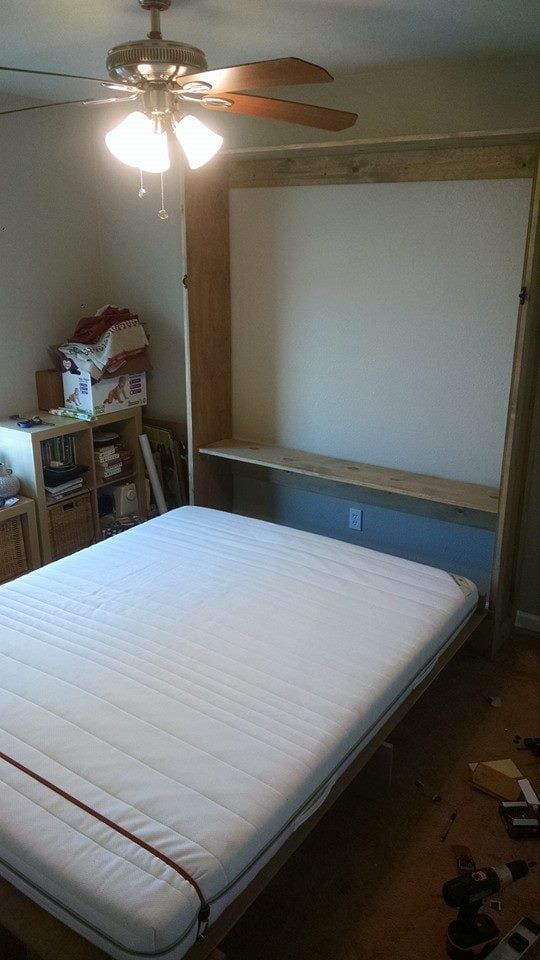
DIY Murphy Wall Bed

Submitted by Dstor22 on Sun, 03/15/2015 - 07:05

Just finished up my Murphy Bed project. Hope you like.

Estimated Cost
280.00
Estimated Time Investment
Weekend Project (10-20 Hours)
Finish Used
Weathered Oak Stain
Recommended Skill Level
Intermediate

Comments

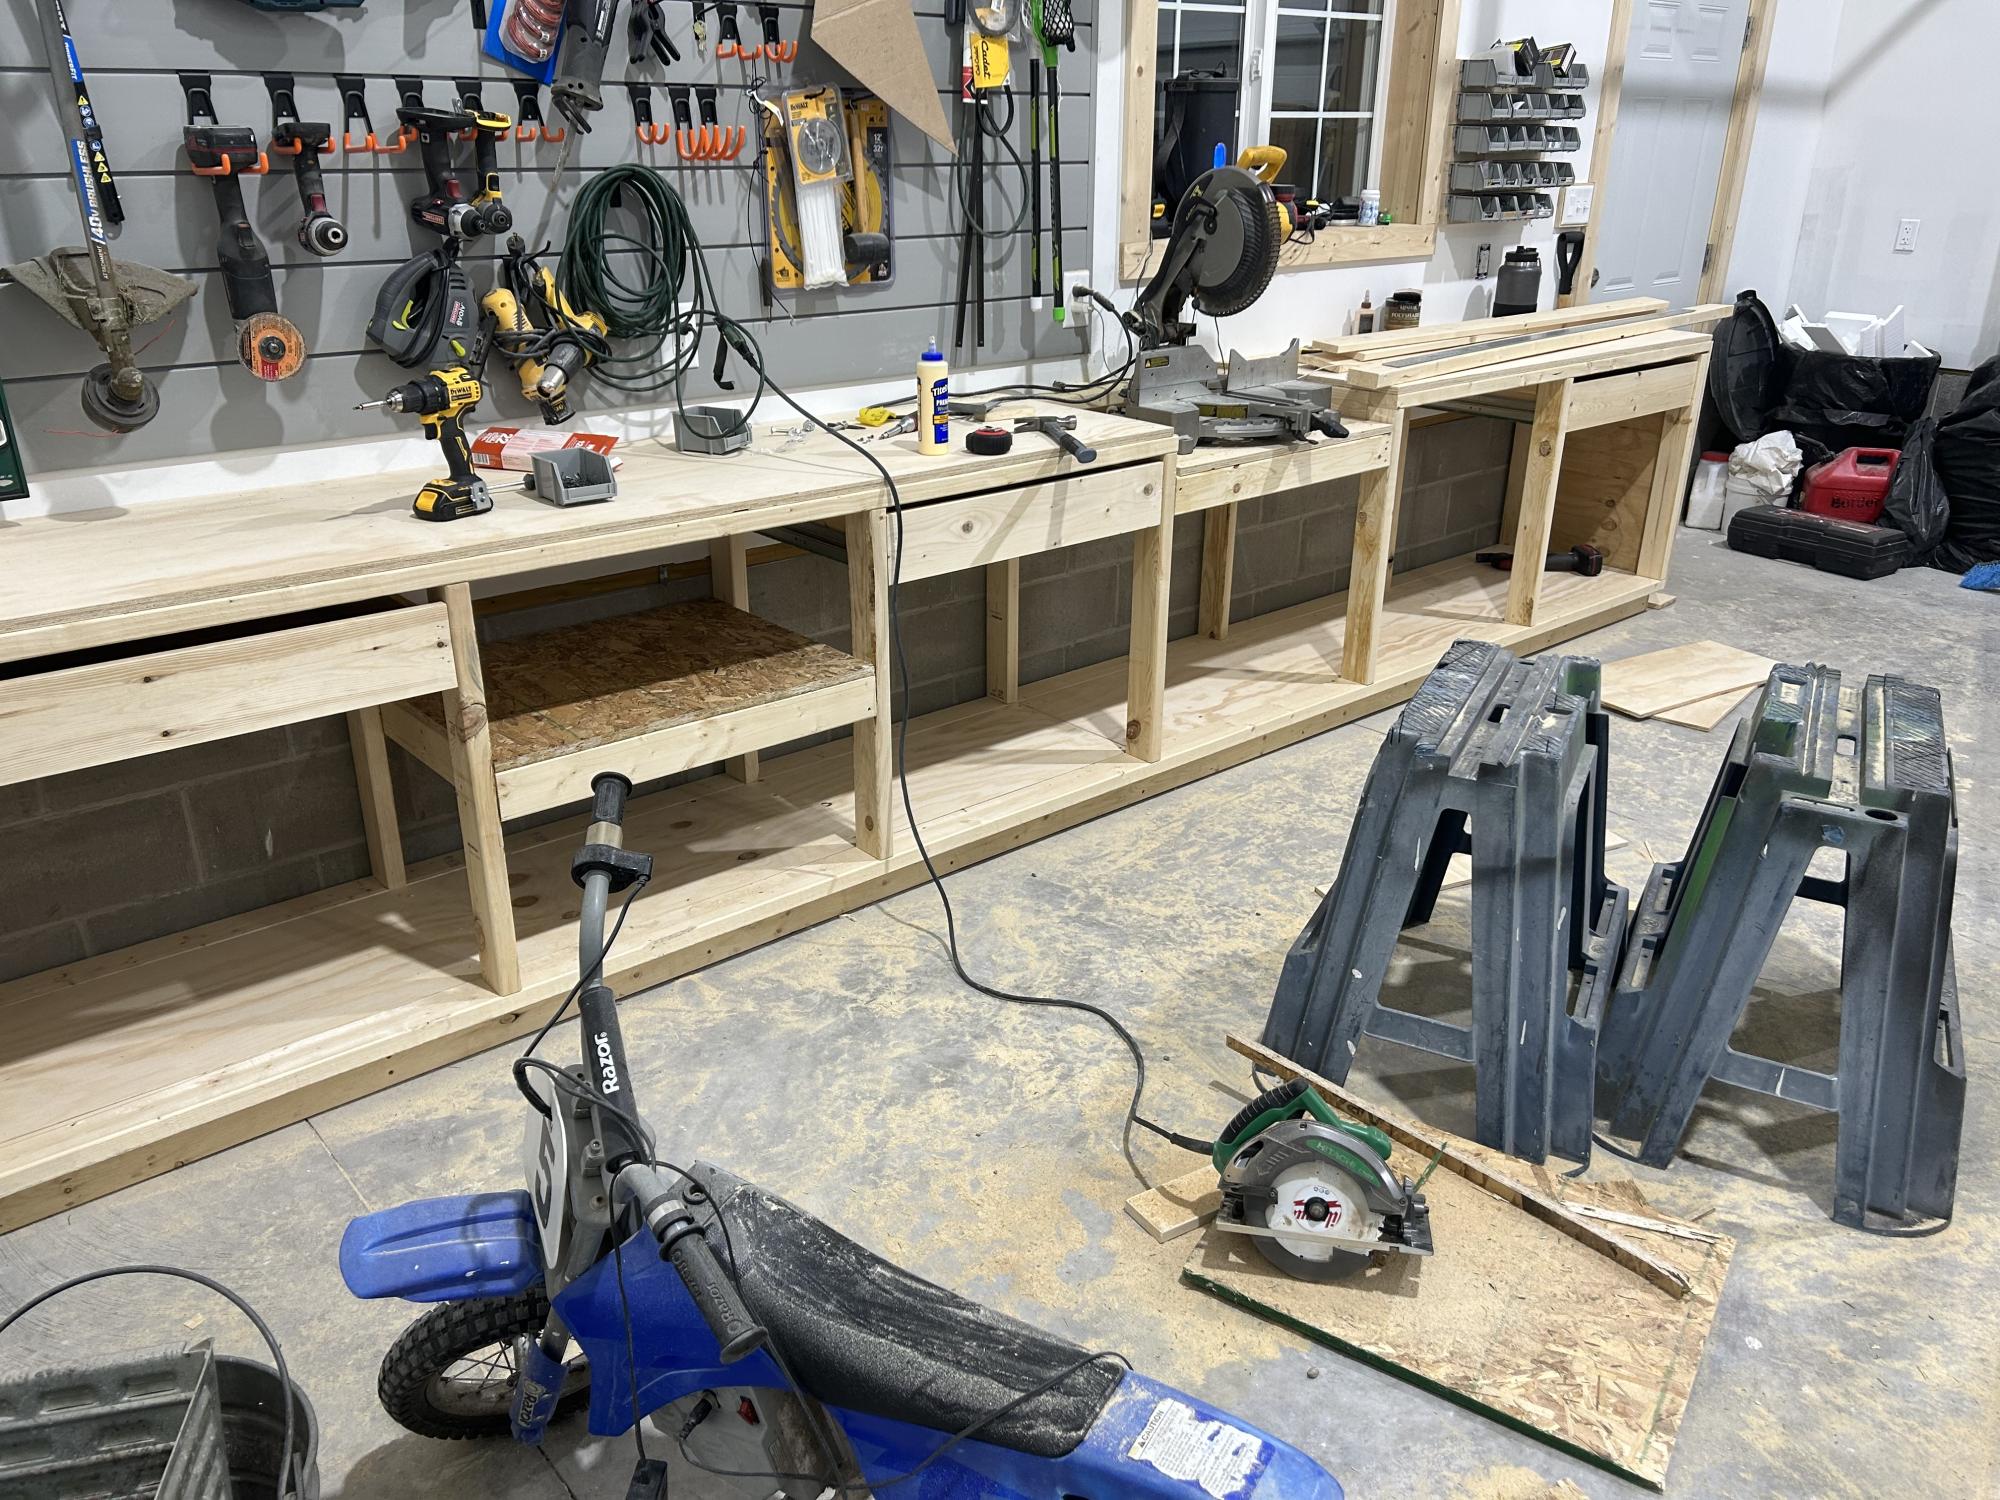
Workbench w/Mitre

Submitted by mdgurnoejr on Tue, 01/31/2023 - 21:45

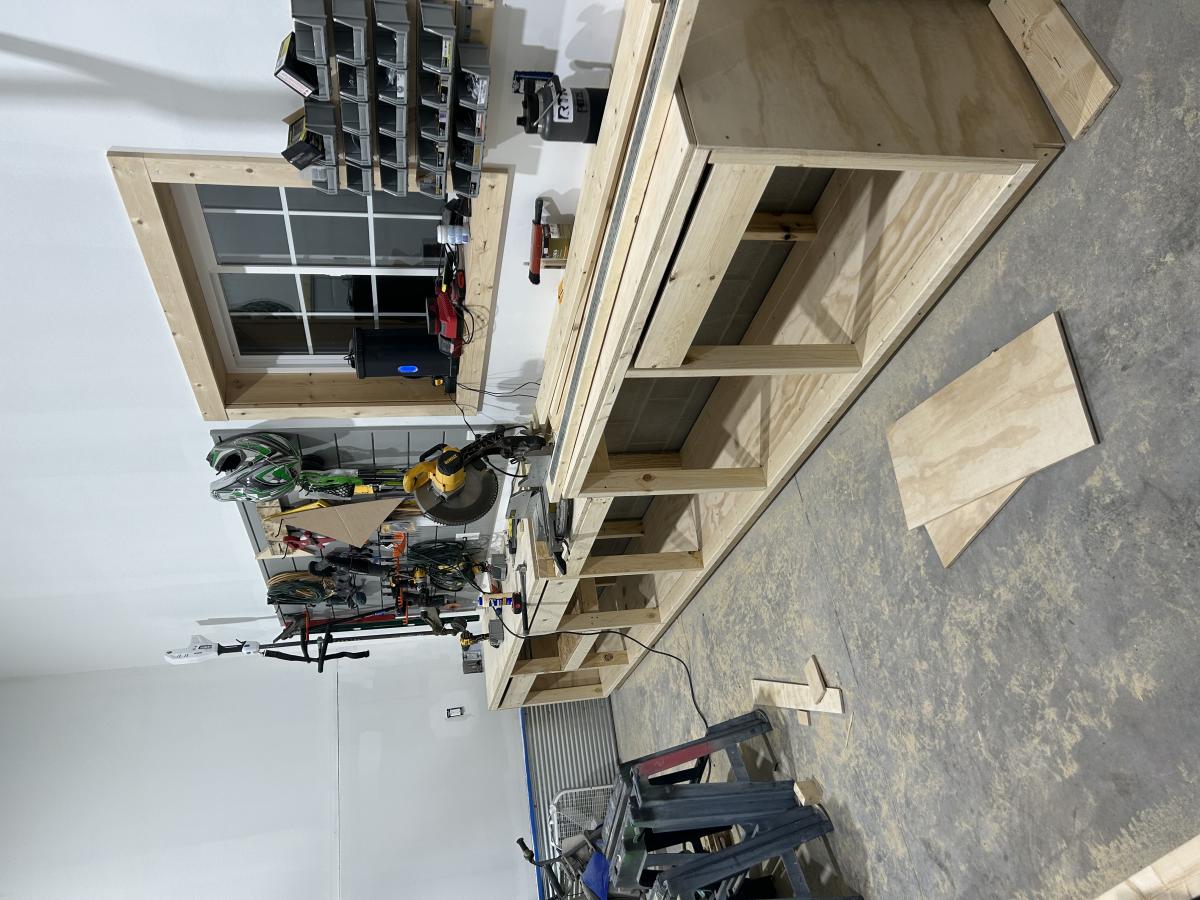
Still need a couple more drawers, plus stain and seel, but I just couldn’t wait to post. Took me most of the day (drawers suck), but it was extremely helpful to have the article and visuals to aid. Can’t wait to move on the the next project. I’m slowly becoming obsessed and a “wood whore”

Built from Plan(s)

Comments

Converted A ashley twin size bed into Twin size Crib

Submitted by Mamabear2 on Thu, 01/23/2014 - 09:53

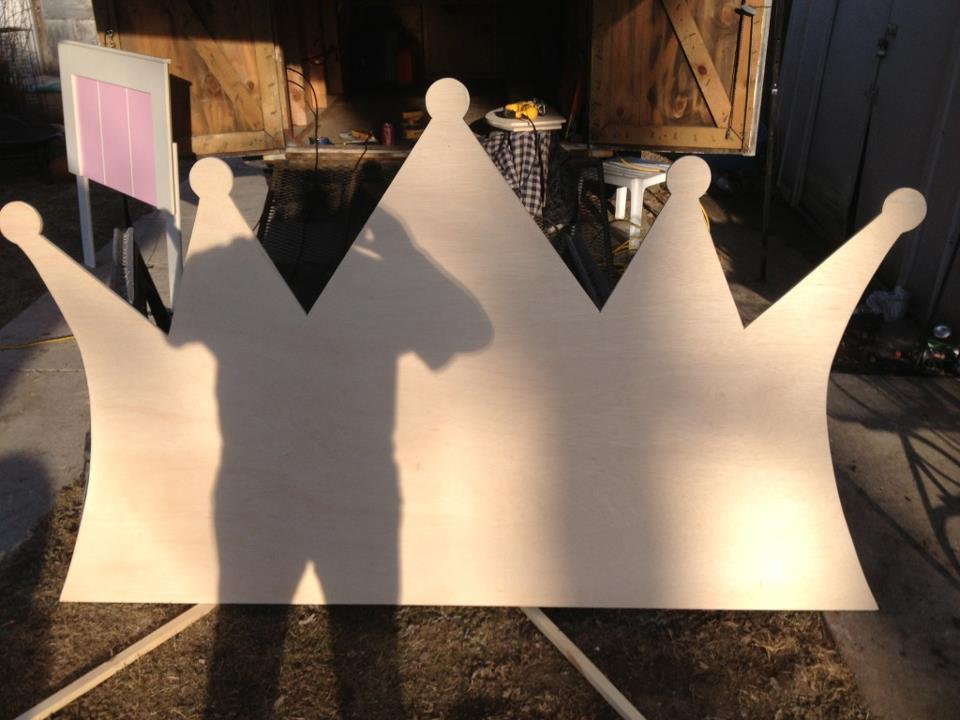
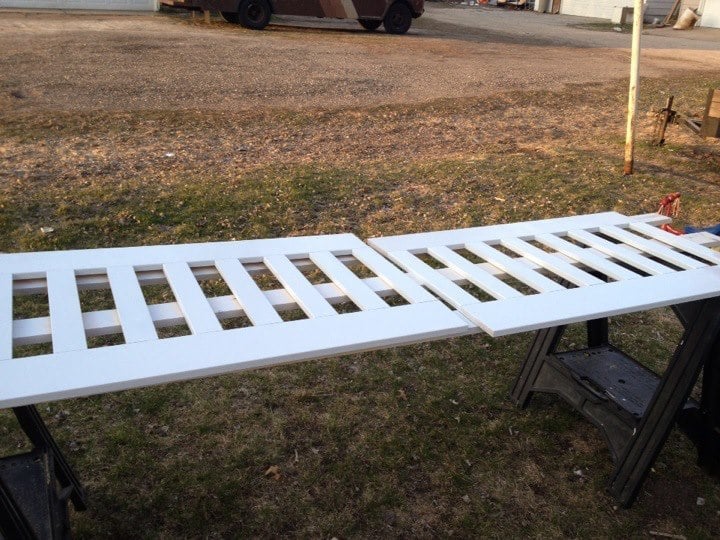
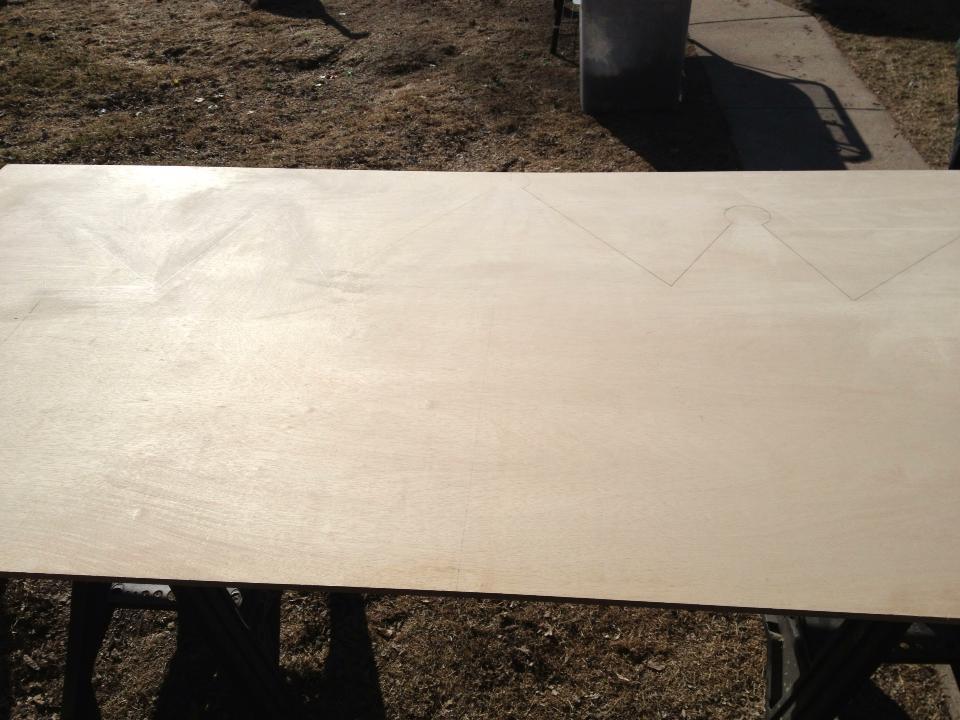
I purchased a twin girls captins bed for my daughter to grow into but she wasn't quite big enough for it yet so I had my husband convert it into a twin size crib!!!! Im in love with how it turned out. My husband Free hand a crown on a sheet of ply wood and cut it out. I used quilt batting and covered it with pink material and did the tips of crown in purple.

Estimated Cost
80.00
Estimated Time Investment
Day Project (6-9 Hours)
Recommended Skill Level
Starter Project

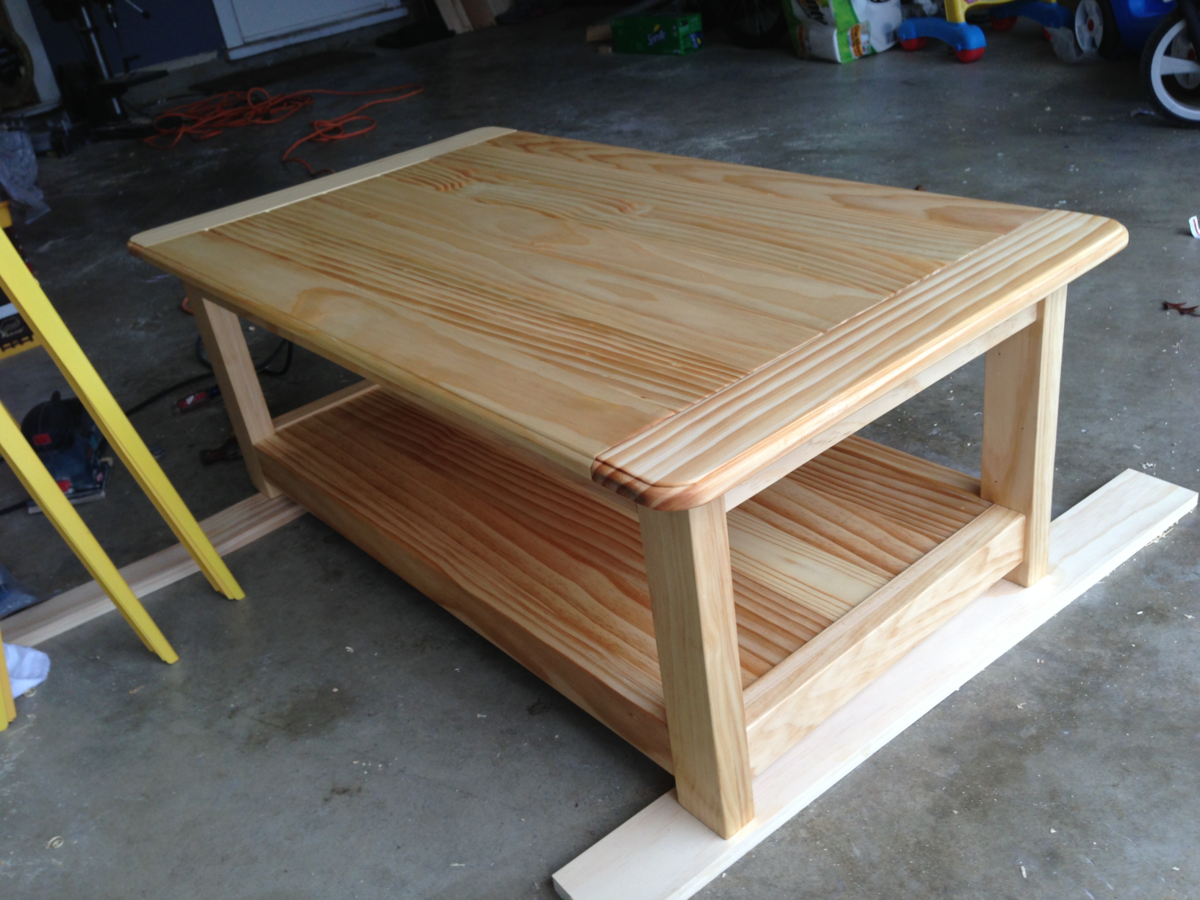
A farmhouse coffee table

Submitted by akutz on Tue, 04/29/2014 - 09:08

The Flickr gallery for this project is at https://www.flickr.com/gp/akutz/86502i/.

A friend of mine asked me if I'd build her a farmhouse table per the plans at http://ana-white.com/2009/12/plans-farmhouse-table-knock-off-of.html. Sadly I still haven't gotten around to building her one (sorry Jennifer!), and that's partly because even after practicing my skills on smaller projects, a full-sized table still seemed like a big job. Around the same time my two year old daughter was walking all over the house, and our coffee table presented a constant threat of head-banging and side-hurting danger. Then I realized I could build a miniature version of the farmhouse table as a coffee table, and in the process round the corners to make it baby-safe!

Unfortunately I'm not disciplined enough to write down the exact measurements, or at least not keep them since I never think anyone will be interested in these things later. I take pictures just to show friends and family. However, since these plans came directly from the aforementioned link of the farmhouse table, it should be easy to figure this out. The only differences were that I created the outer dimensions based on the space the unit would be taking up in my living room. And with a couch with a chéz, it was important to stick to those.

Also, as you can see, I added a second level to the table so that we could place things on it, but also for stability. This was not difficult to do since I just created an internal shelf to place the planks across the bottom.

Since my father is a master carpenter, and I explained to him what I was doing, he also recommended that I not fasten the upper or lower planks to the outside with any single piece. He said that due to weather-caused expansion and contraction throughout the year, if I fastened the planks together at the ends with the bread boards, there would be much cracking. That's why you see the bottom supports fastened to the underside of each plank with an individual block of wood, and not with one long piece. That way the planks can move independently of one another. that's also why they're not fastened together long-ways.

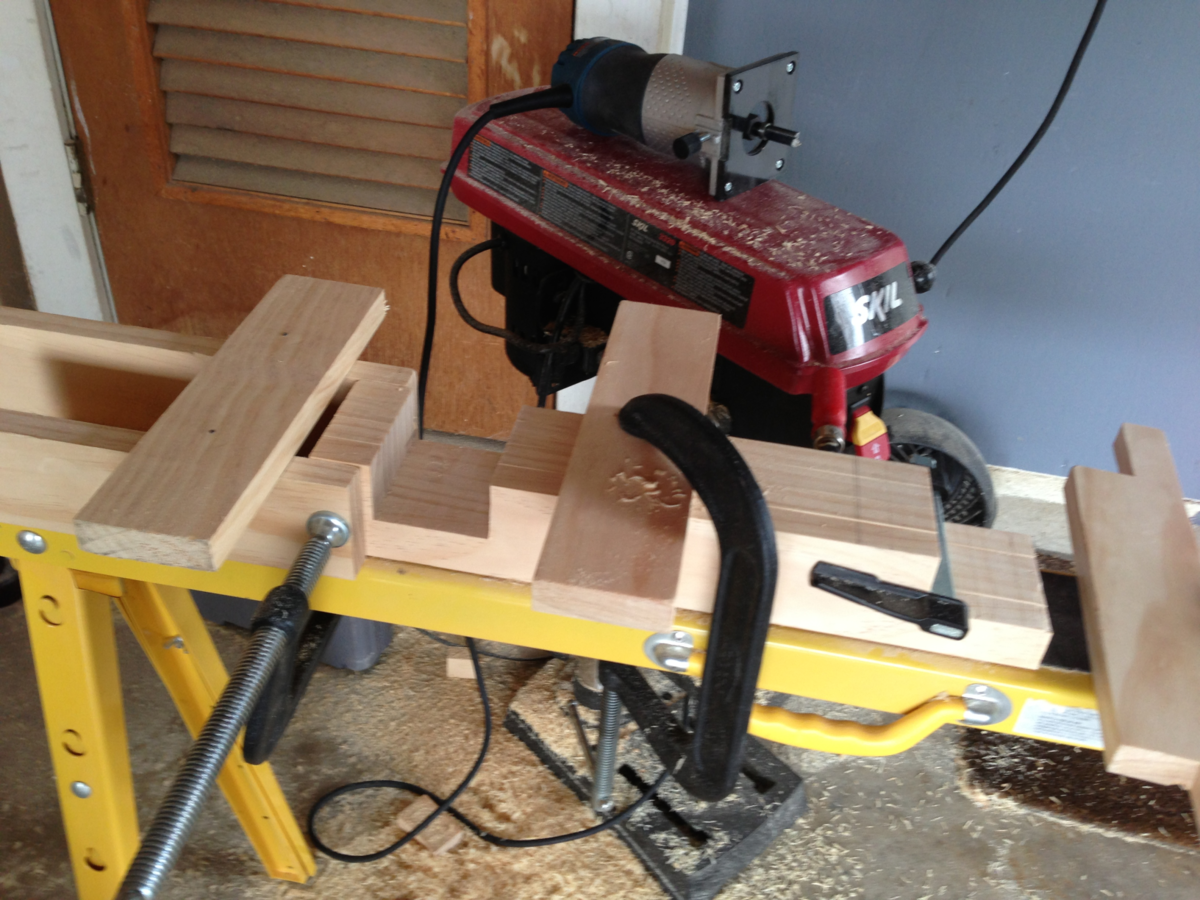
One last note. I built those legs several times. The only way I was ever able to get them correct is when my father told me to buy a long router bit, clamp the legs together, and route them all with guides. He said getting cuts in four separate posts even like that is one of the hardest thing to do if you don't make the cuts at the same time. He was right, and with his approach the table was perfectly level!

Estimated Time Investment
Week Long Project (20 Hours or More)
Finish Used
Clear minwax stain and clear minwax wax
Recommended Skill Level
Beginner

Beds for my girls

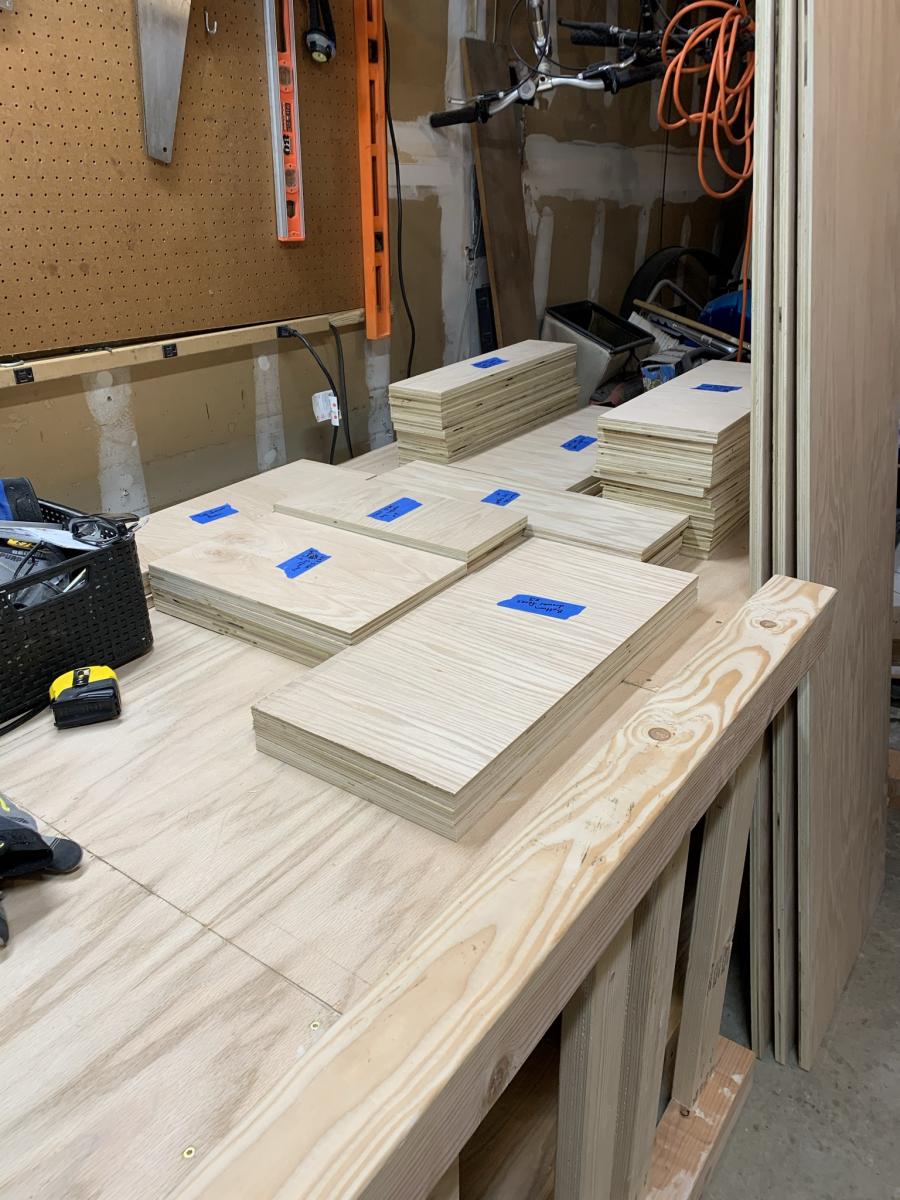
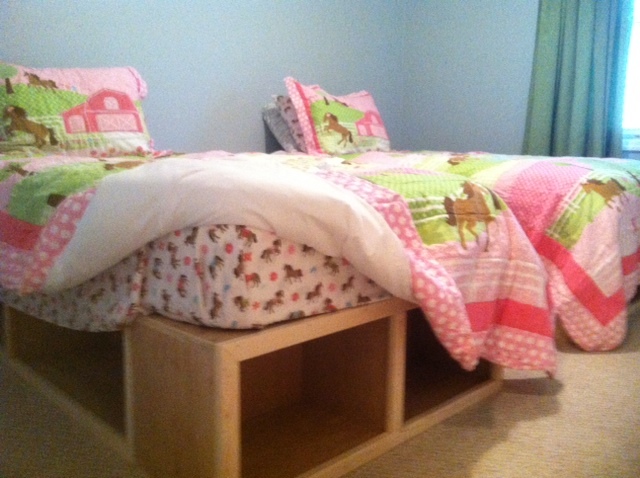
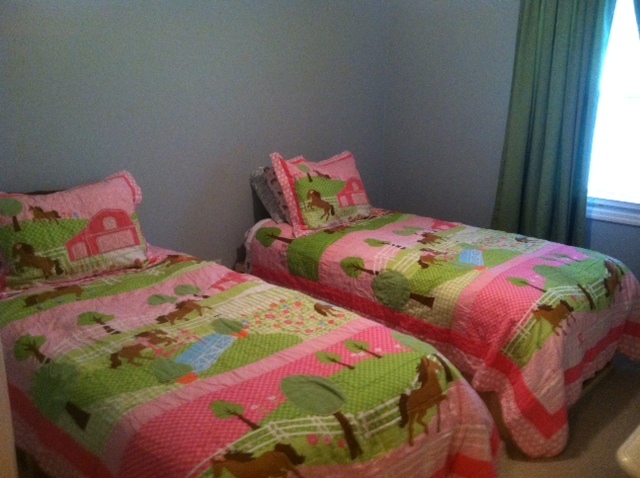
Rather than buying beds for two of our daughters, I wanted to take the opportunity to build them. I really had a great time doing. I used the plans from the Captains Storage beds, but modified it a little.

We ripped two 3/4 inch finished ply into 12in pieces.
That gave us all the sides, ends, and dividers.
The platforms are 12x12 3/4x
The ends are the same only sorter.

Rather than using slats for the middle support I just used the remain ply.
We finished the front with 6ft sections of 1x2 inch furring strips. A good sanding and clean up, and we are good to go!
Thanks for posting the plans! We really enjoyed building the beds and our girls love them!

Built from Plan(s)
Estimated Time Investment
Weekend Project (10-20 Hours)
Finish Used
unfinished wood
Recommended Skill Level
Beginner

Comments

sulu293

Fri, 09/20/2013 - 13:14

LOVE this! was looking for something other than the slats that would TRULY hold my polynesian kids, thank you for sharing! :-)