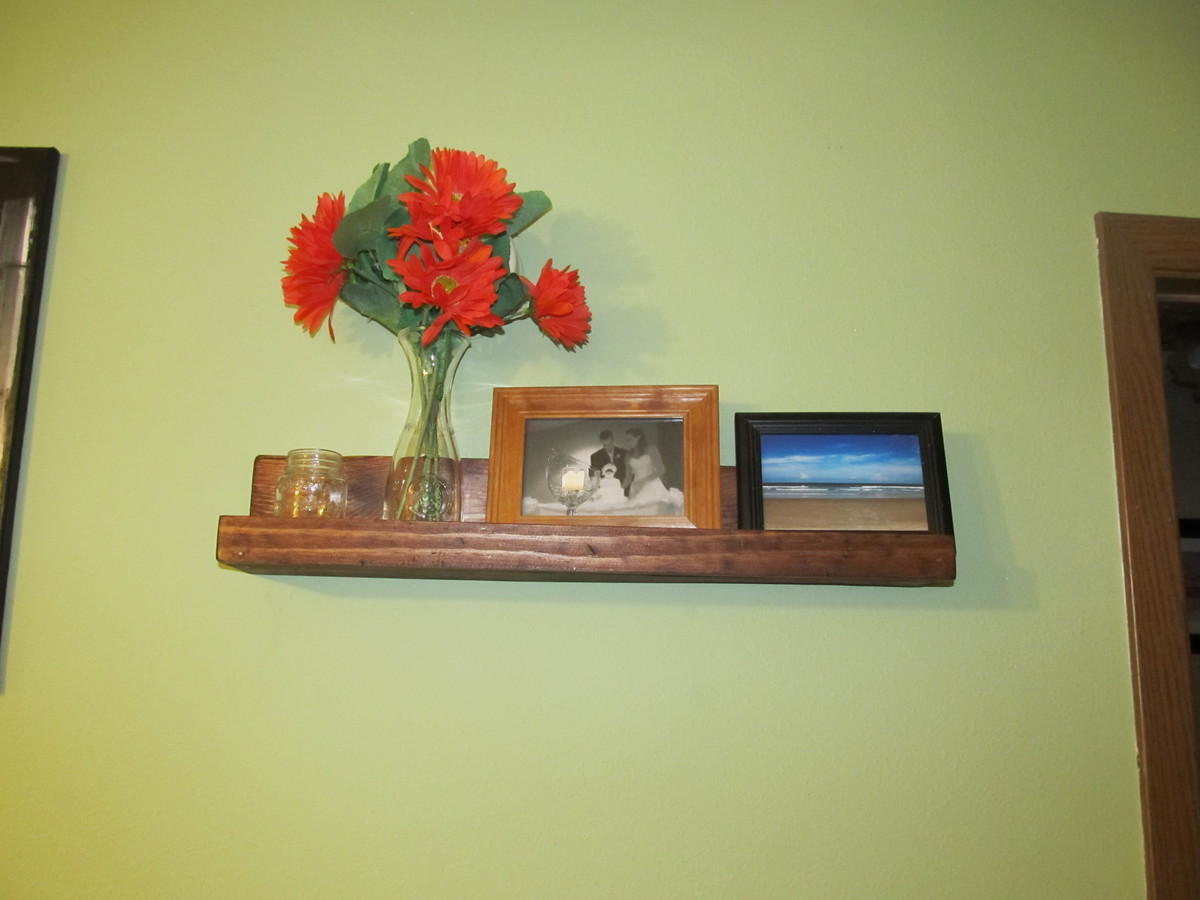
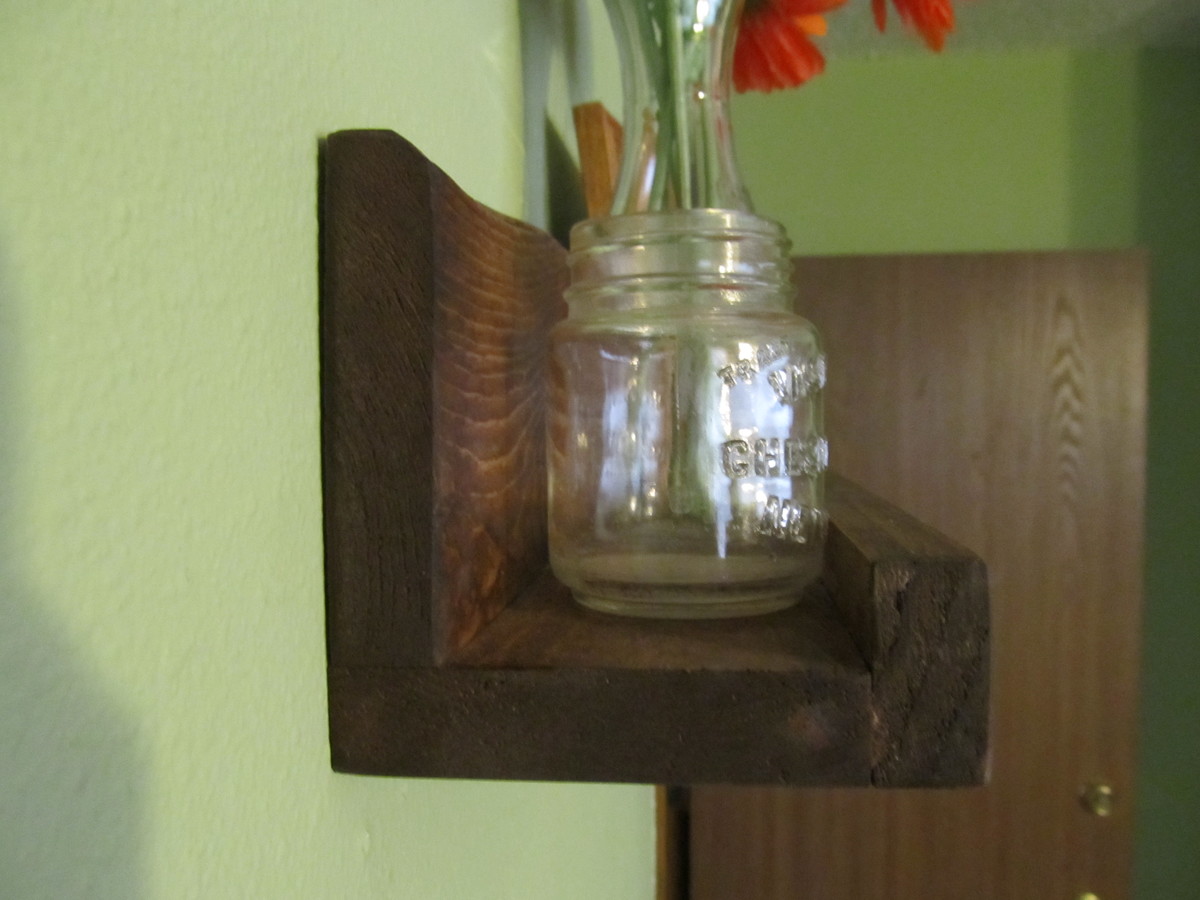
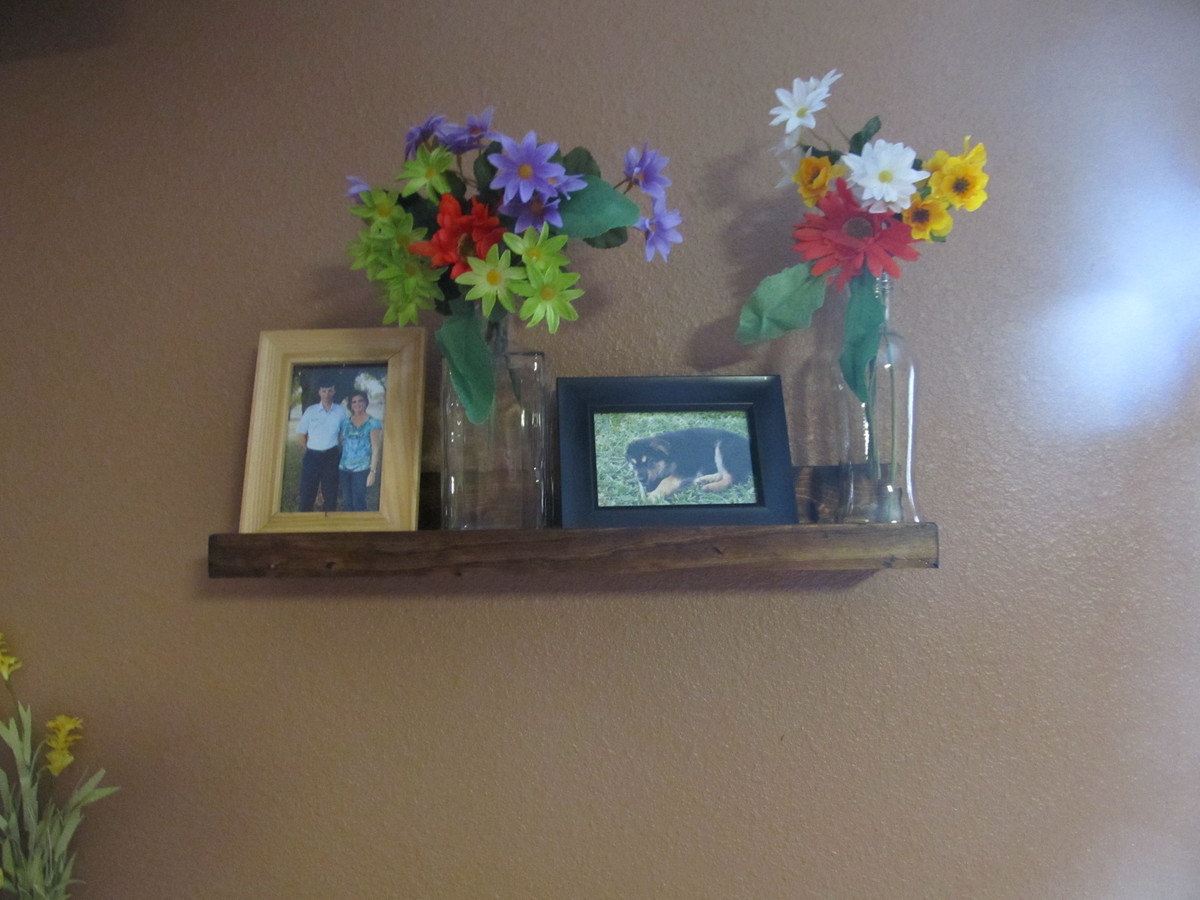
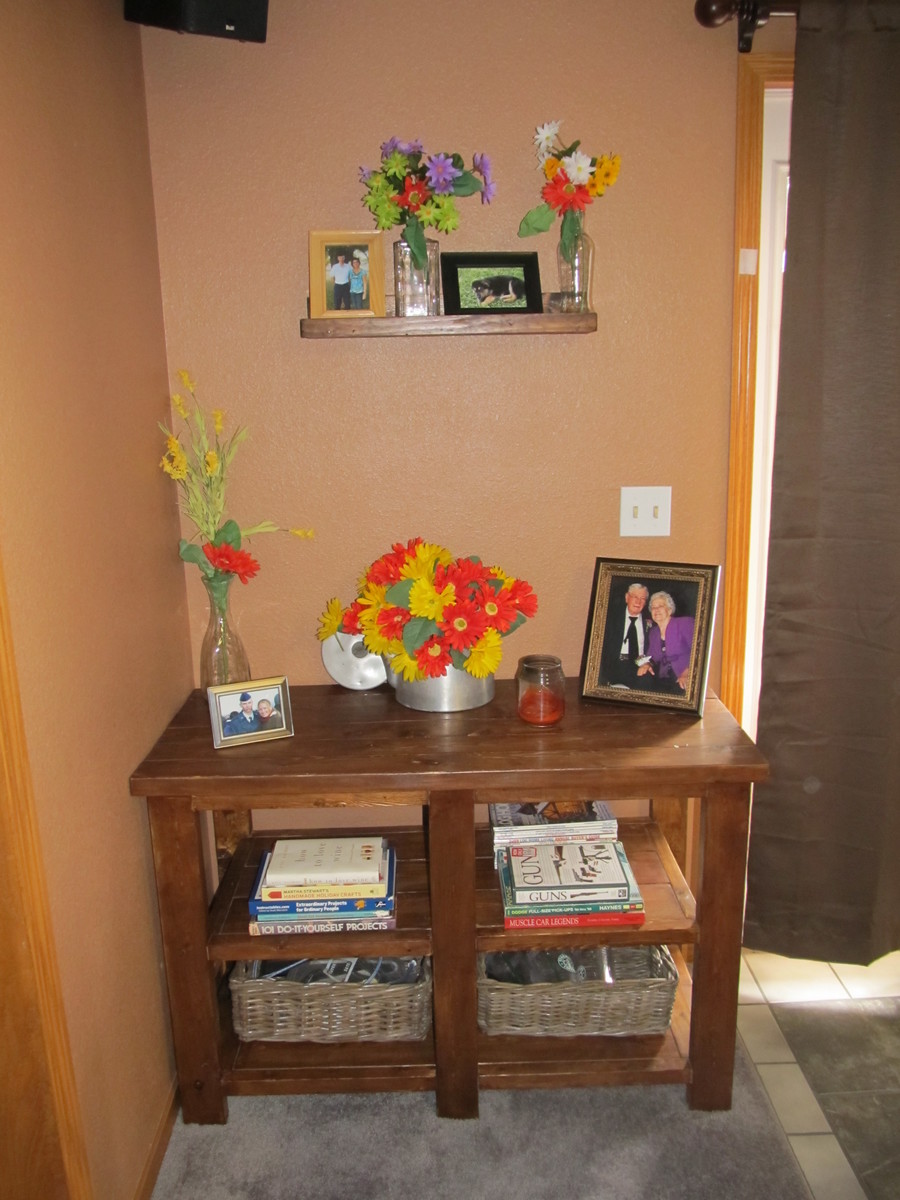
picture ledge
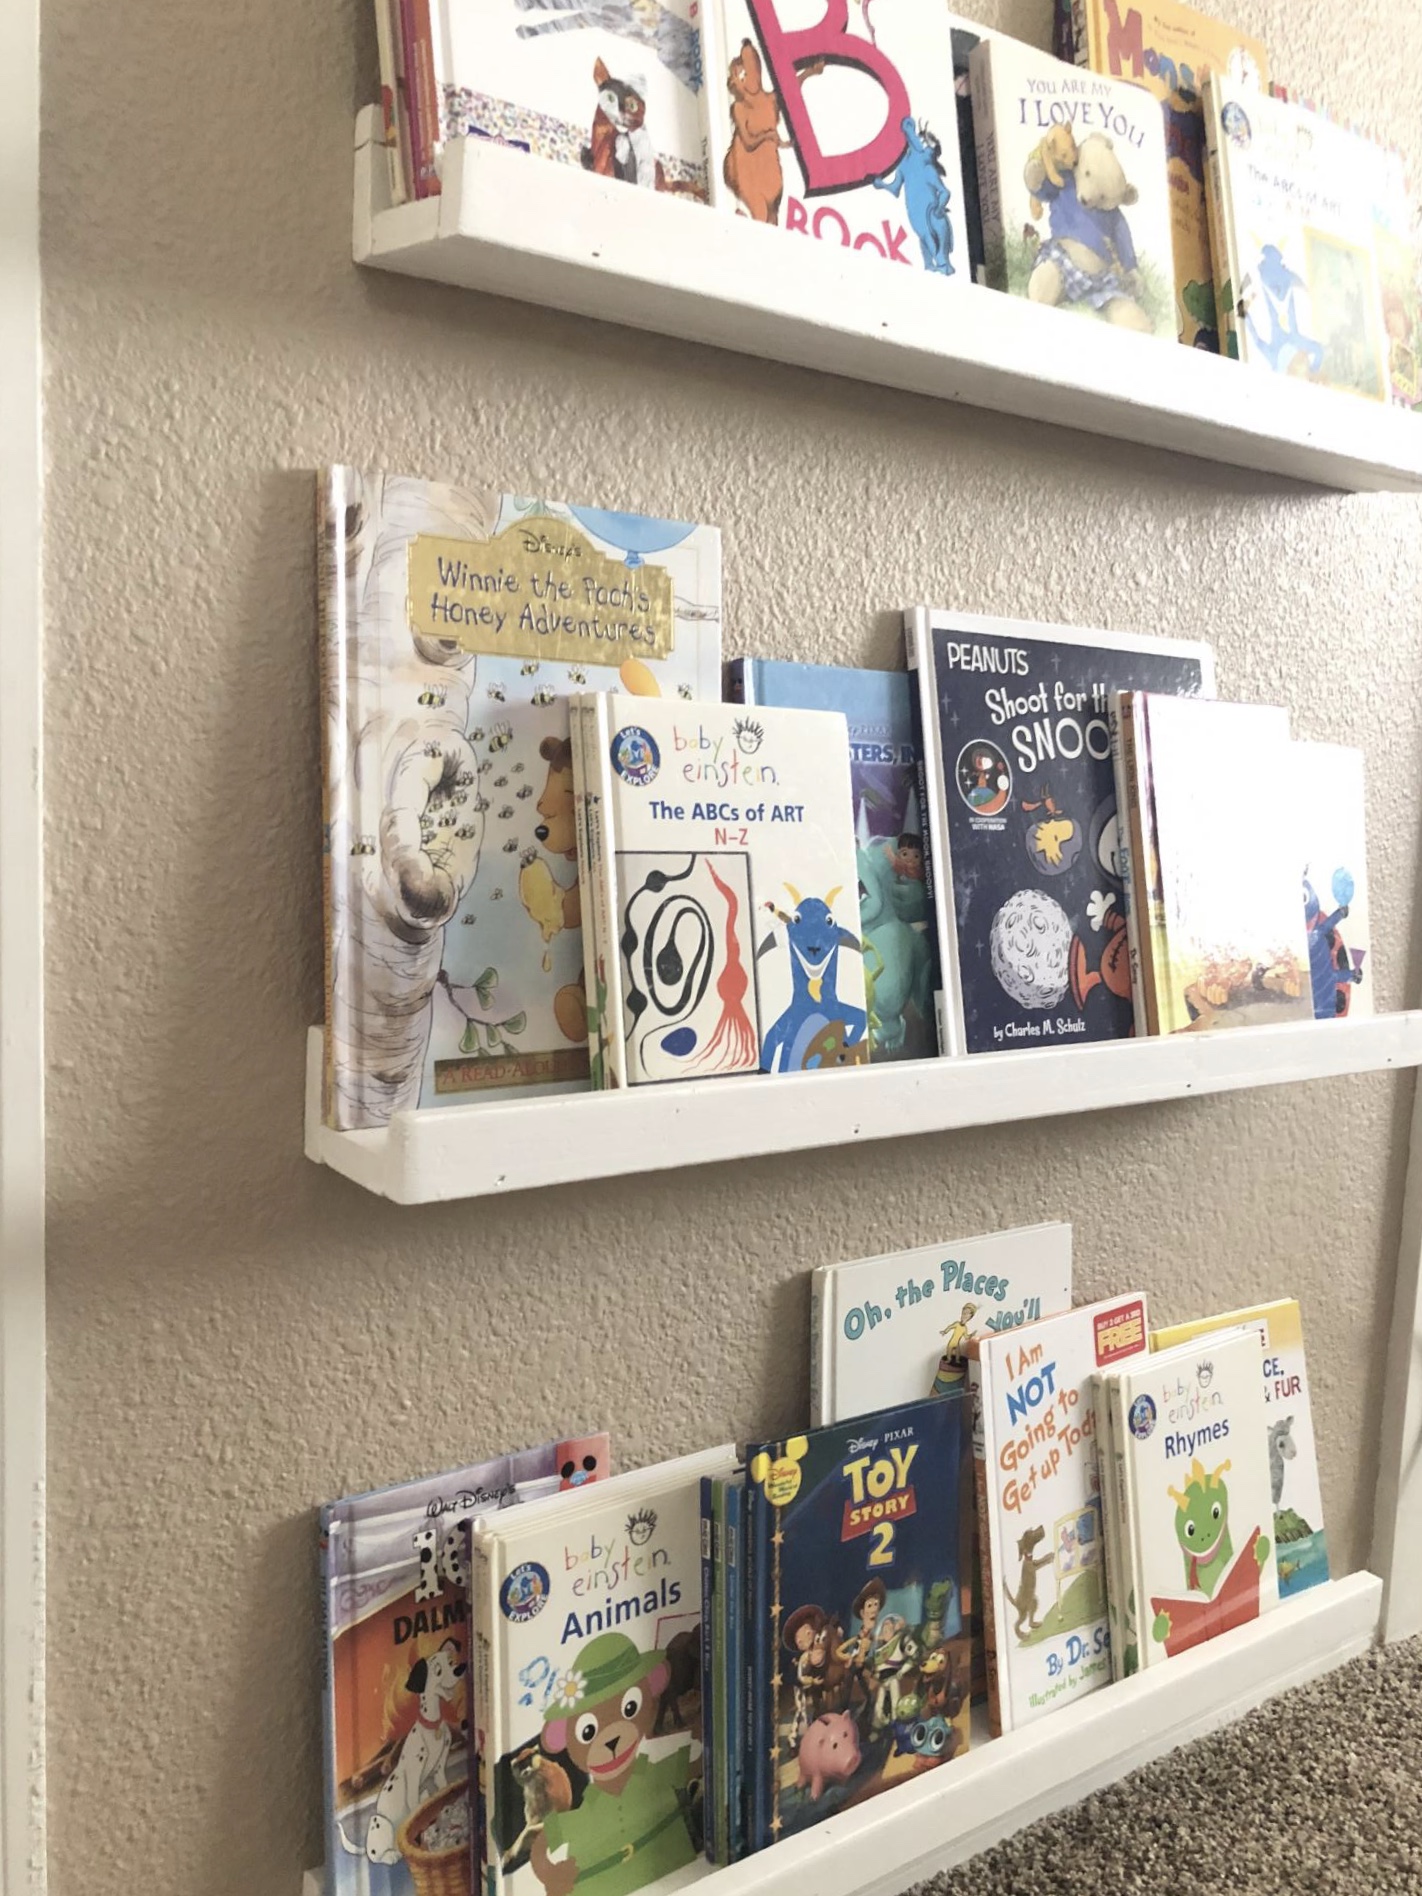
A great way to display books in the kids playroom. So easy to make.
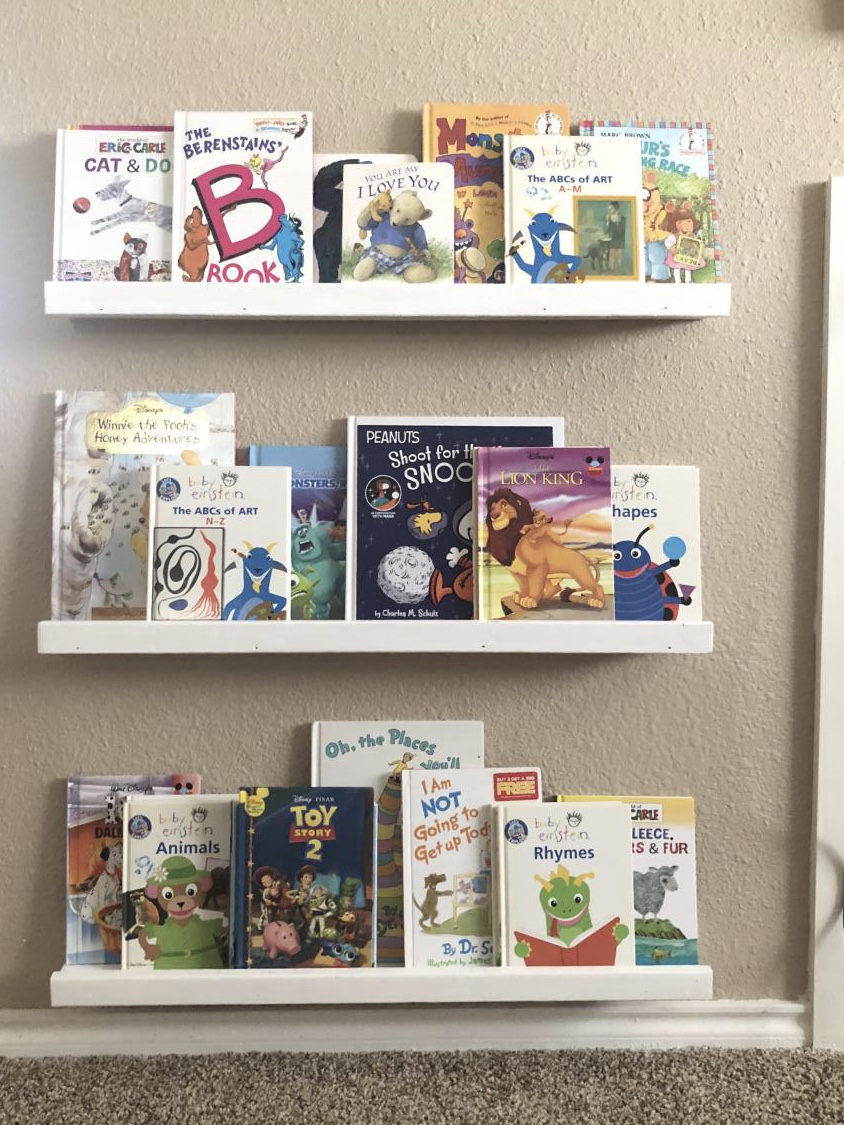

A great way to display books in the kids playroom. So easy to make.

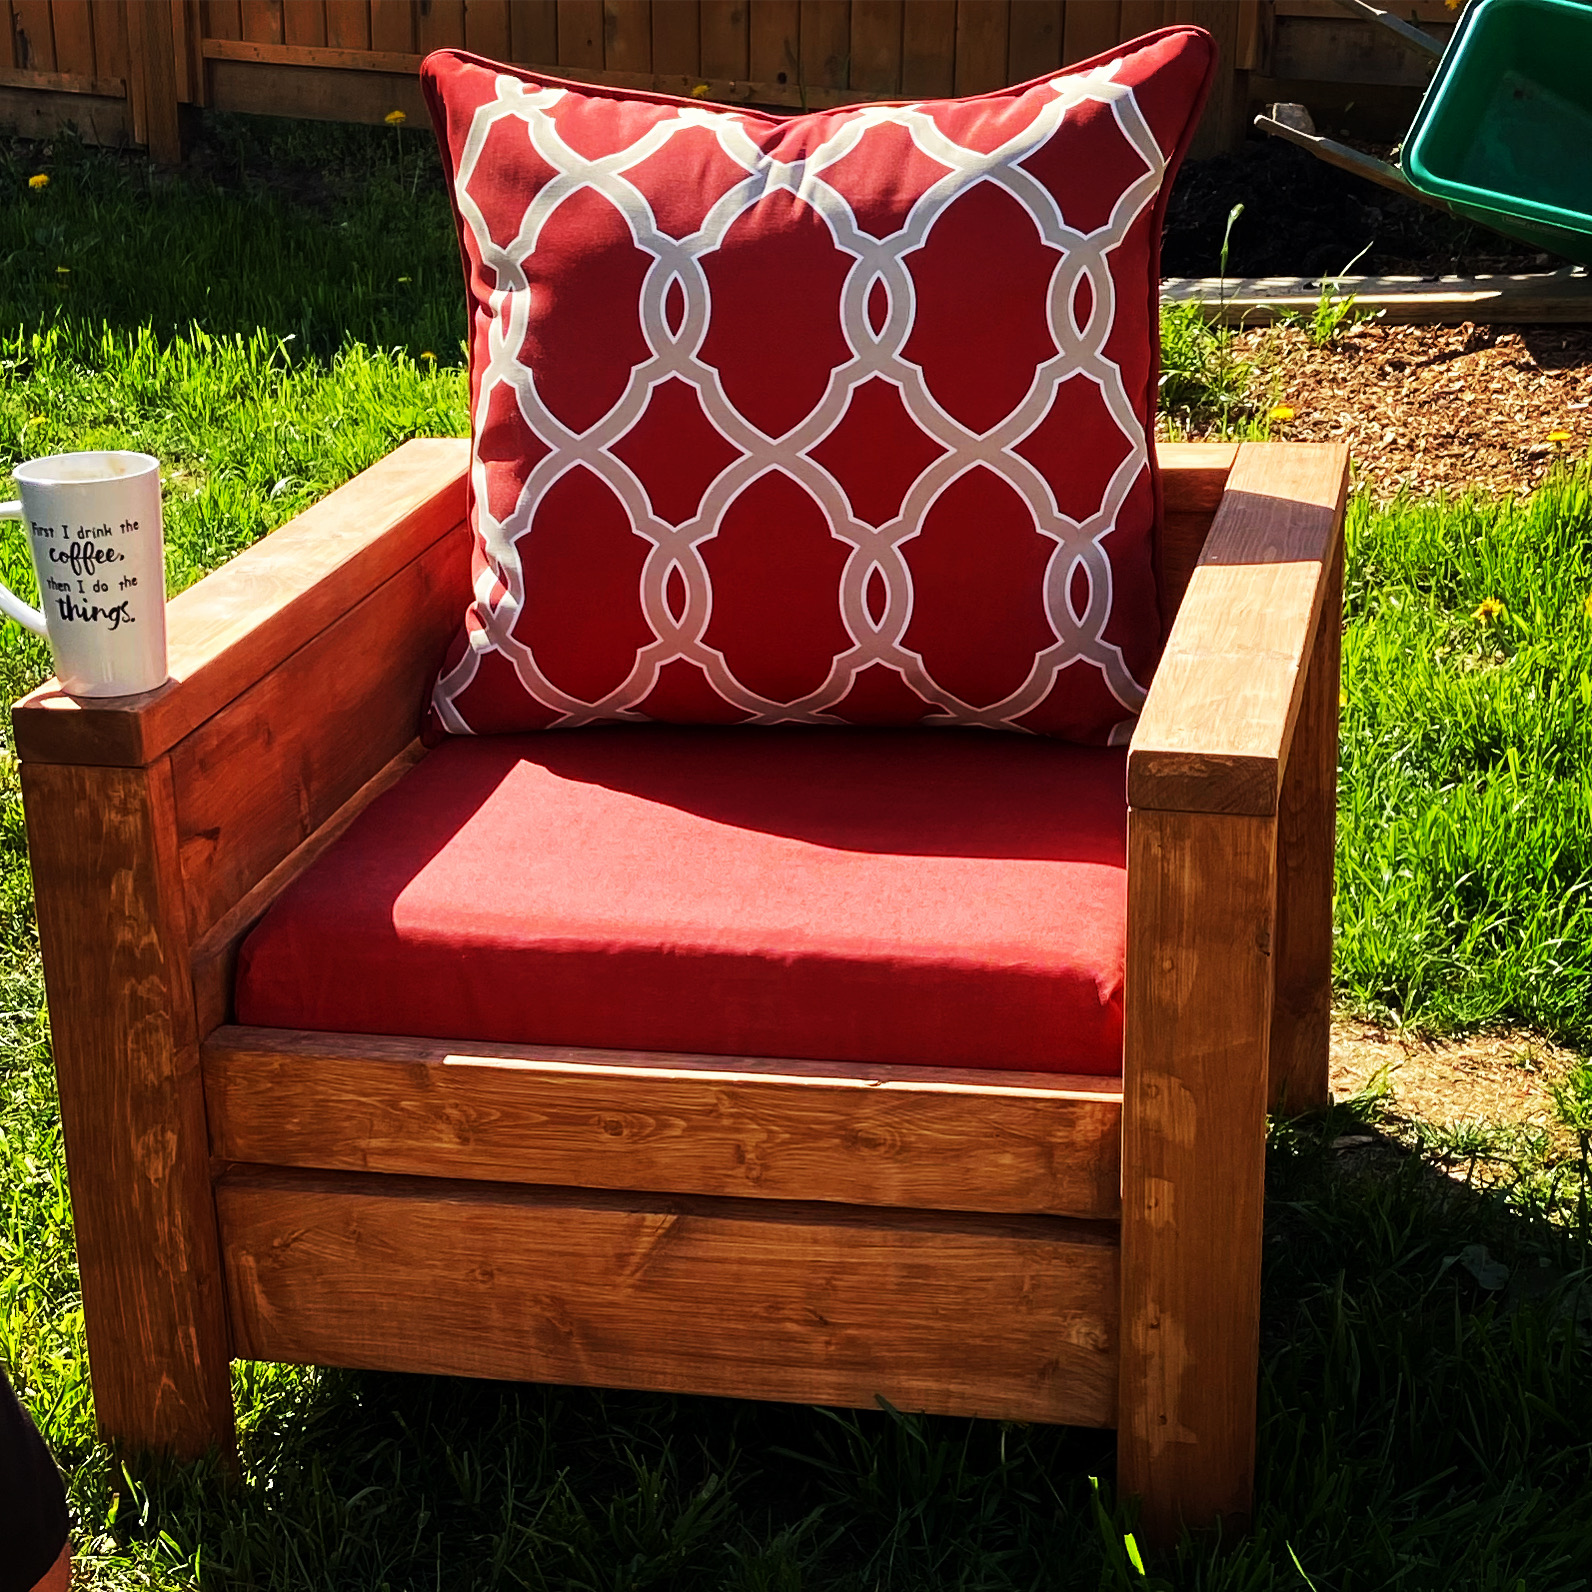
This is my first project. I loved how easy it was and I loved my husband’s reaction to the completed project.
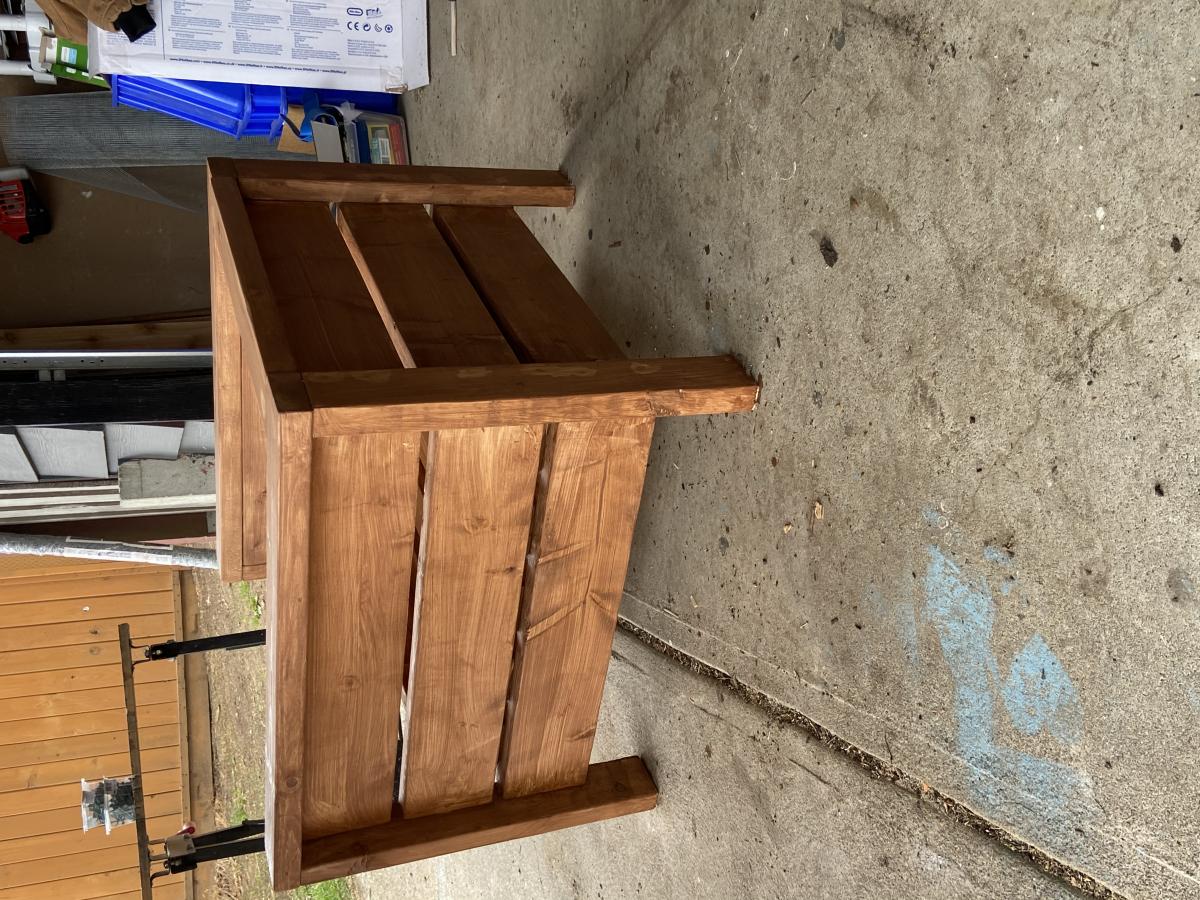
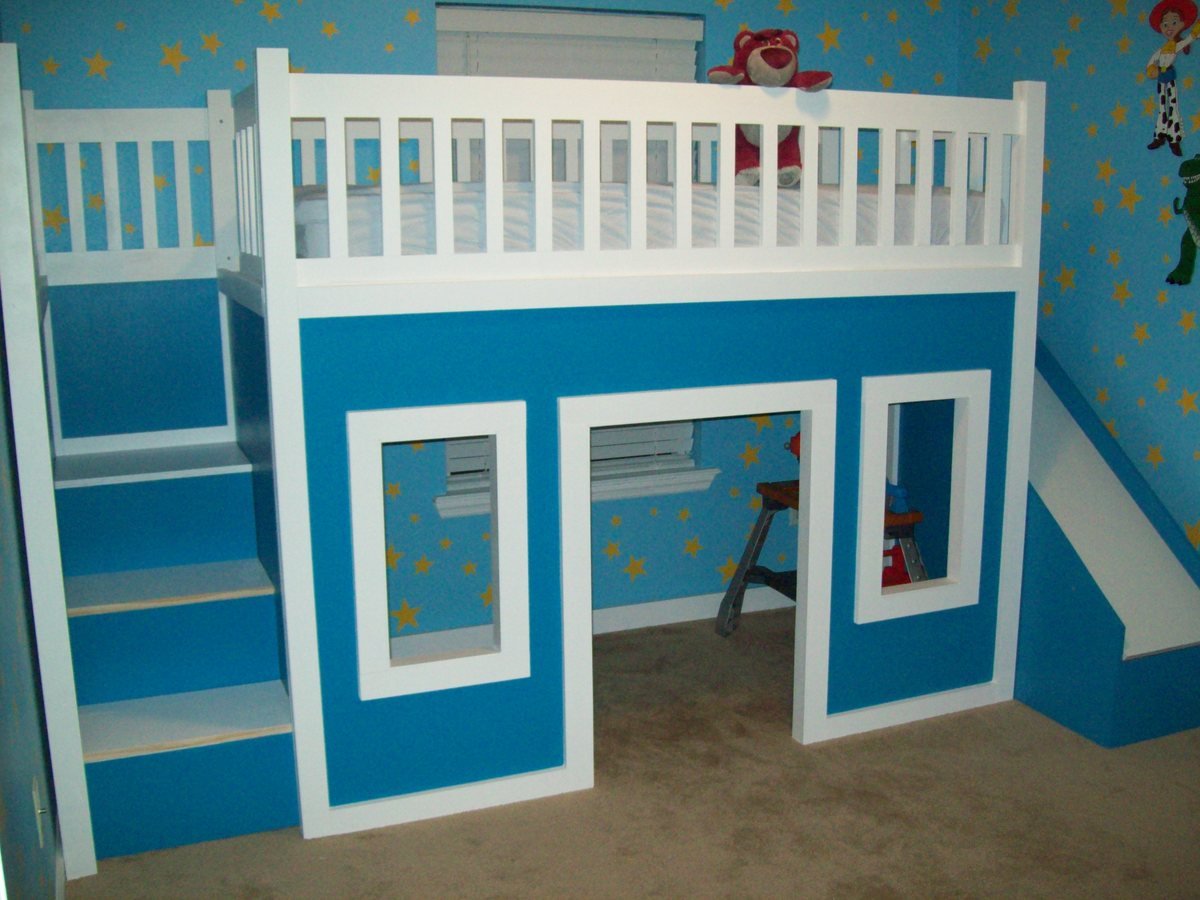
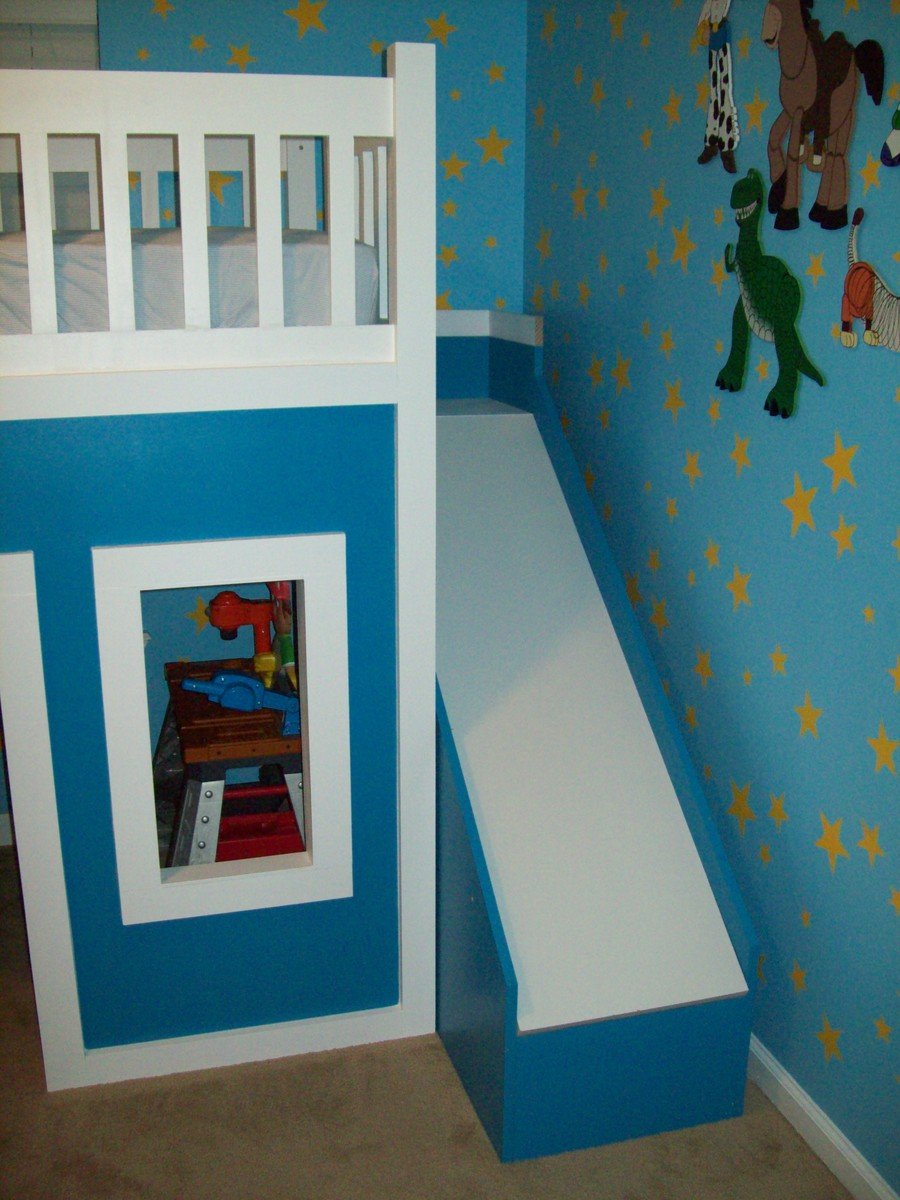
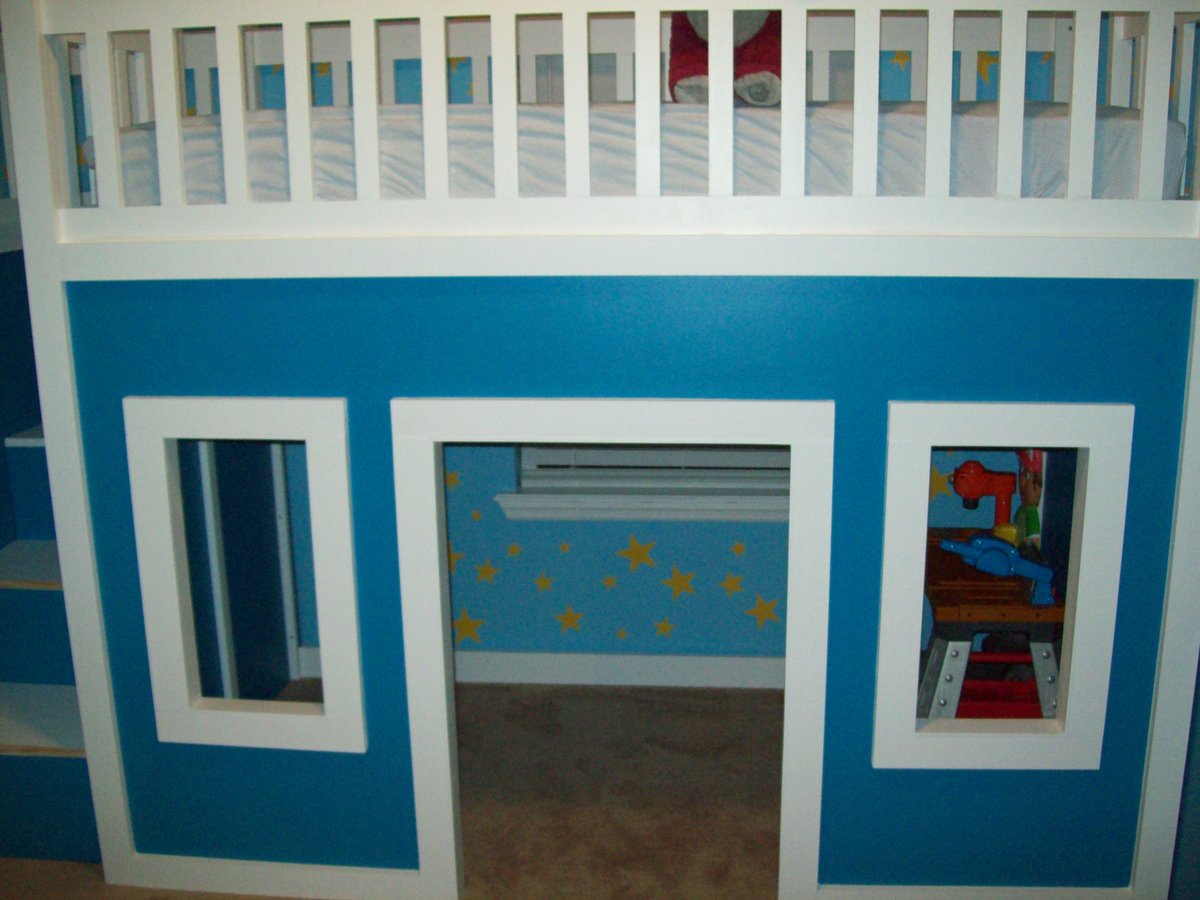
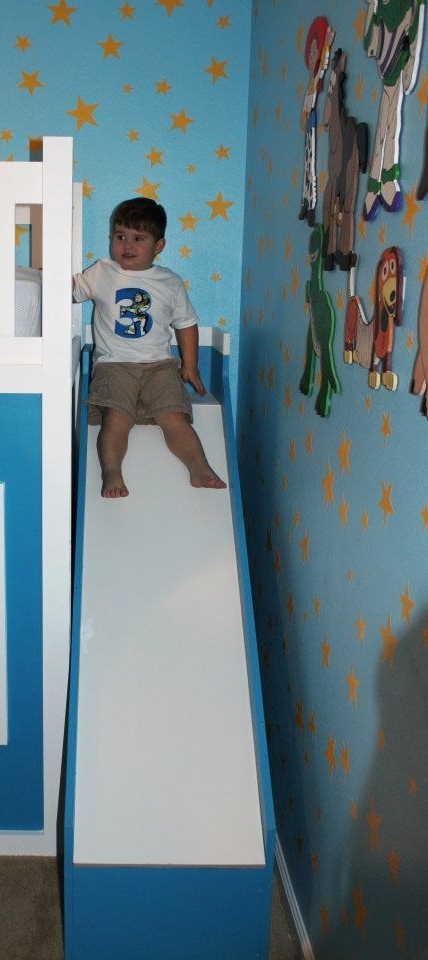
My son was about to turn 3 and I really wanted to redesign his bedroom as a birthday surprise. We went with a Toy Story themed room, he just loves Toy Story. I started off by painting the walls blue with yellow stars like Andy's room in the movie. I added some custom painted art work and then it was off to find a cool playhouse bed. My husband and I were shopping around and we could never really find what we were looking for in the store. So we decided to build one ourselves using plans from this website. I used the playhouse loft bed and the playhouse loft bed stair plans, for the bed and the stairs. I used the castle loft bed plan as inspiration for the slide. The project took us about 5 weeks from start to finish. We both have full time jobs and we did most of the work on the weekends. I looked at each plan very carefully and made notes. I had to modify the stair plans slightly to fit the space where we wanted to put the bed. The stairs look narrow, but they work just fine. My husband and I can both use them to get up in the bed. The stairs feature hinged stair tread with built in storage. We built them like that at first, but then later decided to make them stationary stair treads, with plywood. I didn't like the way the hinges looked and the top stair was so deep that I was worried my son would fall in there and get stuck. The storage idea was neat, but his safety was more important to me. The bed turned out really nice and VERY sturdy. Both my husband and I are able to get up there with my son (not at the same time). Another modification that I made was instead of slats to hold on the mattress, I used a piece of plywood. I wanted the roof in the playhouse to look finished, and I didn't want to see his bedding hanging down from the slats. I painted the top of the plywood white, where the mattress goes to blend in with the slats, and the other side was painted blue to match the walls inside the playhouse. I did modify the playhouse front facade to have 2 windows and one door. I like the symmetrical look. The total project cost about $400. I used birch plywood and select pine boards, and about 6 quarts of paint. I noticed AFTER we had finished the bed using the birch plywood, that Home Depot had cabinet grade plywood on a random end cap, that was just as nice for $12 less a sheet. If I could do it all over again, I would definitely use that!. I wanted the paint to have a nice smooth finish, without having to do a lot of sanding or patching. We had Home Depot cut the plywood to the dimensions we needed. I had my husband cut the rest of the wood dimensions listed in the plans, and then I painted all of them before we put the pieces together. I used a small roller and self priming paint. The paint finish looks great. After assembling the bed I can not imagine what I would have gone through trying to paint it after the fact. The slide was a bit tricky, I looked at the plan for the castle loft bed and attempted to use those dimensions, and for the most part they worked. But when we went to assemble the slide, we did end up recutting some of the wood to different dimensions. I used a piece of the melamine coated closet shelf material for the slide. It is already finished in white and its nice and slick, like a slide should be! I hate MDF, but for this it seemed the best fit. We cut the top edge at an angle to meet up with the slide platform. PLEASE BE CAREFUL with this material. After it was angle cut the edge was razor sharp and I sliced my fingers up. Once it was installed it butted up perfectly to the slide platform, and the edge was hidden and not a danger. But use caution during the install. Clamps are your friend! We used Kreg clamps for everything. They kept the wood in place while we were screwing the parts together. The coolest thing that my husband came up with was clamping two identical pieces for plywood together, and drawing the template for the slide support walls. Then he used his circular saw to cut them out. We ended up with two mirror image pieces. They looked awesome. I left them clamped together when I sanded the edges as well. We really didn't have any building experience other, than building tables and chairs for children, We got the deluxe Kreg jig kit and a miter saw on Craigslist for $50 each and they were both practically brand new. This was the first time we had ever used a Kreg jig and we are both addicted. That thing is the bomb. We locked my son out of his room for a week while we assembled everything. We had the big reveal at his birthday party and all of the guests were excited to see it after seeing my facebook teaser posts of our progress. There were 8 kids up there at one time and the bed did not budge. They all enjoyed the slide. I did the planning and paint and my husband did an awesome job making all of the cuts and sanding everything. We are both very proud of the final product. My son love his new big boy bed. DISCLAIMER: This bed is not recommended for a child under 6 years old. My son is mature for his age and we monitor him carefully.

Wed, 07/06/2016 - 10:05
Hi, my husband is building this bed for my 6 yr old daughter, but in purple blue and white. We adding the slide too. May I ask what size bedroom you guys have for your son, and did the bed fit well? Did you have to make any adjustments for it to fit in the bedroom? Thanks in advance! Your bed looks great! I hope ours turns out as good.
Christine N in PA
Ana, thanks for these plans! They inspired me to make my first bed build. I also want to thank all of you that added brag posts! They gave me ideas for some of the modifications that I made. I did this build by mixing your Queen Farmhouse and Queen Farmhouse Storage bed plans. I also added a number of modifications to suit my own preferences. The drawer boxes I changed by building a faceplate (I didn't want the plywood ends exposed), and by increasing in depth to maximize some additional storage. Since I increased the drawer sizes, I went with the euro roller bearing slides. I increased the foot-board height to be slightly higher than the mattress. I also designed the footboard to have a removable inner section with hidden latches on the inside. I did this because I wanted to make use of the "dead space" between the drawer boxes. I then used this space to house a hidden drawer, that is approx six feet deep (I couldn't help myself-I love hidden drawers  ). Because I added the hidden drawer, I changed the opptional center support to 4X4 blockes that were pocket screwed under the center of the boxes. I ended up using birch plywood and fir for this build. For my first bed build I'm fairly happy with how it came out. Thanks again!
Thu, 12/11/2014 - 07:41
This is your first build and you did all of those awesome modifications?! Really impressive and it looks perfect! Congrats and welcome to the community!
In reply to Seriously?! by spiceylg
Sun, 12/14/2014 - 06:03
Thanks for the compliments! It was a fun learning experience. Making all the modifications definitely slowed down the build, but also made it more rewarding!
Fri, 12/12/2014 - 13:18
I just started my bed (mostly out of Baltic Birch) and am wondering where you were able to find such nice 4x4s. Your bed is gorgeous! No luck here. I bought redwood, but really wanted fir for the sharper edges. It's my first project, too. I also bought same drawer slides, but the soft close. Didn't want the slam. I figure building it will be the easy part compared to procuring nice 4x4s! Hope you can help!
Sun, 12/14/2014 - 06:01
Thanks! The 4x4s I found at a place called Better Living Building Supply. They had a pretty nice assortment of fir, including the 4x4s, so that is why I chose it for the build. Finding the 4x4s slowed down my start on the build. Our local Lowes only had them in treated pine.
Sat, 09/05/2015 - 20:47
Thank you for the pictures, the bed turned out Awesome. I was wondering about the latching system for the foot of the bed. Do you think a piano hinge on the lower would work too? Also on the center drawer did you use rollers or is it just friction? Can't wait to start the build.
Thanks
Mon, 02/15/2016 - 14:11
This is excellent!!! I really like this, so much in fact that the wife is going to have to get used to it too. lol But really, GREAT work! Any chance you could post a pic and or comment about how you attached that removeable end? i think this is the best part! Cheers!
Wed, 10/24/2018 - 23:21
How can I get / purchase the plans for the construction of the bed ?
Tue, 12/10/2019 - 08:42
Beekeeper, Awesome build!!! Have you posted your altered plans anywhere? I'm very interested in your build, I was wondering about some aspects of it and how you approached it. Plans would clear it up instead of bothering you with all my questions.
Mon, 11/16/2020 - 15:42
Bed turned out awesome. I was wondering if you have the plans for the bed with a list of supplies it took to make this bed. I so want this bed it's just what we are needing
Great job

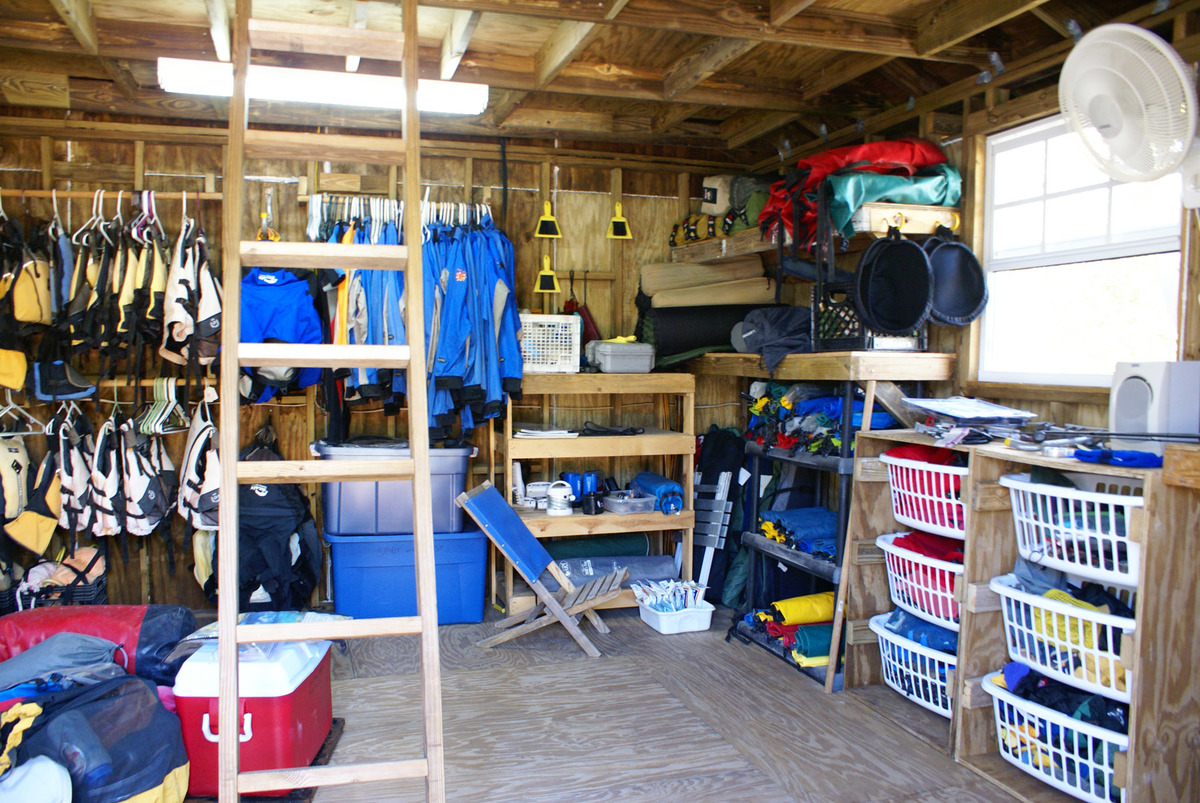
Thanks to the tips and tricks we picked up from Ana here, we were able to build our very own storage shed. We use it for storing our kayaking, sailing and camping gear for our company down here in the Bahamas (which is still a bit unorganized in the photo). It works so much better than what we had before in multiple kit sheds. We even have a loft up top for extra storage, electricity in there with a fan, fridge and lights... MAJOR UPGRADE :) We still need to paint it and finish a few things, but we are very thankful to have it up and being used.
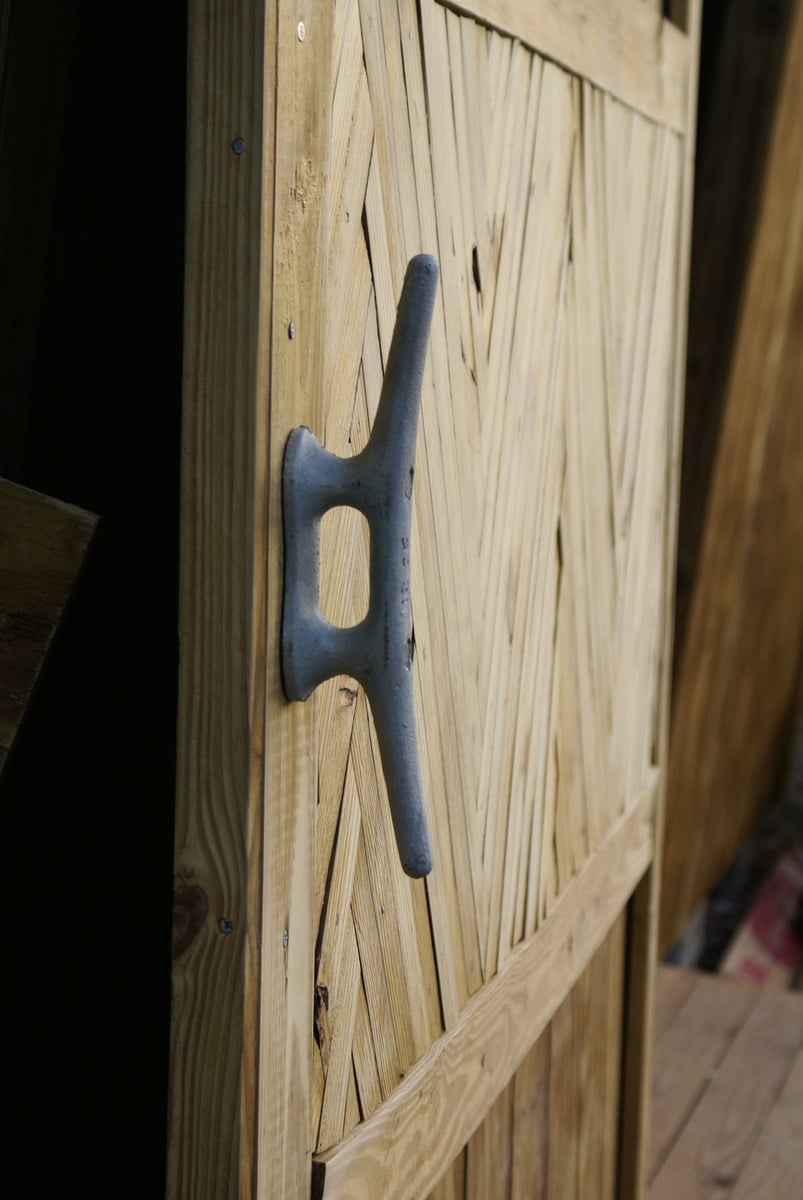
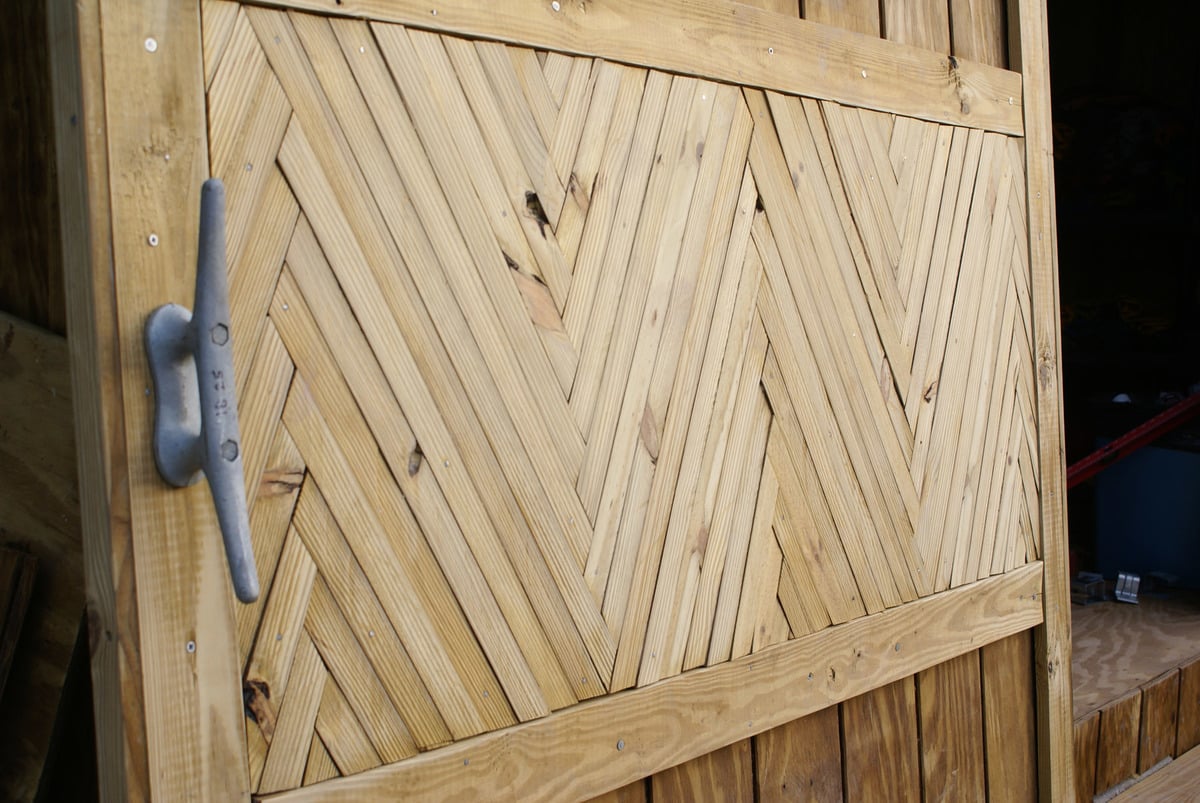
My favorite thing is the door handle (a boat cleat) sliding barn door and the herringbone design for 'eye candy' :)
Thanks go out to Ana and her wonderful site! I would have never attempted this without the foundation I built here!
Sun, 04/14/2013 - 20:37
What did you use to make the sliding door? Can you upload pics? I really want to make one for my bathroom but all the hardware I find is really expensive.
In reply to Sliding door by jbayer80
Mon, 04/15/2013 - 11:29
I've read on some blogs people have found theirs at Lowes or Tractor Supply.
Mon, 04/15/2013 - 06:05
We built the door out of some T1-11 Siding, 1x4's and various scrap pieces. The hardware we used is this Stanley set here: http://www.stanleyhardware.com/default.asp?CATEGORY=HDW+BARN+BOX+TRACK&… Then we bought the steel track separately. This door is super heavy, but it rolls like a charm on the track. Does this help any? Good luck!
Mon, 04/15/2013 - 11:42
And they work perfectly for our camping gear and kayaking gear too :)
Sun, 05/05/2013 - 13:58
Not really any plans that would help. We just drew some rough sketches up some paper and kind of went from there. Between Ana's site here and this book: http://www.amazon.co.uk/Building-Shed-Build-Like-Pro/dp/1561586196 we just pieced things together with the space and money we had. The book just helped me a lot to plan it out, and then all of the building techniques Ana has taught me on here came in handy. It's a group effort :) Hope this helps!

The plans were easy to follow. I modified my island to fit my space and cut it down to 44 inches in length.

Fri, 07/22/2011 - 14:13
i was looking for THE PERFECT ISLAND.. thank you so much for posting this. love it and can't wait to start building it. where did you find the shelves?
Mon, 10/31/2011 - 15:33
Your island is gorgeous, and I love the modification you made to the original plans on the shelving support! I would like to know what size the boards are that you used so that I can duplicate. Thank you!
Tue, 02/07/2012 - 19:43
I would think it would be basically the same build, just add brackets to support the extra wood.
Mon, 03/05/2012 - 15:20
I want to make this Kitchen Island but if can't find the Supply List. Would you mind posting it or emailing me please! This will work perfect in my Kitchen
Mon, 03/05/2012 - 17:46
Wow! Just a wonderfully simple project! I can figure it out by looking at it. I have a piece of Rock Maple Counter Top 24"x6'that needs legs. I'll probably use 4x4' for legs, six of them. But the shelves will be just like this. Thank you!
Mon, 03/05/2012 - 17:50
Wow! Just a wonderfully simple project! I can figure it out by looking at it. I have a piece of Rock Maple Counter Top, 24in.x6ft., that needs legs. I'll probably use 4x4s for legs, six of them. But the shelves will be just like this. Thank you!
Mon, 03/05/2012 - 18:59
I have enjoyed what I have seen so far. You are an awesome designer.
Mon, 03/19/2012 - 11:57
Do you have instructions on how to build this? It's awesome!
Wed, 04/04/2012 - 11:58
Just click on the link for the instructions. It's under the heading 'About This Project' titled as 'From Plan: Easy Kitchen Island Plans'.
Click where it says 'Easy Kitchen Island Plans'. When you hover your cursor over the words, you will see that is a hyperlink.
Sun, 05/20/2012 - 06:48
I love your island and I also have a small kitchen...would you happen to know the sizes of the boards you used? Thanks
Wed, 07/25/2012 - 14:31
Yours looks so different and so much better then the one that show how to make it, how did you do it? I really would love to build it but have no idea how...
Thanks so much!
Wed, 08/15/2012 - 13:08
This island is perfect. I love the shelves and the size. Any chance you could send me the dimensions of this island and details on how you did the shelves? Great job!
Wed, 12/31/2014 - 07:37
Hi, this is my first time building anything. I really like the modification made to the original plans. I like the legs facing the other way. I can't figure out how to modify the cuts on the sides and front and back supports for the top to adjust for turning the legs the other way. Are there modified plans. LOL I need instructions, I’m not quite there yet on doing it myself. Thank you
Sat, 06/06/2015 - 18:33
Hello, i love this island but maybe i missed it. What kind of wood is everyone using? Frosting said $47 but that could only be for pine right? Are people using pine to build this? I would like it to look just like the picture. Any help would be appreciated! thanks!
Fri, 08/14/2015 - 14:34
I wnat to kow how much wood and what size I need ans the saws i need to build this project
Fri, 08/14/2015 - 14:35
I need to know how much wood and what size wood and also what kind of saws do I need for this job
Fri, 08/14/2015 - 14:35
I need to know how much wood and what size wood and also what kind of saws do I need for this job

I got tired of sleeping on the floor like college kids, but I didn’t want to buy a junky particle board bedframe. My husband and I are novice woodworkers. Even still, we bought the lumber around noon and managed to finish the whole project in about 5-6 hours! We used a Kreg jig for the first time and it was pretty simple. I am really pleased with how this turned out, and I can’t wait to try more of Ana’s plans in the future.
I wanted a window seat that would fit my window. There was no way I could afford to buy anything. Ana's site inspired me to modify her plans to create what I wanted. My husband and I worked on this during the weekends and between my son's nap. The piece is so large that 2 people were needed just to pick up the wood. The finished piece is 8' long, 2' deep and 18" tall. If we ever move, it might have to stay with the house.
Mon, 01/23/2012 - 16:47
Working on a plan for my own window seat ... attached to a book shelf to hug my big window. This is inspiring.
Dona
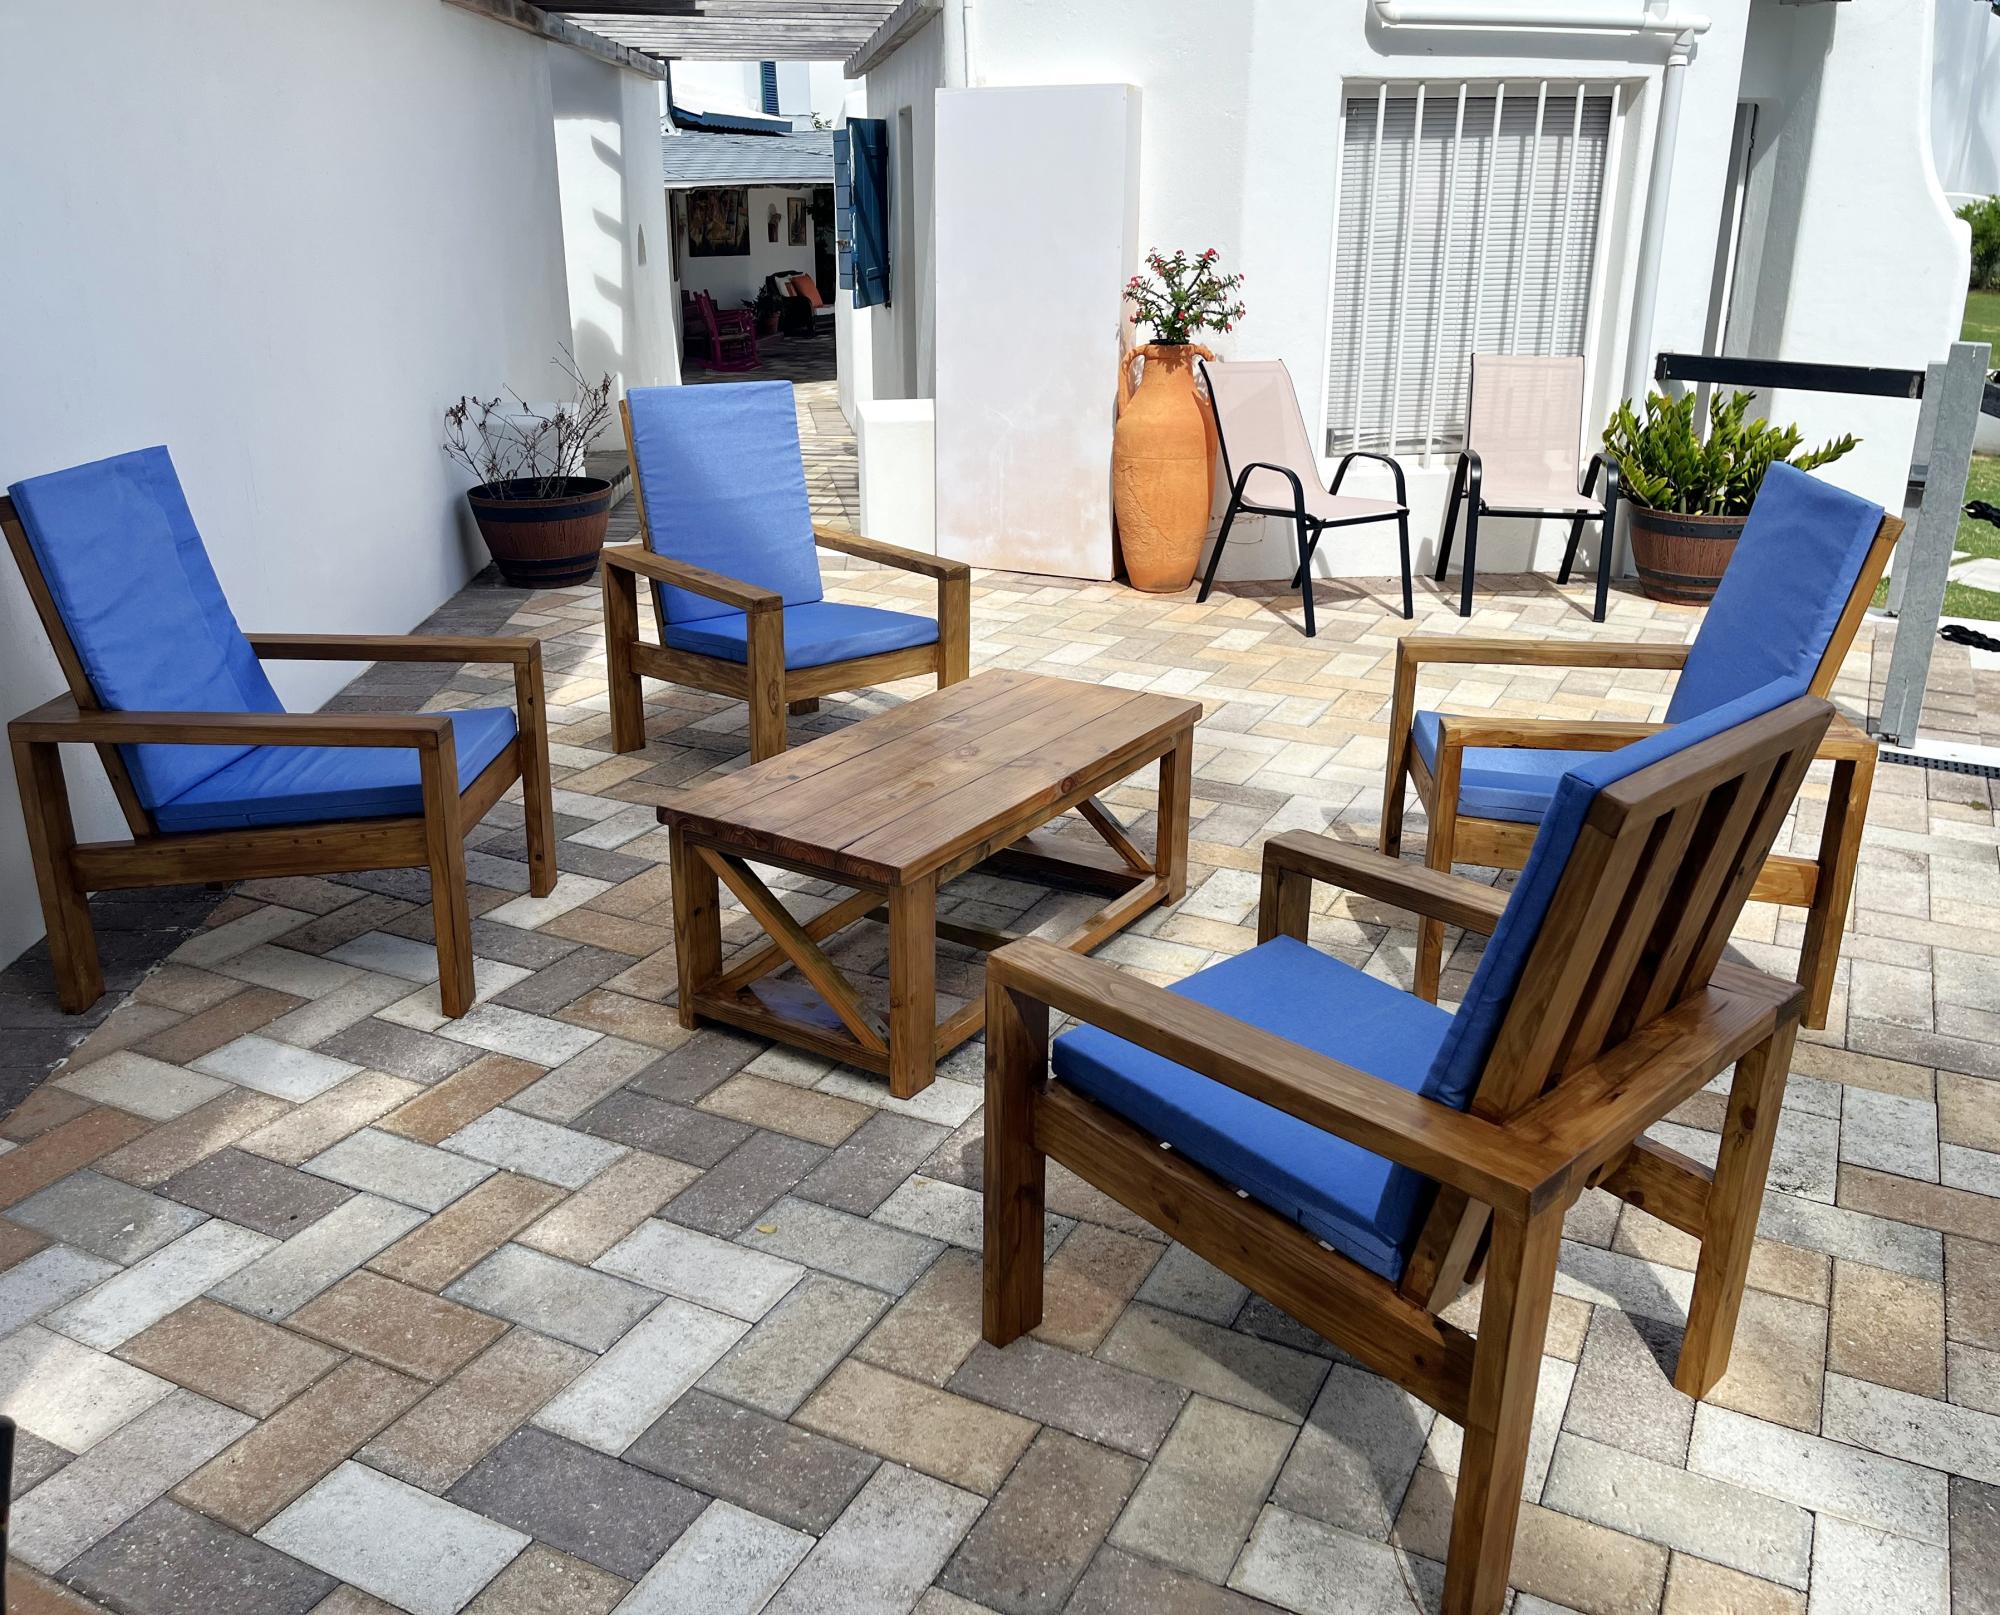
Great outdoor builds!
by Dennis
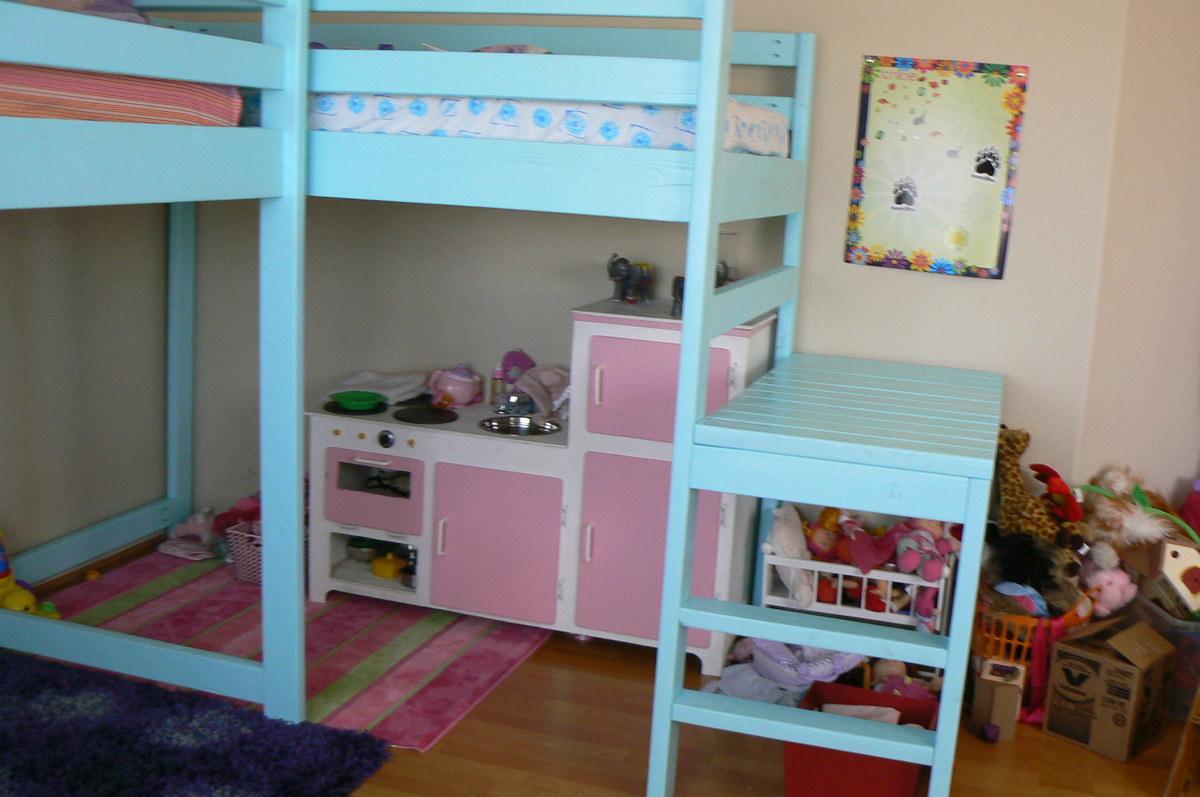
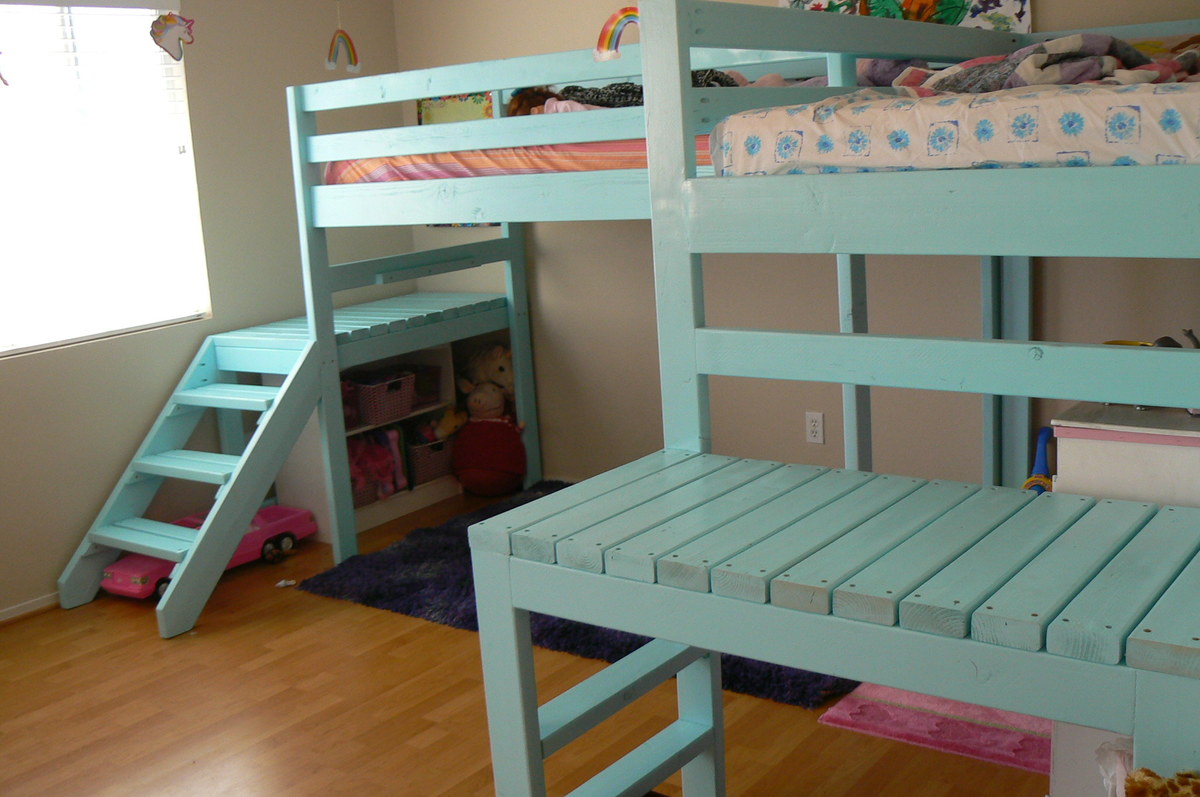
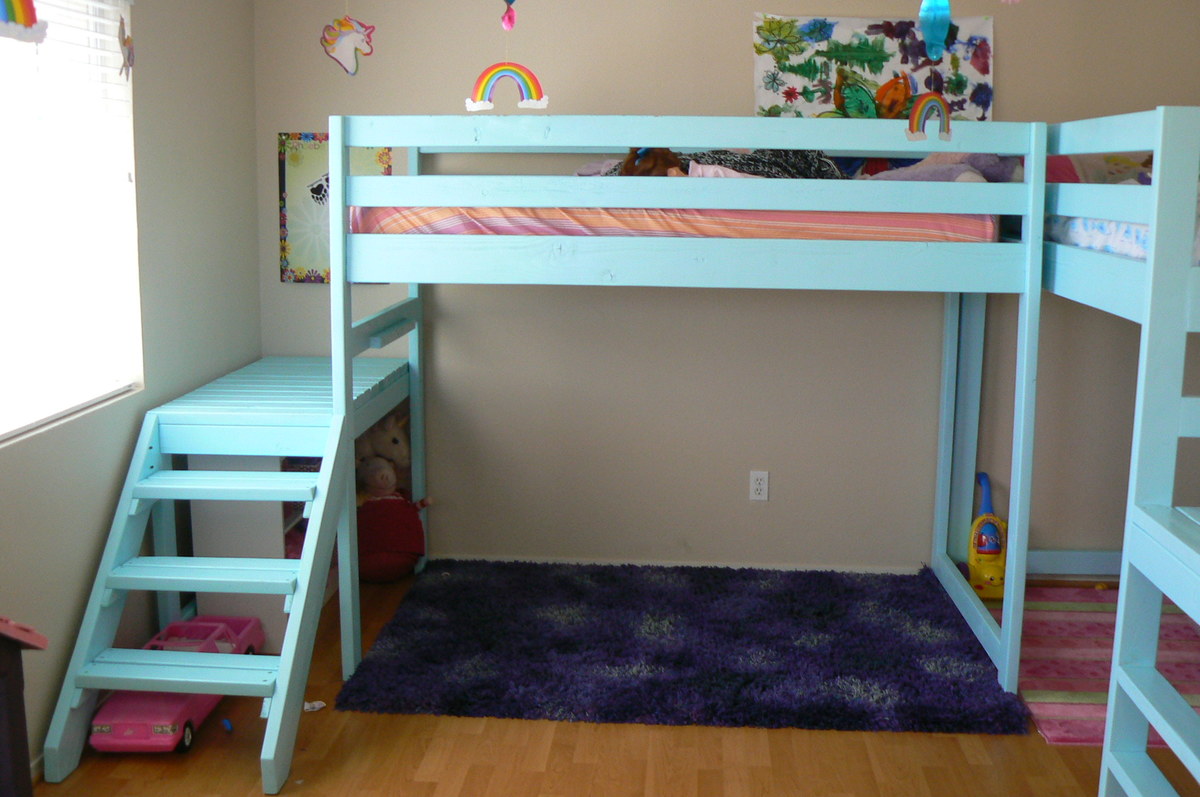
Ana read my mind! I was telling my husband that I wanted "L" shaped loft beds for our girls abouttwo weeks before she posted these plans! As soon as I saw them we went and got our lumber. So excited to have these done and the girls love them!

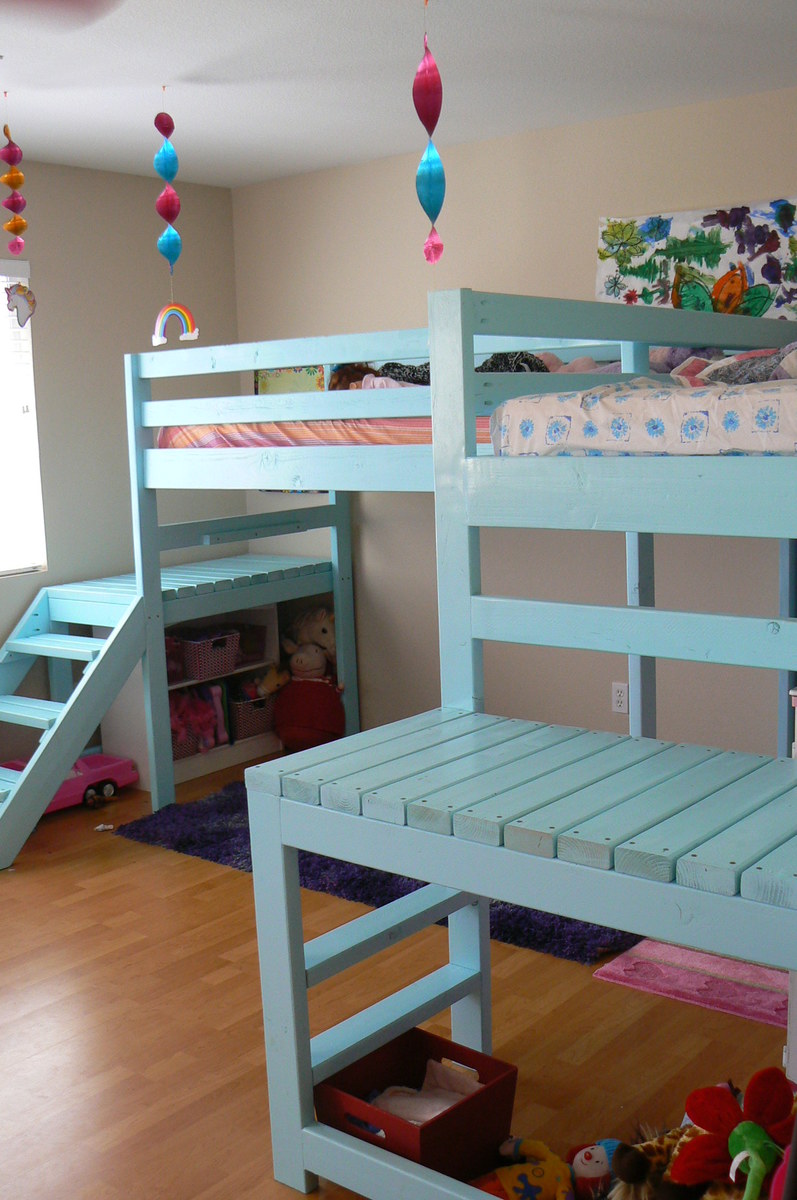
Thu, 09/13/2012 - 13:05
I saw another post where they did horizontal 2x4s instead of stairs. I see that you did one of each. Could you tell me what your thoughts are on how the kids like them....if the 2x4 steps are easy to get up and down on....
We are adopting and we're not sure what age children we will get....so, I want to make sure they are easy to navigate. Any thoughts???
Thank you!
Tue, 09/03/2013 - 09:30
we id the stairs for our 3 year old and the ladder for our 5 year old. She has no problem getting up and downthem but our 3 year old doesn't like to come down the ladder ones. The stairs are really nice and make the bed easily accesable even for me. =)
Wed, 02/04/2015 - 18:48
What are the overall dimensions with the two landing areas and stairs? I really like this idea, but the bedroom is not super big. Thanks!

Just My Size Closet!
Built this from Ana's plans with a few modifications.
Started with a big empty box after ripping the old stuff out and finished with this look.
Adjustable shelves and all !
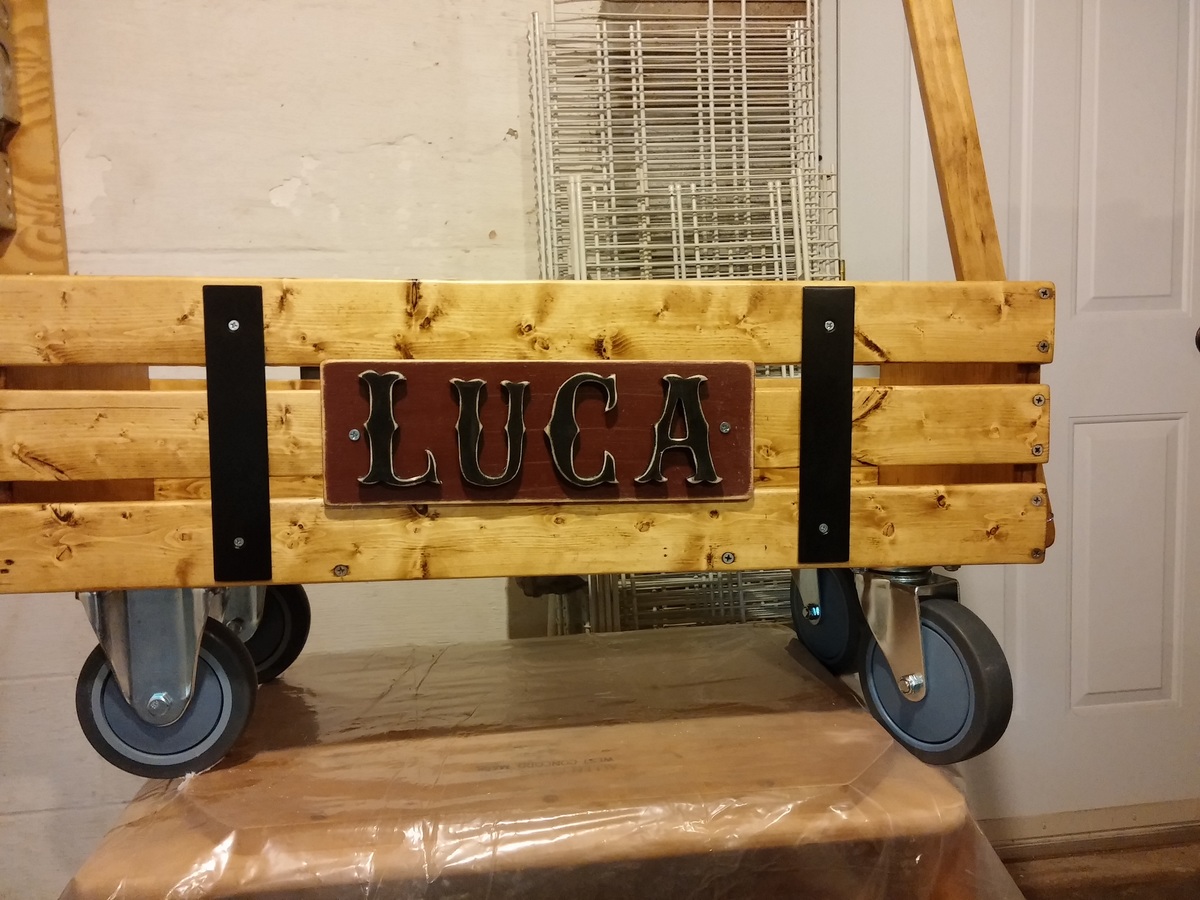
Totally enjoyed making this for my very first brand new step-grandson Luca. Learned a few new tricks along the way and had a blast!
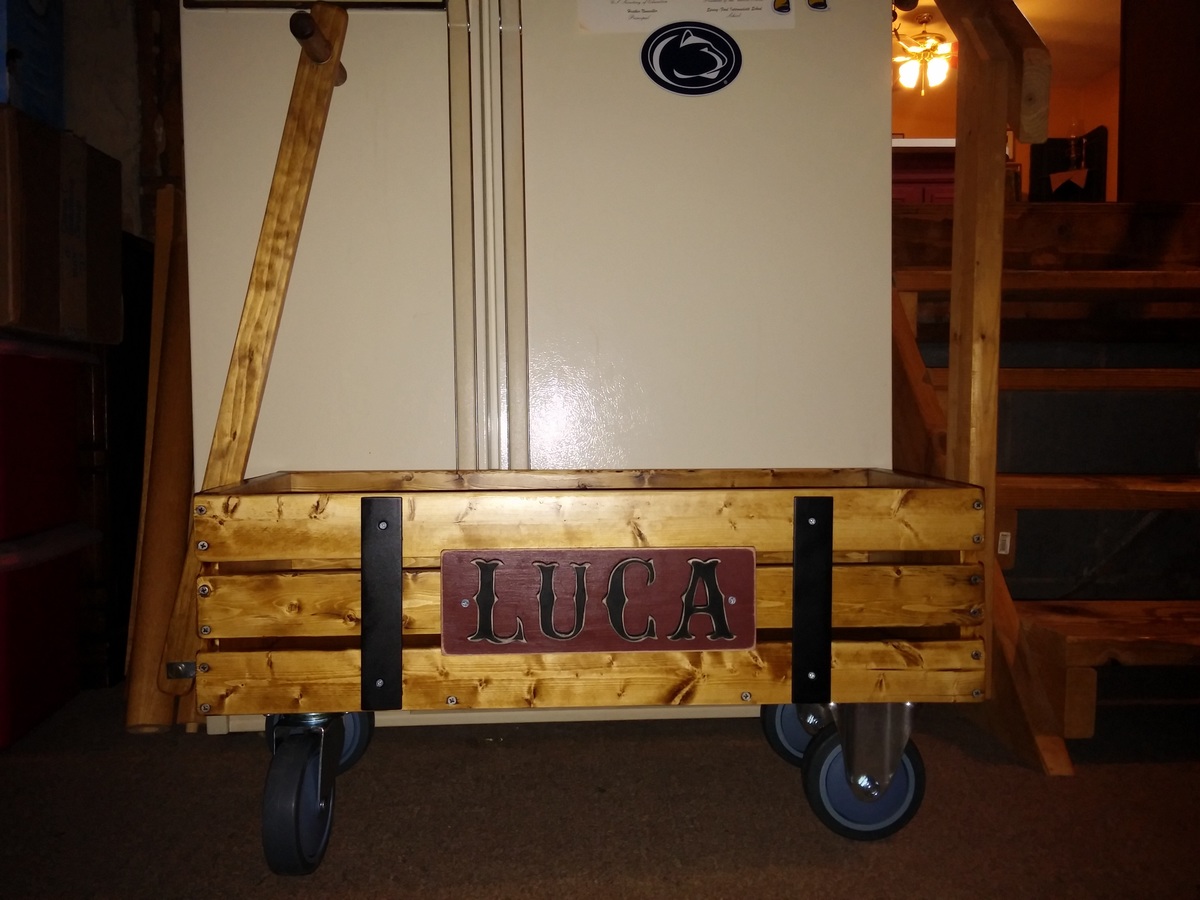
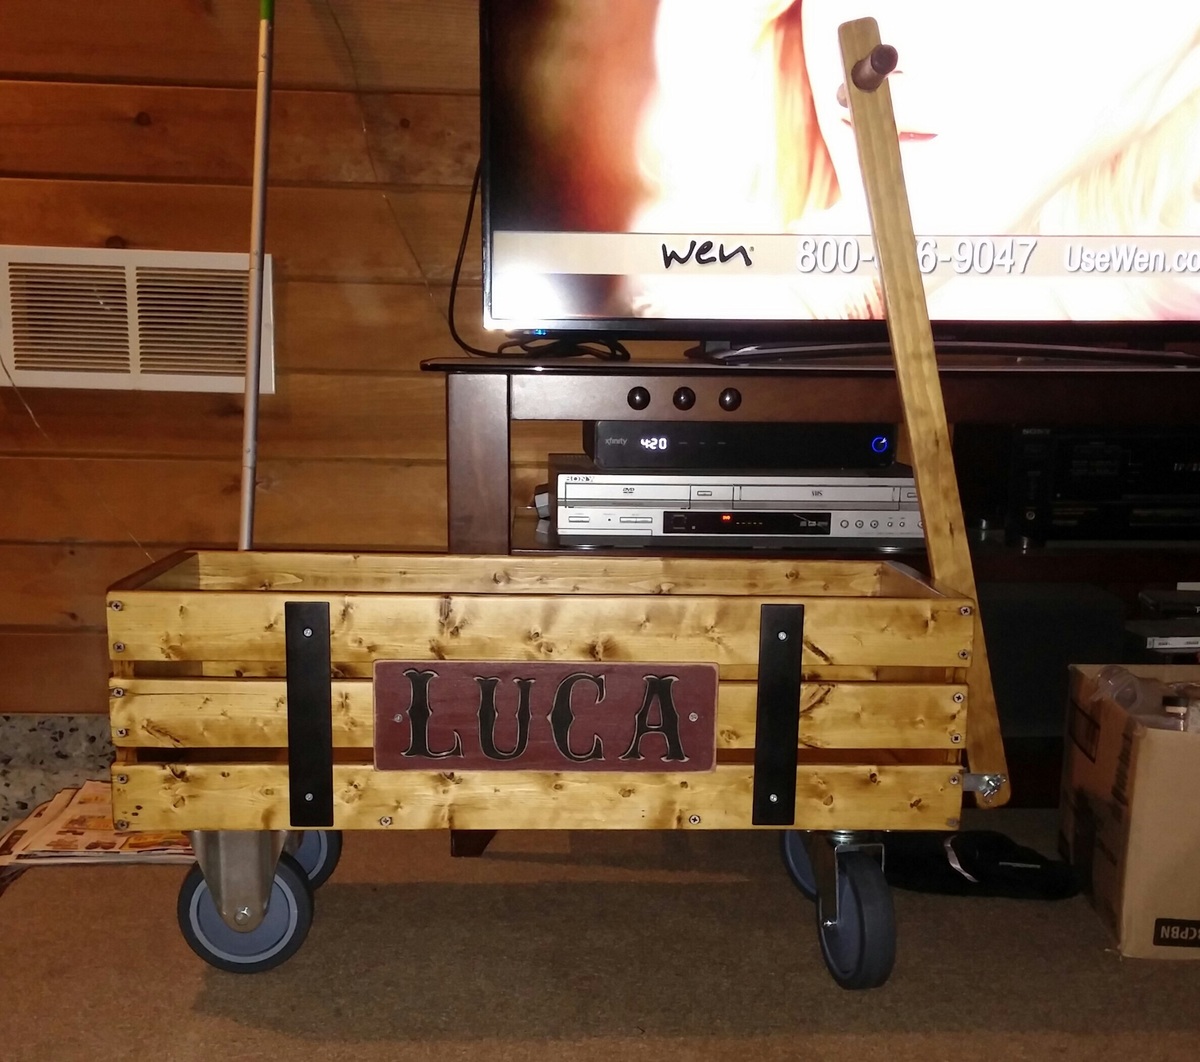
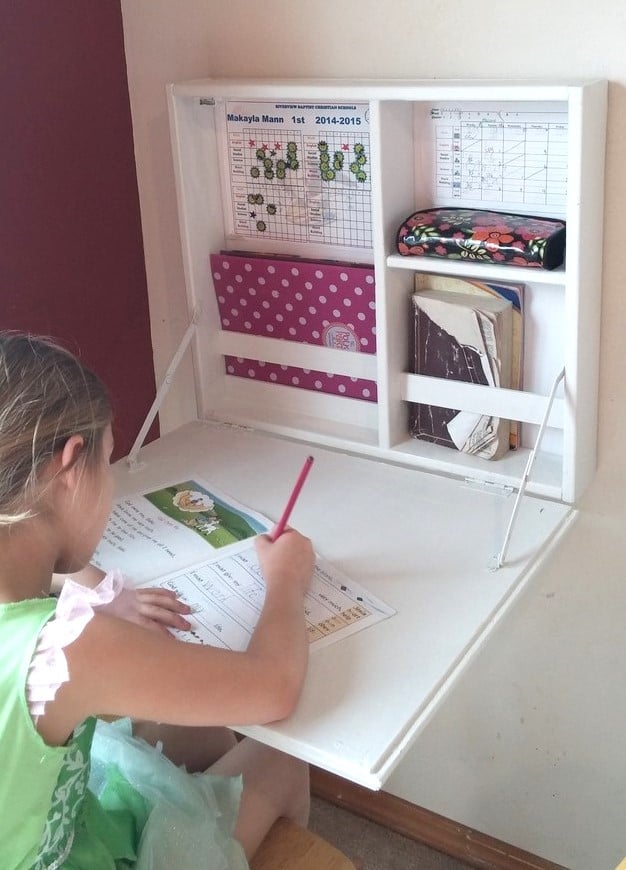
This was just what I needed! My daughter started homeschooling and we needed a place to neatlly contain her school stuff. I had her working at the kitchen table next to me, but it still felt like it lacked the school atomosphere. I removed the area for the paper holder and instead added a few support scraps to hold her folders and books upright.
It did take me awhile to get the support hinges placed correctly (I almost gave up and went with a rope or chain) but I finally got them placed correctly after placing a pencil mark on where they could lie correctly open and closed - seriously this took me awhile because just when I thought I had it, the brackets when closed would be to deep for the desk or when I placed it it correctly inside when open it wasn't 90 degrees.
The only thing I wish was that I had made it slightly shorter, because when it is open it is a little hard for her to reach the top shelf, but its not to bad and that is the height my scrap bead board was and I was to lazy to cut it =)
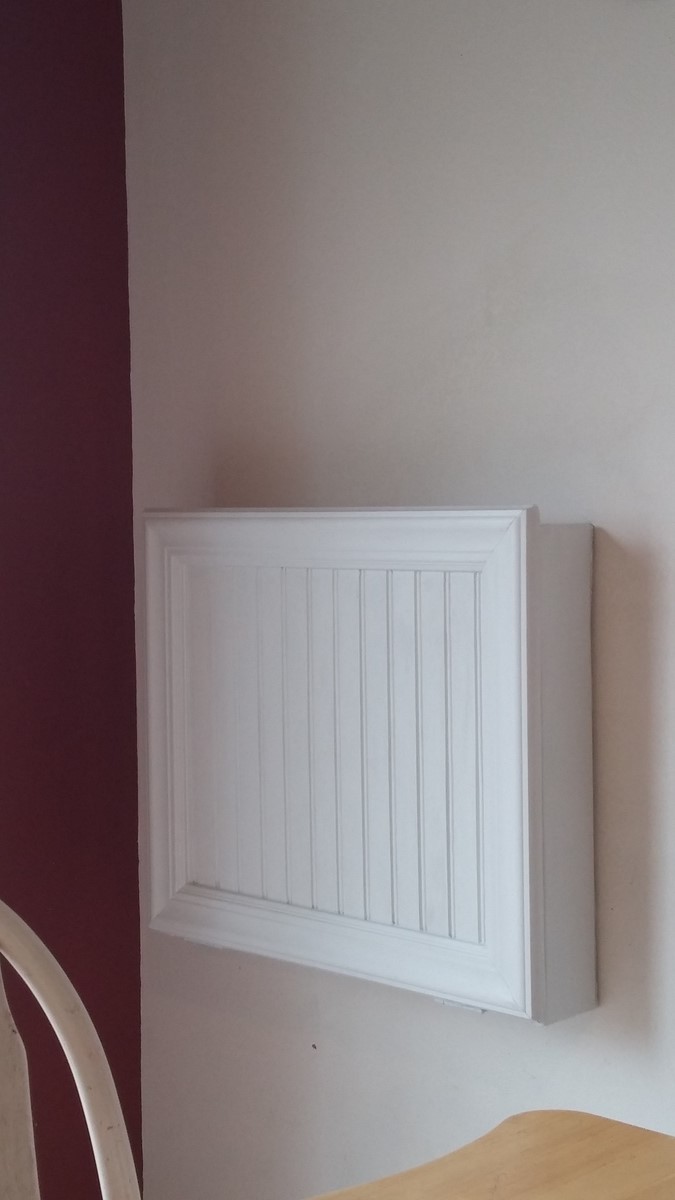
I had a magnetic clasp left over from another project and that has worked well to keep it closed nice and tight, I also used some foam board I had lying around for the back so that her things were not tapped/pinned on my wall. I choose the bead board on the front because A: it is what I had lying around and B: it is in my dining room so I wanted it looking a little nicer.
I had everything on hand excpet for the support brackets which cost me 2 something each at Lowes. YAY for projects under $10 bucks! Thank you so much Ana!
Thu, 08/15/2019 - 12:45
What a beautiful desk! I'm so glad you got the brackets to work, they look awesome!
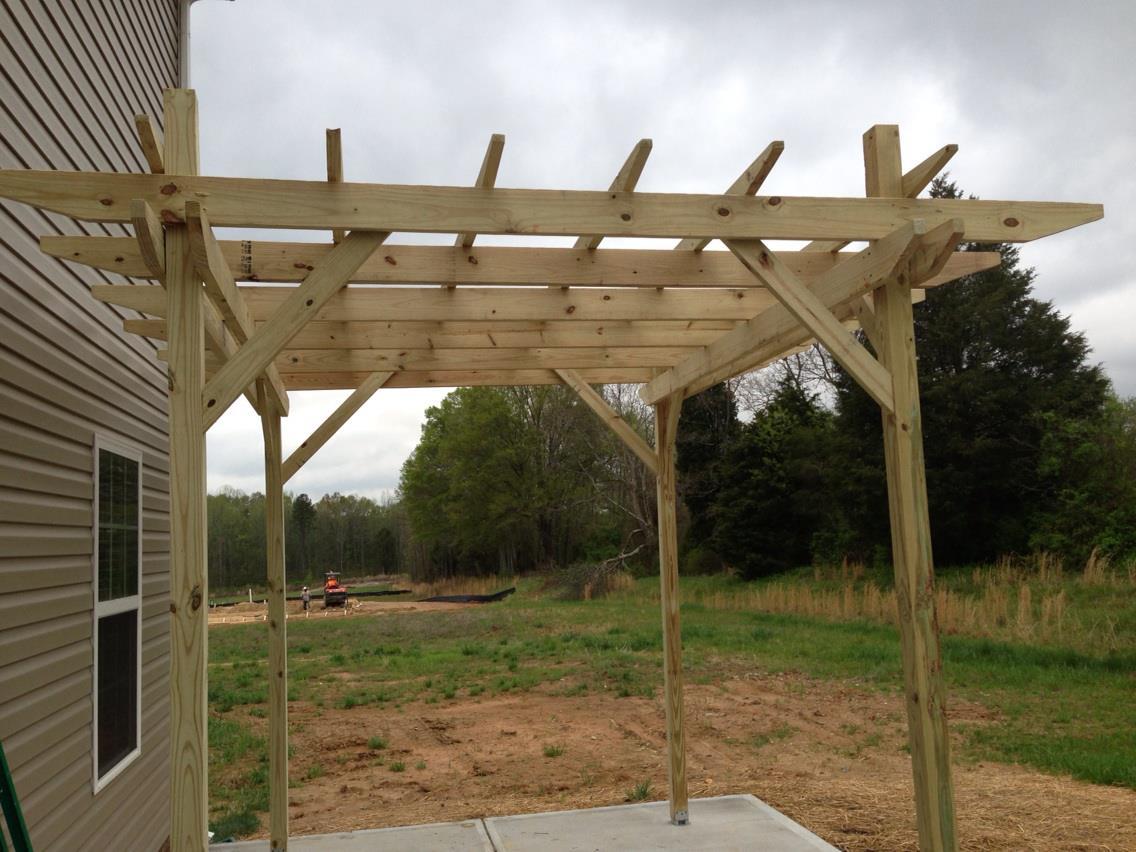
I have wanted a pergola for years and since we moved into our new construction in Dec. '12, I decided to finally go for it and add it to our new backyard plans. When I stumbled onto the plan on ana-white.com, I couldn't be more thrilled to see how simple of a project it was. I do not mean that it was an easy build by any means. I wanted a "beefier" look to it so I used 2x6 and 2x4's. The 4x4 posts are 10ft long (I was going to use 12 ft until I realized just how tall they were!). I stole the steel anchor post idea from the Popular Mechanics site and the "look" of the pergola from the Weatherly plan. I decided not to notch each beam due to time constraints and I just didn't think I need to. I did use zinc L brackets to secure the 2x6s to the support beams (also 2x6s). The top is stiff as can be but the bottom has a slight give to it since it is only four 4x4s sitting on post anchor brackets. I am planning on adding about 6 inches of concrete around the base of the posts (after my HOA "approves" the pergola) to stiffing the structure and then trim around the base for a more "custom" look to it. It will be similar style to the Weatherly except wider around the base so that I can set drinks on it. It took about 8 hours total and about an hour of that was setting the steel anchor posts (measuring and installing 2 1/4" red head screws into the 4" concrete slab patio).
I will stain it with a semi-transparent (BEHR brand) redwood-ish color in a few months after the PT pine dries.
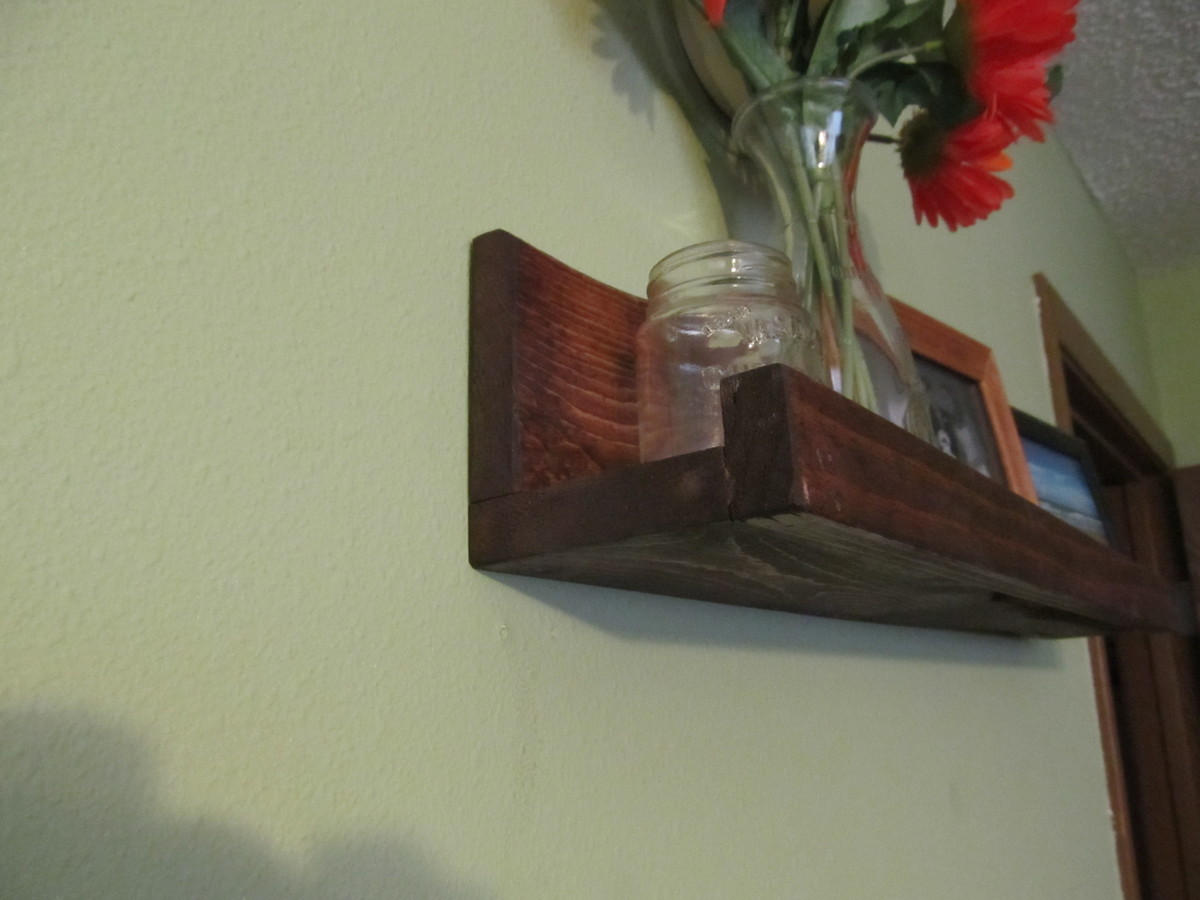
This was my first project I ever assembled. It just took a while to get them on the wall. Was free since it was leftover from cutting wood for another project.
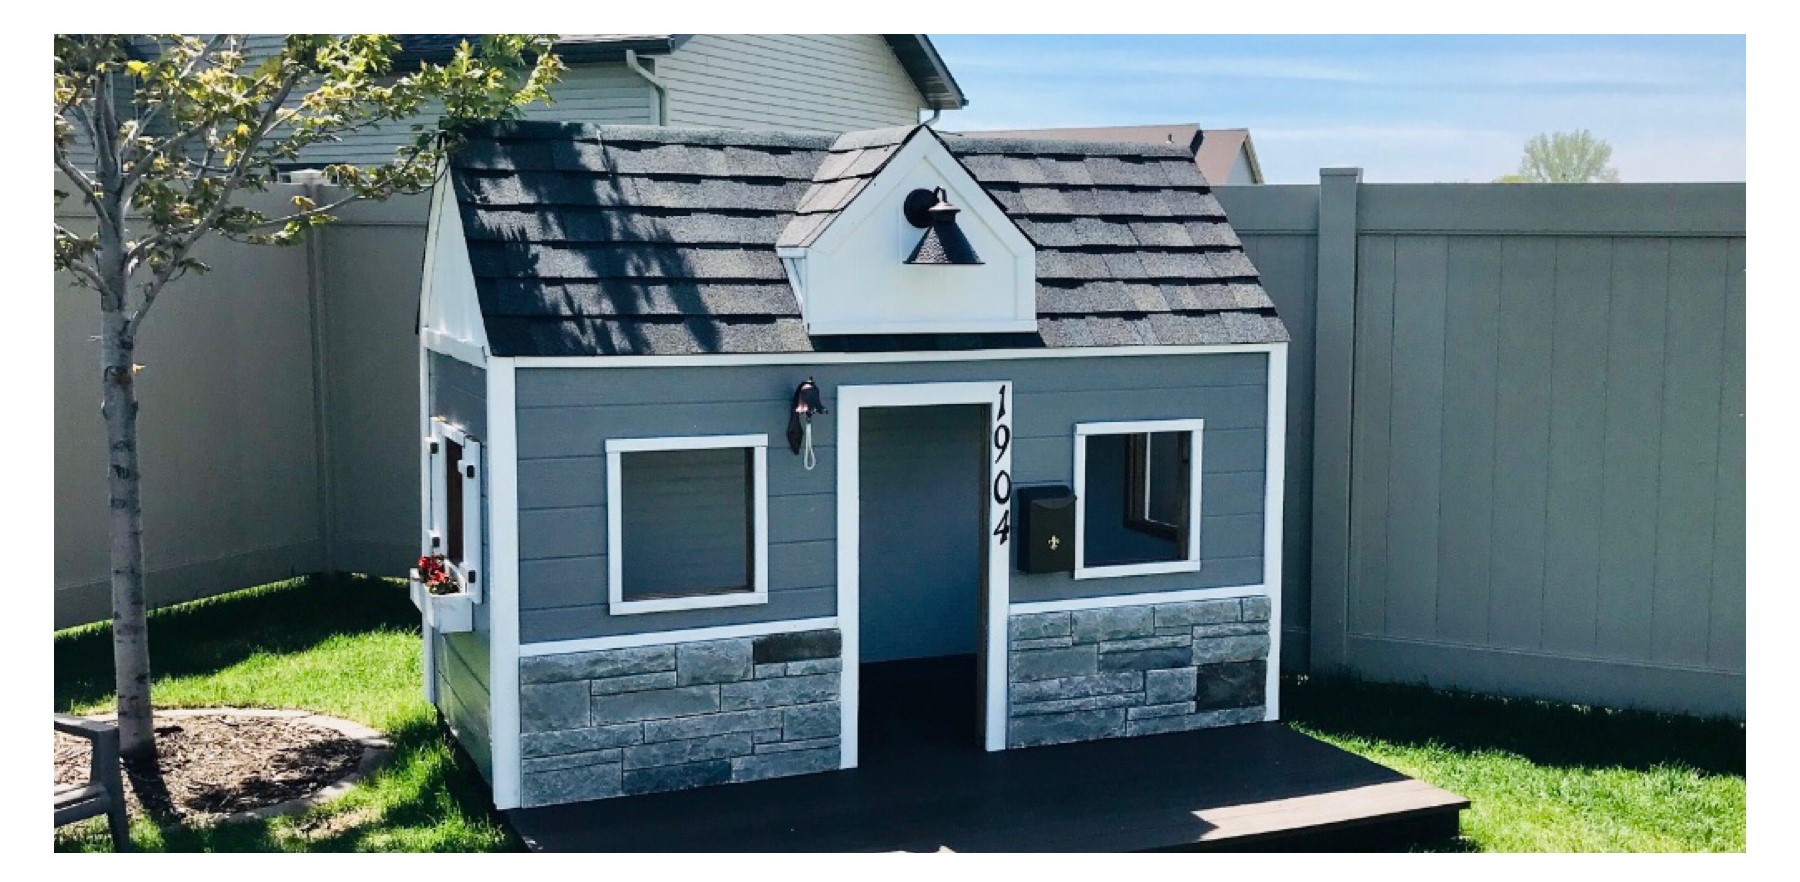
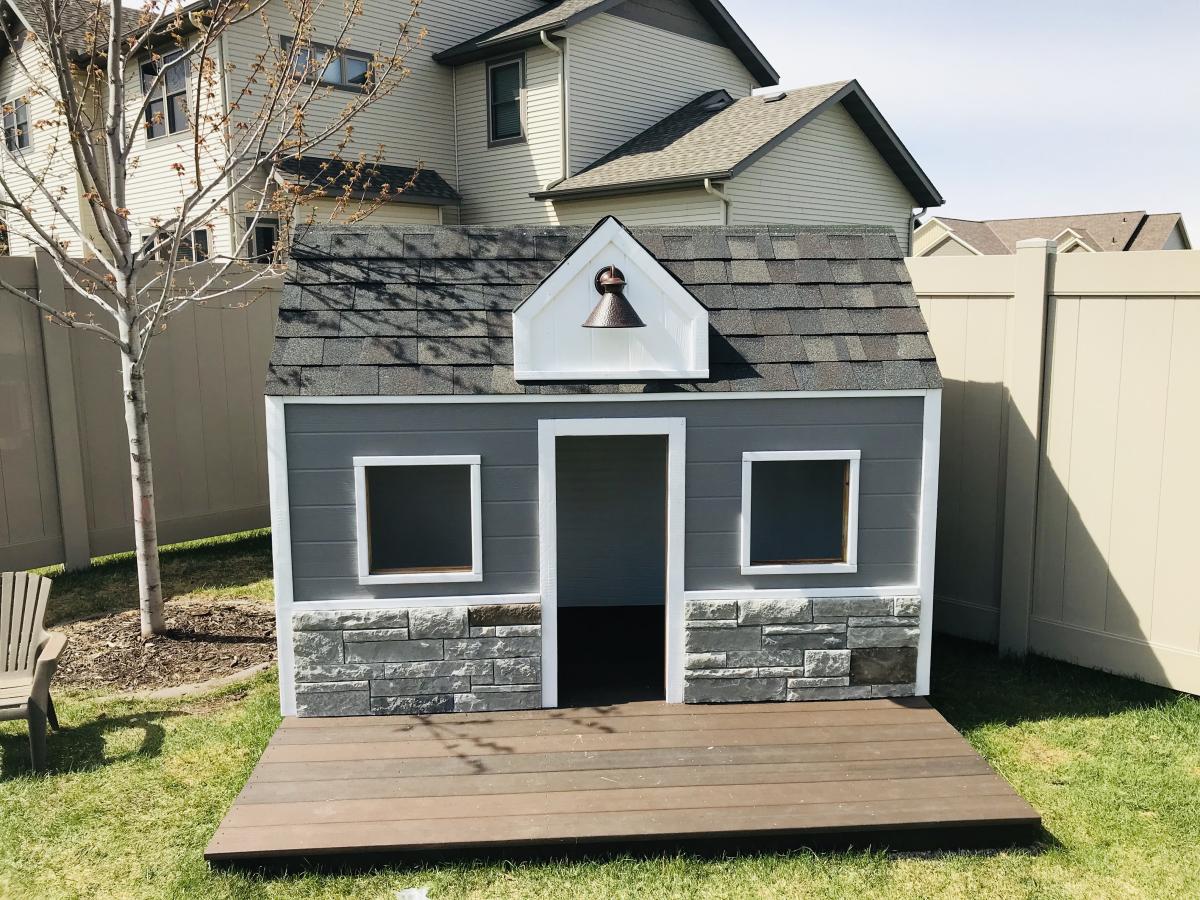
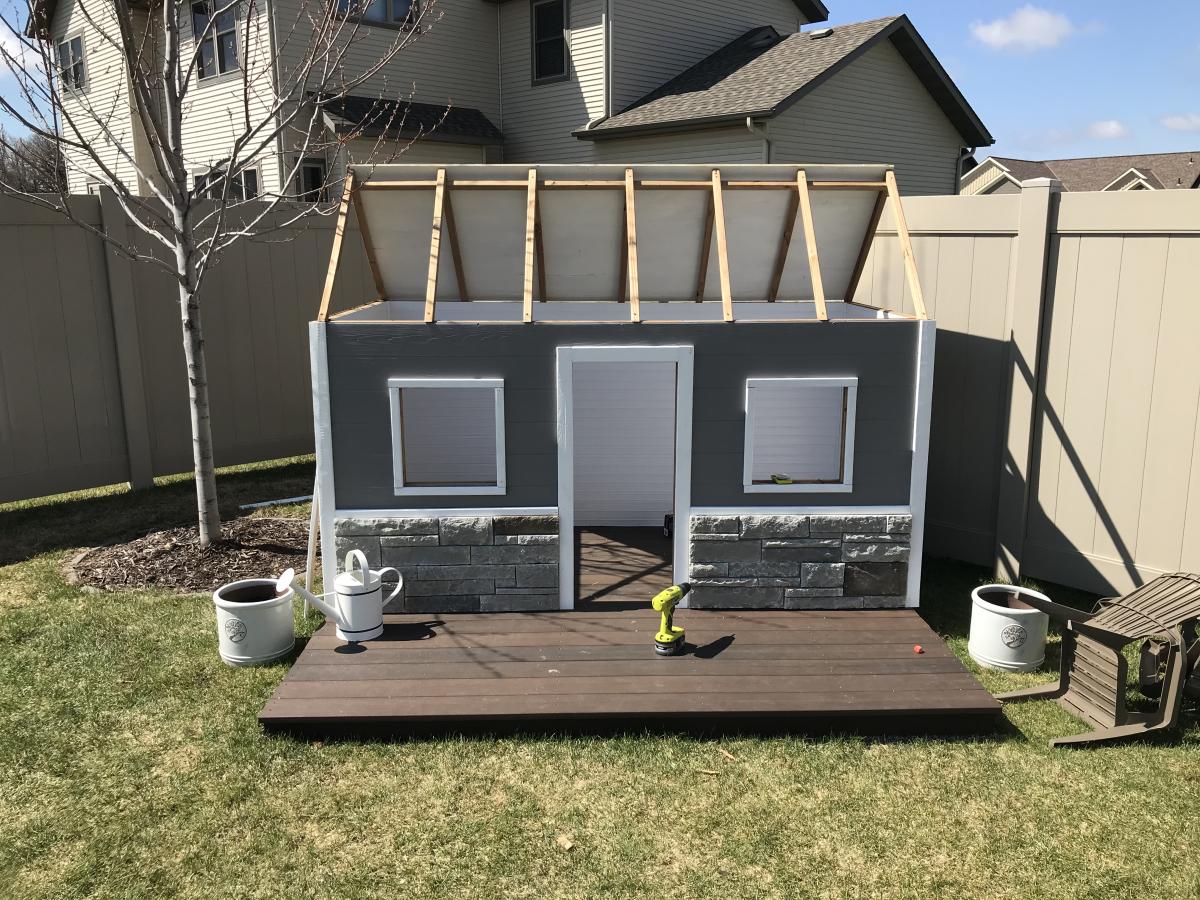
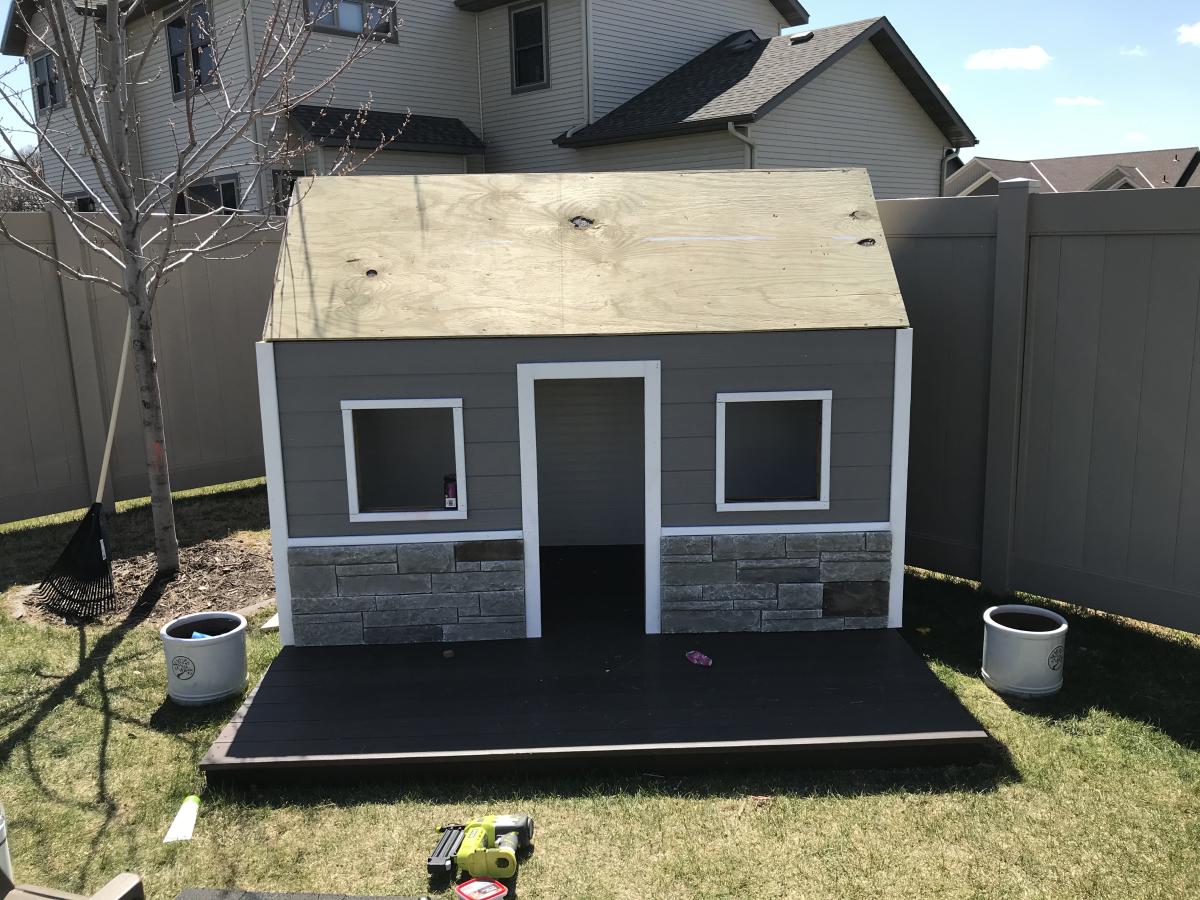
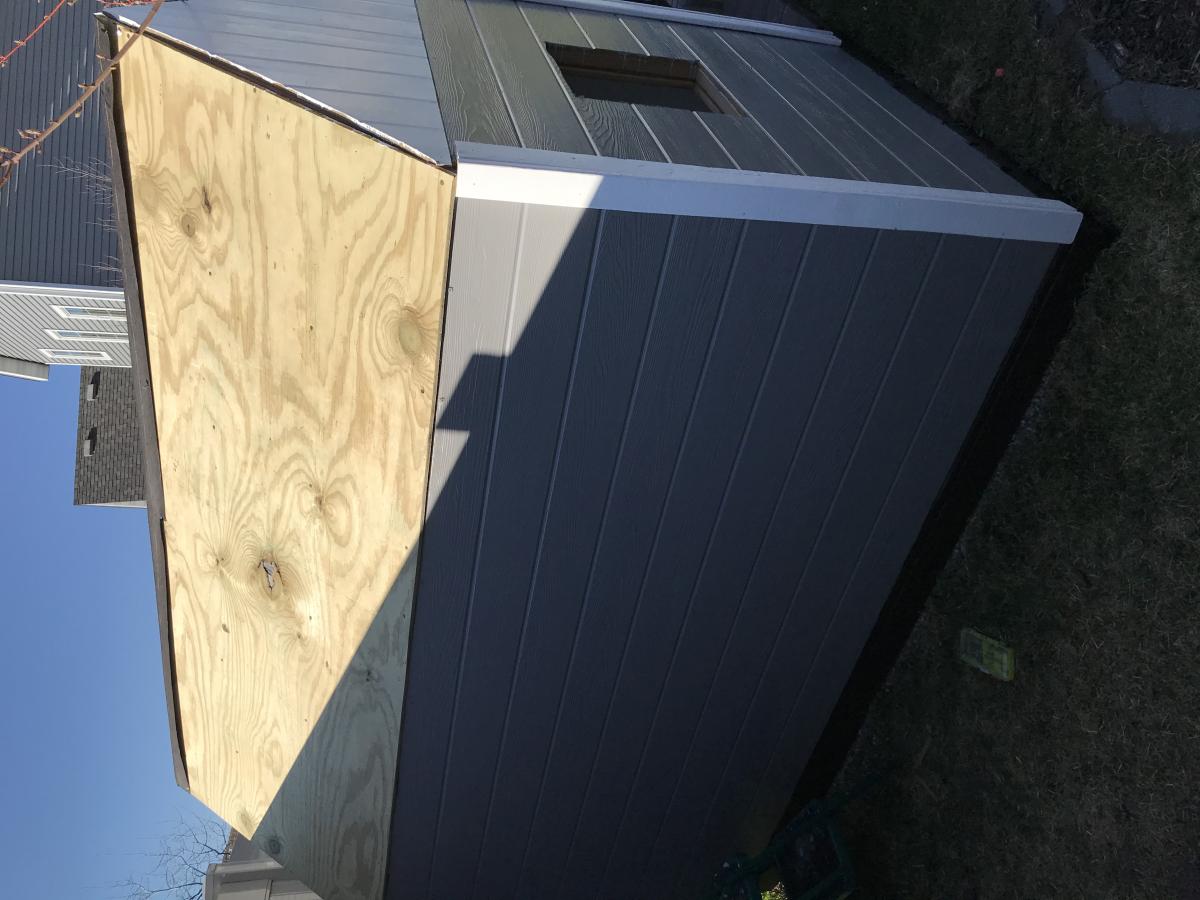
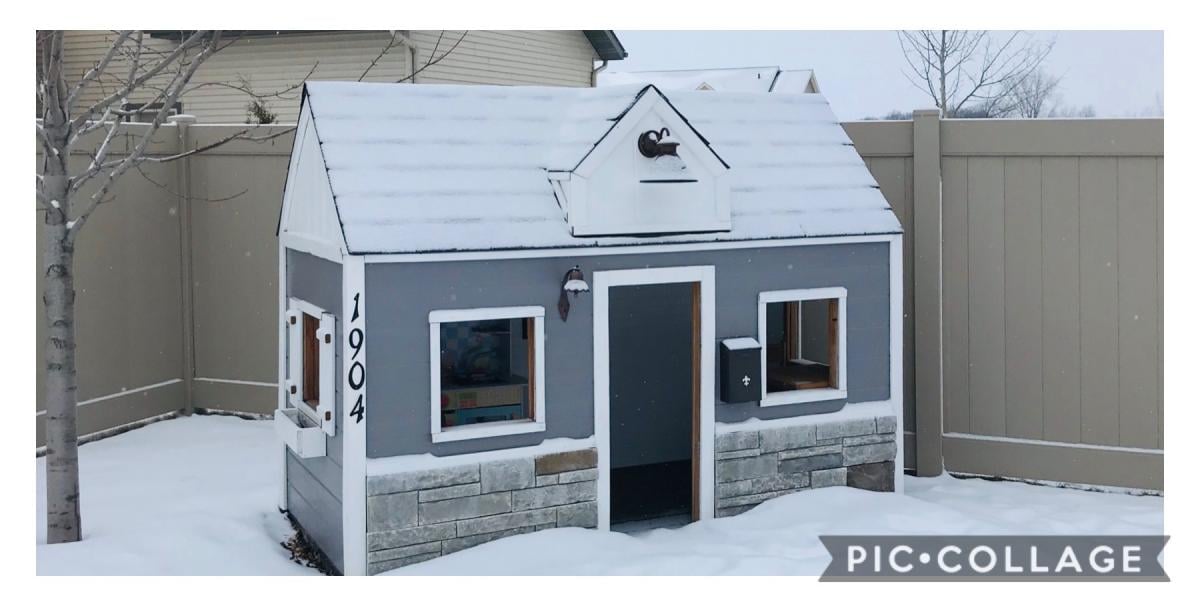
I combined a couple of playhouse plans for this one. The framing is 2x2 treated pine. The front is real stone. I tried to match our home the best that I could. The floor is made out of composite decking.
Sun, 12/26/2021 - 17:23
WOW, that is so awesome, love the real stone, composite decking and that you matched your house!
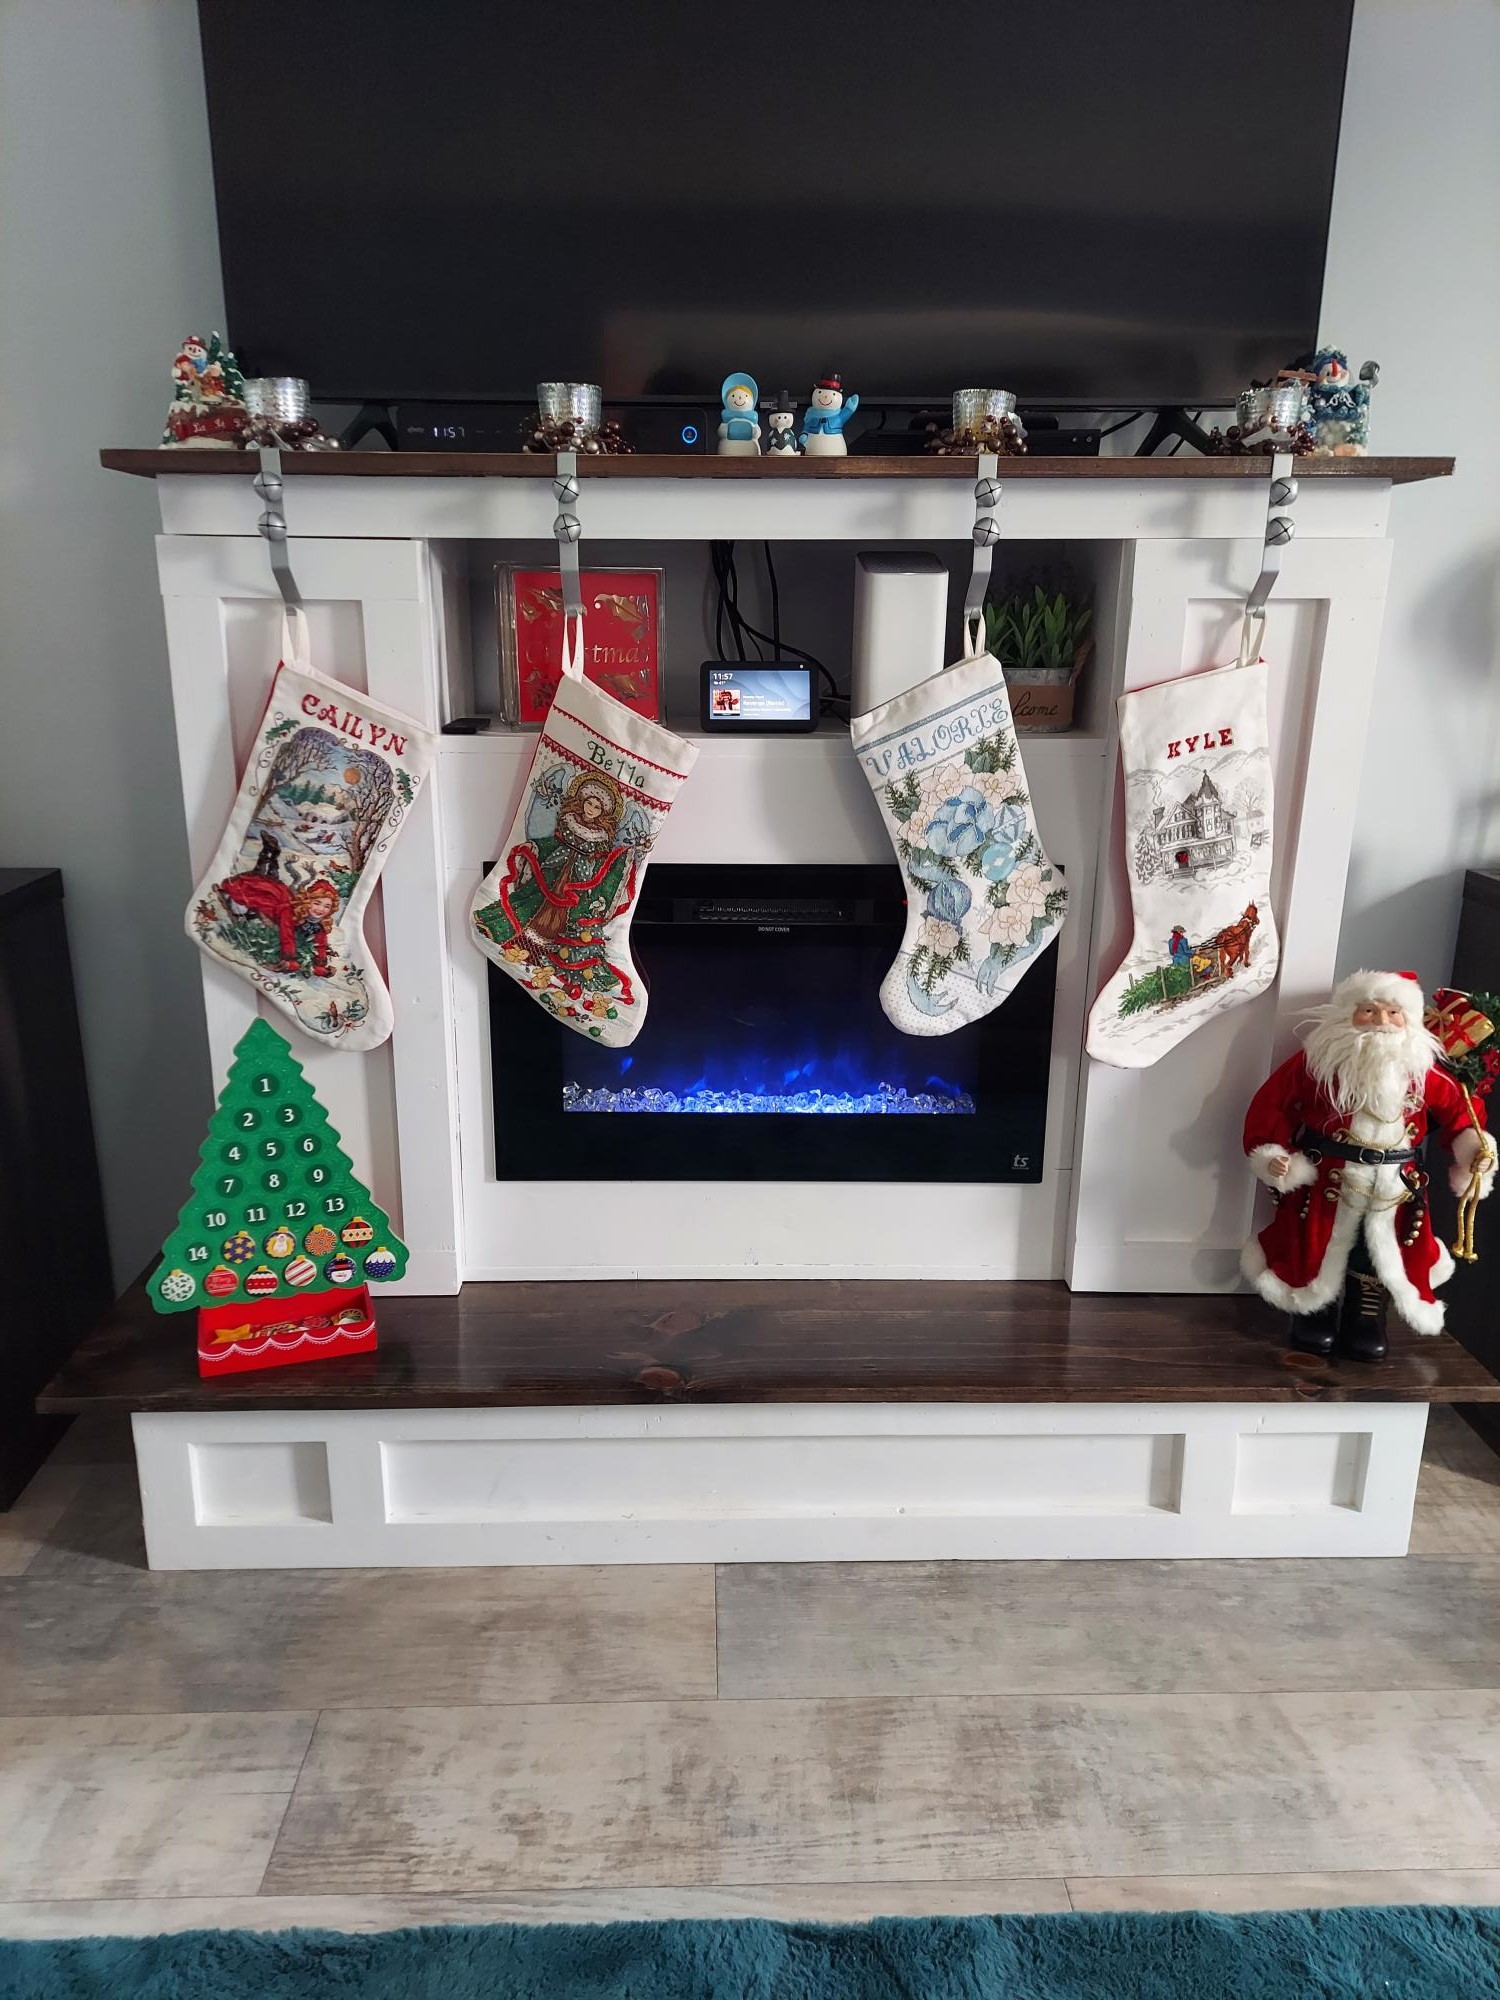
We bought a new house that didn't have a Fireplace and we didn't want an entertainment center, so I built this for the best of both worlds. Electric fireplace insert, side panels open for additional storage, and left the nook above the fireplace open for the wifi router and other decorations.
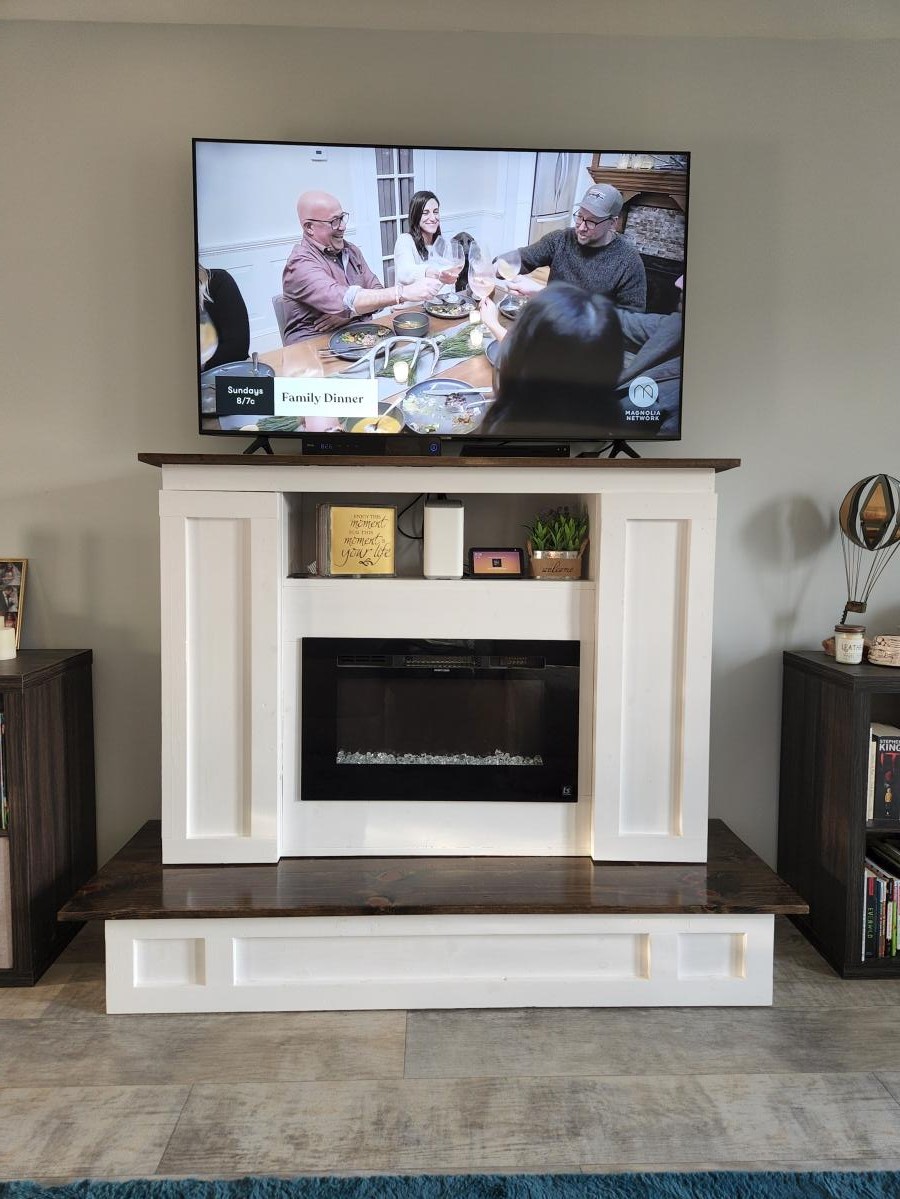
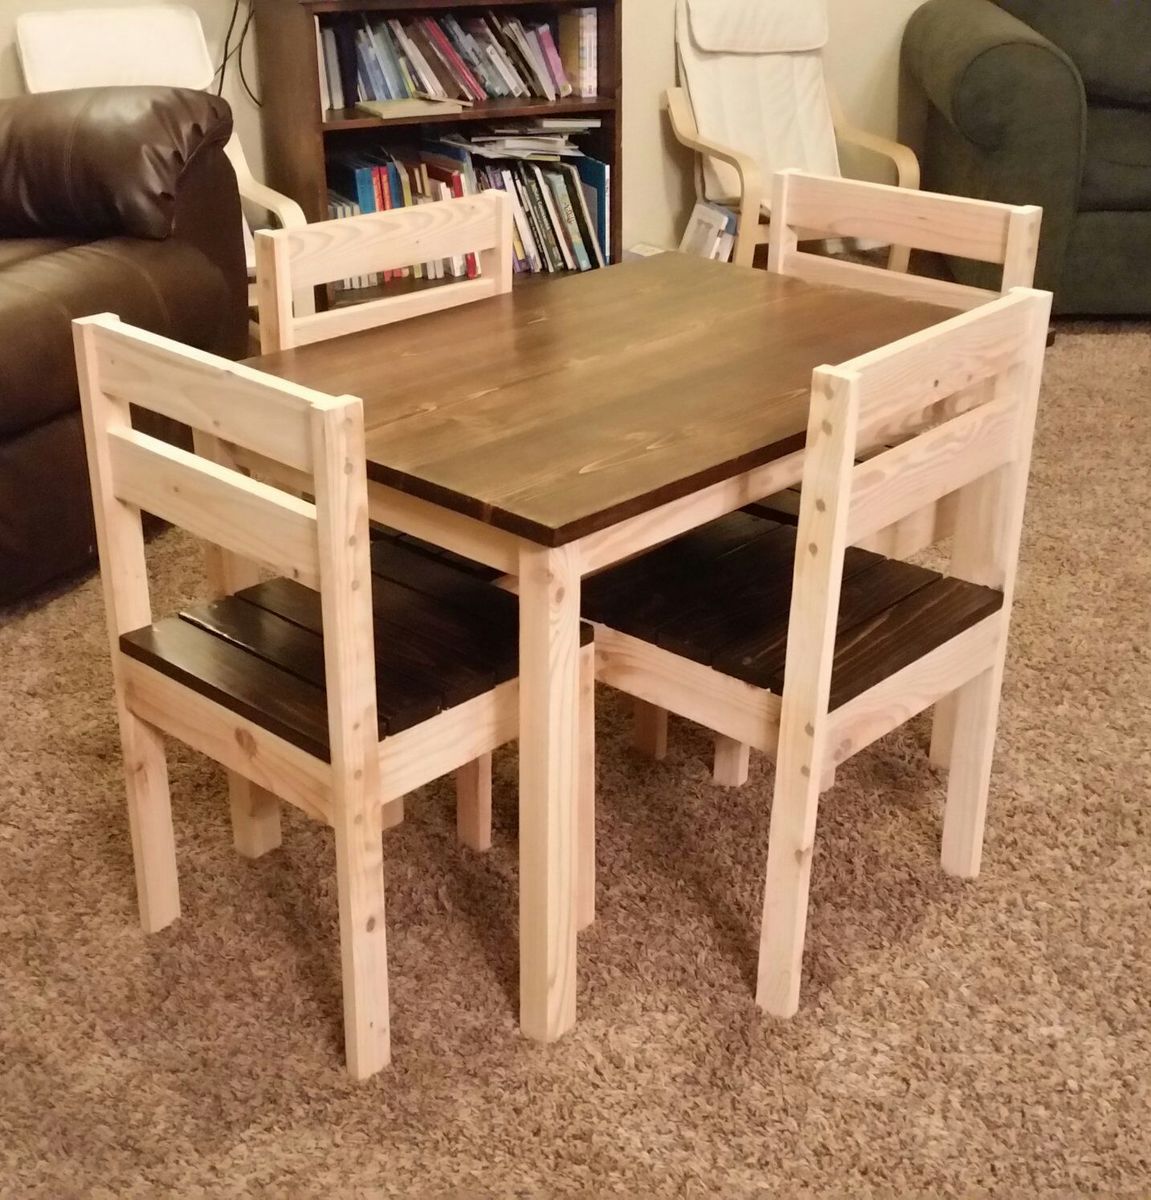
Great little project. Finished just in time for Thanksgiving.
Andy
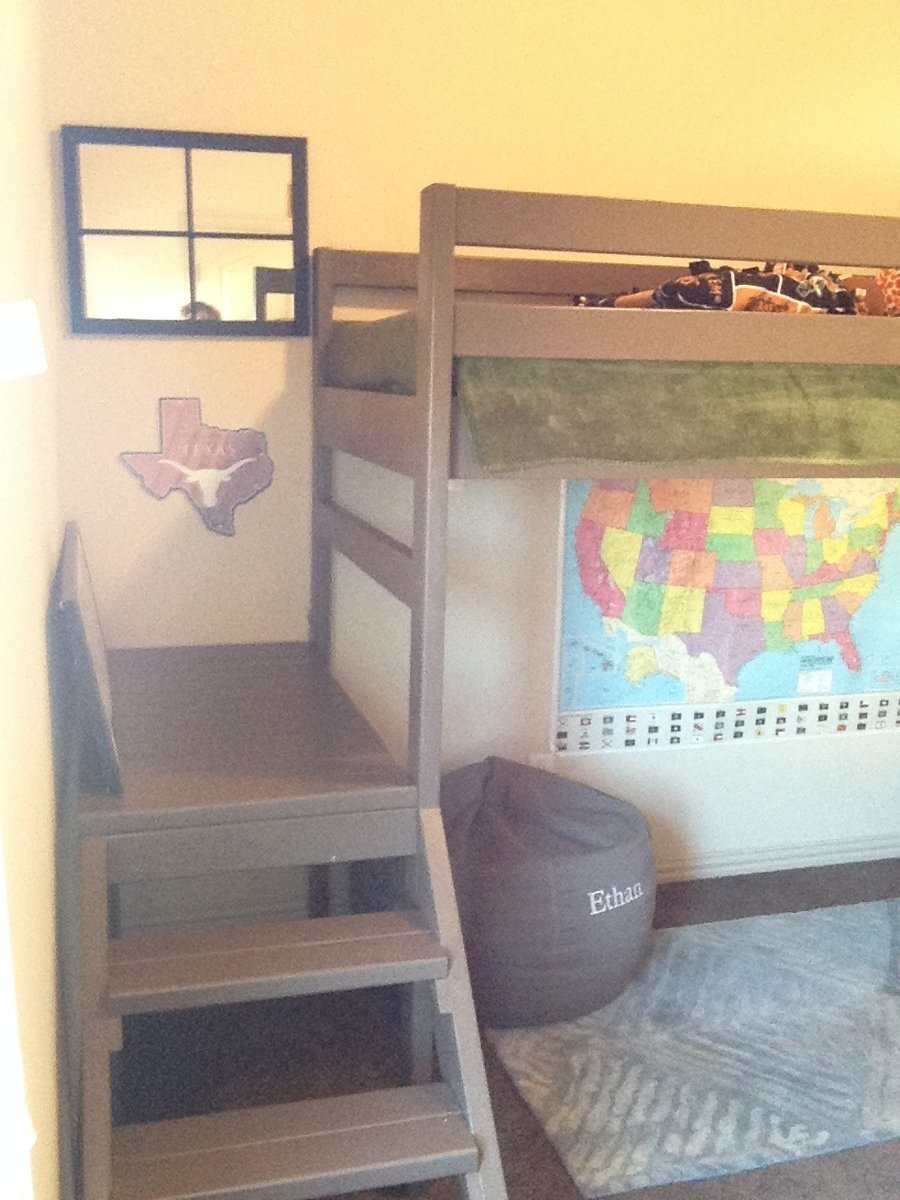
To build this bed I combined the Camp Loft Bed with Stairs (Jr. height) plan with the height measurements of the Loft Bed. My son absolutely loves this bed!
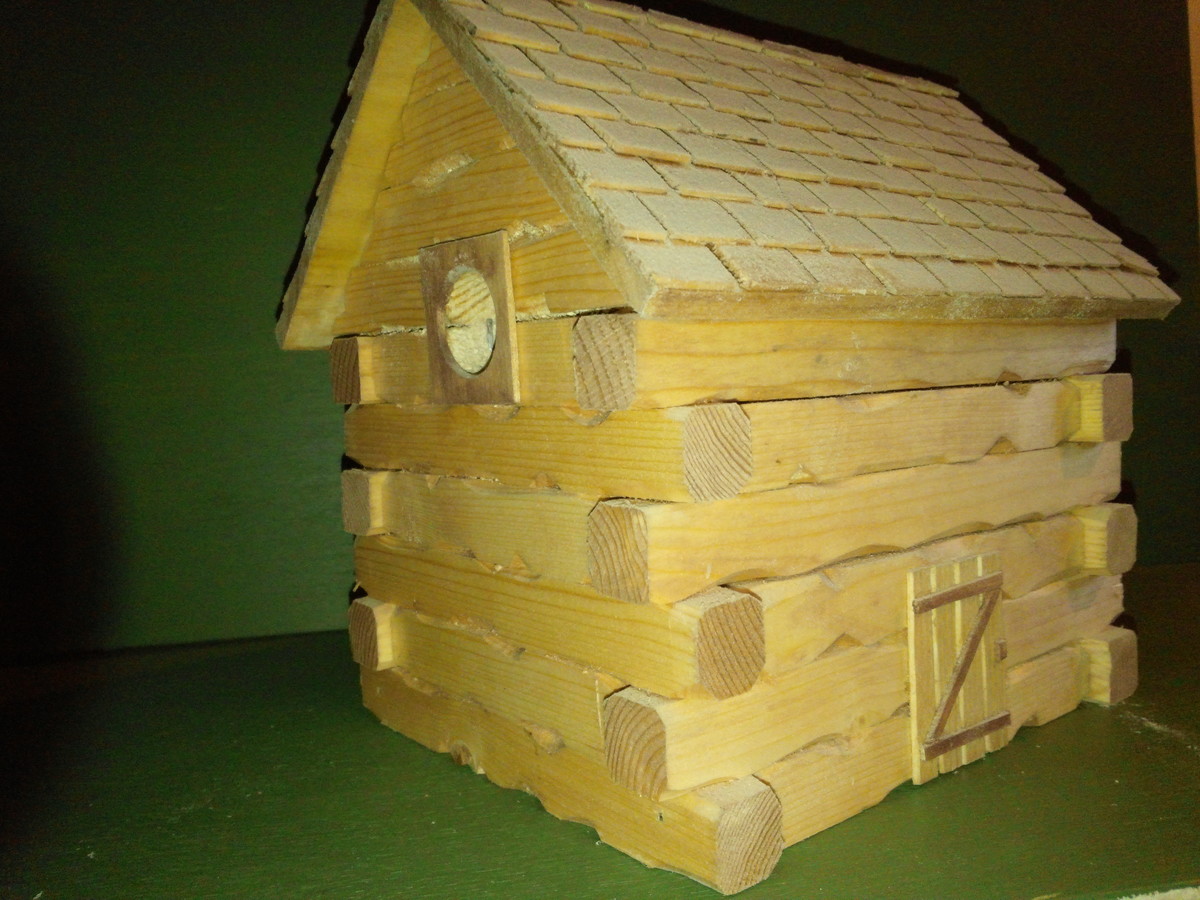
I enjoy making birdhouses and log cabin style is my favorite. I make the logs by setting my saw to rip 3/4 pine at 3/4 so I have 3/4 square strips. I then decide the size of my birdhouse and cut the logs accordingly. I also "wittle" on them a little to make it look more authentic. I simply then just stack, glue and nail one row at a time. You can use 1/4 poplar for the roof but I ripped pine at 1/16 and cut shakes with my utility knife and glue them on one at a time (there are 104 on this roof).