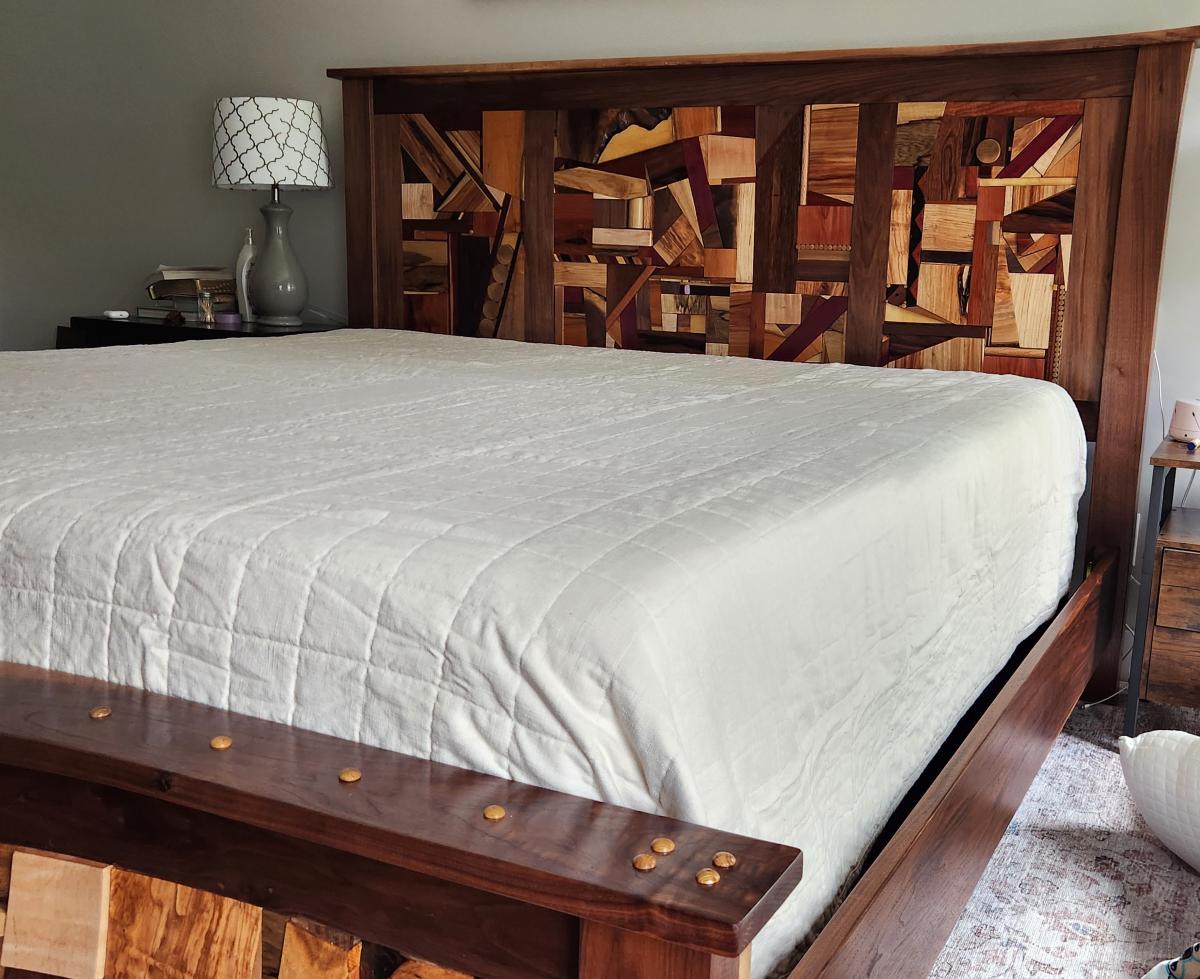
Wood Scrap King Bed
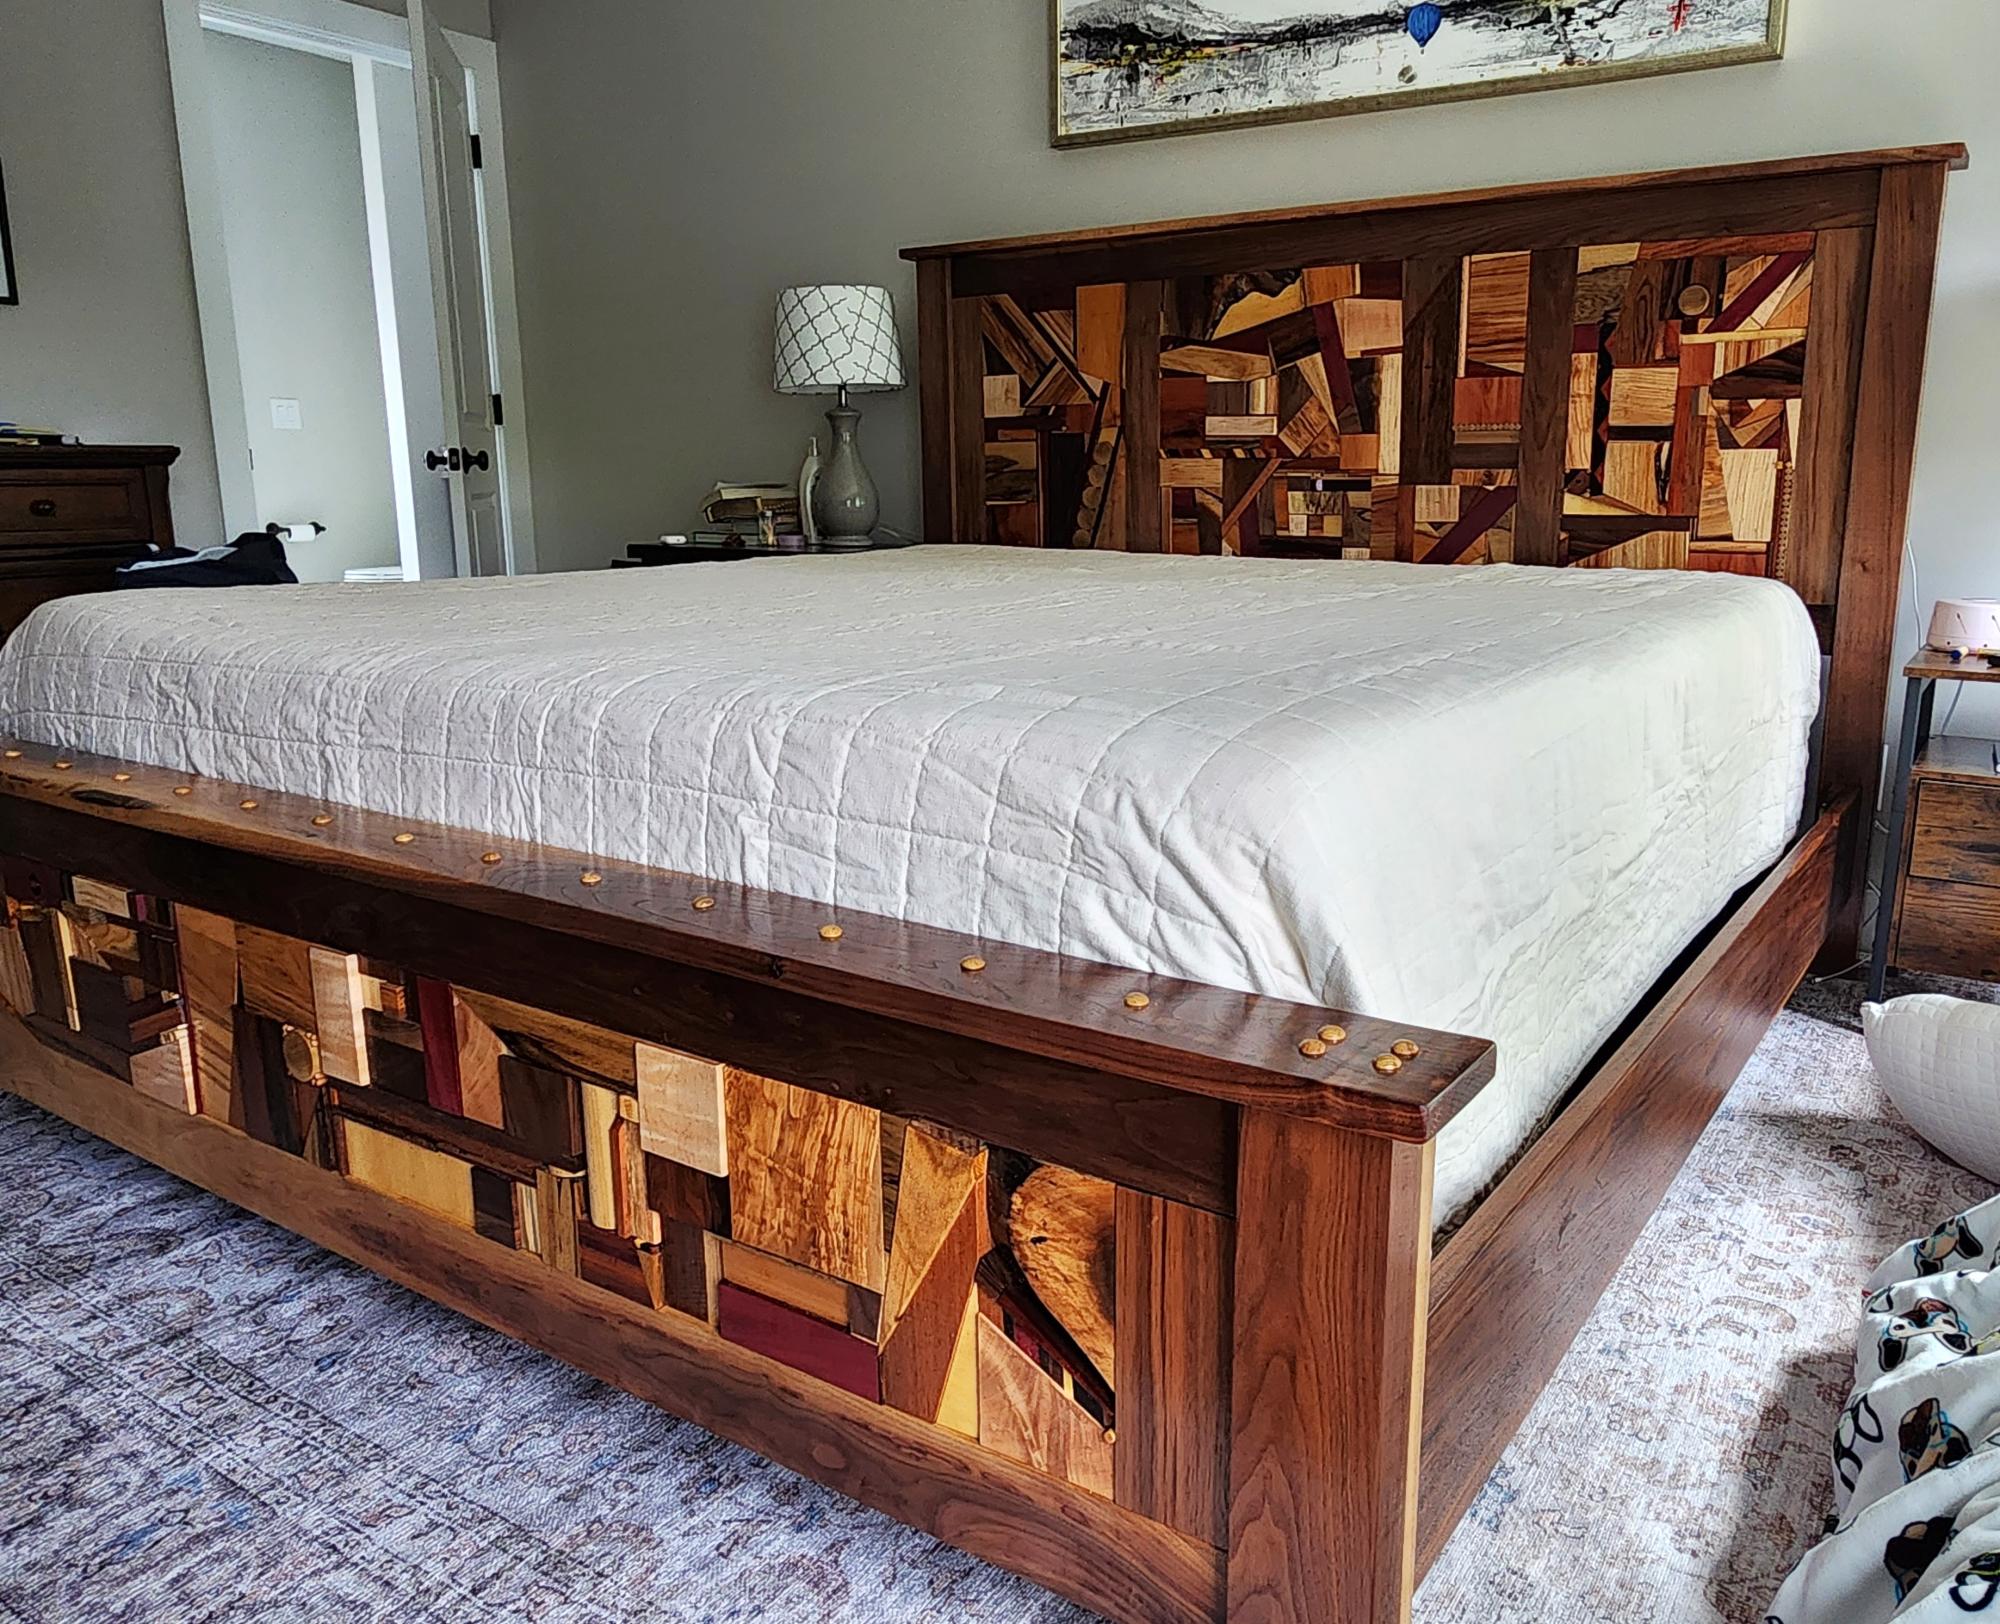
Using Ana's Cassidy bed plans, I made this king sized bed. I substituted scrap pieces for them shims.
Built from Plan(s)
Using Ana's Cassidy bed plans, I made this king sized bed. I substituted scrap pieces for them shims.
Stuck to the plans exactly how Ana laid out for me and it was quite amazing how well and easily it comes together. If I learned one thing from this project it was to always stain the wood before you put a project together haha, what a pain it was to stain in between all those slates. I am planning on building a few more with some variations and some ottomans. Pictures to follow if it is a success.
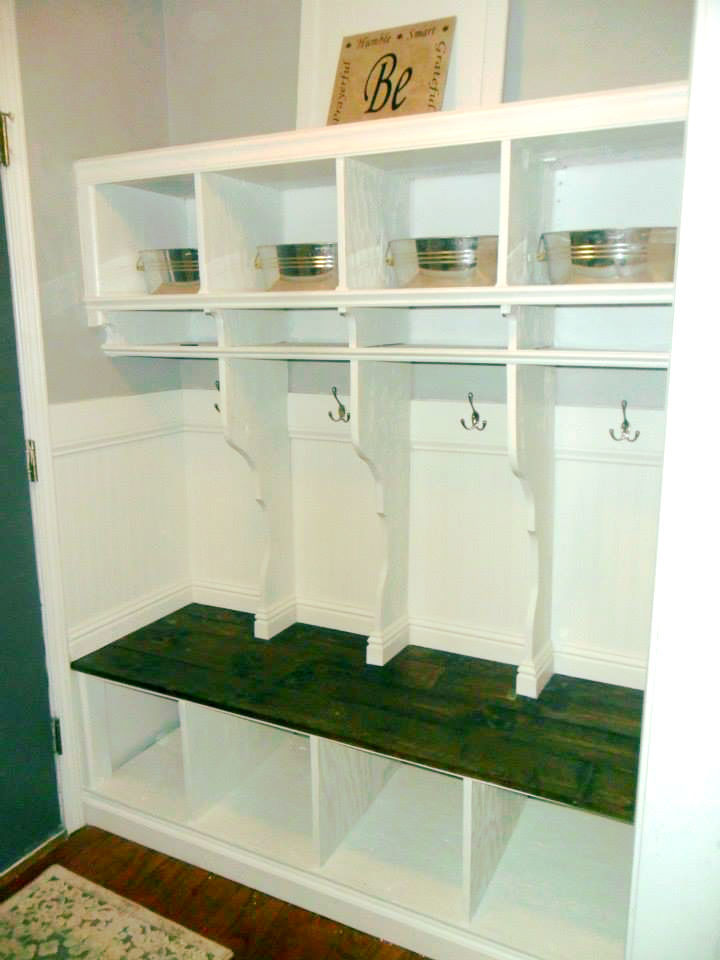
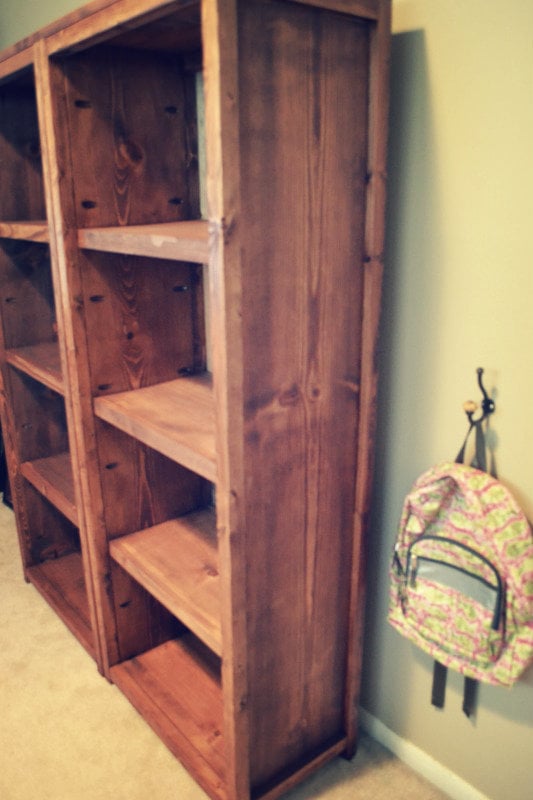
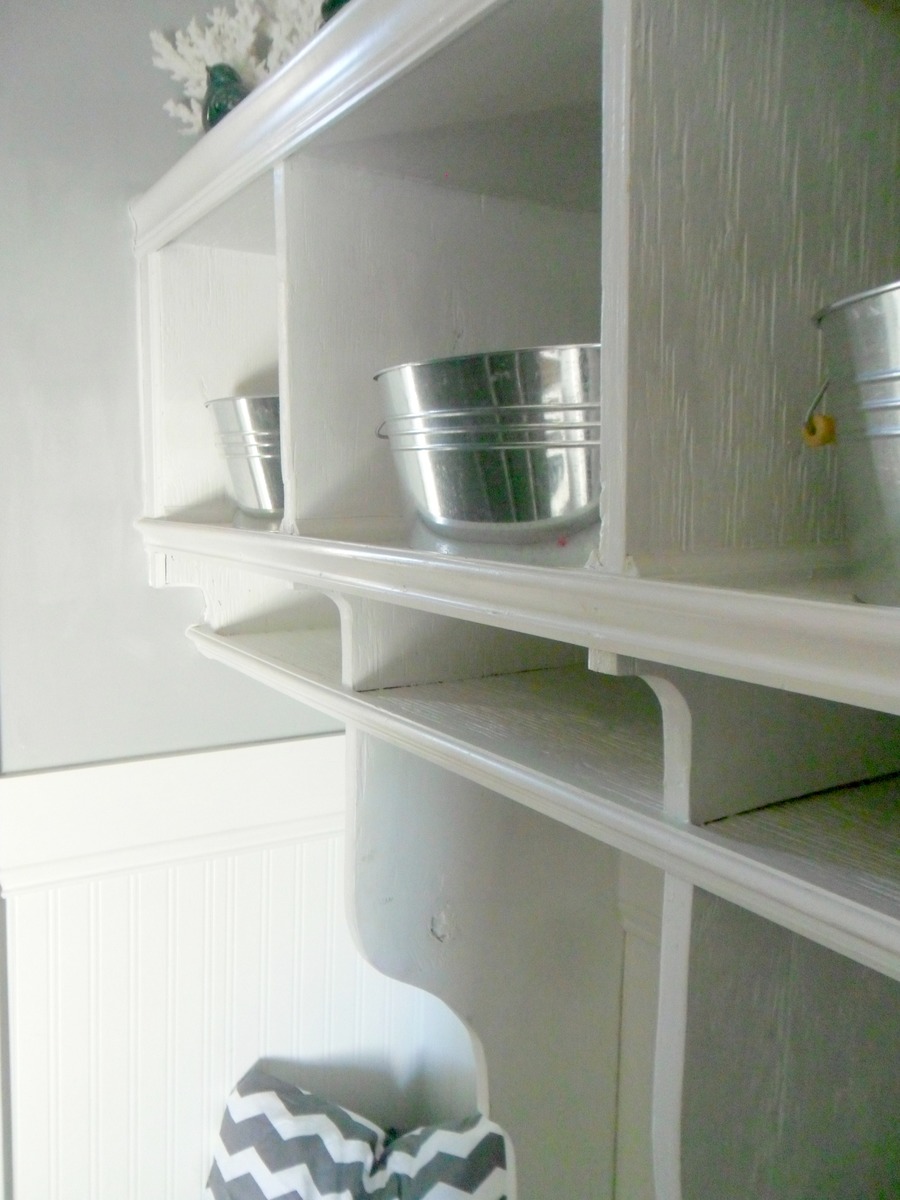
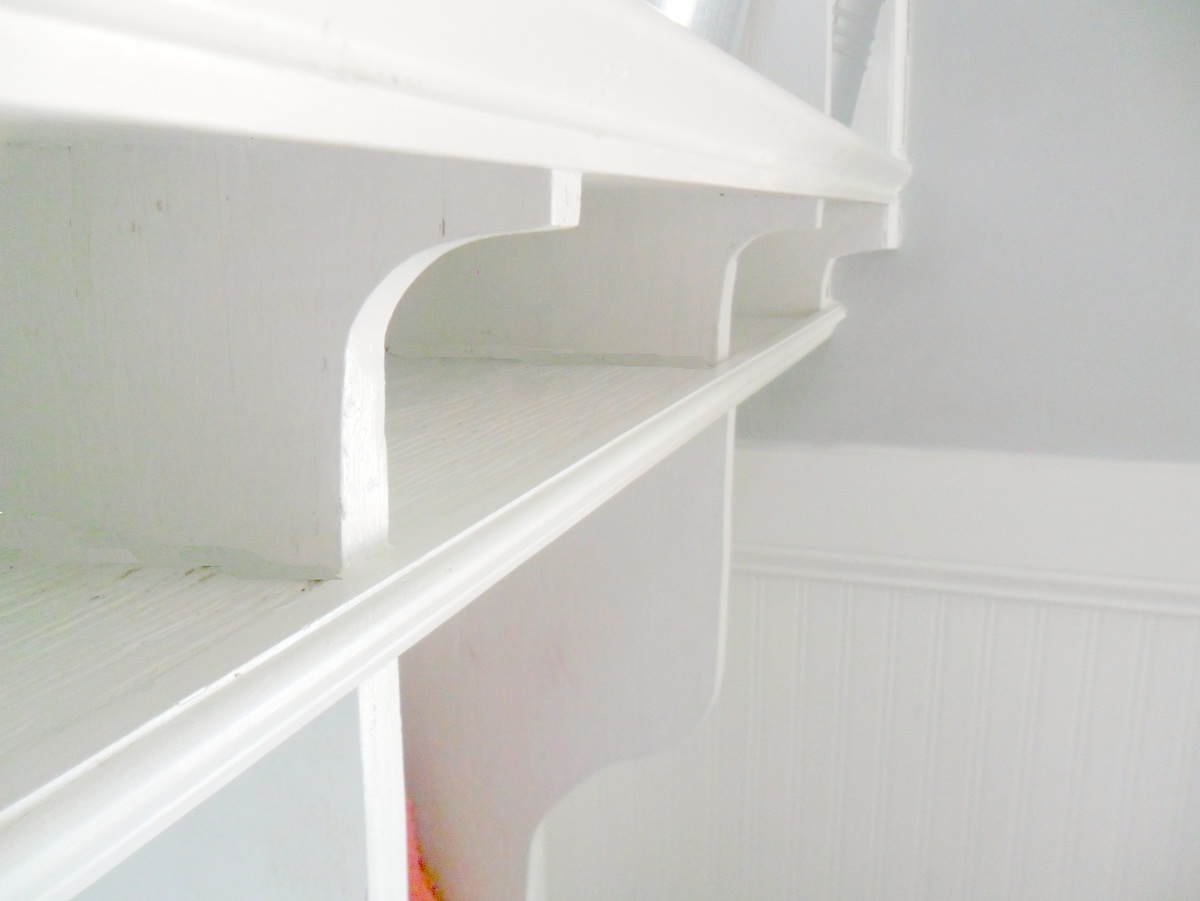
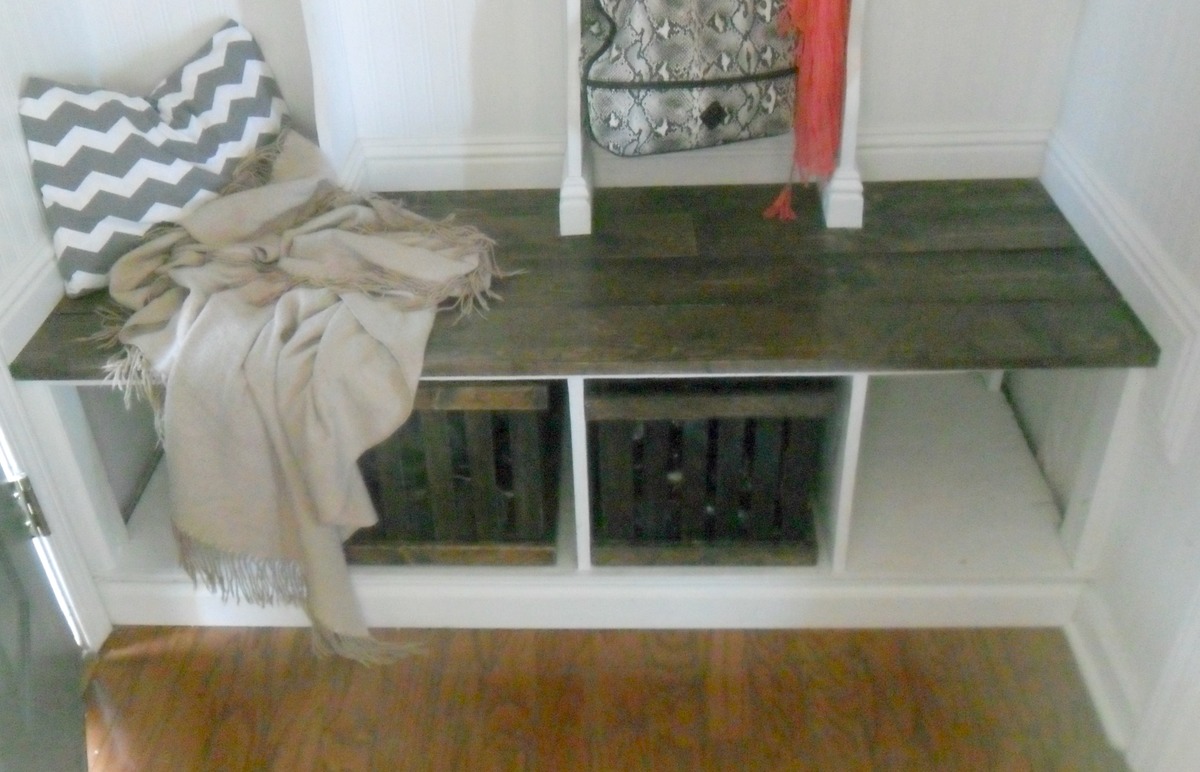
This was my very first building project. I needed a place for my kids to store their things as they went in and out of the house. I happened to have a perfect place to add built ins just inside my front door. Our house is pretty small and there wasn't much room anywhere else. It took me quite awhile, but I was able to learn from reading several Ana White plans and then I designed this myself. I learned how to use Google sketch-up in order to design it. I hope you enjoy checking it out!

Wed, 01/29/2014 - 20:06
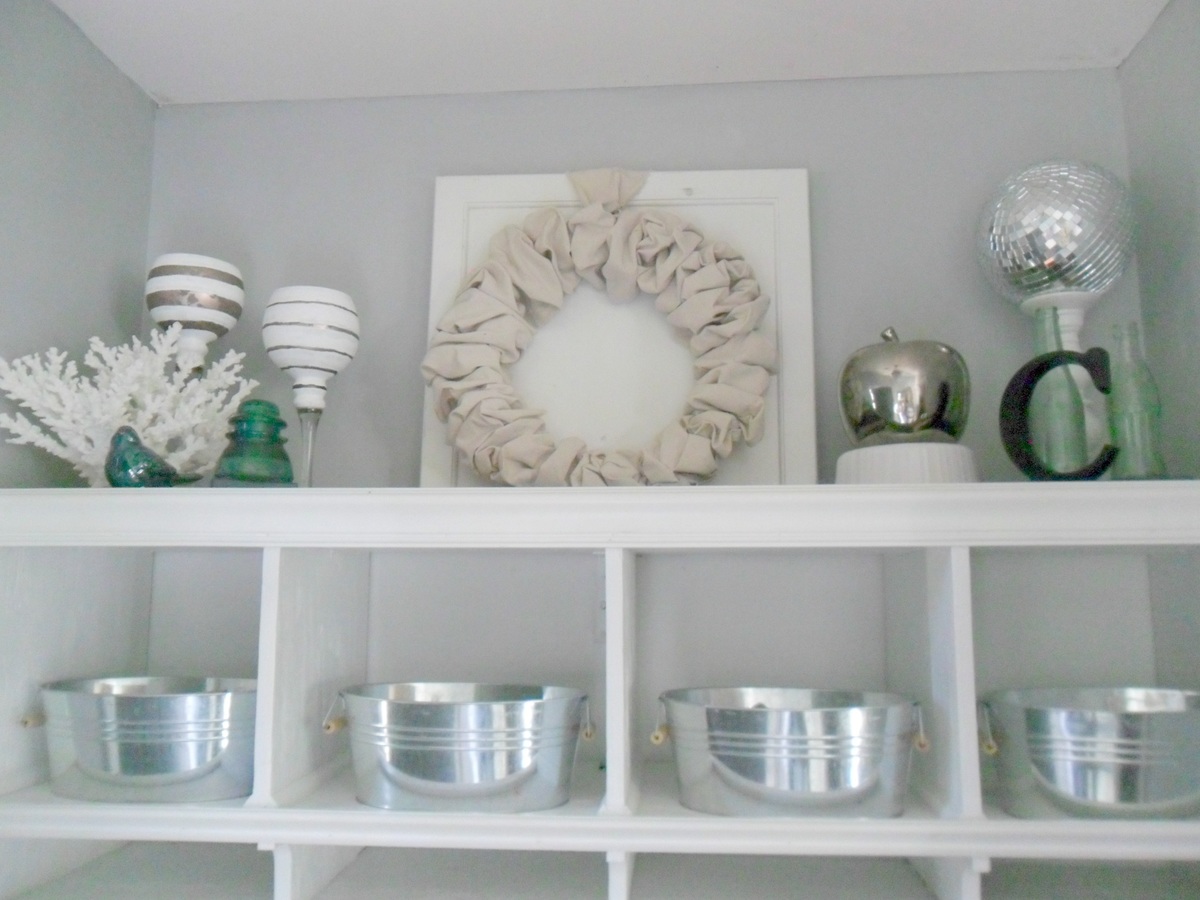
I love the details used. Especially the seating area color choice, buckets for storage and extra shelf...what do you plan on using the smaller shelves above the hooks to store? One small suggestion, you might consider adding extra hooks on the side panels. I did this on my project and I think we've used every hook we have LOL! Fantastic job!!
In reply to Great job! by tommybo76
Thu, 01/30/2014 - 16:20
Thank you so much! You are right, that is something I actually have plans to do. We can always use more hooks! The smaller slots are for school papers. My kids each have a section (I have four kids). They are to take out any papers that they need me to see and place them in the homework slot...I will then either return it to the slot or trash it, if need by. I also use it to put anything I find laying around the house that belongs in their bookbags or that needs to go to school in (library books, etc). You can see the whole tutorial, if you're interested, here: http://www.home-heart-and-hands.blogspot.com/2014/01/diy-mudroom-and-ent...
Thu, 01/30/2014 - 13:26
Thank you so much! You are right, that is something I actually have plans to do. We can always use more hooks! The smaller slots are for school papers. My kids each have a section (I have four kids). They are to take out any papers that they need me to see and place them in the homework slot...I will then either return it to the slot or trash it, if need by. I also use it to put anything I find laying around the house that belongs in their bookbags or that needs to go to school in (library books, etc). You can see the whole tutorial, if you're interested, here: http://www.home-heart-and-hands.blogspot.com/2014/01/diy-mudroom-and-en…
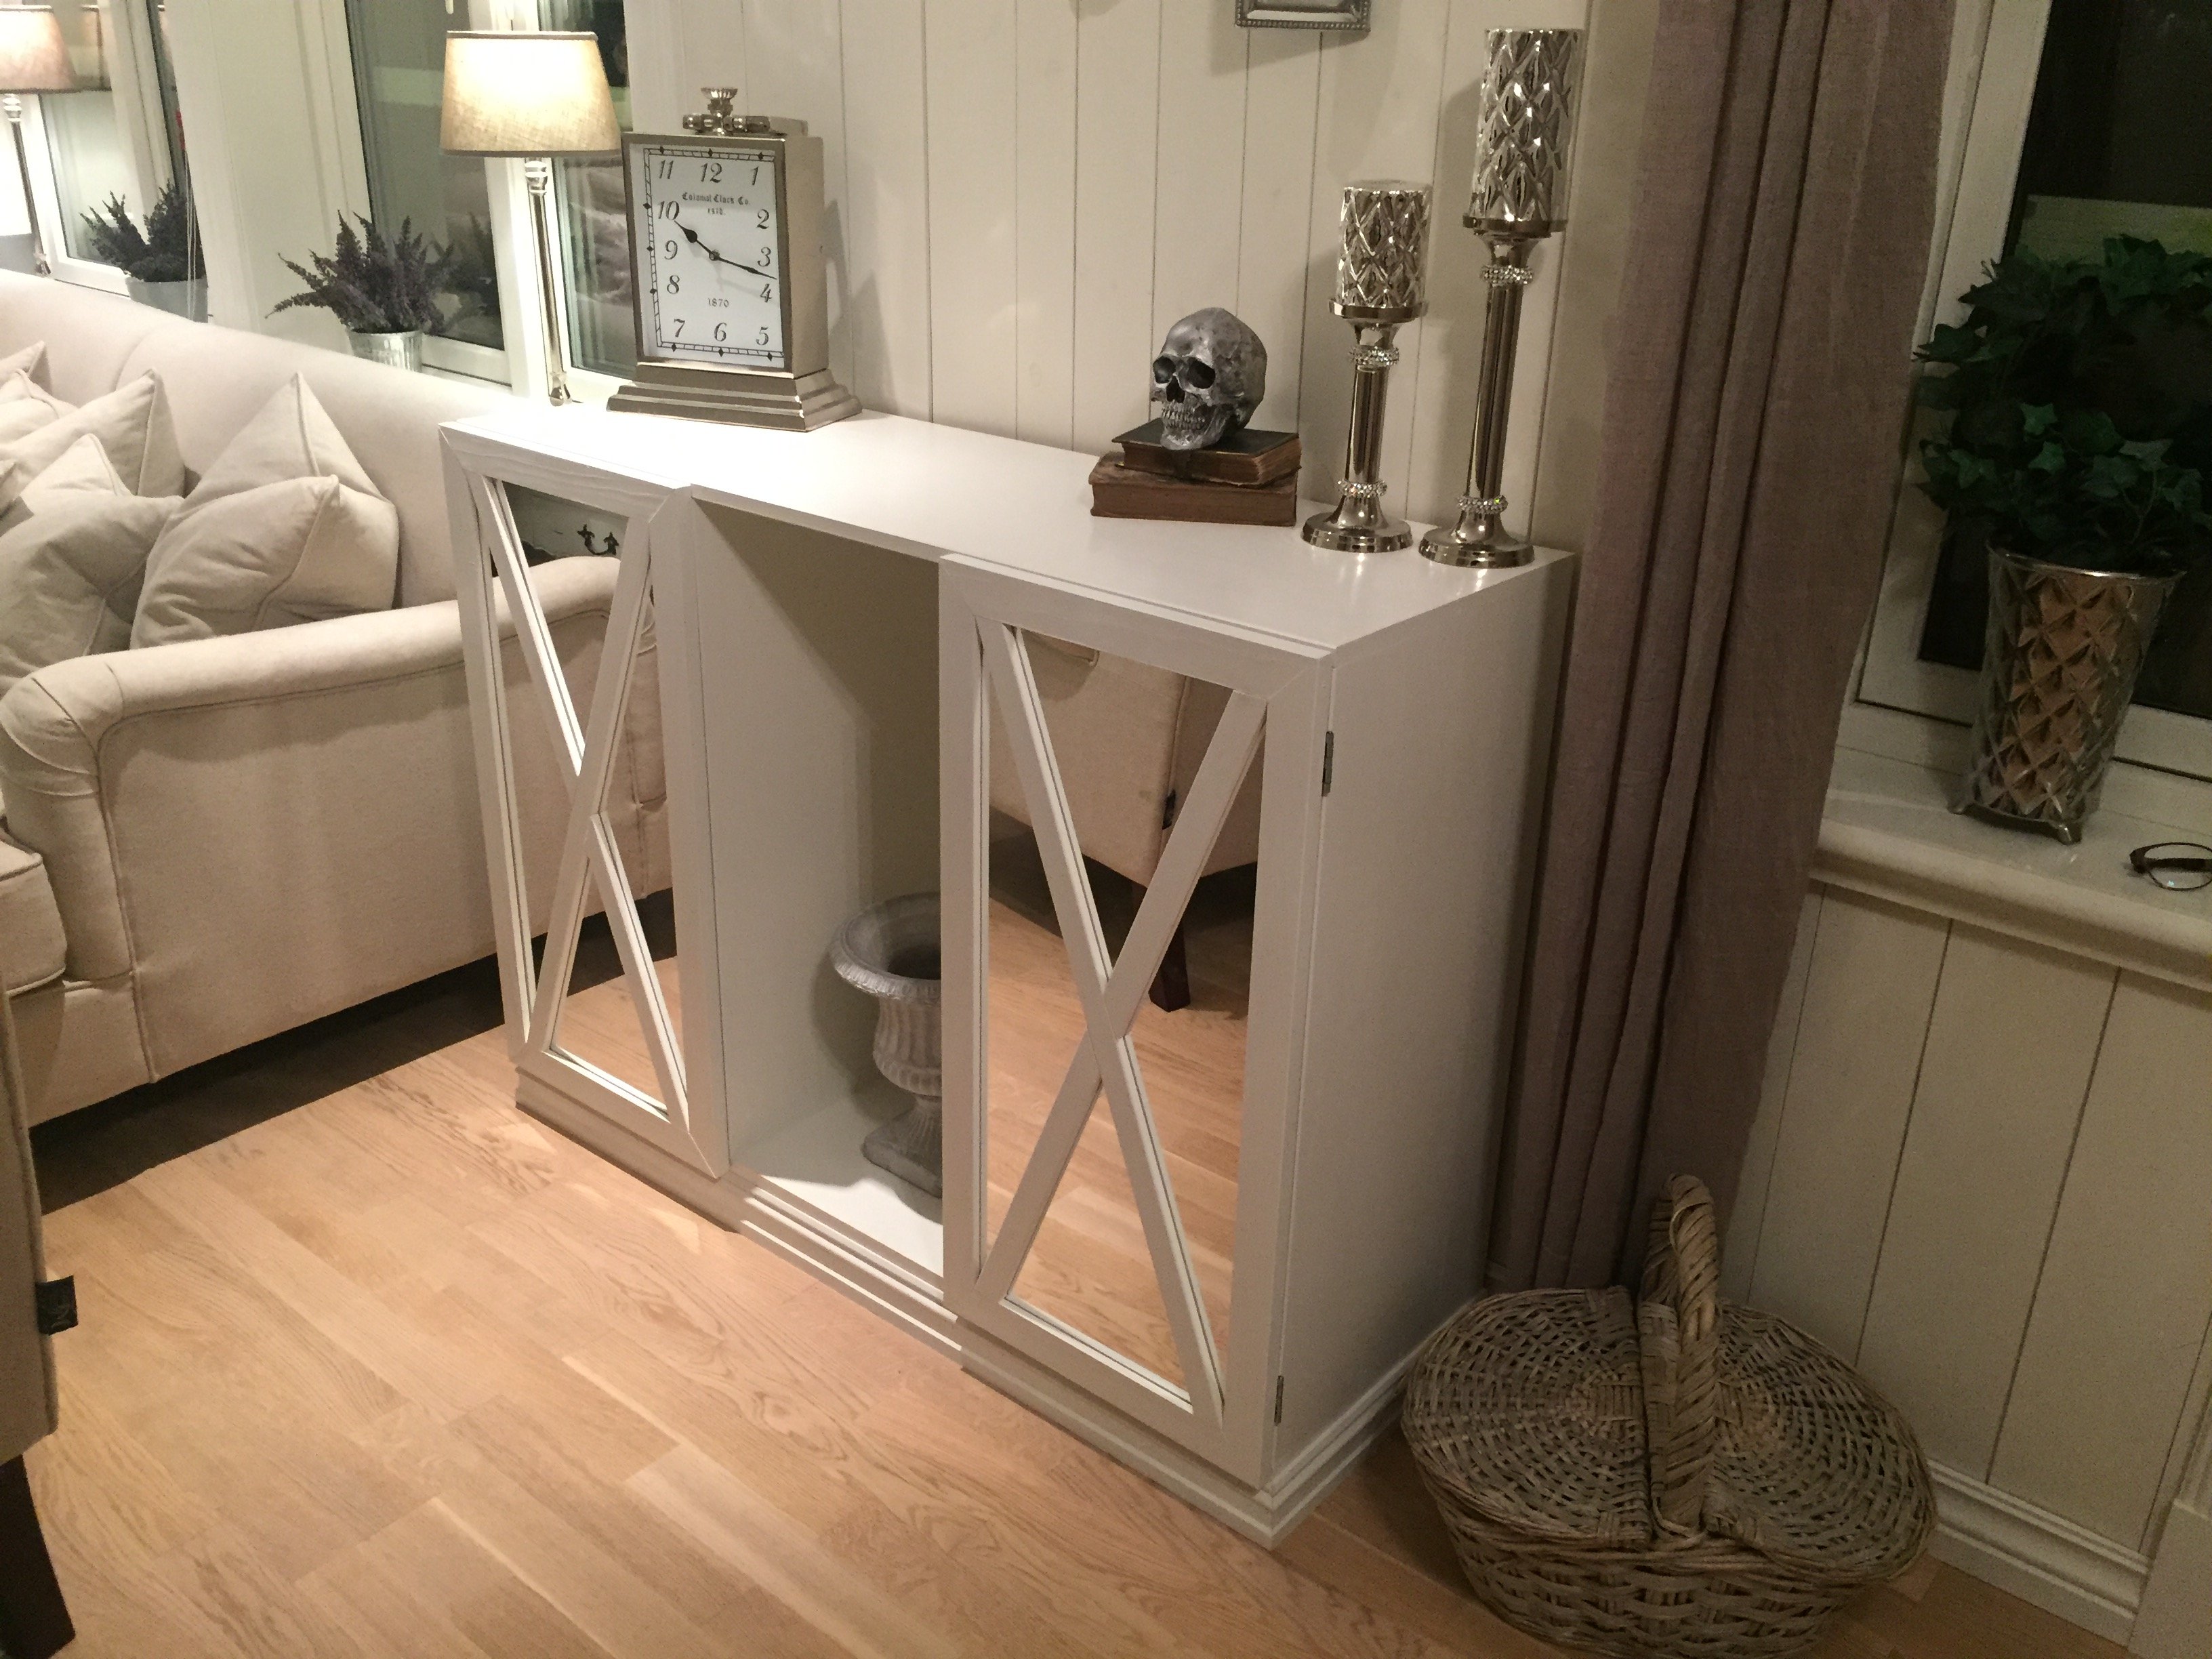
My own take on a mirrored console
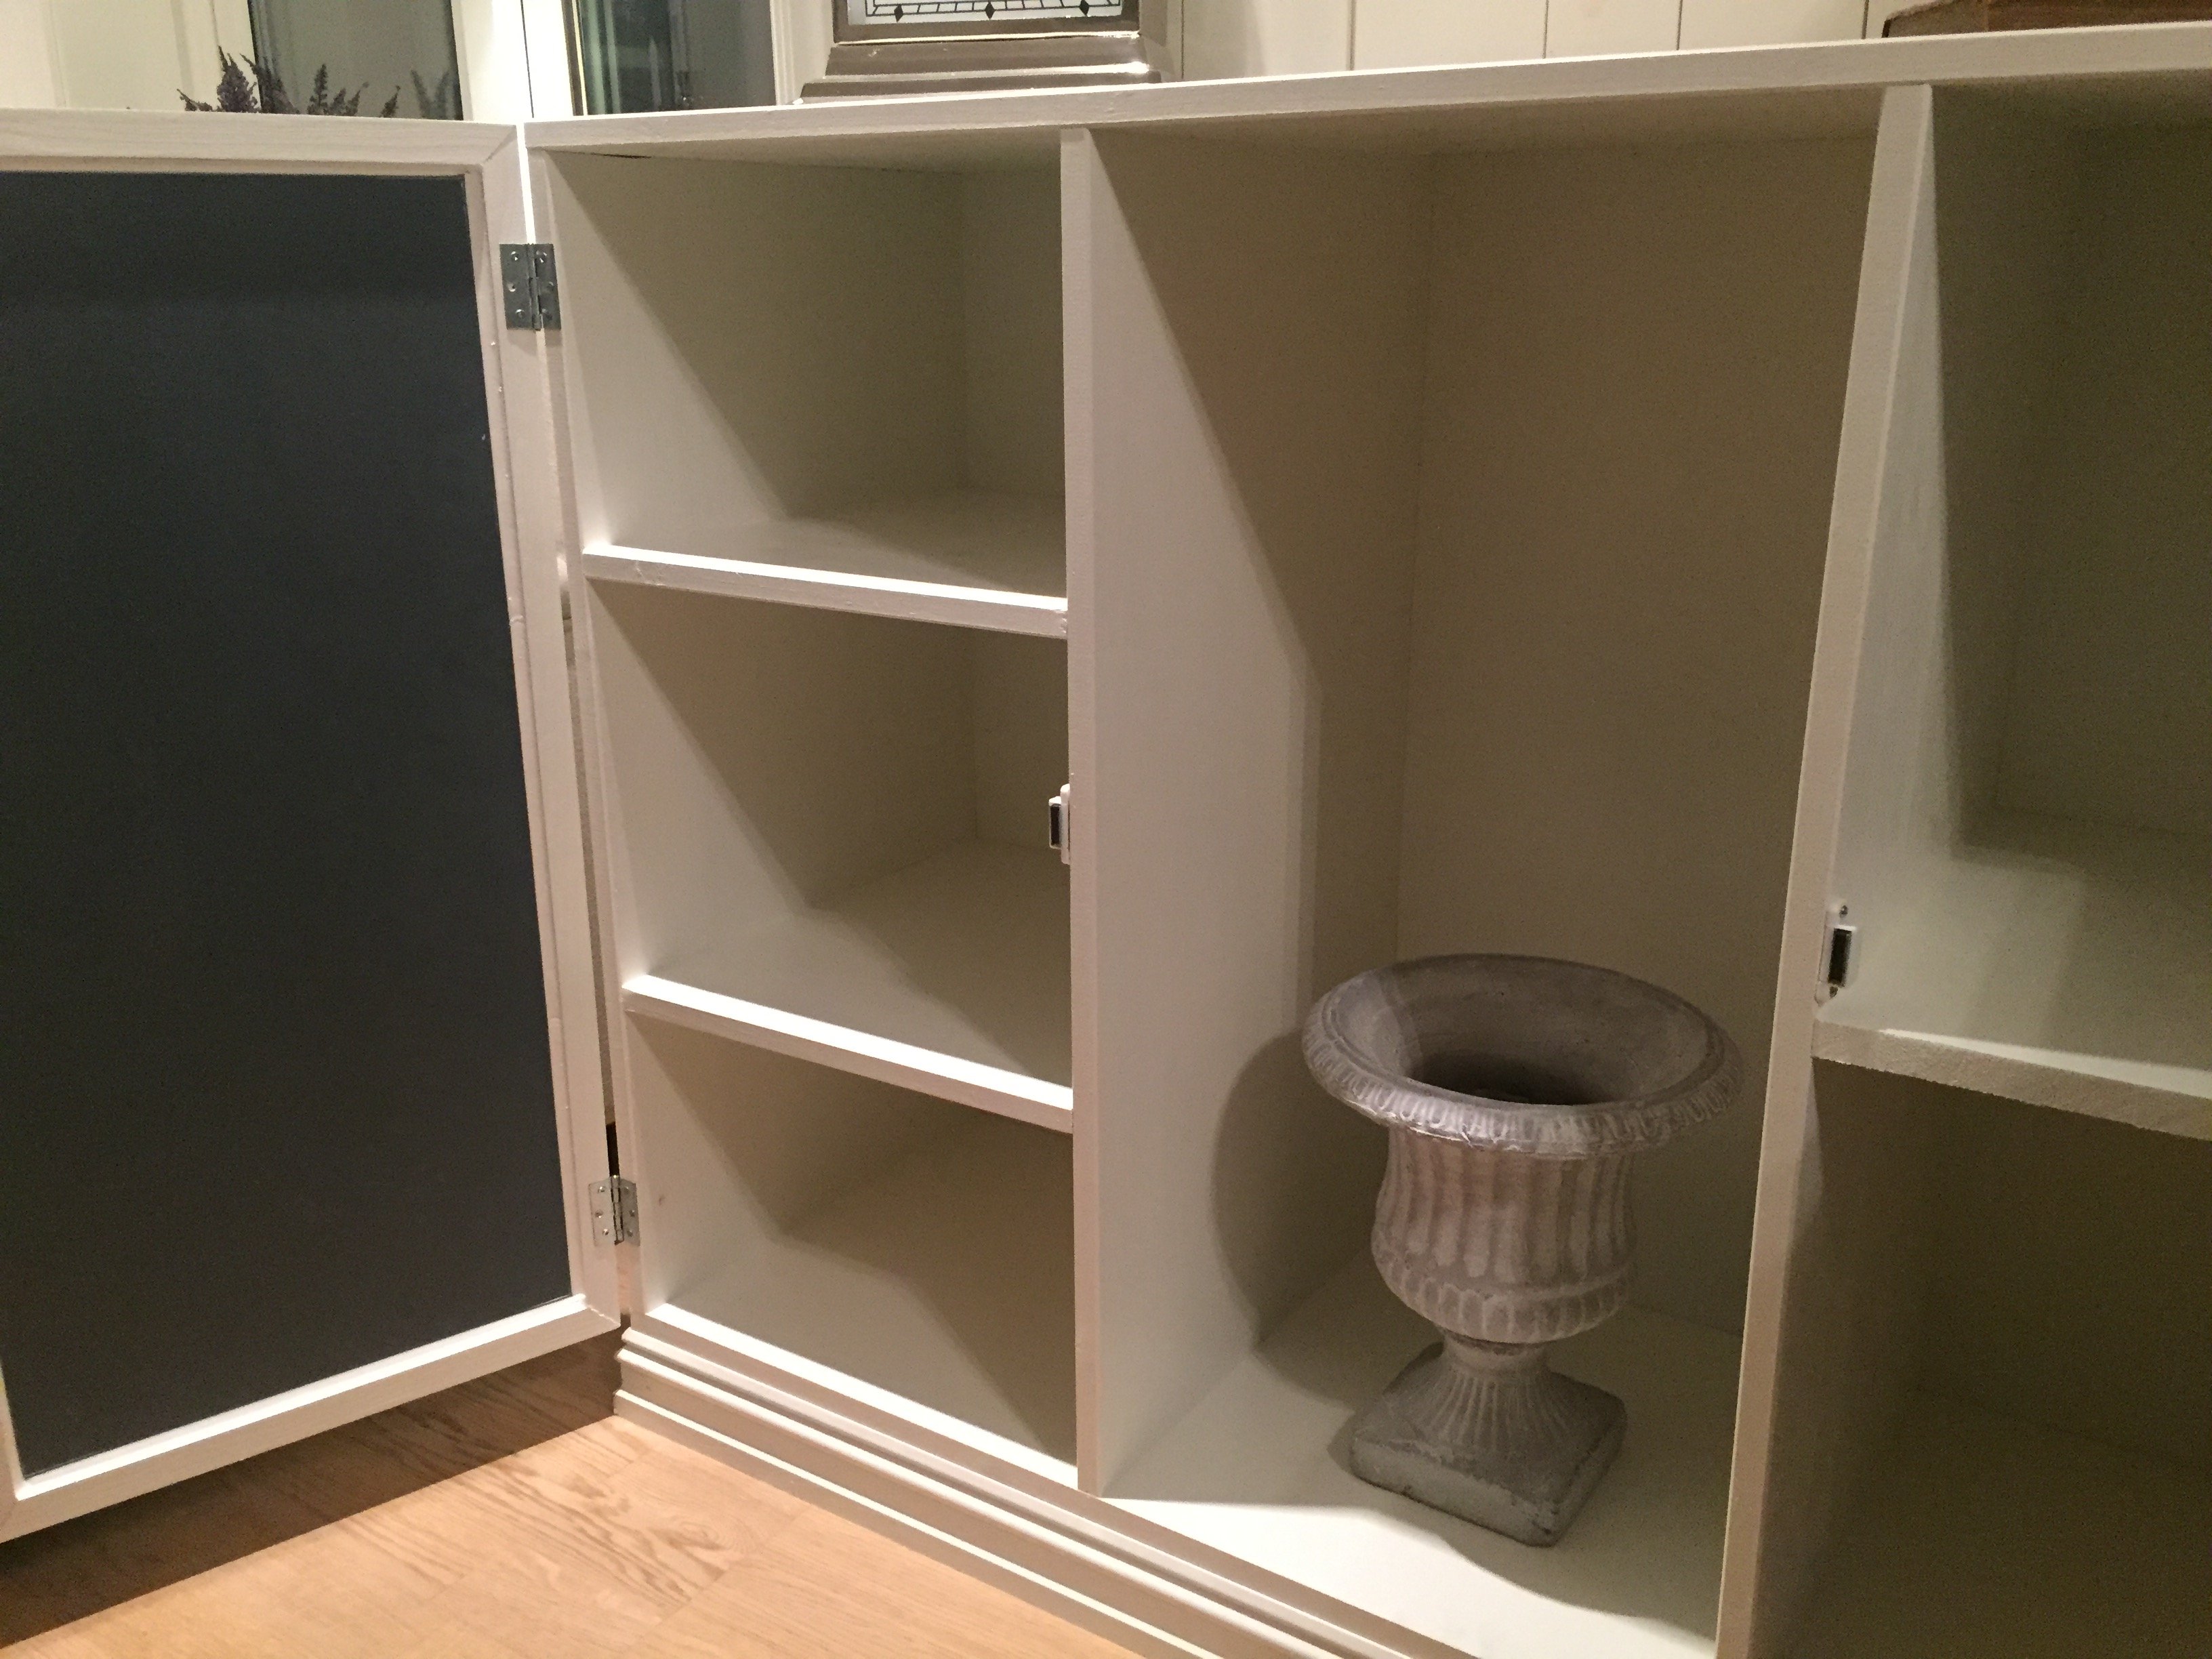

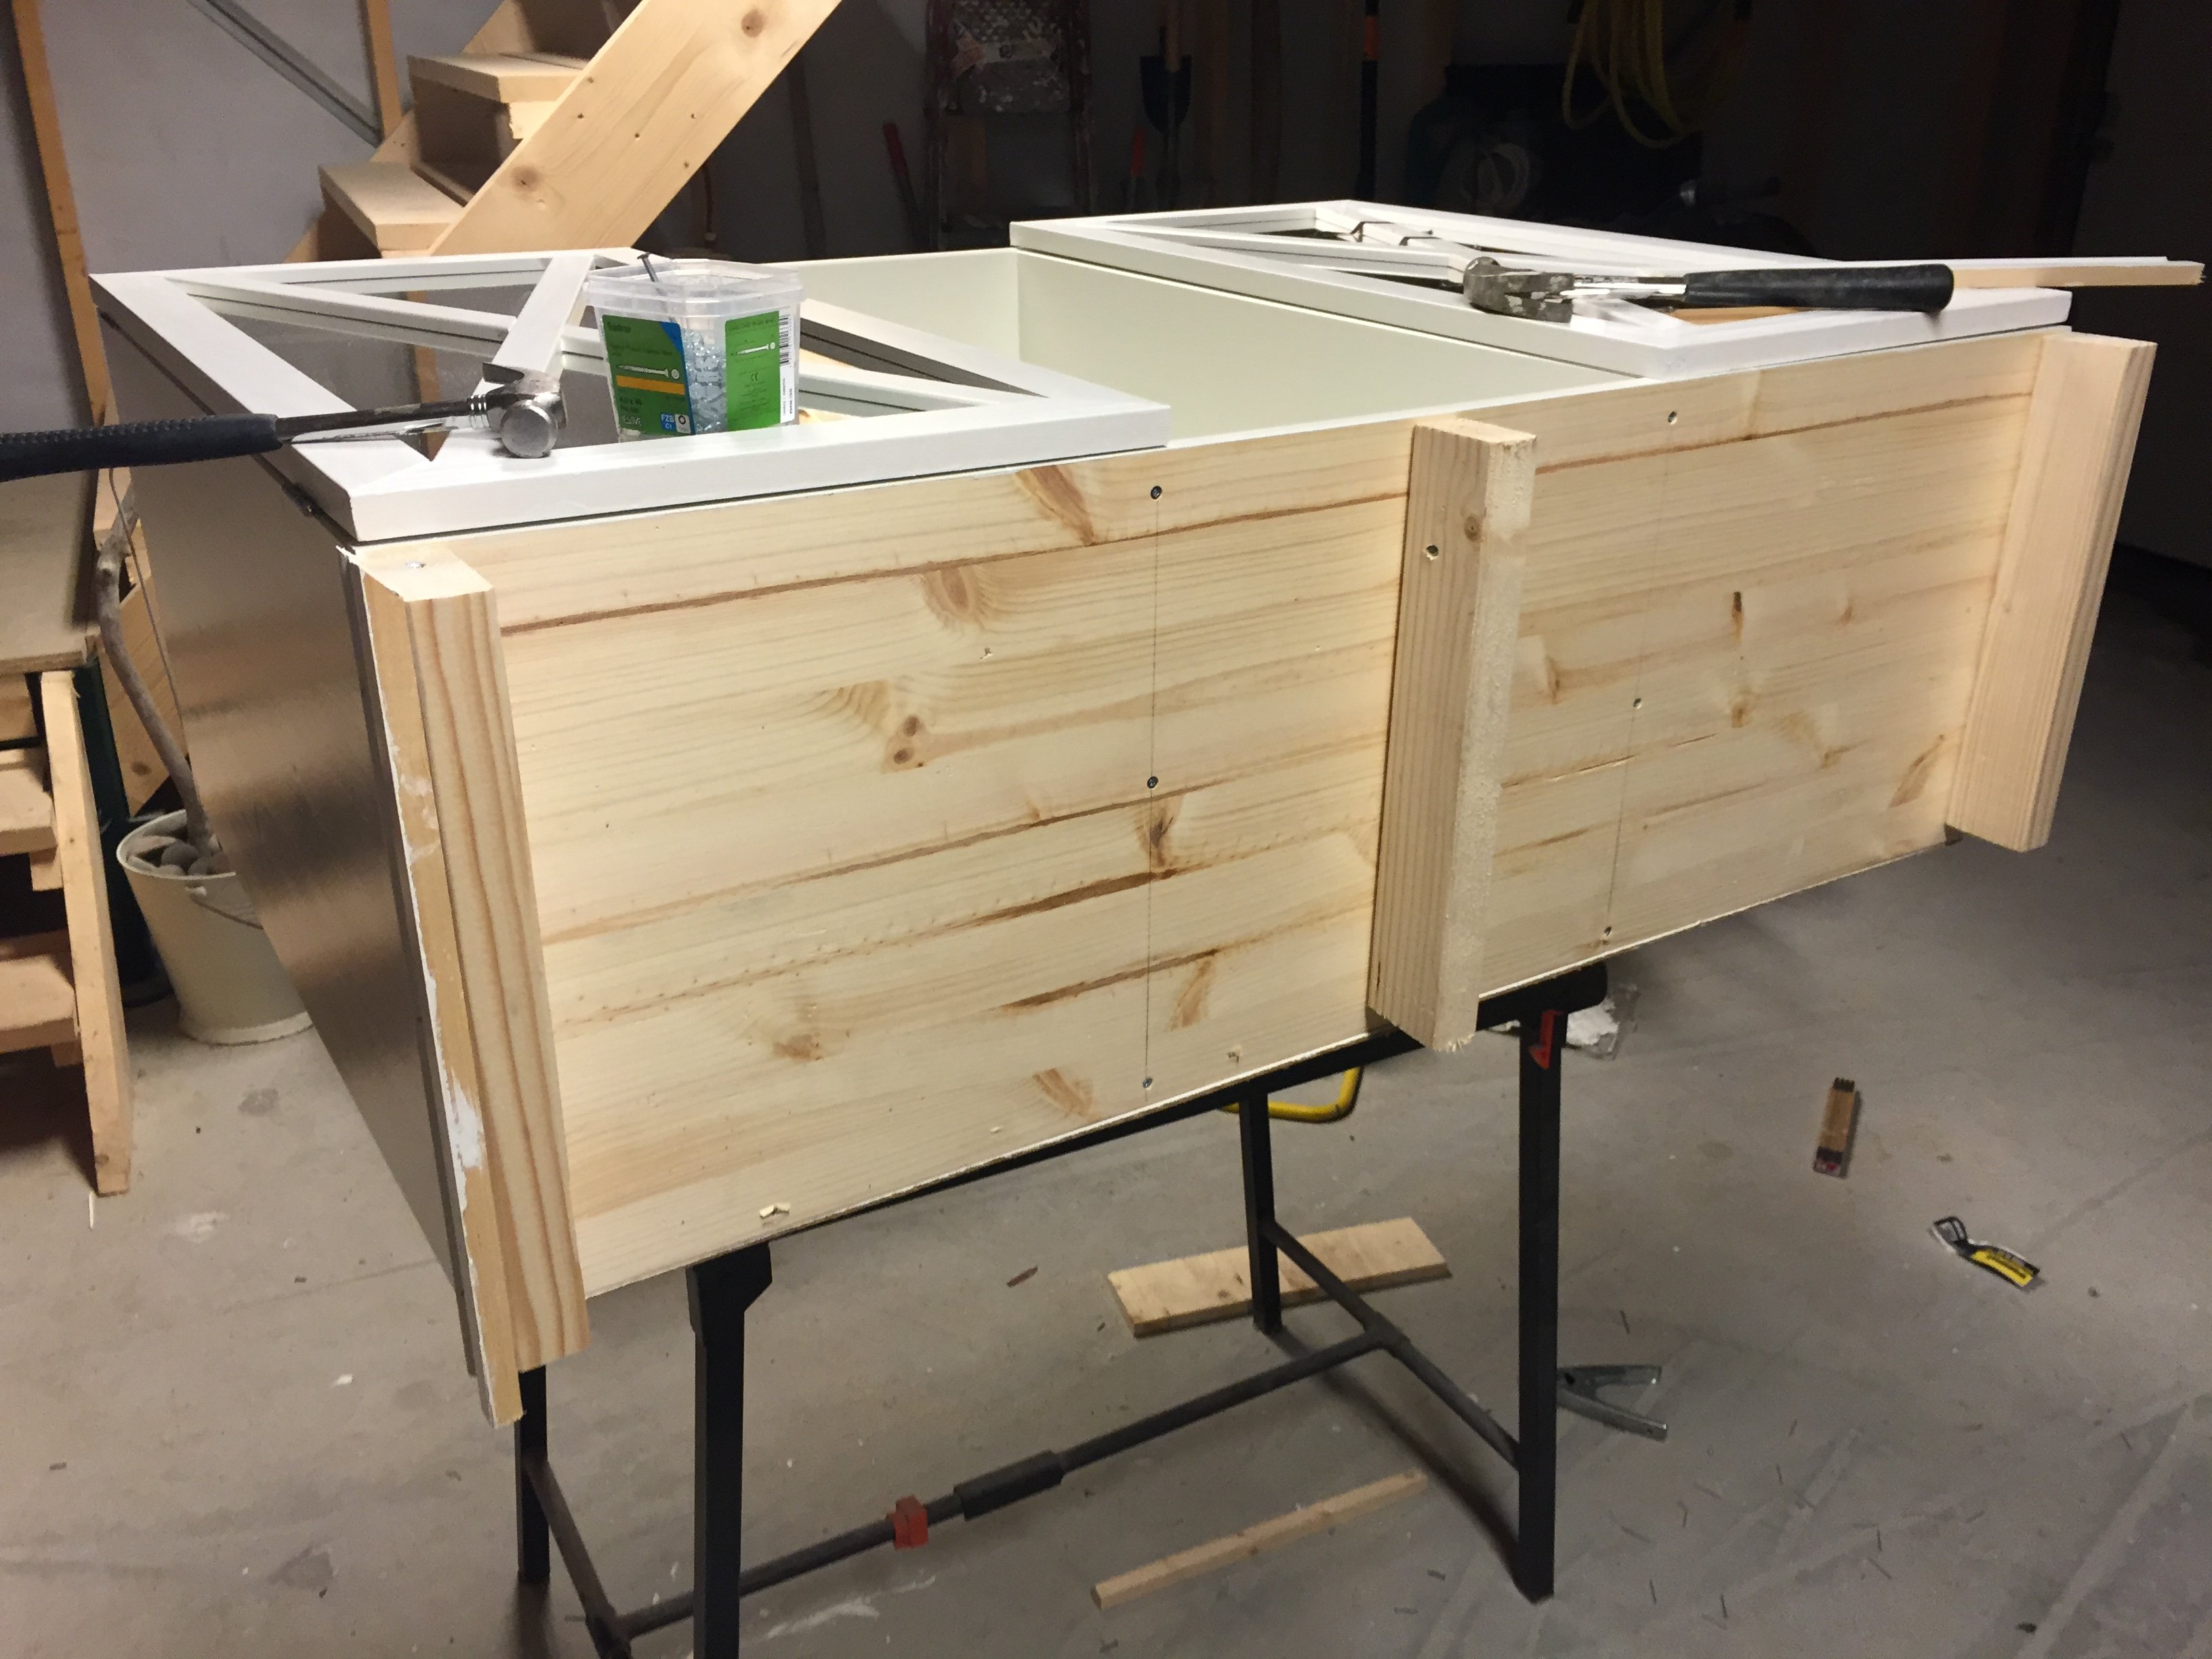
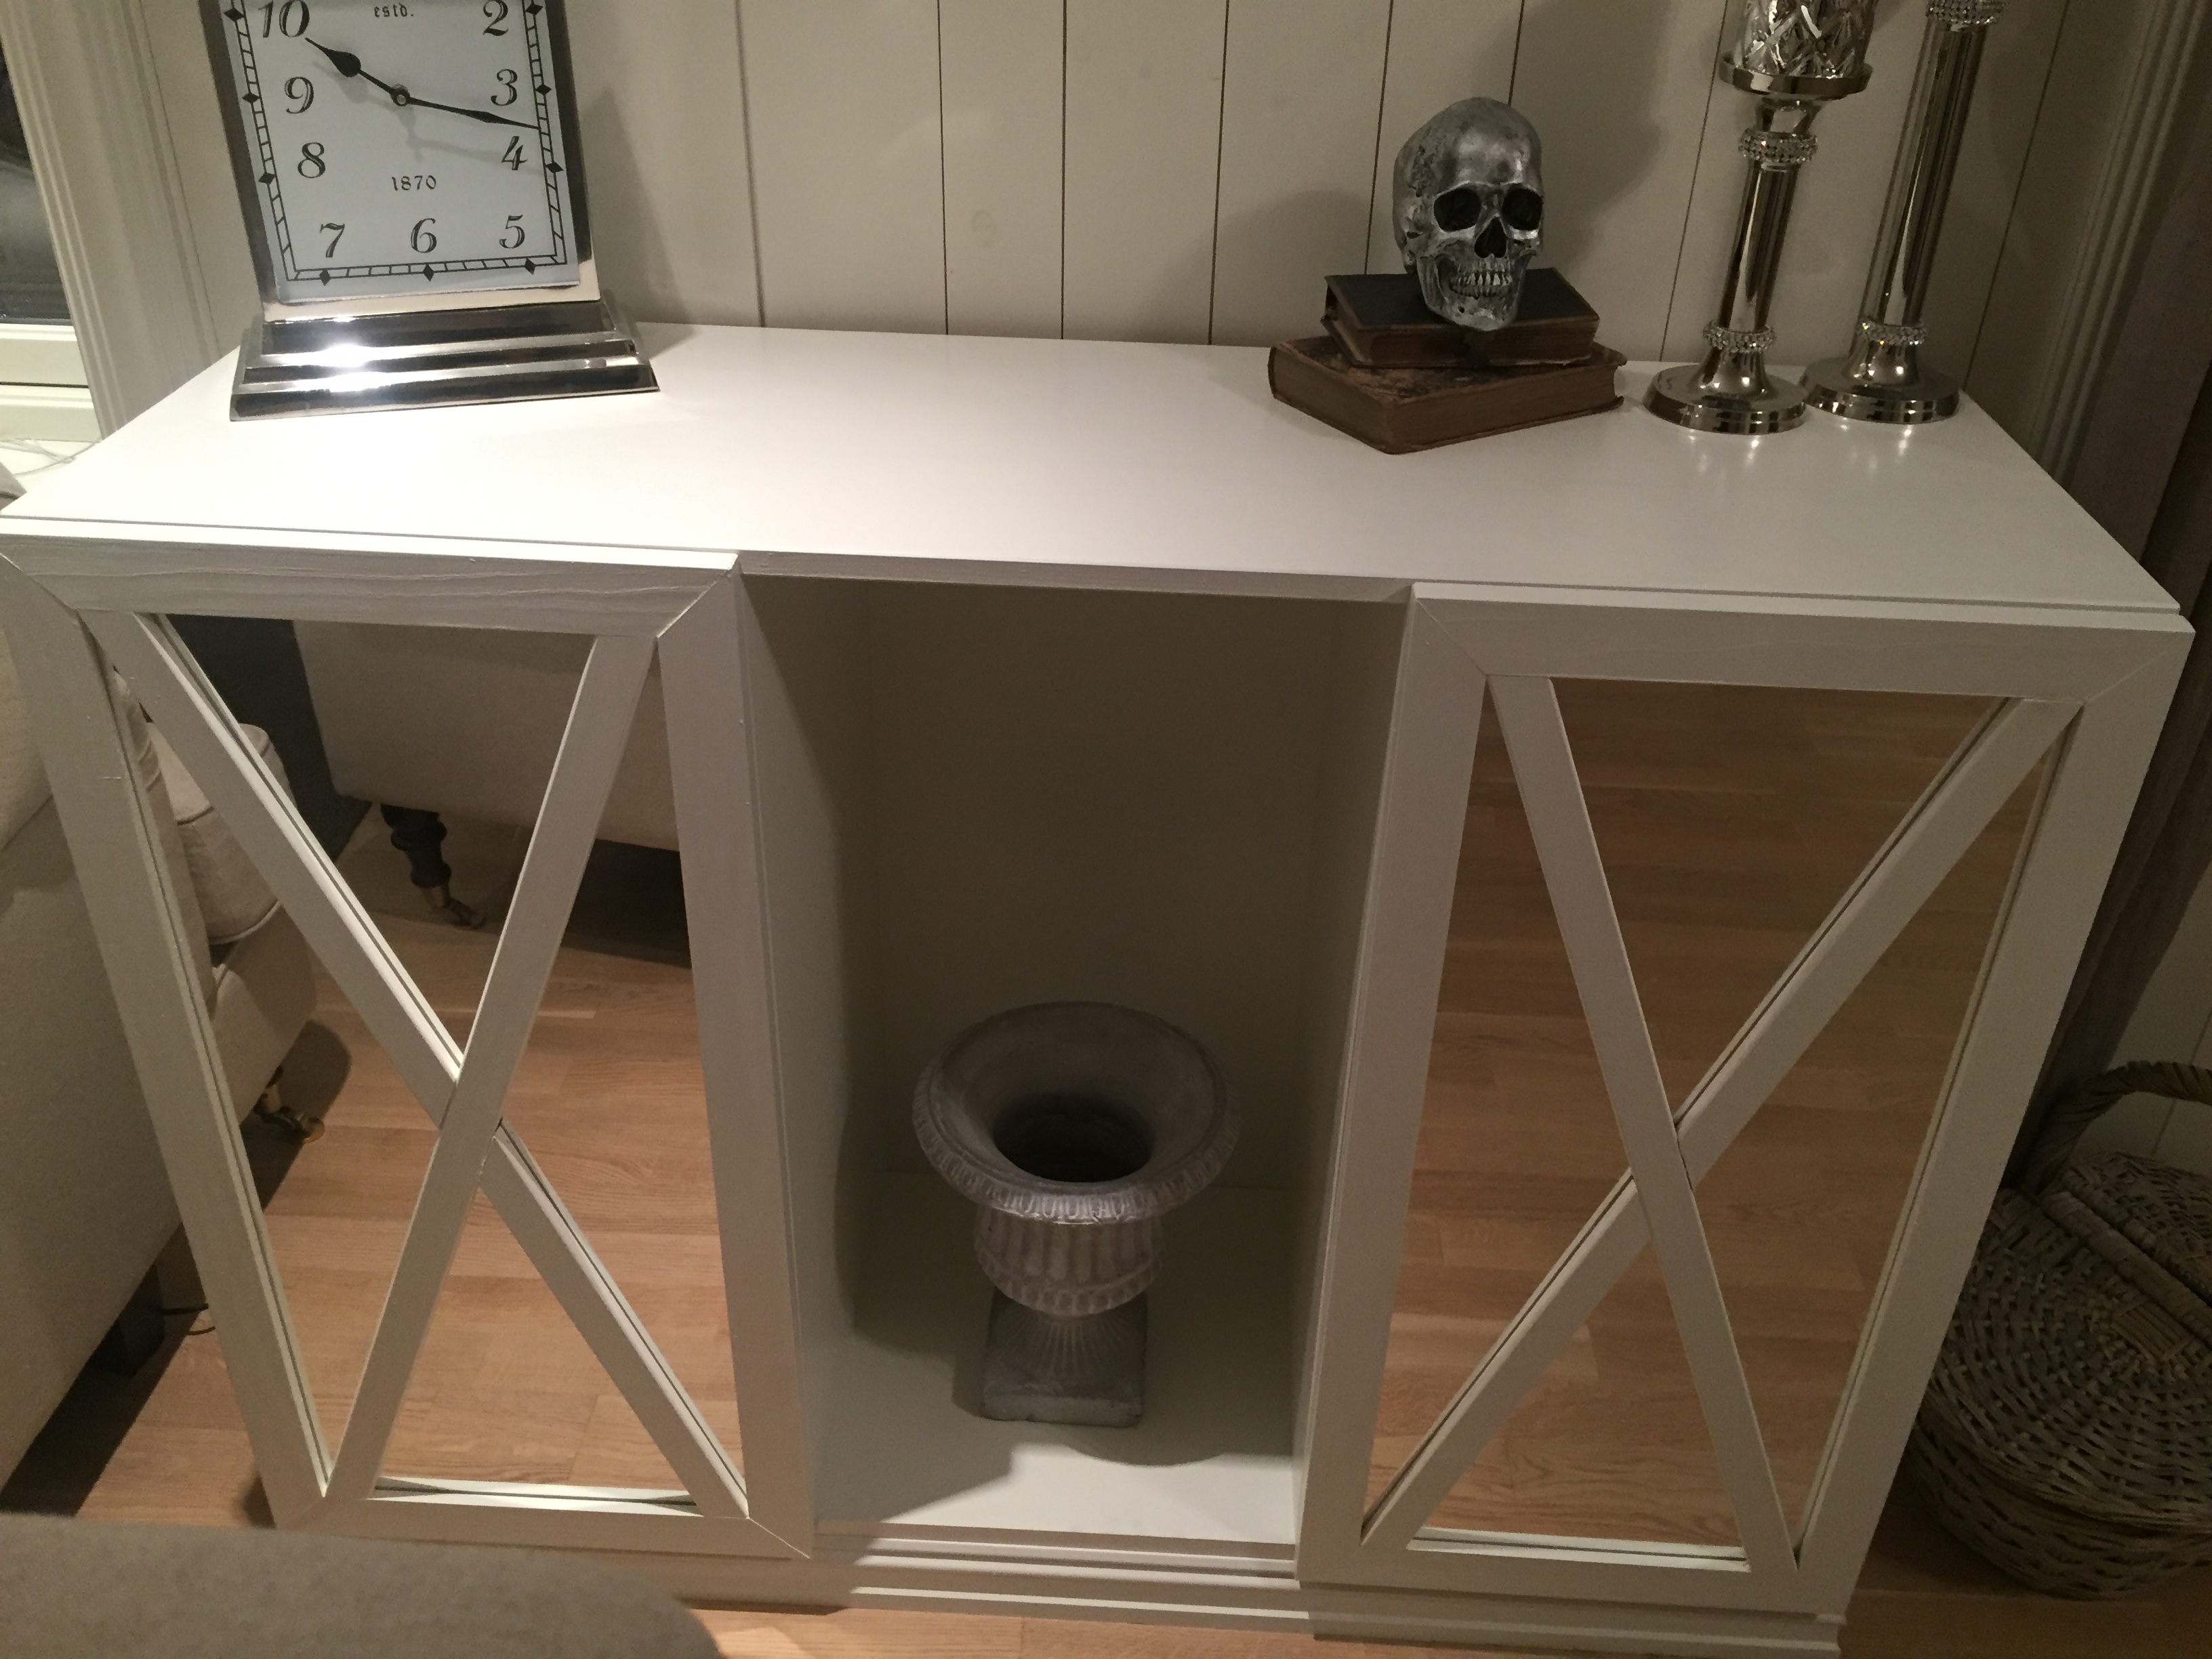
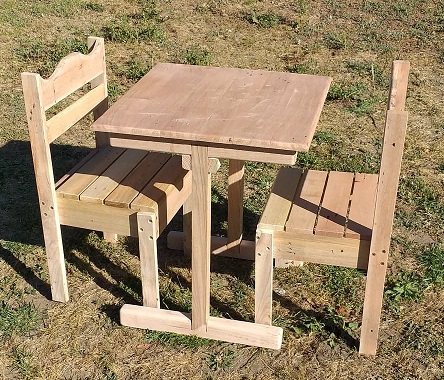
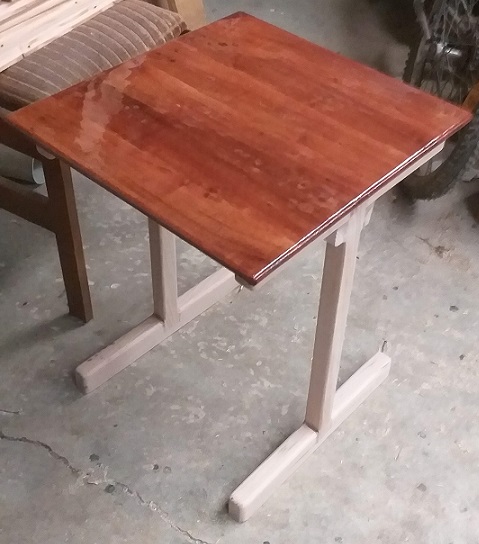
I took your plan for the Clara table to make Ben's table. I used your sizing but made Ben's table with pedestal legs. I then used your $4 chair plan as well.
Most of the timbers you use we in Australia consider exotic timber.
I used eucalypts. Tasmanian Oak for the table legs and Red Ironbark for the rest.
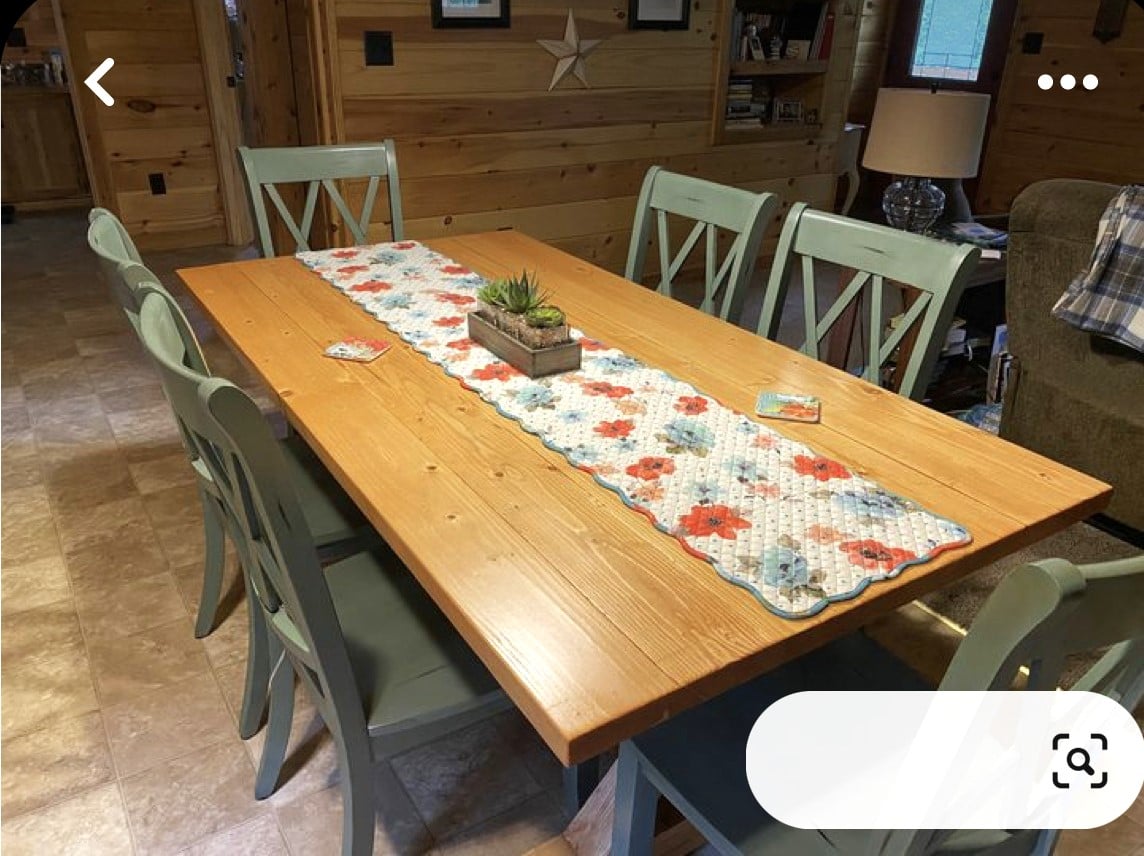
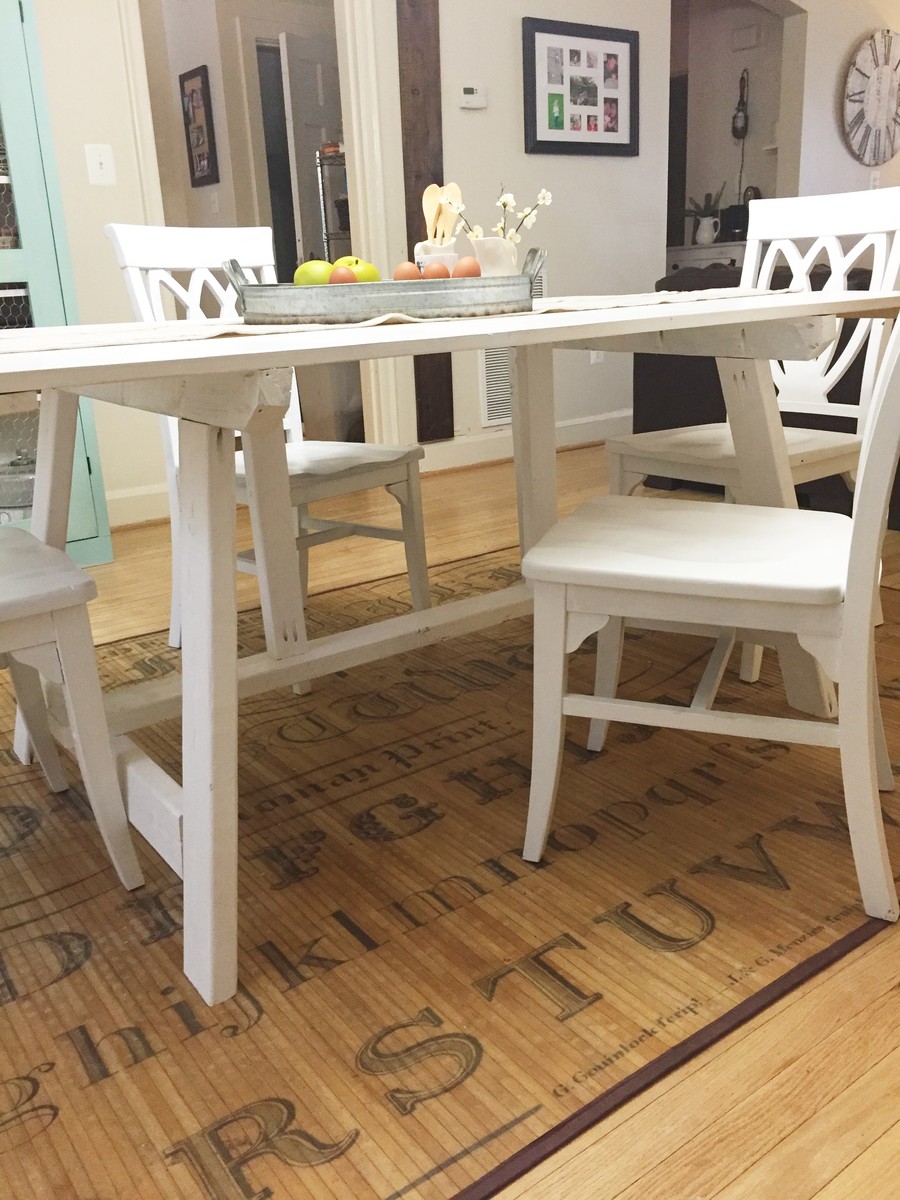
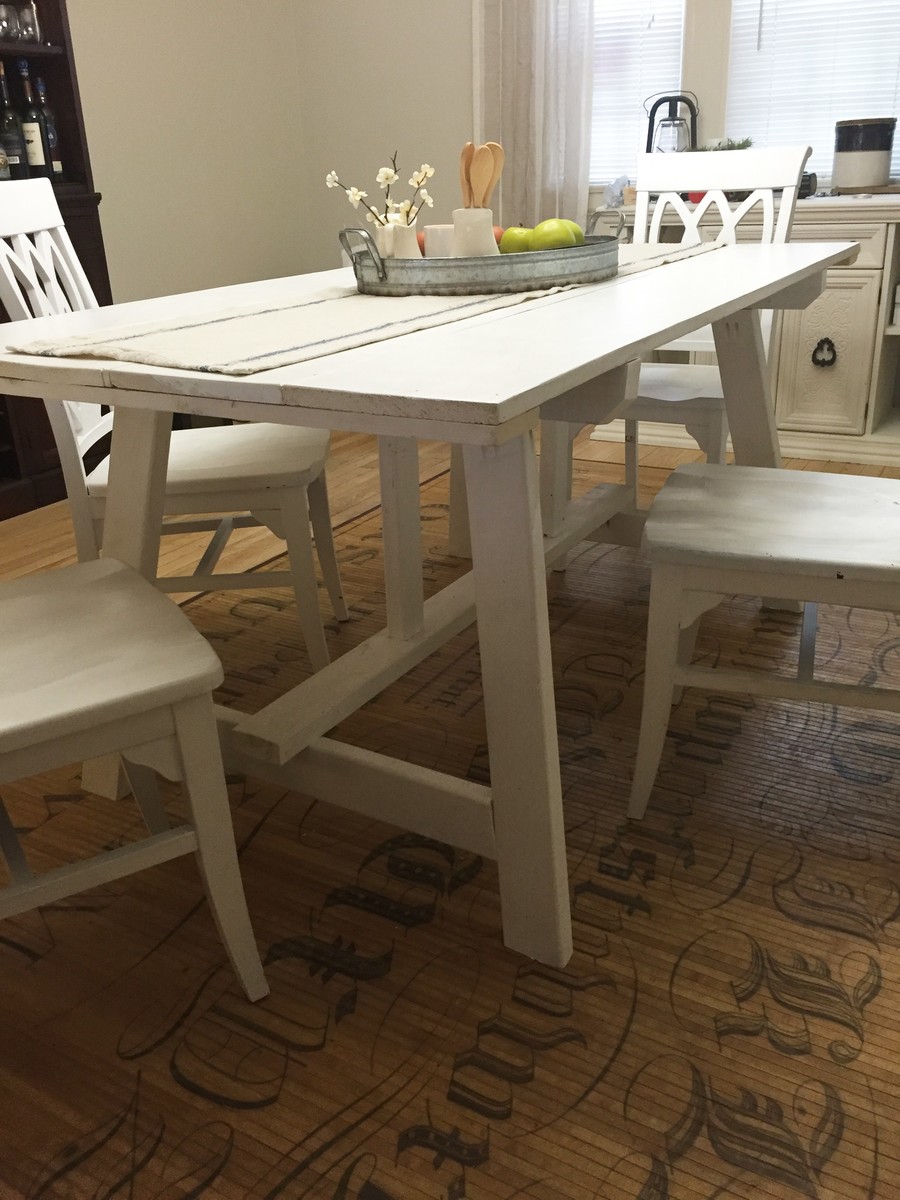
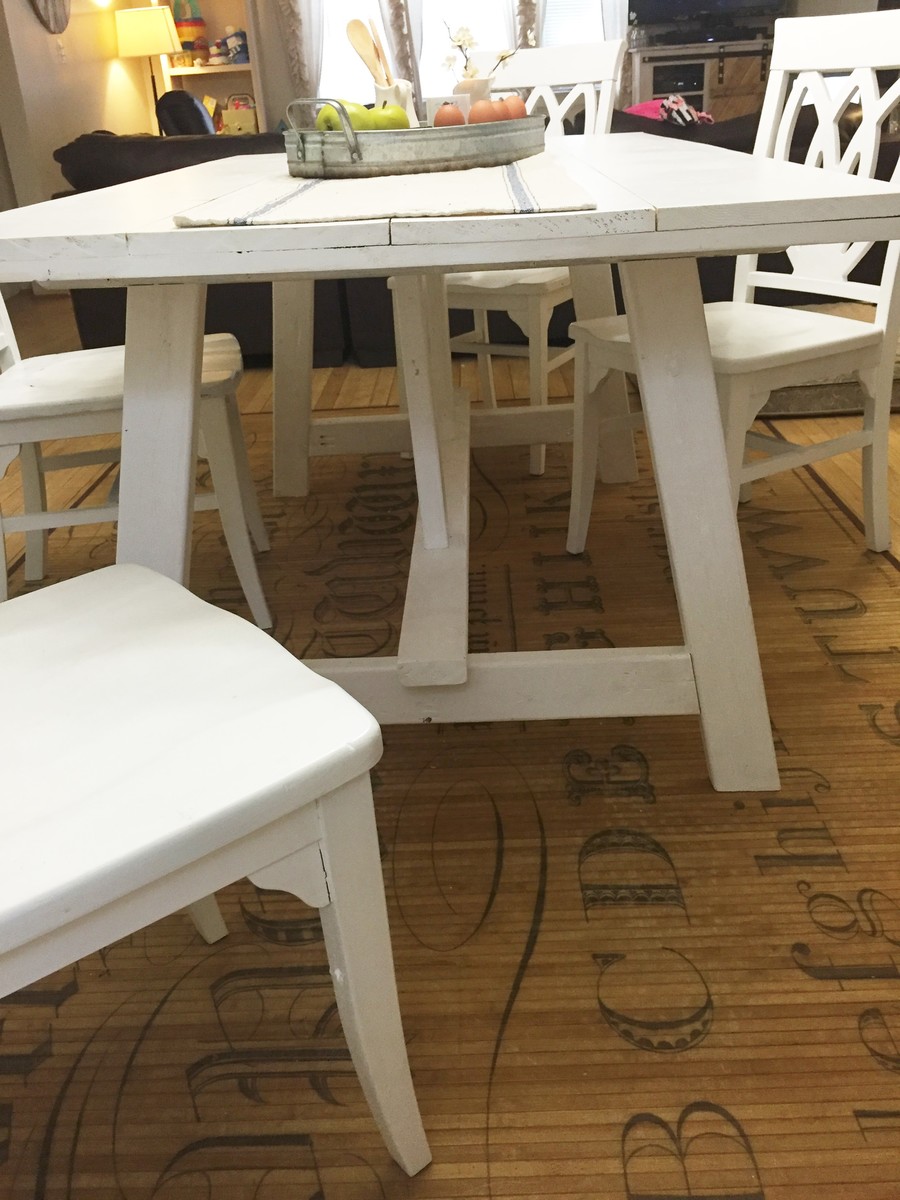
I needed a larger kitchen table to seat six and made the trestle table. Love it!
Terri M

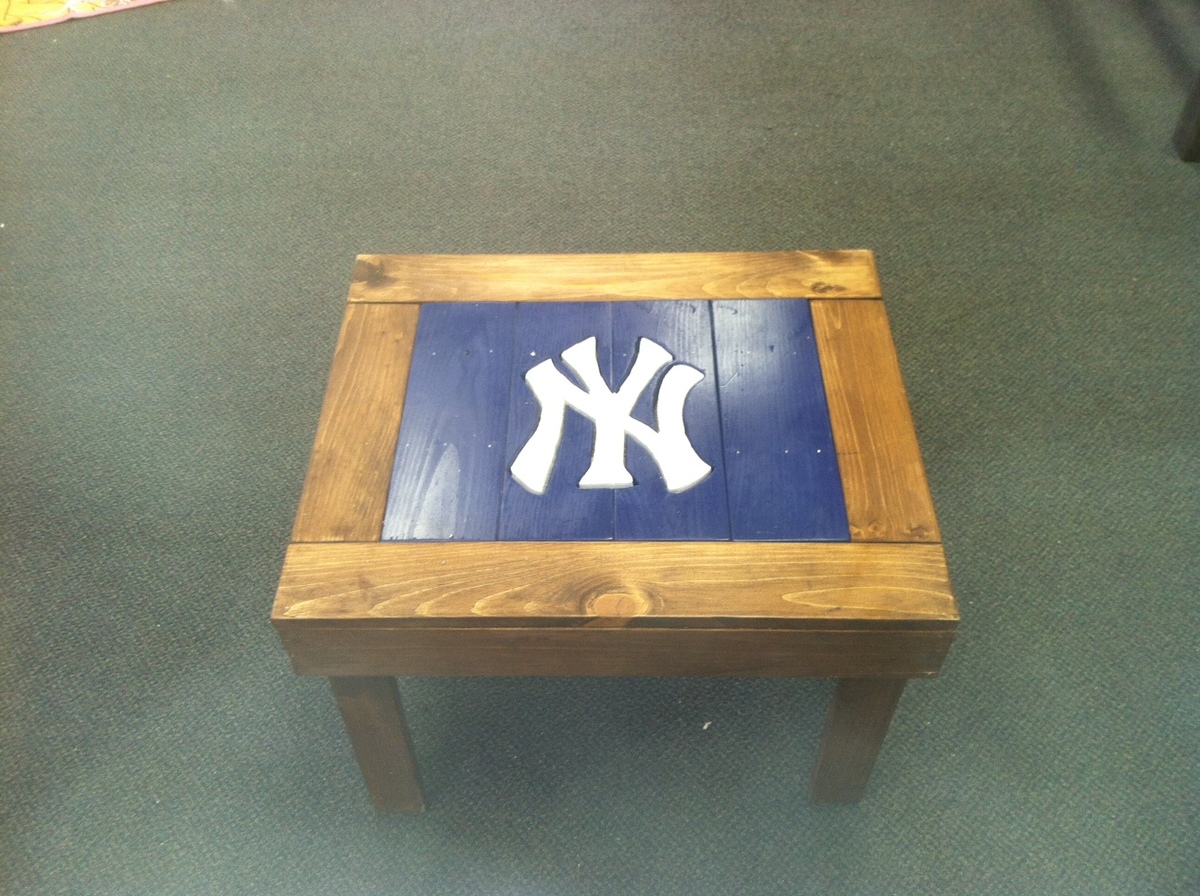
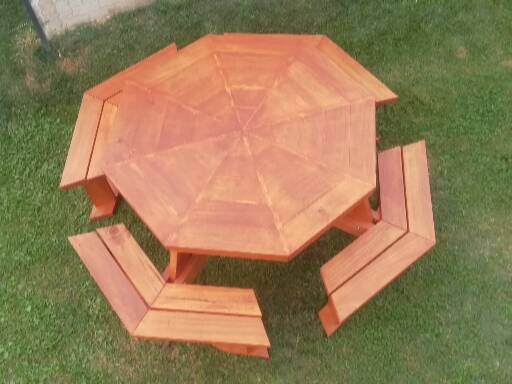
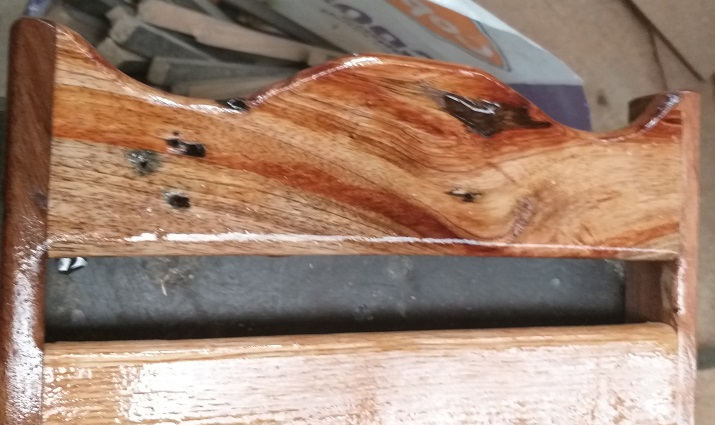
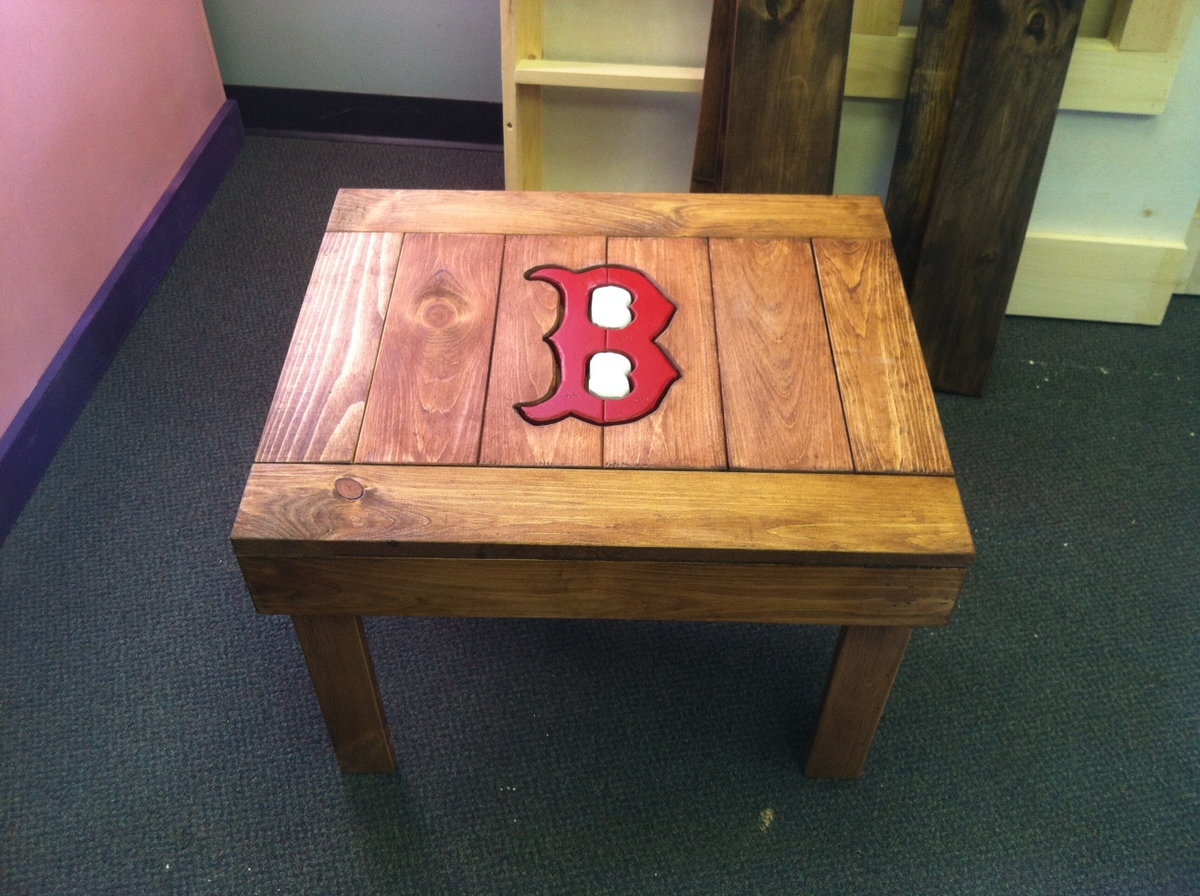
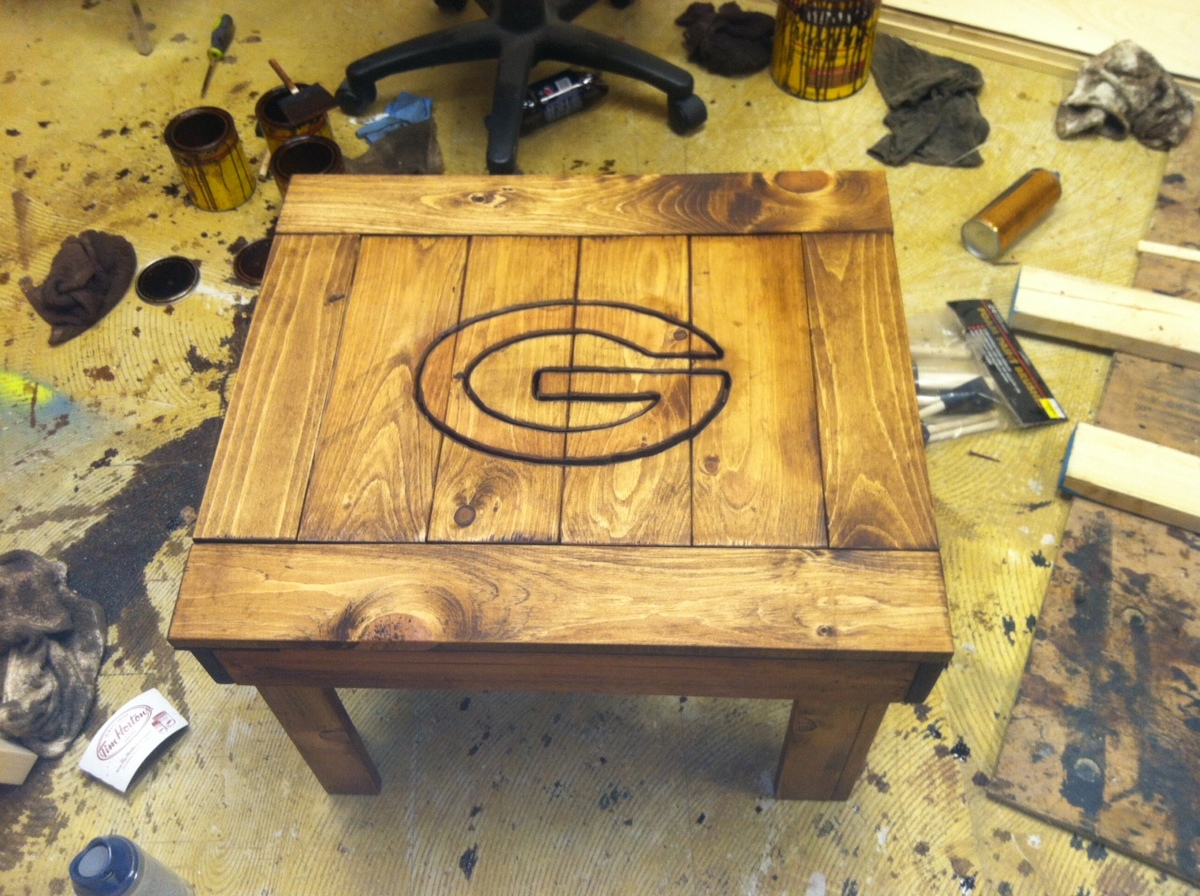
Used the table and cutout logo's and put back into the table using luan scraps. ;0)
Fri, 04/20/2012 - 18:53
How exactly did you get the logos on the table? They look carved or burnt...they are really awesome!
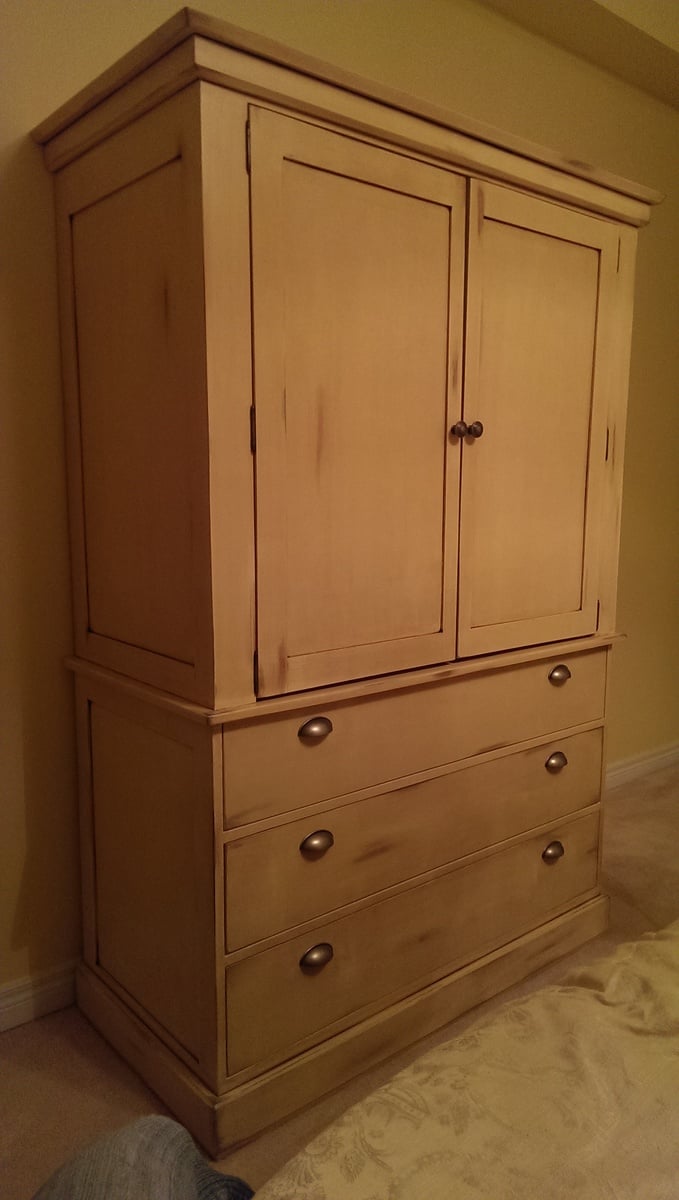
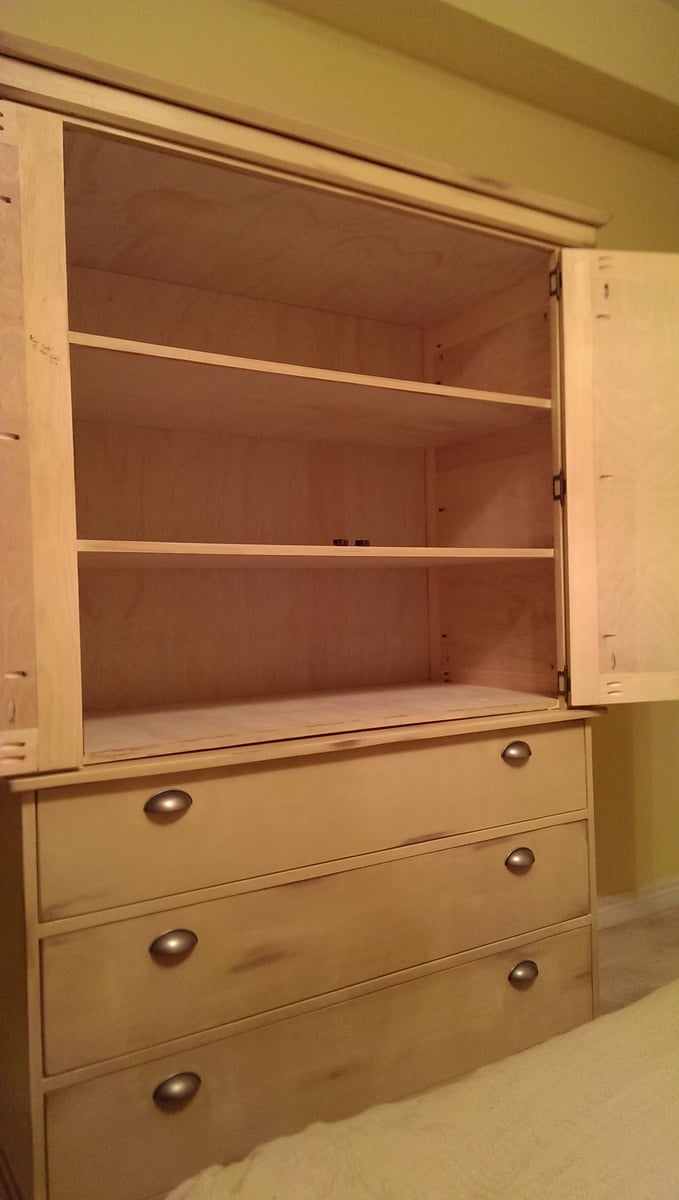
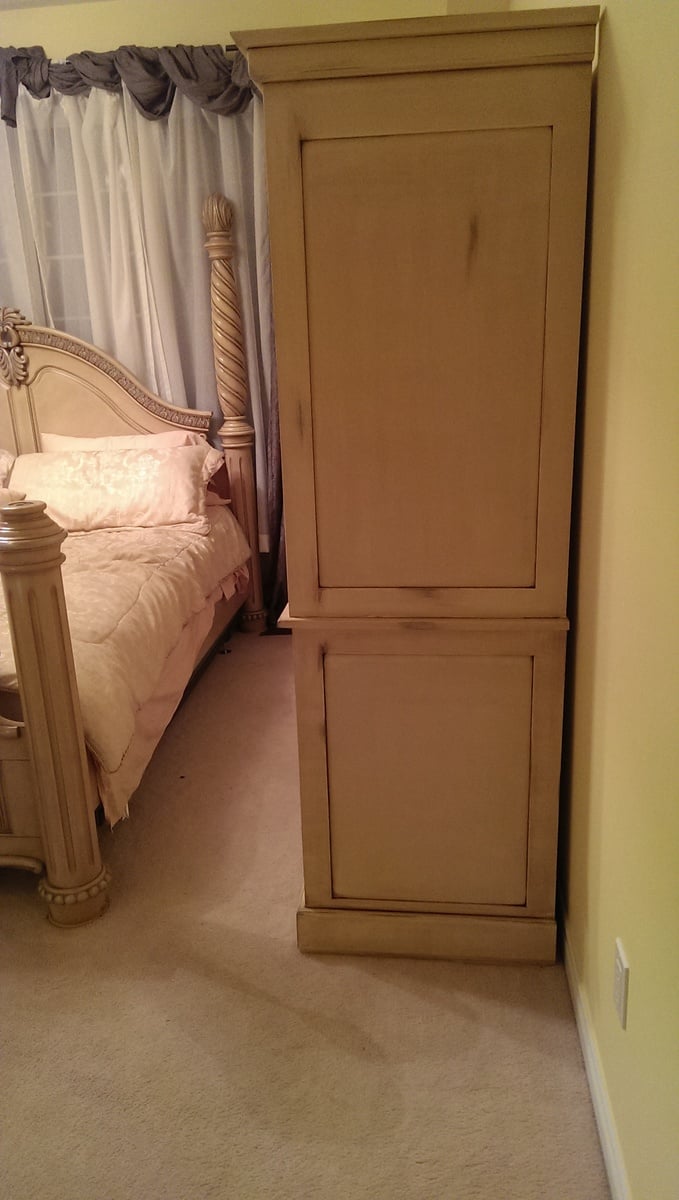
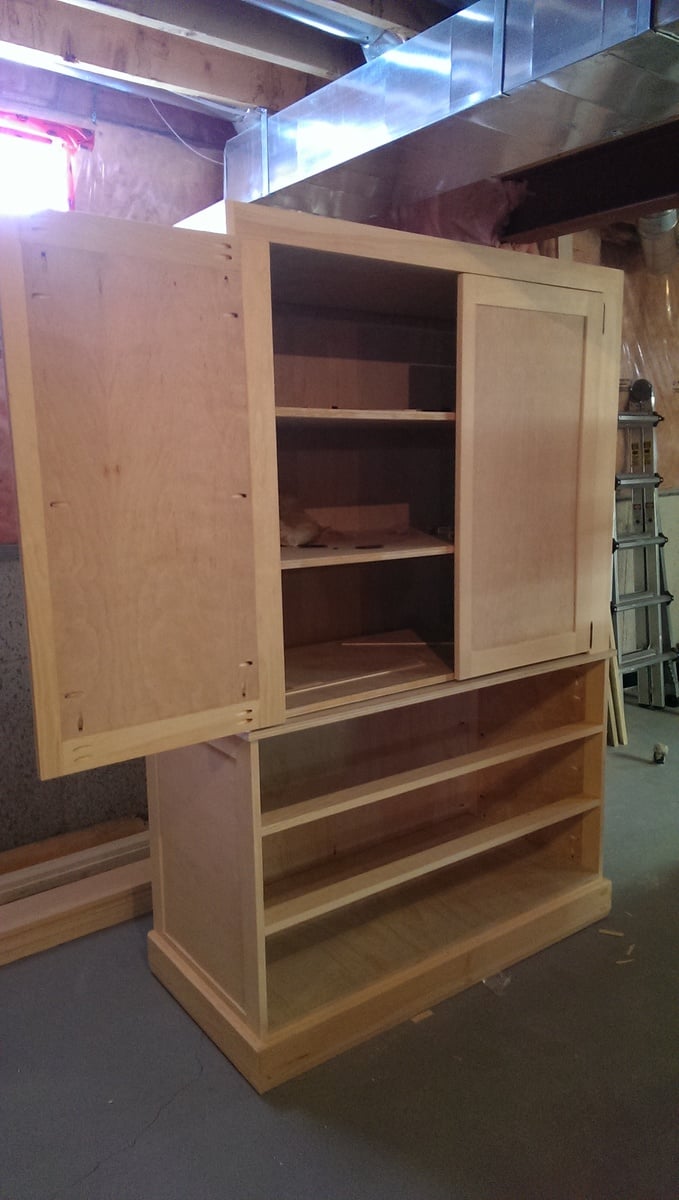
This is the first furniture project I have built from a plan found on-line - at Ana's Website. The plan was very easy to follow and I thoroughly enjoyed building this piece of furniture. I made some alterations to the upper cabinet as per shelving. I used an antique finish to match my bed. The match and design is perfect!
Mon, 02/03/2014 - 08:38
This piece looks like it belongs with the rest of your bedroom set. Great work.
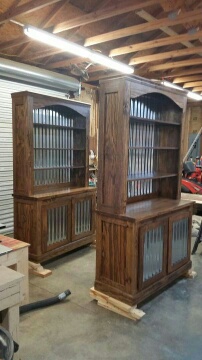
I saw this on Shanty2Chic and loved the plan. I had a friend that wanted me to build her two of these with tin in the door and back. The tin was a challenge but it all worked out. She loves them. Thank you for the plans. I could not have done this without them.
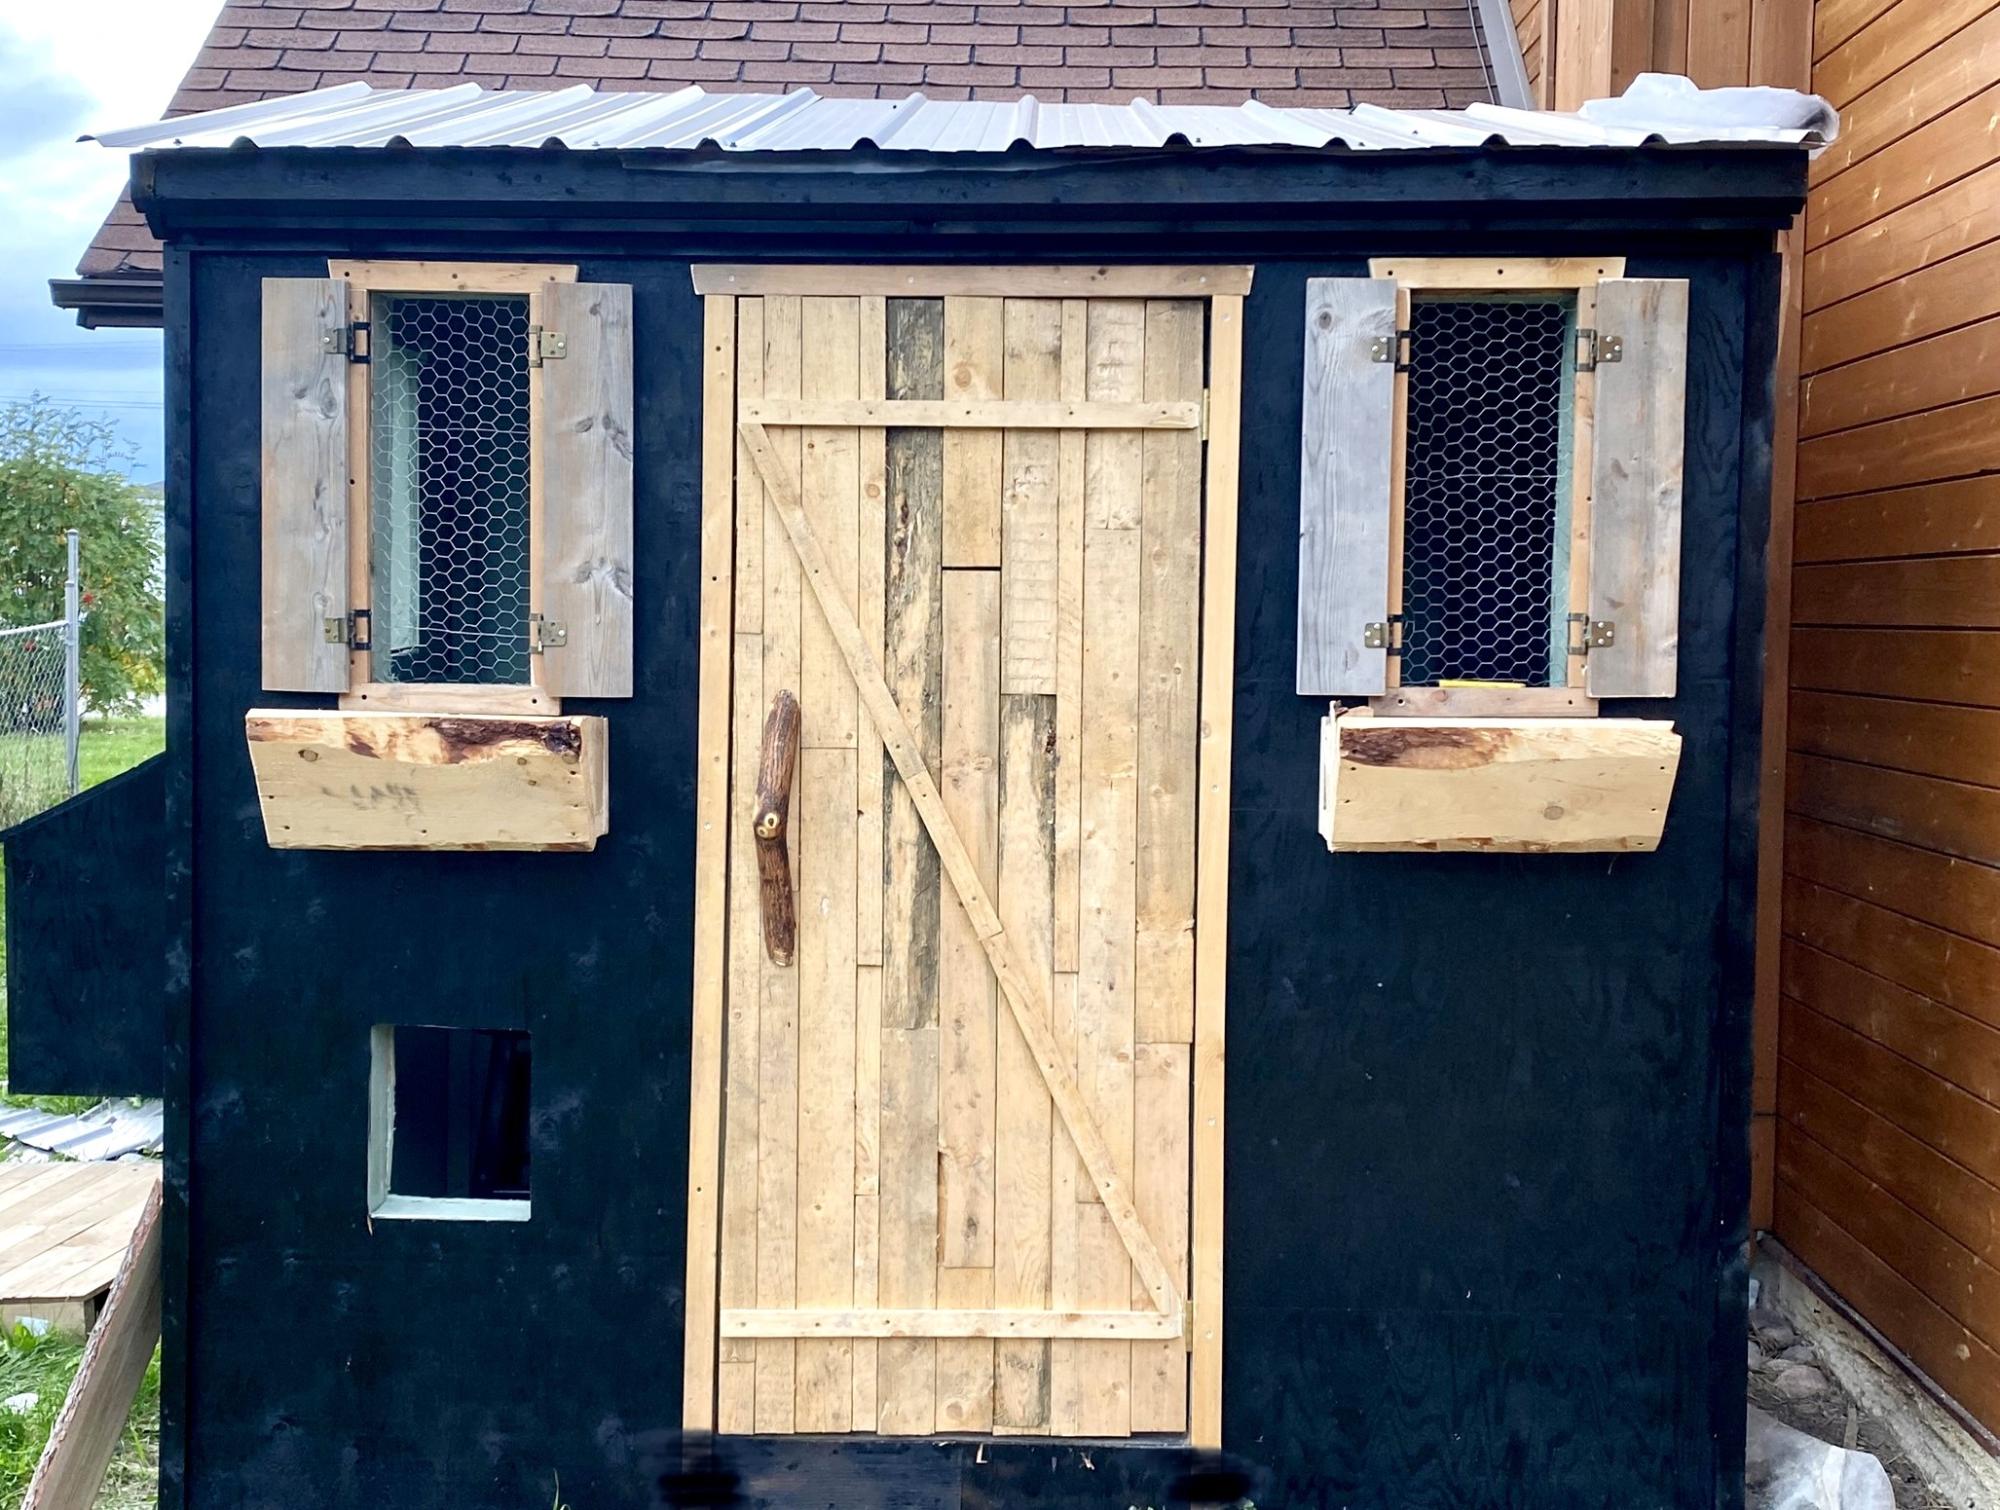
I’ve wanted a chicken coop for a while, and I wanted it cute. I love how it turned out!
Aj
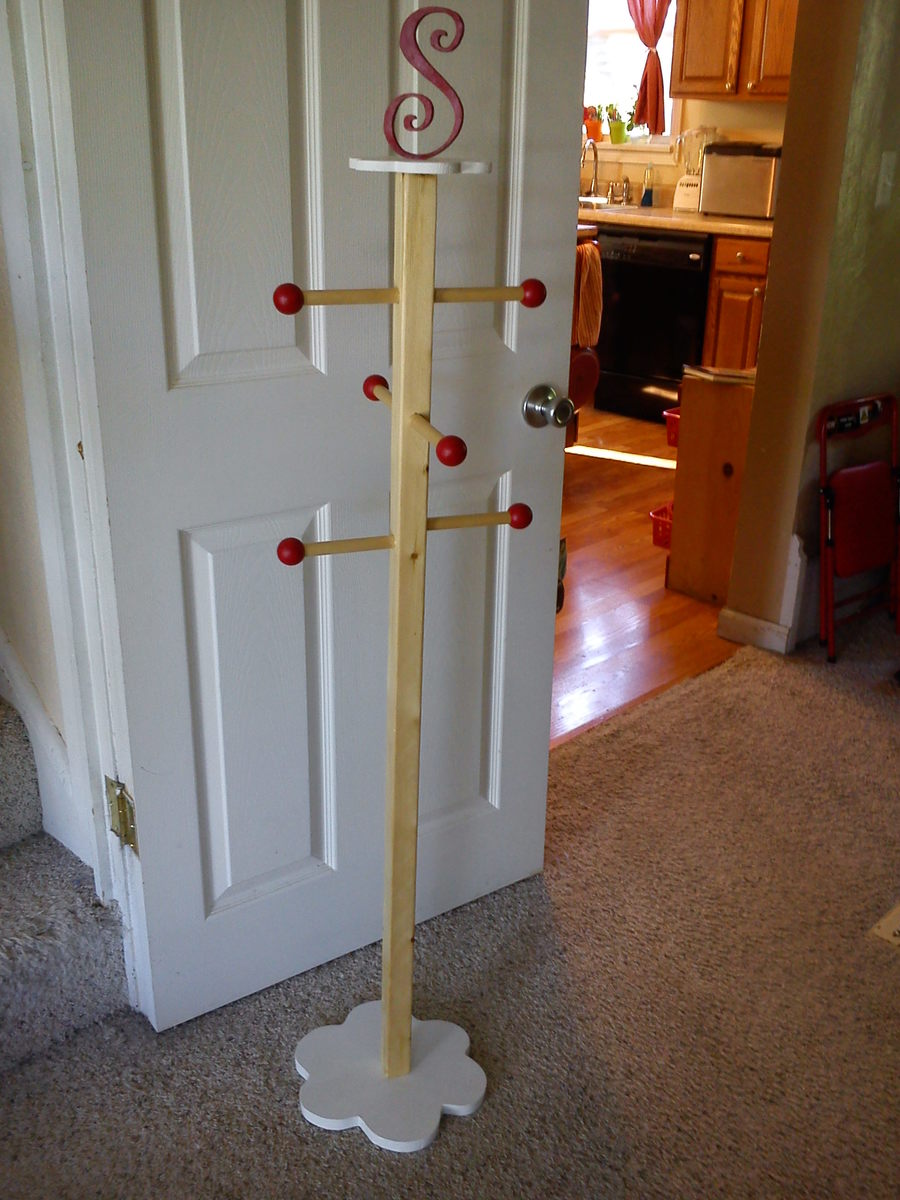
I built my daughter a coat tree from Ana's plans and it looks basically just like Ana's-even the same color. My daughter-in-law saw it and wanted one for my granddaughter's room to hold her dressup clothes but she wanted a natural look, instead of painted and her room is basically natural wood, red and white so this is what I came up with. I would never have even known I could build a coat tree if I hadn't tried Ana's first!! This one was super easy and cheap, made mostly with scraps and some varnish I already had. I had to buy the balls, dowel and letter S.
I would encourage anyone to build one of these if they have need of a coat tree. You could even make it adult size if you combined Ana's plans with these plans and screwed in some hooks.
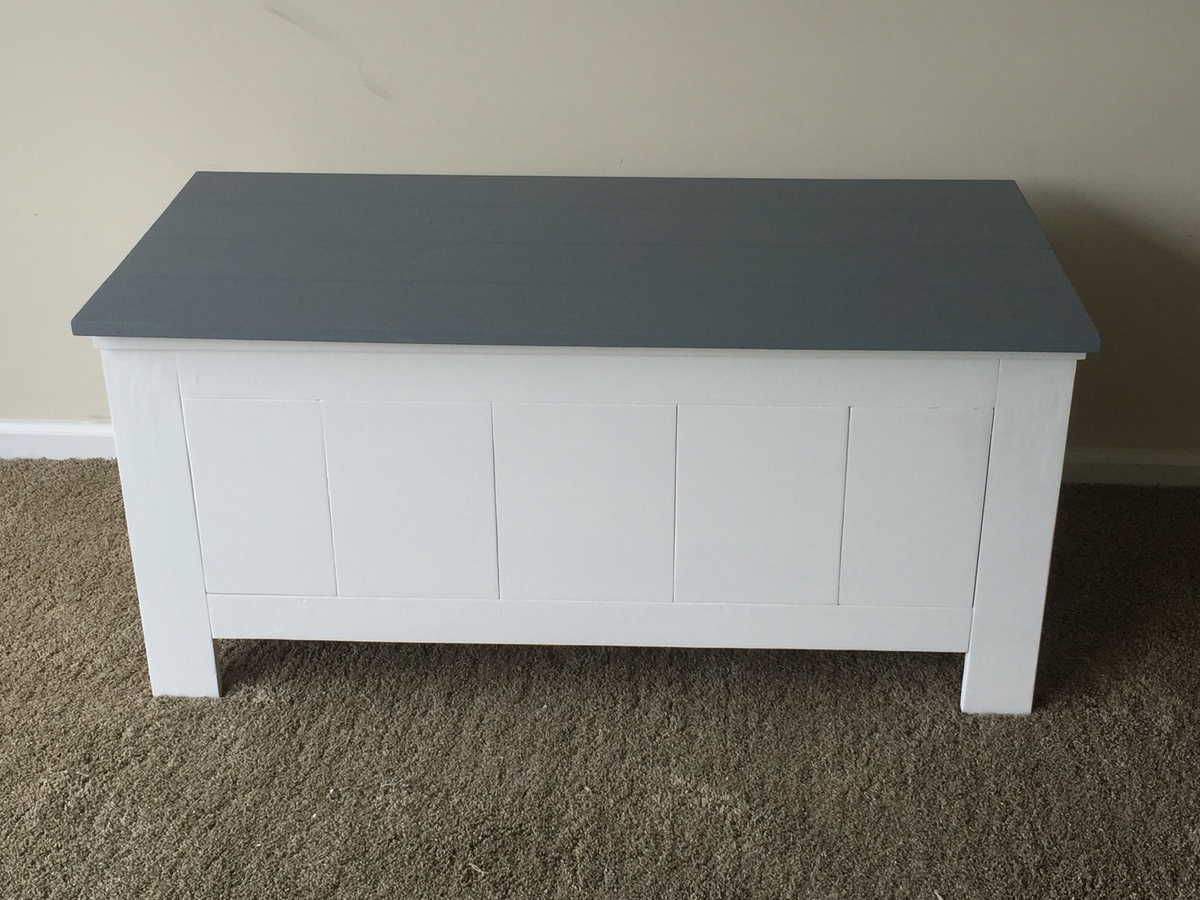
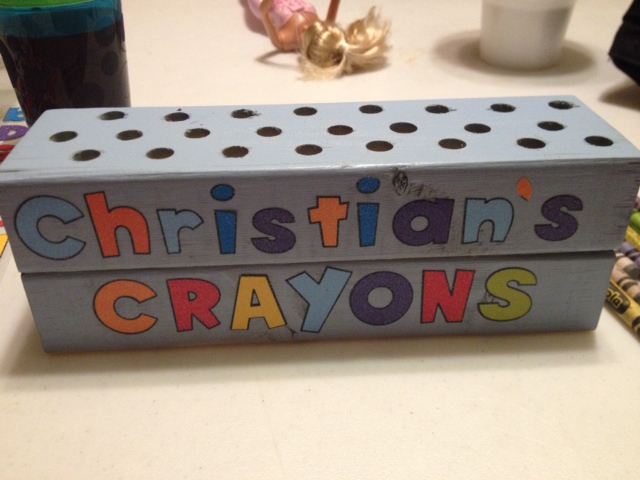
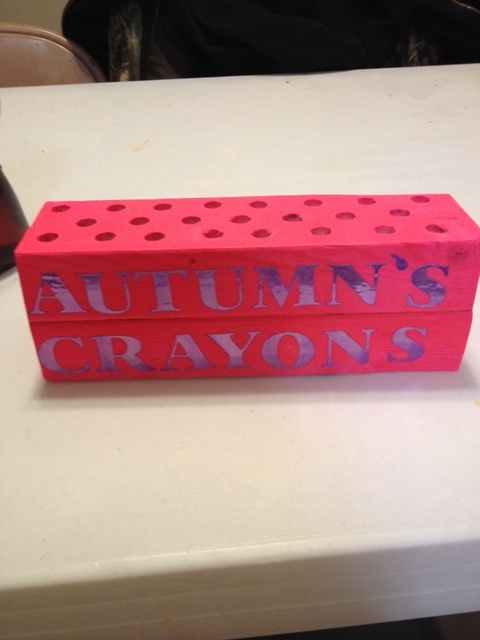
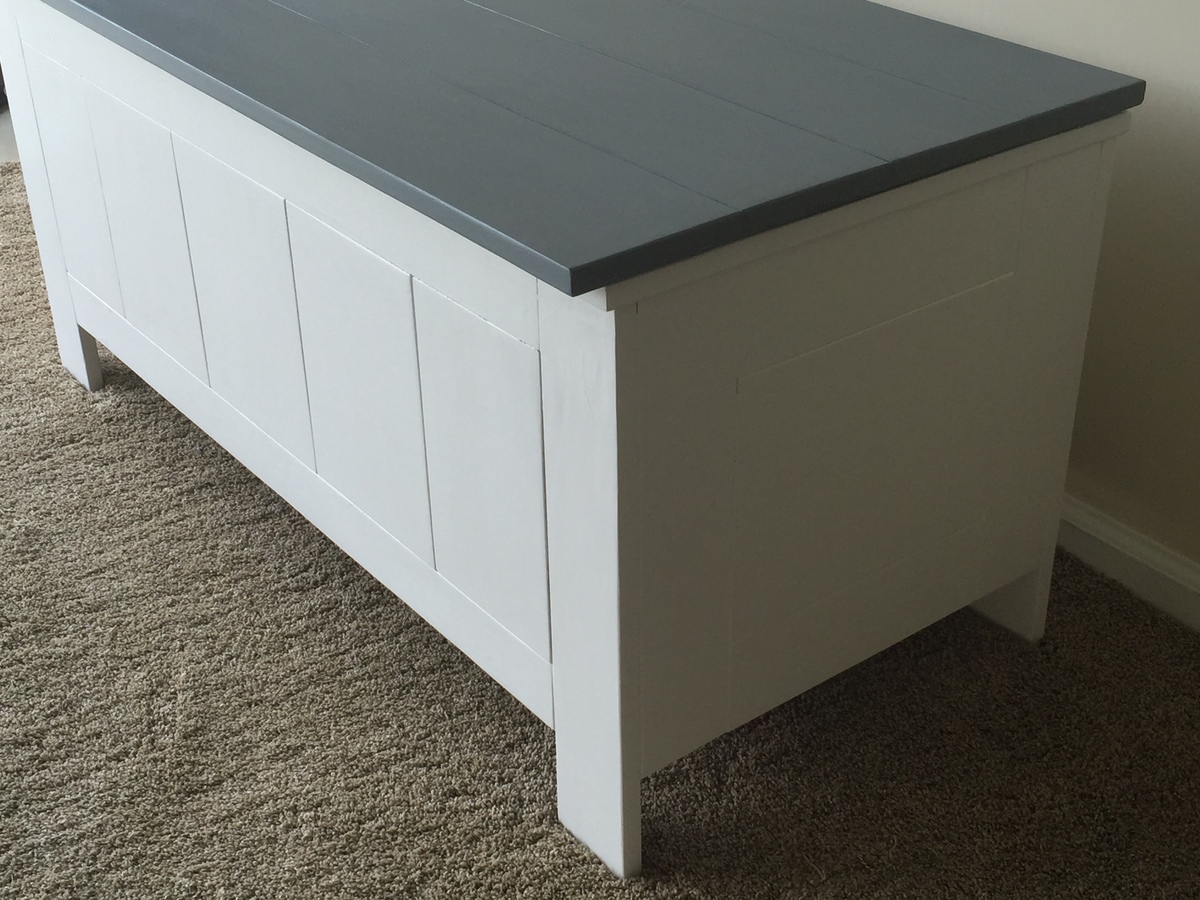
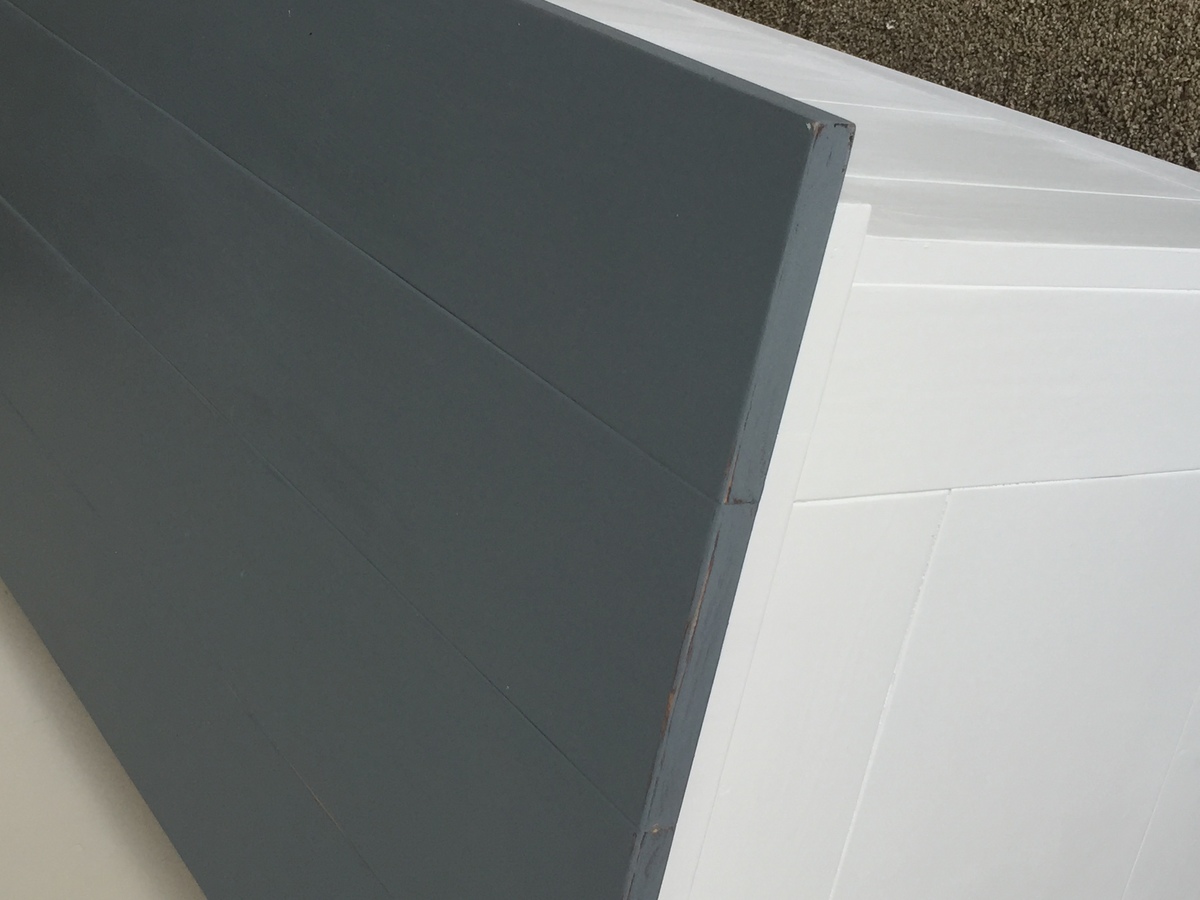
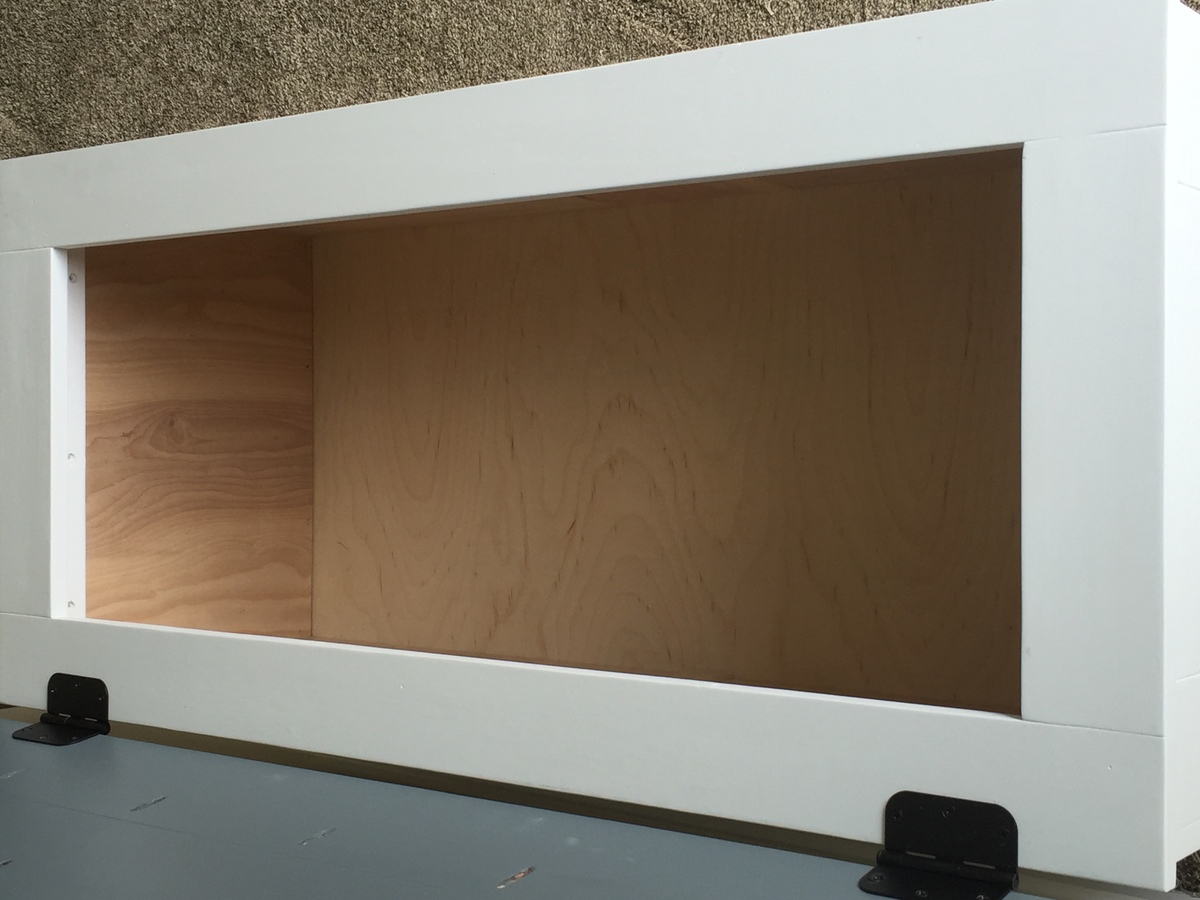
Storage box made from left over 1 by 4 and plywood from recent projects and a top I made for another cabinet but didn't use. All I bought was two 1 by 4s for the top trim and the hinges.
My first build! Didn't want the X's so I put a straight piece on each end.
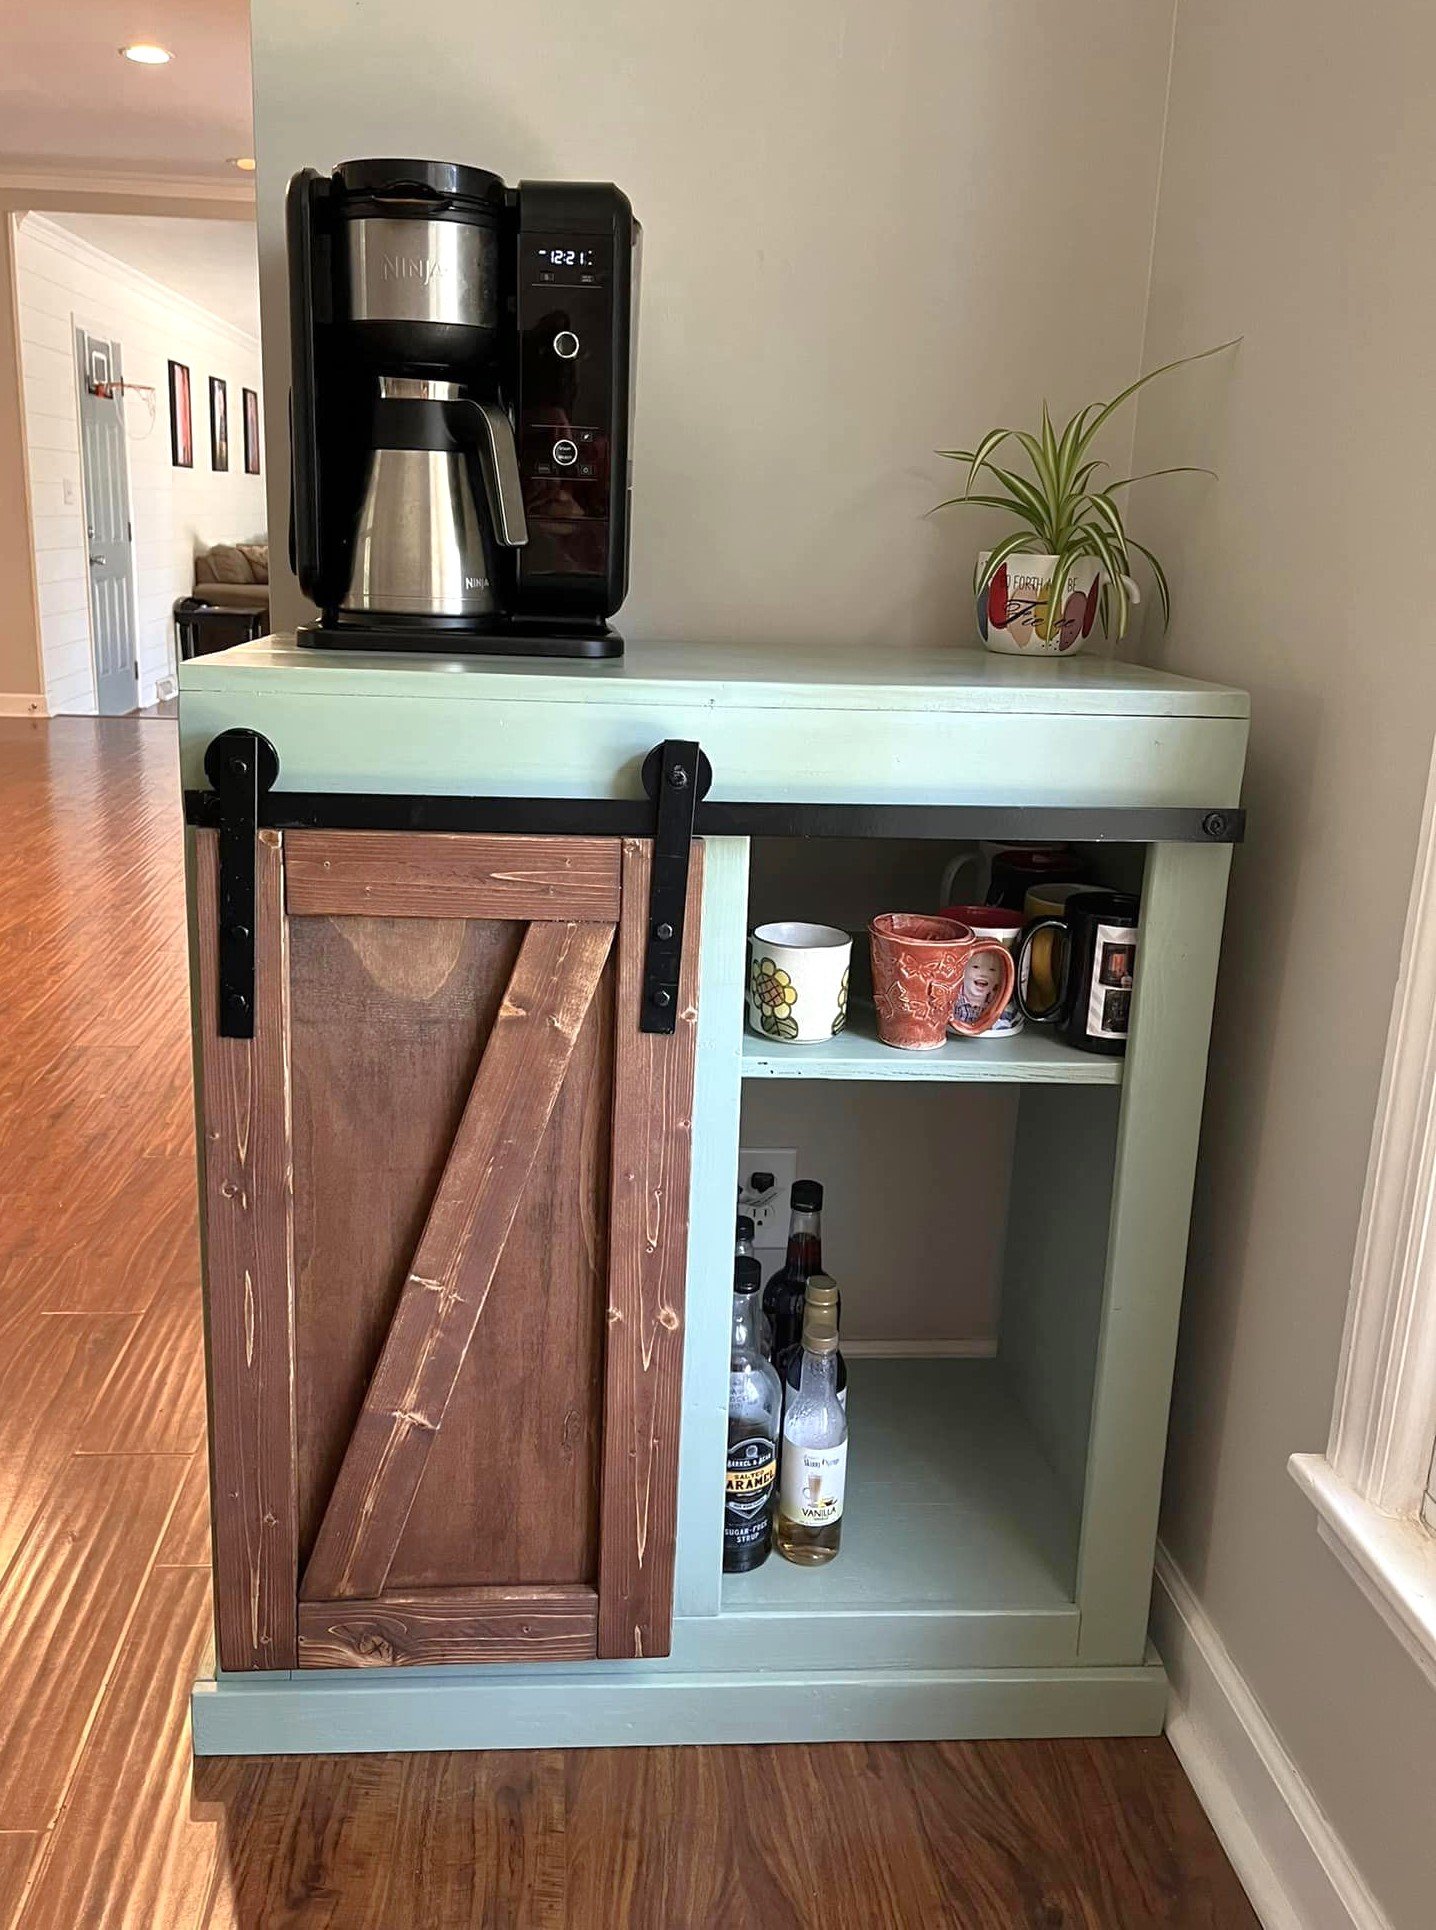
Couldn’t find a coffee bar to fit my space so I modified the Snack Cabient plans of Ana White's! Looove how it turned out! The barn door hardware was fun!
Laura Thompson

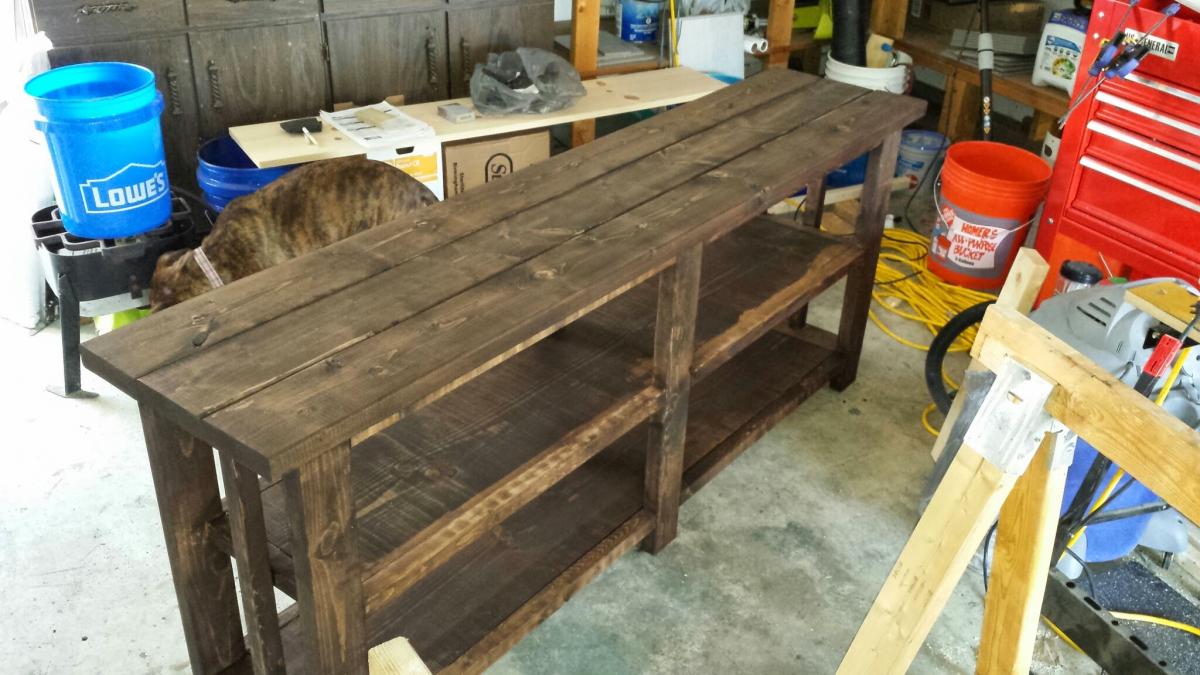
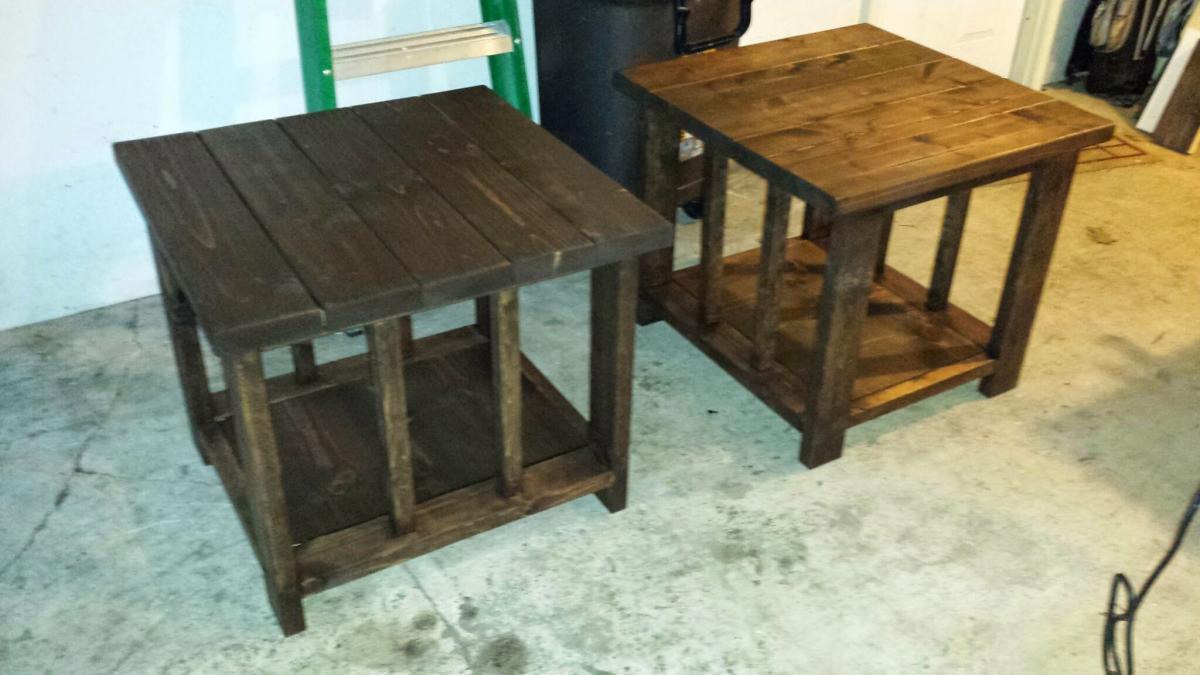
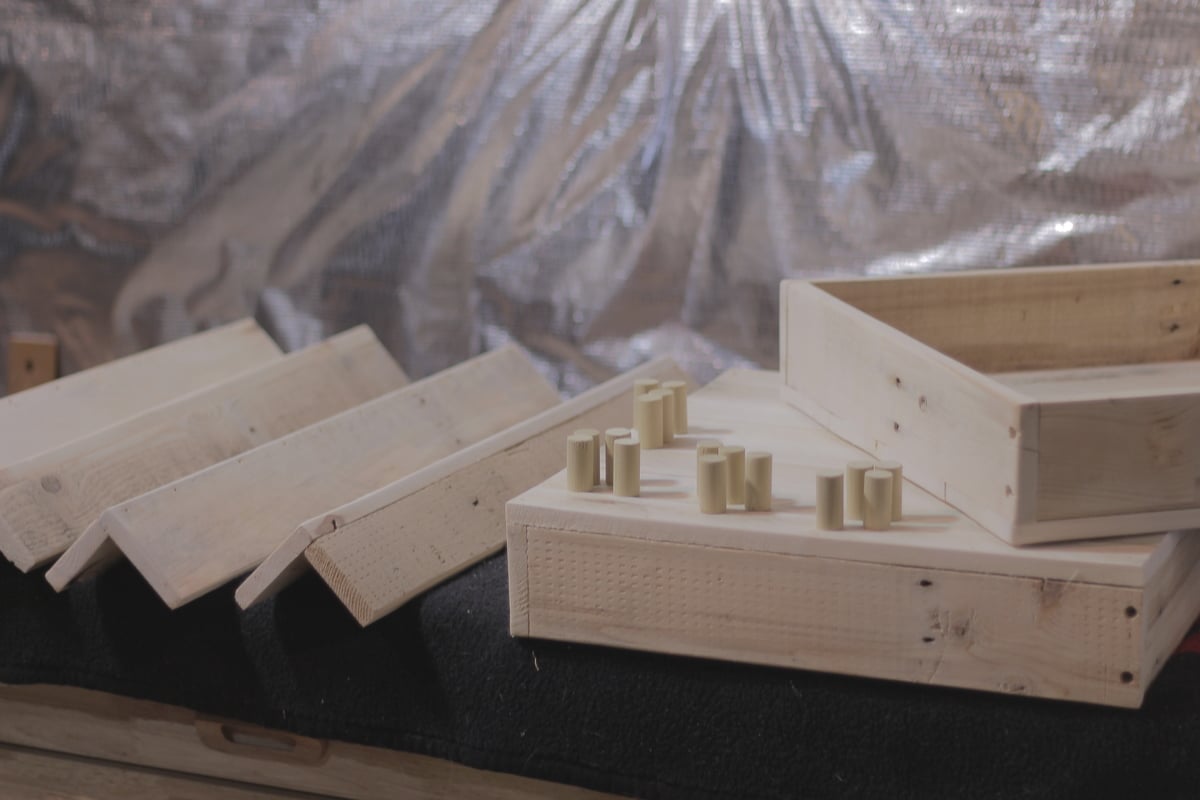
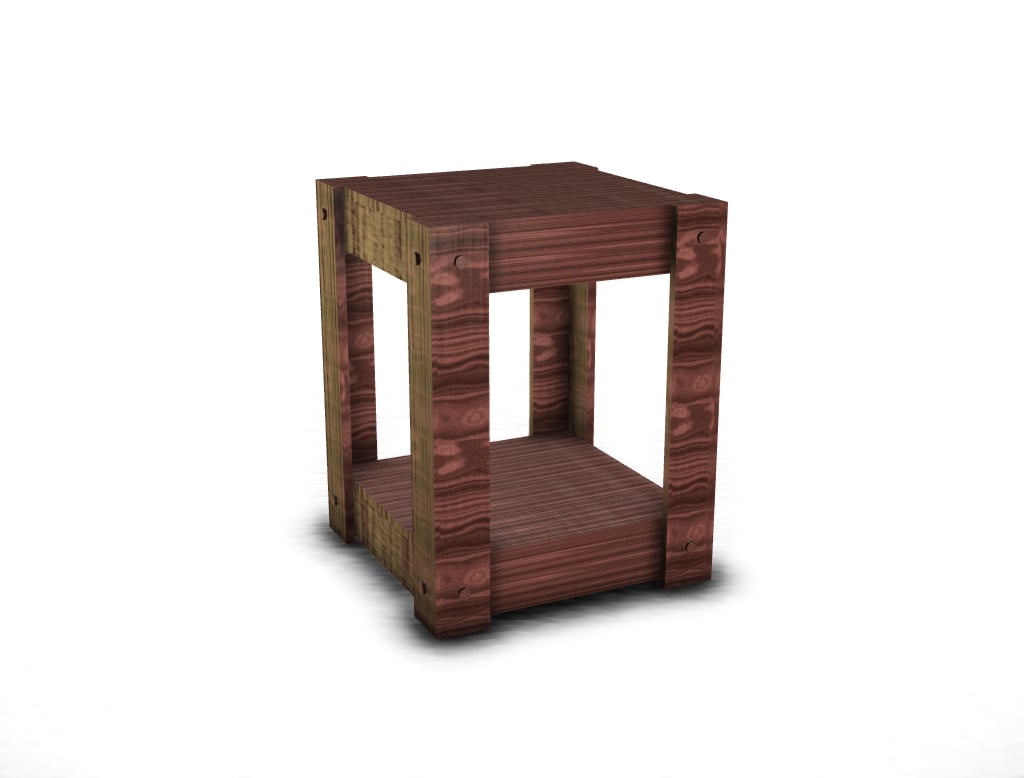
Building an outside side table out of scrap pallets.
Video of the build:
https://www.youtube.com/watch?v=kVAYXVGiL_8
Drawing File
https://googledrive.com/host/0B21TbB8gGNQbX2dlNGdxR0NuOE0/end_table.pdf

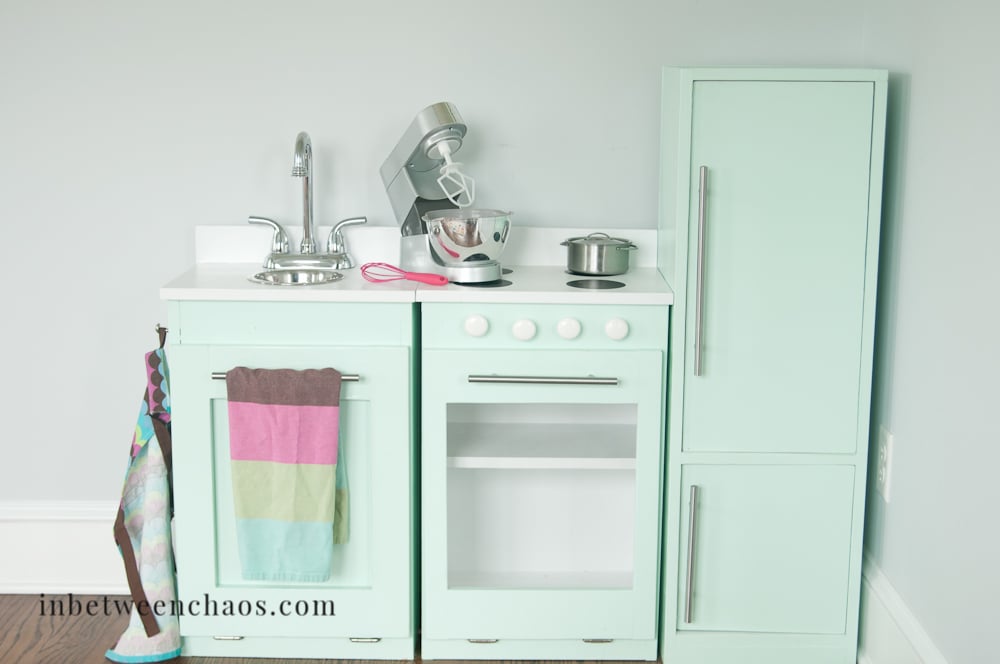
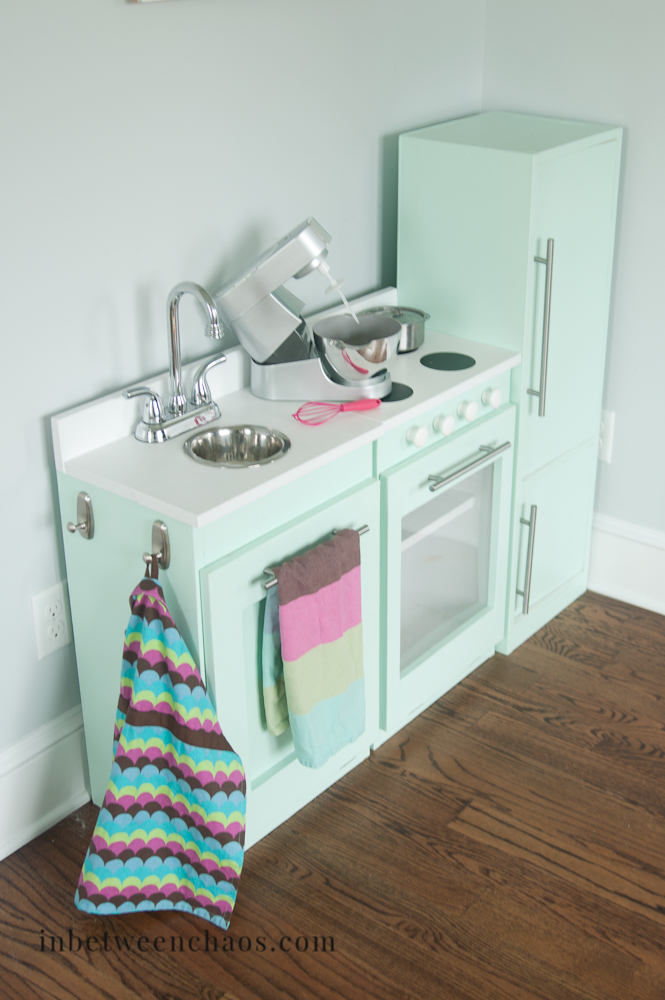
I made this for my 3 kids for Christmas and I'm so glad I did! They have gotten so much use out of it and love to move it around to set up different "houses" and restuarants. Thanks so much for these plans! I made the pieces a little taller, and use the play stove as the sink base too so that it could double as a dishwasher :)
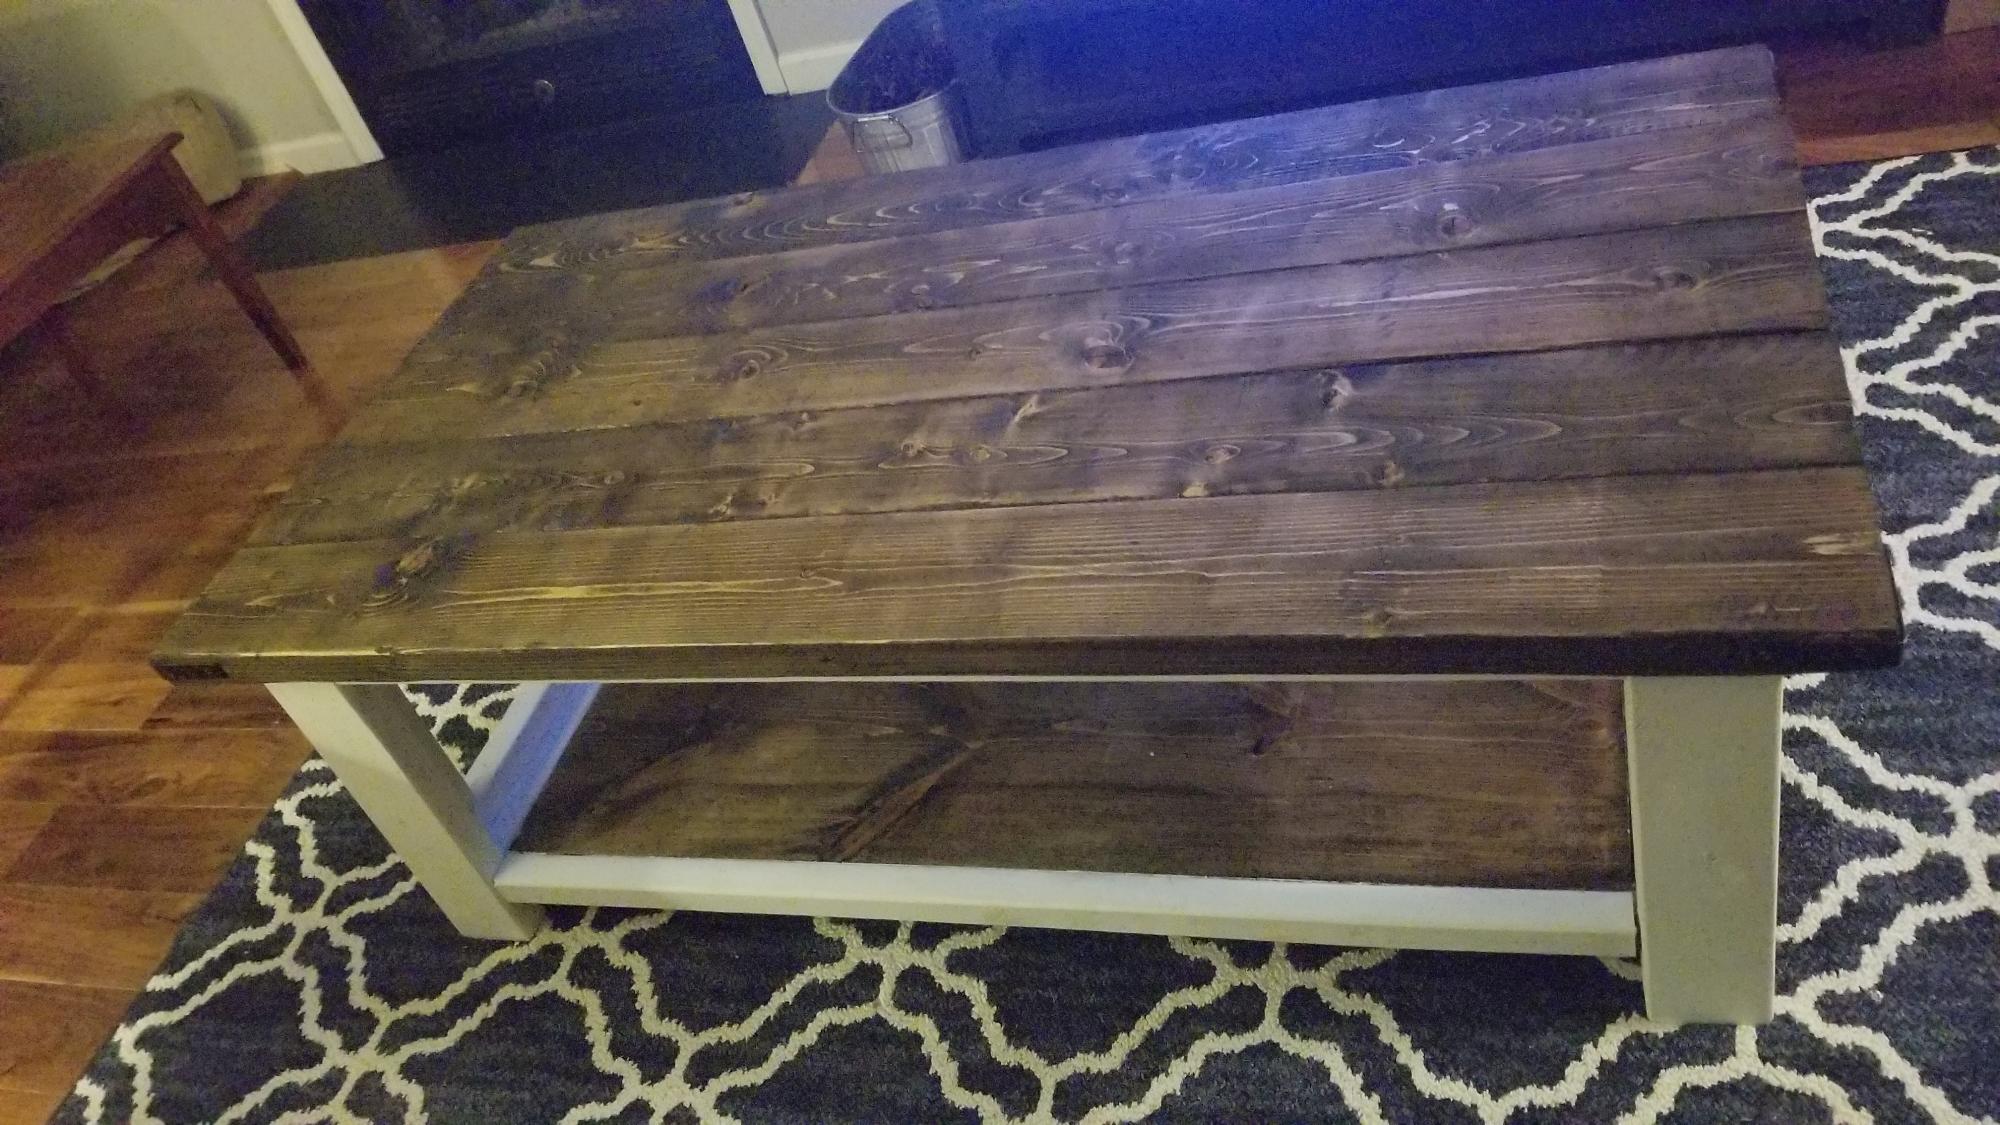
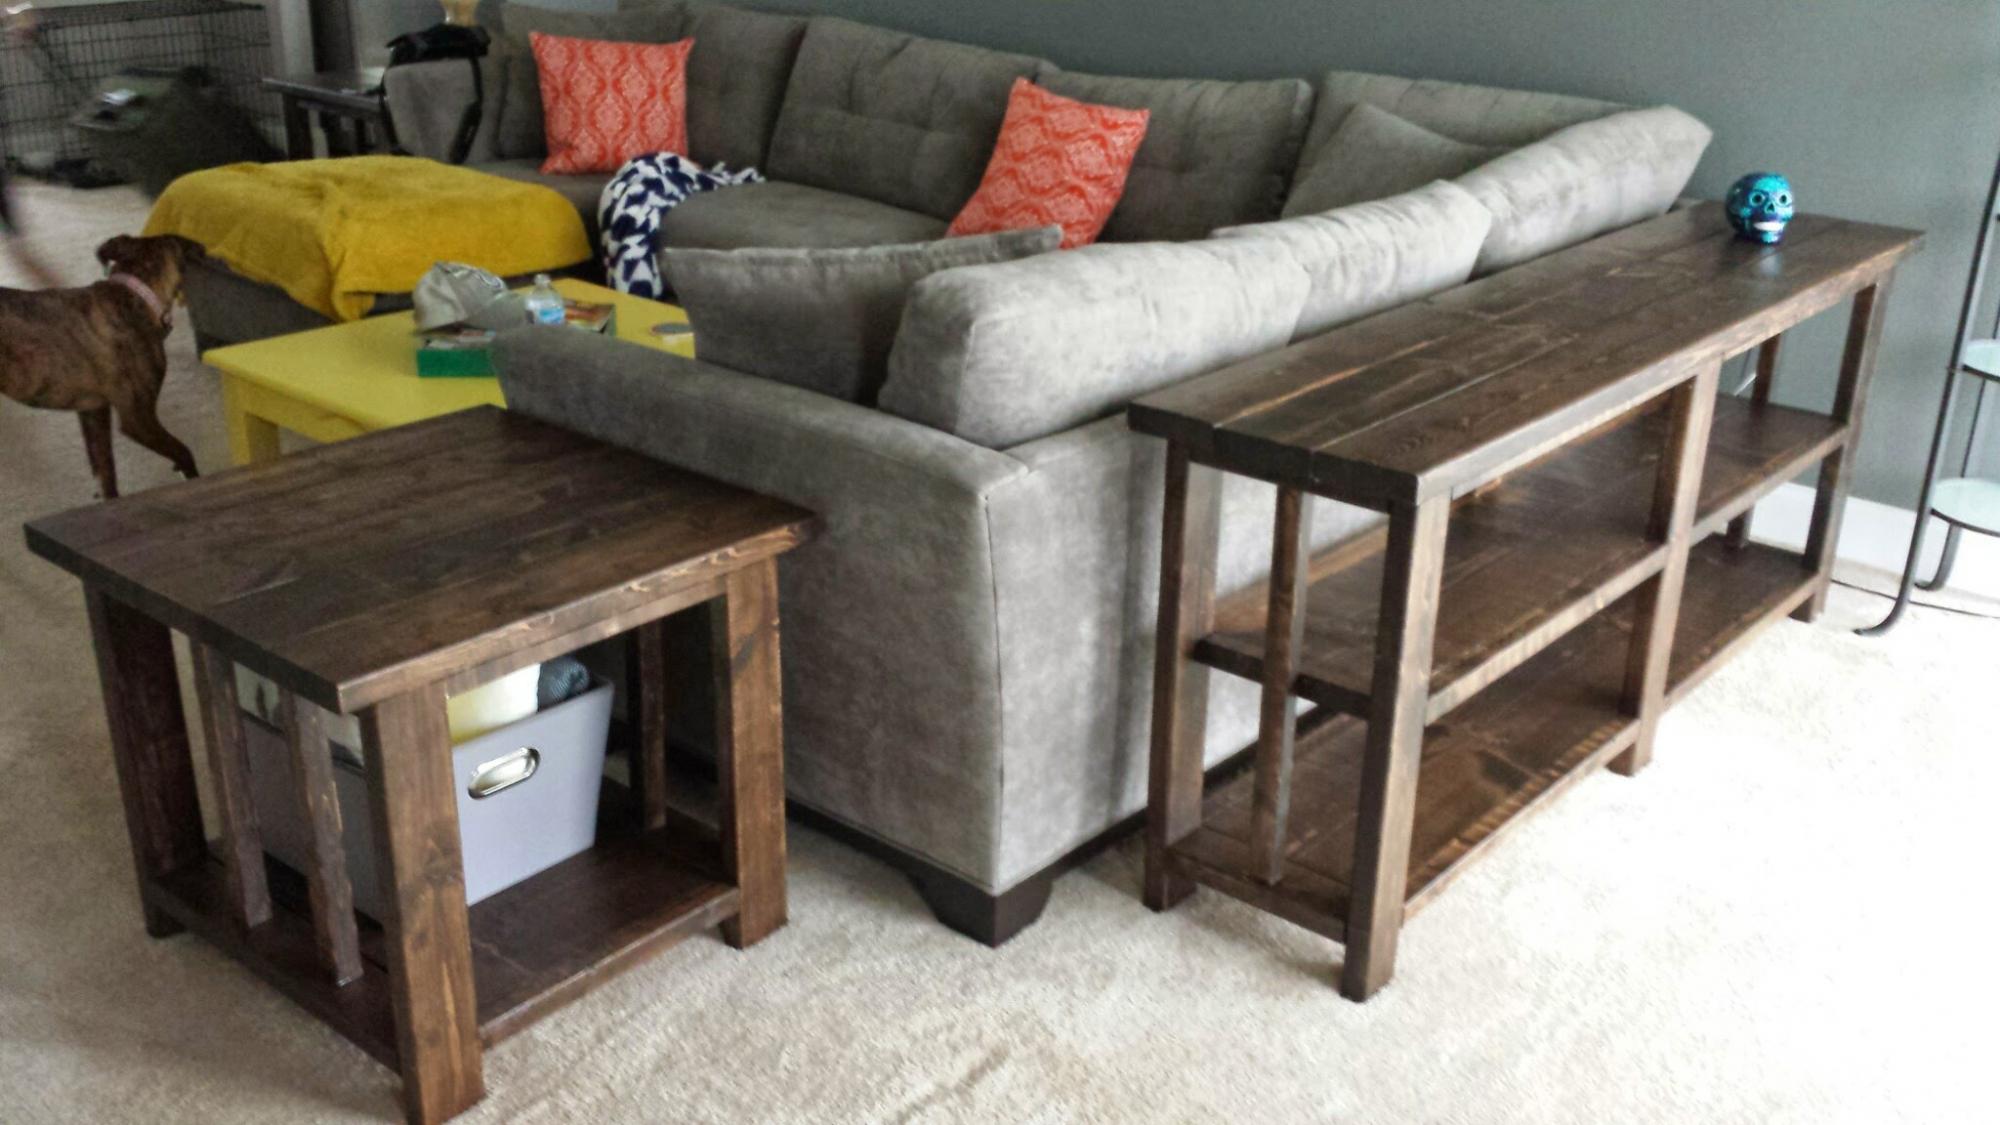
I'm really bad at making the X's, so I just added some straight pieces for decoration.
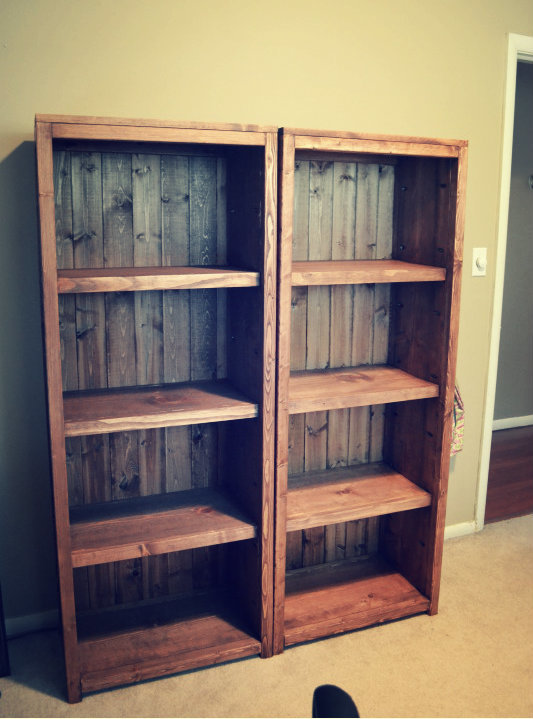
When I started my blog This Girls Life ( t-g-life.blogspot.com ) I knew I wanted to makeover my office to give me more room and storage. These bookcases were perfect for that.