Community Brag Posts

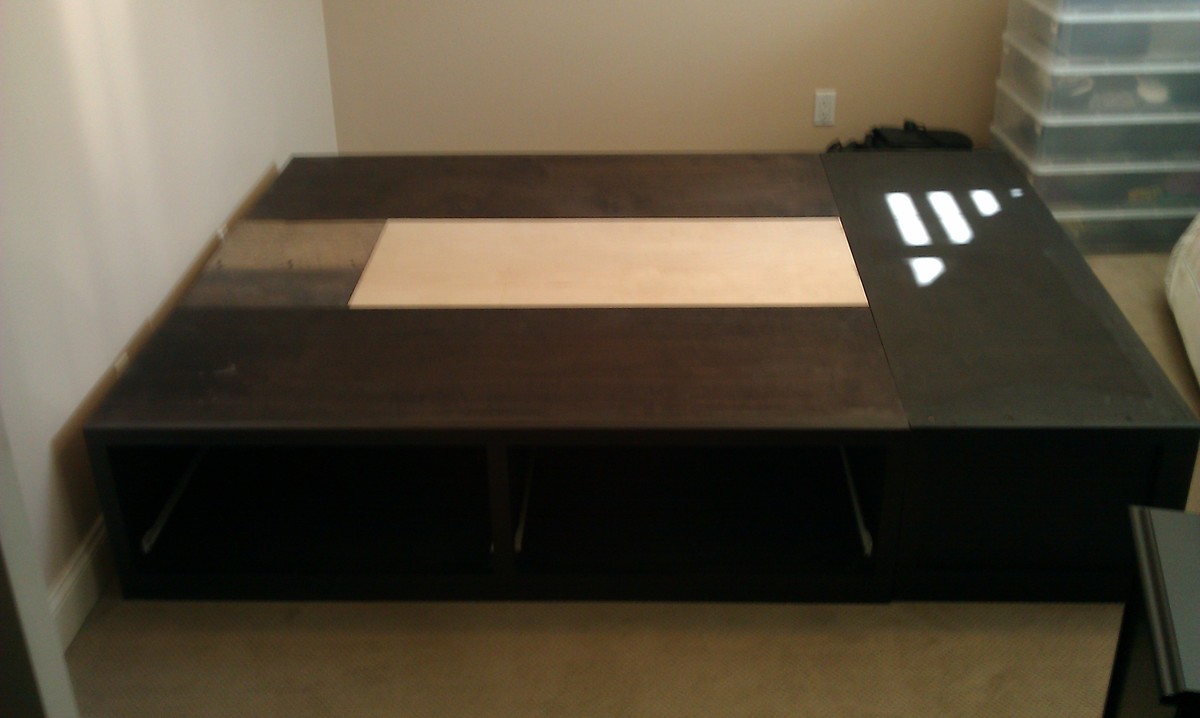
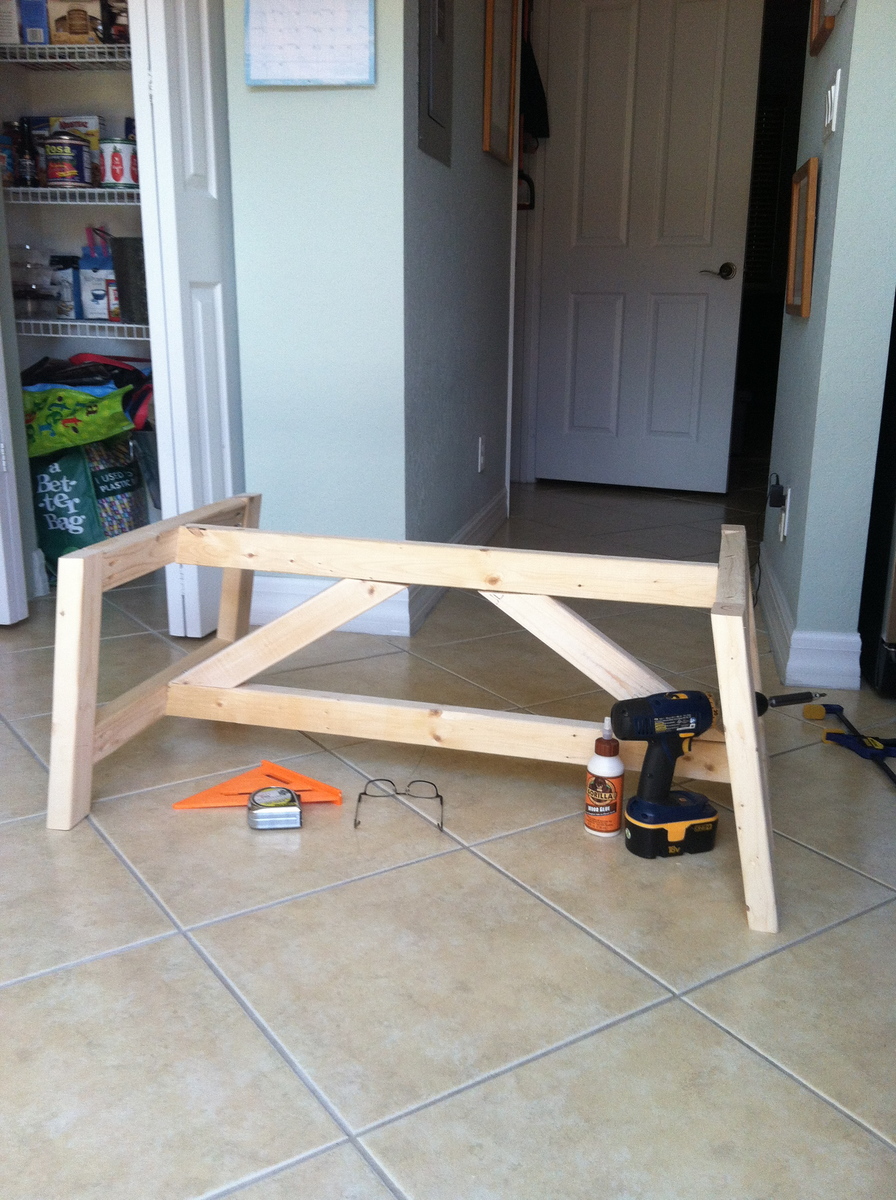
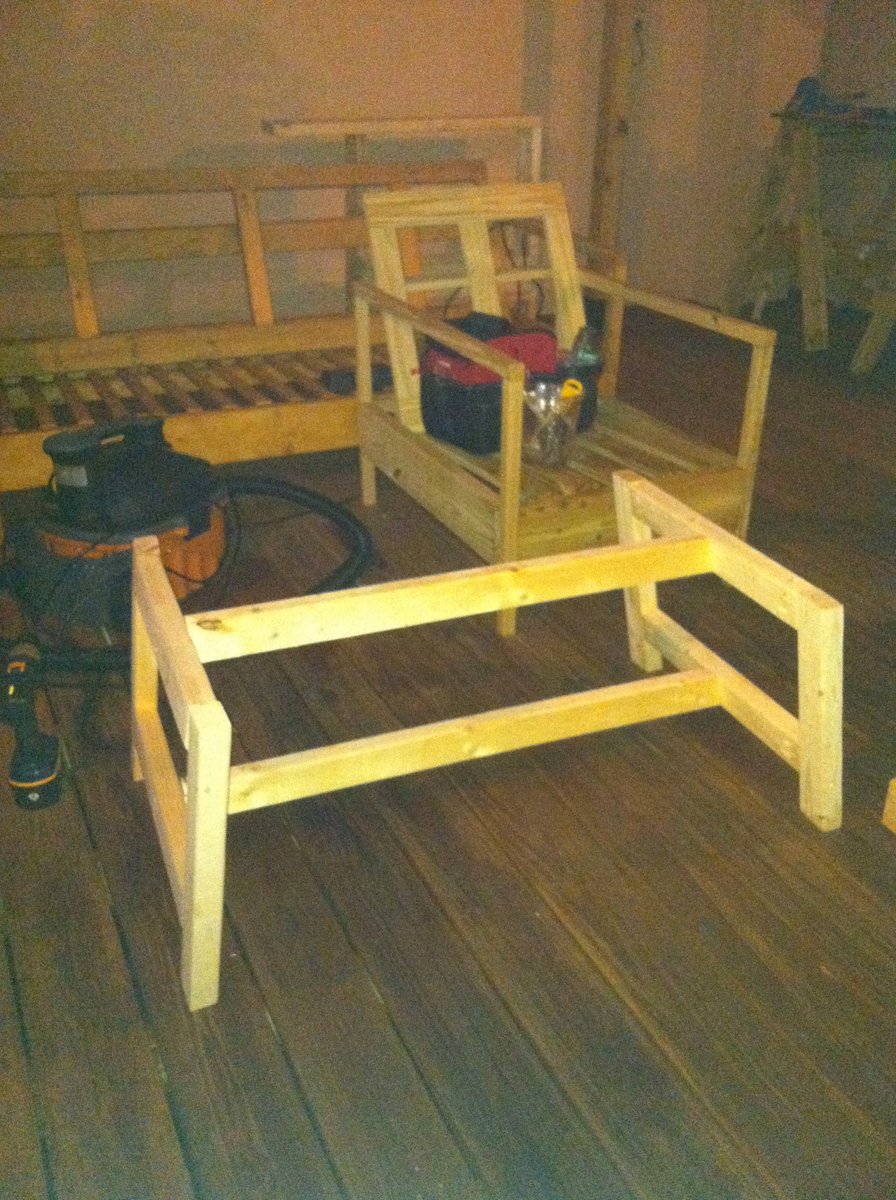
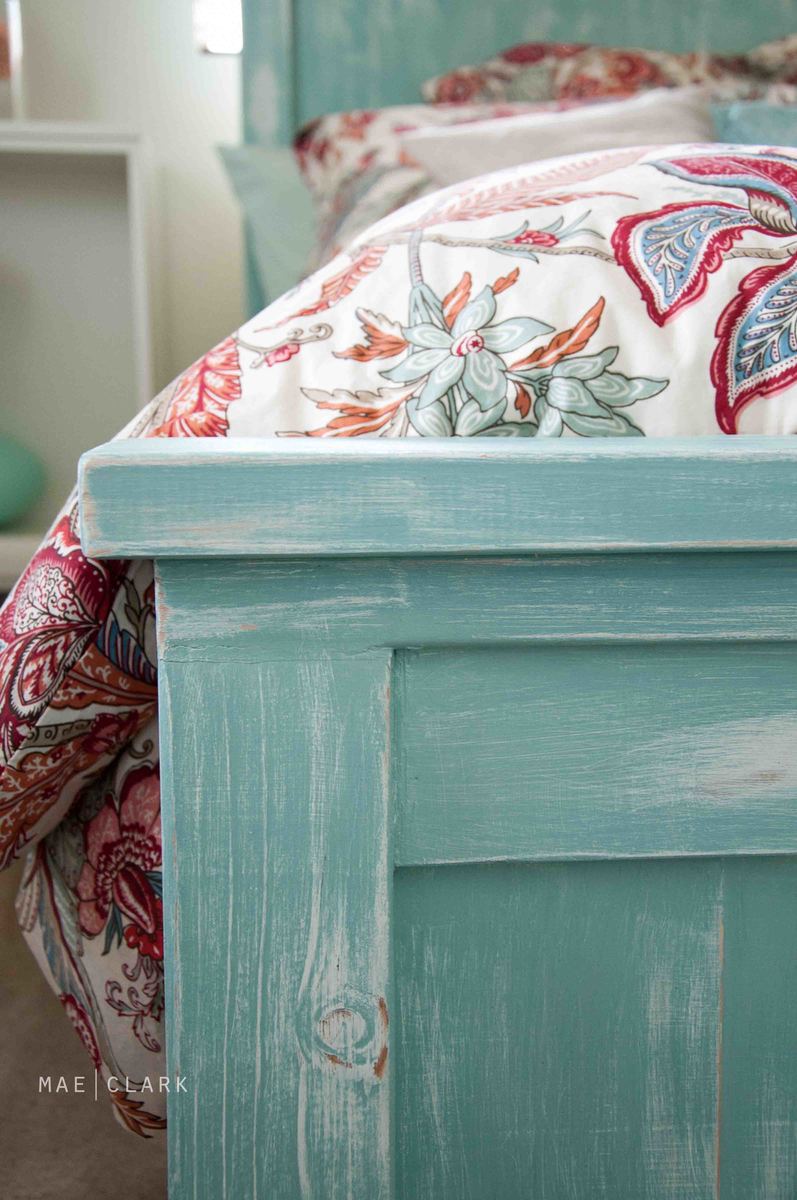
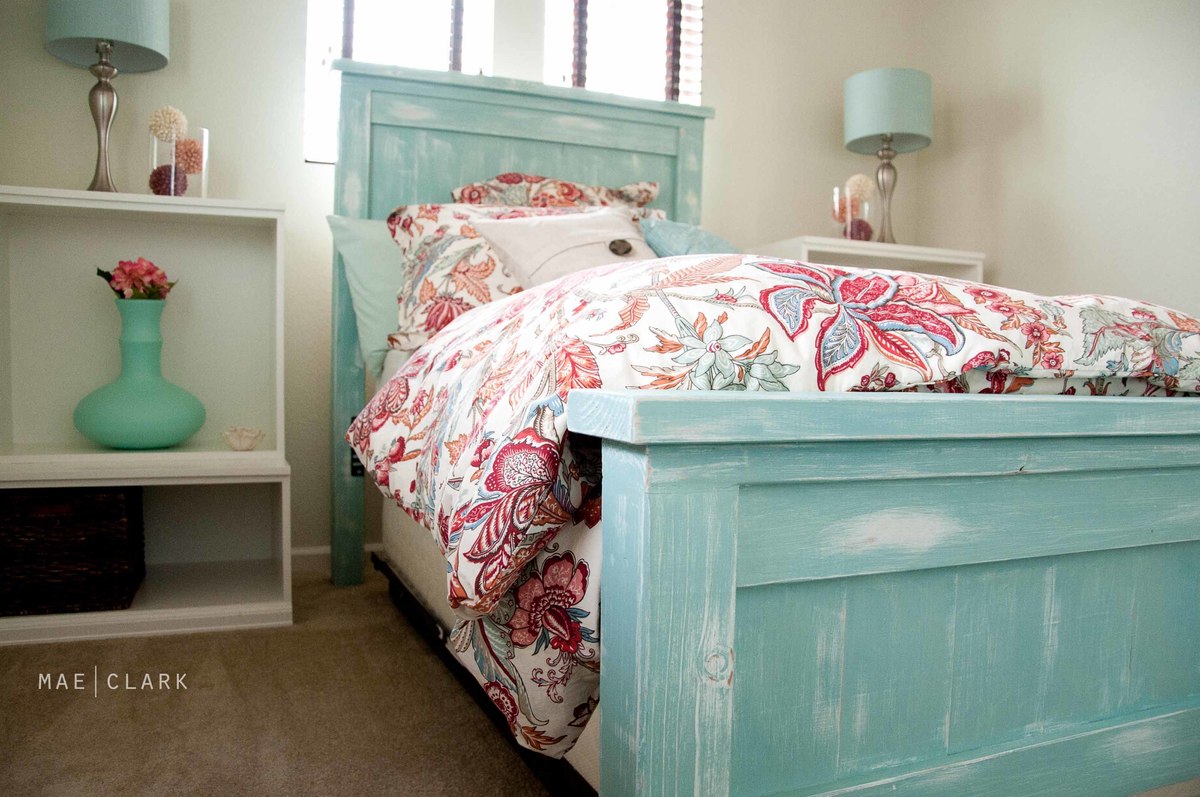
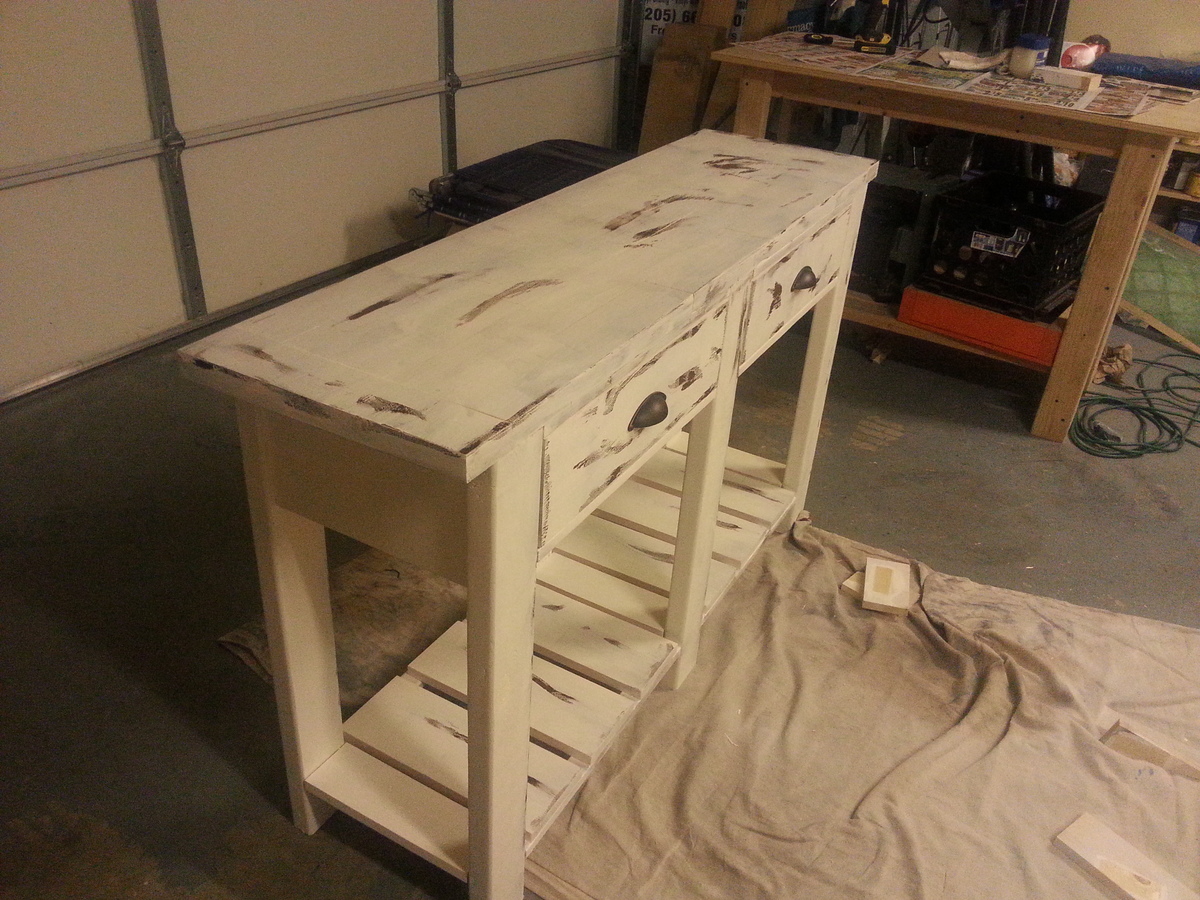
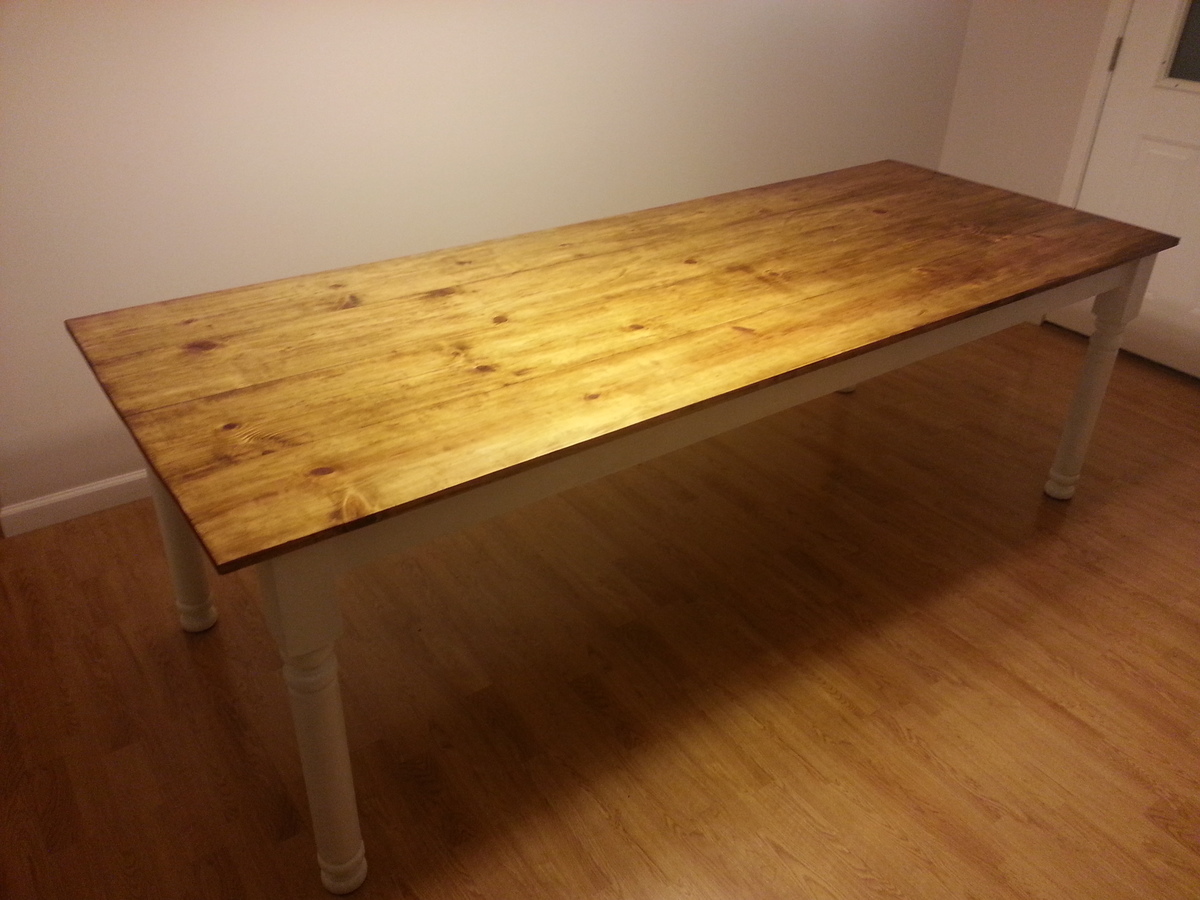
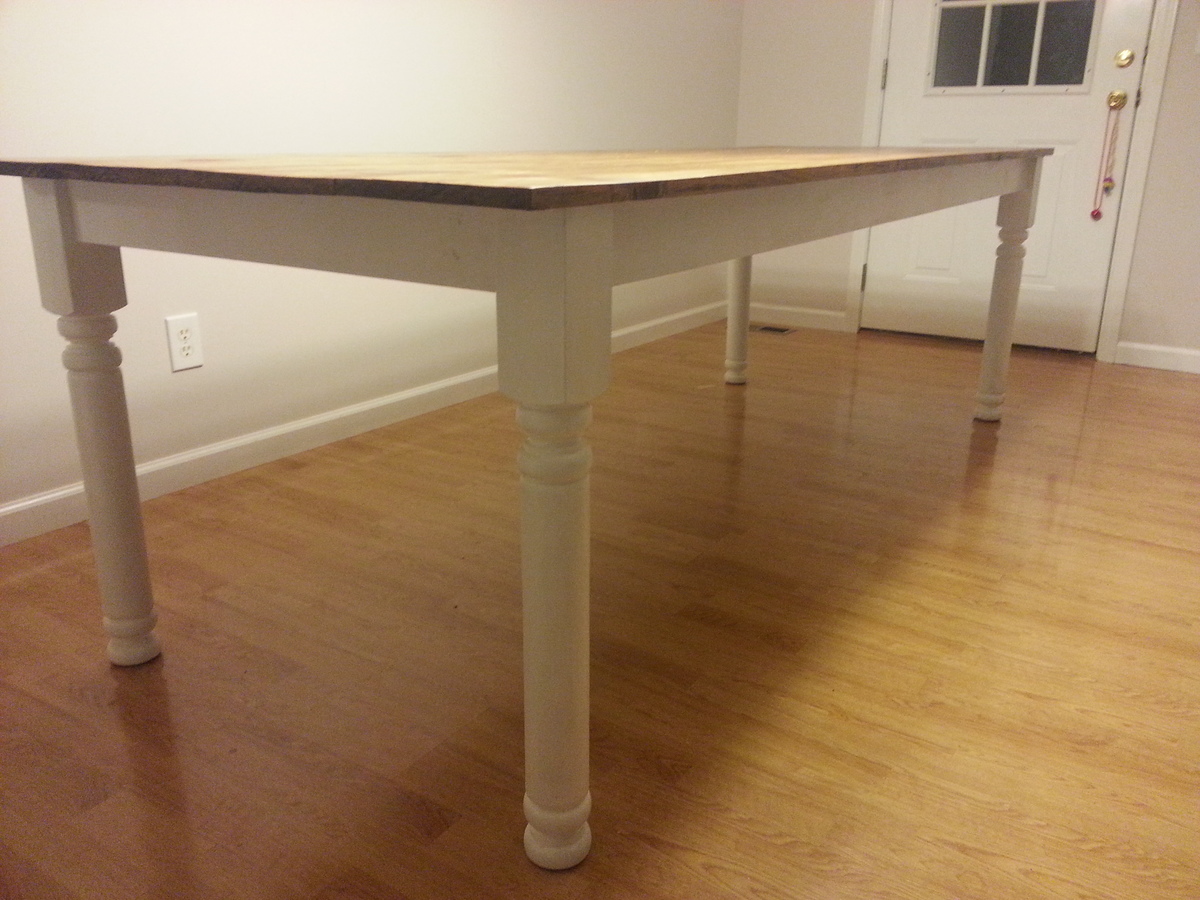
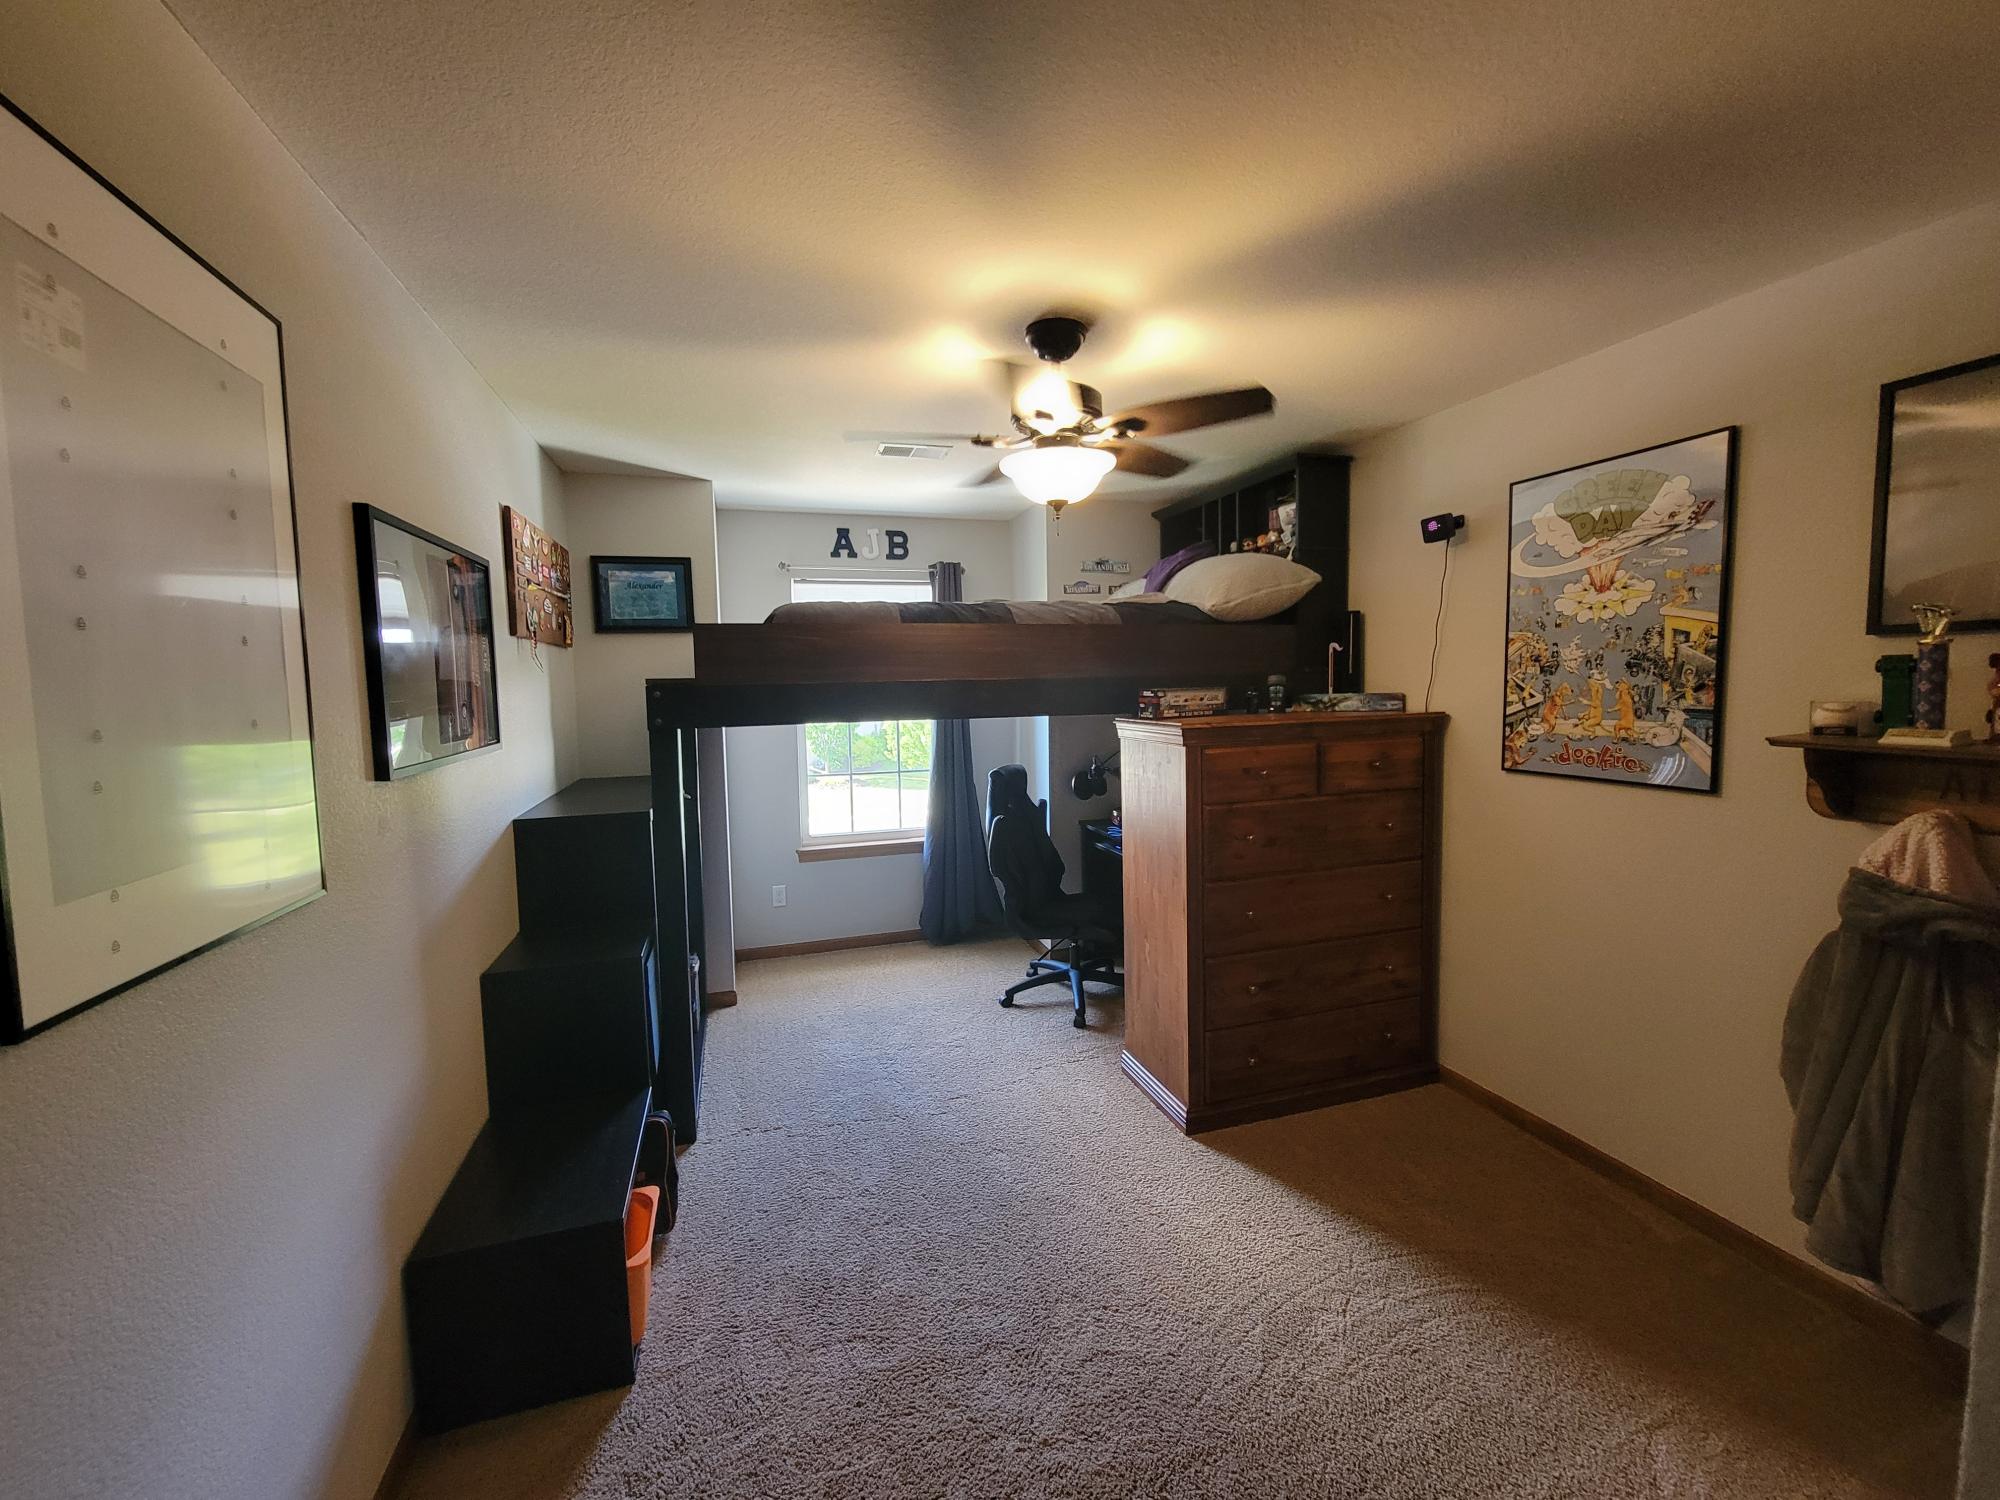
Queen Storage Bed - done!

Submitted by sgilly on Sun, 08/07/2011 - 19:55

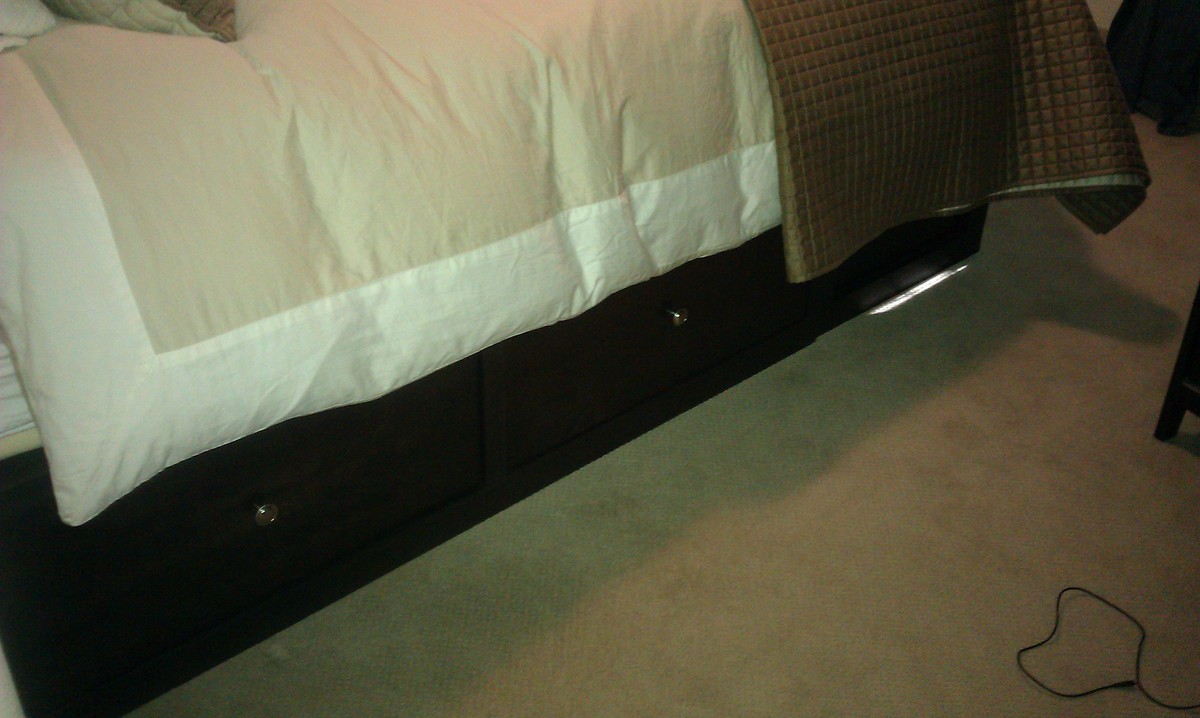
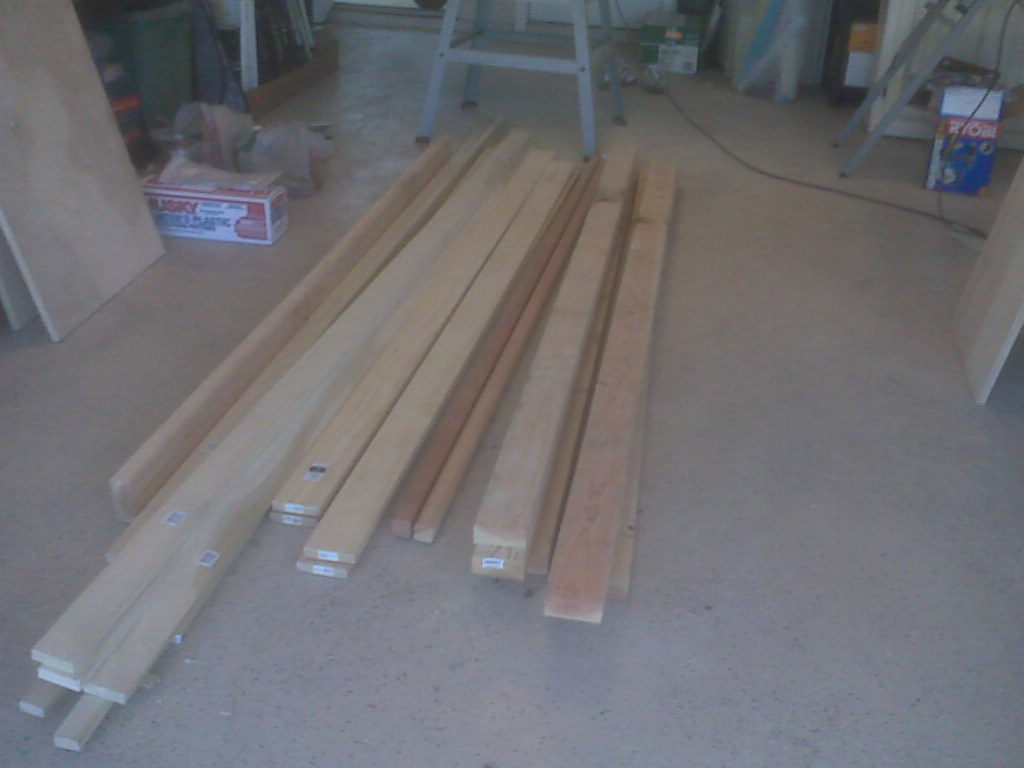
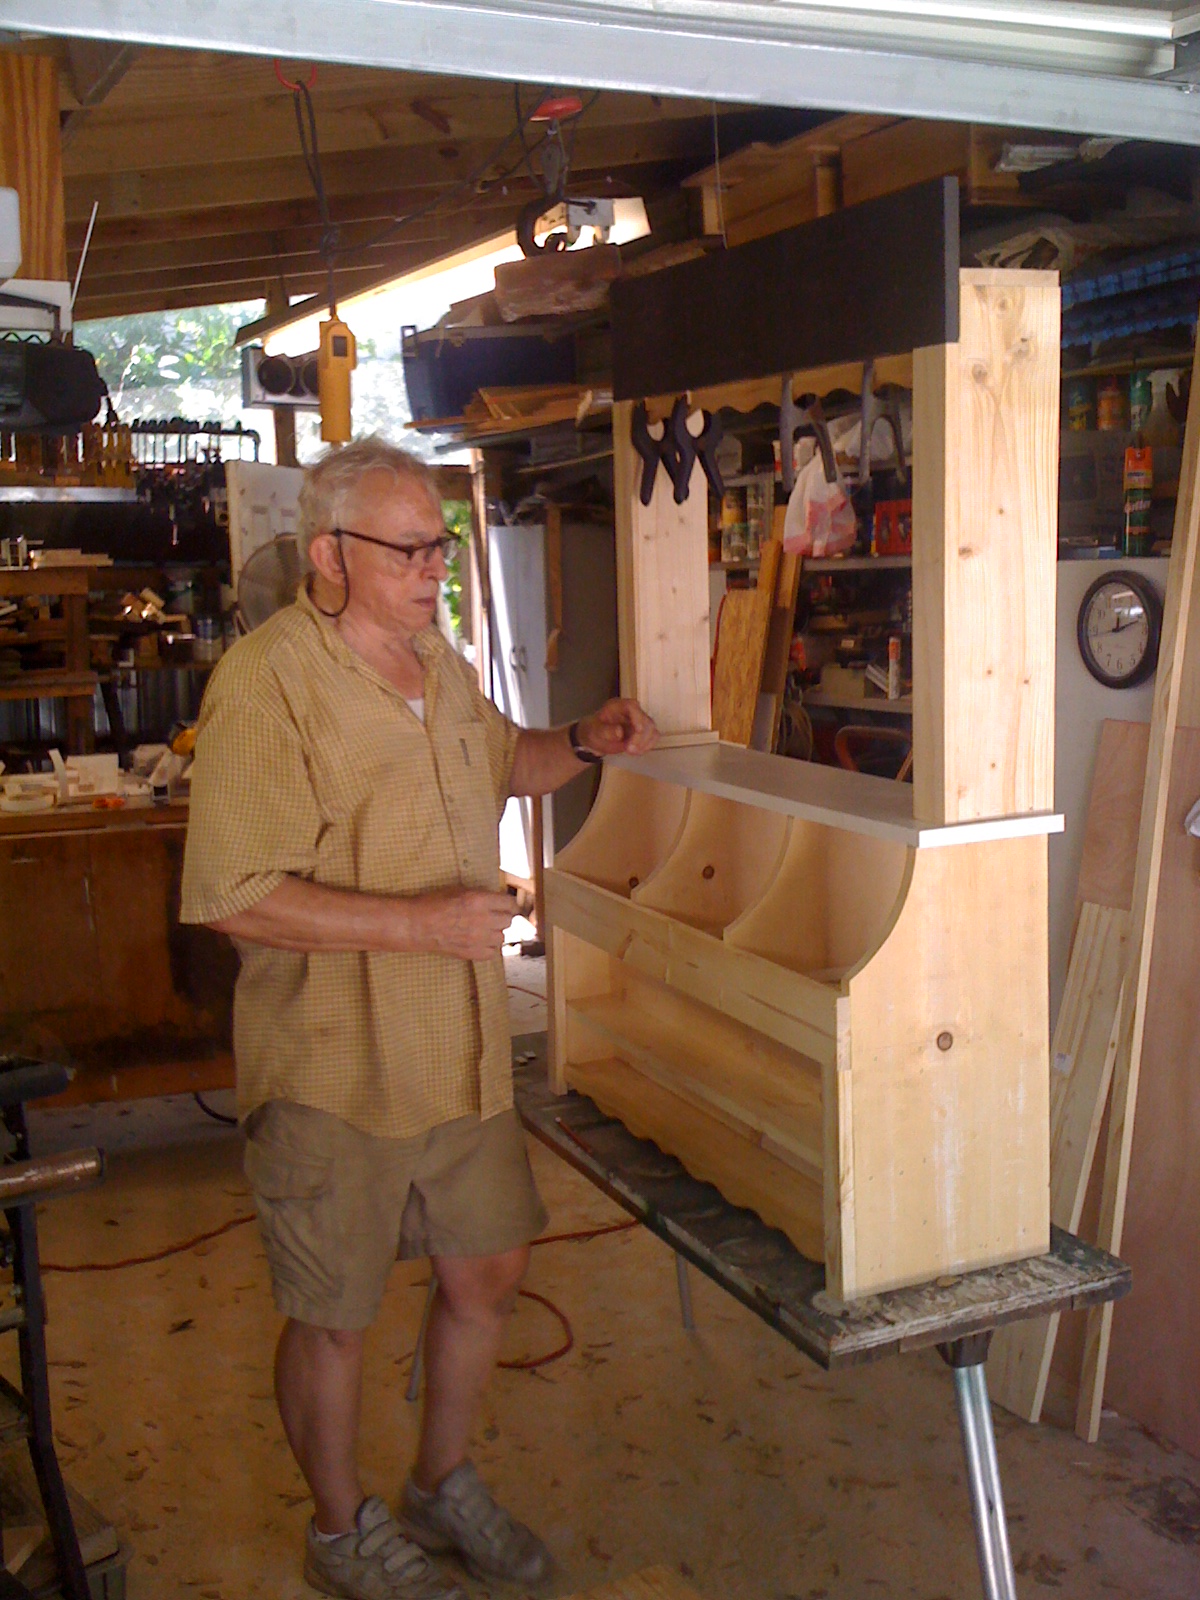
I was so excited to start the Queen storage bed - but then I had all that lumber and the cuts weren't perfect, and my measuring skills need work, and I don't fit into 12 x 18" spaces, and my vision isn't great to begin with and I certainly can't see into those dark, dark spaces!
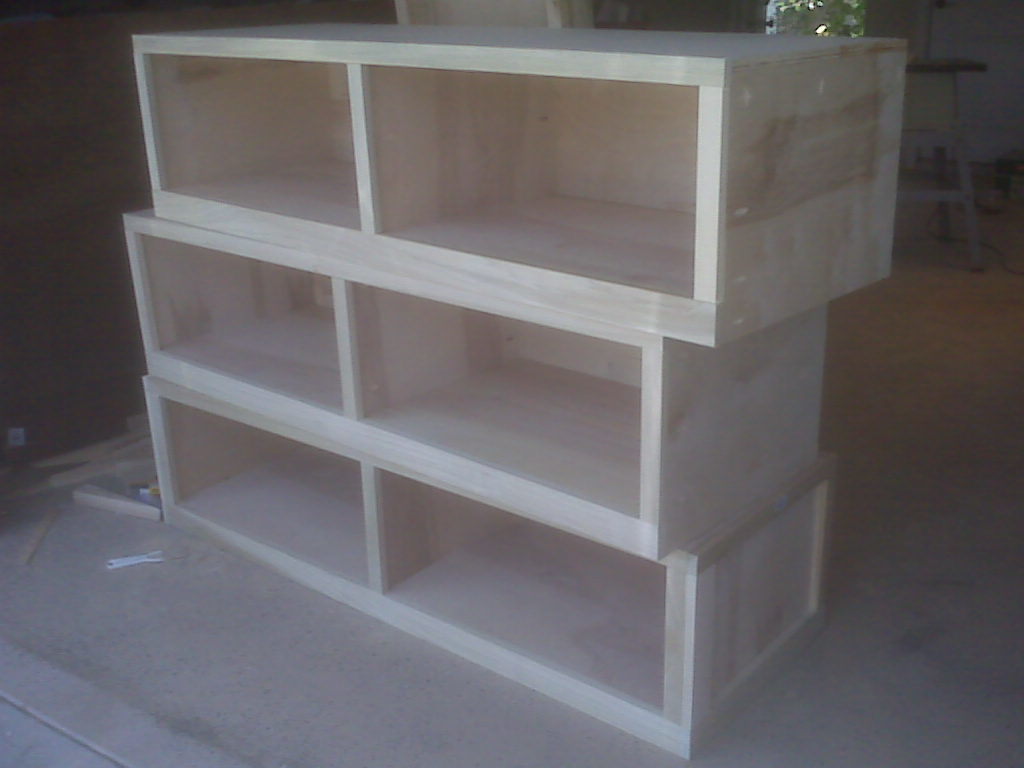
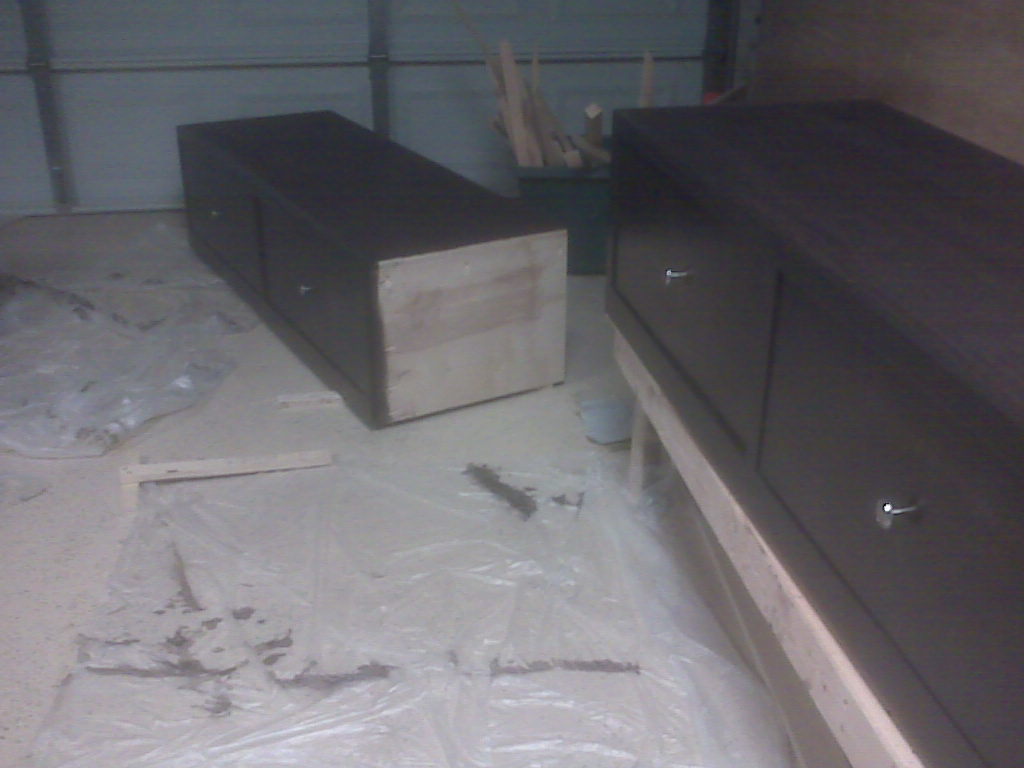
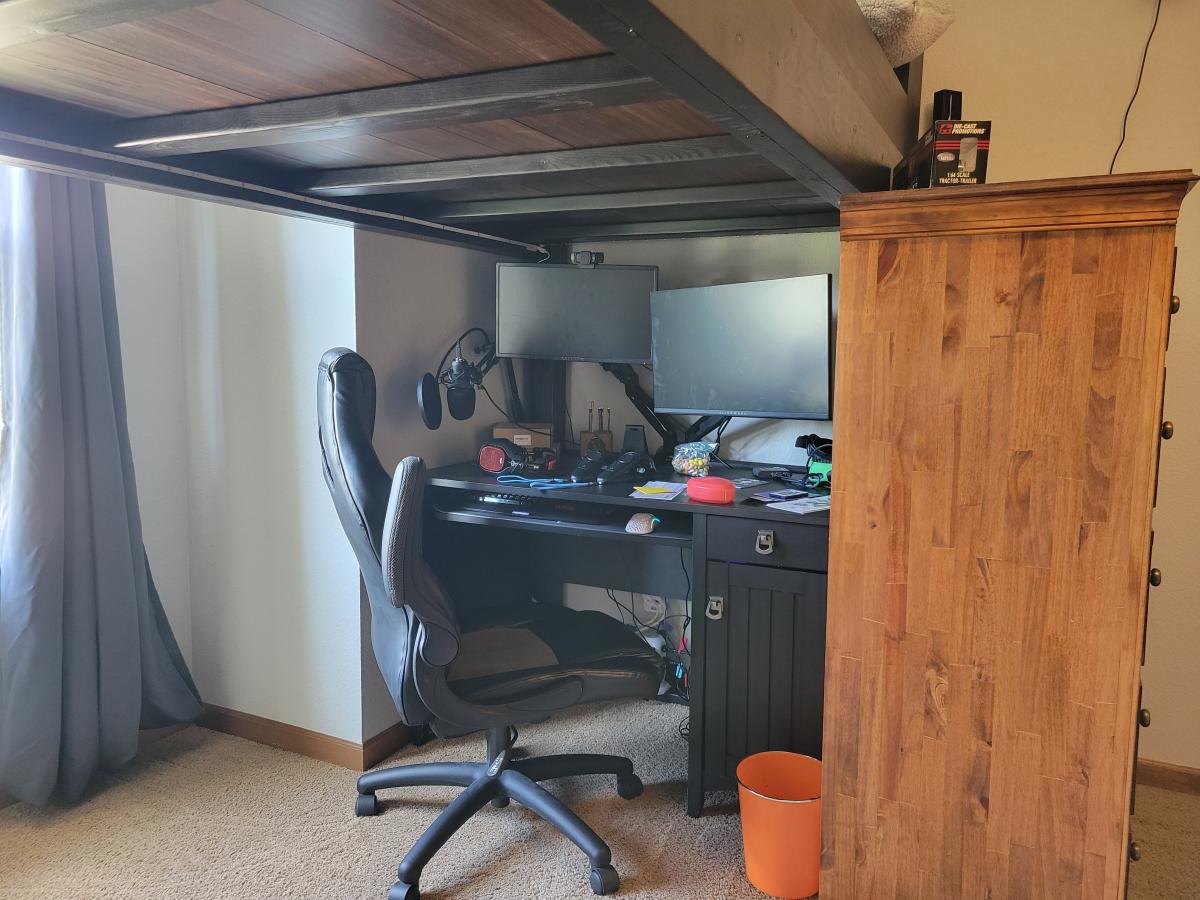
But, in the end, I had fun, and the drawers work, the finish turned out well, I still have all my fingers, my bruises are about gone (2 weeks later, for goodness sake!) and, most important, my son and his wife say it looks great, is sturdy, and the drawers work! Whew!
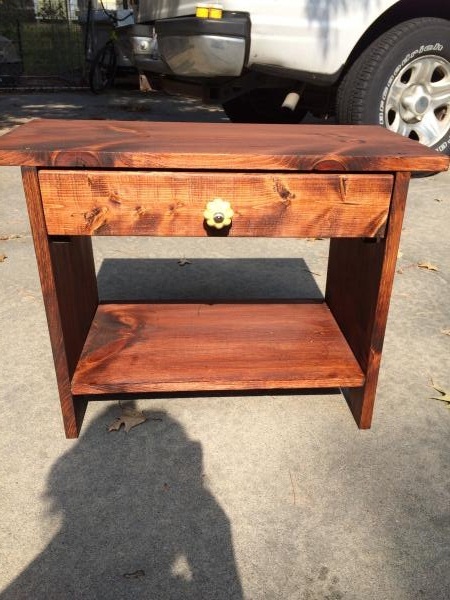
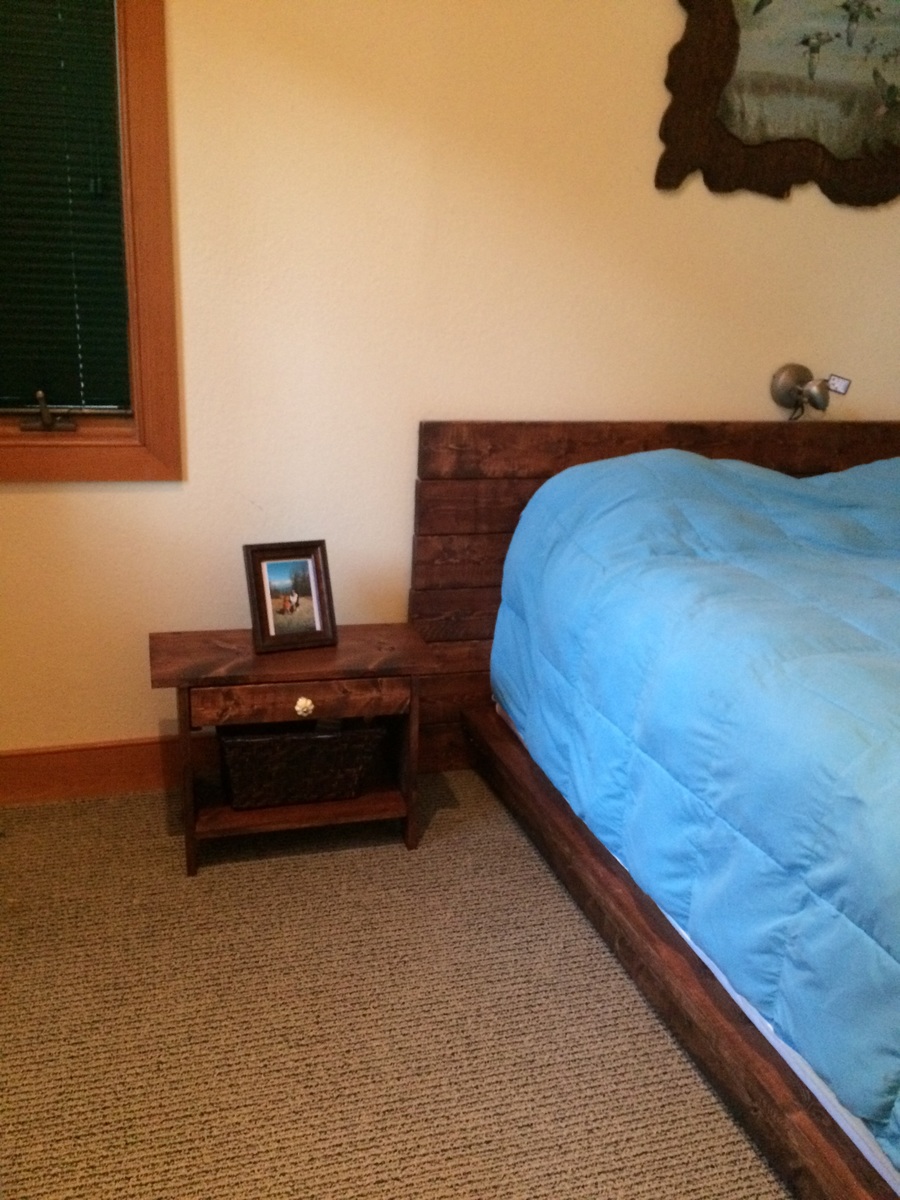
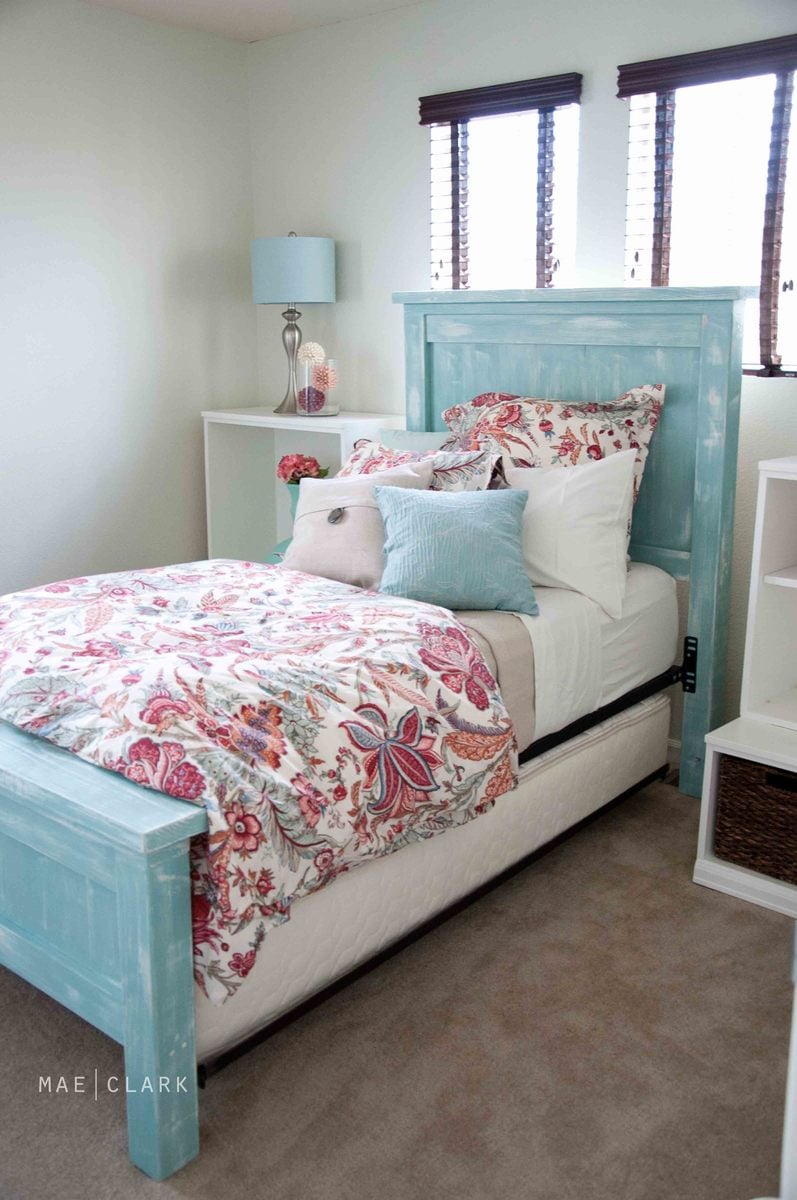
Next month I'm doing the twin sized version for my daughter - and no drawers, yeah!

Built from Plan(s)
Estimated Cost
$400
Estimated Time Investment
Week Long Project (20 Hours or More)
Finish Used
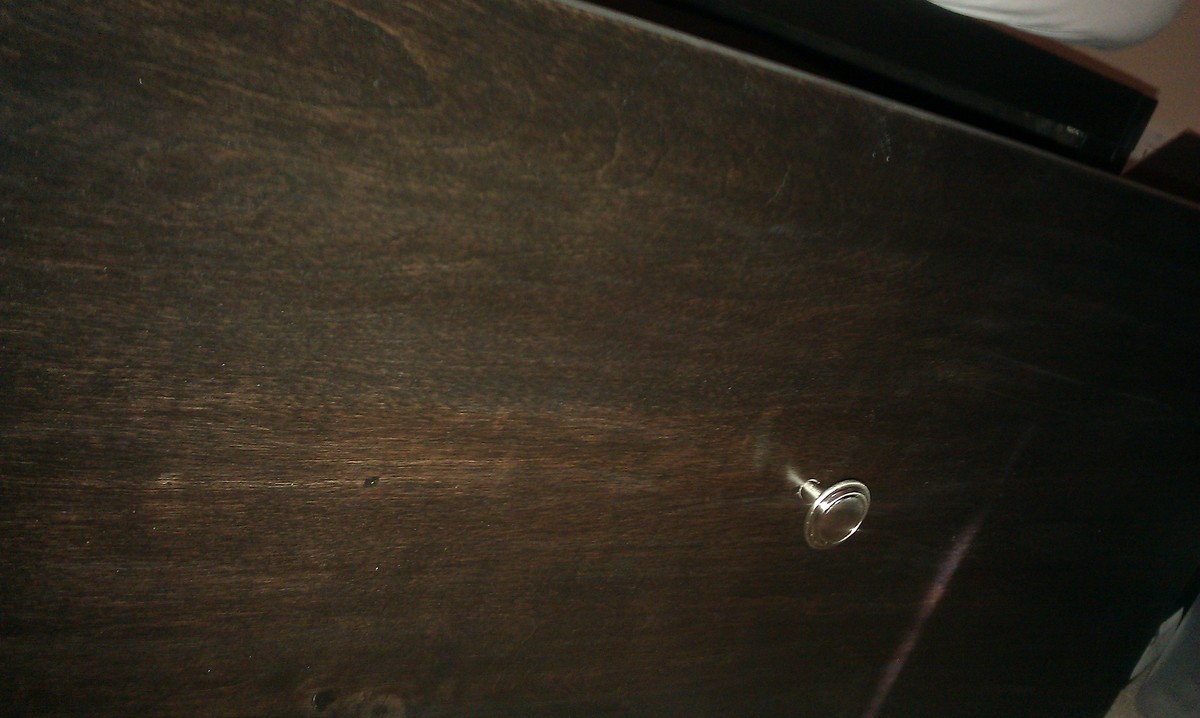
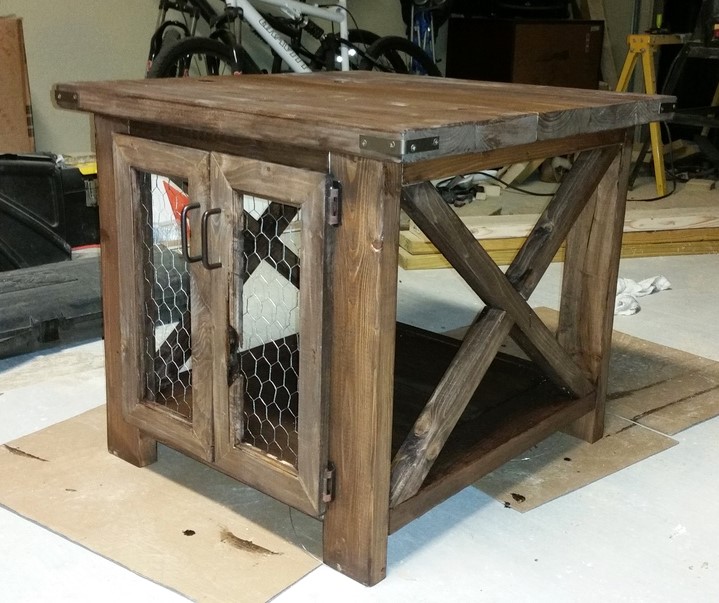
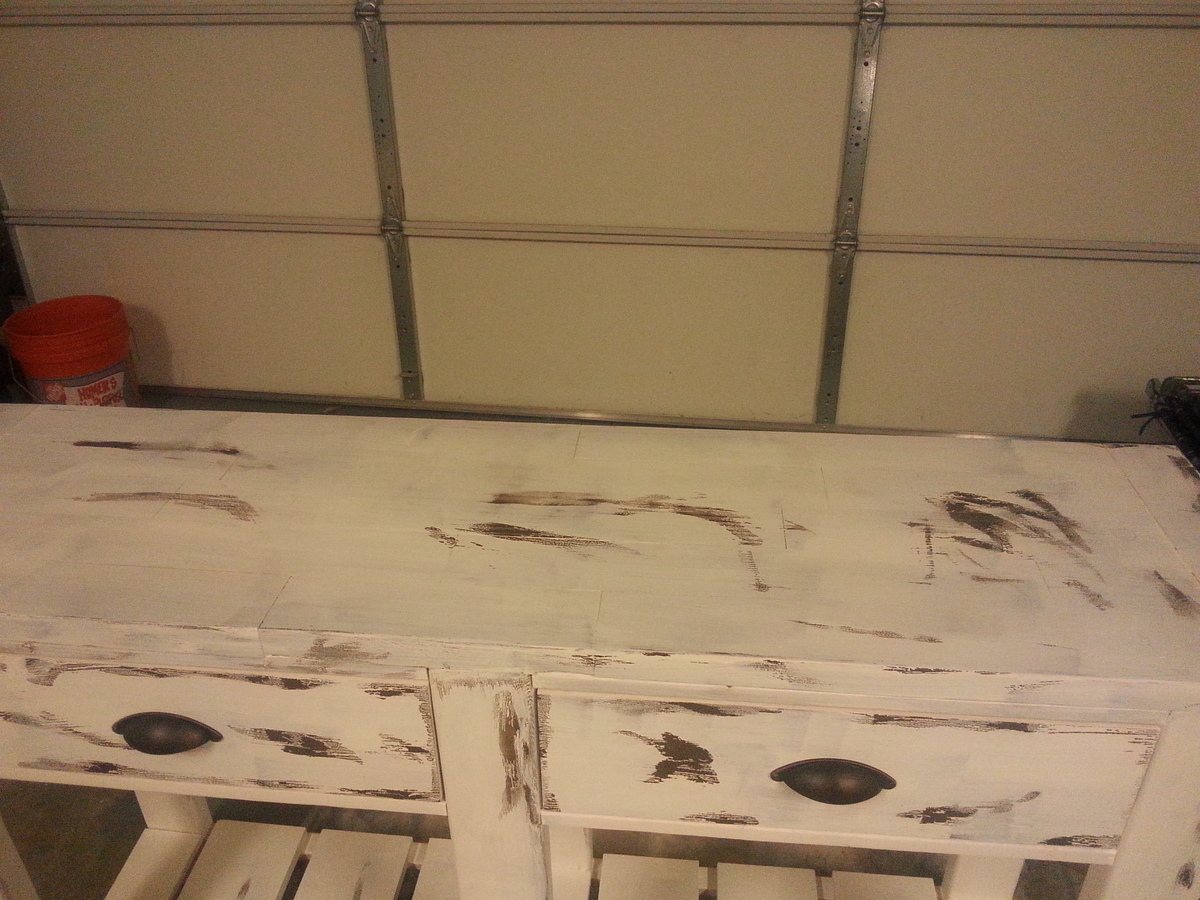
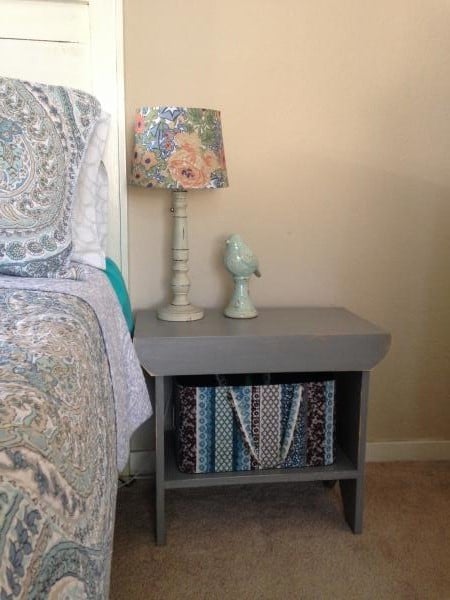
Valspar Espresso stain, 3-4 coats, sanded between first 2 coats, then just applied to darken the color. Light sanded before applying first coat of minwax poly, light sanded again, applied 2nd coat of poly, and then added a 3rd coat of poly (no sanding before)
Recommended Skill Level
Intermediate

Comments

kristen

Sat, 08/13/2011 - 19:34

Well for all the problems with fitting into the spaces, seeing, and such, it turned out beautifully!! Well done! I

Vintage simple bench nightstand

I followed the plan but added a drawer.  I had a drawer that I had previously built but it didn't fit that project. It just happened to be the right width for this, I had to cut off some on the length, and that turned out to be easier than I thought it would be.  I used wooden slides.

Estimated Cost
Less than 20.00
Estimated Time Investment
Afternoon Project (3-6 Hours)
Finish Used
Red oak and golden oak mixed. Wax finish.
Recommended Skill Level
Beginner

X leg Dining Table

Submitted by Usmcmills on Wed, 11/28/2018 - 06:56

Used ideas from multiple builds on here. Turned out great for Thanksgiving. Only thing ill add is a beam between legs for added stability but its pretty strong now.

Estimated Time Investment
Weekend Project (10-20 Hours)
Recommended Skill Level
Intermediate

Farmhouse kitchen island

Submitted by Anonymous (not verified) on Tue, 08/16/2022 - 19:19

The kitchen island I built from your plans for my wife. I used hickory and for the top I used rustic cherry.

Comments

Flat Wall Bookcase

This was my very first Ana project. It probably took me three times as long as it would take anyone with any experience. That said, we love it! I have since made two more for friends! No need to look too close, there are plenty of mistakes.

Built from Plan(s)
Estimated Time Investment
Afternoon Project (3-6 Hours)
Finish Used
I used miniwax water-based red oak and topped with two coats of polycrylic.
Recommended Skill Level
Starter Project

Truss Coffee Table Not quite finished

Submitted by wetsuit1 on Tue, 09/03/2013 - 09:47

I made the Restoration Hardware couch and deck chair. I got really nice Sunbrella material cushions for $60 each at HD. I wanted to make a matching coffee table. I just threw it together. It's a little "jacked up".

Estimated Cost
$15
Estimated Time Investment
Afternoon Project (3-6 Hours)
Recommended Skill Level
Intermediate

DIY Children's Adirondack Chair

I needed a birthday gift for one of our sweet neighbor friends, so I dug through my scrap wood stash and decided a small adirondack chair would be the perfect little project!

Thanks to Ana for the plans!


Built from Plan(s)
Estimated Cost
I used scrap wood so this project was a freebie!
Estimated Time Investment
Afternoon Project (3-6 Hours)
Finish Used
Red paint
Recommended Skill Level
Beginner

Mail Organizer - a modified version of the numbered cubbies

Submitted by kelli224 on Thu, 08/11/2011 - 18:28

I was in desperate need of a mail organizer and knew when I saw the the plans for the numbered cubbies that it would be perfect with some modifications. The best part of this project was that it was free...all from scraps and done in less than a couple hours.

Built from Plan(s)
Estimated Cost
FREE - totally made from scraps and paint I had around the house
Estimated Time Investment
An Hour or Two (0-2 Hours)
Finish Used
A coat of black spray paint and then a coat of white. I painted on the letters and then sanded everything. I used a brown/gray glaze to tone down the white.
Recommended Skill Level
Starter Project

Comments

kelli224

Wed, 08/31/2011 - 15:22

Thank you! This little box has really been handy and keeps everything so tidy. EmileeA - It is 19" long, the back is 8", and the front is 5.5". The divider is 11.25" from the left side. Hope that helps!

Sarakas

Tue, 12/17/2013 - 17:31

hi there! I ve been working on a small cubby shelf similar to this and was interested in seeing how /where you joined the boards- ex. The front board (5.5ft) to the dividers... I don't see and nails or screws! I'm guessing you applied wood filler atop the nailheads. But I'm having trouble joining my boards and if you can kindle let me know where you attached the front board to dividers w nails or was it just glue?!? Thanks so much!

Toy Workbench

Submitted by TeriA on Thu, 09/05/2013 - 10:57

My Husband and I built this for our son's 2nd Birthday. This is our first finished project!
We drilled 1/2" holes for play nails and screws in the legs and top. We also modified the bottom to have a shelf for added storage, just measured the inside dimensions and cut to fit. We also opted for a peg board on the back to eventually hang tools and some baskets for the nails and screws. The peg board is attached to the base and trim with glue and staples. We taped off a section on the back before using the polyshade to allow the glue to adhere.

Built from Plan(s)
Estimated Cost
under $50
Estimated Time Investment
Afternoon Project (3-6 Hours)
Finish Used
Minwax Poly Shades in Dark Walnut, 2 coats
Recommended Skill Level
Starter Project

Comments

JoanneS

Thu, 09/05/2013 - 16:48

What a fabulous toy workbench! And those toy tools are just too cute for words! The finish is beautiful. You did such a great job on this, love it! :)

Unfinished tables

Submitted by depsher on Thu, 10/29/2015 - 17:30

I built these three tables for my aunt.  She had specific dimensions that I had to alter the plans to fit.  All in all it was a pretty easy project.

Estimated Cost
62 for all 3 tables.
Estimated Time Investment
Afternoon Project (3-6 Hours)
Recommended Skill Level
Beginner

Idaho History Halltree

Submitted by Anonymous (not verified) on Thu, 12/27/2018 - 15:48

A piece of Palouse/Moscow/North Idaho History!


Hand-crafted by father and son from reclaimed materials native to the region, this is a one-of-kind piece of furniture of both substance and significance.  The stock was sourced from the railroad depot that stood on the University of Idaho campus in Moscow for well over 100 years.  The crops, forest products, and people of the Palouse passed through its doors and across its floors from the early days of westward expansion and settlement.  Marked for demolition in 2017, the depot yielded lumber that had been harvested from old growth forests native to our region since time immemorial.  The trees that produced the lumber-turned-dept-turned-halltree stood tall, proud, and mature at the time of the signing of the Declaration of Independence.


The halltree’s back panel and trim are crafted from the depot’s tongue and groove flooring, and still bear the marks of their original milling.  The remainder of the piece is constructed from the ceiling planks.  Twice painted during the course of the depot’s sentinel watch over the commerce and culture of our region, the cream surface coat is yielding to the forest green base layer, giving the finish a depth and patina that testify to its age.  The history of the Palouse literally passed over, under, and between every square inch of wood in this halltree!  It now stands ready to serve a family for generations to come while reminding them of our pioneer past.


Dimensions:  39” x 15-1/2” x 78-1/2”

Estimated Cost
$40 for screws, finish nails, glue, hinges, and coat hooks. I sourced the lumber for free.
Estimated Time Investment
Weekend Project (10-20 Hours)
Finish Used
The back panel and trim were red fir tongue and groove flooring that was heavily scarred from a century of foot traffic in a railroad depot. It had to be surface planed to allow the color of the wood beneath to show through, but not so deep as to completely remove the milling marks and oxidation. The rest of the boards were pulled from the ceiling and show layers of white and green paint in varying states of disrepair. I applied Danish oil to fresh cut bare edges, then sprayed satin finish water-based polyurethane over the entire piece.
Recommended Skill Level
Intermediate

Twin Farmhouse Bed - A Beachy-ish Version

I decided to start on the project of converting my daybed to a twin farmhouse bed five days before I had a house full of company - genius! The hardest part was finding the 4x4 posts at the Blue store and deciding what length of screws to use. It's hard to say how much time I spent on it, as I was finishing up 46 other projects during the same time, but I would guess the build took about ten hours, and the finishing maybe three? This finish really is one of the easiest I've done to date. A quick coat of white/cream semigloss, another quick coat of turquoise semigloss, an hour of light sanding and wa-lah! I apologize for the poor photo quality - I borrowed a friend's camera lens to get wide-angle shots in my teeny guest room and the lens apparently wasn't made for my camera - whoops!

Built from Plan(s)
Estimated Cost
$150
Estimated Time Investment
Weekend Project (10-20 Hours)
Finish Used
I believe the white was Mascarpone by Benjamin Moore and Palladian Blue by Benjamin Moore. A single light coat of each, then distressed lightly with a sanding block. I didn't use a sealer, but that may change if I decide the raw finish isn't good enough. It seems to be great right now!
Recommended Skill Level
Beginner

Comments

dananryan

Sun, 08/14/2011 - 08:57

I absolutely LOVE the finish! Once I figure out which of Anna's beds I want to build, I will try to copy your fabulous finishing job. Thanks for sharing.

Spring

Sun, 08/14/2011 - 16:30

I love the beachy look. You did an amazing job. I have a day bed that I hate and I'm thinking this is a perfect solution. Thanks fir the inspiration.

Miasmom (not verified)

Mon, 08/15/2011 - 08:41

I love the finish! I'm making one of Ana's beds for my daughter and may copy your finish technique, but use a pink (her favorite color) instead of blue.

I also noticed that you used the bedframe for the siderails instead of making them. Did you just screw them in to the posts?

designdoctor

Mon, 08/15/2011 - 15:53

This is beautiful! I have a non-building related question. Wherever did you find the bedding? I love the red and turquoise floral. I've been looking for fabric like that and haven't found anything. Thanks

Guest (not verified)

Mon, 11/21/2011 - 15:03

I was curious to know what your mattress is on for the trundle? I will be attempting the same thing, but was going to put the mattress in a wooden box on castors. Yours looks more friendly! Thanks for your time. Excellent job.

Trish

exuma_momma

Fri, 02/10/2012 - 09:01

Hey Amanda... this is beautiful. I'm hoping to try this type of finish on a bed I am working on now. How does it seem to be holding up without a sealer? You didn't use any primer, correct?? Thanks. Really beautiful work.

Linda Selfridge (not verified)

Sat, 02/18/2012 - 07:29

I love the color so I went to the paint store bought palladian blue) by Benjamin Moore but it sure didn't look your color. It was more of a weathered gray look. Which was nice too but definitely not the same. Are you sure that you used palladian blue?

winter_baby26

Mon, 04/23/2012 - 11:50

Absolutely beautiful, and such an inspiration. I think the color is stunning, and the weathered look you created is just perfect. It goes so well with the bedding too. I would love to have the exact same thing in my own house!

X Console Table

Submitted by raybotelho on Sat, 09/07/2013 - 07:14

I have built this console quite a few times. Always trying different finishes. Love all of them. Have to say I always skip the X on the sides, I just get lazy towards the end :) Im in the process of building a couple more, will try to add the X to it this time...we will see :)

Built from Plan(s)
Estimated Cost
100
Estimated Time Investment
Weekend Project (10-20 Hours)
Finish Used
Just layering lots of different colors.
Recommended Skill Level
Beginner

Benchwright Console Table

This was the first attempt at using the vaseline method to distress furniture and my wife loves it.  I made the table top out of scrap 2x4's.

Built from Plan(s)
Estimated Cost
$80
Estimated Time Investment
Day Project (6-9 Hours)
Finish Used
Heavy Cream in eggshell and Minwax Paste Wax.
Recommended Skill Level
Beginner

Comments

2x4 outdoor table

Submitted by AJofTX on Wed, 09/14/2022 - 06:51

Built the 2x4 outdoor out of scrap and discount Home Depot wood. The stain was $.50 from the oops paint rack at Home Depot.

Comments

Michael's Bug Bakery

Submitted by lorishad on Tue, 08/16/2011 - 18:12

We let my son choose whether he wanted a modern store bought play market or whether he wanted help Mommy and Padre (my dad) build one for his 3rd birthday present. We used magnetic primer so he can change the name whenever he wants and added some trim and some tea towel curtains! He loves it!

Estimated Time Investment
Day Project (6-9 Hours)
Recommended Skill Level
Intermediate

Comments

Rustic Table

Submitted by mr.robert on Mon, 09/09/2013 - 18:20

My spin on the rustic table. Used staircase spindles for legs, cut the side boards to accommodate. Rest of plan was pretty much the same. Wife wanted a big table, thats what she got.

Built from Plan(s)
Estimated Cost
$200
Estimated Time Investment
Weekend Project (10-20 Hours)
Recommended Skill Level
Beginner

Vintage Simple Bench Nightstand

I loved the country gray paint, so stayed with that. But my bed is one of the farmhouse beds and needed it to be a little taller. It turned out beautiful and have already made a second to match! 

Built from Plan(s)
Estimated Cost
$25
Estimated Time Investment
Afternoon Project (3-6 Hours)
Finish Used
Rustoleum's country gray and water based sealer
Recommended Skill Level
Beginner

Tilt out garbage cabinet

Submitted by Anonymous (not verified) on Tue, 01/01/2019 - 16:06

Pine box with walnut top and drawer faces. Behr paint on the box and tung oil finish on the walnut. 

Estimated Cost
$70
Estimated Time Investment
Weekend Project (10-20 Hours)
Finish Used
Behr paint and Fromers Tung Oil
Recommended Skill Level
Beginner

Loft Bed for Teenager

Submitted by Anonymous (not verified) on Tue, 09/27/2022 - 19:58

Designed a loft bed for teenage son. We used iKea shelving cubes for stairs/storage. The boards(flooring) are pine boards stained a dark brown. The other wood is painted black. The "headboard" is actually the bookcase shelf from his desk.

Comments