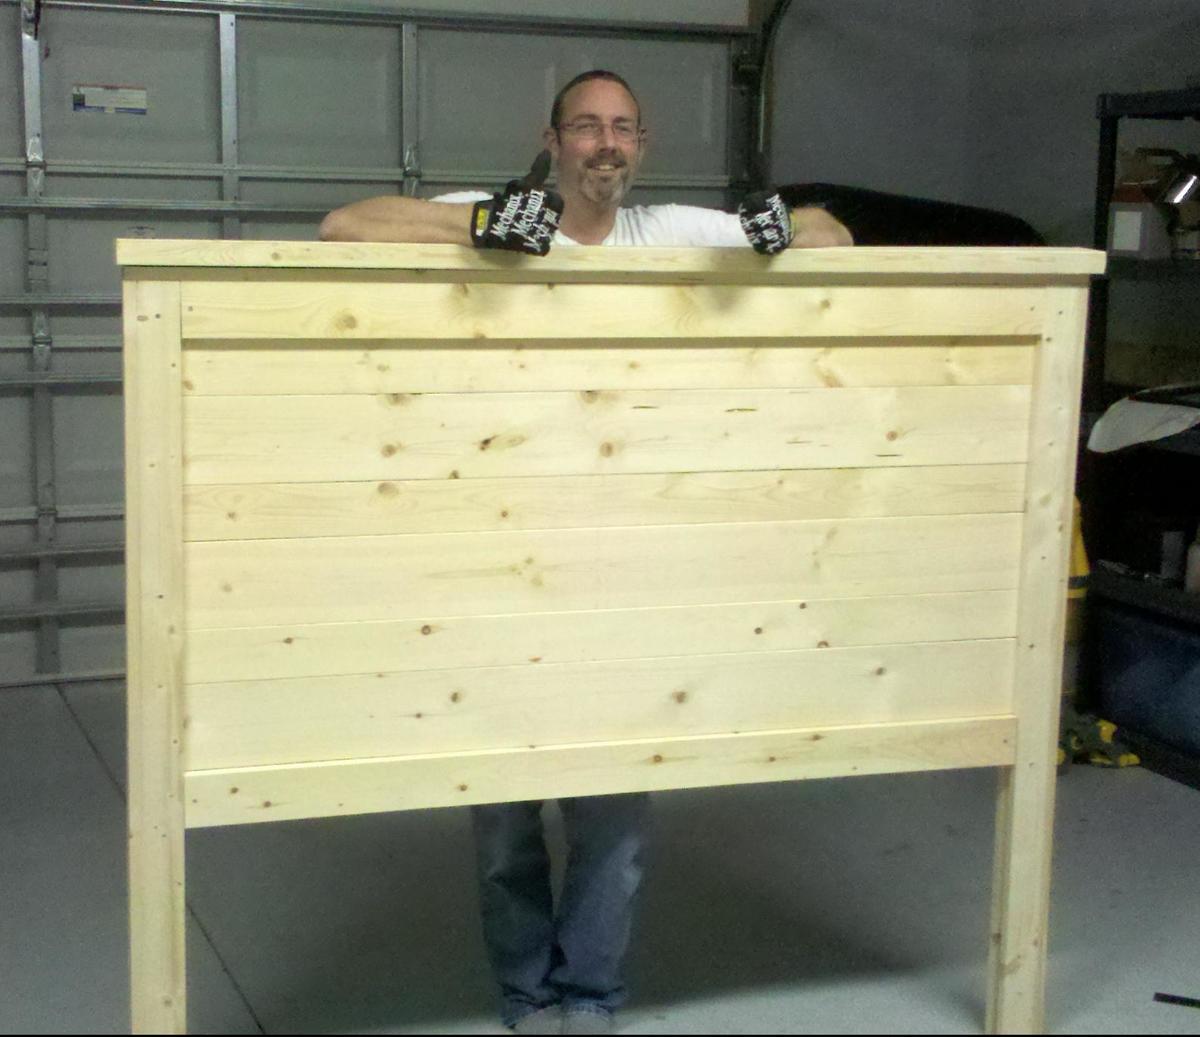
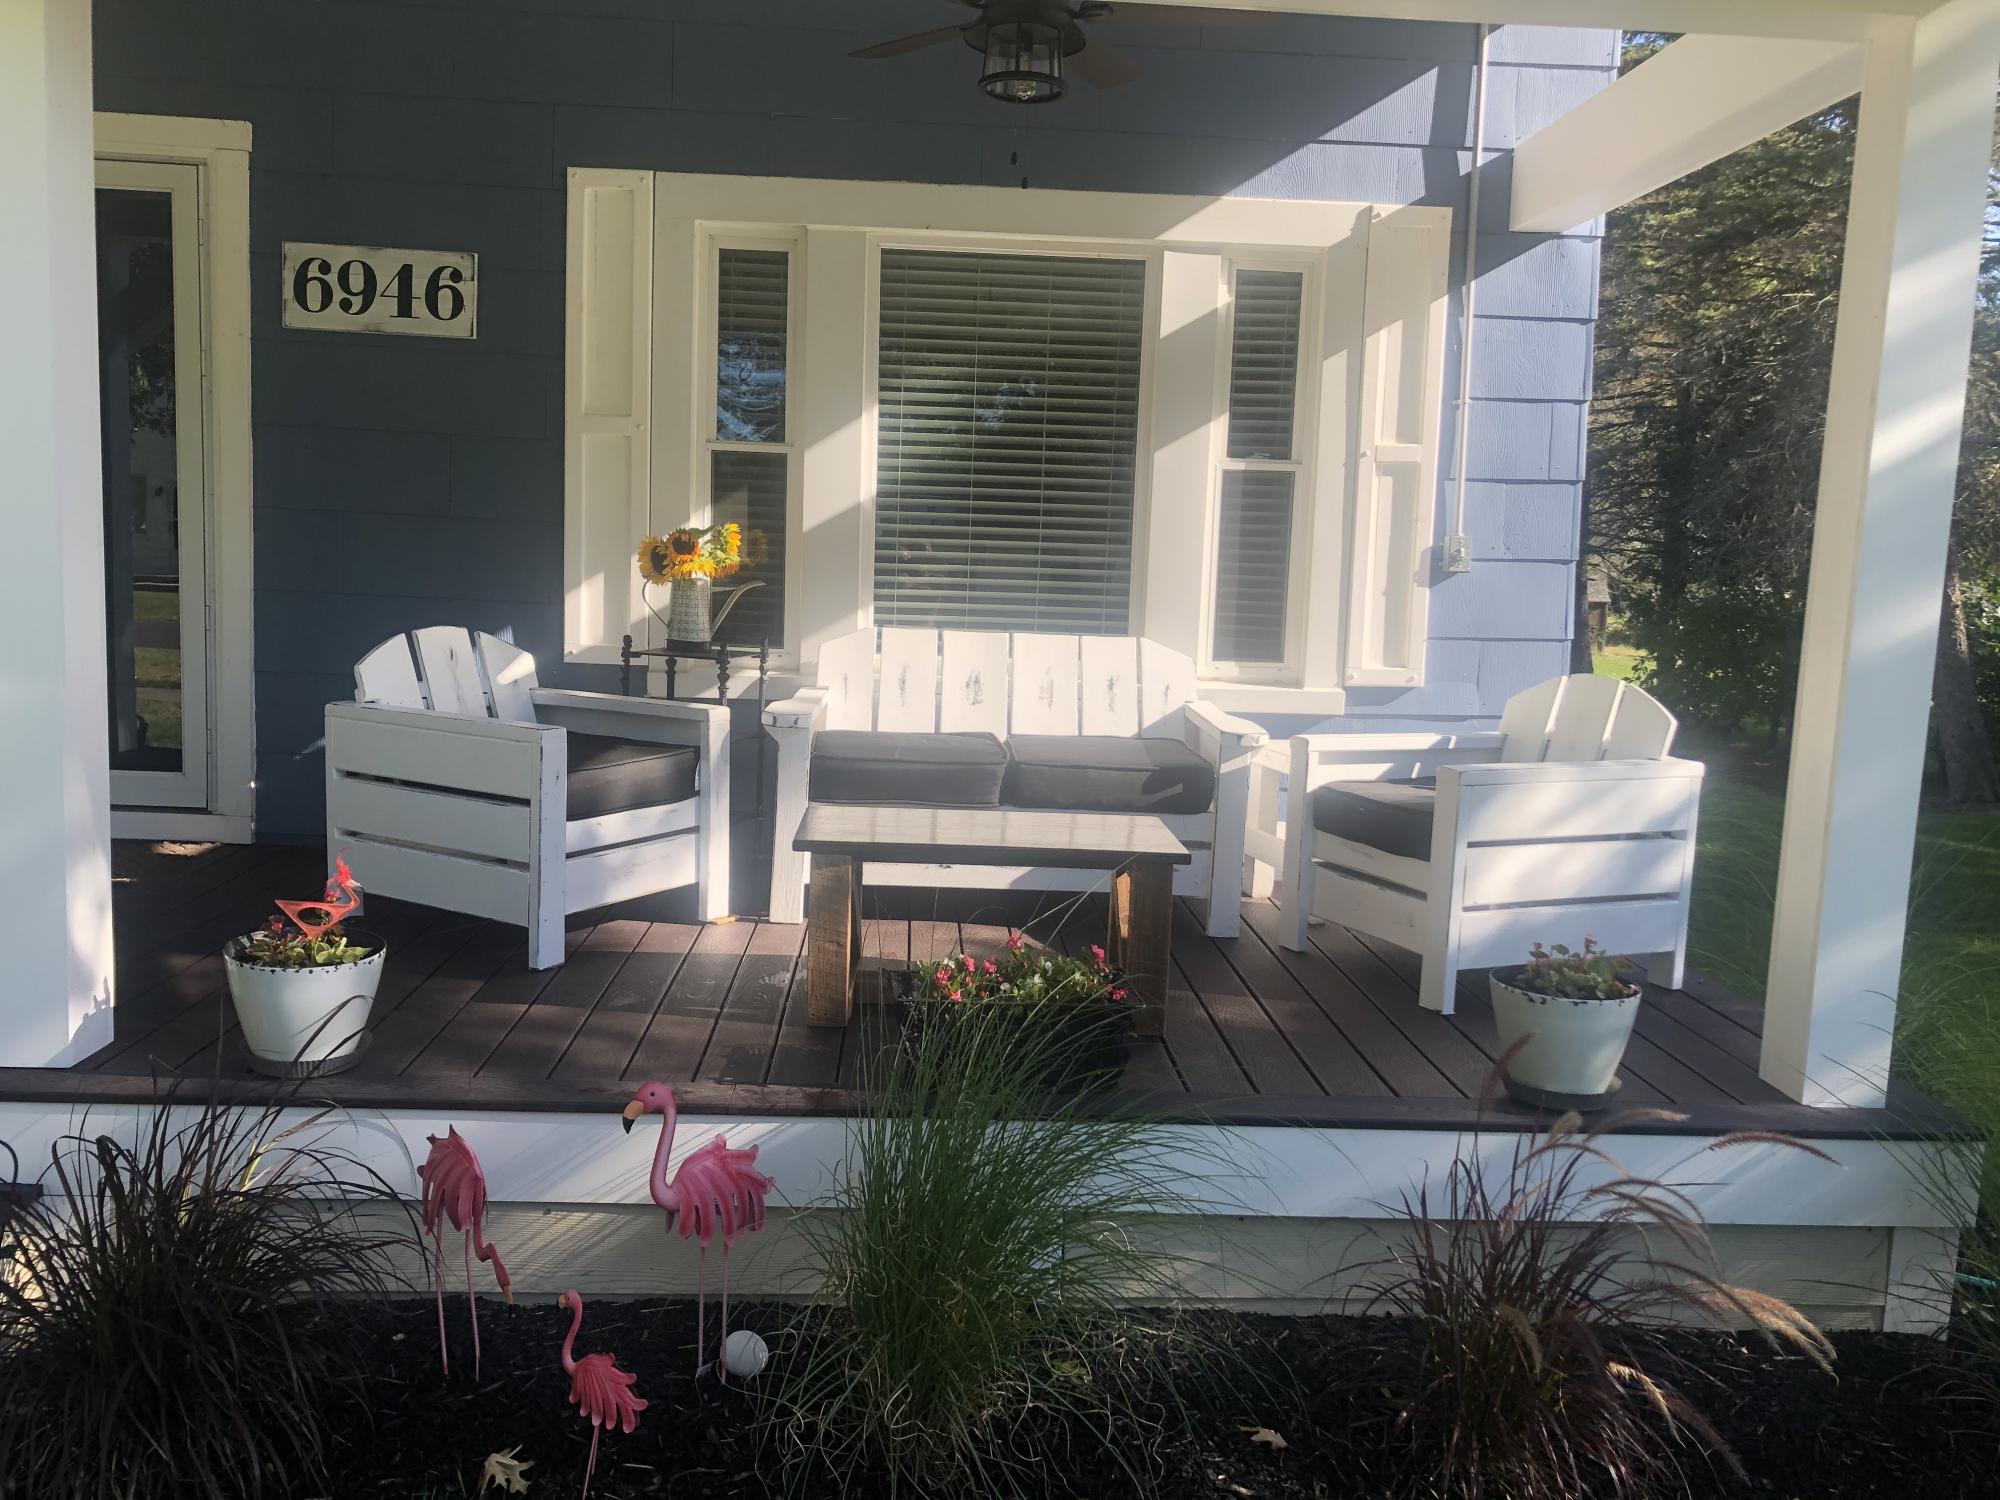
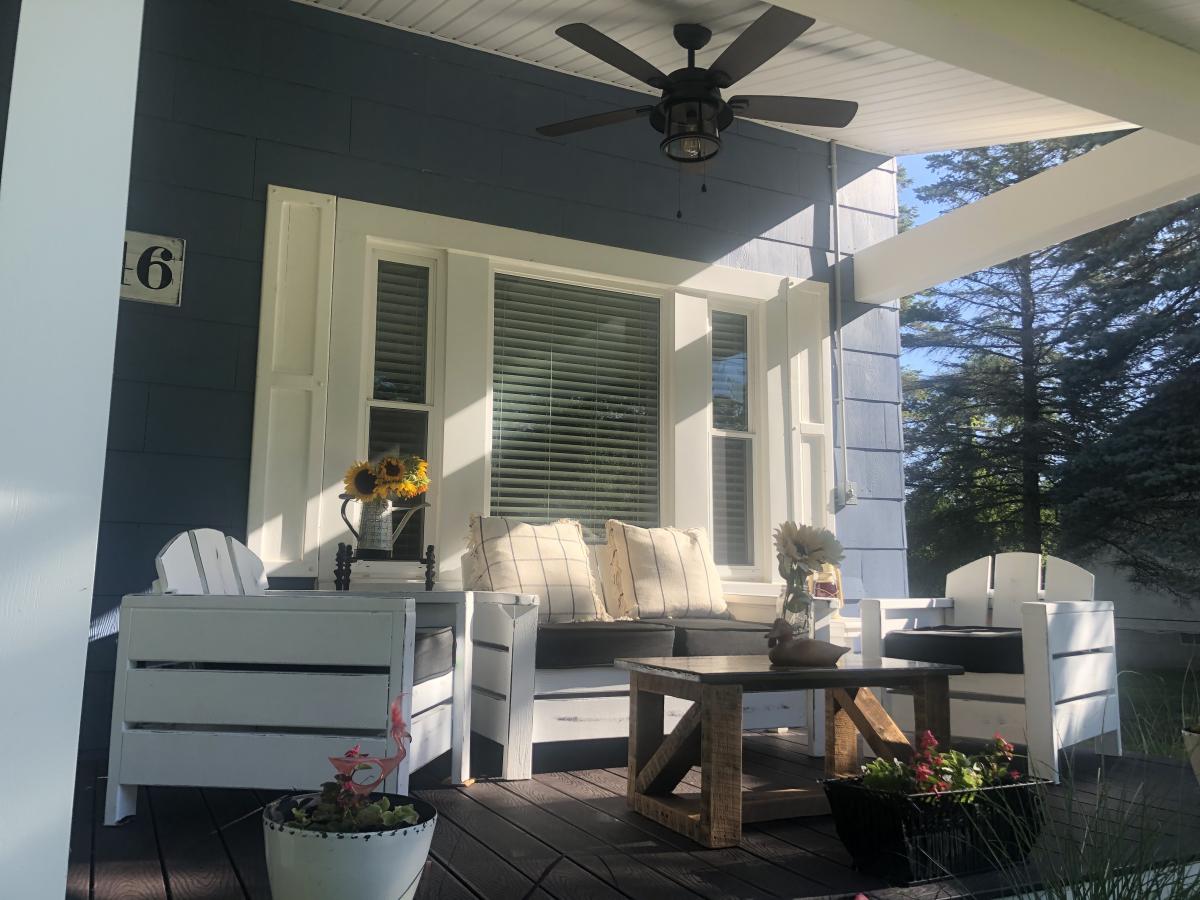
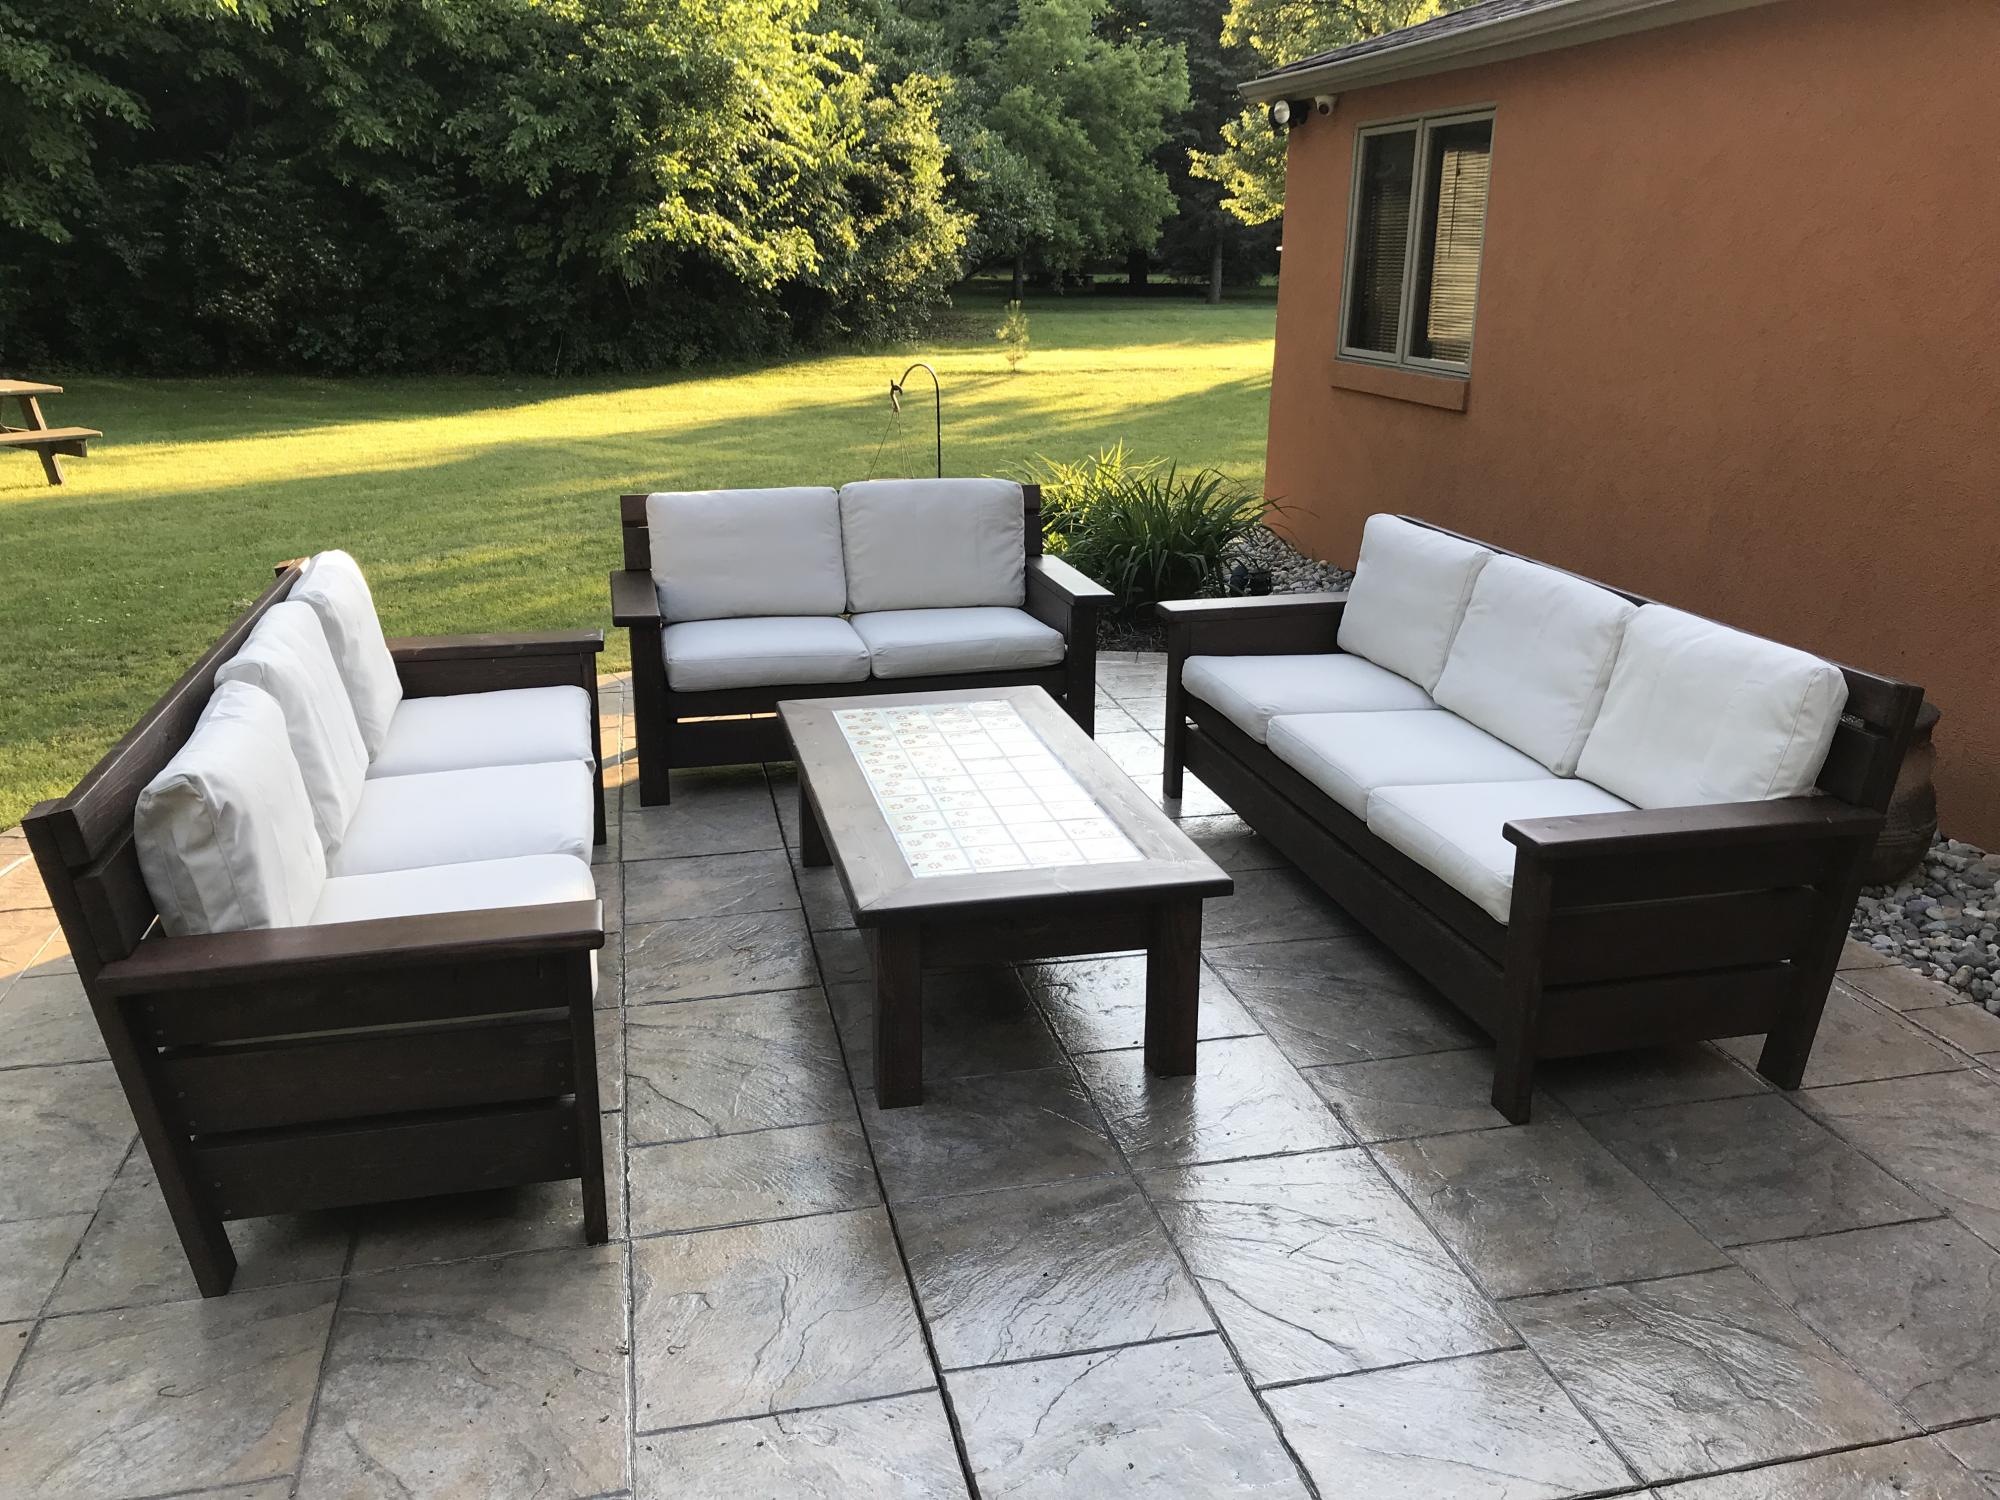
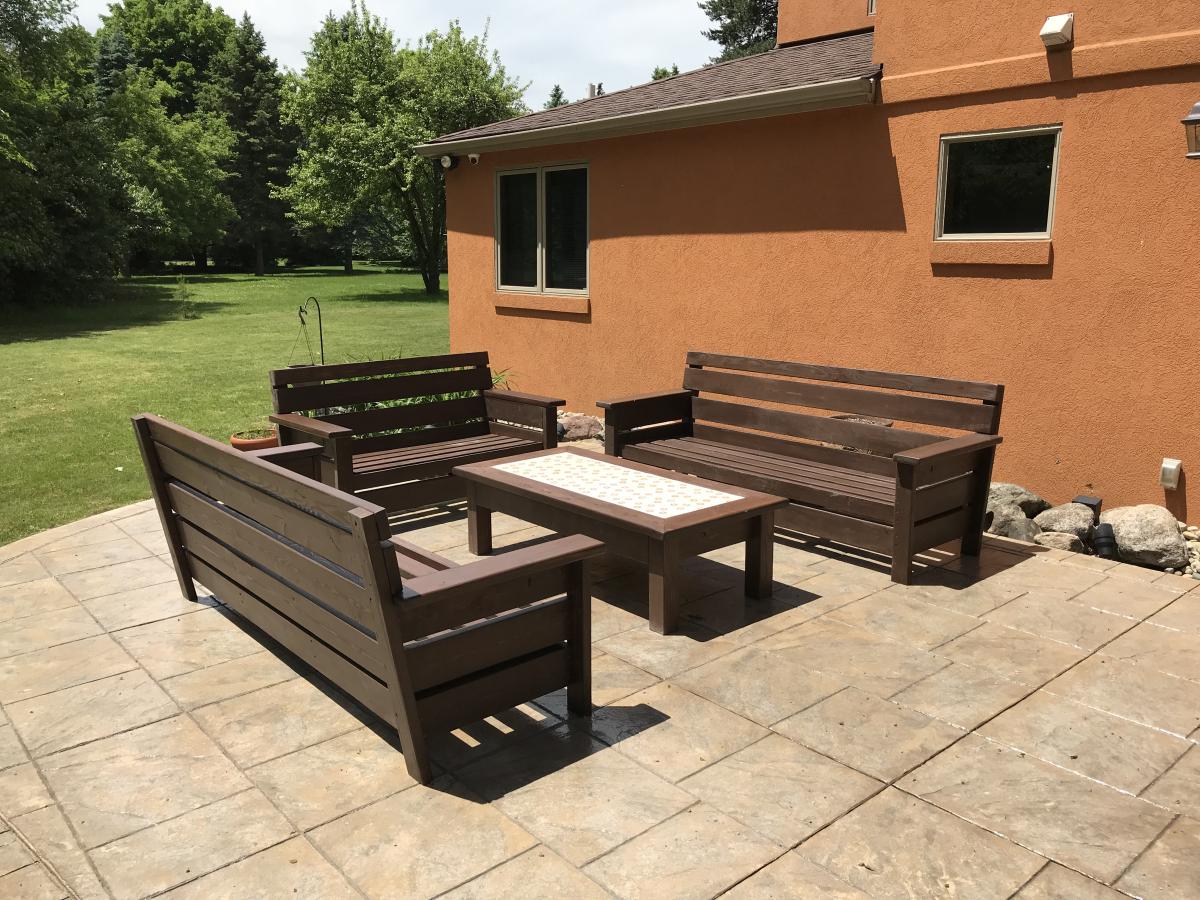
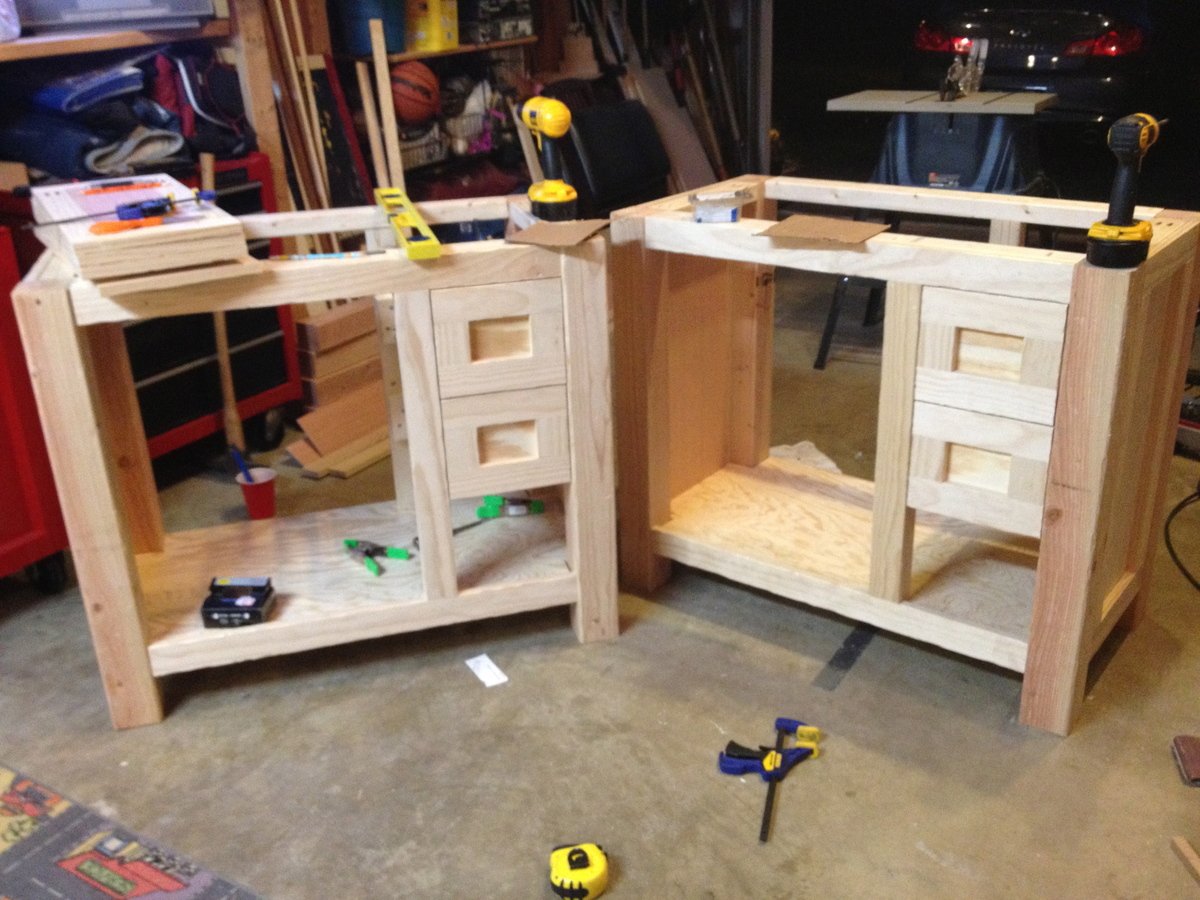
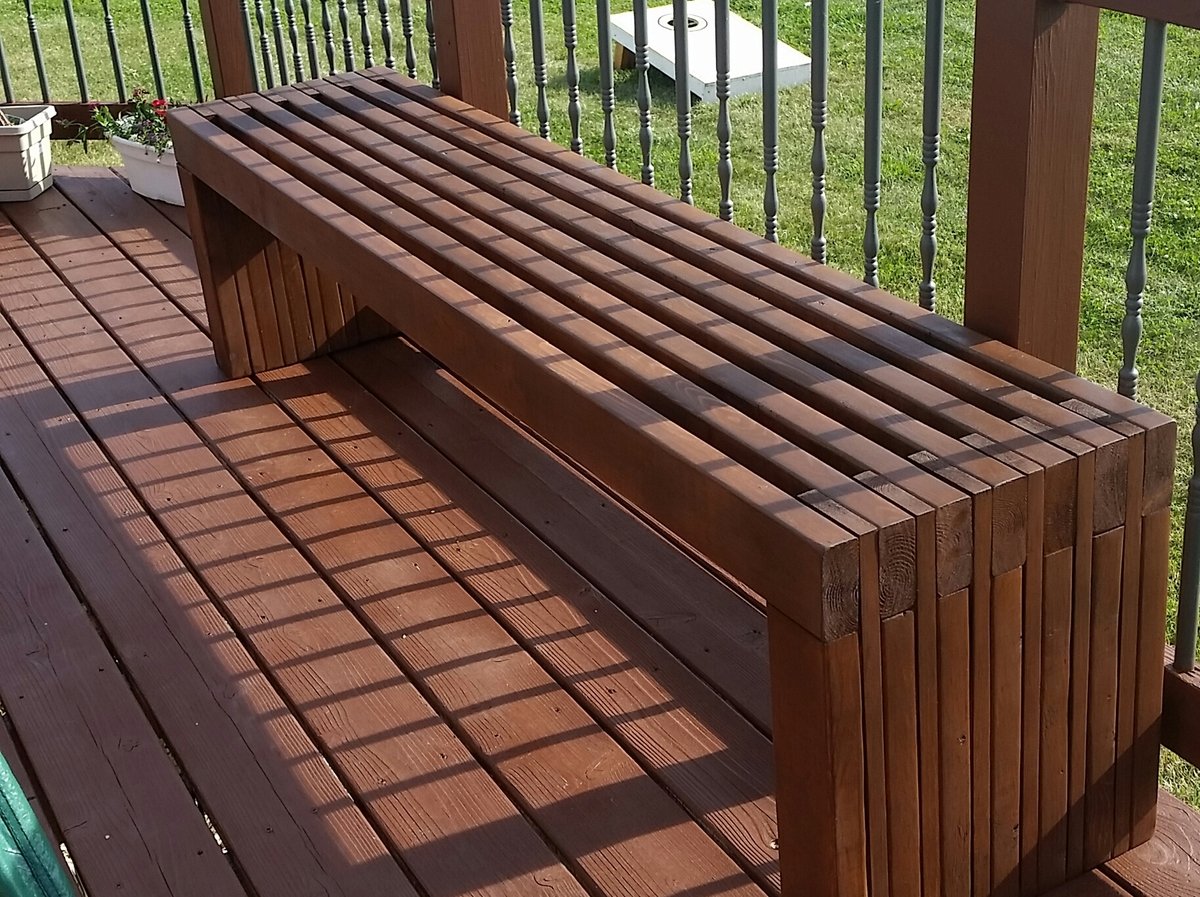
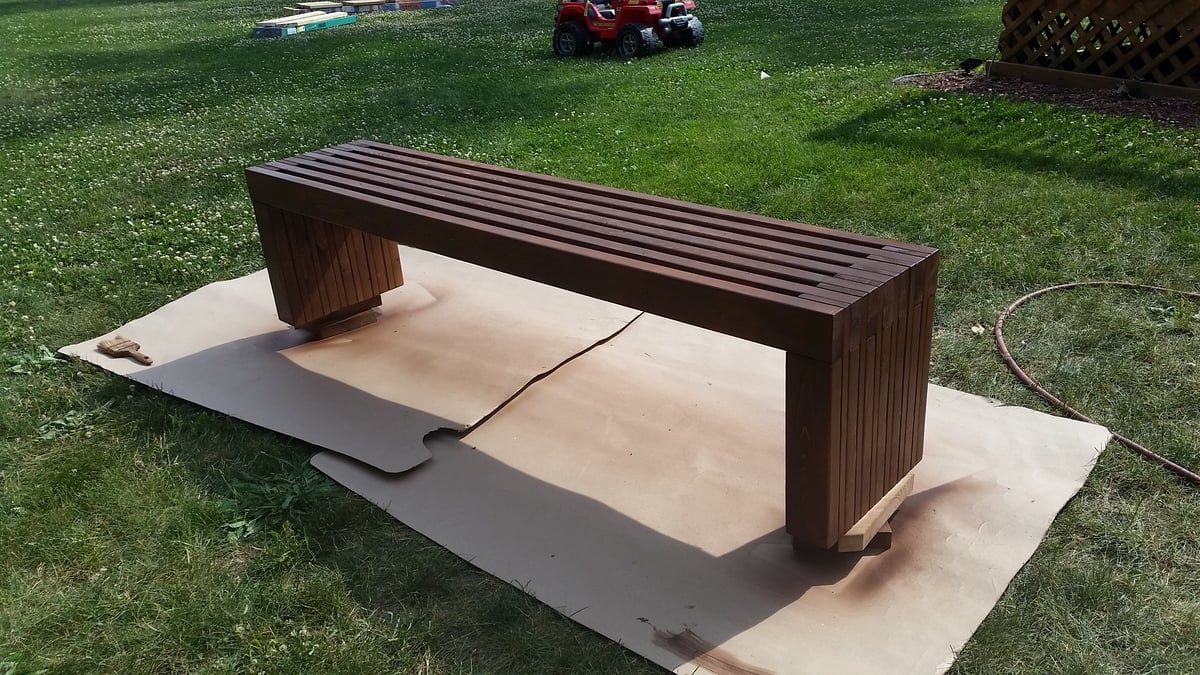
Porch swing bed
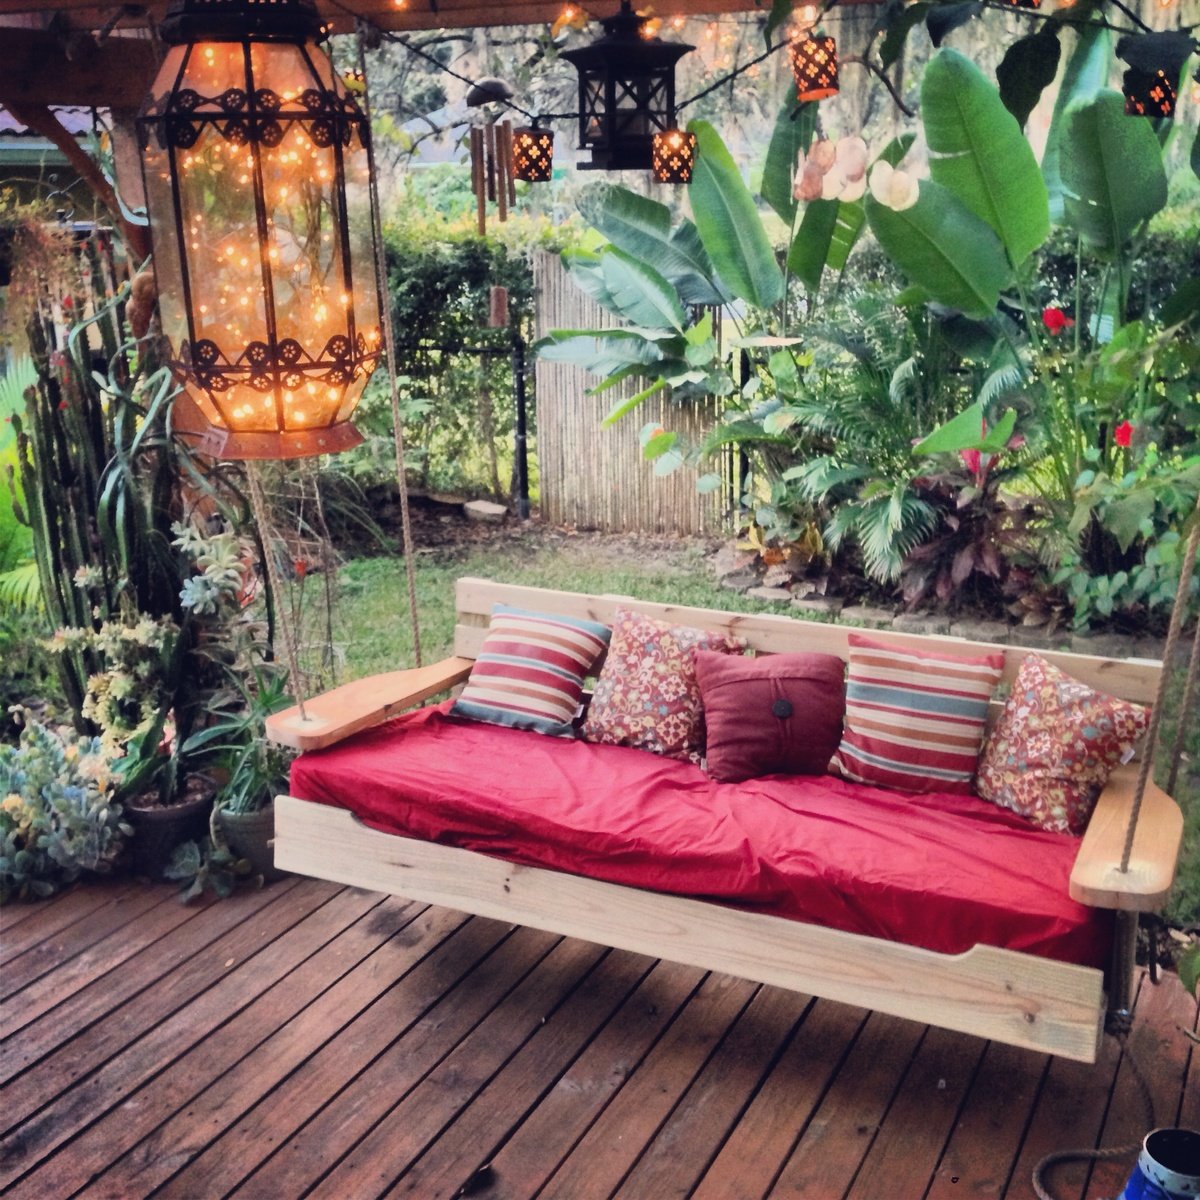
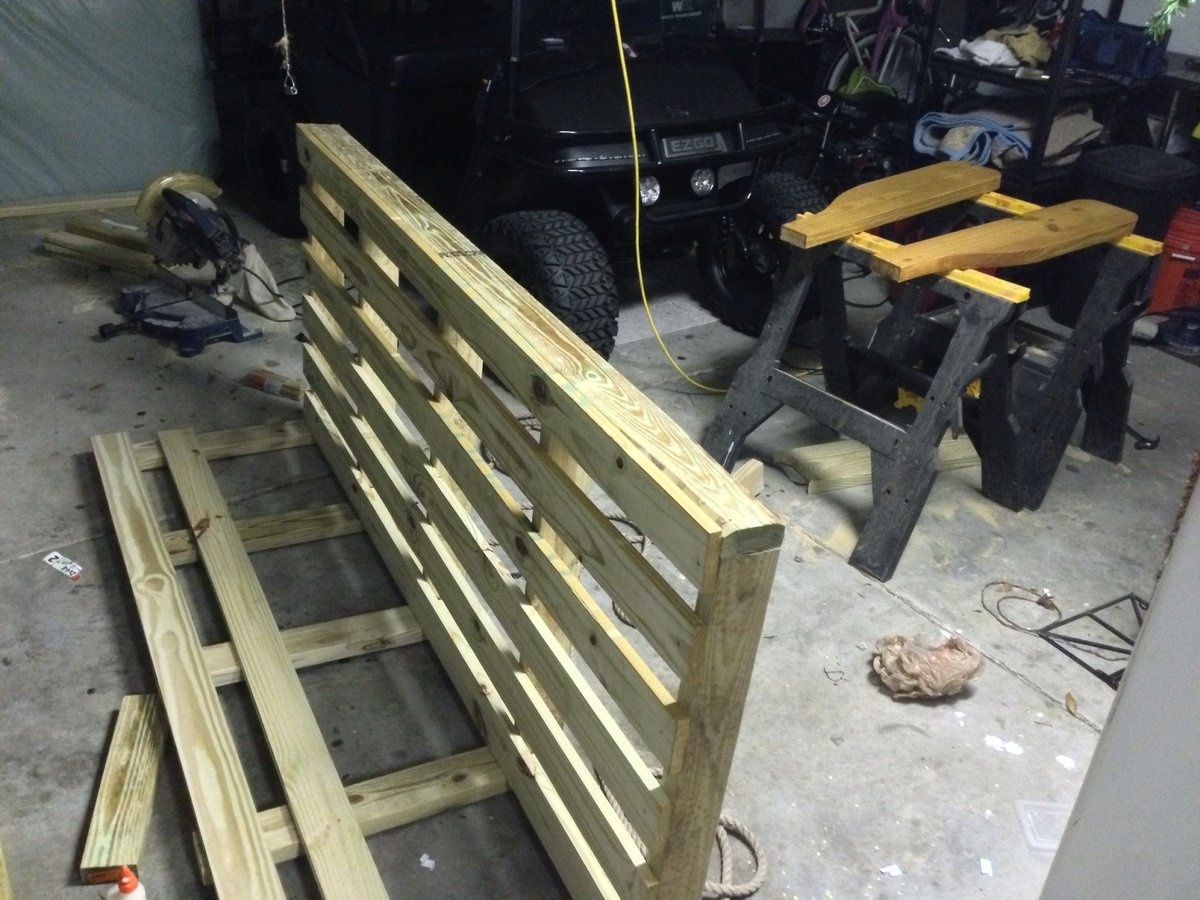
Started off with the original design but enlarged it to fit an oversize single mattress. The mattress cost me $35 from a local faith farm, while the materials came in around $200. I decided to hang under my backyard pergola. Fun and easy project.


Built from Plan(s)
Estimated Cost
$250
Estimated Time Investment
Day Project (6-9 Hours)
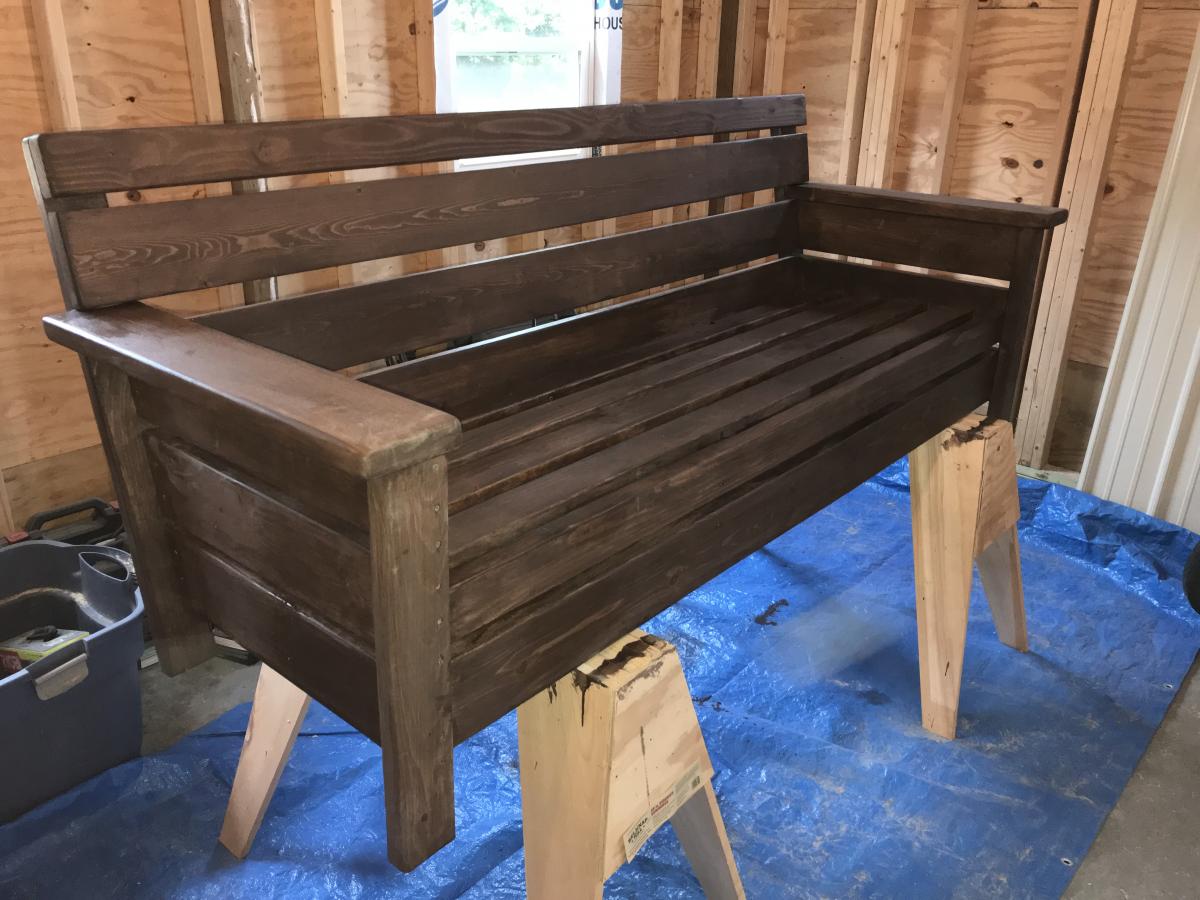
Finish Used
Cedar stain
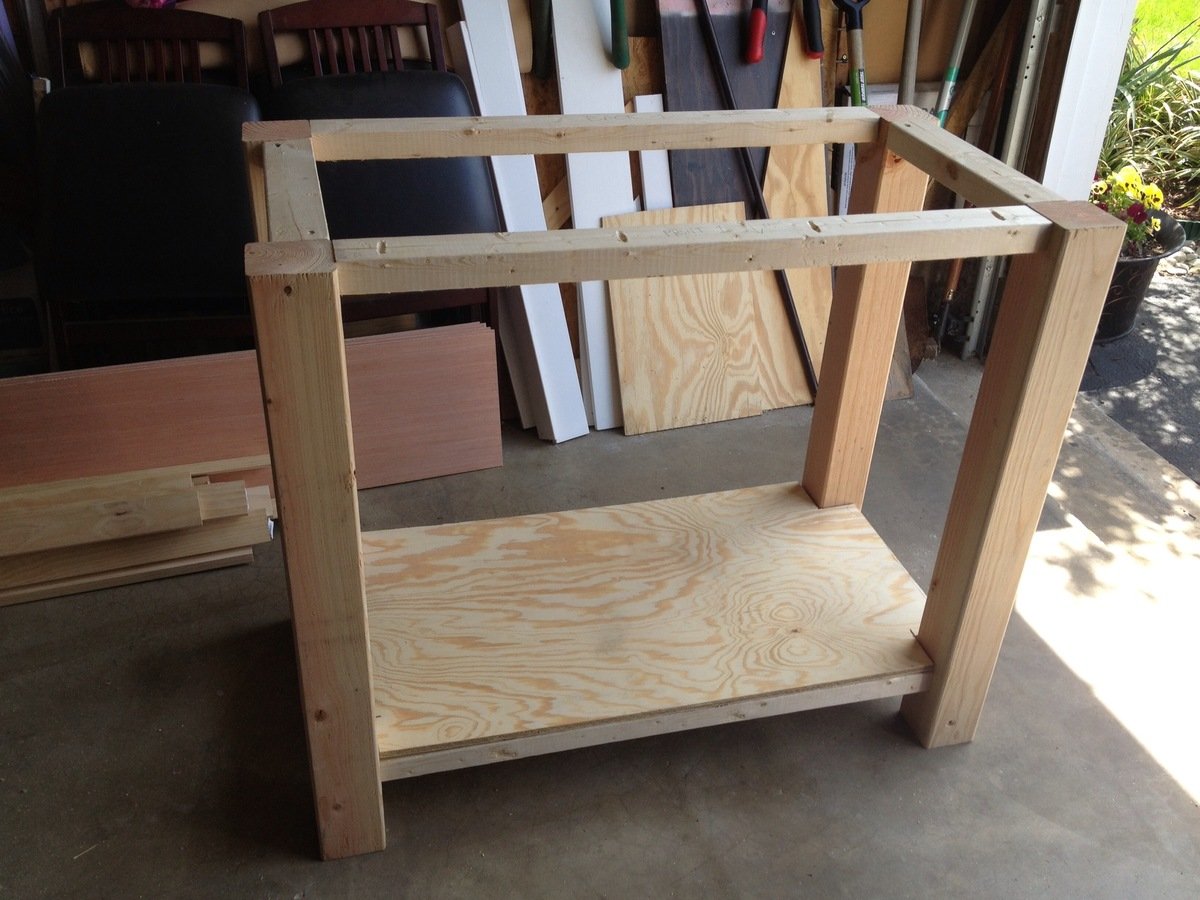
Recommended Skill Level
Beginner


Comments
bhammond
Tue, 01/28/2014 - 21:10
Porch swing
Wow this looks so inviting I might just have to make one too! Nice work-- it looks great!
Shorty
Tue, 01/28/2014 - 21:26
Gorgeous!
Really great job on your porch swing bed AND an awesome looking patio/yard. Looks amazing all around!
McGee and Me
Mon, 04/07/2014 - 22:49
So Inviting
Really lovely! Great job! This will be one of your favorites spots all summer long.
r_smith1968@ya…
Mon, 07/06/2015 - 07:12
porch swing
porch swing
Debbie Perkins
Mon, 07/27/2015 - 22:45
Swing bed
I want this! I just made a couple of plant stands for my front porch. My husband asked me what my next project was, why, a swing bed. (This was only my second project!) I want to put cup holders in those big ole arms! We have a house at the beach in South Alabama, so, you gotta "hydrate." This is an awesome swing. I can't wait to do mine...pillows to rest on, one foot on the concrete pushing me in a slow swing. Cold beverage in my hand or in my cup holder. Yep, southern girl has a new project. Love it!
heathert
Mon, 04/20/2020 - 10:08
Gorgeous!
Love! And where did you get the lantern?