New Garden Tool Hanger
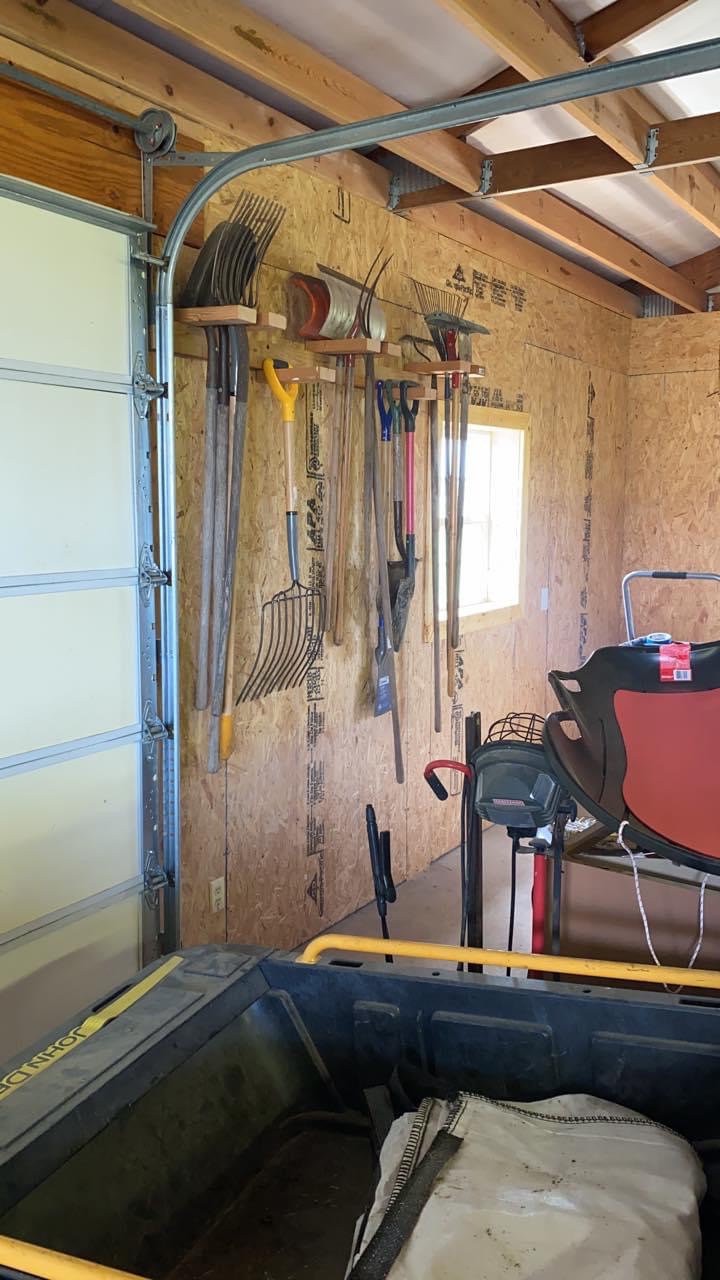
Had all my tools leaning up in the corner of my shed until I saw your post. Thanks
Built from Plan(s)
Had all my tools leaning up in the corner of my shed until I saw your post. Thanks
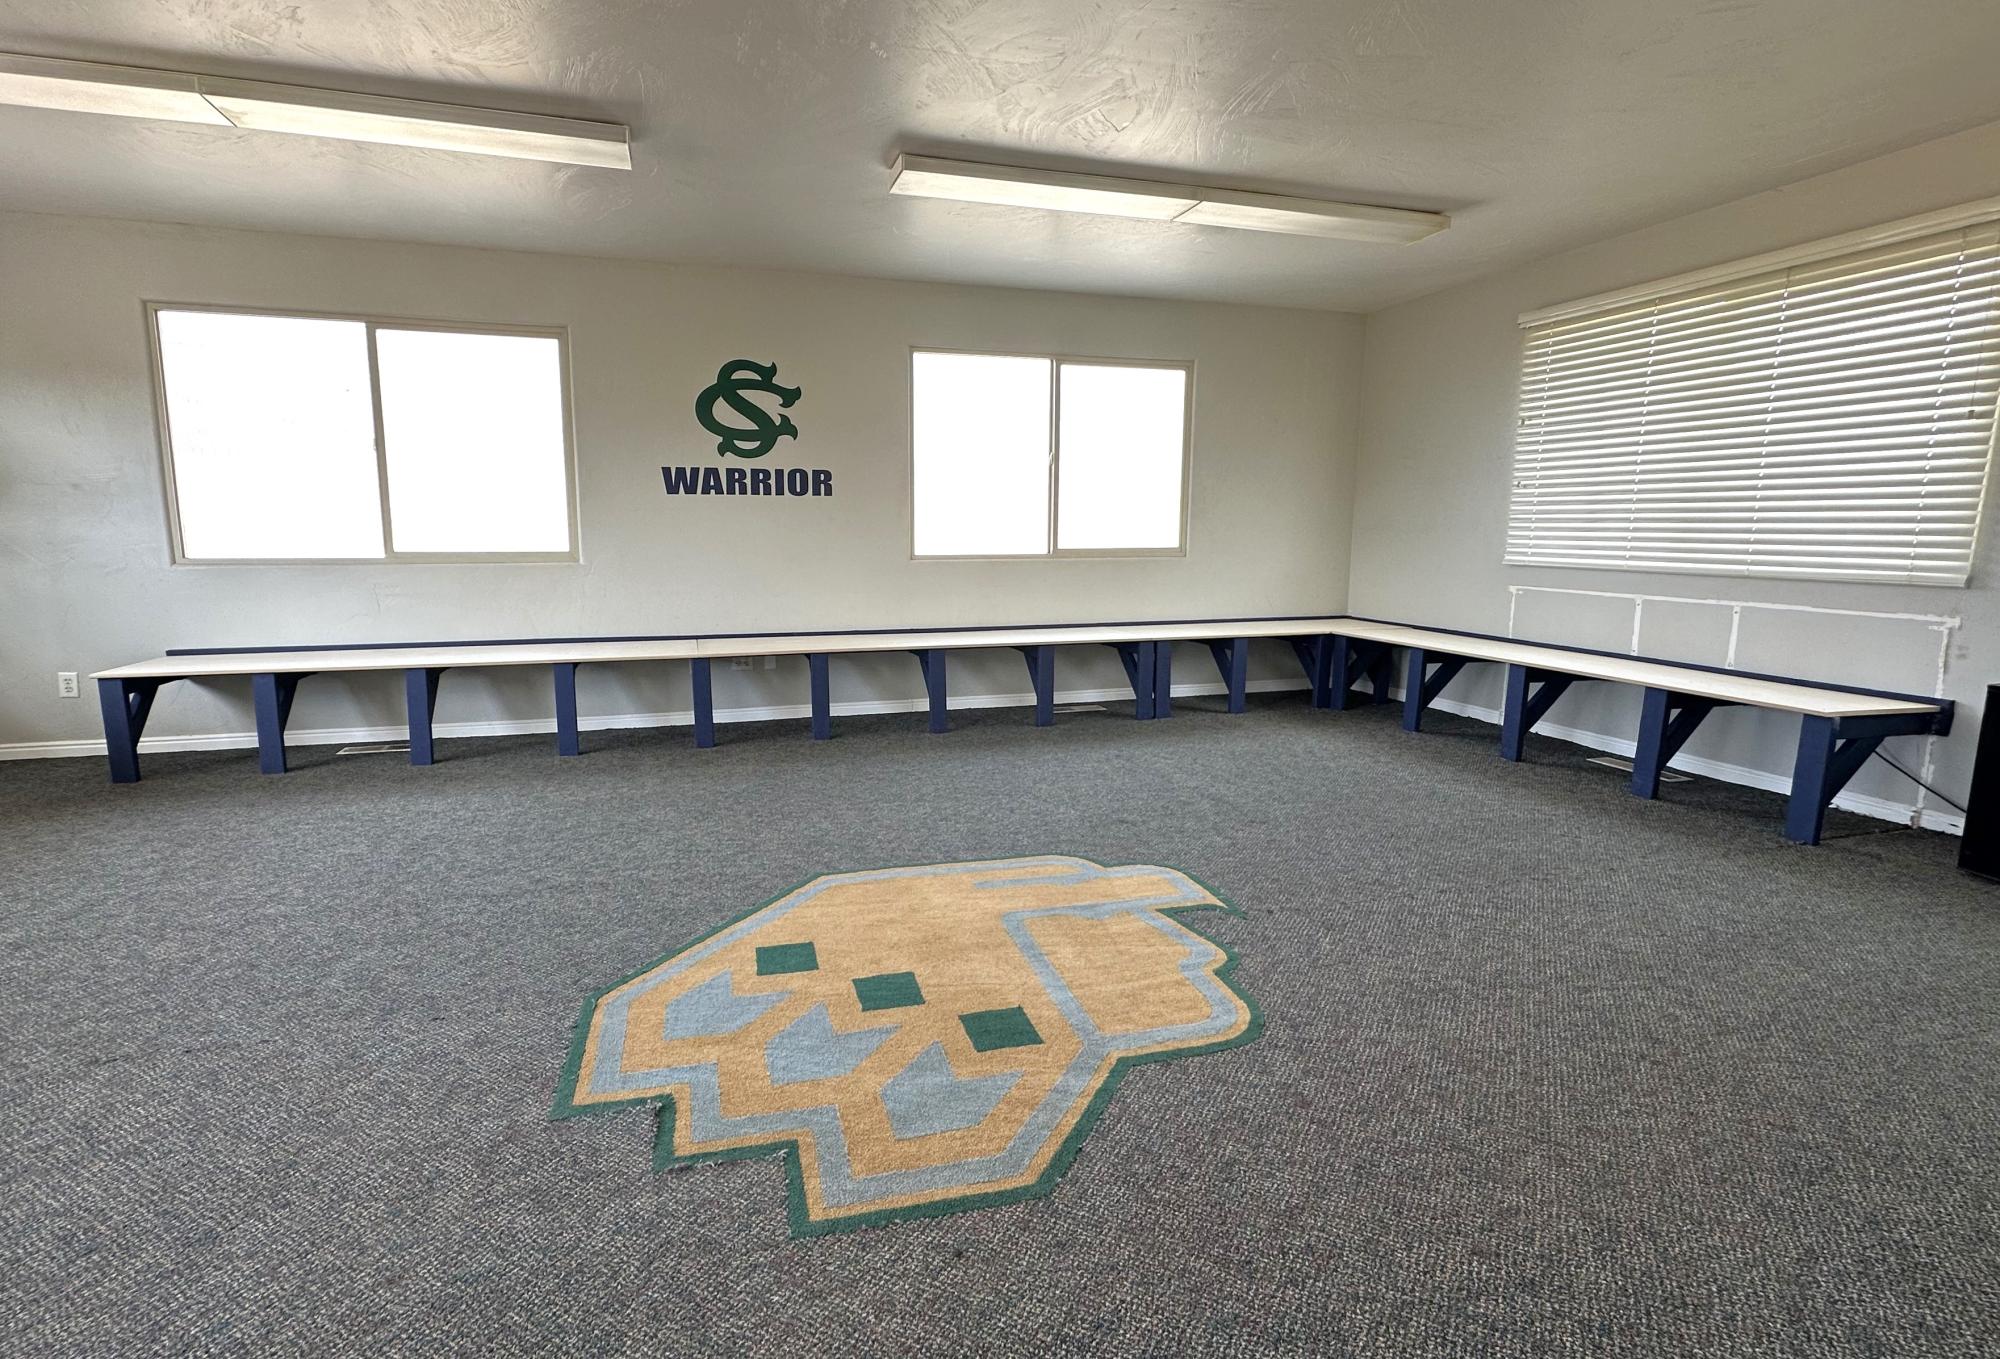
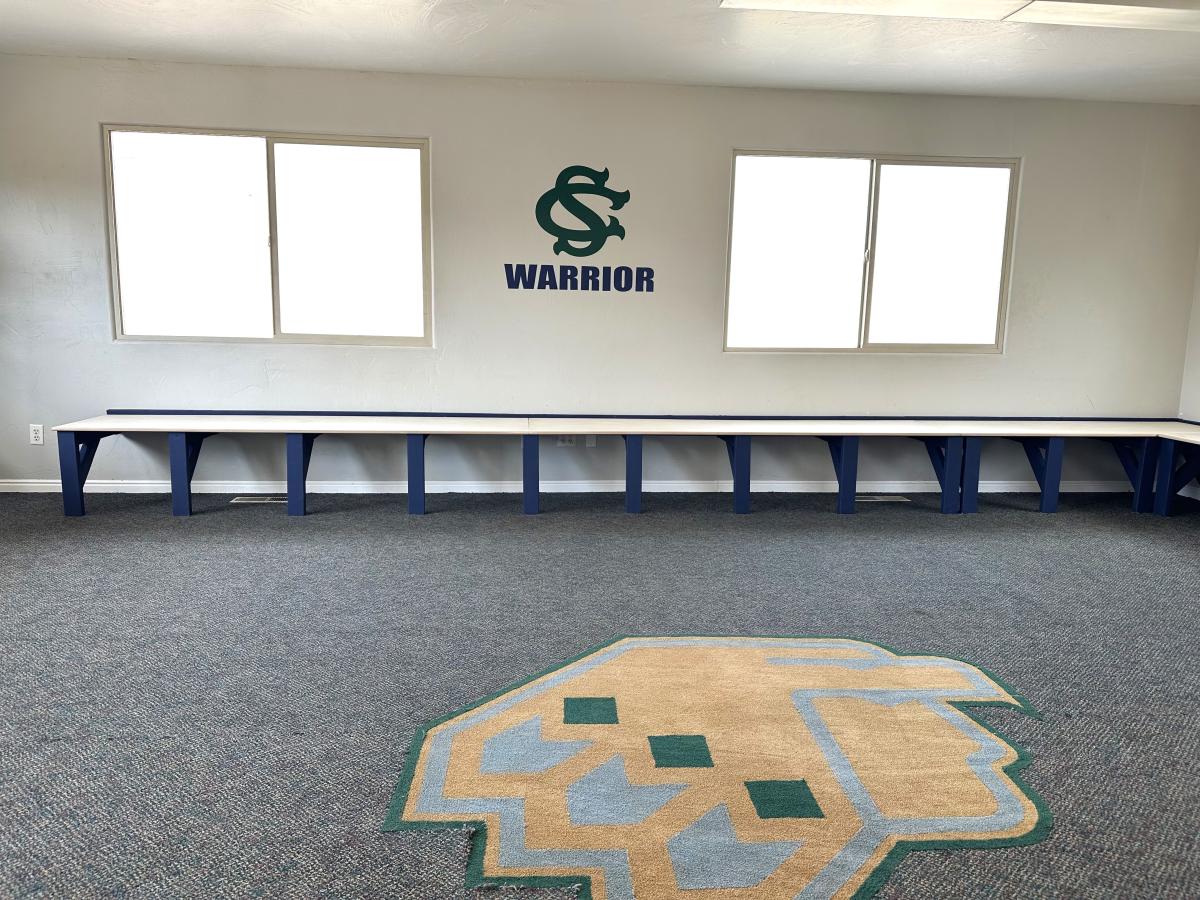
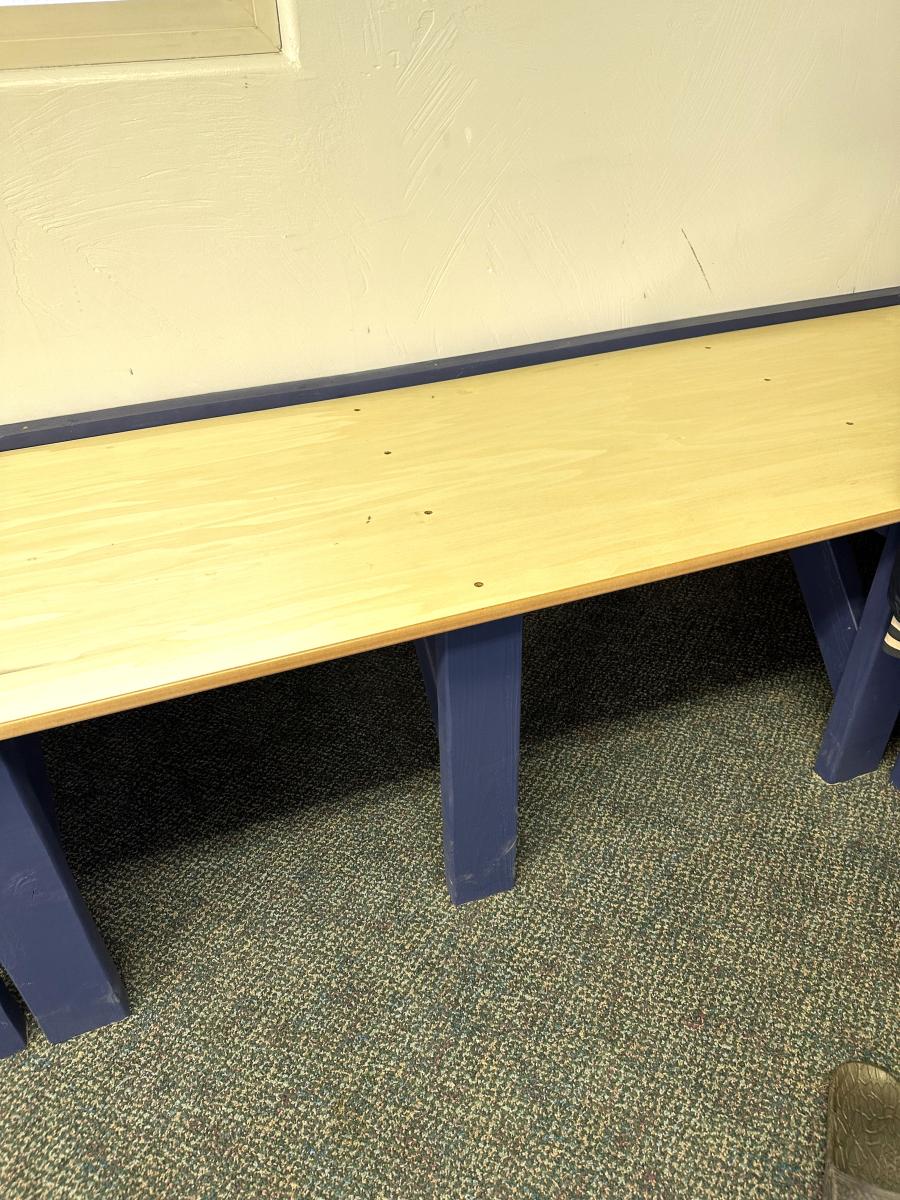
I was asked to build a bench for our high school softball team room and used these plans to build the support. I was planning on building it exactly as it was in the plans, but a kind soul donated some poplar plywood mdf for the top, making it a smoother and more polished finish. I added some accent trim along the wall. Finished it off with school color (navy blue) on the legs and a clear satin lacquer finish on the bench. Love how it turned out!

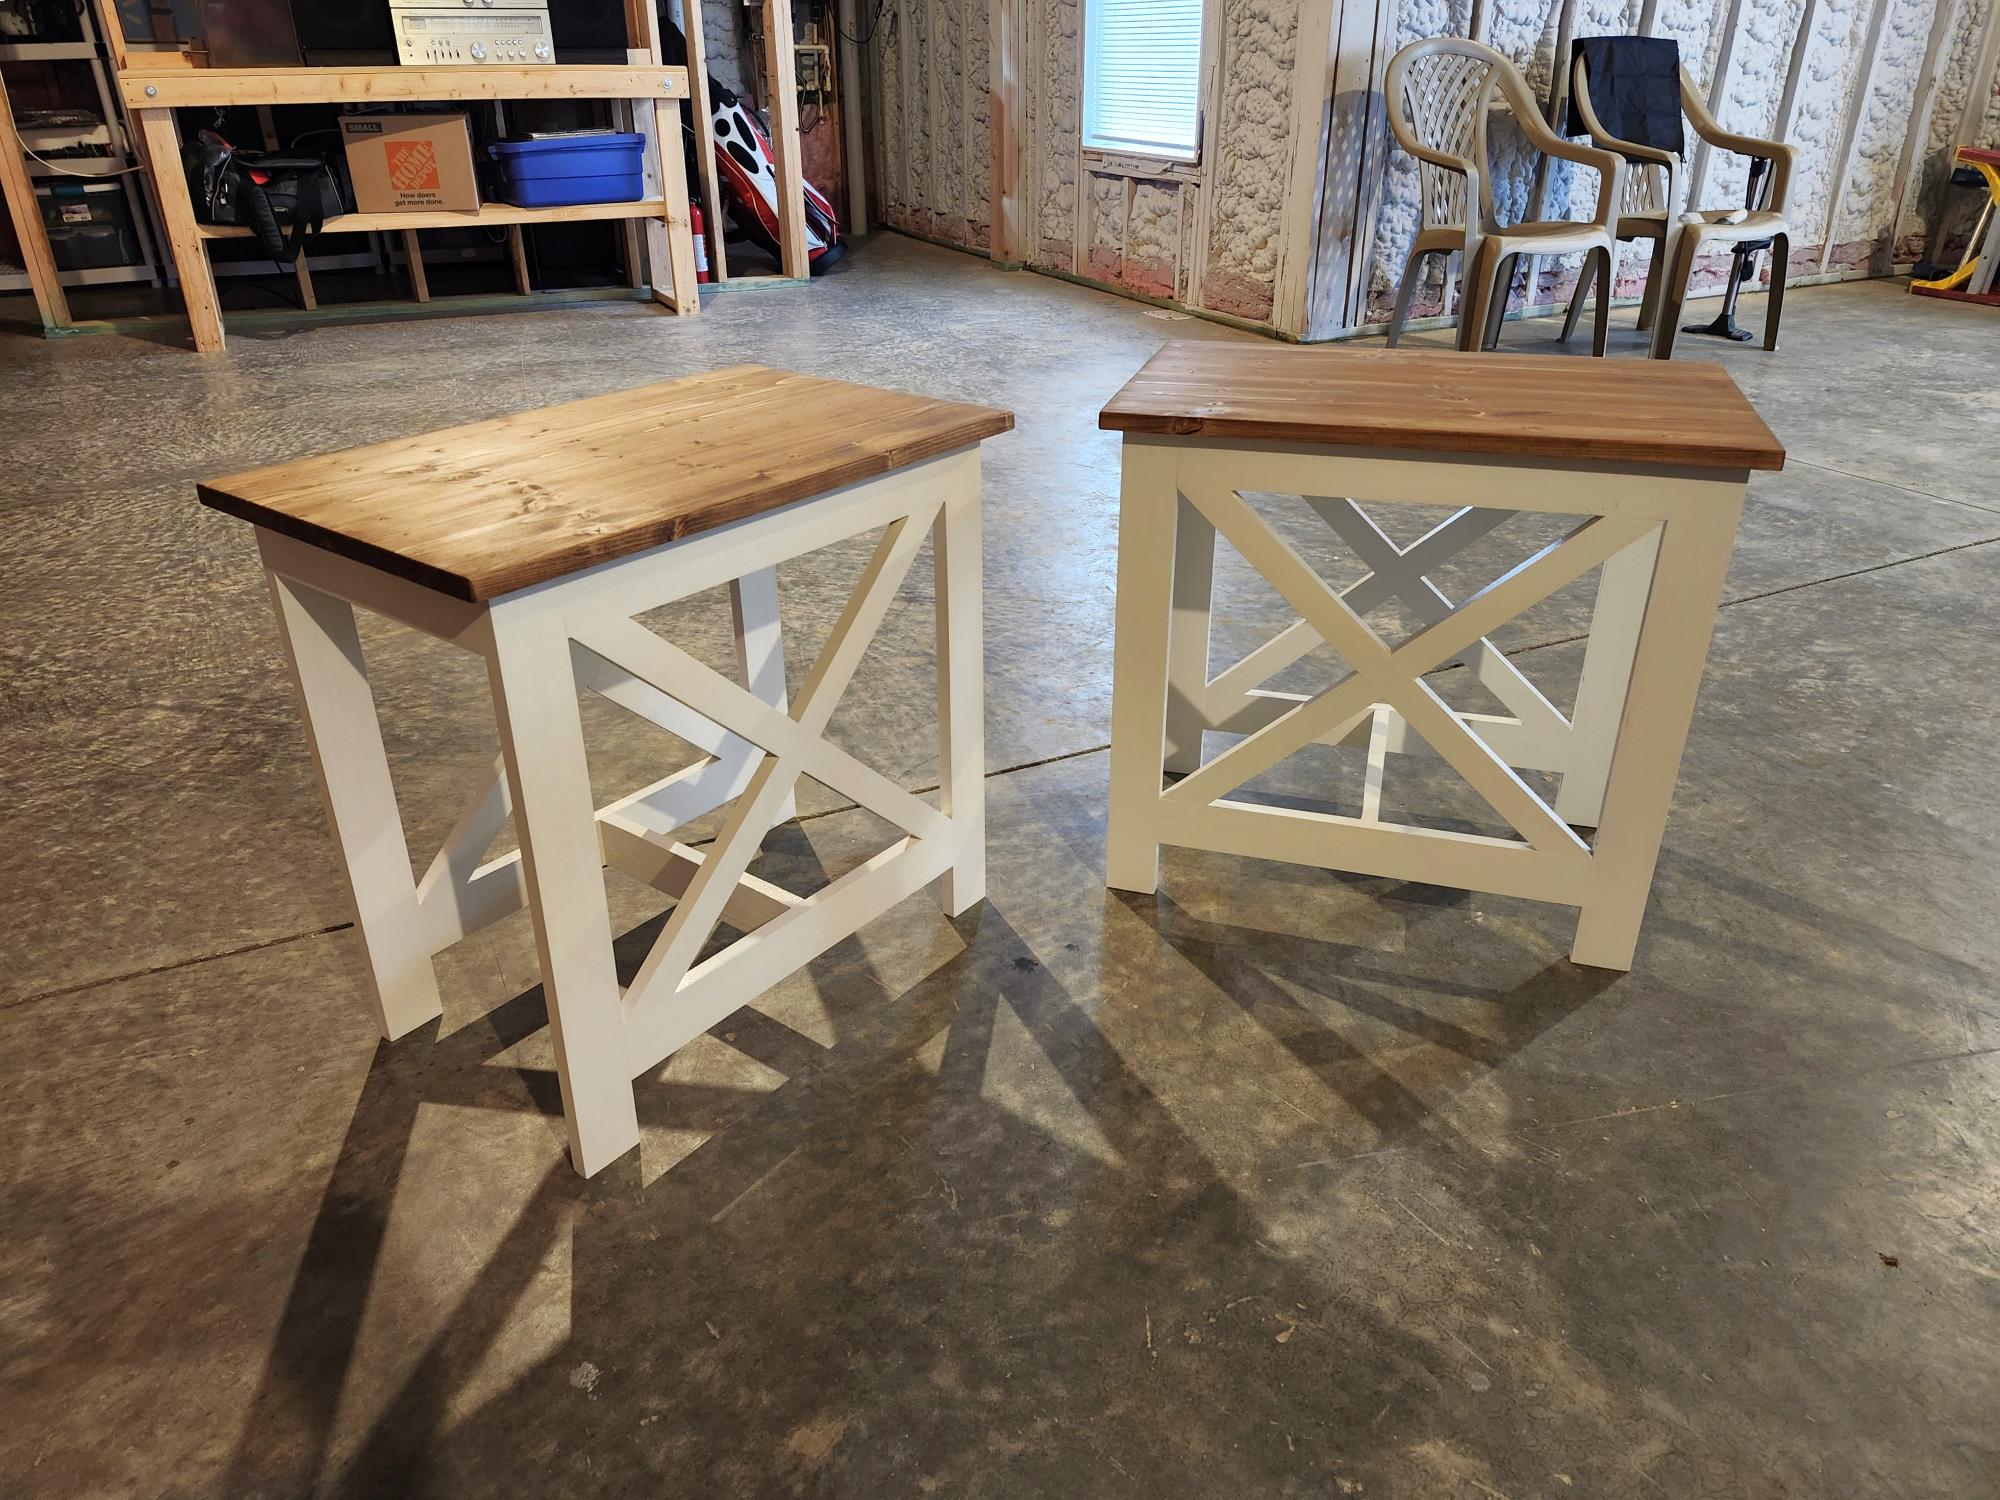
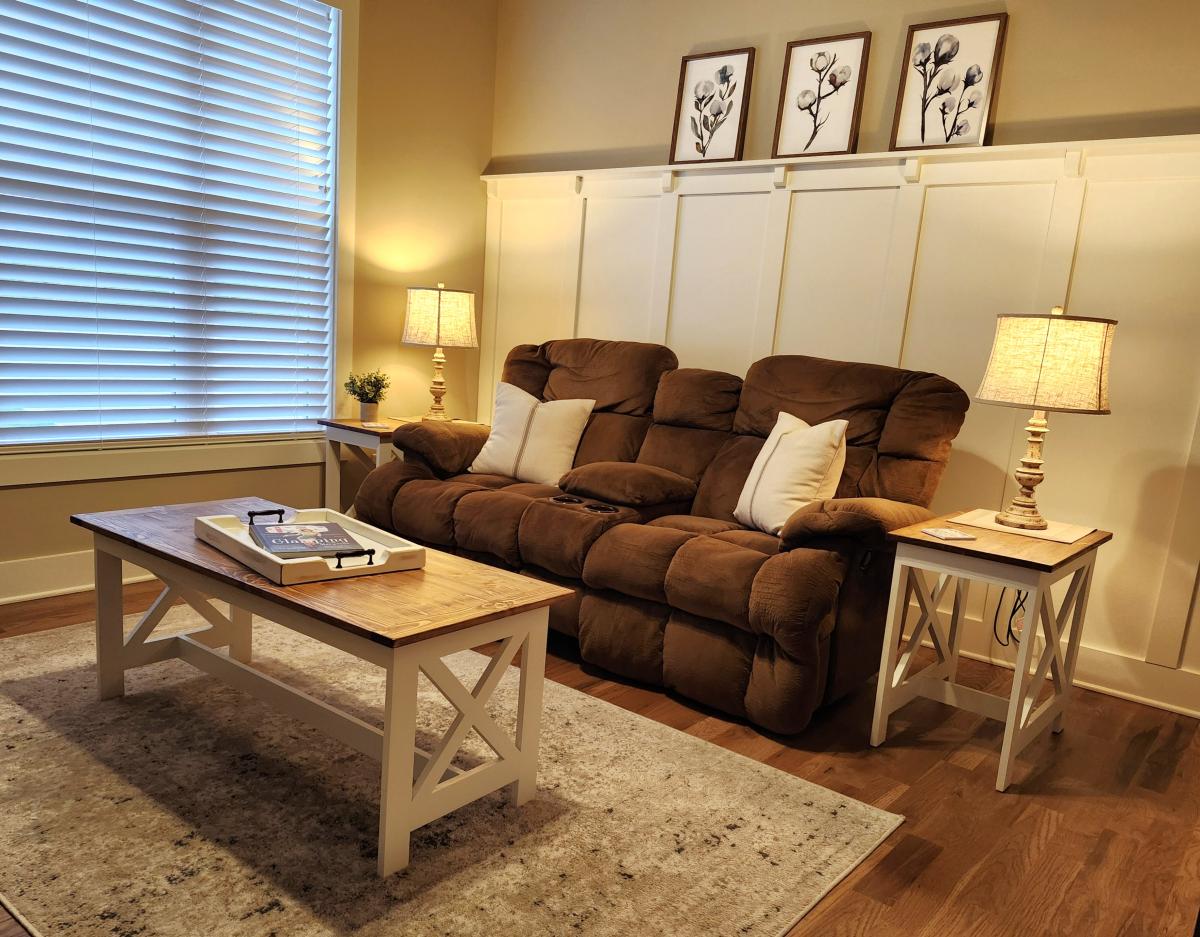
Part of the Benchright collection. This was easy to make and it turned out so much prettier than I imagined. I love it!
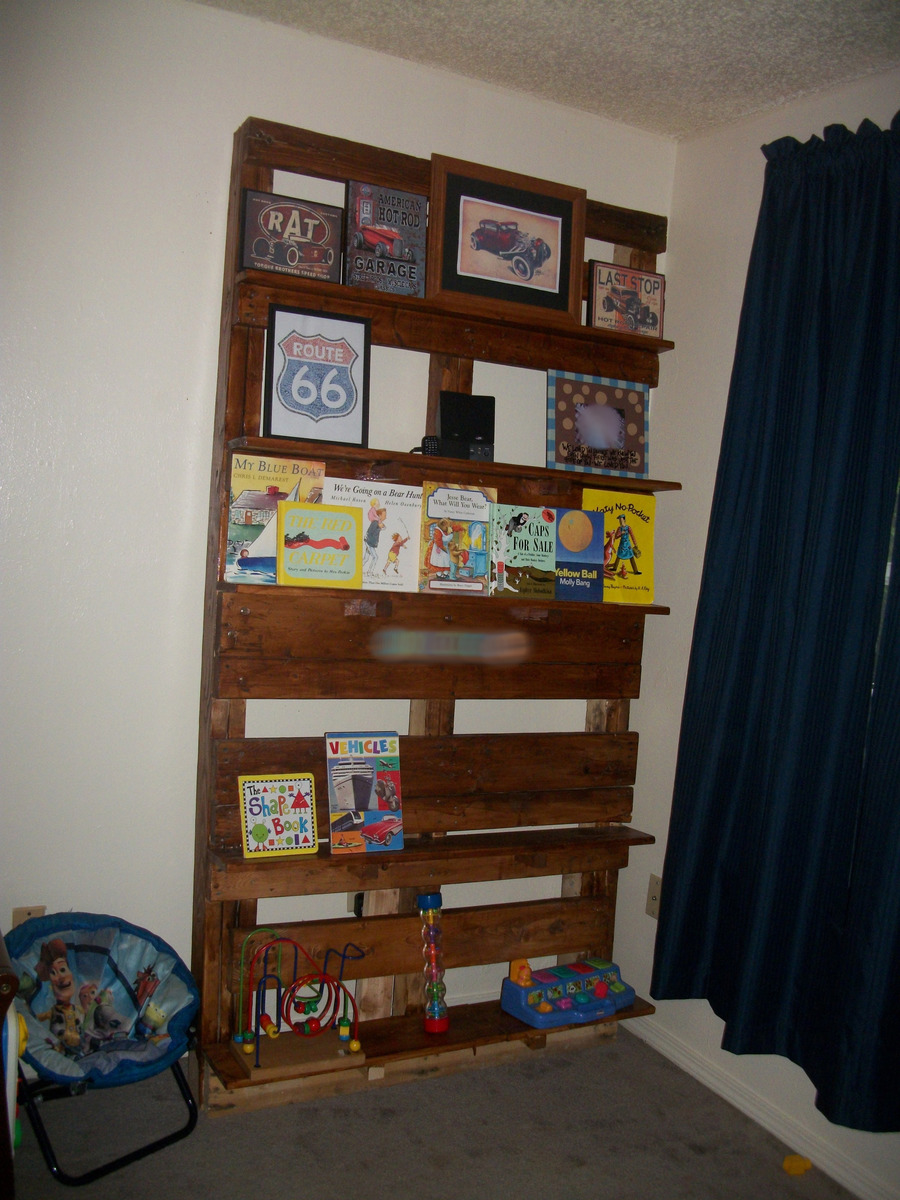
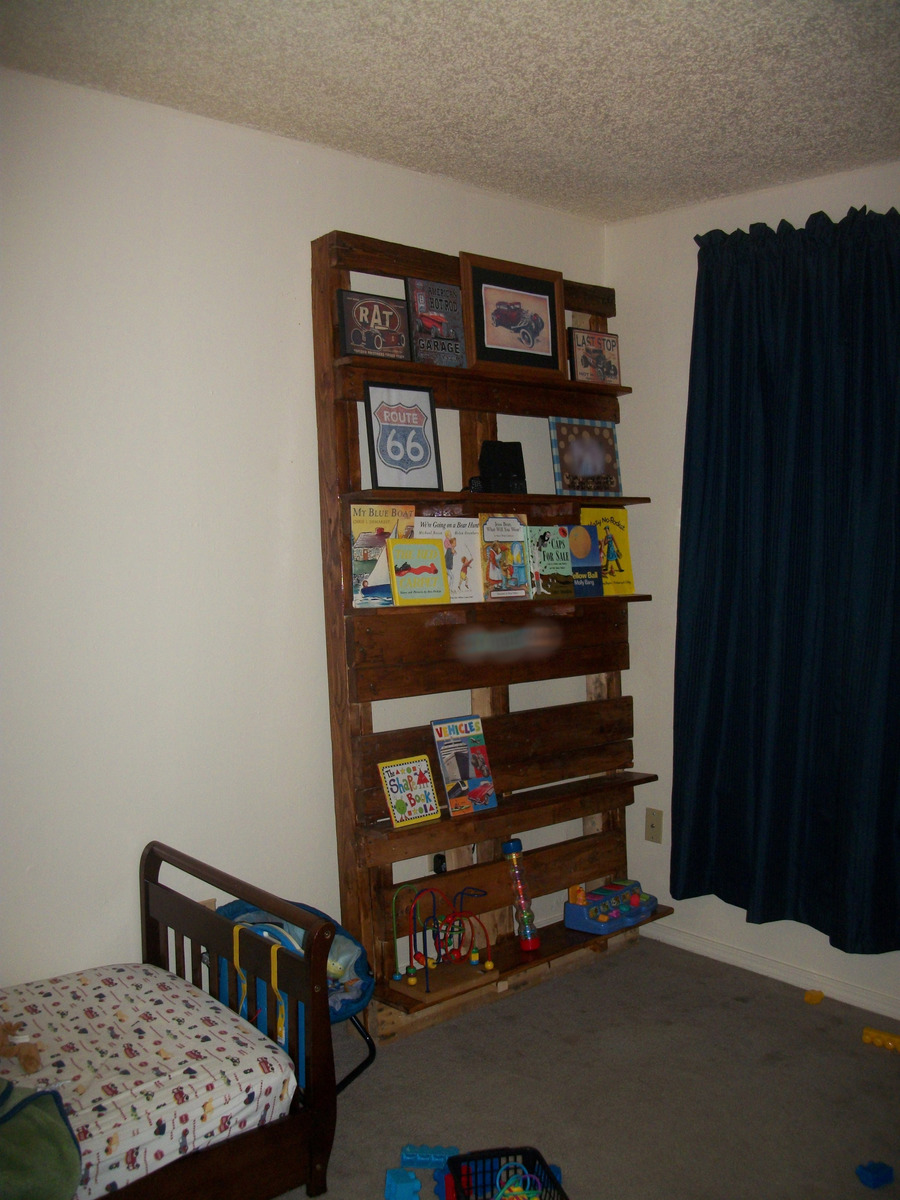
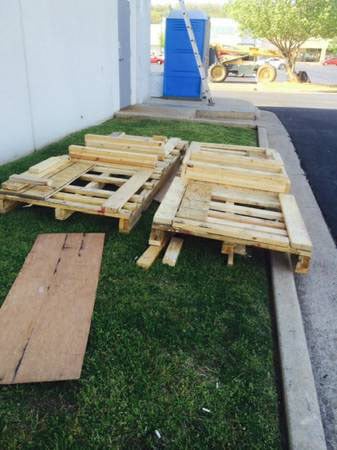
I found an ad in the Craig's List free section advertising two pallets on a first come, first serve basis behind the new pizza place near our apartment. I talked my dh into going a checking it out and there was one left when we got there. These pallets were HUGE! Nine feet long! It hung a good 3 feet over the end of the tailgate on my husband's truck! The manager of the pizza place wandered out while we were loading up and told us that their new pizza ovens had been delivered on the pallets. Cool story to tell our son about his bookshelves!
We got the pallet home after a quick stop at Lowe's for a crow bar. Dh taught me how to use a crow bar to remove the excess wood used to stablize the pizza oven on the pallet during shipment. I also learned that they use an insane amount of nails to put these things together! After pulling off about 40 pounds of useless scrap wood (literally, 40 pounds, these suckers were HEAVY!) I used some of our own scrap boards from other projects to make the shelves. We live in an apartment complex. People wandering by all day asked what I was doing. Even dh didn't understand exactly what I was trying to do but he went along with it and helped when I needed extra hands.
After getting it all put together, I used some left over poly-and-stain-in-one that we had left over. I got most of it stained with that but then I ran out. I haven't gotten around yet to getting some more. That will be the only cost associated with this project, the rest was free. Oh and the letters used for my son's name on the shelves. I blurred it out in the picture but I used dollar store vinyl letters to put his name on the shelf.
We anchored the shelf to the wall, it's stable and sturdy but I never doubt the ingenuity of a small child and even with the 40 pounds of wood we removed from this sucker, it is still H-E-A-V-Y!!!! Since it's going in a toddler's room I figured better safe than sorry. I went to Lowe's and asked for earthquake straps and I was told that we don't get earthquakes around here so they don't carry them.... I had to explain to her that earthquake straps also keep small children from toppling heavy furniture and she said they might have something in the childproofing area. They did have furniture straps as they called them in the childproofing area. Note to self: we no longer live in an earthquake prone area, people look at you like you've lost your mind if you want to strap your furniture down in case of earthquakes or curious small children.

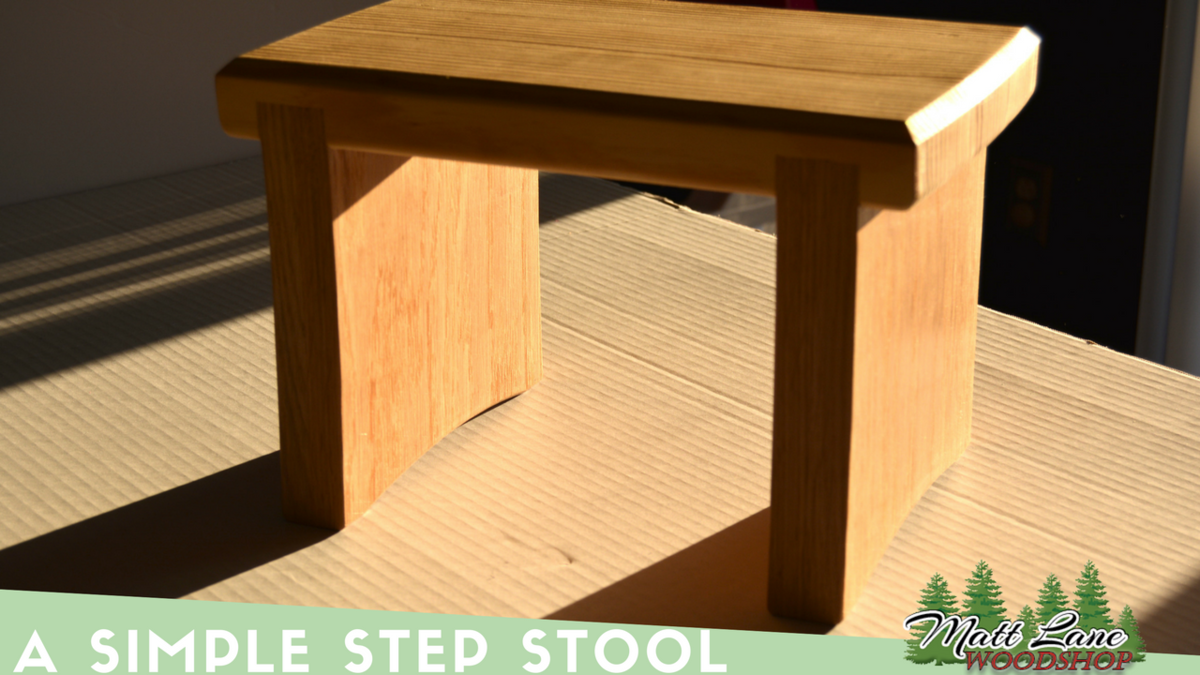
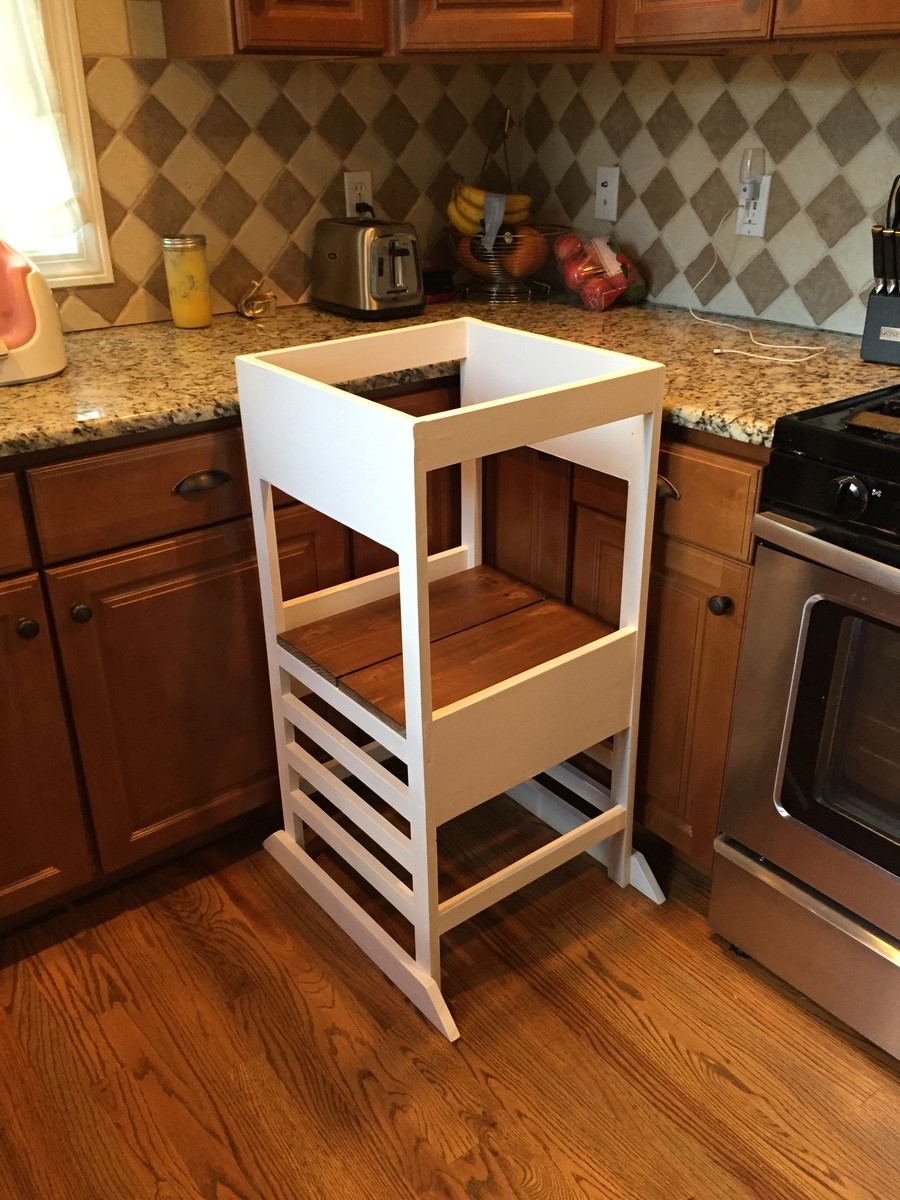
This is a simple wooden step stool I built for my daughter using some wood I had around the house. I wanted to build a small stool that was easy for her to carry around and access items that she needed.
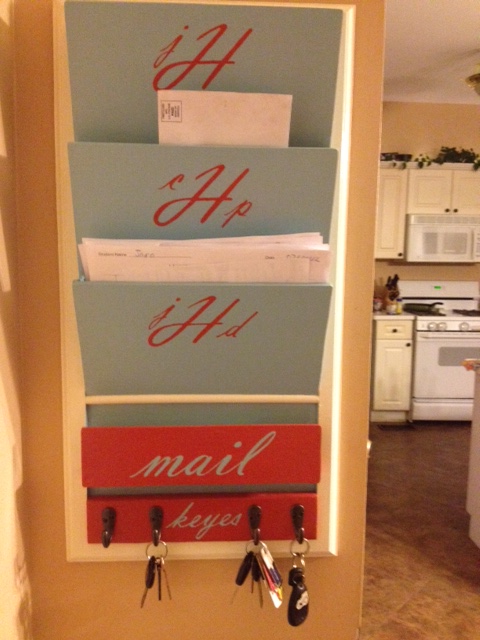
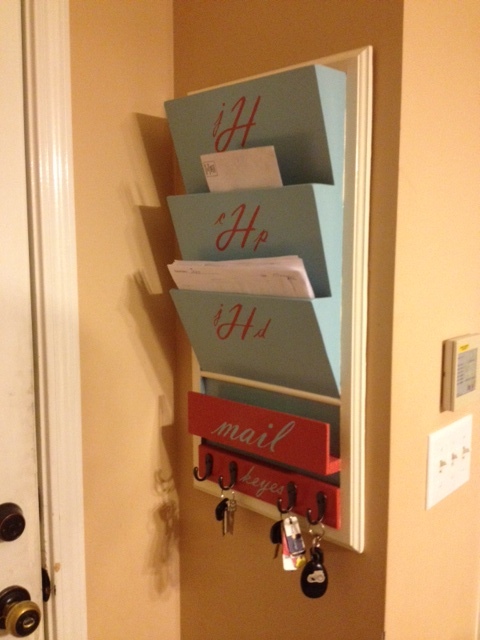
I loved the post from Lady Goats on the PB inspired daily system and the modifications from debandtom25!
I knew this was an answer to clean up our counter, before items even make it to the counter this is right at the door when you walk in our house!
I didn't use a picture frame but used plywood with molding of my choice for the "frame." I selected paint at Home Depot and just purchased the sample paint in three different colors. The wording was done on a computer and used as a stencil (cut the letters into contact paper, stuck contact paper on and painted).
This project was inspired by the post I found on Ana-White.com however I changed some of the dimensions and cut list to make it my own. I built one of these for my Mother and her and her friends keep talking about it to this day.

Thu, 06/05/2014 - 08:02
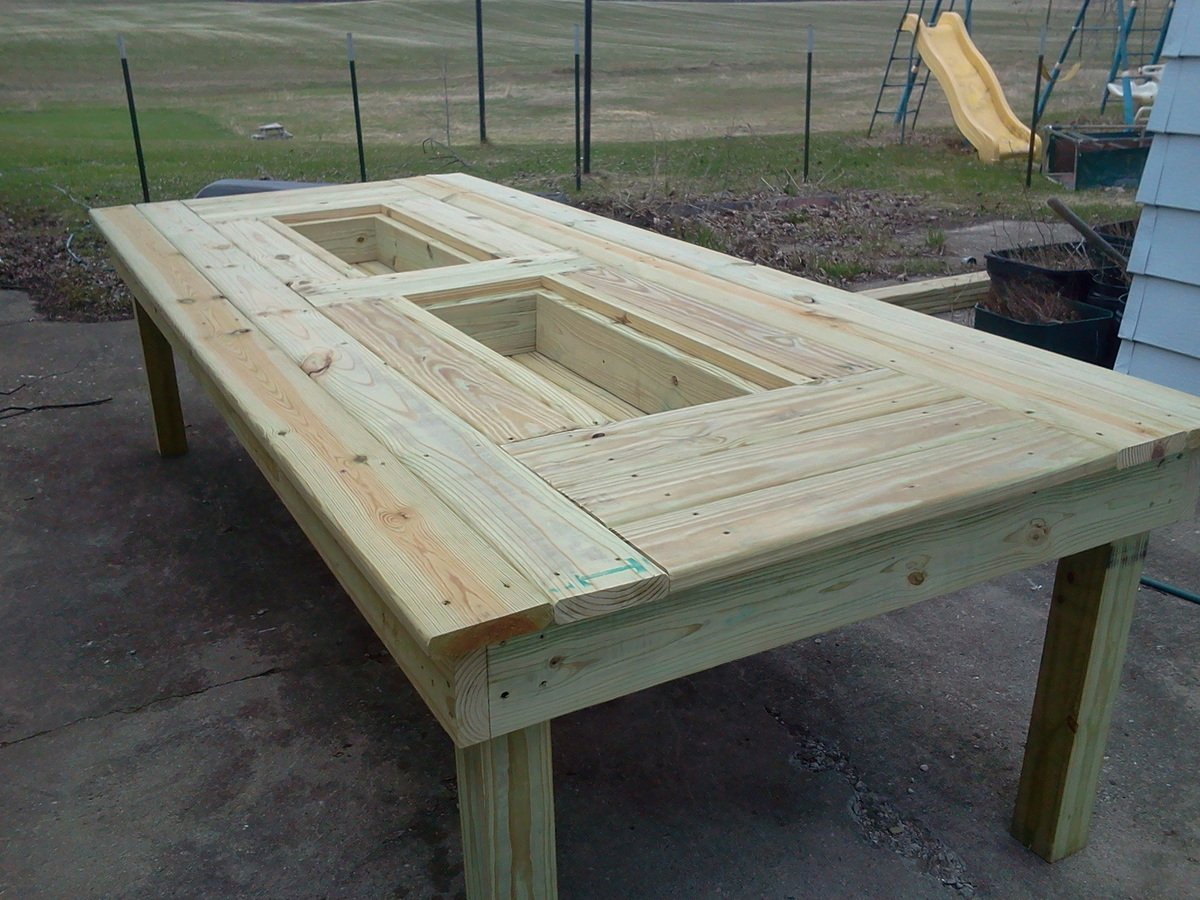
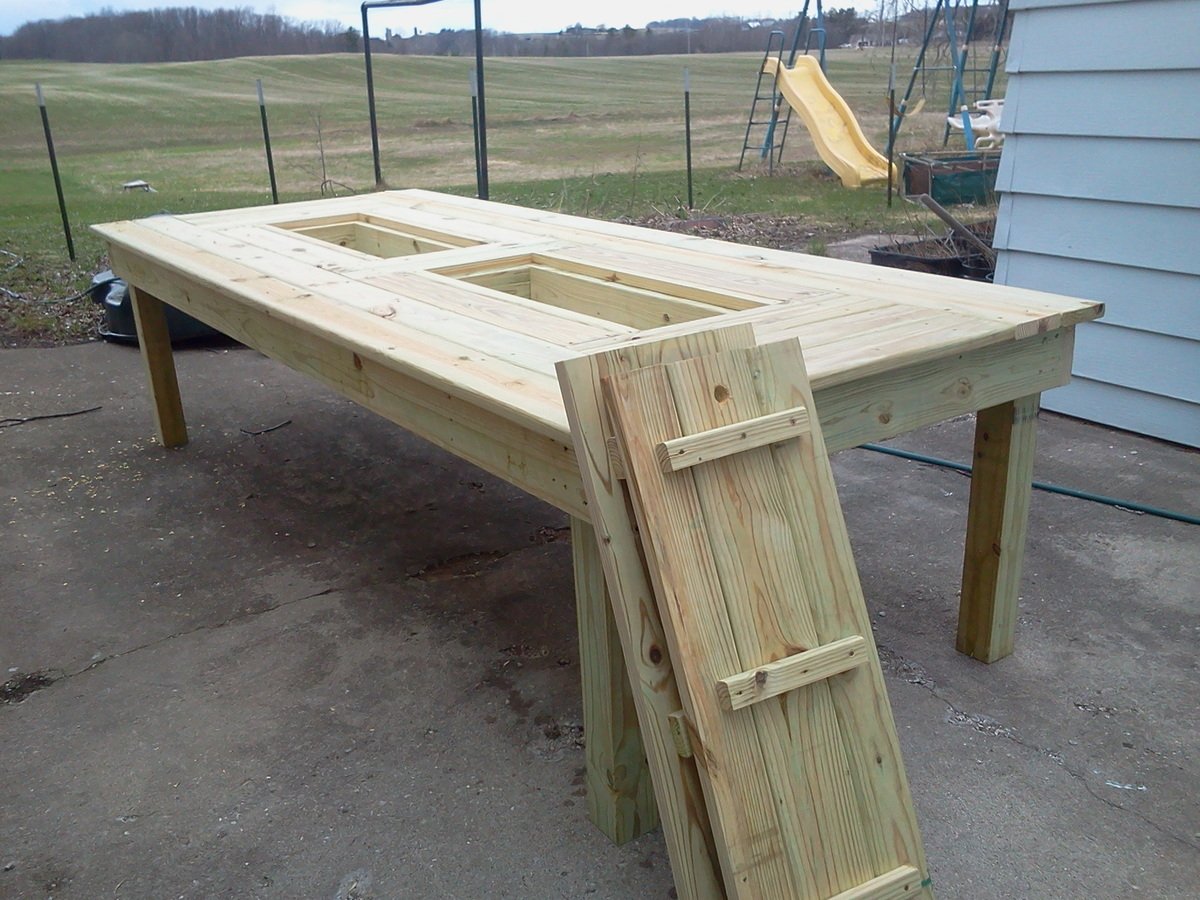
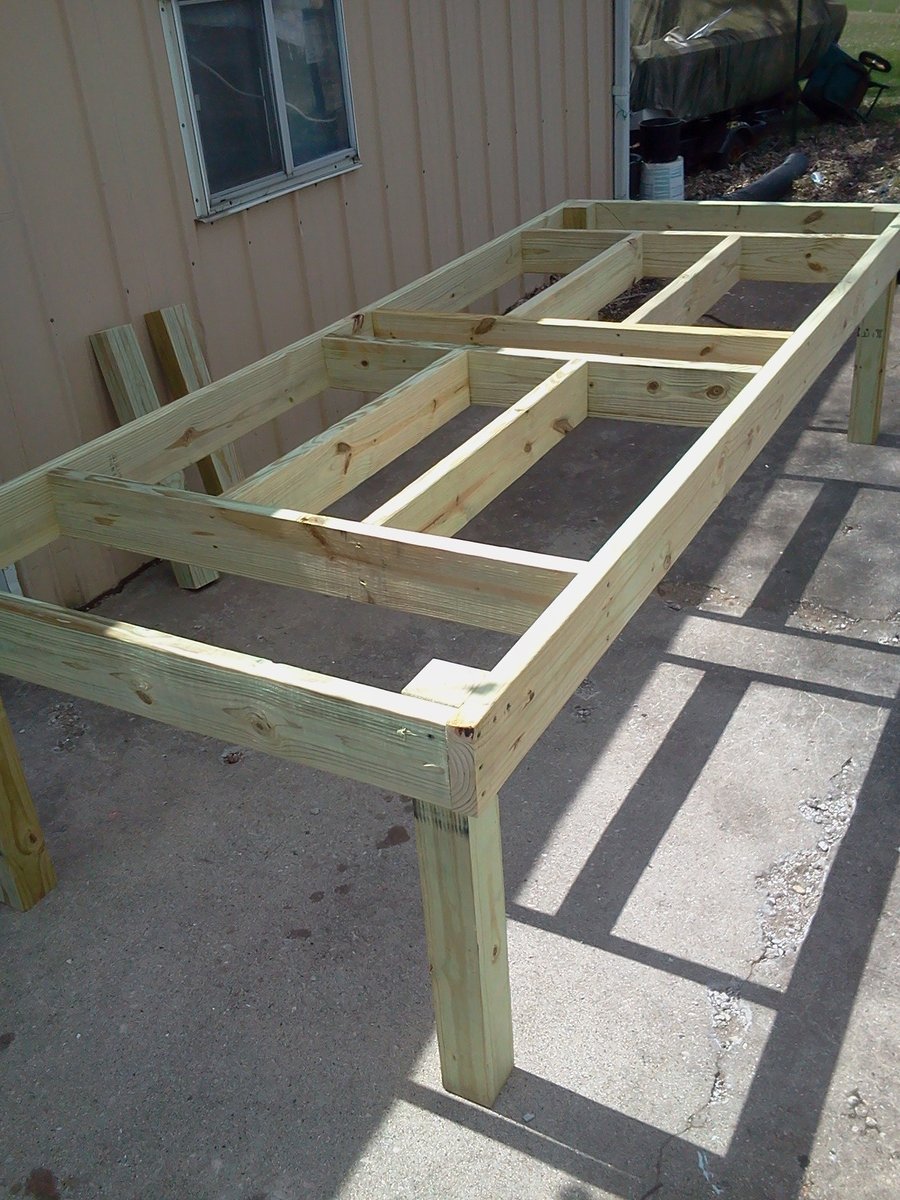
Aren't you concerned about eating/drinking on a pressure treated surface?
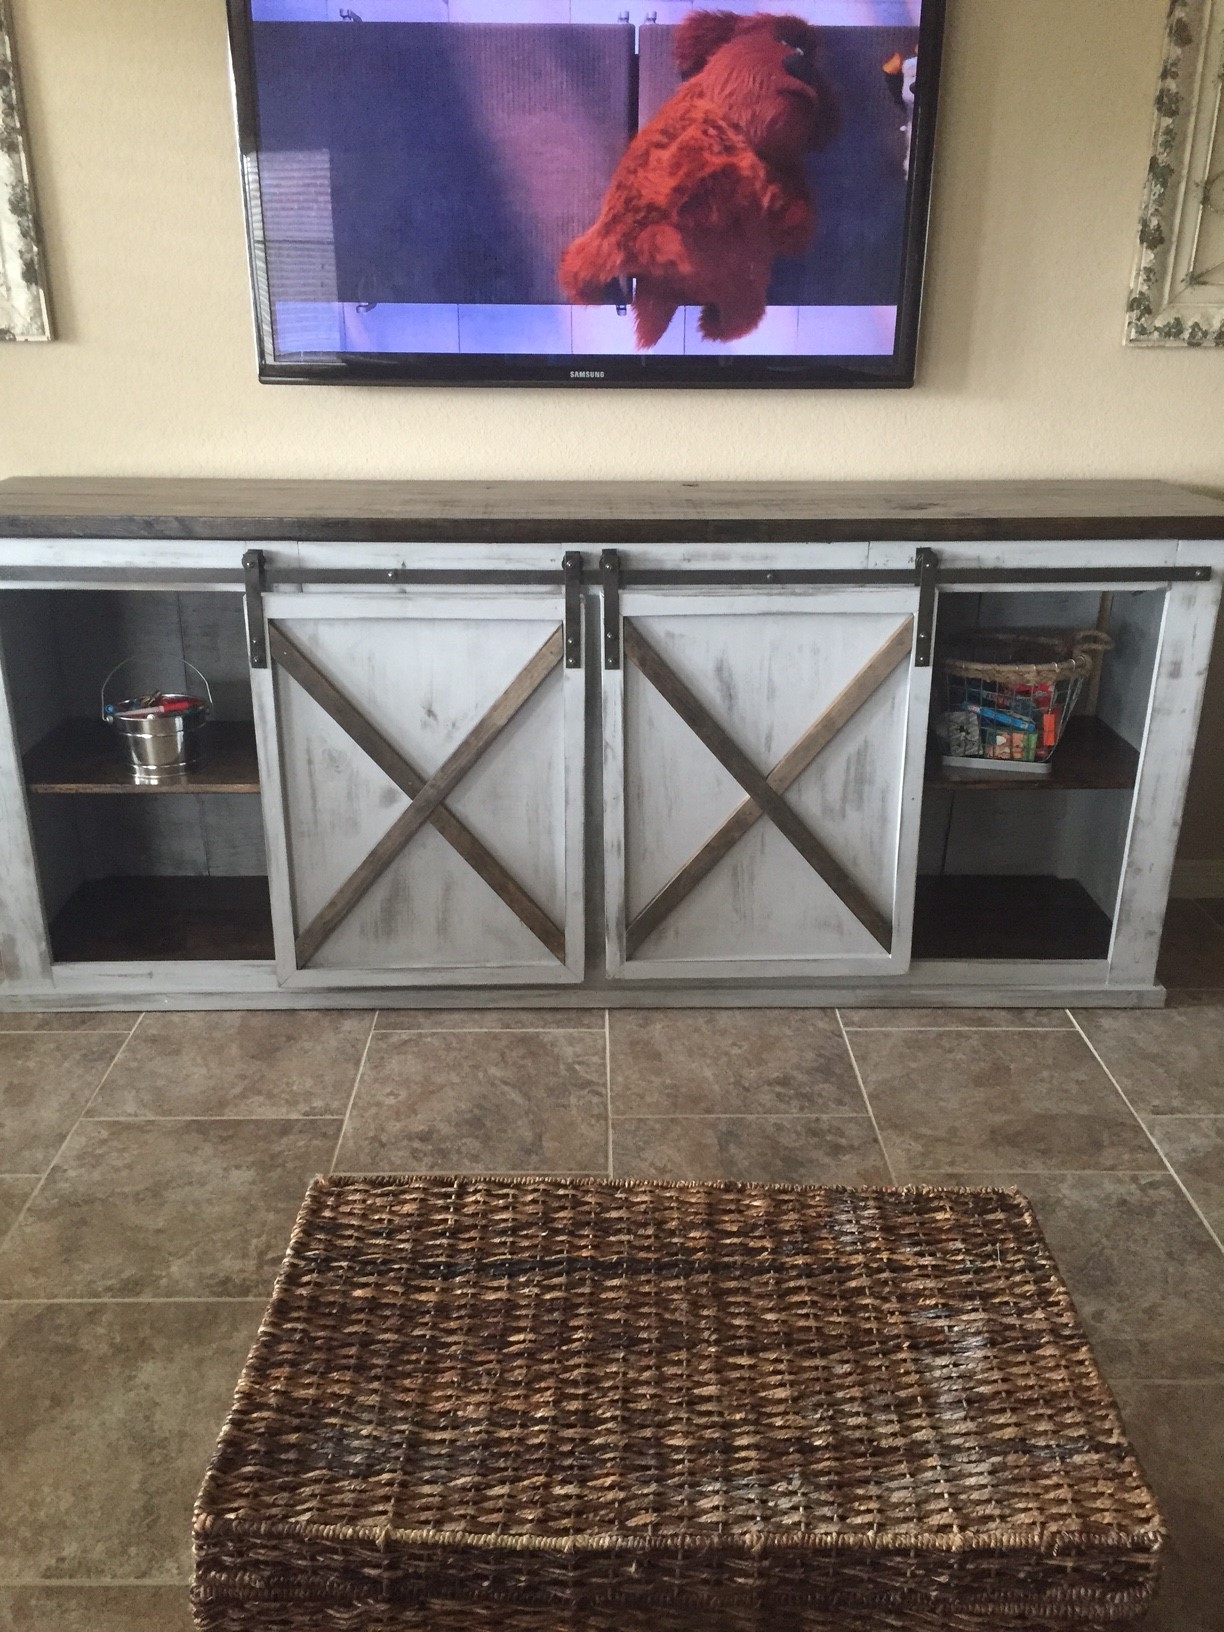
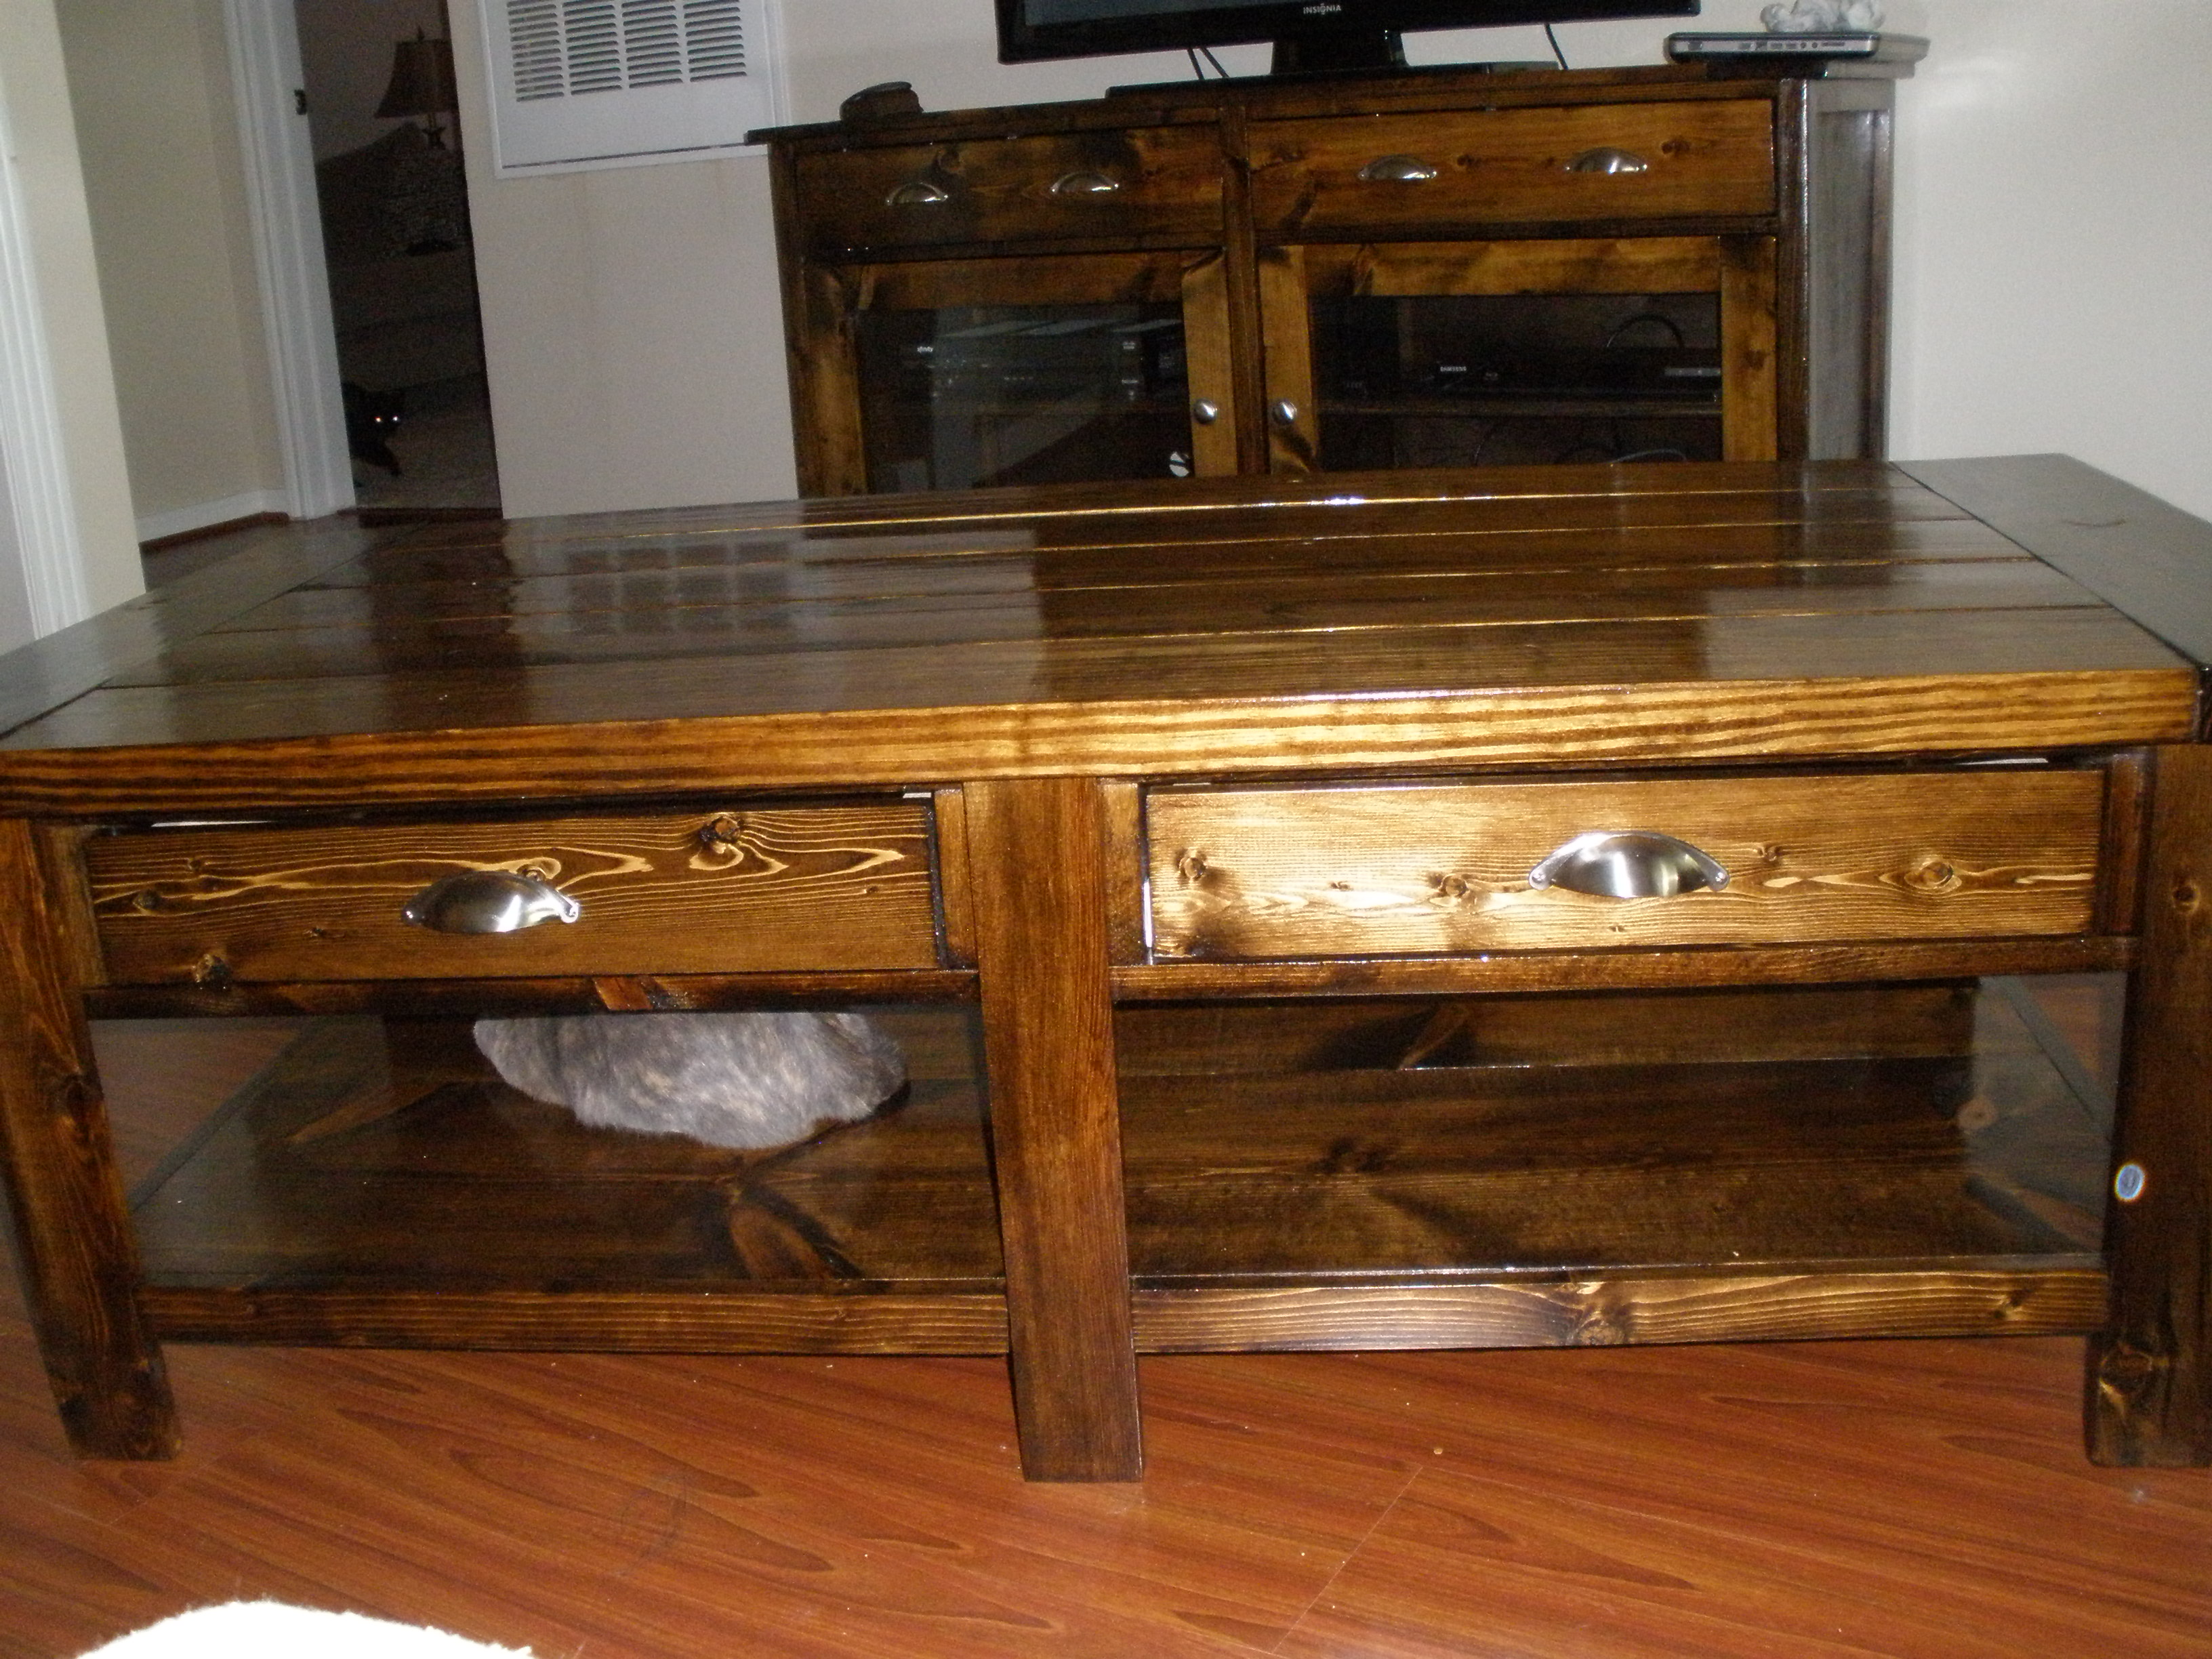
Our own mix for the sliding door console. Stained the entire unit with Jacobean stain, then light grey chalk paint. Distressed with 150/220 grit and waxed. Top and shelves are Jacobean with 4 coats of satin polyurethane. Absolutely love how this came out. Roughly $300 spend at home depot on all supplies. Wife and I finished in about 17 hours this weekend.
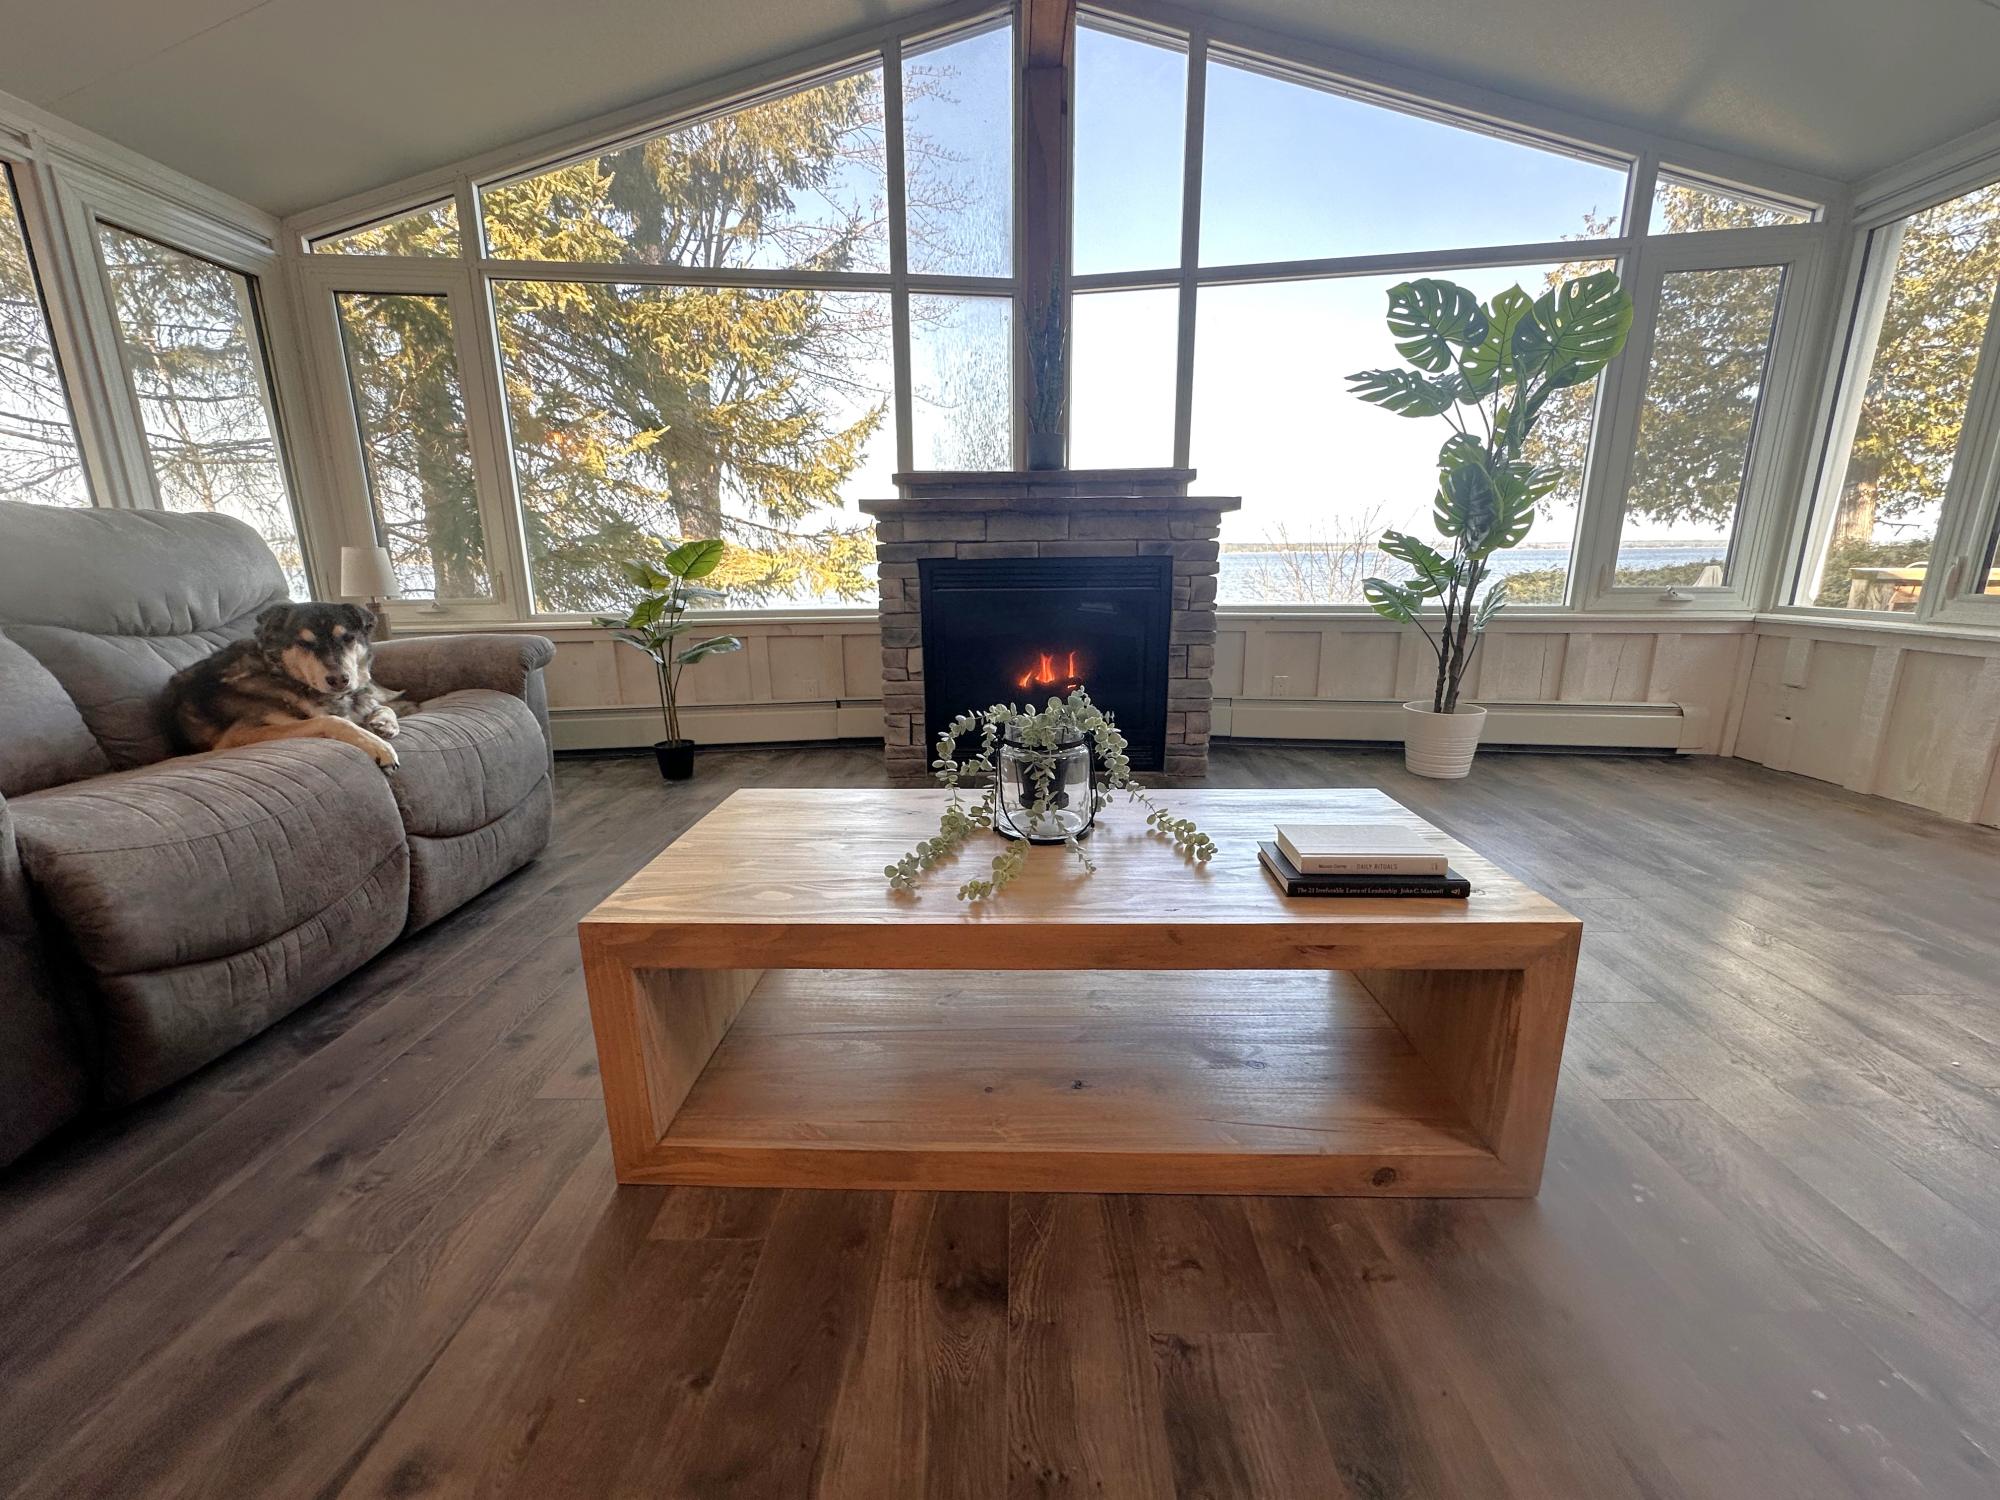
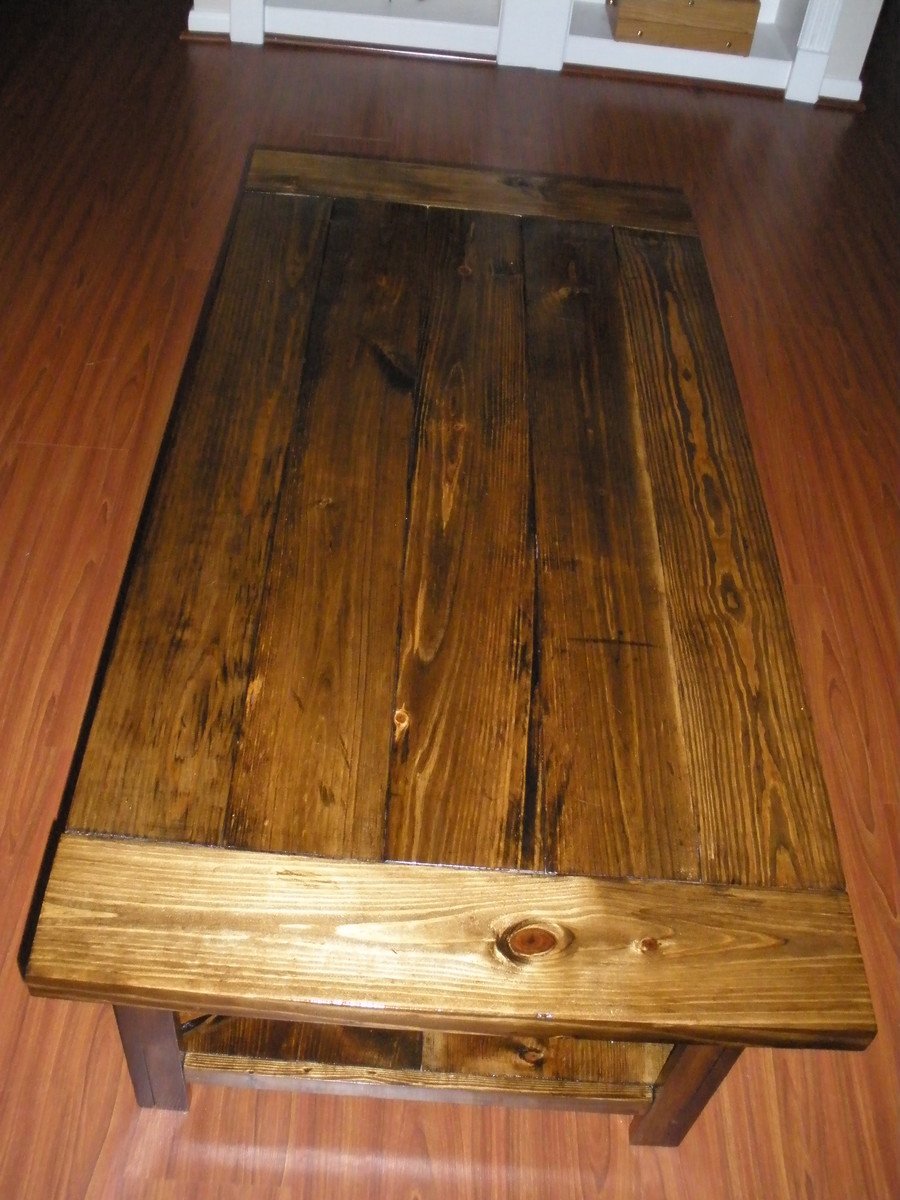
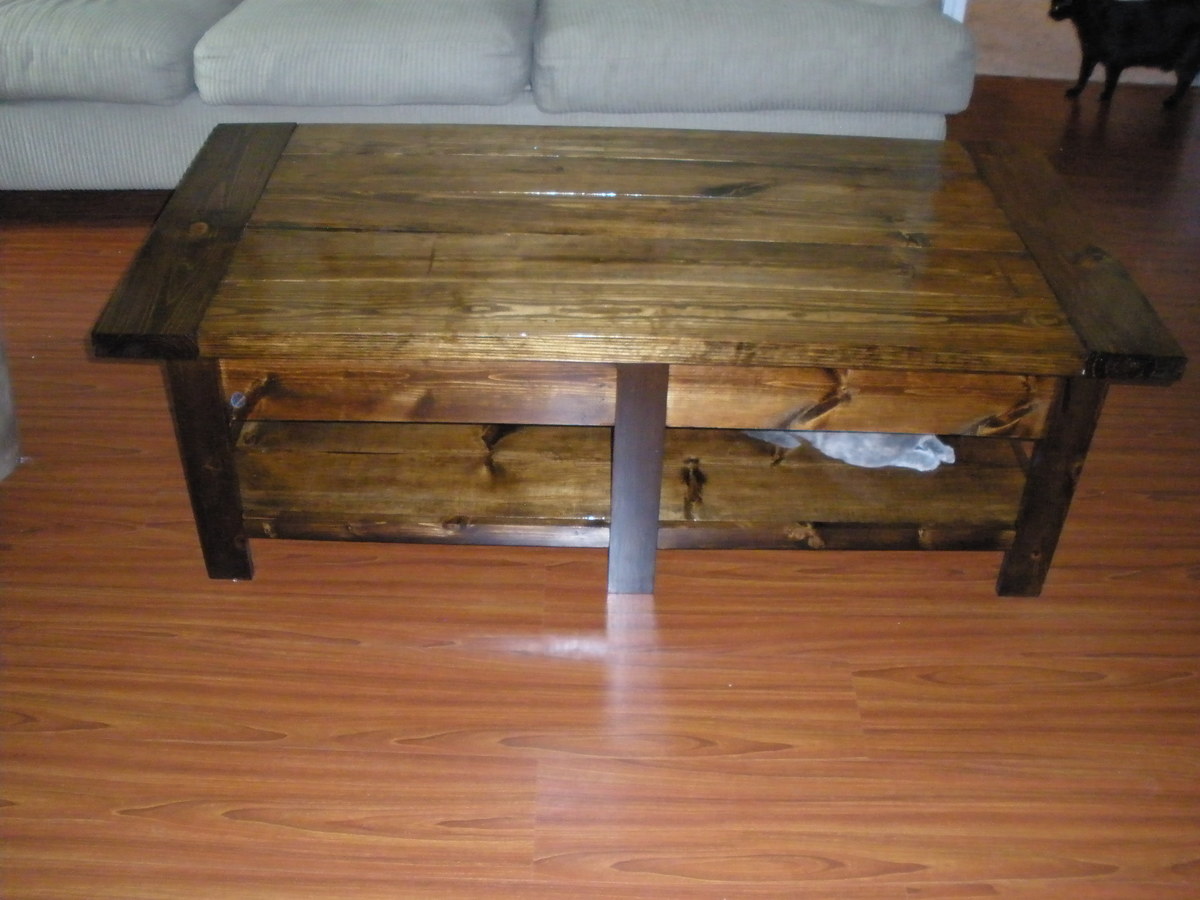
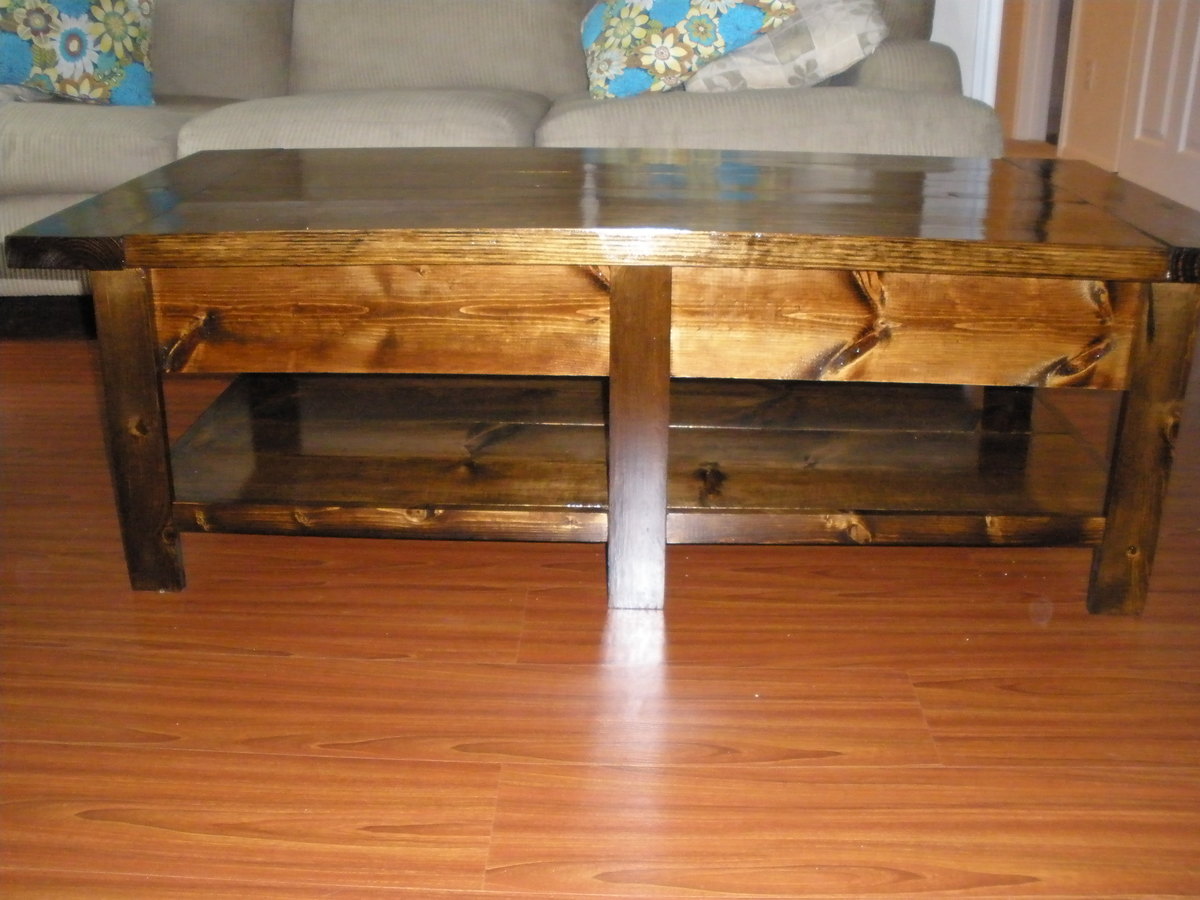
Waterfall framed coffee table
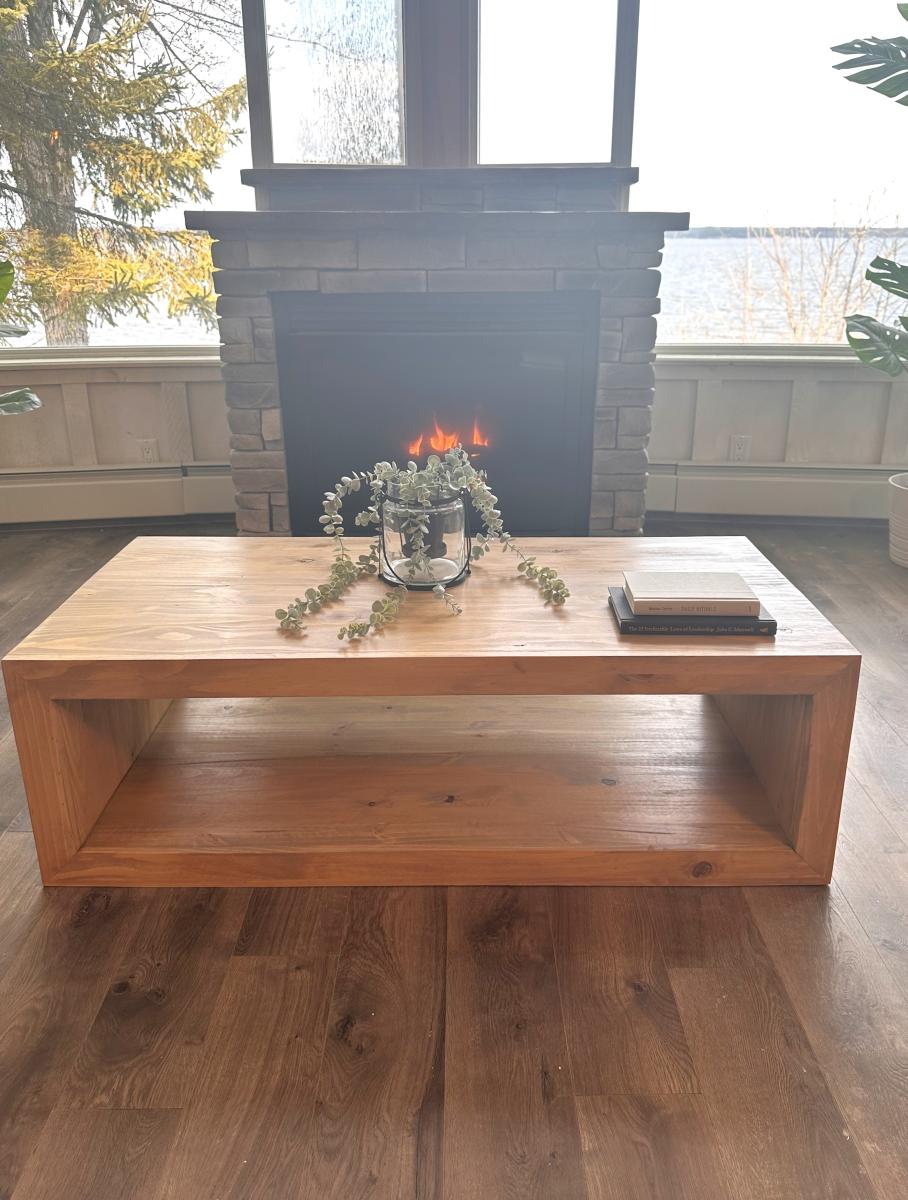
Whew! I am a total novice. I have never used a saw in my life, but with a little bit of instruction from my husband i was able to do it almost completely on my own. Even as a beginner i could have finished it in a full day, but i was trying to work on it during my daughters naps so it took almost a week!
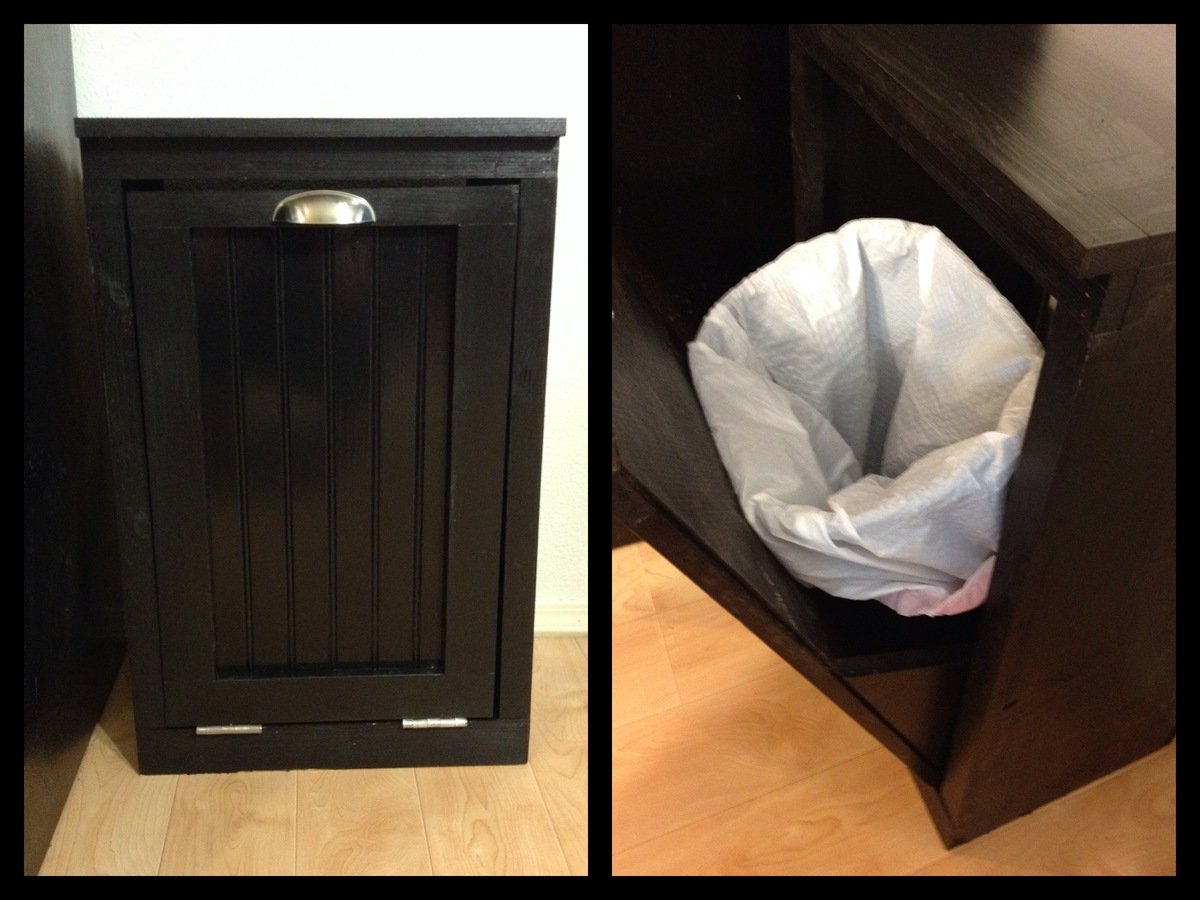
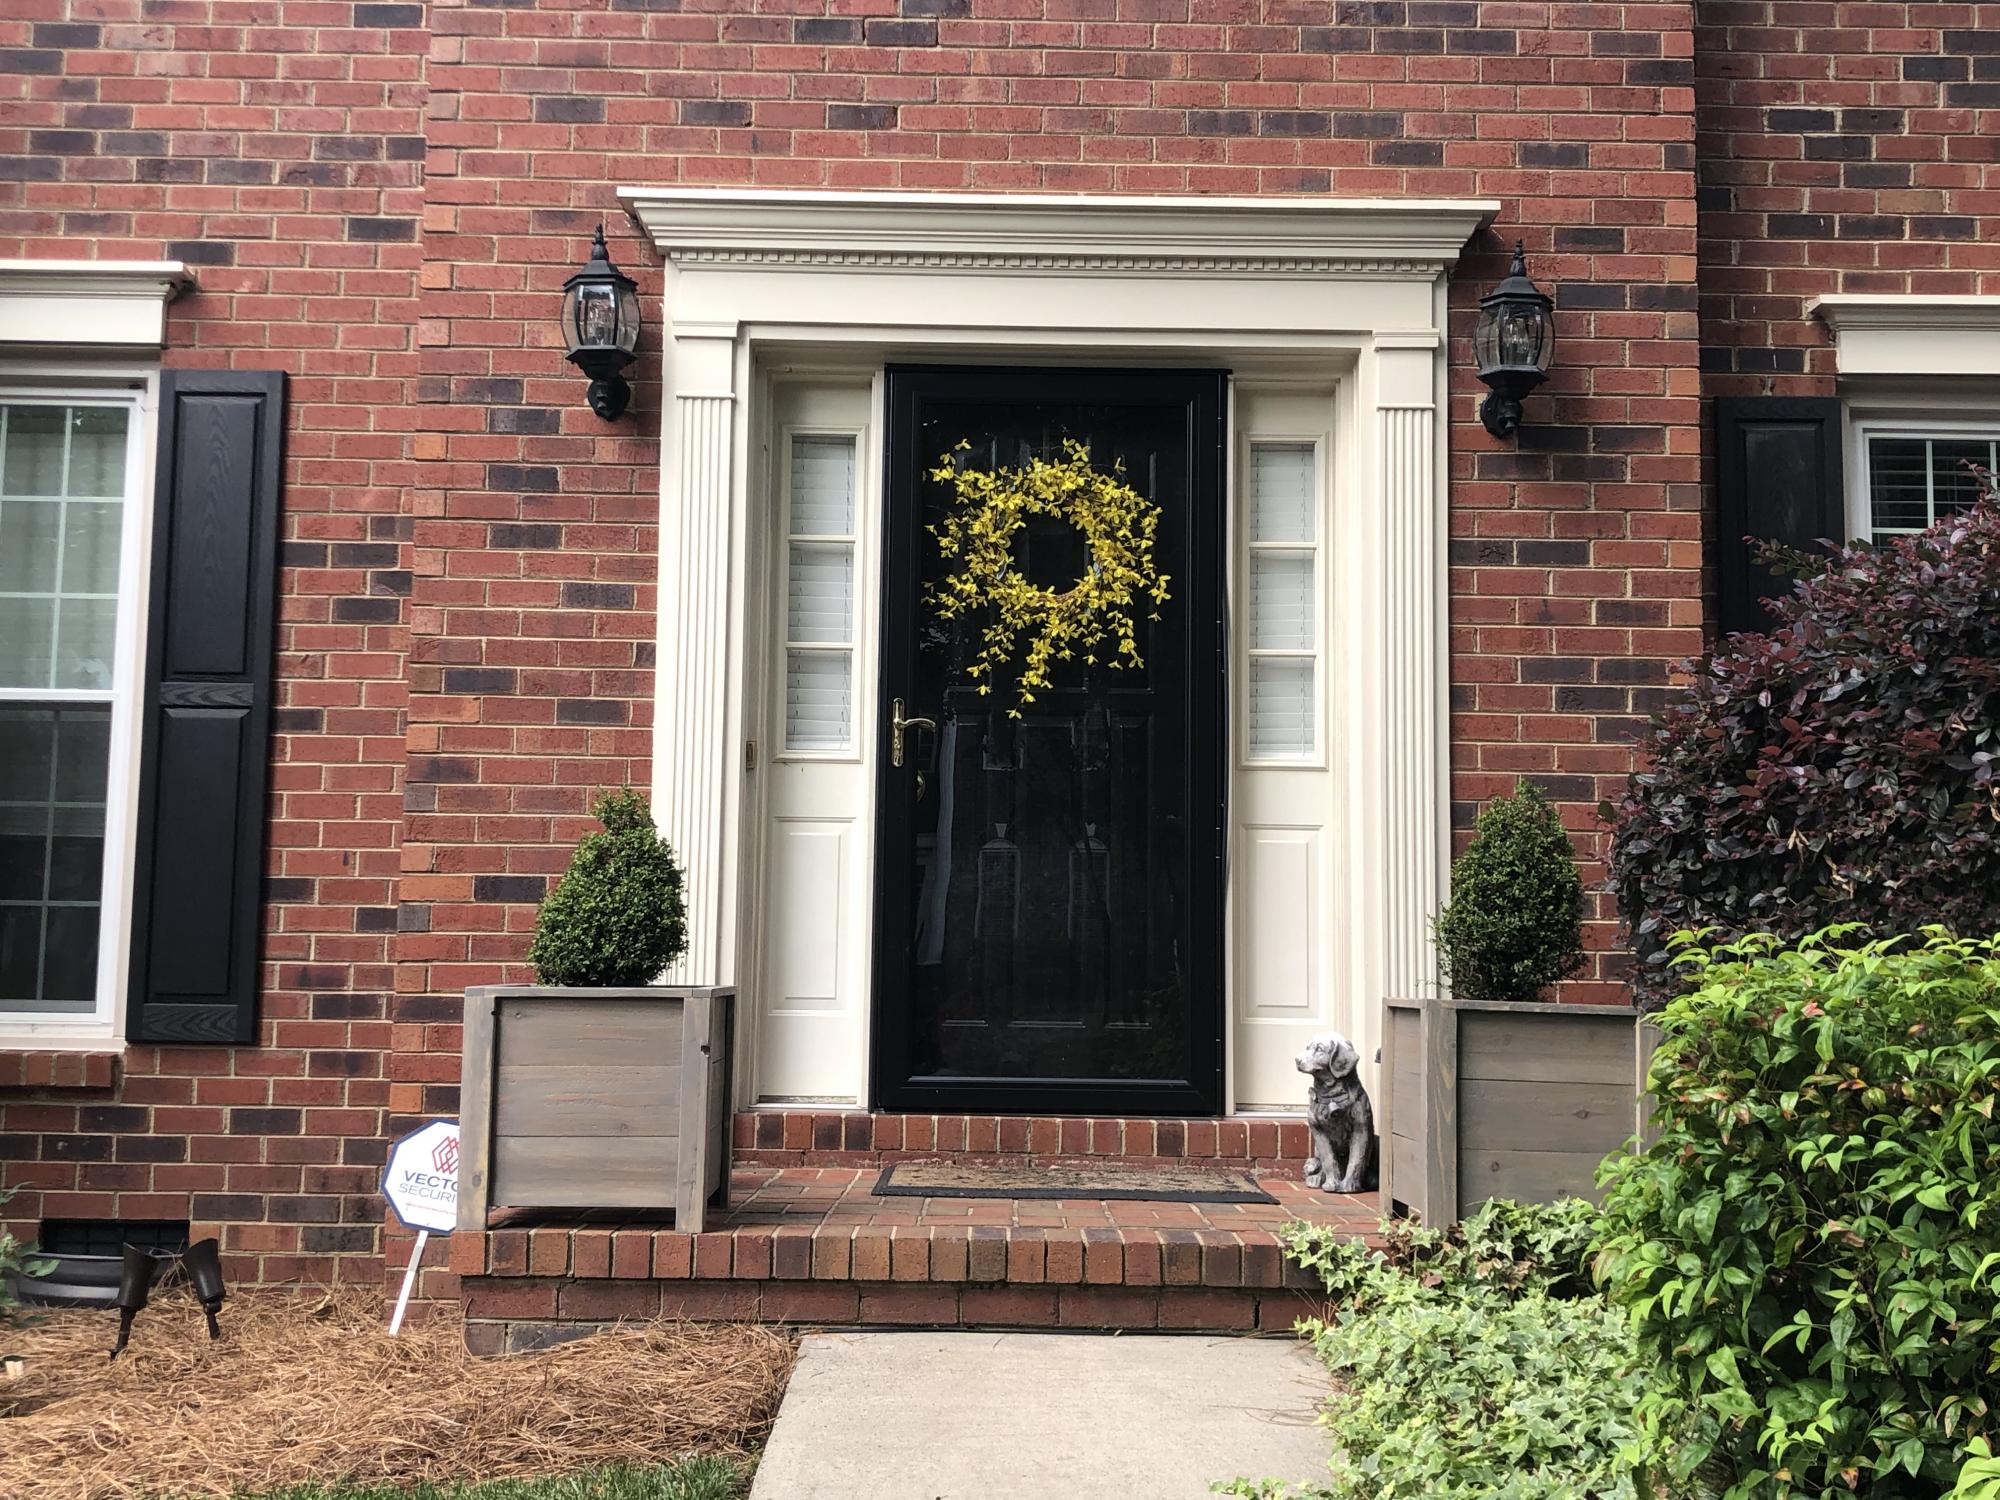
This was my fifth project and it went pretty well. I ended up having to trim a little off the top of the door after I had it assembled because I wasn't paying attention to detail and built it to fit the back opening. It was pretty simple to size it down, though. I finished it off with some leftover black paint that I used for the top of my workbench last summer. Super happy with the way it turned out!
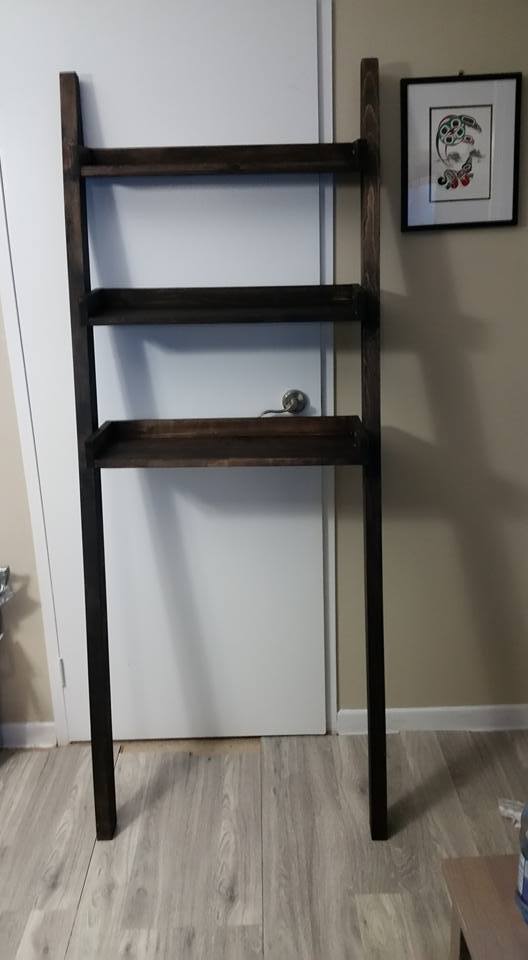
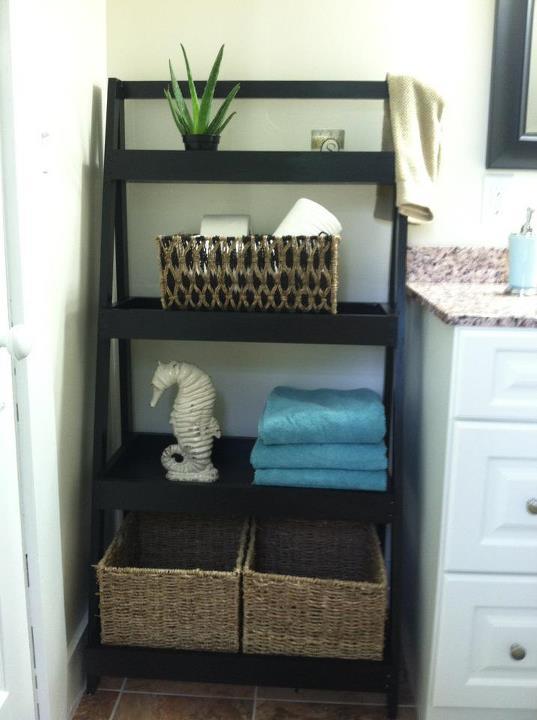
I followed the directions and made two of the same shelf -- using a expresso gel stain. I love it in my bathroom!
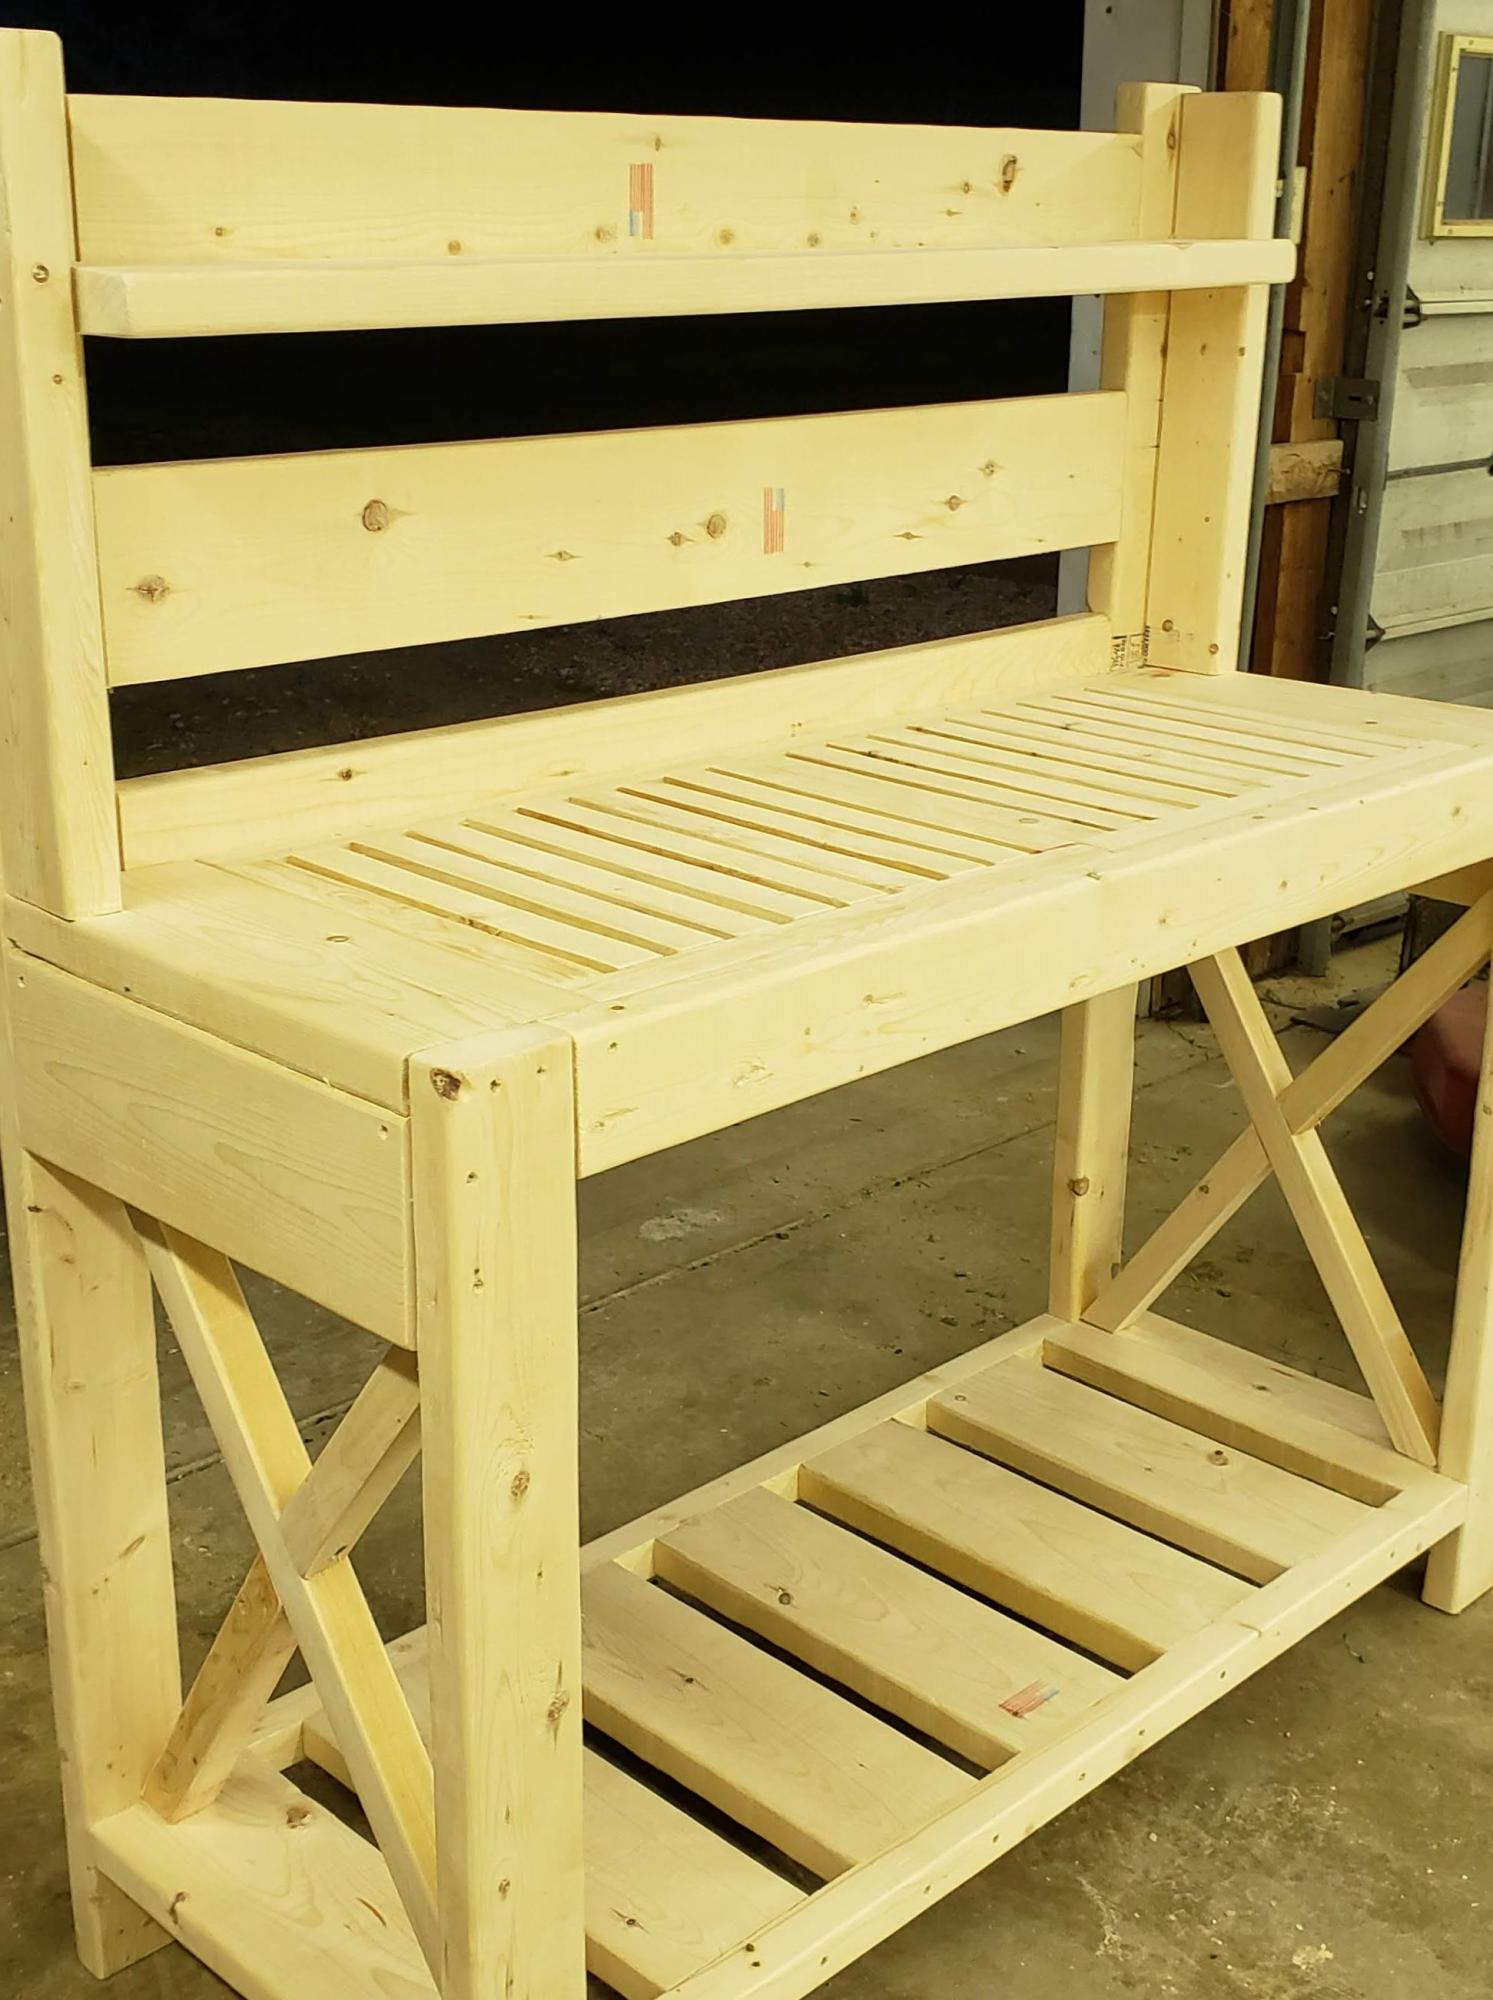
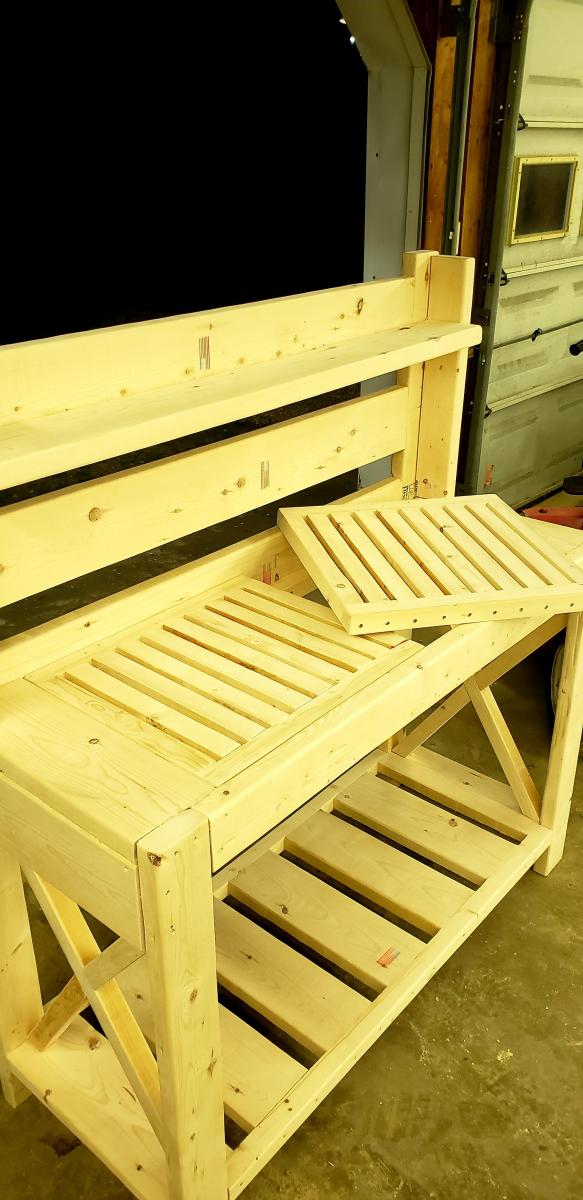
I haven't put the finish on it yet, gonna leave that up to the recipient. Added a couple of modifications, most noticeably the top shelf, grated workspace, and "side panels" for extra mounting /hanging space. Great design! She's sturdy.
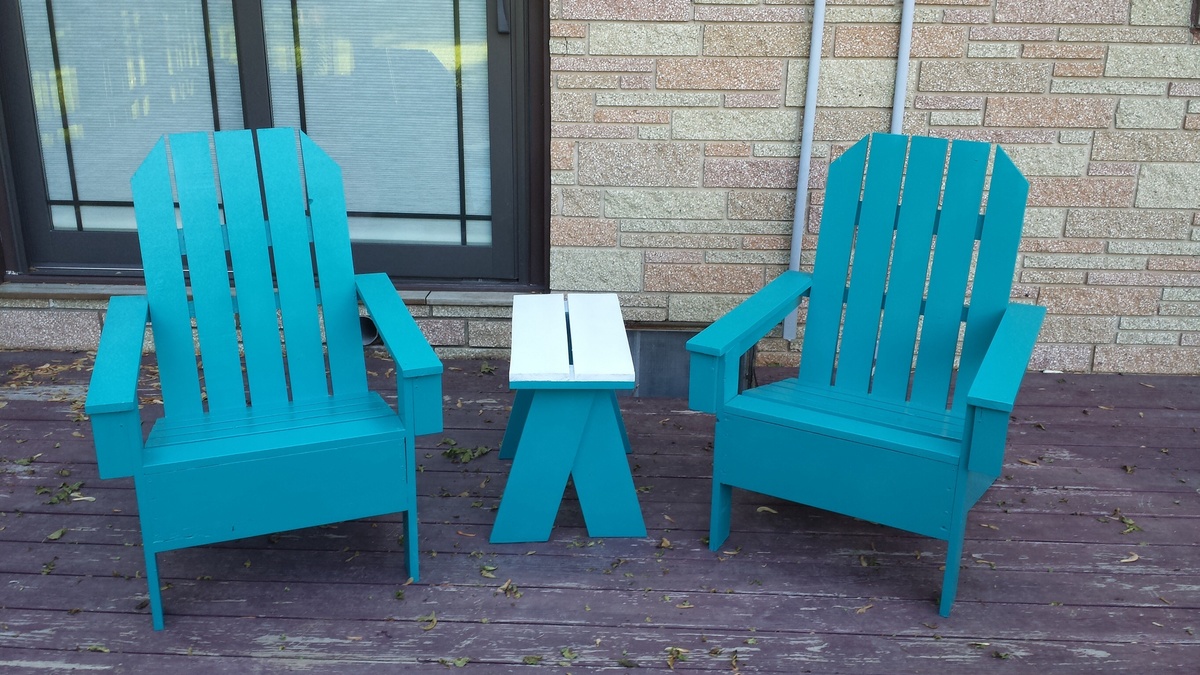
This site as ever so helpful and vital to the completion of these chairs. Honestly,this project was the first time I had taken stock lumber and constructed something from it. I am handy by my own account,but never attempted anything like this before. Great site. If not for Ana white and this website,I'd have 2 less chairs. It is very rewarding building something from scratch. I'm sure this was the 1st of many projects and ideas I will get from this site. A+++. Thank you very much.

Our son is learning cello and we were told he needed a 14" chair for practice, so this plan looked perfect.
Other than tweaking some of the dimensions as the plan didn't seem to quite work, the only other change I made was to use wooden dowels instead of screws to give it a cleaner finish.
Seems stable enough for me to sit on.
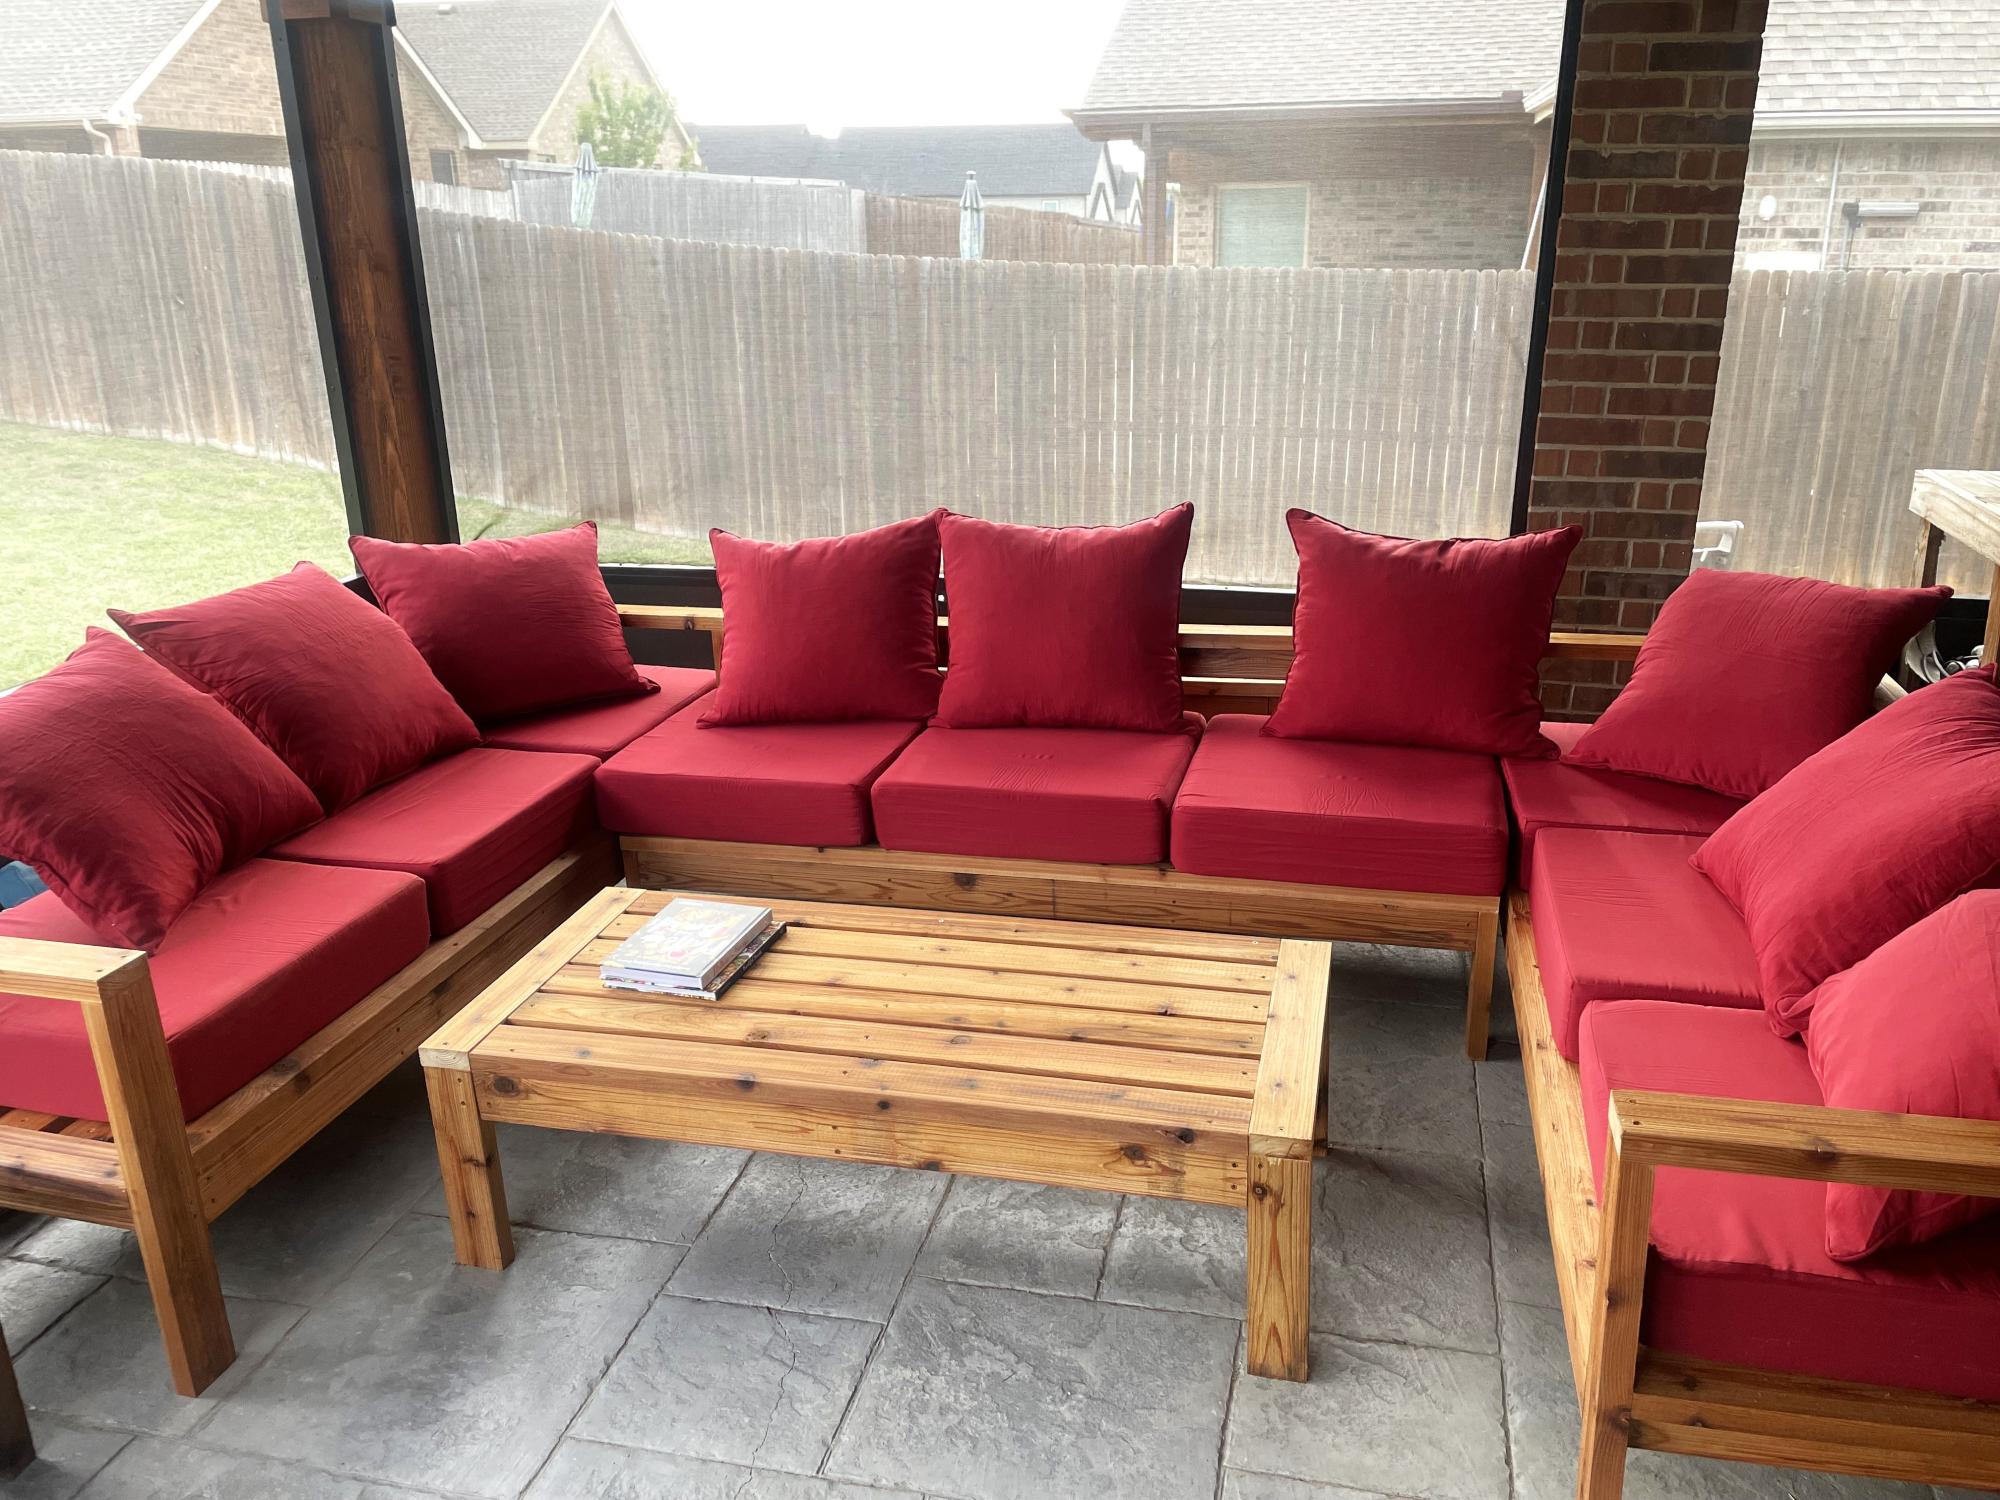
3 piece sectional from cedar for my new sunroom!
Thomas Lott

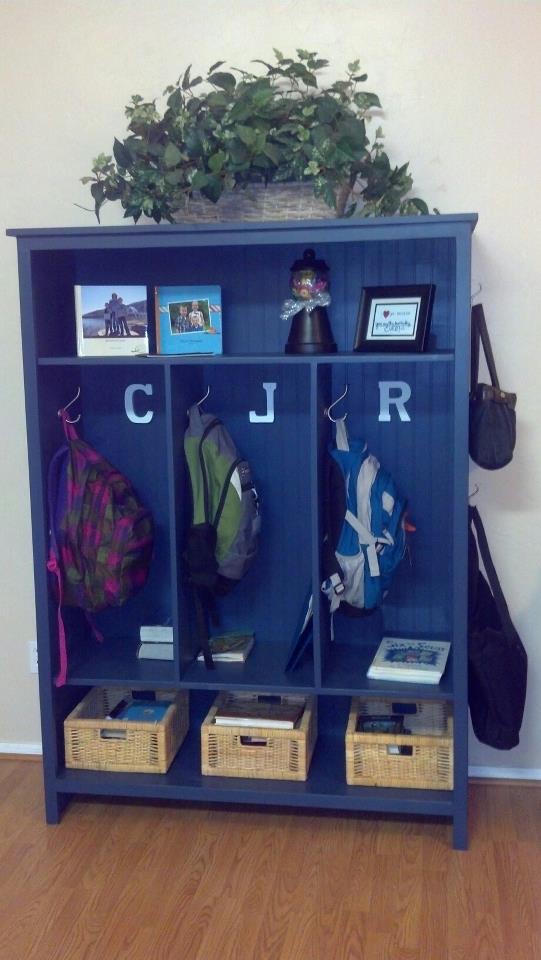
Thank you so much, Ana, for posting these plans. My husband built the storage locker in a few hours last Saturday. Our only modification was to use beadboard for the backing instead of plywood, and to switch out the 1x12's for 1x16 project panels to add depth so the backpacks will fit. I love how it turned out and now there is no more tripping over backpacks! I can't wait for our next project.
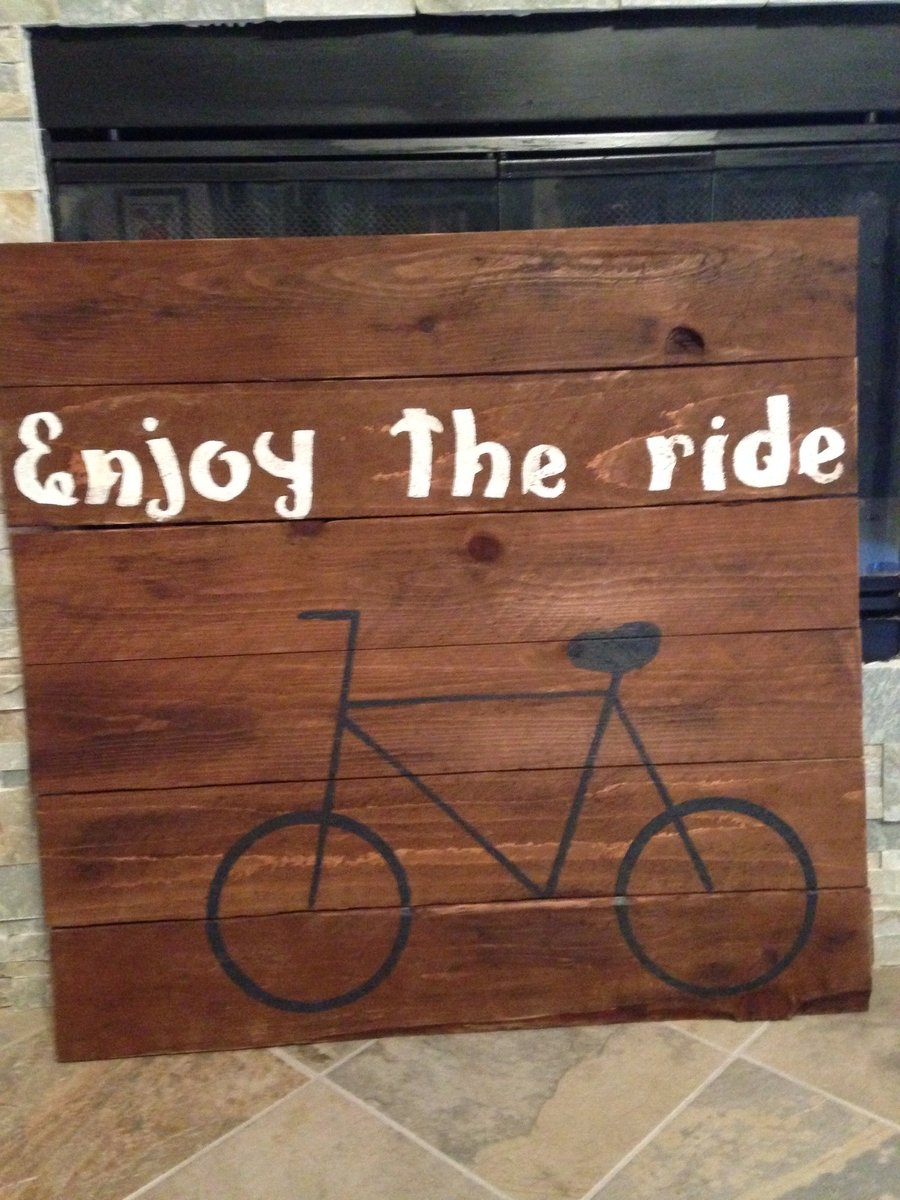
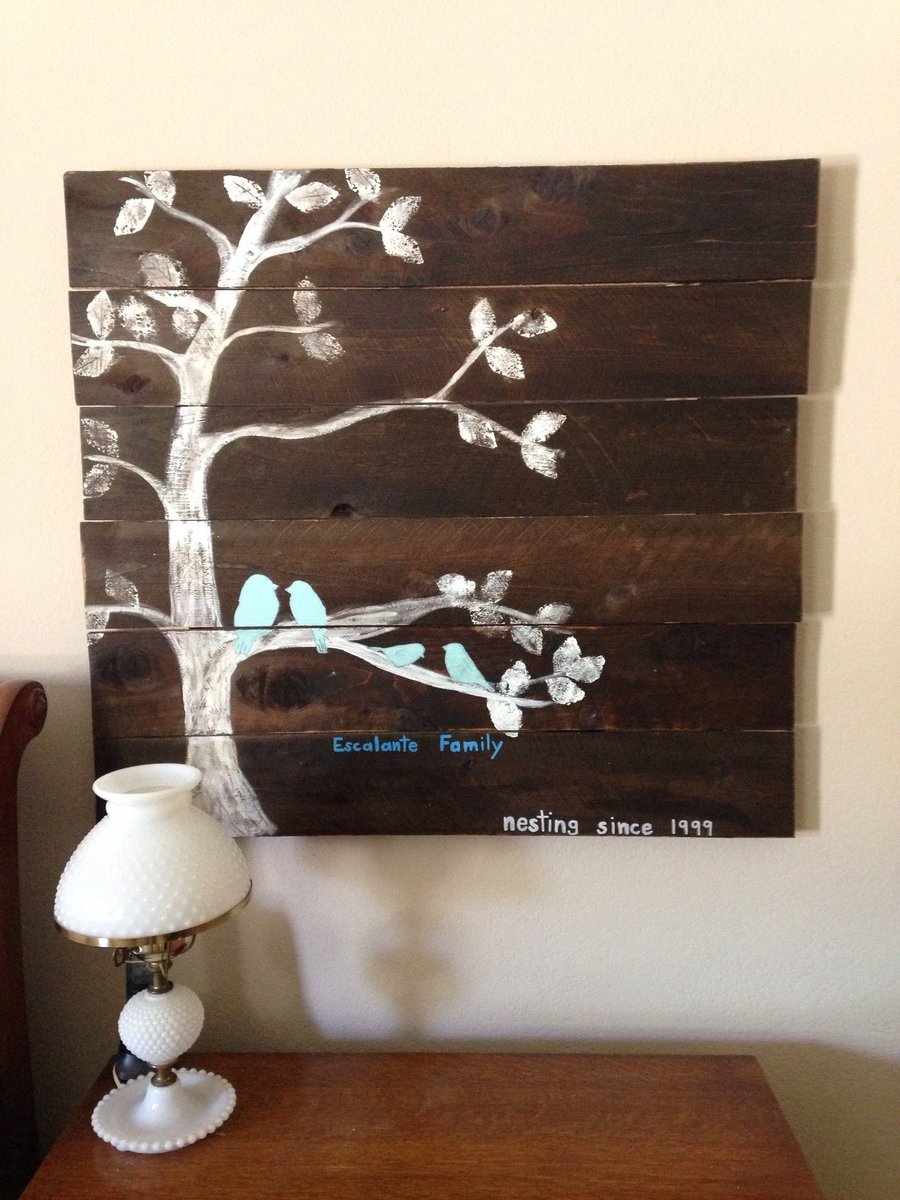
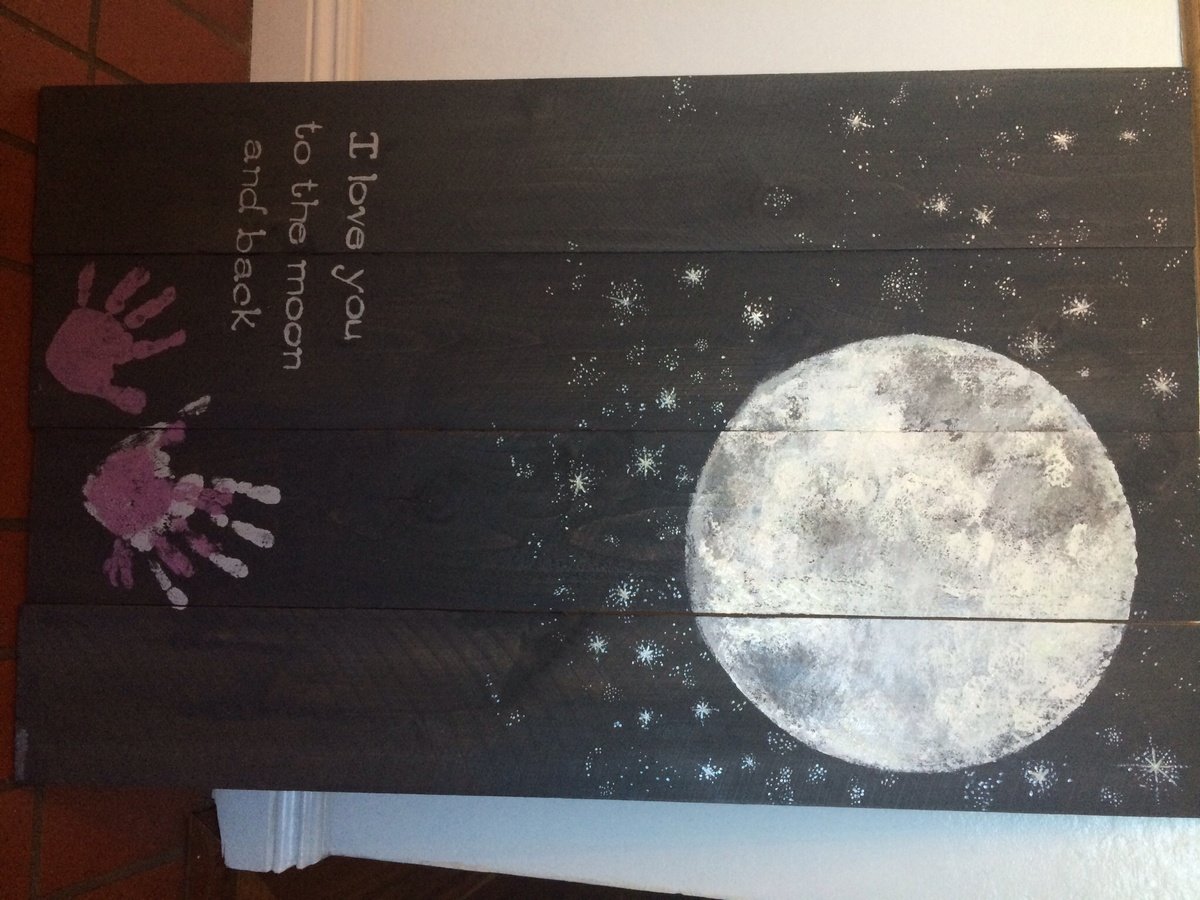
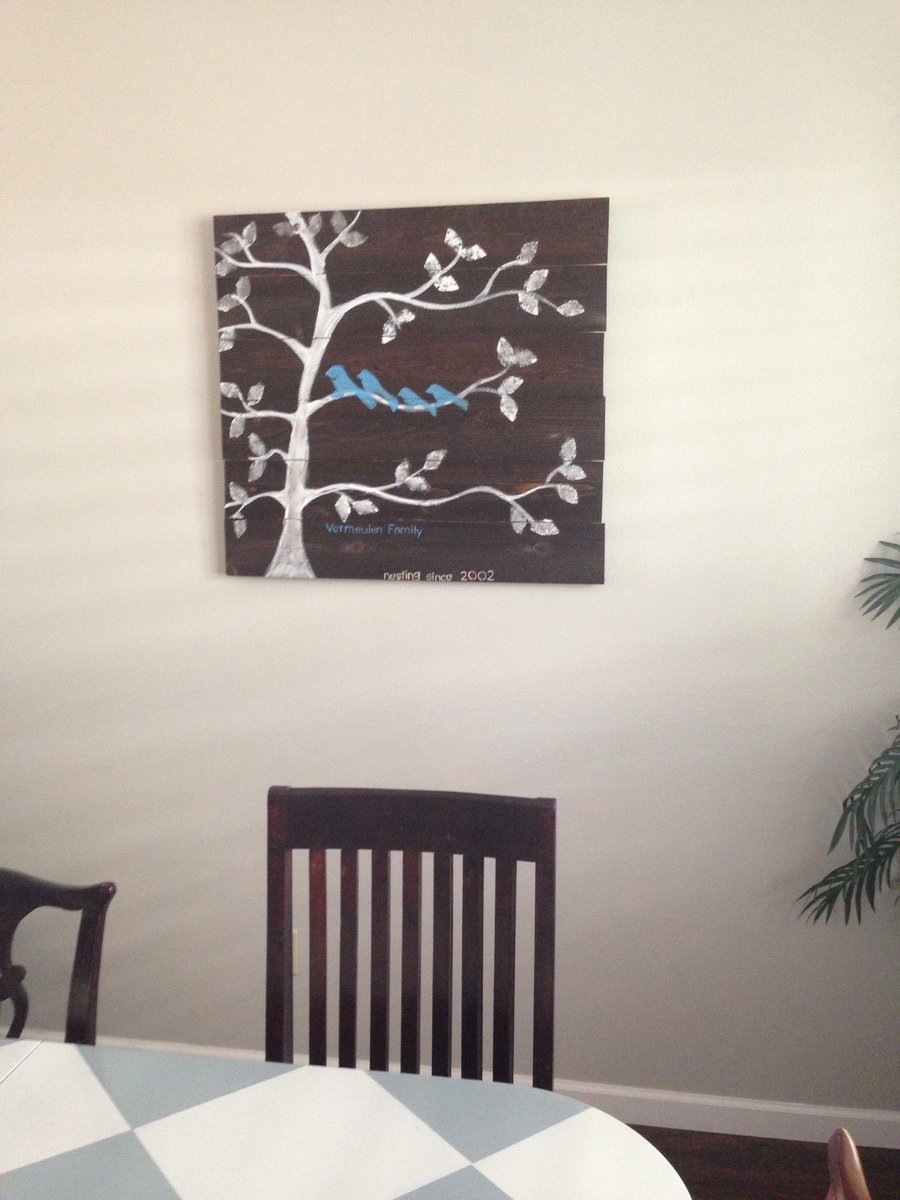
I had a girls night in and we each made out our art using the nesting family tree sign. I put together the cedar fencing signs per Ana's instructions and we all brought supplies we had in the garage and we painted away! Thank you so much!
Built one for my niece, my daughter's is next!

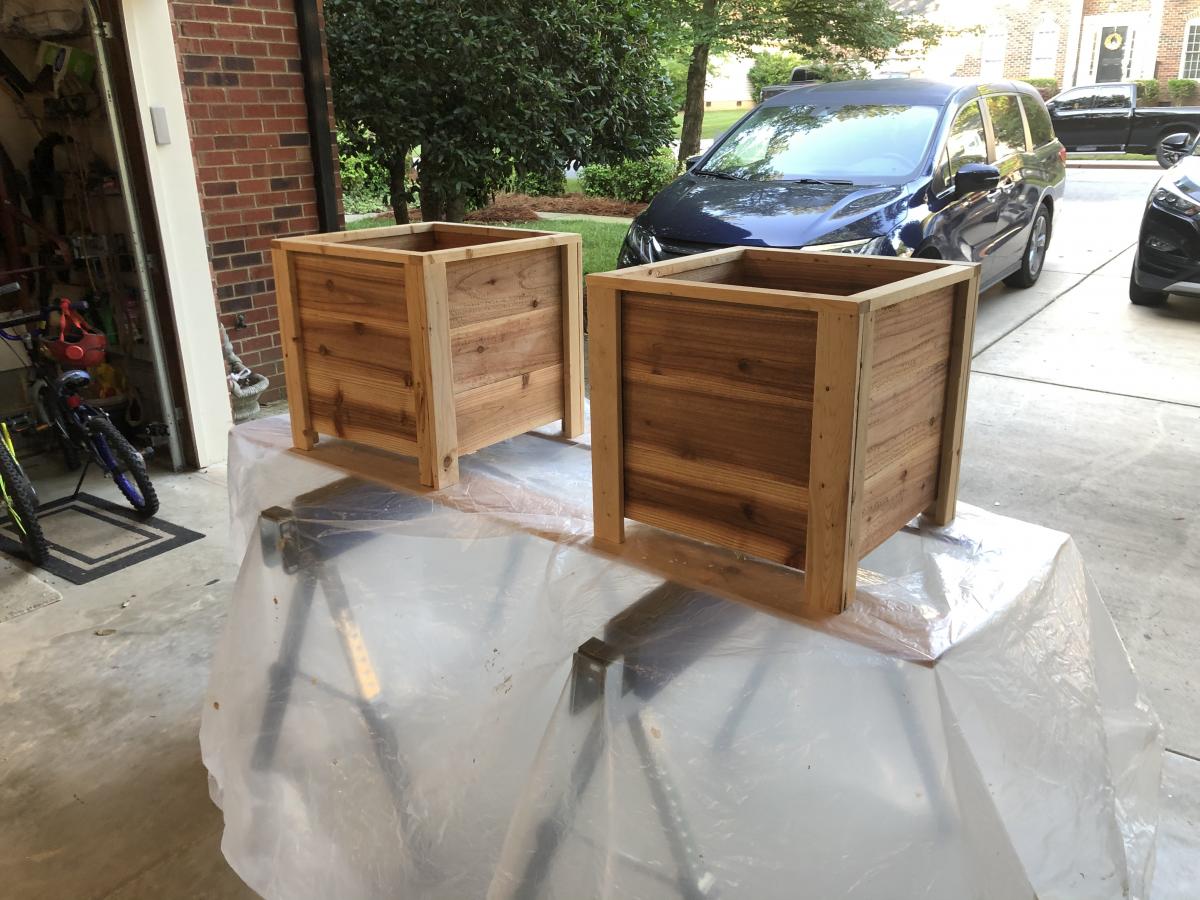
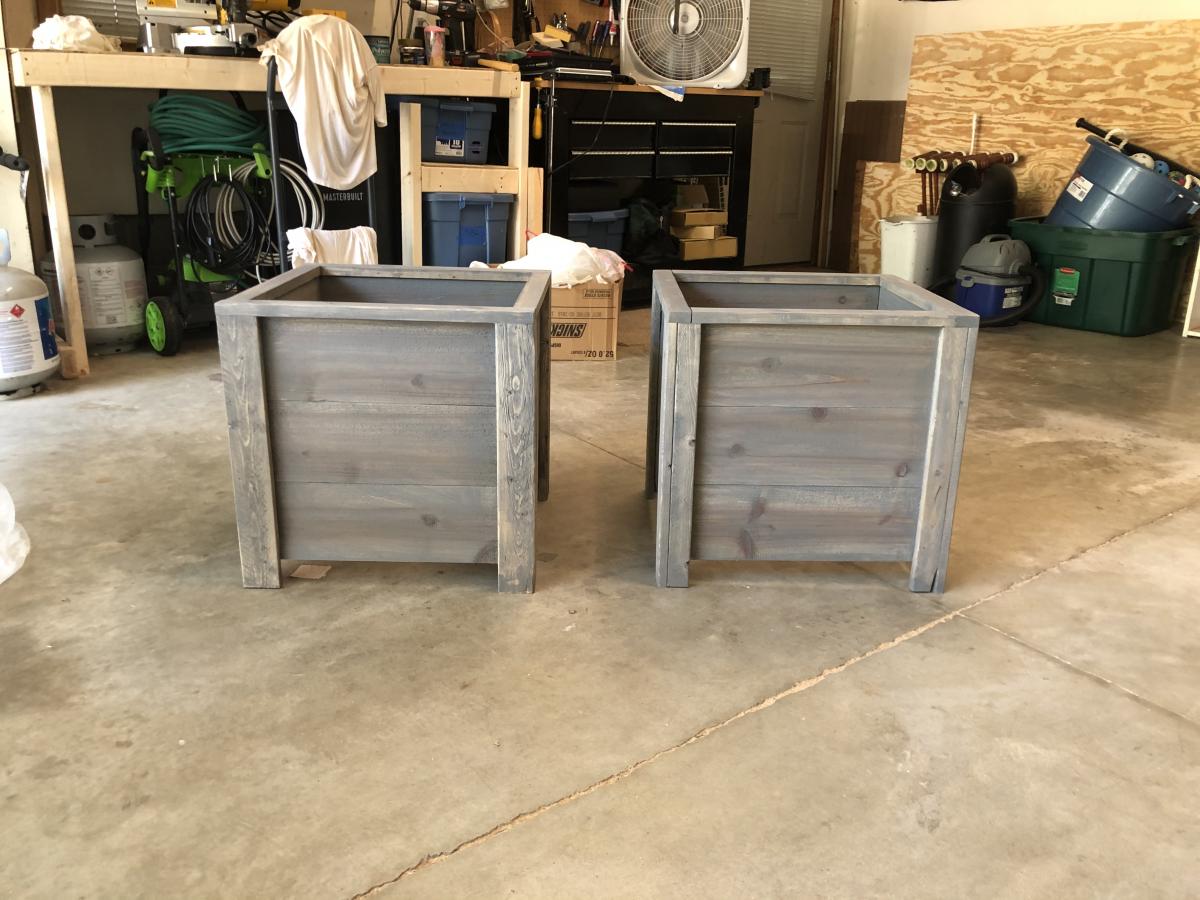
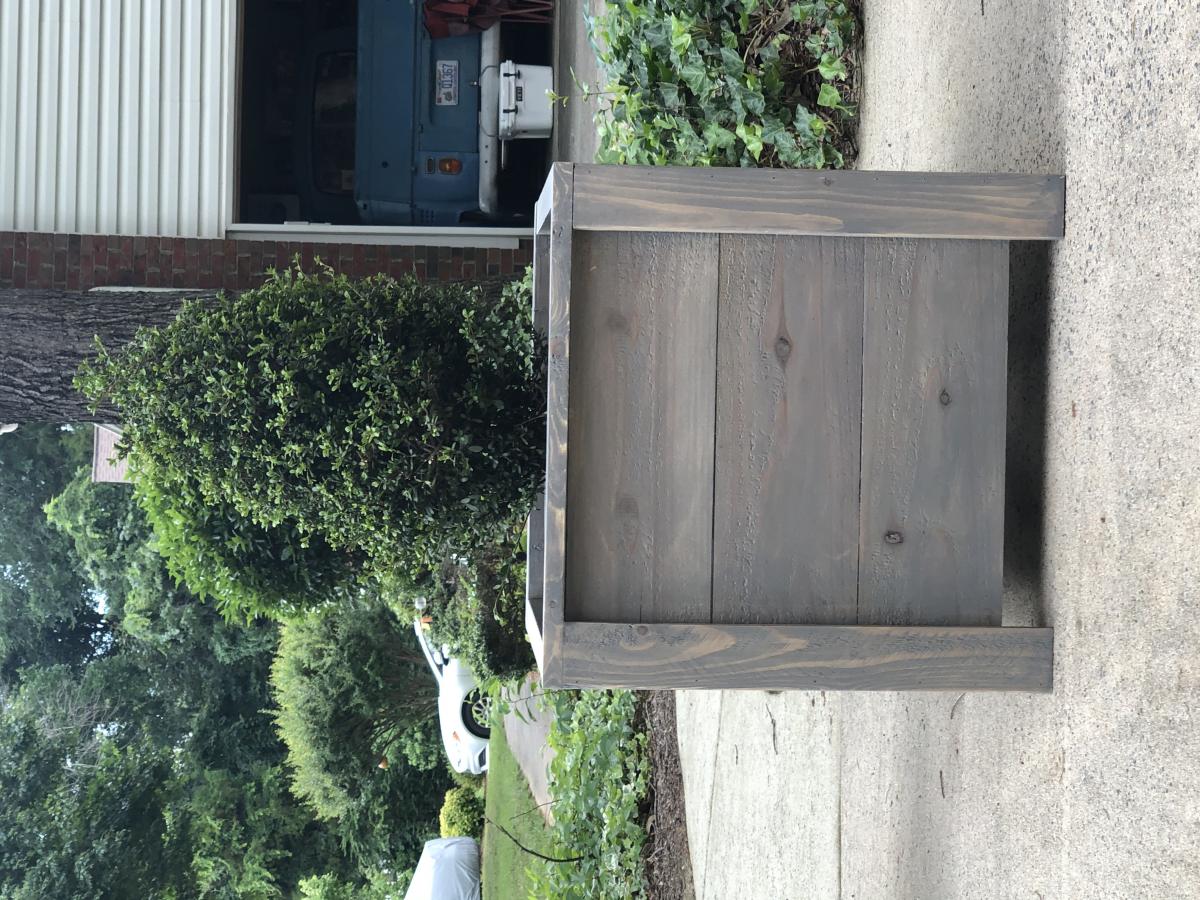
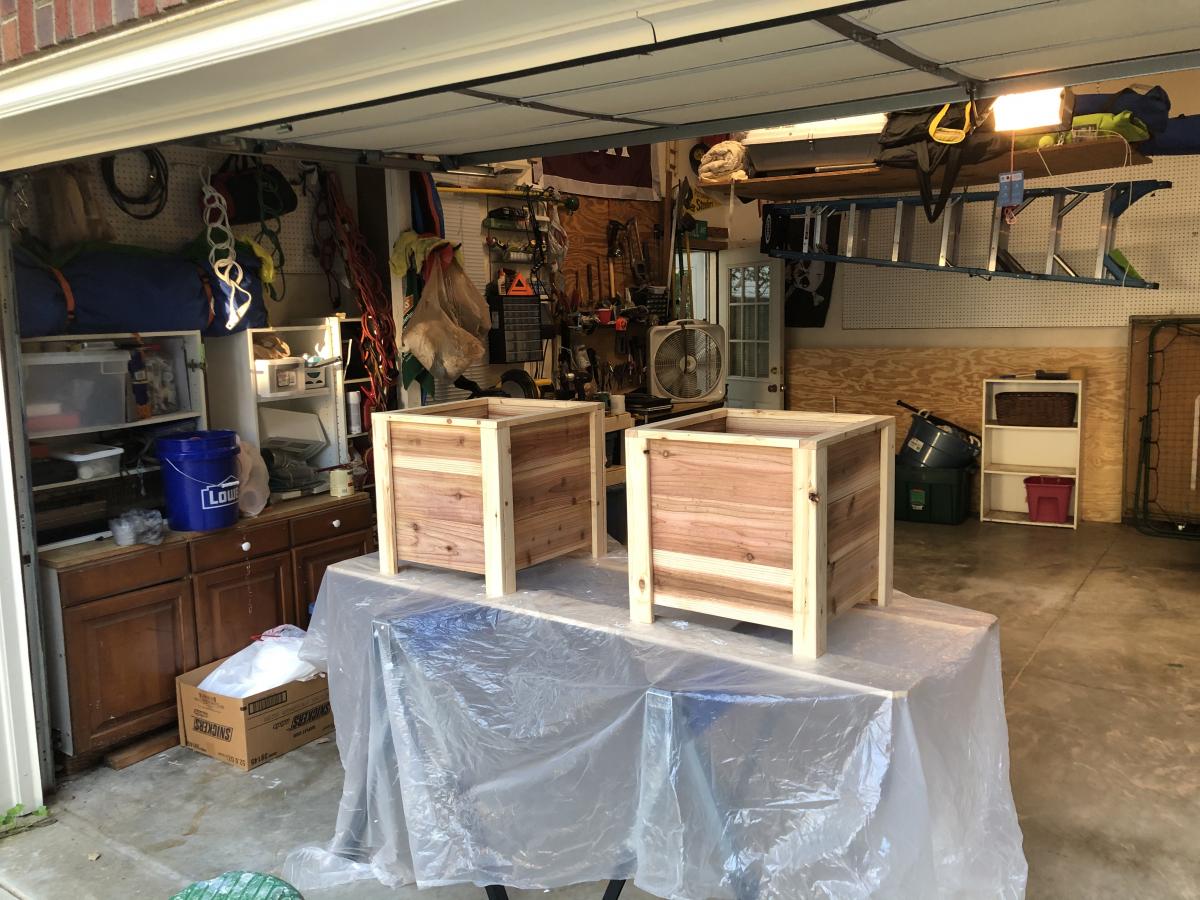
Determined to get back into woodworking, and teach my daughter some life skills, we set out to build something easy... and it was! She did almost all the measurements, cutting and nailing. I tried staining, thought we got a nice wood color but got grey instead. Still looked great. Thanks for the plans! So excited for our next project!