Community Brag Posts

Fire Pit Swings

My wife saw something like this on Pinterest and desperately wanted one. The one she saw was hexagonal in shape. We didn't need as many swings so we went with just a plain square shape. We used 6x6s for the legs and posts across the top and used 4x4s for the angled support pieces. We built the swings using the plan from this website. All the materials can be picked up at the blue and orange stores. However when it came to the springs for the swings, the blue store was 1/3 of the price of HD. The legs are 12' long and buried 4' under the ground and cemented in for strength. Luckily I am retired military and was able to rent an auger for 1/2 the price of HD or the blue store. You could do it by hand but it saved us hours and lots of back pain. We found our dimensions for the size we wanted and spray painted dots on the ground where the posts were going to go. We dug the holes and stuffed the 6x6s in them. Using a post level we made sure they were plum. We braced them and added the quickrete and left them to setup over night. The next day we had to make sure all the tops were level with each other. This is where having some knowledge of physics paid off. I took clear tubing and screwed it above the height that I wanted on one post and then screwed the other end to another post. Fill it with water until the water level on the first post is where I wanted it (8 feet high) and it will automatically fill it level on the other end. There is a picture of this above. Water will always level itself out. I had to do this because my yard is at a slight down hill grade. We marked it and cut the tops off to make it level. After attaching the 6x6s on the top with 8" lag bolts it was time to paint. After painting was done we built 3 swings from Ana's plans. We shortened them by 6" to give room to walk between the legs and the swings. All in all it was a great project that only took two dedicated weekends. My wife still has to paint the swings though.

Built from Plan(s)
Estimated Cost
$600ish
Estimated Time Investment
Week Long Project (20 Hours or More)
Finish Used
We used an oil base Black Barn Paint from the blue store.
Recommended Skill Level
Intermediate

Comments

jkread

Wed, 05/27/2015 - 22:38

It sounds and looks like the top 6x6s are mitered and sit on top of the end of the vertical posts. I'd say at least one lag bolt each way to hold the mitered corner together and then at least one in each piece down into the vertical to hold it in place.

carewarner

Mon, 04/27/2020 - 10:24

WOW, LOVE!!! This is simply gorgeous! What a warm and welcoming addition to your yard. And thanks for sharing your method of finding level for your posts on your sloped yard. I absolutely love it!

Seasonal And Holiday

lawn and garden shed

Submitted by brittanyj on Wed, 08/19/2015 - 13:17

Needed a shed to store bikes and mowers, etc, so I'd have more room in the woodshop : )  I made a lot of modifications to the plan to fit my space and make it much larger.  The completed size is 7 foot tall at the peak, 6 feet deep and 5.5 feet wide.  I made it as a 3 sided shed, using the wall as the 4th to save on cost, increase air flow, and make the exterior house wall accessible.  I also made an egress in the back of the shed in order to get behind the shed if needed. 

Instead of roofing shingles, I opted for ribbed metal sheets and one clear sheet in the middle to make a skylight, so there would be light in the shed.  This is my favorite part of the project.  It was a huge pain to attach the roofing from a ladder with very limited access, but it looks great and I love the light coming in.  We have very little rain in CA, so I'll have to wait until winter/rainy season in order to test out its waterproofing. 

Since the shed sits between the house and the neighbors block wall fence, and I wanted to use as much of the space as I could, I decided to design the shed to have the side wall against the house rather than the back wall, as shown in the plan.  This took a large amount of modifications, but with careful planning and measuring, it can be done.  This also meant blocking off access to behind the shed, so I cut an egress in the back wall and added hinges so you can lift the back cut out panel, and rest it on a stop block attached to the fence behind it in order to have access.  That's what woodworking is about- problem solving.  Love it. 

As you can see by the full shed picture, it fits a large amount of stuff- 2 adult bikes, mower, edger, trimmer, chainsaw, hedge trimmer, garden tools, shovels, etc, with plenty of room for more.  I now have a free corner in my garage that I've already filled with a DIY rolling workbench and more pegboard space for tool hanging.  Woodshop increased space= happy Brittany. 

I should also mention that building the frame and adding the pickets was quite a quick and easy job.  The hardest and most time consuming part was the roof (I didn't have metal cutting tools), rolling each very heavy wall to the site (I was alone) and the previous 2 weeks in which I built the paver patio the shed sits on.  Hard work, but worth it.  I love it!

Built from Plan(s)
Estimated Cost
$280
Estimated Time Investment
Week Long Project (20 Hours or More)
Recommended Skill Level
Intermediate

Comments

brittanyj

Mon, 01/25/2021 - 13:15

It has been incredibly useful for storing! One thing about the skylight- Over time the sun has warped it and there is now a hole and crack there. So I wouldn't plan on the clear roofing being a long term solution- I will be replacing it with either thicker clear roofing or 2 layers.
Chicken Coop

Submitted by Anonymous (not verified) on Sun, 07/10/2022 - 12:26

Great for a small flock of 5 or less.  

Comments

Seasonal And Holiday

Slat Bench

Cost: $45
Made this bench smaller than the plan so it measures 48" X 18". Using it in a spare bedroom so it will eventually get stained to match the wood furniture.

Estimated Cost
45
Estimated Time Investment
Afternoon Project (3-6 Hours)
Finish Used
Haven't stained the wood, can't decide on a color.
Recommended Skill Level
Starter Project

Comments

Rapturee

Mon, 12/04/2017 - 09:17

That was my idea as well, to shorten it. My wife just asked me if we could part with a few chairs on the back side of our dining room table and if i would make a bench or two across the back wall. Well "of course" i said hahah!!  Nice job on yours!!   :{)

Garden Bench!!

Submitted by Nathan1342 on Mon, 08/06/2012 - 12:09

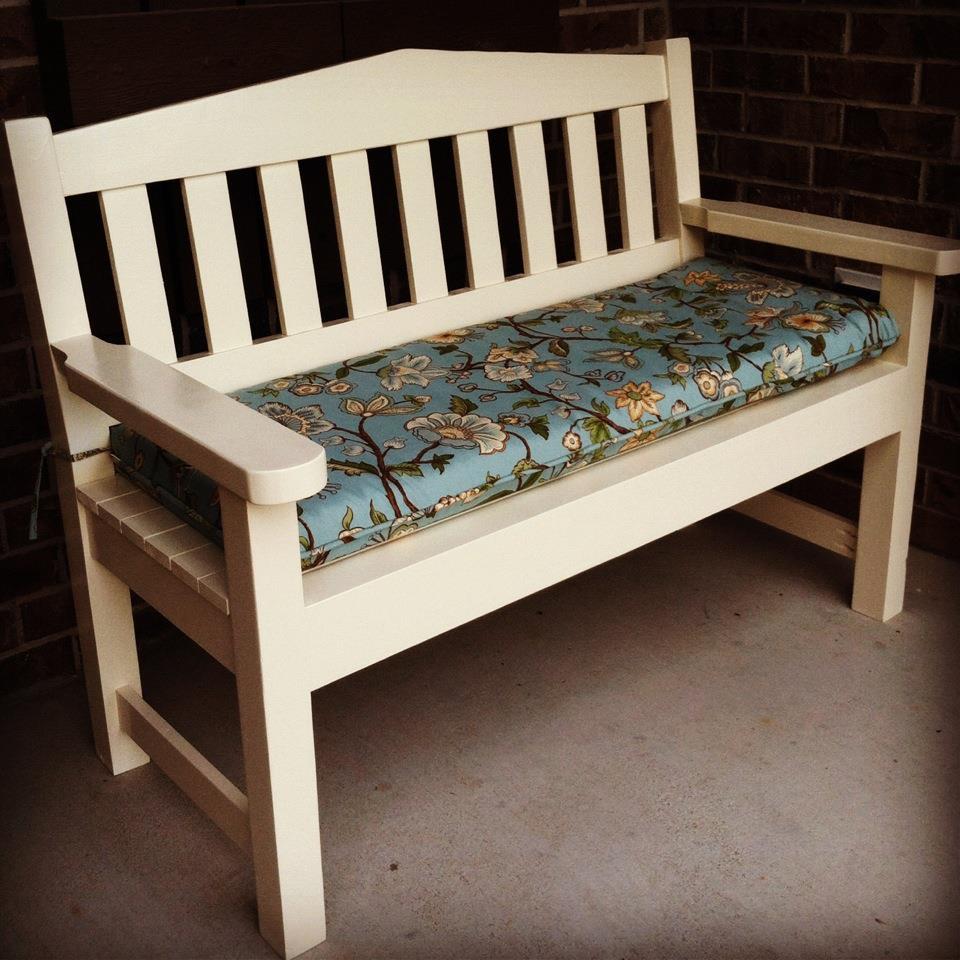
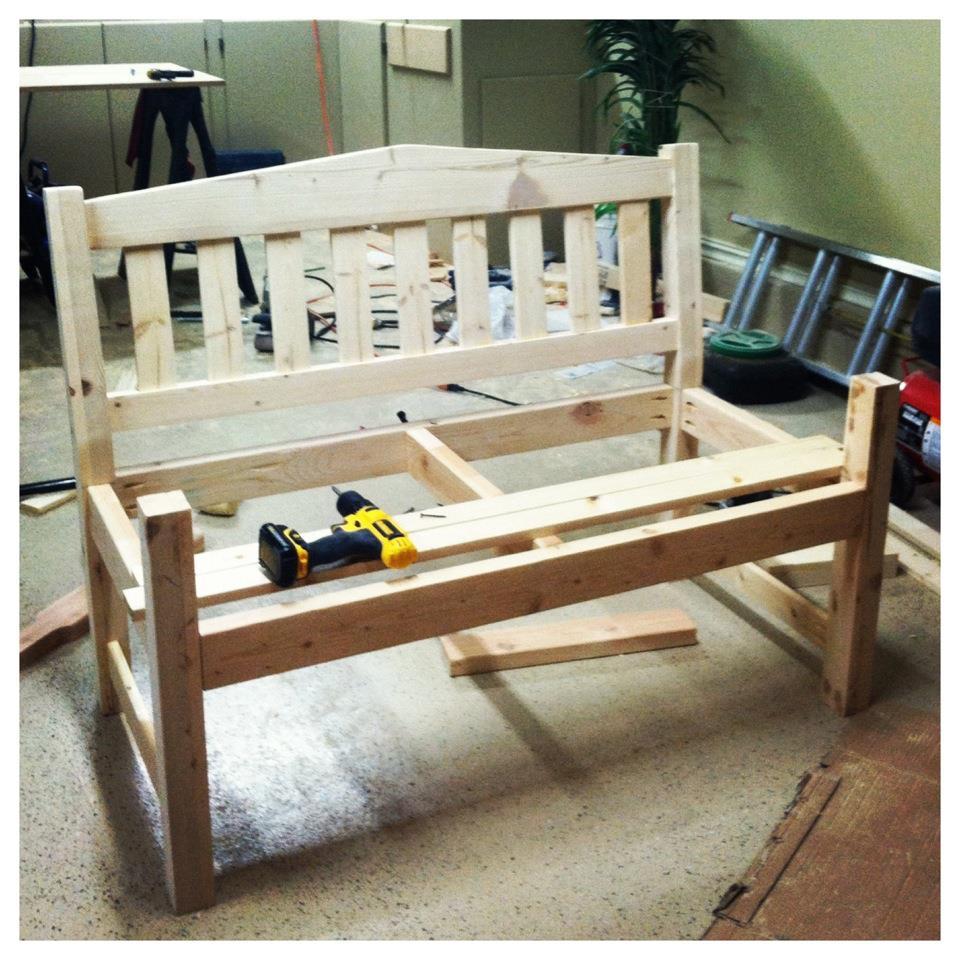
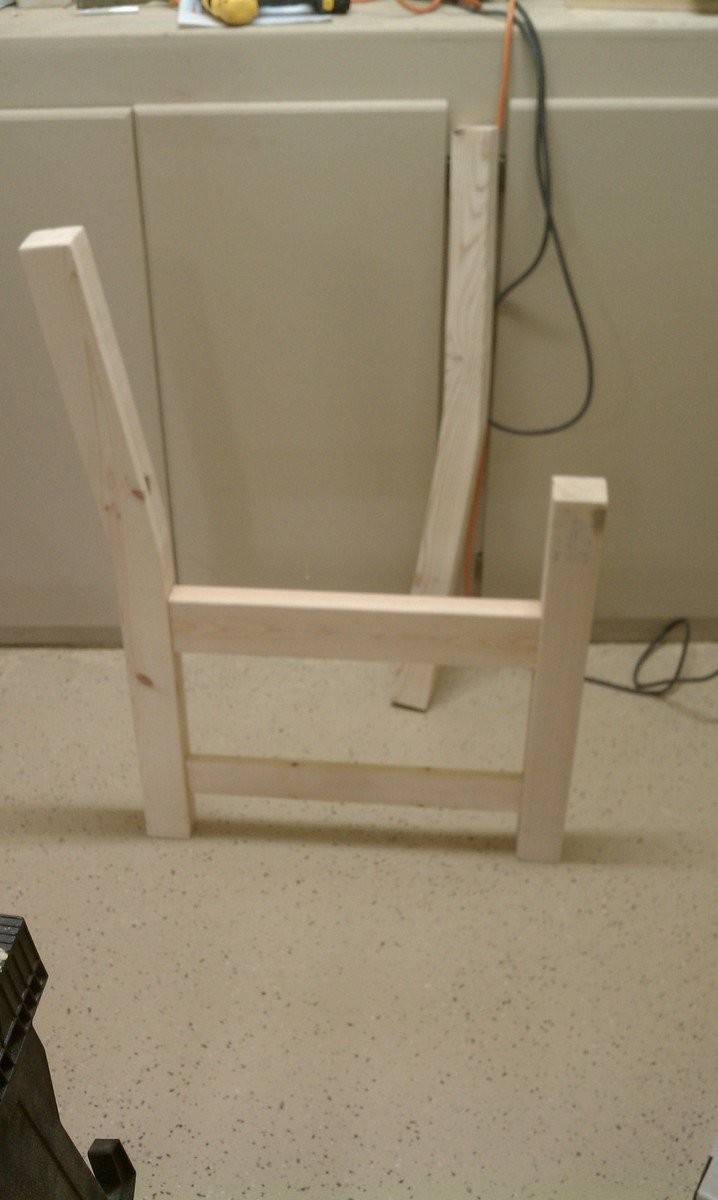
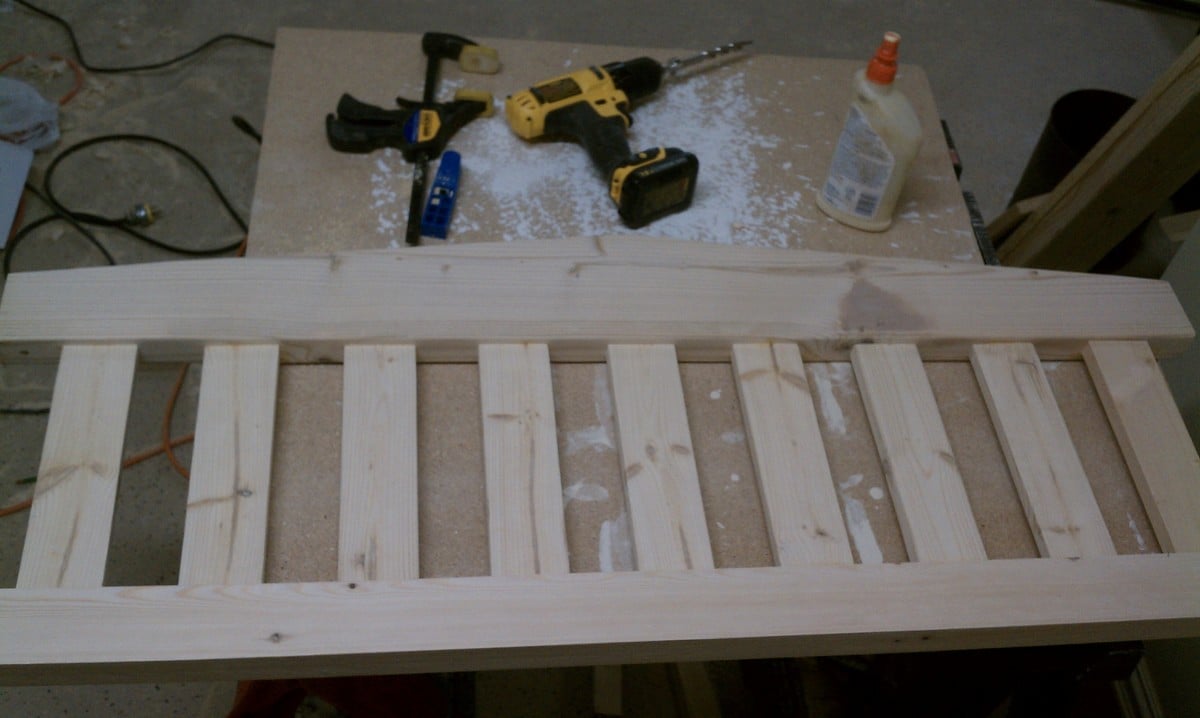
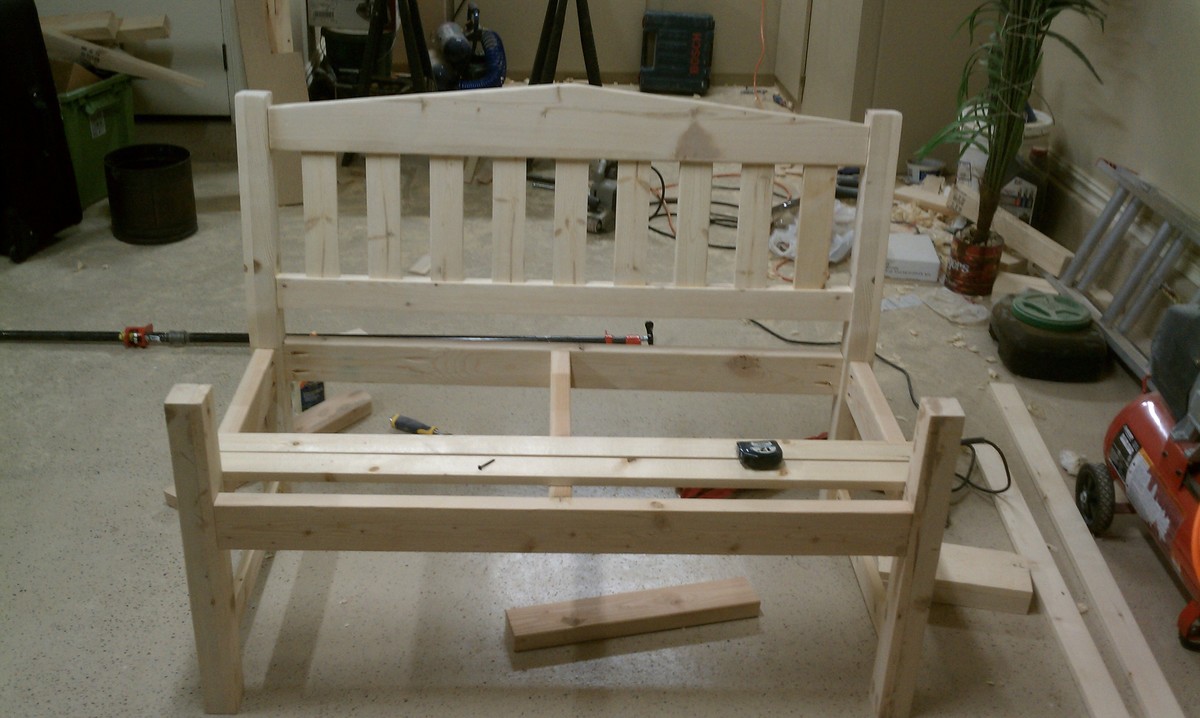
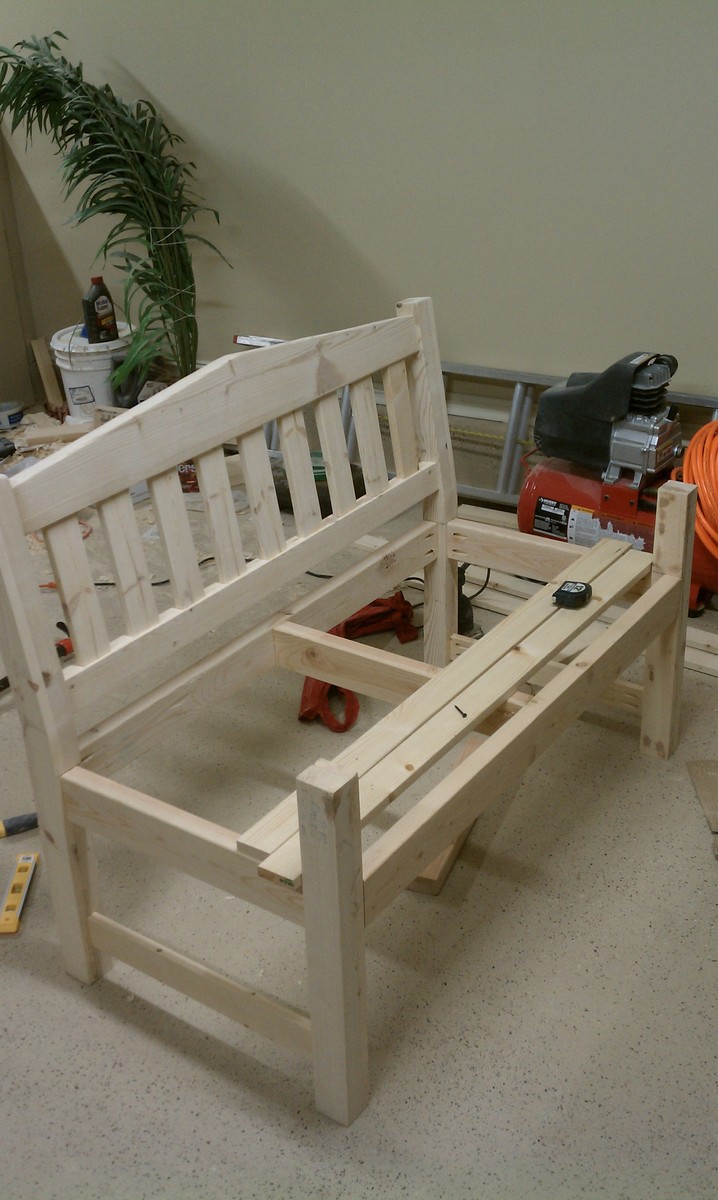
I built this for my wife for an anniversary present. She had wanted a garden bench for some time but the ones that she wanted were between $500-$700 which is ridiculous for this type of bench. So, I did a search on here for garden benches but there weren't really any plans for them and the few brag plans were not really the type of bench I was looking for. I printed off a few pictures of benches that I liked and got to work. The front and back legs a 2x6 and a 1x6 glued together and then cut to be straight. I wanted something thicker then just a plain old 2x6. If I had to do this again though, I would have just glued 3 1X6's together. The reason being, is that 1x6's usually do not have a rounded edge and a 2X6 does. So needless to say when you glue them together you have a nice little gap on either side. Without a table saw to take this off, its pretty difficult to get a straight cut. But I ended up getting it right after sweating for a few hours in the garage. The bench stands 36 inches high, 48inches wide and about 18 inches deep. The seat height is right at 18in also.

In the unfinished pictures I actually had the depth being 24 inches. After sitting on it though it was just way to deep. So I pulled it apart, made the adjustments and its now much more comfortable to sit in.

If anyone has any questions or wants more details feel free to drop me a line!

Thanks!

Estimated Cost
85
Estimated Time Investment
Weekend Project (10-20 Hours)
Finish Used
Oil based acrylic paint
Recommended Skill Level
Beginner

Comments

Torwart13

Tue, 06/16/2015 - 11:25

So legs are about 2 1/4" square? Are the seat supports 2x4's? Back cross pieces 2x4? Slats 1x4"?

smz1919

Wed, 06/17/2015 - 12:39

how did you get the curve on the back legs?

In reply to by smz1919

Nathan1342

Fri, 06/19/2015 - 13:34

I glued a 2x6 and a 1x6 together to get the thickness. Now that i have a table saw and a jointer this entire process would have been much easier but after getting it to look like one solid piece i just outlined the slant i wanted and cut it using a jig saw.

smz1919

Fri, 06/19/2015 - 20:17

So the back slats are just glued in place right? I wonder if it would be easier to use a biscuit joiner or not

Mikeyw221

Sun, 10/23/2016 - 17:46

on the back legs how high up did you go before you started cutting the angle? and was it around 15 degrees fromt he edge?

SawdustMaker21

Wed, 05/26/2021 - 08:32

Hi Nathan
Love the look of the bench. Would you have a list of material requirements. I intend to make a bench like this and would like to know the measurements of the top back spar (the shaped one).
Here in the Uk our timber yards do not always supply the same cuts as the US so I need to have some idea of the pieces I need
Many thanks

Paper Roll Dispenser

Submitted by vendo on Wed, 11/17/2021 - 10:44

This took me about 20 minutes! I love the look of it and that it can just be left out when the kids aren't doing art. A great little item to add to keep the kids busy and inspired. I made a couple of mods from the plan. I used glue and nails instead of pocket holes and I did that bottom board flat instead of on it's side. I also used a little bigger dowel, and bought two rolls of paper on Amazon for $14.I'm giving this to my daughter for her birthday with some fun art supplies, so I think it's a great gift idea for any occasion for those crafty people out there!

Built from Plan(s)

Comments

Monika

Tue, 04/02/2024 - 06:09

Sometimes, when working with papers, you might need to convert file formats, right? So, I recently came across this website https://pdfflex.com/webp-to-png It's super handy for converting. It's been a real time-saver for me, especially when I need to tweak documents for printing or sharing. I'd desided to share in case it helps someone else out there too!

Outdoor rolling bar top

Submitted by Anonymous (not verified) on Wed, 07/08/2020 - 19:43

We had some leftover granite from an outdoor kitchen build and wanted to maximize the use of it. We loved the look of a rustic table from Pottery Barn and set out to find something that was asking the same aesthetic. I came across the Jilly and Mia workbench console and thought it would work great with some minor modifications. I shortened the overall length and height, went with some heavy duty casters to support the weight of the granite, and reinforced the cross beams that would support the 3/4" plywood sheet and granite. I went with cedar for this build since it was outdoors and I'll finish it with a clear sealant.

Built from Plan(s)
Estimated Cost
$300
Estimated Time Investment
Day Project (6-9 Hours)
Recommended Skill Level
Intermediate

Comments

2x4 Essential Adirondack Chair

Submitted by mricks1960 on Mon, 11/16/2020 - 11:31

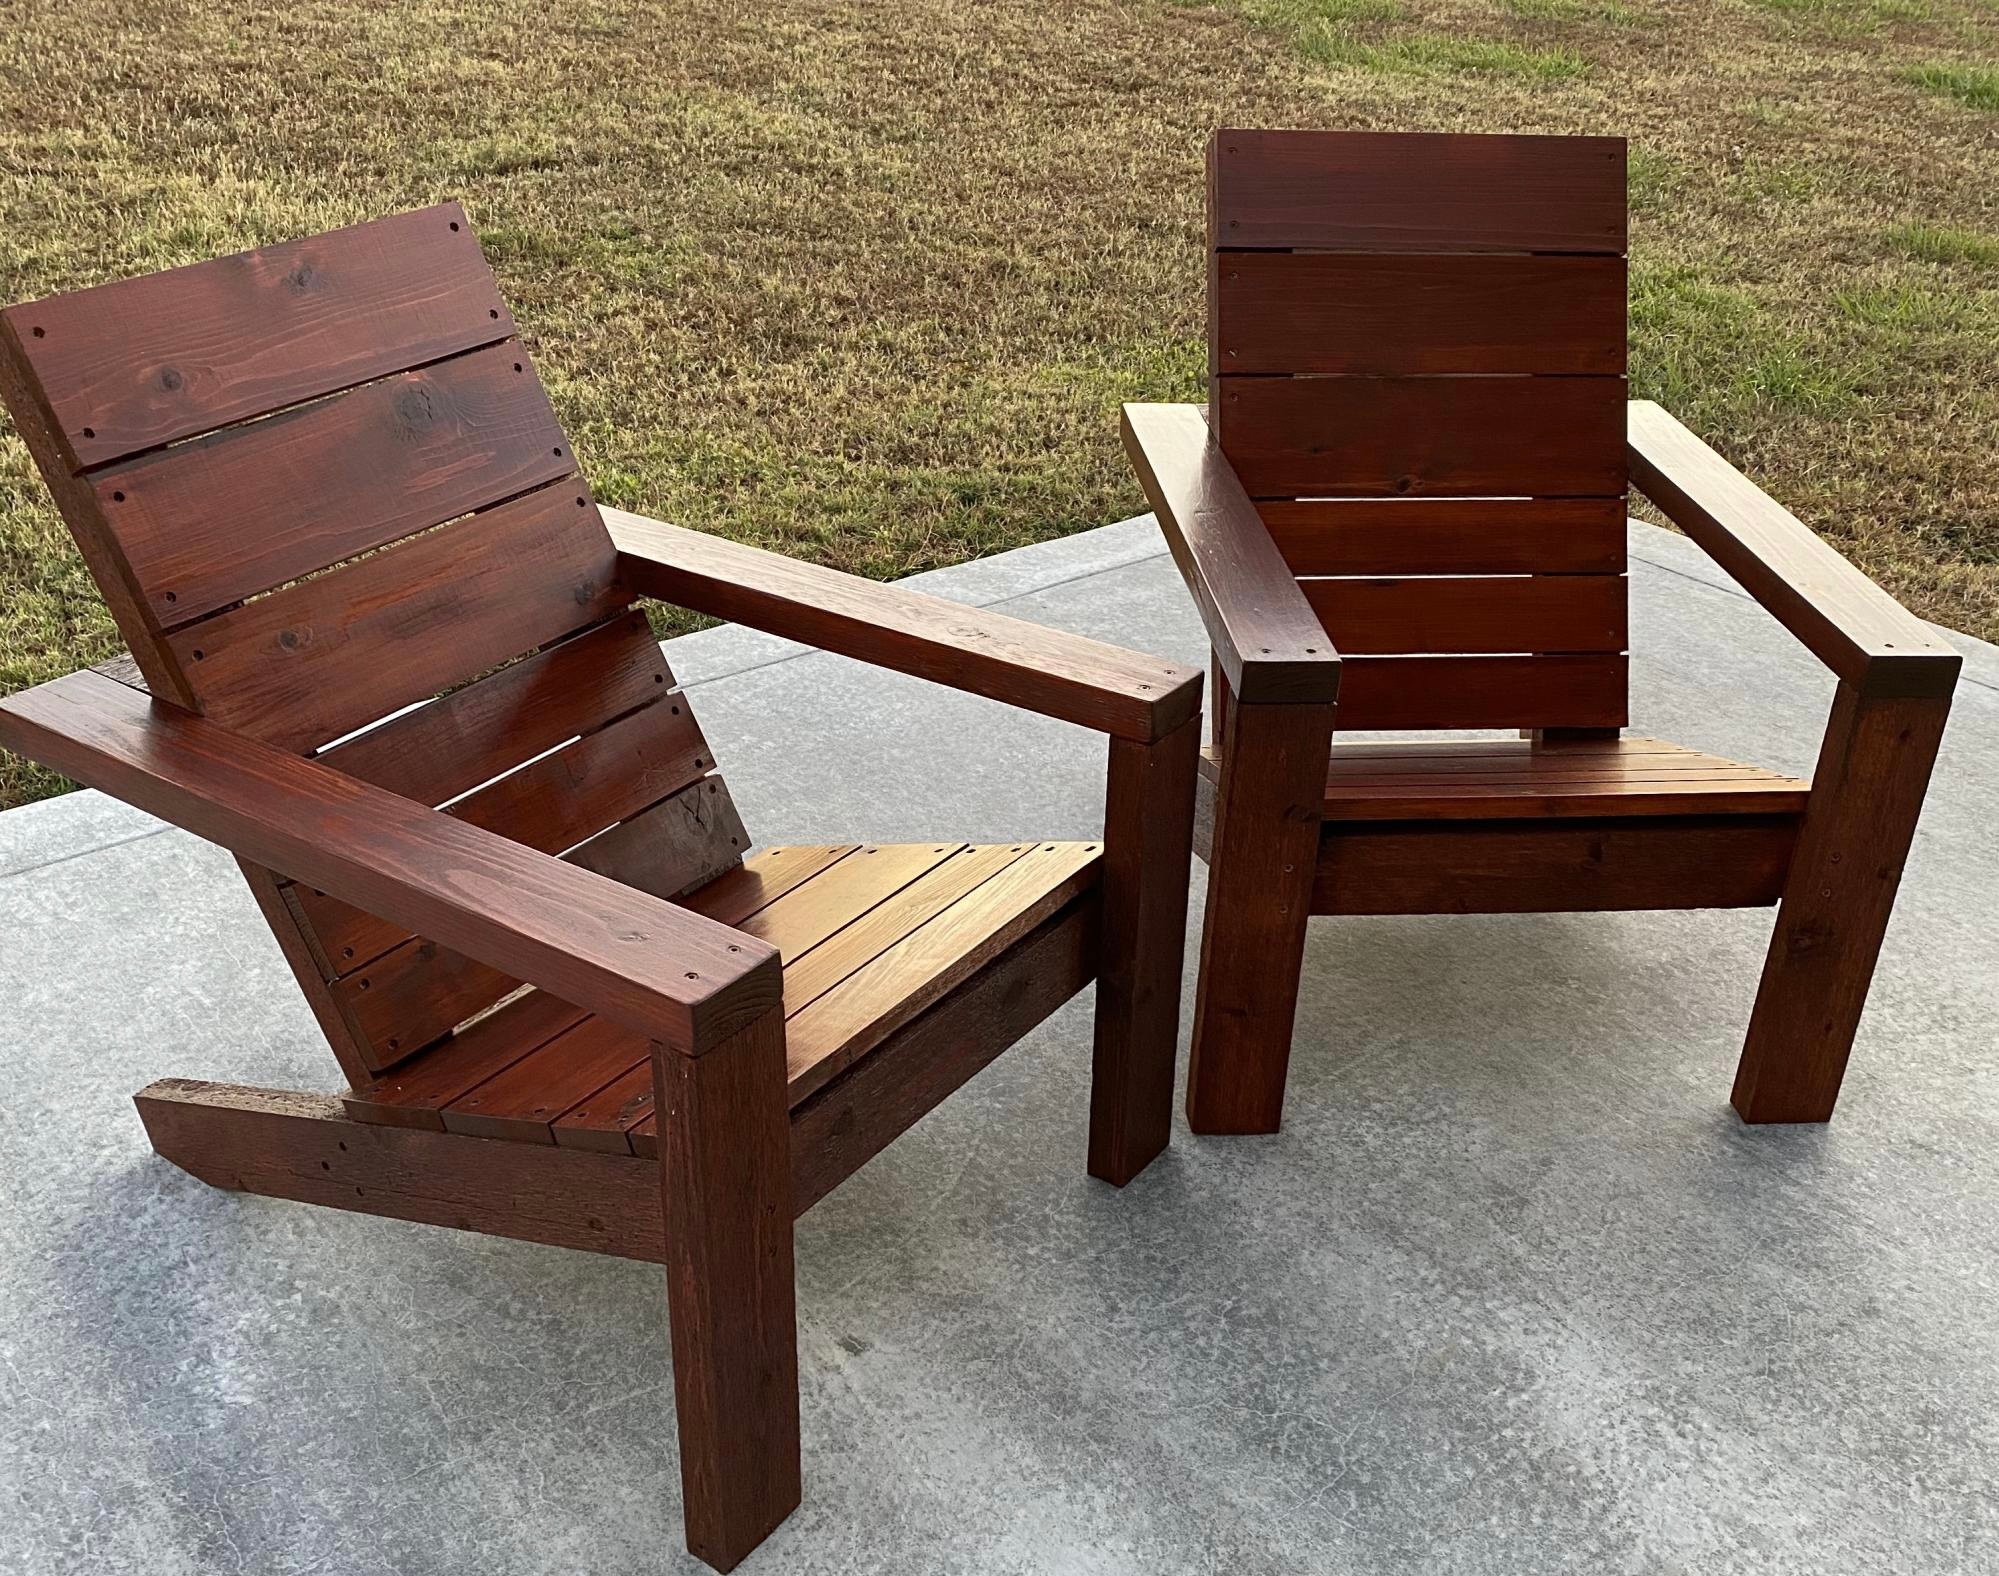
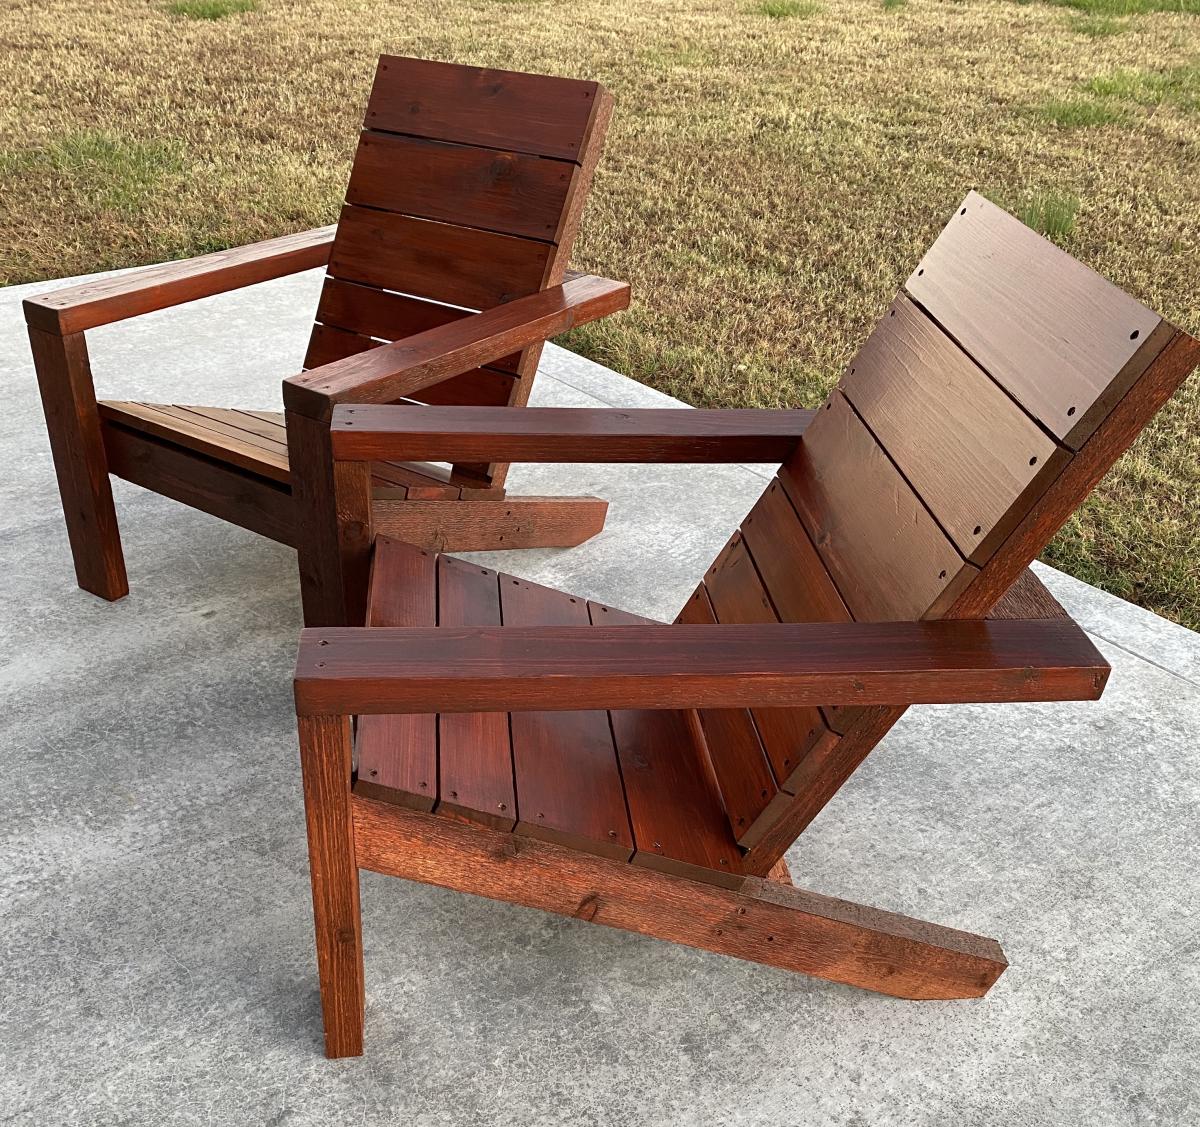
I used Western red cedar to build my chairs. The build was a little more expensive but well worth it. The chairs were stained with Cabot’s Australian Timber Oil ( Jarrah Brown). Thanks for the plans Ana, your site is awesome and you do a great job! Mark


Comments

Fancy Jewelry Box built by my daughter and me

Submitted by wowmom_cs on Tue, 05/07/2019 - 09:25

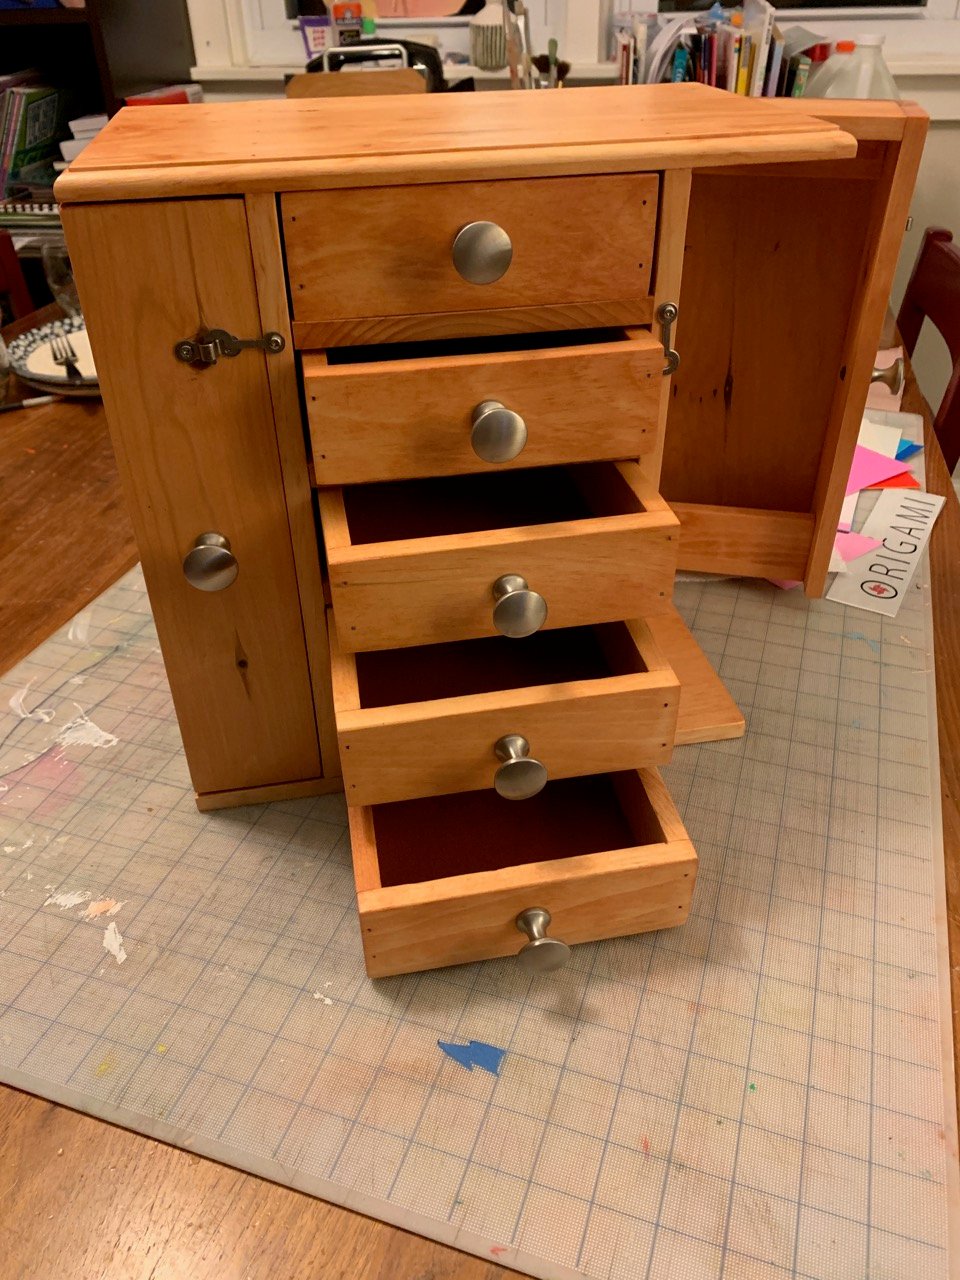
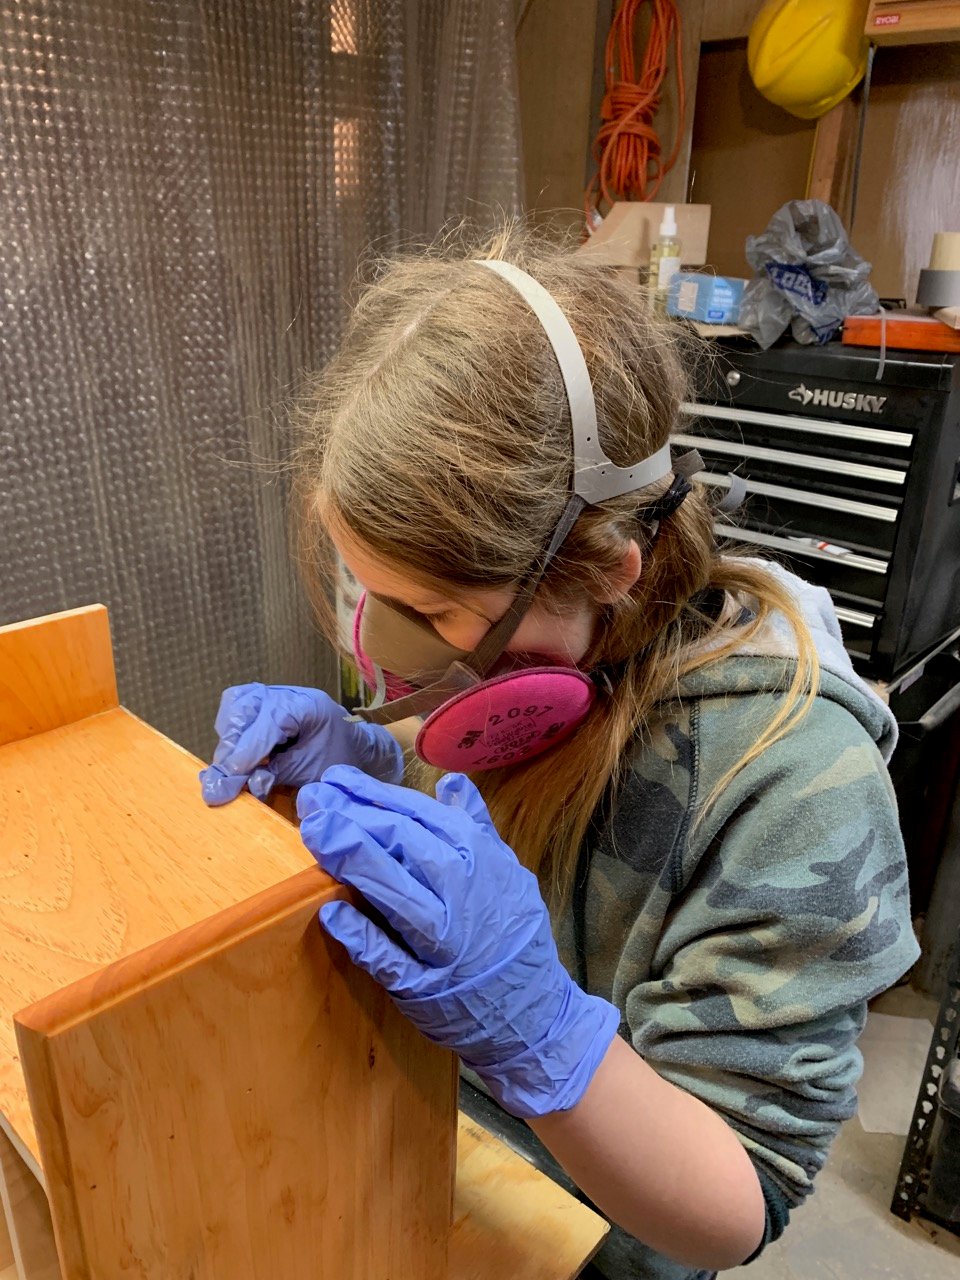
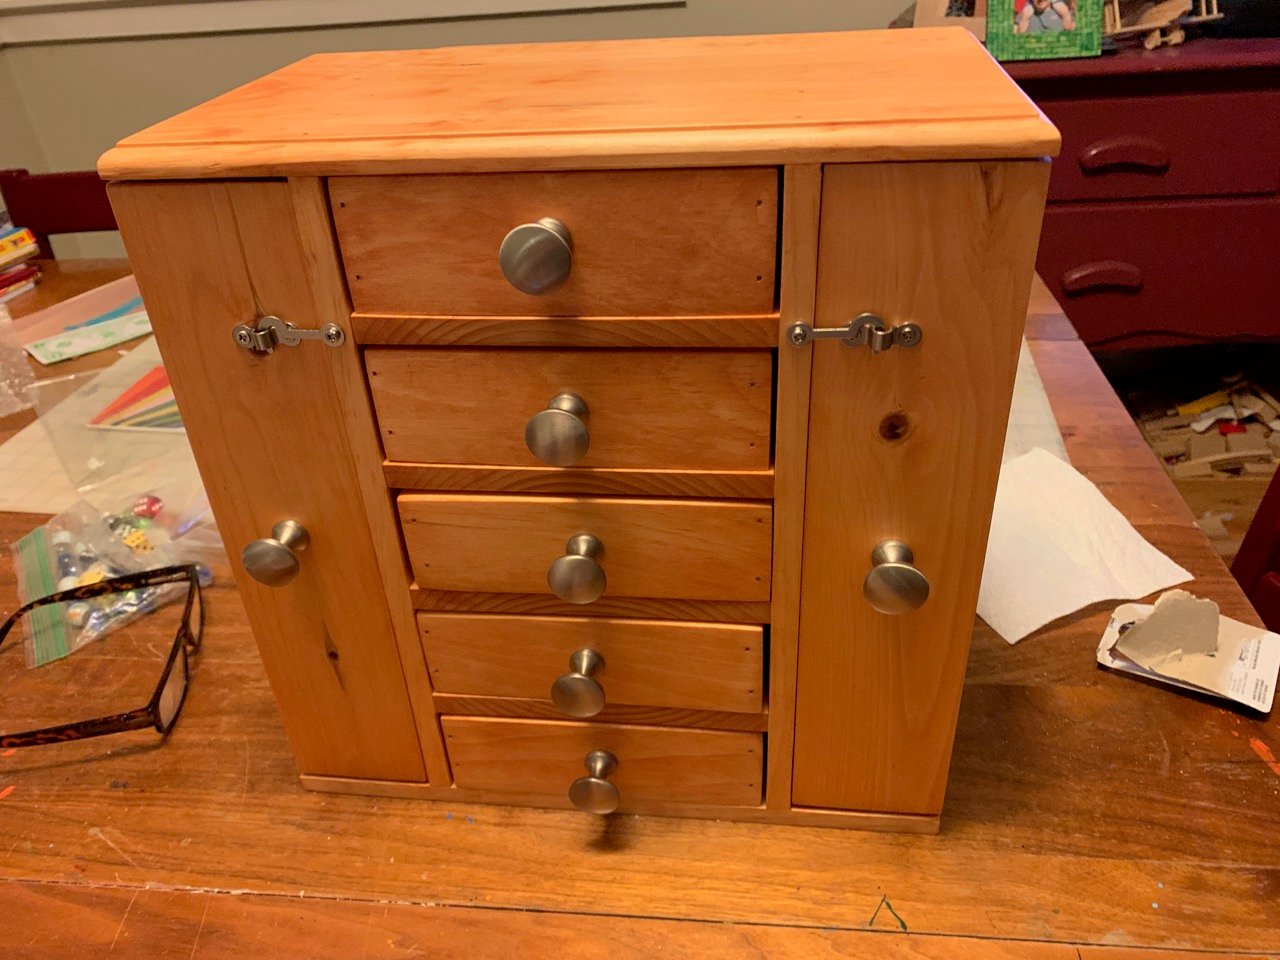
My 10 year old daughter is always creating. She recently decided that she wanted to do a woodworking project with me. We started by searching online for a design that looked doable and came up with the Fancy Jewelry Box from the Ana White website.

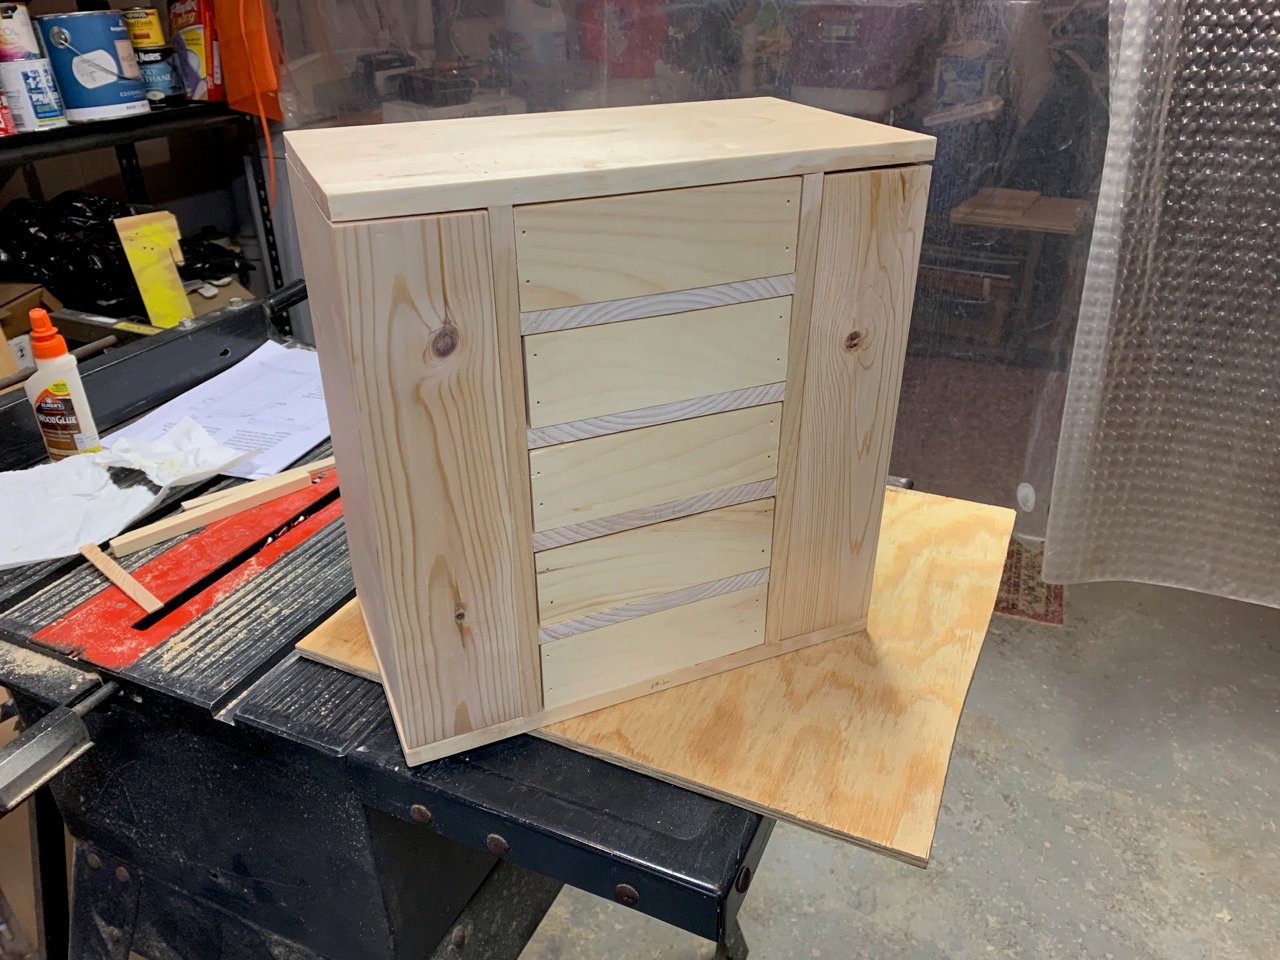
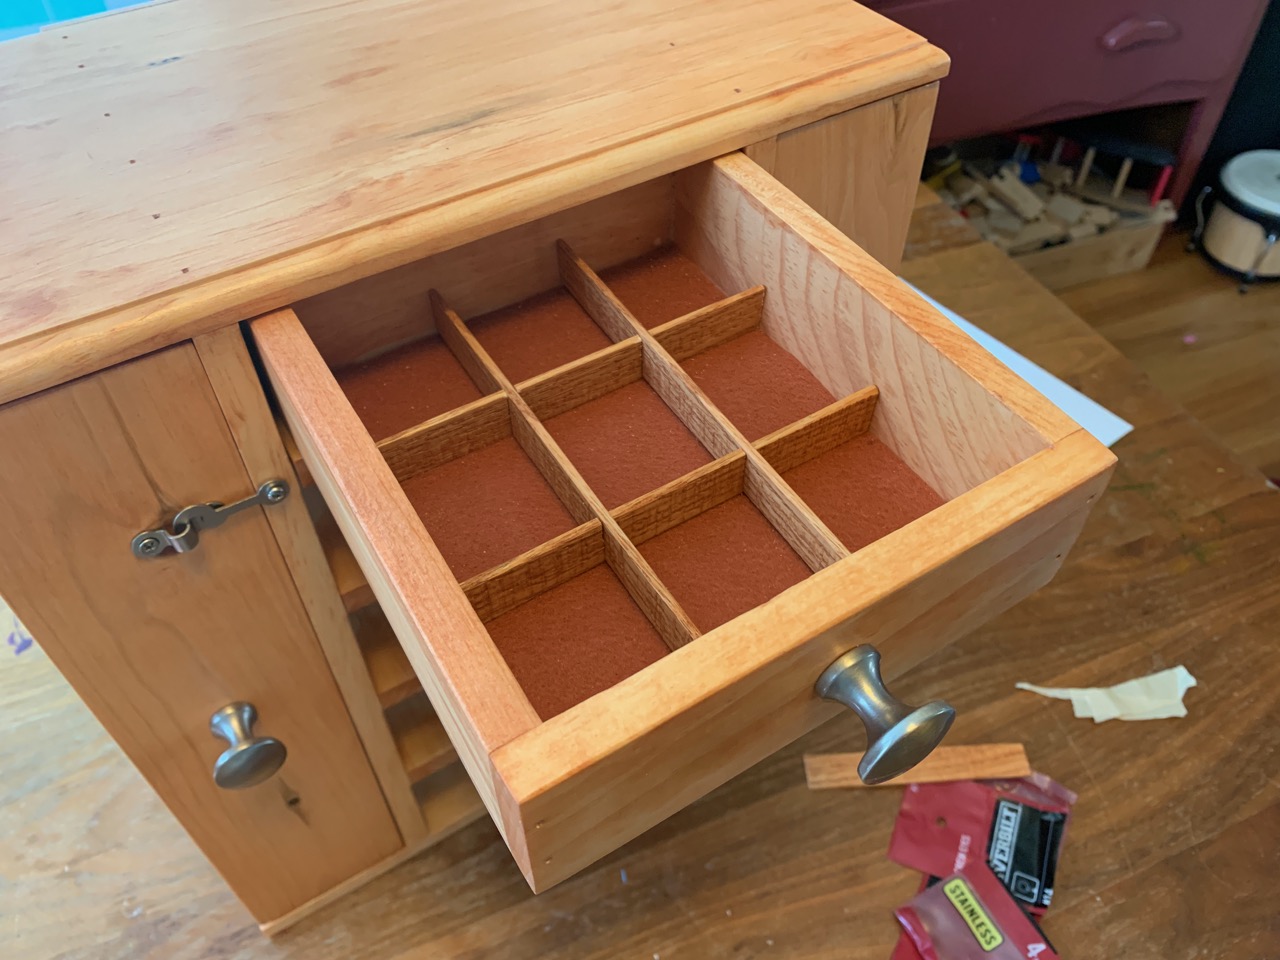
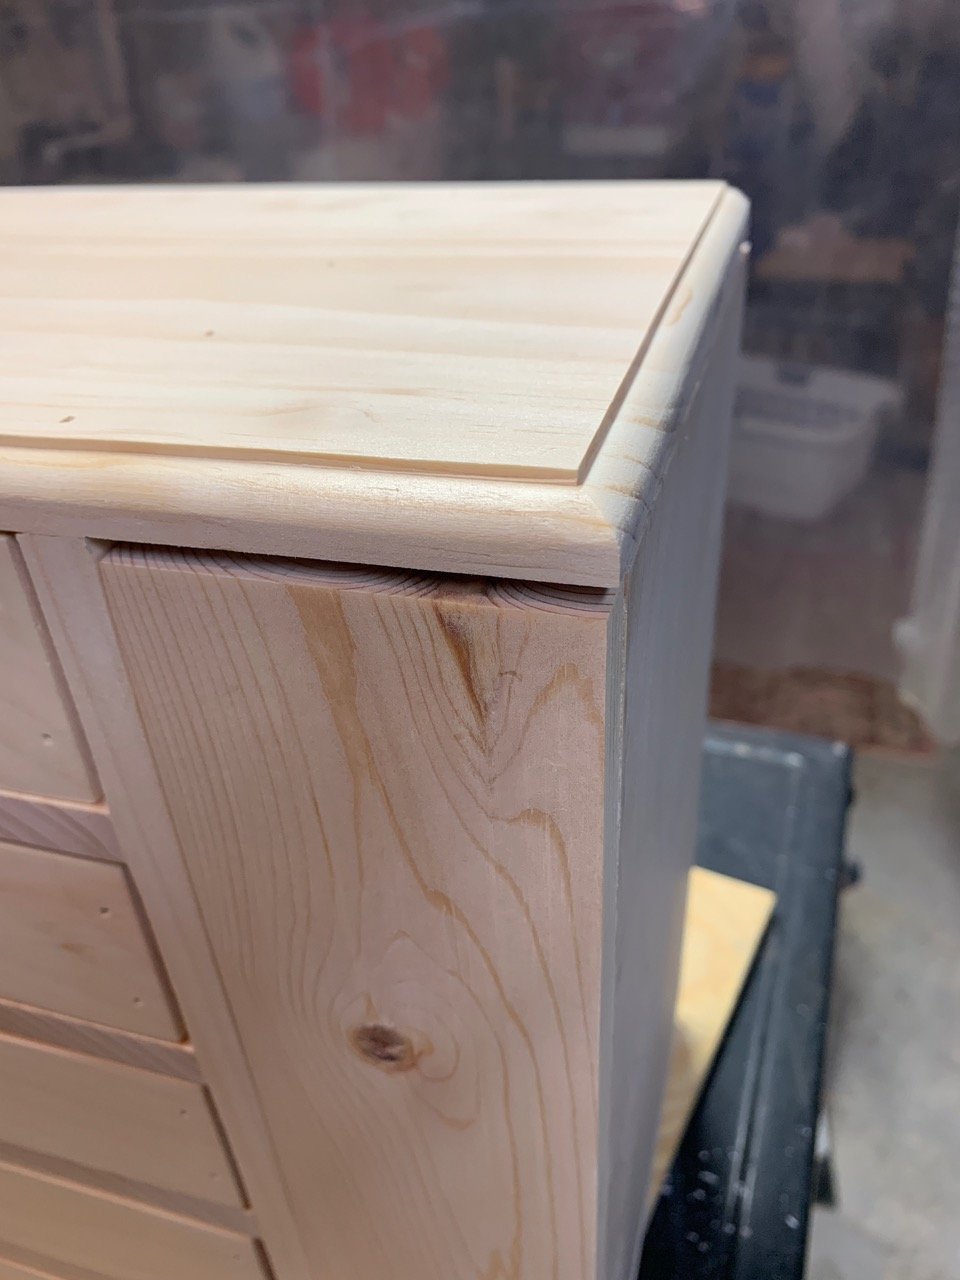
We decided that using the full thickness of 1x stock gave the piece a bit more of a clunky look than we were after. And since I have a thickness plainer, we milled our stock down to just under 1/2”. But that meant that we had to rework many of the measurements on the plan. This also made the drawers deeper and wider. Which is nice. A happy mistake happened when, while rough cutting the individual pieces before milling them down, I inadvertently cut the pieces between the drawers too narrow. We ended up turning them 90 degrees which allowed them to fit. This is why you see the end grain on those pieces. But we like it.

We also altered the plan a bit so that the edges of the plywood on the faces of the drawers and doors do not show. We added a nice border to the top of the box with a curved router bit. We lined the drawers with felt and then added some dividers here and there using some scraps of oak which we sawed thin with a bandsaw.

The original plan was to paint the box, as opposed to staining it. It wasn't until after I had nailed on the top and the drawer fronts that my daughter decided she wanted to stain it. That's why you can see those nail holes!

We had such fun making this Jewelry box. 

Built from Plan(s)
Estimated Cost
I don't remember. Not much.
Estimated Time Investment
Week Long Project (20 Hours or More)
Finish Used
Stain and water based polyurethane. We used 2 coats of poly "sanding" it between coats with fine steel wool.
Recommended Skill Level
Beginner

Comments

Modern Dorm Mini Refrigerator Microwave Cabinet

Submitted by rachelcb on Sat, 07/31/2021 - 12:35

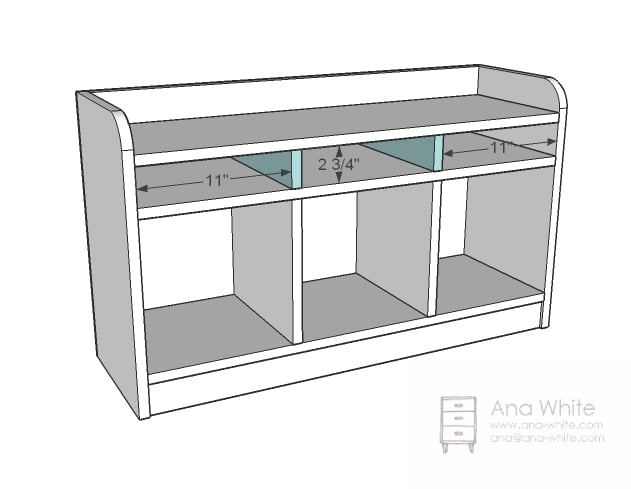
I changed plan to make deeper. I also modified the bottom trim and top. I put a ball bearing soft door drawer guide on modern door so it can slide back and forth. I feel we need more modern plans on here but with a bit of creativity and using plans you can make anything. I have never built anything before. I love General Finishes Milk Paint in Snow White and I brushed rolled it on (sanded between 3 coats). It’s basically self leveling and leaves a nice matte finish. Used door glide in picture bought from homedepot in the 24 inch and that’s how wide door was and it was 36” tall. Door glide I only used one on top of the door not on bottom as well. Door piece of fiberboard with just strips glued on and quarters spacing them correct.

Estimated Cost
$200
Estimated Time Investment
Weekend Project (10-20 Hours)
Finish Used
Dorm mini refrigerator microwave cabinet
Recommended Skill Level
Starter Project

Comments

DIY Garden Box with Trellis

Submitted by JenFarrell on Mon, 06/30/2014 - 07:13

We wanted a small garden to fit on the back patio stones and this plan fit well. We reduced the height because we have 3 small children to "help" water the plants. The trellis was hoping that we could extend the amount of produce we could grow. They're very heavy, sturdy and straightforward to build. Thanks very much!!

Estimated Cost
$120
Estimated Time Investment
Weekend Project (10-20 Hours)
Recommended Skill Level
Beginner

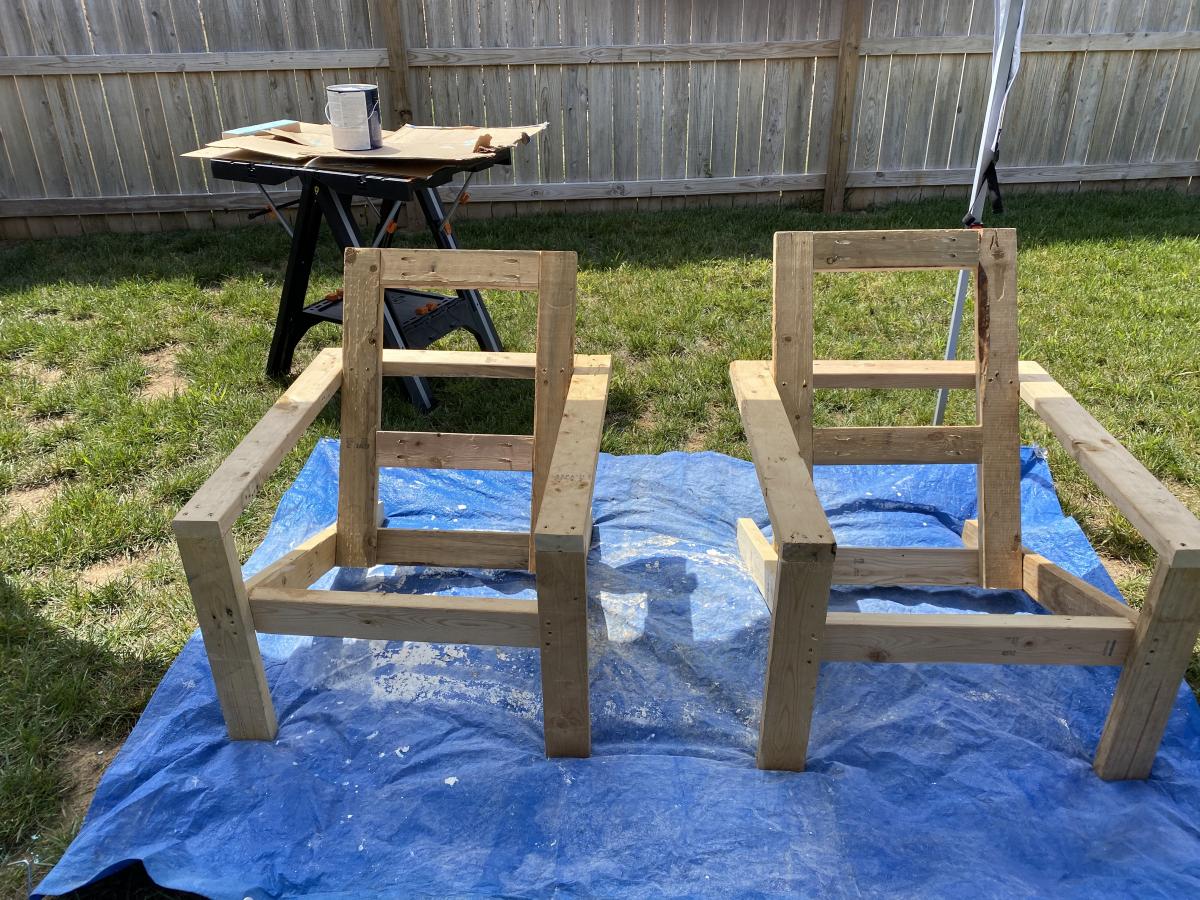
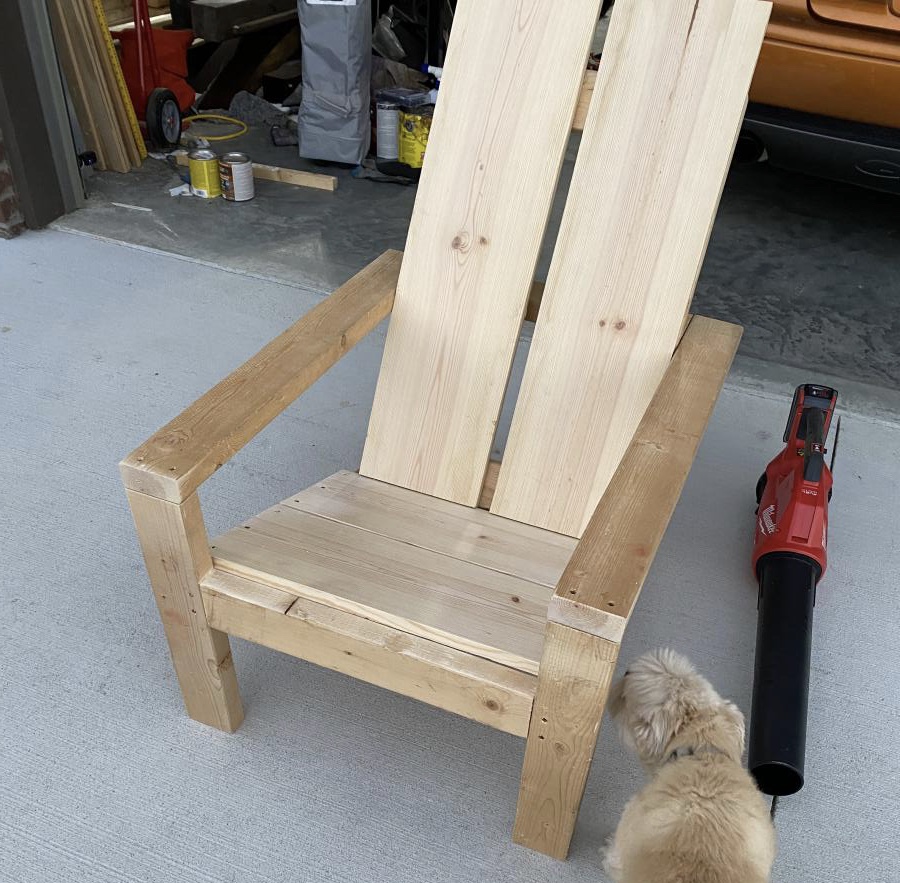
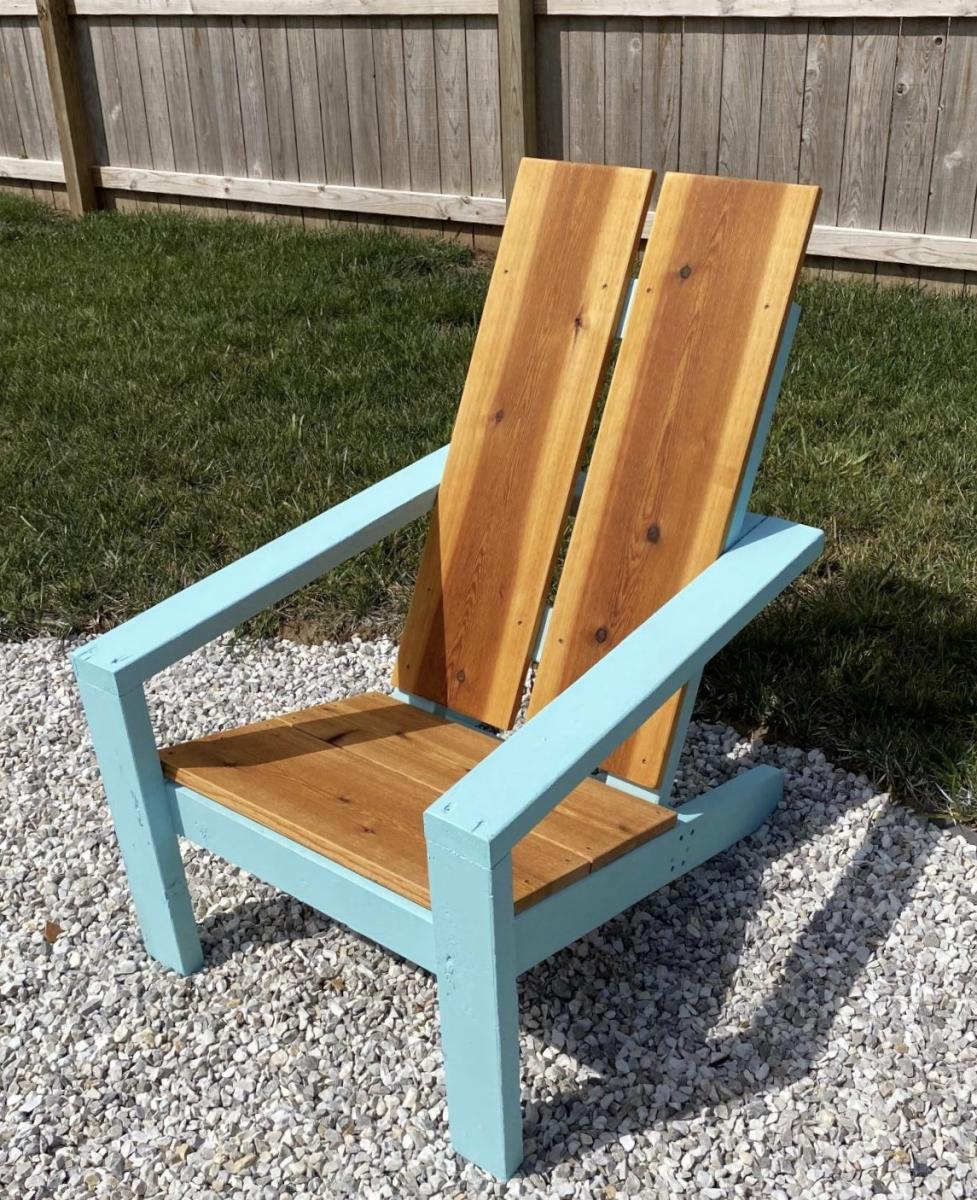
Modern Adirondack Chair, Super Sized

Submitted by Anonymous (not verified) on Fri, 08/21/2020 - 10:39

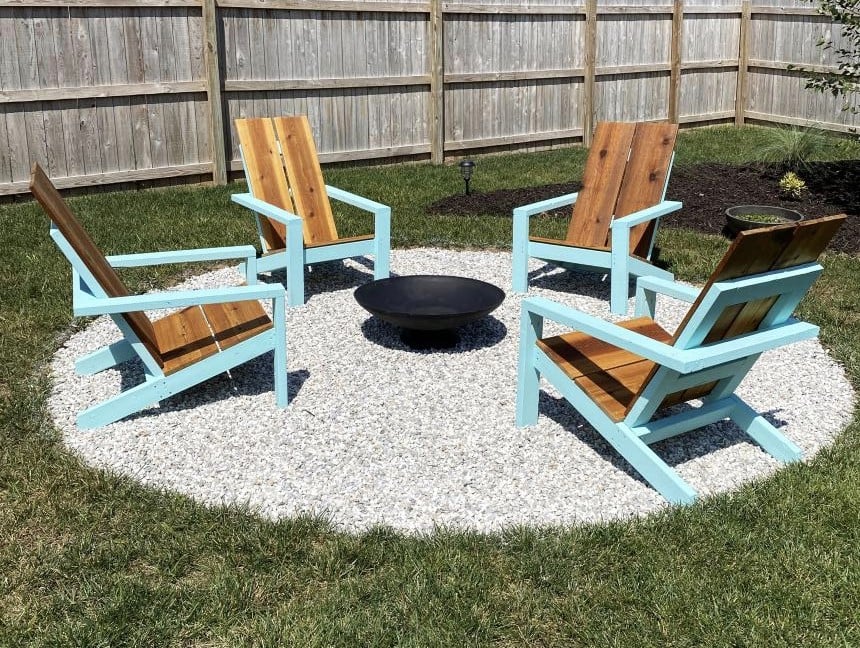
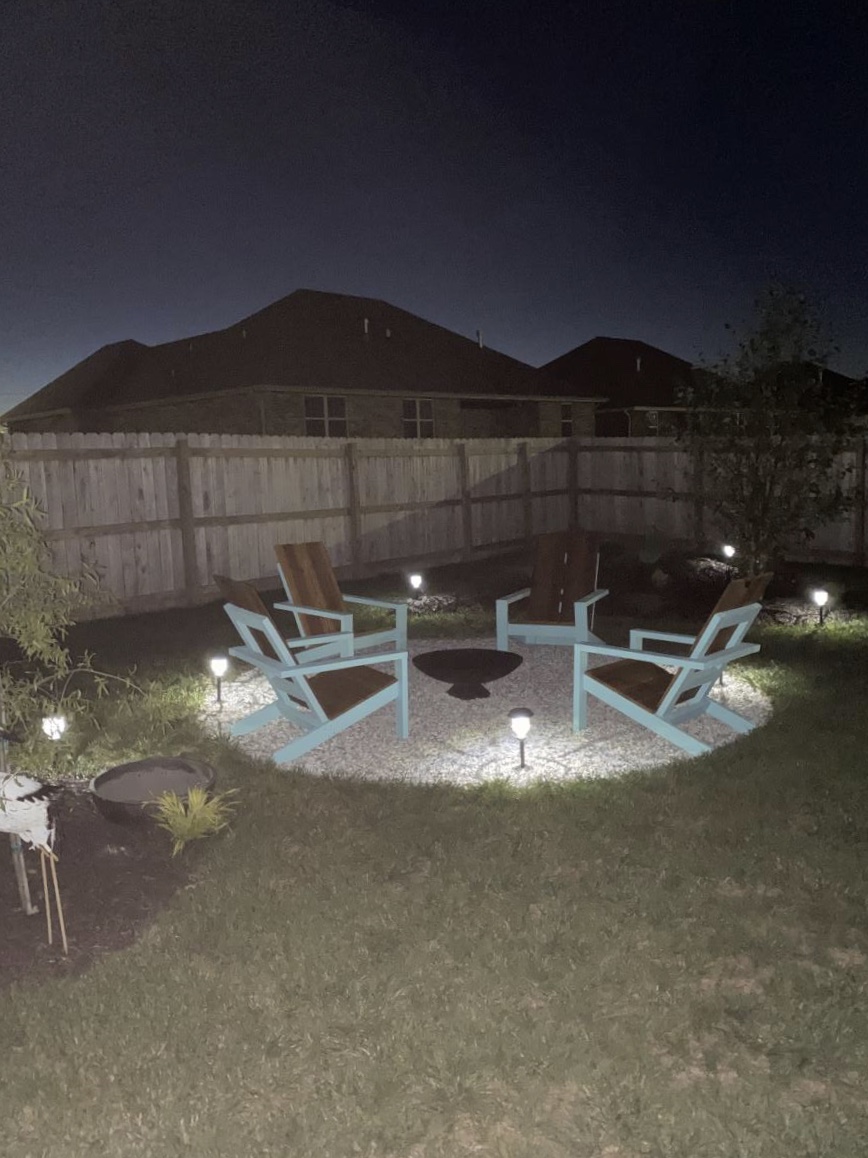
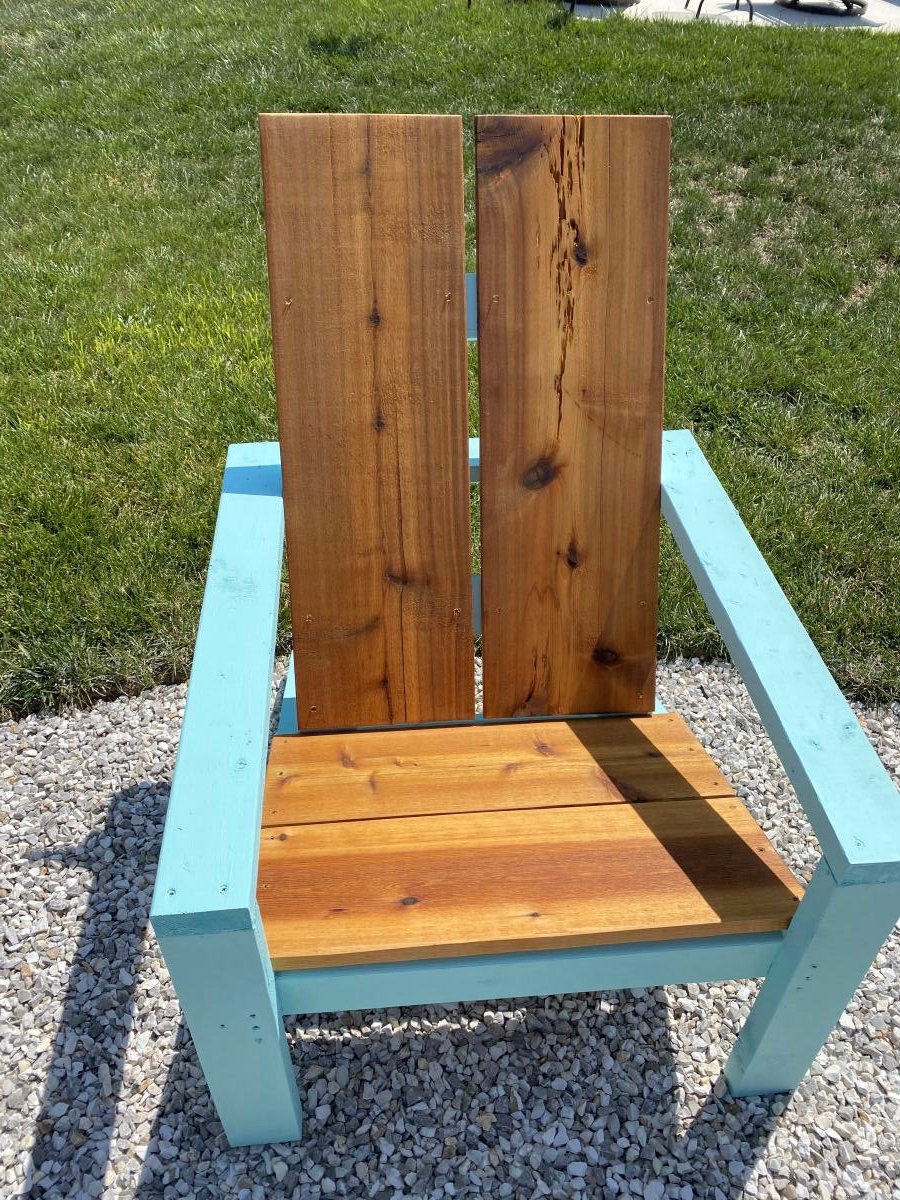
Am a big fan of Ana's work, and have used several of her plans in prior builds including the more traditional Adirondack chairs. Those stayed with my old house, and I wanted something different for my new house. Really liked her Modern Adirondack design with the floating arm rest. However, plans are like recipes to me--a guideline. I wanted the back boards to run up and down, and I am a bit more robust than the lovely and petite Ms. White, so they would need to be wider after I built the first one at 19 1/2" wide per plan. The next three I made 22" wide and that worked well without throwing off the geometry and angles of the other parts. Since I ran the backboards up and down, I needed some cross beams for stability and to give an attachment point for the middle of the boards. Cut some 2x4s at 15" wide, drilled pocket holes in both ends, and attached in between the back supports with the pockets facing up to be hidden by the back boards. All of the 2x4s were leftover cut-offs from the houses being built in my neighborhood. Since the frames were free, I splurged and went with cedar boards for the backs and bottoms. With the wider frames, I had to use 1x12s ripped down to 10 3/4" to get the right look (about a board's width in between). Needed some color, so I painted the frames Teal Seaglass from Menards. Cedar was stained with a natural deck stain from Sherwin Williams. I experimented with salt paint (mixing unsanded grout with the paint) to give a heavily textured and weathered finish but this was unecessary--the wood was distressed enough and I am a terrible painter. It also toned down the color so I skipped that step and just went with 2 coats of plain paint. It looks like outdoor furniture should up close. As always, am pleased with Ana's plans. Thank you for doing all the hard work!

Estimated Cost
about $200 for all 4 chairs due to cedar and paint
Estimated Time Investment
Weekend Project (10-20 Hours)
Finish Used
Paint - Pittsburgh matte exterior with Dutch Boy coloring Teal Seaglass
Stain - Sherwin Williams Superdeck stain, Natural finish
Recommended Skill Level
Starter Project

Comments

Seasonal And Holiday

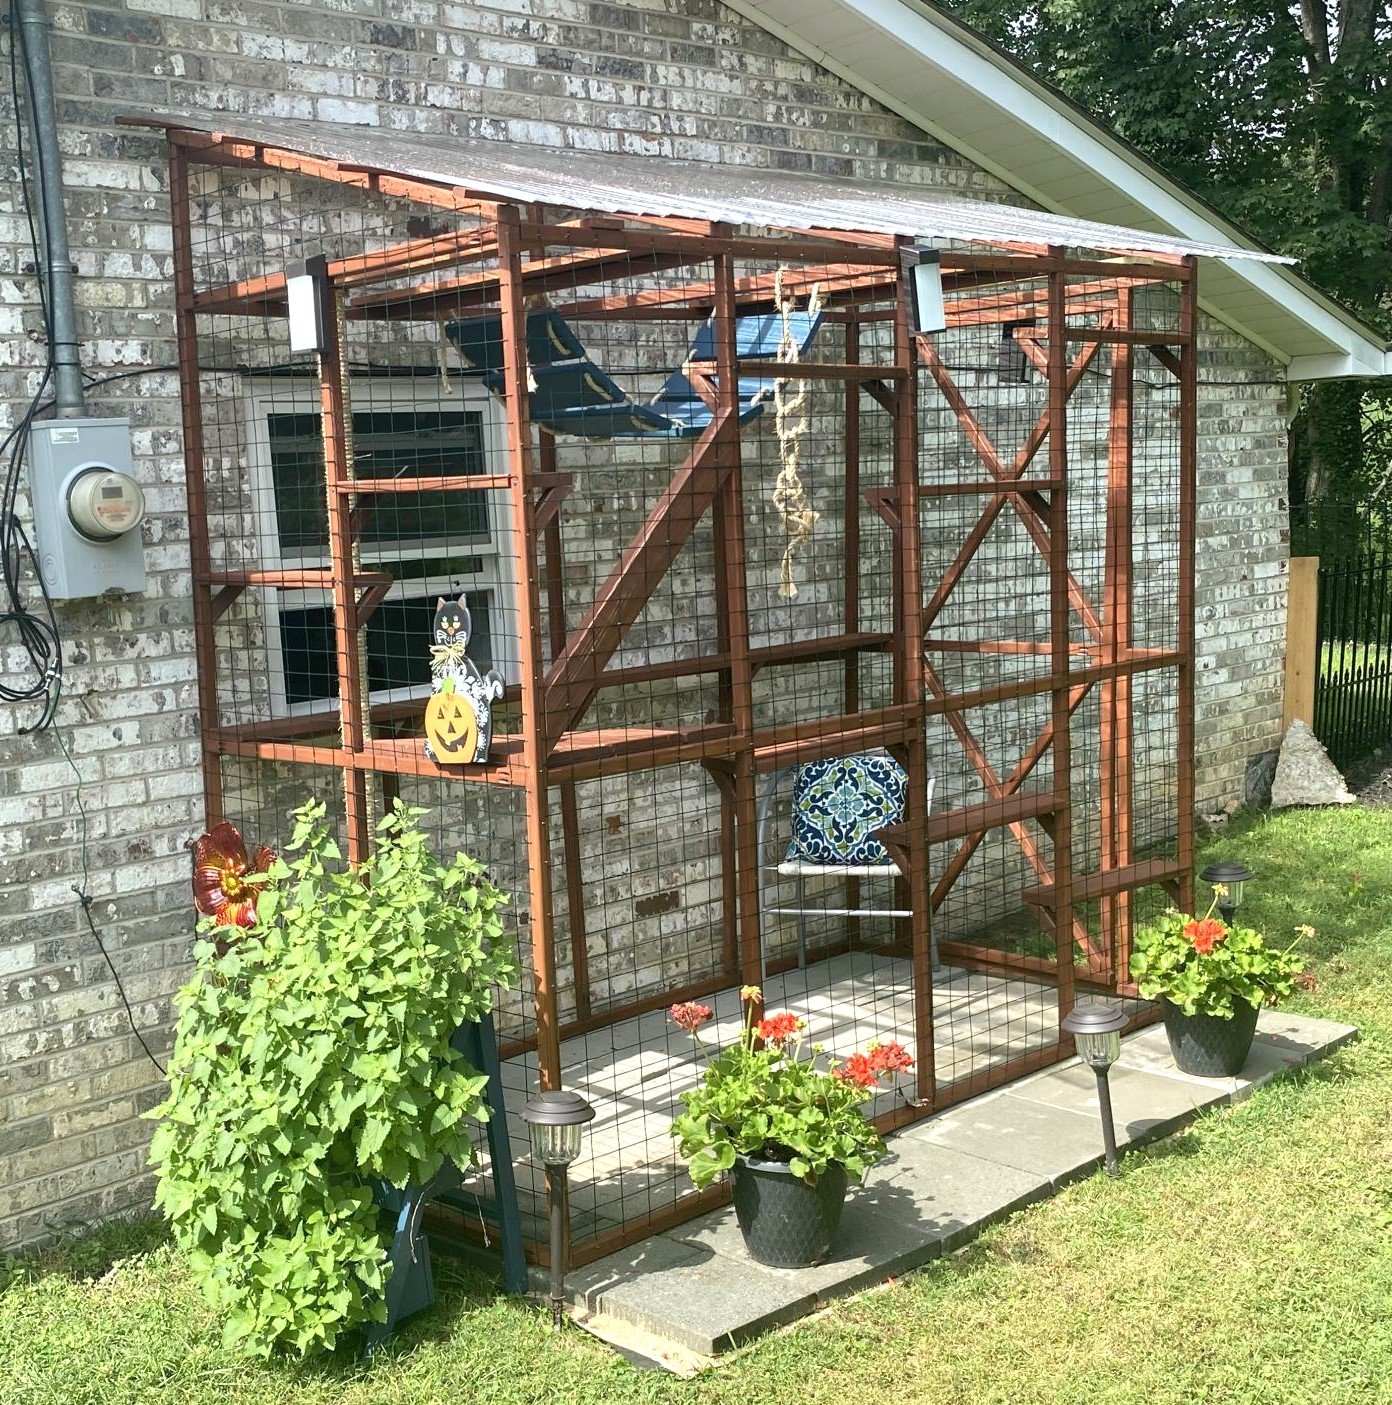
Catio heaven

Submitted by bhoppy on Fri, 09/04/2020 - 15:43

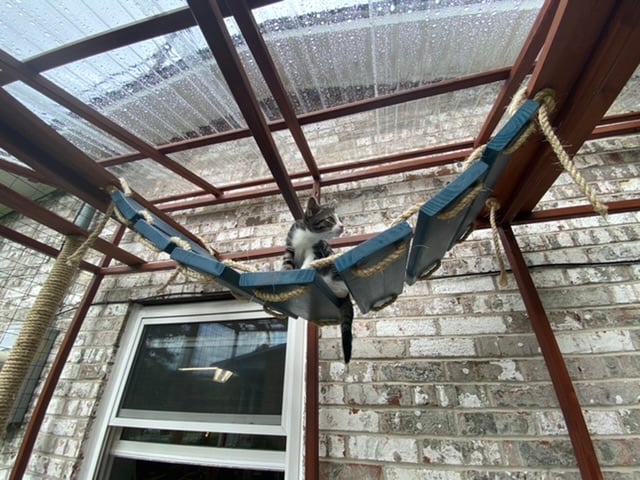
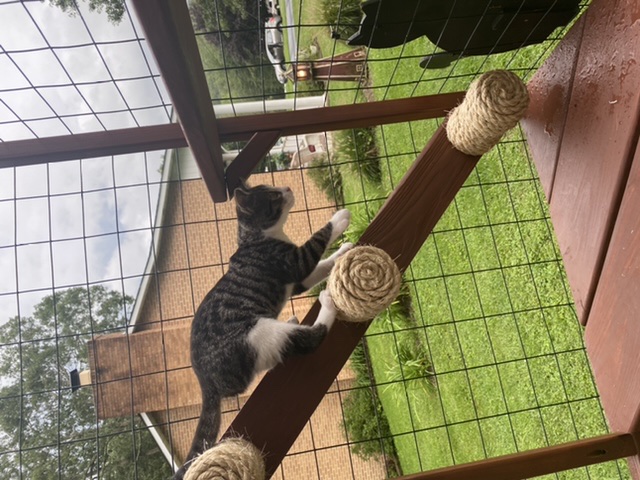
Ana doesn’t have a plan for a catio but she does for a playhouse and a cedar shed made from 2x2’s. I sort of combined my knowledge from making her plans over the last 10 years and came up with this for my cats. It was fun to make!! My baby kitten is loving it. I used garden fencing and stapled it to the outside and pocket holes for the walls. I made each wall individually like the playhouse then connected them once in place.


Estimated Cost
$250
Estimated Time Investment
Week Long Project (20 Hours or More)
Finish Used
Cabot semi transparent outdoor deck and fence stain. ($9 oops section)
Recommended Skill Level
Intermediate

Comments

Wifey

Wed, 06/09/2021 - 12:36

Thank you for sharing! My daughter wants a cat for her birthday but it can't be inside due to our son's allergies. Roaming outside isn't really an option because we have coyotes. We are going to use one of these in combination with an underground electric fence.

Seasonal And Holiday

Do-It-All Mobile Workbench

Submitted by JL Hurst on Wed, 11/28/2012 - 11:02

The need for a proper workbench in my garage/shop is a must, but. So is space! I already have a fold down workbench I’ve made with ¾ inch pipe & a door, but. I just need something that can handle all my tools. So, I stumbled upon these plans from the Family Handyman & couldn’t find a reason why this wouldn’t work in my shop. It has room for storage, can easily accommodate my tools & most importantly fold up to store. Easy to build too! Make sure you read all the plans first as some of the materials could be pricey, but well worth it. Technically it’s taken 2 months to build this bench, as I operate on a firefighter/teacher’s budget & during the holiday season no doubt. I ordered all the shelf standards & brackets through Amazon, $210.00 for those alone, but they hold so much weight to support your tools I figure it’s worth it. The rest materials (wood, screws) were purchased at Home Depot for around $150.00. The plans called for ¾ inch ply & it was $45.00 per sheet. However they did have a smaller thickness for $22.00 per sheet & was only a 1/32 inch thinner. I plan on topping all my surfaces with some ¼ inch tempered hardboard later on so I knew it would work. That also left me adjusting my screw size to mount my brackets. Due to the reduction in thickness of the plywood all my #8-1 inch screws needed to be adjusted to ¾ inch so to not screw through the ply. I also hit the molding isle to nab some pieces to use as furring strips to use under the shelves before attaching the brackets. This way I can sand each strip to match before mounting to make sure it lined up flat with the center top. One more thing; where it says “drill 1/8 inch hole in brackets make sure you use 1/8 inch pop rivets. I barrowed a pop rivet gun & was handed some rivets as well. Popped two & they had to be trashed because the rivet size turned out to be 5/32. So I stepped up in drill bit size & it all worked out. As I said, I’ll be topping it with some ¼ inch hardboard. I also plan to run it’s own electrical with an outlet on each post. I hope you all enjoy & this can help!

Estimated Cost
$350.00
Estimated Time Investment
Weekend Project (10-20 Hours)
Recommended Skill Level
Beginner

Comments

Rusty Cottage

Thu, 11/29/2012 - 07:03

This is by far the best workbench I have ever seen!!! Thanks for sharing. And excellent choice of table saw and miter saw.

JL Hurst

Thu, 11/29/2012 - 14:59

If I had it to do over I'd had gotten the contractor grade portable saw from Dewalt. The smaller version I have is the same 10" saw, but. It's maximum rip capasity is only 16. The other will at least rip a sheet of ply in 1/2.

Thanks for the kind words on the bench! I hope everyone that may find this valuable will. The plans came out of a 2005 issue & were hard to find on the internet.

uniquetrio2000

Thu, 07/04/2013 - 18:28

I love this work bench and would love to build it but i cant find them. Could you post them or email them to me please. uniquetrio2000 [at] gmail [dot] com

phantom1

Tue, 06/02/2015 - 05:39

I built this bench 3 years ago and I couldn't be happier. The portability, space savings and functionality make it wonderful!

StepFar

Mon, 01/08/2018 - 14:44

Am I missing the actual plans for this. I downloaded the pdf but it doesn't have the build plans apart of it.

Coffee Bar

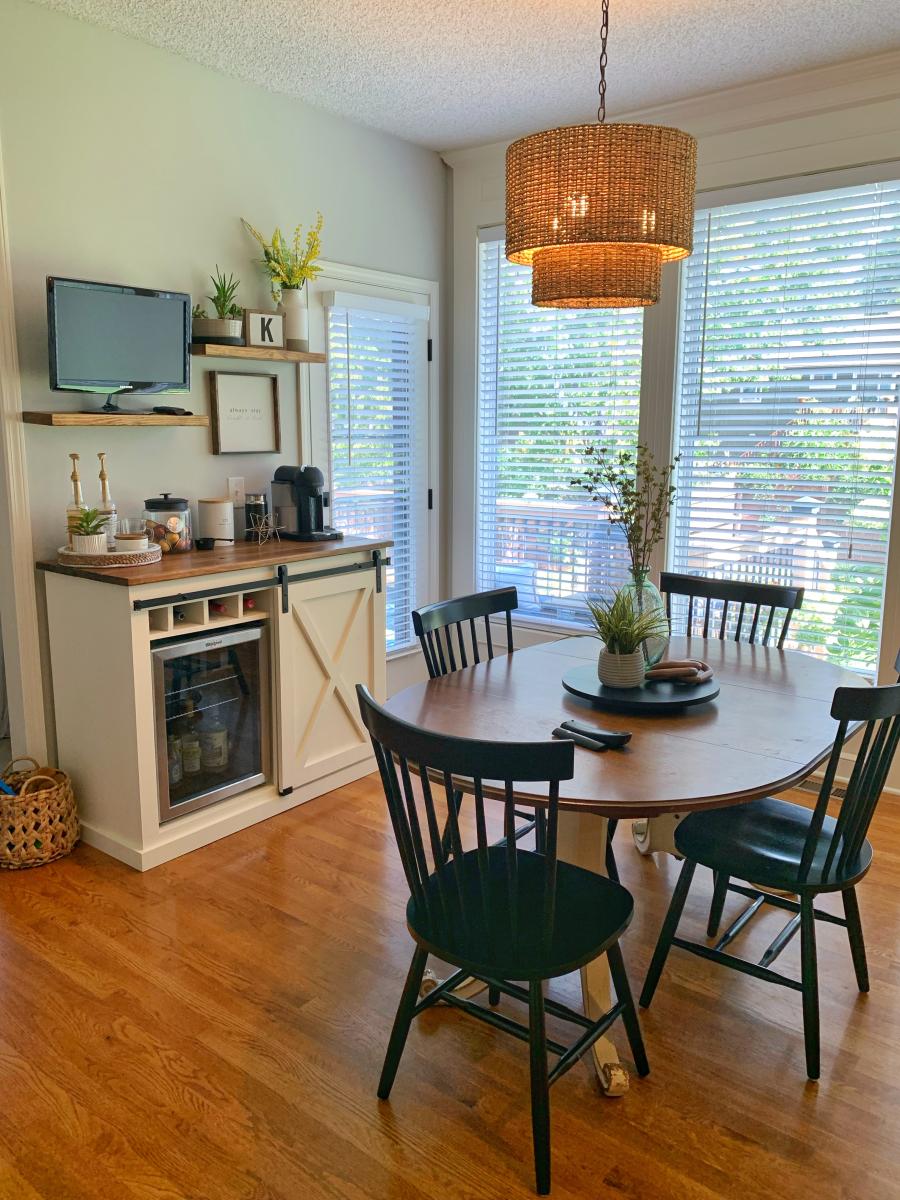
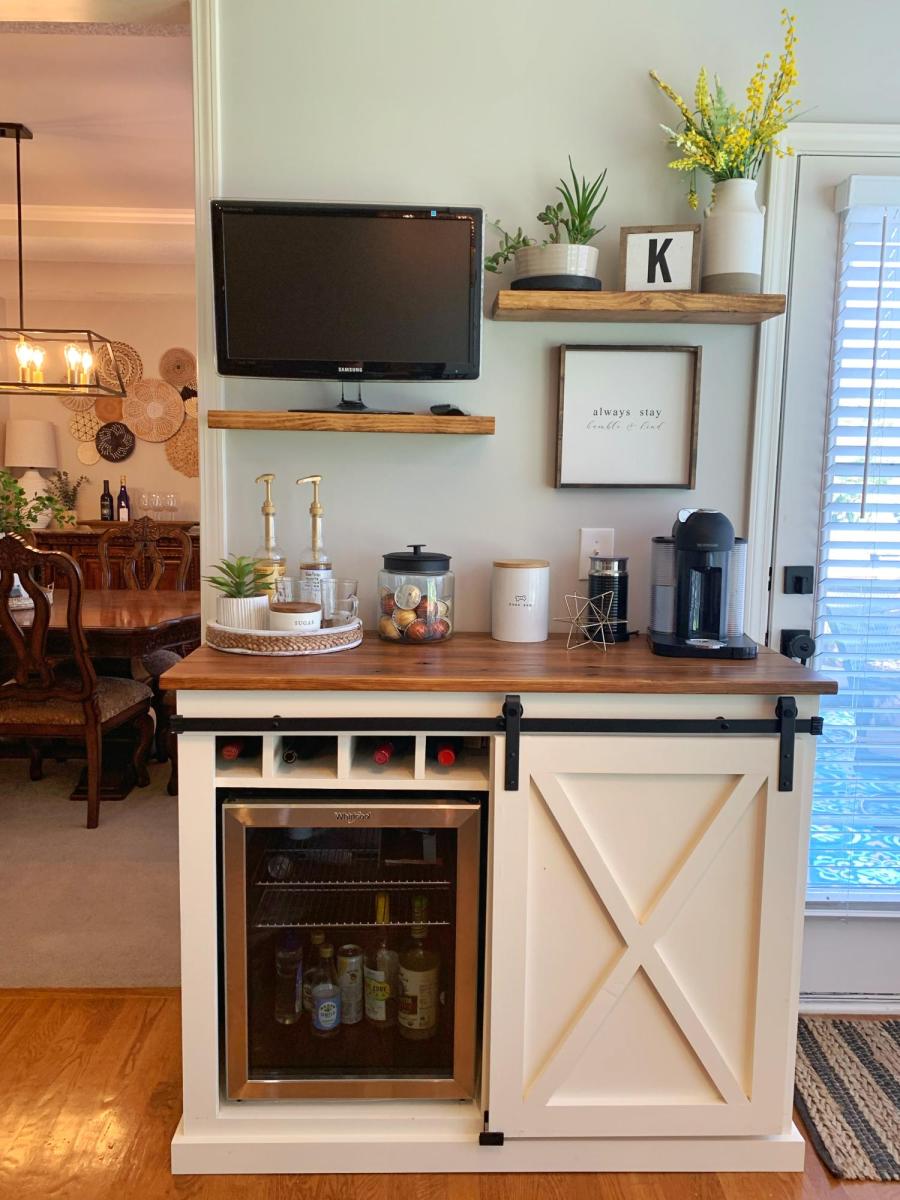
Submitted by Anonymous (not verified) on Wed, 12/28/2022 - 18:35

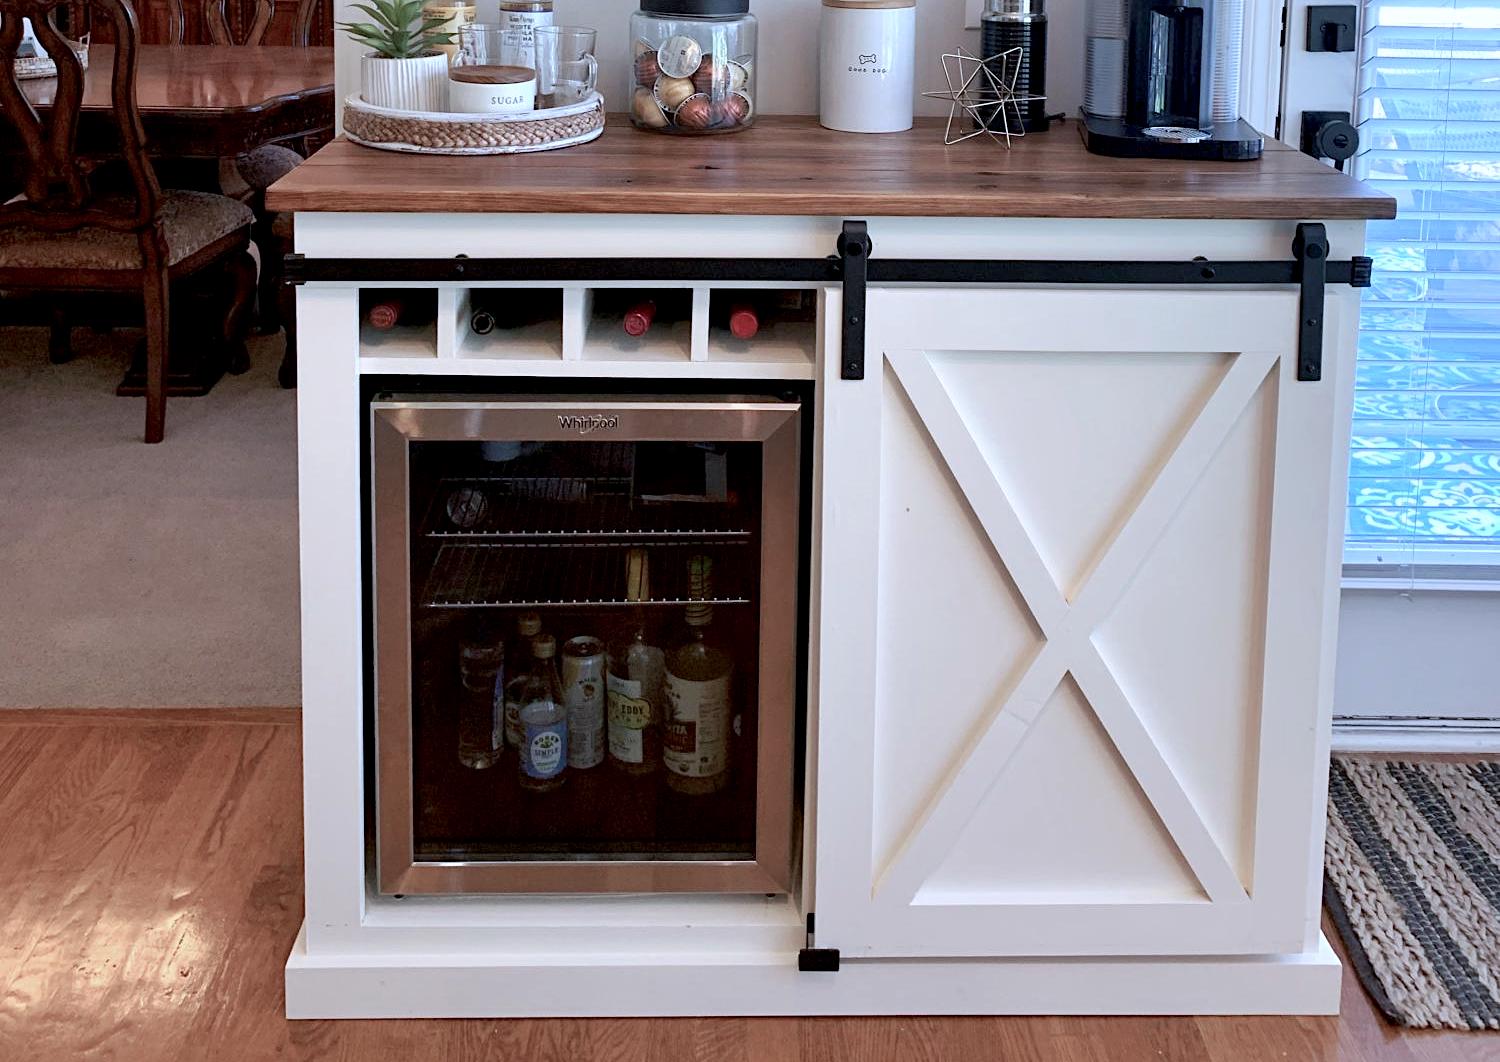
My wife wanted a coffee bar and I wanted a fridge for wine and beer. So we compromised on this.

Comments

DIY Breakfast Nook with Storage

Submitted by jfelker on Wed, 10/23/2013 - 08:54

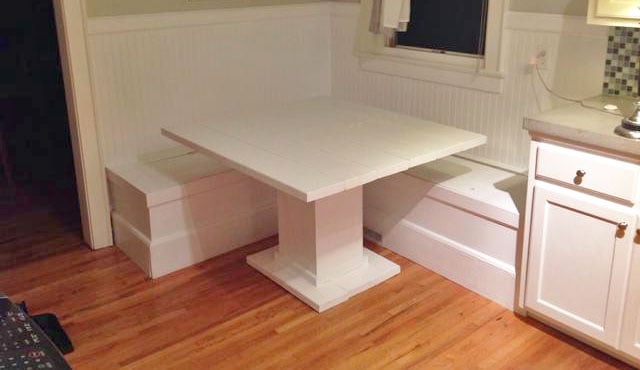
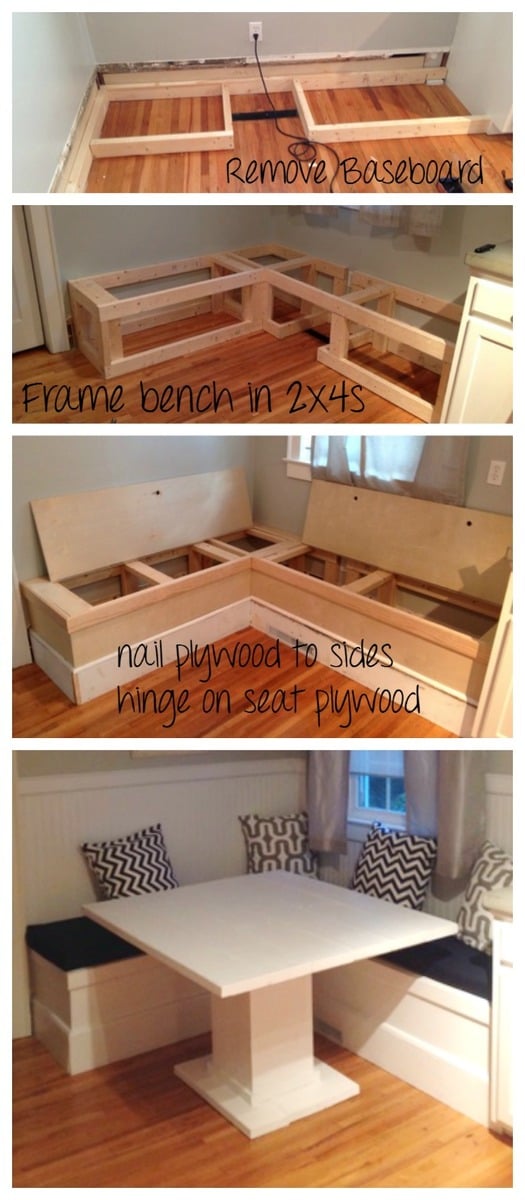
DIY Breakfast Nook

I completed this project in a weekend, over 2 days. The space was an empty void in the corner of our kitchen, so I decided to fill with a functional seating and eating space.

I first removed the trim from the wall, so I could reuse it on the front of the box later, to make the bench match the rest of the kitchen. One challenge I came across was rerouting the a/c vent through the front of the box so we didn't lose that circulation.

My sister-in-law chipped in to make the cushions and pillows to soften it up. I added the DIY table, and further defined the space with wainscoting and trim.

Estimated Cost
$500
Estimated Time Investment
Weekend Project (10-20 Hours)
Finish Used
Semi-gloss trim paint was use, to have the ability to clean later after meals, etc.
Recommended Skill Level
Intermediate

Comments

homeideas5099

Wed, 10/23/2013 - 10:10

Looks fantastic. Love how you reused the trim to have the whole unit blend in with the rest of the kitchen. Well done.

PDubs74

Sun, 01/09/2022 - 16:45

Hey there,
Absolutely love your DIY breakfast nook. Unfortunately the additional blog/info link is no longer working as I'm trying to gather more information. Would anyone be able to send the instructions and/or new link?
Thank you

Cedar Fence Board Planter Box

Submitted by iowachap on Sat, 03/15/2014 - 19:40

Using Ana's 10 dollar raised garden planter box idea, I made my own using the cedar fence boards and then used 2 x 3 x 8 studs for the L corner supports and mid center support along with top rail. This photo is the first 3, I will have a total of 6 boxes. Will post more as I progress.

Estimated Cost
20 to 25 dollars per box
Estimated Time Investment
Afternoon Project (3-6 Hours)
Finish Used
I used 6 fence boards, 2 for each side of the 6' long runs, and 1 for each short 3' section cut in half.

I got the 6' x 5 1/2 " x 5/8 " cedar fence boards at the orange box

I used 2 x 3 x 8 boards for the corners the middle support and the top rail. I got these at the blue box

I used 2 " and 2 1/2" exterior star bit screws.

NOTE: I pre drilled holes in the fence boards and screwed all the boards to the L corner sections from the inside out, so the screws are on the inside of the box, they did not poke through the 2 x 3 boards.

Instead of trying to measure how far off the side of the board I needed to go to match the vertical 2 x 3 boards, I just cut 10 11 inch long 2 x3 sections, and then used the 2 1/2" screws and made 4 L corner pieces the shorter side I screwed the short 3 foot length fence boards too, once I had both my short sections screwed to the L corner sections, I then stood one up and screwed 2 of the 6' length boards to the L corner section. Then the other side.

Once all 4 walls were done, I would then measure 3' in the middle of the 6' long side runs, and put in an additional 2 x 3 x 11" again screwed from the inside of the box out.

Now that all the 2 x 3 x 11" L corners and side support sections were connected to the fence boards I then cut 76 1/4" 2 x3 boards one for each length run, and then 2 26" 2 x 3 sections that were all cut on 45 degree angle to complete the top rail.
Recommended Skill Level
Starter Project
Back