Community Brag Posts

Childs Adirondack Chair

This chair is for my son and is a first build. The plans were super easy to follow and the whole thing went very smoothly. I used my jigsaw to round off the top edges just a bit and I really like how it turned out. Thanks for the free plans!

Built from Plan(s)
Estimated Cost
$15-$20
Estimated Time Investment
Day Project (6-9 Hours)
Finish Used
Valspar Greener Grass
Recommended Skill Level
Beginner

Grandy slider built in attic cabinets

Submitted by Anonymous (not verified) on Mon, 04/17/2017 - 08:49

I have a gambrel style barn roof in the house I built. Space is tight and the double pitch of the roof made for having to get clever. Saw the plans for grandy sliding door console got out the graph paper and went to work. There were lots of cuts and had to rip some wood with a table saw but was not terribly difficult just time consuming. 

Built from Plan(s)
Estimated Cost
700 dollars.
Estimated Time Investment
Week Long Project (20 Hours or More)
Finish Used
Tong oil
Recommended Skill Level
Intermediate

Henry bookshelf

Submitted by Lilbitmojo on Thu, 03/18/2021 - 15:33

My husband has been hounding me to build him a bookshelf for his office. I actually used wood that I already had in my garage. The next time I build it, I will follow it exactly... I used plywood on the shelves and planks on the back... next time, I will do the opposite, but I really love it!!

Built from Plan(s)
Estimated Cost
Less than 100
Estimated Time Investment
Afternoon Project (3-6 Hours)
Recommended Skill Level
Beginner

Comments

Farmhouse Table with Extenstions

Great Plan from Tommy and Ellie Farmhouse Table. Have built 3 for family members for holiday gifts. I thought I found his plans from on here but don't remember where. So all I do to refer back is google tommy and Ellie Farmhouse table.

Estimated Cost
140
Estimated Time Investment
Day Project (6-9 Hours)
Recommended Skill Level
Intermediate

Comments

Farmhouse Bed - Taylor Family

Submitted by mikeandnic on Mon, 01/19/2015 - 14:38

This was my Christmas present for my wife for 2014. Took about two days for me and my brother, with another 4 hours of staining and assembly. Could have been done quicker, but we took our time and enjoyed it! I have a good knowledge of tools, as does my brother, but I haven't done a woodworking project since Junior High School.


All in all, it was great and the result is perfect. I highly recommend using a pocket hole for the headboard attachment if doing the plywood - I didn't use one and it was tricky smiley . You can't see the plywood because I decieded to add slats to the headboard and footboard in the end (wanted to stain the wood, not paint it as planned originally).

Estimated Cost
$400
Estimated Time Investment
Weekend Project (10-20 Hours)
Finish Used
Used a dark walnut stain as the finish, however, in the end we will do an espresso colour. Final top coat using Minwax® Polycrylic® protective finish was applied as well.
Recommended Skill Level
Intermediate

Farmhouse table

Submitted by Anonymous (not verified) on Wed, 04/19/2017 - 13:36

Farmhouse tables I built thanks to Ana whites plans on her website makes building a lot easier knowing what materials to buy. I look on here all the time for new projects.

Recommended Skill Level
Beginner

Rabbit Hutch for Indoor and Outdoor

Submitted by thediyplan on Fri, 03/26/2021 - 15:34

Looking for a cute, interactive pet to add to your home. What about bunnies? These creatures make great indoor pets. But before getting the rabbits, they will need a hutch to live in. To solve this problem, I’ve made detailed plans on how to build a DIY rabbit hutch that could be used indoor and outdoor.

The hutch has a litter pan under the floor that could be removed for cleaning. Since the hutch is only 3 feet wide, it could be easily moved around.

See my website for additional pictures and how I've built it, TheDIYPlan.com

Estimated Cost
$140
Estimated Time Investment
Day Project (6-9 Hours)
Recommended Skill Level
Intermediate

Farmhouse Table

Submitted by SamWiseMan on Thu, 03/14/2013 - 11:55

I used the idea of the Farmhouse Table and Coffee Table to build this table and benches. I used simple whitewood for the table because it's cheap. This table doesn't take long to build, only a few hours. But this time I used oil-based stain and had to swap out a few boards because they were warped so it took longer than expected.

Estimated Time Investment
Weekend Project (10-20 Hours)
Finish Used
Some type of Minwax Walnut stain.
Recommended Skill Level
Beginner

Comments

Bed steps

Submitted by enicolle on Wed, 01/21/2015 - 12:29

I could have sworn this project was inspired by a stool I saw on here but I just spent way too long trying to find it.  I wanted these to match our bed frame, which is really tall combined with our mattress.  We needed stools that could be comfortably stood on with two feet, but could also slide under the bed when not in use.  This was my first "finished" DIY project besides a dog house I made from plans from Lowe's.  This was the first time I planned it and created it myself.  They are very sturdy and look like they came with the set.  I am very happy with them. I took my time on them because I was doing a lot of learning and wanted to get it right.  I distressed the wood with chisels, files and carving knives.


Estimated Cost
I'm guessing around $50 in wood.
Estimated Time Investment
Weekend Project (10-20 Hours)
Finish Used
General finishes Java gel stain with satin exterior top coat.
Recommended Skill Level
Beginner

Comments

Shoe Dresser

Submitted by Anonymous (not verified) on Sat, 04/22/2017 - 13:52

Loved this project!  We had an old headboard so my wife came up with the idea to cut off the top posts and use them as legs.  

Built from Plan(s)
Estimated Cost
125
Estimated Time Investment
Day Project (6-9 Hours)
Recommended Skill Level
Intermediate

Deck chairs

Submitted by alice on Wed, 03/31/2021 - 11:31

These are my second ever project. The plans were really clear to follow so thank you for sharing them. The spacing between the seat and back slabs is a bit less than what it says in the plan because I live in the UK and the dimensions I could find were a bit different. Overall assembly didn't take too long, maybe 10-15 hours for both. Finishing seemed to take ages between filling the screw holes, sanding etc. Really happy with the end result!

Finish Used
Cuprinol garden shades
Recommended Skill Level
Beginner

Comments

Rustic Buffet Table

Love how this rustic buffet / console table turned out! It was made as a companion piece for a Farmhouse - style table. Modified to be shorter (64"), and made without the decorative hardware or the "X" detailing from the original plan.

Built from Plan(s)
Estimated Cost
$55
Estimated Time Investment
Day Project (6-9 Hours)
Finish Used
Custom mix of Minwax Weathered Oak + Antique Walnut Stain. Three coats of hand-rubbed polyurethane.
Recommended Skill Level
Beginner

Modified Fancy Hall Tree

Modified the dimensions to 13 inches deep, 40 inches wide and a lower clearance of 4 inches to accommodate a vent diverter for an exsisting heat vent.

I used Maple Plywood (3/4 inch) for the bench, and 1/2 inch for the back (to allow maximum seating depth on the bench).  The paint was leftover Valspar reserve paint from a recent bathroom project... and the paint dipped baskets were found at a local store called "the christmas tree shops" for under 25 dollars for both!


The project came in at just under $150 - well below our budget if we had purchased something in store. It was mounted to the wall for safety, as we have a dare devil toddler! 

Built from Plan(s)
Estimated Cost
$140
Estimated Time Investment
Weekend Project (10-20 Hours)
Finish Used
Valspar Satin in Fragile Blue
Recommended Skill Level
Beginner

Comments

rosesrred24

Mon, 05/25/2015 - 18:04

It looks awesome! I need the exact same measurements! Unfortunately I'm not smart as you :p , by any chance do you still have the measurements I would need, if so please share. Thanks

A-Frame Chicken Coop - Easy to Clean

Submitted by Anonymous (not verified) on Mon, 04/24/2017 - 14:25

Thanks for the free plans. I did have to make modifications for the doors. i hid the hinges to give it a clean look. i used cedar for the trim and Plywood Siding Panel T1-11 4 IN OC (Common: 19/32 in. x 4 ft. x 8 ft.; Actual: 0.563 in. x 48 in. x 96 in.) for the doors.  i used a metal flashing for the roof so it will vent.

Built from Plan(s)
Estimated Cost
$250
Estimated Time Investment
Week Long Project (20 Hours or More)
Finish Used
BEHR Transparent waterproofing finish (Cedar Natural Tone) NO 501
Recommended Skill Level
Intermediate
Seasonal And Holiday

Christmas Farmhouse Doll Bed 2

Made this for our daughter's American Girl doll for Christmas. The mattress is a basic box pillow, made out of the cheapest bleached muslin from Joann, and stuffed with polyfill. I had to make a couple before I got it right. It needed to be a little longer and wider than the dimensions of the bed to fill the space all the way. It's been a while since I made them, but I'm pretty sure I cut the box corners at 2" and added an inch to the width and length of the actual bed measurements, plus a 1/2" seam allowance on each side. It makes for a feather bed look. The coverlet is 2 pieces of broadcloth sewn right sides together (leaving an opening to turn) and then turned right side out. Then I sewed trim in rows down the front. The blanket at the foot of the bed is furry minky fabric from Joann. It was really fun to build this bed and design the bedding. Thanks for the plans! My daughter loved this!

Estimated Cost
$15
Estimated Time Investment
Afternoon Project (3-6 Hours)
Finish Used
white spray paint
Recommended Skill Level
Beginner

Comments

spiceylg

Wed, 03/20/2013 - 05:51

Another bed that came out great, but that bedding, wow! Especially love that little rosette pillow!

Buffet Table

Submitted by Teddy181 on Thu, 01/29/2015 - 21:26

I changed the dimensions to fit the entire width of my framed pea gravel patio and stenciled a design on the table top.

Estimated Time Investment
Week Long Project (20 Hours or More)
Finish Used
I used a dark stain on the base and exterior latex paint on the top then covered the entire project with TWP 300 wood protectant.
Recommended Skill Level
Beginner

My diy dust collector

Submitted by Anonymous (not verified) on Fri, 04/28/2017 - 18:12

This was a super easy, super simple project that took me about an hour and a half and was essentially free! Had I not had the blower fan given to me, I'd have used the leaf blower we have that has barely ever been used. 

Estimated Cost
Free fitty
Estimated Time Investment
An Hour or Two (0-2 Hours)
Finish Used
None
Recommended Skill Level
Beginner

Beginner farmhouse coffee table

This is my 2nd project (first was the open shelves), but my first "bigger" project. Lovethe plans, the X crosses were tricky with just a circular saw. I am investing in a miter and looking to get into some tougher projects as I just purchased a home.

We just did a little stain to keep that natural wood look.

Estimated Cost
$65
Recommended Skill Level
Beginner

Comments

Adapated shoe cubby to on its side with LED lights.

Submitted by forbeskm on Thu, 03/21/2013 - 22:26

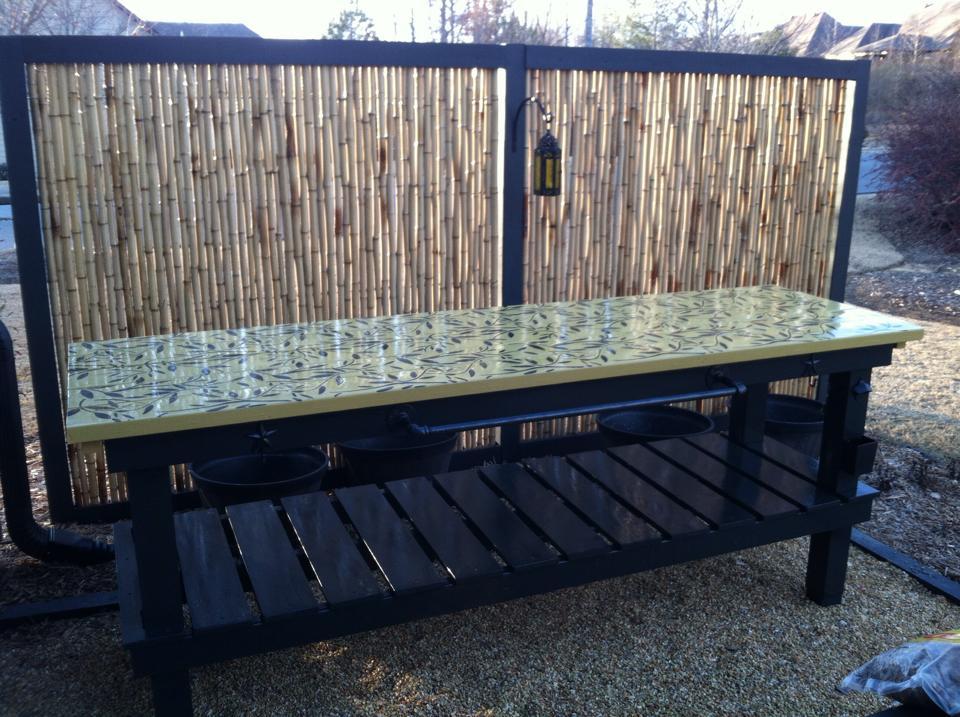
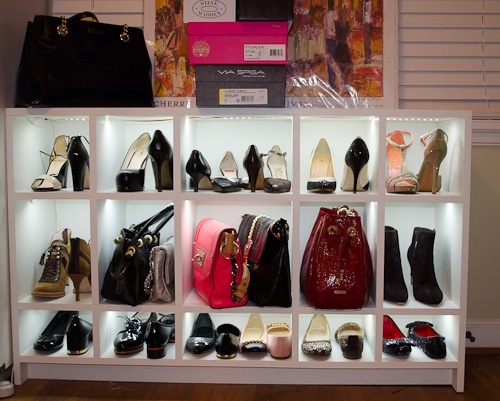
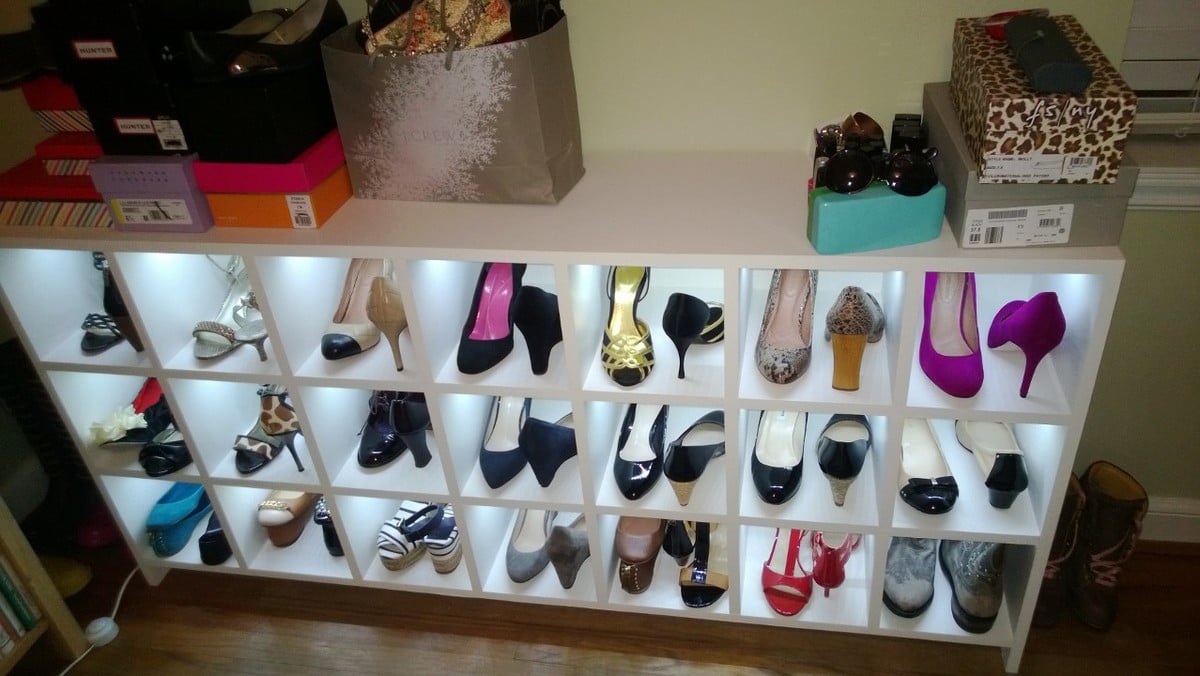
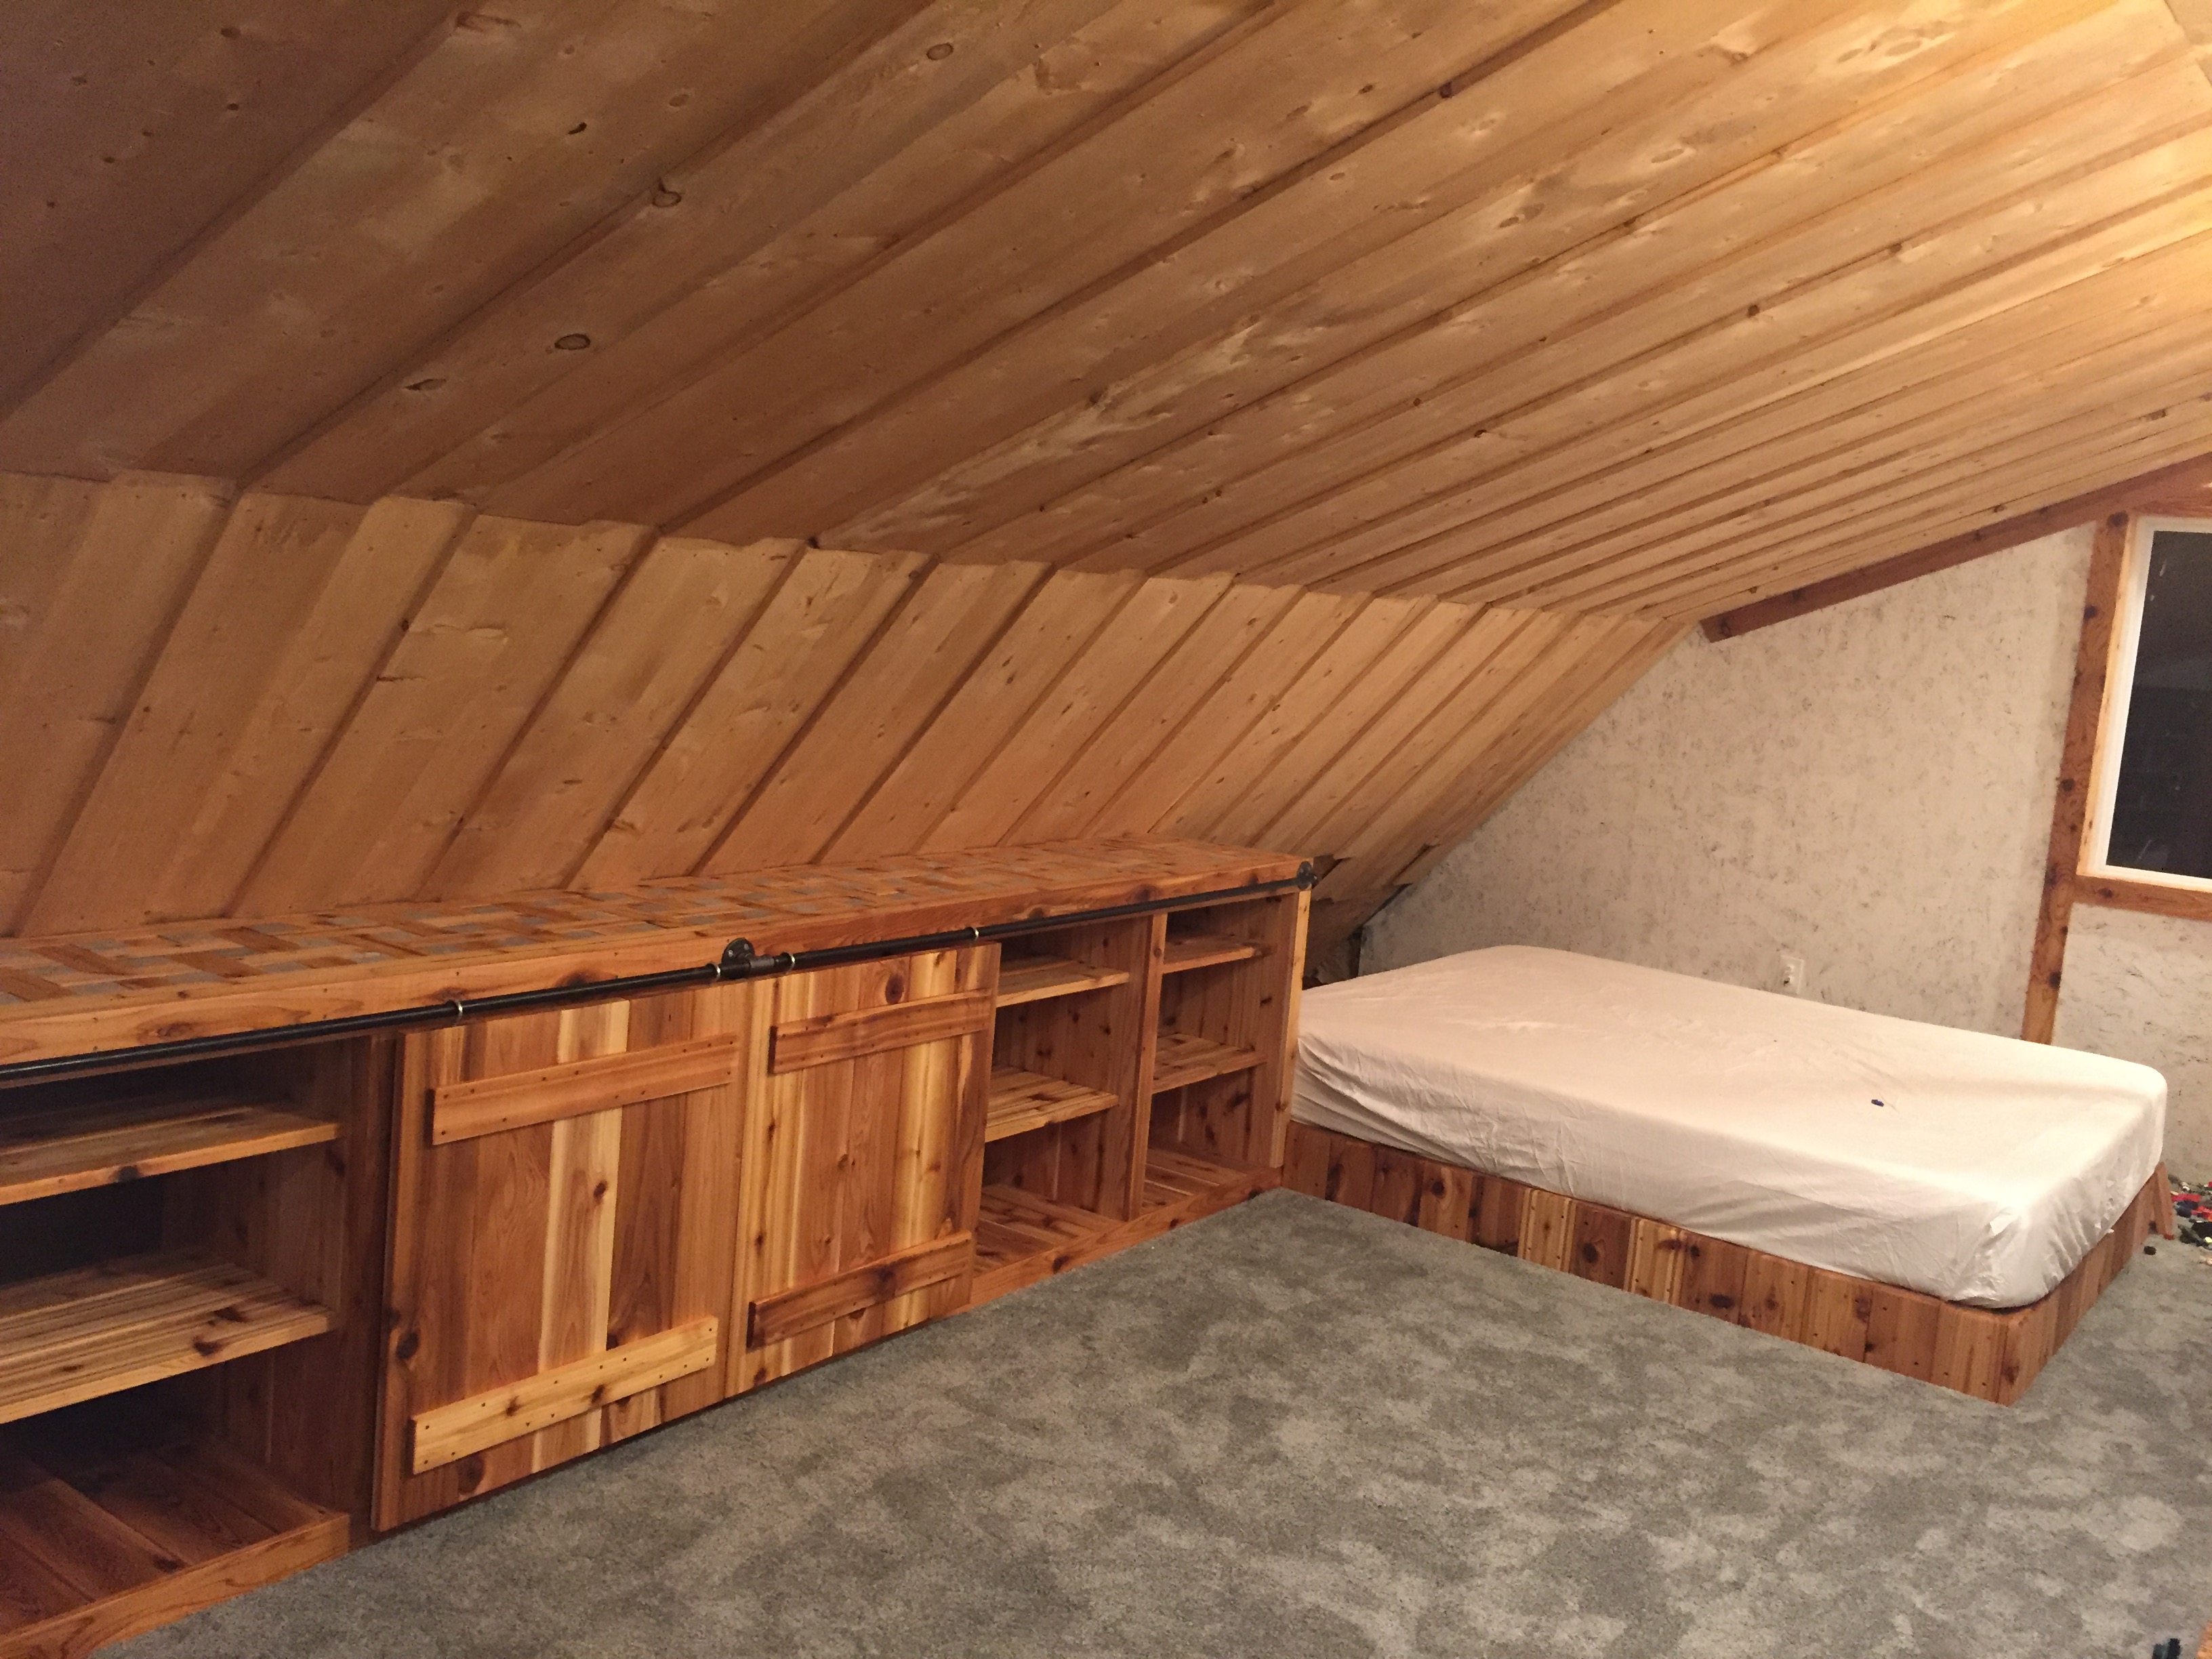
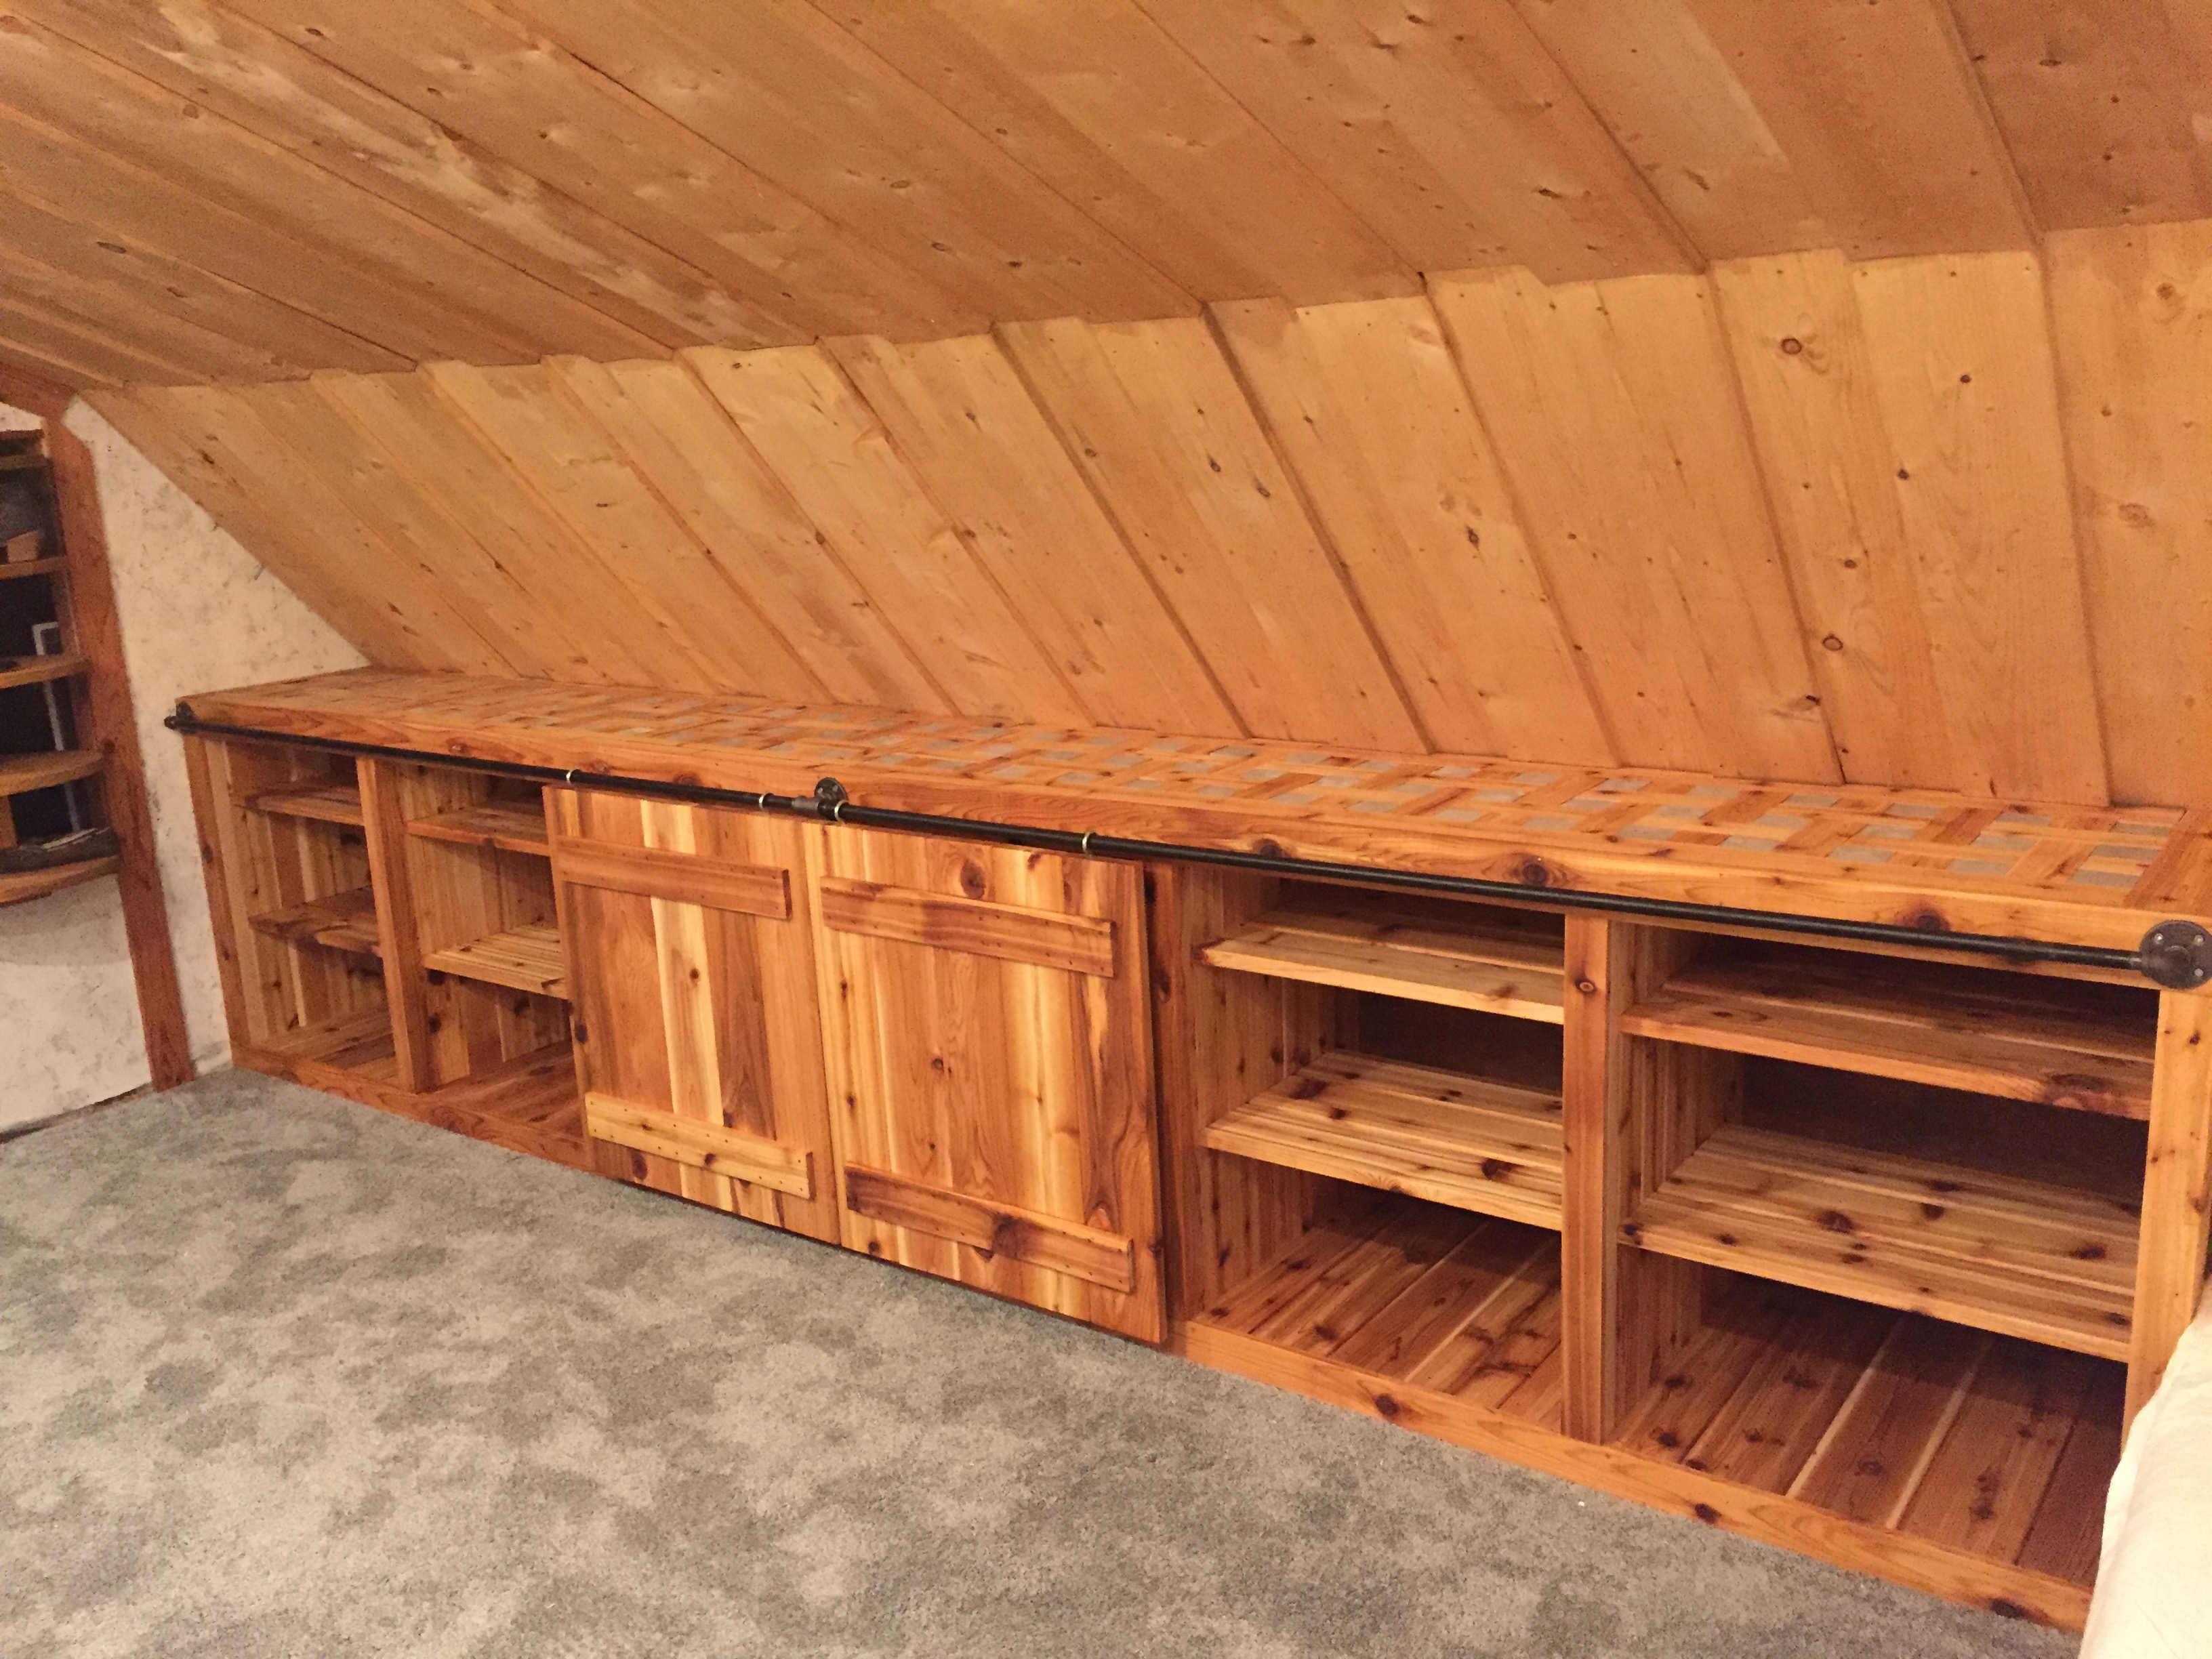
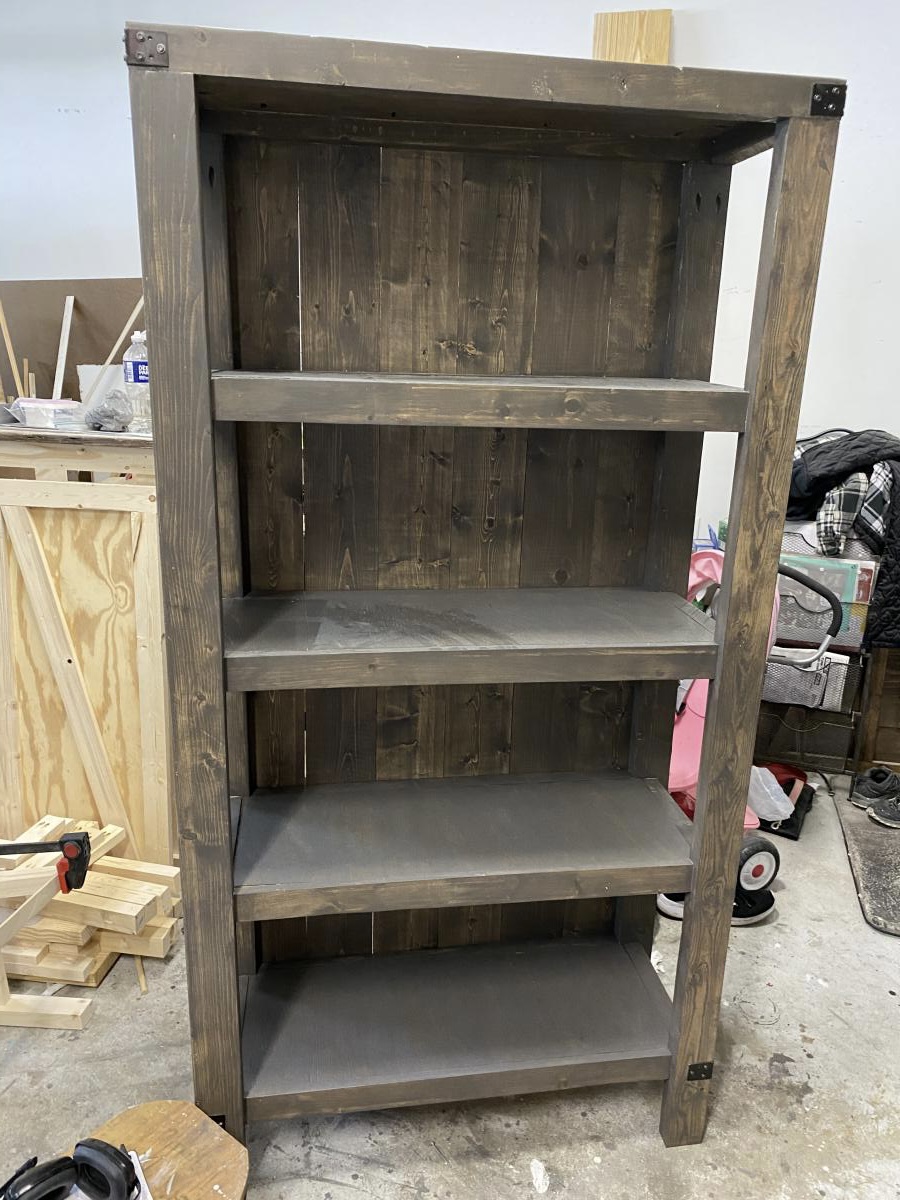
This is an adaption of the shoe shrine shelves. Since I didn't have a closet or other room than the bedroom to put these, I put them on their side. I modeled these off the shoe shrine shelves.

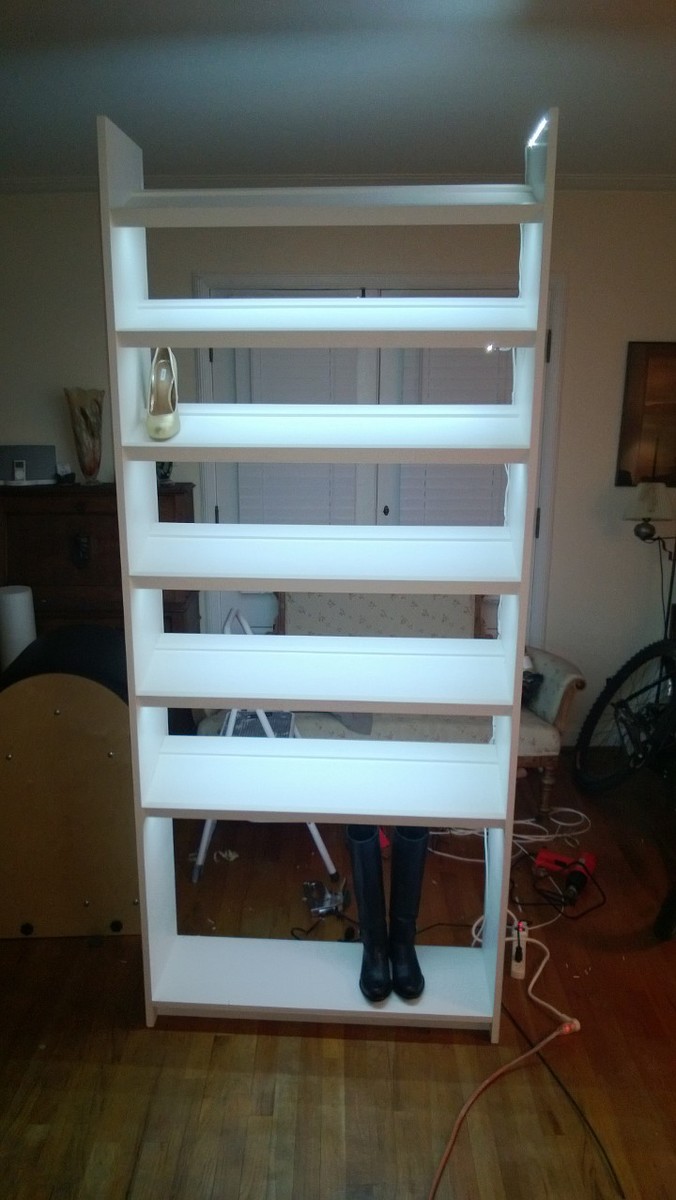
Each cubby is 11 3/4 deep x 8 x8 for the long version. The 2nd version I made was only 48 inches wide and did not divide well so I simply left the center cubby wider. I also made the 48" version to have different height shelves for purses in the middle and flats on the bottom.

I basically flipped the shoe shrine's on their sides and added LED lights. This also inspired a tall version for a cubby we had upstairs.

I used a panel saw to cut the plywood and then assembled with a Kreg pocket hole jig for horizontal pieces and biscuits for the top and the dividers. I did not want to fill the holes or I would have used Kreg instead of the biscuits.

I used 3/4" paint grade plywood and a 1/4inch back panel.

LED lights came from LED wholesalers on amazon. This step requires electrical knowledge! Not much more than a wiring a light but do not attempt if you are not qualifed to do so. LED strings required a fine tip soldering iron, wire and heat shrink.
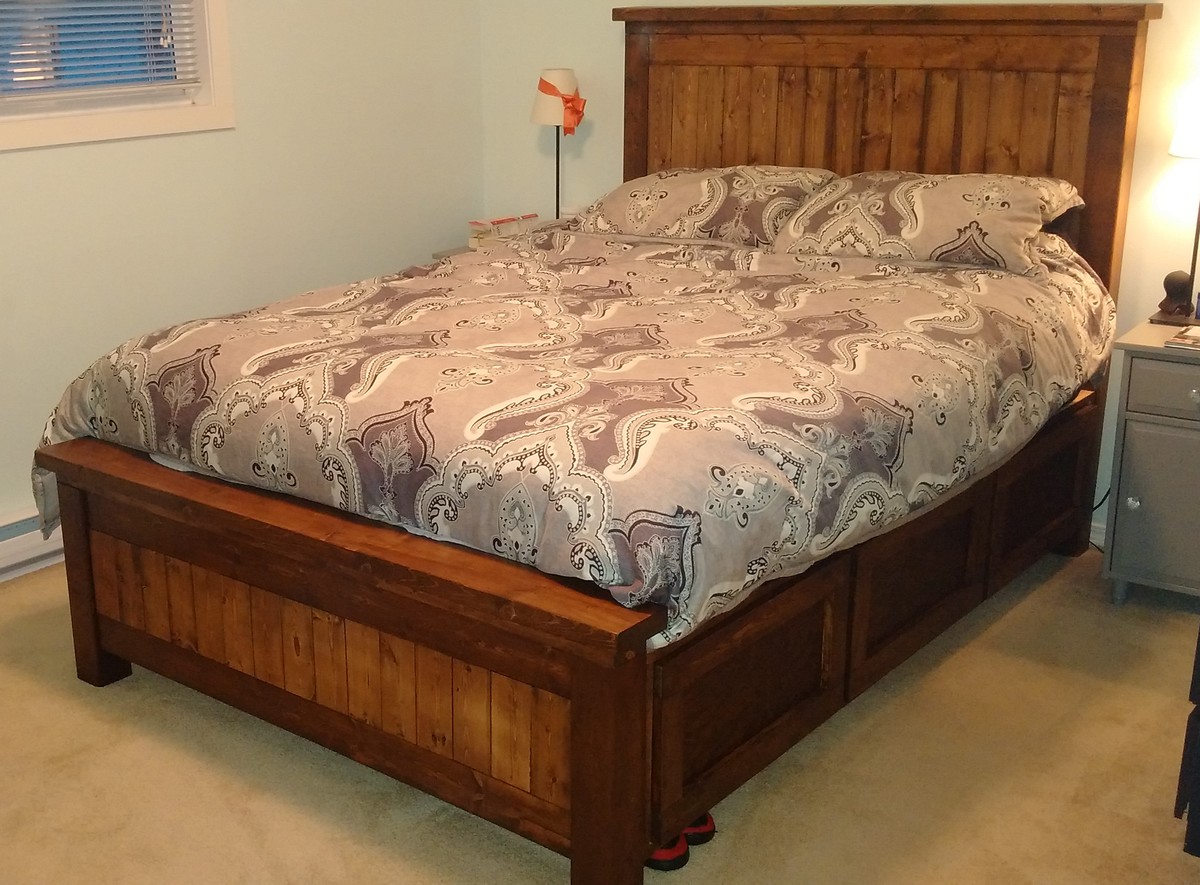
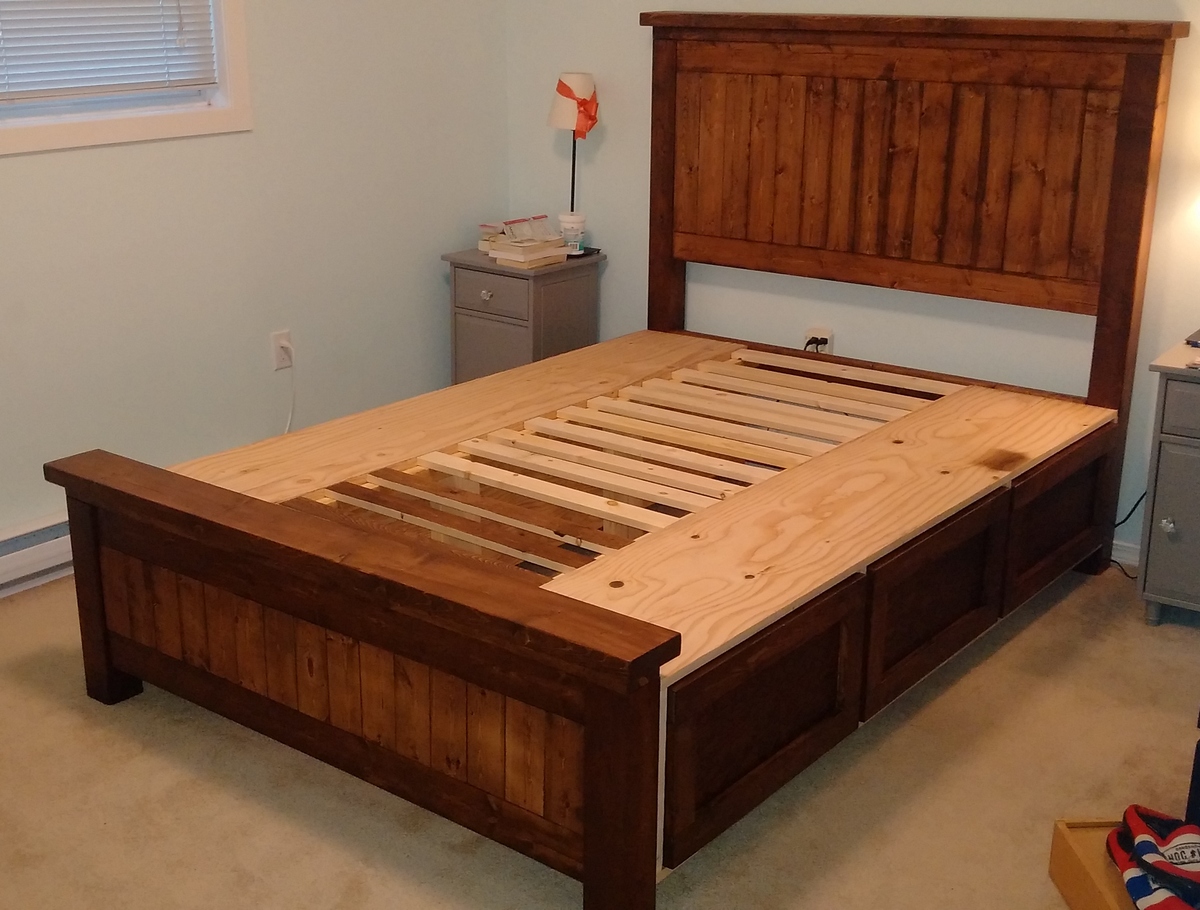
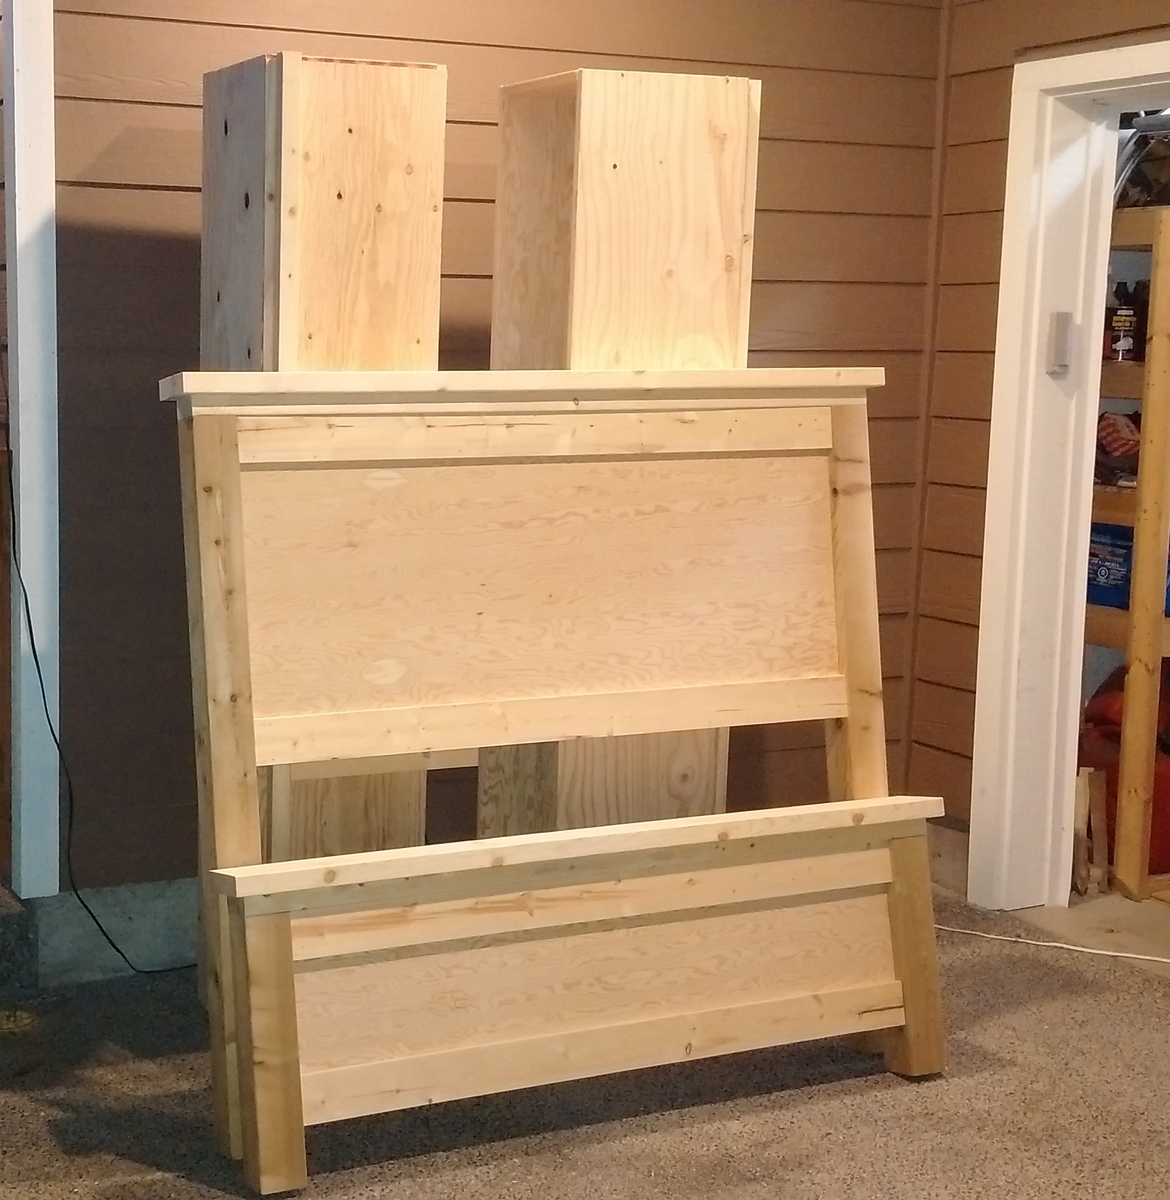
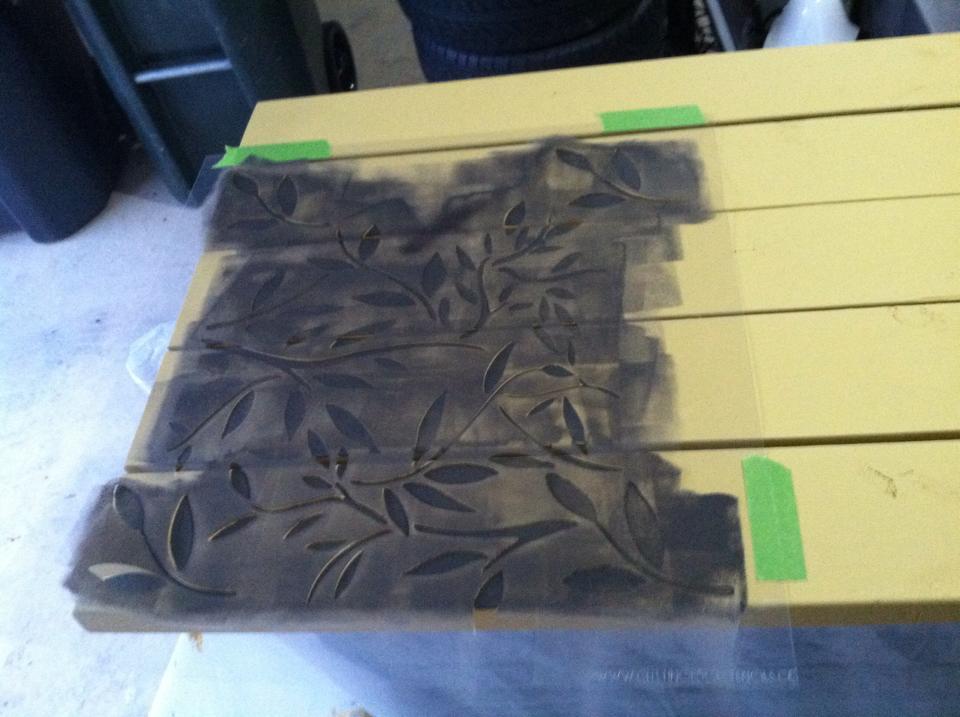
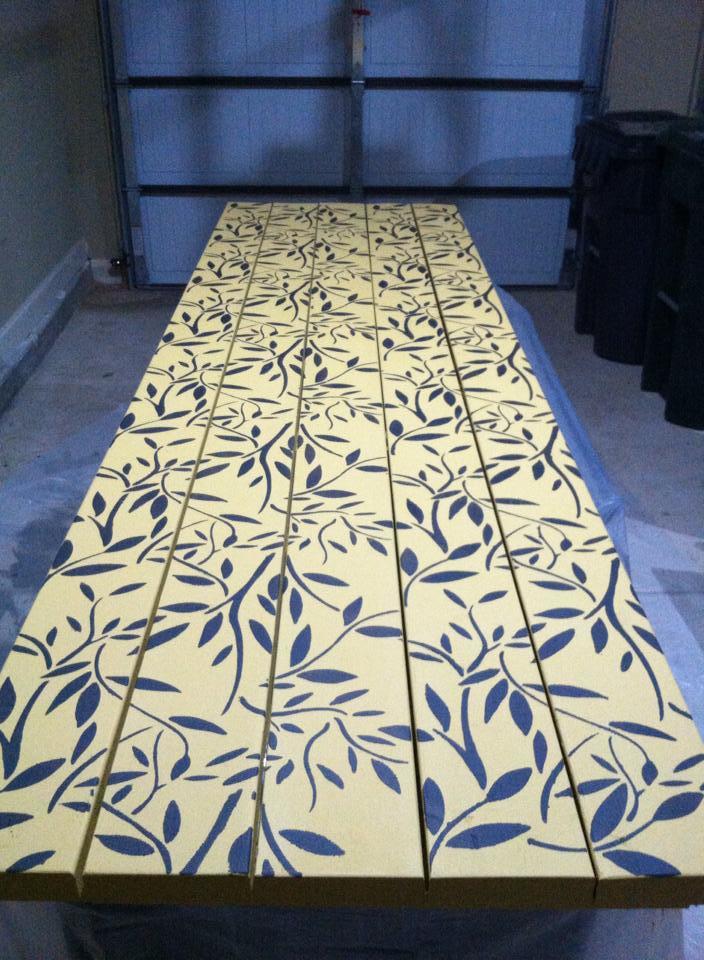
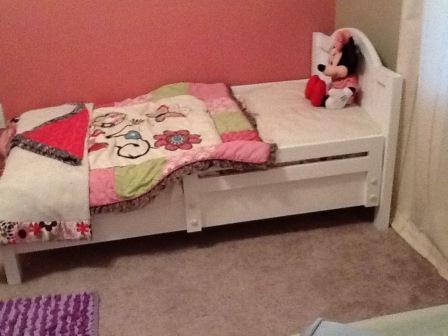
Built from Plan(s)
Estimated Time Investment
Week Long Project (20 Hours or More)
Finish Used
Latex Behr Swiss Coffee sprayed on.
Recommended Skill Level
Intermediate

Comments

forbeskm

Fri, 03/22/2013 - 11:50

The LED's came after we designed them. I was like there is no light where these are going and its hard to see inside the cubbies. This is true for the bottom cubies which are only 5 inches tall. So for 30 bucks a cabinet it was a quick and easy addition that really made them pop. Only downside is it can make the room look like you are in Nordstom's :) so she doesn't leave the lights on regularly.

Kai777

Thu, 09/18/2014 - 01:42

Very nicely done.  Do you mind telling me more about which particular LED product you used and the process to wire them in?  Did you mill out any part of the cabinet to set the lights?  How are they activated?  Thanks in advance.  You can also email me at [email protected].  Much appreciated!

First bed for granddoughter

Submitted by Budhutch on Mon, 02/02/2015 - 08:48

I made this for my granddoughter.  

Built from Plan(s)
Estimated Cost
$45.00
Estimated Time Investment
Weekend Project (10-20 Hours)
Finish Used
white paint
Recommended Skill Level
Beginner

Comments