tower shelf
I made it wider than the plan and use it in my bathroom for storage. Its pine and cedar.
We decided to adjust this plan by removing the stretchers on the bottom. We knew we wanted to use the ends of the table for seating fairly regularly without adding a leaf on the end. The lack of support doesn't seem to have any effect on the sturdiness of the table. This was a super fun (and first woodworking) project! Can't wait to knock out the bench!
Prior to making this table I had never used a power drill in my life, and I was scared to death. I was intimidated by the power and scared to death to mess up, and in making this table I messed up A LOT! It was a big undertaking but I was determined. It’s rustic and authentic and full of mistakes and I LOVE IT!! Thank you Ana for modeling how to make such wonderful things. Up next is the raised flower bed.
I built these picket fence planters with my husband. They were very easy to build. I can use them all year around. I’ll add flowers in the spring and summer and mums in the fall and Christmas trees in the Winter. I’m definitely building more for my back porch. Happy building! - Celines
I built this caddy to celebrate a 4th birthday party for a sweet little girl. I used pine scraps, painted it with some leftover pink paint, and then created some name artwork and a little logo with her initial. I made the art on my computer (in Adobe Illustrator) held up a piece of notebook paper to the screen and traced it with a pencil. Then I held it on my caddy and used a mechanical pencil with the lead down to press the indent into the wood. Filled that in with a silver paint pen and traced it with a fine tip black sharpie. Then filled each cubby with a large mason jar from Walmart (about 50 cents each) and filled them with art supplies. It turned out so cute! And it's a great way to use up some scraps.
This was my first building project, made possible by finding this wonderful website. The beds were made from the Classic Bunk Beds plan. Several months later I added a slide made out of melamine board and 2x3s - very sturdy and somewhat overbuilt to compensate for not using any plans for the slide).
I used Minwax polyshades for the finish - my first time finishing wood, and let's just charitably say that I learned a few lessons in doing so.
The steps are a repurposed solid pine Ikea Trofast unit - it worked very well for the kids (4 and 2 when the bed was built). However, it wasn't a great choice for getting my wife and I up to the top bunk - one of the top panels eventually broke... leading to a big bruise for my wife and strict instructions that I quickly build a new, more solid staircase option - to be shown in a future brag post.
All in all, I am very thankful for this website and its plentiful plans - more brag posts to come!
Modified plans for a king.
Made of pine and cedar.
Took about a week of evenings.
This is my first project. I loved how easy it was and I loved my husband’s reaction to the completed project.
First Ana White project for a beginner woodworker are two baby doll cribs.
Provence table knockoff from restoration hardware (aka: providence) with 4x4s and providence benches
table modified to 90 inch length, benches to 42 inches
used lag bolts with a washer on 4x4's that show, kreg pocket screws everywhere else
note: the free-diy plans listed last have an issue with the table height. It came out 1 1/2" too high, so we made a change that I like better: we modified the table top to have a 2x4 skirt held together with kreg pocket screws that drops over the 2x4 frame above legs. we left about 3/8" gap between the skirt and framing so the framing would fit in easily. The top actually just sits on the frame so it is possible to move it in two pieces. It is so heavy and stable that we didn't worry about screwing it together.
we love it! perfect for 2 families to eat dinner together. my husband calls it Thor's table because it looks so tough.
Thu, 07/05/2012 - 11:35
This is gorgeous! I definitely prefer the chunkier leg you used and love the hardware showing as well. That was smart the way you made the top for easier moving, too. Great job! I think you should have added the link for the plans, this way your picture will always show up above the plans in order for everybody to see it each time. :)
Thu, 07/05/2012 - 19:22
thanks so much. I have now attempted to link the plans to my brag....let's see if it works!
In reply to thanks so much. I have now by Anne in Decatur
Fri, 07/06/2012 - 05:46
It worked, yay!
Built this 6ft 2 pedestal table. Moved the legs closer together on the benches so that they could slide under the table.
BUILT FROM PLAN(S)
Patrick's Jelly Cupbard
ESTIMATED COST
$155.00 (wood alone was $145.00 from Homedepot)
ESTIMATED TIME INVESTMENT
Weekend project - about 10 hours
FINISH USED:
I used white beadboard for the backing and the door inserts. I stained the rest with Minwax Provincial stain. I will be adding black metal stars to the doors to break up the white.
RECOMMENDED SKILL LEVEL:
Intermediate
AAA Farm Tables - AAAFarmTables.com
Tue, 01/09/2024 - 08:50
It looks wonderful, really like the use of beadboard for the doors! Thanks for sharing.
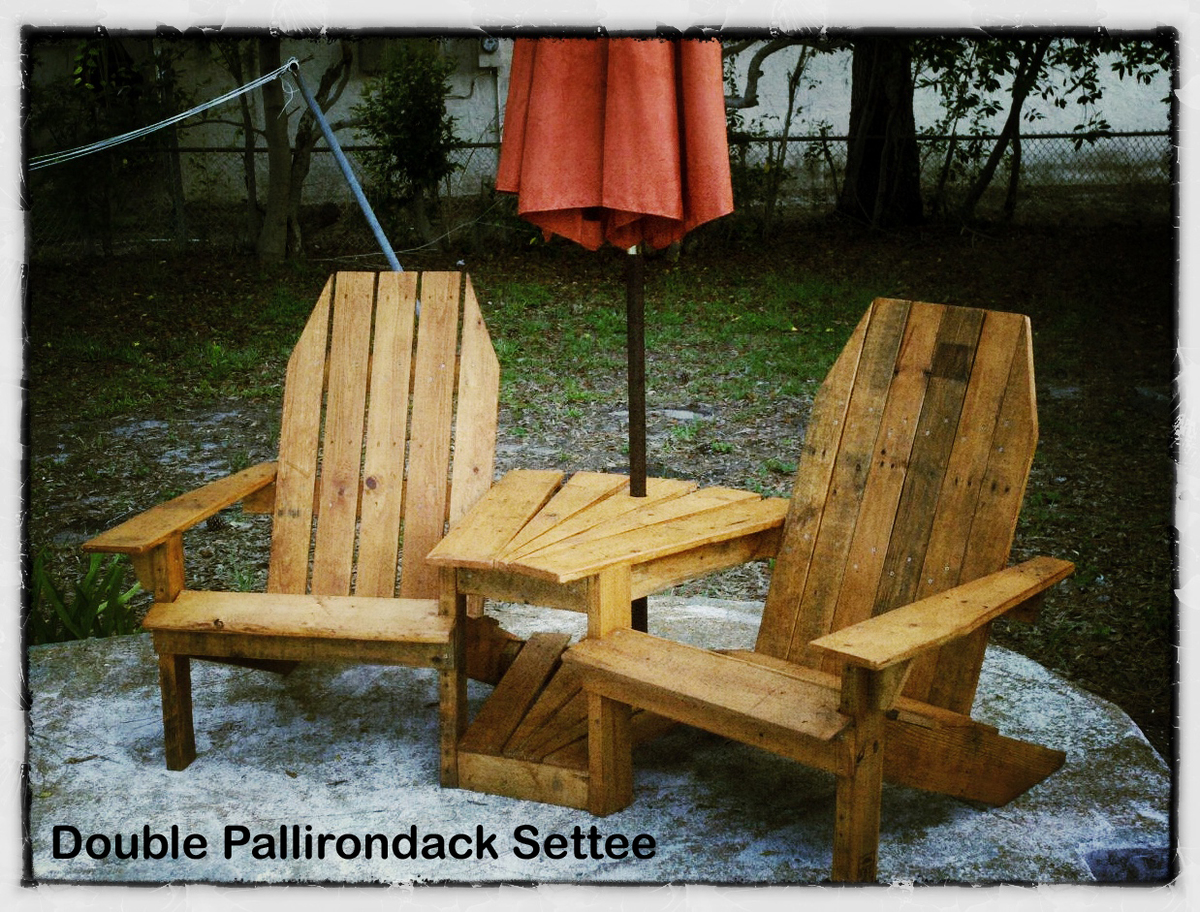
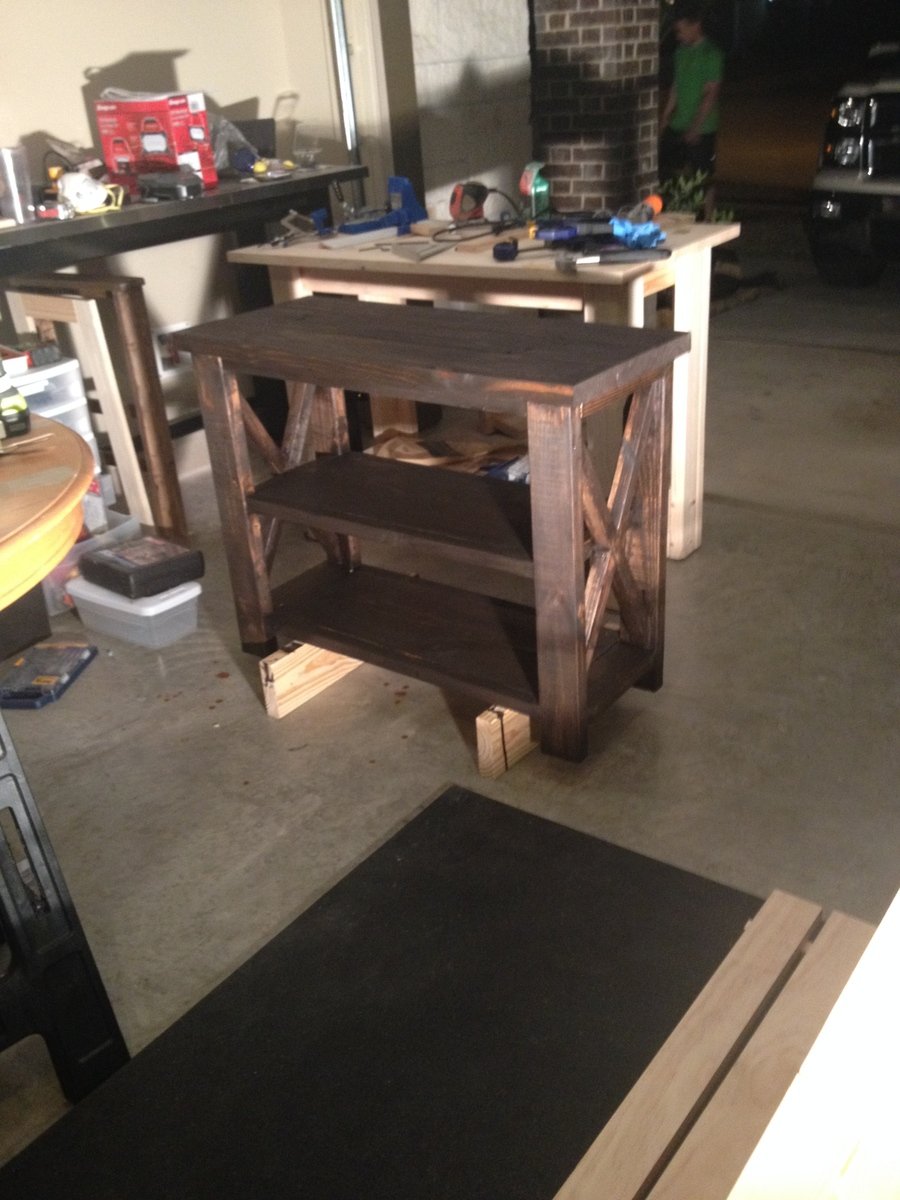
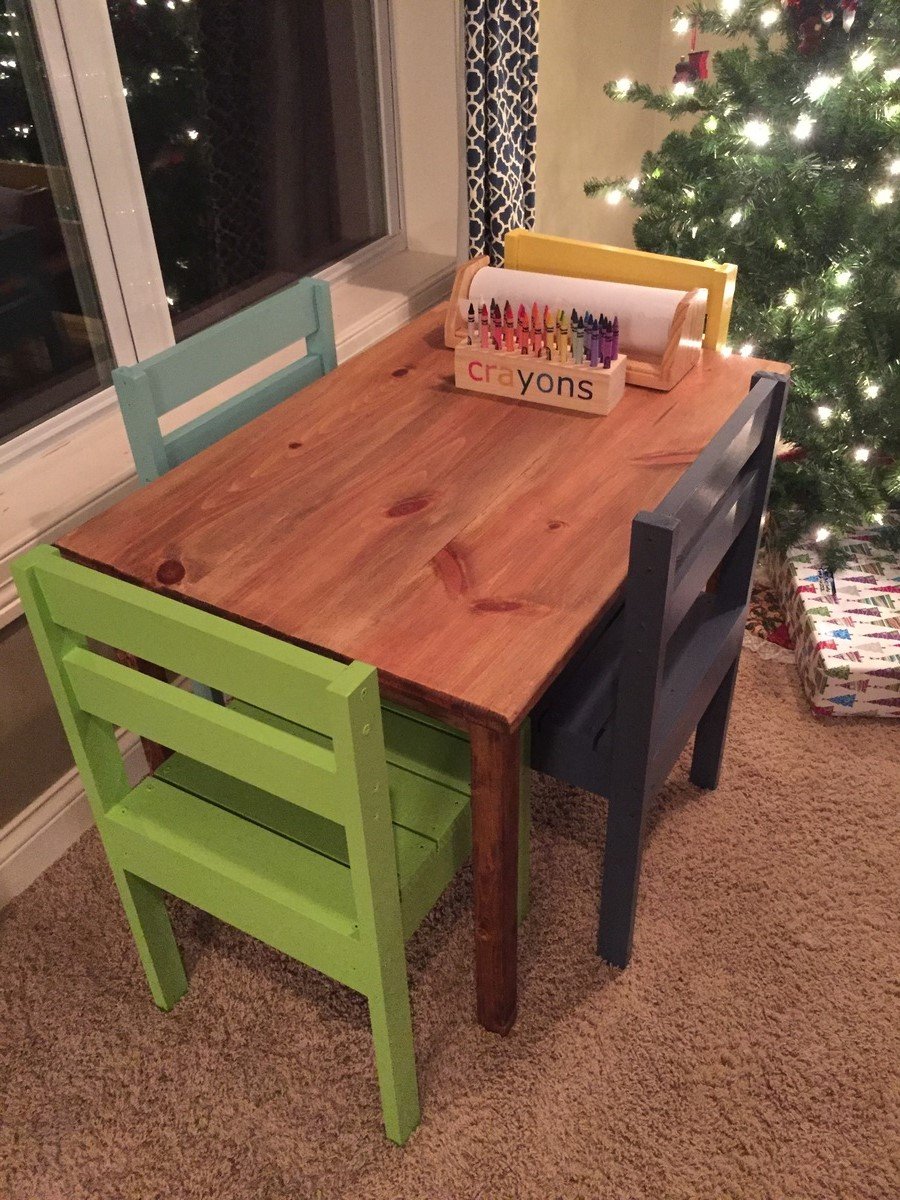
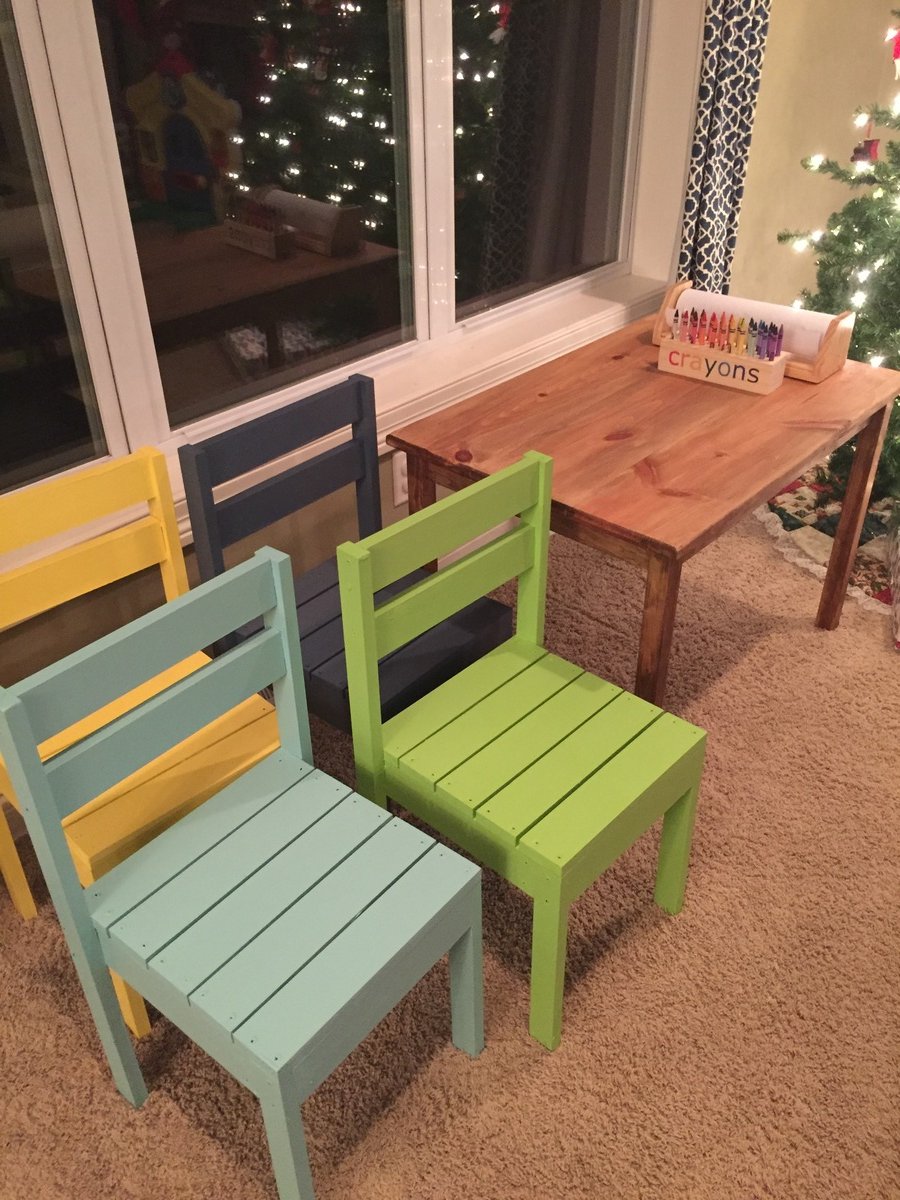
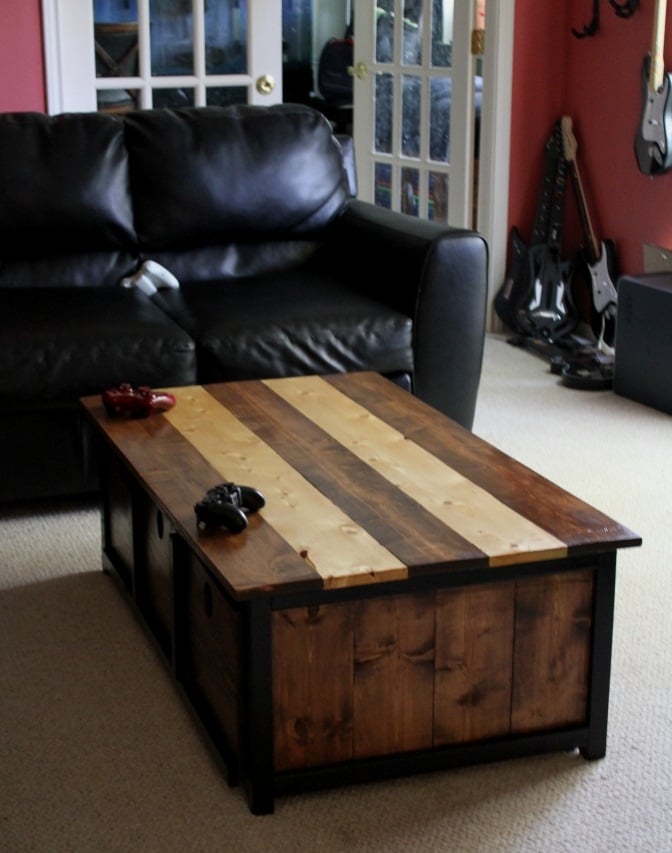
This is a Double Pallirondack Settee, an Adirondack-styled set of chairs connected by a two-shelf table that is also an umbrella holder. It is made 100% from recycled wooden pallets (thus the name). It took approximately four full pallets to make the settee. The finished picture was taken by its new owners after they stained it with a cedar-colored sealer and added an umbrella.
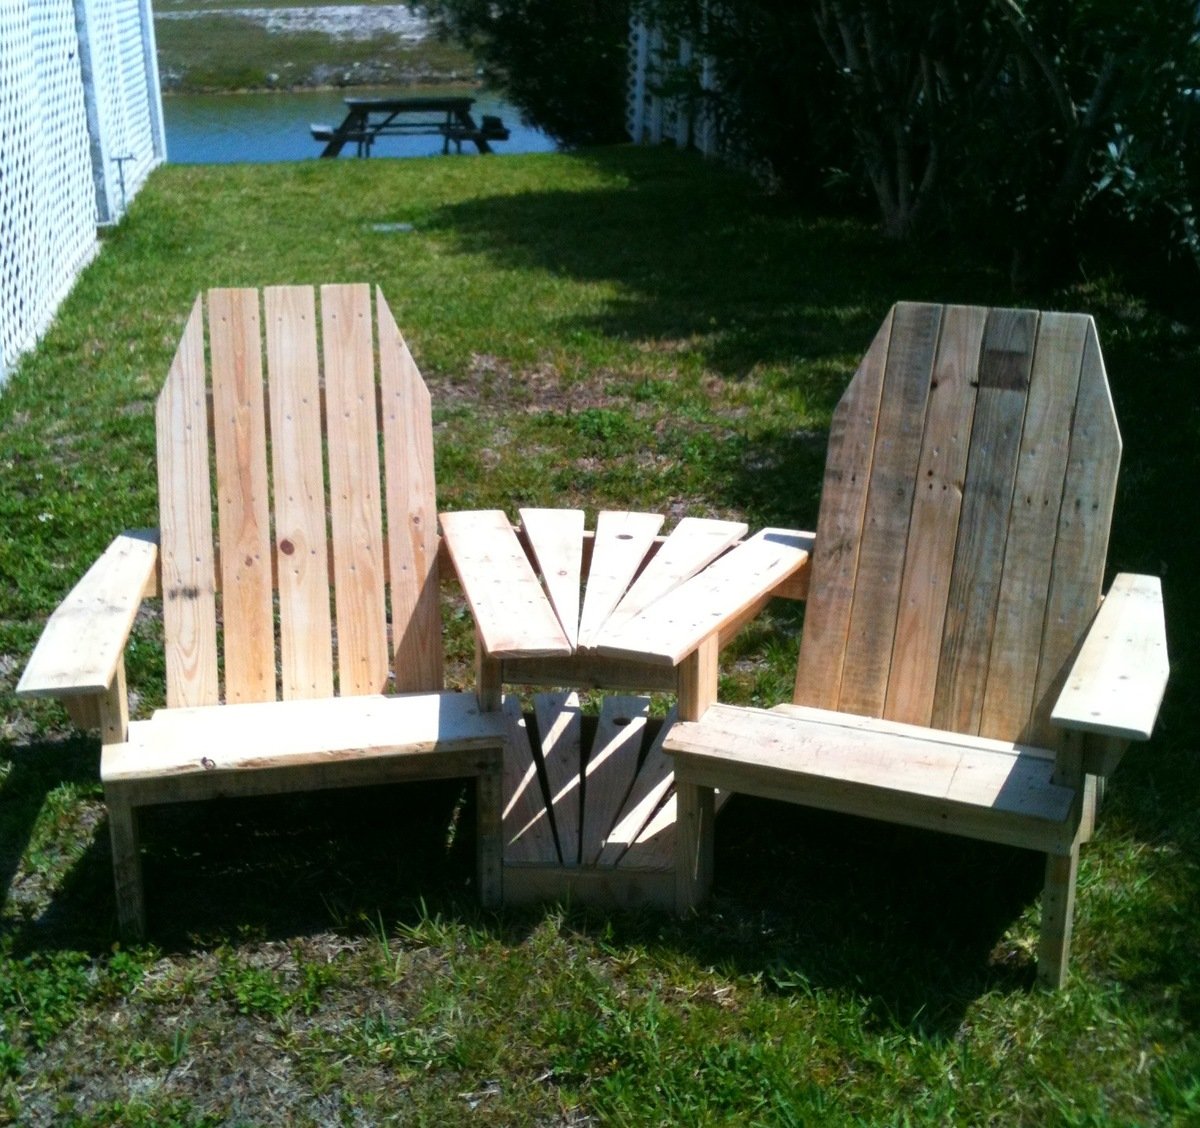
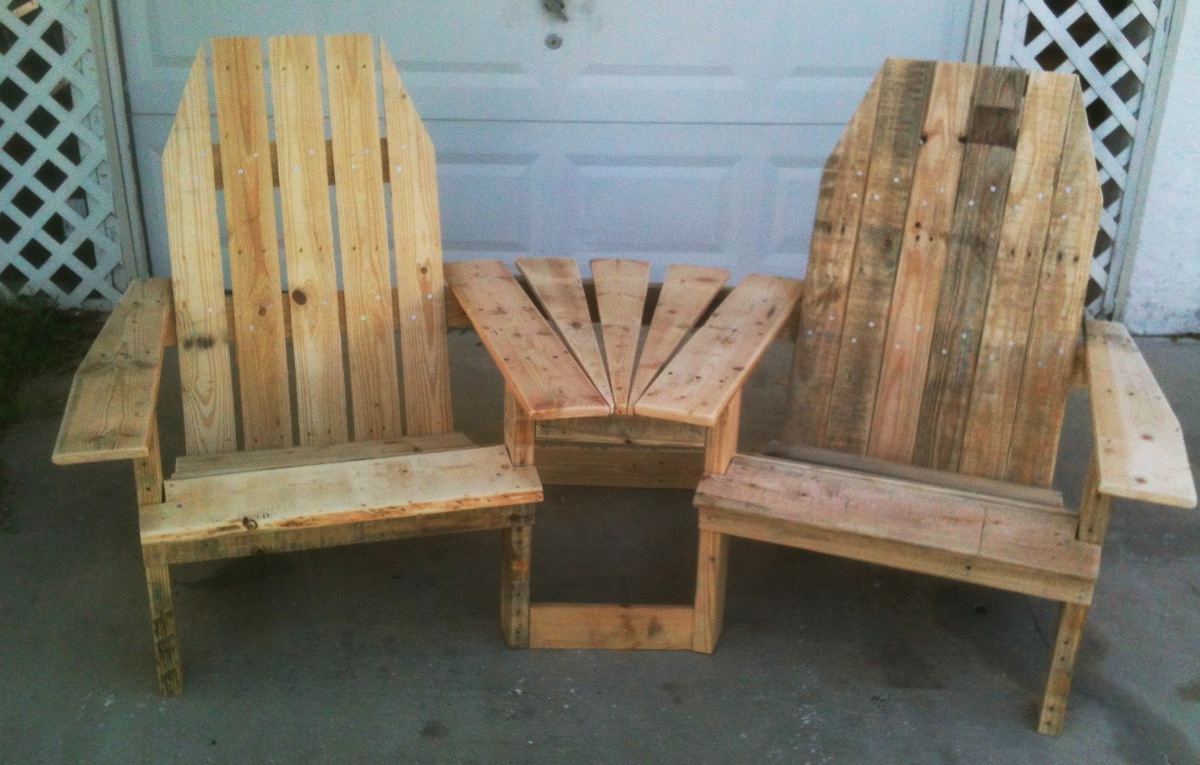
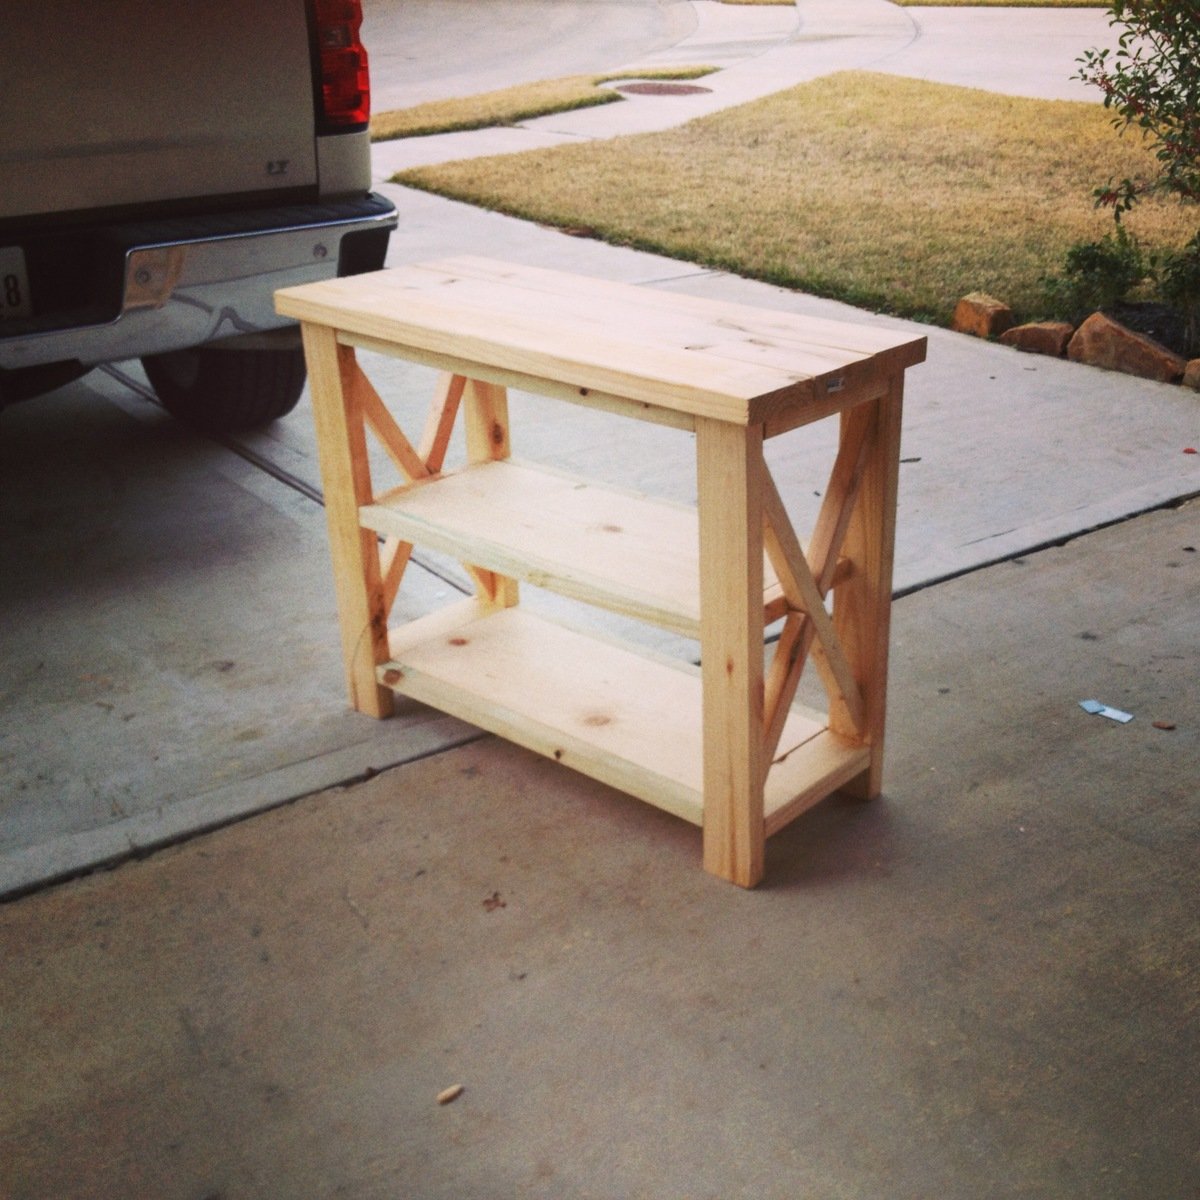
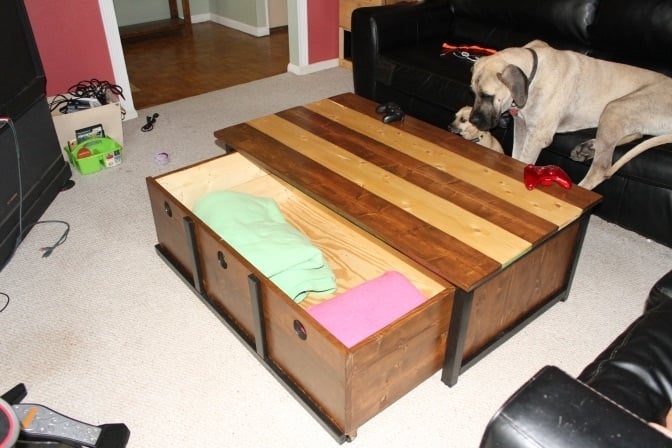
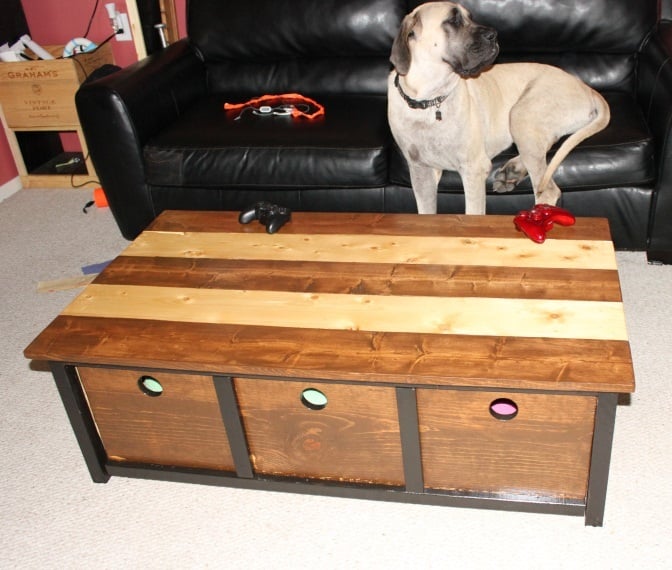
The other two images show it before I had added the bottom shelf of the table and it finished before staining. I just finished a second settee and will be selling that to someone who saw the original one at a party.
The design is based on a couple different plans -- one for the chairs and one for the table/umbrella holder. I modified both plans to make them work together. Great fun. If I could have worked on it straight through, it probably would have taken 2 full days, starting with pallet deconstruction, then cutting pieces, sanding, assembly of chairs and, finally, assembly of the connecting table.
Thu, 07/12/2012 - 10:16
Is it possible to get plans for these??? This would be awesome to build..
Thu, 07/12/2012 - 10:17
Do you happen to make plans for these?
I would love to build this!!
Thu, 07/12/2012 - 13:51
Unfortunately, no. I actually took the plans for a chair and mixed it with the plans of another settee. Essentially, the "inside" arms of the chairs do not get shaped at all. The front of the chairs are 12" apart (15 degree miter) and the backs are 27" apart if I remember correctly. I added 4" 2x4 blocks to the outside of the bottom back legs and that is what the bottom back table support is attached to on the settee. The the three center boards are cut to fit (1/2" in the front, 5.5" in the back and spaced equally. 1.5" hole for the umbrella holder in the center board, top and bottom.
I made half of the Rustic X Console table. It was an easy build until it was time to make the X's. They were only hard because I was using a circular saw and carpenters square and I couldn't get my lengths right. I ended up with a lot of short pieces and I was glad I ended up buying more than enough 2x2's. If I had a miter saw it would of been a lot easier (I have one now).
Clara table and 4 dollar stackable chairs. I used Minwax Early American on the table and a variety of paint colors on the chairs to keep it fun. I also used select pine on the chairs which increased the cost but cut down on sanding time. I also routered the top edge of the table to create a smoother edge.
Large Banquette Bench with Storage (12’x7’)
Anna from Louisiana
It was a big project, and my husband did all the main stuff!
I still have to paint the inside. Since we aren't building a deck yet, we are putting it on some pavers. We bought 40 12x12 pavers and will push that out on in the next couple of days. I also will eventually attach a window box with plants. I'm planning on painting a couple of the inside walls with chalkboard paint.
It was seriously worth every amount of time and energy. If you are thinking of doing this, do it! You can, it's a great plan. Thanks Ana for the plans!
This project was made for our four year old son, after viewing an article from a known magazine he came over charmingly stating "Daddy can you build me this in a dinosaur theme??" So of I went searching and found the plans online here (Thanks Ana!) @ a cost of approx $400 and about 40 hours of work it was built. He loves it and loves to show it off to friends and family, as it has also been a hit within our neighborhood. We built it using white board wood, sanding everything down, and using just semigloss polyurethane to seal and protect the wood. All materials where obtained from either Home Depot or Lowes.
I made this Farmhouse X Table from Ana's plans with the adjustment of adding a breadboard to each end (a perpendicular piece of wood). This table was my first woodworking project ever! Now I am hooked ;) I have made a bench to match. Both are stained with minwax English Chestnut and finished with minwax fast-drying polyurethane, semi-gloss. Now I just have to figure out the rest of my chairs! Thanks Ana!
I Loved the idea of this table! It is in the kids' living room/game room. This room is usually cluttered with blankets for friends, games, game controllers and so on! I was thinking about building a storage chest for their coffee table, then I saw these plans! It is perfect! The boys even use it to clean up...WITHOUT ME FORCING THEM! Oh yeah!!!!
I wanted my table to appear to have three drawers instead of two, so I modified a bit. I also opted out on the breadboard ends and just made the top boards a little longer.