Community Brag Posts

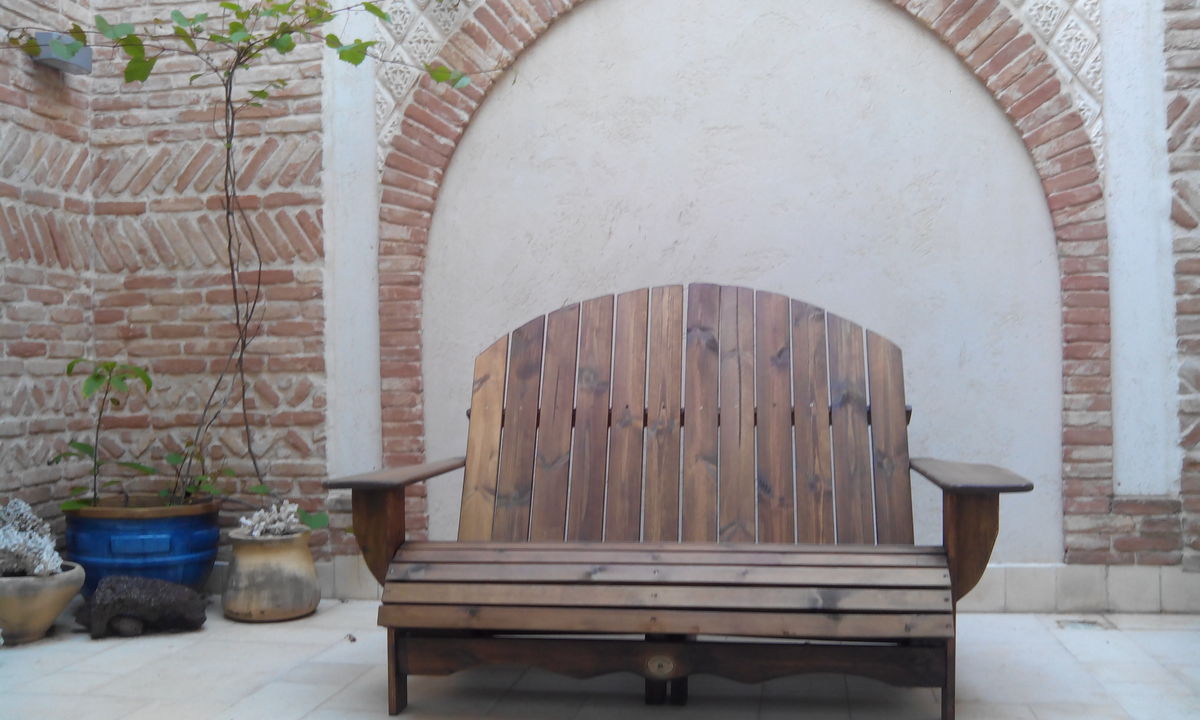
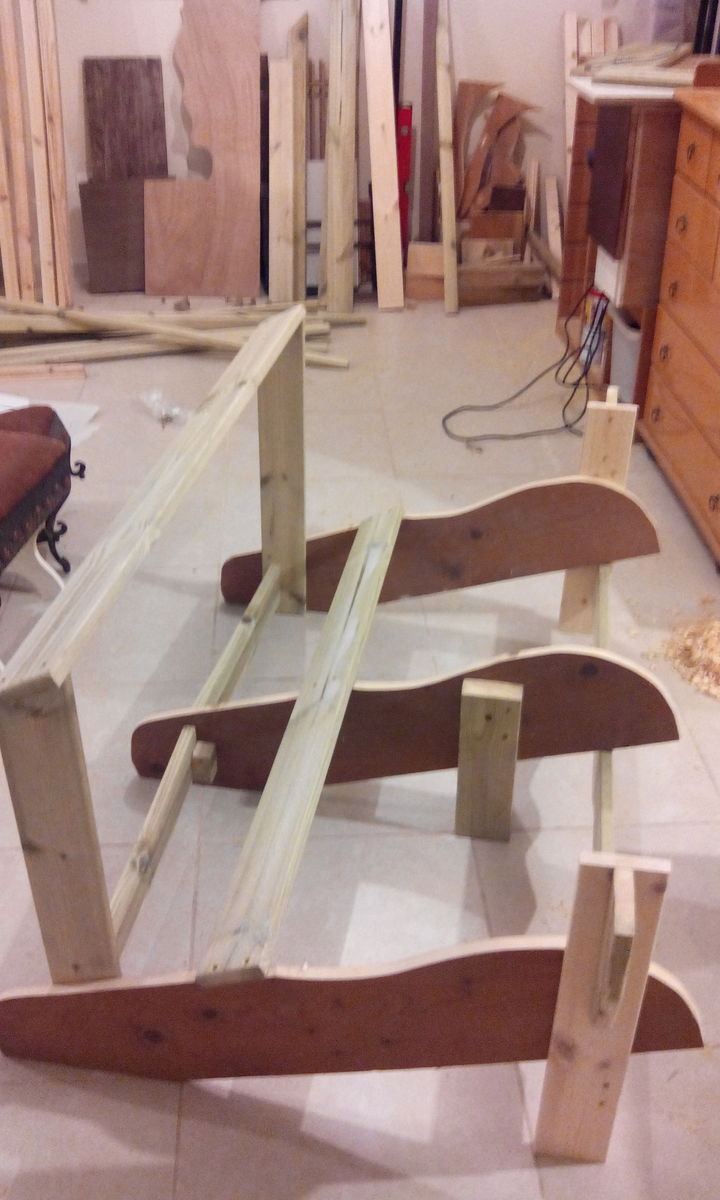
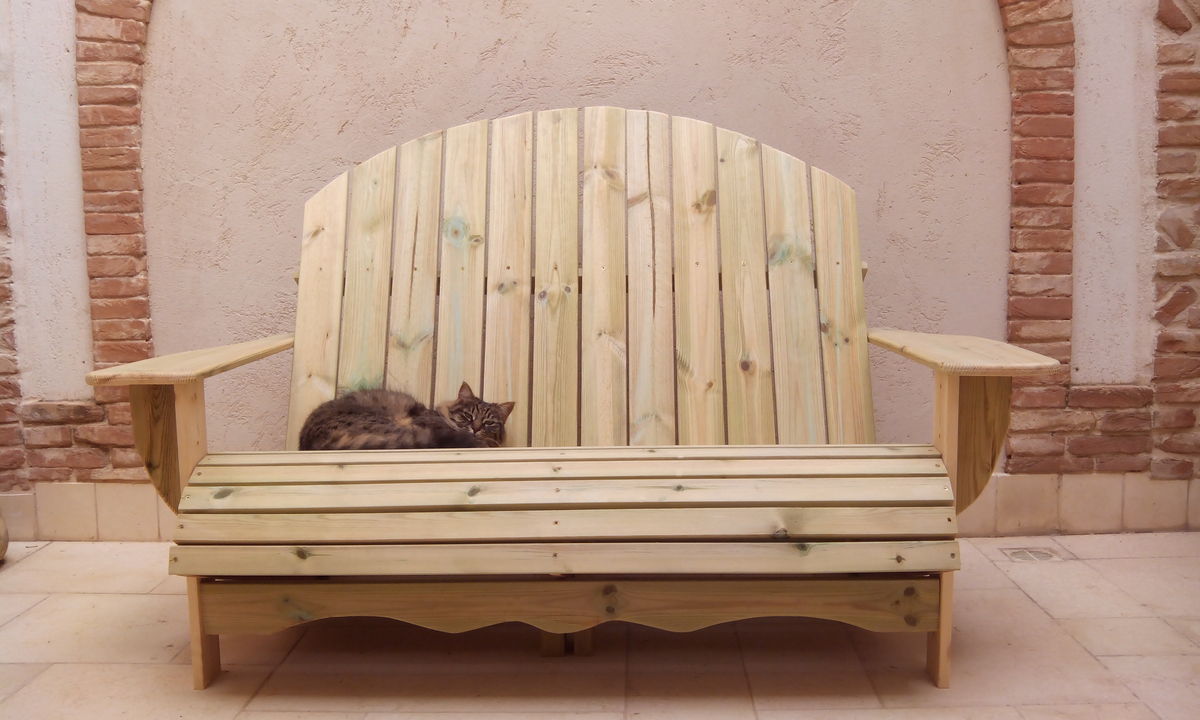
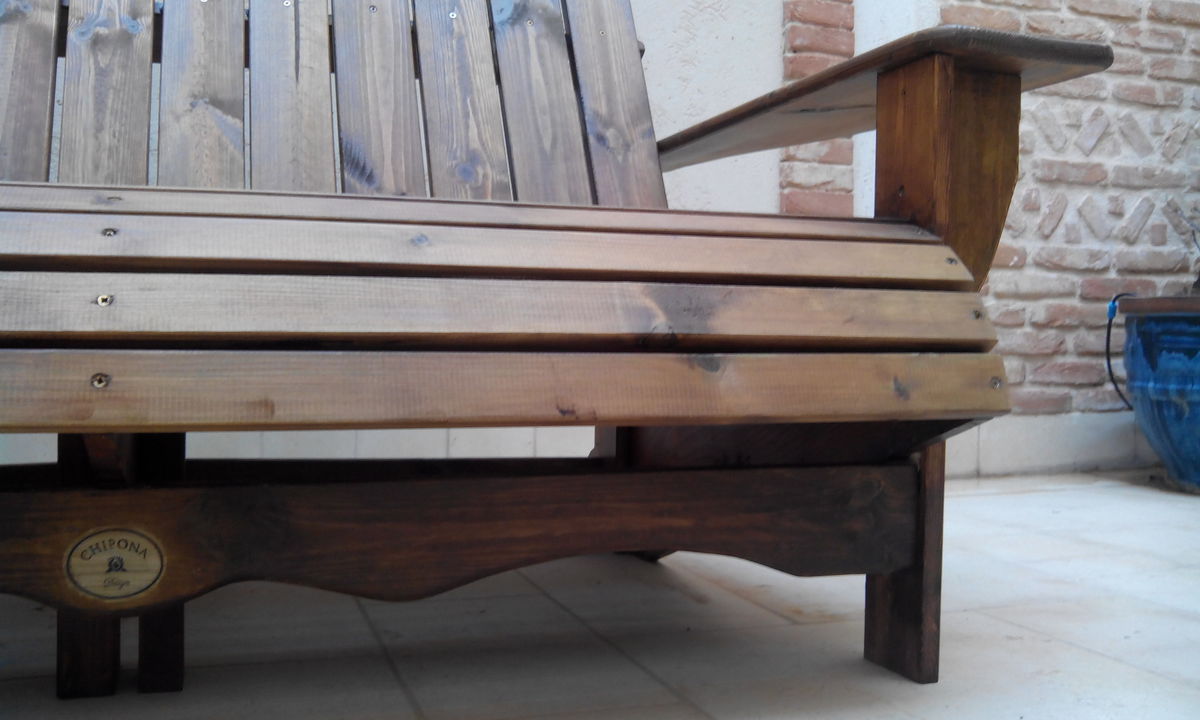
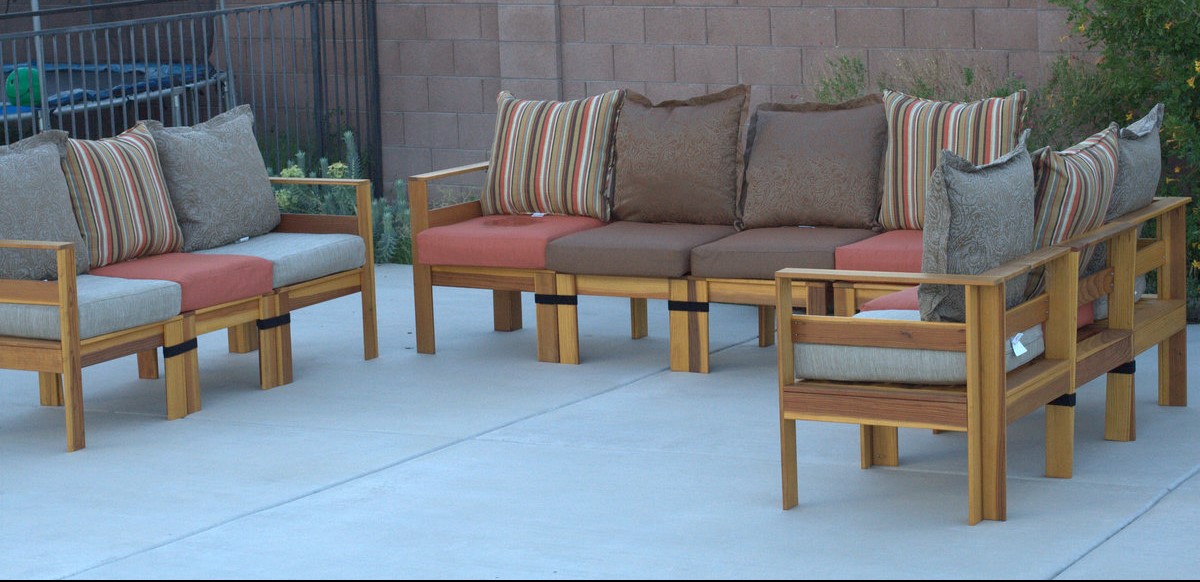
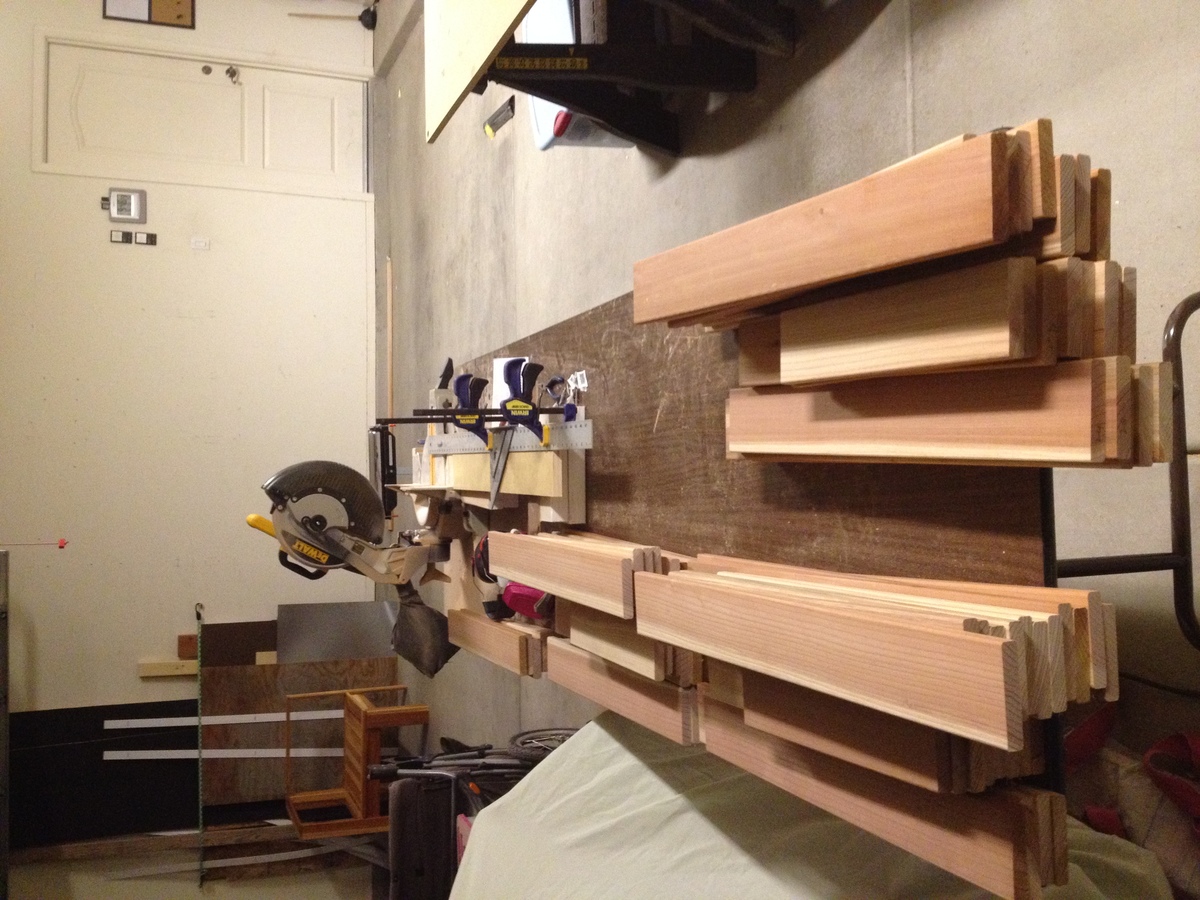
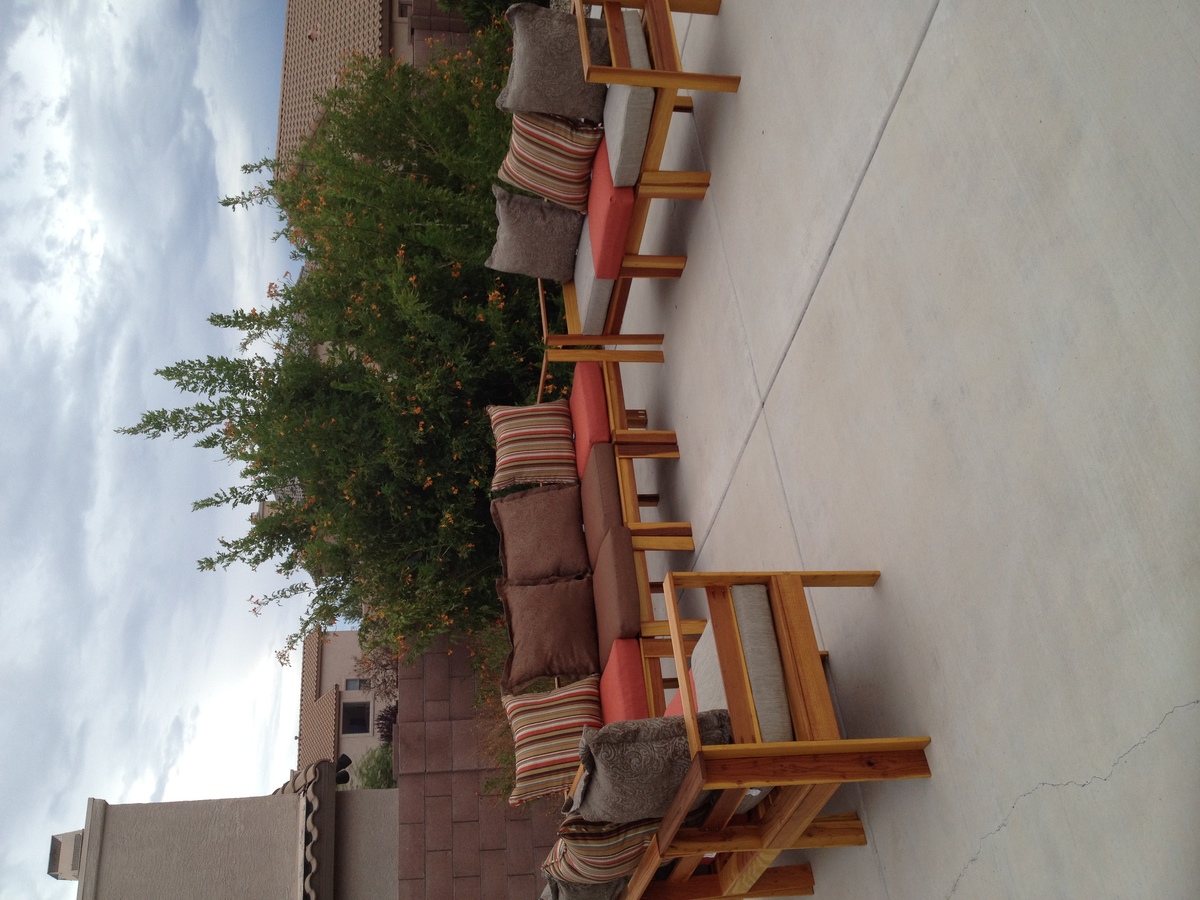
2x4 Adirondack Chairs

This is the regular (not modern) plan for an Adirondack Chair. The plan worked great and was easy to follow and even more importantly the chair was easy to build! I swapped out the 1x4 for old barn board for the backer and didn't cut the scallop. Nana loved them for her birthday present!

Estimated Cost
< $20 as everything was recycled! I had to buy the screws and glue.
Estimated Time Investment
An Hour or Two (0-2 Hours)
Finish Used
The beautiful part about this gift is that Papa can finish them how Nana wants!
Recommended Skill Level
Beginner

Kentwood bed

Submitted by Christine on Mon, 08/06/2012 - 09:42

These are the first pieces of furniture I have ever built. The first bed was a project for my daughter and me only, but we let the guys help on the second bed. I copied the finish described by the blog. Everyone was real doubtful that it would work, but it turned out great. My sons love their new beds!

Built from Plan(s)
Estimated Cost
$135.00 for 2 beds
Estimated Time Investment
Weekend Project (10-20 Hours)
Finish Used
breakfast tea and a solution of vinegar and steel wool. Tear up the steel wool and cover with vinegar. Place a lid on your container and put it in storage while you build the bed. It will need 2 or 3 days to sit before it is ready to be used.
Recommended Skill Level
Beginner

Built 8-29-16 in a couple of hours. Thanks Ana!

Submitted by Anonymous (not verified) on Tue, 08/30/2016 - 15:47

Easy plans to follow and my wife loves the results! Will be used as a book shelf for home schooling our 3 kids. 

Built from Plan(s)
Estimated Cost
$55
Estimated Time Investment
Afternoon Project (3-6 Hours)
Finish Used
Black base followed by a layer of mossy green then sanded so some of the black came through.
Recommended Skill Level
Beginner

Custom Toybox

Submitted by Anonymous (not verified) on Mon, 03/18/2024 - 10:16

My husband and I built this toy box for our grandson from the farmhouse toy box pond you had on your site. We adjusted the size from what was in the plans, but it turned out really nice!

Built from Plan(s)

Large Modified Outdoor Cedar Table

Submitted by pbmahaffey on Wed, 08/08/2012 - 16:05

We finished the deck this summer and wanted a large table to put on it. I saw the different versions of the outdoor Ana built. This one seats eight and has a tile inlay. For now...chairs from Walmart provide seating.

Estimated Cost
$300
Estimated Time Investment
Weekend Project (10-20 Hours)
Finish Used
Behr Semi-Transparent Stain
Recommended Skill Level
Intermediate

Comments

Shelf for Organizing Supplies

We were throwing all of our woodworking supplies into this closet off my patio, and it was really hard to find what we needed when we needed it.
So we made this shelf using two 2x4x10s cut to an inch less than 5ft each for the legs, and 4 1x3x8s cut to half inch less than 2ft each cut. (one board per shelf). (Measurements are for minimum waste)
Kreg jigged the 1x3s together 4 deep for each shelf. Used 1 1/4" Kreg screws.

We might go back and add a shelf or two to fix the odd spacing at the top and give us more shelves for the little things.

Estimated Cost
$12.50
Estimated Time Investment
An Hour or Two (0-2 Hours)
Finish Used
Didn't finish as it's just going on a closet on the balcony and we needed it quick and finishing is the most time consuming.
Recommended Skill Level
Starter Project

Dollhouse bookcase

Submitted by Anonymous (not verified) on Sat, 09/03/2016 - 23:21

We did make some revisions to the plans, including making it shorter and not as wide. 

Built from Plan(s)
Estimated Cost
$200
Estimated Time Investment
Weekend Project (10-20 Hours)
Finish Used
Hi gloss Behr Marquee paint
Recommended Skill Level
Beginner

Farmhouse Table

I used the farmhouse table plans but substituted almost 100 year old wood from our family farm. Pocket hole joints on the table top and lots of sanding...! The bench was made from the same wood and followed roughly the plans for the dining bench.

Estimated Time Investment
Week Long Project (20 Hours or More)
Finish Used
Minwax pre-stain and oil based Minwax Jacobean and finished with oil based satin spar varnish.
Recommended Skill Level
Intermediate

Two Toy Boxes from Plywood

Submitted by cat34c2000 on Sat, 08/11/2012 - 22:04

I am in process of making these for my new twin nephews. By reducing the width of the toy box by 1/2", I was able to fit two of the open top toy boxes on one sheet of cabinet grade plywood ($30).

For Two Toy Boxes cut plywood to the following dimensions (see photo for layout):

2 - 32 x 15 1/2 pieces (bottoms)
4 - 33 1/2 x 15 1/2 (front and back)
4 - 15 1/2 x 15 1/2 (sides)

My local Home Depot does not charge for cutting the plywood and the person that was assisting me made absolutely perfect cuts and helped direct me to the cabinet grade plywood (which was located away from the plywood aisle), thus saving me an extra $15.

Boxes took approximately 2-3 hours each to build, another hour to sand and fill screw holes, and several hours to paint.

Photo is of Dexter's toy box. Dante's looks very similar. My 2 year old niece enjoyed taking a nap inside of the boxes as well.

Make sure to purchase non-toxic paint.... I believe one of my nephews may be part beaver!

Built from Plan(s)
Estimated Cost
less than $20 each + Paint
Estimated Time Investment
Weekend Project (10-20 Hours)
Finish Used
Sherwin Williams Paint in a chocolate brown for the outside of the box. Inside was leftover paint from another project. Lettering paint was off the mis-mixed shelf at home depot.
Recommended Skill Level
Beginner

Patio bench

Submitted by chipona on Mon, 06/02/2014 - 14:11

This bench for 2 was made of leftover pine wood planks I had in my cellar. I used different saws and a router to make sure the ends where smooth and give the overall project a elegant touch. Since I love to see the texture of wood I chose a walnut stain.

Estimated Time Investment
Weekend Project (10-20 Hours)
Finish Used
walnut stain
Recommended Skill Level
Intermediate

Comments

Simple Rolling Bar Cart

Submitted by Anonymous (not verified) on Mon, 09/05/2016 - 13:29

Made this over the weekend with my Daughter. Gray oil based stain. 

Built from Plan(s)
Estimated Cost
$70 with wood, casters, fasteners, and stain.
Estimated Time Investment
Afternoon Project (3-6 Hours)
Finish Used
Oil based gray. Brushed on then wiped with rags.
Recommended Skill Level
Beginner

Small Balcony Planter

Submitted by Anonymous (not verified) on Mon, 03/25/2024 - 08:51

Adjusted the original plans to meet AOAO requirements. Shortened the boxes to 20” and the length to stay below balcony railing. Love this herb garden on my very tiny balcony in Hawai’i ❤️

Made by Melissa Puanani Nobriga-Petrichko.

Rustic X coffee table

Submitted by mkwsrt4 on Thu, 06/05/2014 - 02:56

This was my first woodworking project and I absolutely love it. I think it turned out amazing and was actually very simple to do. I just got some construction grade lumber from Home Depot and borrowed some tools and got started. I did have to buy a Kreg Jig, which is an amazing tool by the way. I am not complaining about having to buy it since I have used it on many projects since!

Built from Plan(s)
Estimated Cost
$180
Estimated Time Investment
Weekend Project (10-20 Hours)
Finish Used
I used steel wool dissolved in vinegar to chemically distress the wood. Then I sanded it down and applied a dark stain, I can't remember exactly which one. I applied two coats of stain, then I applied 3 coats of polyurethane, sanding in between each coat.
Recommended Skill Level
Beginner

Maple Edge Grain Cutting Board

A cutting board seems to be a right of passage for any new wood worker, that and making a mallet! I’ve already made a mallet and have been putting off making a cutting board so I figured now was as good a time as any. I’ve always liked the look of edge grain maple and I had some scraps of maple that were too narrow for most projects so I figured that I would go for that look. To spice it up a bit I decided to add a couple of accent strips of Oak.

Estimated Time Investment
Day Project (6-9 Hours)
Recommended Skill Level
Beginner

Modern Bunk Bed - Side Street - Triple Bunk

Submitted by Anonymous (not verified) on Sat, 06/20/2020 - 11:39

Our four boys matching double bunk beds recently succumbed to being used abused by four boys for 12 or so years, and I have always wanted to make them a pair of triple bunk beds for when friends come over. The broken pieces of a bed that had survived numerous military moves finally gave me the jump start I needed to finally get this job done. After about a day of measuring, pondering, and configuring, I came up with what I thought were good dimensions for the project. I increased the height of the corner posts to seven feet to allow for a higher top bunk, and squished the bunks a little tighter together as well. This ended up giving me a 26” gap between the bunks. When I build the next one, I will cut this down to 24” between each and give a little room room to the top bunk. Trial and error I guess. I added a 2x2 all the way around the bottom because although I wanted it very low, I didn’t want anyone feeling like they were sleeping on the ground, but I also didn’t want some 1” or 2” gap below the bottom bunk for balls, cars, and LEGOs to be lost. The guardrail was shortened a little based on what wood I had left at the end. The ladder I decided to build upright/no angle, which necessitated that I fashion the ladder myself out of some strip of metal that I think is meant for some sort of roofing purpose. Oh well, it worked. I wanted to do this because the bed is meant to be able to be disassembled, and if I had simply screwed the ladder to the bed, it would have gone against the “disassemble-bility” of the project. Last thing to note, the barn red staining was quite messy and a huge time investment, so although I stated it took 10-20 hours, probably 12 of the 20 hours was in the staining. We are all thrilled with the look of it though, so I guess it was worth it in the end. I hope this project was worth the read. Enjoy!

Built from Plan(s)
Estimated Cost
$275 including wood, screws, stain, brushes, etc
Estimated Time Investment
Weekend Project (10-20 Hours)
Finish Used
Minwax Barn Red
Recommended Skill Level
Beginner

Comments

Poolside Outdoor Sectional

Submitted by Christian on Fri, 08/17/2012 - 13:35

Pocket Screws are my new favorite things! Total of 10 chairs made, 6 corners and 4 sides. Over 230 cuts, and 1000 pocket screws. It took me a while to finish, but I am very pleased with the result. I would not attempt this project without the Kregg Jig or similar product however. It saved me a bunch of time. The plans were detailed and easy to follow. I added a back brace to the design, and decided to make three separate units instead of a u-shaped sofa. This adds more armrests to the unit. I intend to add end tables in the corners and a table in the middle still. Instead of screwing the chairs together I used One-Wrap Velcro so the units can be reconfigured. I purchased the cushions instead of making them. Lowes had some on sale for $50. It added about $500 to the total cost, but it was worth not having to sew.

Estimated Cost
$1000 ($500 wood, $500 cushions)
Estimated Time Investment
Week Long Project (20 Hours or More)
Finish Used
Olympic Maximum deck coating.
Recommended Skill Level
Intermediate

Comments

Sue_McL

Sun, 08/19/2012 - 09:03

Just got inspired (Thanks to Ana) and built a deck this summer.

Wanted to do something in the Simple Modern Collection...

Been trying to figure out what chairs and loveseats to put out there. You've given me the inspiration to do it this way!

I think I'll just start it easy -- one sectional at a time.... easier on the budget, too. And I sew, so the cushions will be done at home during the winter -- mix 'n' match.

Am raising the seat height a little (bad knees) and would love to know if there is any way to slant the back? I'm sure I'll figure something out.

Can't wait to show this to my family!!!

Beautiful.... just beautiful...

Back