Rustic End Table
Fun quick project!
Fun quick project!
My husband built the dresser for our three-year-old son. He built and stained the dresser over the course of a week.
Built this table out of solid Maple, which made it much more expensive to build, but such a beautiful piece of furniture. I bought the legs from Osborne Wood. One thing I did to cut down on cost was to use 1" X 6" wood for the 5 center table-top boards instead of the 2" X 6" called for in the plans. Underneath those, I put a piece of 3/4" plywood to increase the thickness to match the (4) 2" X 6" outer edges. This is not visible unless you climb under the table to look at it from underneath but I think it actually helped to create a flat (almost seamless) table top. Thank you for the plans! I put a lot of work into this piece and I think it will remain in my family for generations!
I made the boxes a little wider than the plans called for but still came out great. I'm very happy. Thanks Ana for the inspiration.
Simple workbench using 2x4's and a 3/4" 24"x48" top and 2.5" screws.
Added an extra board to the bottom for more storage space. Actually built 2 of these to have a longer work station for the miter saw and to assist in ripping larger boards with my circular saw since I do not have space in my garage for a table saw.
This was my very first project. I wanted to jump right in and start with a Storage Farm House bed but my husband was convinced that I would start a project and just leave it hanging and insisted that I start with something smaller. He was sooo impressed with these stools! I originally had planned to upholster the top as in the plan but we preferred the look with out it! The plans were very easy to follow.
We made these chairs following easy instructions from AnaWhite!
My almost 3 year old son was getting really into playing pretend and would always bring me and my husband little toys and he would say "here's your pancakes I made you". So when I seen Grace's kitchen I knew I needed to make my boys one. I had limited time to work on it as I work full-time and it's winter here so the garage isnt the funnest place for them to hang out. It was so fun and easy (Thanks to your plans) to build and they love it! I made the burners out of wood with my jig saw as I couldn't find anything else I liked. The sink is just an old mixing bowl that fit perfectly. The faucet is from the Orange store and was only $10. I had the hardest time with hinges I initially went with the ones that Anna had done. I found that my littlest guy (1.5 years old) was having a hard time pulling the doors open though so I switched to regular hinges and a cheap magnetic closer. I saved the other hinges though so when he gets a bit older I can switch back. One of the best parts of my build is my husband bought me a ROUTER!
Wed, 01/04/2012 - 05:49
That's cute! Not to mention, cool too! So your son can actually cook there? If you all play it right, he may just develop the aptitude and love for cooking, and grow up to be a chef someday!
Wed, 01/04/2012 - 08:48
I got my youngest son a kitchen set (purchased, never even thought about making one my self!) long ago because he played "cooking" too. He and his brother loved it, and the the youngest did become a chef!
Needed something I could put together between work in a few weeks to serve thanksgiving on. The base of the table is modified from Ana's build and the table top is a frame I built and filled with log slices and clear epoxy resin
My husband and I bought our first house back in October and wanted to build a table so we could host Thanksgiving dinner at our new place. With the help of my dad and his collection of tools, we were able to use the farmhouse table plans from Ana-White which turned out nicely. We used a dark walnut stain and a couple coats of MInwax Helmsman Spur Urethane.
First thing my husband has ever attempted to build and I love it! Thanks Ana!!
Sat, 08/31/2019 - 11:20
What a beautiful first project. I love the dark stain or paint? It's gorgeous!
Can't wait to see more projects from you!
I've been wanting to build this plan for quite some time! Took me about 2 hours to build and 1 hour to finish. Giving these as gifts for Mother's Day! Total cost was about $15 per planter. I scaled down the design after I found the plants I wanted to put in them. Ana has the best and easiest plans!
I saw a stand like this in a catalog for over $250 and knew I could build it instead for way less! I used the hinges so it collapses and both my daughter and I LOVE this stand :-) It is sturdy enough that my 4 yr old daughter and her 7 old brother can both be on it at the same time, wiggling and giggling.
Fri, 06/29/2012 - 00:24
I LOVE the idea! It's really beautiful Helper Tower :)!!
In reply to I LOVE the idea! It's really by Eve (not verified)
Sat, 09/15/2012 - 13:07
My daughter is almost 5 and she still uses it all the time. She just loves it! Even her 8 year old brother likes to get on it sometimes :-)
We built this 8 foot long standing work table in trade for a friend. It turned out great! We had some scrap 2'x2' pieces of white maple plywood that we used for the top and framed them out with 1x3's. Then we made a simple base of 4x4s and 2x4s. It is a super simple table but it's so pretty!
I've been eyeing Rustoleum's new wood stain called "Willow" so I decided to give it a try for this project. It is sooo pretty. It lightens the wood almost like a white wash but it has this pearlescent quality to it and I'm swooning for it! Then we put 2 coats of satin poly over the top and legs. I prefer to use wax but he is using the table as a work surface and needed something a little stronger.
This was a fun project for me and my son. Total time was probably a weekend, including finish. I used Douglas Fur, and spent around $100 including finish and nails ect.
I used the overall dimensions from the plan for the beds. Some differences:
Tips:
I made two. Somehow one turned out just a tad larger than the other. It works though, my kids are 2 and 9. Love all your plans. Thanks.
Wed, 05/17/2023 - 13:28
I bet your children love having their very own chair! Thanks for sharing.
I wanted my kids to have more space in their shared room, but I did not want to pay a ton of money for a new bunk bed. My husband and I found a plan for this bunk on Ana-White and fell in love with the design. It turned out so great that we will still be using it in our next home whether it's needed or not. We did change a couple of things on the plan that we didn't care for. The first is that we added a side rail for safety. Secondly we also traded the 1x6 boards on the head and foot boards for 1x4s on the top but kept the 1x6s on the bottom.
Mon, 01/09/2012 - 17:39
With pocket screws on the bottom and then one screw through the 1x4s into the post before the 2x4 on the top goes on. And then the 2x4 is screwed onto the 1x4 and post with trim screws.
Wed, 03/28/2012 - 13:02
Cost us about $300 and over an entire weekend of time spent on this project.
It's not for beginners. My husband has had many many years of experience in carpentry and woodmaking.
Good luck to you.
Also, he changed a few things in the plans we found in order to make it look better.
Thank you
Jillian
Wed, 03/28/2012 - 12:59
Cost us $300.00 to make and almost non-stop making it for the whole weekend. And then stained for hours.
This is with many years of experience in construction and woodmaking.
This is not a beginners project and then expect it to look amazing.
My husband changed these plans a bit to make it look better than the other ppls that we've seen on here.
But, good luck to you and make sure to have plenty of room and time.
Also, we had to make this bed in 10-15 different pieces and put together in the bedroom we wanted it in. There is absolutely no way it will fit otherwise.
Jillian
Sat, 10/25/2014 - 22:25
I don't see how you could put the fill/twin over a queen since the queen is longer. Obviously you could spin the queen around and make it an L-shape but then you are looking at a different build.
Sat, 10/25/2014 - 22:28
I really like the look of this ... I'm going to try to replicate!
What does the bottom of the guard-rail look like? Did you space out your slats a little more than the original design? I like the 2x4 topper instead of the 1x6.
Sat, 02/28/2015 - 16:46
We made this bed over the course of a week, both of us have extensive experience in woodworking and building. Ours is very wobbly on the long axis. We had a friend who is a structural engineer come in and take a look. He offered suggestions to shore it up and nothing really worked. The 3/4" overlap is not enough to secure the side rails, imo, and we used a variety of brackets to make it not wobble, to no avail.
This bed is coming apart in a few weeks and will be stored. If it is ever used again, it will be as two separate beds. I spent about $400 on this. My son never felt safe sleeping on the top bunk and has slept on the bottom exclusively.
Just my $0.02.
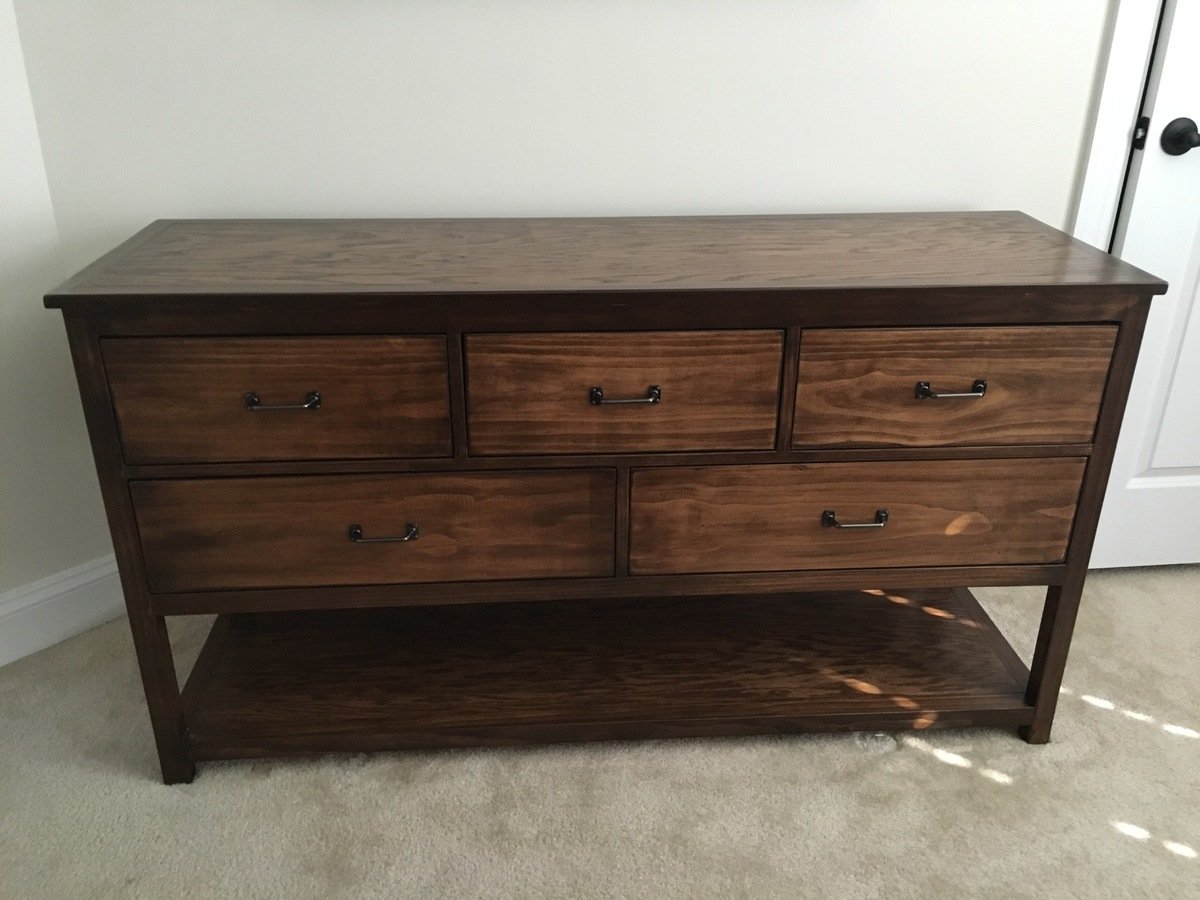
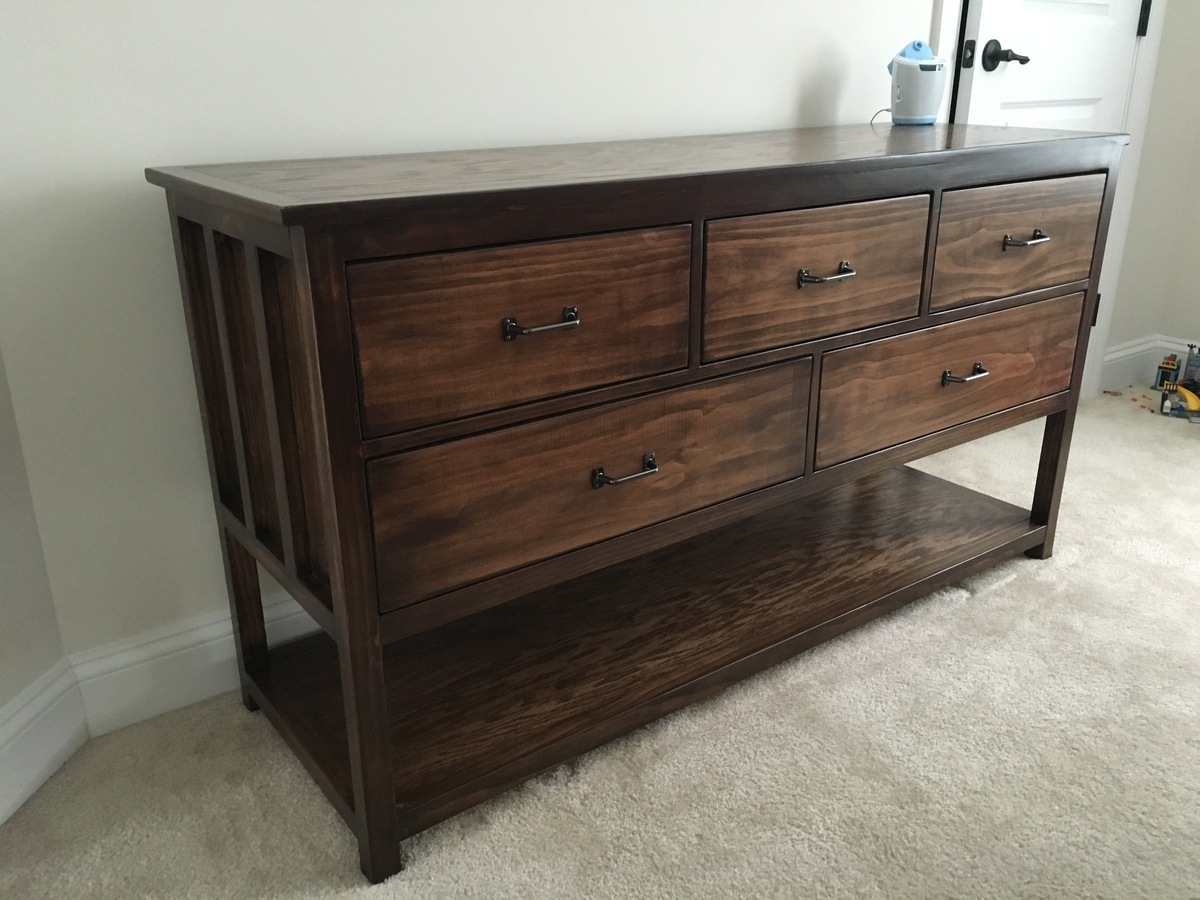
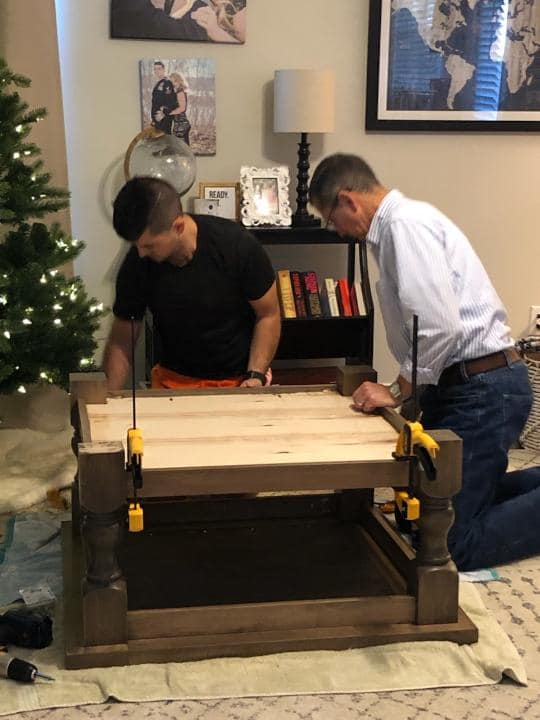
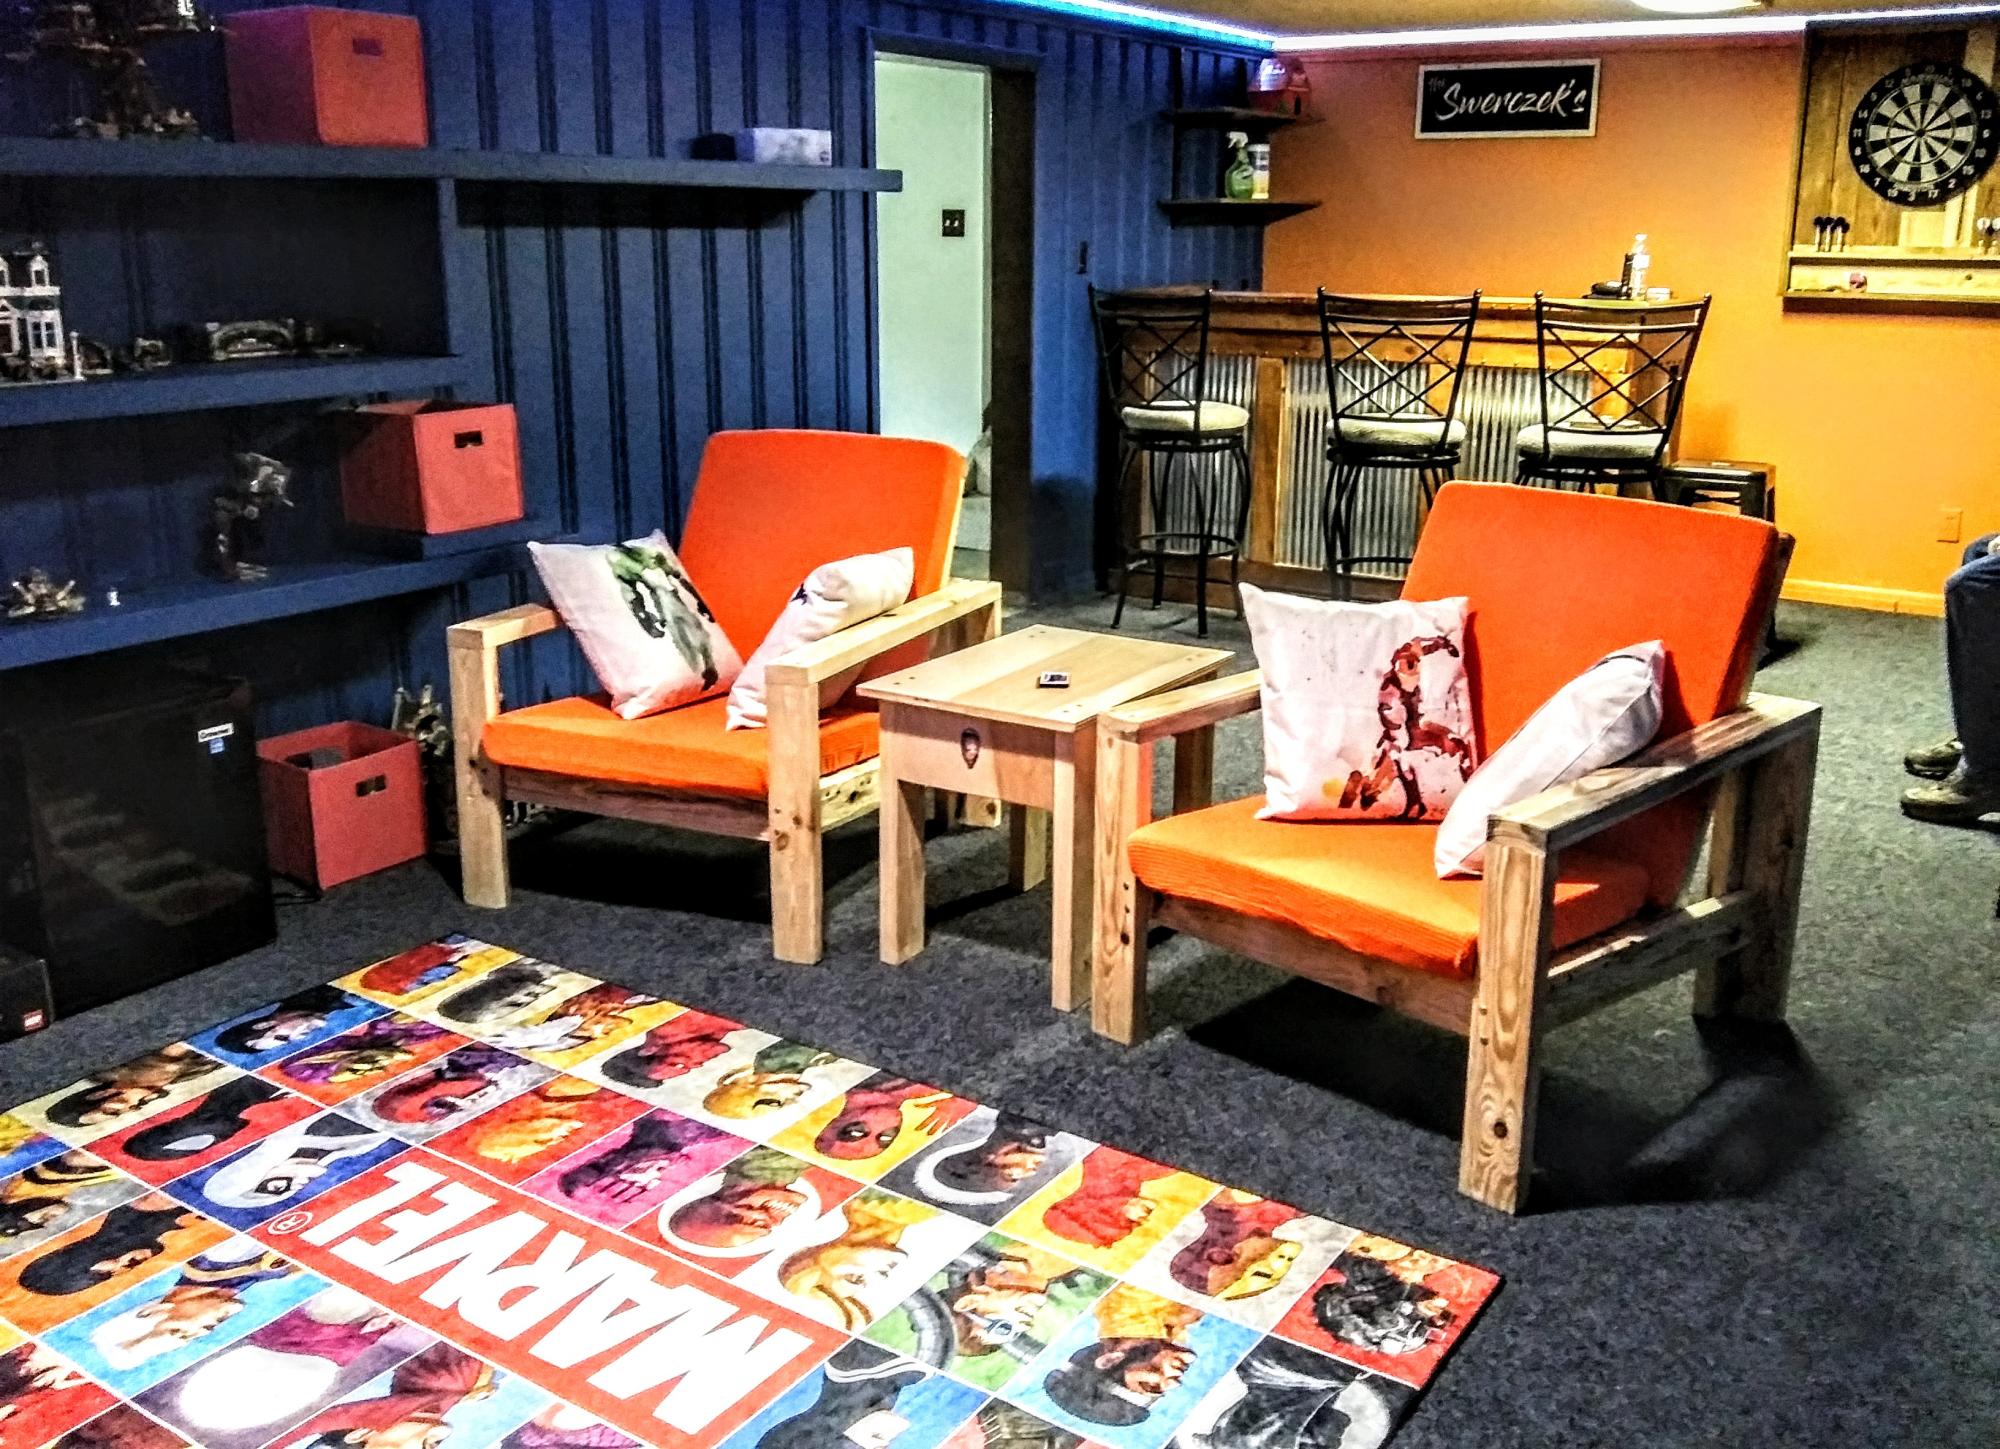
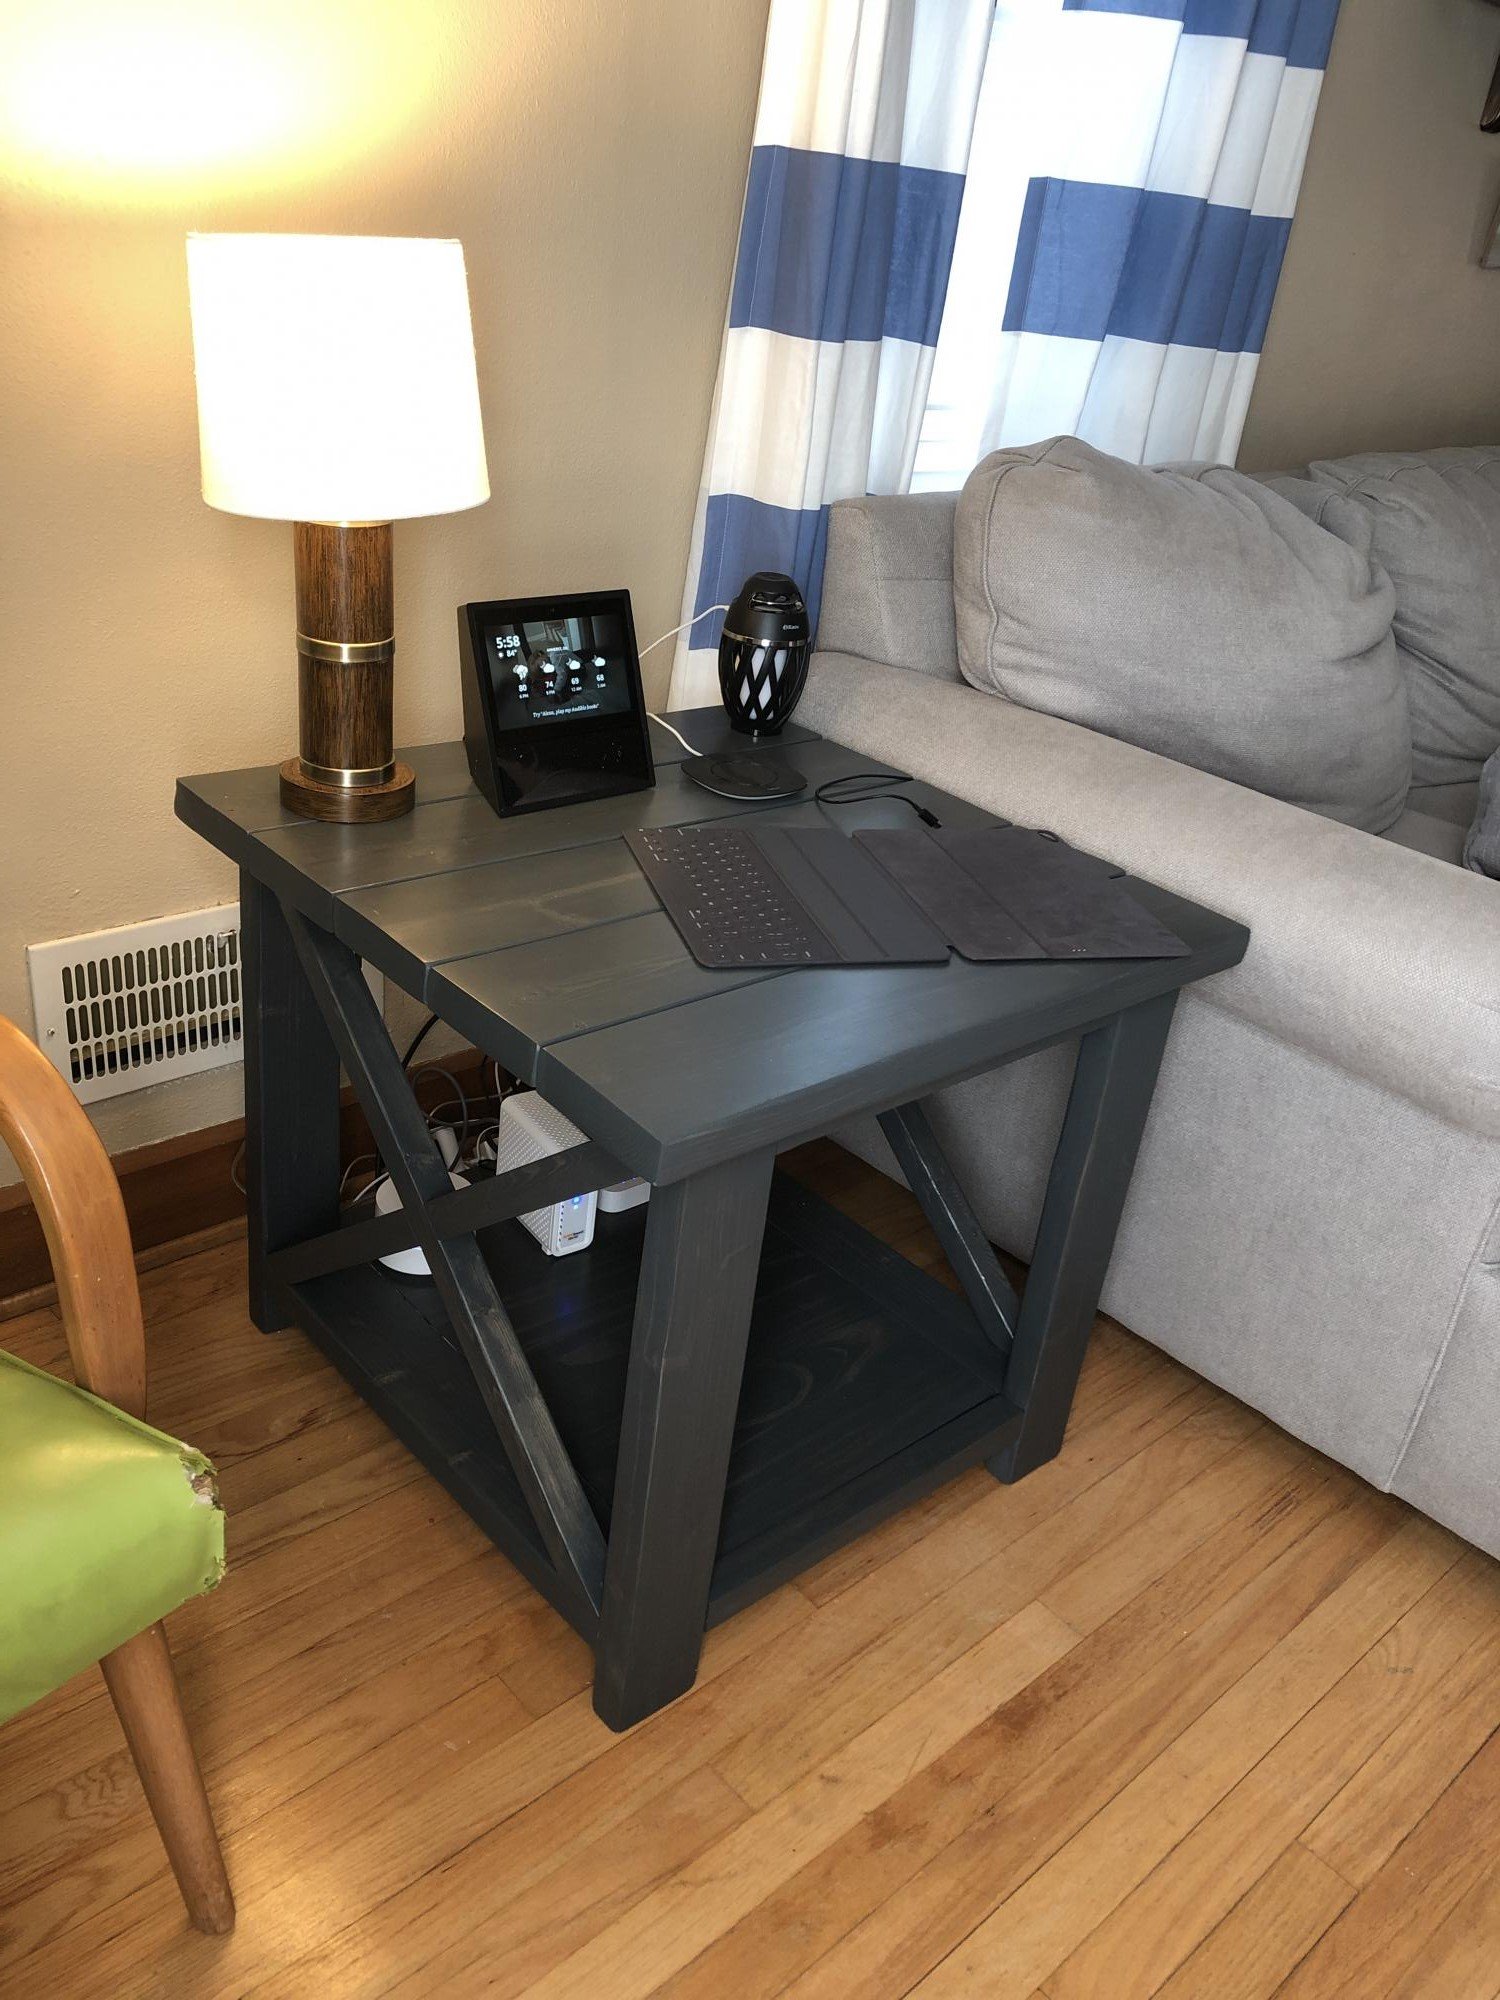
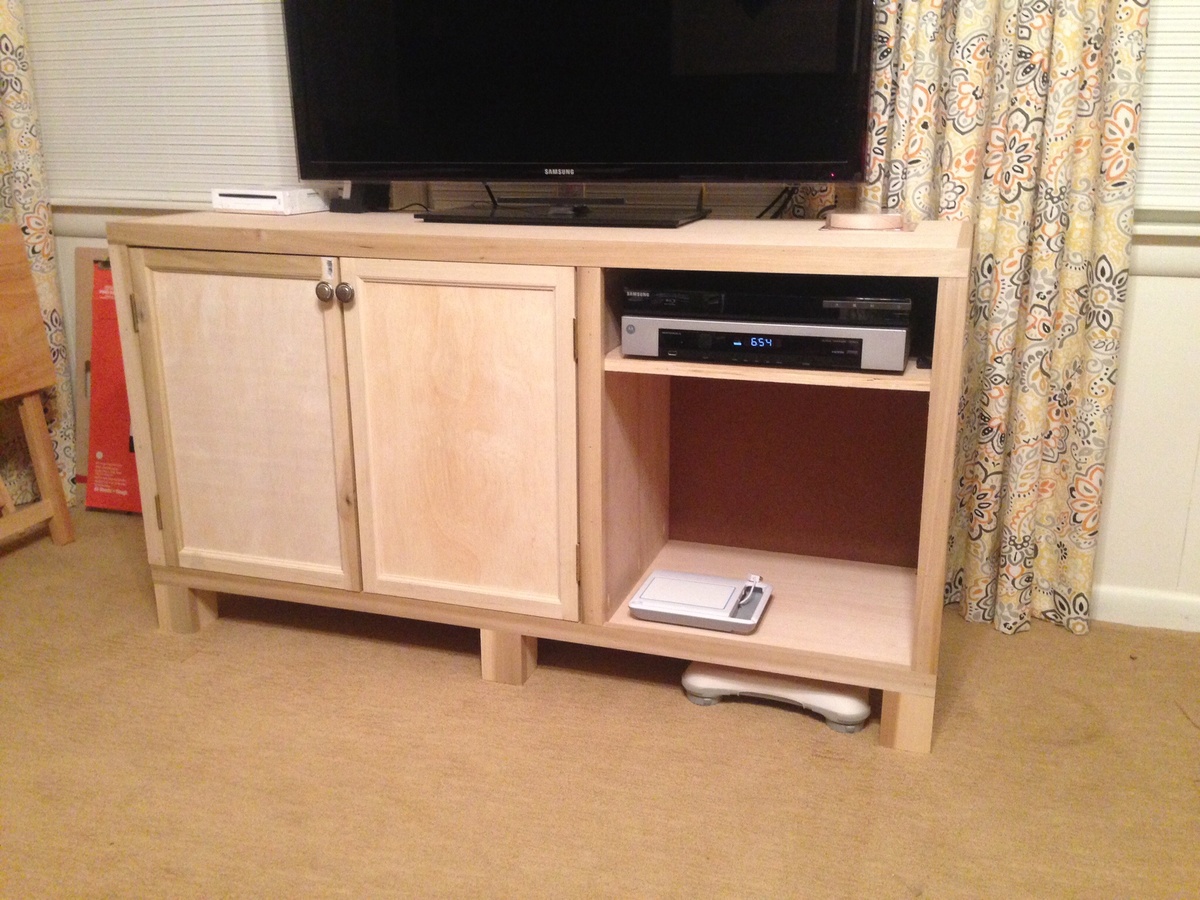
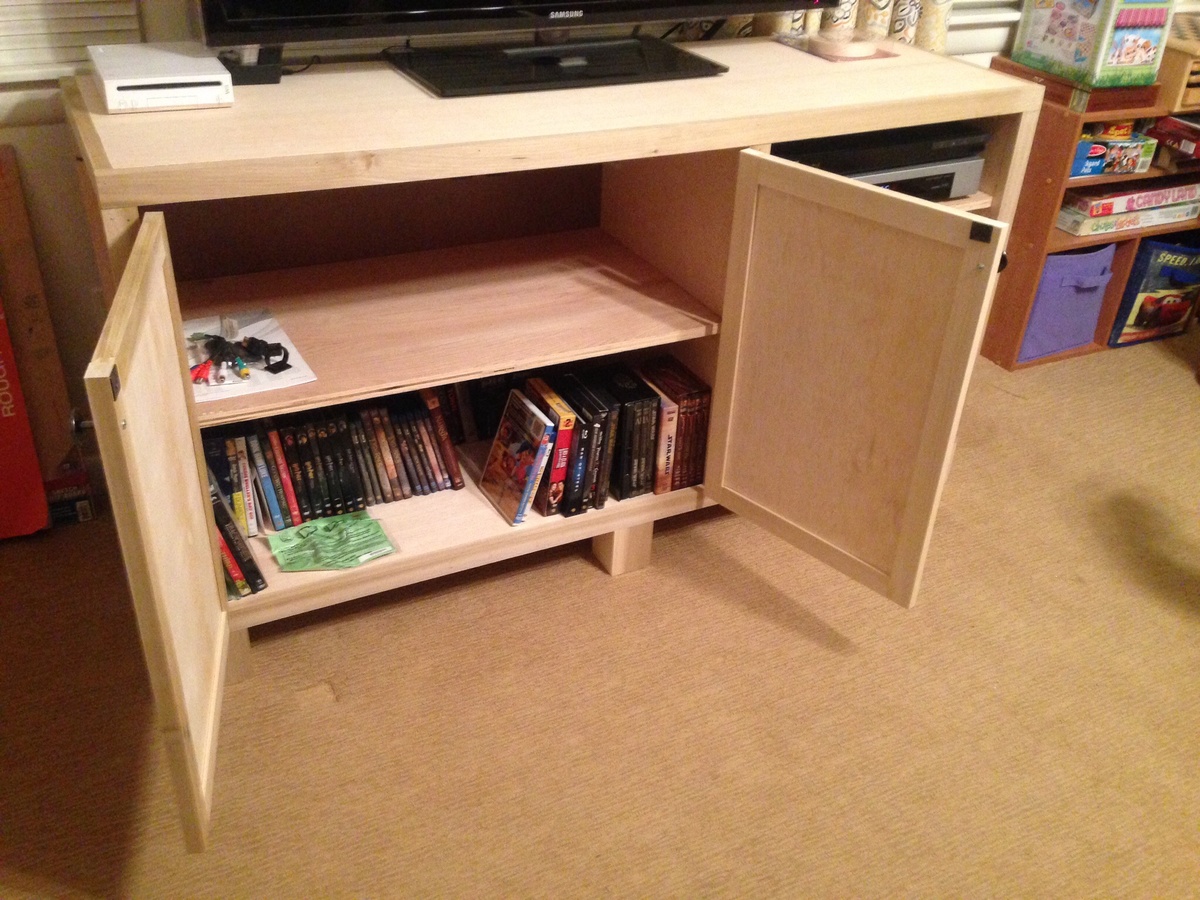
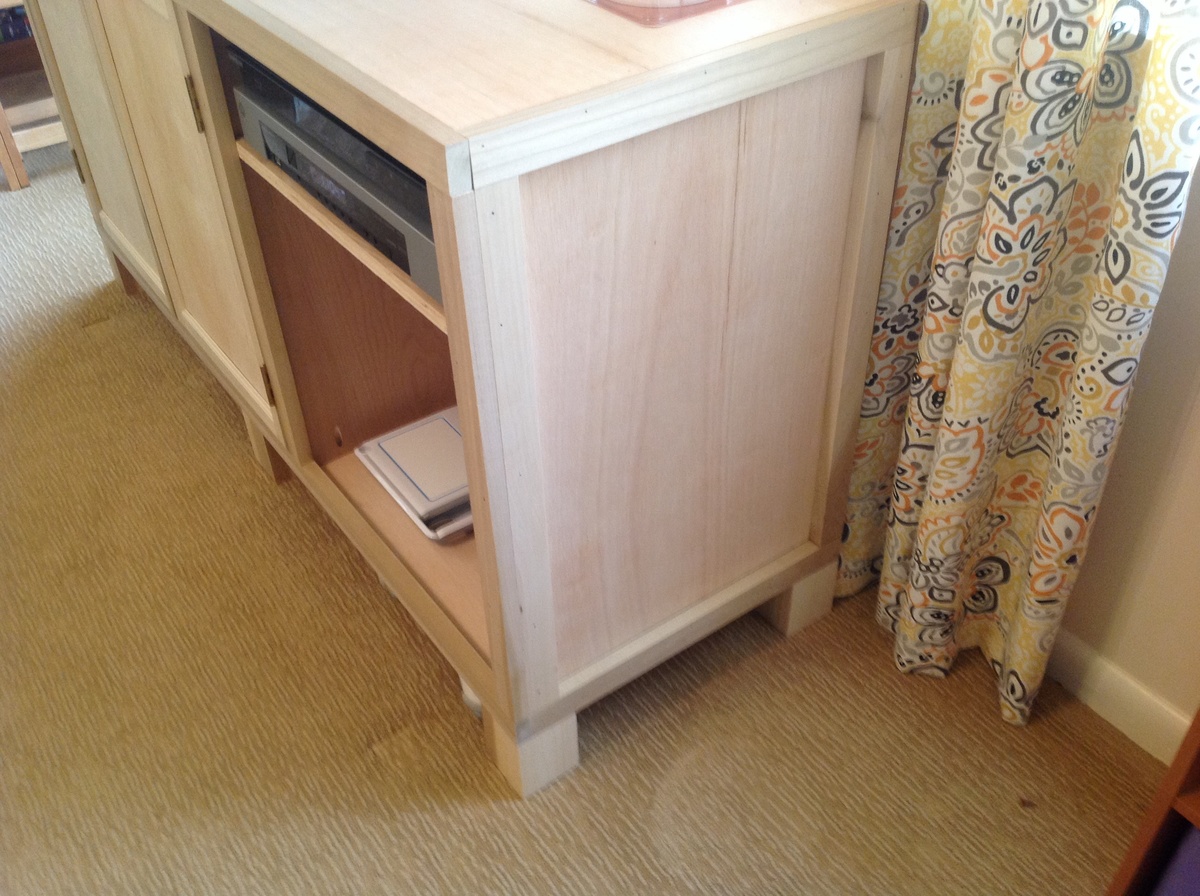
Modified by making 18" deep, right side is 20" wide (inside dimension) to accommodate cable box. I also trimmed out the side panels with 1x2 not just the front.
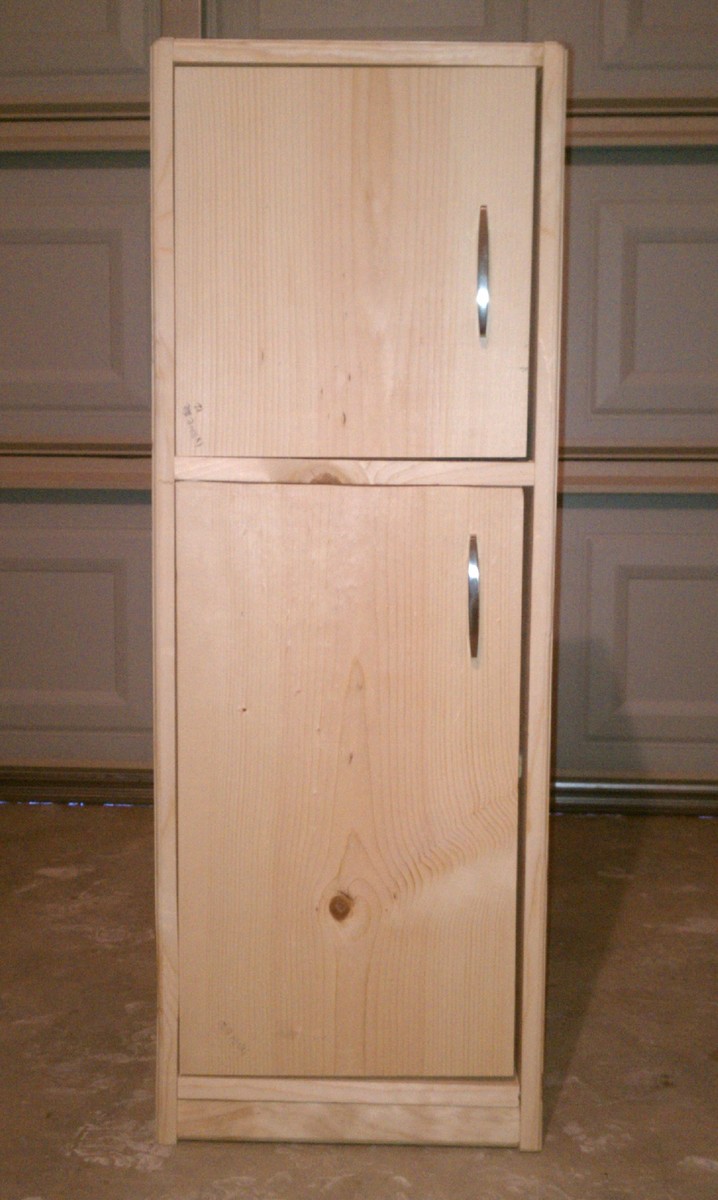
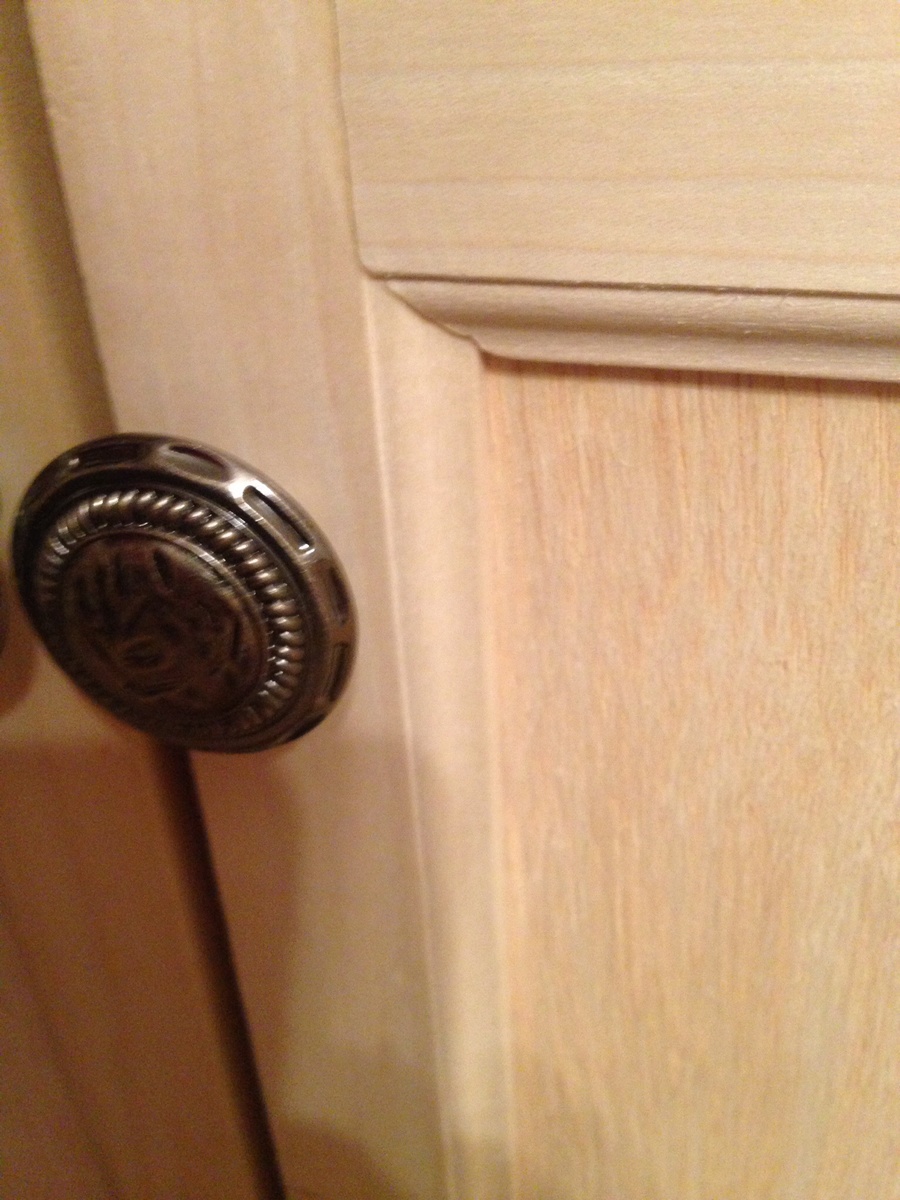
I used a rail and stile router set to make the doors. To do it again, I would have selected maple, as it routes better than the poplar. I would also consider overlay doors, made from 1x3. The inset doors leave little room for error - the frame must be square!!! You also have more hinge options with overlay hinges.
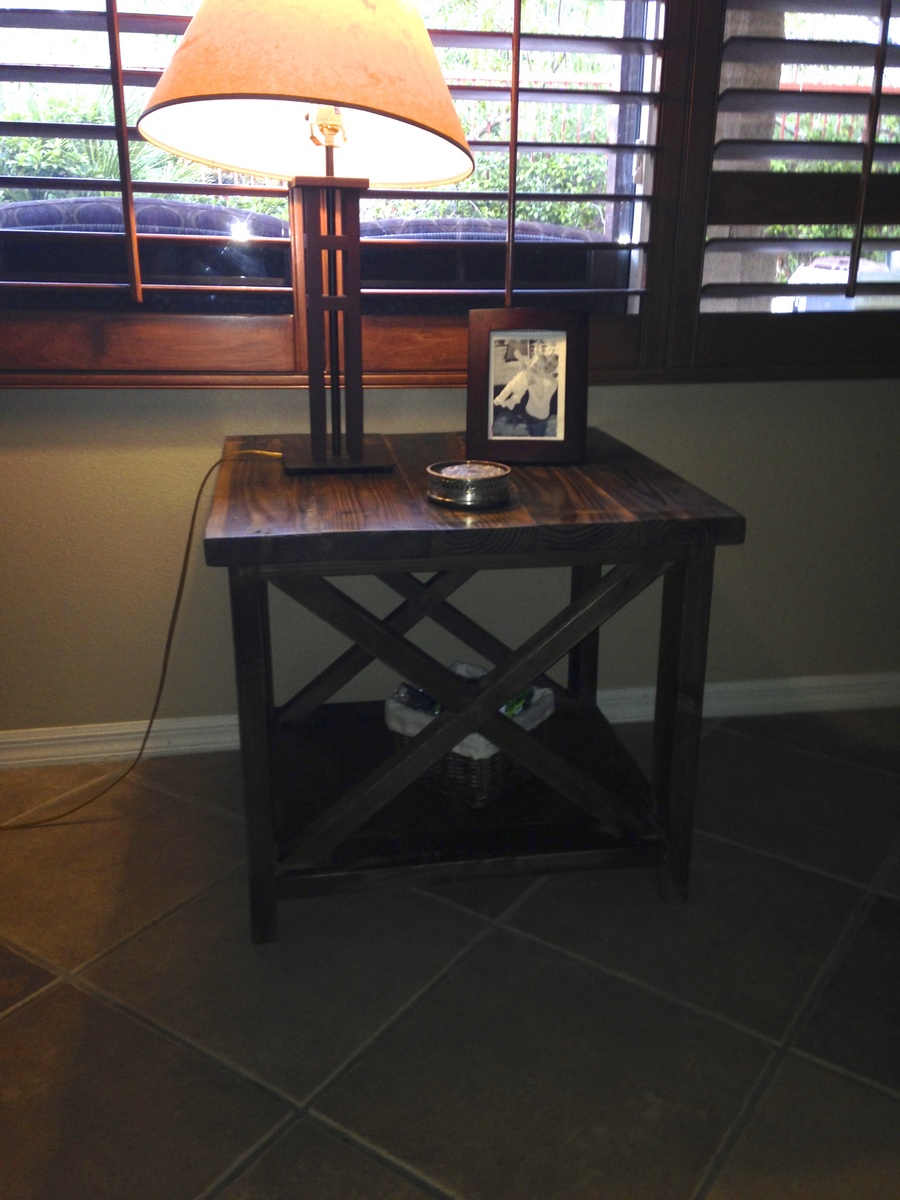
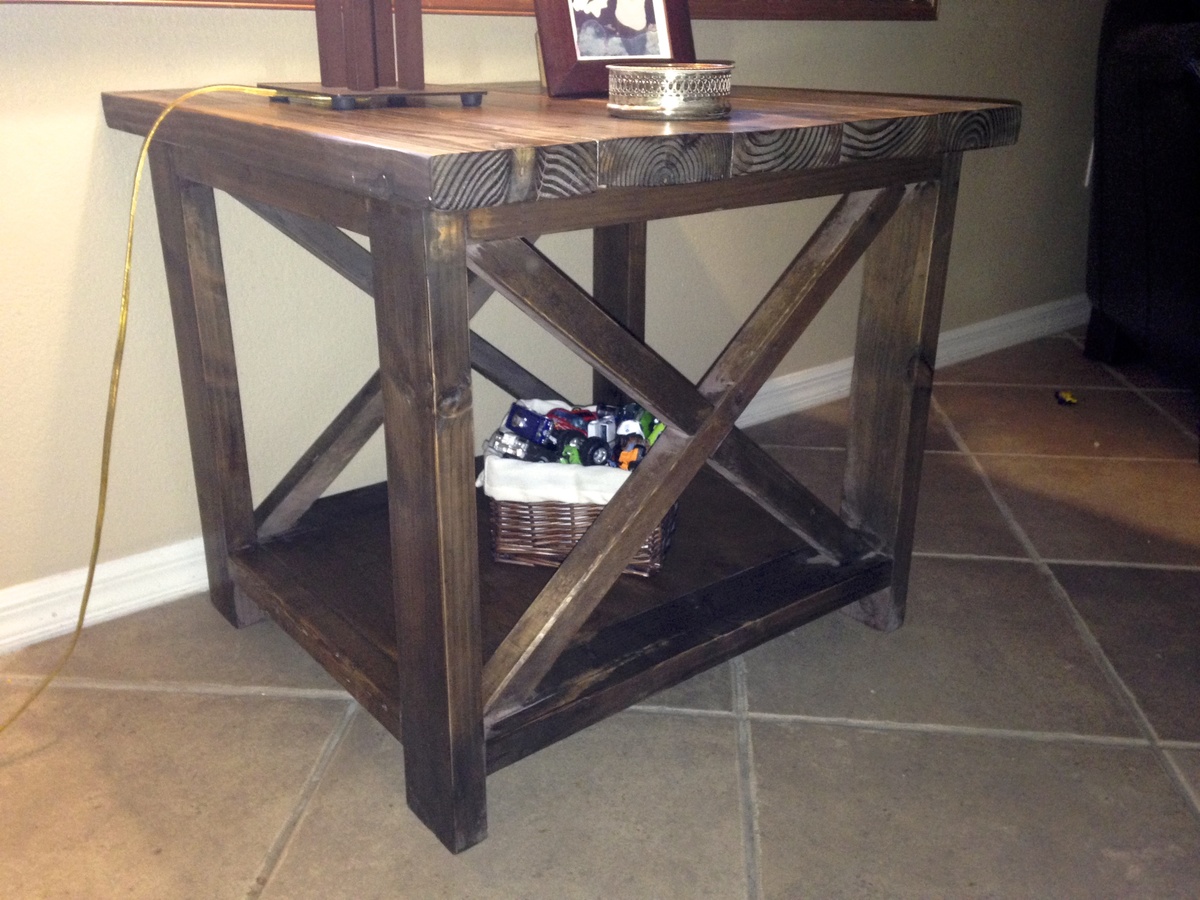
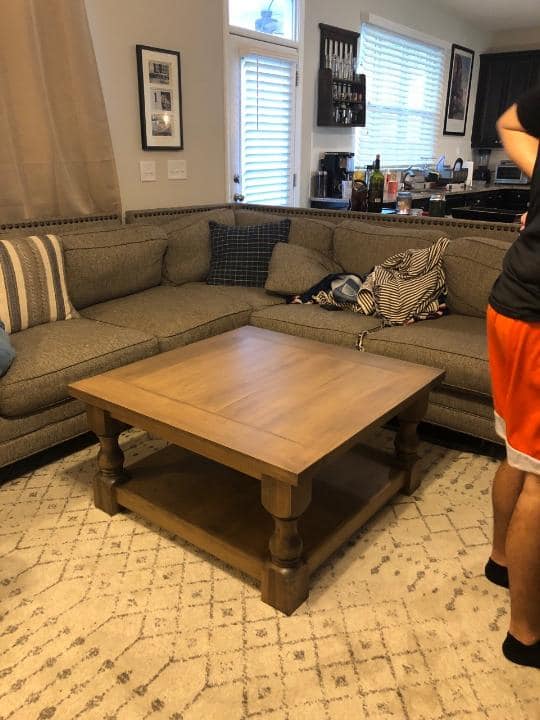
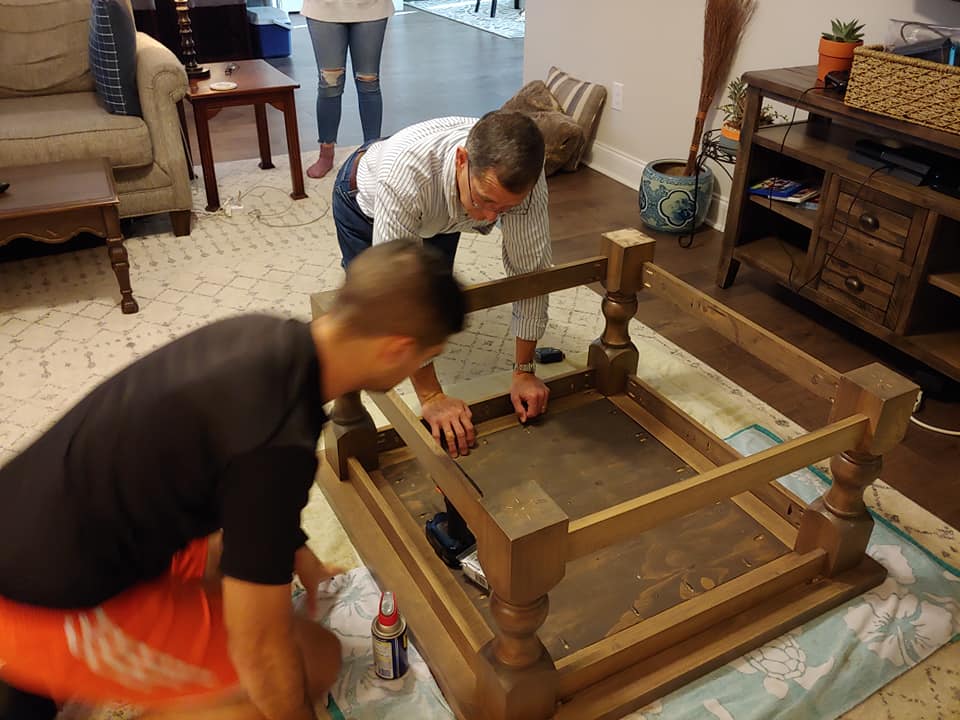
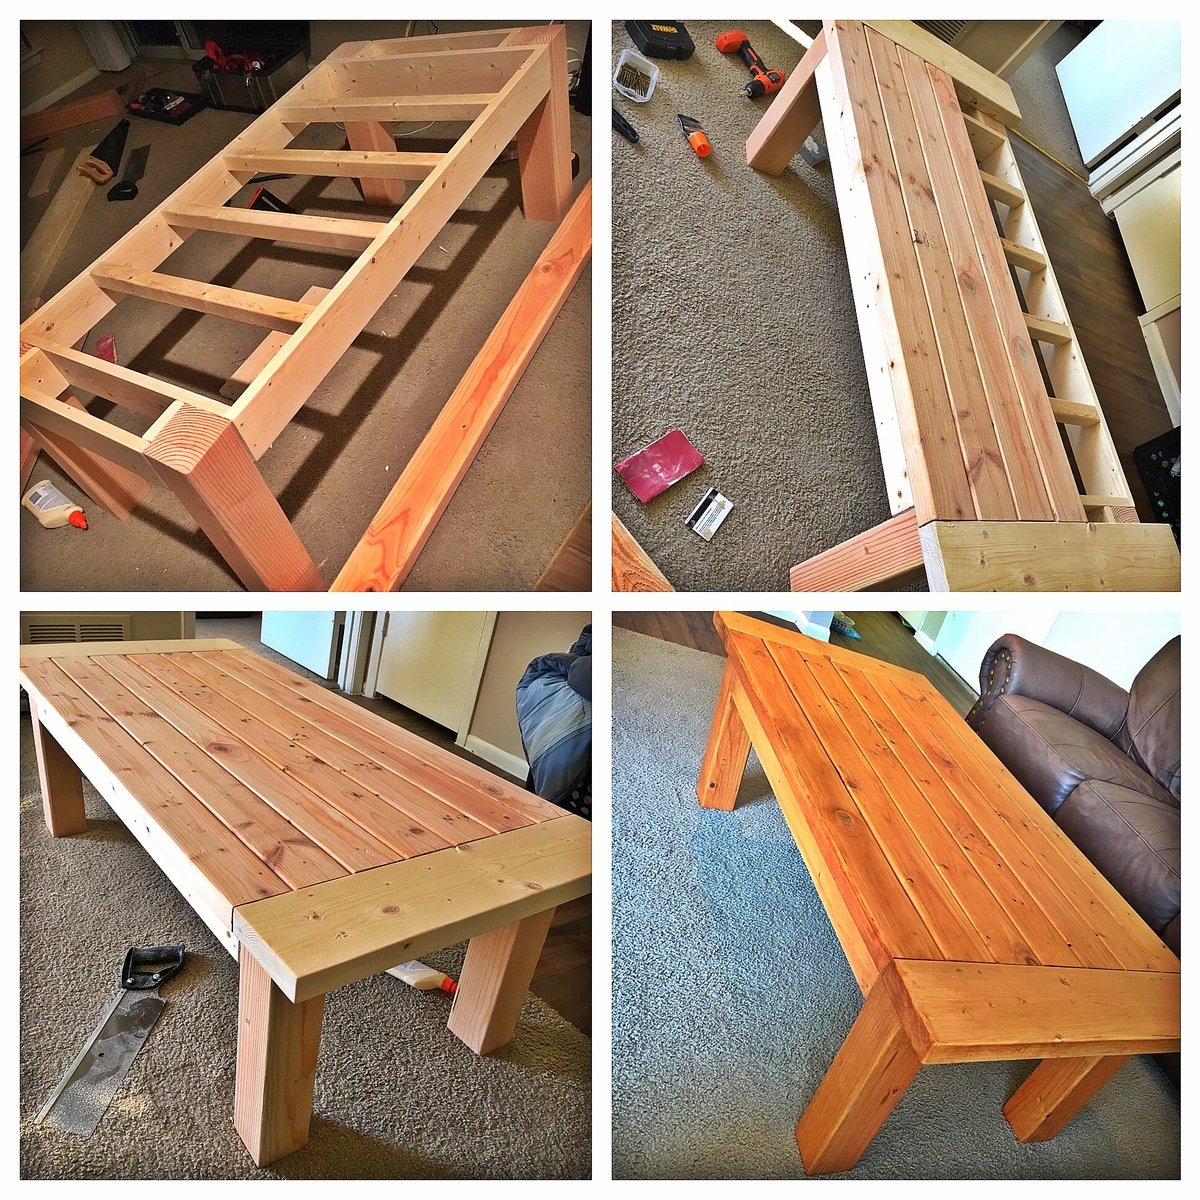
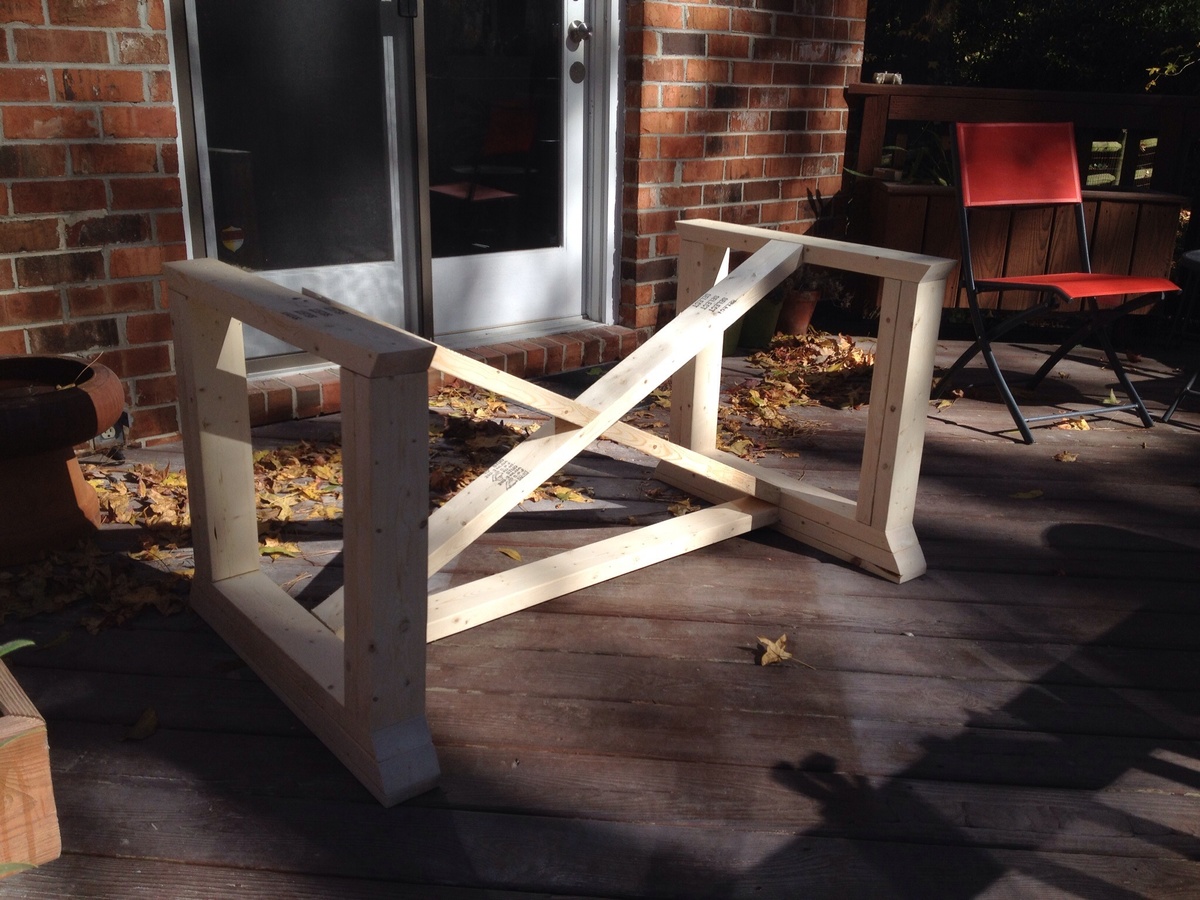
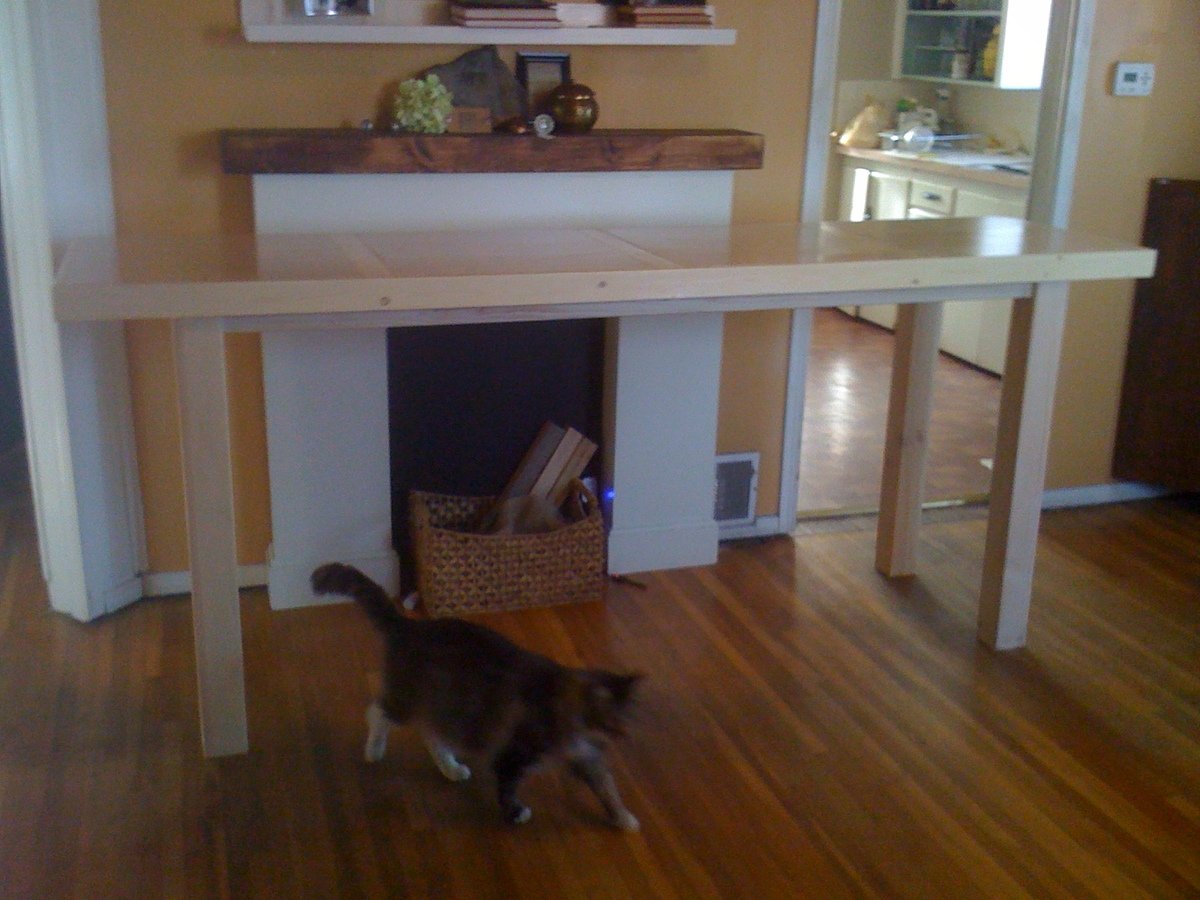
I also used 3x3 for the legs, I think their weight adds to the piece. The original base looked too small and fragile for the rustic upper half.
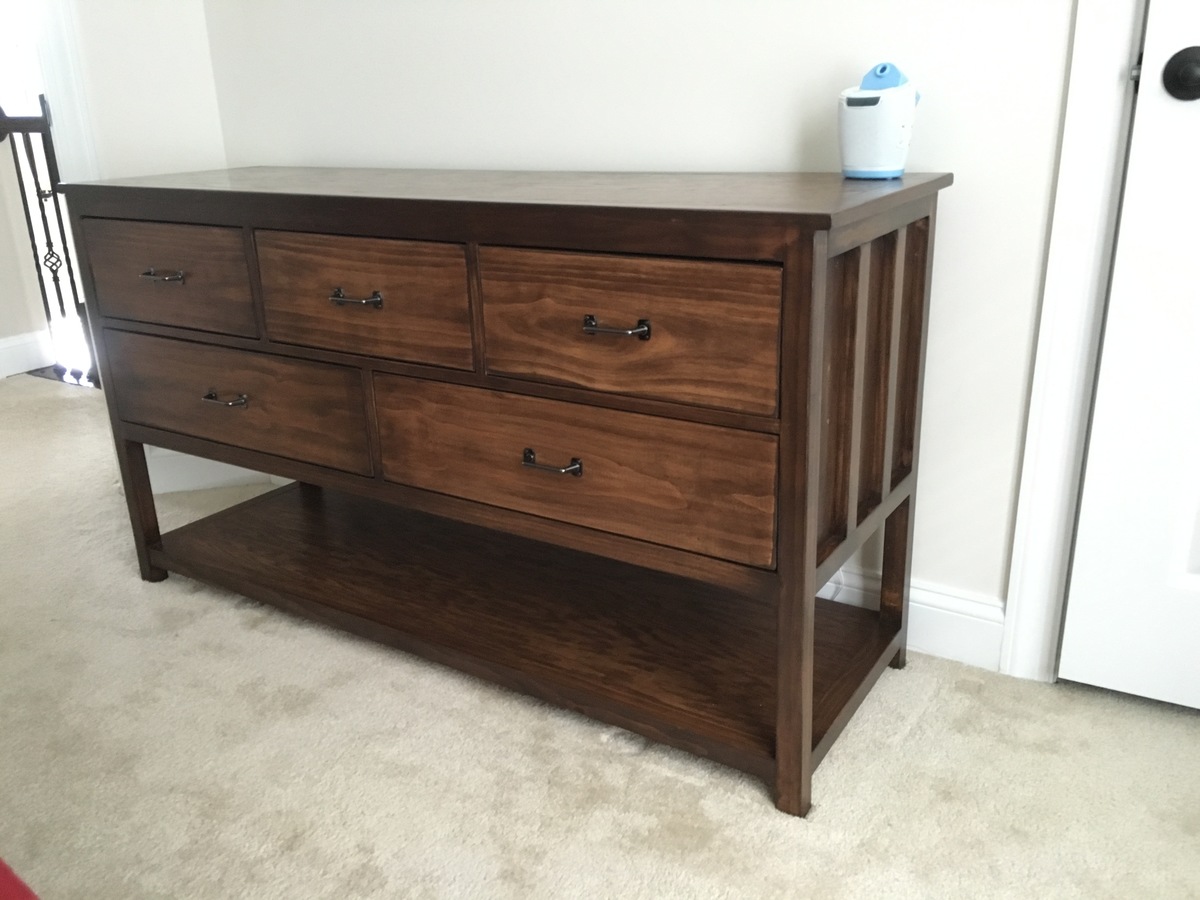
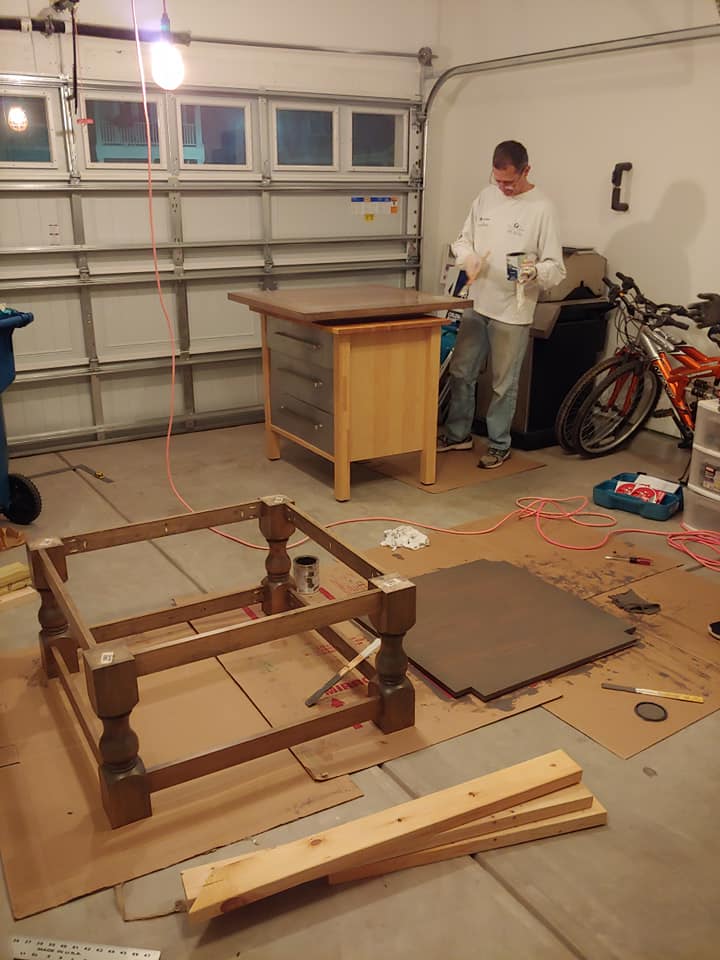
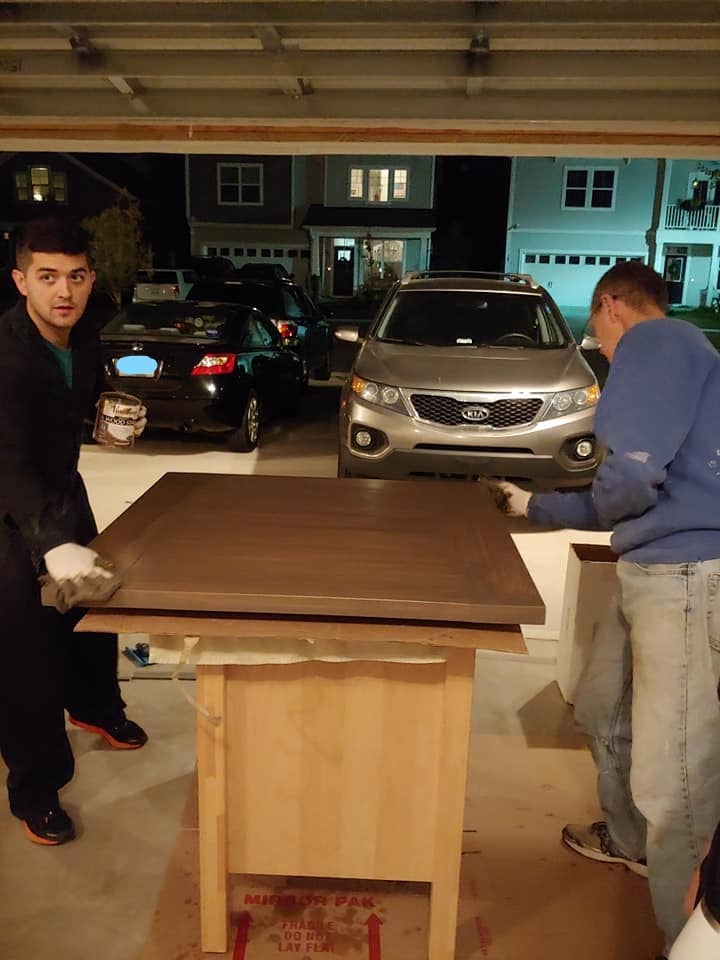
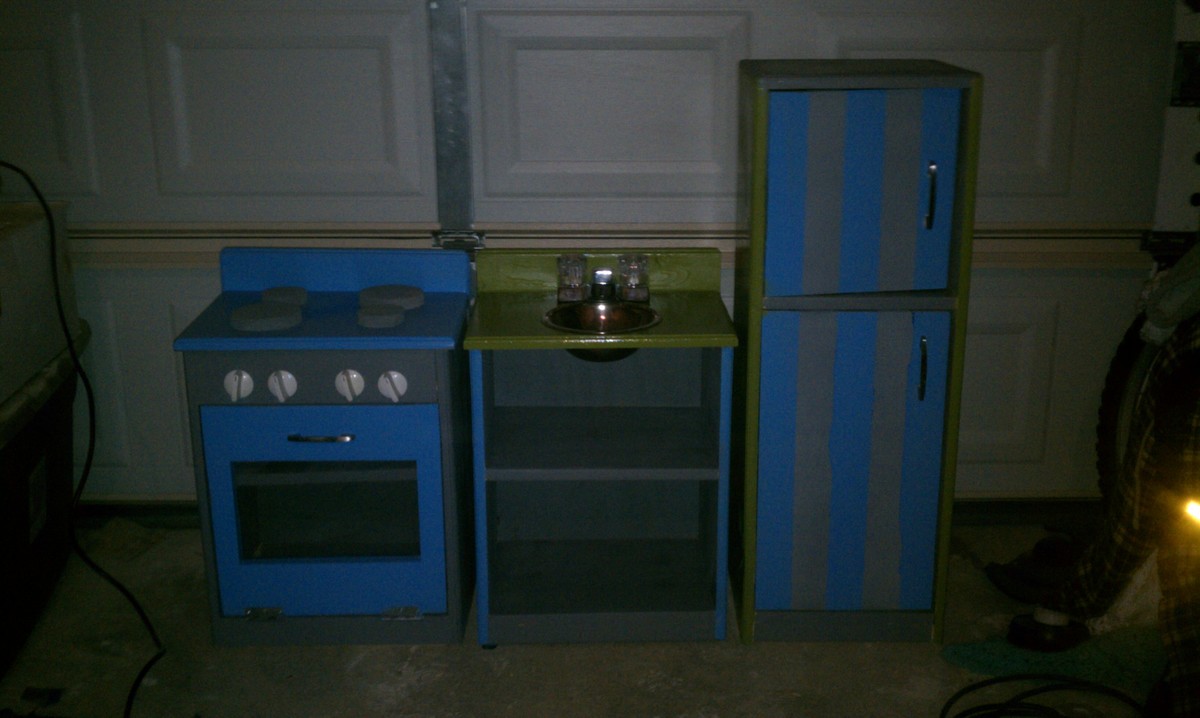
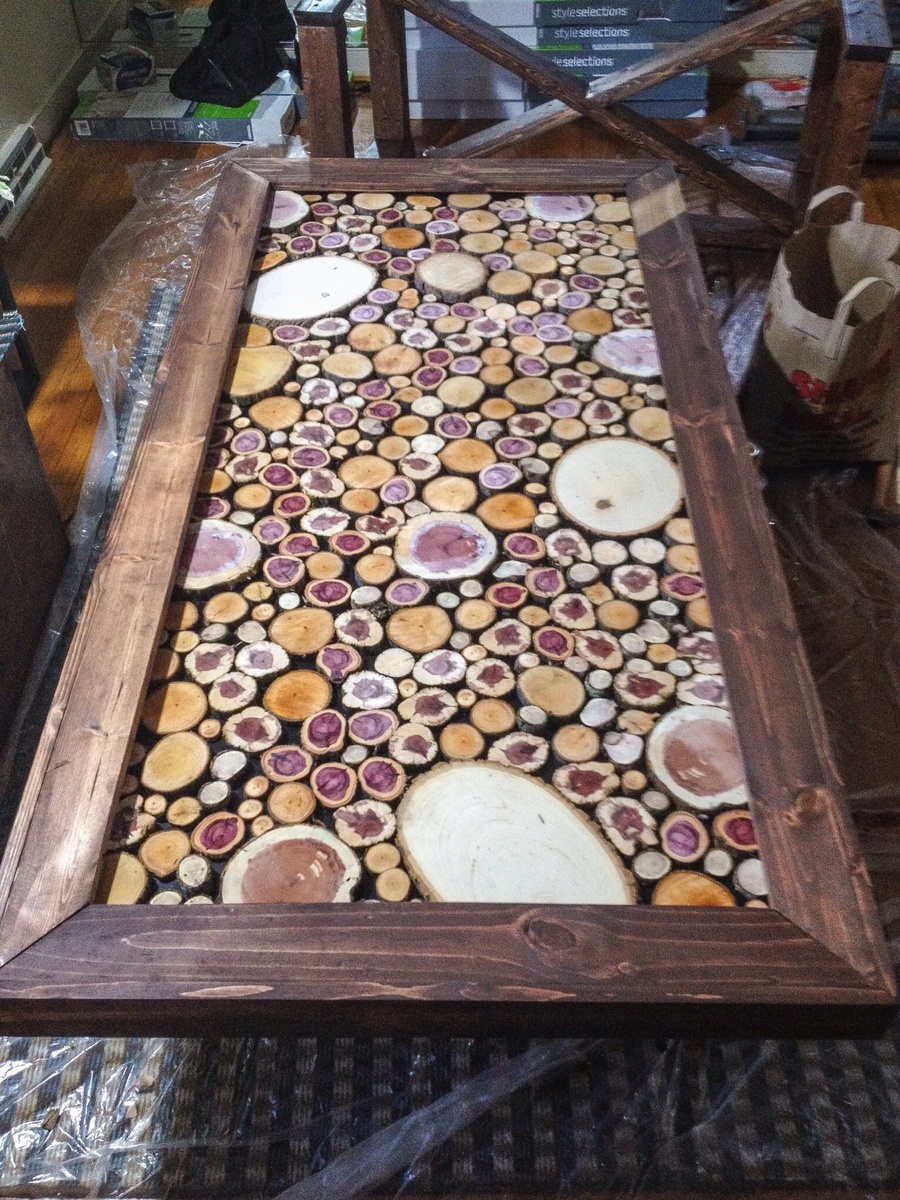
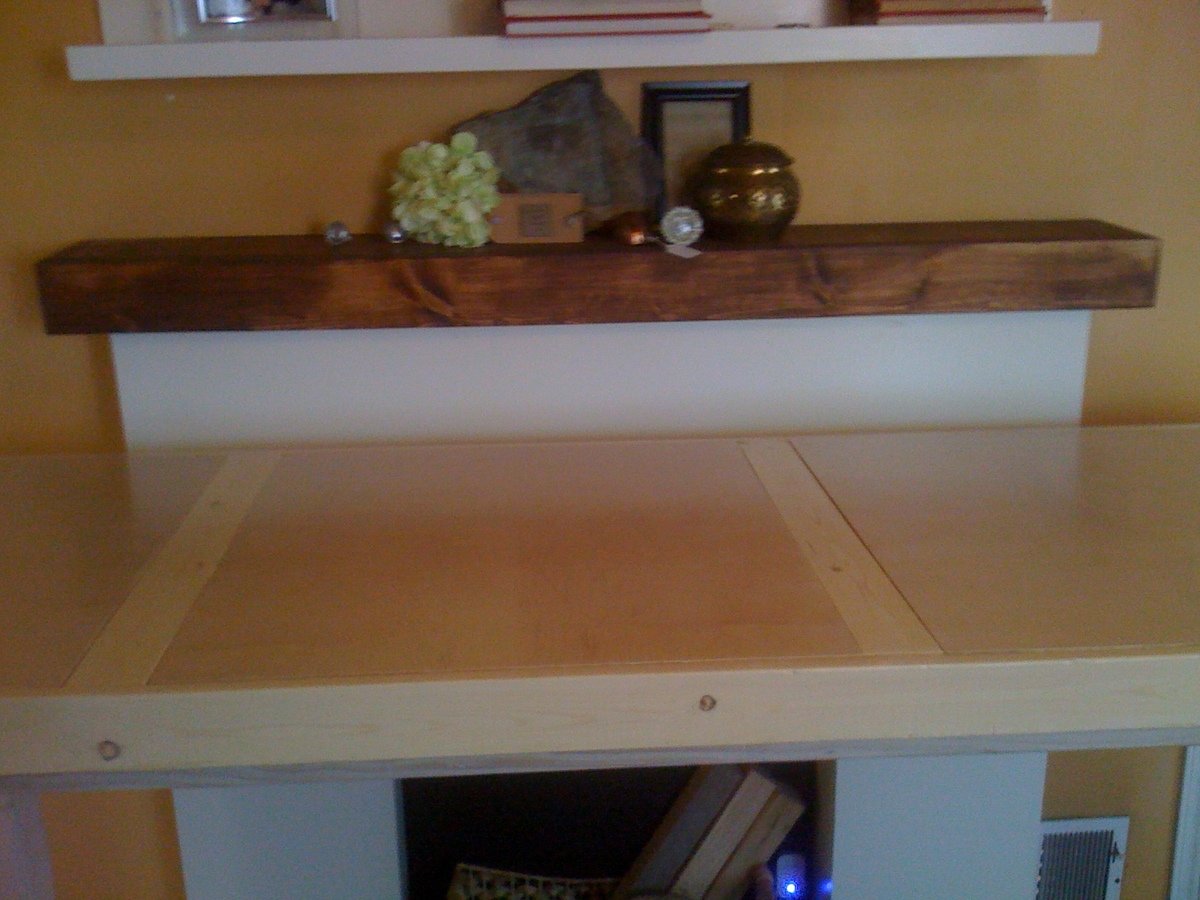
Some work still remains, staining as well as placing the veneer step on the shelf edges to give it a nice edge to stain, but I needed the space back for Thanksgiving dinner tomorrow!