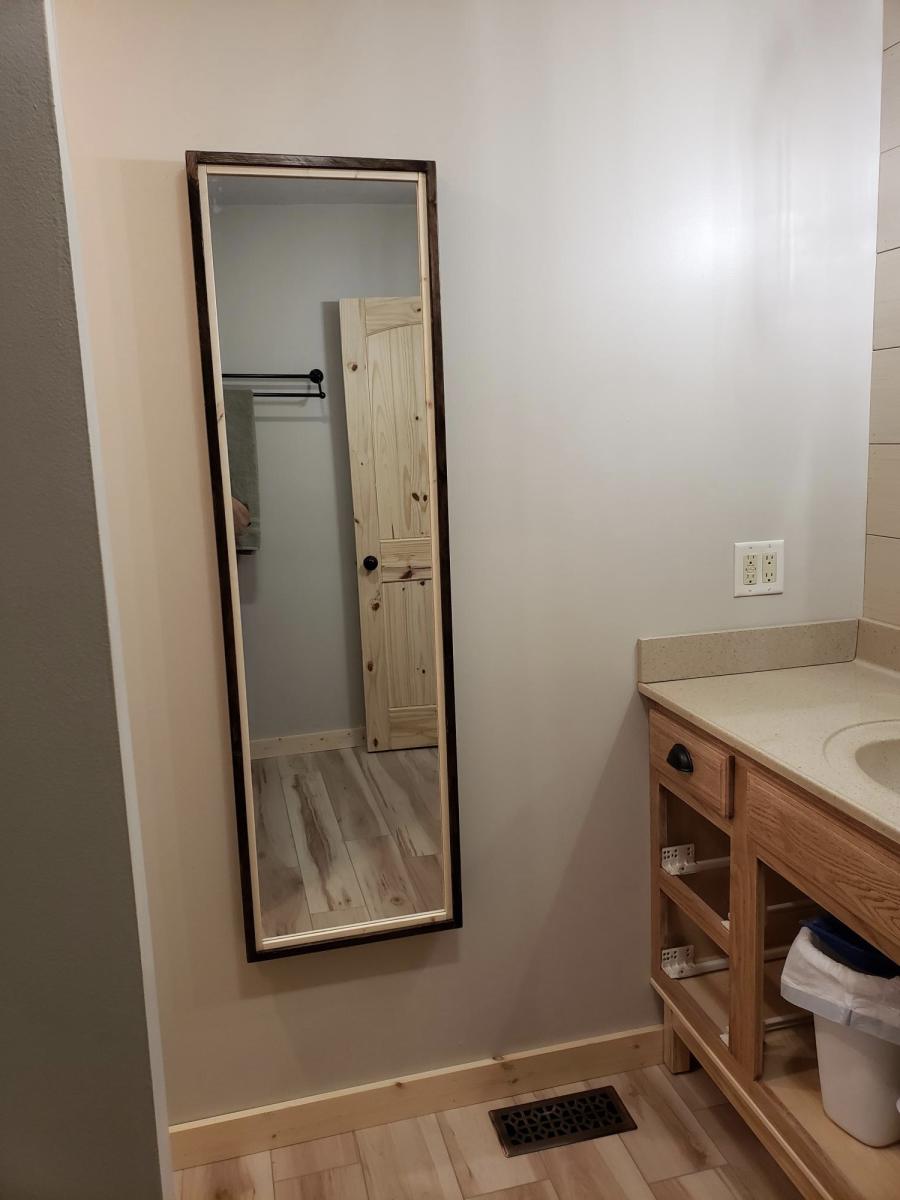
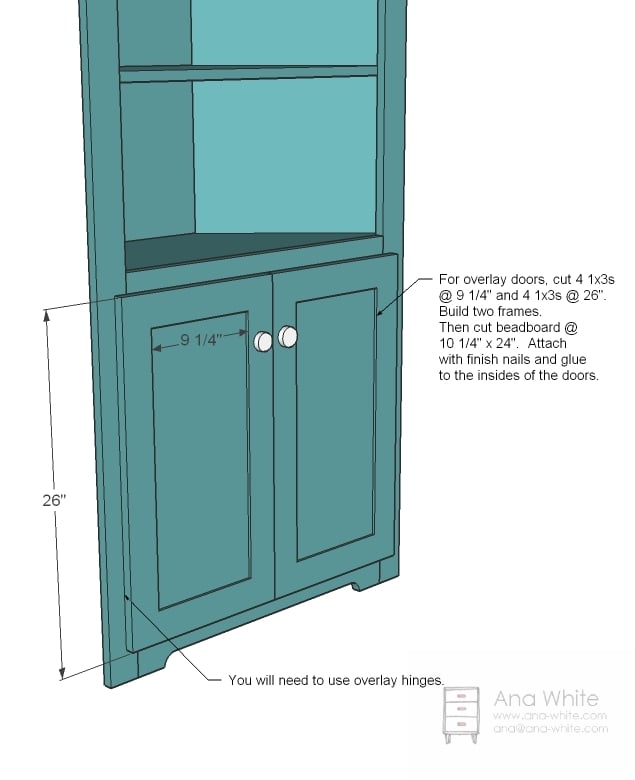
Recessed cabinet
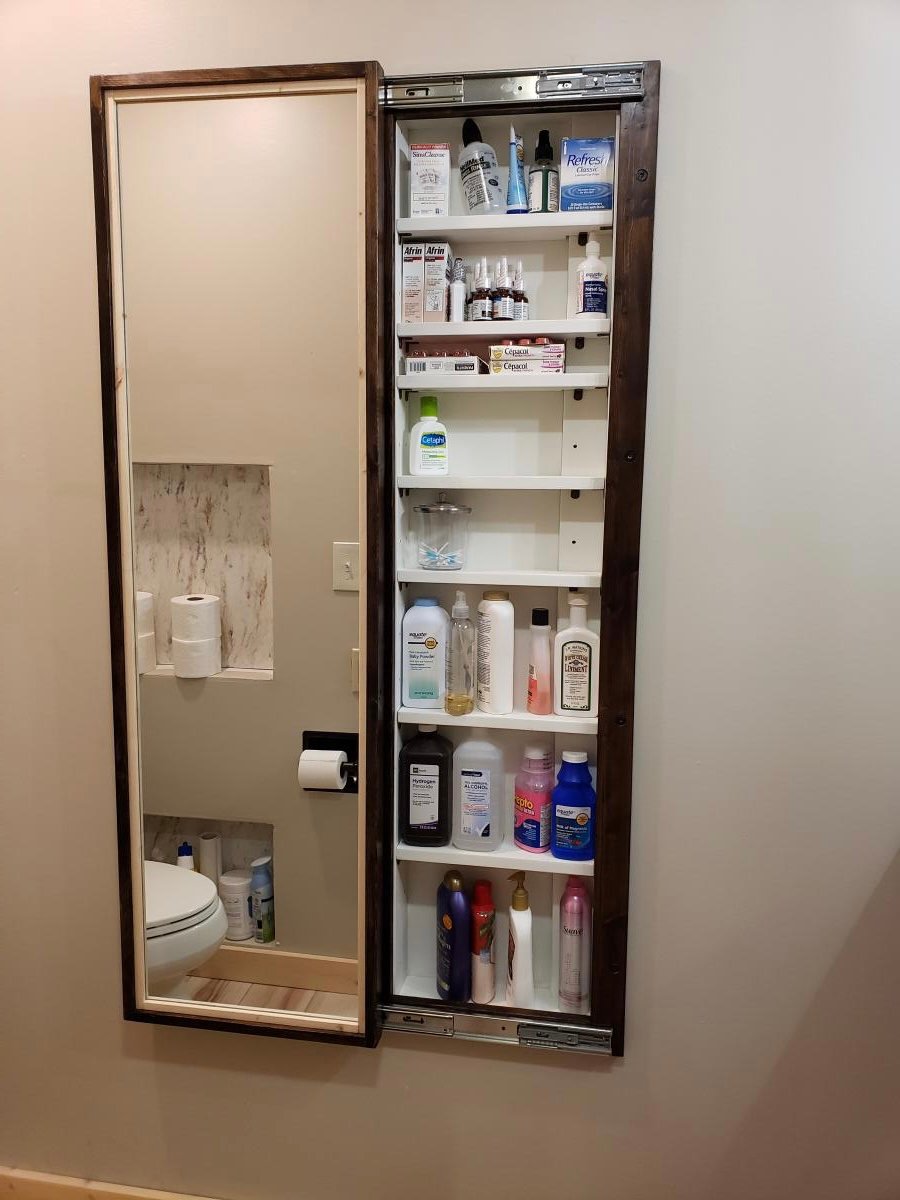
My bathroom has very little storage space. So during our recent remodeling of the room, I decided to add this cabinet. Changed the plan a little to make it recessed in the wall. I love how it turned out!

Built from Plan(s)
My bathroom has very little storage space. So during our recent remodeling of the room, I decided to add this cabinet. Changed the plan a little to make it recessed in the wall. I love how it turned out!
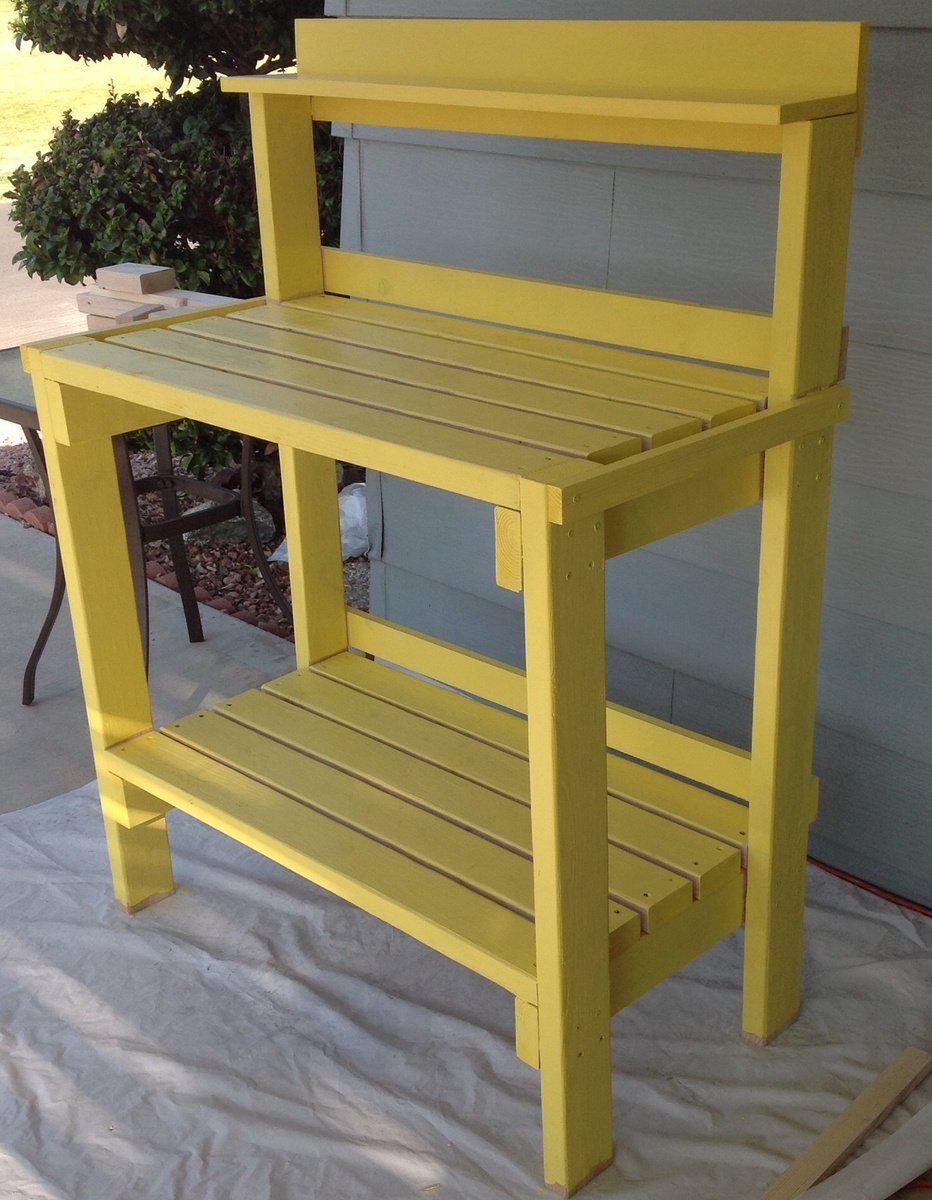
I'm so happy to have found your site! I've been wanting a potting bench for a while. Today the Hubs and I built this one in Daffodil Yellow! It is only partially painted, but I already love it! The hubs wants to build a modified one for his heavy electronics equipment. Thanks a Bunch!
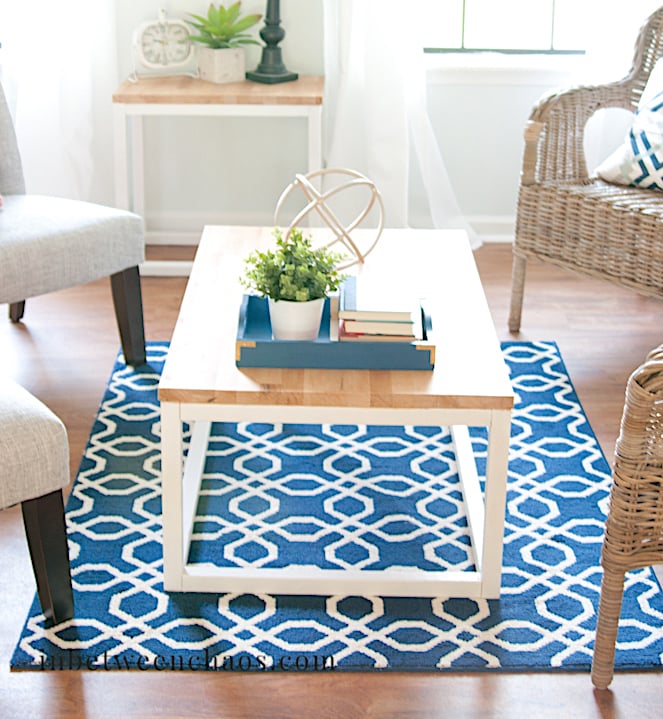
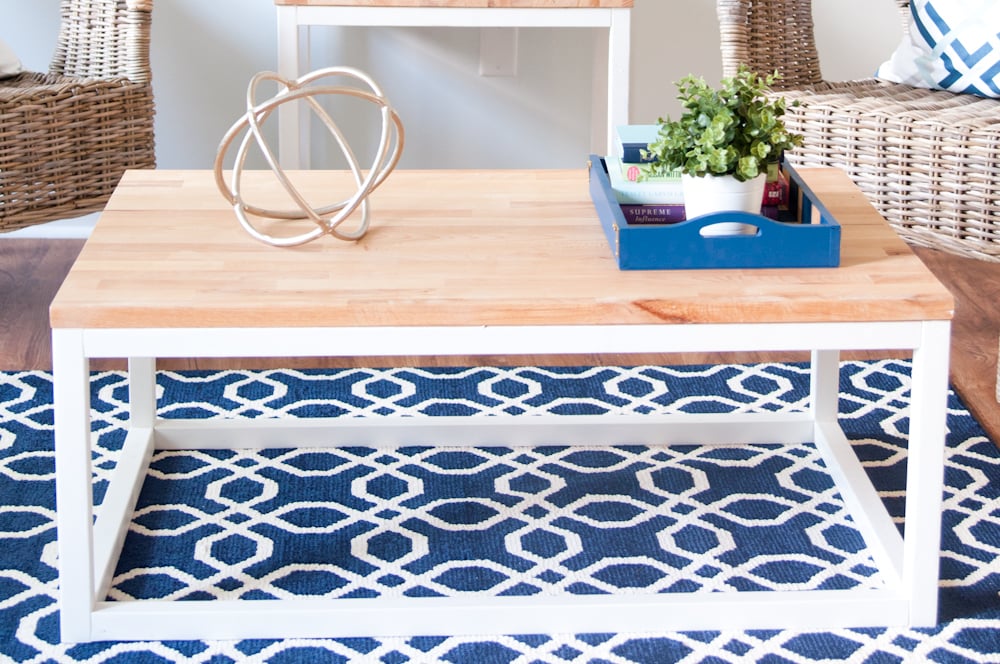
While staging my most recent flip house, I needed some accent tables for the living room. I picked up a butcherblock countertop at IKEA, then created two end tables and 1 coffee table. I loved Ana's simple design, and I thought it was a great balance to the warm butcherblock top. Thank you Ana for a great plan as always!


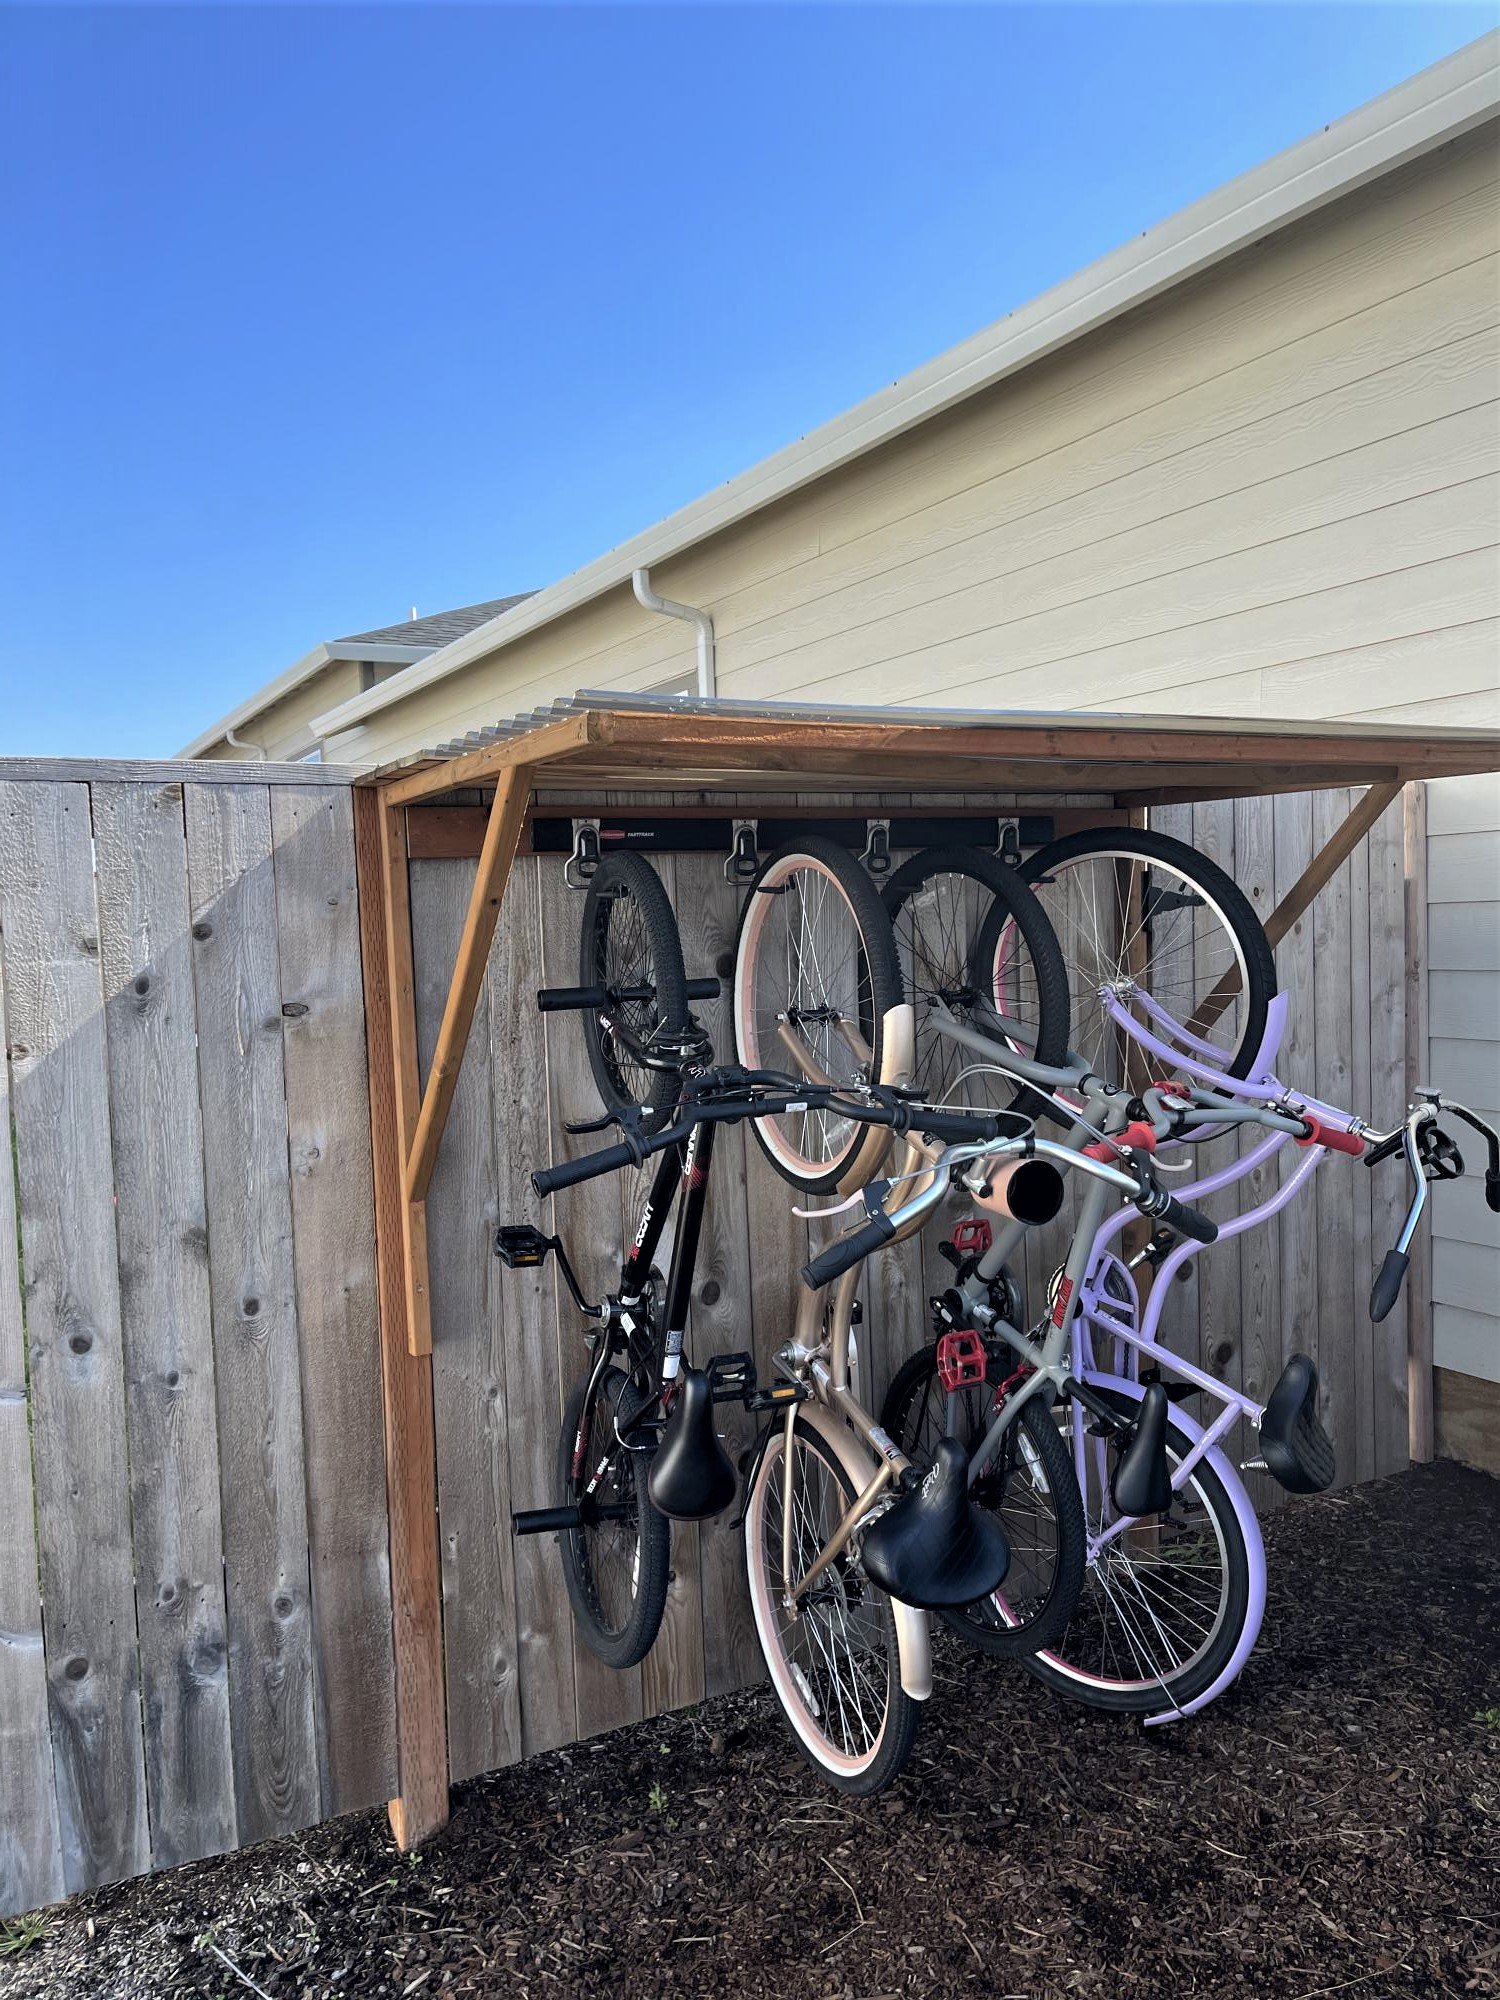
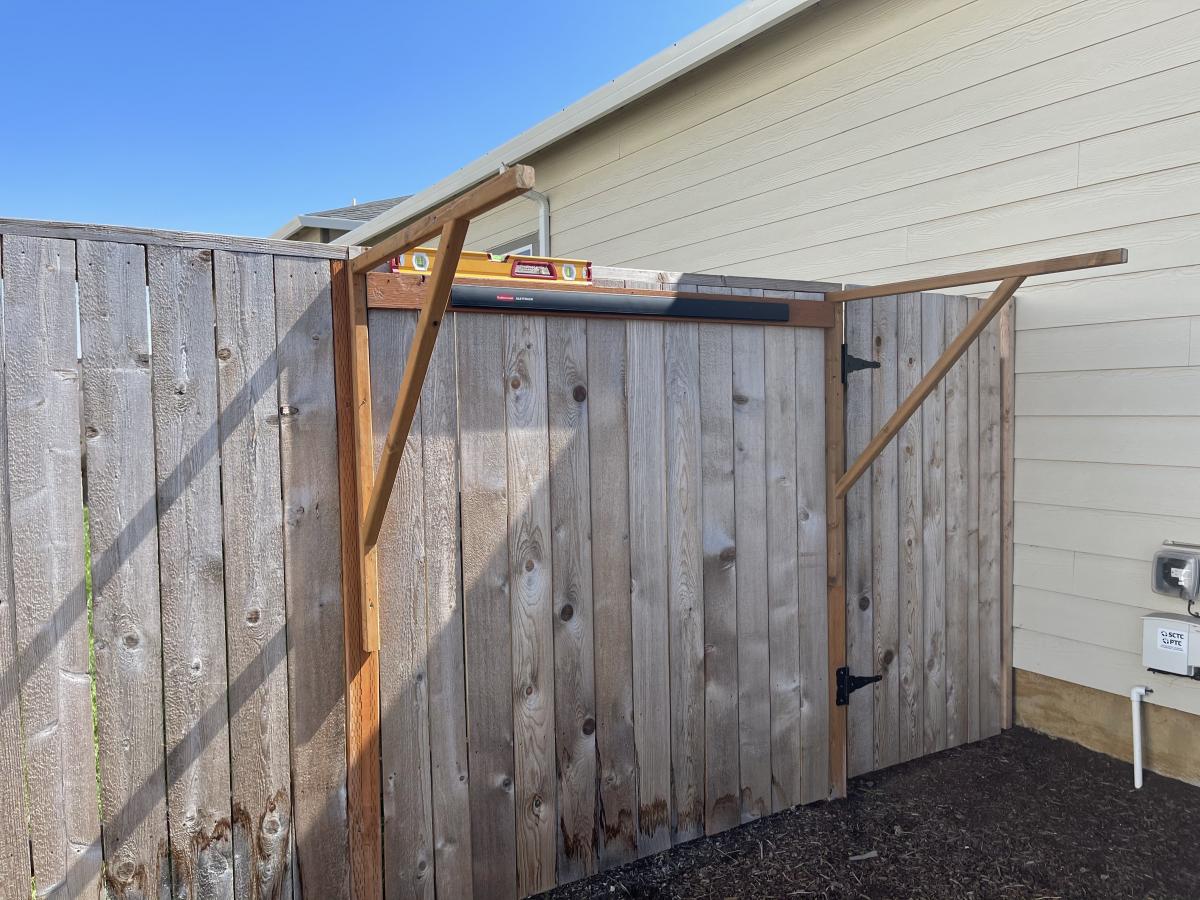
I live in a smaller rental with limited garage space, so I needed a place for my kids bikes. This is what I came up with. It required minimal screw holes in the treated fence posts and I attached a rail system(rubbermaid fasttrak) for the bikes to hang from. I used Ana's easy shelves plan for the upright supports and then just added some corrugated roofing and cedar fence pickets (which I had on hand) to finish off the top.
I absolutely love this table and benches! Thank you!
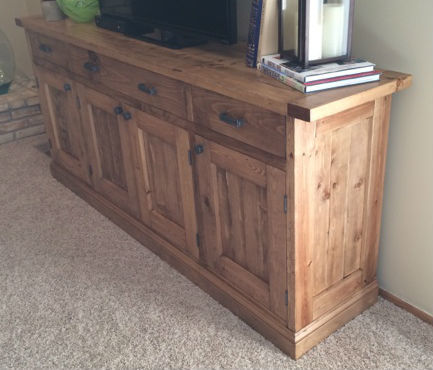
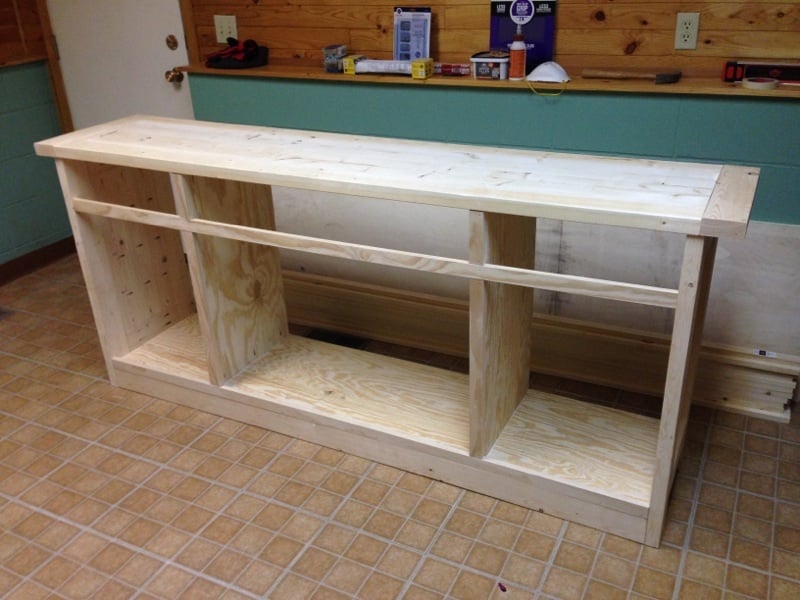
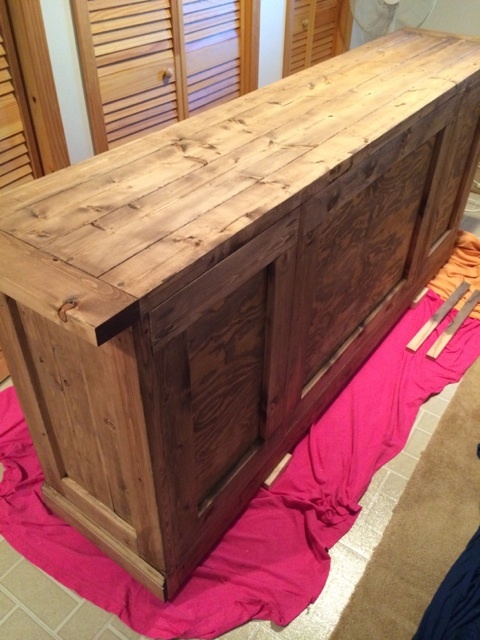
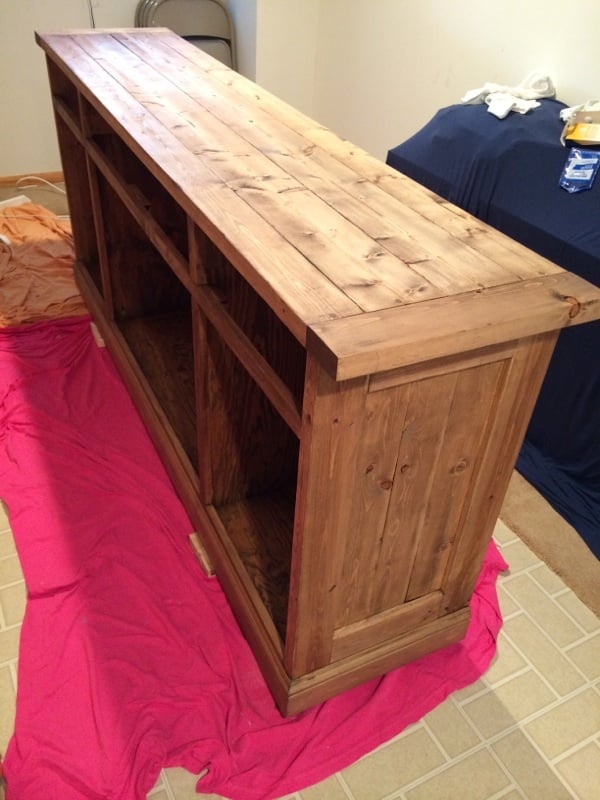
This was my first finished project using plans from Ana's site, and I am very pleased with the finished product. Every aspect of the finished sideboard is based on something from the site. I started with the plans for the Planked Wood Sideboard, and made no modifications as the dimensions were perfect for our basement family room. I decided to inset the back (http://www.friendly-home.net/2012/02/gigantic-rustic-sideboard.html) as Ana explained that Hillary had done, and love the final result. This will allow us to use this to potentially divide a room in an open concept space at some point in the future.
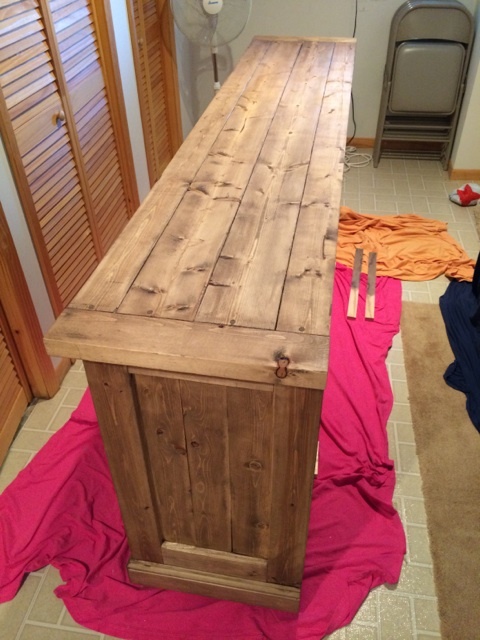
For the finishing process, I decided to follow the "Rustic Yet Refined" finish tutorial highlighted on both the Ana-White site (http://ana-white.com/2013/08/rustic-yet-refined-wood-finish) and Jen Woodhouse House of Wood (http://jenwoodhouse.com/blog/2013/06/07/diy-dining-table/). I fully intended to complete the 9 step process, but found that after we applied the Minwax pre-stain wood conditioner, followed by Minwax special walnut stain and wiped it off within 15-30 seconds, the finish mirrored the restoration hardware finish that we were going for. We decided not to proceed with layering on the weathered oak or applying the whitewash, and went straight to the spar urethane satin coats.
Overall, the project was a success, but was difficult to finish during the Minnesota winter as it was unbelievably cold and was forced to complete the finishing process in our basement/laundry room, which extended the length of the project. I am very excited to begin building other pieces from Ana's plans.

Mon, 03/03/2014 - 10:01
Absolutely beautiful! Thank you for all the details on how you did this!
In reply to Absolutely beautiful! Thank by moosmani
Thu, 03/13/2014 - 07:09
Thank you so much for your kind words. I am extremely impressed with your brag posts as well, and you may have been inspired to take on the picket storage shed project as soon as the snow melts.
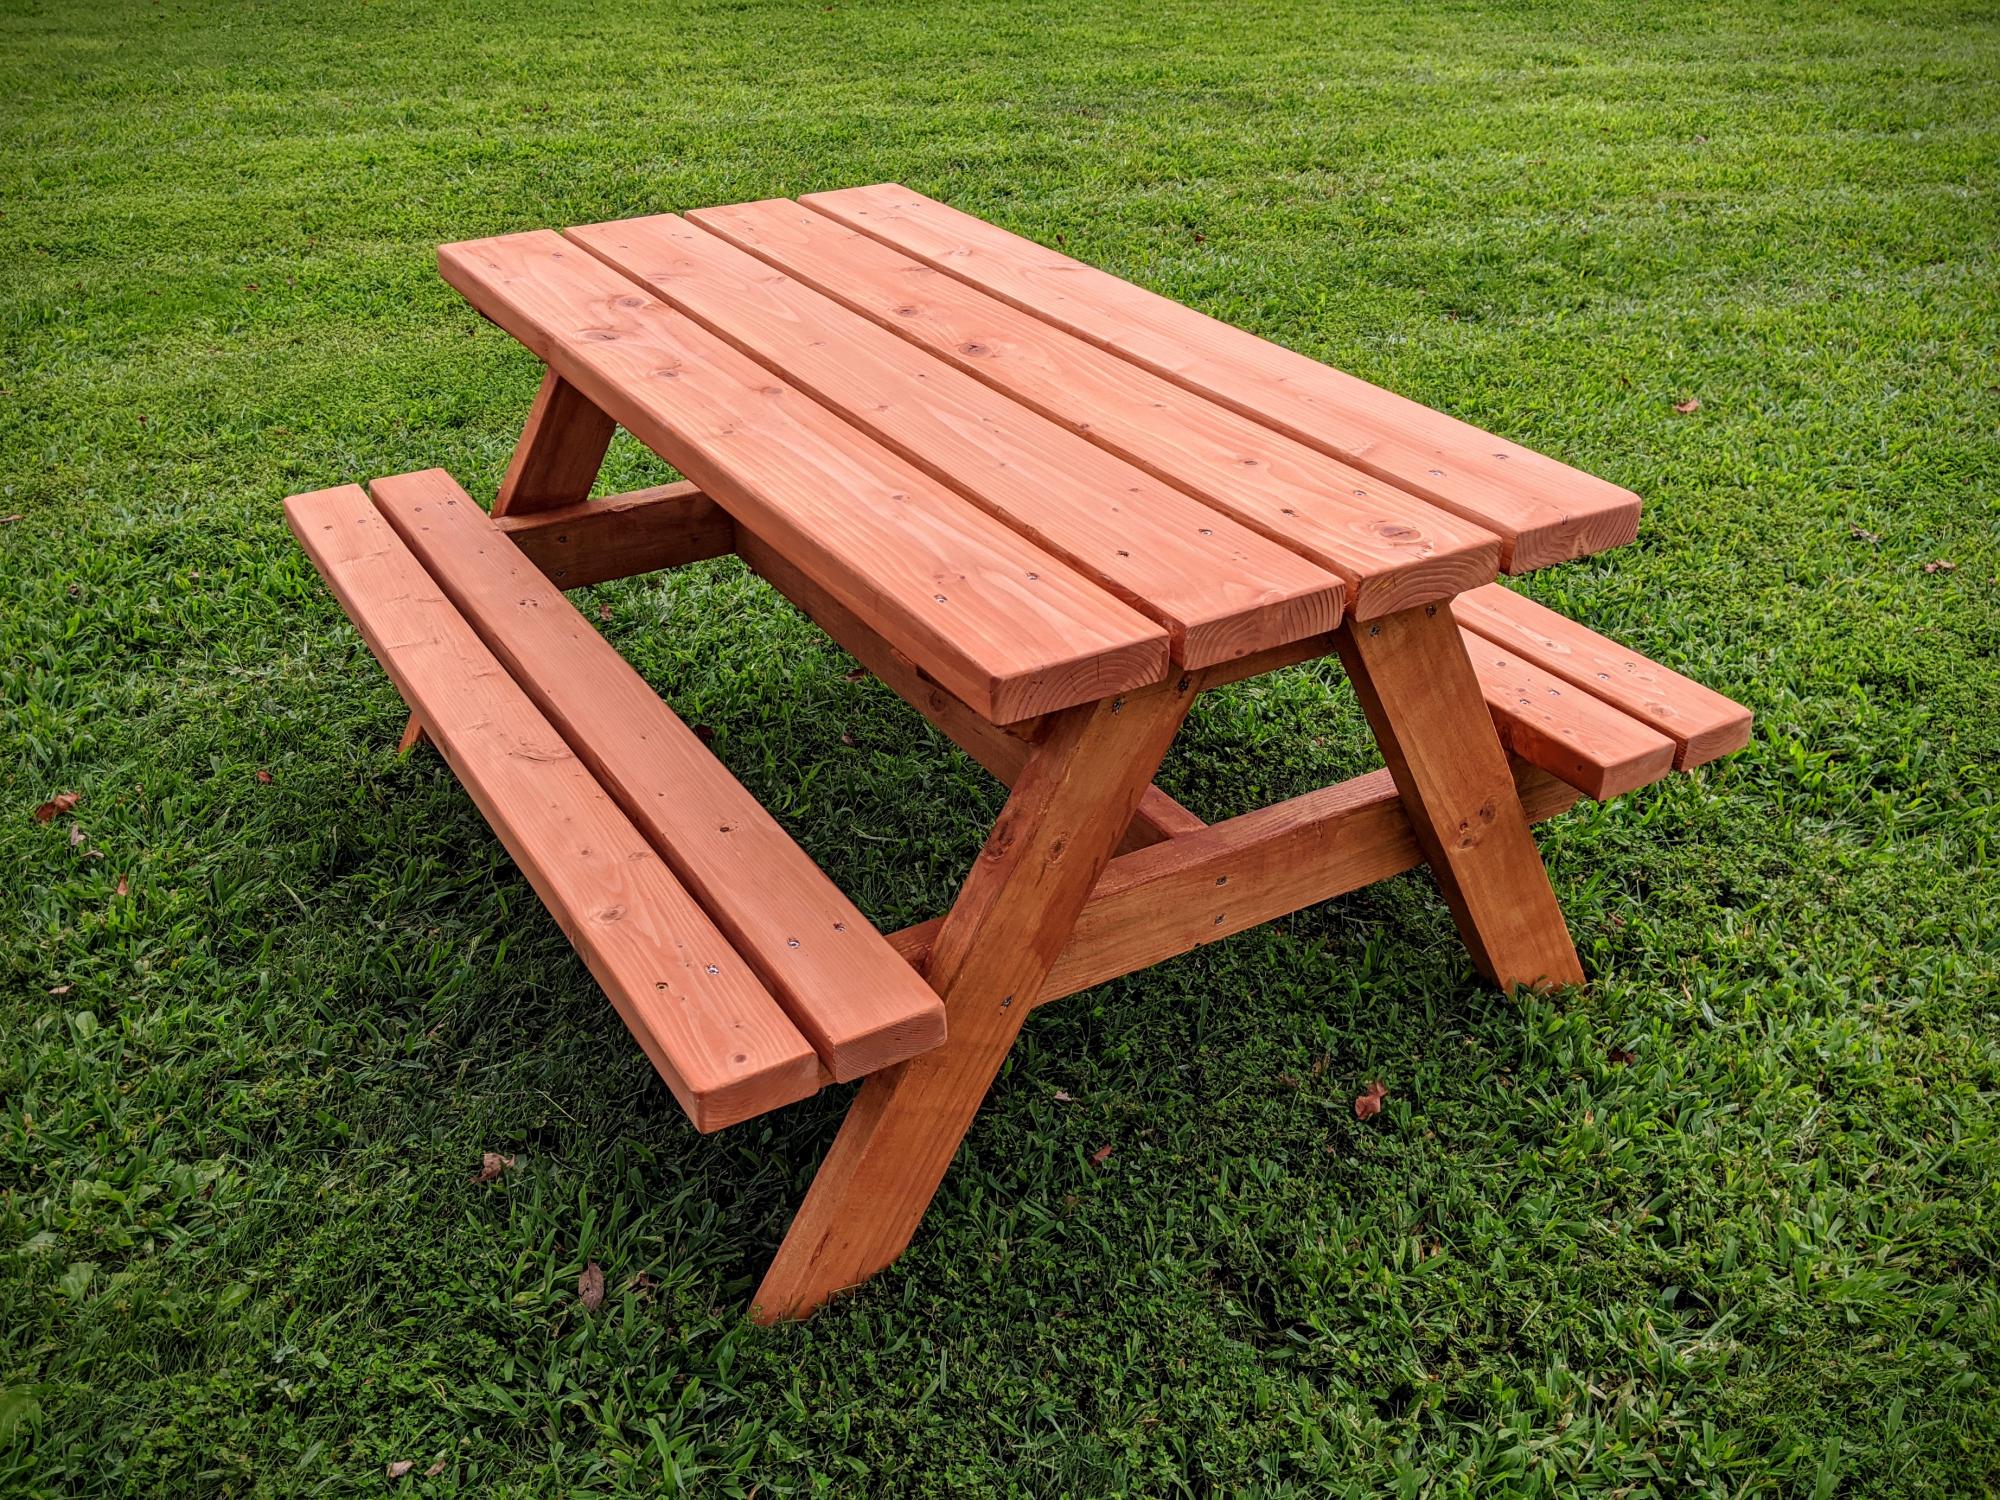
Built using Ana Whites plans for a Bigger Kids Picnic Table. Used pressure treated 2x4 for frame (legs and supports), 2x4 and 2x6 pine (fir) for table top and bench. Finished with Cabot's semi-transparent redwood stain and sealer.
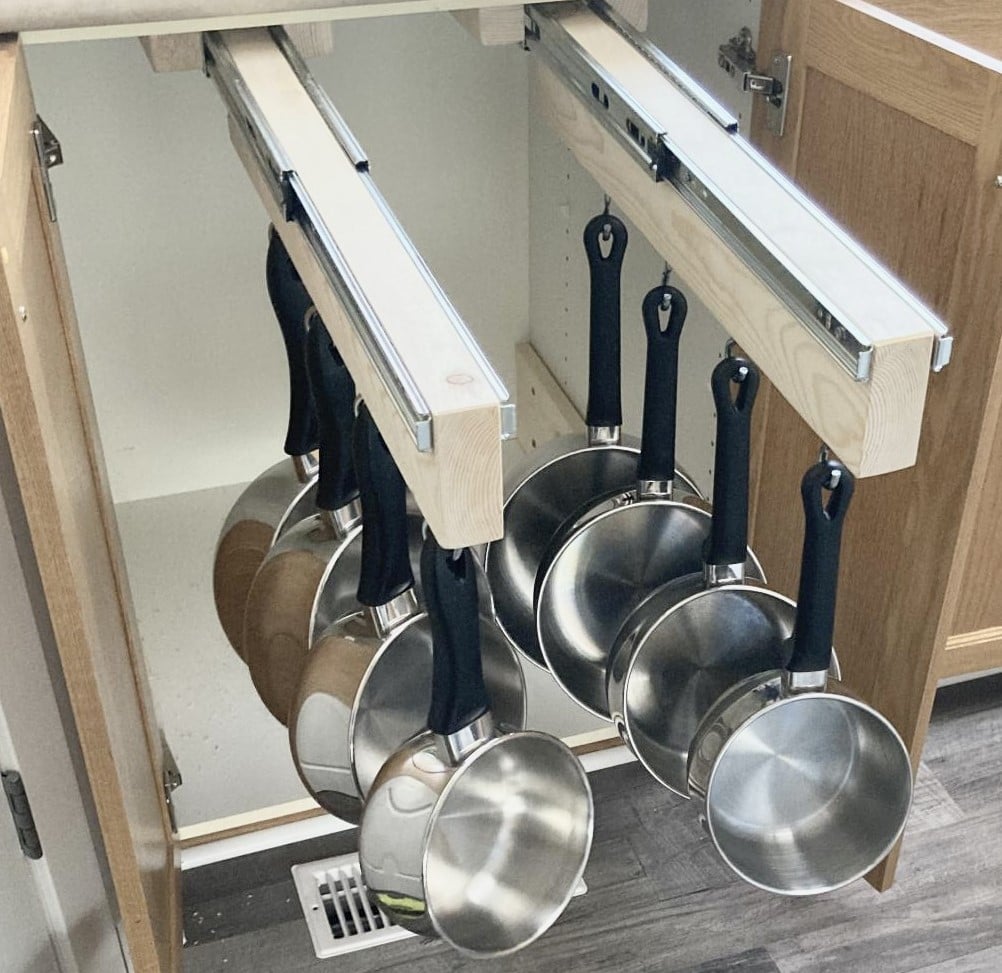
Working off your idea. Added another holder. There will be a bottom drawer for bigger stuff.
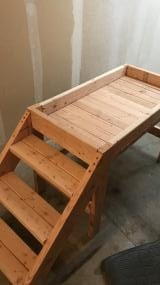
My dog loves to people watch all day while I'm at work and she needed a new bed so I took the plans for the lower platform and modified them so it would stand alone. Took the platform and put it on the bottom so that her bed would sit inside instead of on top where she could more easily fall off.
I tried building without PH screws at first and all I ended up with was a lot of cracked and wasted lumber. Got the PH jig and finished the whole build myself in 2 hours. Sanding, staining, and sealing tomorrow but I'm just so excited about it I had to post now!

Submitted on FB
DIY small shed for trash and recycling.
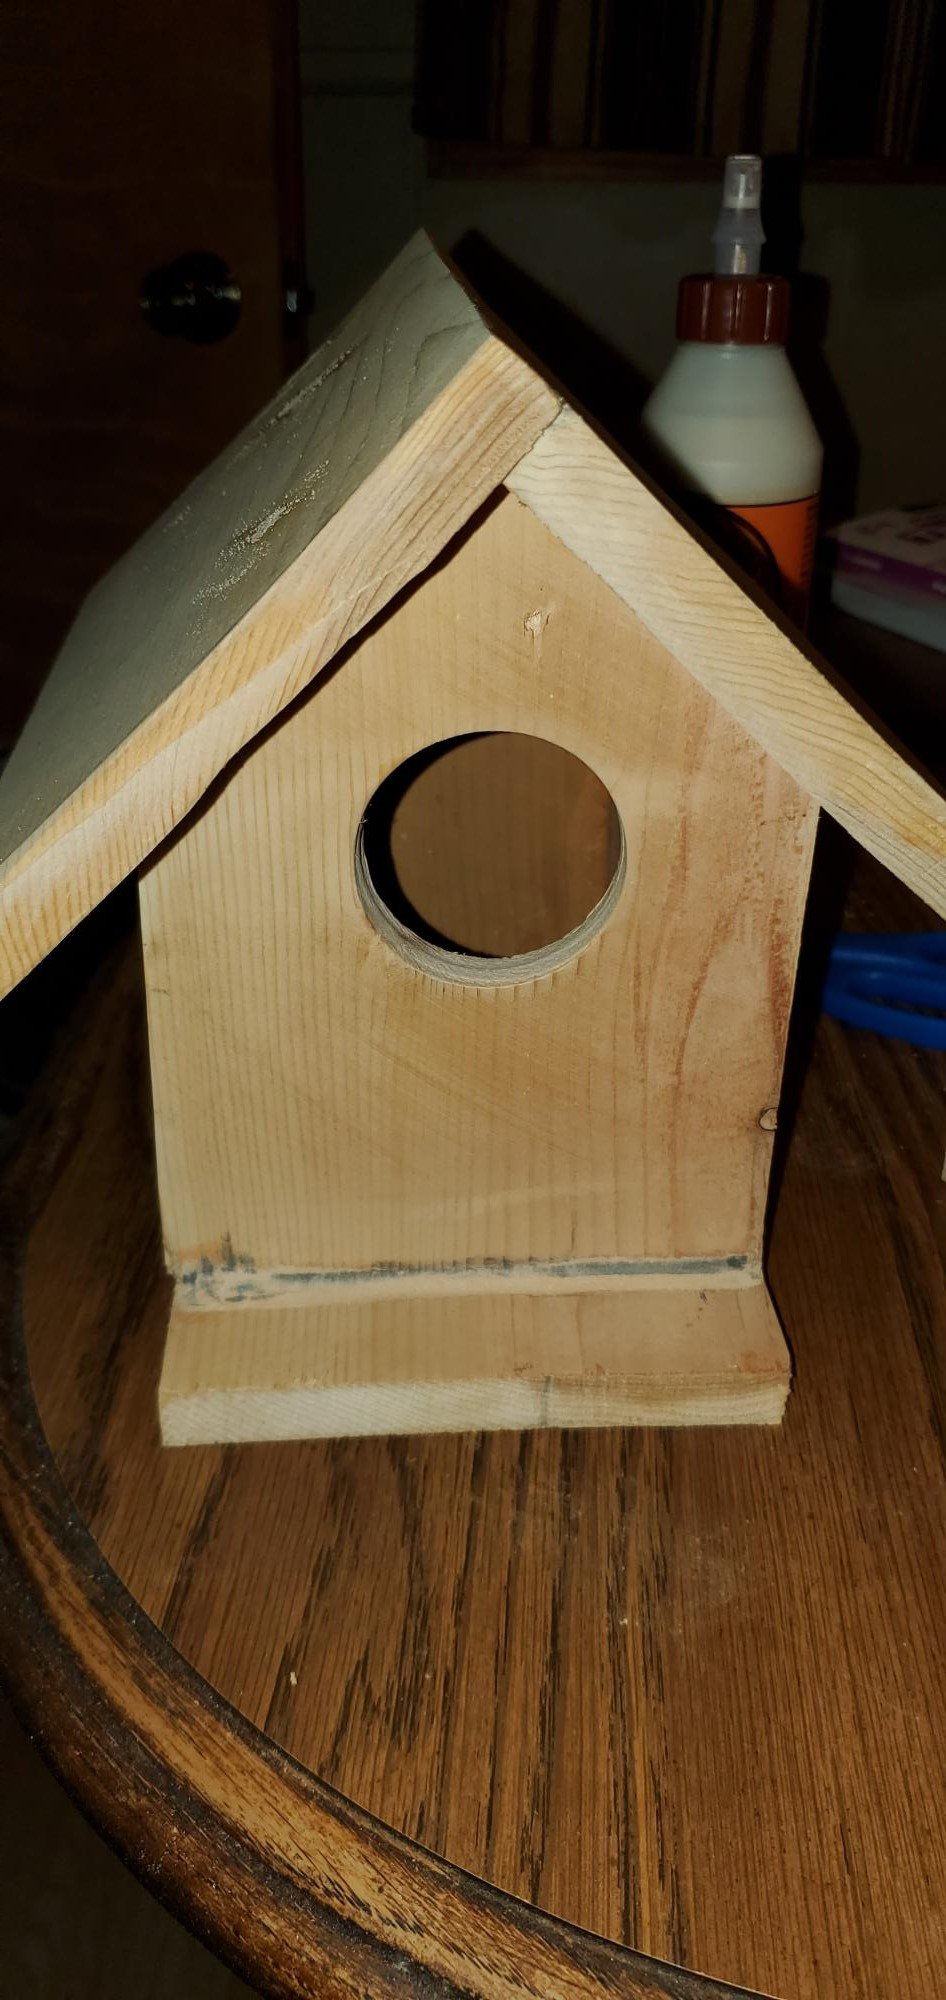
First woodworking project!
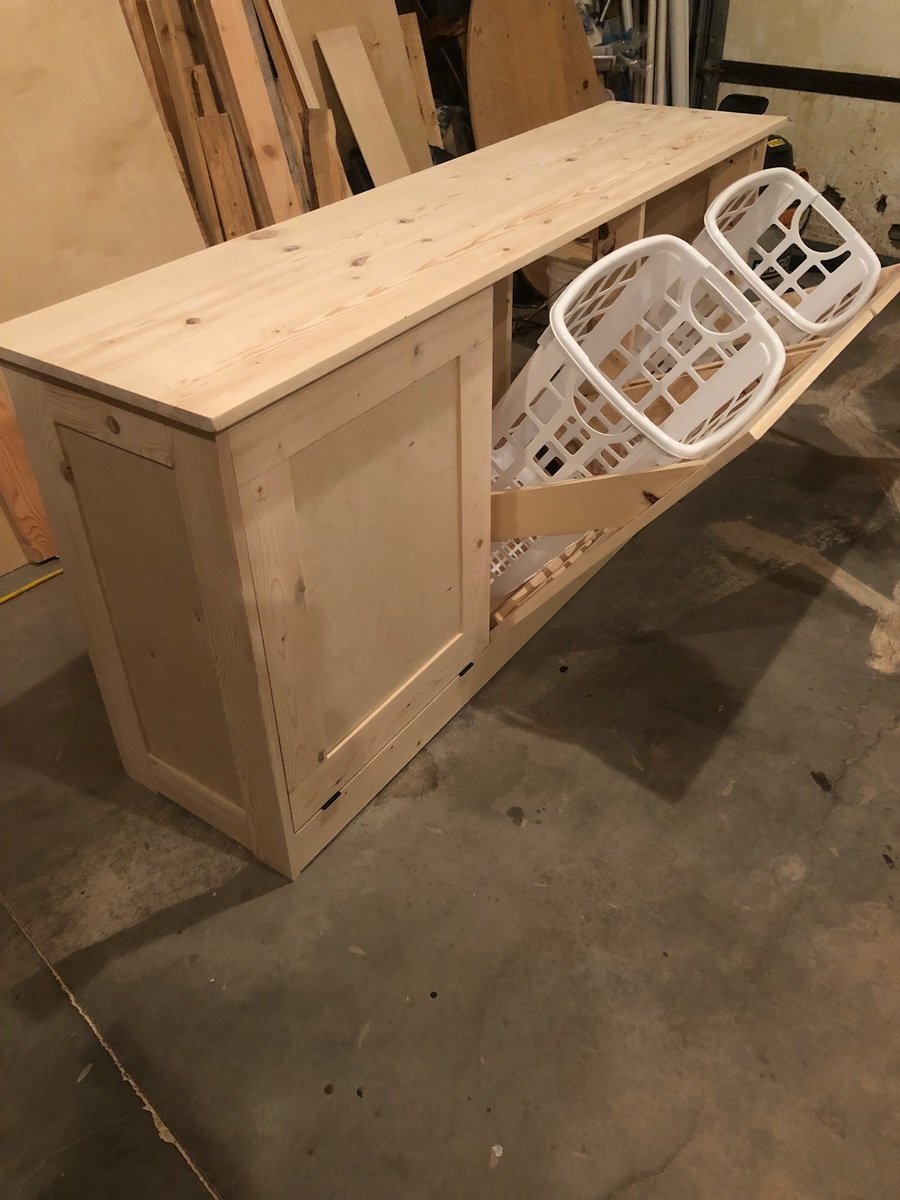
This was a build from a picture and made to fit into a space we have in the laundry room. Used the Kreg jig for much of it.

Tue, 06/05/2018 - 14:52
Awesome laundry sorter! Can't wait to see the paint/stain!
Thanks so much for sharing a brag post - much appreciated!
Ana
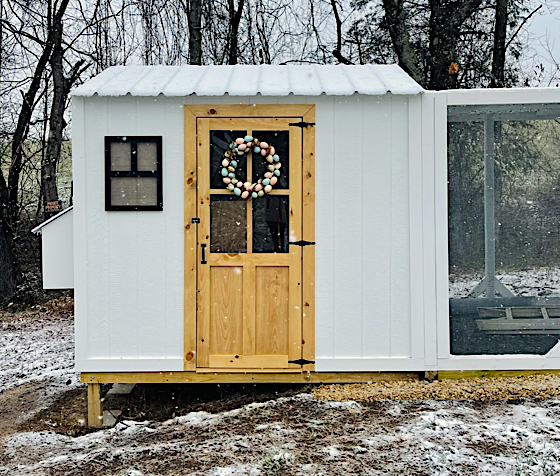
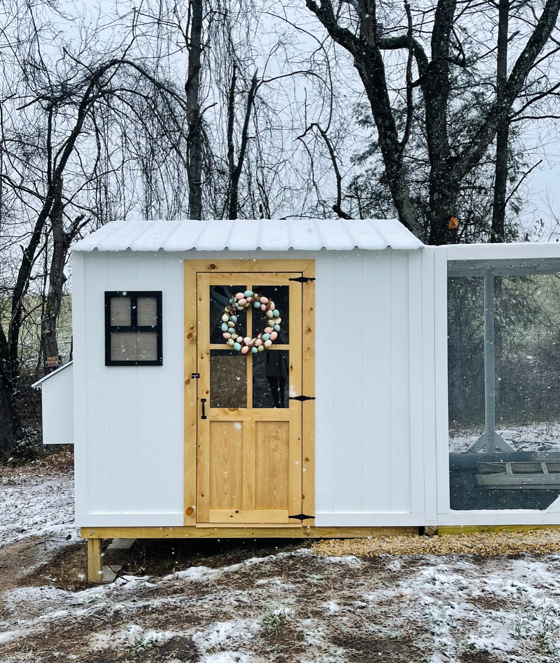
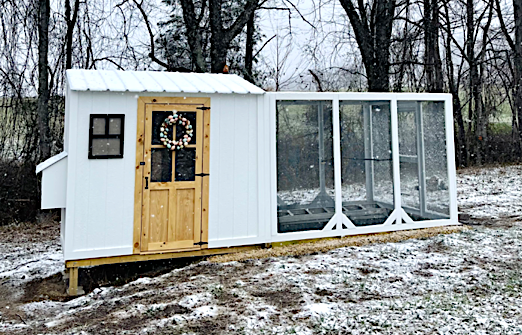
"I don’t consider ourselves experts at all and your plan was so easy to follow. We can’t wait to introduce our chicks when they’re old enough to transfer outside."
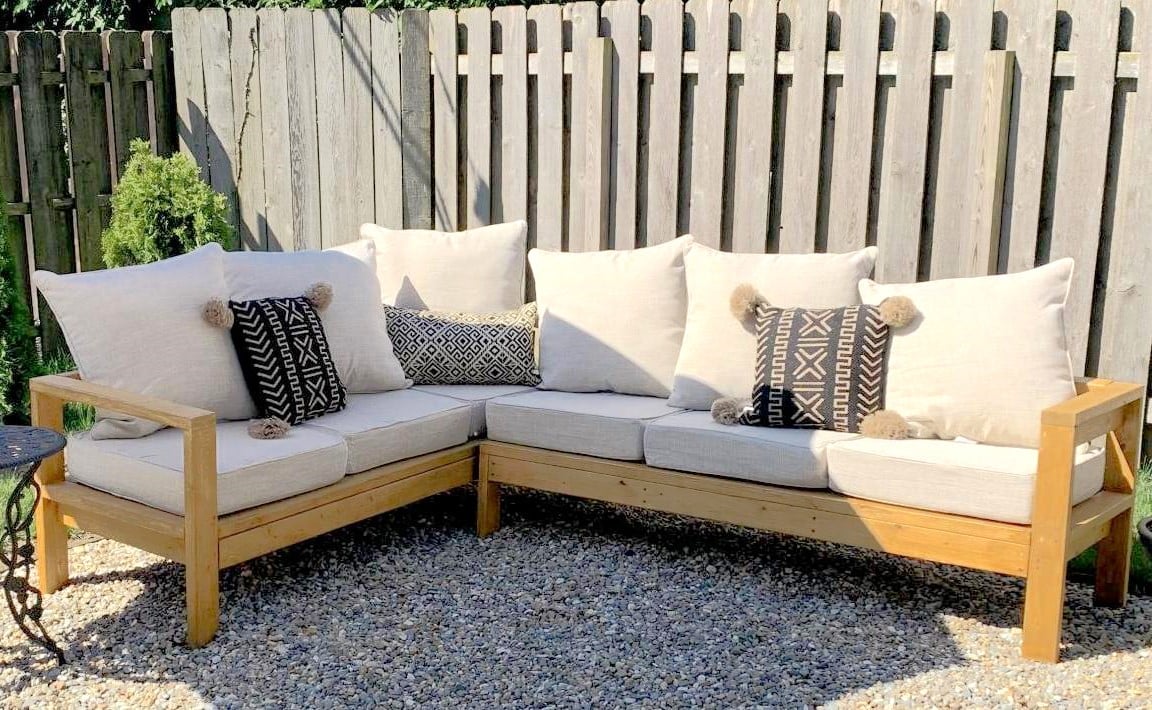
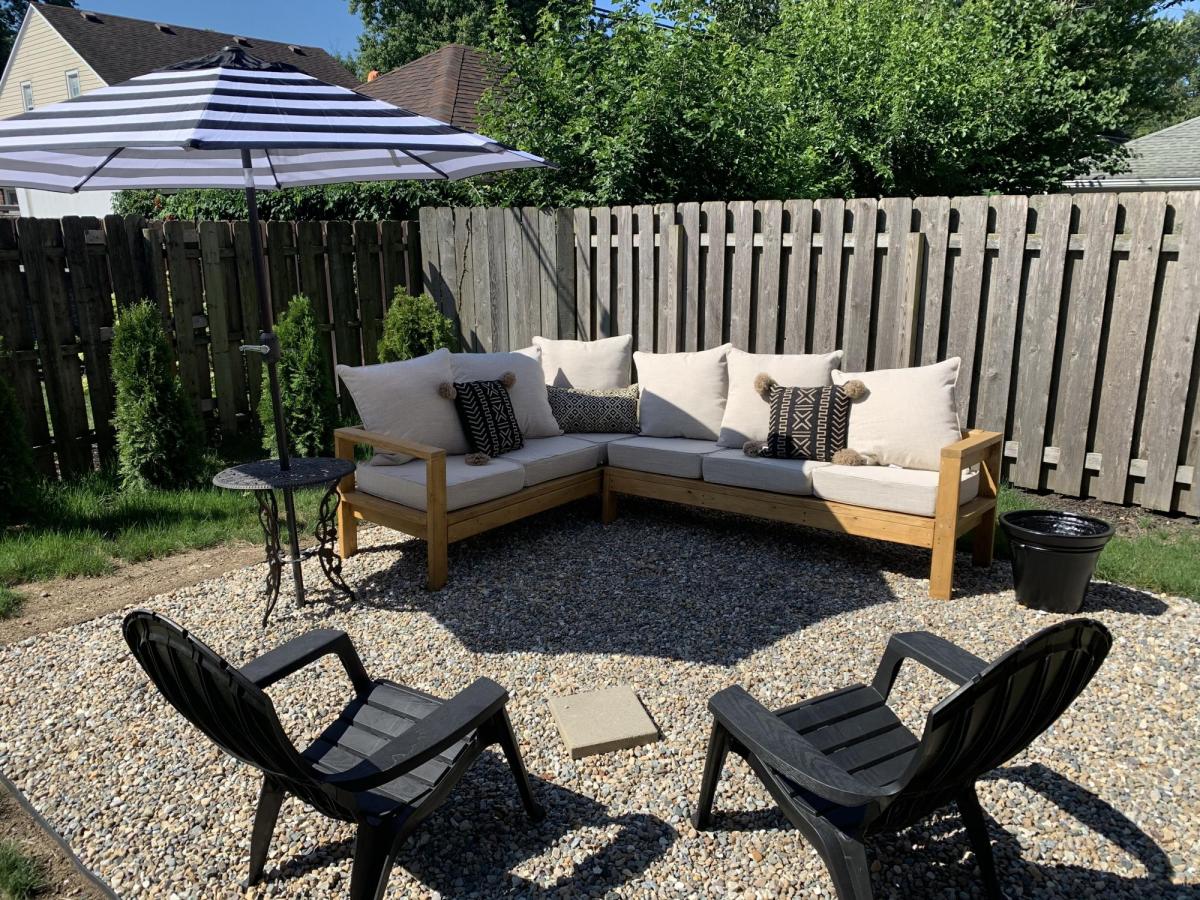
Loved these easy to follow plans and love our outdoor living room!
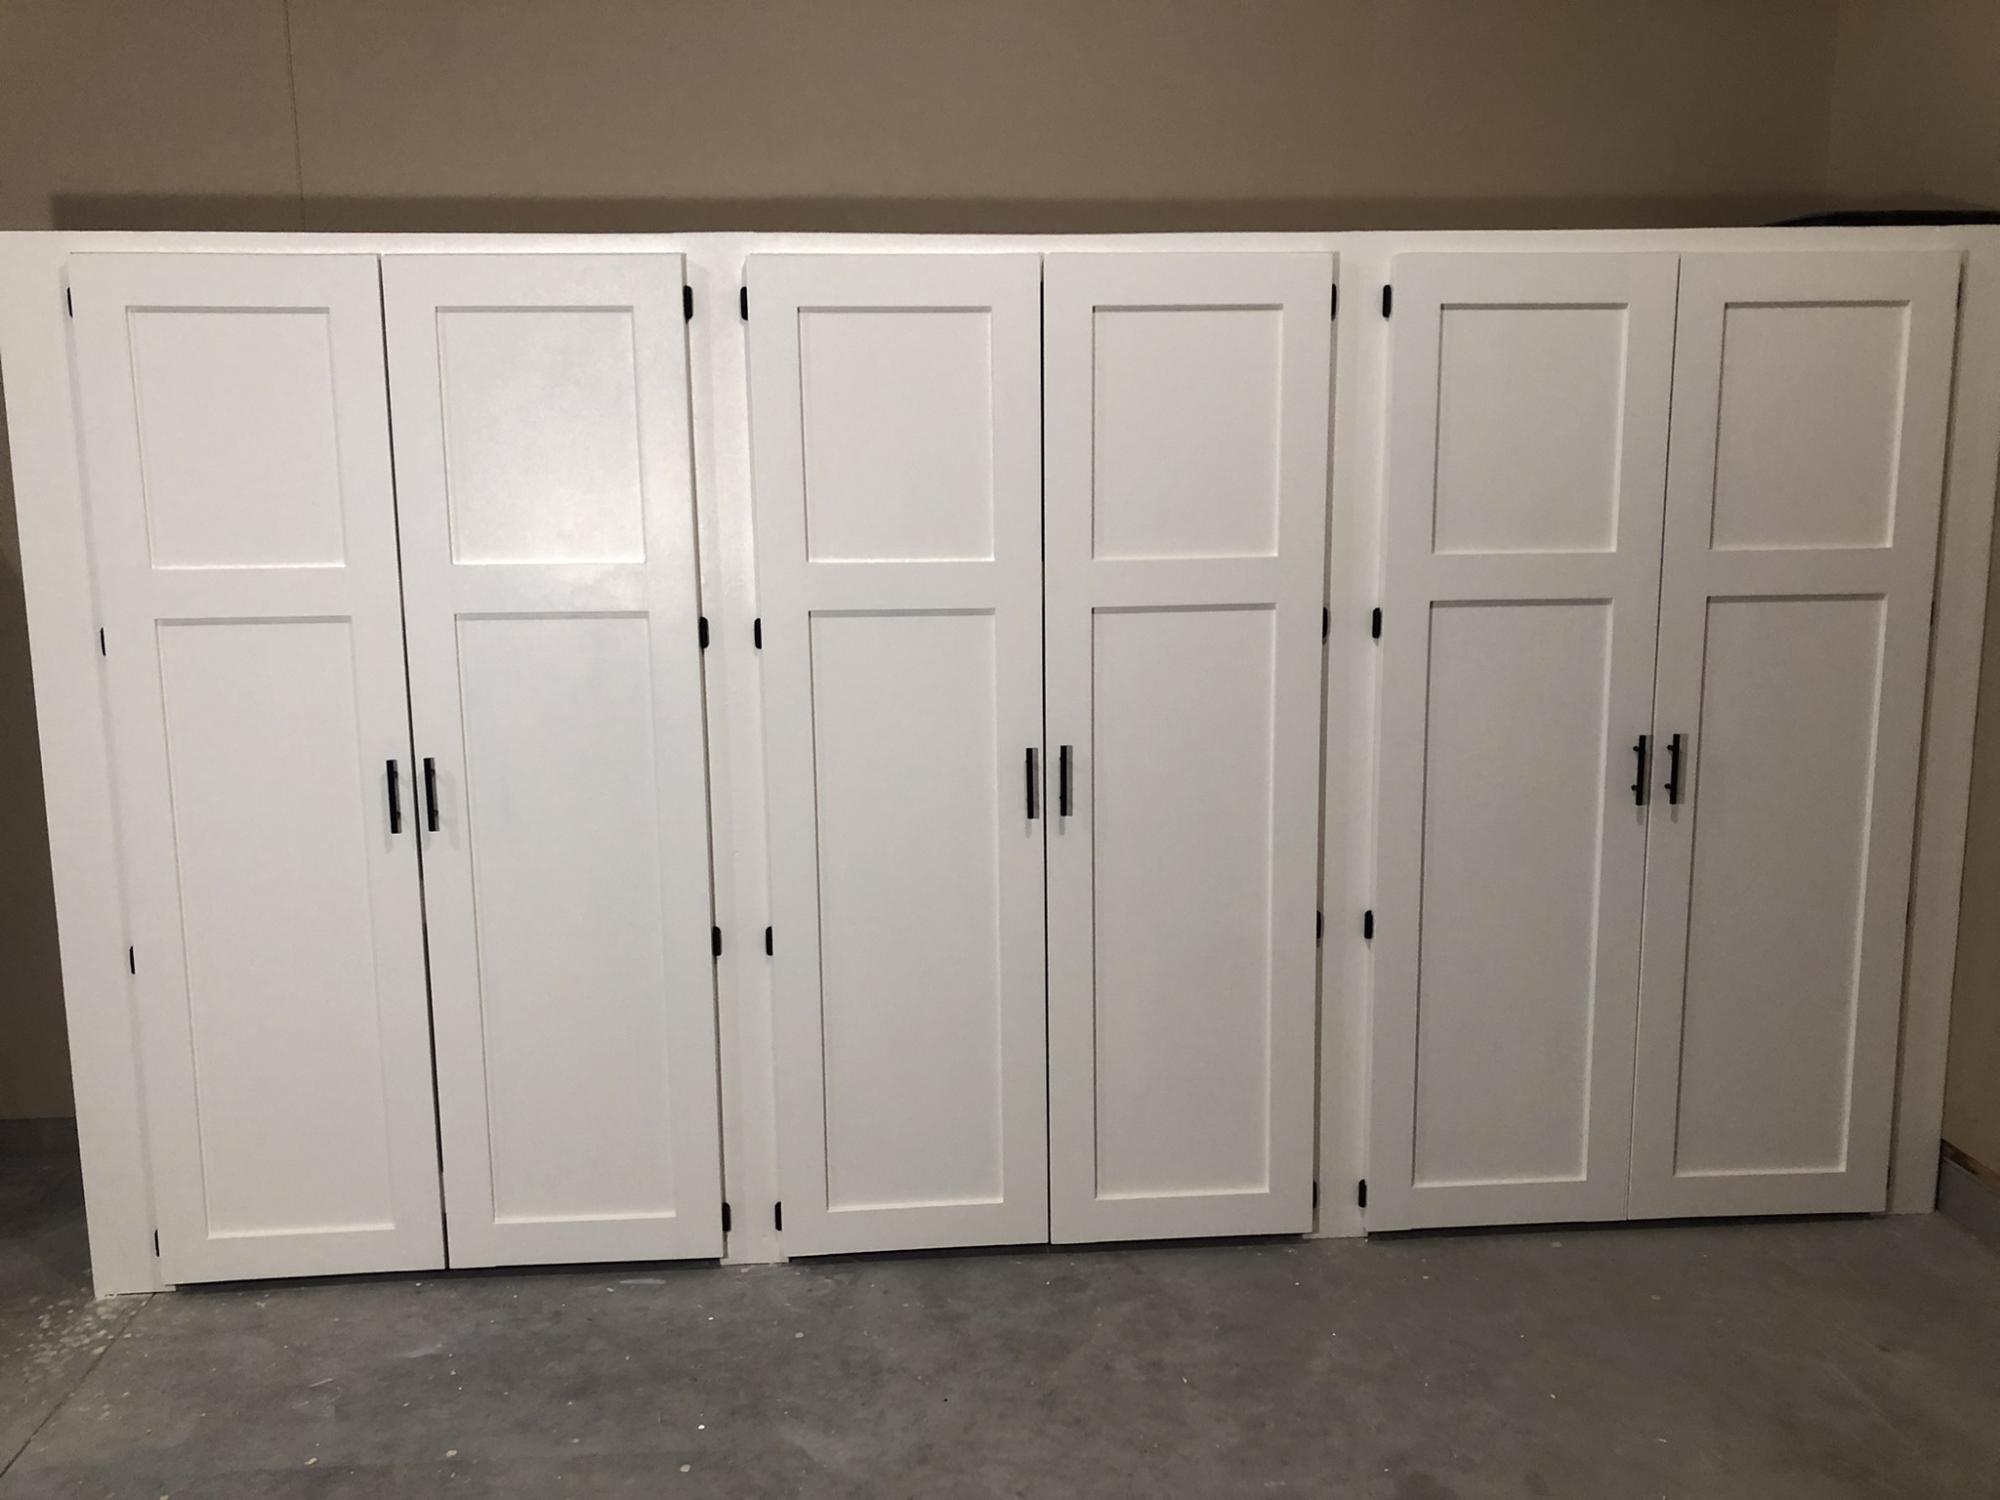
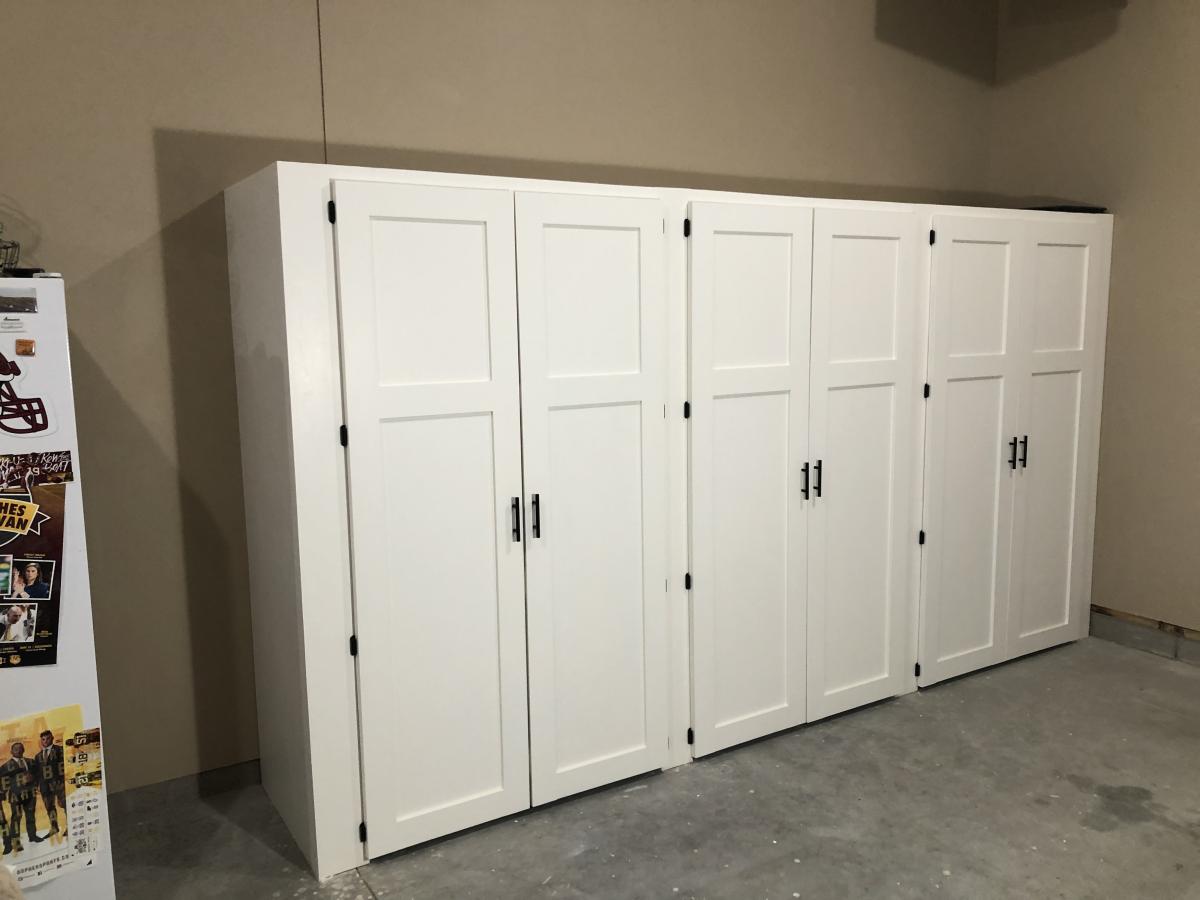
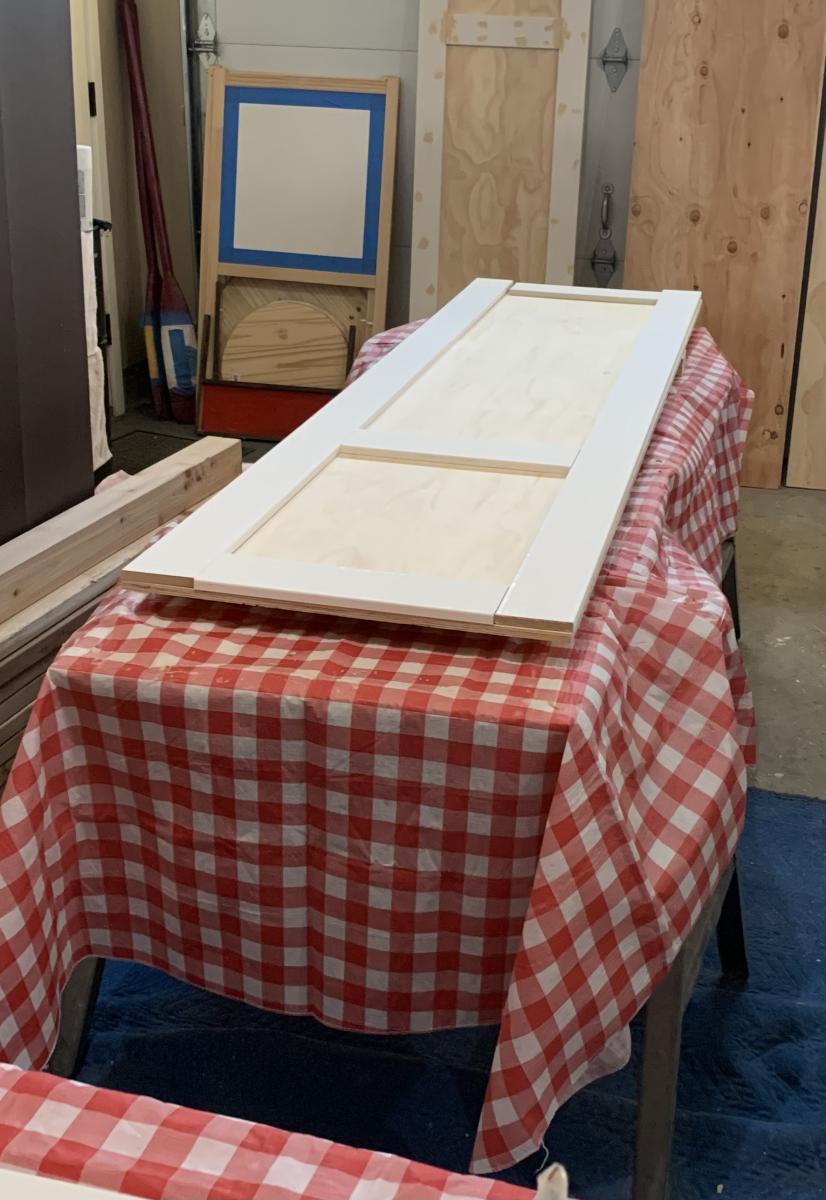
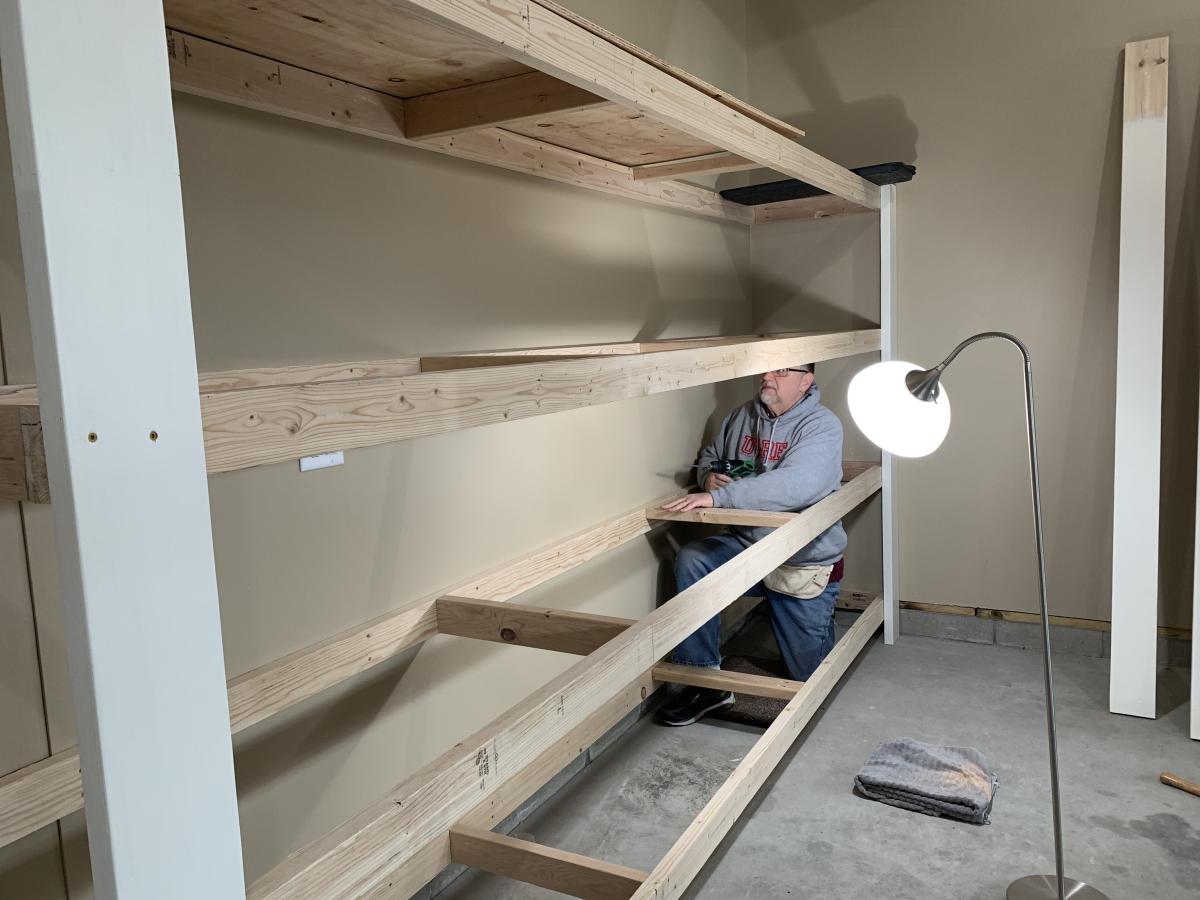
Thank you so much for the two videos we watched of you and your husband explaining and demonstrating how to build garage shelves. We used your plans as a guide. We chose to add shaker style doors to create cabinet shelves. We absolutely love them. We are not handy as you can see we had a living room lamp for a work light and a lifetime table as a work bench. Thank you!
The Paulsons


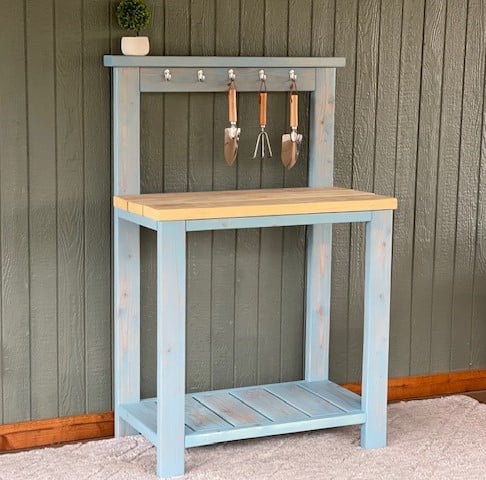
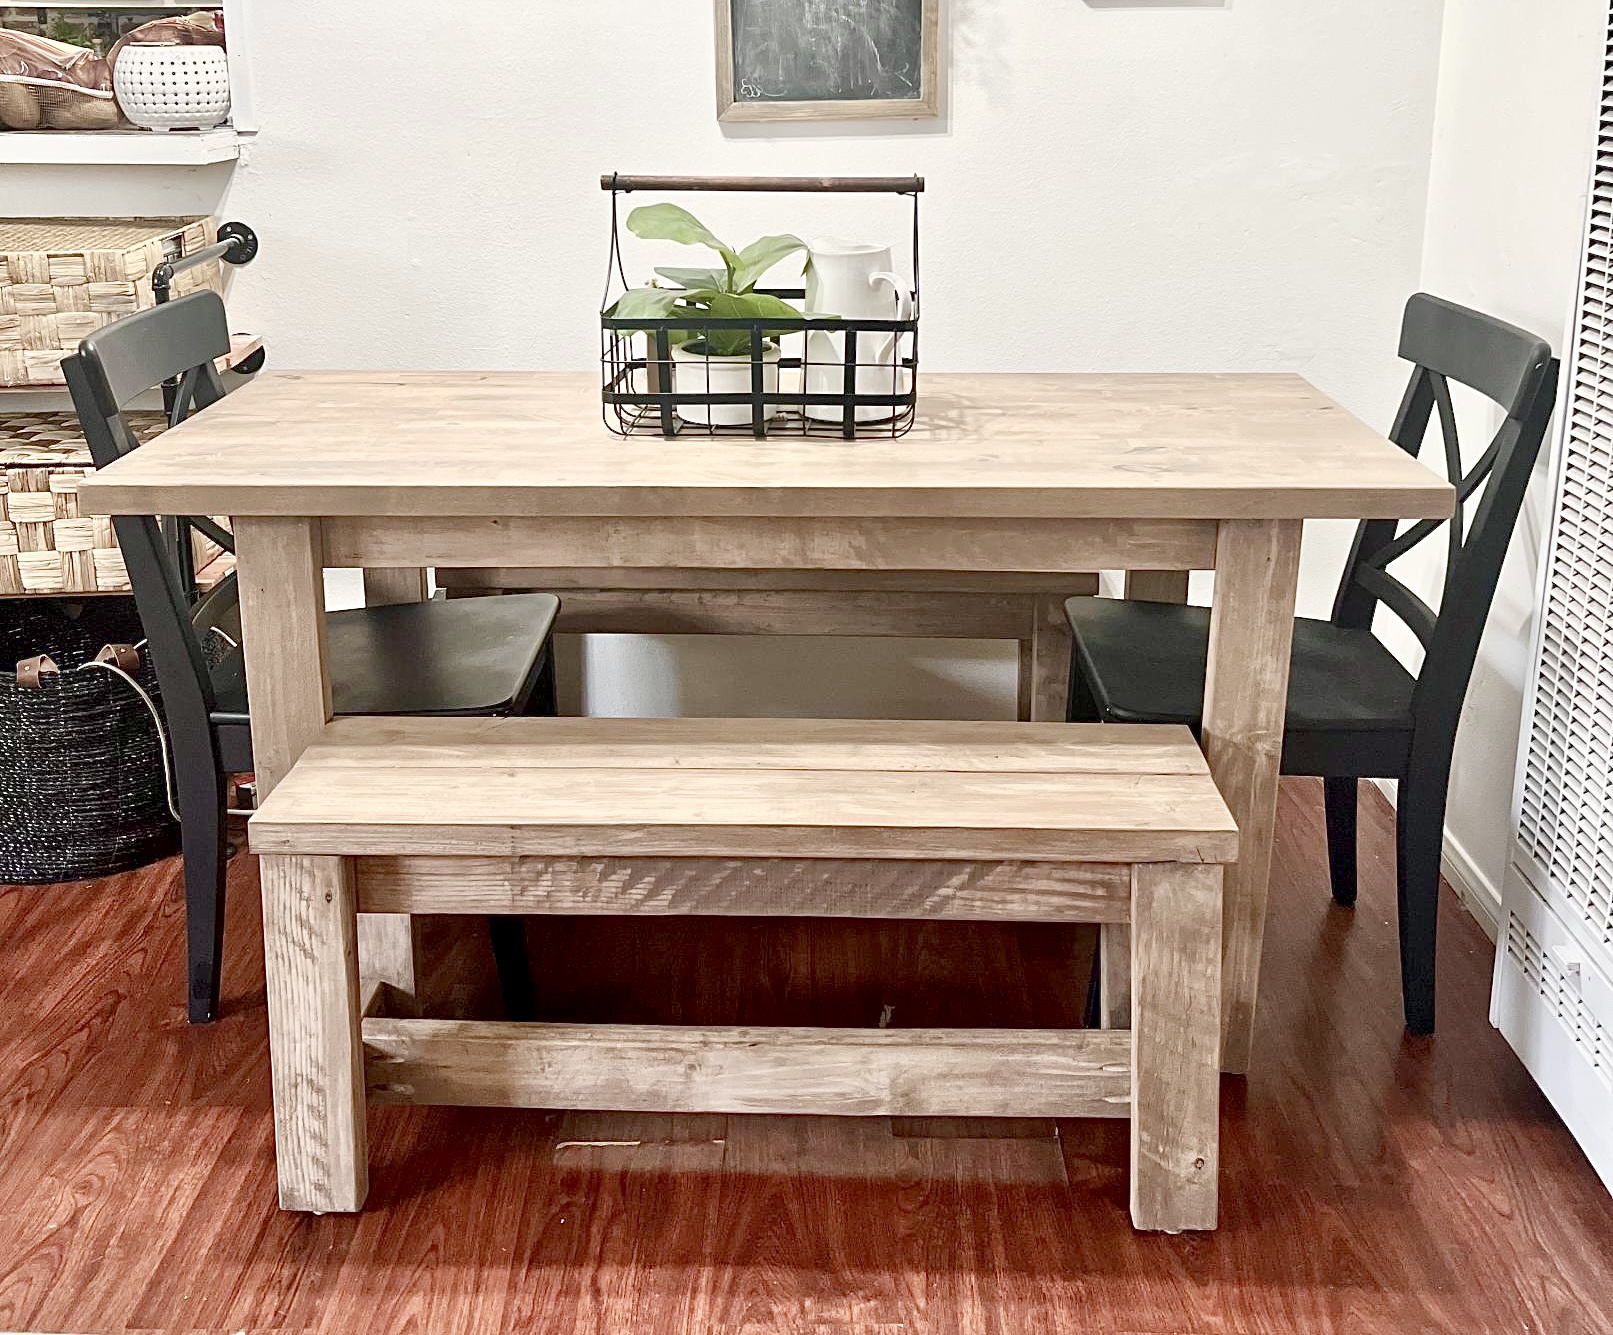
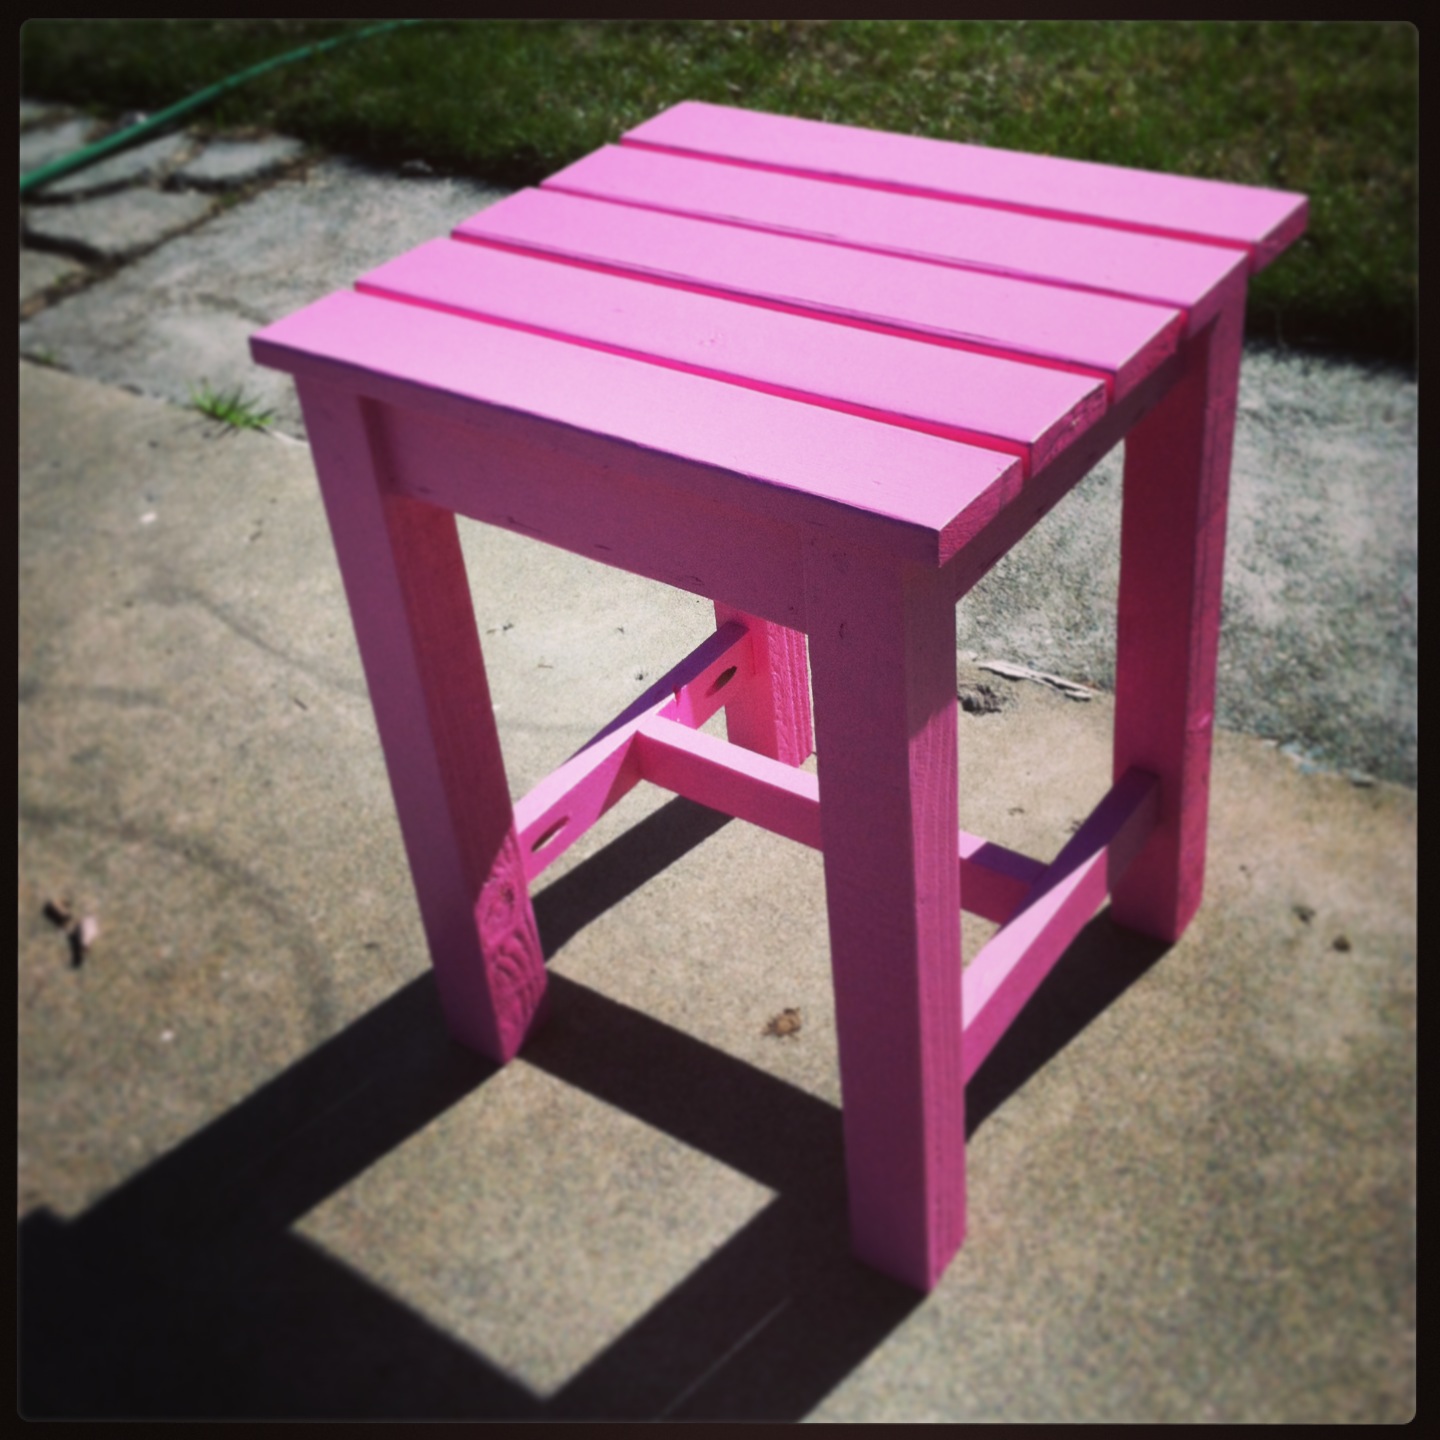
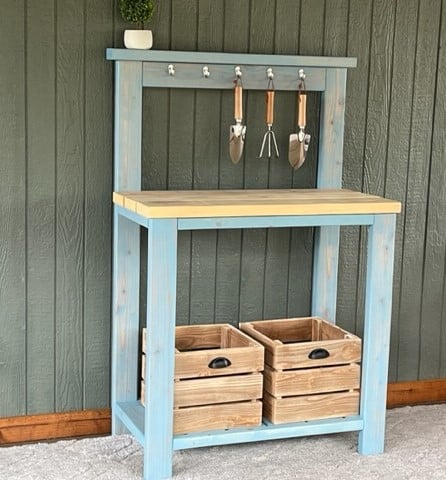
I used Ana's Farmhouse Potting Bench plans and modified it to be more compact and left out the x detail. I built it for under $40 in material.
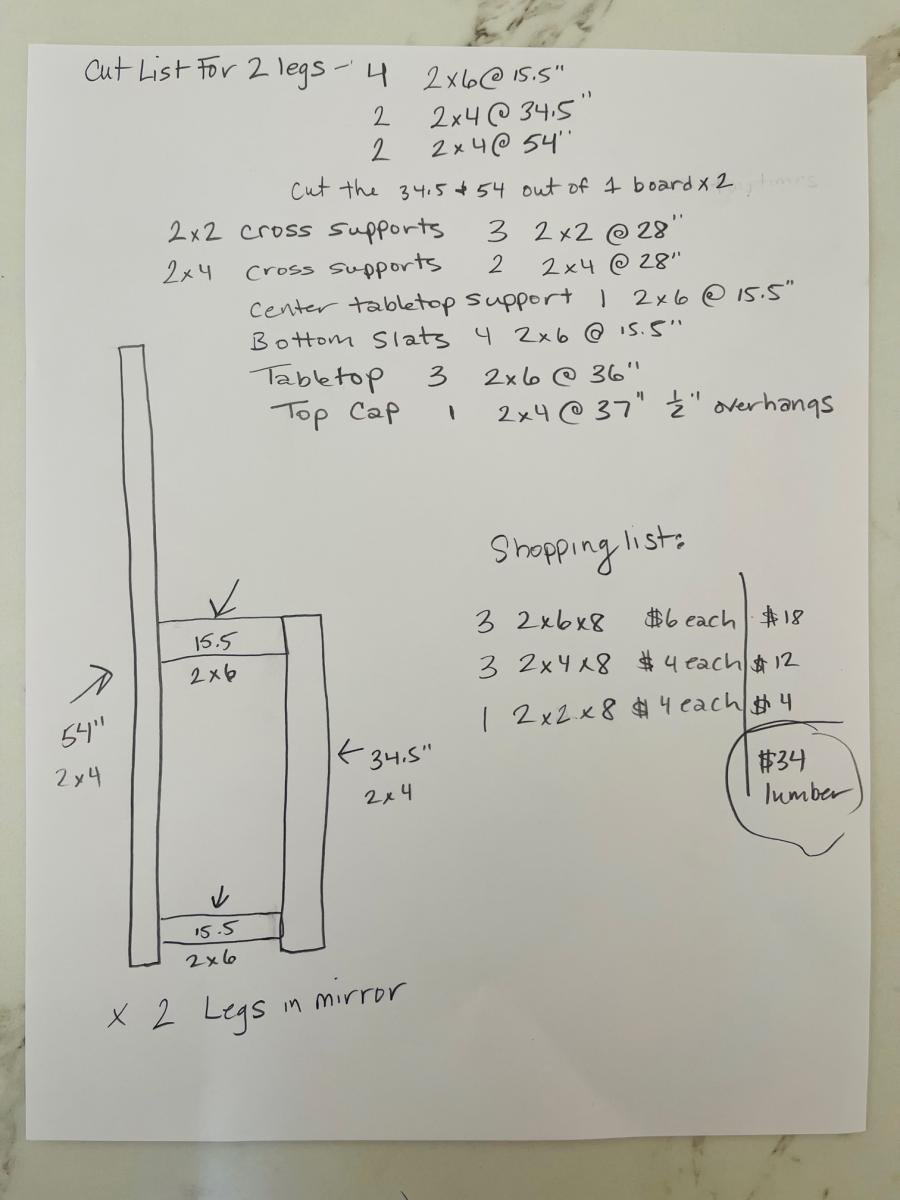
Modifications for Shopping and Cut List - Construction and placement is same as Ana's original plan, so make sure you look that over.
3 - 2x6x8
3 - 2x4x8
1 - 2x2x8
FOR 2 Legs
4 2x6 @15.5"
2 2x4 @34.5"
2 2x4 @54"
(cut the 34.5 and 54 out of 1 board and repeat)
2x2 Cross Supports
3 2x2@28"
2x4 Cross Supports
2 2x4@28"
Center Tabletop Support
1 [email protected]"
Bottom Slats
4 [email protected]"
Tabletop Boards
3 2x6@36"
Top Cap Board
1 2x4@37" leaving 1/2" overhangs
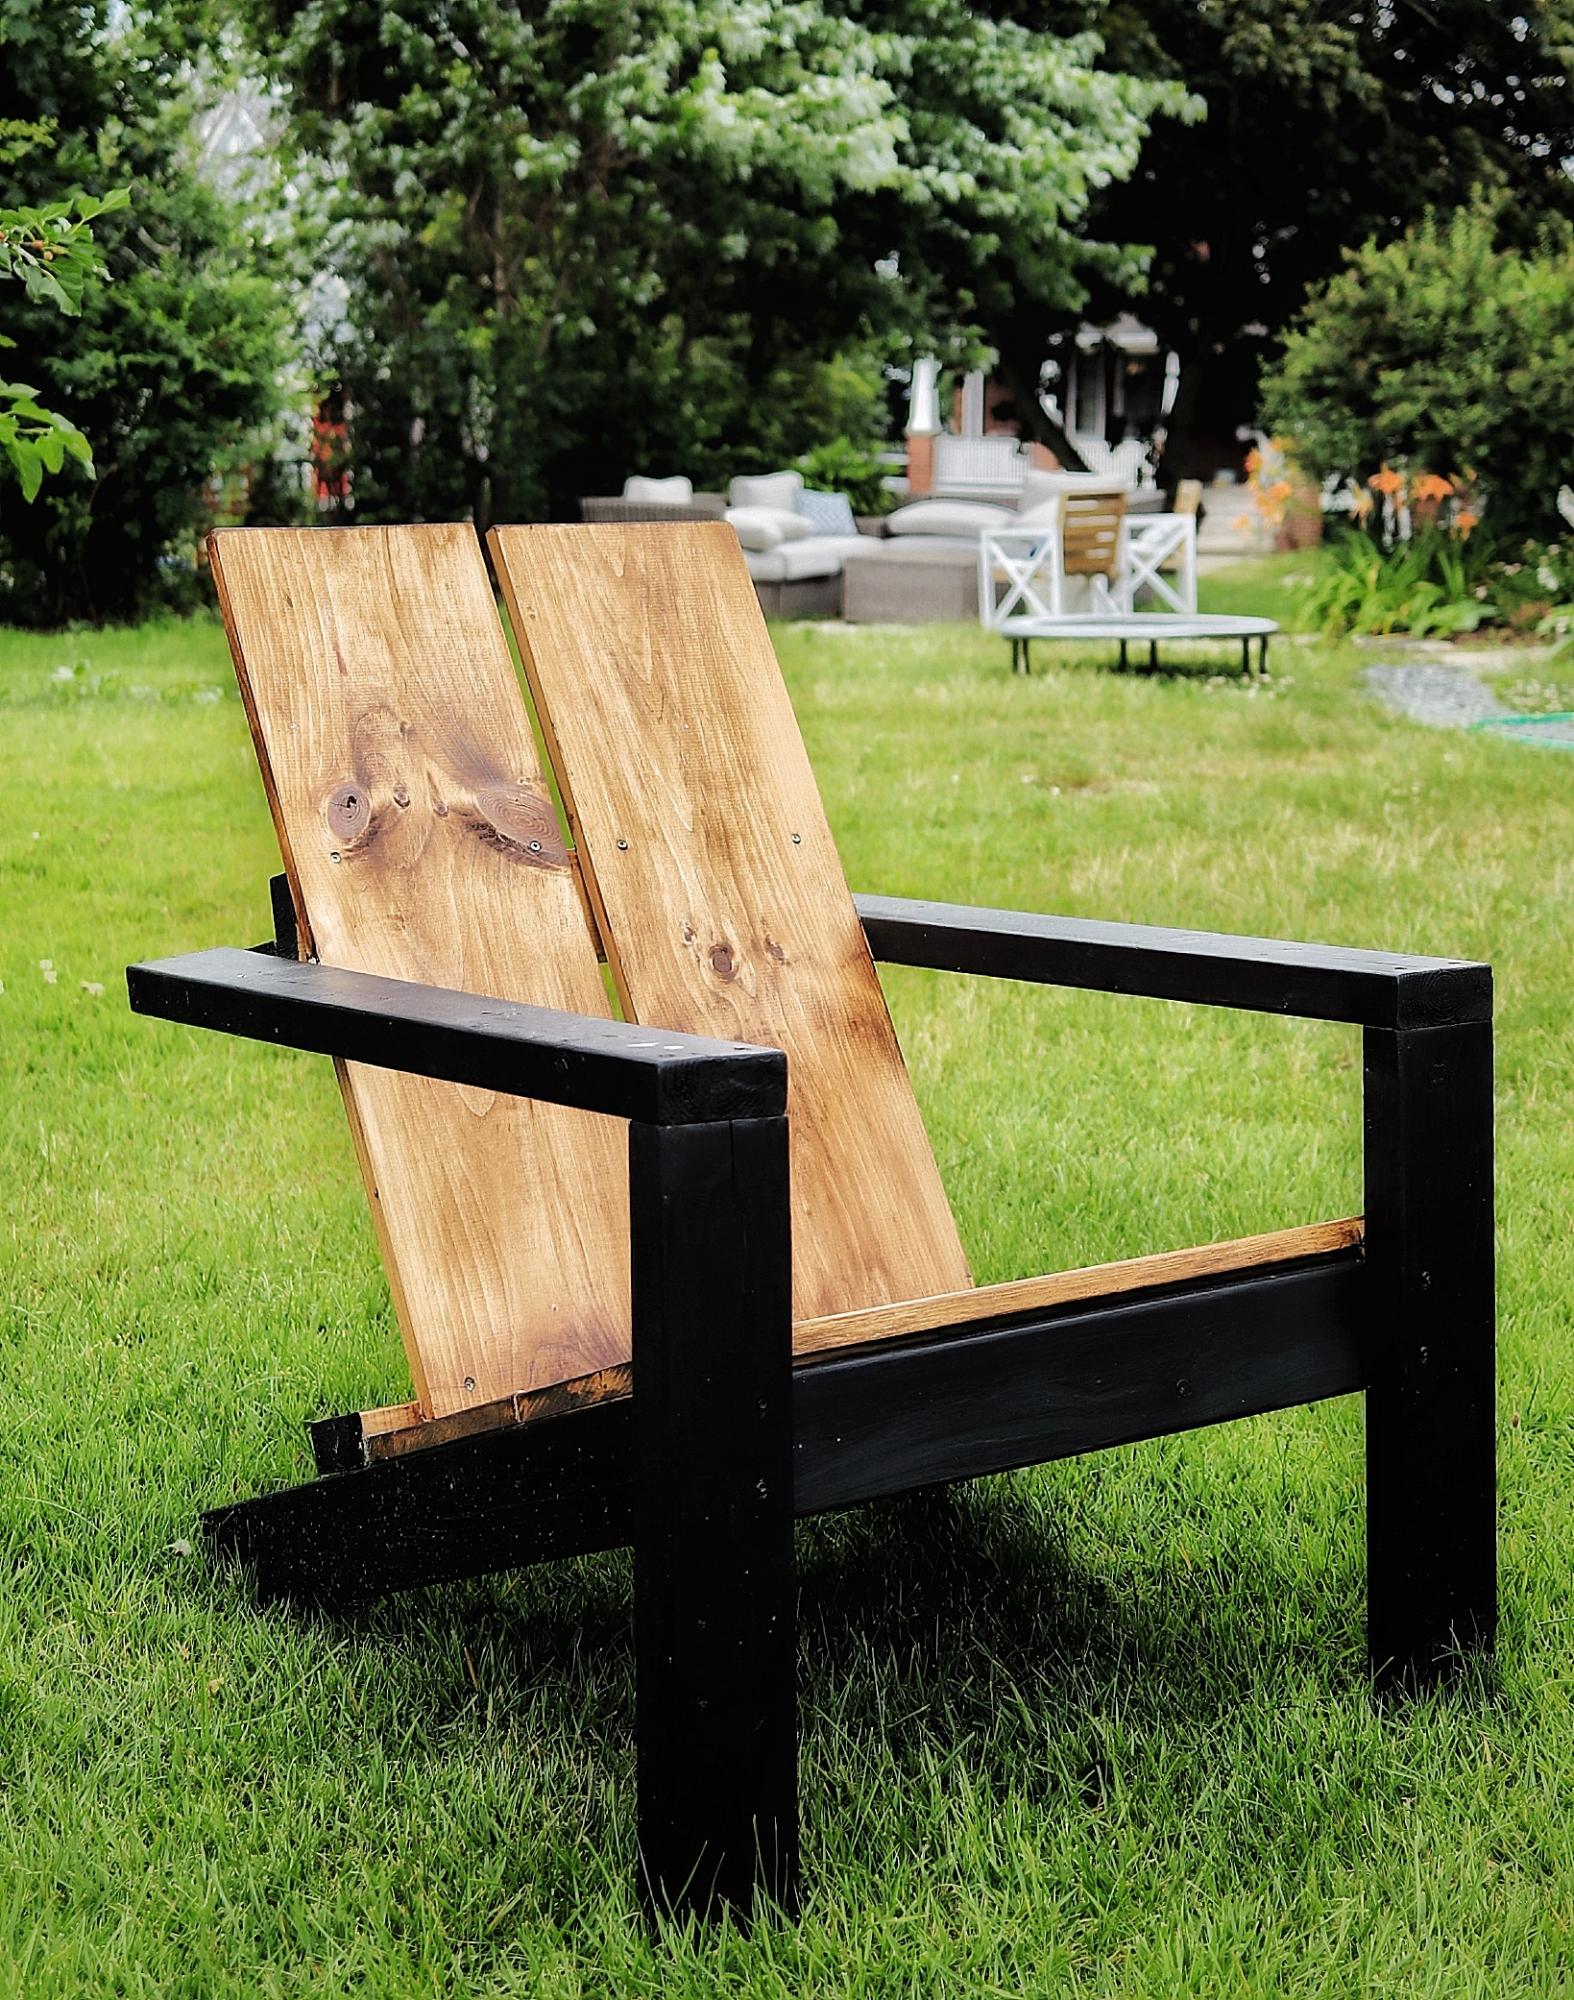
I was so excited to find the plans for these awesome chairs, I’ve built 7 this season already—the modification happened as an accident, but I loved the result !
Thu, 03/04/2021 - 10:59
This is absolutely gorgeous! I love the modification!
Not pretty, but not bad for a start while working with an 11,7 and 5 yr old.
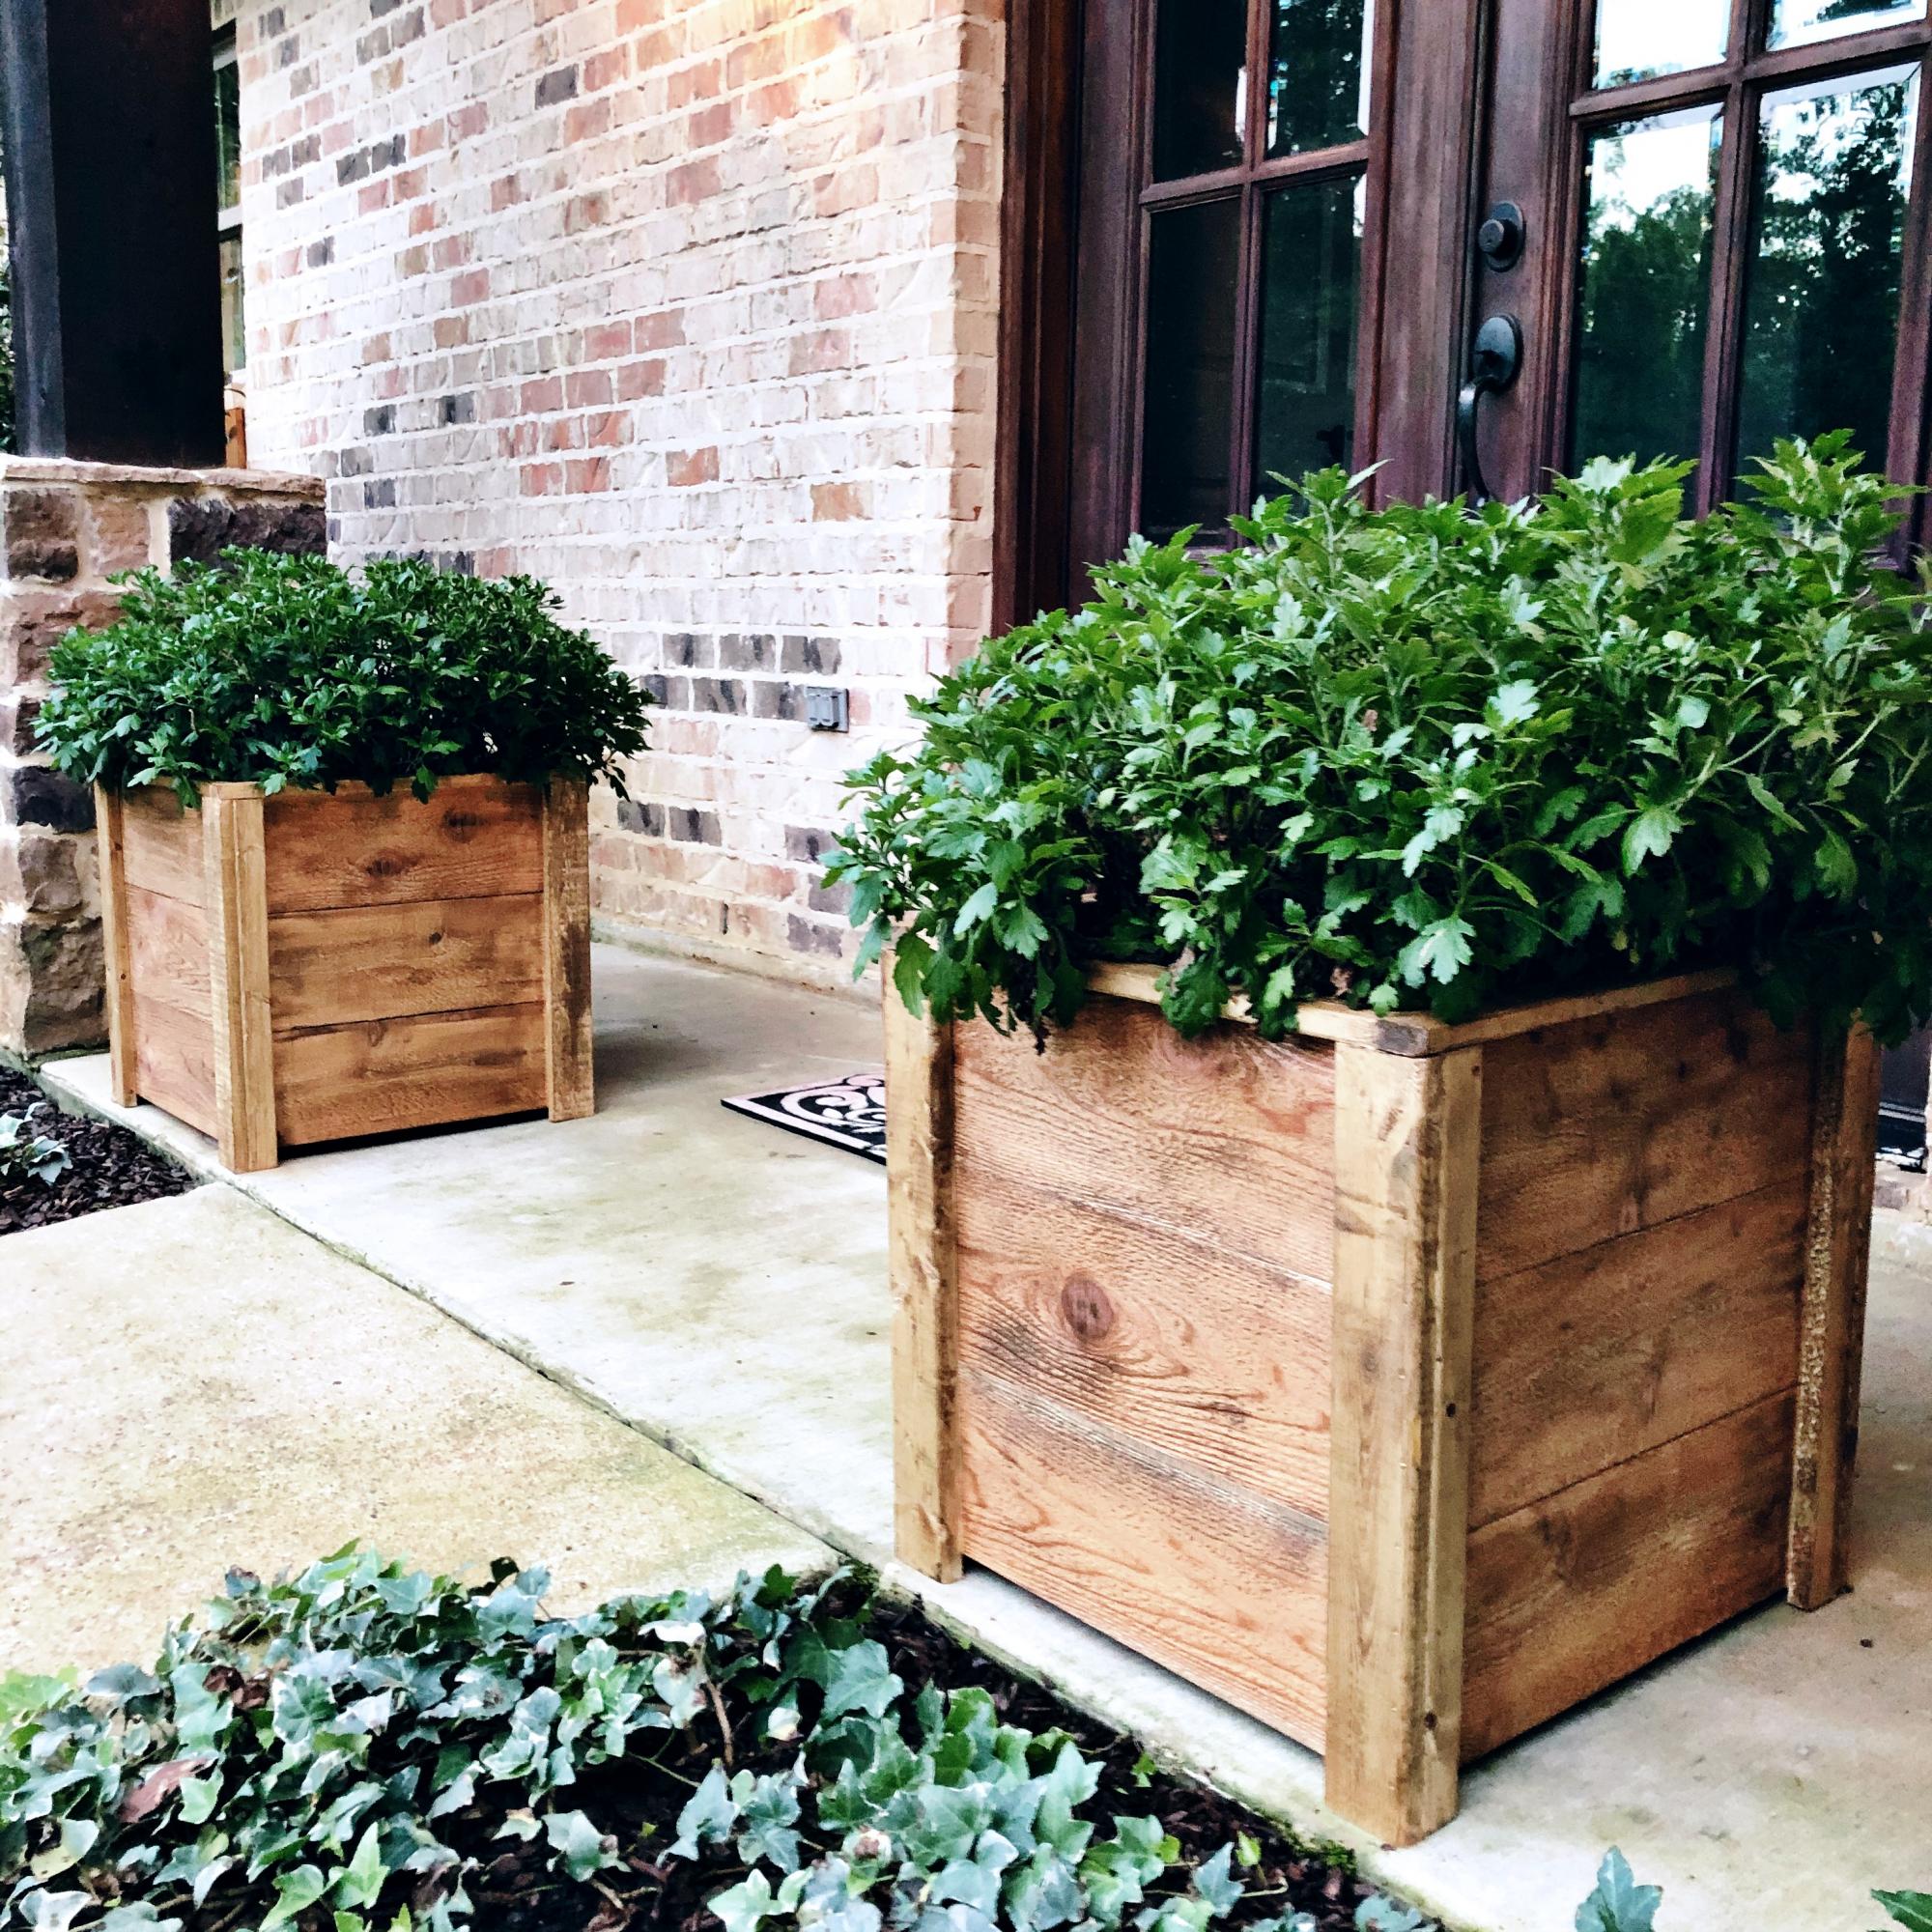
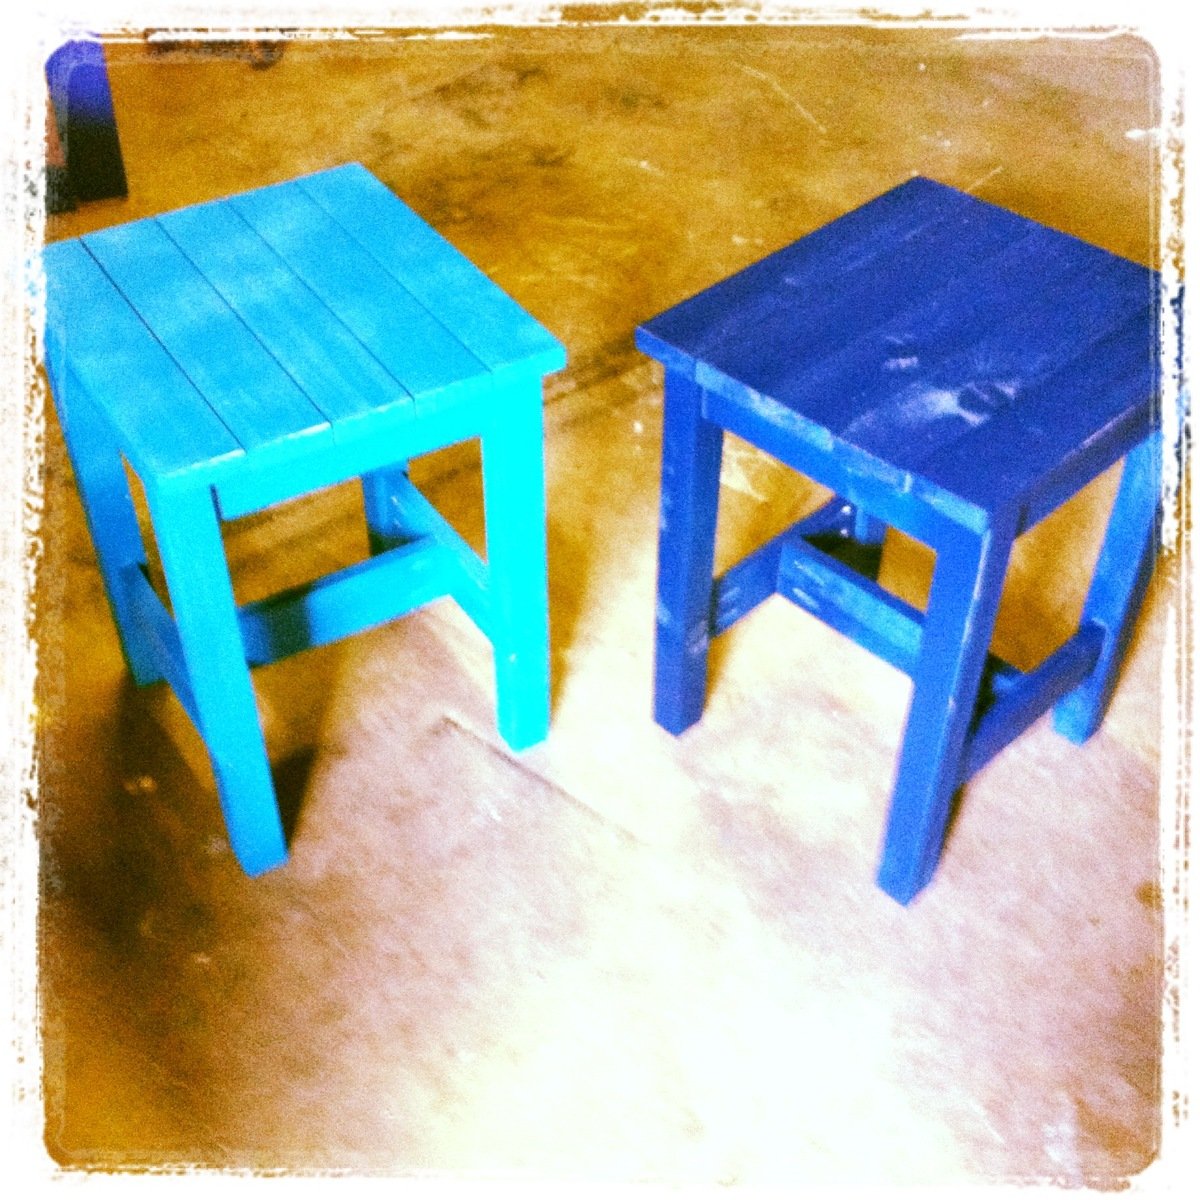
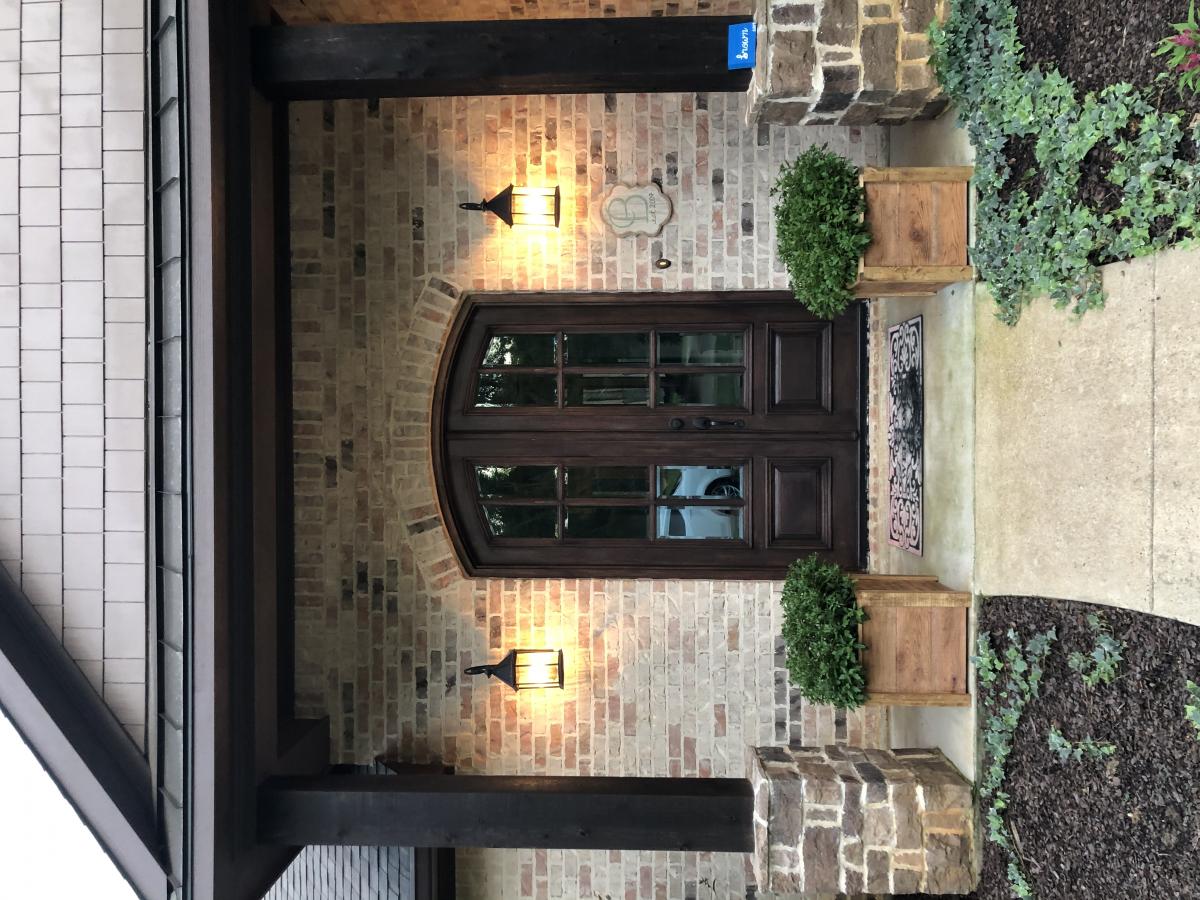
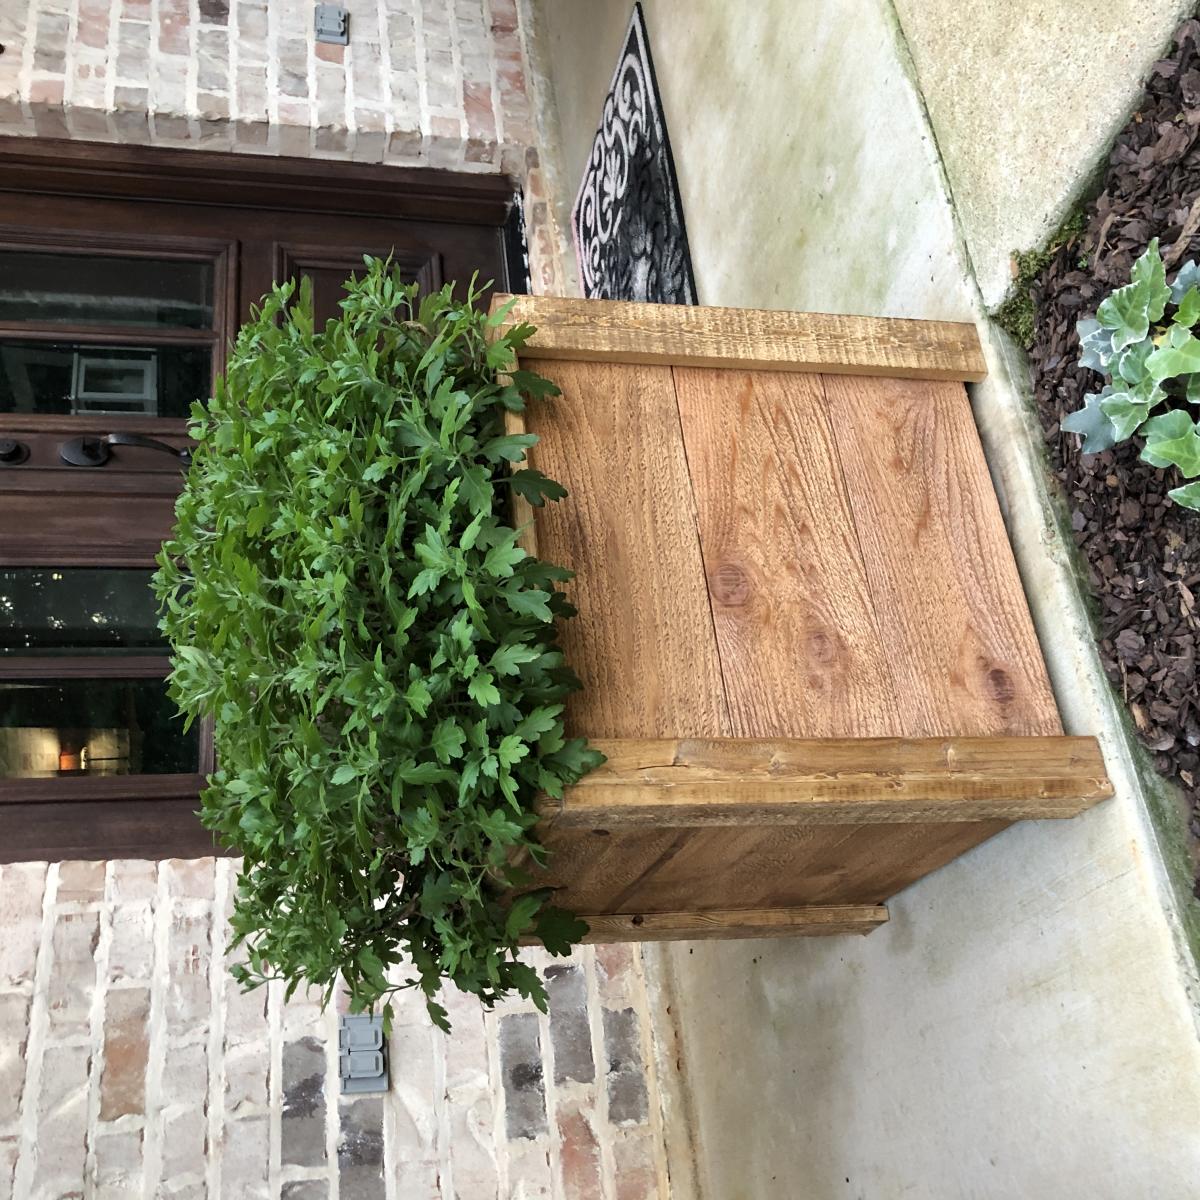
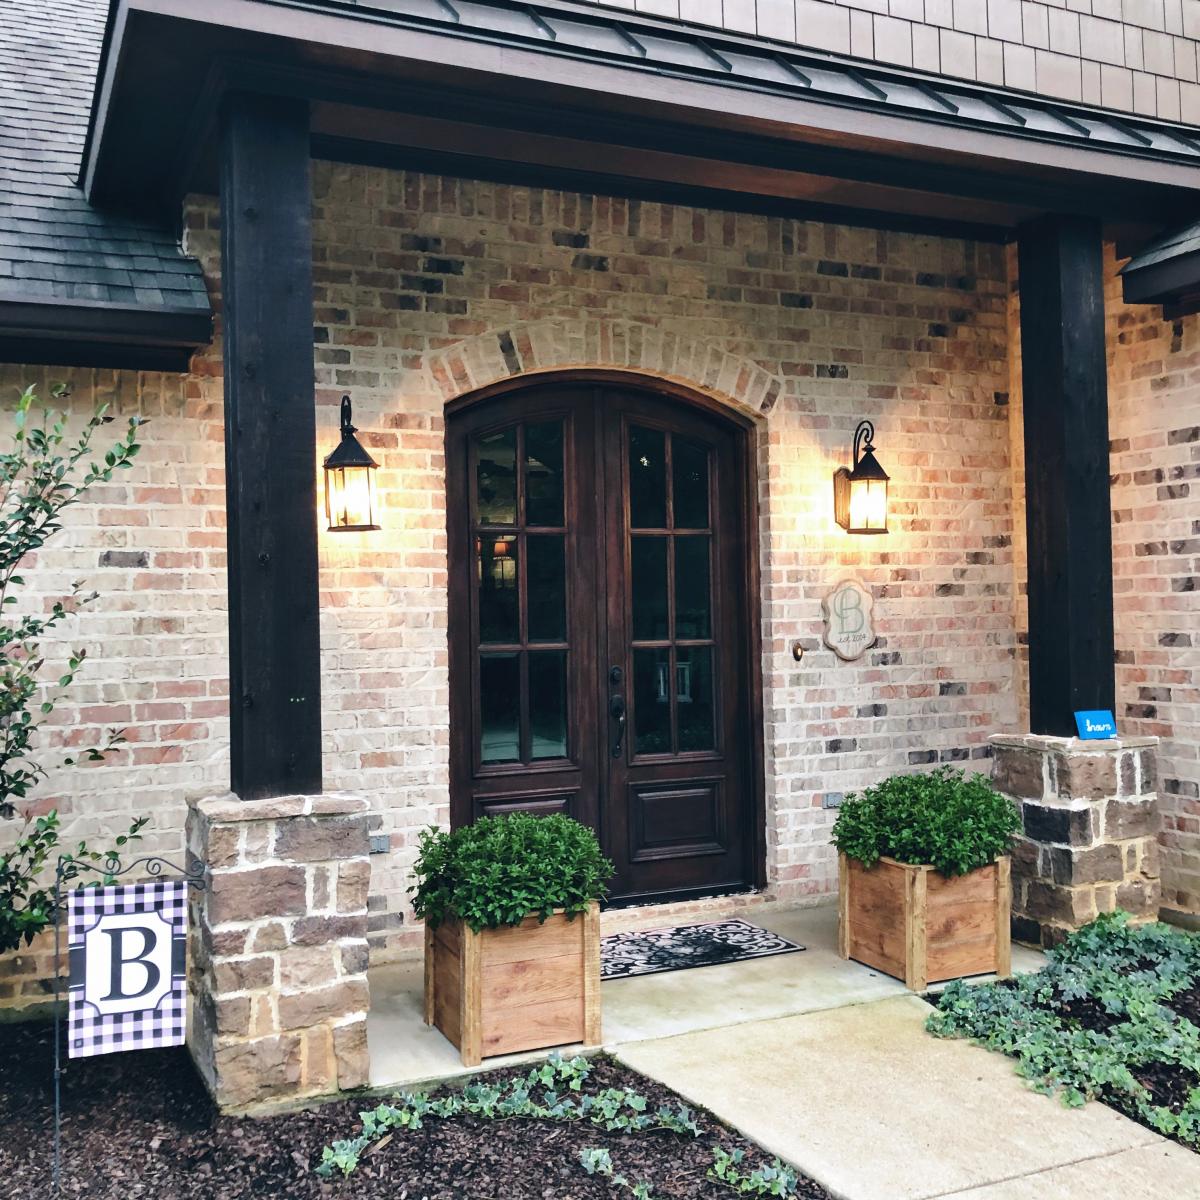
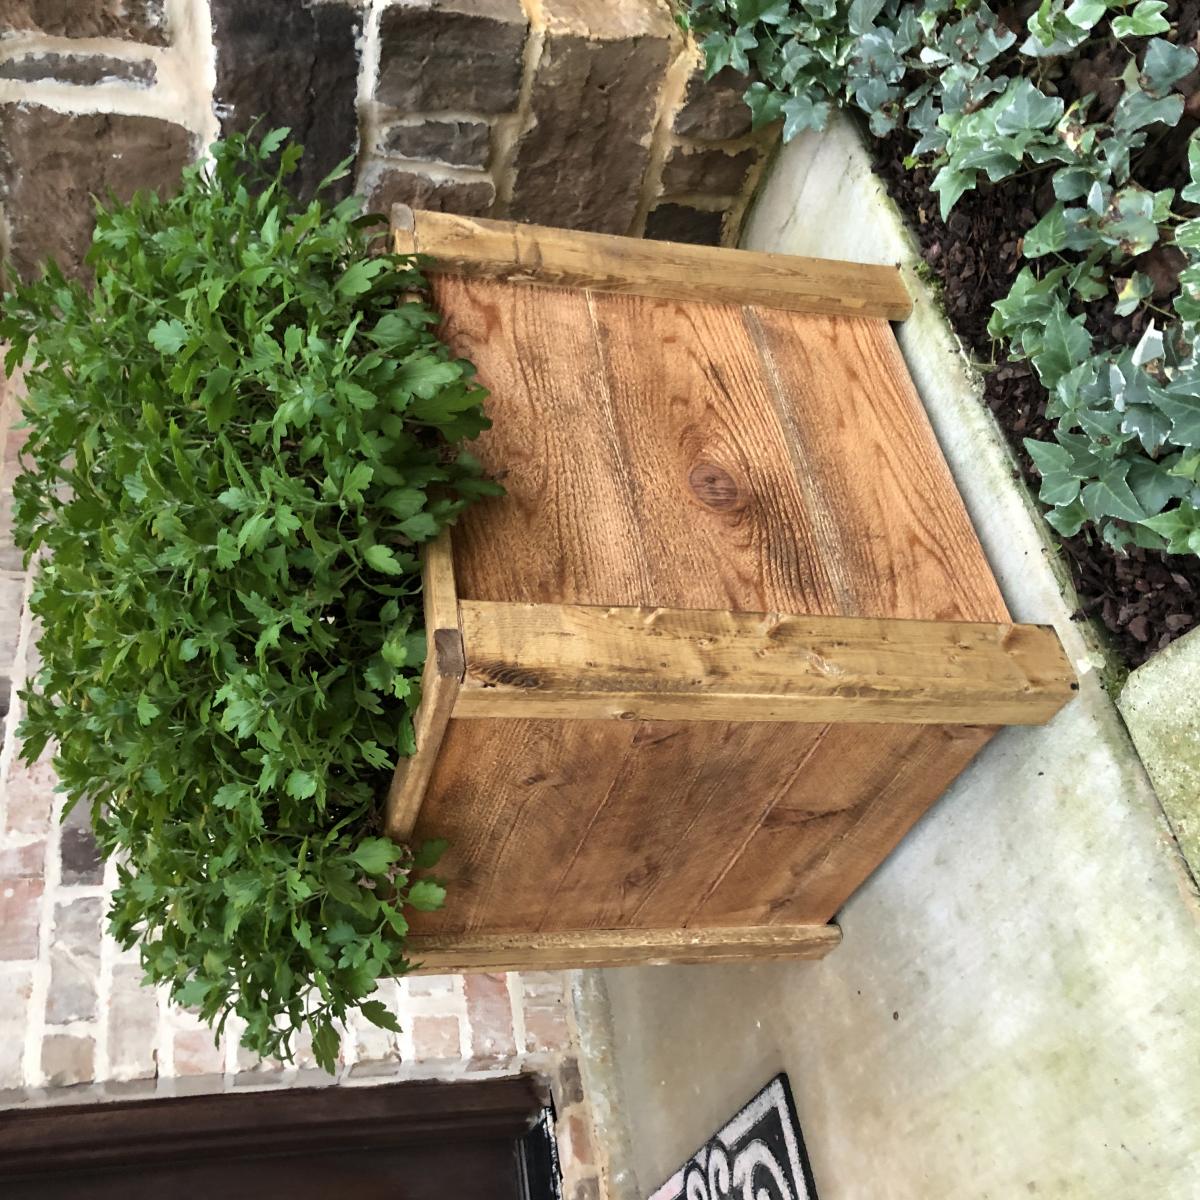
These were a quick weeknight build! And.... My very first “all by myself” build! I’m really proud of how they turned out and love how much style they add to my front porch!
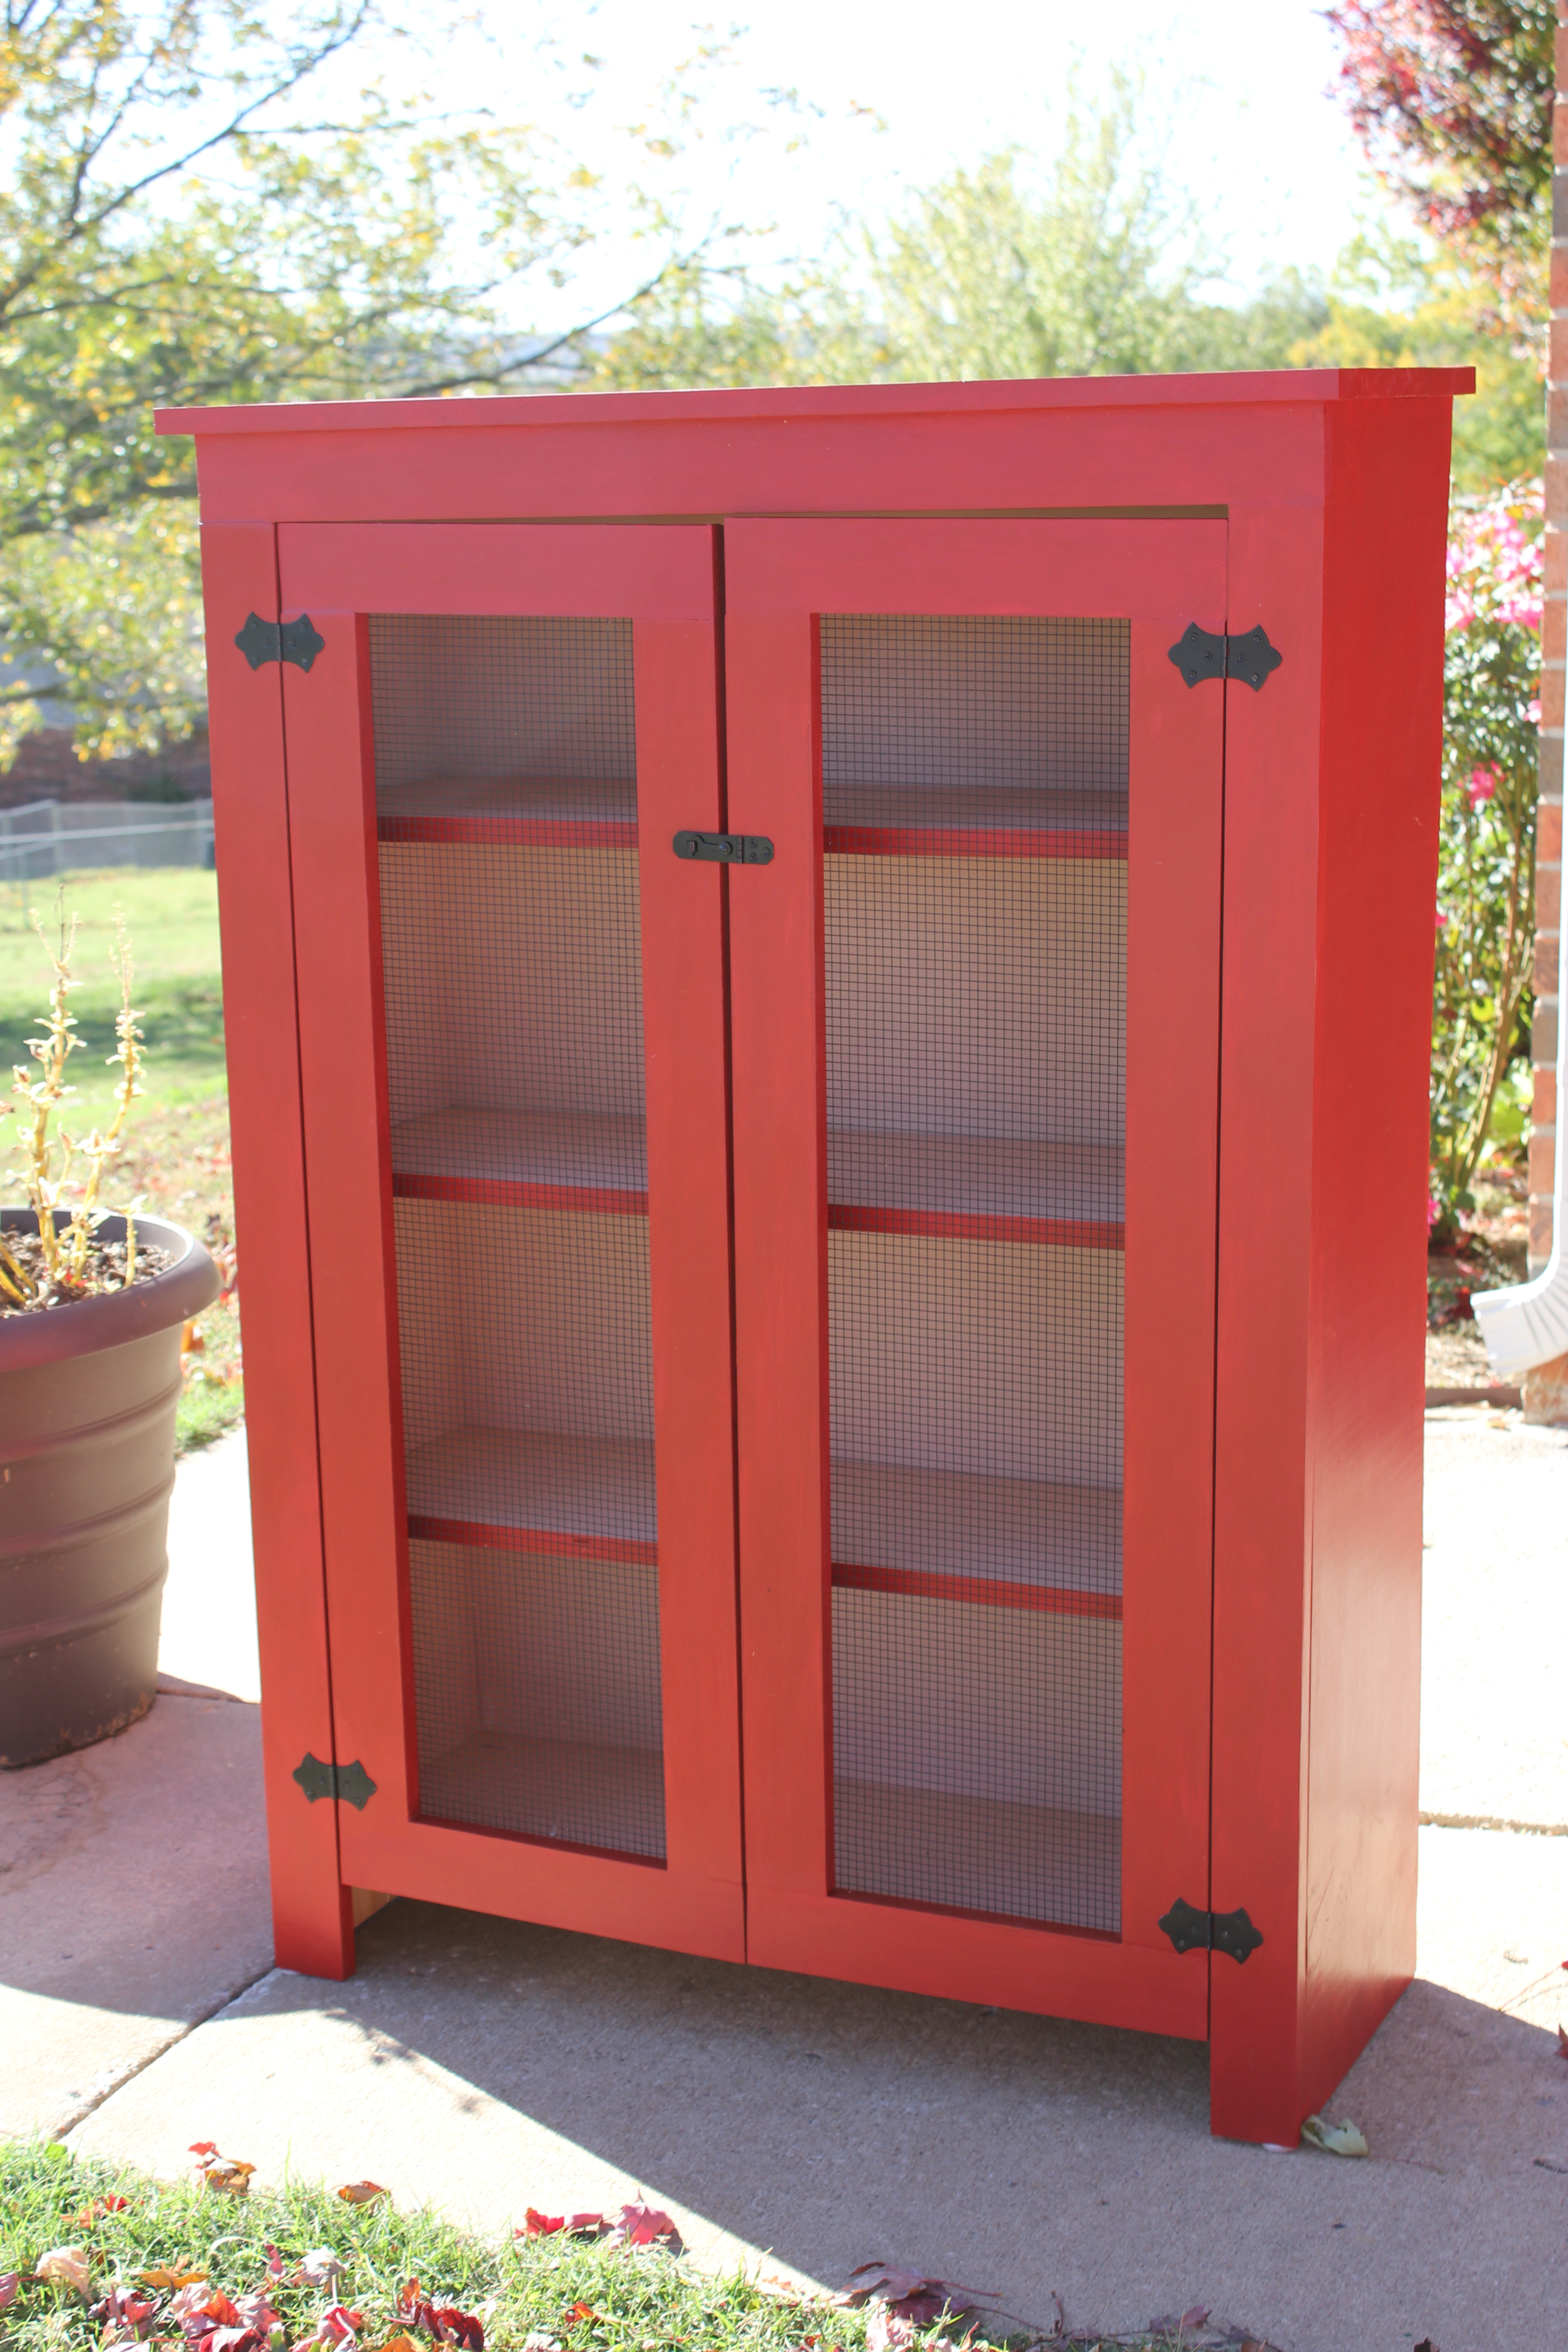
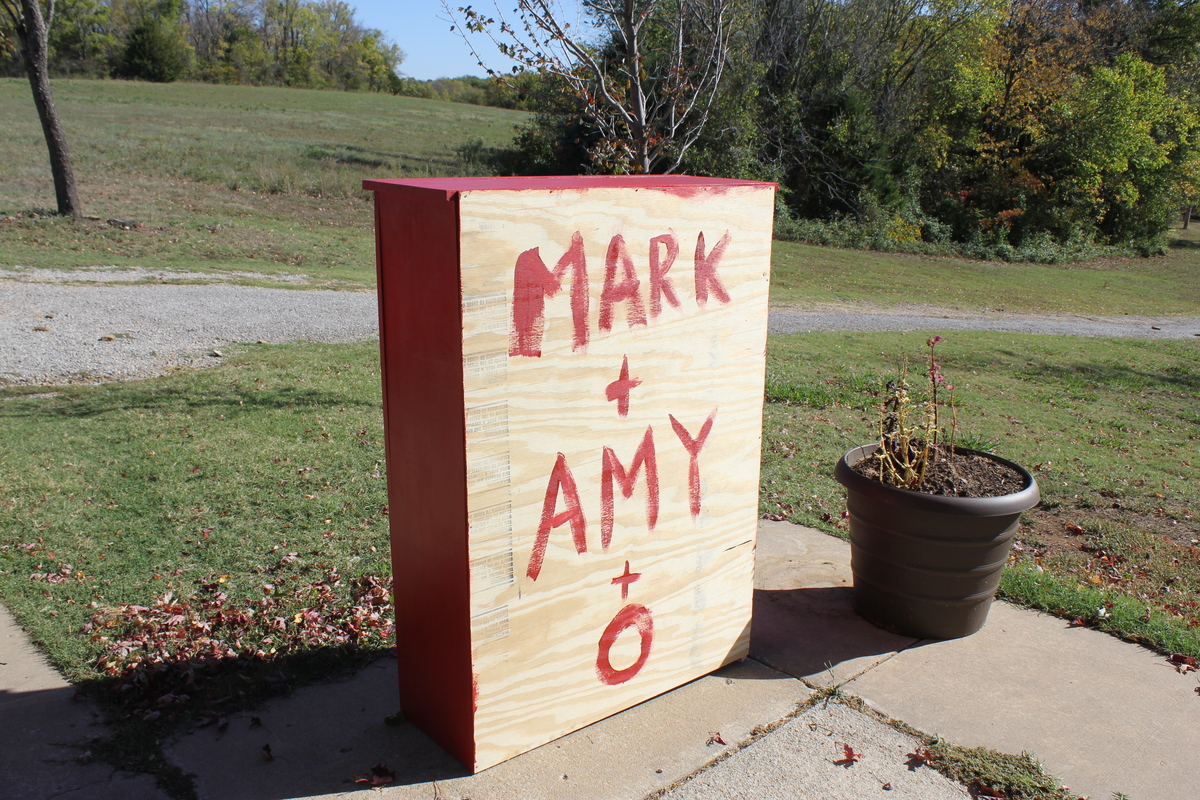
Our first DIY furniture project. We told friends it was an assignment from couples therapy. lol Don't look too close or you will see the many flaws, but I can say it has character and will serve its purpose.
We had problems with the doors. I think they are true and plum, but the cabinet, not so much. They hang a little cockeyed, but they do swing. The plans for the doors didn't quite match the cabinet, but we are newbies so we could have misread the plans.
The hinges and latch are from the blue store - painted matte black from a can from the original nasty brass. The red is Balero and the shelves are a coordinating tan from Sherwin Williams. A coat of Minwax Polycrylic for protection. We used square wire from the blue store for the doors. We didn't router the doors to inset the wire, a stapler worked fine.
It was an absolute great first project that Husband & I enjoyed tremendously. Mom has been looking for a jelly cabinet for 6 months without success. Old functional furniture pieces just aren't manufactured anymore. This cupboard fit the bill perfectly.
Tue, 10/23/2012 - 08:01
This is awesome. Seriously. You two did such a great job and your mom will enjoy it for many years. That red with the black hardware looks so great.
In reply to This is awesome. Seriously. by Maira (not verified)
Tue, 10/23/2012 - 18:14
Thanks Maira :) That was sweet of you to say. Can't wait to start another project.
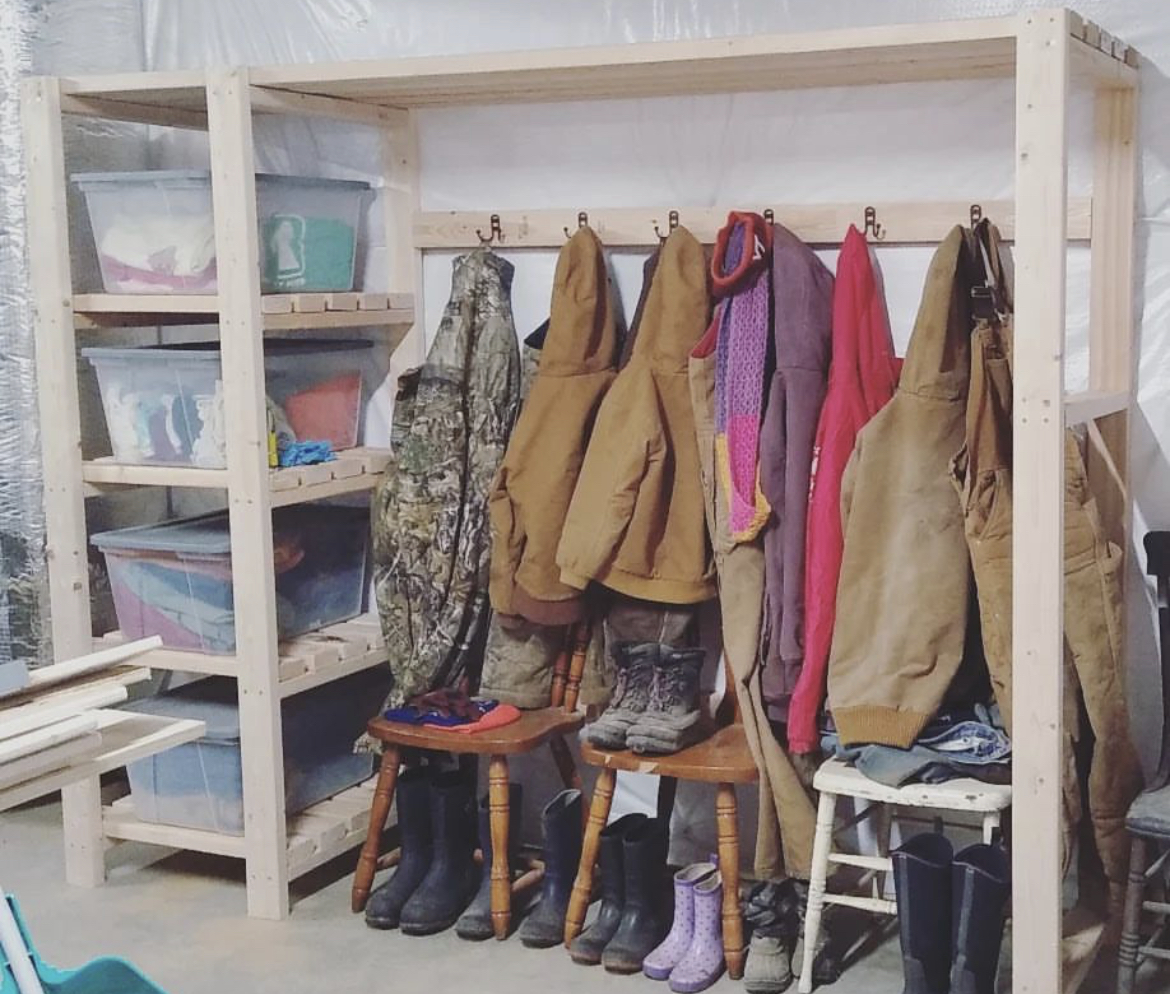
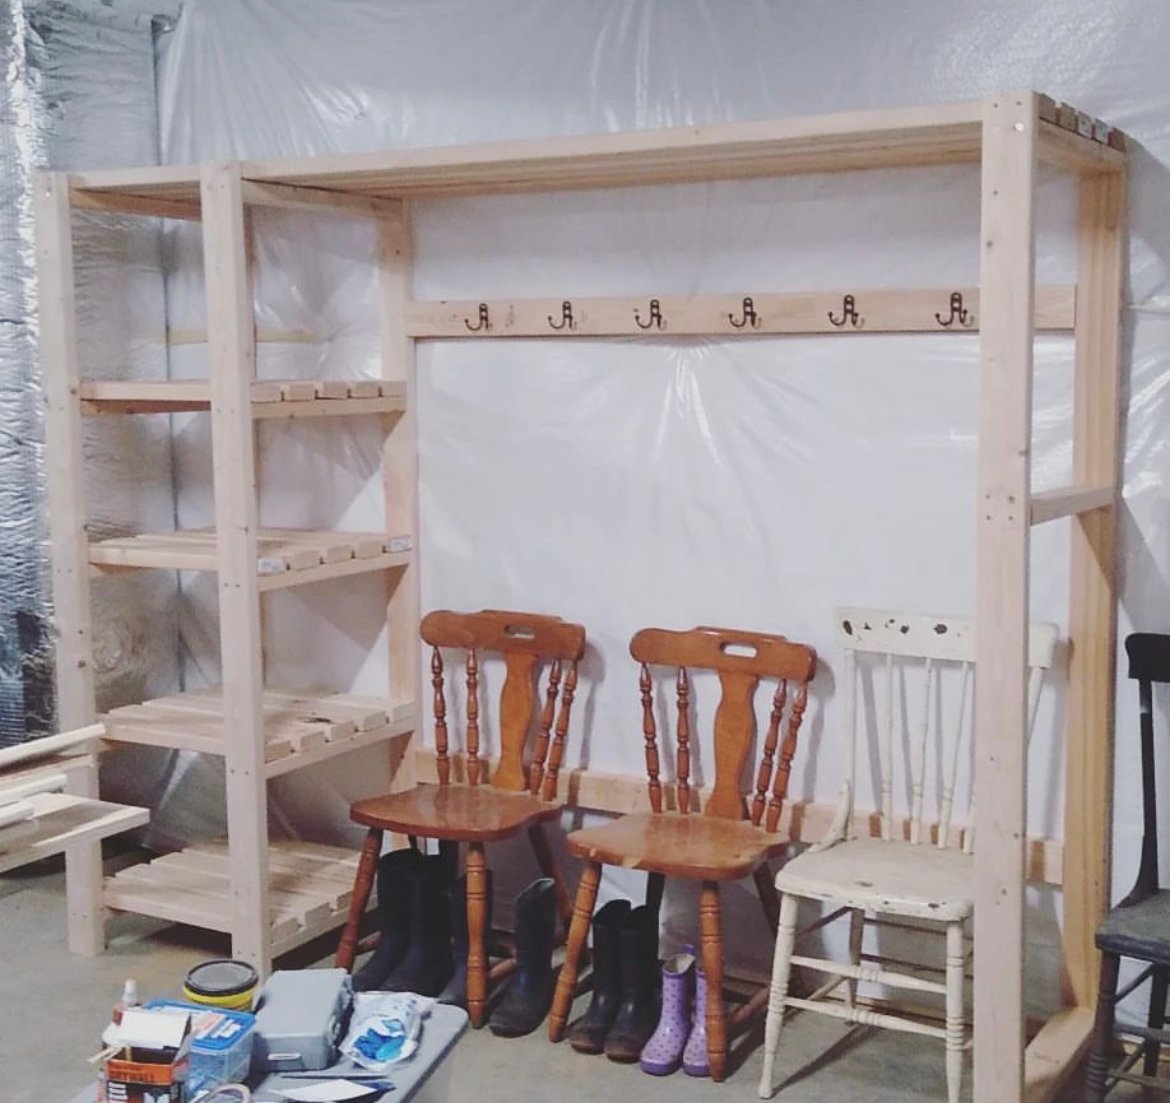
Freestanding closet shelving modified to make a mudroom!! More details in link below.
Comments
Ana White Admin
Sat, 09/03/2022 - 13:28
Fantastic bathroom storage!
This looks amazing, love how it's recessed! Thankyou for sharing.