Community Brag Posts

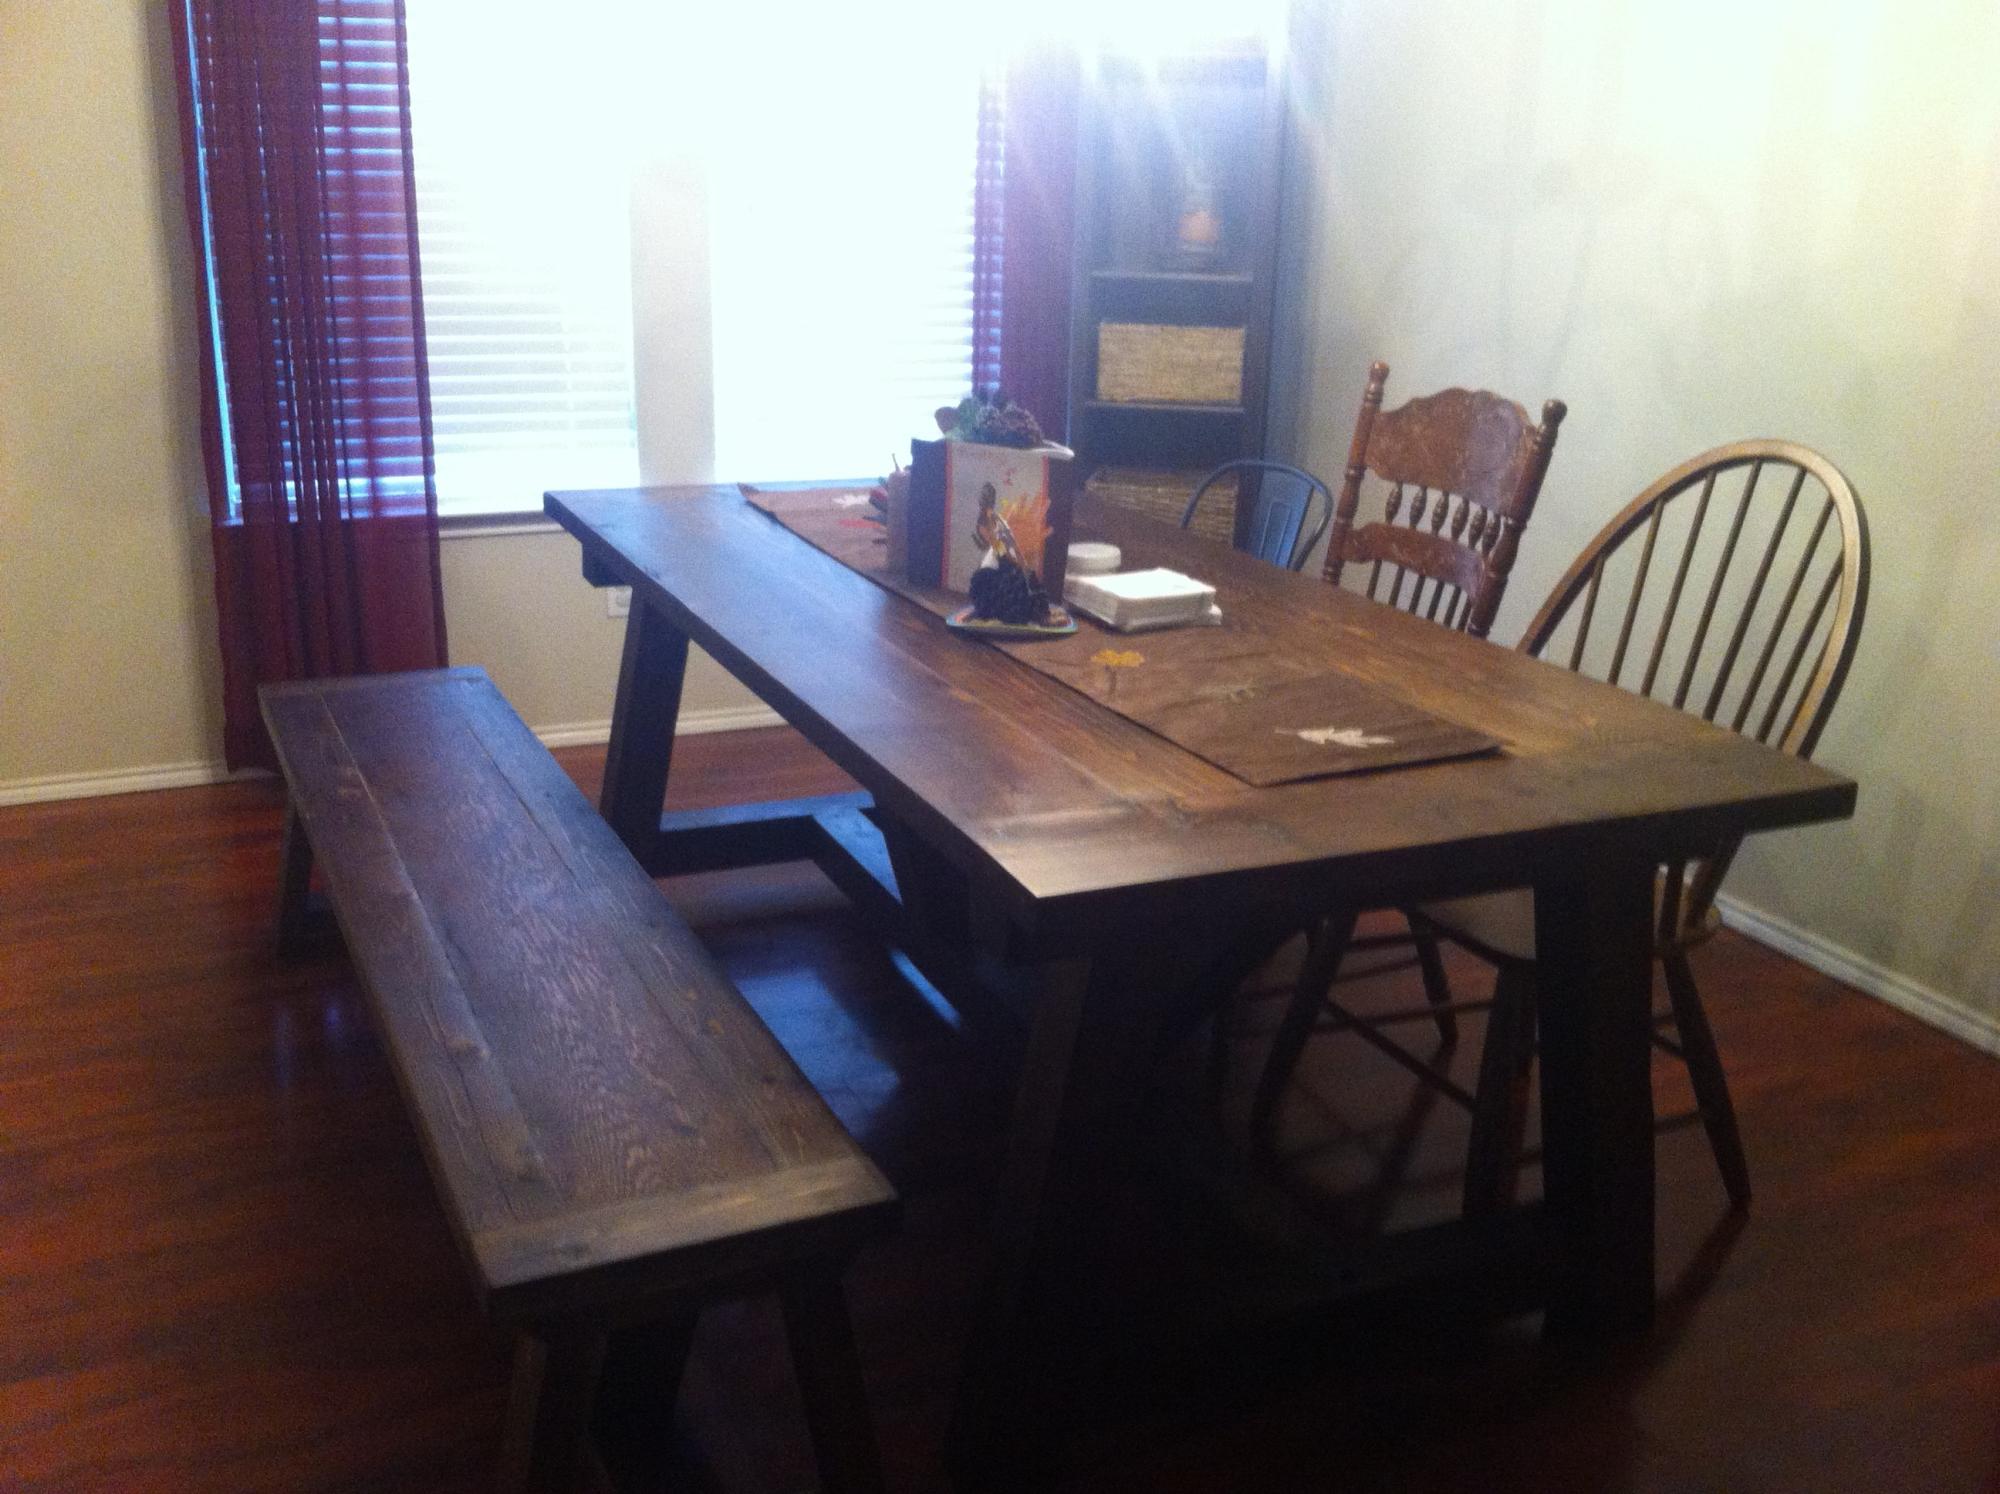
Farmhouse Table

Submitted by Anonymous (not verified) on Sun, 01/08/2017 - 17:33

The plans provided for the table and bench were excellent. I also had help from people in the local Lowes lumber department who talked me in to using cedar. They also recommended using lag screws where possible so (for the table) I ended up using lag screws in some places where the pocket screws were recommended. 

Estimated Time Investment
Week Long Project (20 Hours or More)
Recommended Skill Level
Beginner

Rustic X end table

Submitted by Seth Cheek on Thu, 12/13/2012 - 14:51

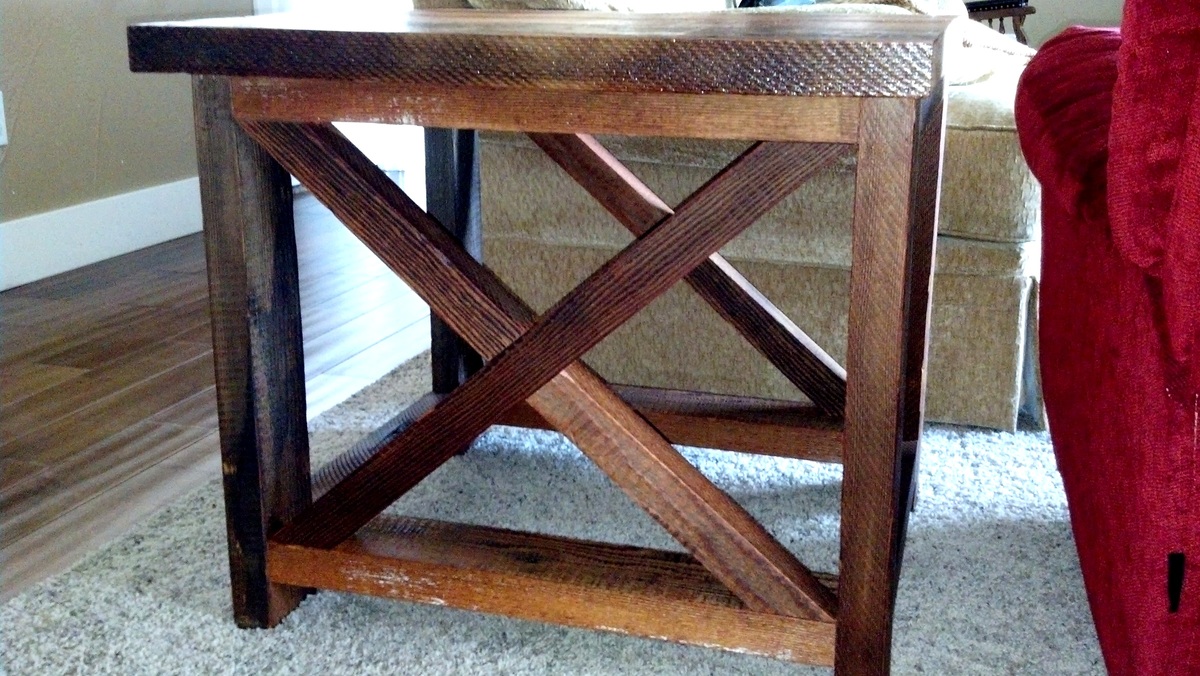
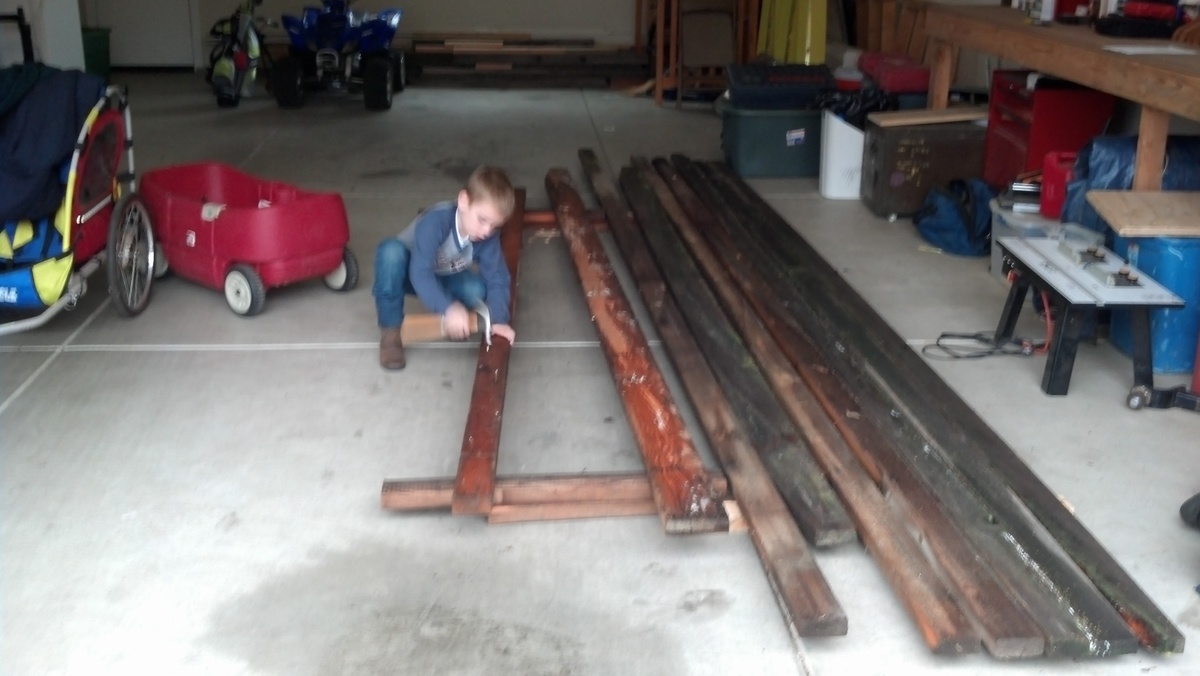
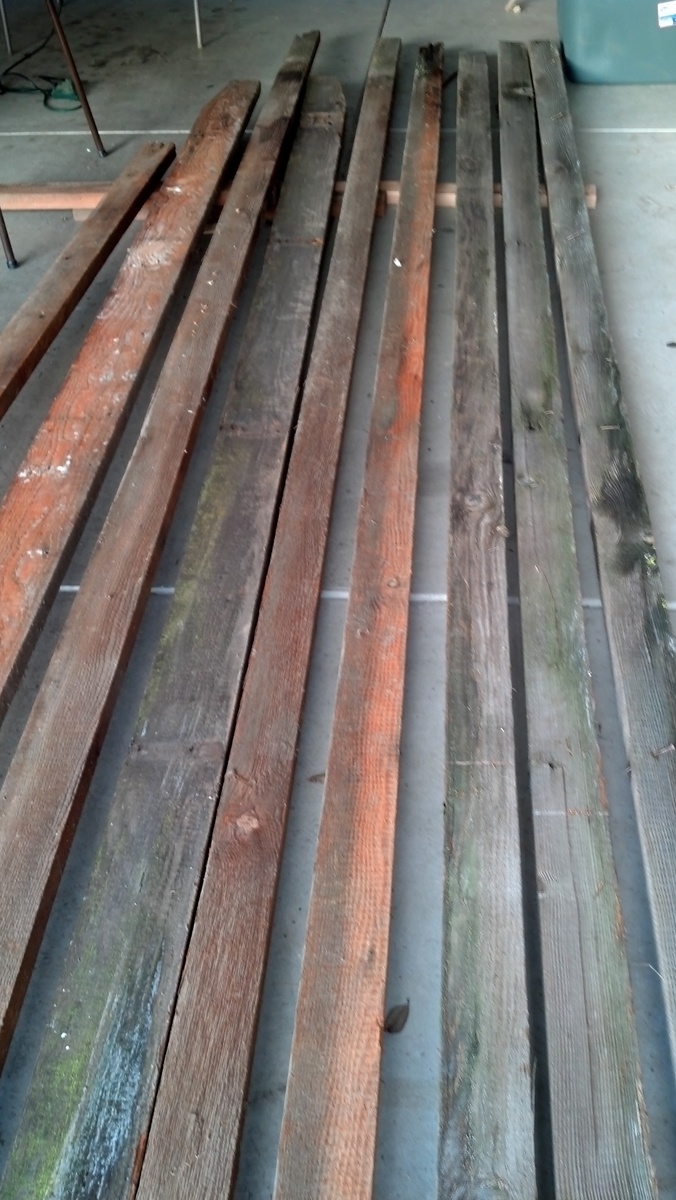
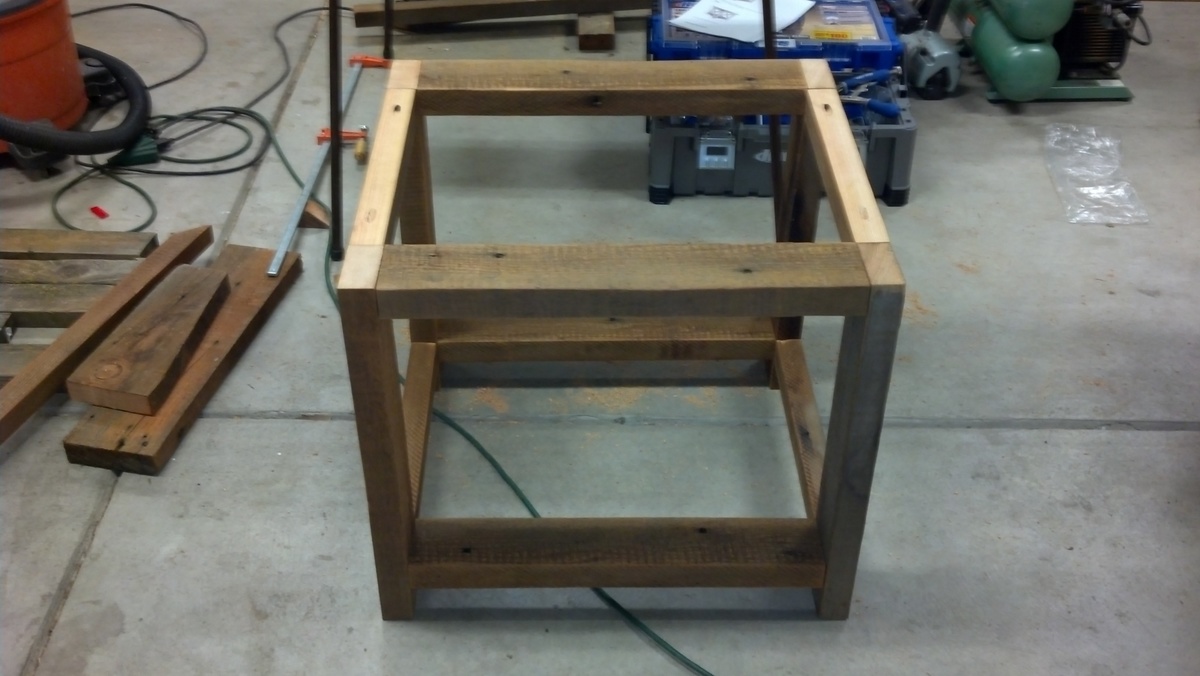
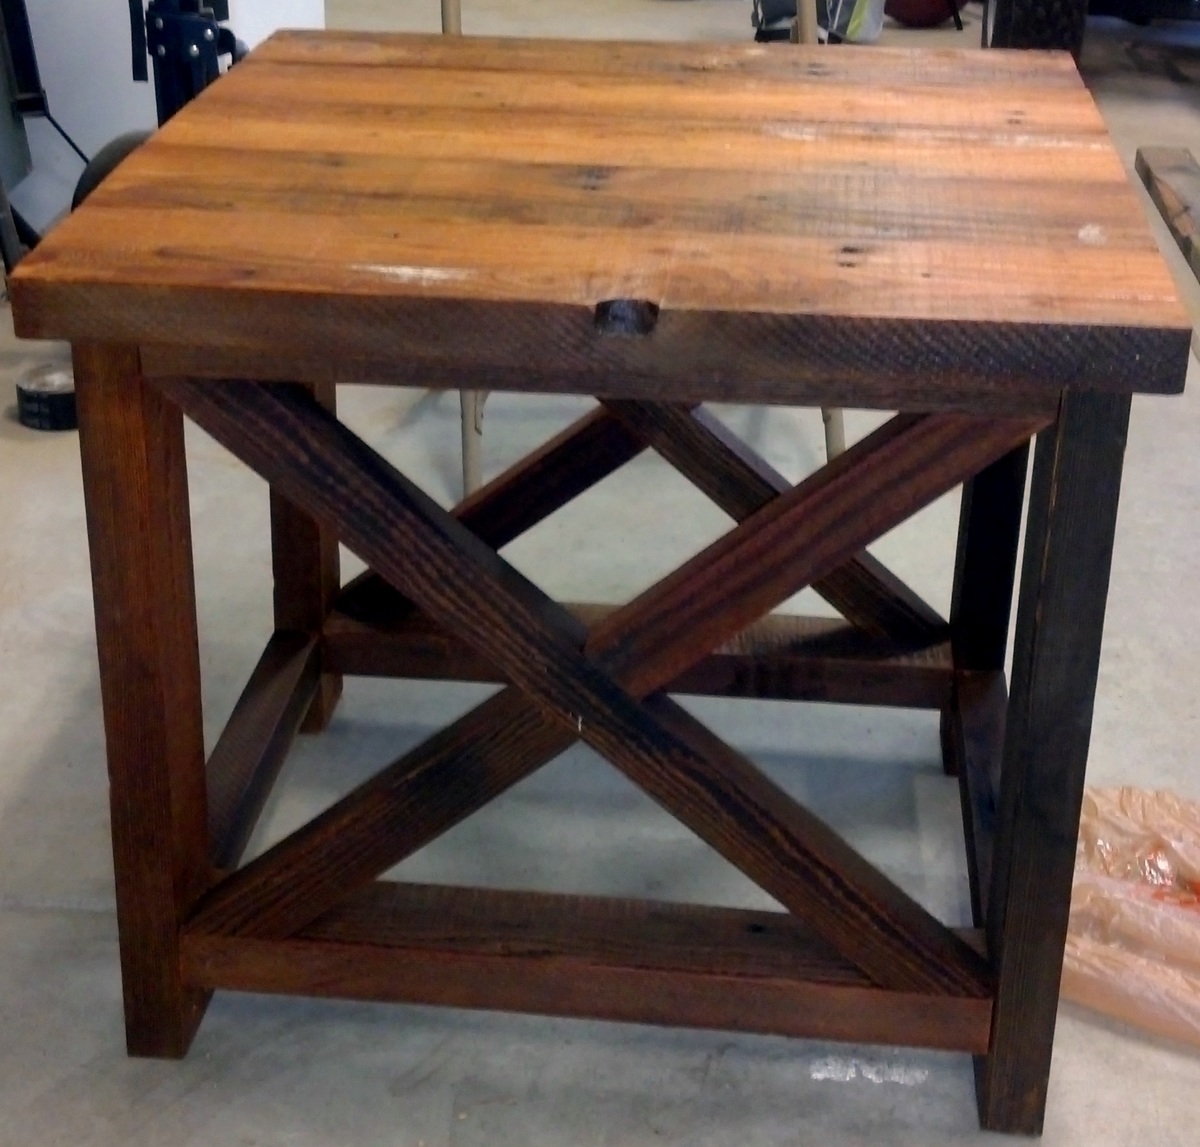
Thank you for the idea for the rustic x end table. My wife is extremely happy with her new end table. Happy wife = happy life!!! I constructed the end table of 2x4 douglas fir rough sawn material I salvaged from a project where we removed a trellis from the house. My son helped me remove all of the nails and we let the wood dry out from the rain. I cut the 2x4 to the lengths described in the directions (I had to modify the x braces in length), sanded the wood and applied natural finish stain. We also added 3 coats of polyurethane to the table top to give it a nice finish and hopefully help with wear and tear over the years.

Built from Plan(s)
Estimated Cost
$50
Estimated Time Investment
Weekend Project (10-20 Hours)
Finish Used
We used a natural stain for the first coat. On the actual table top we used 3 coats polyurethane. I was told today by a cabinet maker that I should have used laquer instead because it holds up better and drys quicker speeding up the process.
Recommended Skill Level
Beginner

Comments

Chalkboard Mail Holder

Submitted by Renascence on Wed, 09/24/2014 - 10:12

Built using the Wood Mail Holder w/ Key Hooks plan. Primed and painted the slot fronts with chalkboard paint before attaching. Stained the front lath pieces (frames around the chalkboard) before attaching. Stained with Minwax Dark Walnut. Hooks from Lowe's. 

Built from Plan(s)
Estimated Cost
$17.37
Estimated Time Investment
Afternoon Project (3-6 Hours)
Finish Used
Minwax Dark Walnut, Chalkboard Paint
Recommended Skill Level
Beginner

Comments

Pallet Chairs

Submitted by Anonymous (not verified) on Mon, 01/09/2017 - 19:23

Adirondack chairs made from reclaimed pallets. 

Estimated Cost
$20
Estimated Time Investment
Weekend Project (10-20 Hours)
Finish Used
Disassemble pallets and choose your best boards, cut to size per plan and rough sand. Assemble per plan. Stain with minwax ebony, sand again, stain with minwax chestnut. Finish 2 coats exterior poly urethane satin finish.
Recommended Skill Level
Intermediate

Comments

Floating Wall Shelf

Submitted by REDCANVAS on Tue, 09/22/2020 - 17:17

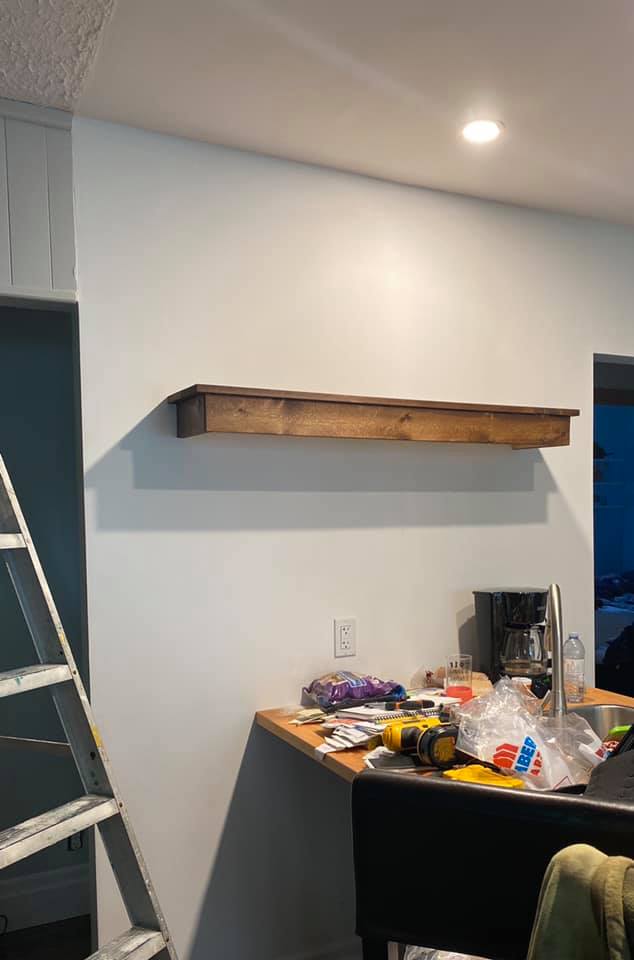
Use a combination of ideas for this floating shelf. Overhung the top to give it a lip. Finish is Minwax Provincial.

Built from Plan(s)
Estimated Cost
$20
Estimated Time Investment
An Hour or Two (0-2 Hours)
Finish Used
Minwax Provincial
Recommended Skill Level
Beginner

Rustic X Coffee Table

Submitted by rhern053 on Tue, 12/18/2012 - 17:20

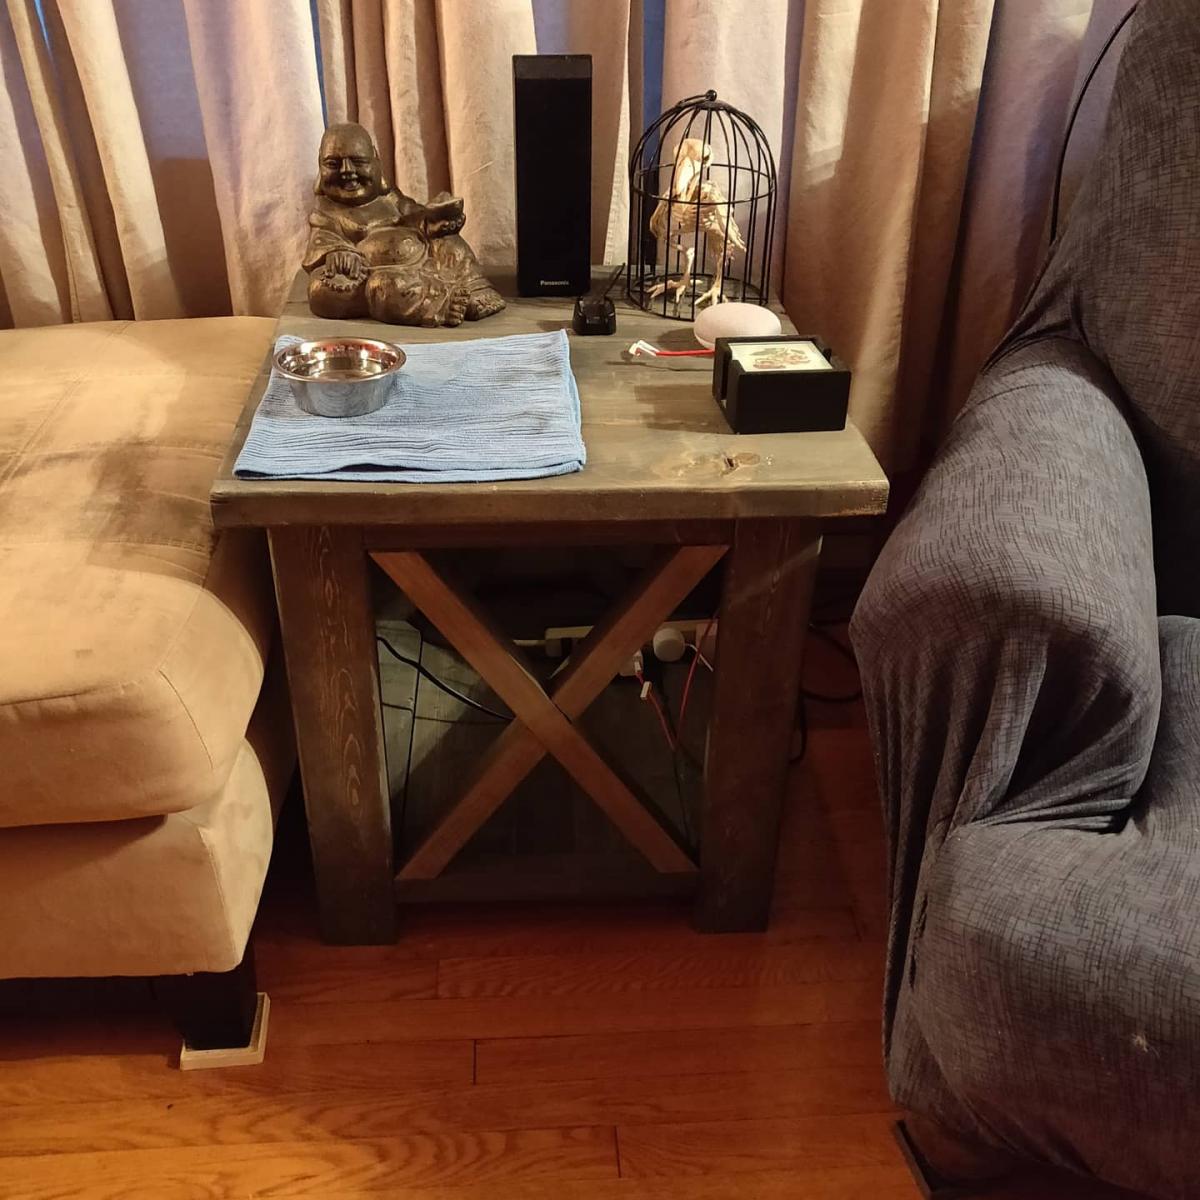
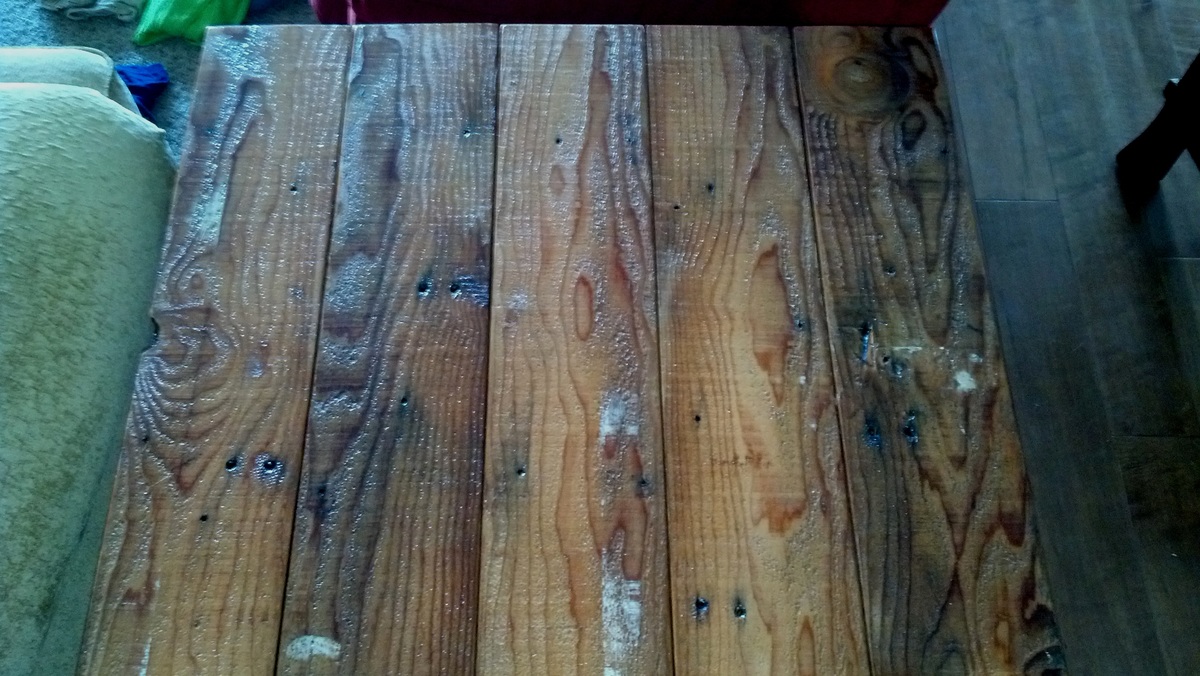
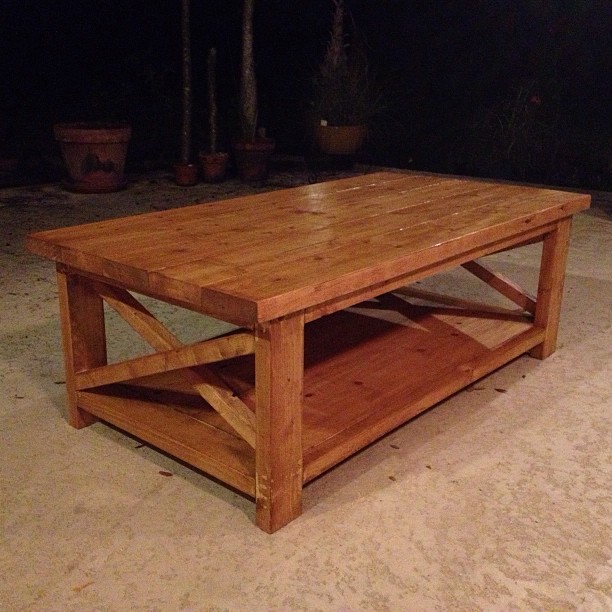
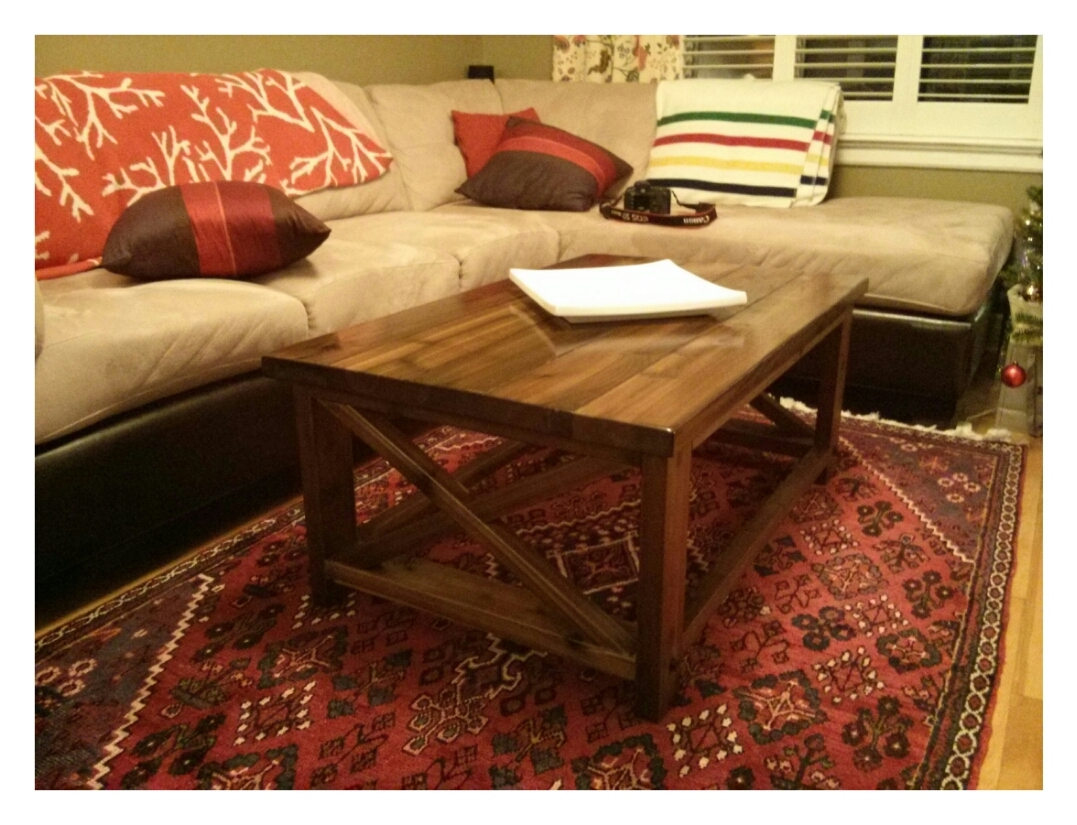
Rustic X Coffee Table. Stain is wet in the photo, so a bit glossier than I'm anticipating. Kept diagonal "X" cross-beams whole and staggered to create more depth in the look of the structure. One coat Minwax "Ipswitch Pine." Changed mind and went with 2-3 more of Minwax "Driftwood." Would have been more grey, less red had I gone with "Driftwood" from the start.

Estimated Cost
$50
Estimated Time Investment
Day Project (6-9 Hours)
Recommended Skill Level
Starter Project

Workbench Console

Submitted by tracysmith on Sat, 09/27/2014 - 20:20

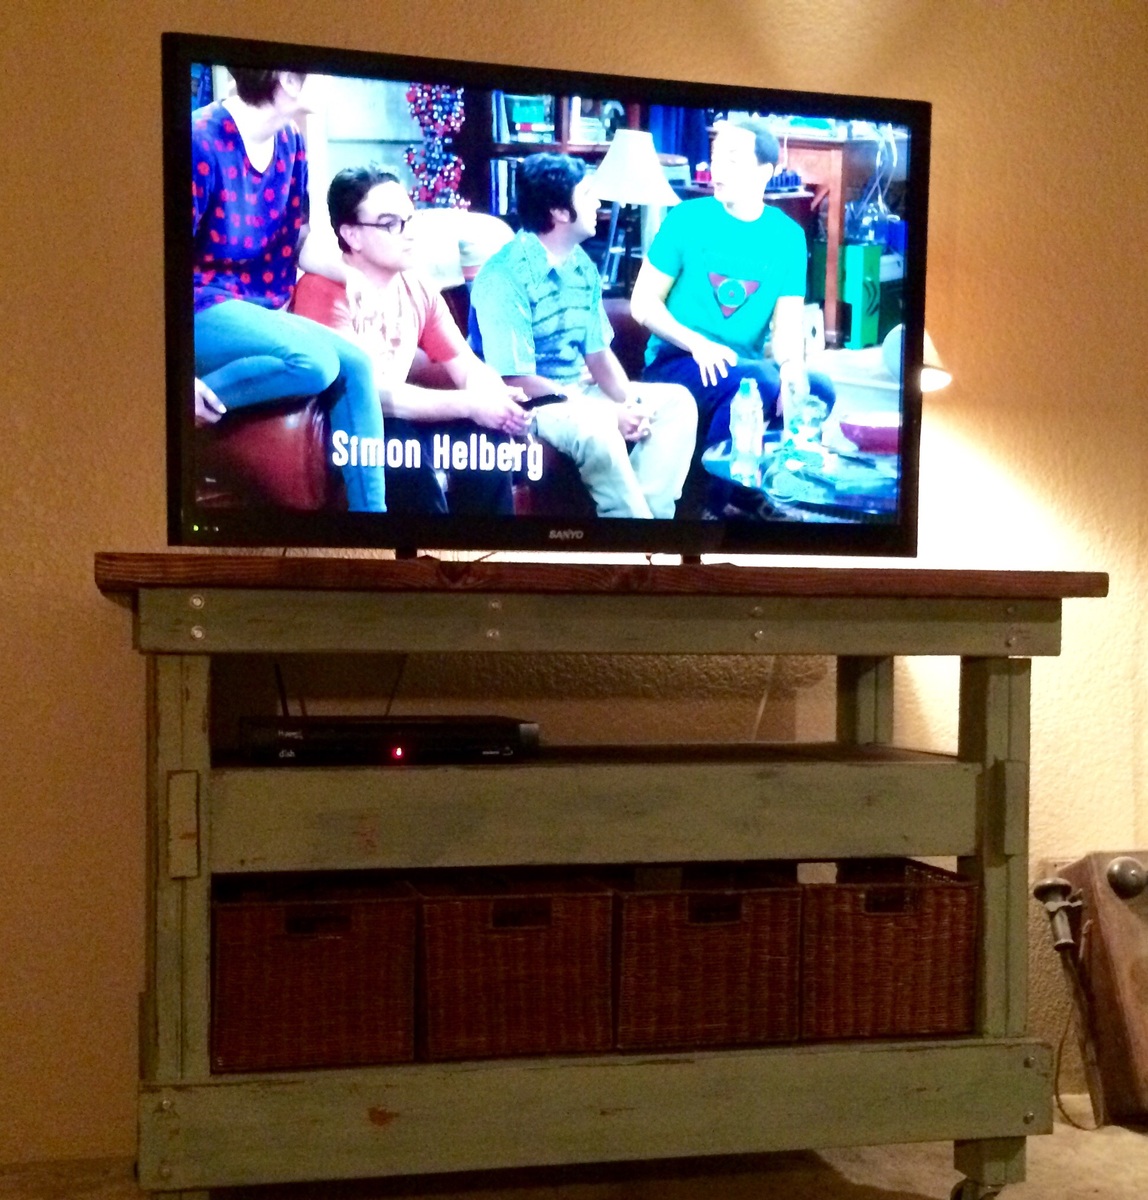
Building this was pretty fun. I've never done the type of carpentry where you would notch out a piece of wood before. I've seen it done, but never done it myself.  I altered the size of this build and omitted the center divider piece as I just felt that with a 5' length, it was un-necessary and obstructed the view. Plus I wanted to use baskets underneath to have hidden storage. I also added a shelf for the TV components.

Built from Plan(s)
Estimated Cost
I used a lot of scrap material especially for the shelving as with it, it was more expensive than I wanted to spend. So, I'm estimating that it was about $60 for what I spent.
Estimated Time Investment
Weekend Project (10-20 Hours)
Finish Used
I used a Minwax mixture of stains. I used the weathered grey with chestnut. Then I covered it with a mixture of Lucketts green, Milk Paint. Used a little boxwood to have the appearance of many coats of paint and then another coat of Luckett's green. Finished off with a coat of hemp oil.
Recommended Skill Level
Intermediate

Comments

Ana White

Sun, 09/28/2014 - 12:04

Tracy!  This is beautiful!!!!  Thanks so much for posting and also on the tip about the plan issue.  Much appreciated! Ana

tracysmith

Mon, 09/29/2014 - 12:52

Thank you Ana! I always geek out a little when you respond to my work. :-) 

And thank you for posting the plans! I knew this was going to be perfect for my living room cause it just fits who I am. Funny thing is now my mom wants this as a vanity in her master bath! Thanks again for all you do!

Becca Trunk slightly modified

Submitted by Anonymous (not verified) on Fri, 01/13/2017 - 11:22

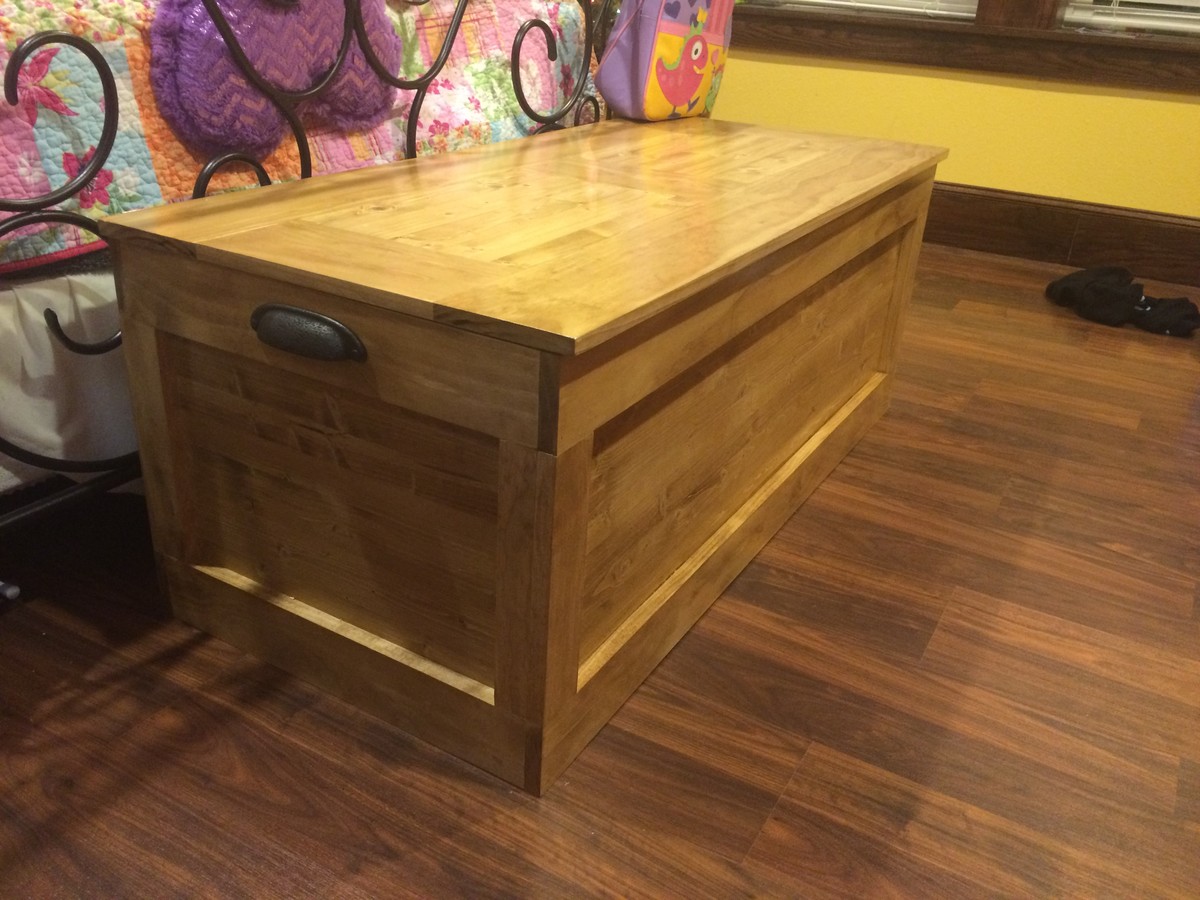
I made this Becca Trunk for my daughter for Christmas.  I wanted it bigger so I made it 48" wide.  I also lined it with cedar.  It turned out pretty darn good!!

Built from Plan(s)
Finish Used
I believe it was a Golden Oak stain with a few coats of polyurethane over it.
Recommended Skill Level
Intermediate

Rustic X Console Table for my daughter's birthday

Submitted by bn10ac on Fri, 09/25/2020 - 08:53

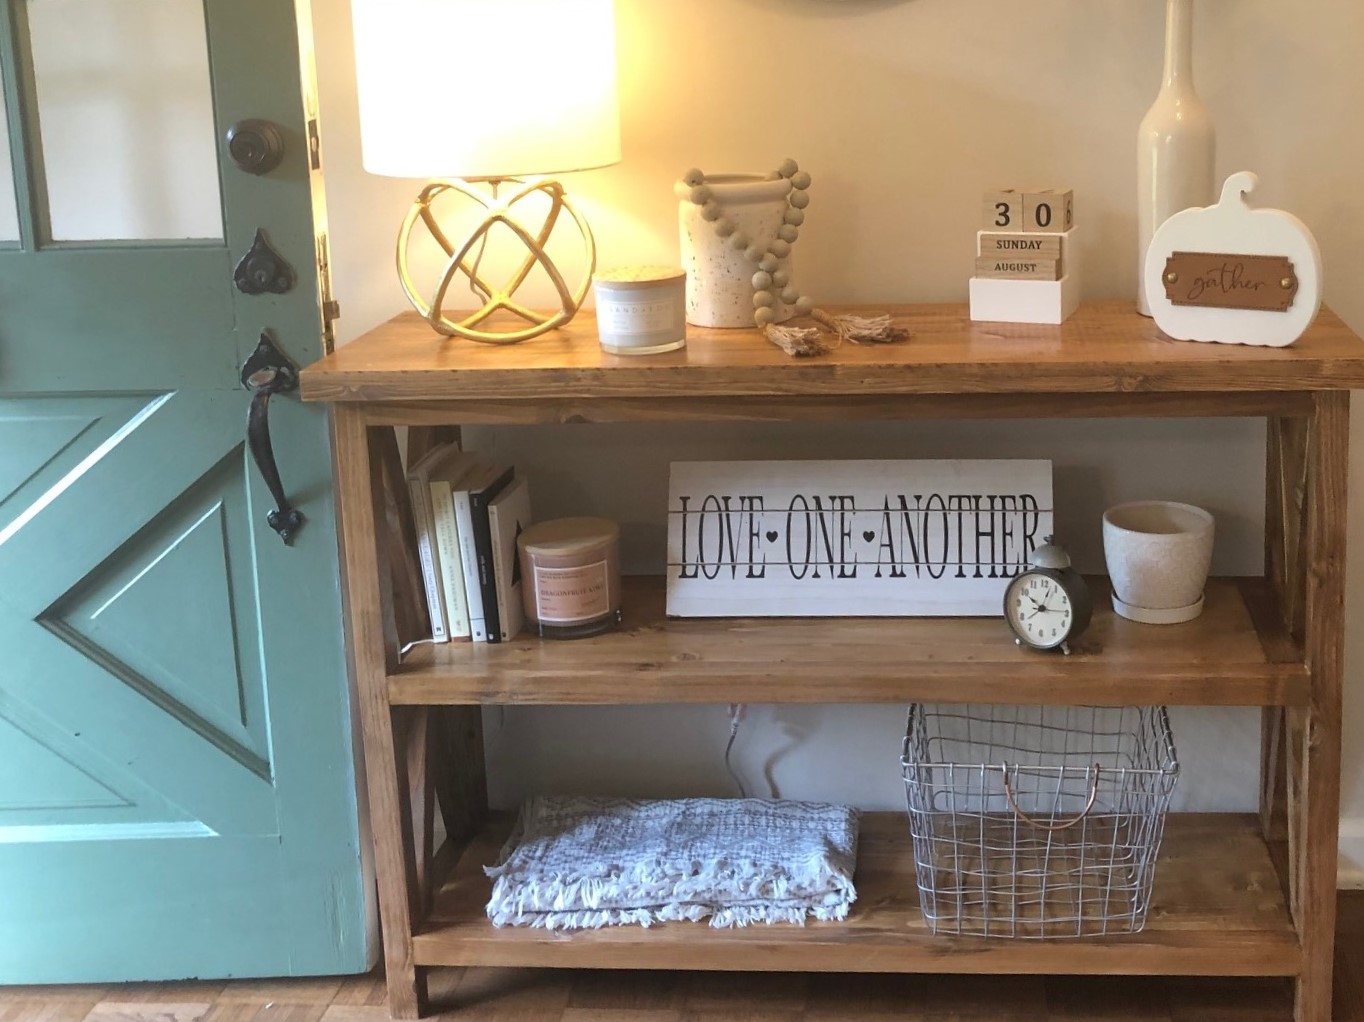
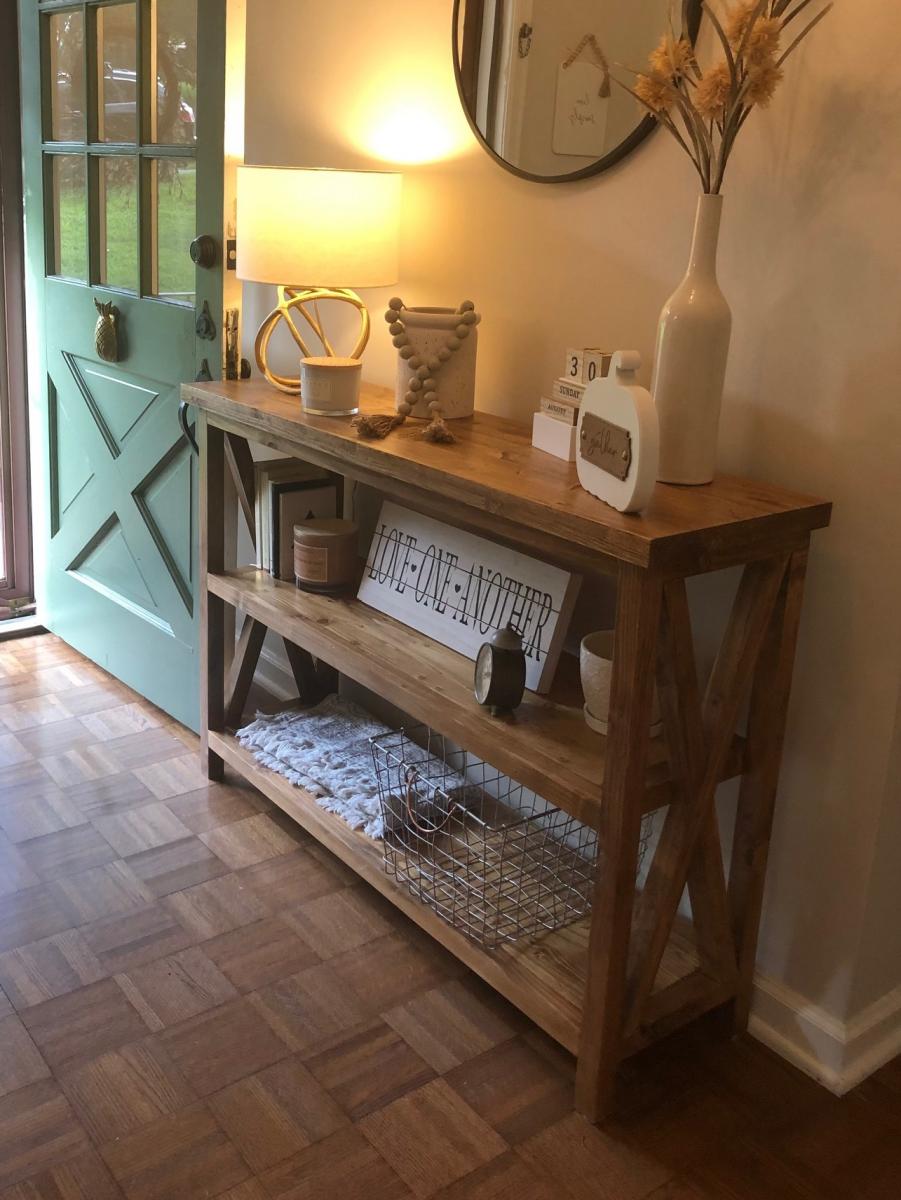
My daughter wanted a console table for her entry. I found this plan and adjusted slightly for depth (decreased to 14 inches) and length (decreased to 48 inches). This of course requires recalculating the angles for the x's. For the top, and shelves I found edge-glued panels at Lowe's and cut to size. The top is two of them laminated together. She was happy with the birthday present ... thanks for the great plans Ana!

Built from Plan(s)
Finish Used
Minwax Wood Conditioner, Minwax Early American, Minwax Polypro

Comments

Rustic X Coffee Table

Submitted by bashir007 on Sun, 12/23/2012 - 07:52

Used cedar wood so I applied a few costs of oil based polyurethane to compensate for the softness of the wood.

Estimated Cost
75
Estimated Time Investment
Day Project (6-9 Hours)
Finish Used
Steel wool and vinegar solution with an oil based polyurethane finish.
Recommended Skill Level
Beginner

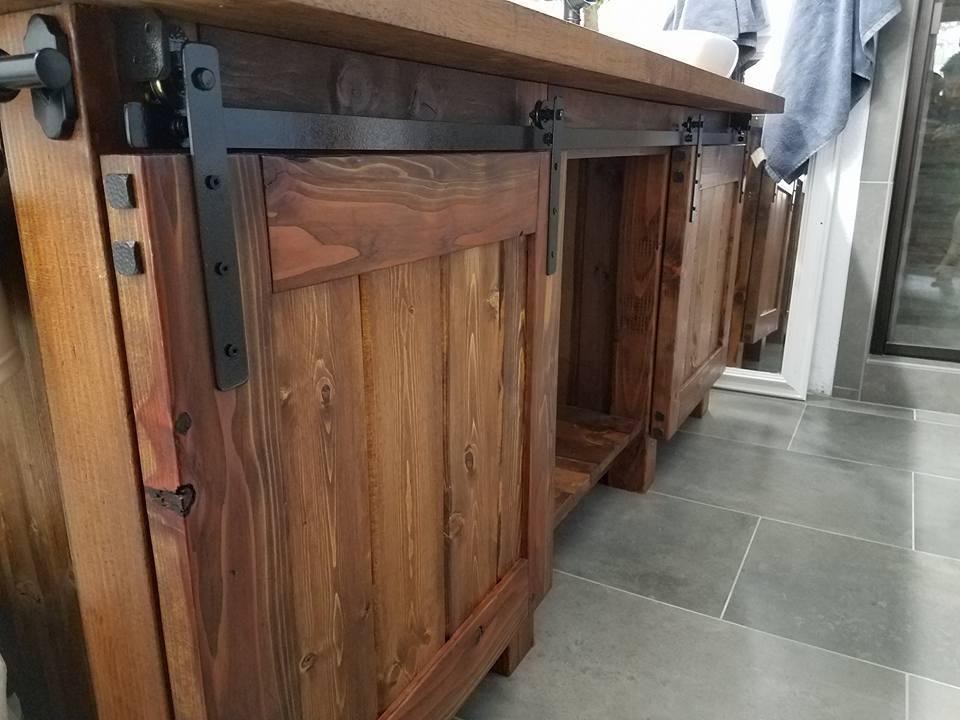
Rustic Vanity

Submitted by Anonymous (not verified) on Sun, 01/15/2017 - 23:26

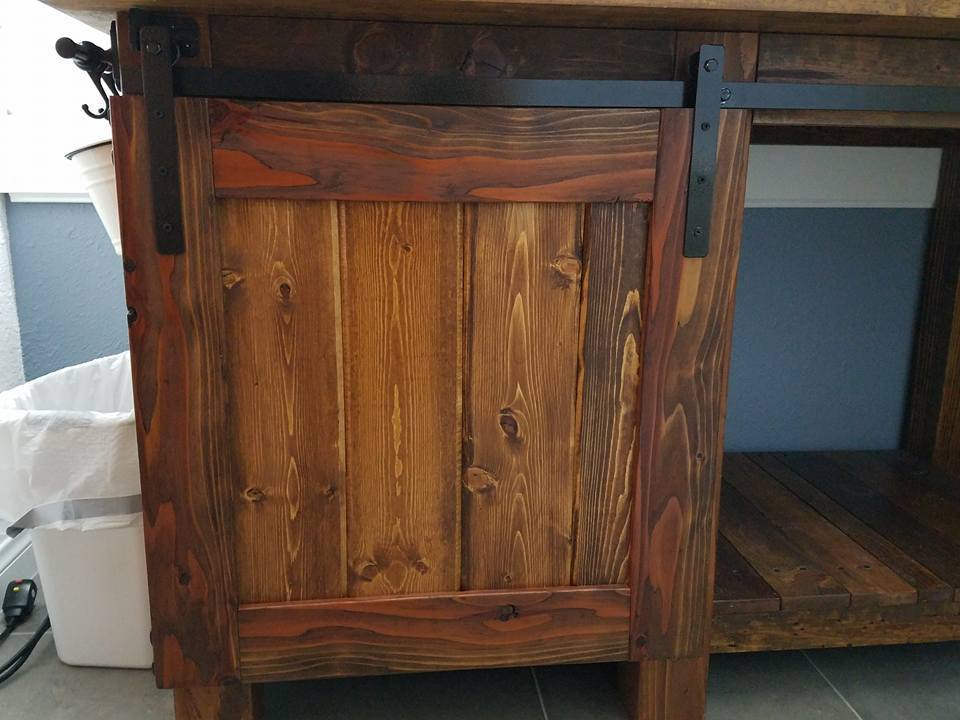
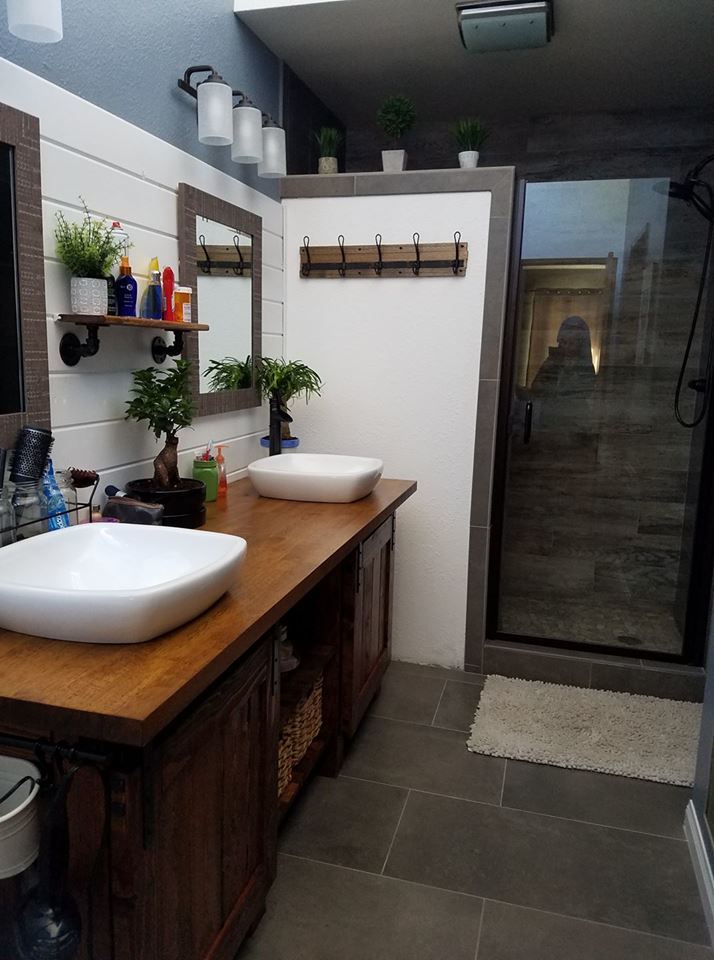
Ana, we saw your plans for the barn door cabinet that was pinned in pinterest and absolutely loved it and felt we had to build it but we had to completely modify  the plans to have it custom fit our bathroom. It was a trial and error experience never having built anything before. Thank you for giving us the idea.

Estimated Cost
$275
Estimated Time Investment
Weekend Project (10-20 Hours)
Finish Used
Lacquer and Early American stain
Recommended Skill Level
Beginner

Comments

Rustic X coffee table

Submitted by MandyM on Tue, 09/29/2020 - 16:55

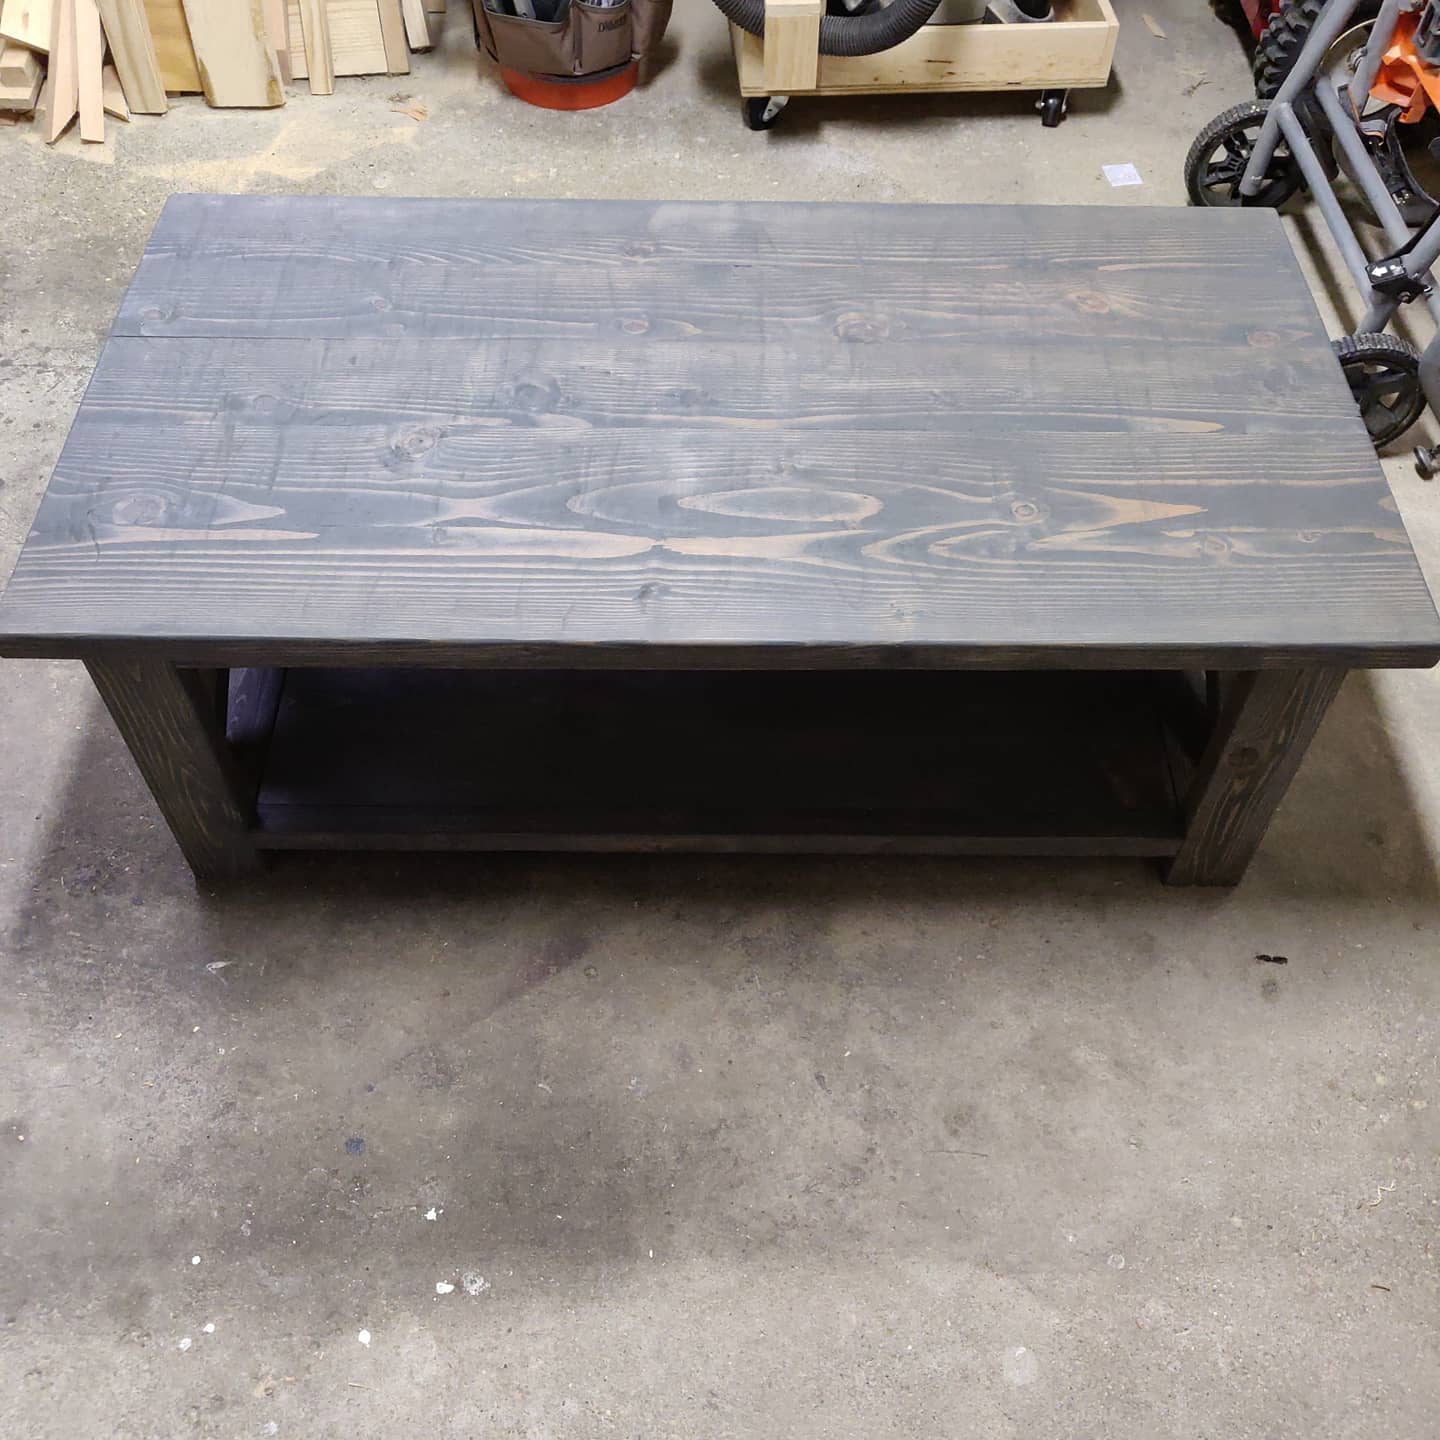
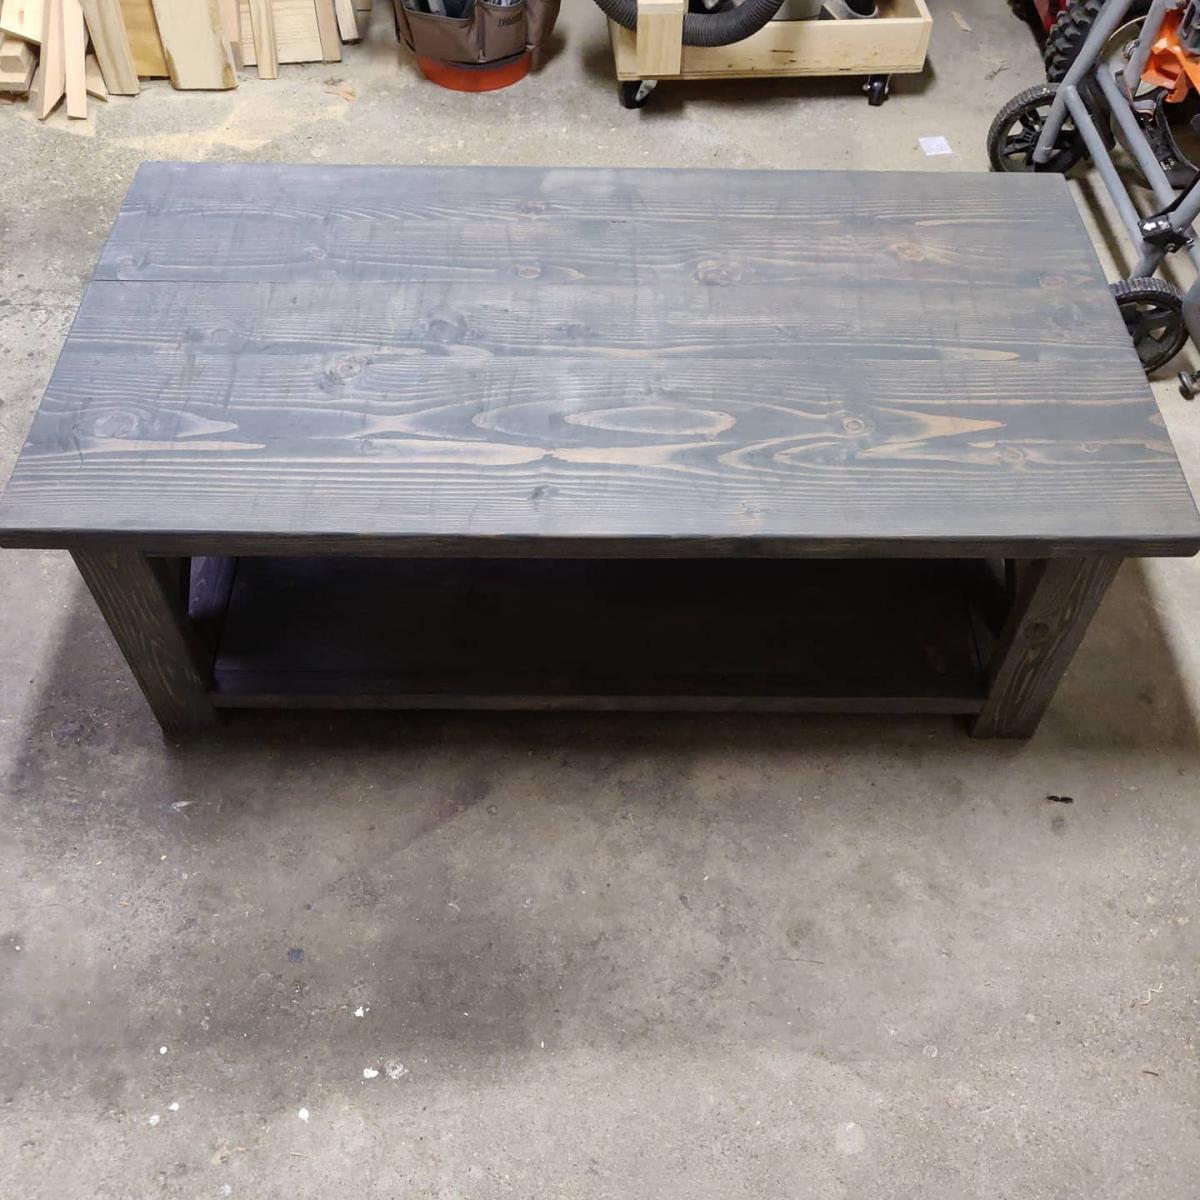
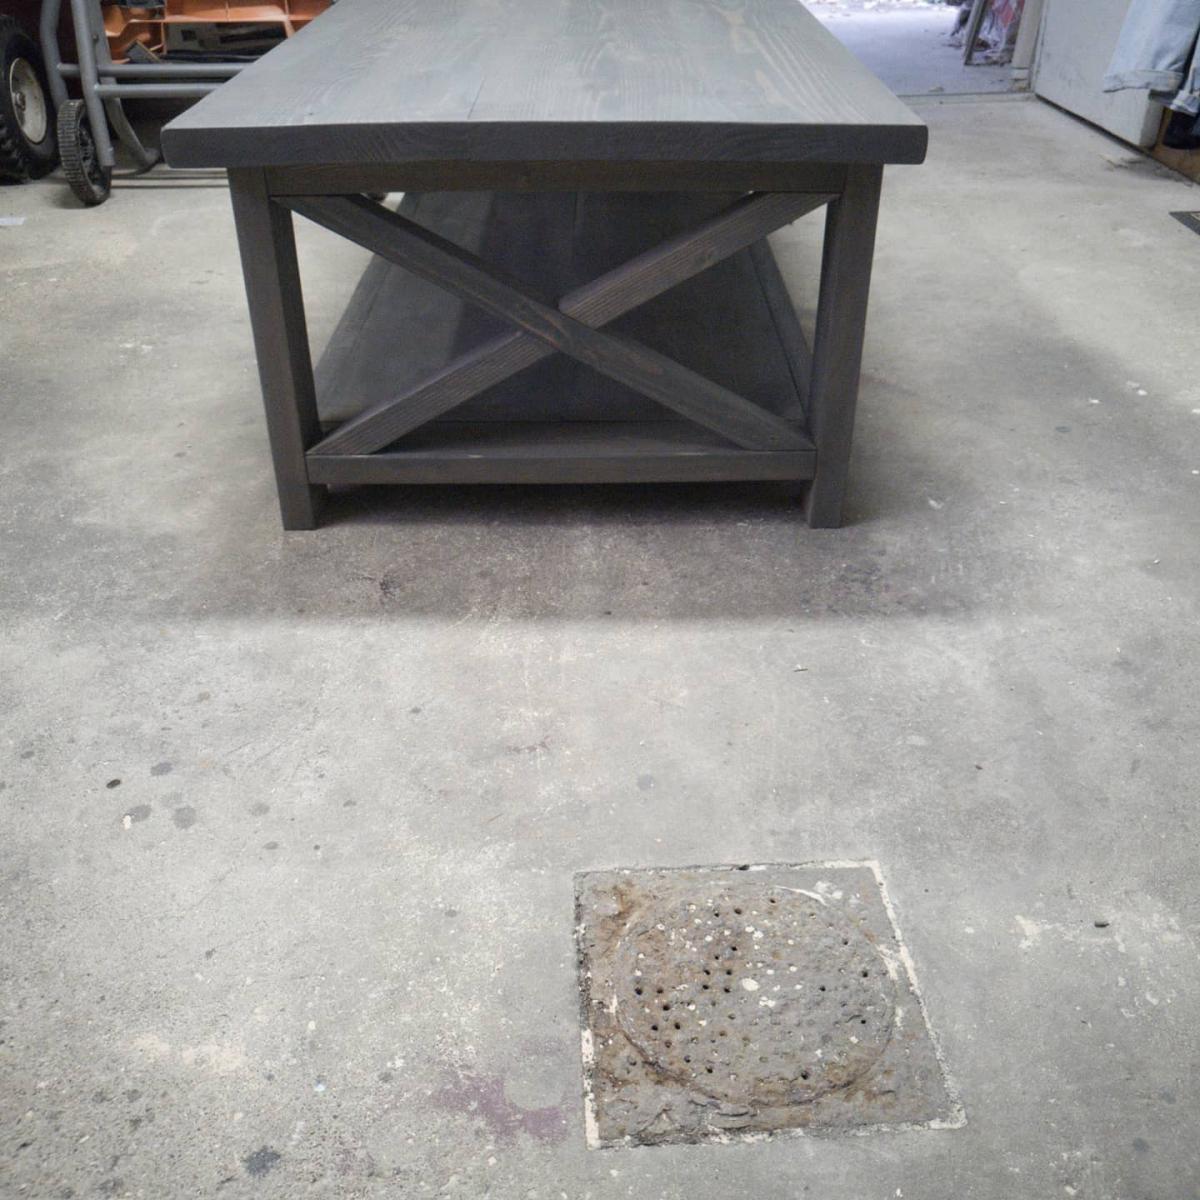
This completes our living room Rustic X collection. Made the top slightly longer (52.5") and dado'd the exes. I also used 2x12 boards and cut them down so the top is completely flush.

Built from Plan(s)
Estimated Cost
$75
Estimated Time Investment
Day Project (6-9 Hours)
Finish Used
Charcoal grey stain
Recommended Skill Level
Intermediate

Comments

rustic dresser

Submitted by marino on Mon, 10/06/2014 - 12:01

my daughter needed a new bedroom set... i refused to spend thousands of dollars on a new dresser and a bed. with a little hard work and help from Ana's plans... i was able to put these together and they turned out AWESOME!

Estimated Cost
$600
Estimated Time Investment
Week Long Project (20 Hours or More)
Finish Used
dark walnut stain and white latex paint
Recommended Skill Level
Intermediate

Rustic x hall tree

Submitted by Takoravi on Mon, 10/05/2020 - 08:50

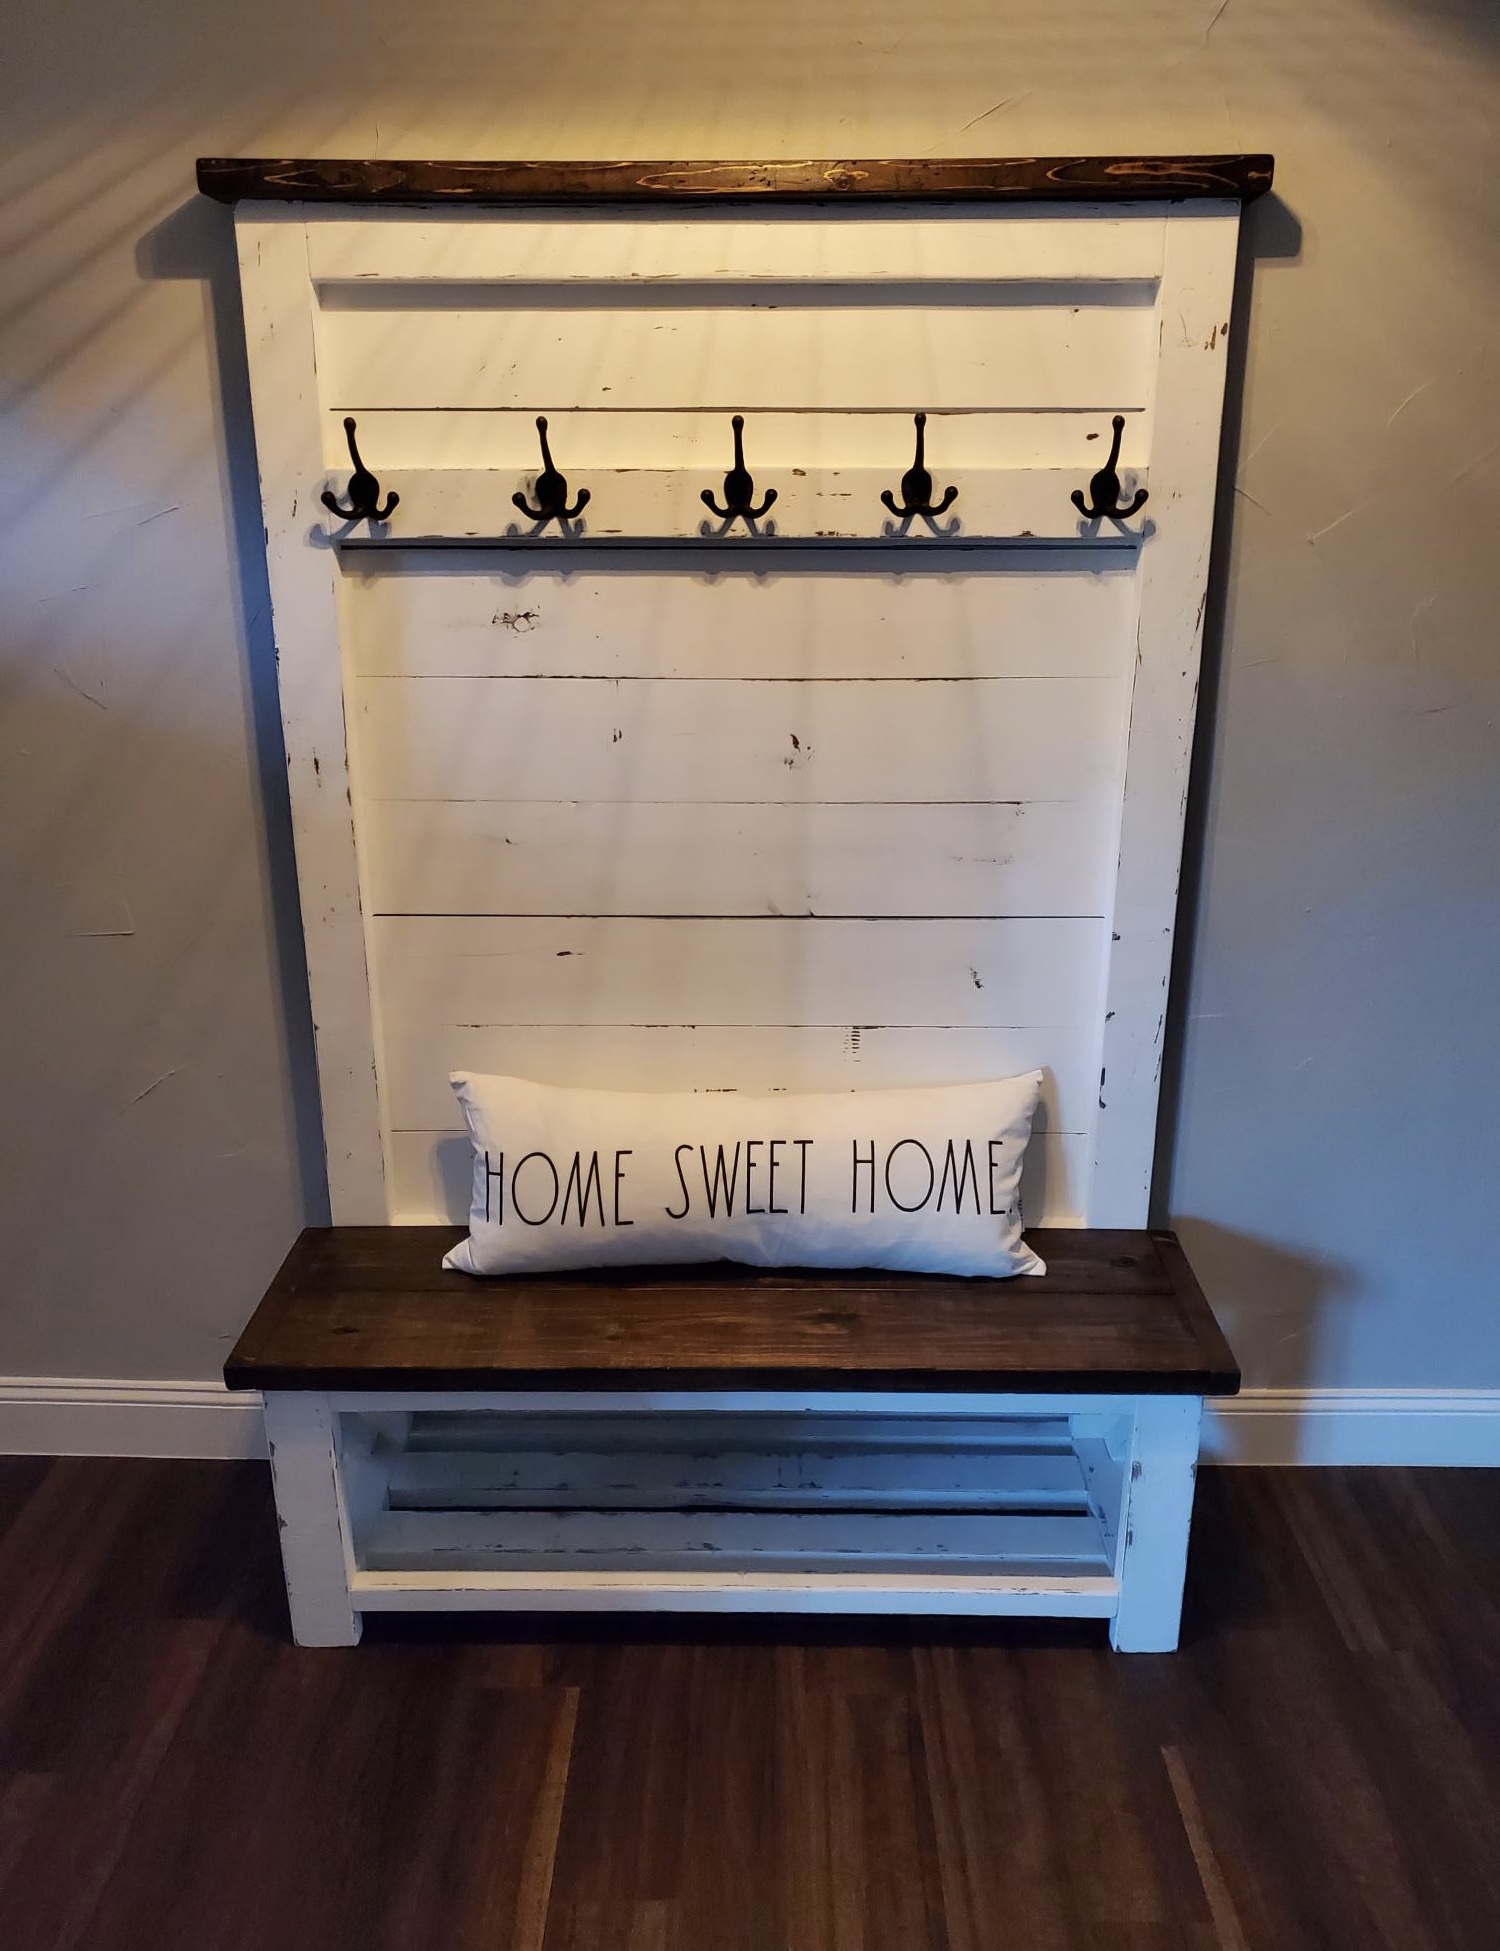
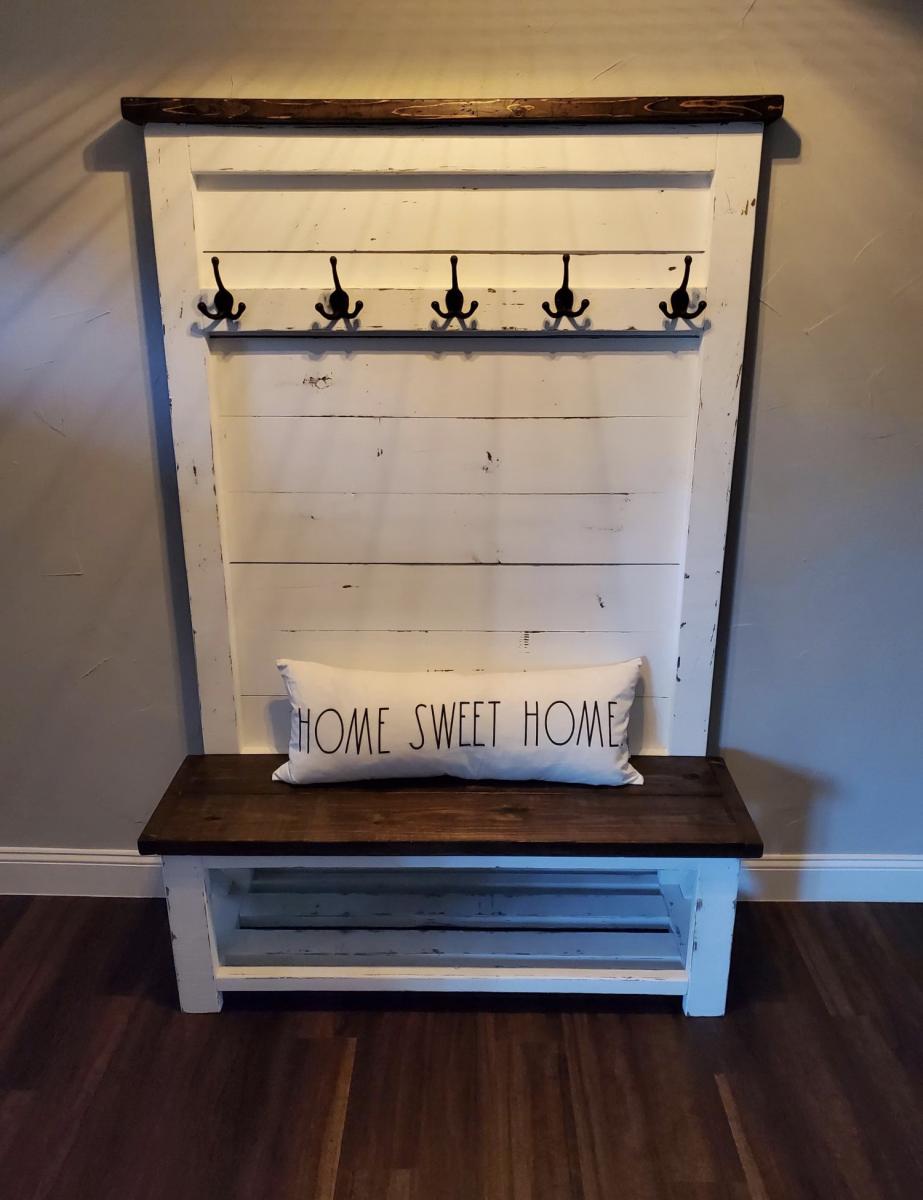
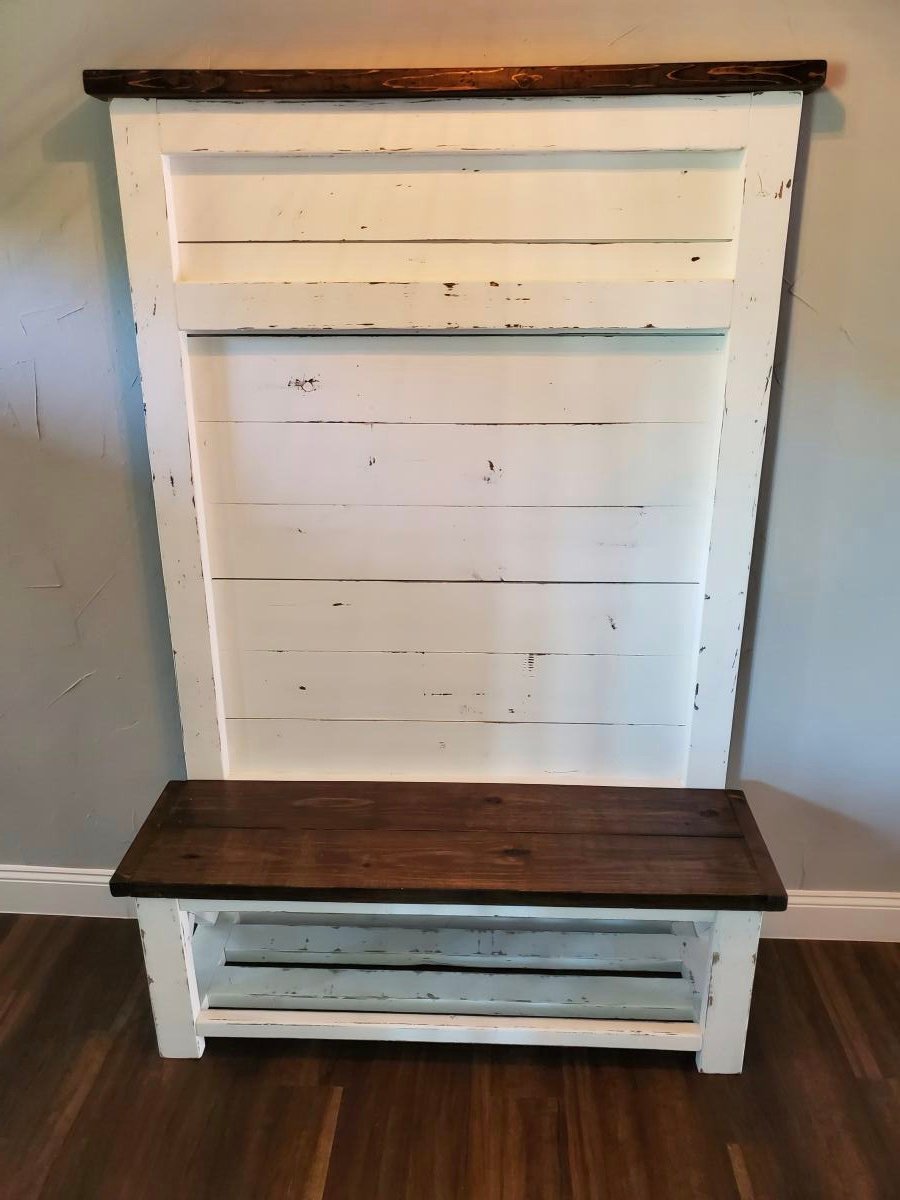
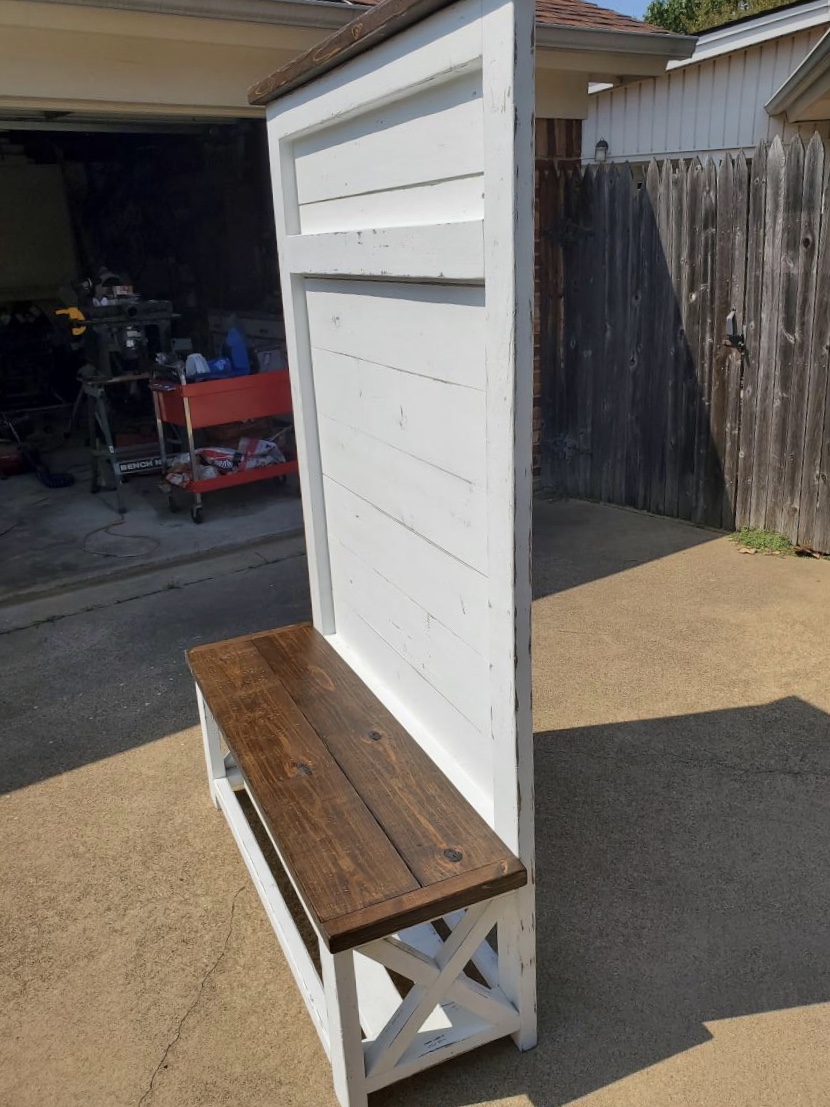
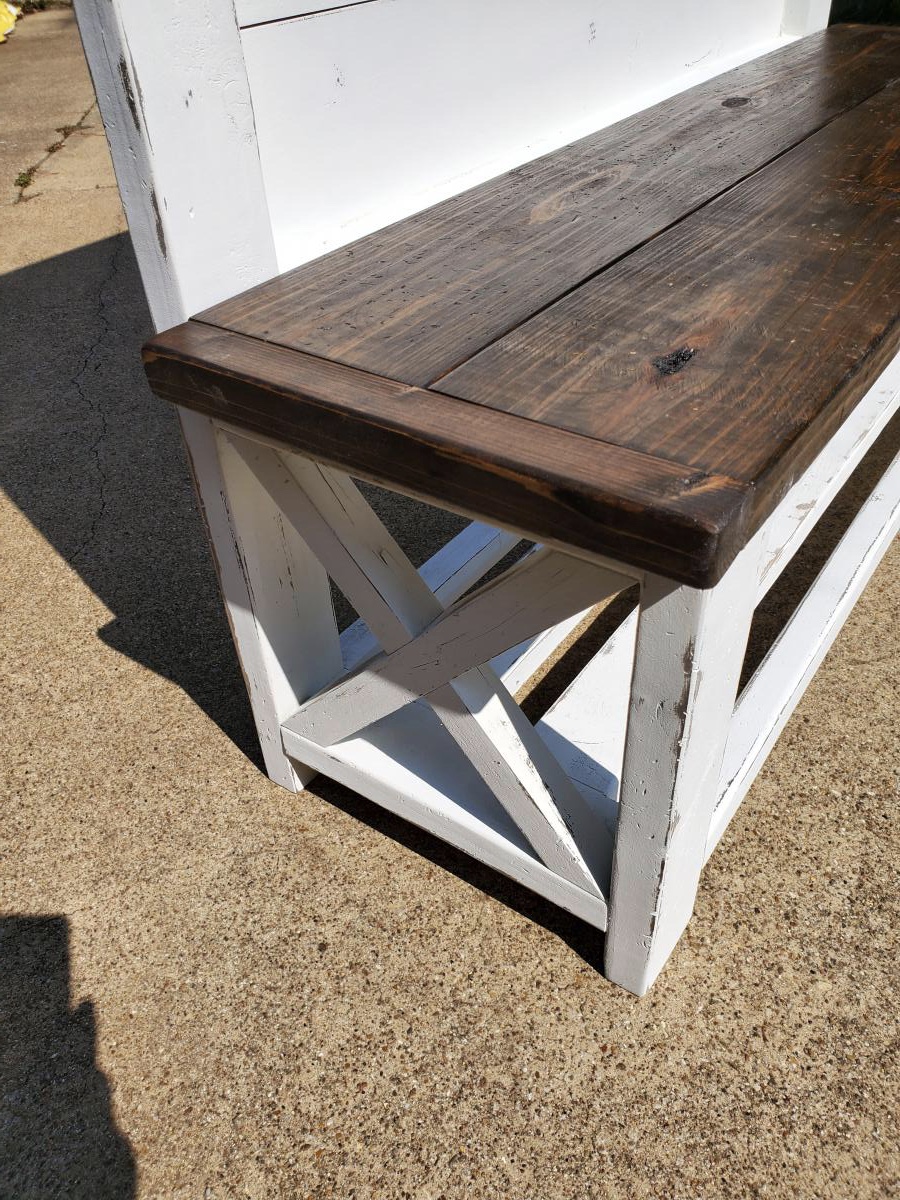
first furniture build from scratch. A few minor differences. I decided to distress by staining entire piece with minwax espresso stain, then painting over with white chalk paint and sanding through. Decided to leave bench and to molding stained for effect. Love the piece and so does my wife.

Built from Plan(s)

Comments

No-Sew Upholstered Bed

Submitted by a_wolfe on Sun, 12/30/2012 - 16:34

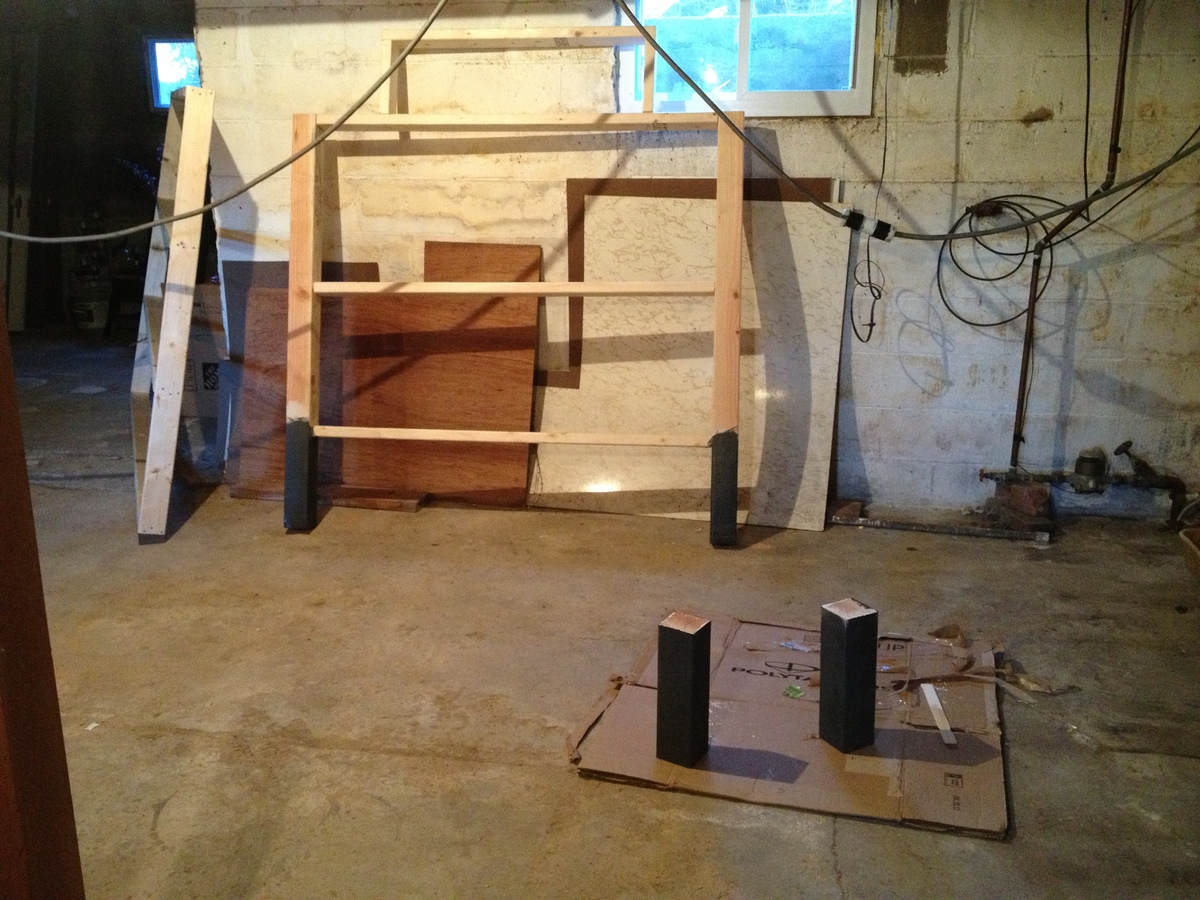
Ok, so I was looking for a new headboard and stumbled on the plans for this Upholstered Bed.

Being without my full compliment of work this winter, I figured, what the heck. I'll try it.

Off I went to Home Depot, bought the supplies and got started.

I should mention that this was my first time doing any sort of carpentry, I have never used a jigsaw, and I had to borrow all the tools.

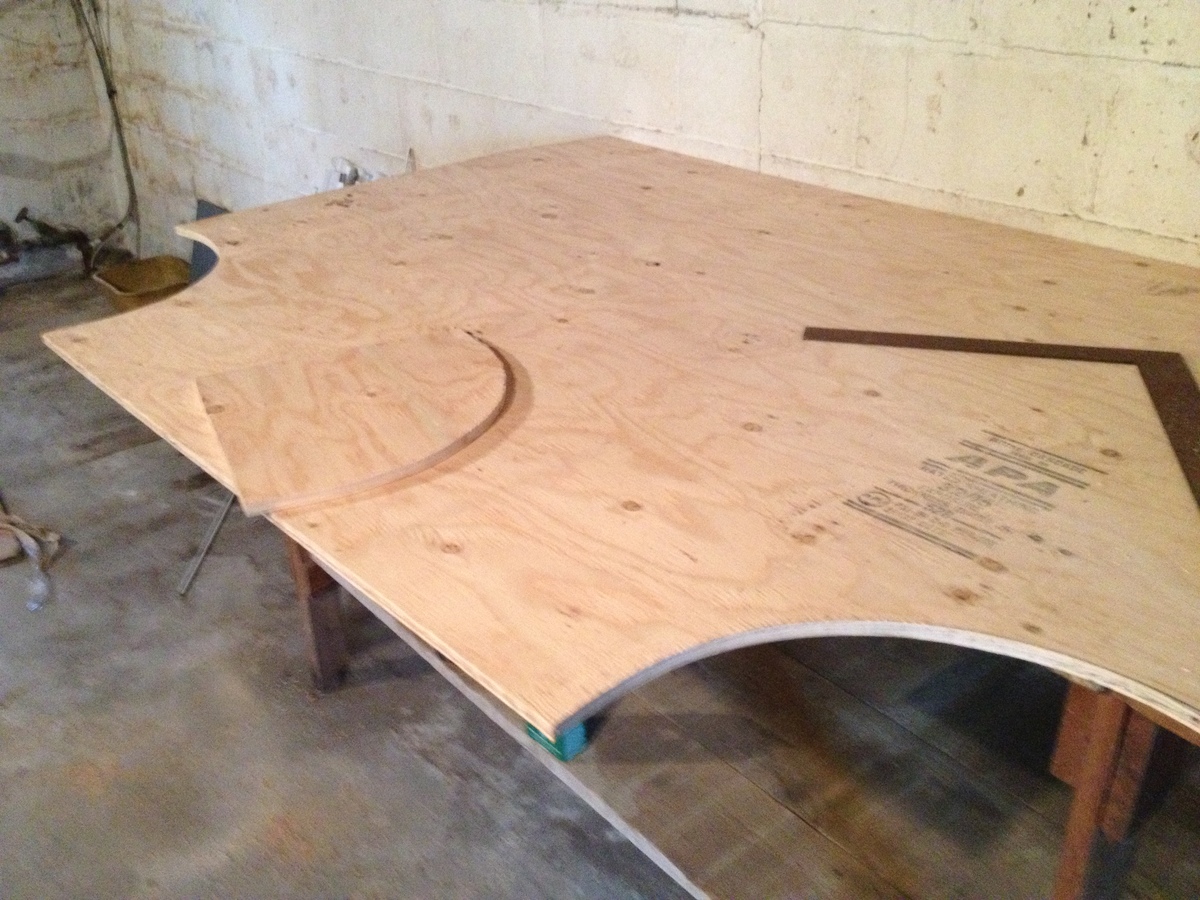
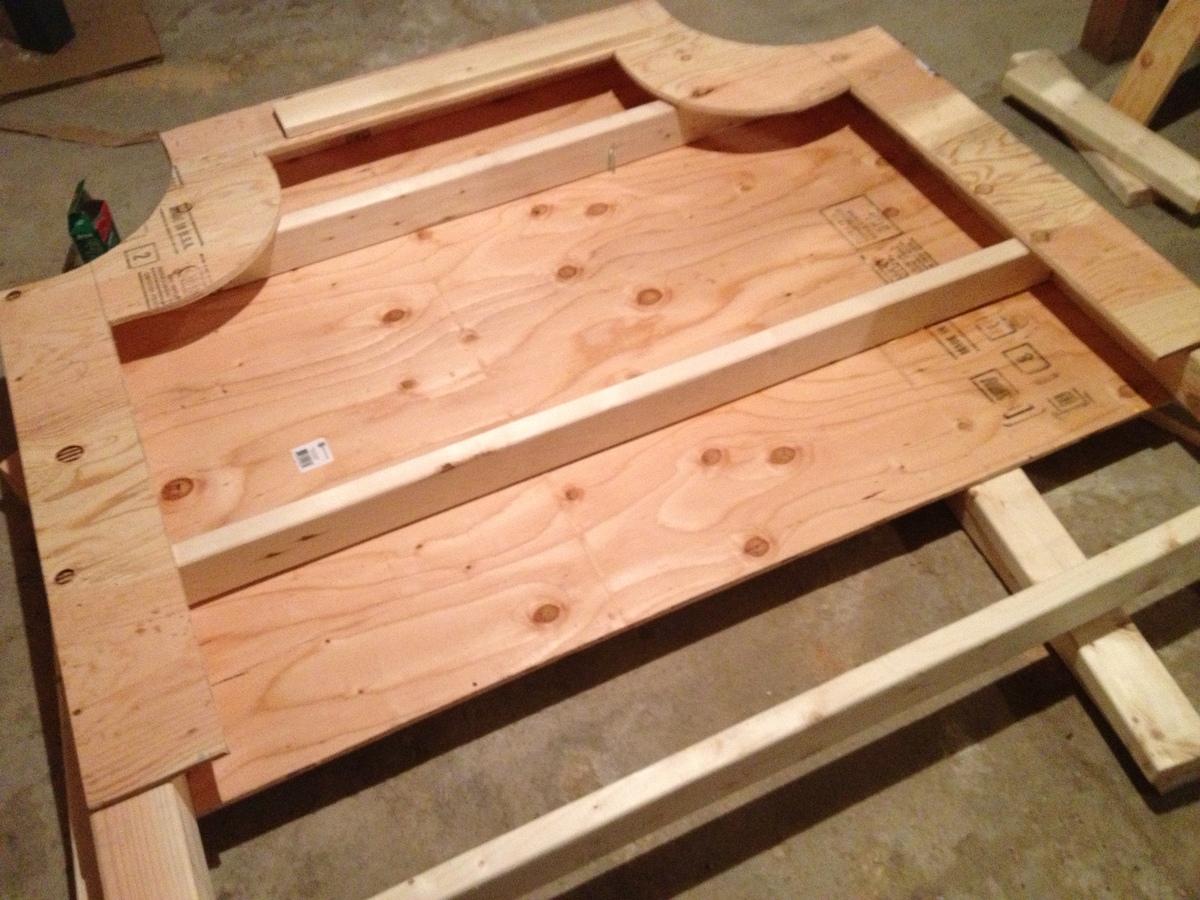
I found this SUPER easy! I had the headboard support finished in under an hour. Then I took my time cutting the plywood, just to make sure I didn't make any mistakes.

**I should mention right now, if you are planning on using a heavy upholstery fabric like I did, when you cut out the headboard insert, make 2 cuts! I wasn't able to get the insert to lay flush because the fabric was so thick! (I have since taking the picture added decorative trim to hide the little gaps)***

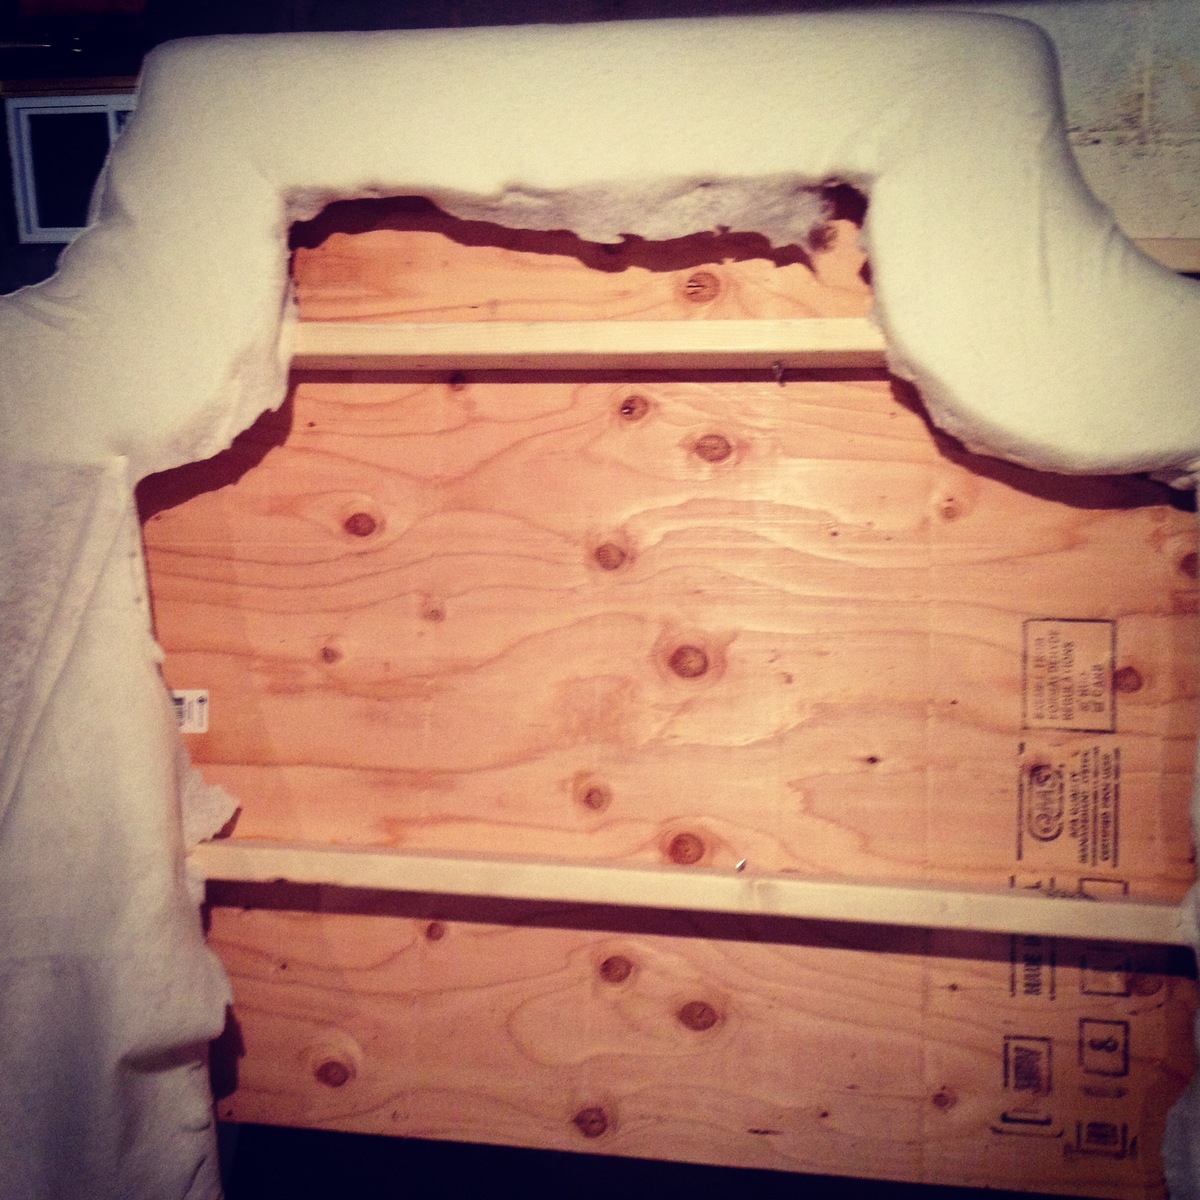
Once I had my plywood cut, I had no problem attaching it to the frame. The upholstery was a 2 person job that took a little time and a lot of staples, but not difficult.

I chose to tuft the headboard insert, and am so happy I did. It was time consuming, but worth it in the end.

All said and done, this took me a little over a week to complete. I had the construction done within a day or two, but the upholstery was very time consuming.

I love my new bed!
Estimated Cost
$275.00
Estimated Time Investment
Weekend Project (10-20 Hours)
Finish Used
Heavy Upholstery Fabric:

DAWSON: OATMEAL

WIDTH: 55"

FIBER CONTENT: 43% Olefin, 42% Cotton, 10% Eco Cloth, 5% Acrylic


Painted legs with Annie Sloan Chalk Paint
Recommended Skill Level
Intermediate

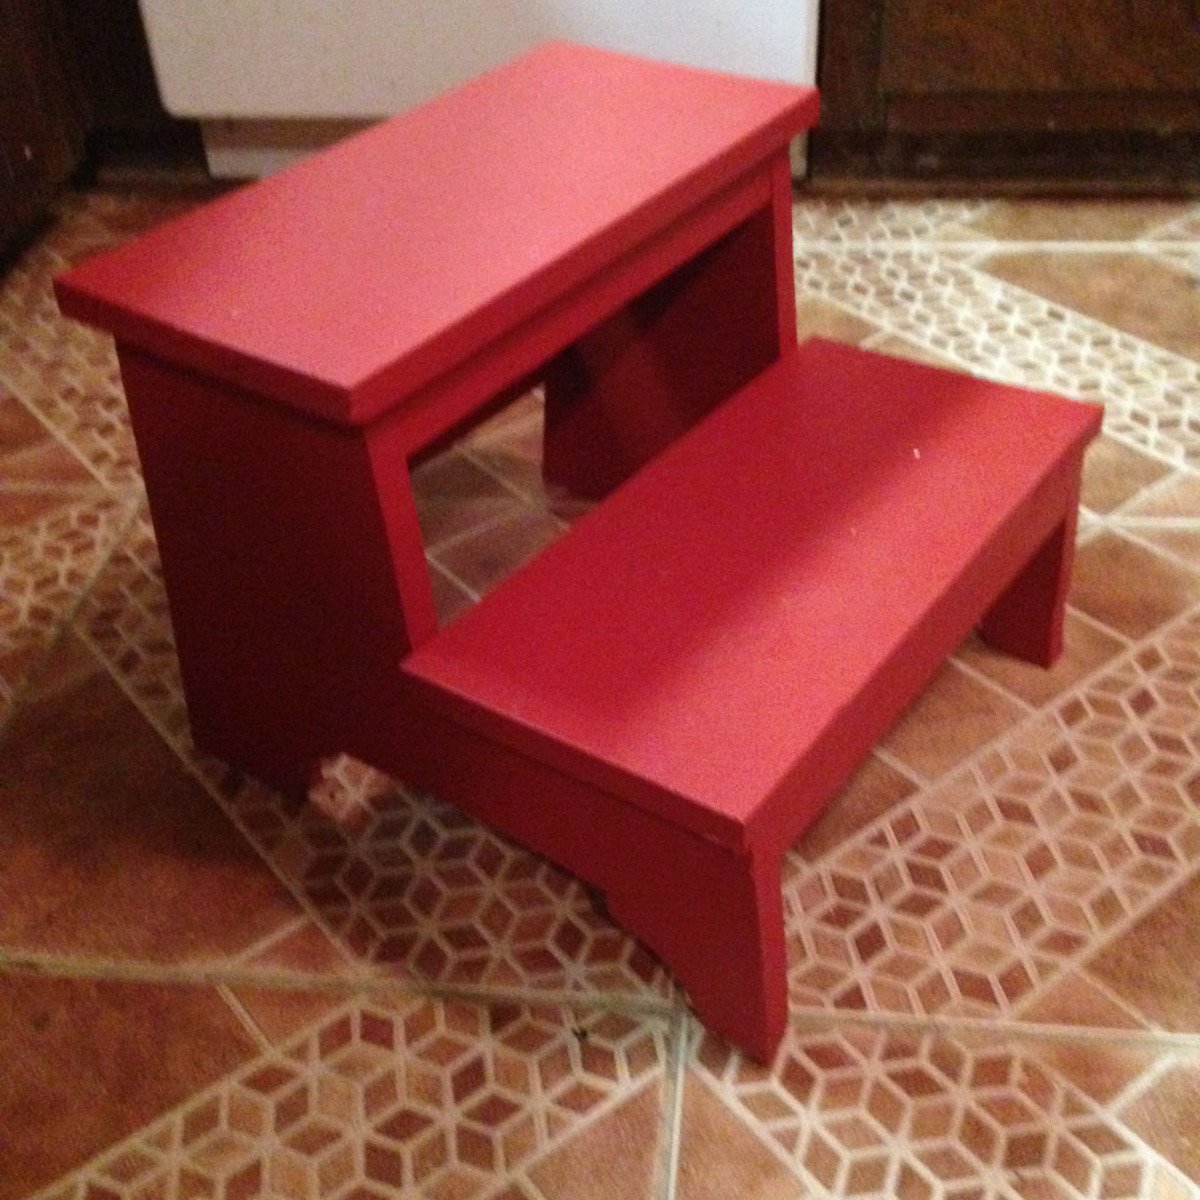
Vintage step stool

Submitted by jaderae on Mon, 10/13/2014 - 17:59

This project was wonderfully easy to build and it is a sturdy step stool I feel will last for a long time.  I was able to build it very quickly, with minimal assistance. Painting and finishing adds to the time but it's beautiful.

Built from Plan(s)
Estimated Cost
$25 including paint, and primer, and there are scraps left over
Estimated Time Investment
Afternoon Project (3-6 Hours)
Finish Used
This is in my kitchen for my 2.5 year old to "help" me
Recommended Skill Level
Beginner

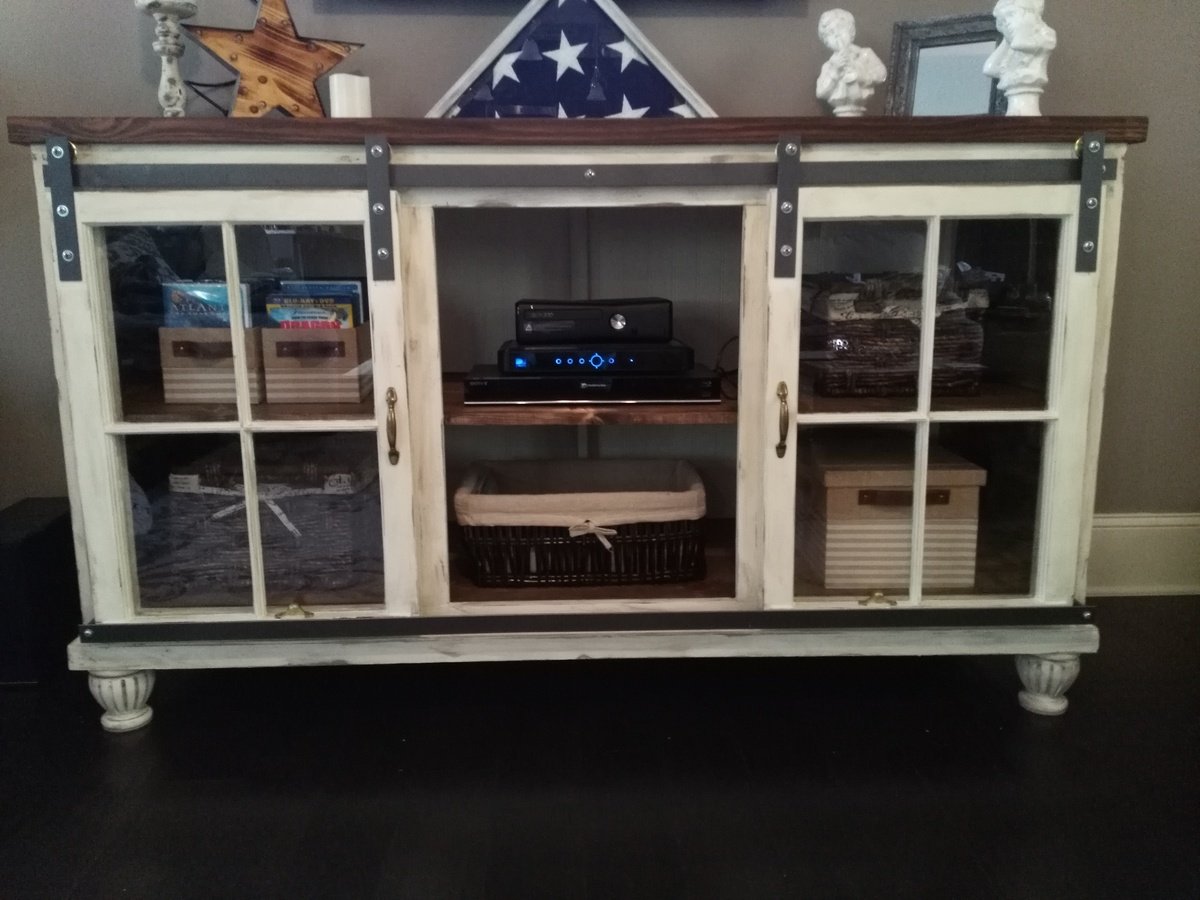
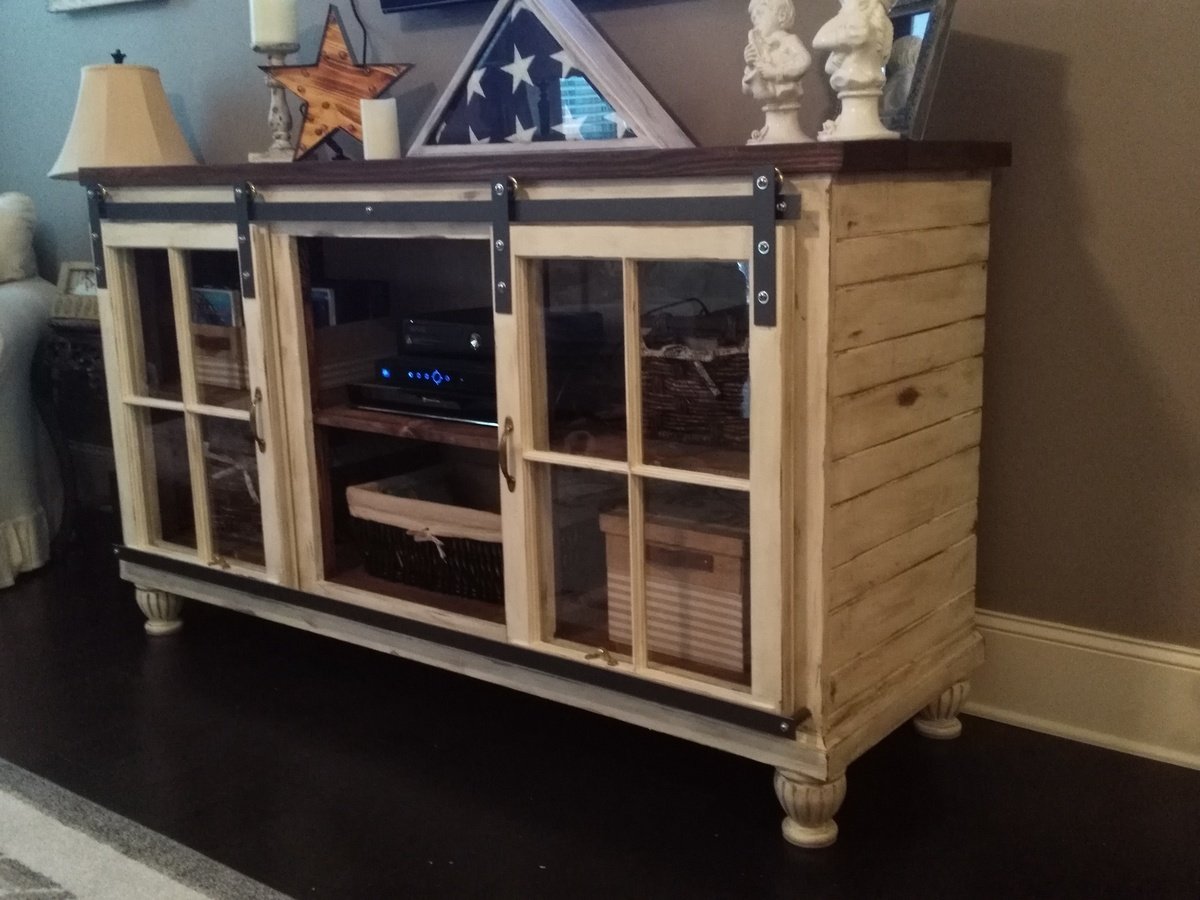
Sliding Door Console

Submitted by Anonymous (not verified) on Tue, 01/24/2017 - 07:16

My take on the Grandy Sliding Door Console. I adjusted the size to fit under our 70inch TV and used old wooden windows as my door. I also added wooden furniture feet. Approximate dimensions are 66LX38HX23D.

Built from Plan(s)
Estimated Cost
$350
Estimated Time Investment
Week Long Project (20 Hours or More)
Finish Used
Rustoleum chaulk paint in Linen White, Dark antiquing glaze, Minwax gel stain in walnut, Minwax wipe on poly.
Recommended Skill Level
Intermediate