Easy Industrial Cart
This was a super easy build, that provides a lot of storage!
Four station sewing table. Each station separated by a 15” 3 drawer cabinet. Blind corner includes a pull out shelf/book case which doubles as support for the back corner. Long end supported by a bookshelf which is turned 180 from the original design due to other furniture placement that can easily be changed later. Short end supported by temporary legs. 5th station and additional 5ft. of cabinets on the way. Roughly 10ft x 8ft x 26in. x 31in. high. Wife saw similar on Pinterest which was tagged Ana White but only found brag post so used imagination and basic cabinet design plans modified to meet my size requirements.
Pops’ Workshop
This was my very first furniture-building project. I was pleasantly surprised with how it turned out! It's definitely not perfect, but with some practice I plan to try bigger projects! It was a little more expensive than I would have liked because I had to buy a pocket hole kit that was $40, but hopefully I will be able to use the kit for future projects.
I followed the plans exactly except I used 4X4's for the "footboard' legs. I added molding to all the feet. I also added screw in fence top posts to the footboard legs. I had a small blemish I wanted to hide on the headboard, so I added wooden appliques to cover the mark.
To make the bed easy to move and store, I bought bed rail fasteners from this site http://www.wwhardware.com/wood-technology-bed-fittings-wt8056.
DIY Buffet Table! Our last edition to the dining room. Very happy with how this one came out! Its all Oak with Special Walnut stain and hardware from Home Depot. We needed this piece to store our fine china we received from our wedding. Still haven't eaten on them yet. . . Anyway! I was inspired by the planked sideboard plan and made it my own. My shelves are straight across and I went for the barn-styled cabinet look. Pretty much used all the tools in my arsenal for this one! Used a belt sander for the first time to make the top perfectly level. Hated using it, to be honest! It really shreds the wood. Other than that, I have another piece to be proud of. Thanks for the inspiration!
Hello, Ana.
This is my first share and I plan to share more eventually. First, please know how much I appreciate your willingness to share with and motivate your followers. Thank you.
As for the cart I am sharing, I do not have any plans other than the ones that were in my head so the cart would fit under the stainless steel top. My wife wanted more surface and storage space next to the electric stove in our camp here in Maine. We purchased a used stainless steel table from a restaurant supplier, removed the legs, and prepared the underside of it so it would attach to the cart. In case it is not clear from the two photos, one end is for her cookbooks, the opposite end has a place for the garbage can and a drawer for various kitchen necessities. One long side has drawers where she puts pots and pans. The other side has a place for her to hang her heavy iron fry pans.
I learned a lot from making this and I'm happy to share it with you.
Frank
*I did not have any plans to work from*
the cost really depends on how much you can get your wood for. I had a lot left over from previous projects, so $500 is only a low guess.
This is the second of 3 poker tables built.
Each side is 24"
the table measures 58" across
Some of the accompanying photos of the build were from my first table, but thought they might help.
I purchased a foam pad and "speed cloth" from a local poker supply store. The slide away bev. holders are kept in place with rare earth magnets
If you need any specifics, I'll try to help
Sun, 04/22/2012 - 20:59
I love this! This table is perfect for home games. Please post the plans.
We built this command center to hang in our kitchen so that we can organize incoming papers and jot notes on the chalkboard portion. Also a hook for keys!
A little different take on the plans. We opened up the wall into the playroom and needed something functional yet decorative. This was the perfect addition!
Love how this project turned out. Looks amazing in our entryway.
Thu, 11/11/2021 - 05:13
What did you use for the back on this? I am having a hard time finding 4x8 bead board I can stain.
I built this slightly modified Daybed using 4x4’s for the legs instead of 2x4’s. I really like the solid look the 4x4’s provide. Can’t wait for the weather to get cool enough in the south to sit outside.
Braden Turner
This is my very first build which was inspired by this website. I have been wanting to build something for a while but was pretty scared. In any case, my husband really wanted a standing desk for our office corner in our little house. After browsing forever and not finding anything I liked in store I decided to build. The entire project was built from materials we had laying around in the shed (1 - 1x2, 4- 2x4 and 3- 2x8 pieces for the desk top).
This was my first Ana White project, and i'm hooked! this was a lot of fun, and i've already done several other projects since.
As with any of these, the straighter and flatter the wood, the better the whole thing goes!
I've always loved the Xs in this table. I needed to make mine a little shorter, and I took out the middle shelf because I didn't need so much shelf space. But I love it. Thanks so much for the great plans!!
I saw this and thought I would give it a try. First time building furniture out of dimensional lumber. Worked out for the most part. I forgot that wood dries and shrinks along its width so there are a few small gaps that eventually appeared in between the boards. I am sure they will disappear once summer's humid air arrives. All in all it was pretty straight forward. I switched which side has the towel bar and I modified the bottom shelf to accommodate wine bottles for easy storage. I had fun.
When I first saw Mimi's Faux Mantle I dreamed about building one for my house but I didn't know where. When I began renovating my Master Bedroom I found the perfect place for it on a bare uninteresting wall.
To add interest to the mantle, I stained the top and attached a faux hearth using a 1x12 painted the same color as the rest of the mantle. I also Diy'd a distressed mirror glass insert to bounce the lighting off. I added low voltage LED lights too.
It turned out better than I expected.
Visit my blog http://thepursuitofhandyness.com for a full tutorial of the building process and the distressed mirror glass.
Wed, 01/22/2014 - 23:56
Hi Ana,any chance you can fix the link for the plans of this mantle?
My wife and I built this for our 3 year old and 1 year old. They love them already.
I built this bed for a guest room. Easier than I expected and took 2 days! I used watco danish oil in medium walnut. I was able to save some $ by using two twin box springs that I already owned instead of adding slats. I modified the height of where the box springs sit by lowering the cleat 2” and shortening the legs on the center support by 2” as well. It worked perfectly!
Entry way bench. The top is made from a cherry tree off our property. It was milled into slabs then I had it dry for approx.2 years before the moisture level was appropriate to build this project. I applied resin to the live edge to protect the edge from breaking off and to provide a smooth finish. I applied Walrus furniture oil to complete the top. The base is made from pine wood and the shelving is made out of MDF board.
Mark Gilles
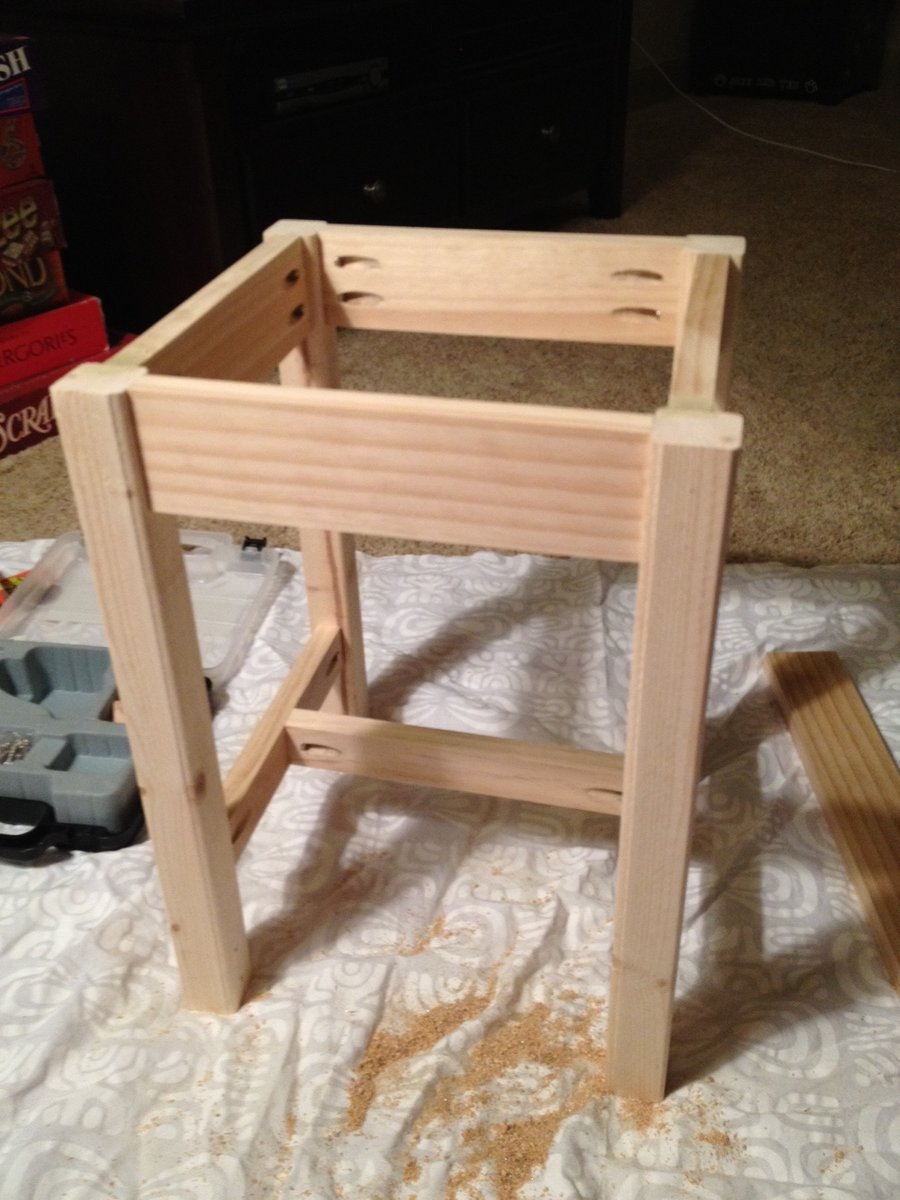
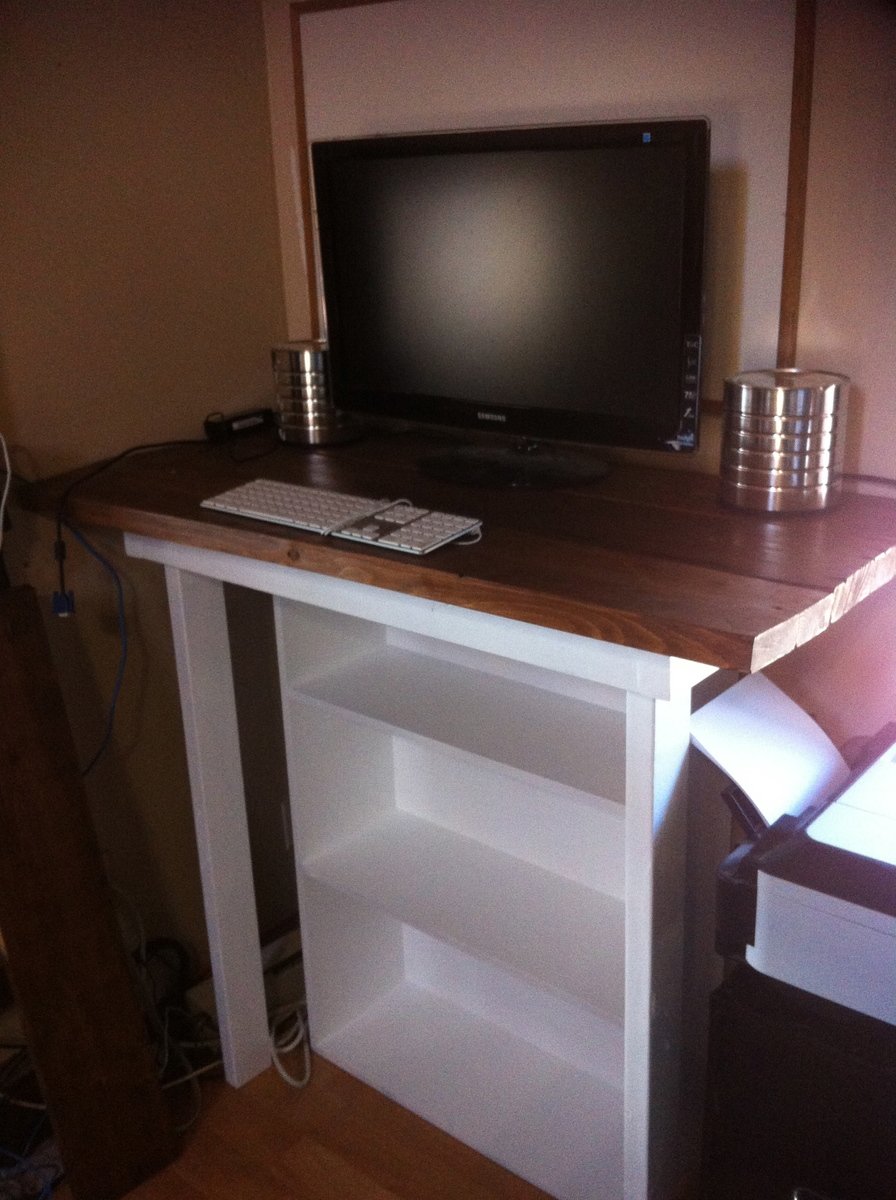
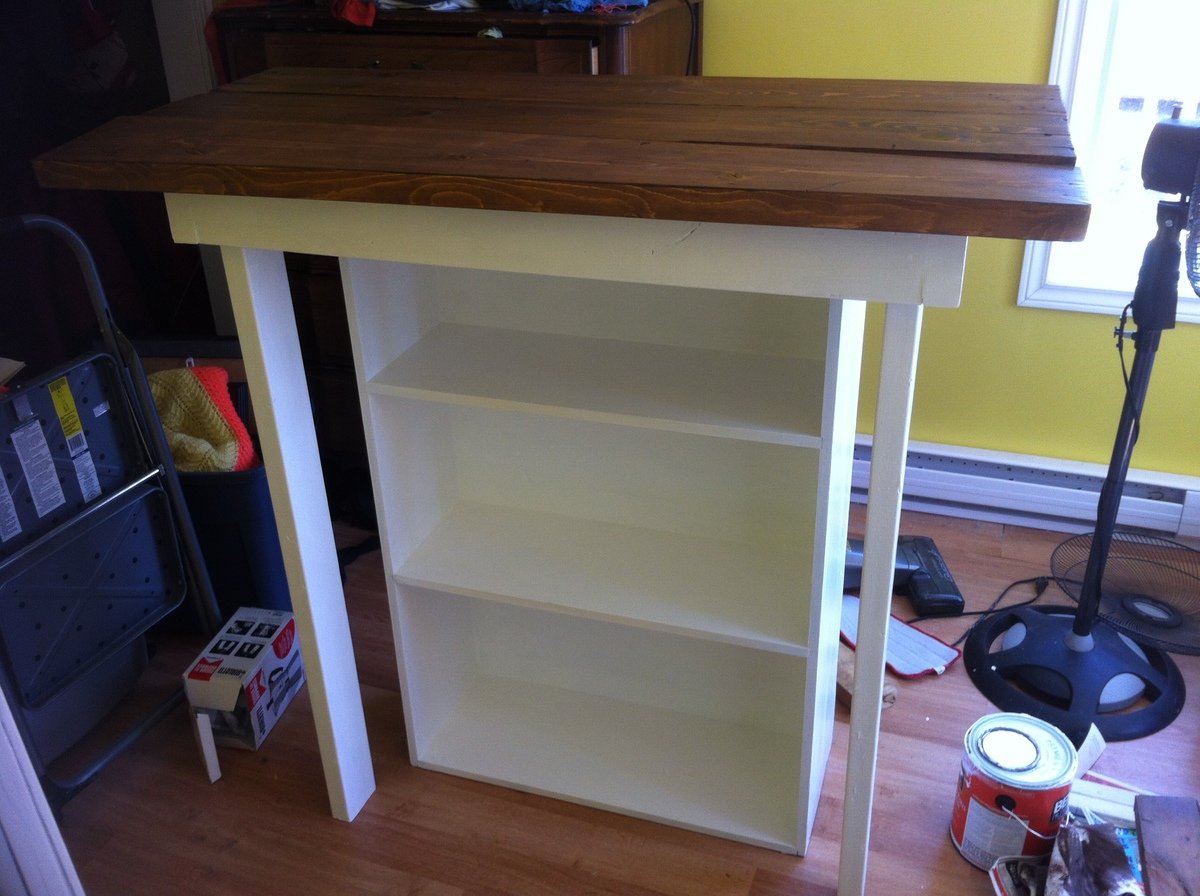
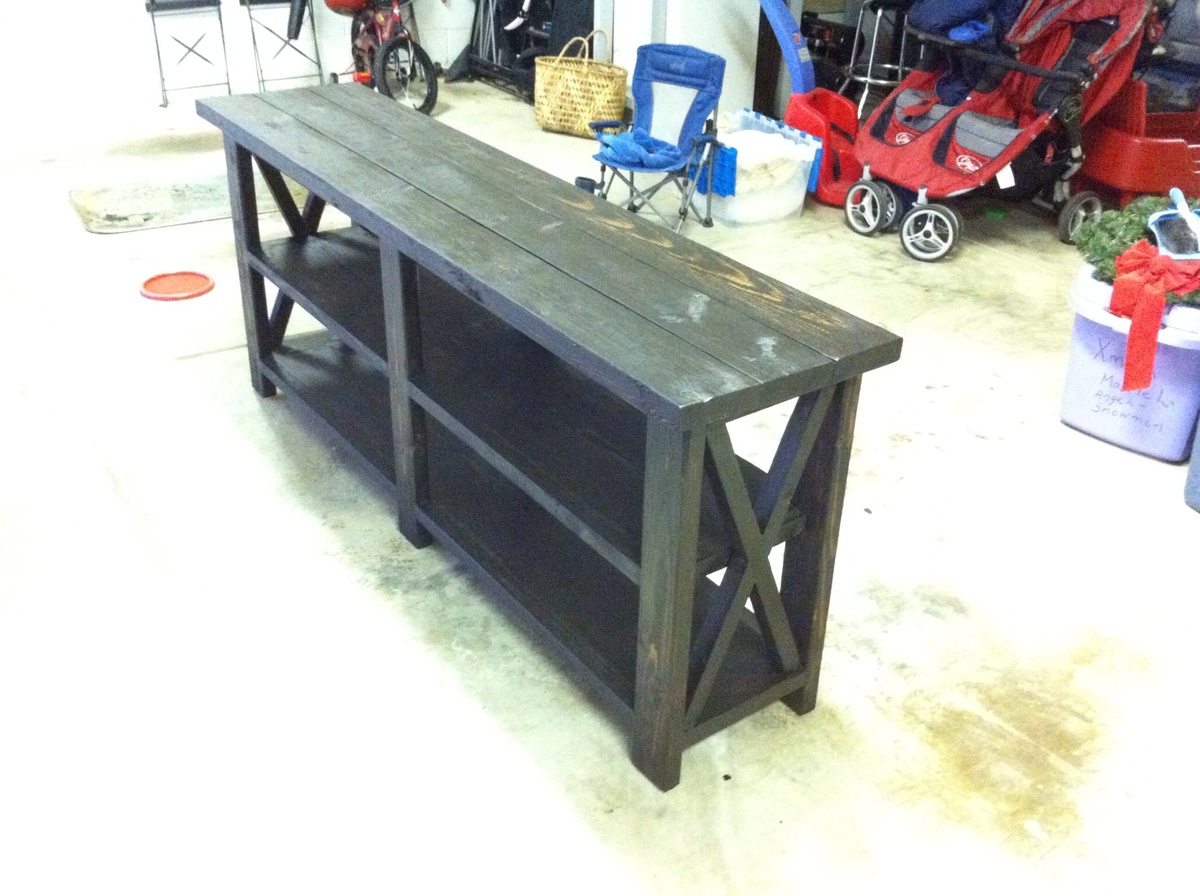
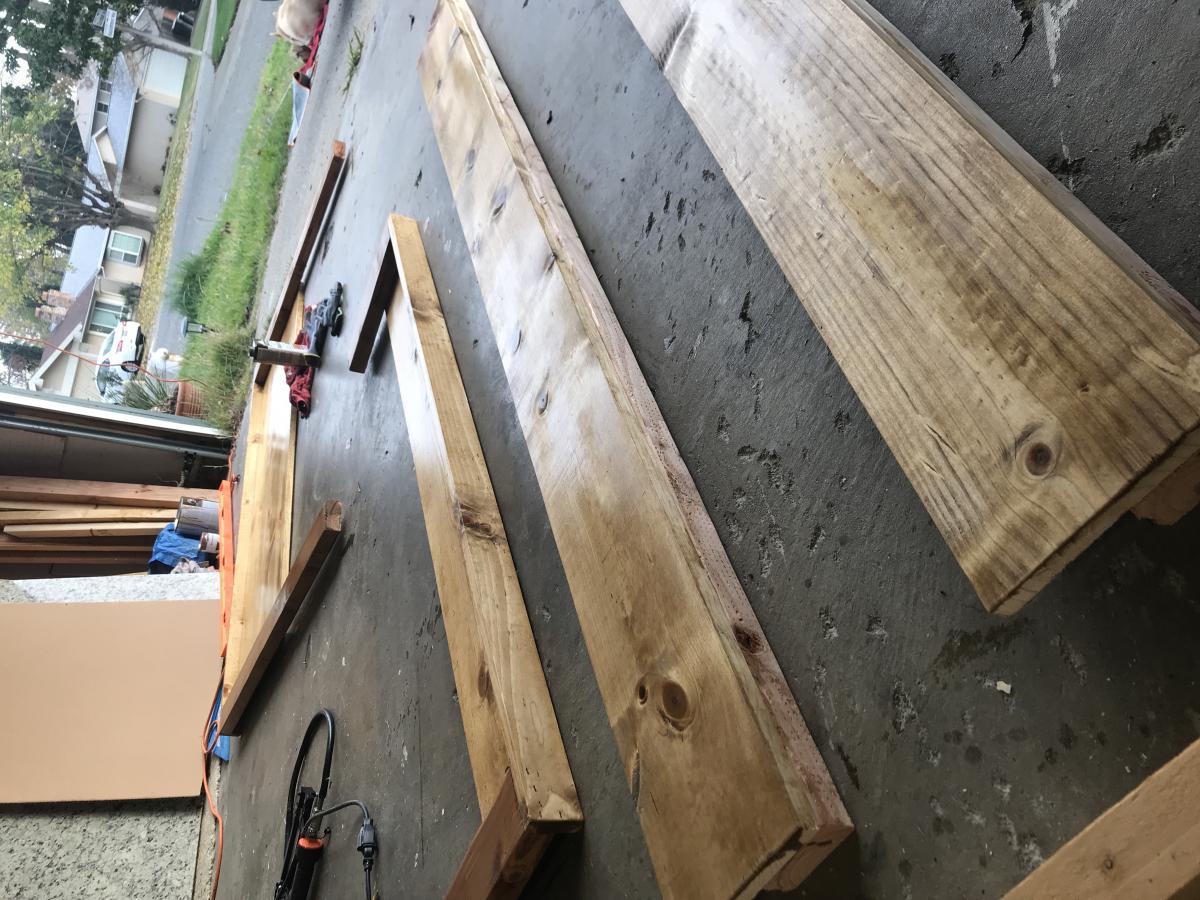
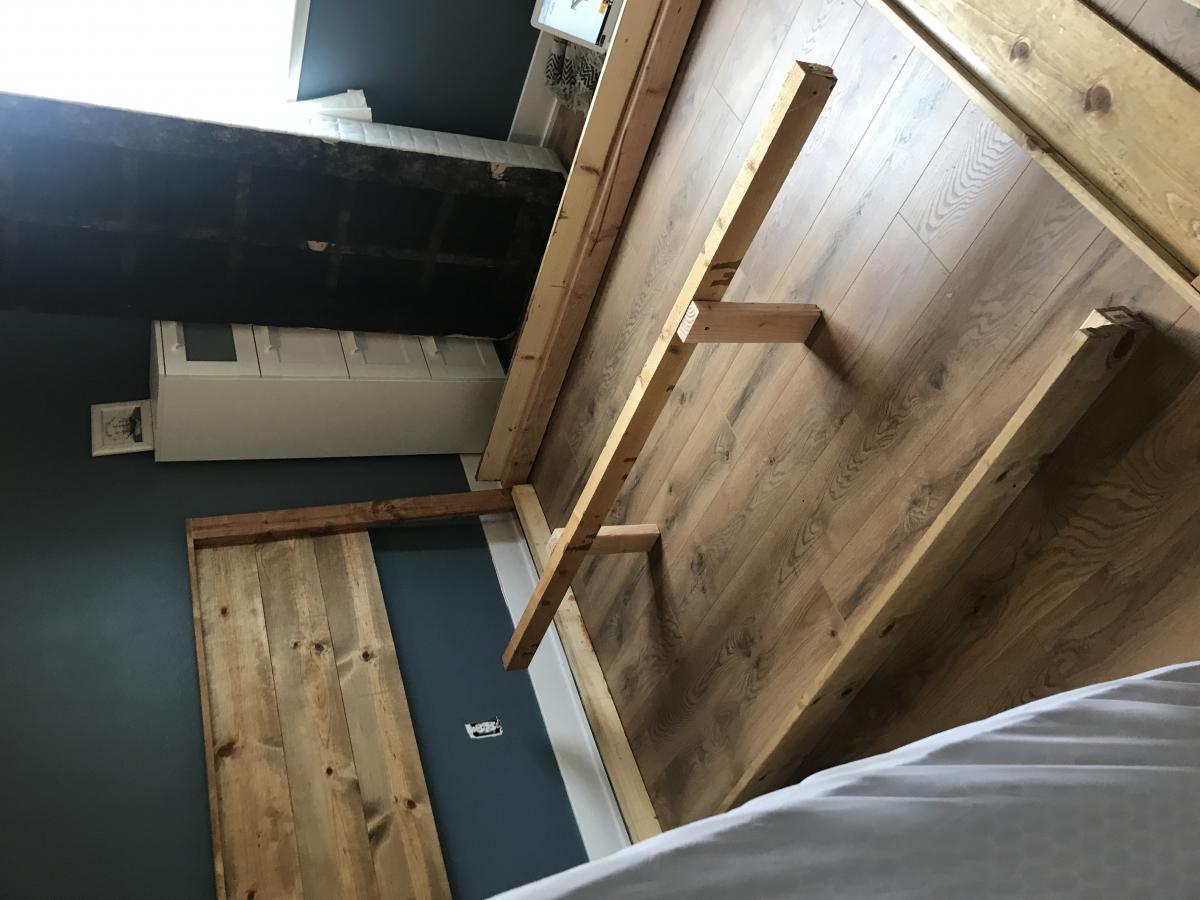
This was my third "solo" build - my husband has built several of Ana's plans, and I built a book caddy and a stepstool earlier in the month. I have always enjoyed sewing and fixing up our new-to-us house, but until 2014 I was afraid to try building so I left it up to my husband. No more! I brought both kids to the hardware store, selected my lumber, and got to work. We bought a mitre saw which has been AWESOME, so I've been using that and a jigsaw to make cuts. I would love to figure out the circular saw someday soon.
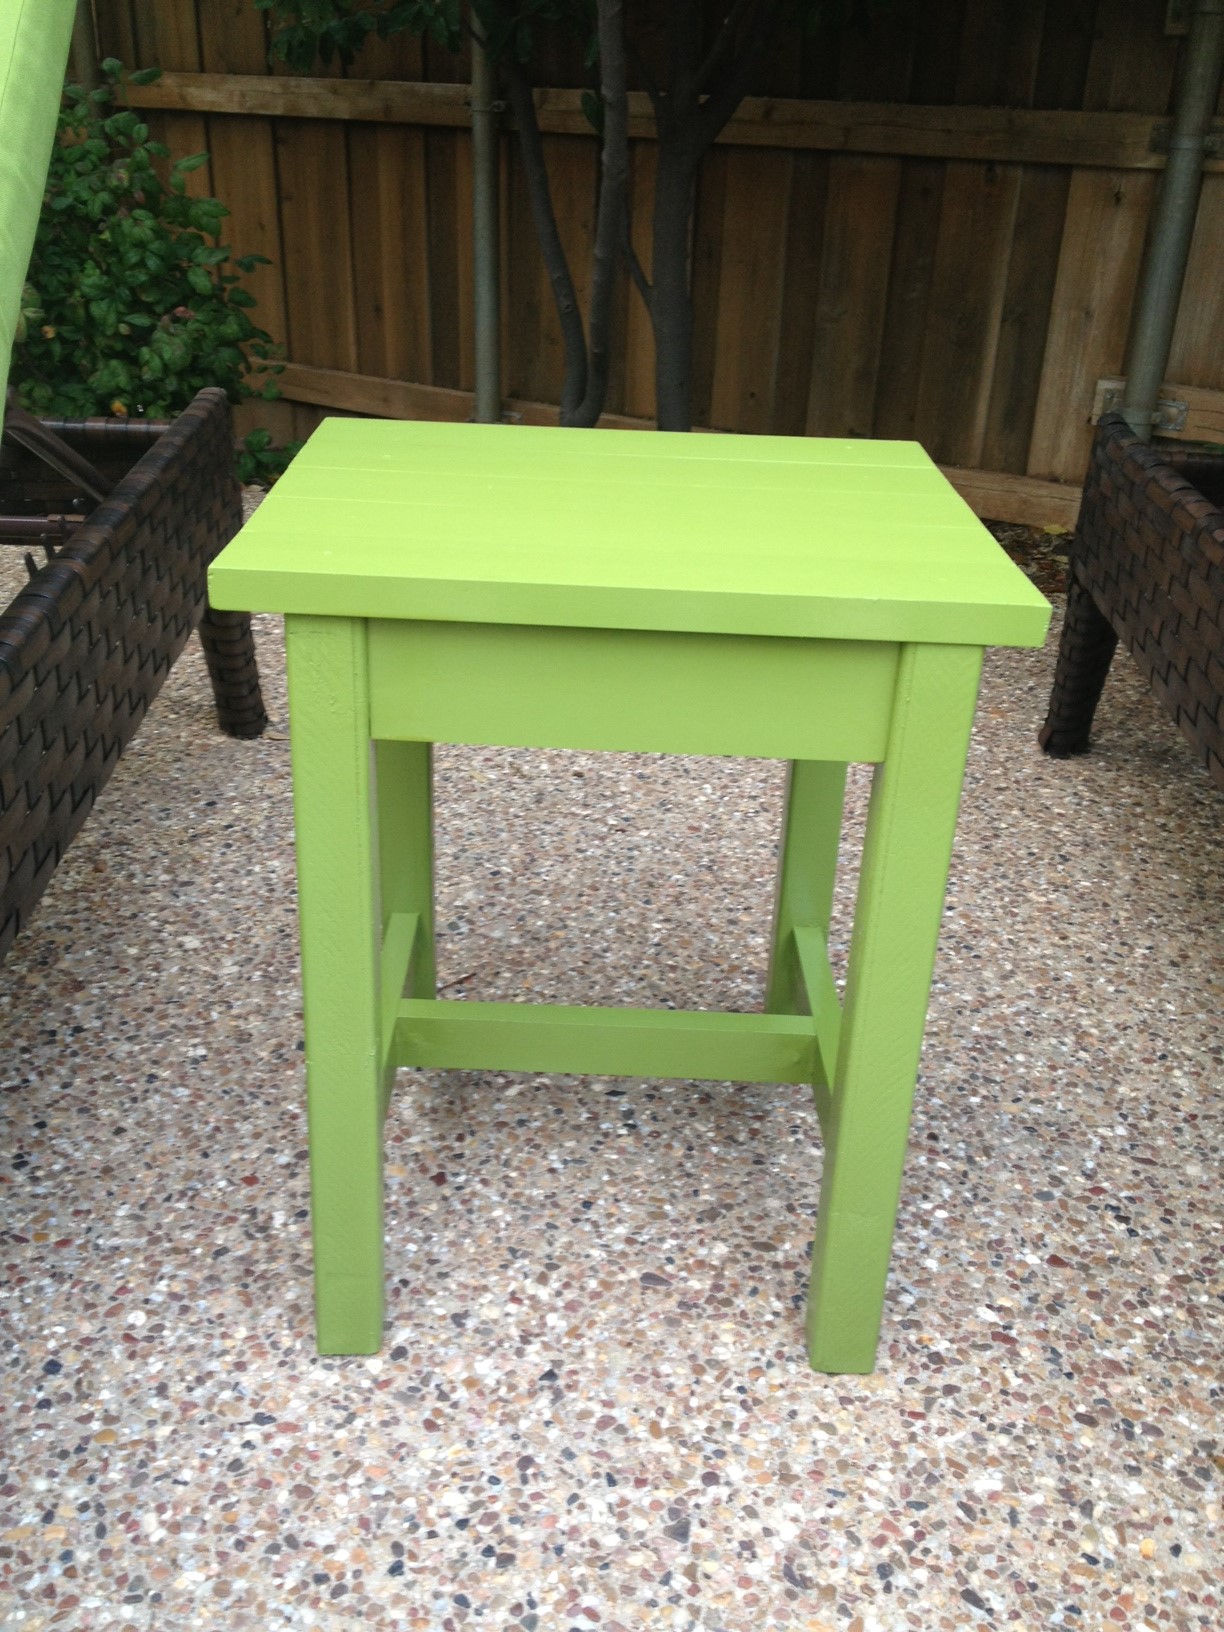
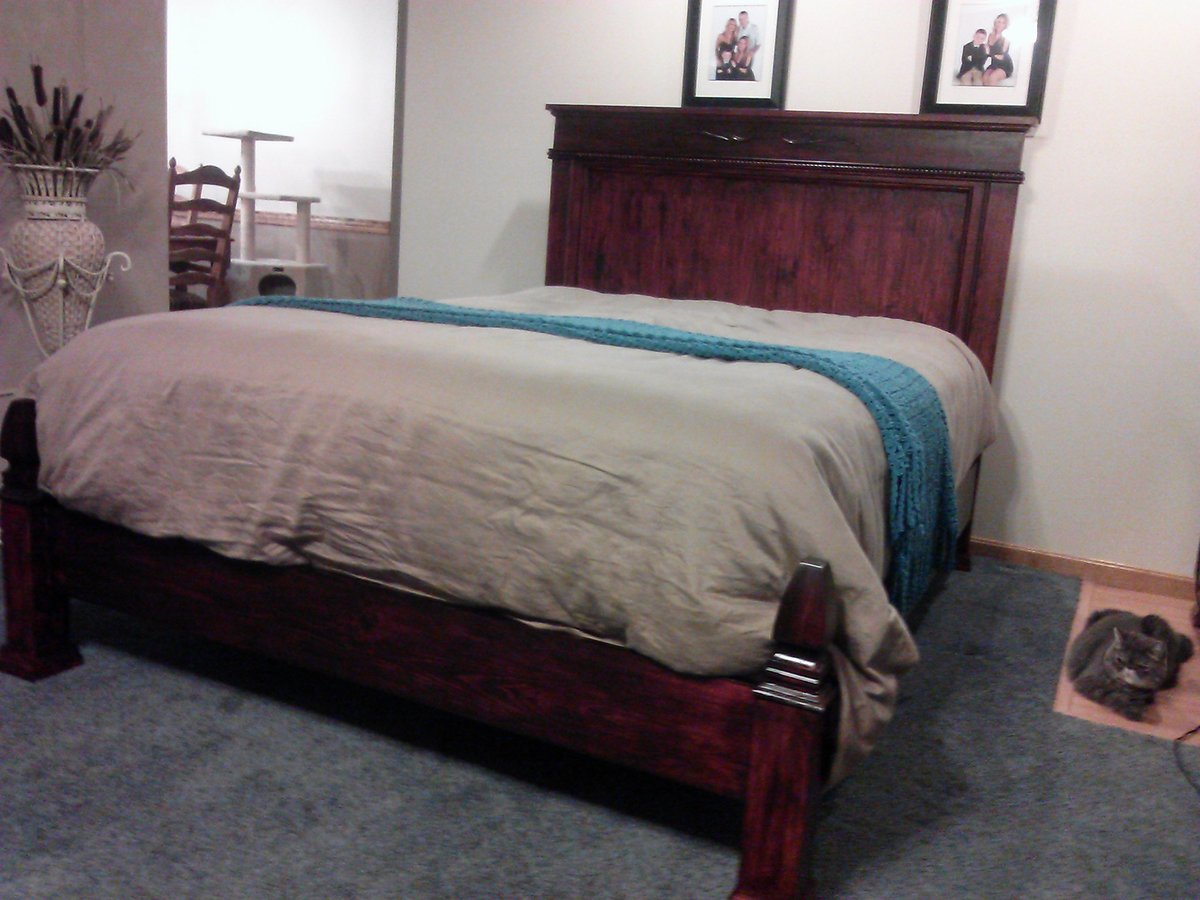
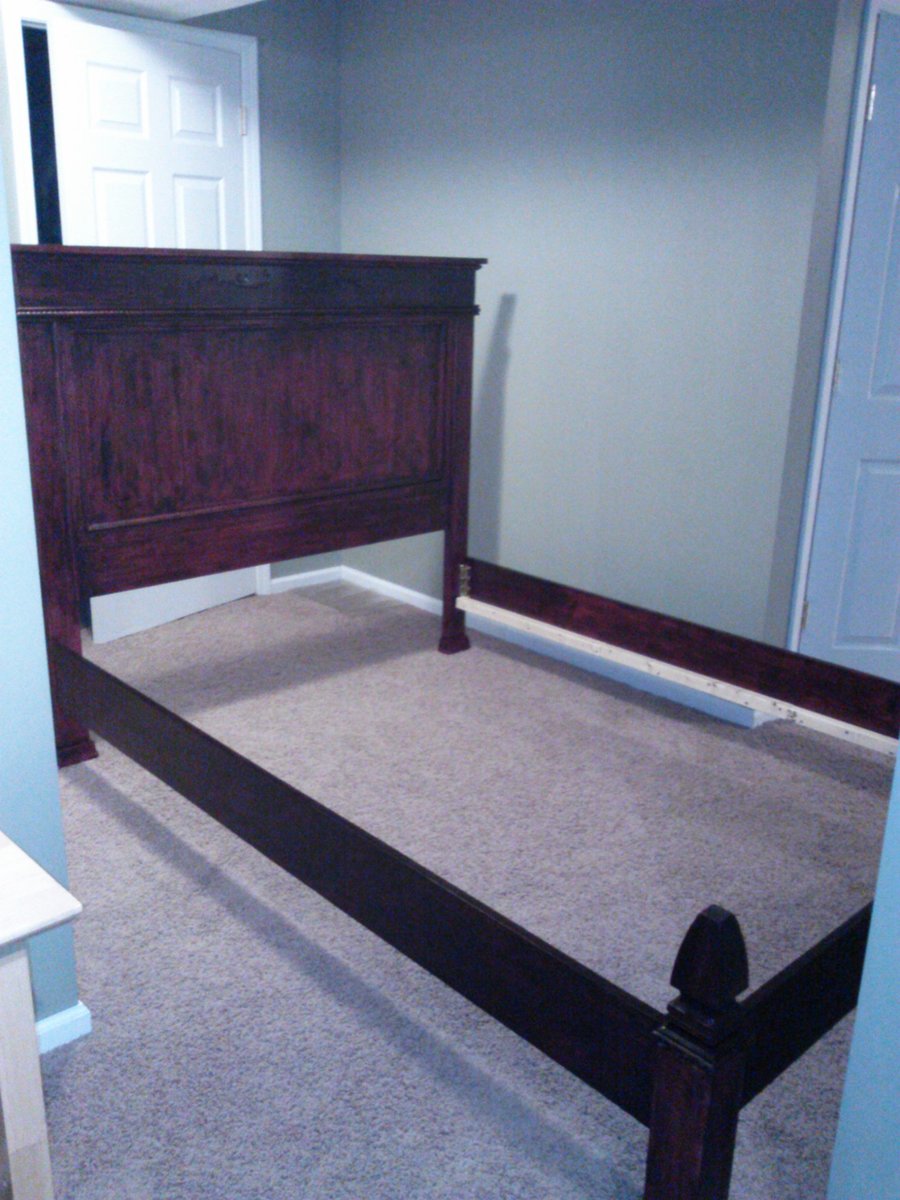
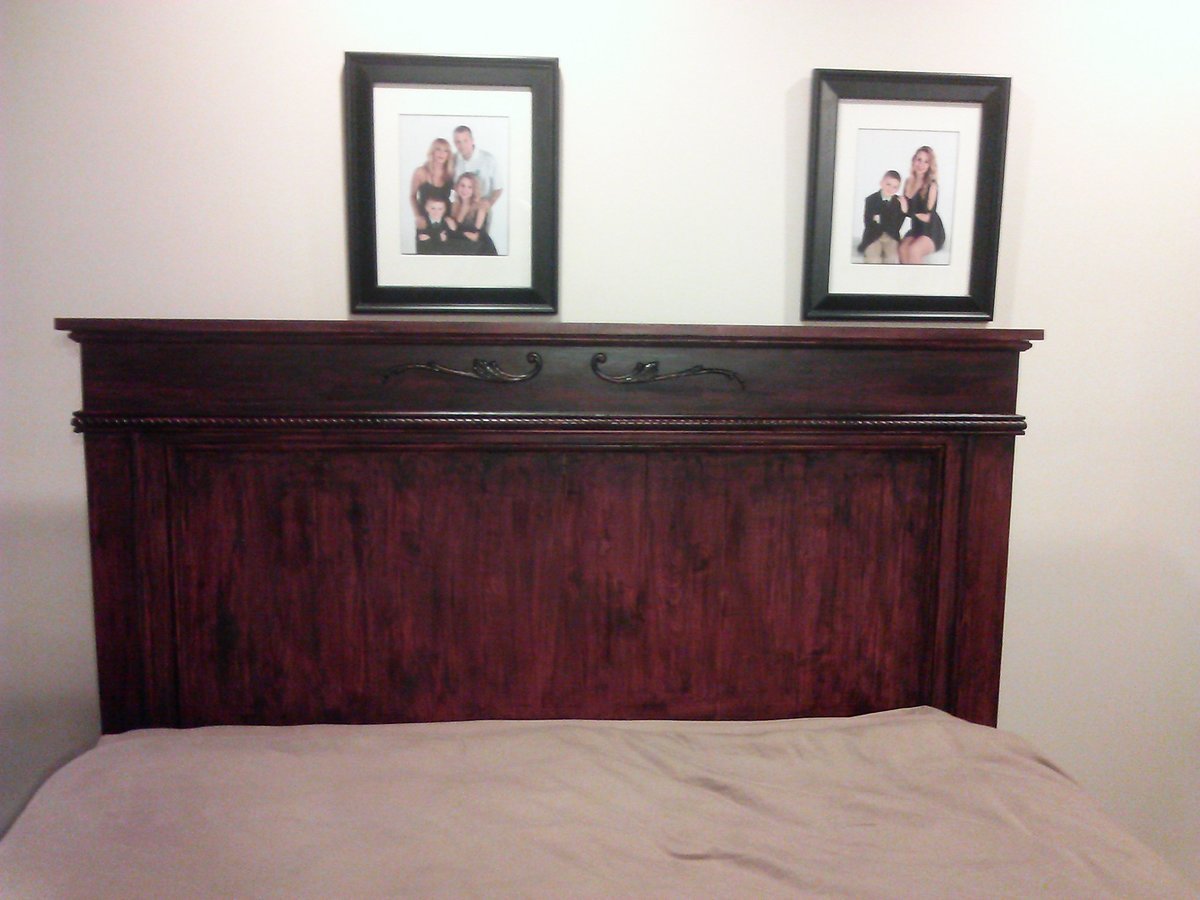
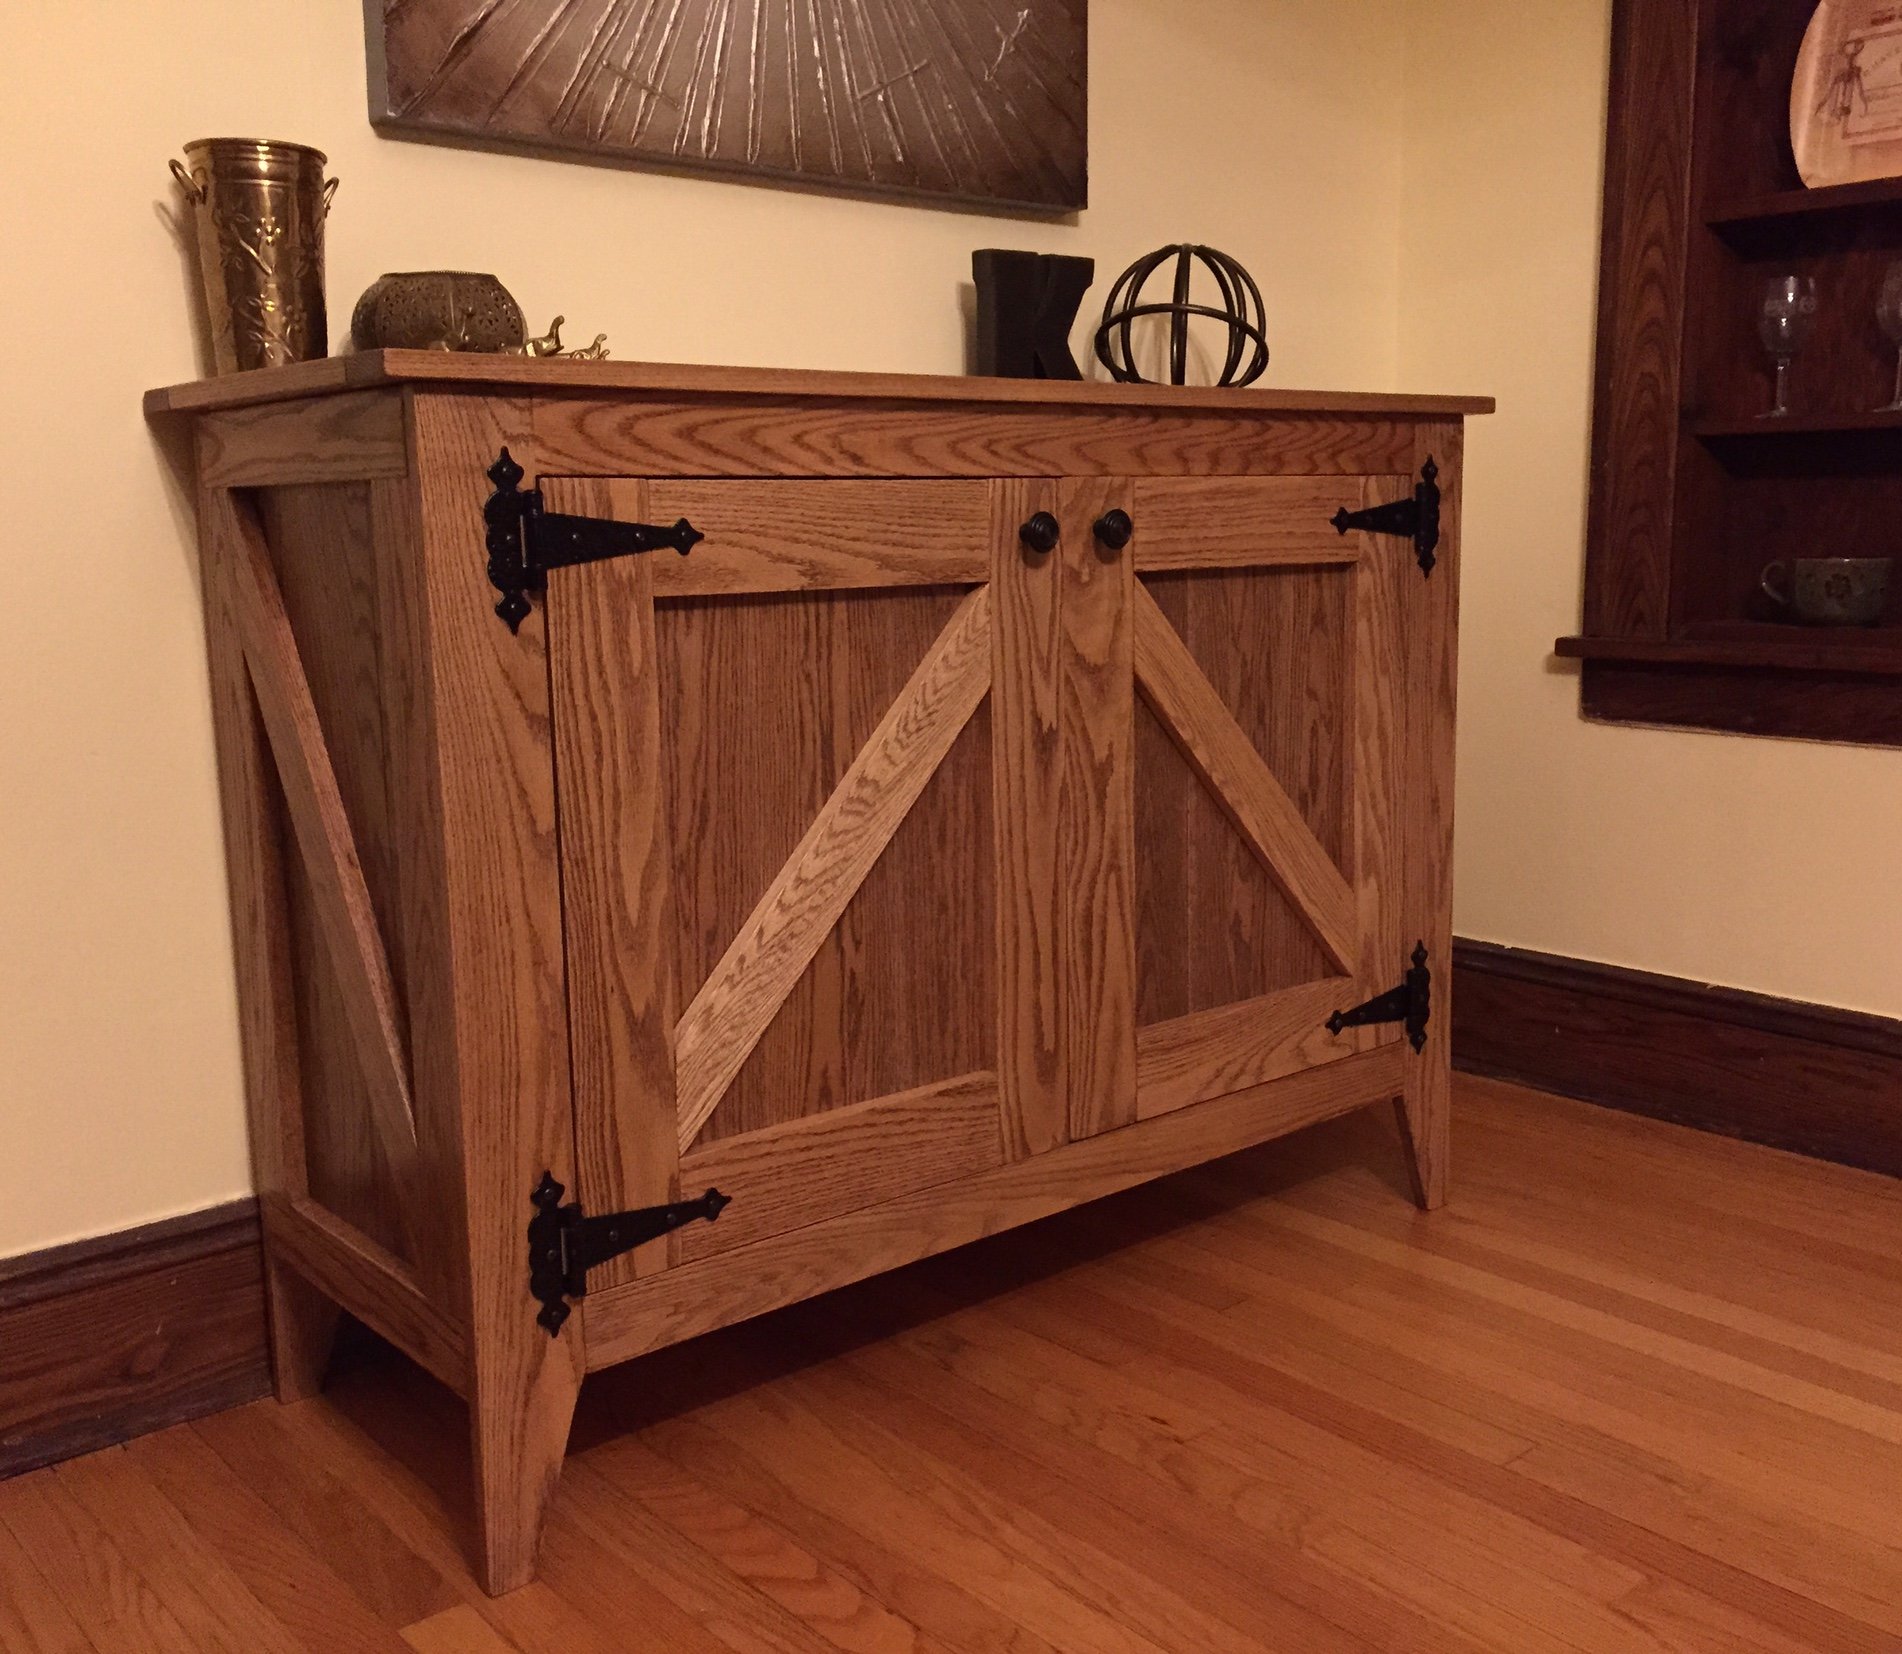
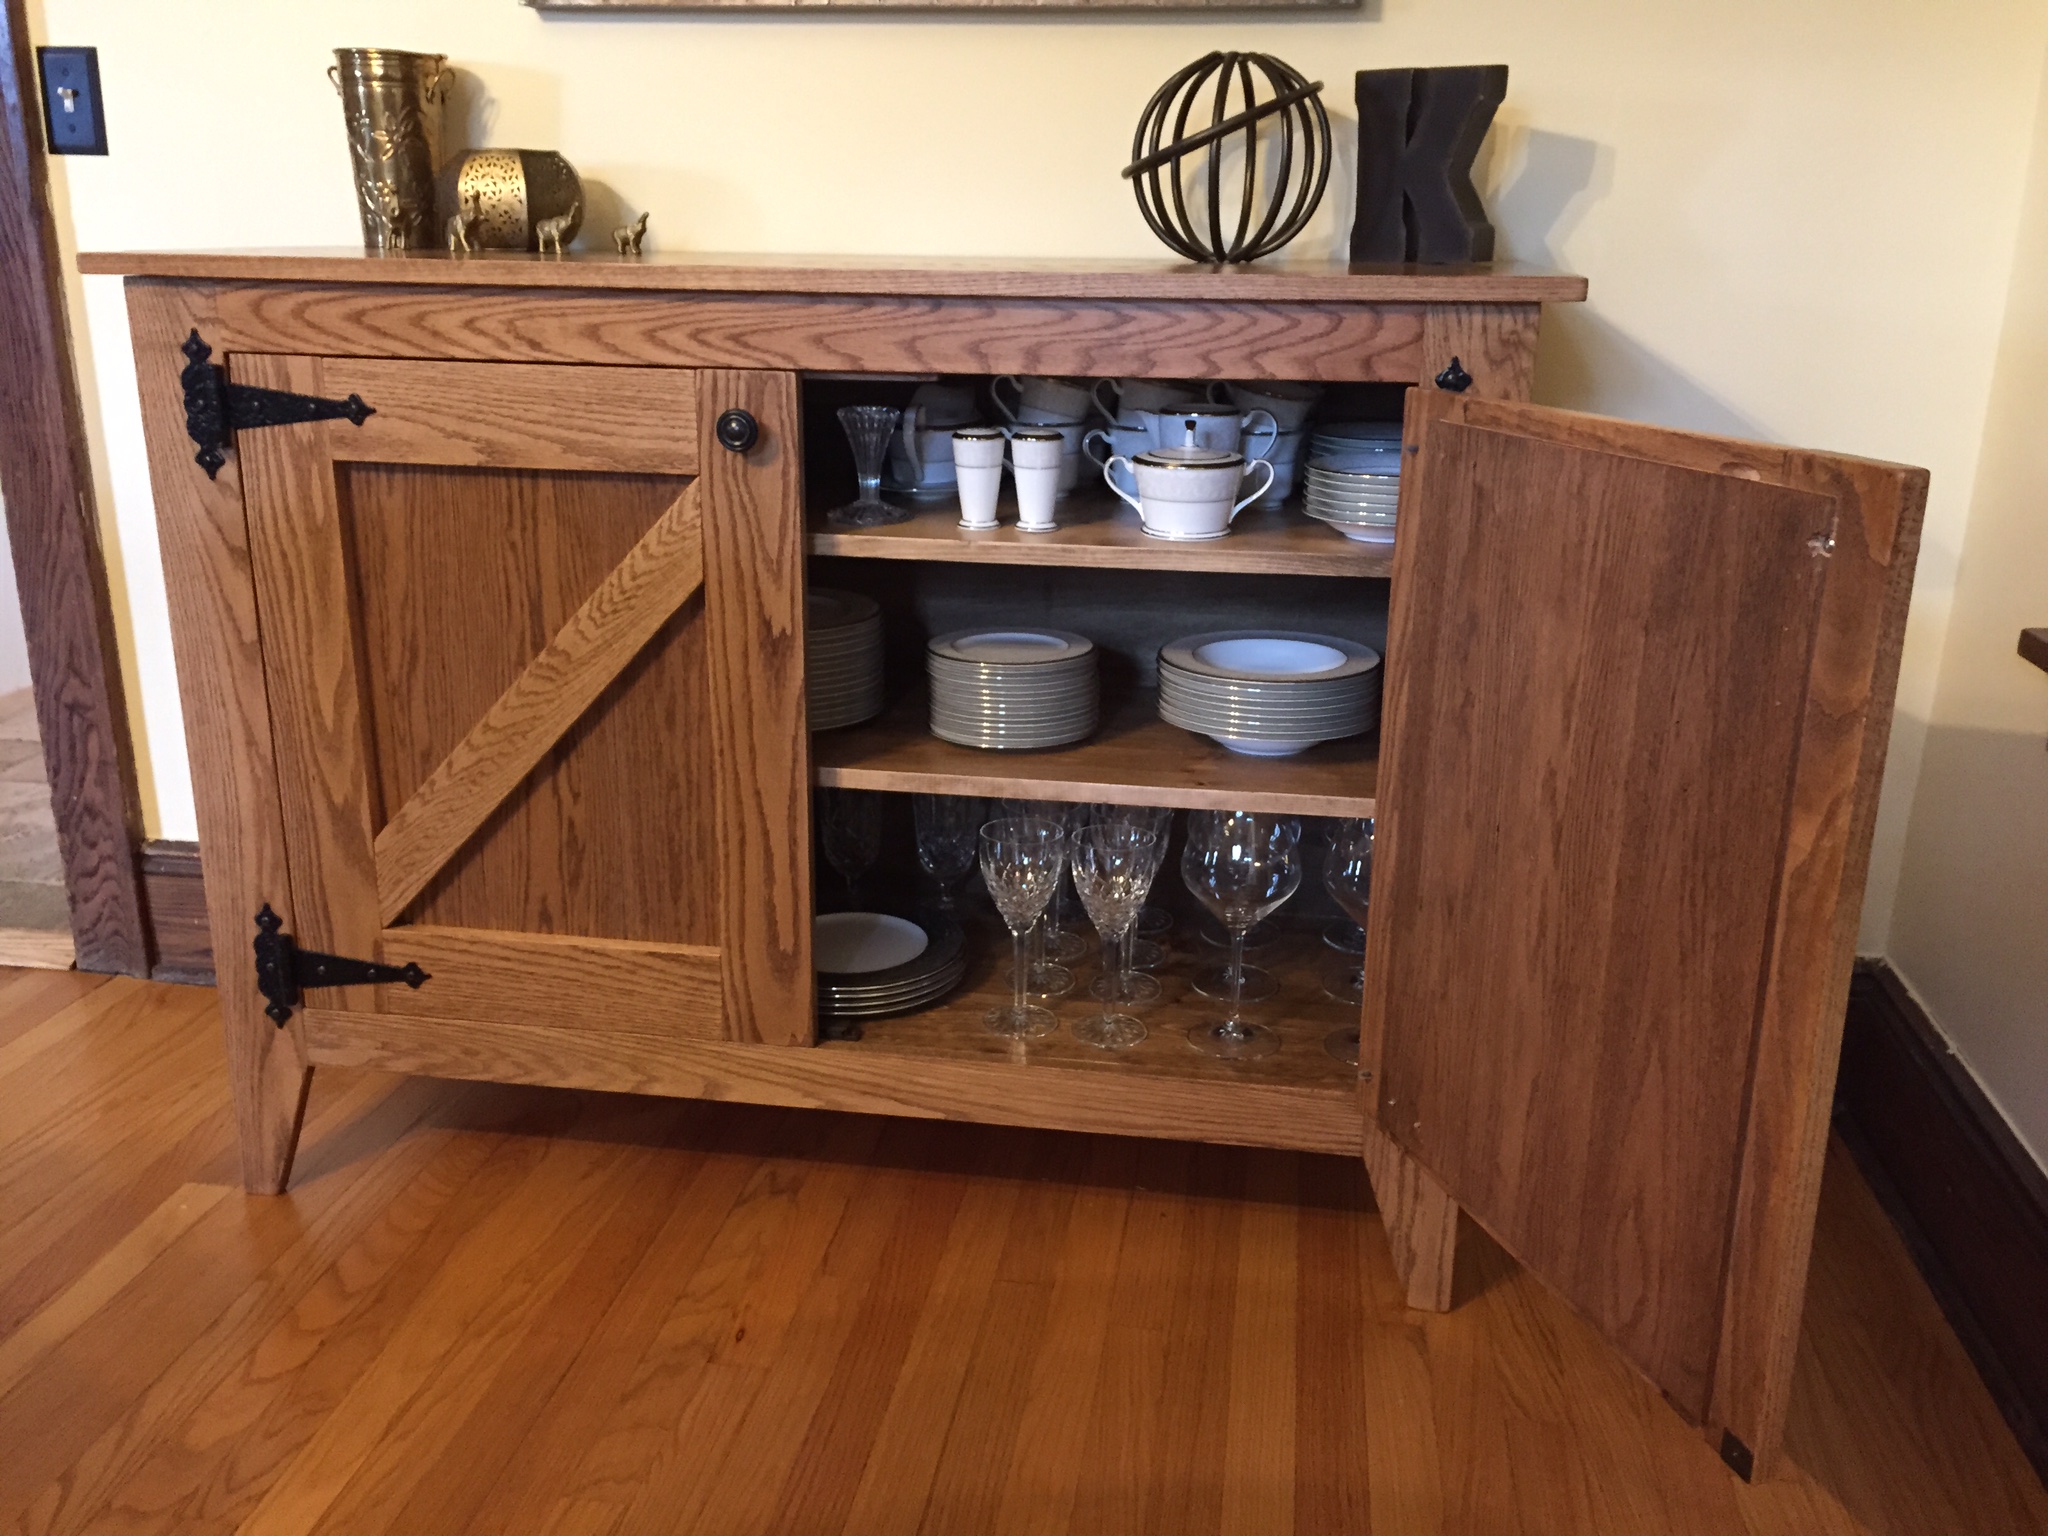
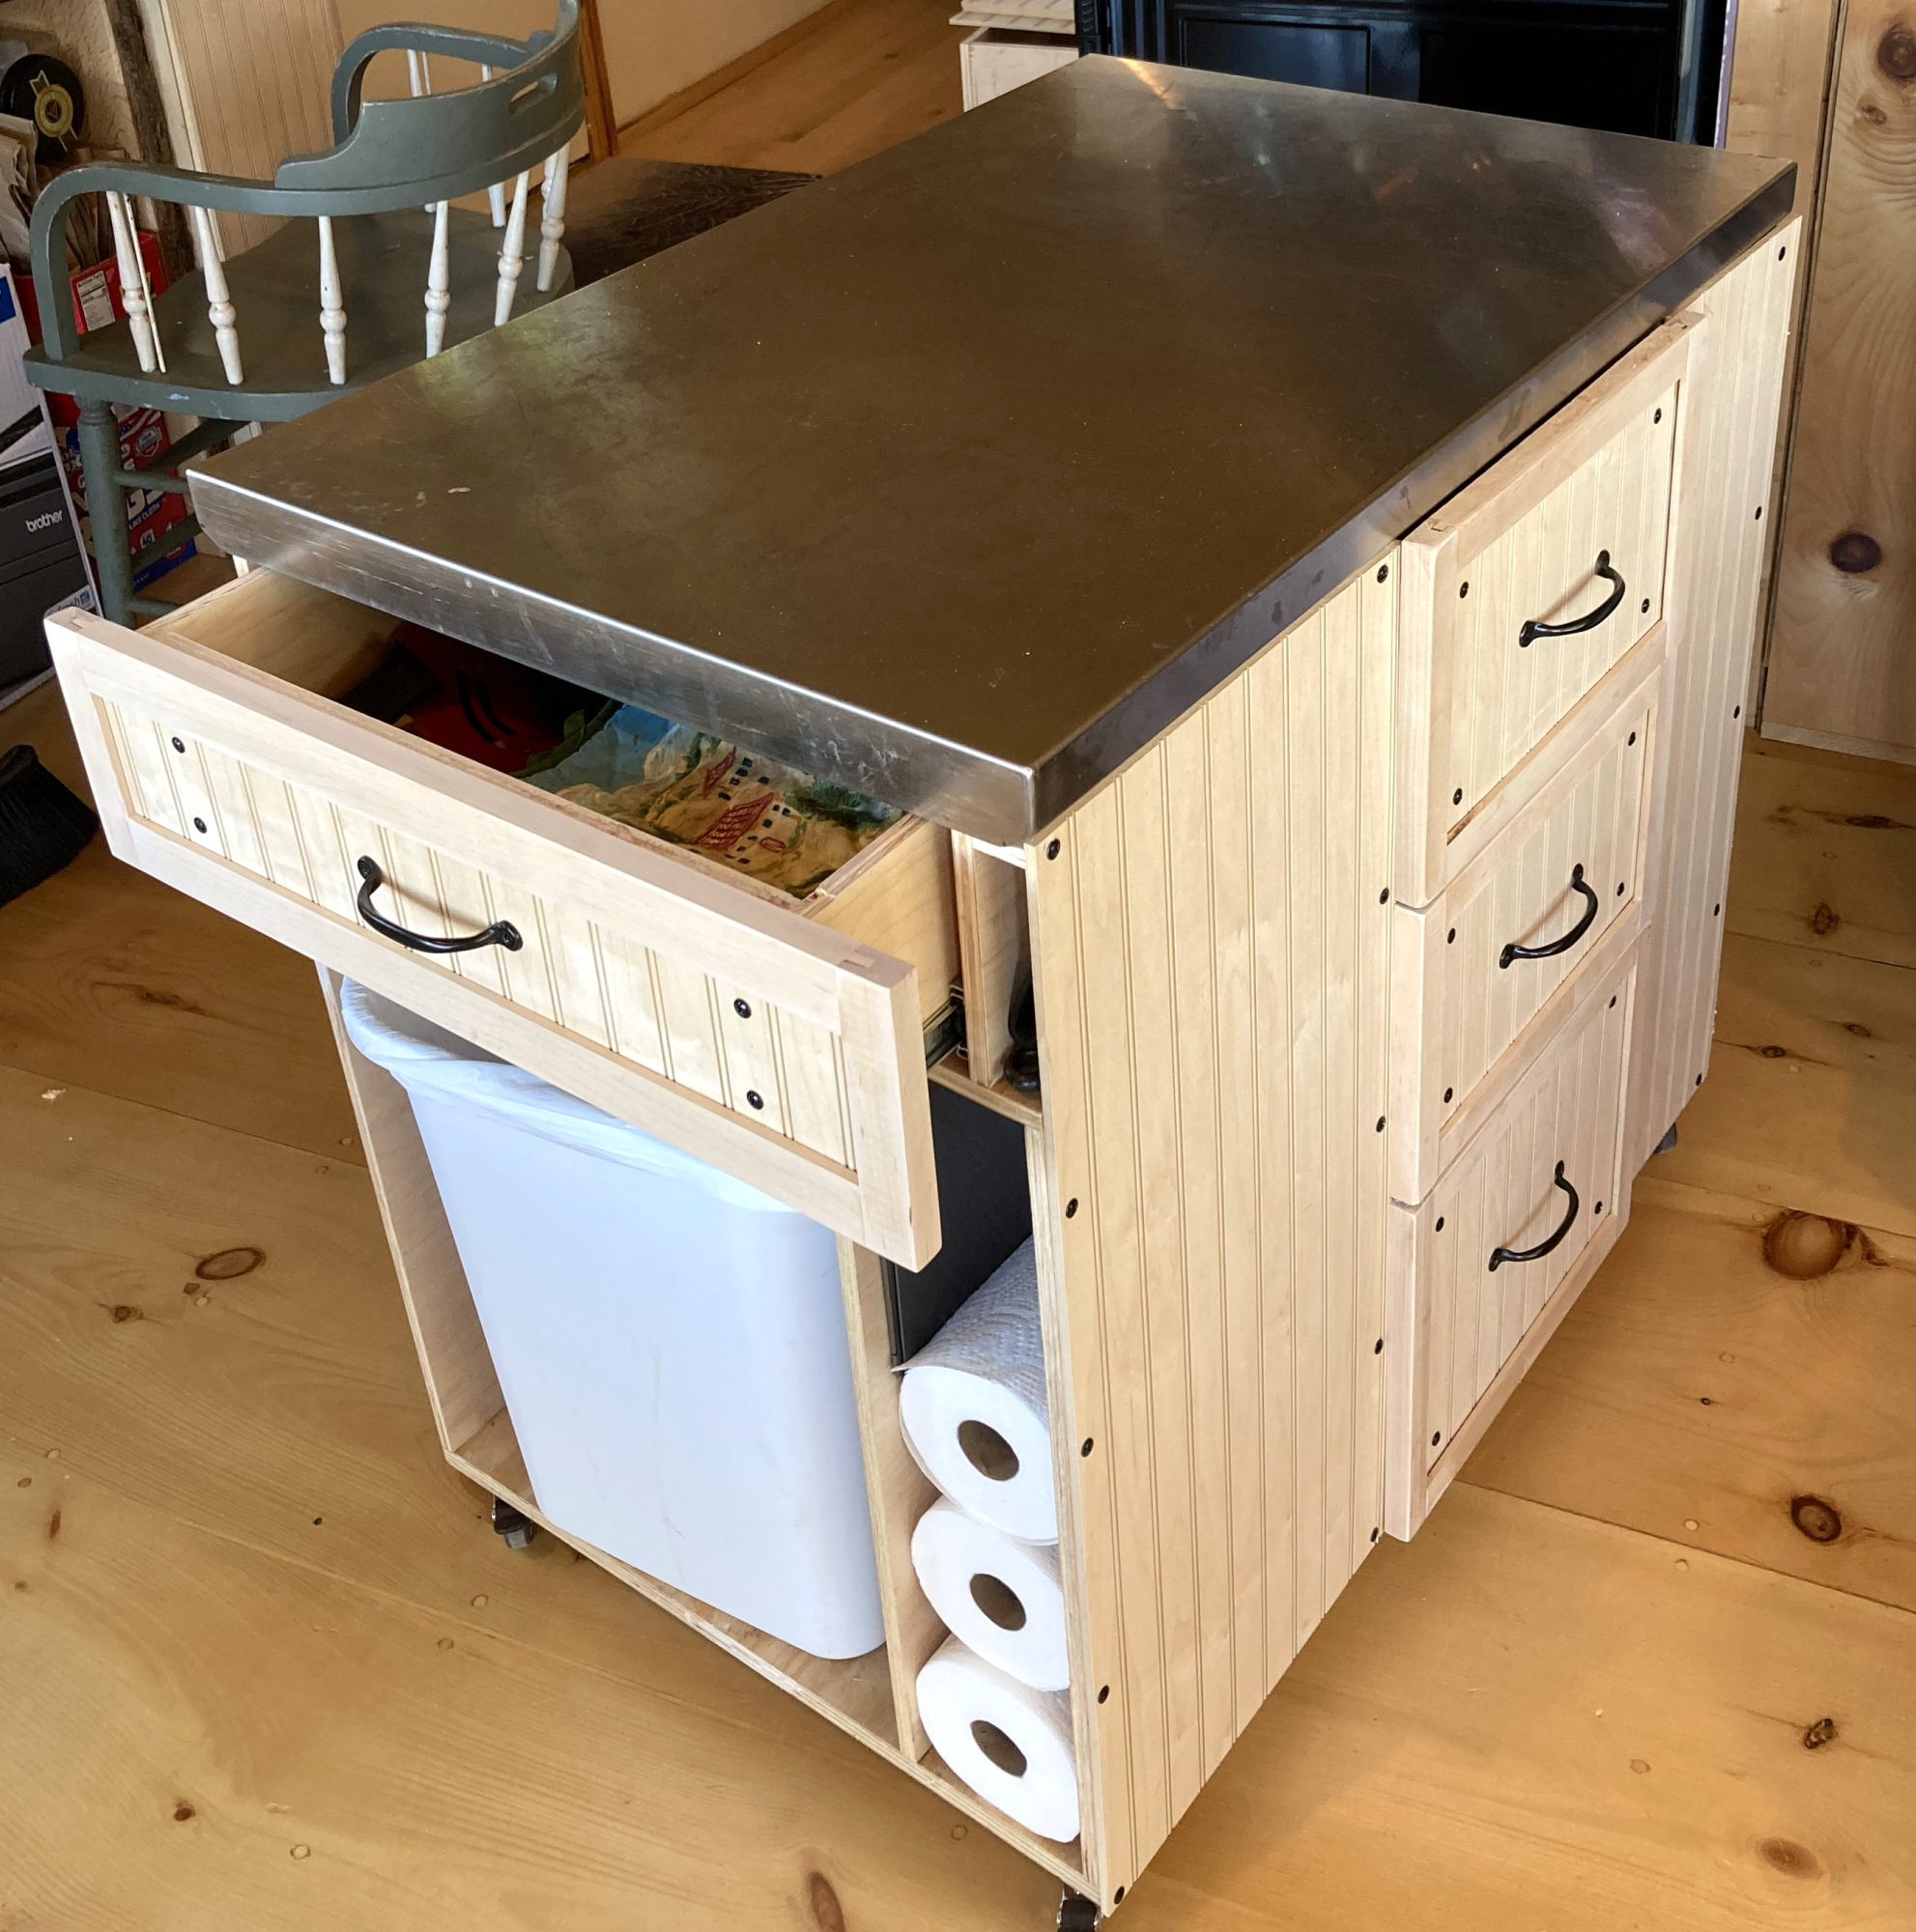
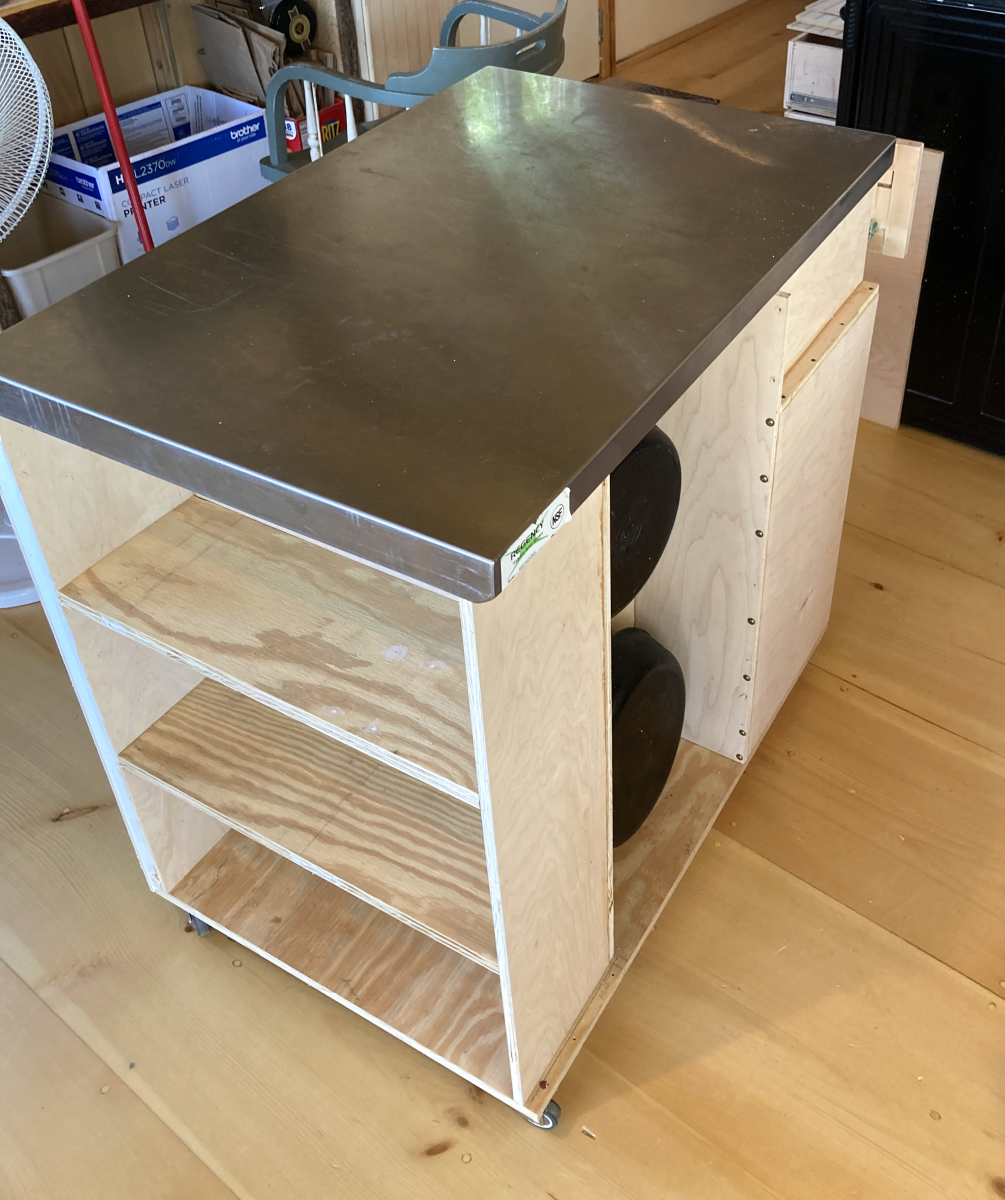
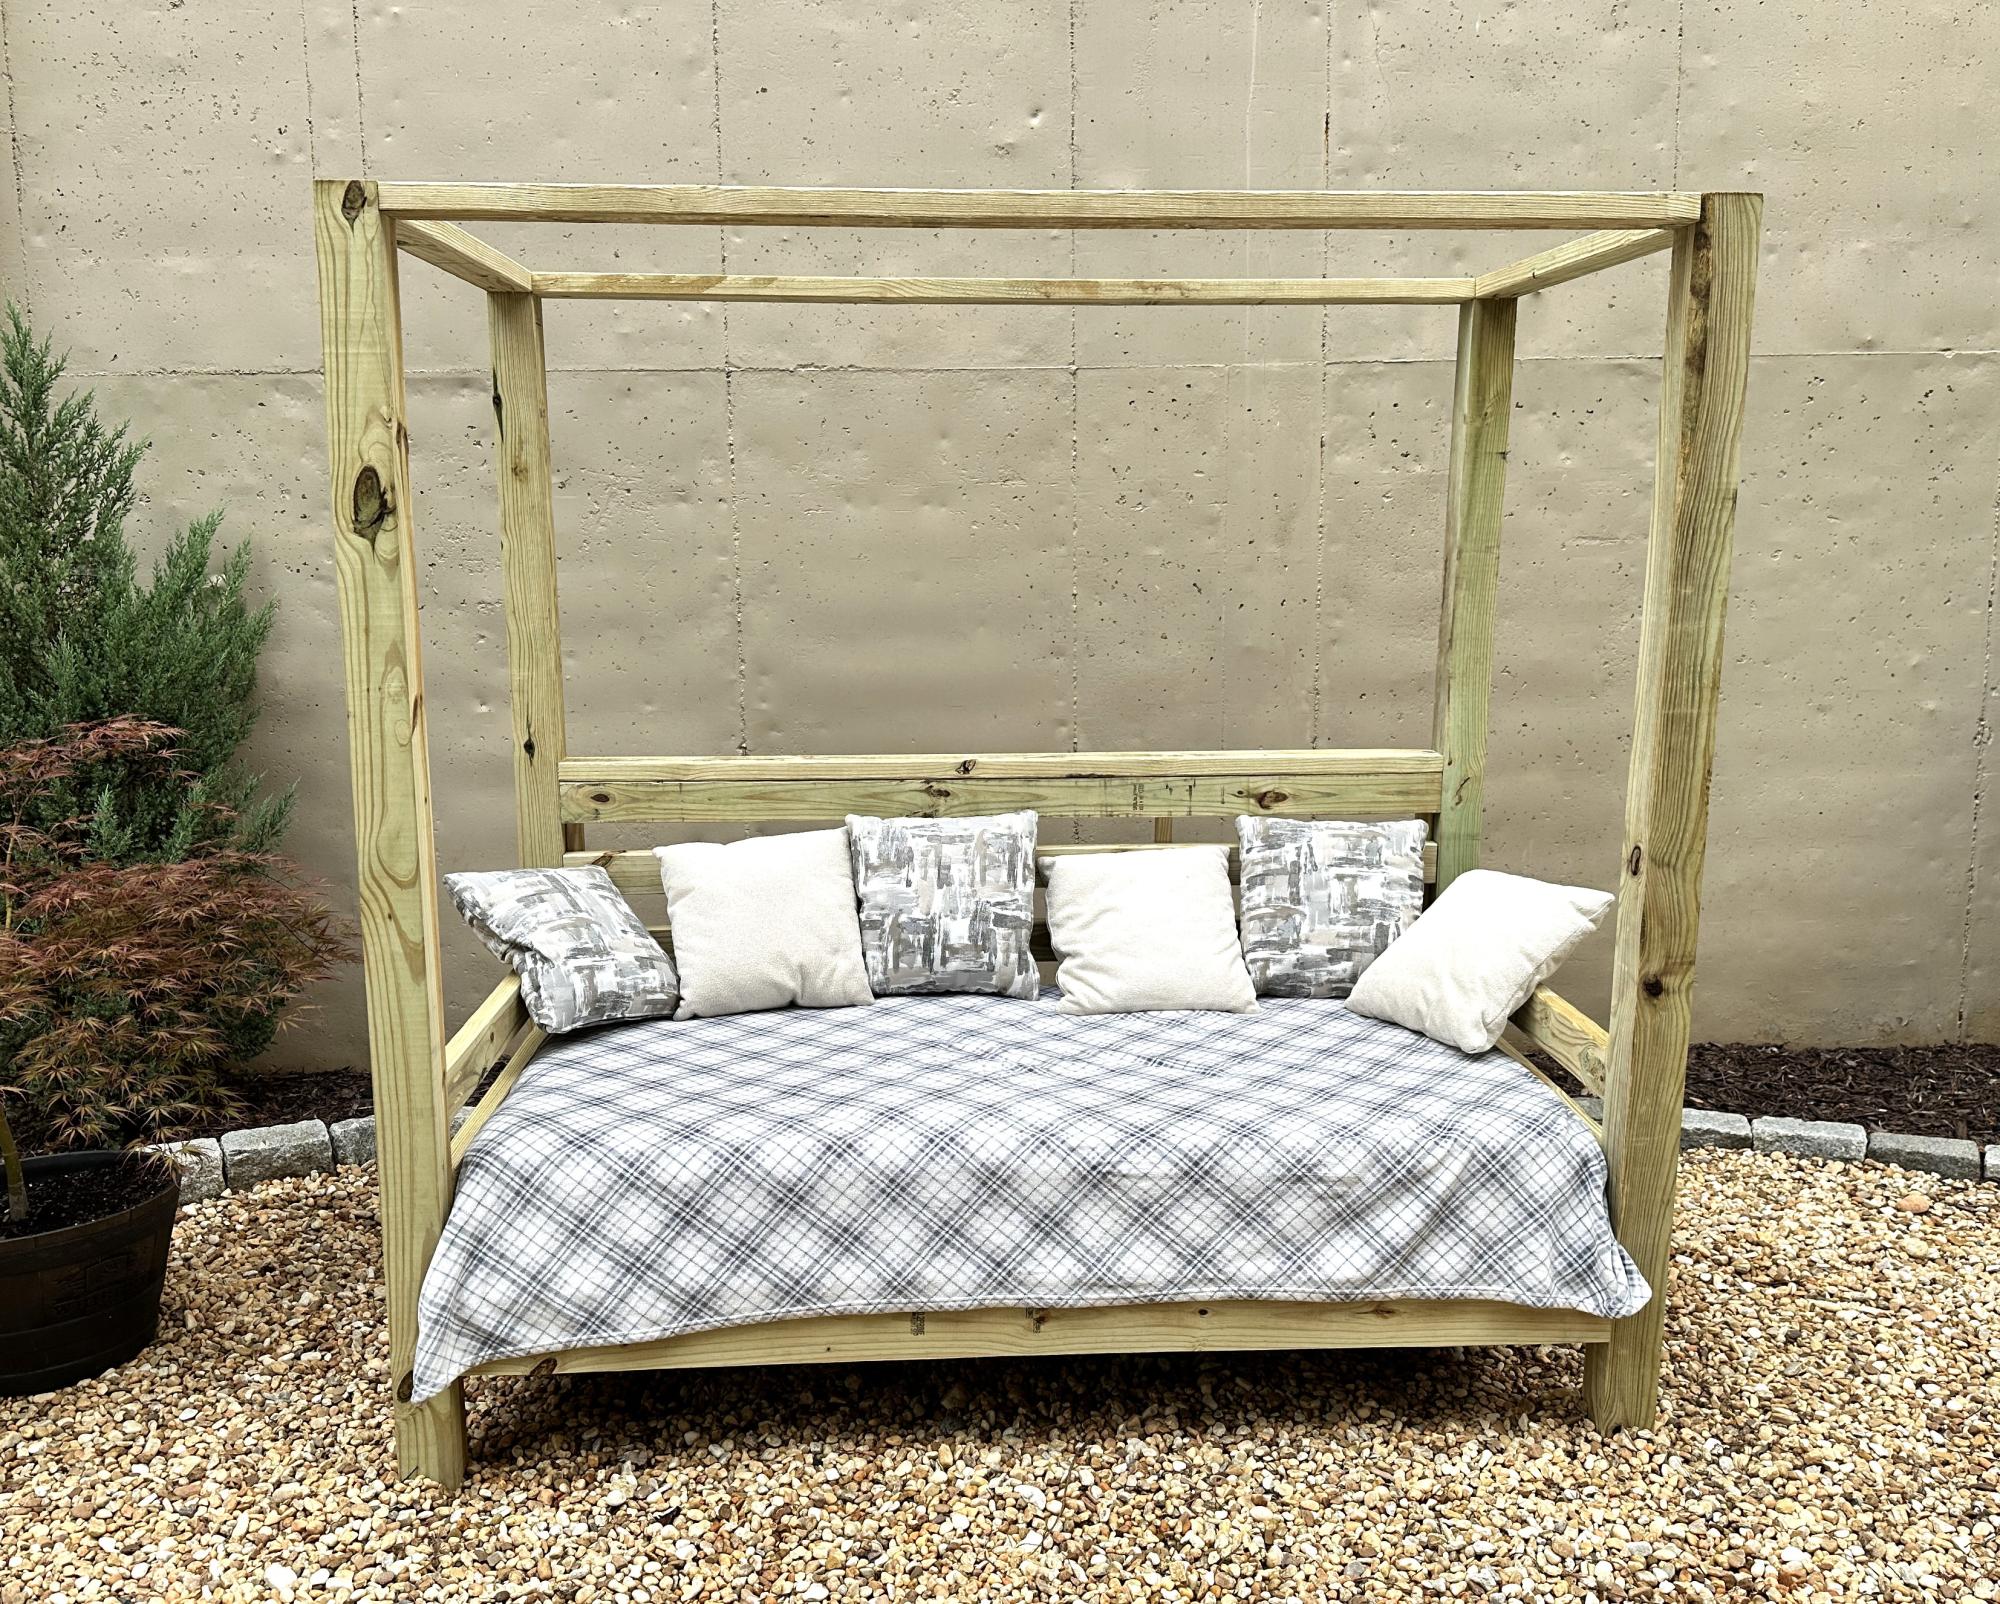
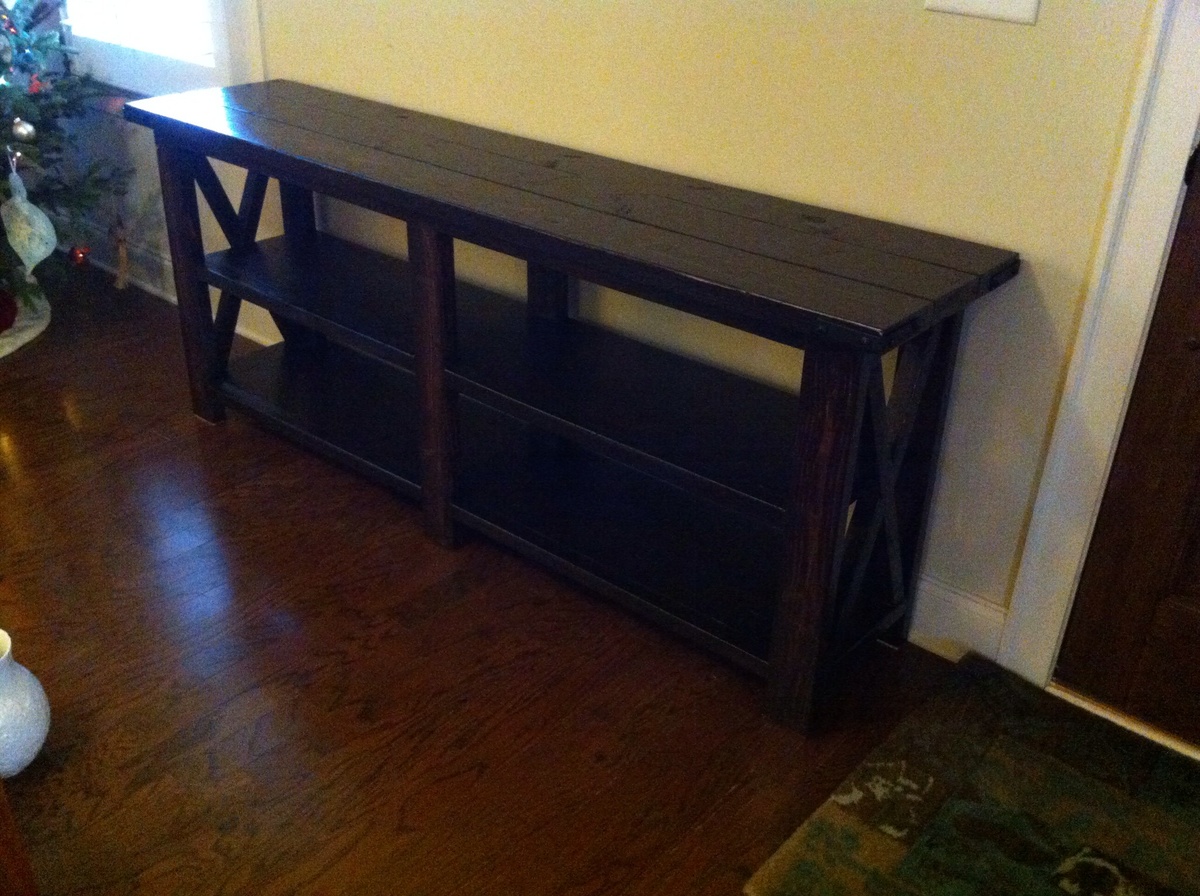
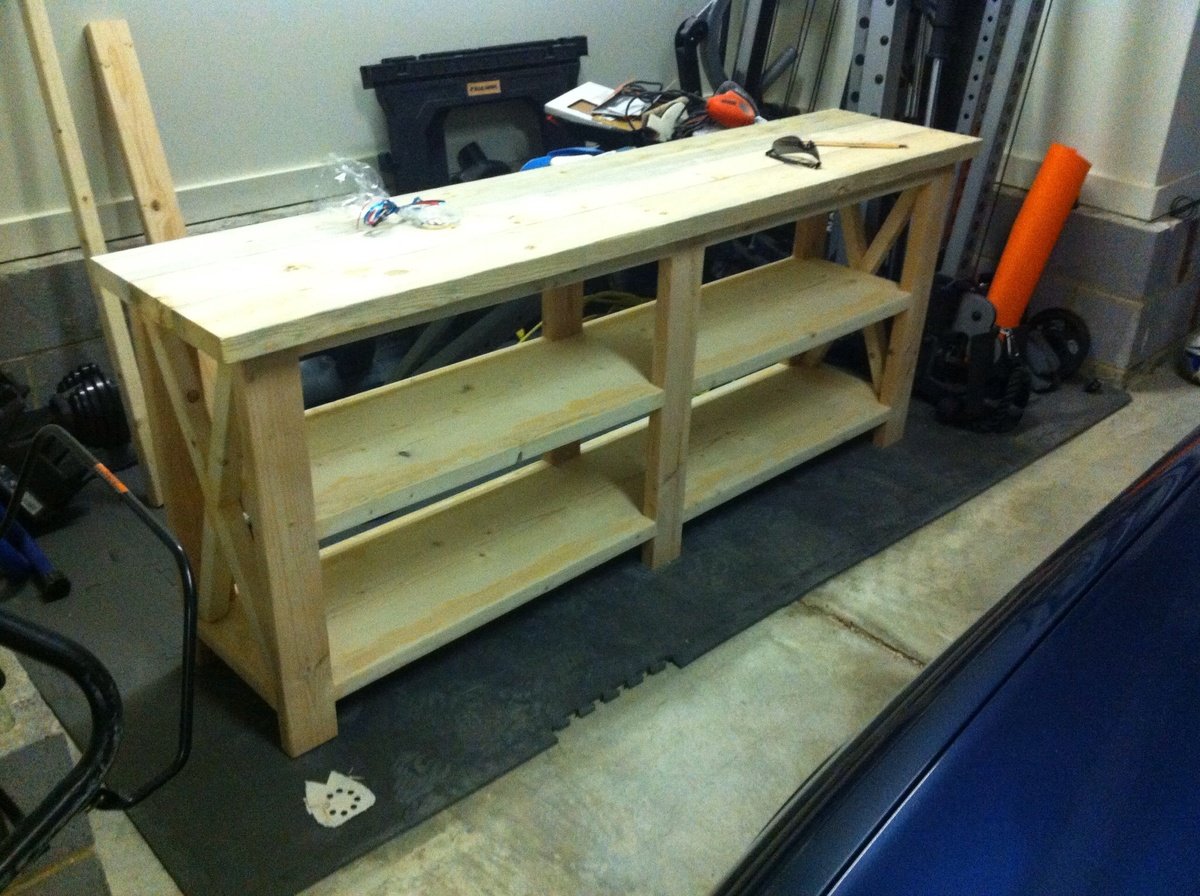
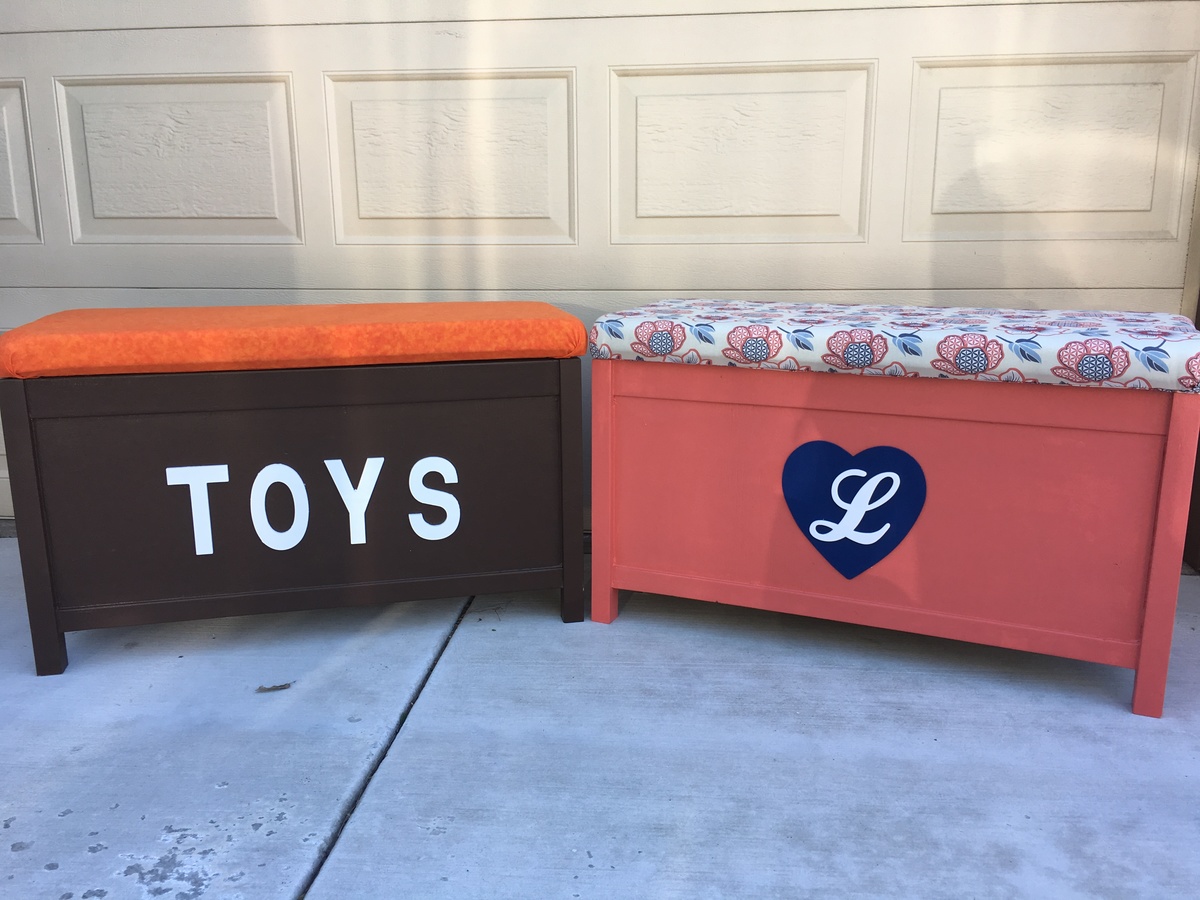
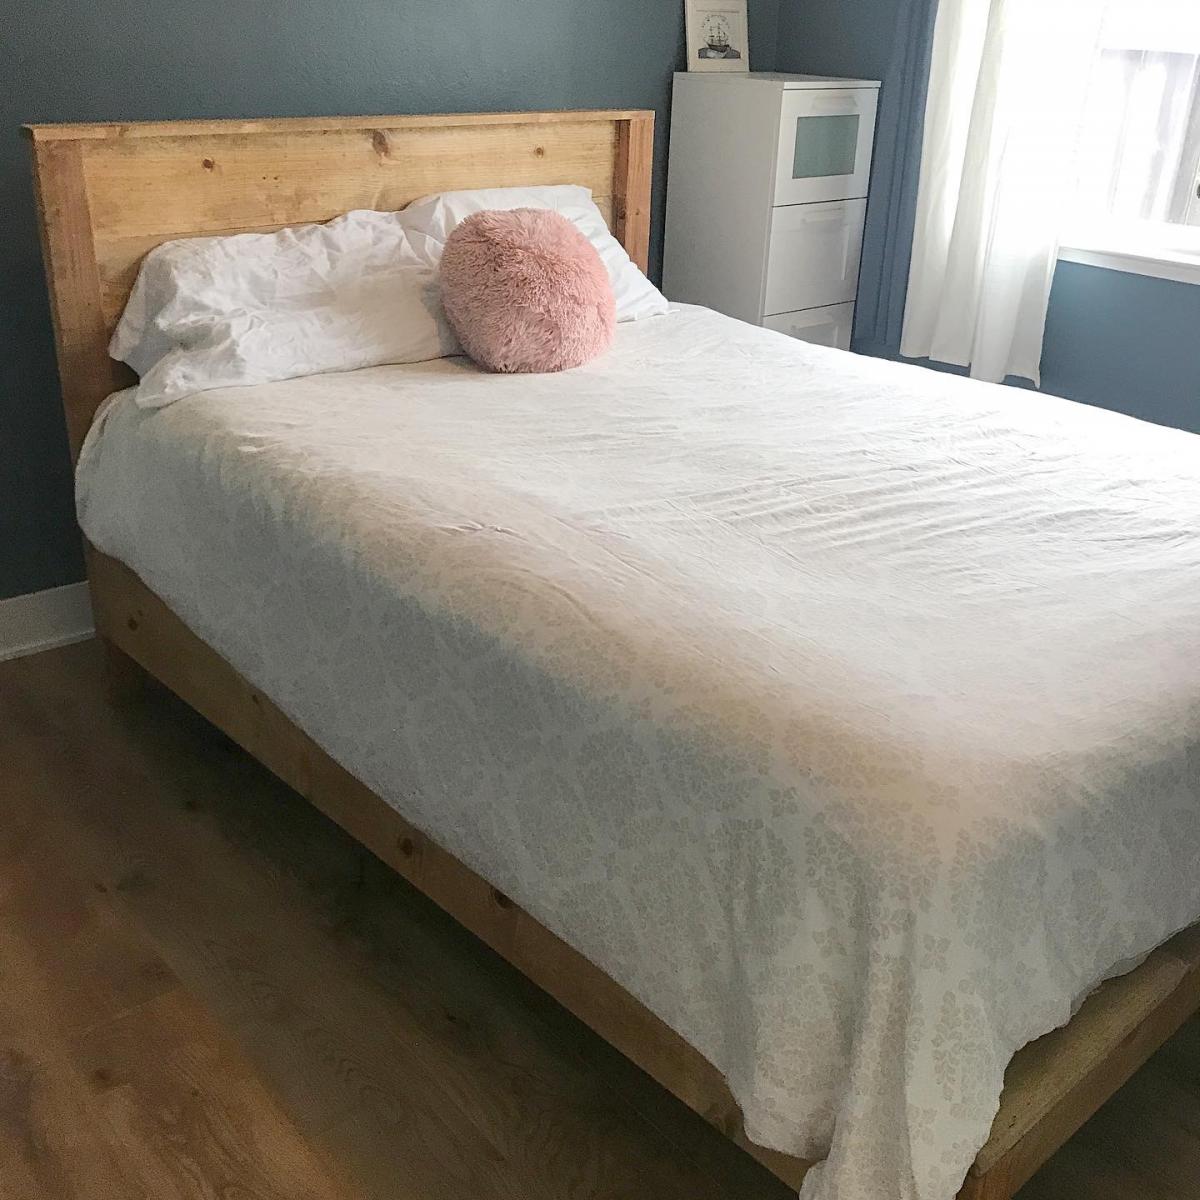
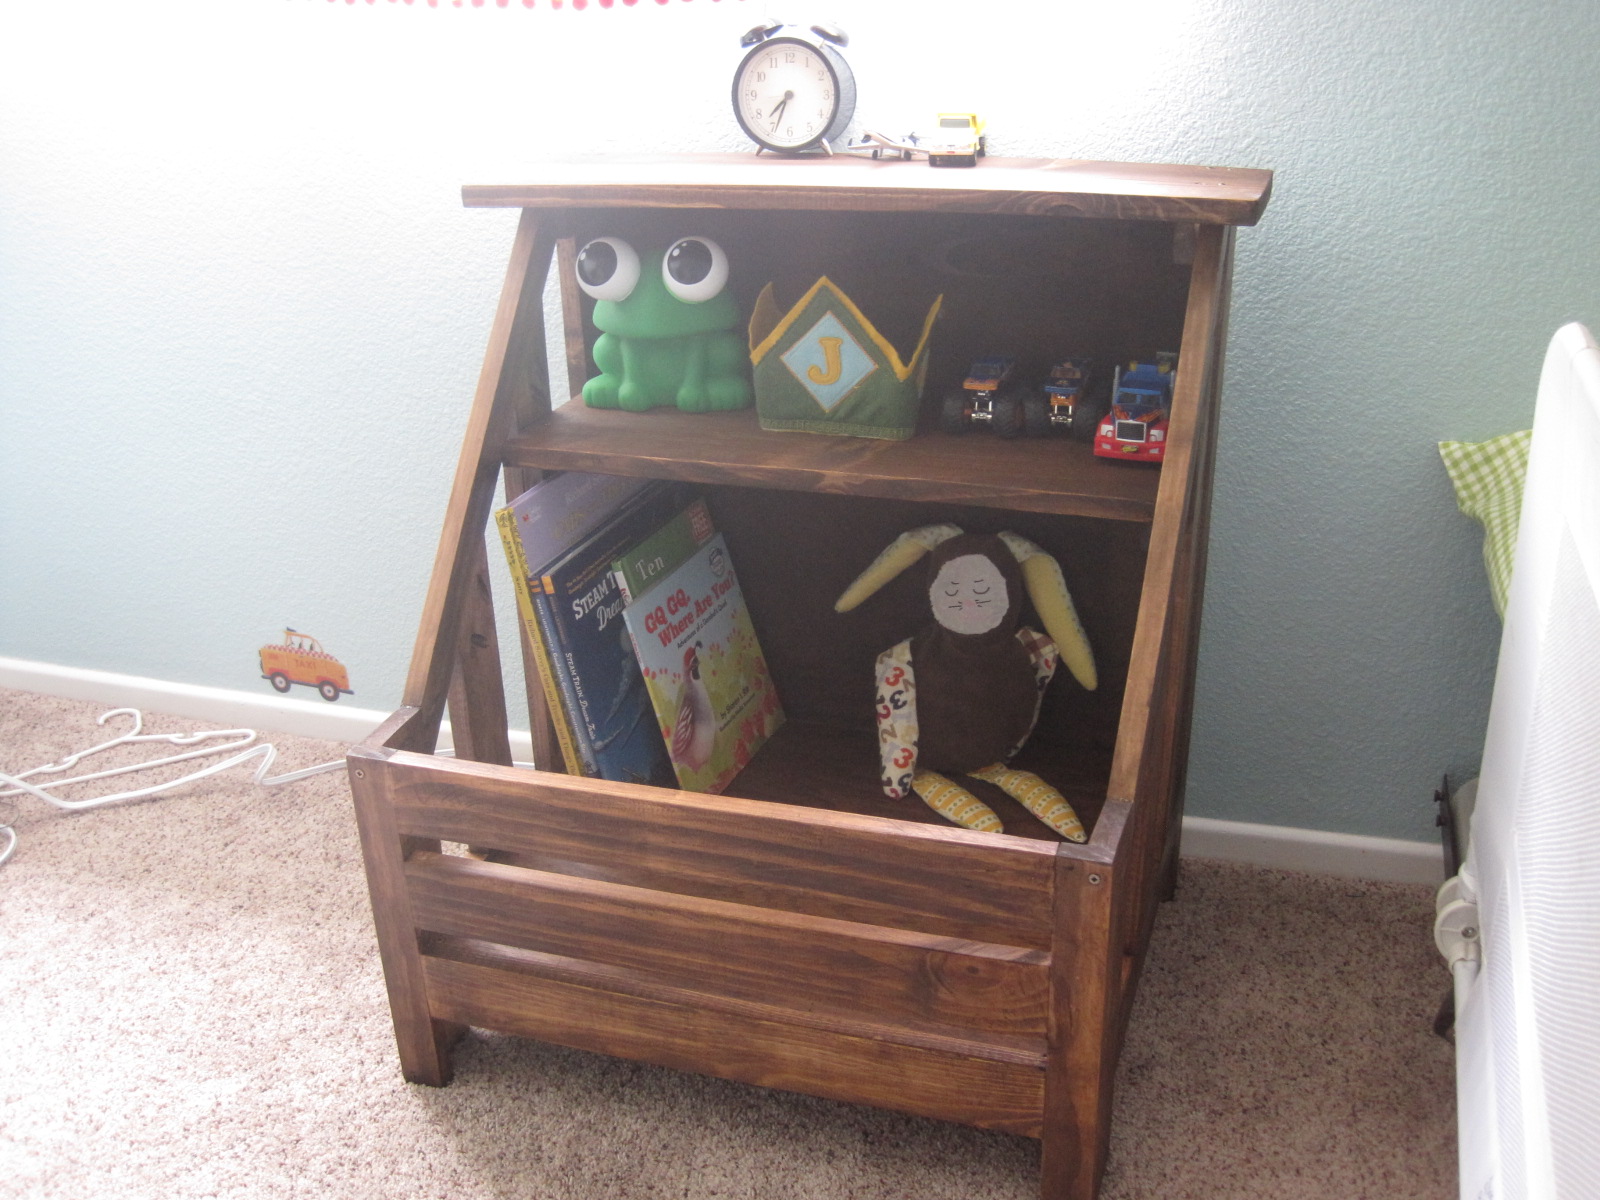
I had some issues with this plan here and there, but I can't be sure if it was an issue with the cut list or with my assembly. It wasn't anything I couldn't work around, though, and I'm really happy with the end result. I wasn't sure how to use the Kreg Jig on angled cuts, but once I figured that out the sides were very easy to assemble! Love that Kreg Jig.
Mon, 01/27/2014 - 13:13
Mamamea33, I think you are the first person to build this night stand! And it turned out GORGEOUS! Great job hauling the kiddos to get lumber! Glad you're hooked!