We built our kitchen cabinets and hood!
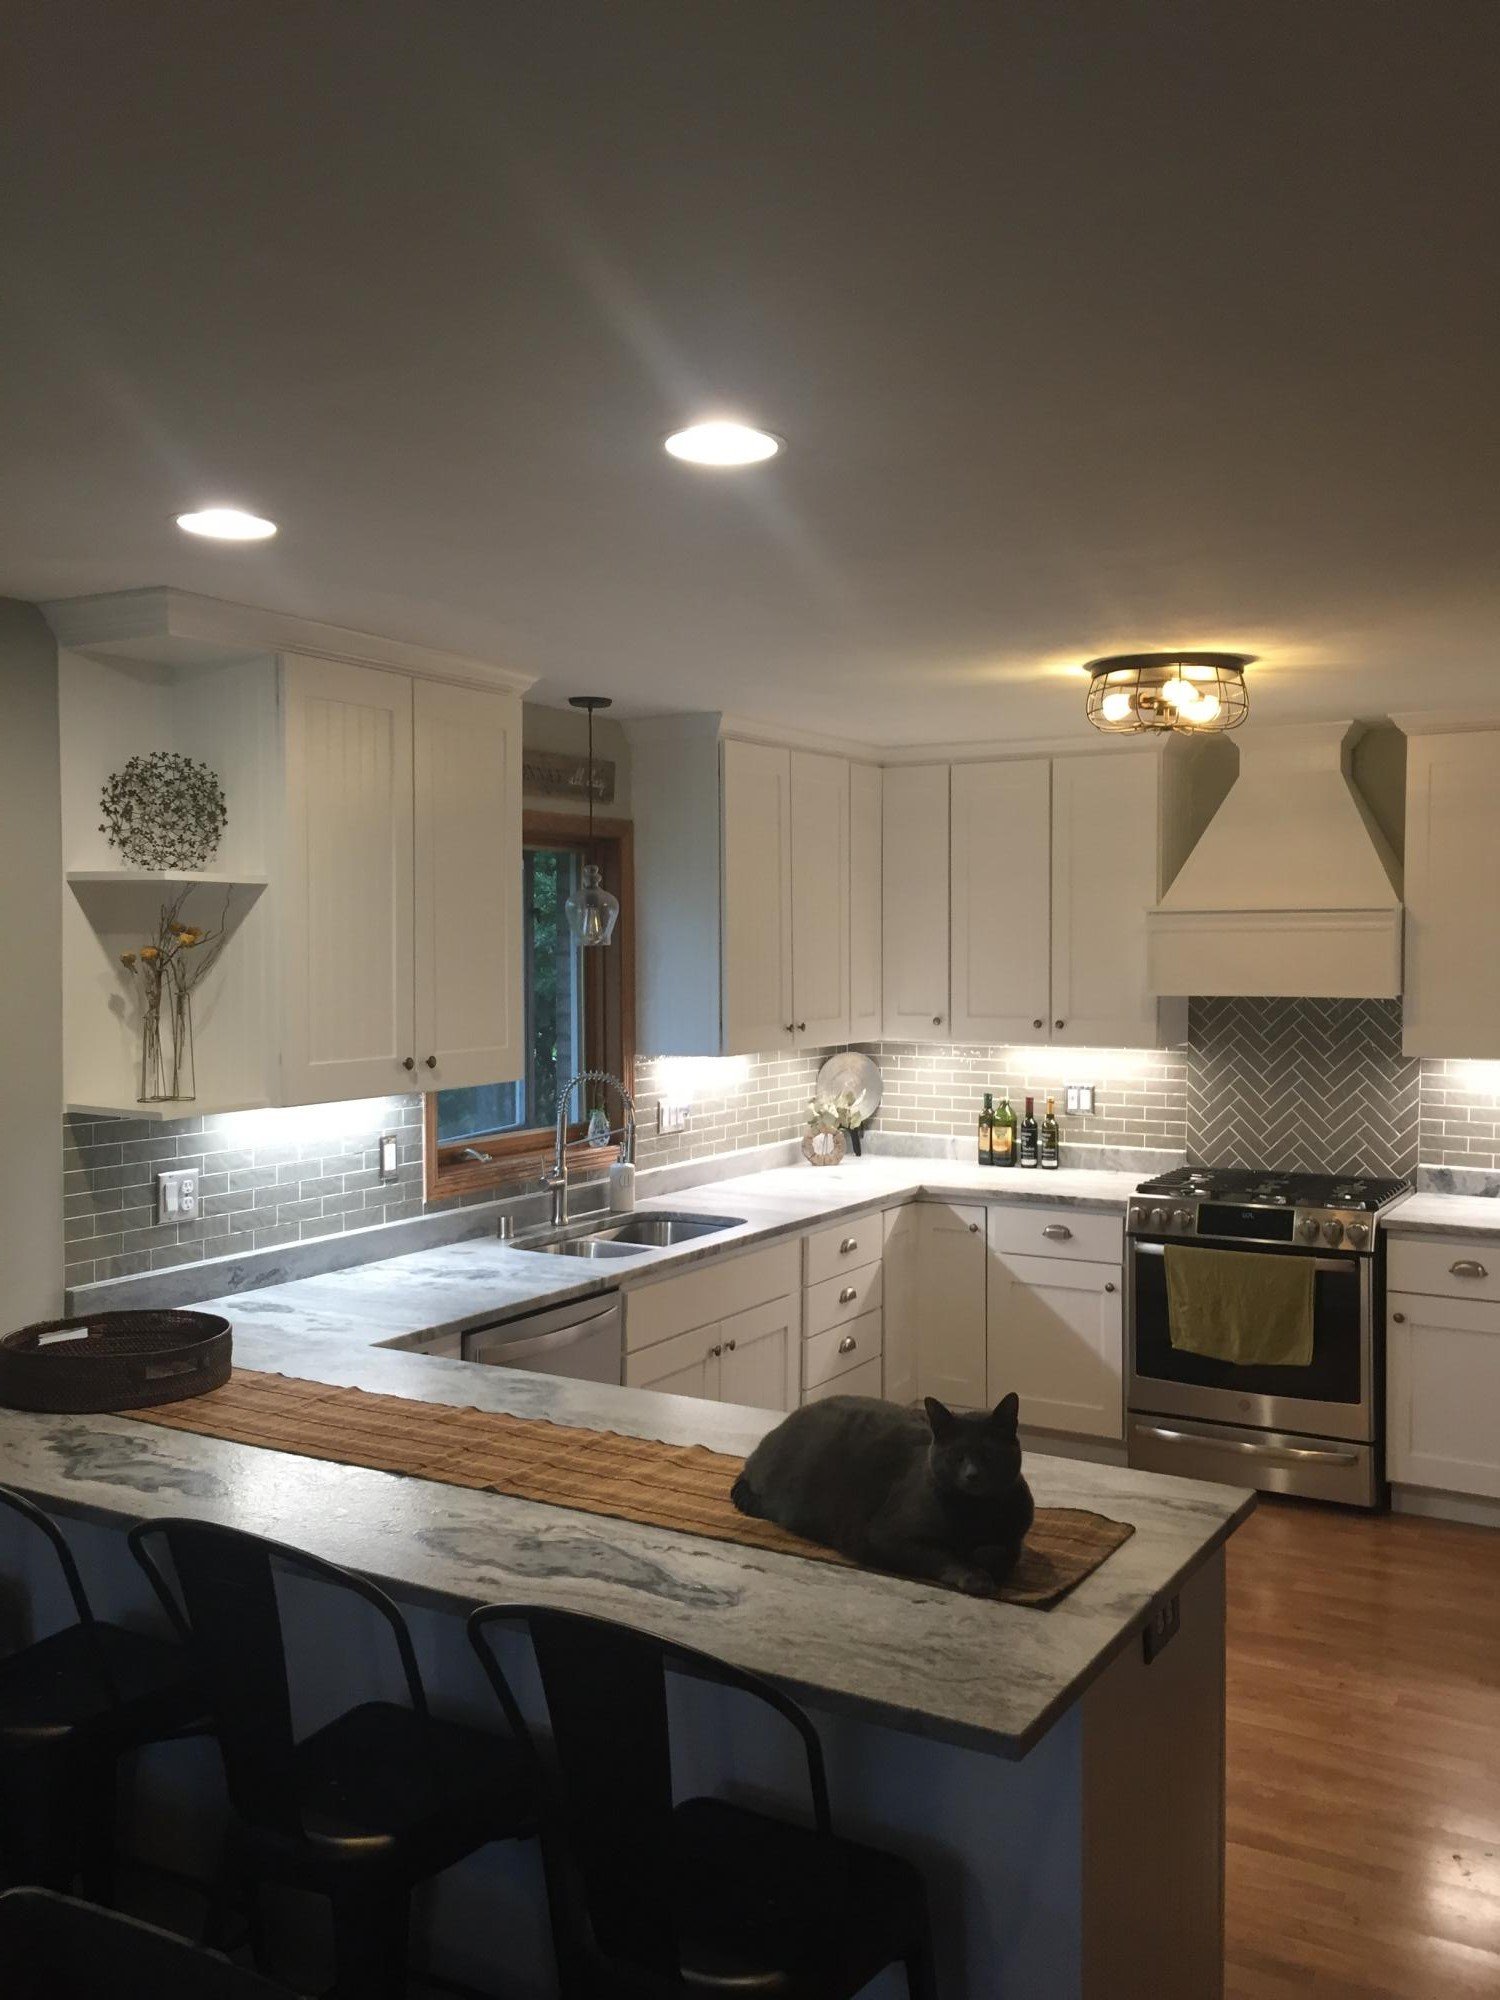
It took us awhile but we built these white cabinets from scratch. It turned out great and looks better in person. Thank you for your articles!
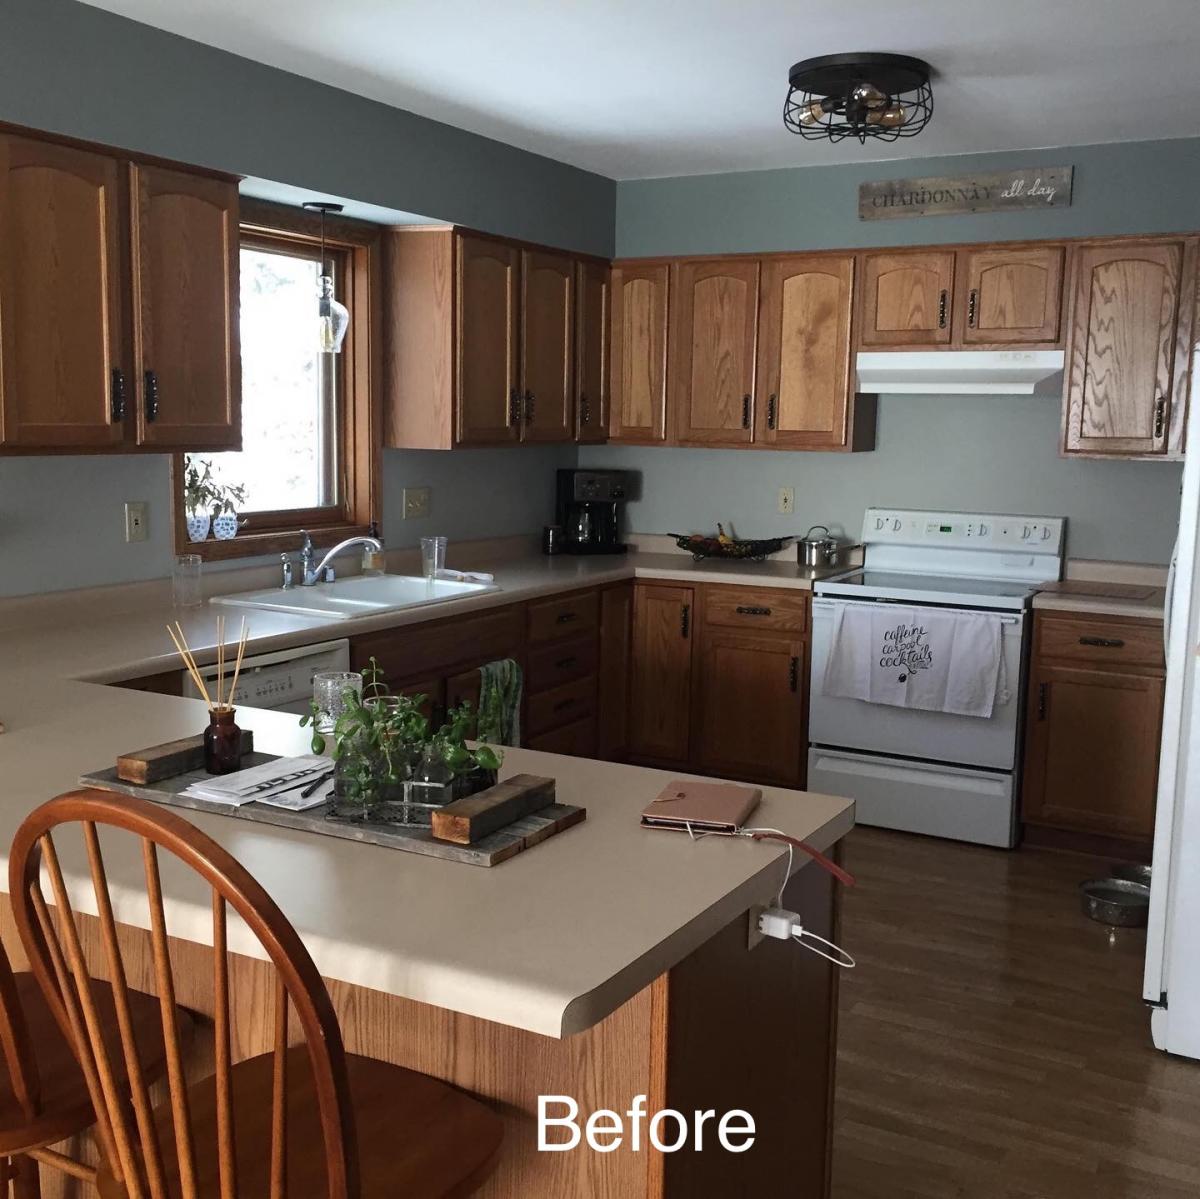

It took us awhile but we built these white cabinets from scratch. It turned out great and looks better in person. Thank you for your articles!


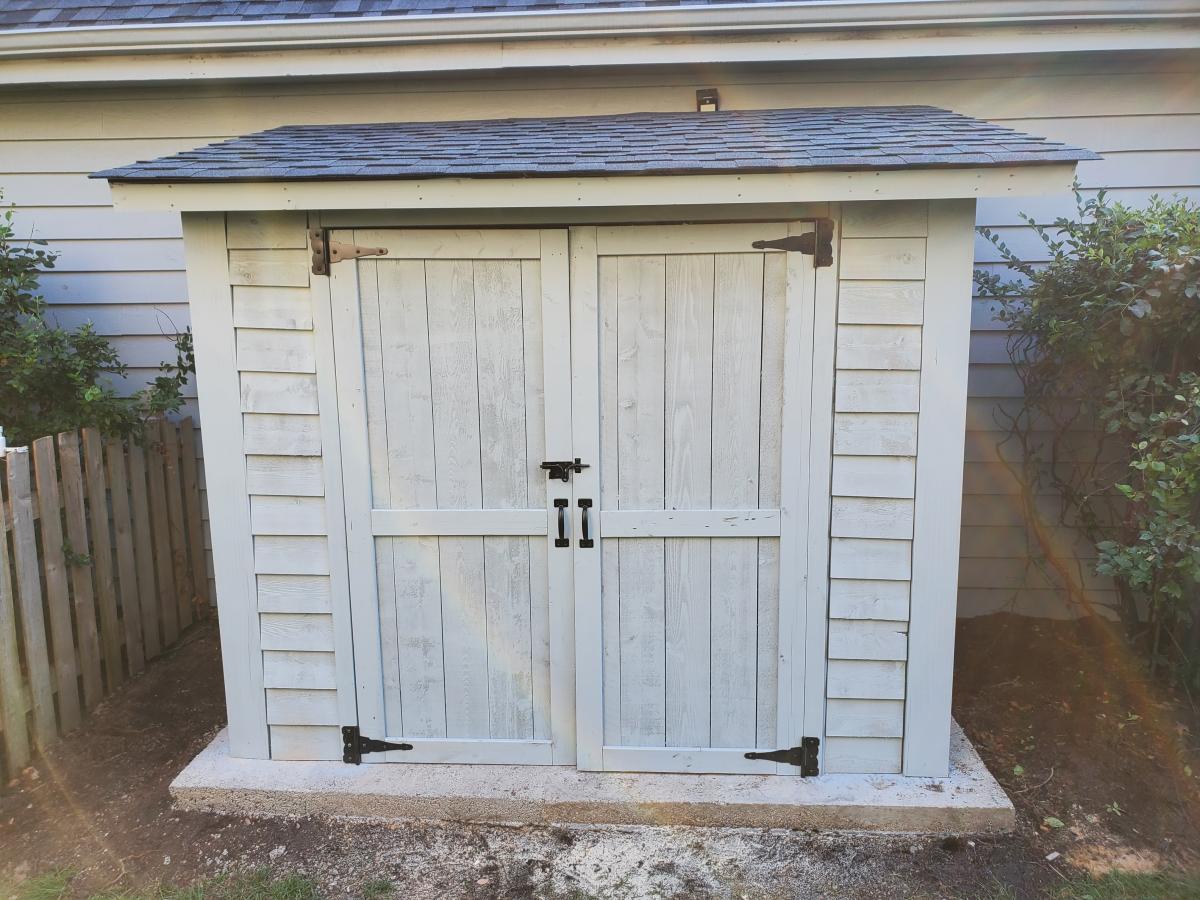
Thank you for the plans, shed turned out great! My association required me to match the siding color, roof color, and anchor to a concrete slab. So I poured 25 bags of 80lbs concrete to make a 9x5 slab. Redid the plans for an 8x4 shed, built the frame with 2x4s and not 2x2's, installed flashing, ice/water shield + felt + matching shingles since I'm near Chicago, and used a flexio finishing sprayer to paint the shed. Saved some $ by using 2 Redwood Grain Fiber siding panels for $22 each at HD.
All in all very happy with my shed and all my dangerous yard tools and woodworking tools can be put away from my toddler.
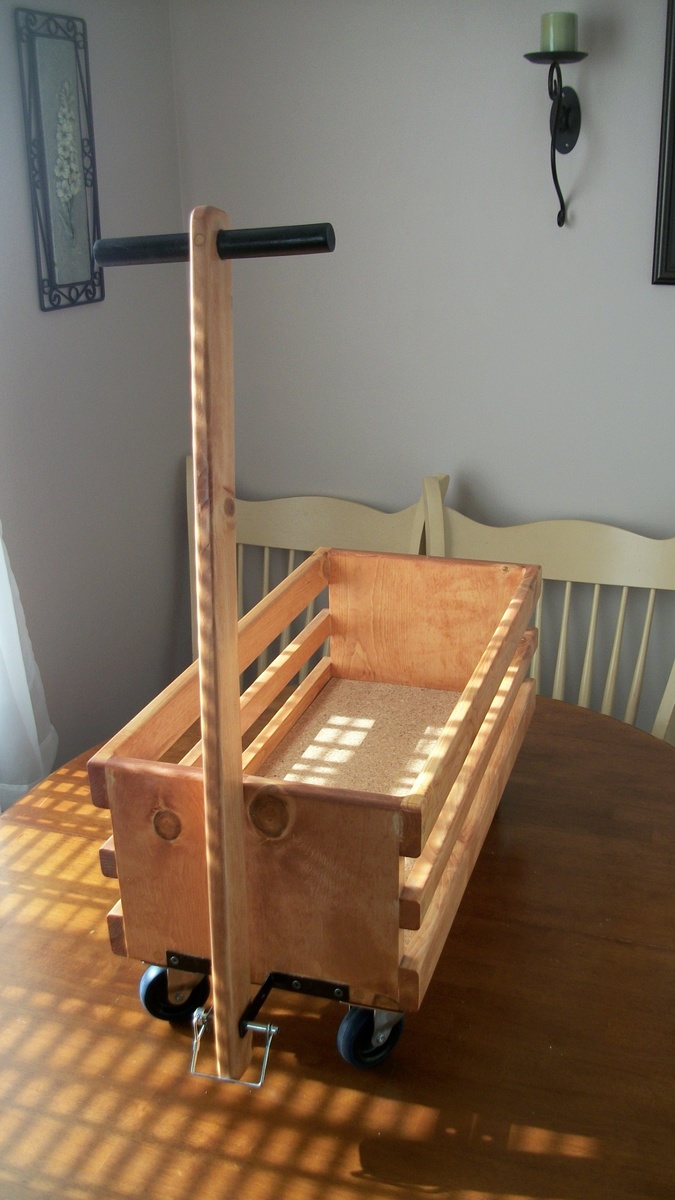
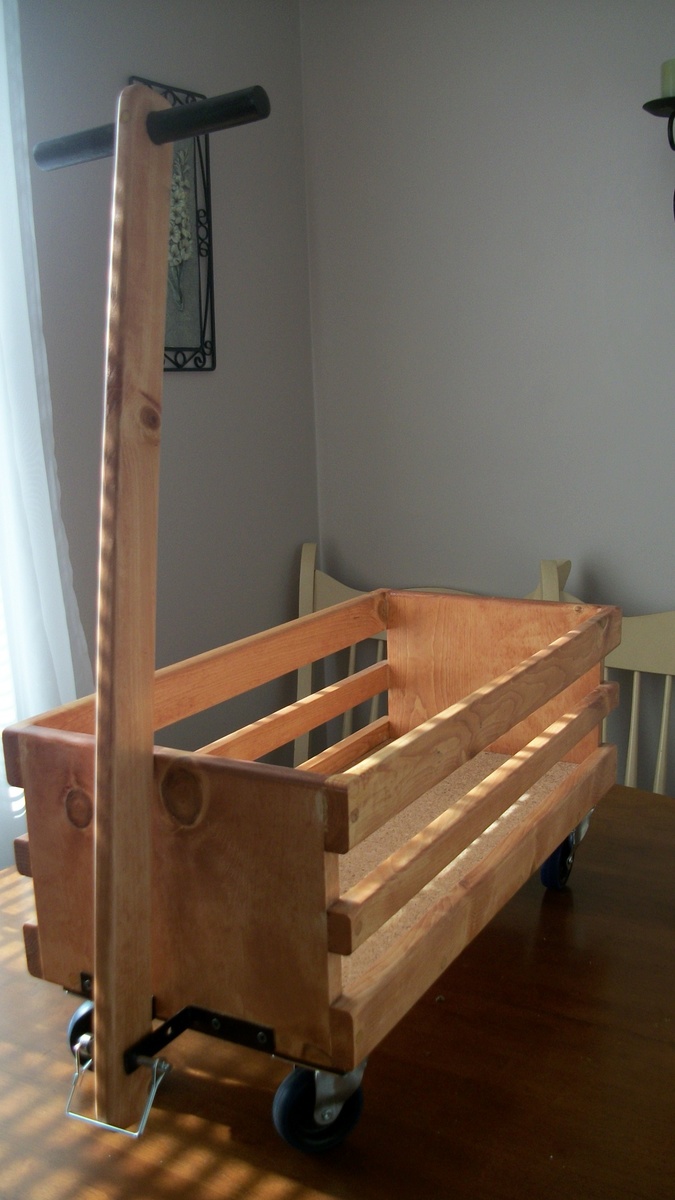
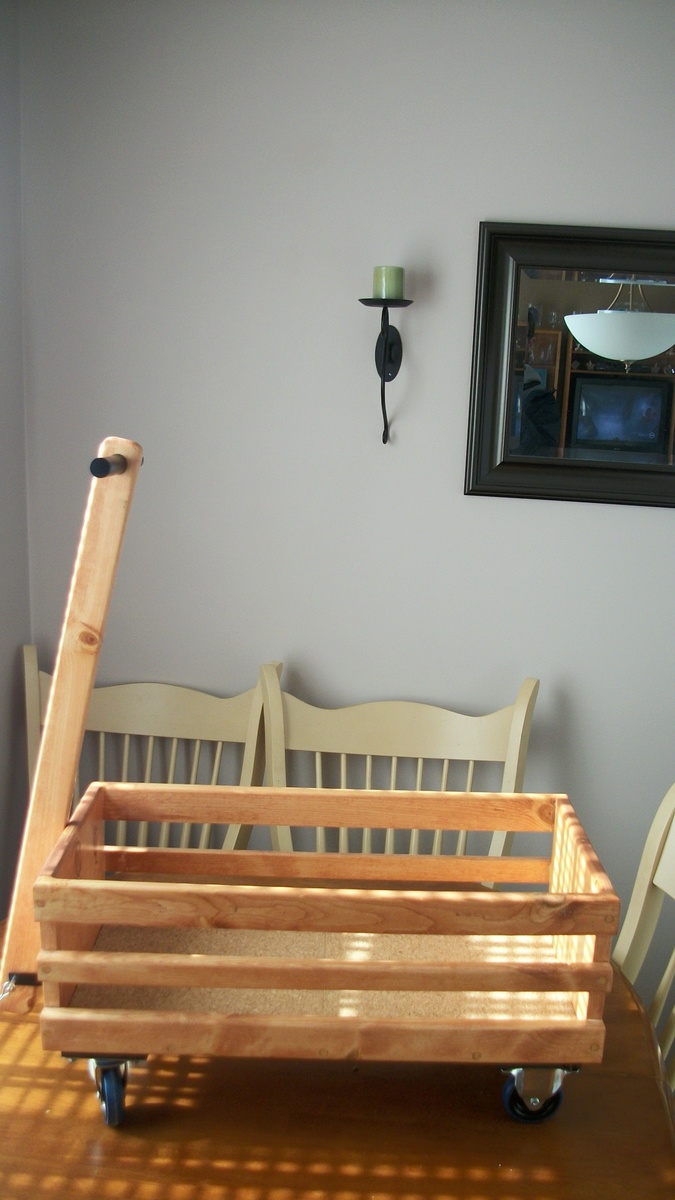
Based this wagon on plans found on Ana White's site. I built this for a 2 year old girl of a co-worker. She is right now using it to pull around her dolls.
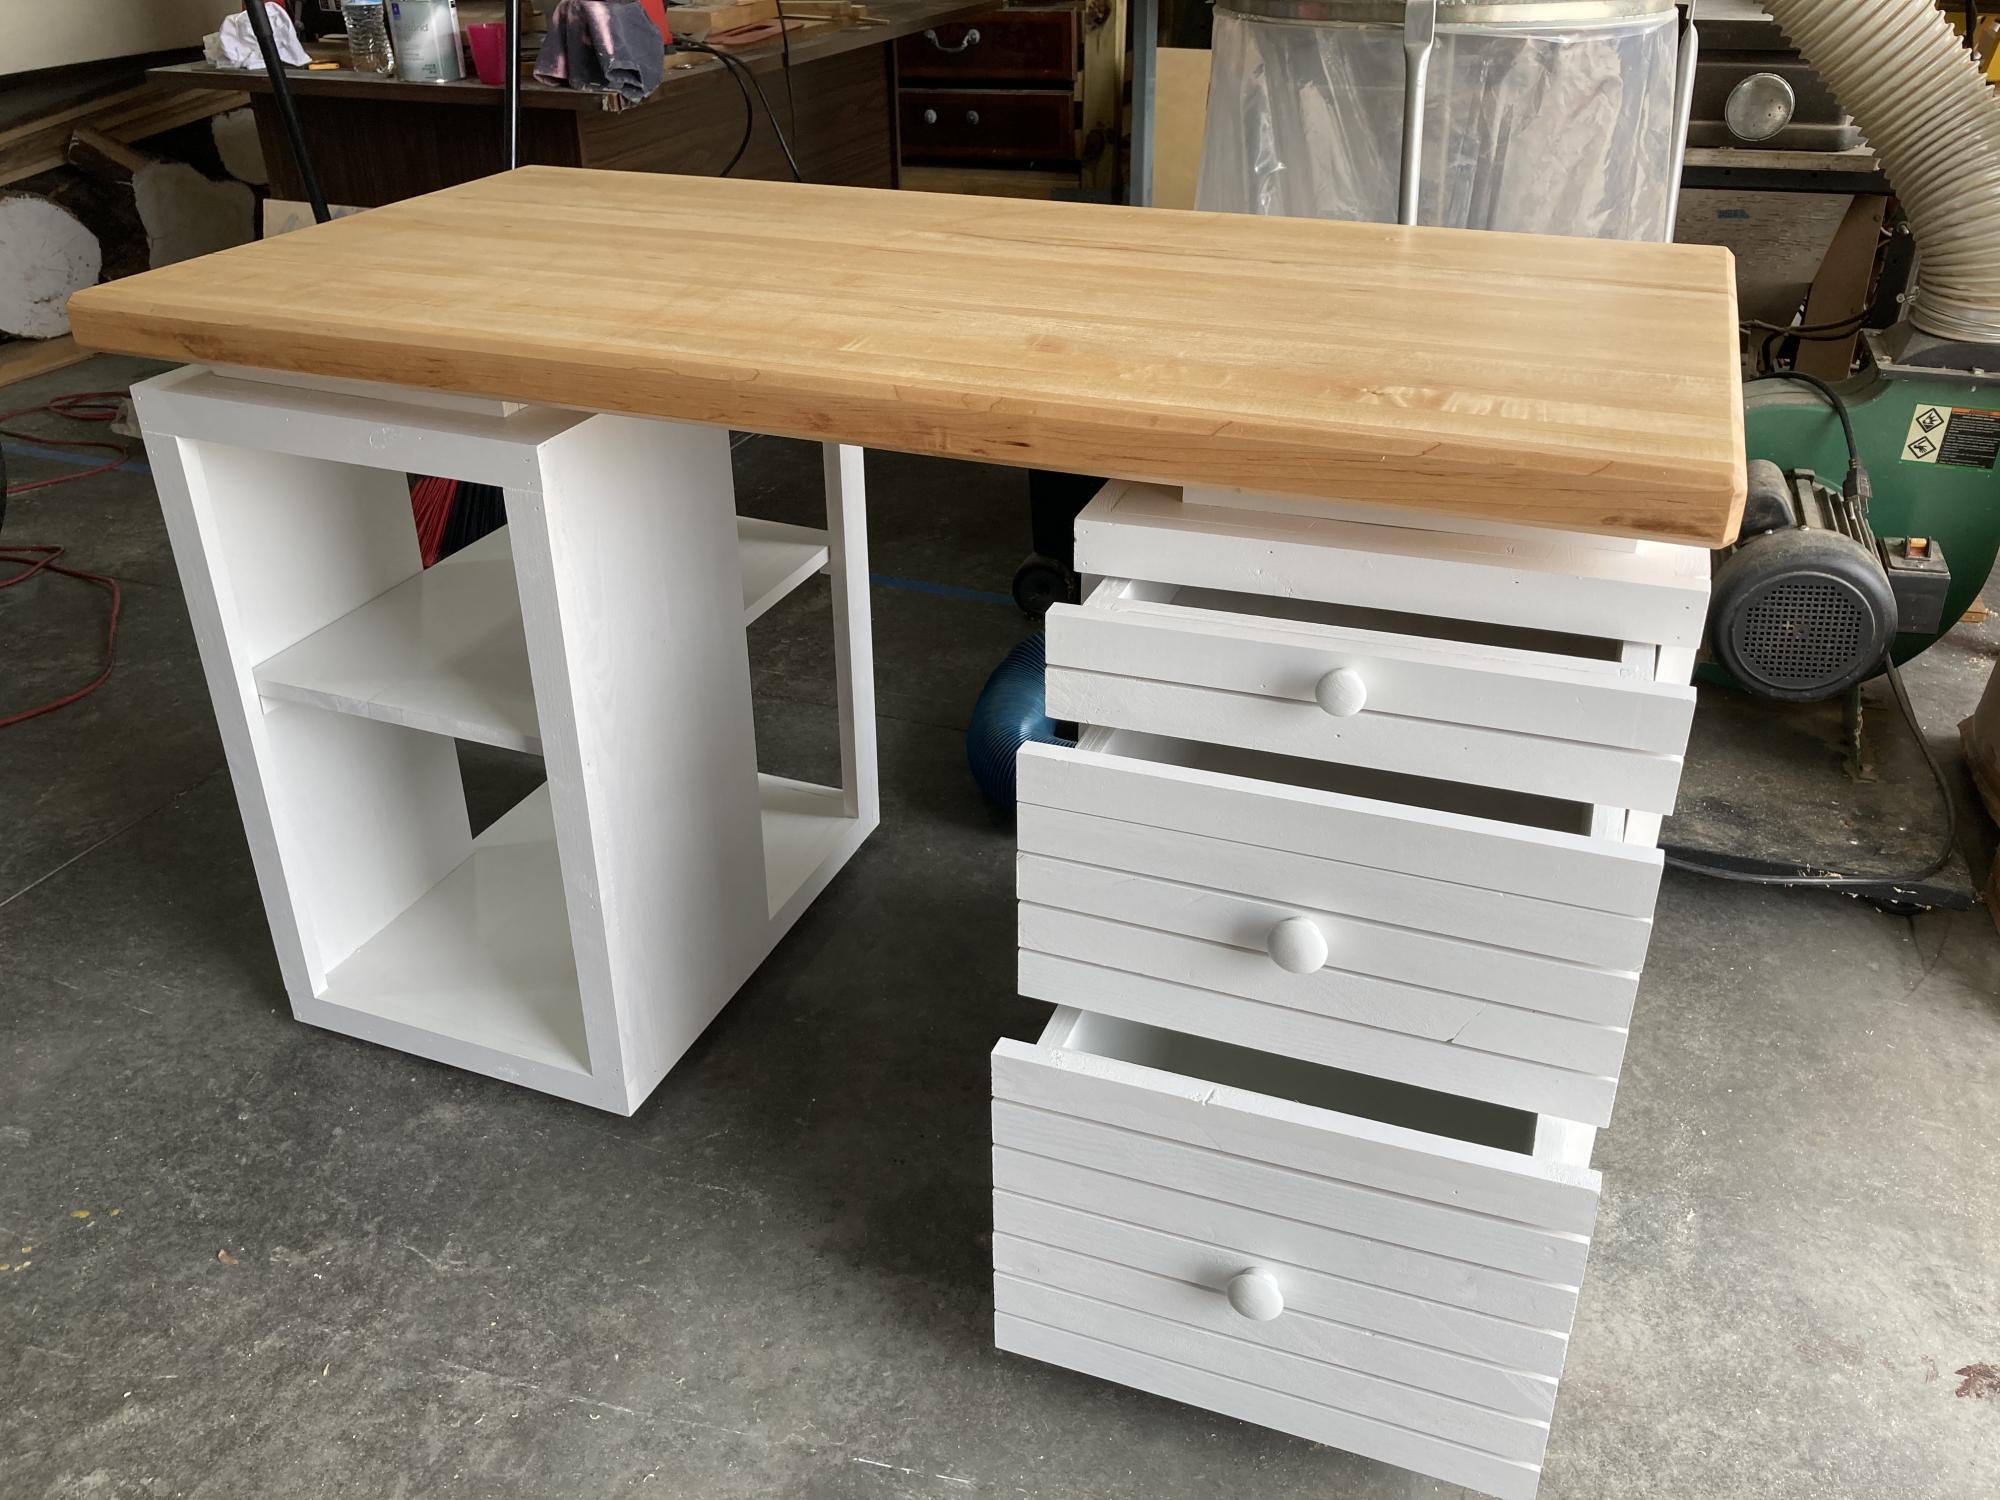
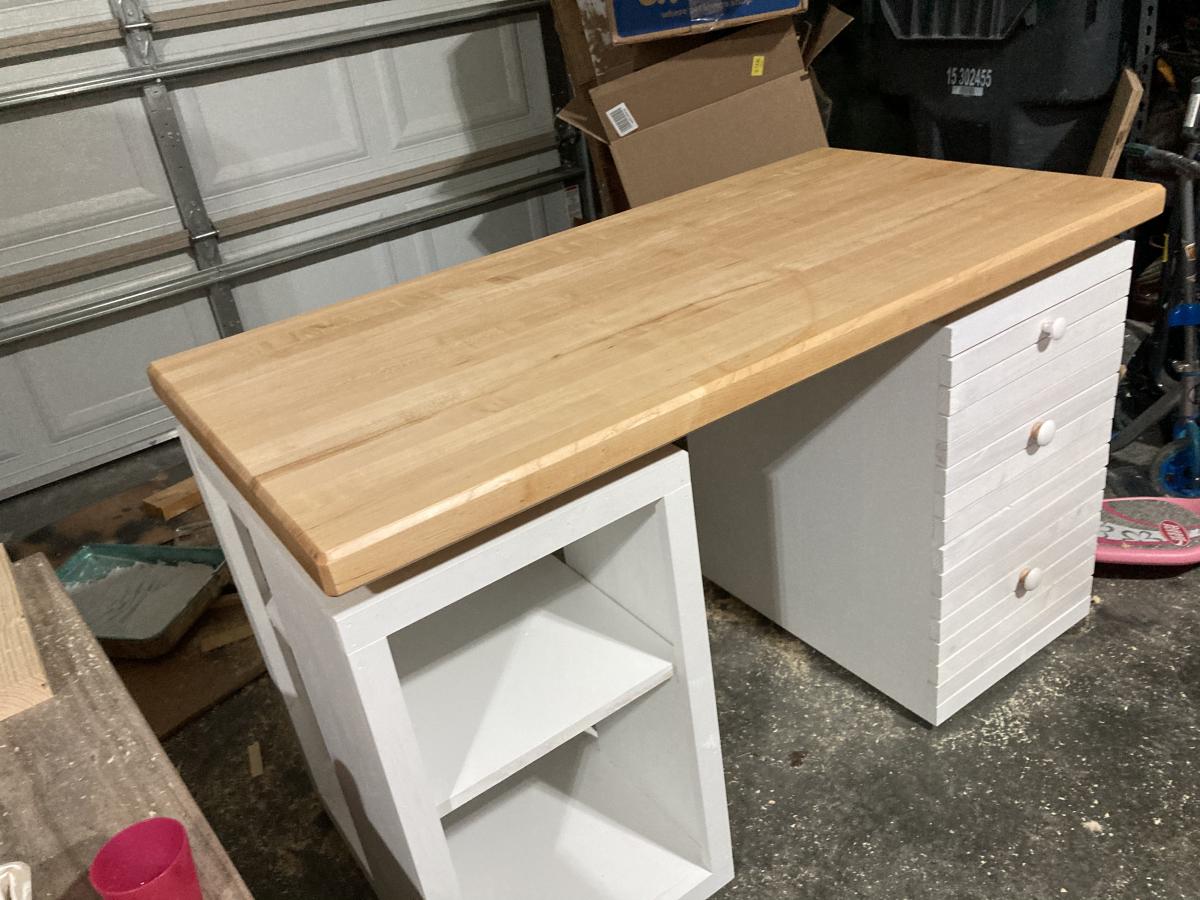
Your craft table was the kicking off point for this desk. Pine cabinets, plywood drawers, maple top.
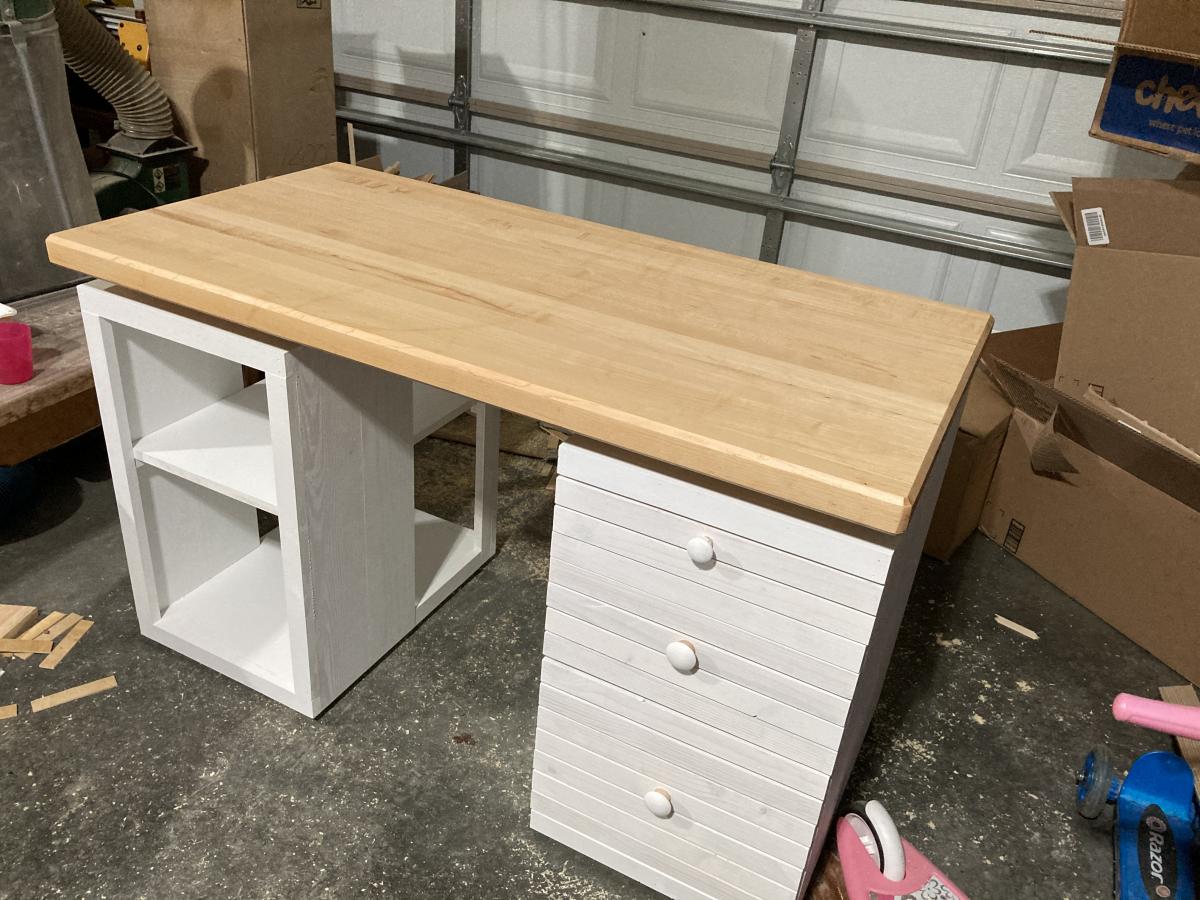
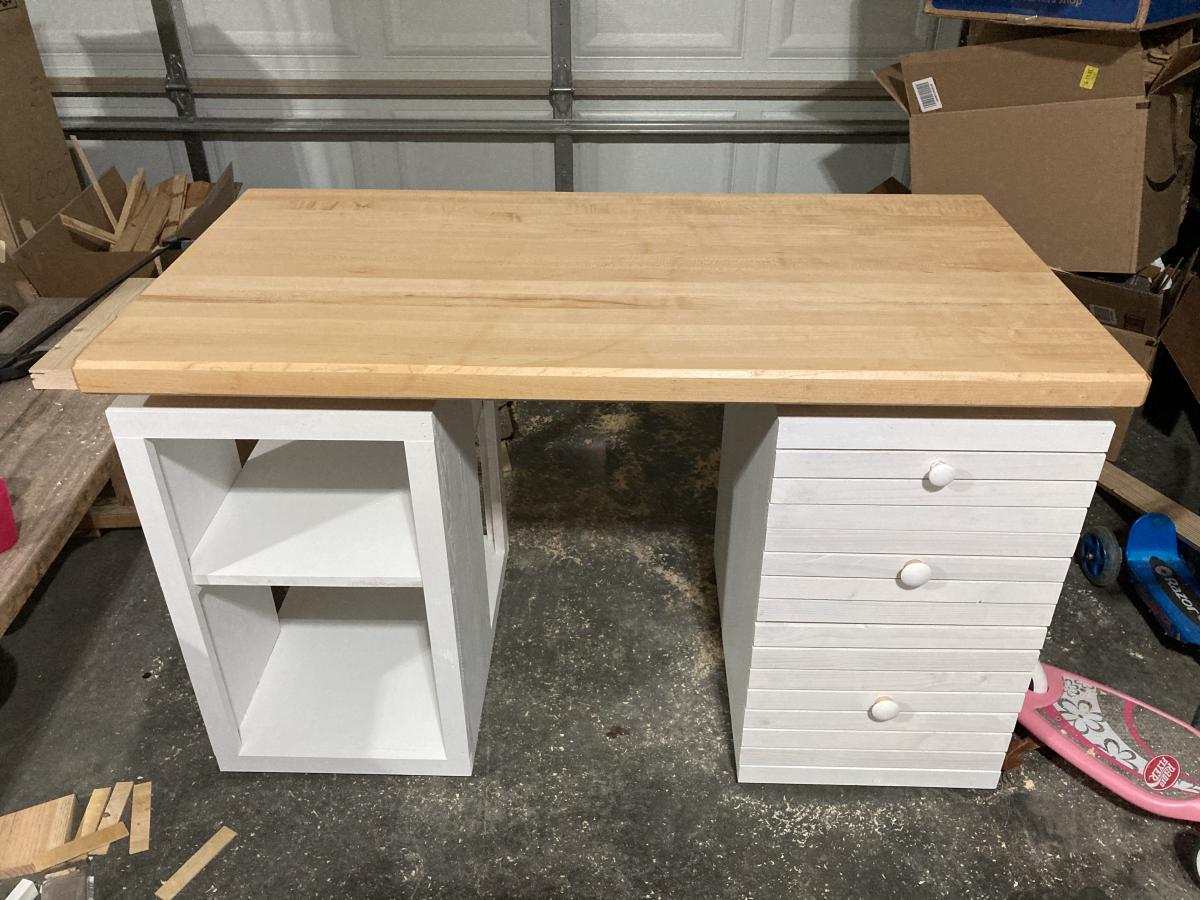
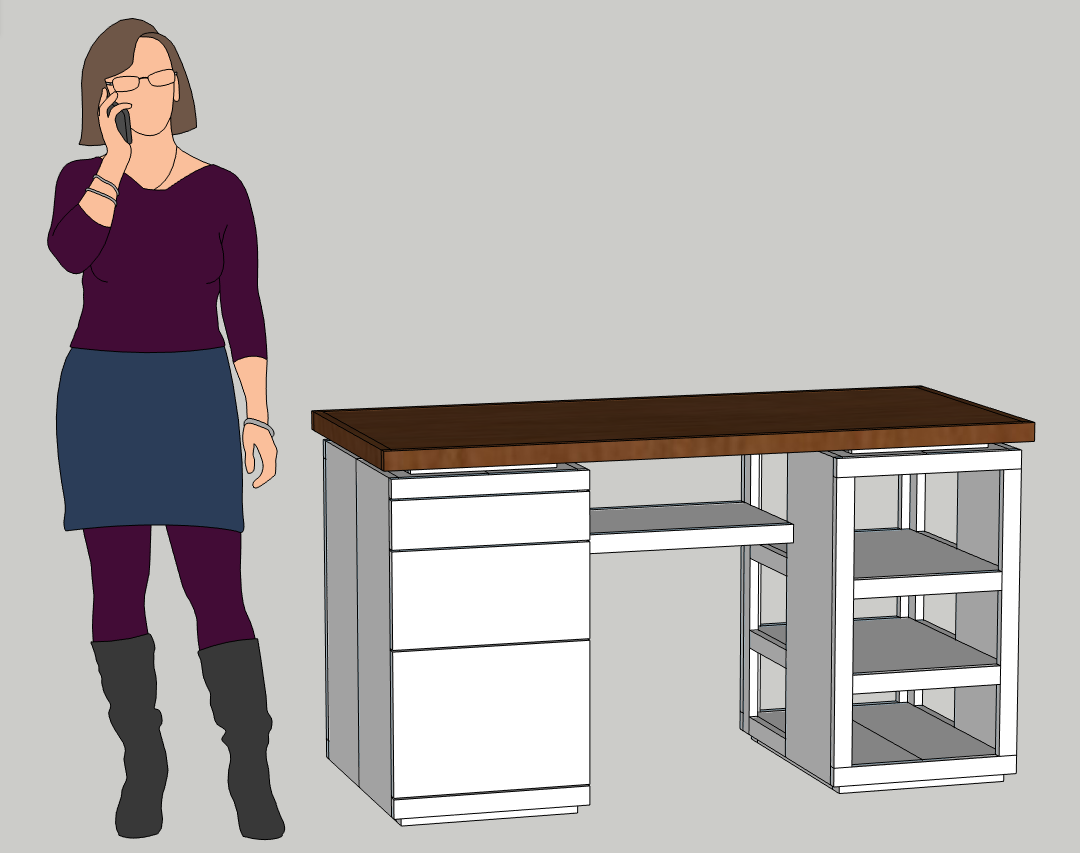
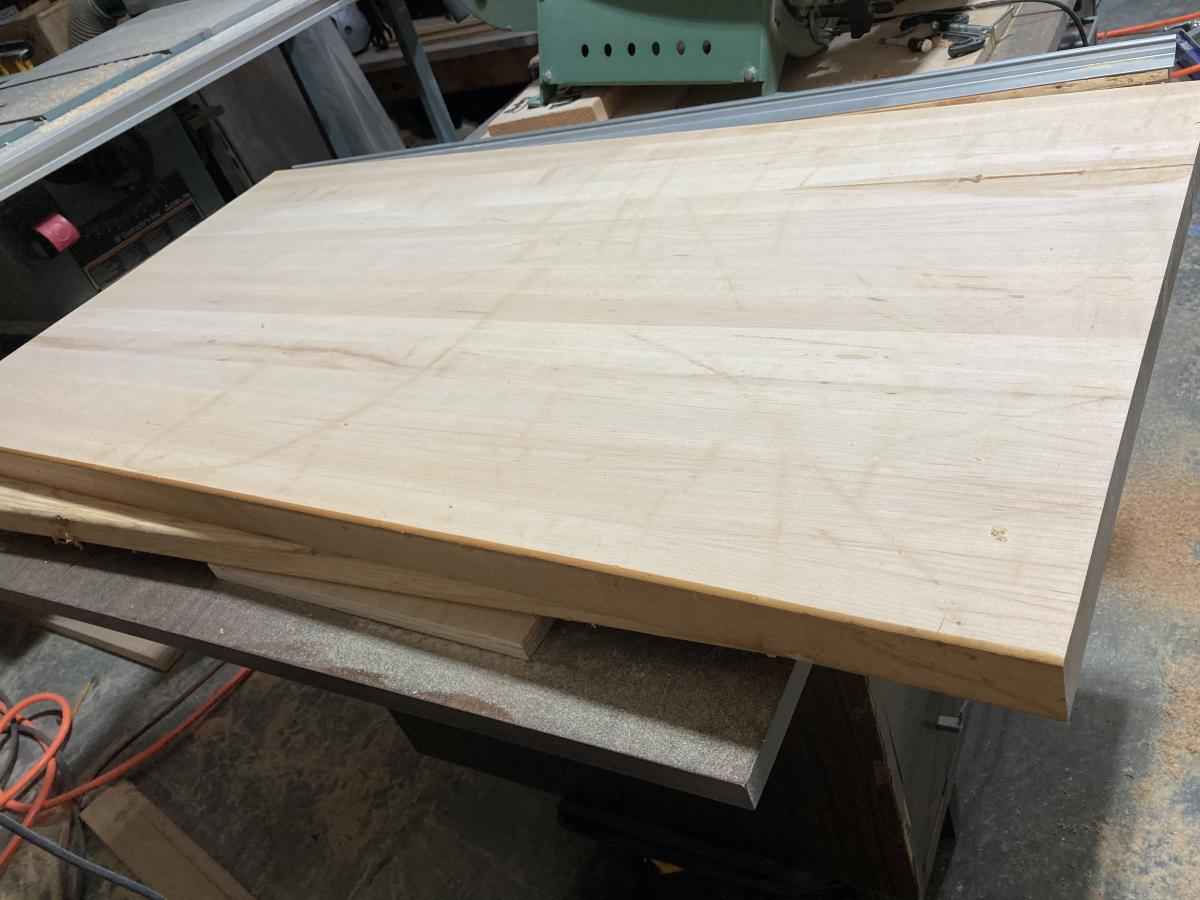
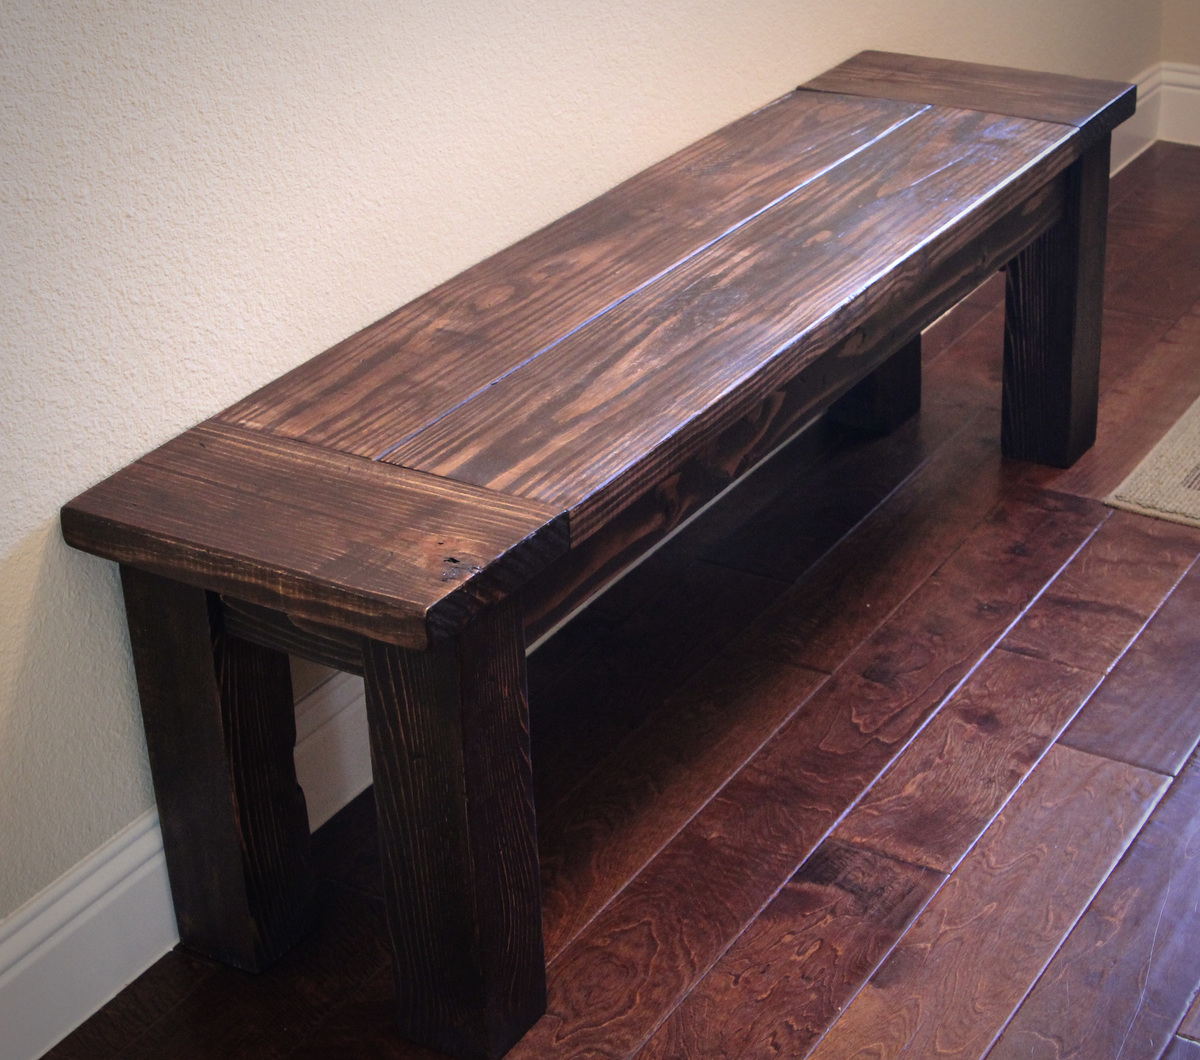
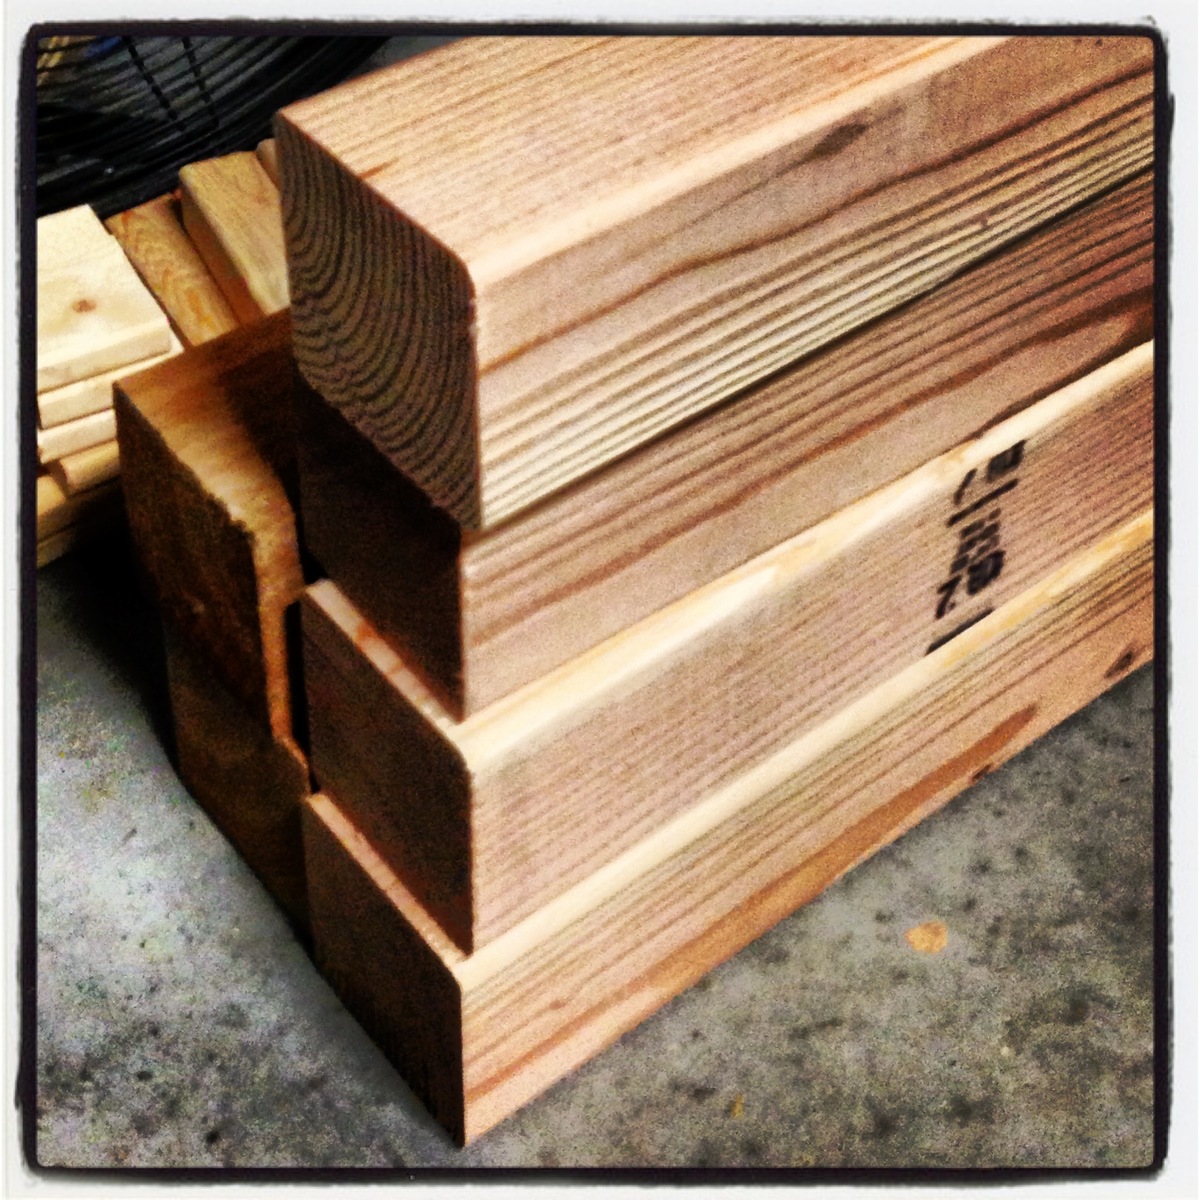
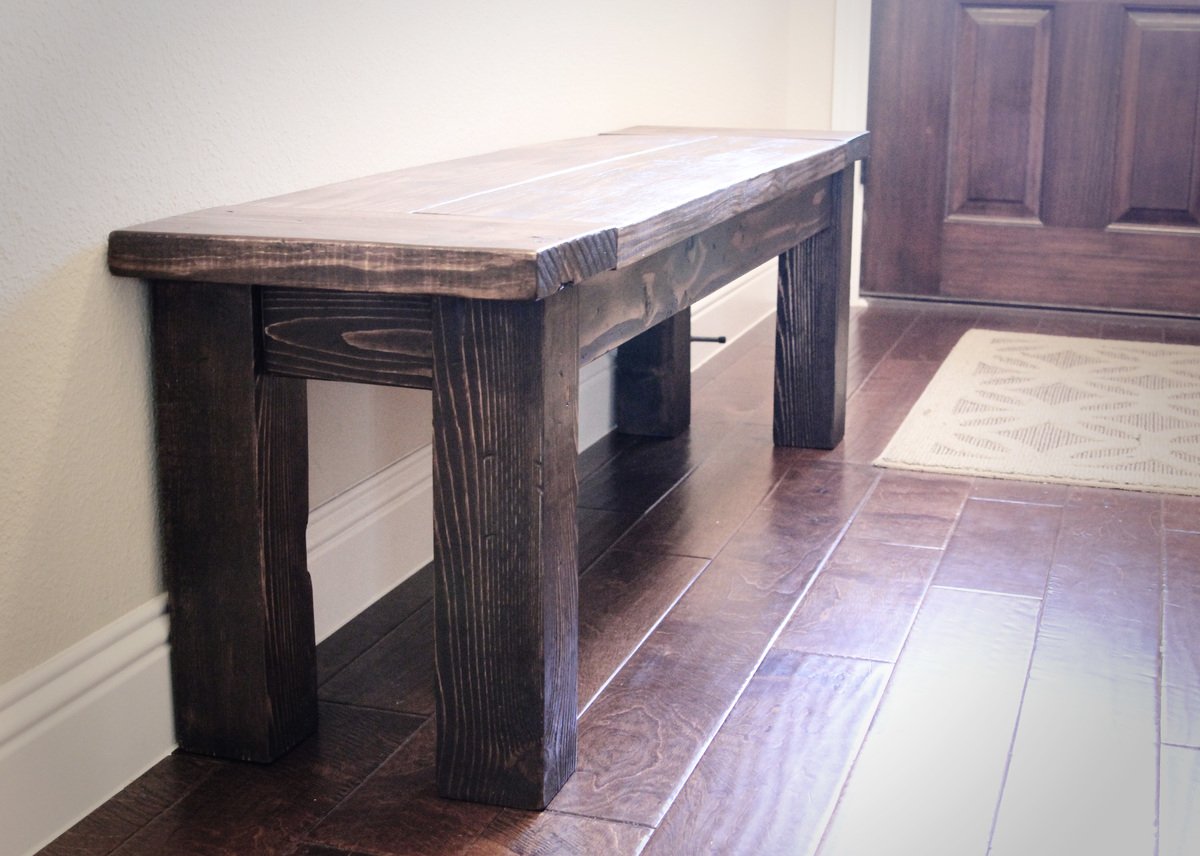
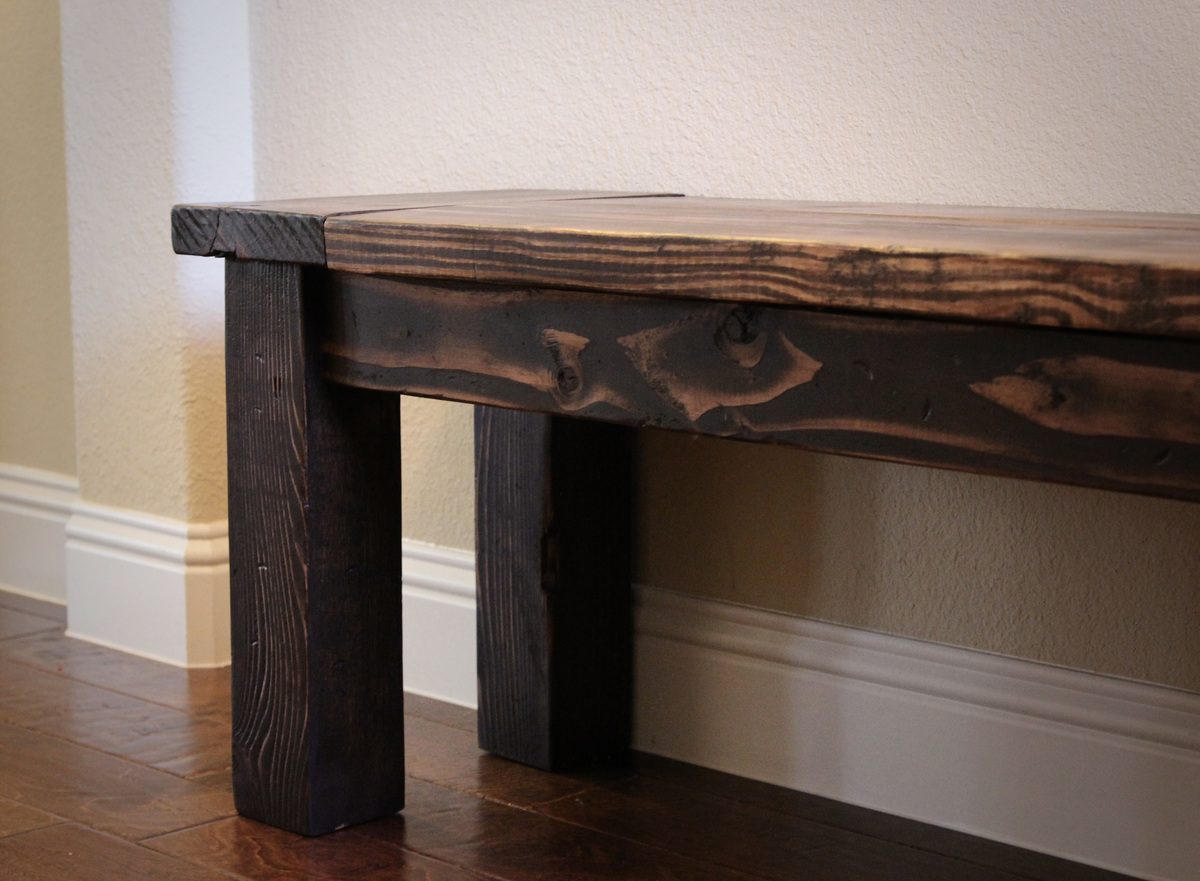
With lots of leftover wood from previous projects (farmhouse table and sideboard), I decided it was time to start another project. (I did head out to Lowes to get a piece of 4x4 for the legs...they only had Cedar. My friend found some Fir at Home Depot for a buck more).
Found the plans for the Farmhouse Bench, looked at other brag posts and their suggestions...then got to work!
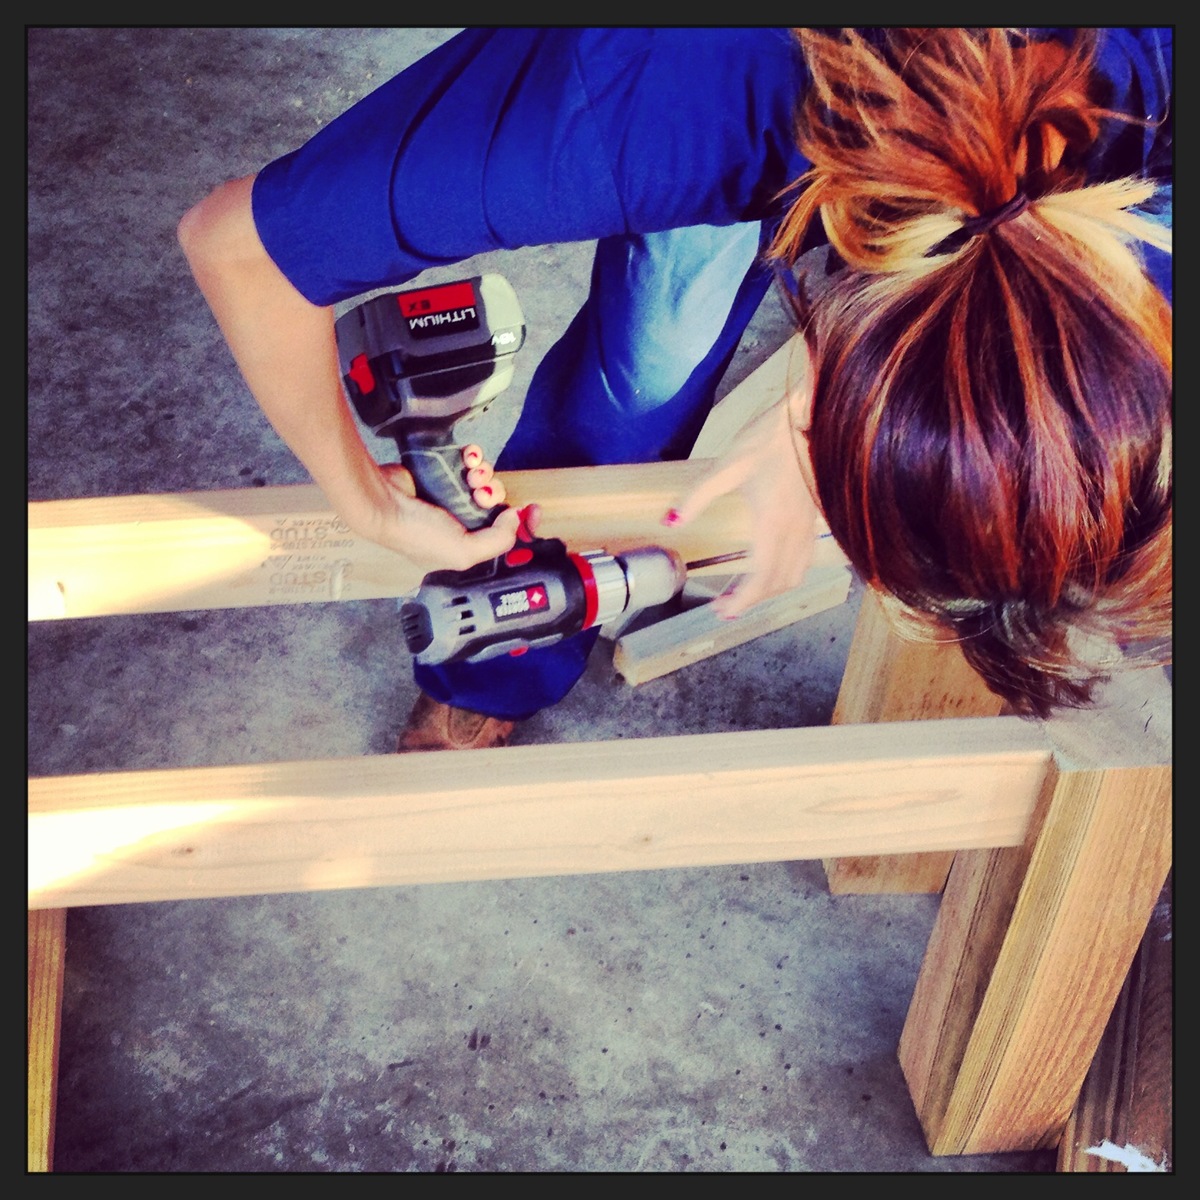
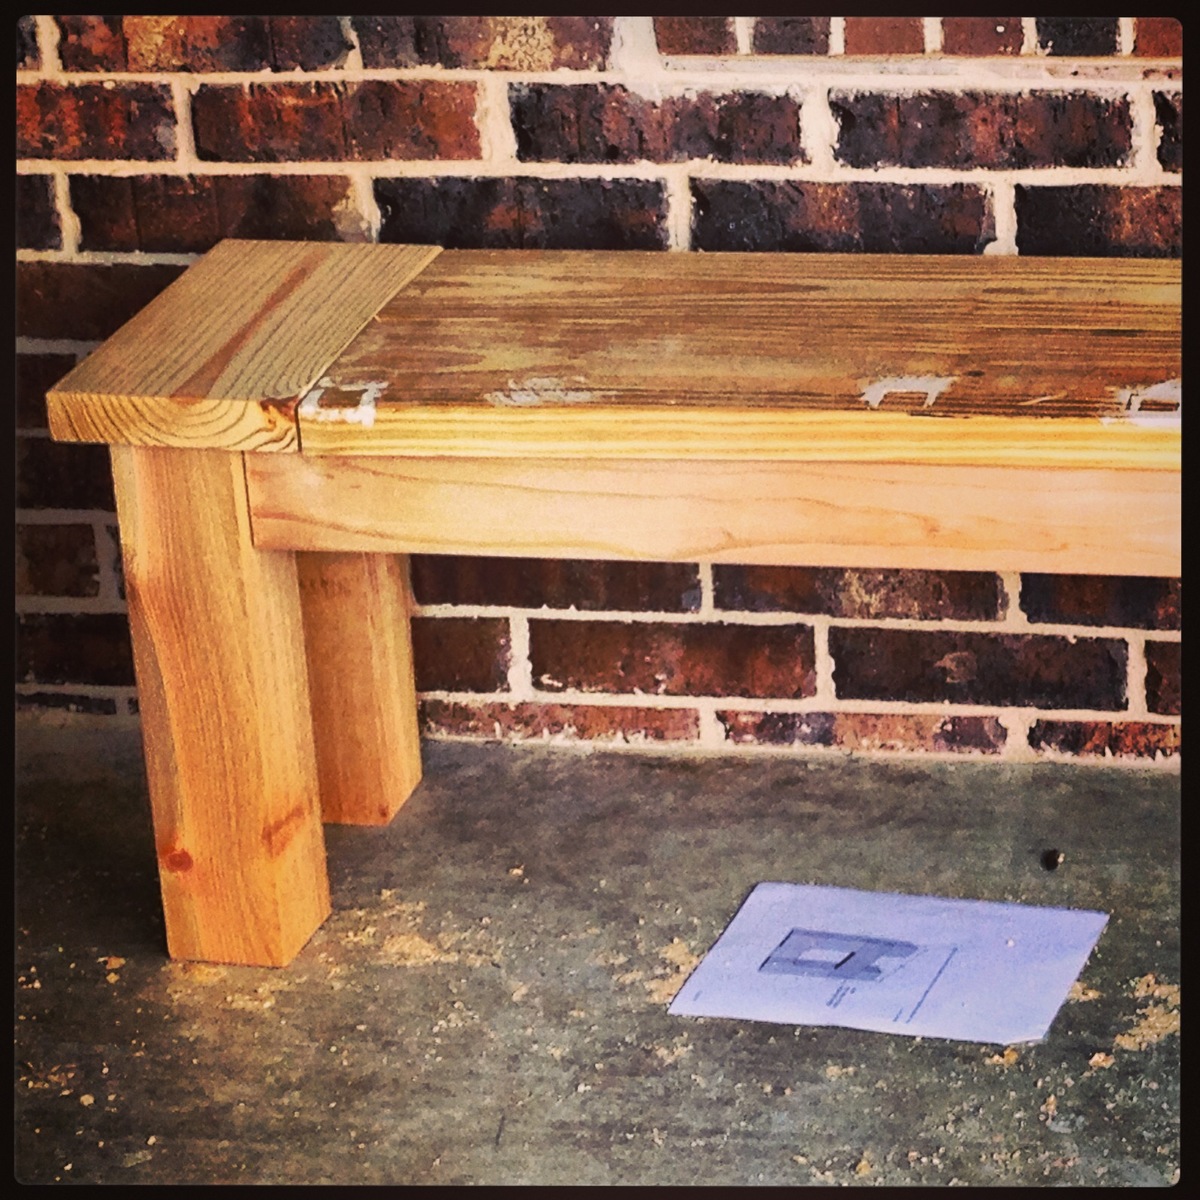
Cutting the pieces was fast and relatively easy. Predrilling the pocket holes also went quick. Putting the pieces together was also very fast (though I did have to add extra pocket holes here-and-there so that the legs and two end-aprons were more sturdy).
Sanded the piece, then added a coat of Rustoleum Dark Walnut Stain, and then a couple coats of Deft Satin varnish.

We have a frosty faced blind girl and an aging tri-pawed that we wanted to be able to continue snuggling with us so we adapted the Farmhouse Bed with Storage to make it a king size. We made the drawer boxes deeper which allowed us to get rid of our dresser to create more space in our room. And we added a flight of stairs for the pups.


Fri, 12/30/2022 - 07:53
This is exactly what I’m looking for! Perfect for our dogs. Although, I wonder if a ramp would work or if it would be too steep? Hmmm
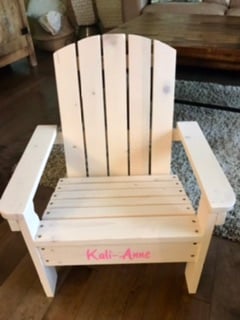
This was my first time building a chair. The plans were so easy to follow. The kids size fits an average child up to about age 5 or 6. If I were to build again I would add a bit of height to the backs so they could fit them even longer. My granddaughters aged 3 & 5 just loved them.
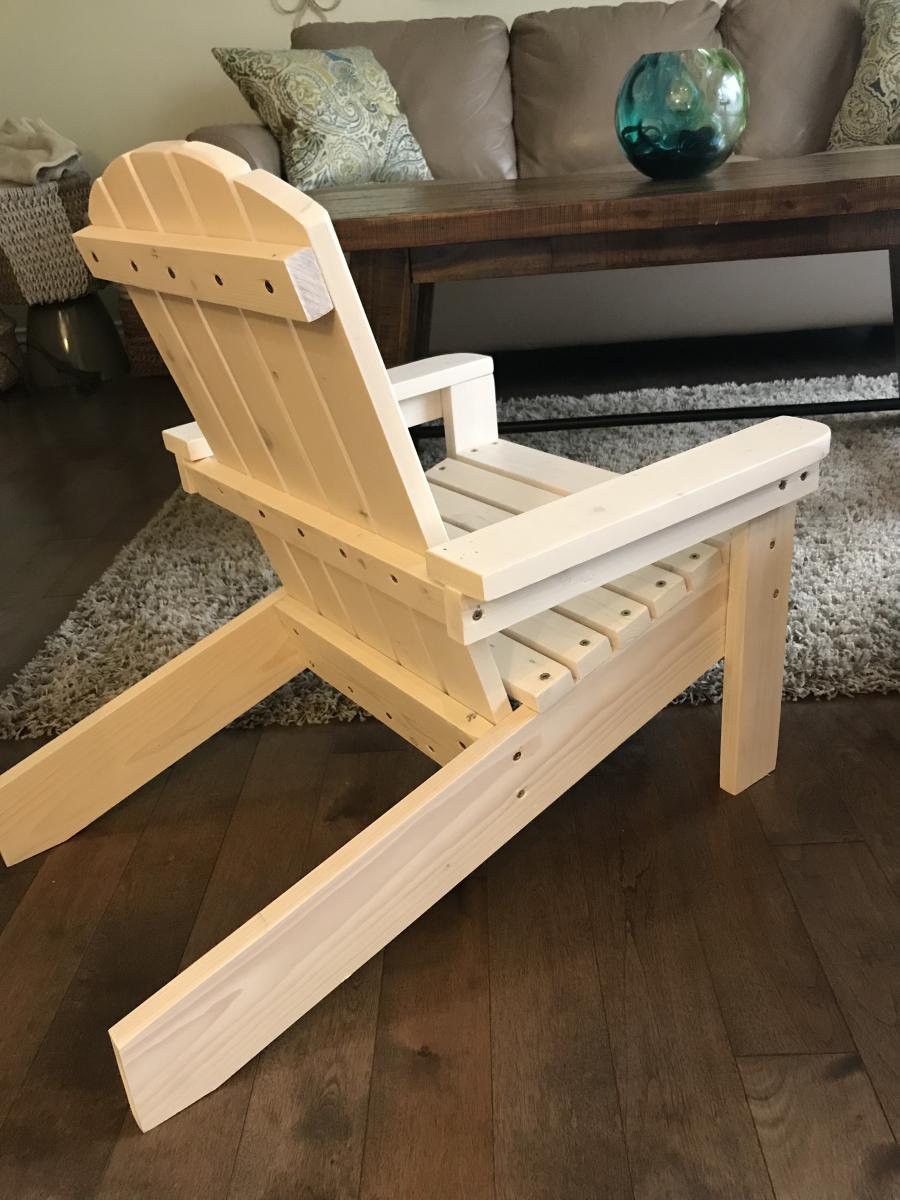
My mother had a cheap particle board sofa style table on her back porch that was coming apart. She said she'd like to replace it, so I told her I would her one.
I decided to make her a few end style tables to go with it as well.
Finally, I had seen these chairs and decided to make her a few of these also. I liked the Ana White plan, but I didn't like the idea of seeing all the screw holes, so I developed my own method using Kreg and my own assembly method that allowed me to make them strong, without seeing all the screws.
I (and my mother) were very pleased with the final project.
Mon, 06/10/2019 - 18:49
Thank you for posting this! I built the chair as is from the plans but I realized it really needed a backrest. I like how you added one and if you don’t mind, I think I’m going to “borrow” your idea. I lucked out on the cushions-I got mine from Home Goods for $40. I don’t think everyone has a Home Goods near them though. Love the tables too!
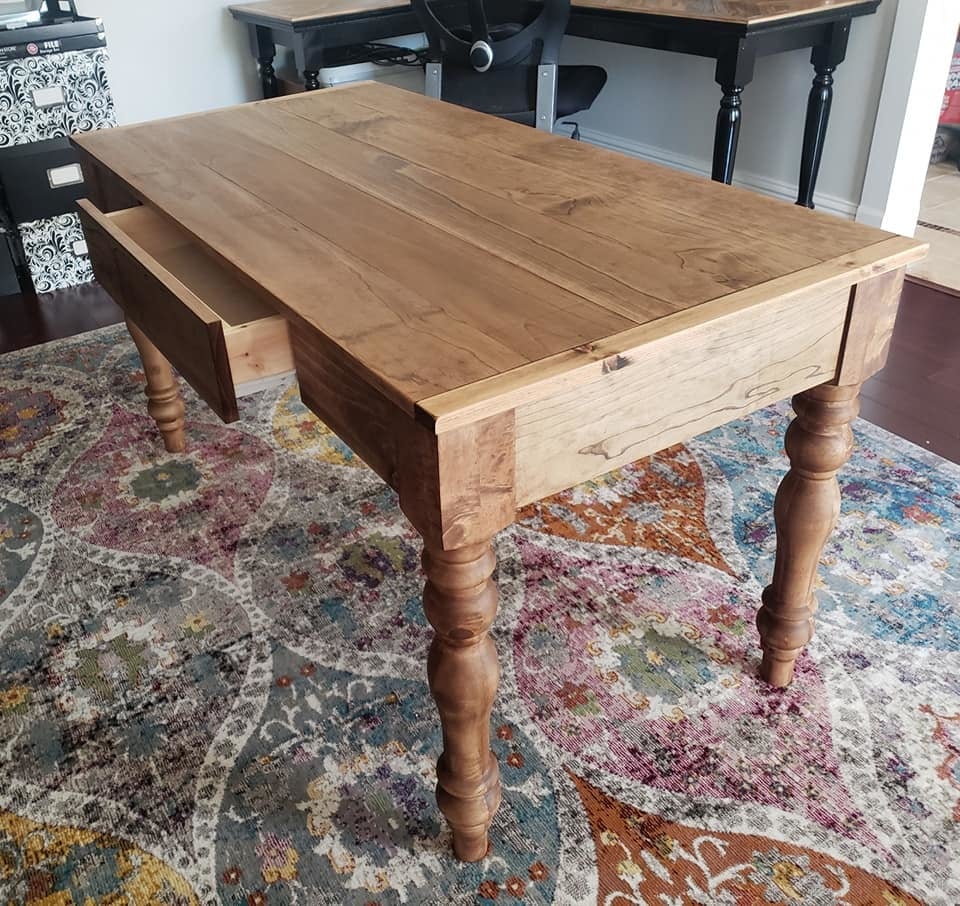
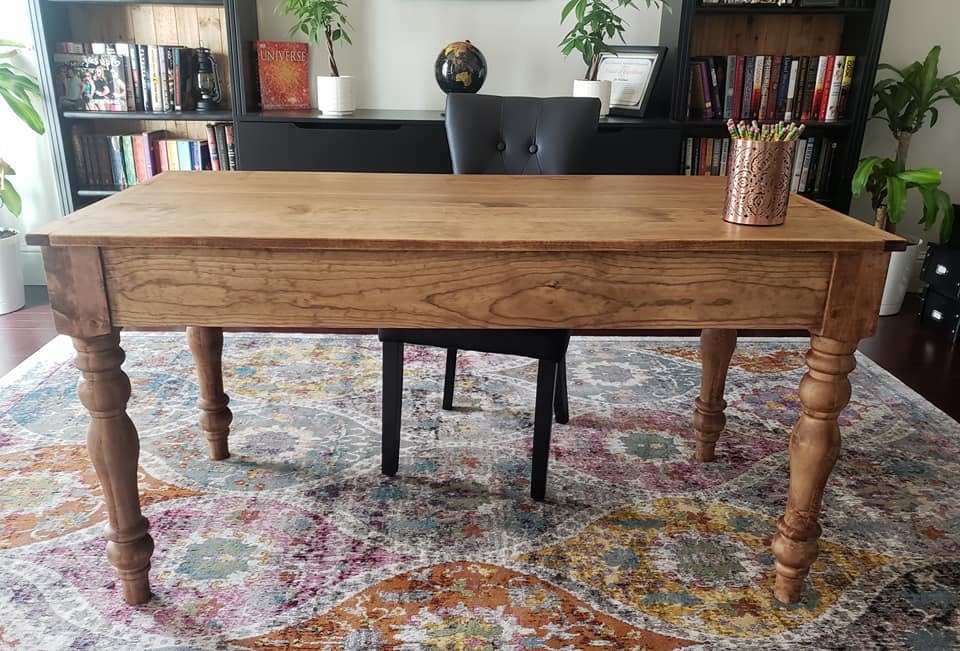
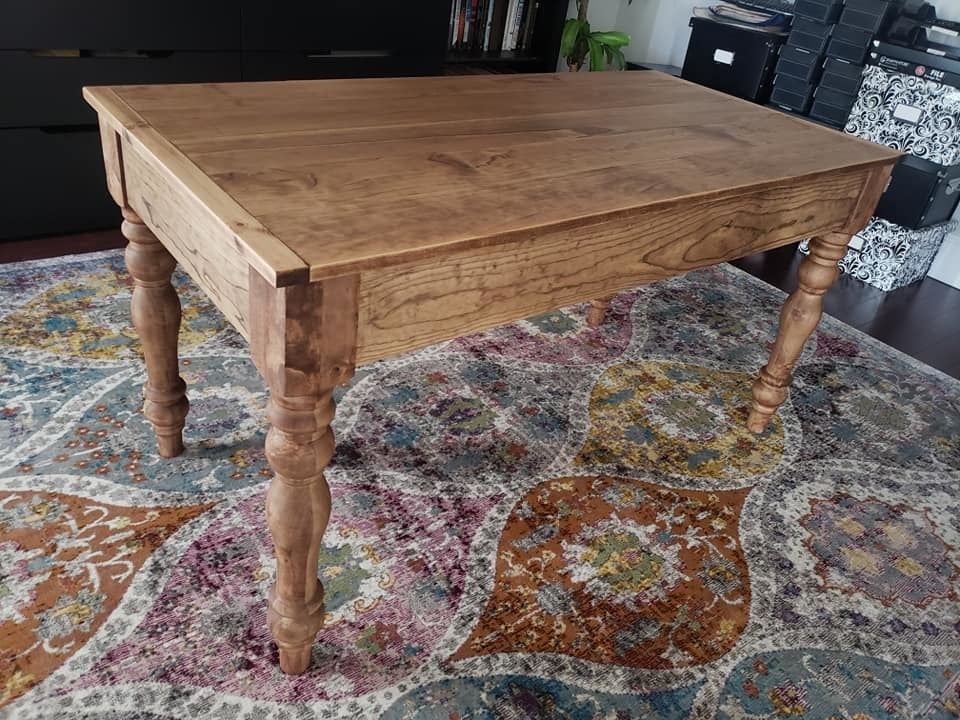
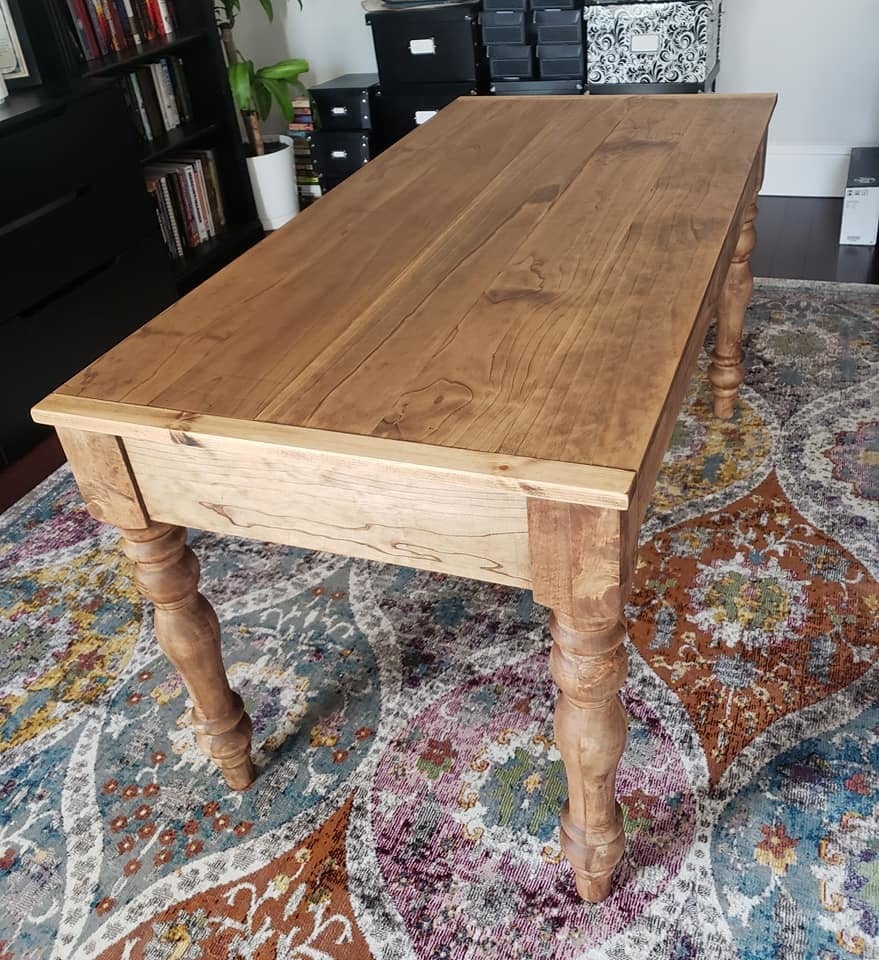
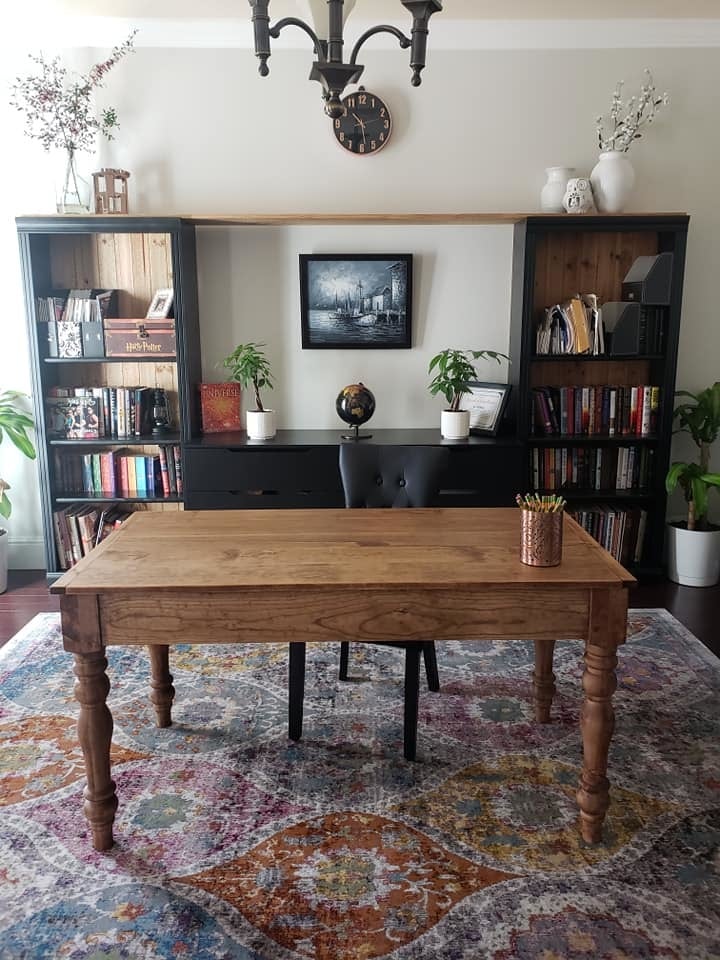
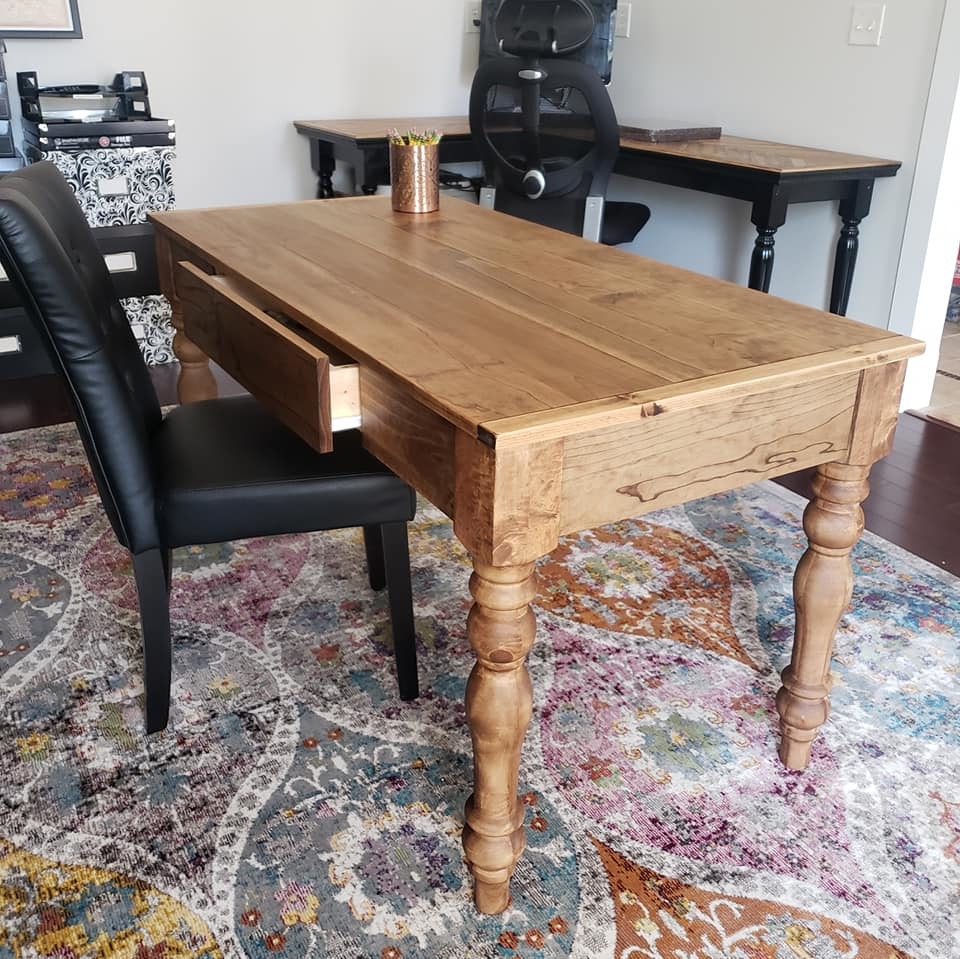
I modified the Small Old English Style Farmhouse Dining Table plan to build a writing desk. I used five 1x6 boards for the top for a width of 27.5 inches. I made my desk 56 inches in length. I put the drawer on the long side like a pencil drawer. I did use the legs that Ana recommended in the plan. I love how it turned out. I used dark walnut danish oil and dark wax for the finish.
Sat, 08/31/2019 - 05:18
Beautiful! What are the brands of oil and wax that you used?
Fri, 10/04/2019 - 21:46
Thank you! I used Watco Danish oil and I used Minwax dark wax. I've tried alot of different wax brands and I always come back to Minwax. It dries the hardest in my opinion.
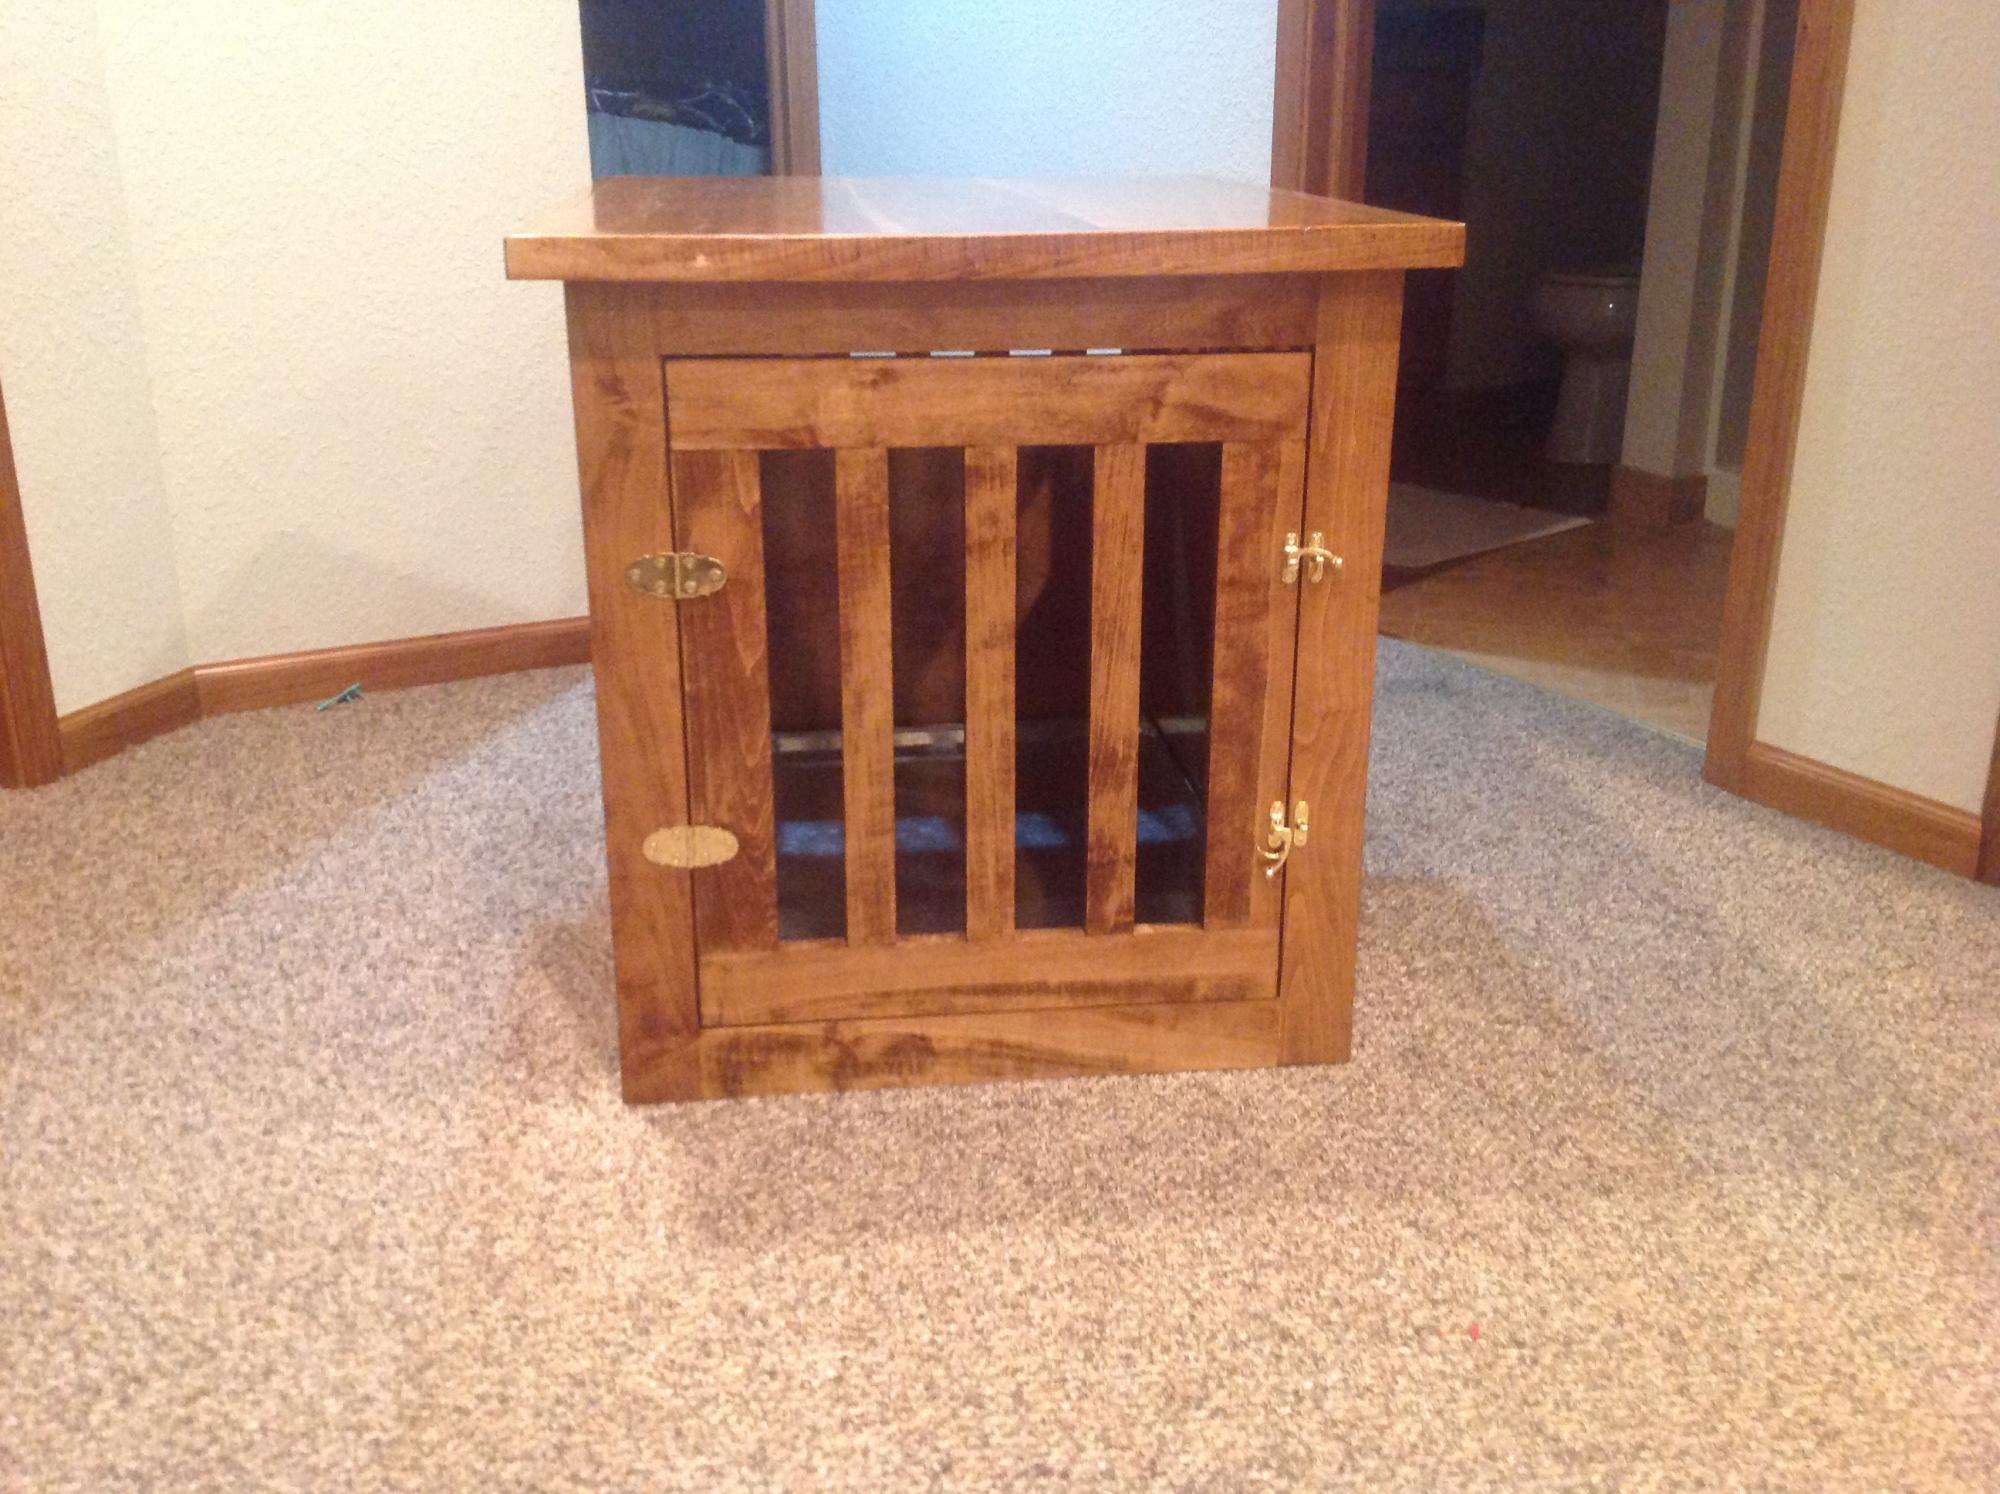
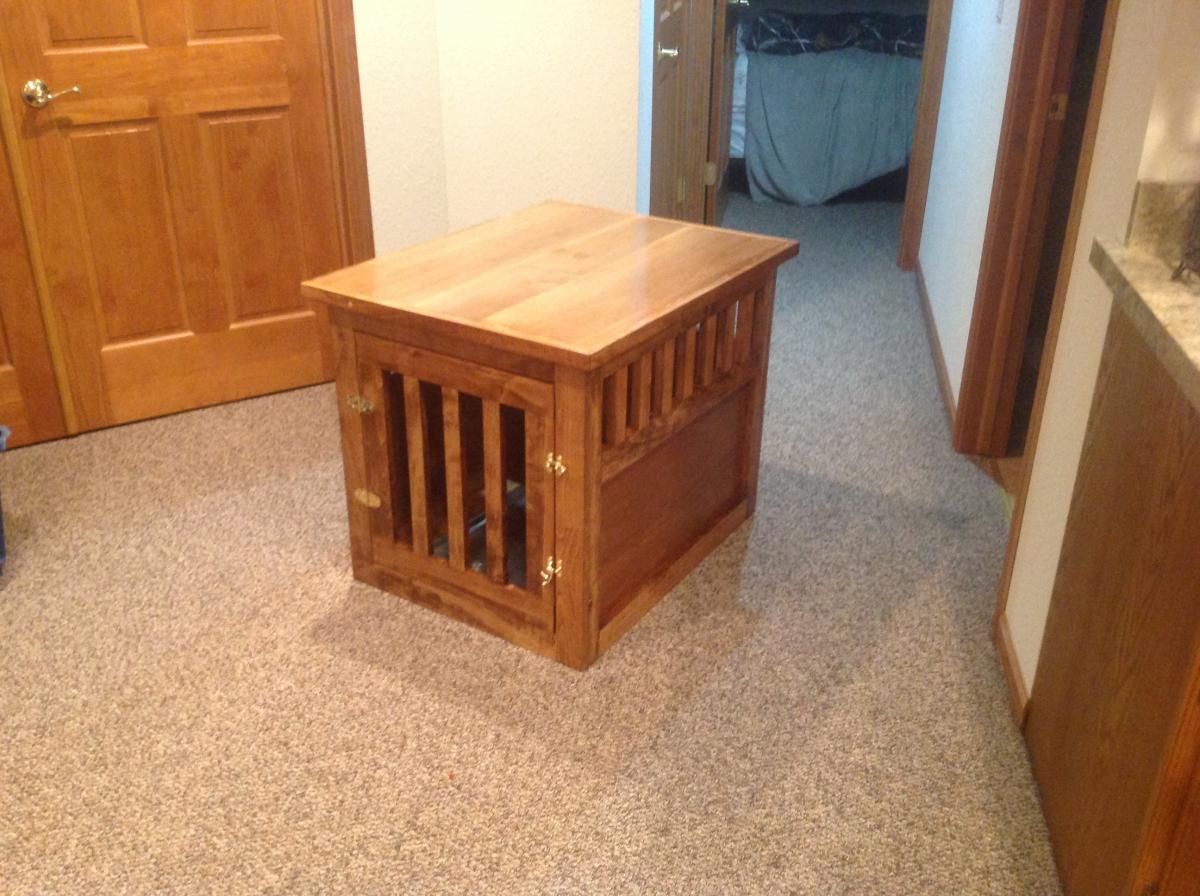
For my son's new black lab pup. Started with rough cut maple.
I was seeing this coffee table everywhere so I knew we had to make it. It's the easiest build ever. I think the only tricky part is the painting near the edge. We like a more sanded/finished top. We tried spray painting the base and then attaching the top, but then we sanded the top and the spray paint on the base near the top came off, so I had to cut in and I'm not good at that.
So we're still working on a way to do this properly. We tried making the top on the ground and then sanding & attaching it. But the top needs to be completely exact/square in order to do this. We live in a old farmhouse, so we prefer to attach it as we go - then sand. We also plane the top for a more exact and modern look.
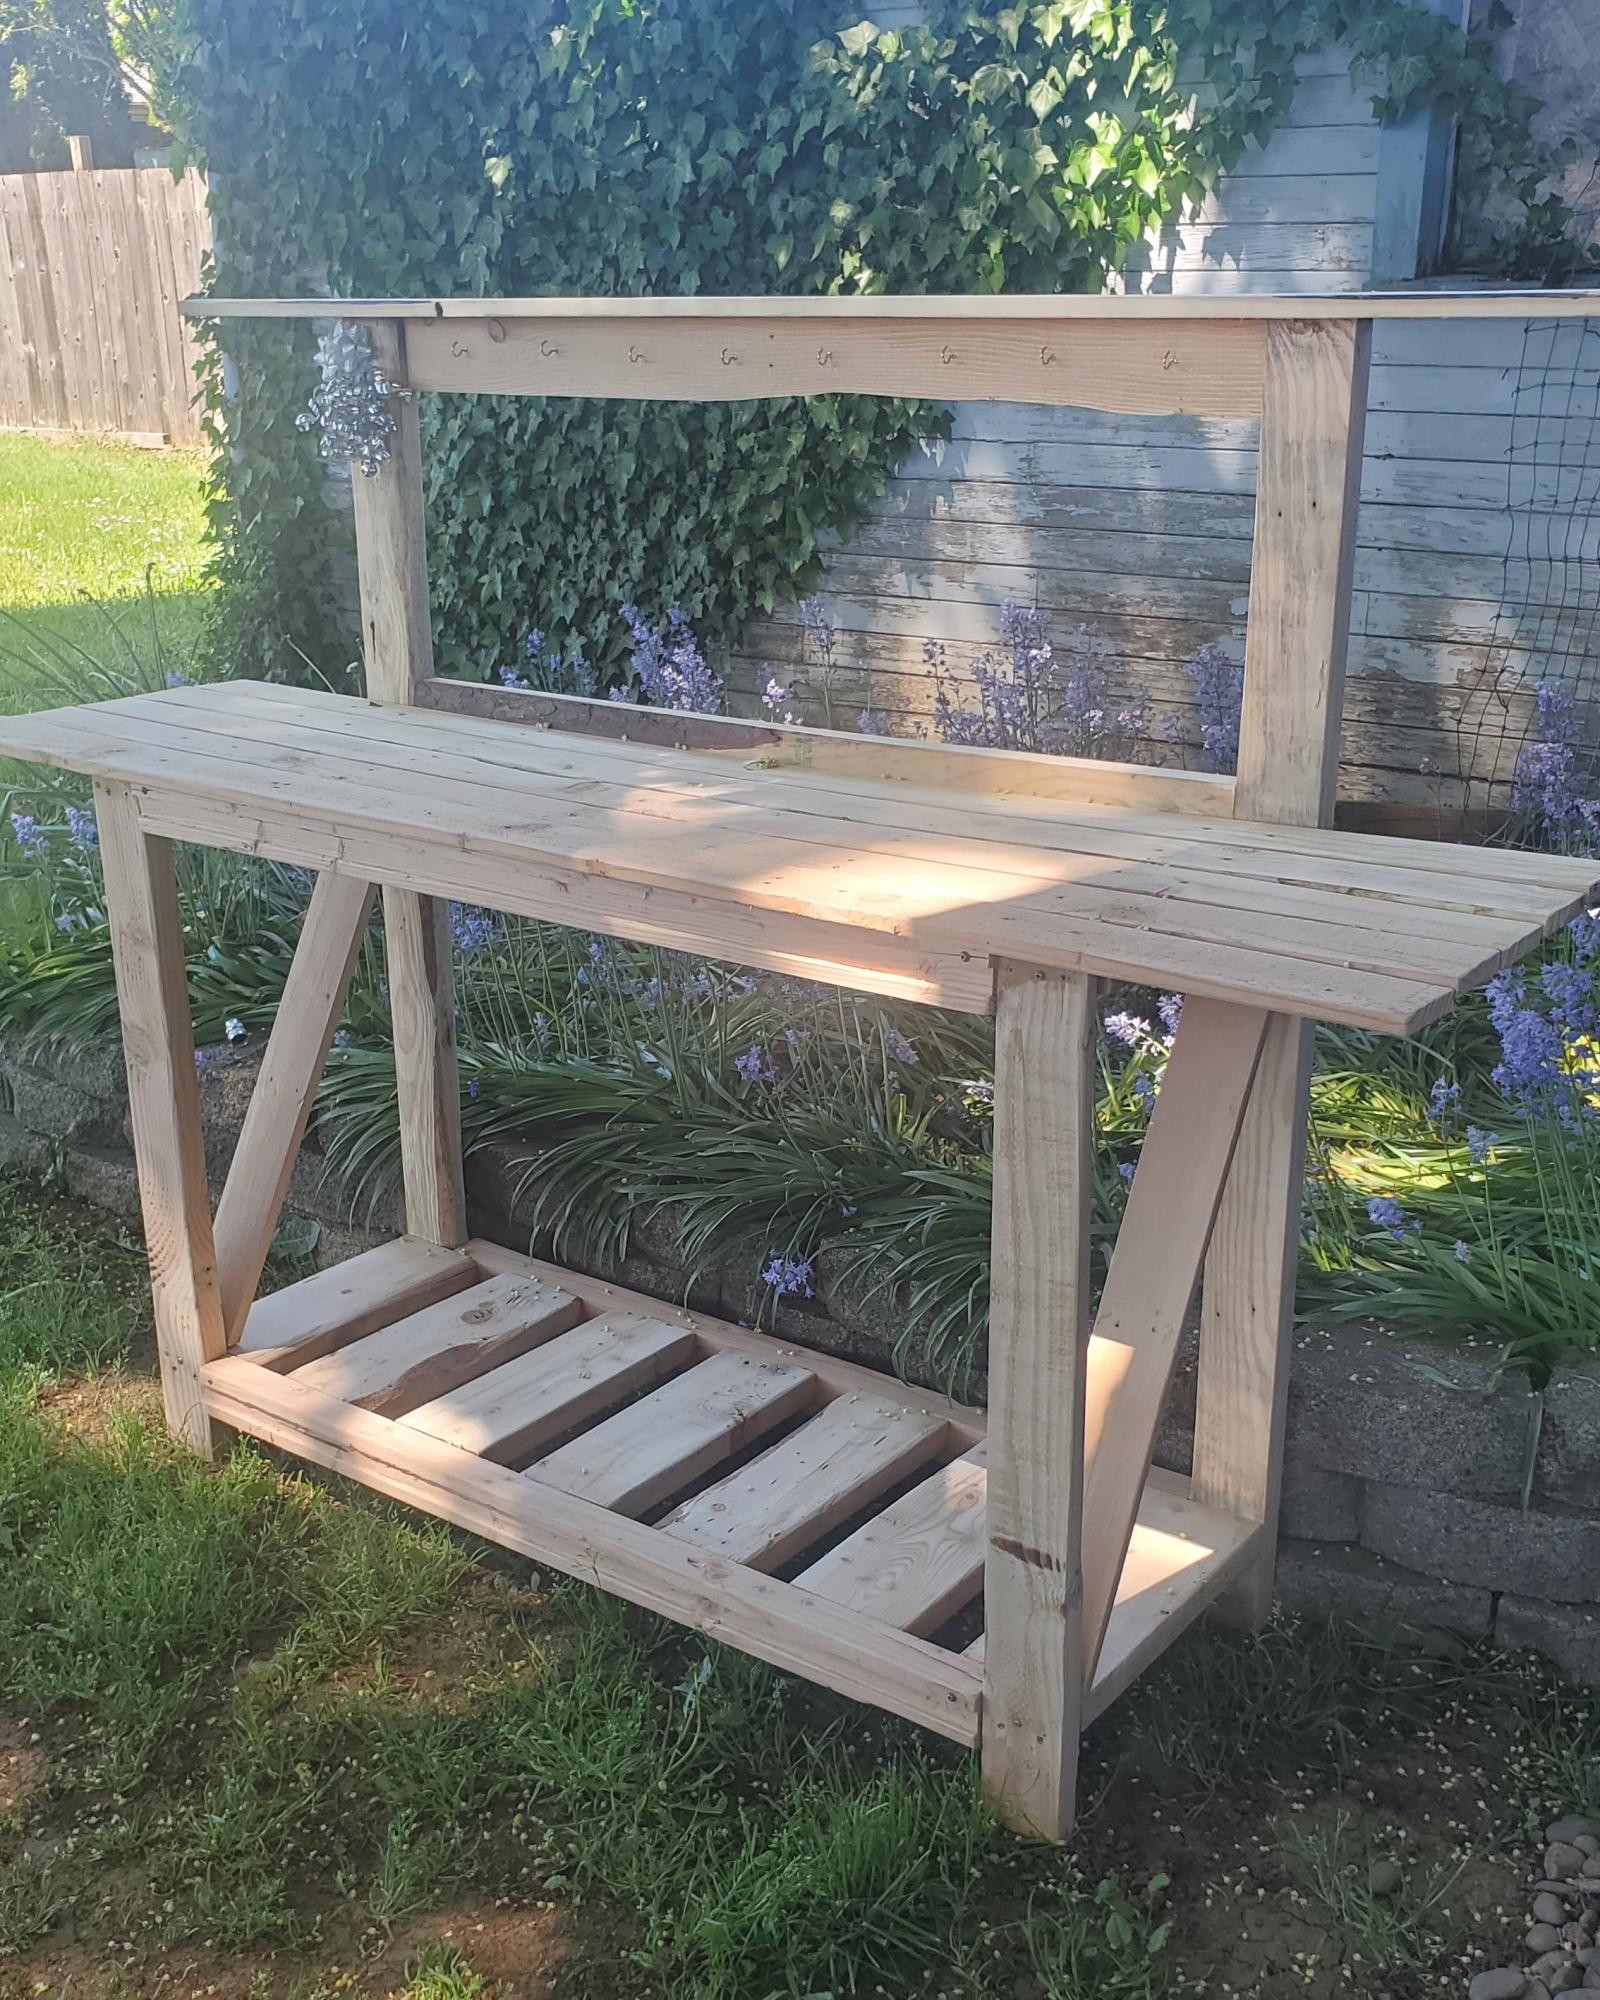
Had tons of fun making this potting bench from Ana used a few different boards but, overall had a great time
I recently refinished an antique oak dresser. It originally had a mirror attached to it but it was long gone by the time I bought it. My wife asked me to take an old mirror from another dresser and to build a new mirror to hang above the newly refinished dresser. I wanted this new mirror to look as if it came with the dresser which was built in the early 1900s.
The front of the mirror frame was built using red oak 1" x 6" stock. I did rip it to measure 4" wide. The mirror is 38" x 24" so I designed the frame so that a 1" lip was available to adhere the mirror to the mirror frame. The corners of the mirror were mitered at 45 degrees. I attached the corners of the mirror frame together using 1 1/4" pocket hole screws.
My next step was to flip the frame over. I then used red oak 1/2" X 6" stock which I ripped so that a 1" lip was available for the mirror. I did not miter this and I attached this using wood glue and 1" finishing nails.
I then used red oak 1/4" x 2" stock and made a frame for the outside of the mirror. This was mitered. I attached it using wood glue and 1" finishing nails. I did set the nails and fill the holes with stainable wood filler.
I then did all my sanding using 120, 220, 320, and 400 grit sandpapers. I rounded the edges a bit.
The appliques were then attached using wood glue and a few 1" finishing nails. I did set the nails and used stainable wood filler.
My next step was applying two coats of gel stain. I then applied 3 coats of fast drying polyurethane. I did some minor sanding between coats.
I then attached the mirror to the frame using mirror adhesive. Next the backing from the old mirror was cut to fit down covering the mirror within the lip. This was secured using "points". Finally the back was covered using paper and double sided tape. A 200 lb. mirror hanger was then attached. It actually contained a bubble level on the hanger. I purchased this at Hobby Lobby.
Sat, 03/31/2012 - 10:38
Lovely!
Would like to see pics of the process though. I am a visual learner and have a hard time figuring out instructions without illustrations.
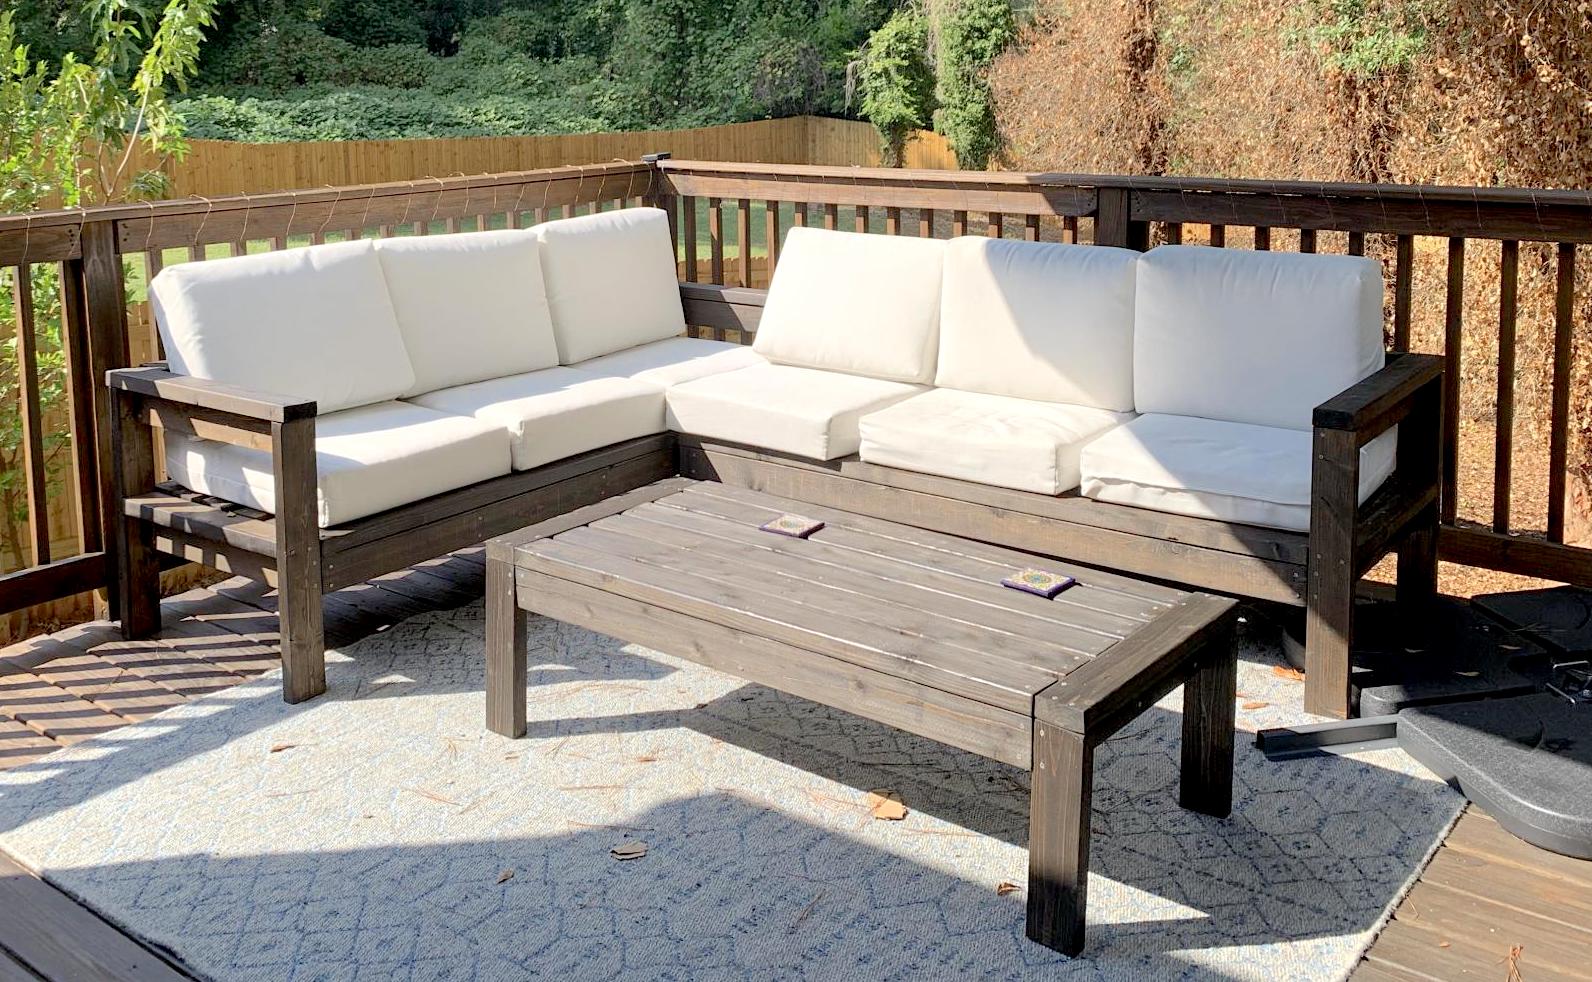
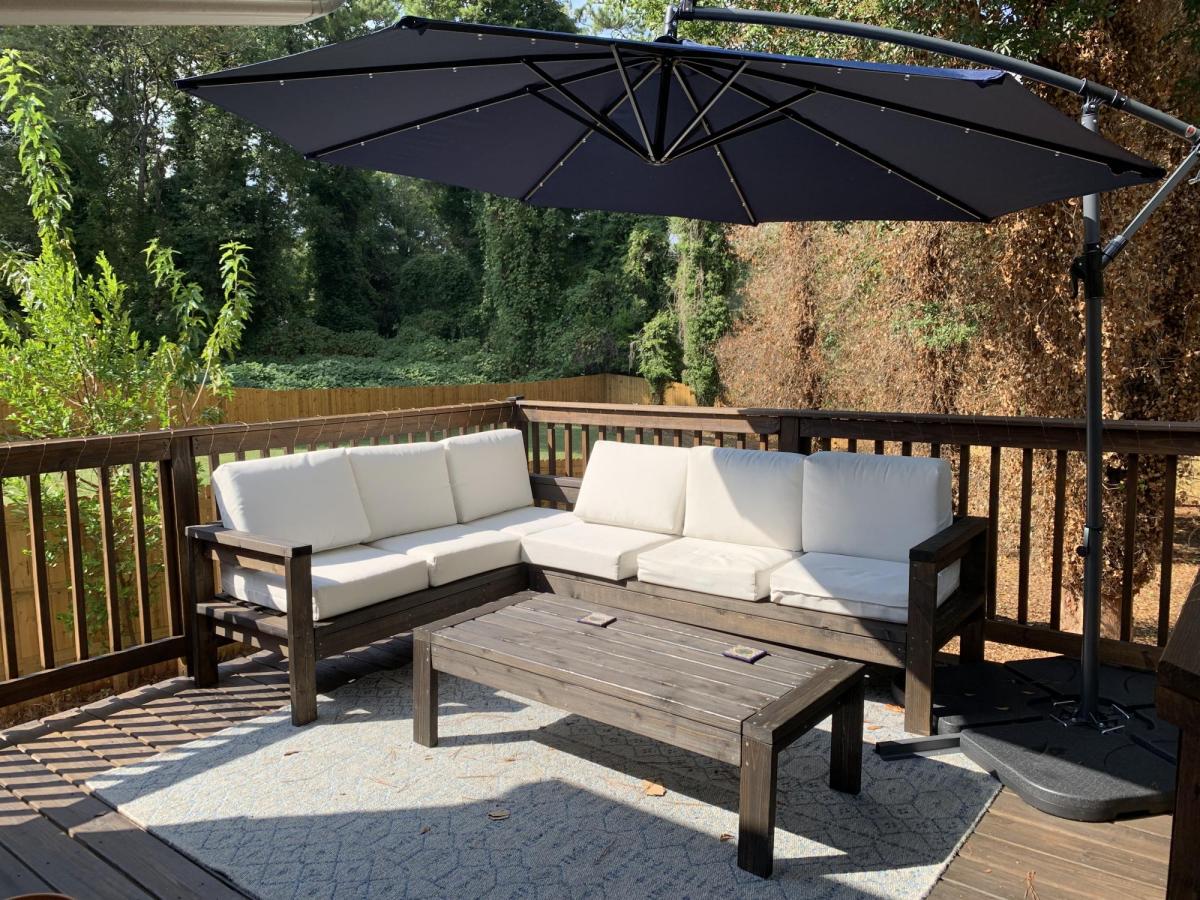
This was my first real woodworking project and was so much fun! I use my deck much more now and am excited to build more!
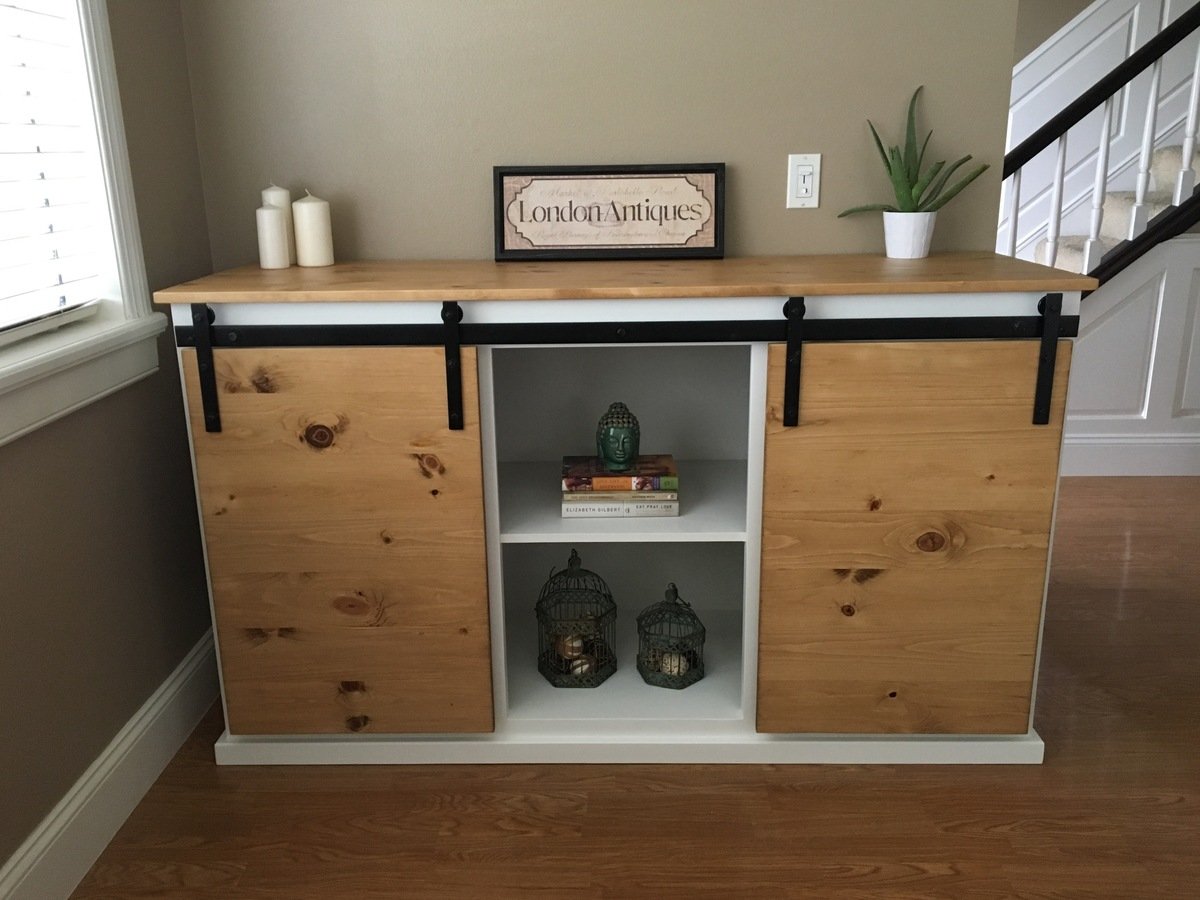
I modified the plans to have three compartments instead of four. Also, the hardware was a challenge. Tip: use a wheel that has an internal bearing.
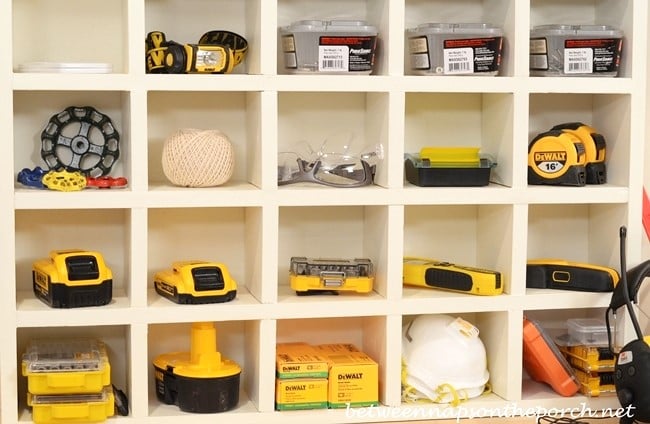
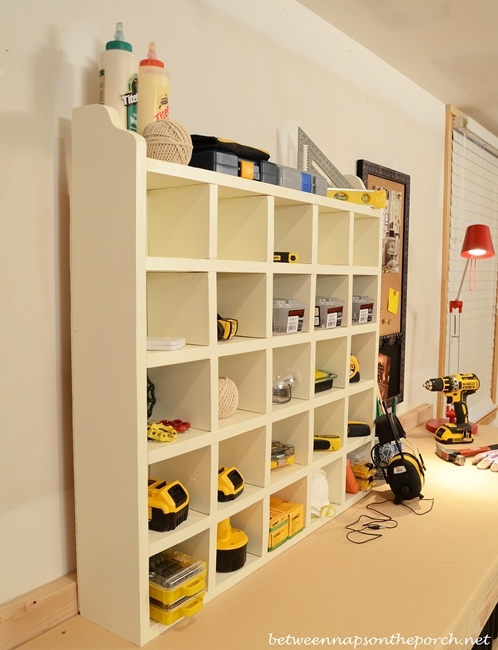
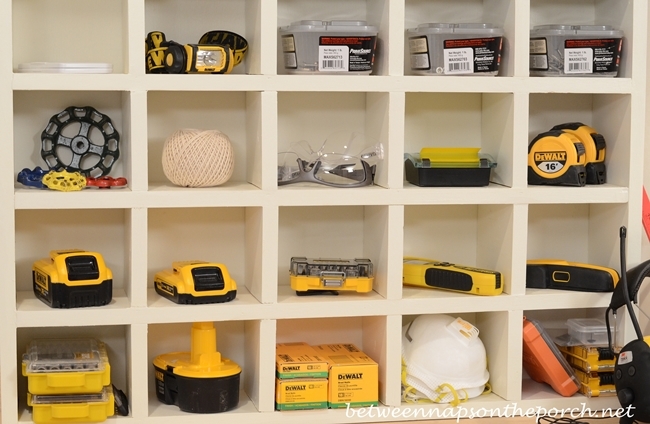
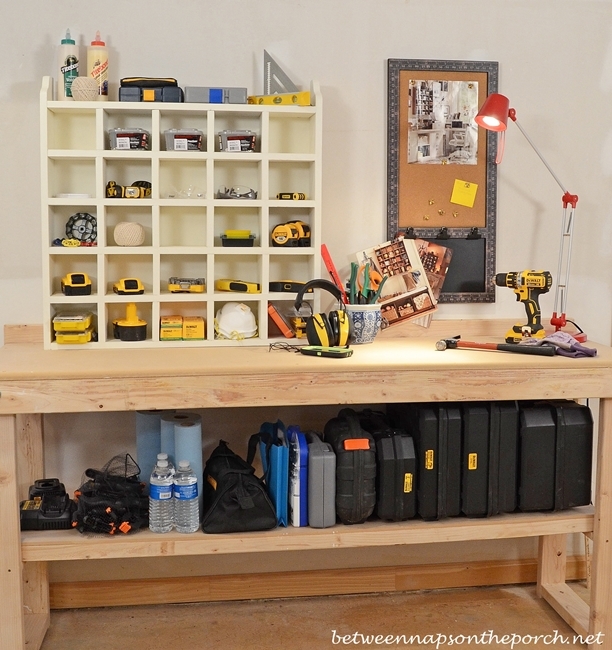
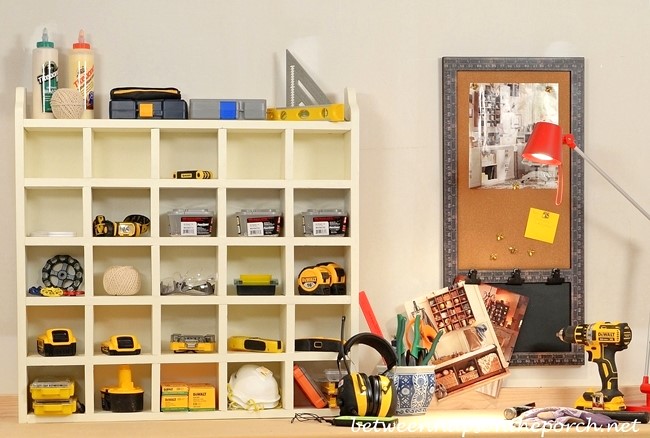
This cubby organizer is great for storage, displaying collectibles or as an advent calendar. I'm using mine in my mini-workshop for storing tools and supplies I use frequently when woodworking. Tutorial can be found at my blog here: http://betweennapsontheporch.net/build-a-cubby-organizer-pottery-barn-i… Thanks Ana for supplying the plans!
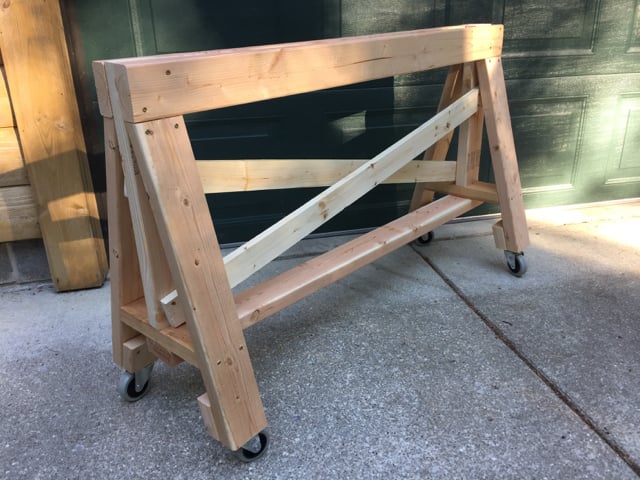
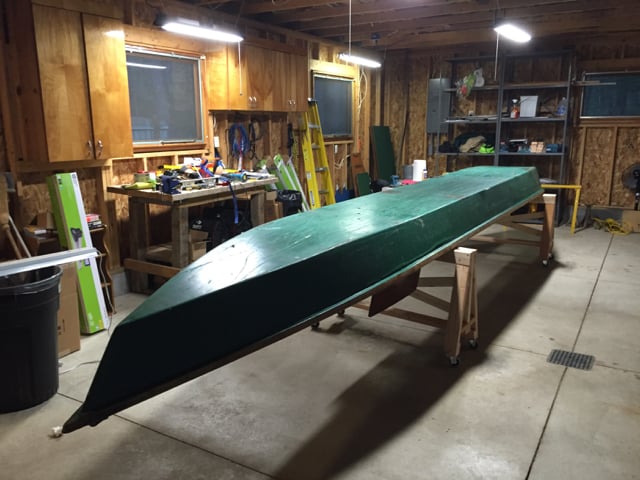
Your saw horse plan worked great for a wooden boat project I'm doing -- the 3" wheels (with one locking) enable me to move the boat around the workshop or even outdoors for heavy duty sanding.
I added blocks of 2x4 to the legs for more surface for the wheels and I extended the cross pieces to 4-feet long as the old AuSable River (MI) guide boat is about 40" wide.
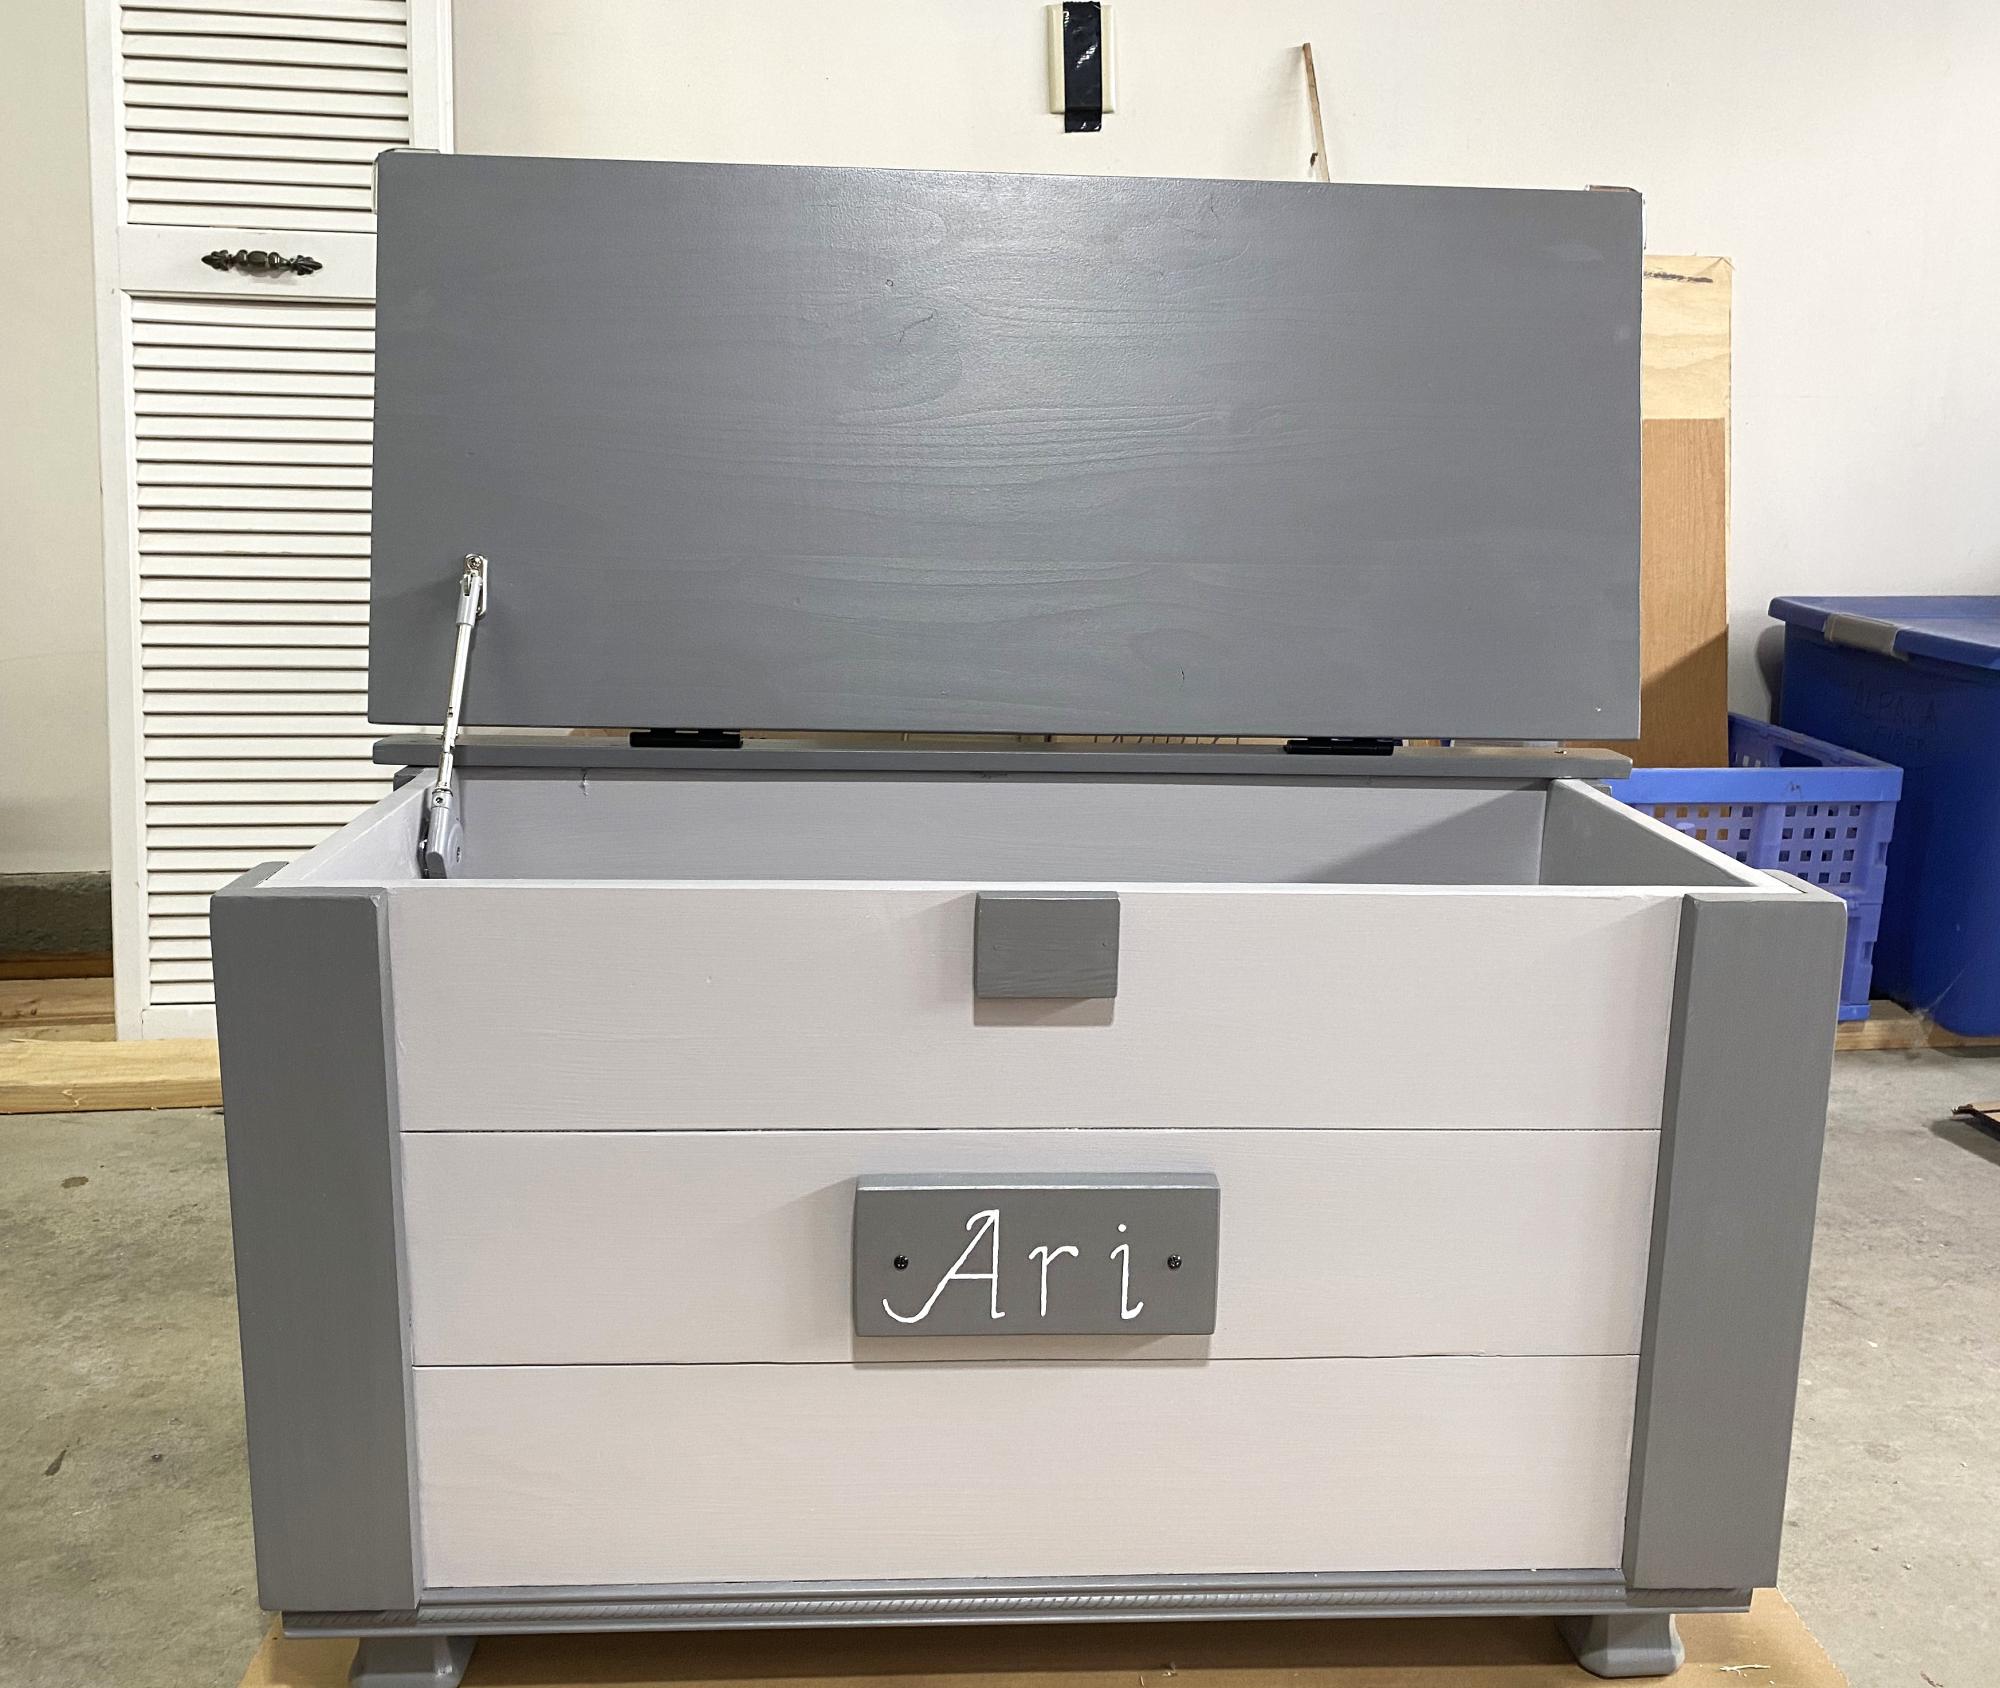
Your plan for this toy box was sooo easy to follow, but I added the feet. My grandson loved it. I have 2 other projects from your plans for him as well.
Charlene
We bought this house about a year ago and we finally got around to removing this pointless niche! The center divider and bottom were removed. The cabinet and hutch were assembled seperately.
This is still a work of progress. I am looking for a nice decorative molding face for the top. If anyone has any suggestions please let me know! We will most likely paint it white to match the fireplace mantle.
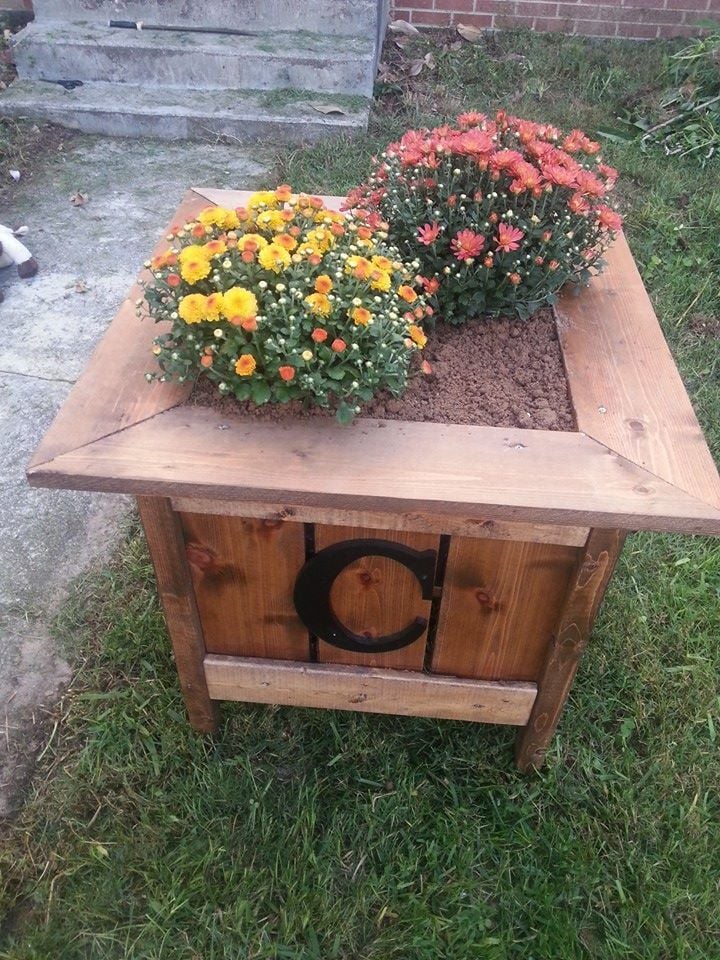
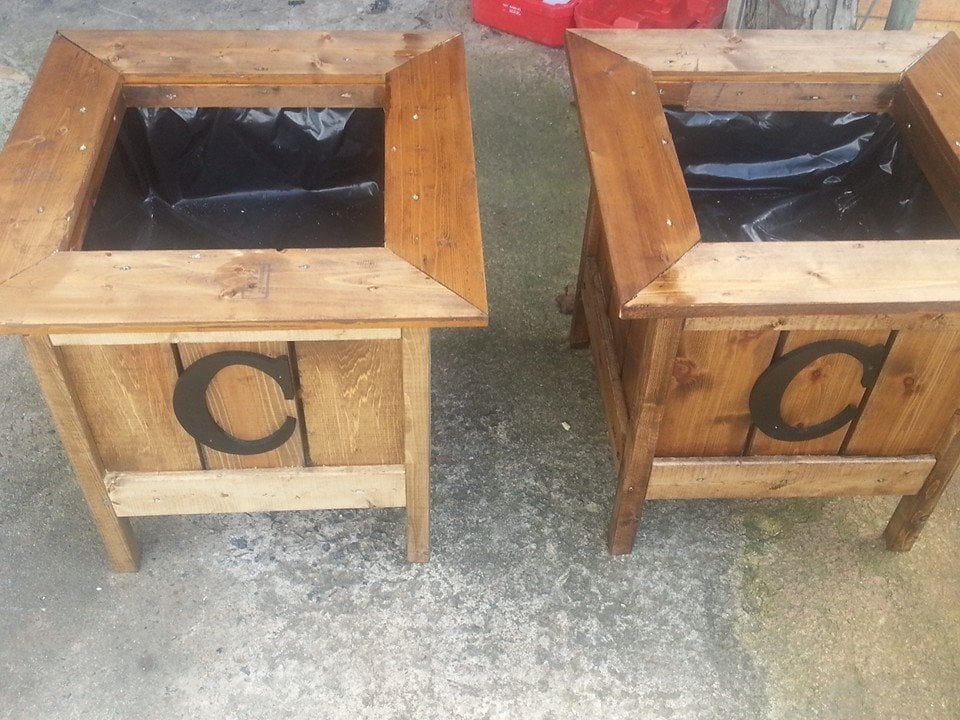
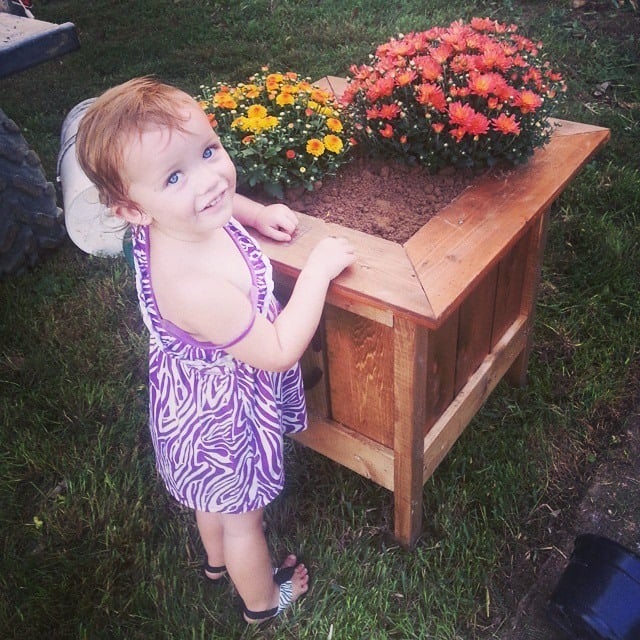
I used your "cedar planters for less than $20" plan and modified it to create two beautiful planters for my house. I framed out the top of the planter to give it a more complete look. Also, I added a "C" for our last name. -Shaye
Comments
ladybug'13
Thu, 06/25/2020 - 22:01
Awesome!
Beautiful work, I love your kitchen!