Community Brag Posts

VegTrug

Submitted by carongirls on Sat, 02/22/2014 - 18:52

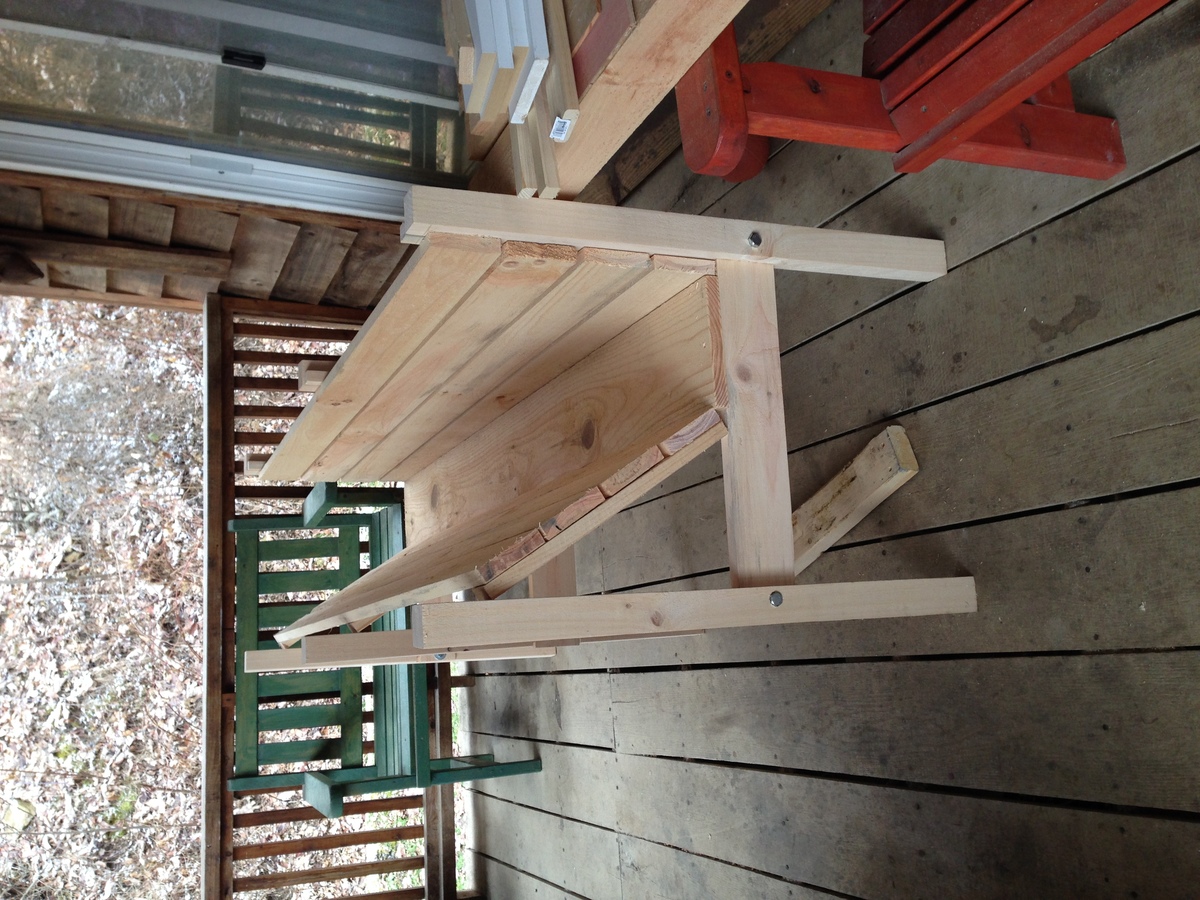
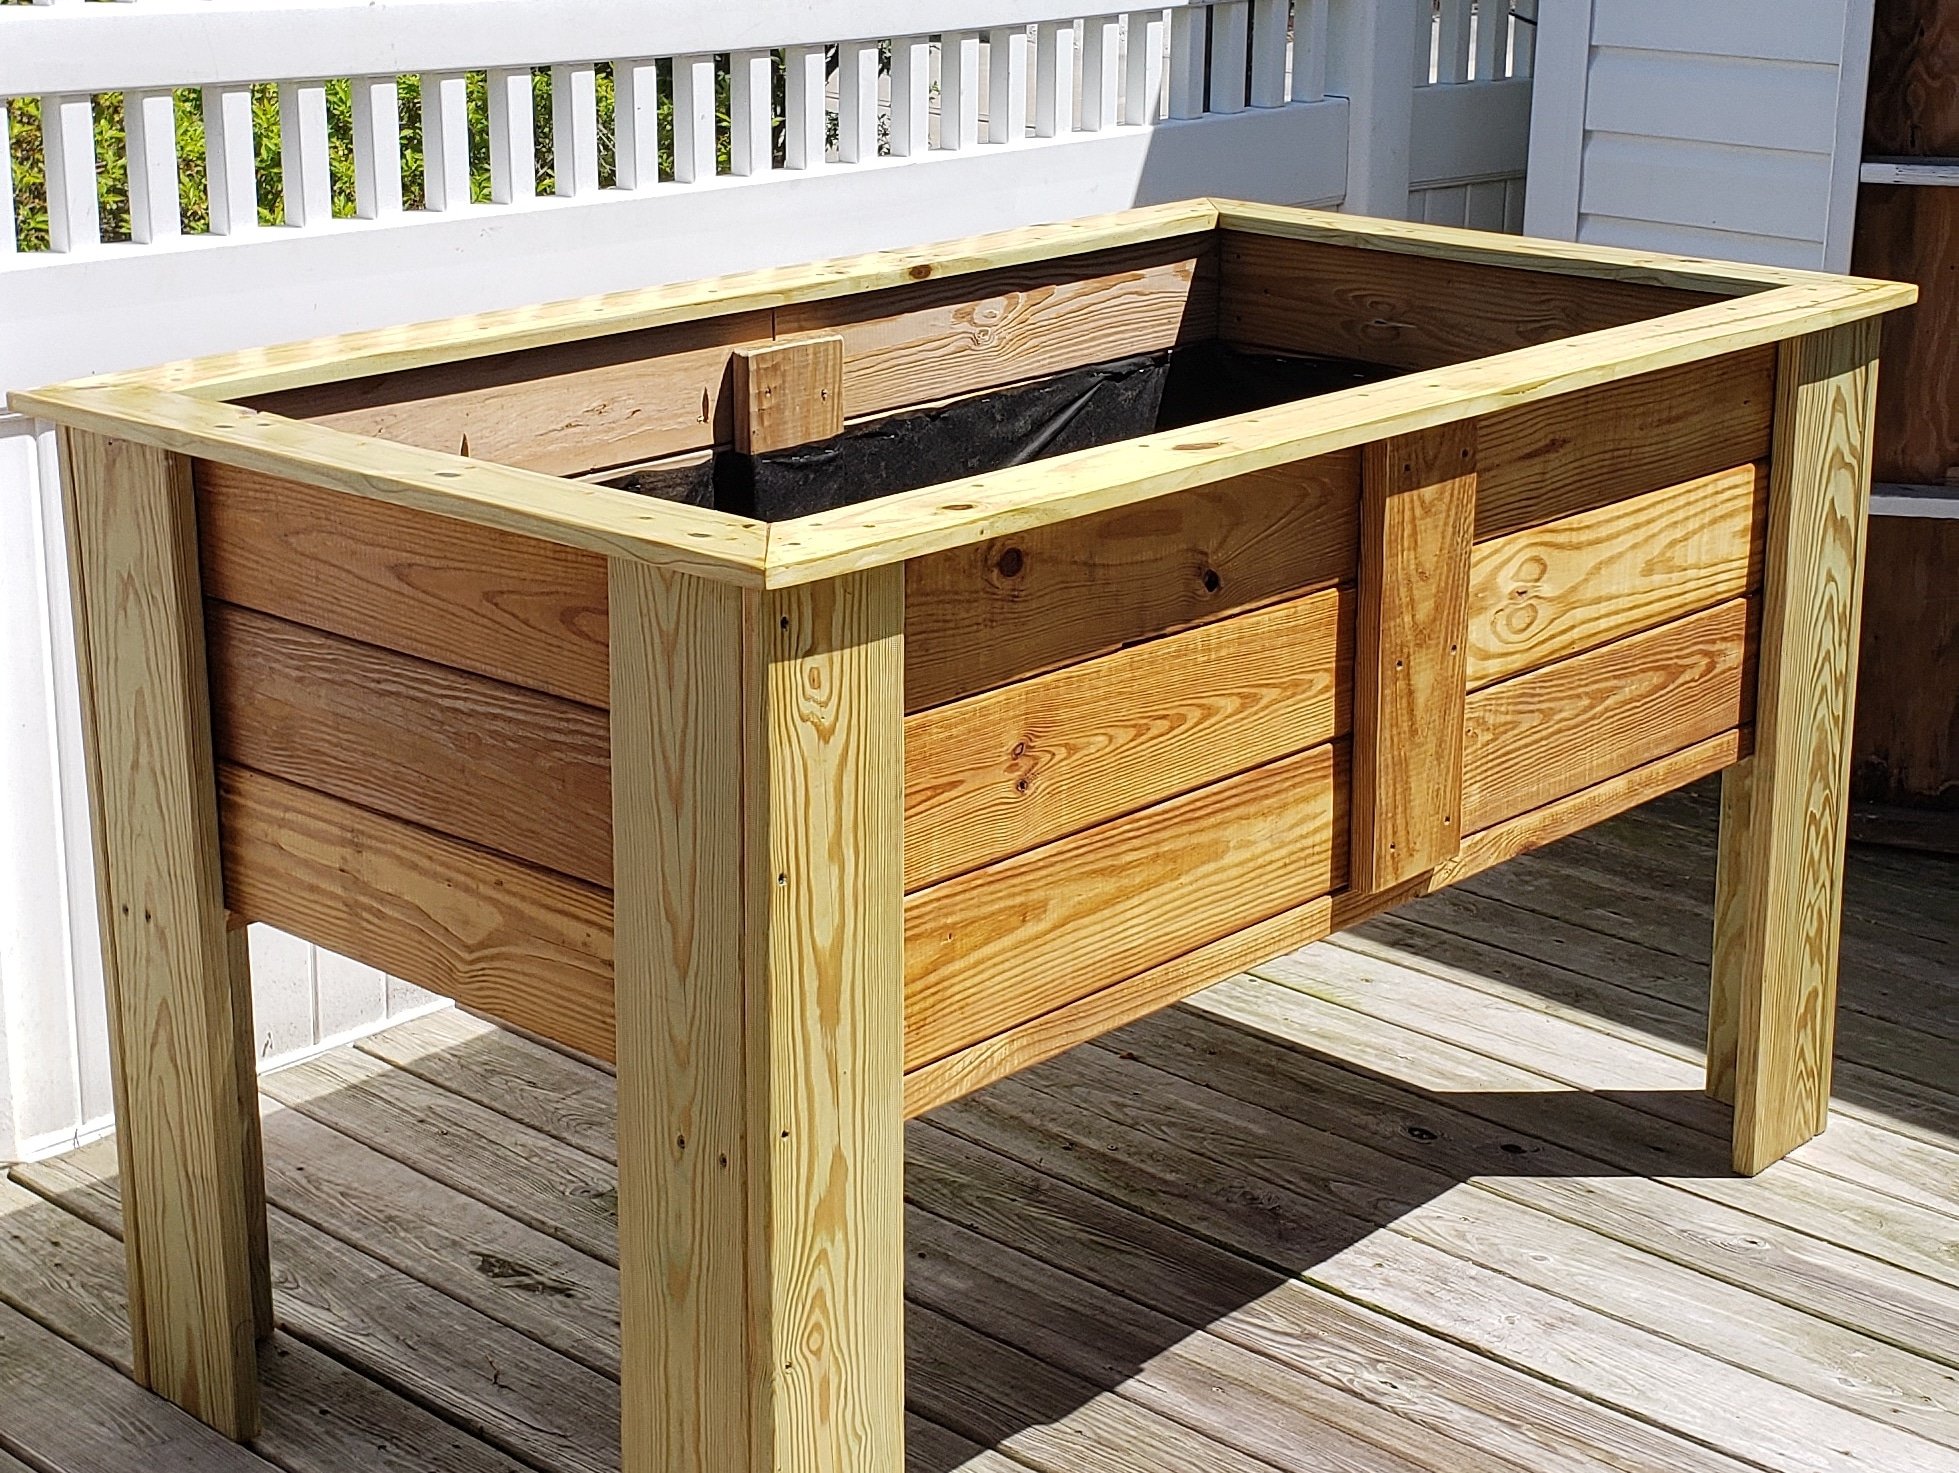
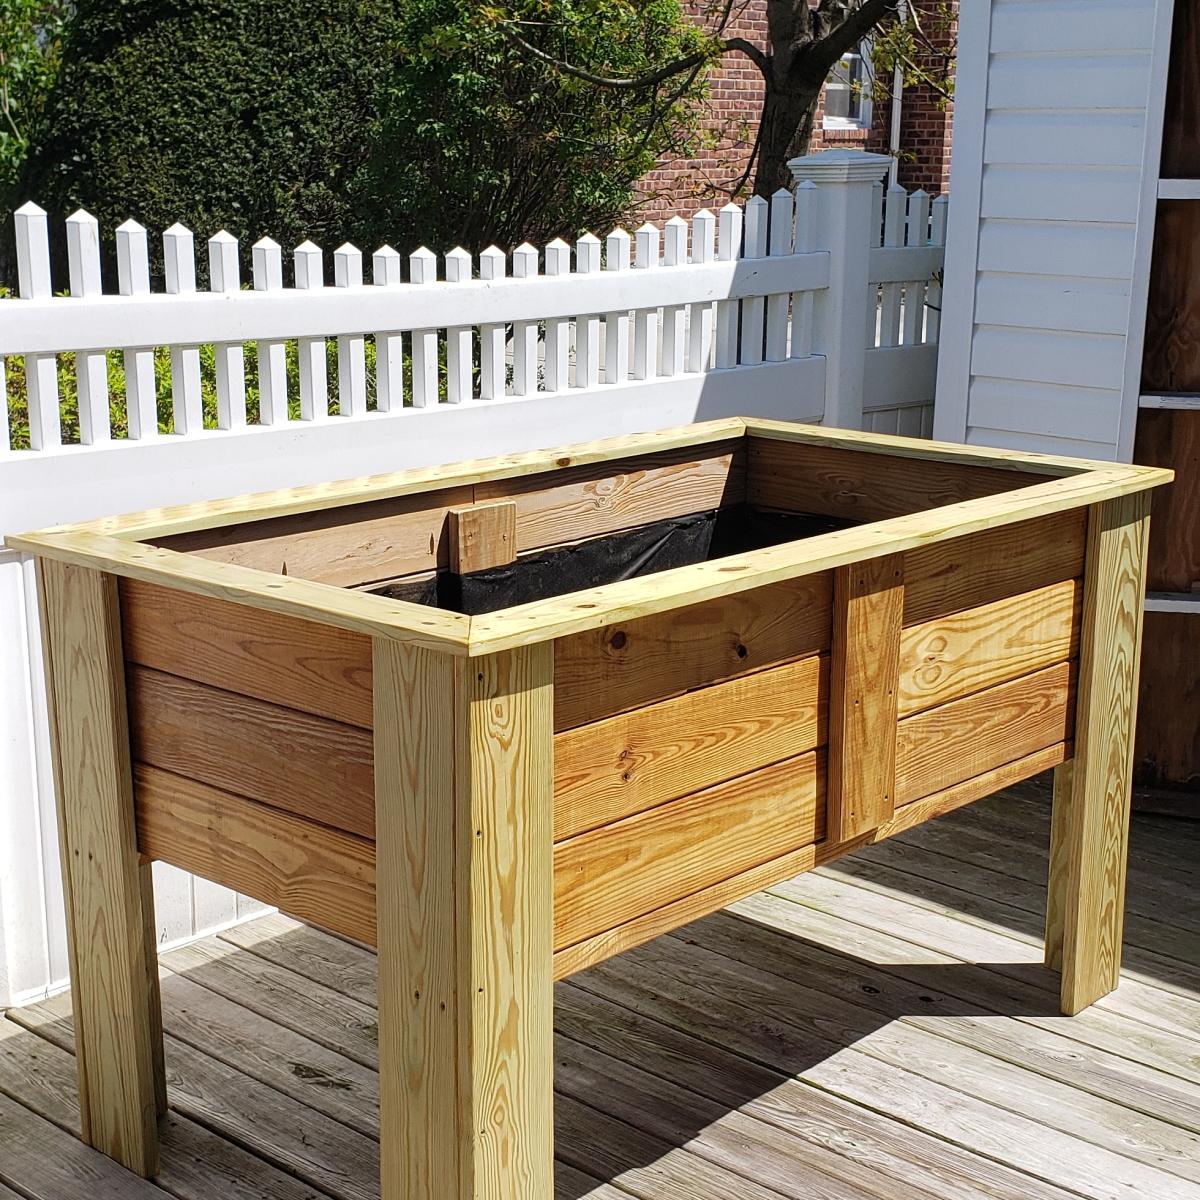
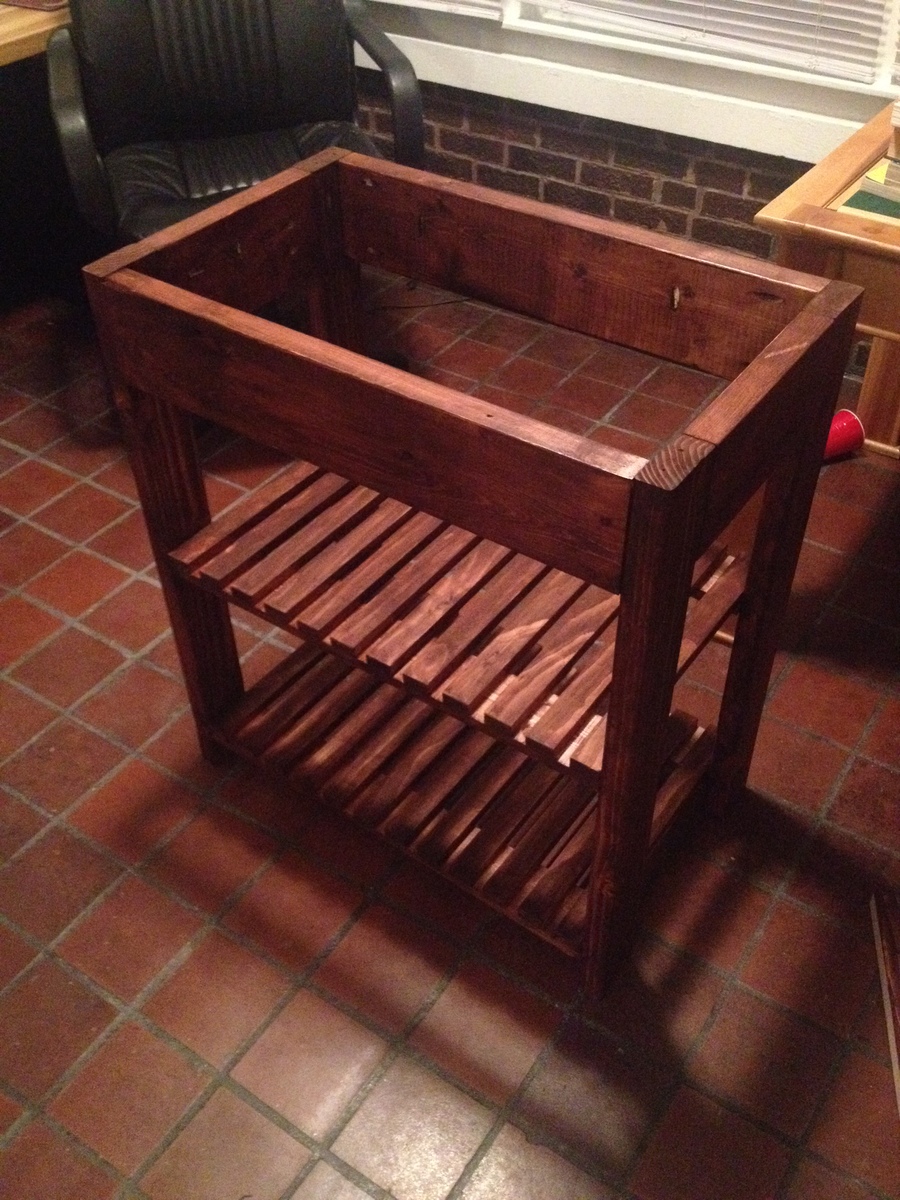
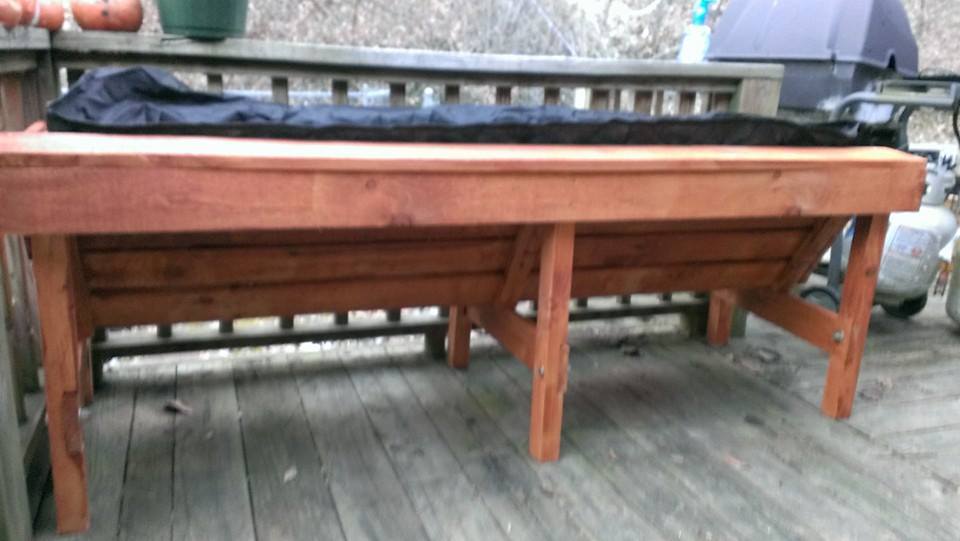
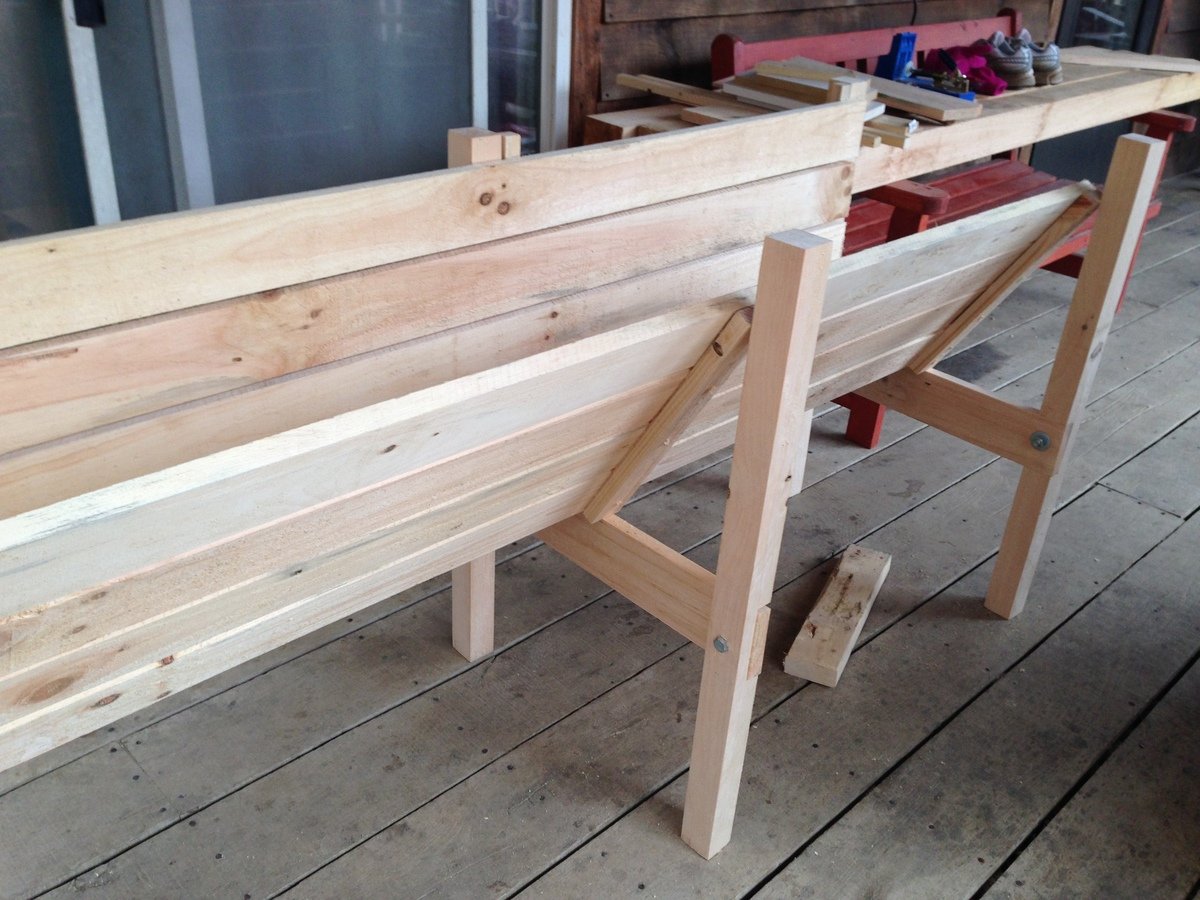
A friend needed a raised garden bed for her husband who is in a wheel chair. I searched and found the VegTrug's. It took a lot of trial and error. I based it off Williams Sonoma's pictures. I wouldn't of attempted this with out a plan if it weren't for Ana's website.

Recommended Skill Level
Intermediate

Comments

steve badham

Wed, 09/09/2015 - 02:56

We have just set up a "Men'sShed" in our little village here in the UK, and think that these would make a great first project for novice handymen. Are there any plans available to help us?

Steve

Trickman2

Wed, 05/18/2016 - 21:45

Not sure what the story is here,  Maybe she got in trouble for saying Vegtrug?  I would like plans for a DIY Raised planter bed like the above. 

Firepit Swings

Submitted by hwallace on Tue, 03/07/2017 - 09:45

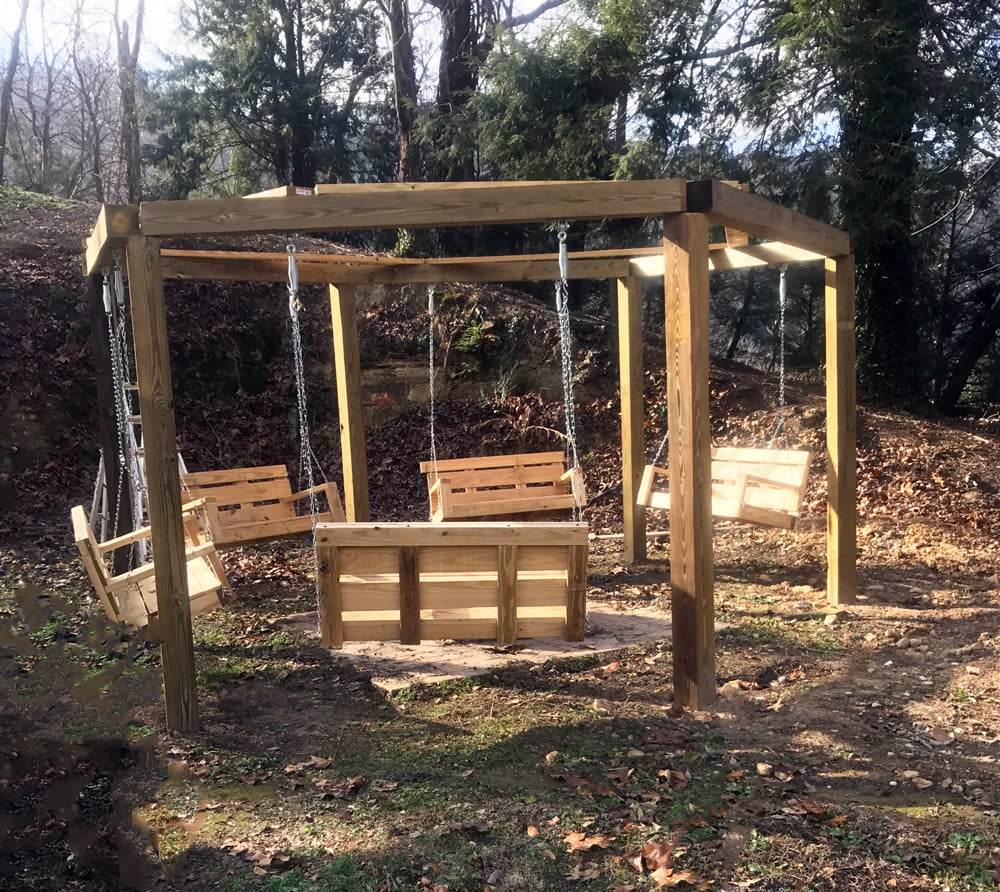
This was a real challenge as I did the whole project alone. 6x6 pressure treated lumber was used as posts and support beams. 120 lbs of quickcrete was used for each post and the support beams are bolted onto the posts. The swings were all made with pressure treated

lumber and I bought heavy duty mounting hardware for the chains. I bought the firepit kit at Lowe's and did the 4 block high enclosure. I had a lot of fun with this!

Built from Plan(s)
Estimated Time Investment
Week Long Project (20 Hours or More)
Finish Used
None
Recommended Skill Level
Intermediate

Comments

Foldable Farmhouse Rustic Dining Table

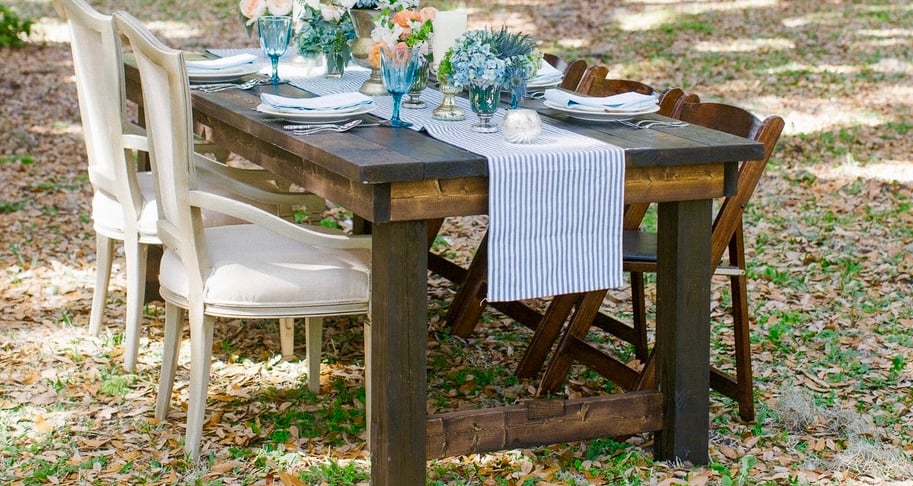
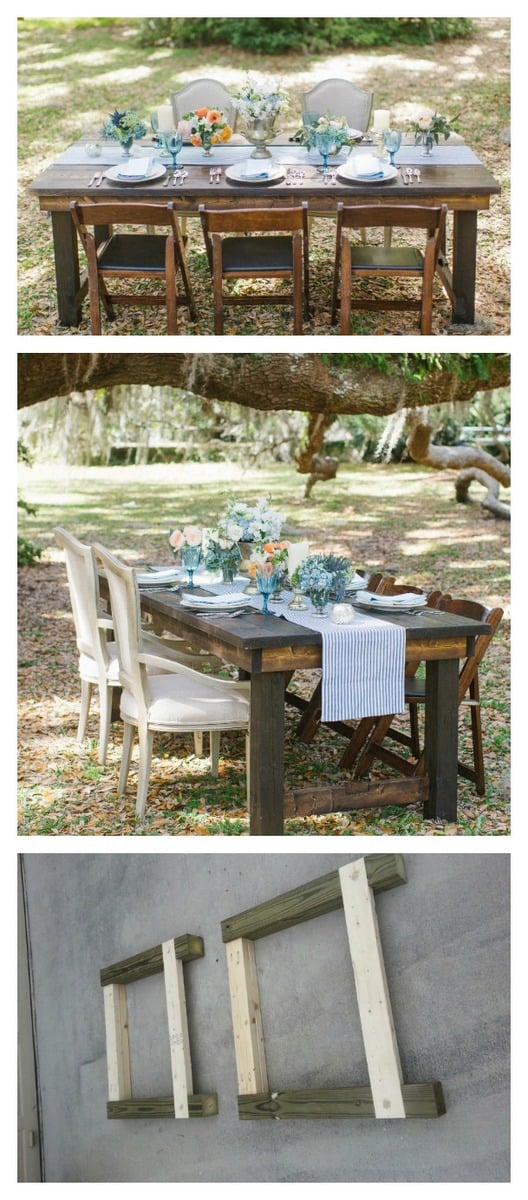
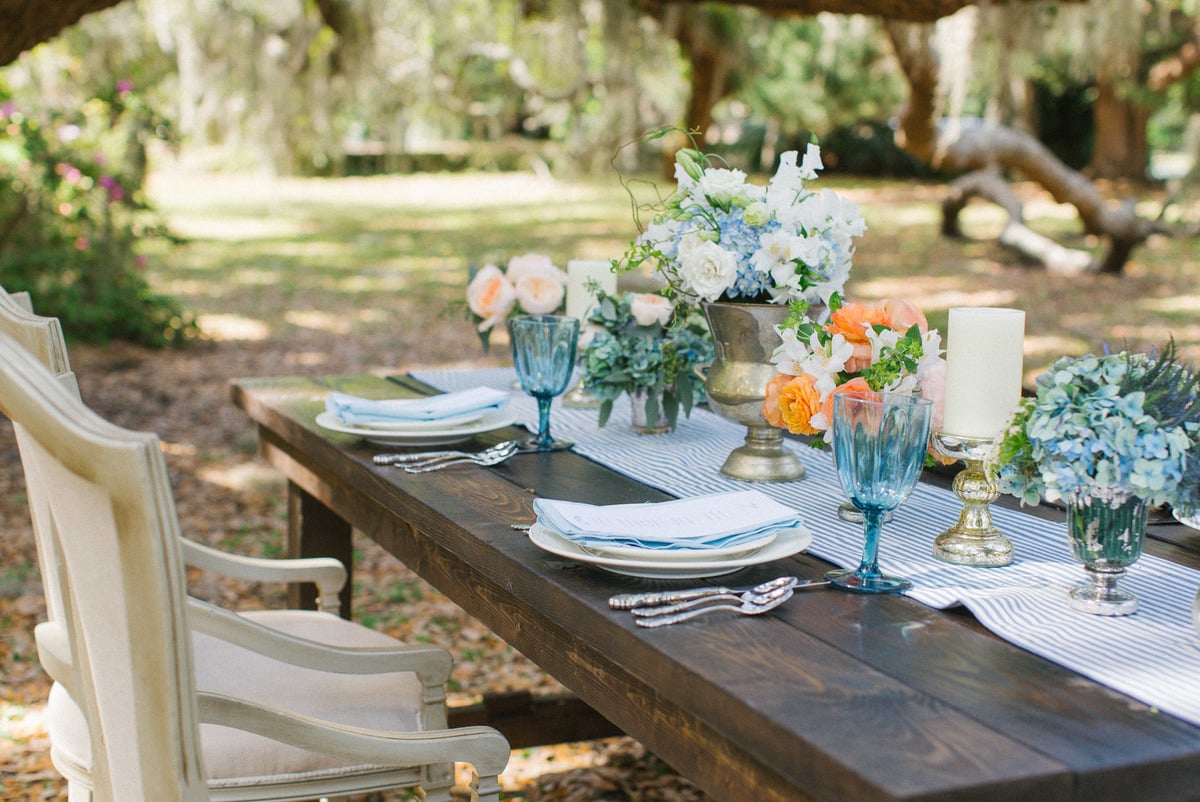
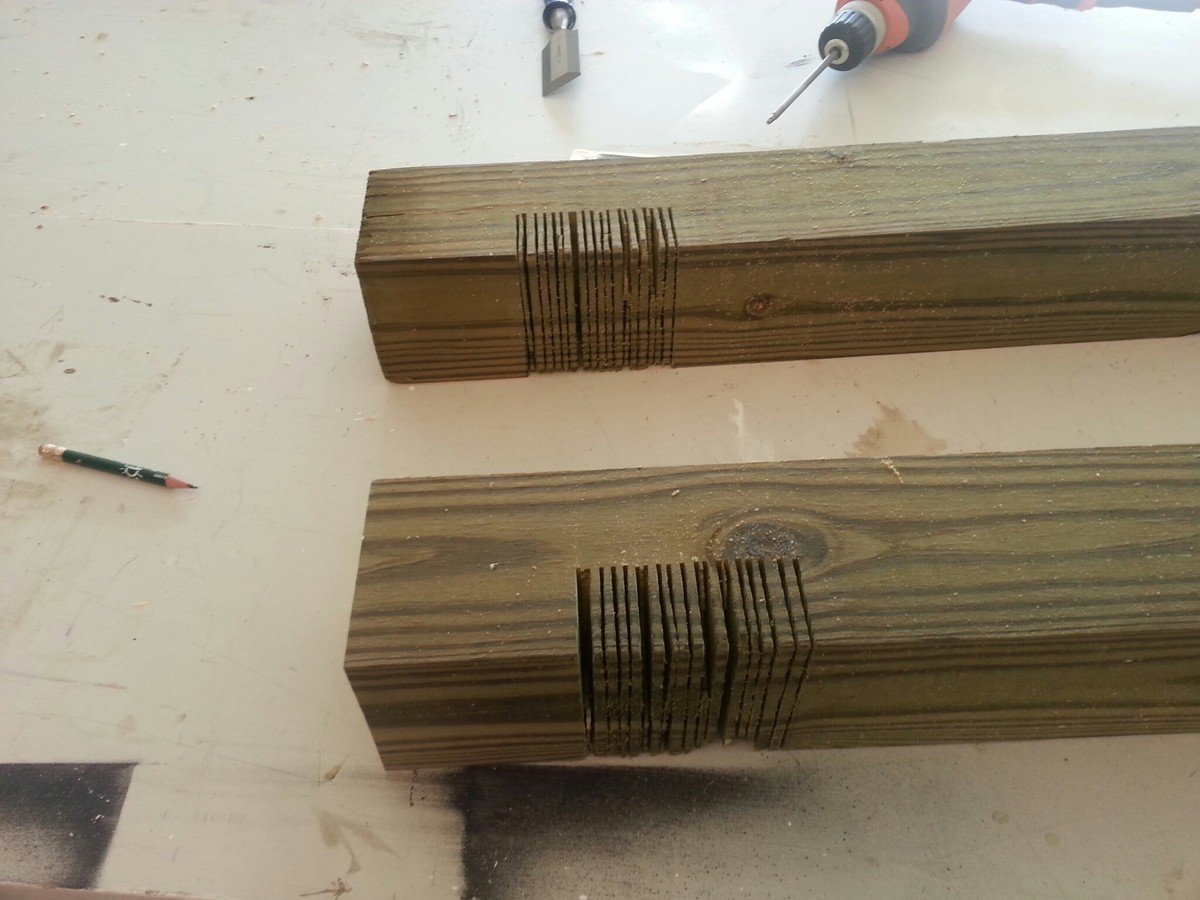
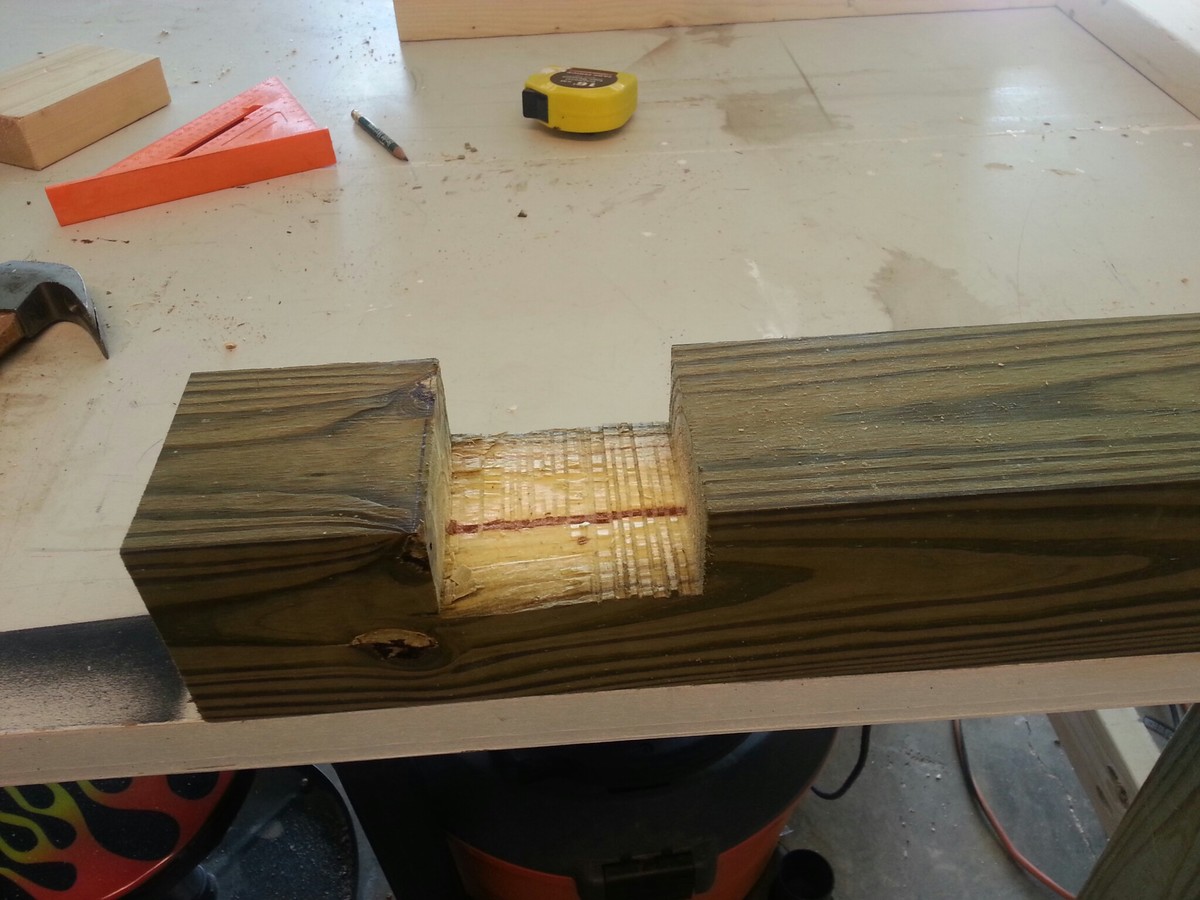
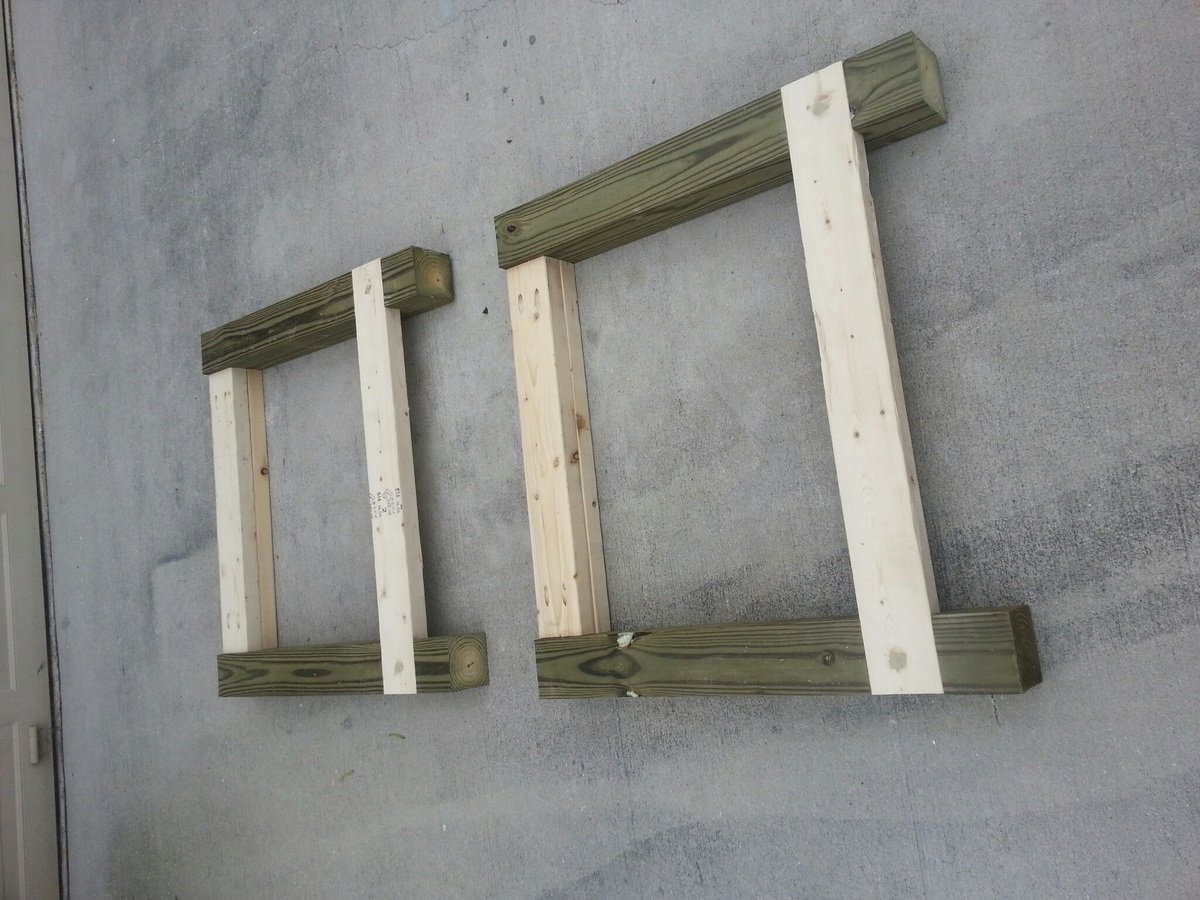
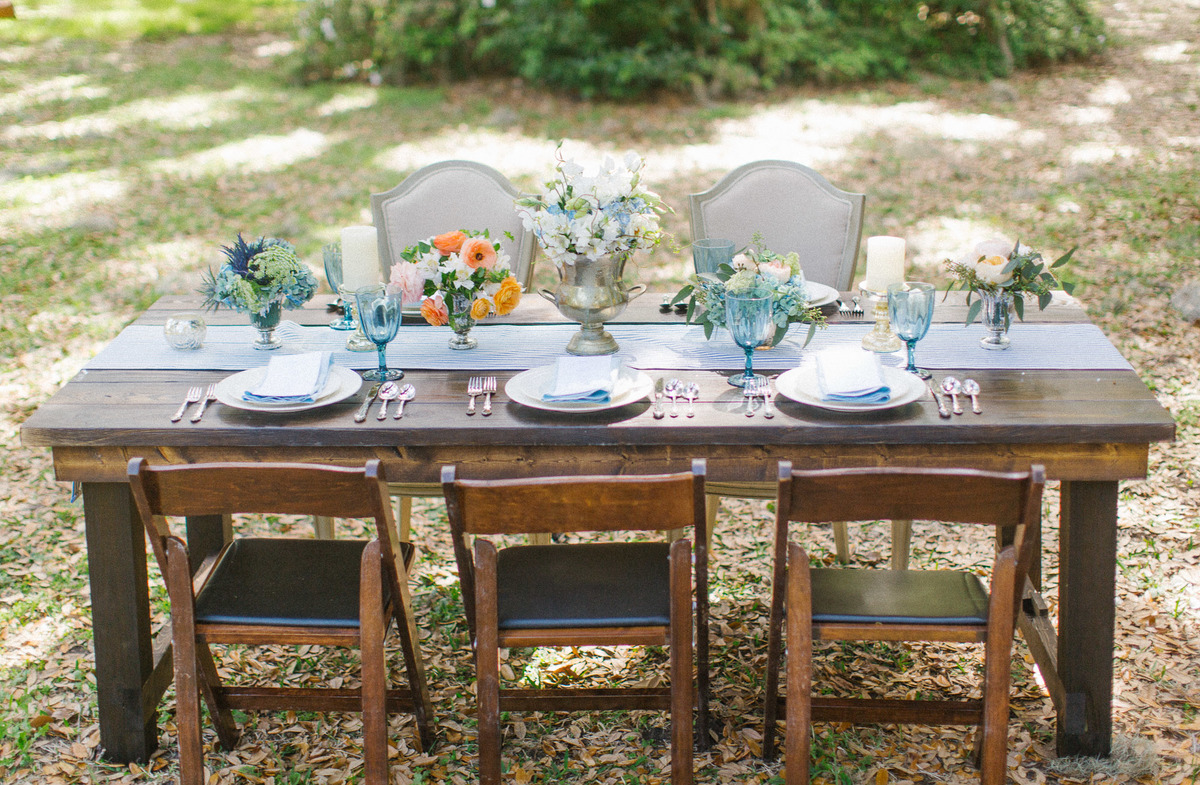
My wife wanted a portable farmhouse style rustic dining table that she could take to photoshoots and other events. I started with a top made with 2x6s and make the legs with 4x4s and the rest with 2x4s. Stain is dark walnut with a clear coat on top.

The legs are attached with door hinges and can fold into the top for more portable use. There is also a board that can be inserted in the bottom slots so that when in use the legs can not fold in.

So far the rustic dining table is working out great, although this table is VERY HEAVY and needs 2-3 strong people to carry it around. I have also made a lighter version using 1x6 tops and all 2x4 frame and legs.

Photos courtesy of Jennifer Blair Photography Designed by Amber Veatch Designs

Estimated Cost
150.00
Estimated Time Investment
Weekend Project (10-20 Hours)
Finish Used
Miniwax Dark Walnut
Recommended Skill Level
Intermediate

Comments

Juanita_r

Wed, 06/12/2013 - 04:15

Oh I really hope that you are able to put these modified plans up!!! A foldable farmhouse table.... what will they think of next!

Unicorn1960

Sat, 10/22/2016 - 17:21

I cannot find the plans for the tiny house drawers any where.  Can someone please point me in the right direction.  Thank you! 

Outdoor end table

Submitted by spiceylg on Mon, 08/27/2012 - 14:38

I didn't use any plans but the Outdoor Ottoman comes really close. Needed an end table to go with our Outdoor Sectional that my husband and I built. While he was at a ballgame I whipped this up. Still have to sand and stain this as well as the sectional, but will probably do it as a winter project. We bought the 1x4s a while ago when we bought the 2x4s for the sectional so I wasn't exactly sure of the cost. I think I used 2 1/2 pieces of 8' lengths. Who would have thought a couple of years ago that so many of us would have attempted to build furniture and then even without a plan now and then?! Ana rocks! :)

Estimated Cost
Approx $5
Estimated Time Investment
An Hour or Two (0-2 Hours)
Finish Used
Not sure what brand, but spray painted Apple Green for a pop of color against the back cushions.
Recommended Skill Level
Starter Project

Saddle Seat Stools

Submitted by naomi on Fri, 08/29/2014 - 06:57

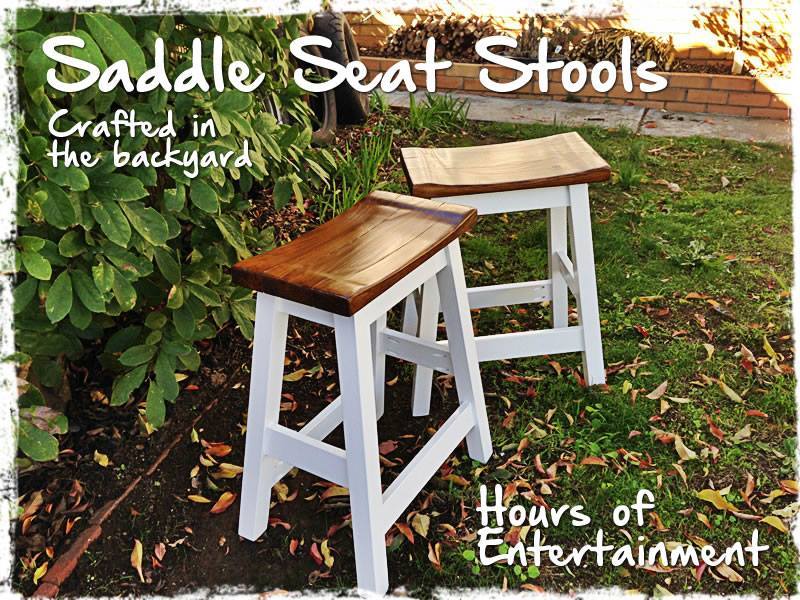
After a lot of cutting, screwing, chiseling and sanding... oh and a lick of paint! My new little Saddle Seat Stools are complete. Time will only tell whether they will hold up to the abuse the boys give them especially Brodie! These new stools only cost me $48 to make the pair and I got all the timber from Bunnings

Built from Plan(s)
Estimated Cost
$48
Estimated Time Investment
Weekend Project (10-20 Hours)
Finish Used
Teak and White Enamel Paint
Recommended Skill Level
Beginner

Picket Planter Boxes

Submitted by JaxCopper on Mon, 05/09/2022 - 19:09

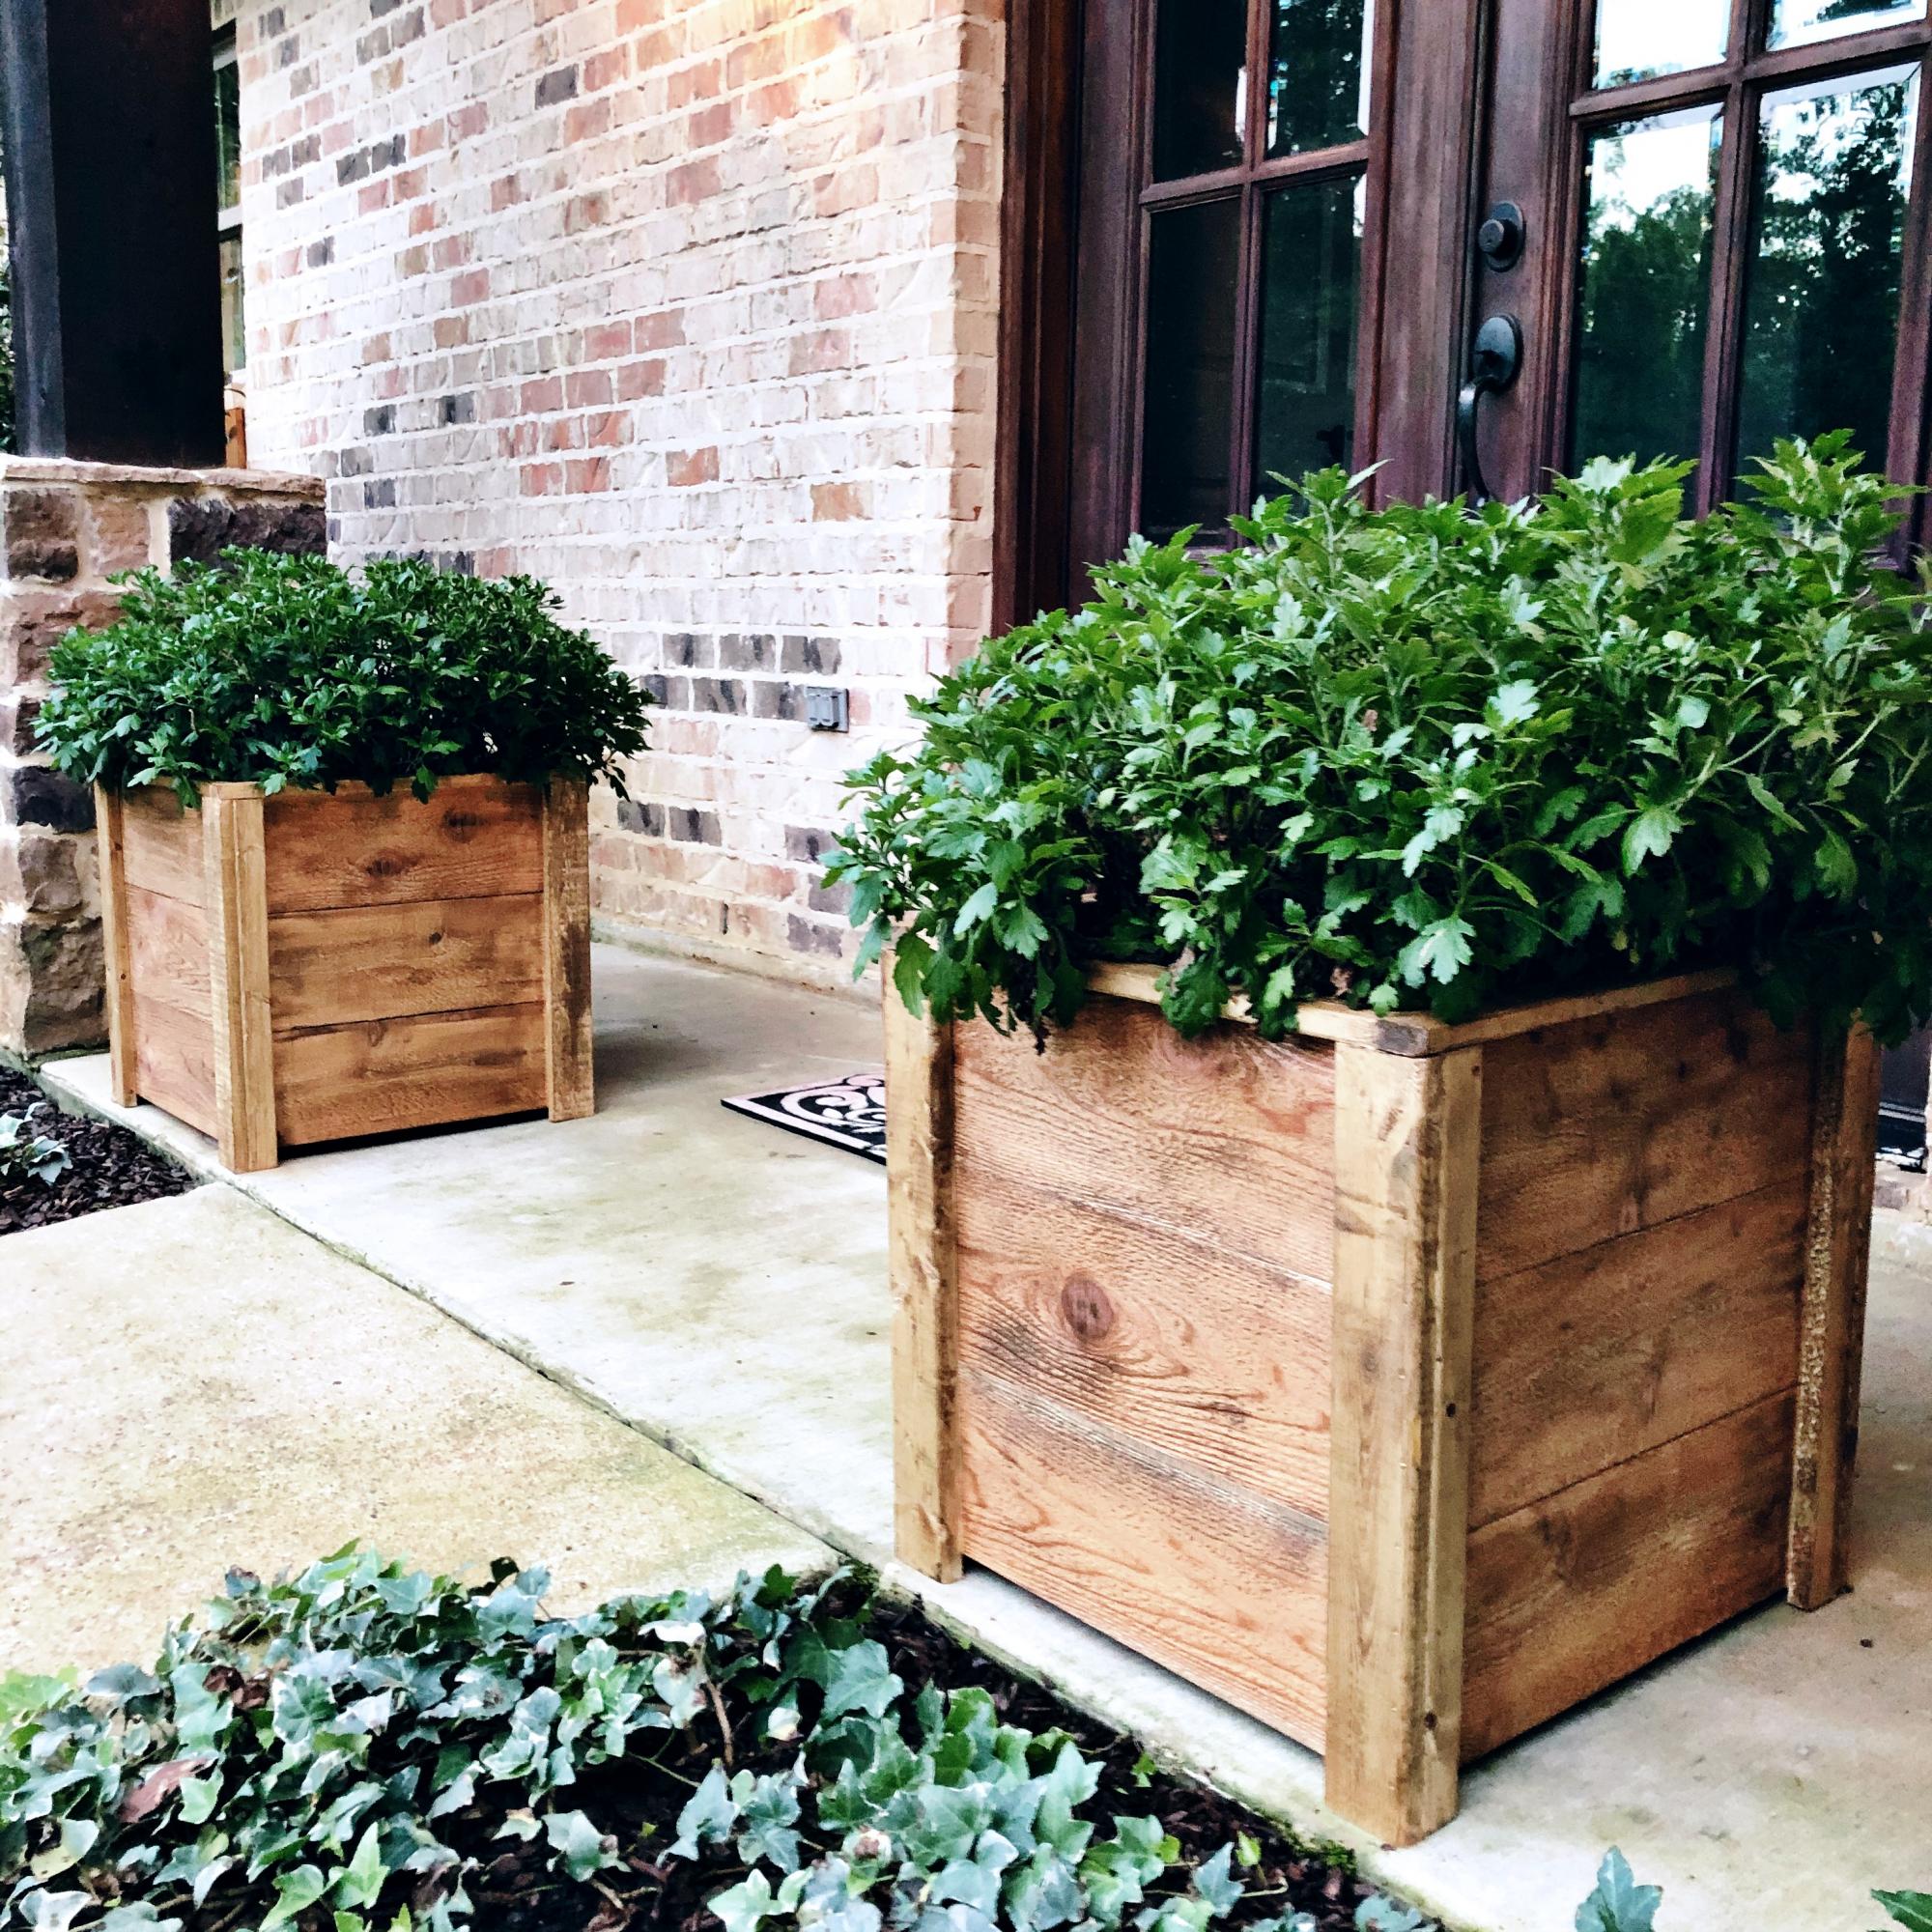
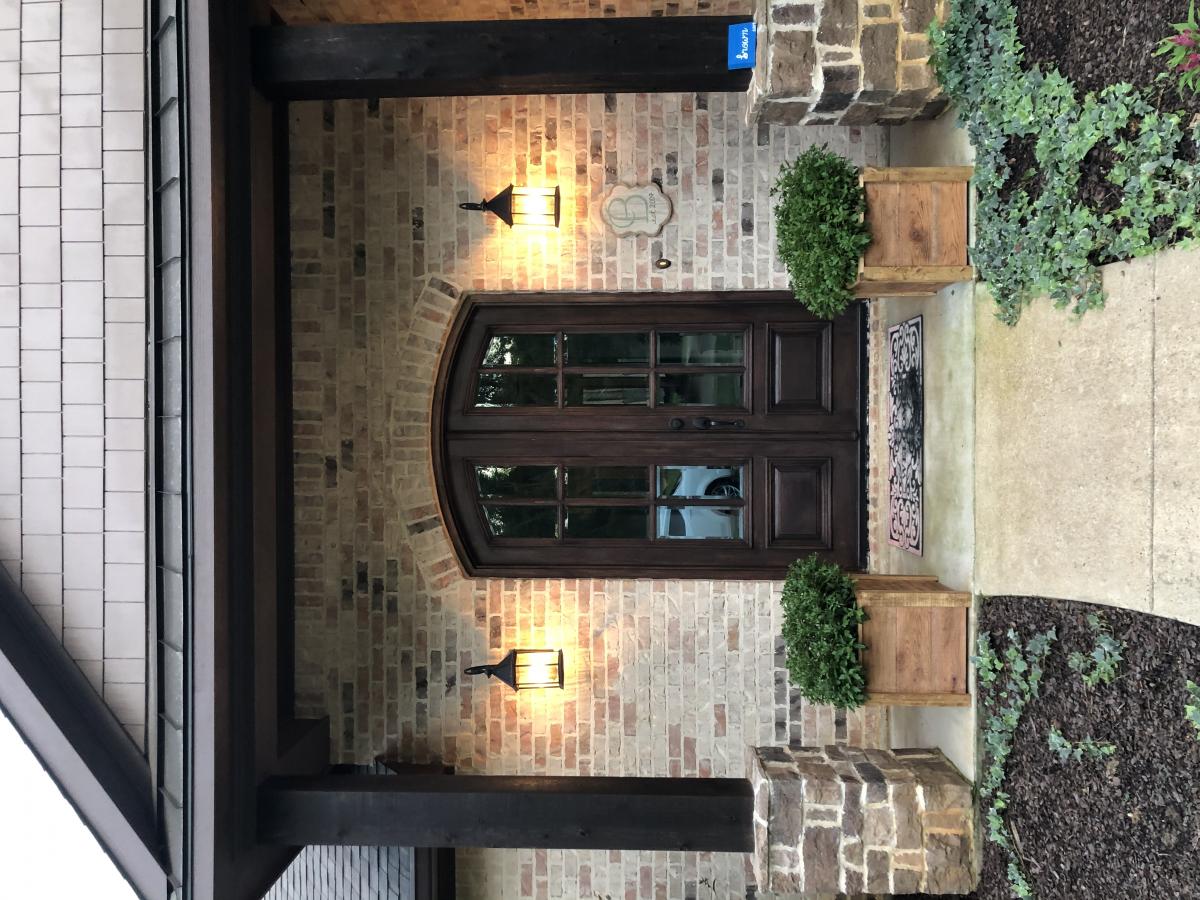
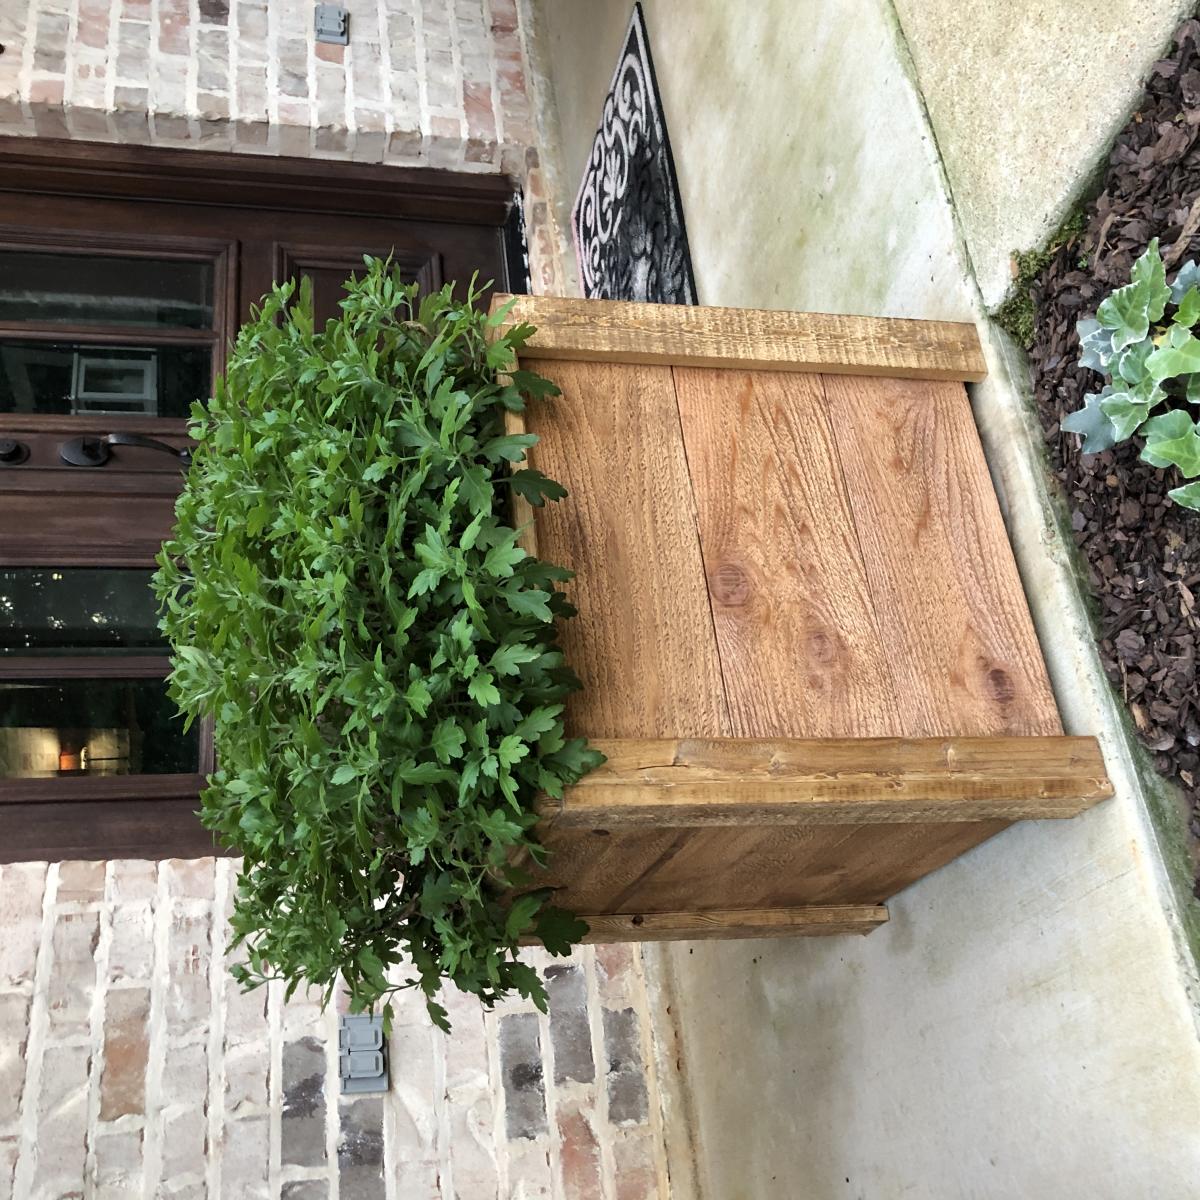
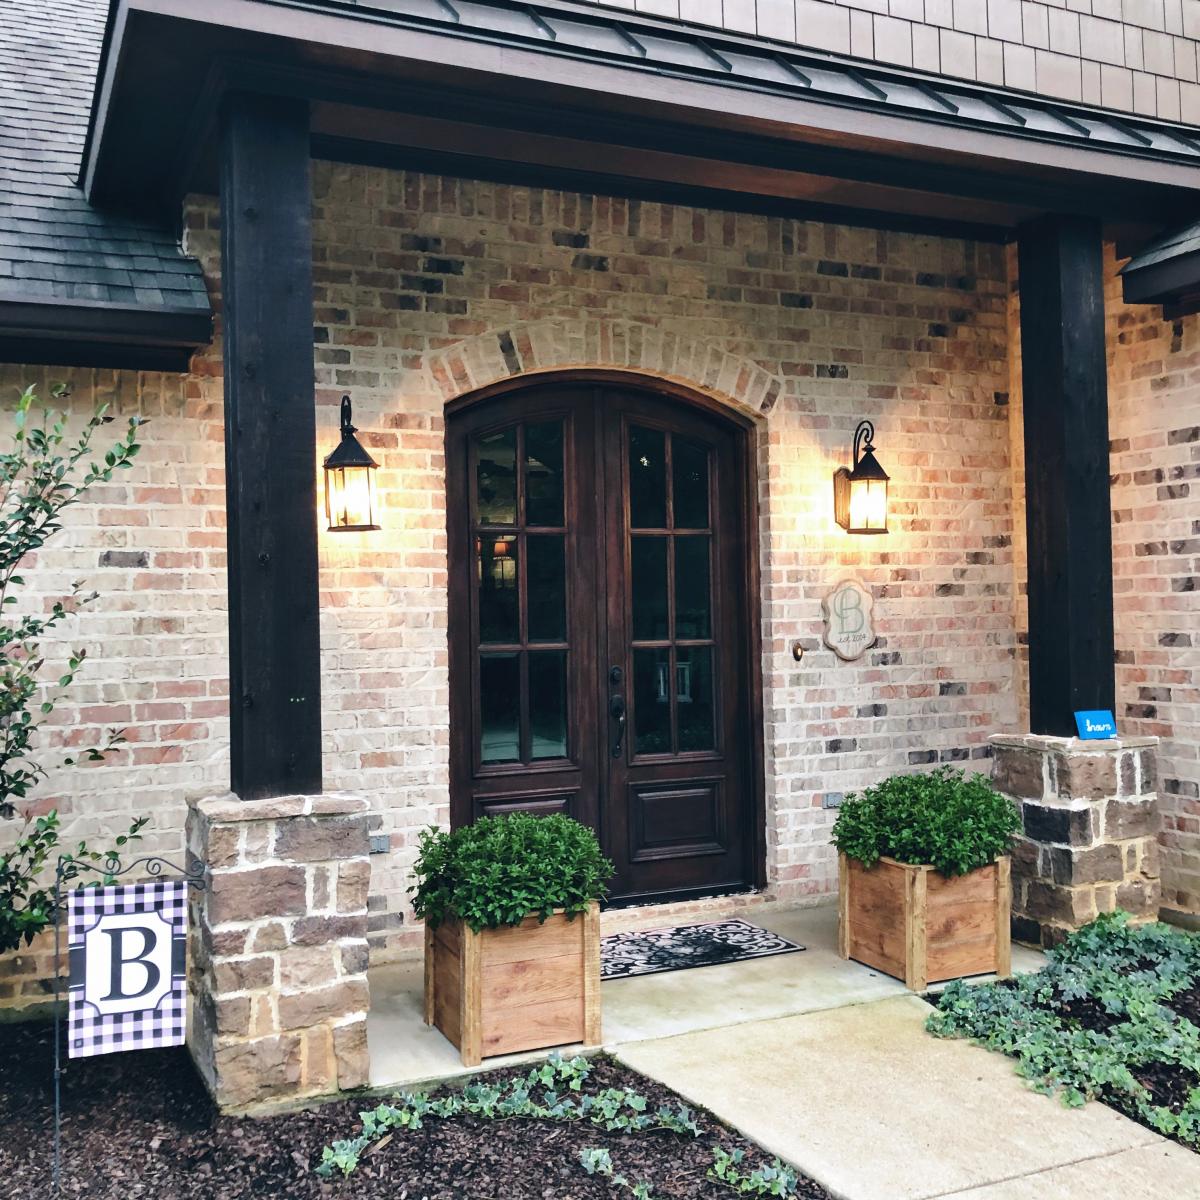
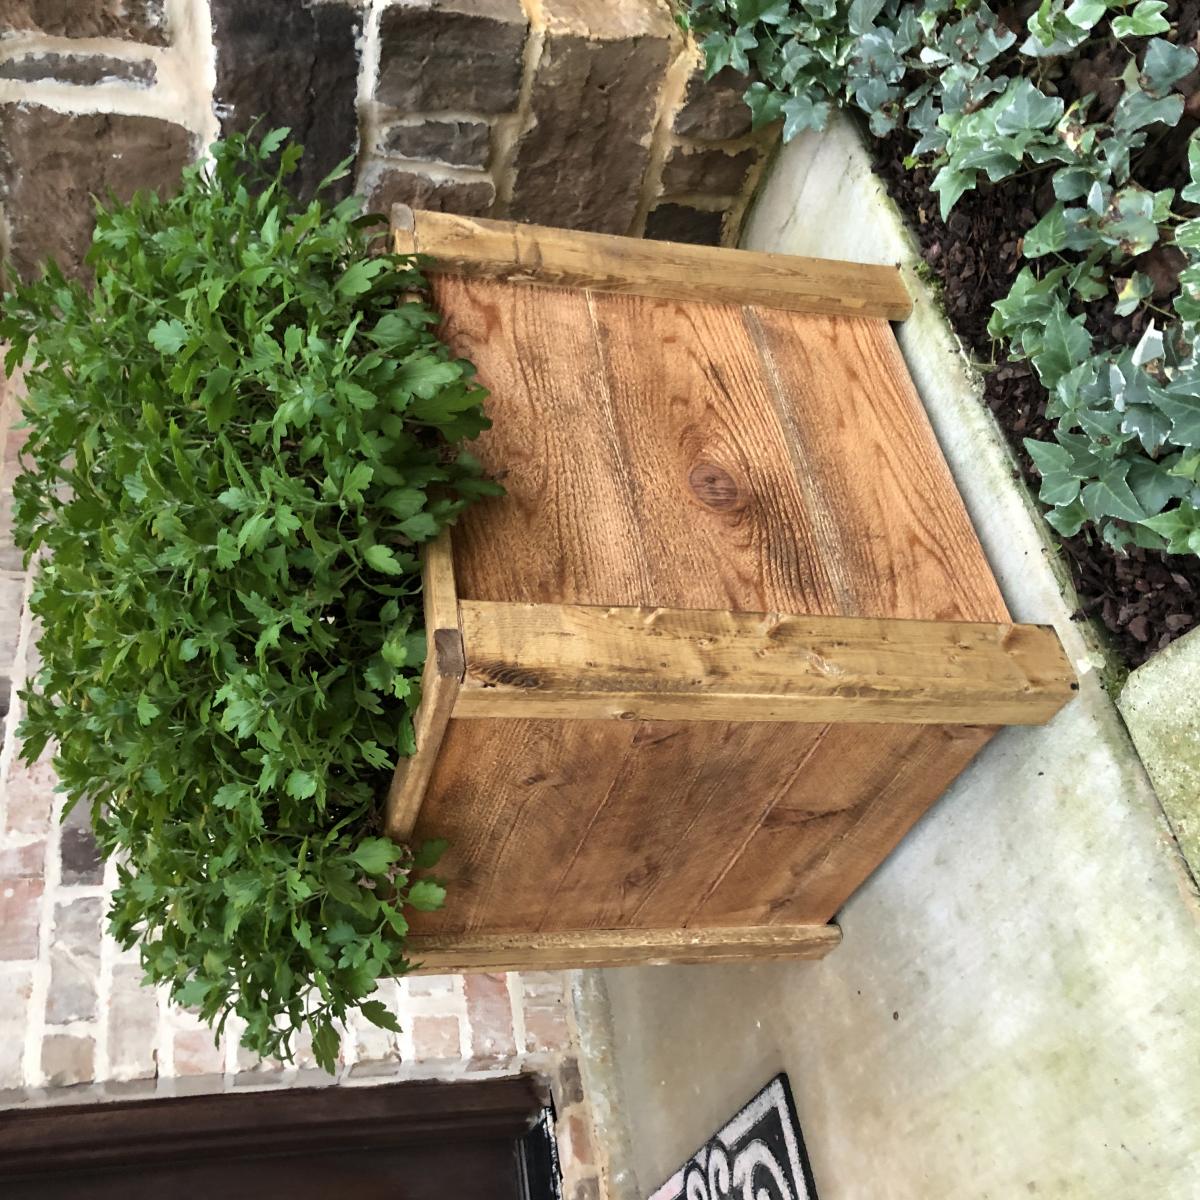
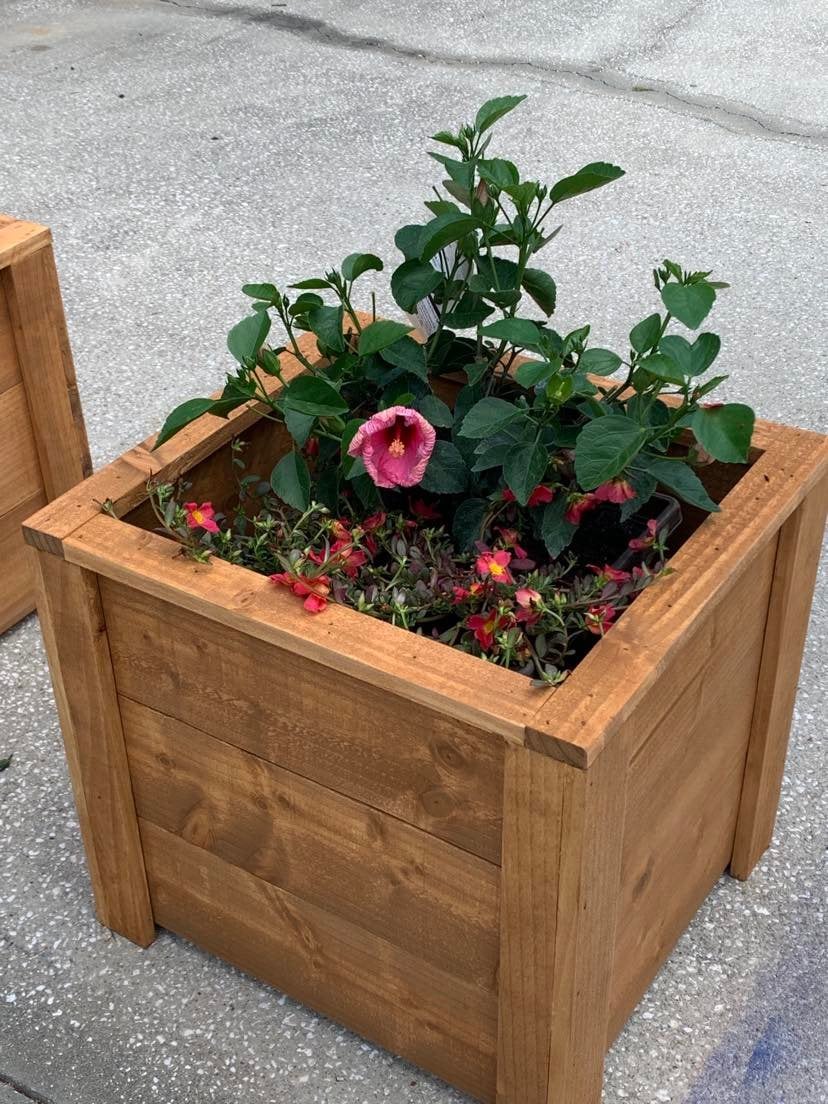
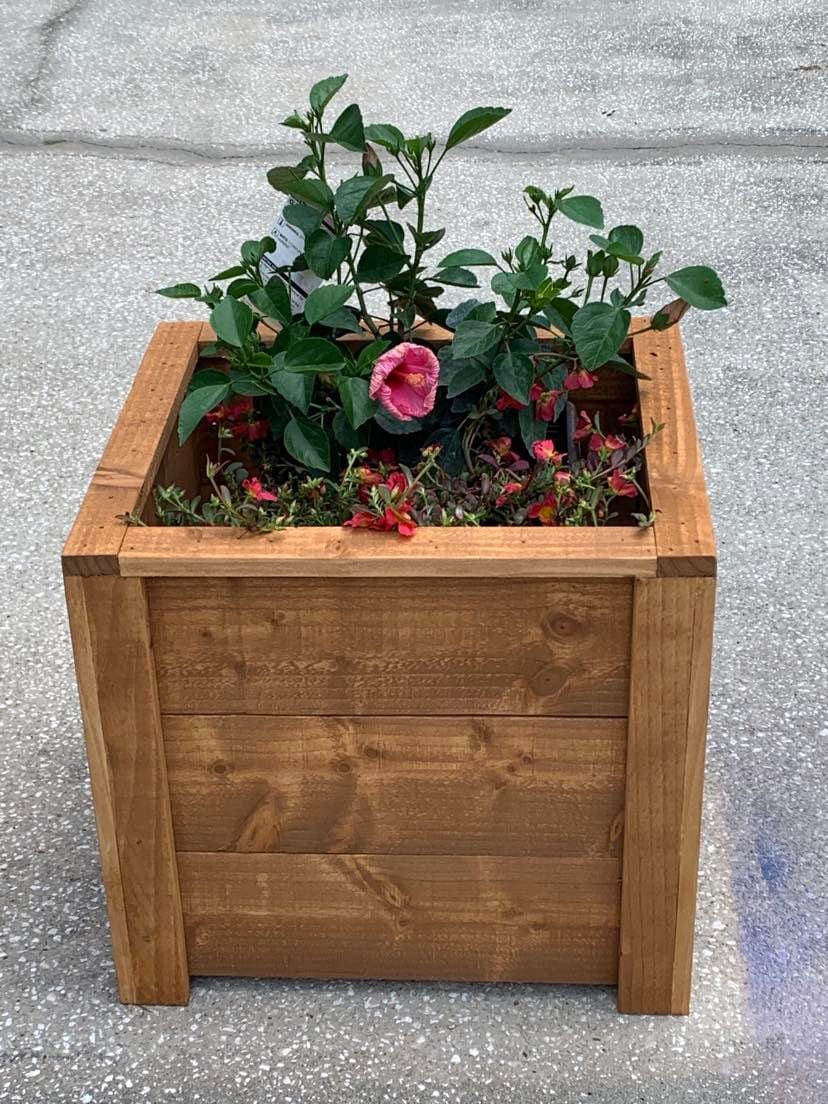
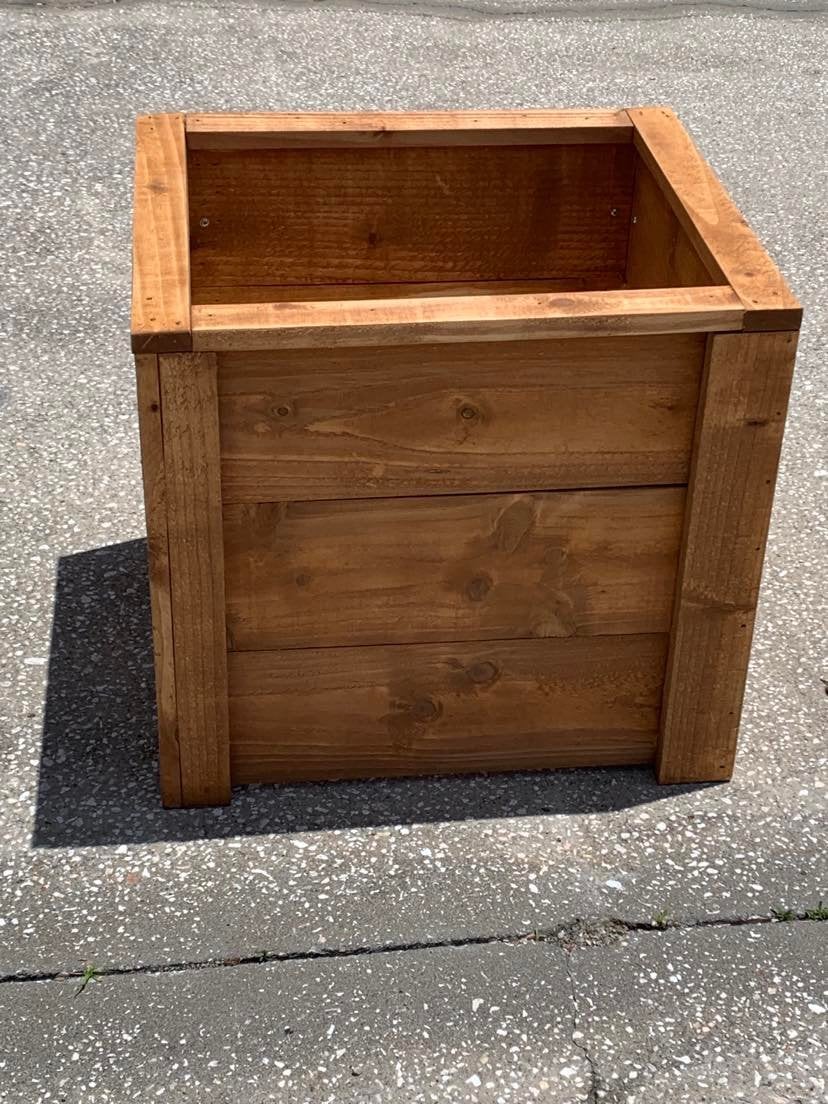
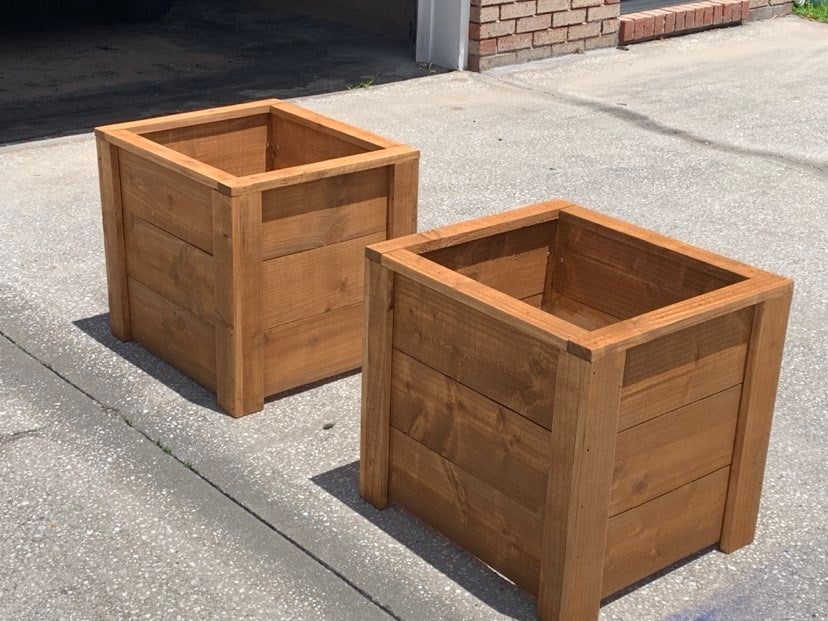
Thanks Ana, I built your planter box, actually built 2 of them, one for each mom. The were a huge hit and I already have people asking me to build them one.

So loved building this planter box. Thanks for all you do for your fellow woodworkers!

Dale G
Callahan, FL

Comments

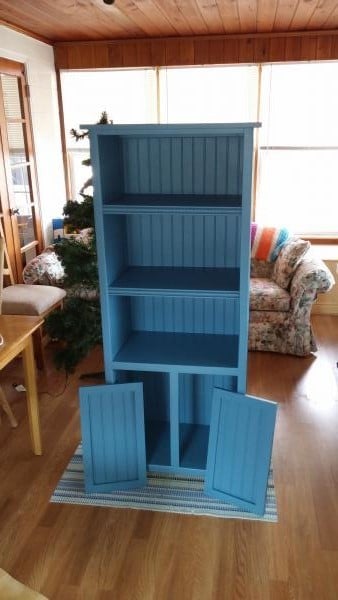
Channing Bookcase

Submitted by plumbguy on Mon, 12/07/2015 - 14:40

I'm a better plumber than a carpenter.

Built from Plan(s)
Estimated Time Investment
Weekend Project (10-20 Hours)
Finish Used
Paint & Poly
Recommended Skill Level
Beginner

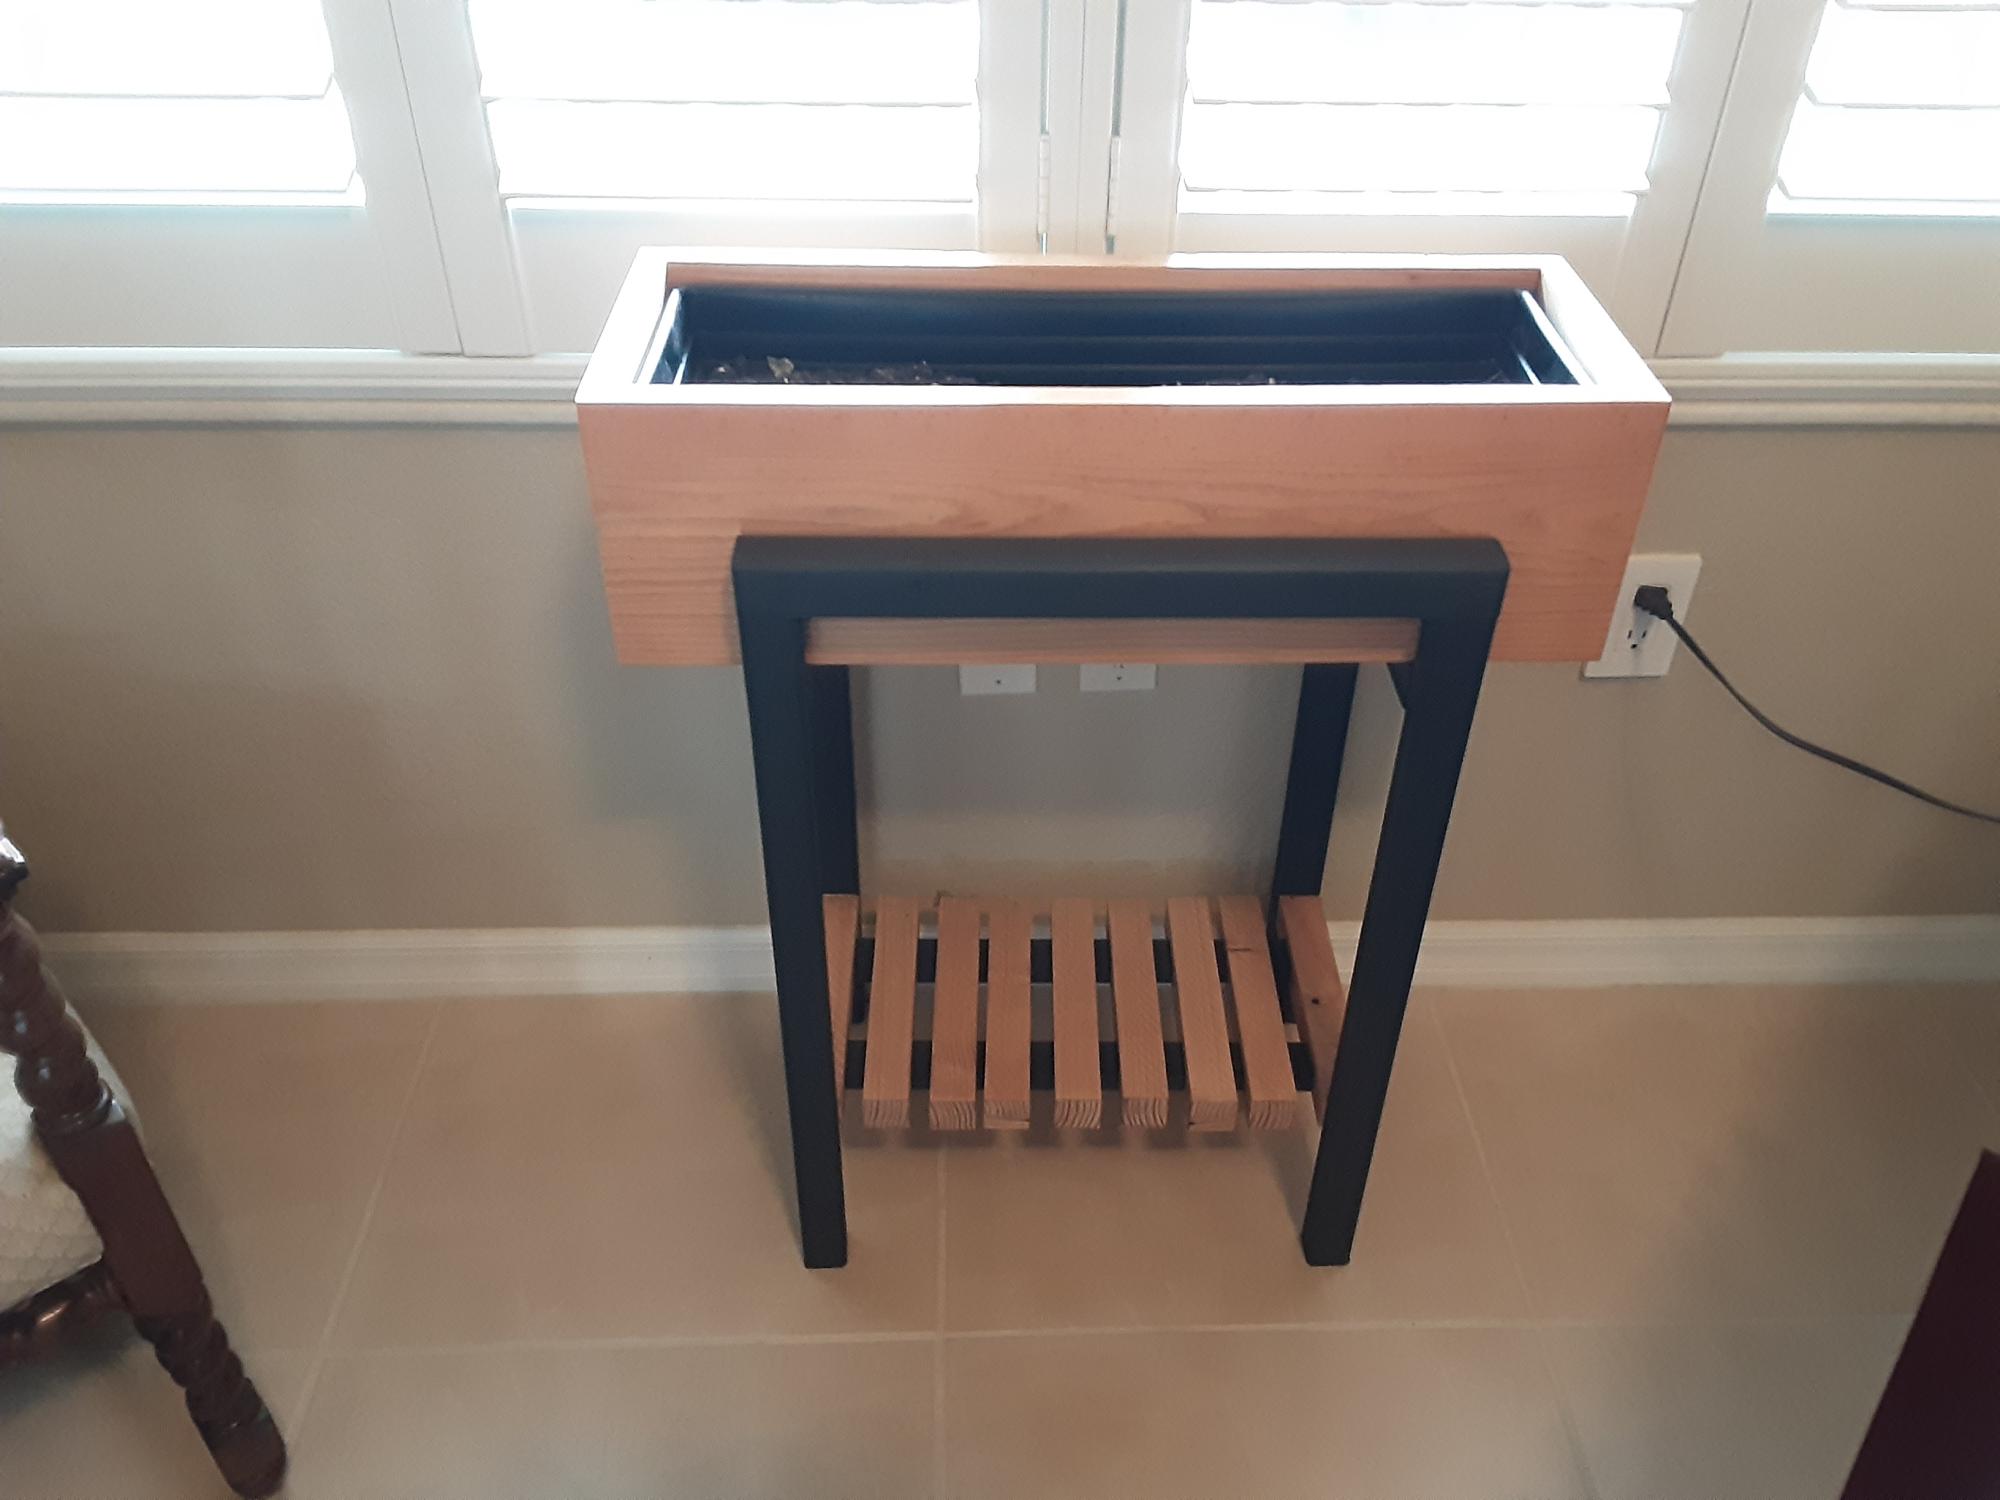
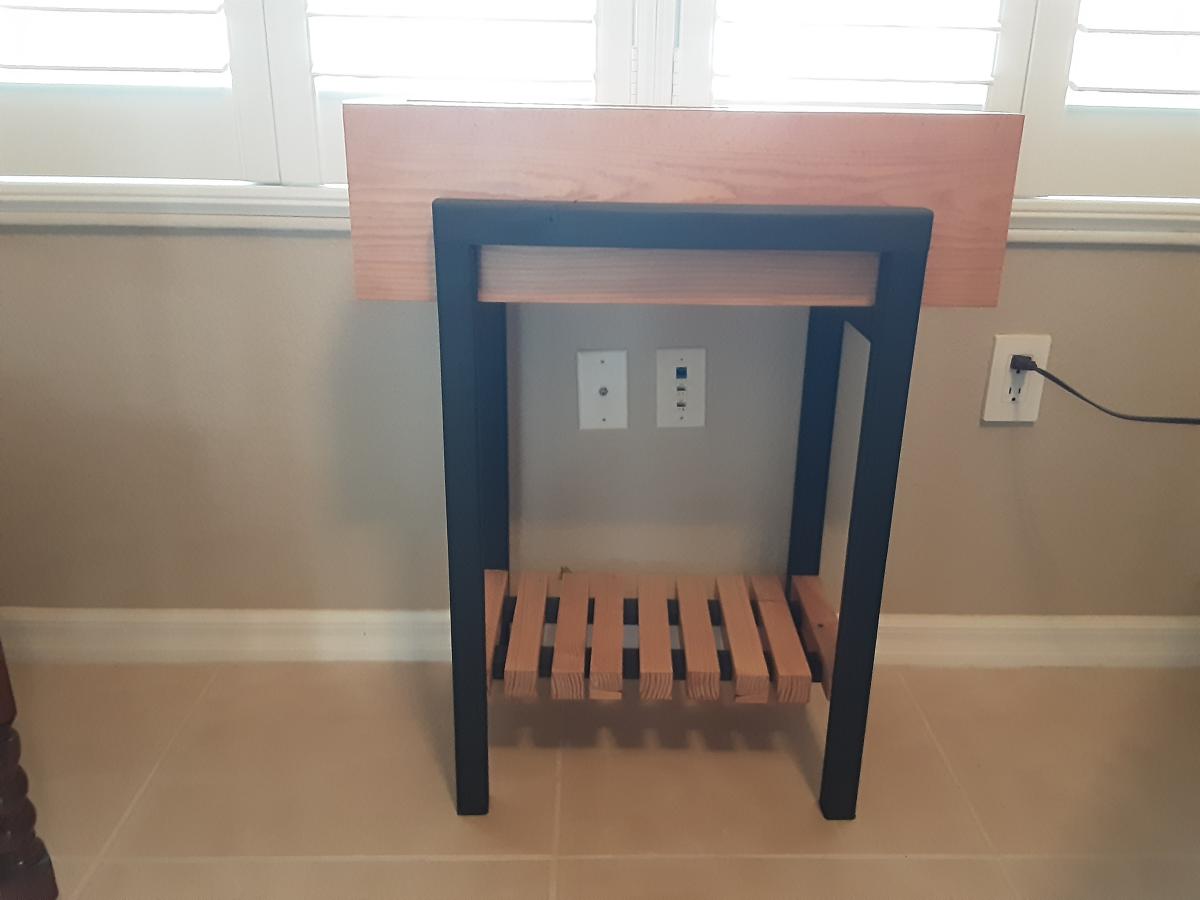
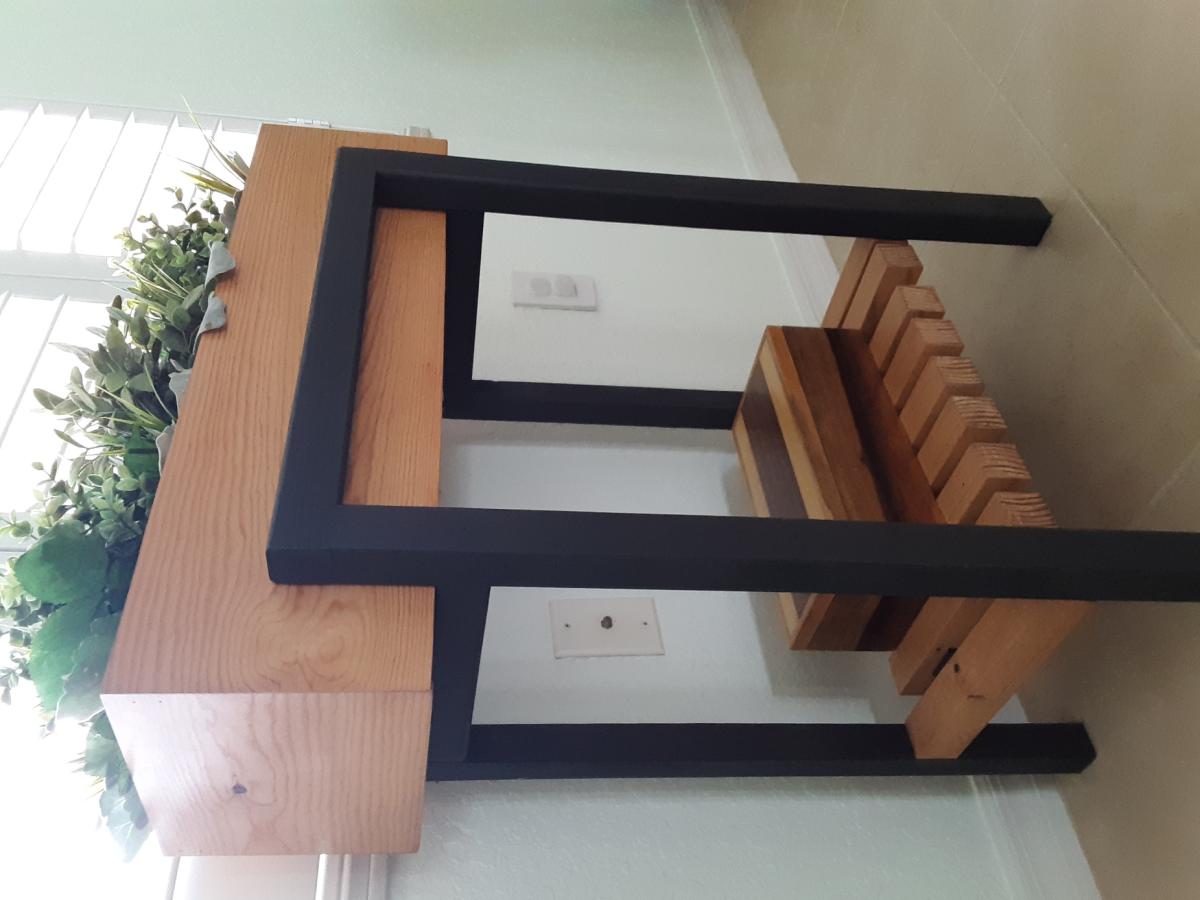
Raised Planter Stand

Submitted by Anonymous (not verified) on Sun, 04/30/2023 - 13:02

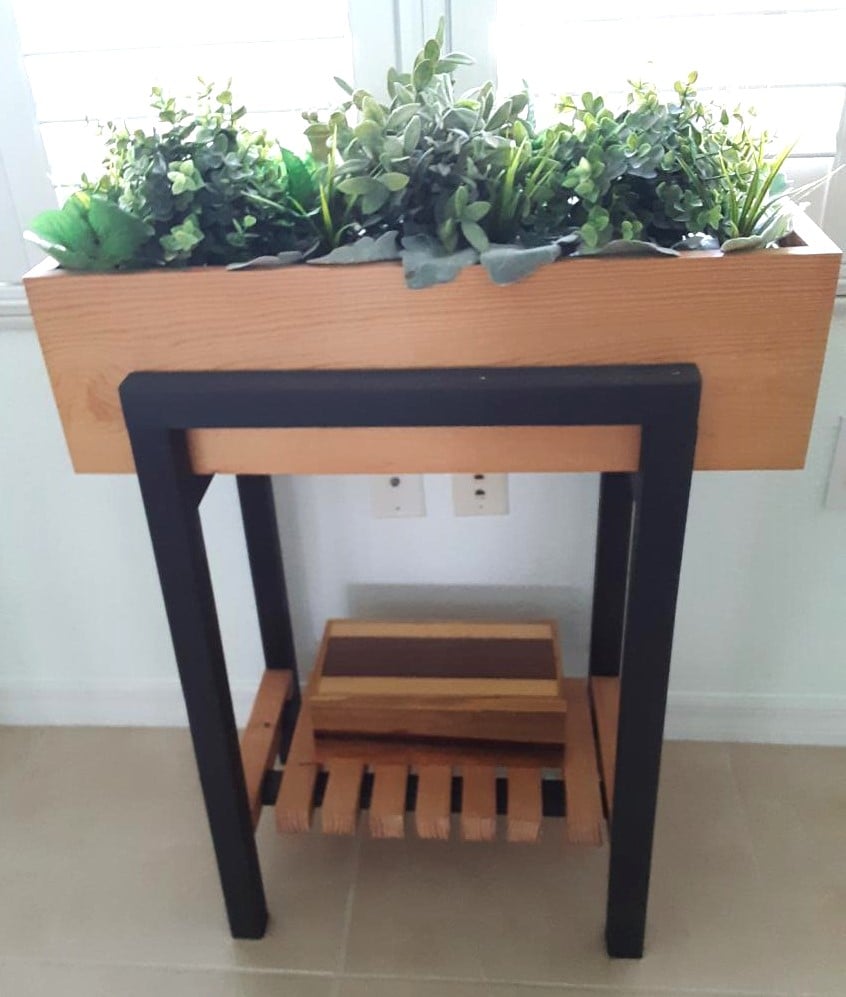
Created the stand for the raised planter using 2X2 assembled using dowels. Painted the stand mixing black with a bit of white to simulate metal. The actually plastic window box fits within a wood open box with mitered corners fir clean log. Bottom of the stand provides a shelf using (9) 2X2s with a dado placed on either end to fit on the runners of the stand.

Built from Plan(s)

Comments

Book Rack

Submitted by Anonymous (not verified) on Fri, 04/22/2016 - 11:08

I built this book rack using scrap wood and modified plans from the Full Length Plate Rack. It was a really straightforward build, and functions very well as vertical storage that takes up little space. I predrilled, screwed and glued all of the joints, vs. stapling.

Built from Plan(s)
Estimated Time Investment
Afternoon Project (3-6 Hours)
Finish Used
2 coats of "Simplicity" country chic chalk paint.
Recommended Skill Level
Beginner

Comments

Toilet step stool

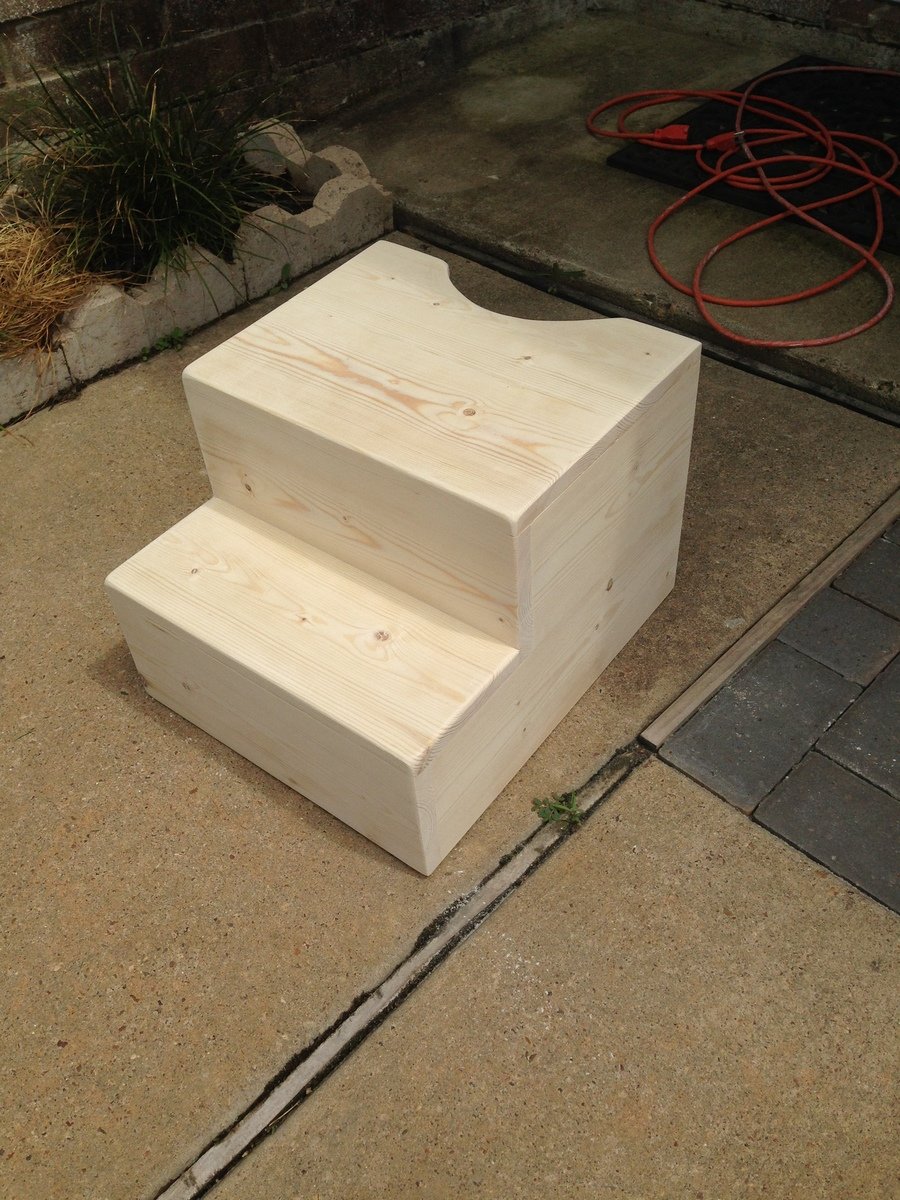
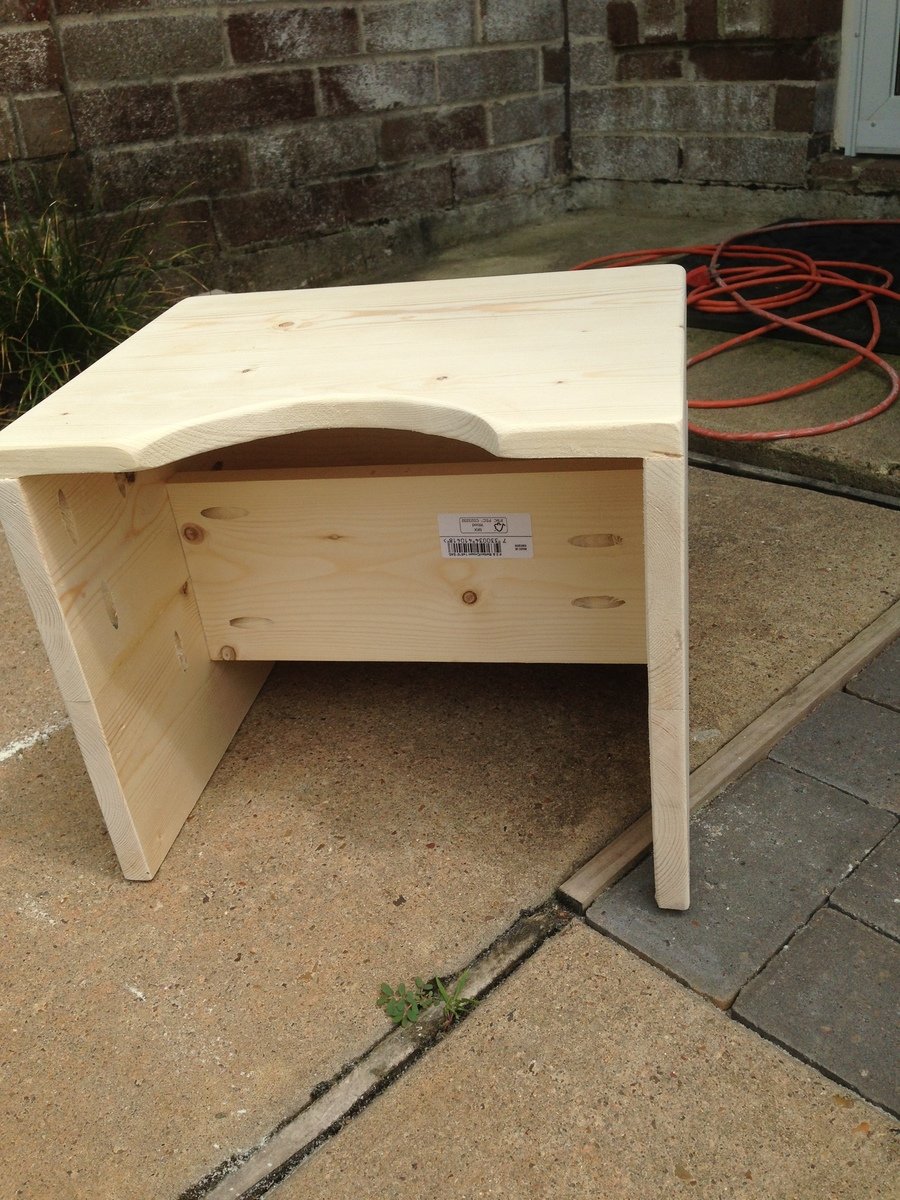
This was my first project at building some sort of furniture. we wanted a stool that really fits out toilet bowl shape, the height, etc. and 2x6's worked perfectly. I could have bought 2x12's for the sides, but it would have cost significantly more and with the inside support board it is plenty sturdy.

I bought 2# 2"x6"x6 foot coarse pine boards from Home Depot (not the expense Select Pine boards. They cost about $6 each. Then I bought a 100 count package of Kreg 1.25" coarse screws.

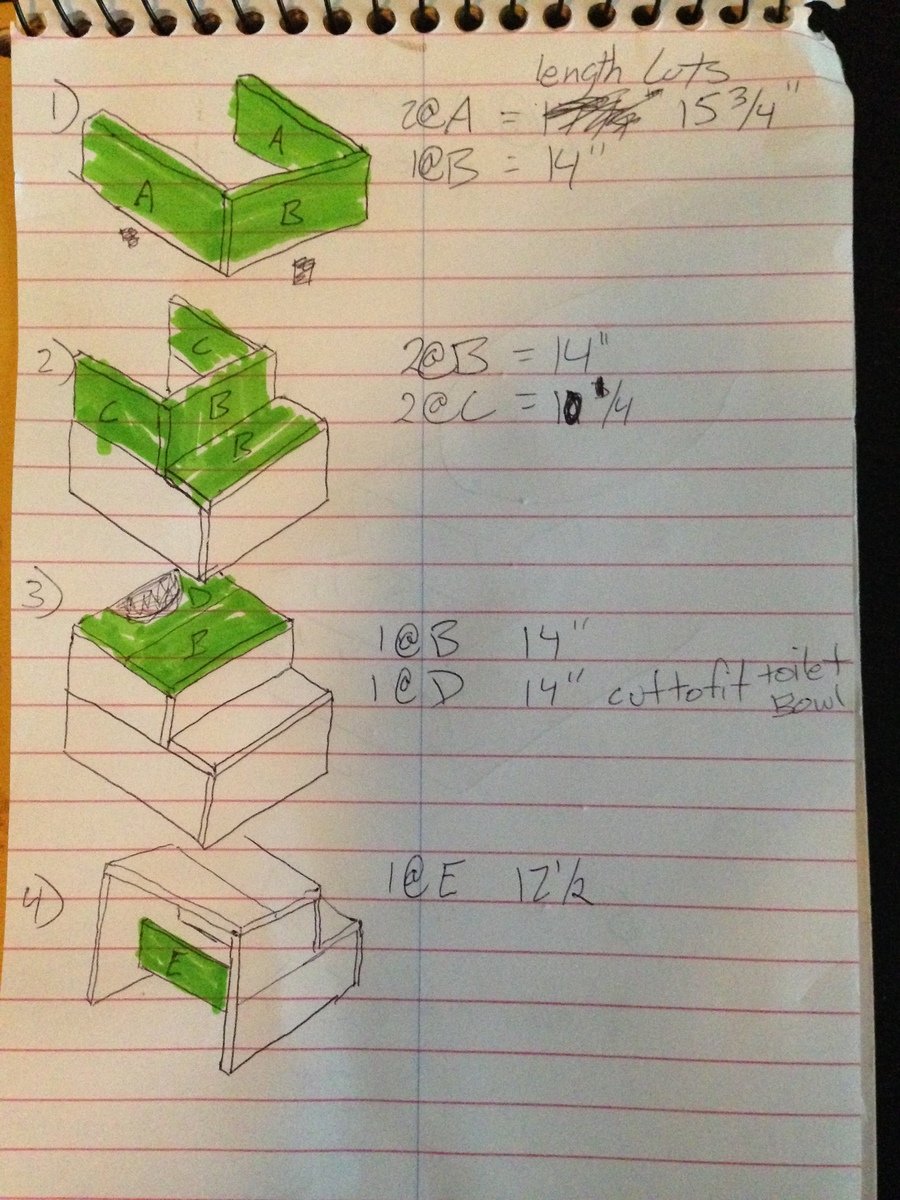
Cut lengths
2 @ 15 3/4" for lower sides
2 @ 10 1/4" for upper sides
5 @ 14" for steps and fronts
1 @ 12 1/2" for inside support

I used my Kreg Jig and connected all the pieces along with wood glue. I sanded the whole thing down after and tried to round/smooth the corners.

Estimated Cost
$17
Estimated Time Investment
An Hour or Two (0-2 Hours)
Finish Used
none yet.
Recommended Skill Level
Starter Project

Comments

pADDY1957

Tue, 03/01/2016 - 10:29

Does anybody have plans for a potty seat. I would like to build a childs chairs that has a ptty

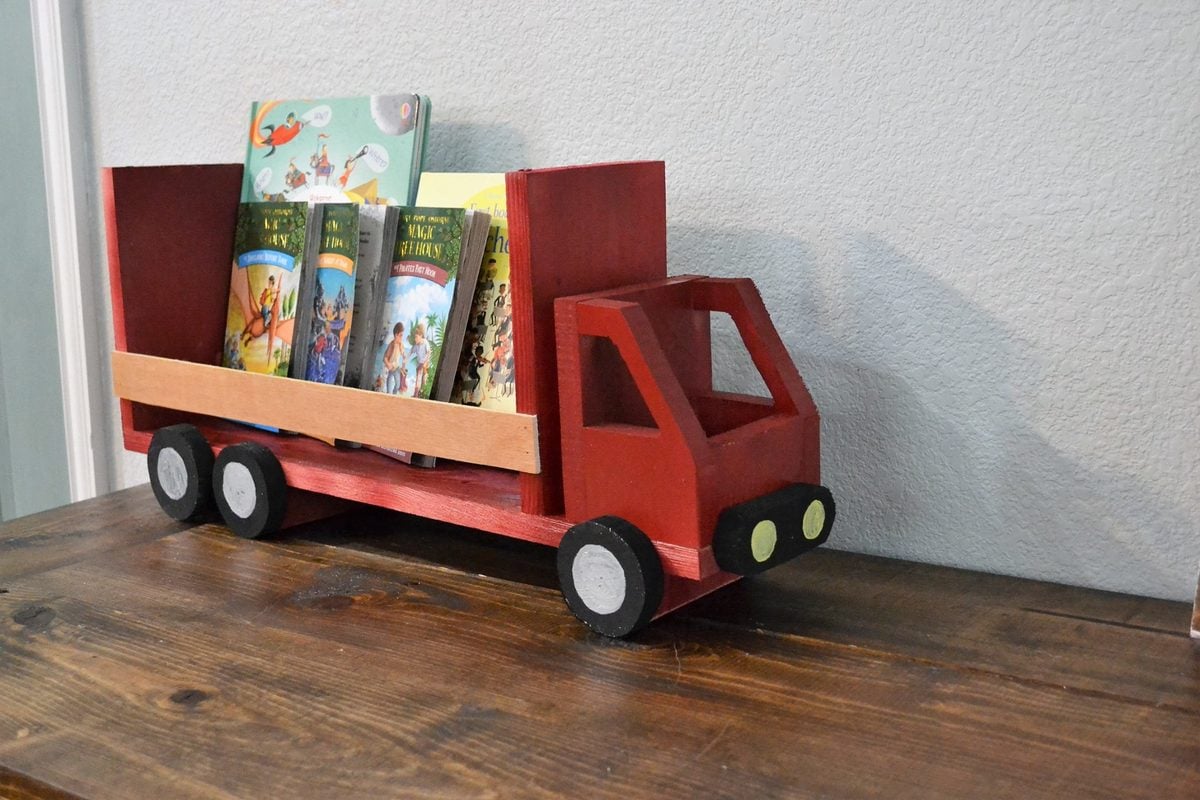
Truck Shelf or Desk Organizer

very easy

Built from Plan(s)
Estimated Time Investment
Afternoon Project (3-6 Hours)
Recommended Skill Level
Beginner

Comments

Standing Outdoor Planter

Submitted by Anonymous (not verified) on Fri, 04/14/2023 - 06:42

A friend of mine has issues with her knees but loves gardening so I built this to allow her to continue gardening. She loved it.

I didnt follow any particular set of plans I watched several you tube videos and combined different ideas from the videos to develop my own plan.

Comments

Modified Jr. Loft Bed

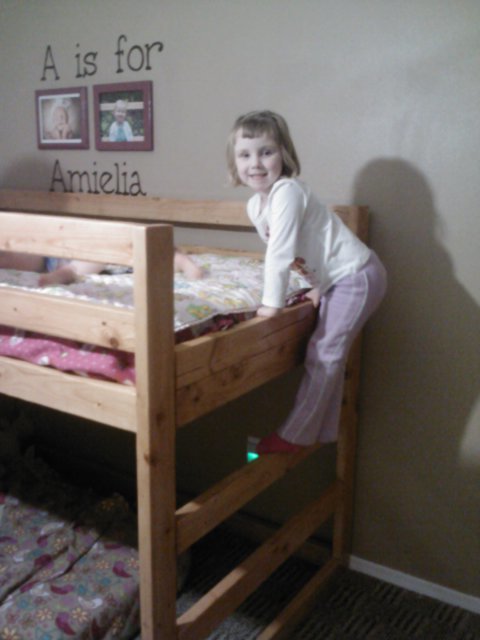
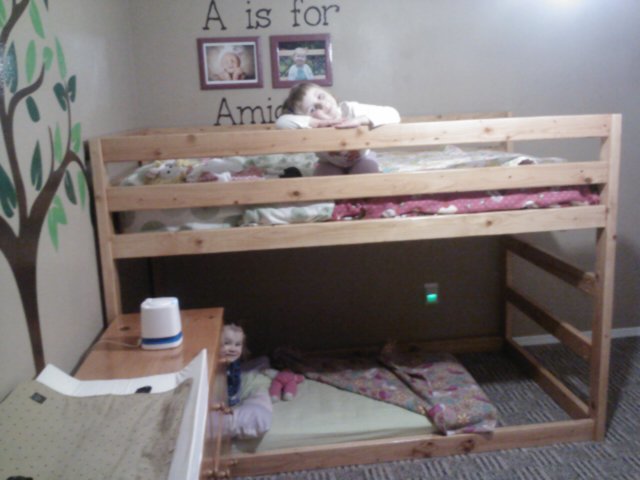
We loved the idea of the Jr. Loft Bed, but made some modifications to fit our needs.

Modifications:
-I didn't really feel the 2x6 railing was needed, so to cut costs, we used all 2x4s. On the end, I put two 2x4s one on top of the other to keep the mattress from sliding off the ladder side.

-Height was a concern for me as my kids are 4 & 2. So I lowered the overall height by about a foot. 54in is the height. Since we are putting my youngest on the bottom (on the floor) we made sure she had enough head room.

-We wanted this to be STURDY and reversible. So we added bottom supports on both long sides to ensure that the frame wasn't going to move. We also added six 2x4 supports under the mattress on the top. I can climb up there to tuck in sheets with no problem.

-We skipped the stairs & landing. I didn't want my kids to be playing on the bed. So we skipped the stairs and just built a ladder into the frame instead.

This was a fairly easy build. We previously built a HUGE Ana White Table. And I felt like I was kreg jigging for DAYS. This was only a few hours of cutting, sanding, kreg jigging, and a simple put together. Staining took the longest! It's a great bed and we're so excited it's finished!

Estimated Cost
$70
Estimated Time Investment
Day Project (6-9 Hours)
Finish Used
We used Minwax Polyshades. Classic Oak Gloss. 2 coats.
Recommended Skill Level
Beginner

Petra's Doggie Day Bed

Submitted by Joni on Sat, 08/25/2012 - 10:33

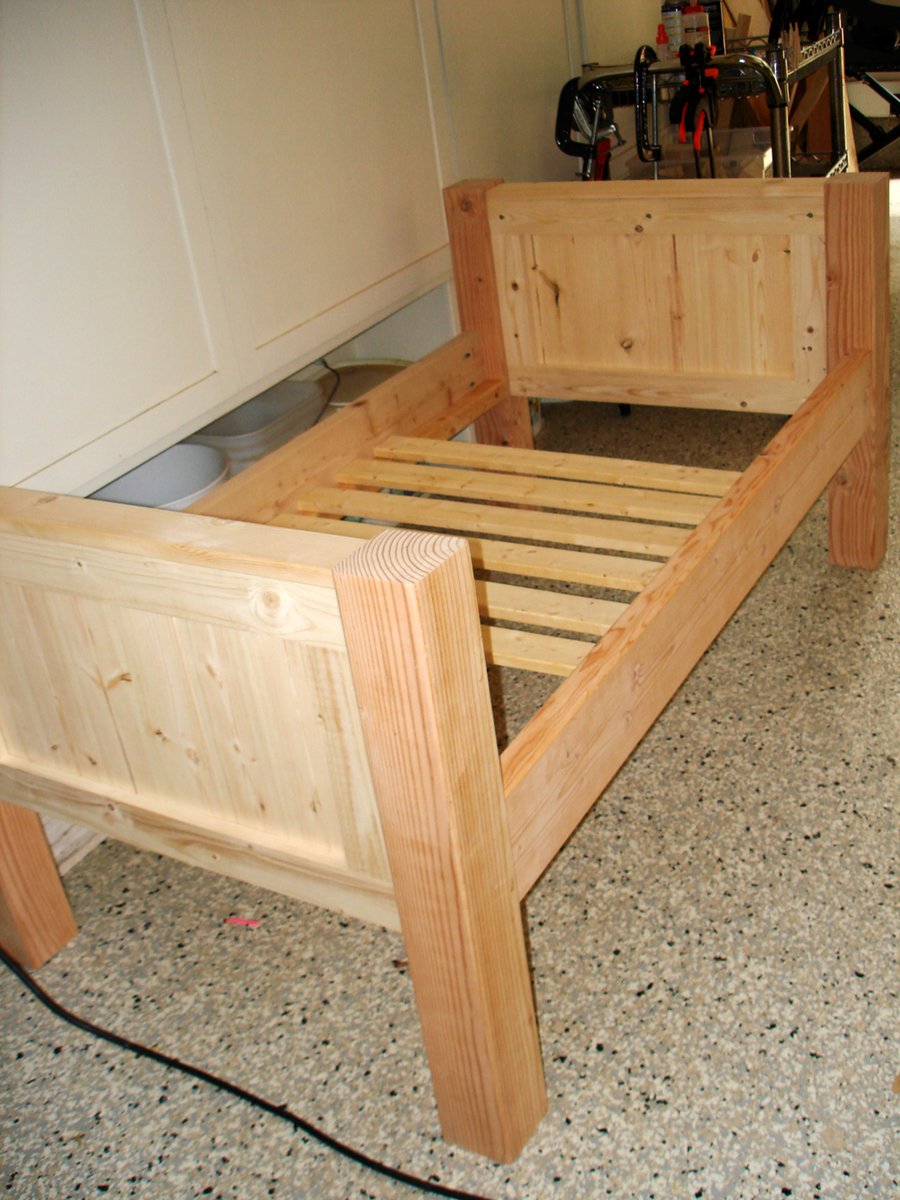
Yes, my husband and I share our bedroom with 6 dogs and an occasional cat (or 4). Our older dog (Petra) has slept on our bed for over 10 years, and she's getting too old to jump anymore. We didn't want her to feel like she was getting kicked off the bed, so I made Petra her very own bed at the end of ours so that she wouldn't feel left out. I was inspired by MurdaRae's dog bed (http://ana-white.com/2012/06/doggie-daybed), and thought it was genius to use a toddler/crib bed. So I went looking for plans on Ana-White, and came up with a mixture between a couple of twin bed plans. I love that the plans are easy enough to modify my sizes, and come up with exactly the custom solution that I need. This was my first big project using Bri-Wax. The last one was kind of a disaster when the wax changed the stain color to something not-so-great. With this project, I learned to wait at least 2 weeks before attempting to wax it. I was blown away with the results. It is a beautiful subtle satin finish that feels great to the touch. Plus, I can easily touch up all the dog fingernail scratches that will inevitably occur. When I re-assembled the bed in my bedroom, I actually nicked it in a few places. No problem -- slap on some more Bri-Wax! My Bri-Wax was 11 years old, and pure liquid. I tossed it in the fridge (per Bri-Wax's recommendation), and it was as good as new. The only real problem I had with this project was leaking sap from one of the 4x4s. I'm still fighting this today. In talking with Rustoleum/Zinsser reps, they said that no sap could penetrate their "Seal Coat" shellac product. After 5 coats, the sap is still penetrating, but only if I turn it on it's side or upside down. I'm still baffled. I made the mattress cover out of a dog blanket, and made the cushions from some remnant fabric (suitable for dogs and weekly washing), so this was a fairly inexpensive project. It was a success because Petra slept in her bed from the fist night and loved that she had all the room to herself, and no boston terrorists (I mean terriers) attempted to bother her.

Estimated Cost
$65 for Wood, $60 for Crib Mattress, $7 for stain, $9 for Decorative Clavos
Estimated Time Investment
Weekend Project (10-20 Hours)
Finish Used
Combination of Minwax Water-based stains: 6 parts Colonial Pine: 1 part American Walnut, followed 4-5 Coats Bri-Wax (Light Brown)
Recommended Skill Level
Beginner

Comments

spiceylg

Sat, 08/25/2012 - 18:41

You did an amazing job! Looks professional and at first glance, you definitely can't tell it's a dog bed.

StacieM

Sun, 08/26/2012 - 10:24

It matches the woods in your bedroom so well and looks great! Also, I love the bolster pillows around the edges. That is something I need to make for our dog bed. Thanks for sharing.

Kitchen Island Butcher Block

Submitted by nick837 on Thu, 11/21/2013 - 15:23

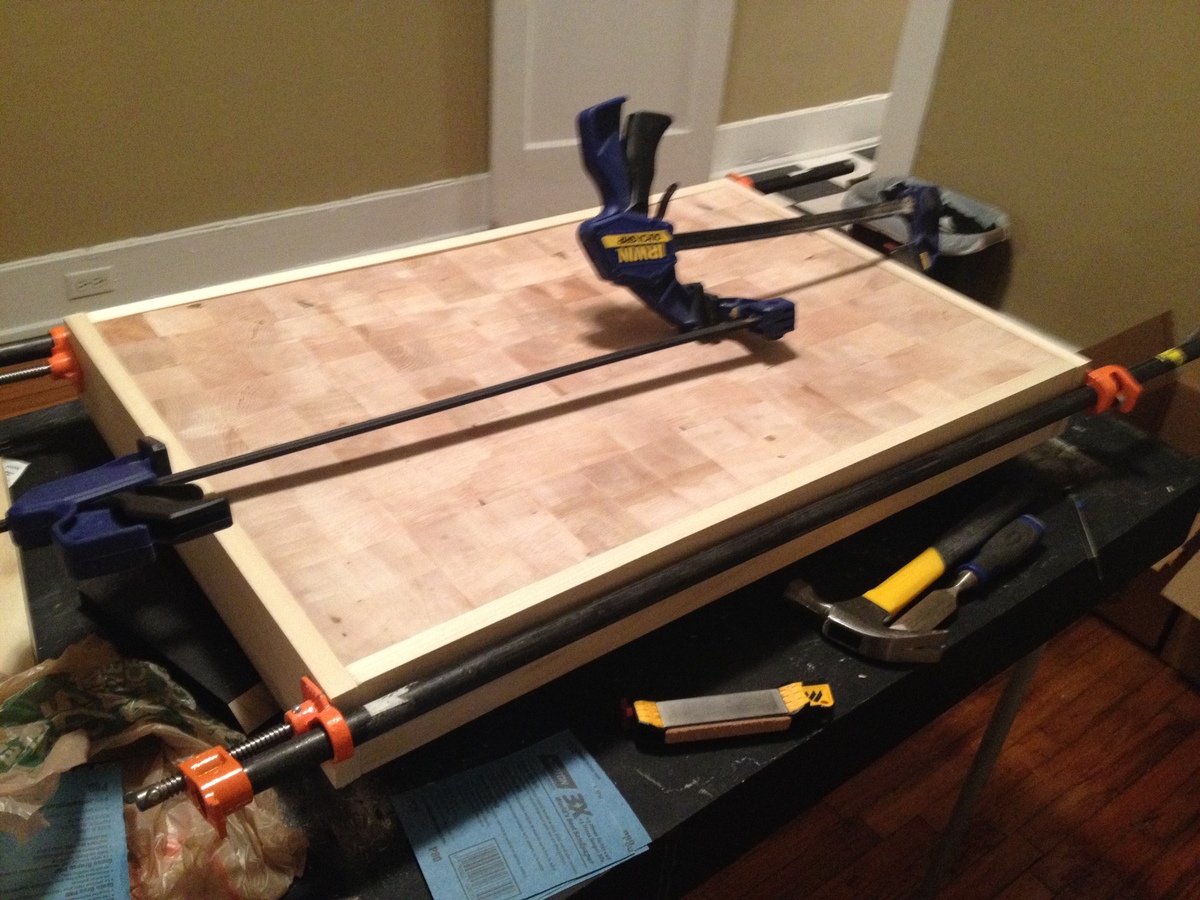
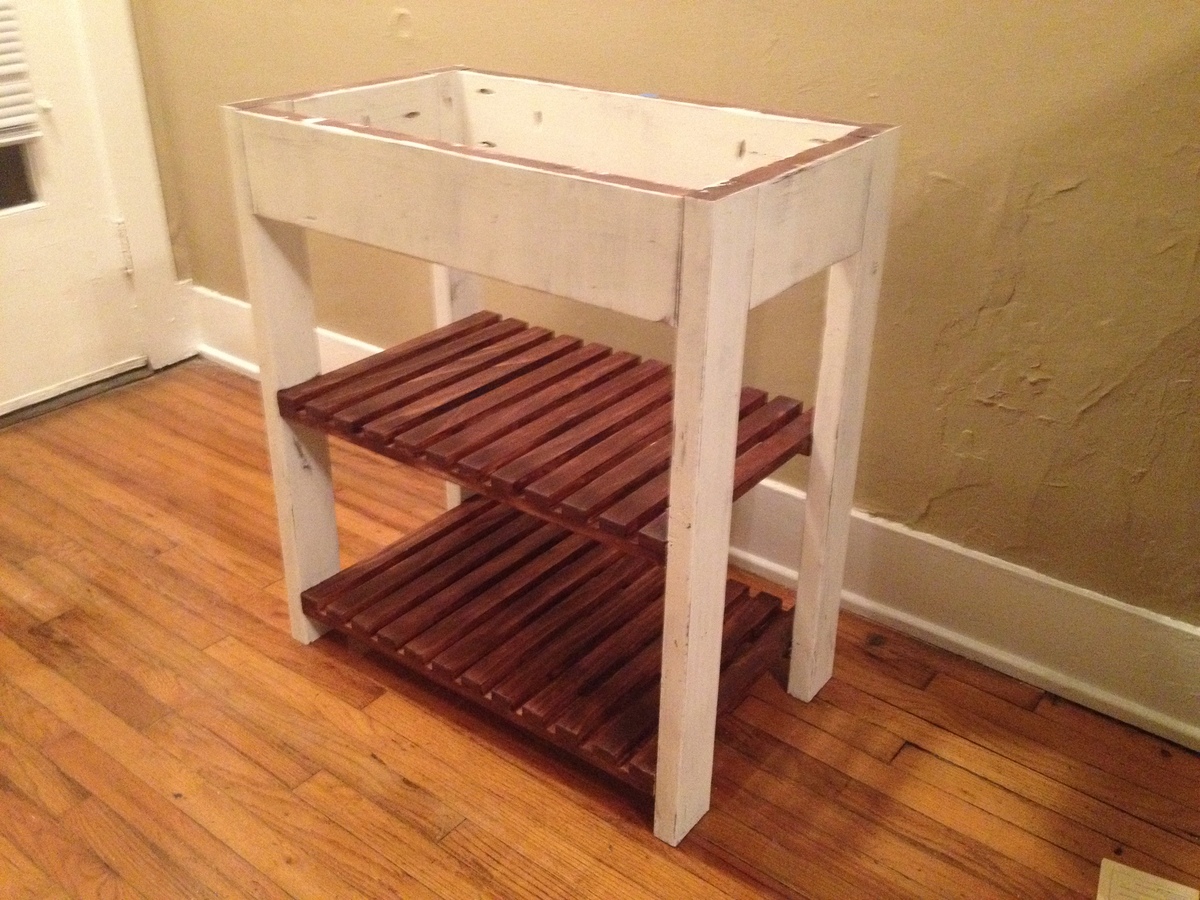
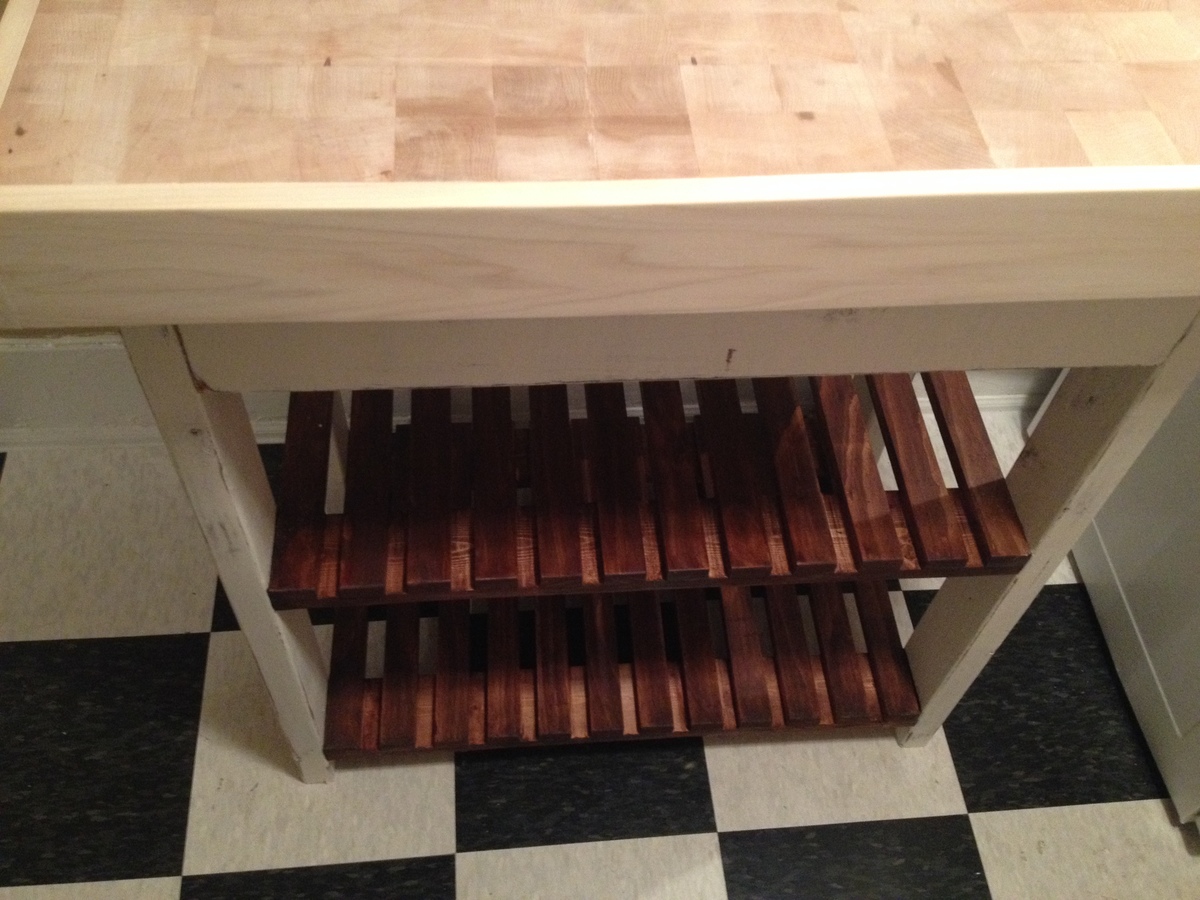
This "island" was inspired by the plans for the Easy Kitchen Island, with a bit of a twist. My roommate is really into cooking, and had a little butcher block that he wanted to upgrade. Our kitchen is fairly narrow, but there was a huge bare spot underneath some cabinets that was begging to be used. Our cabinets were overflowing and we needed more storage space. The kitchen island-butcher block combo solved both problems and fit nicely under our cabinet.

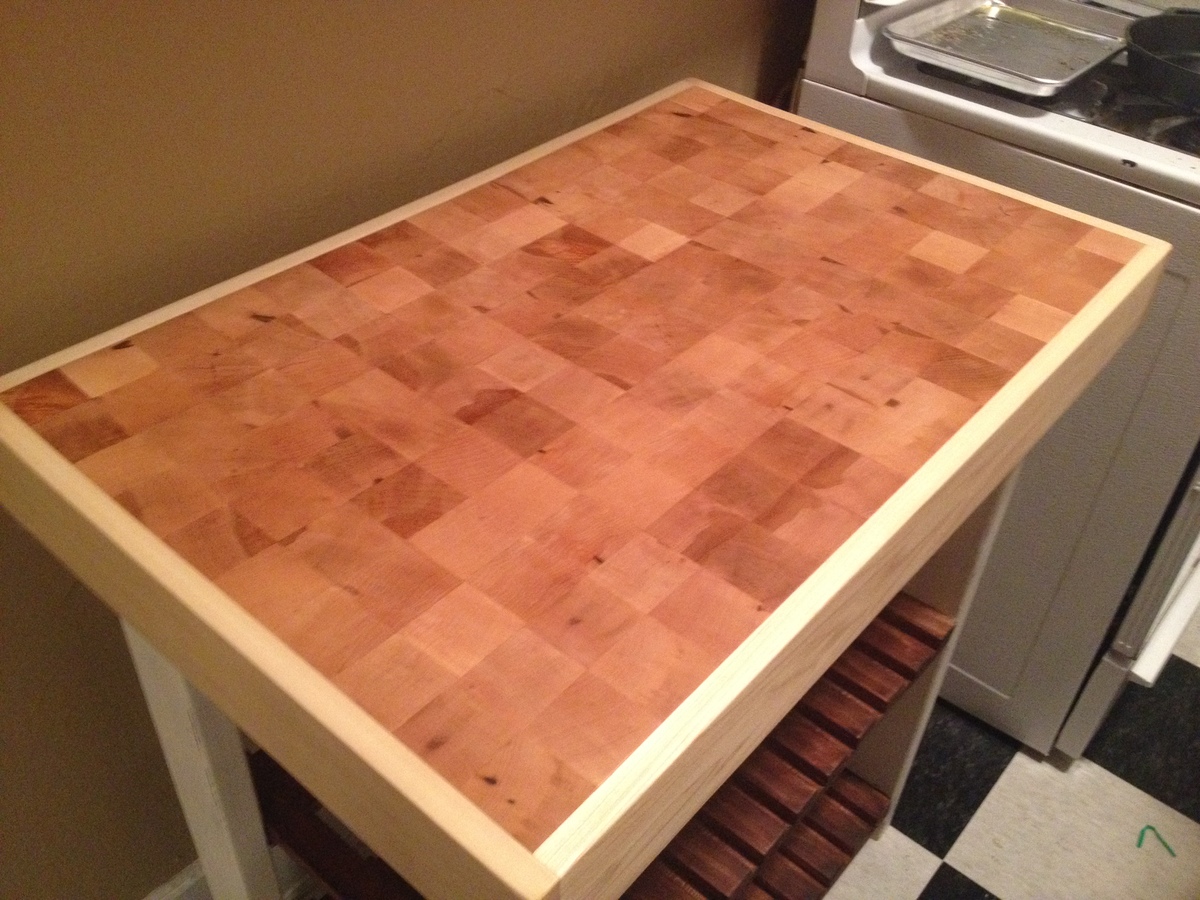
After a little research, we decided to go with an end-grain board made with maple. We looked around and ended up getting a bunch of wood off of eBay for about 65 bucks. The butcher block turned out to be a bear of a project. Without access to a table saw (not going to happen in this apartment) it took some sanding, then more sanding, then a trip to my dad's to use a table saw after all, then more sanding, then more...well, you get the picture. Once all the pieces were assembled, we glued a 1"x4" poplar border onto the sides to give it a more uniform appearance from the sides, as well as to hide the connection to the structure.

Finally the block was complete and it was time to build the structure of the island. The cuts and the assembly of the main pieces took a grand total of an hour and a half - a great relief after spending weeks on the butcher block. We decided to glue the slats onto the supports to make life easier. Once we got done with that it was time to finish the structure.

We decided to follow Ana's directions on crackled milk paint. We tried to follow them exactly, but weren't able to get the same amount of crackling on ours. No worries, though, we just sanded down some edges and gave the whole thing a good coat of Polycrylic.

Once all that was done, we screwed the block on and construction was complete! We gave the block and the poplar several coats of Boos Block Mystery Oil as the conditioner and we were done. The oil really brought out the color and the body of the wood, and we couldn't be happier with the results. Can't wait to chop a turkey on it!
Built from Plan(s)
Estimated Cost
145
Estimated Time Investment
Week Long Project (20 Hours or More)
Finish Used
Minwax Gel Stain, Minwax Polycrylic, Old Fashioned Milk Paint, Boos Block Mystery Oil
Recommended Skill Level
Intermediate

Comments

JoanneS

Fri, 11/22/2013 - 15:38

This looks super! I'm intrigued by your butcher block top. The squares look so perfect and even. It looks like a tremendous amount of work went into it, and it's absolutely beautiful! Love the paint and stain used on the island structure too!
DIY Wood Outdoor Chair with Deep Seat Cushion

Submitted by Anonymous (not verified) on Thu, 08/10/2023 - 12:27

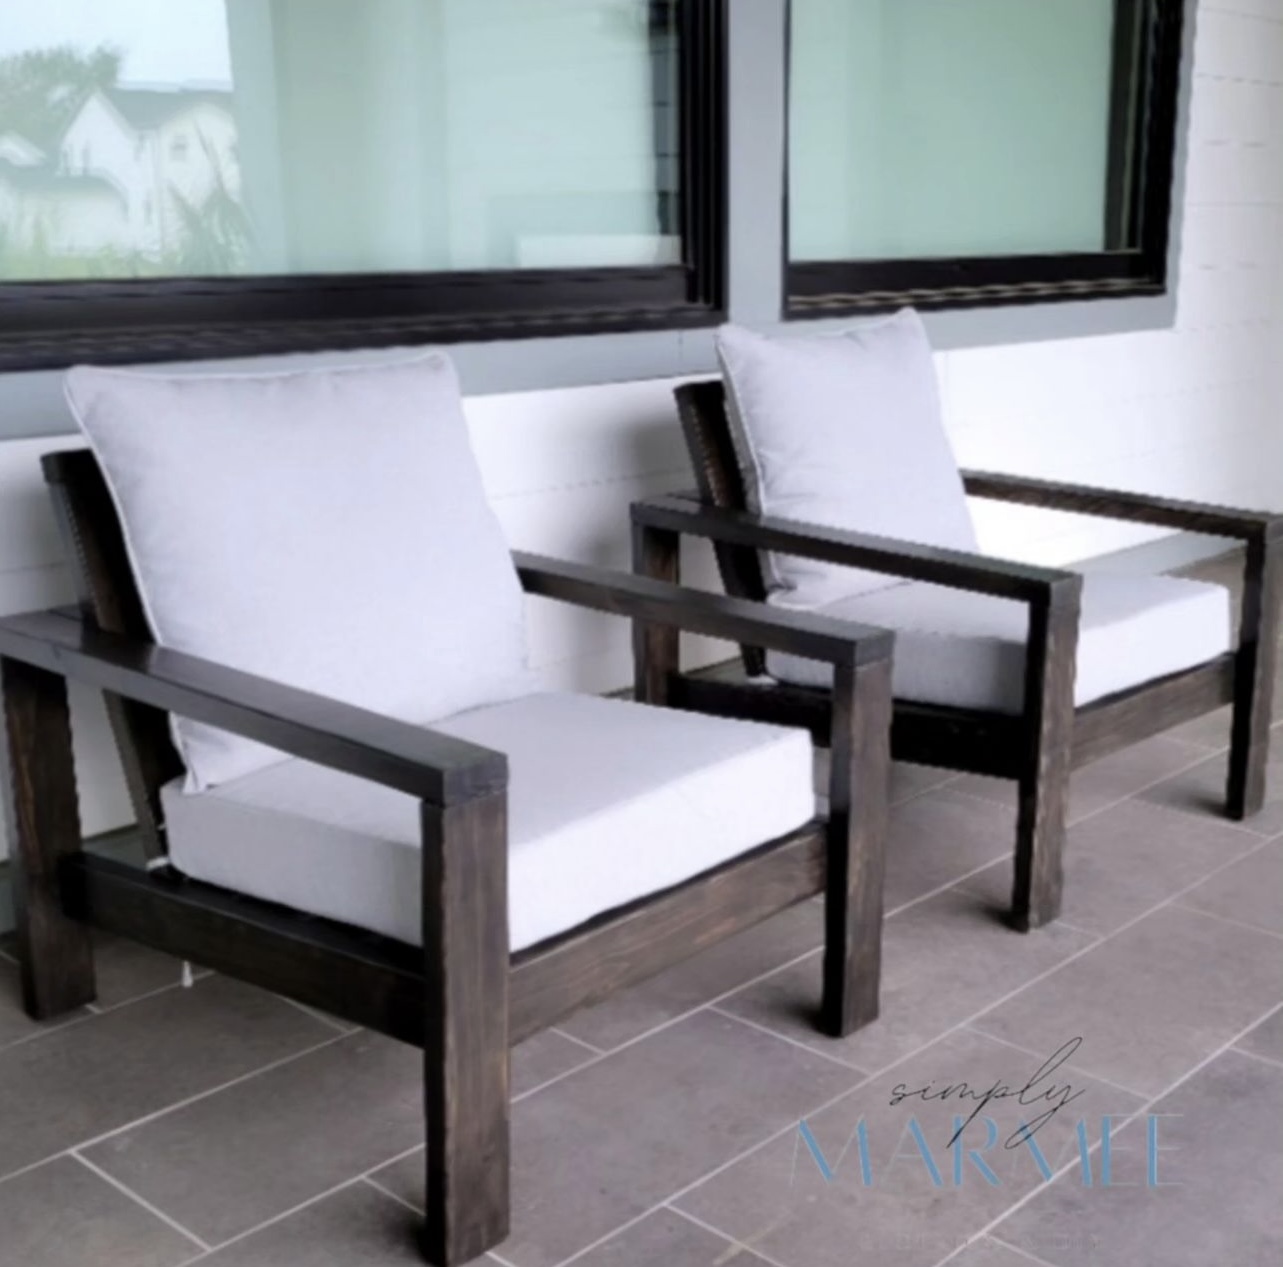
Using just basic tools, I was able to build this super comfy outdoor chair for the fraction of the cost. With a couple of modifications, Ana White's design plan made for a perfect fit for the new deep seat cushions I had found on fb marketplace.
 

Seasonal And Holiday

DIY Shed Chicken Coop 6x8

Submitted by Anonymous (not verified) on Thu, 05/19/2016 - 19:50

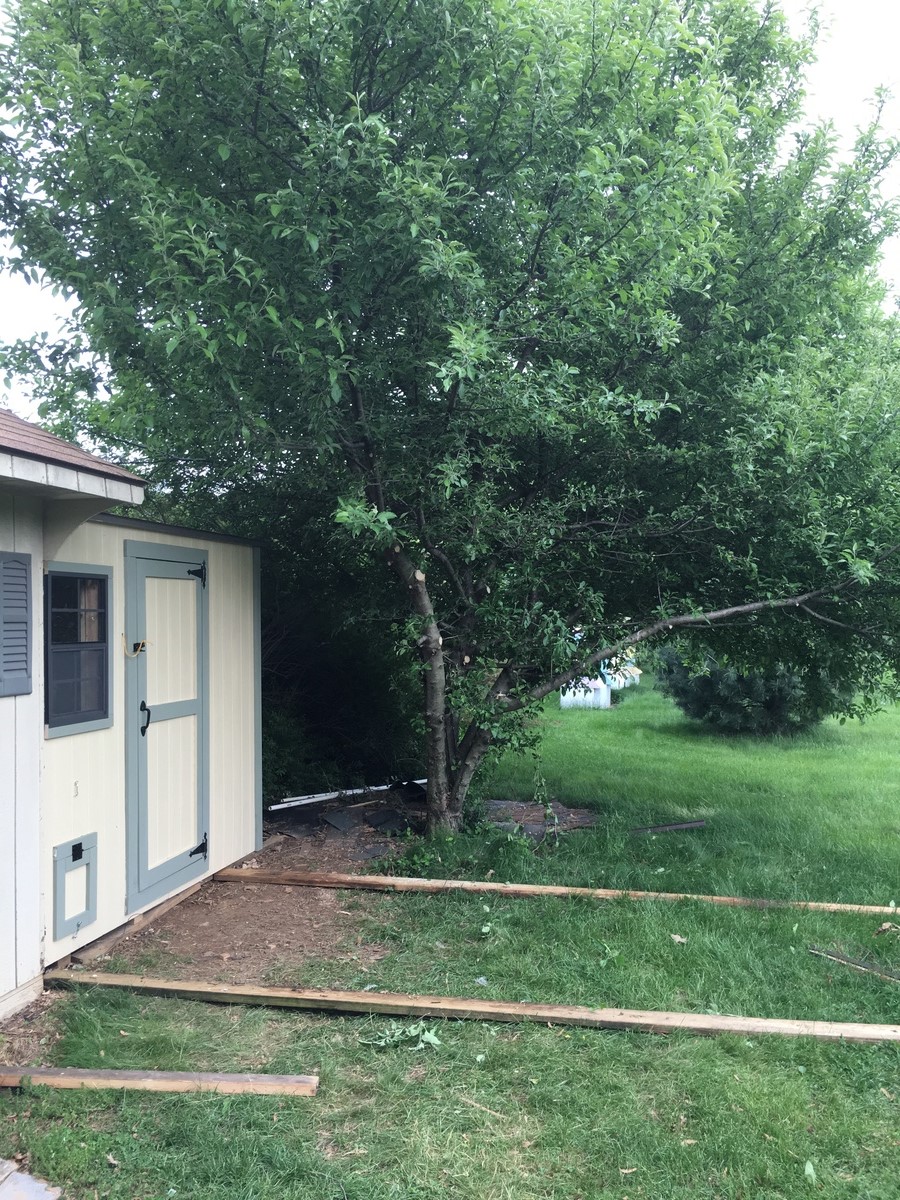
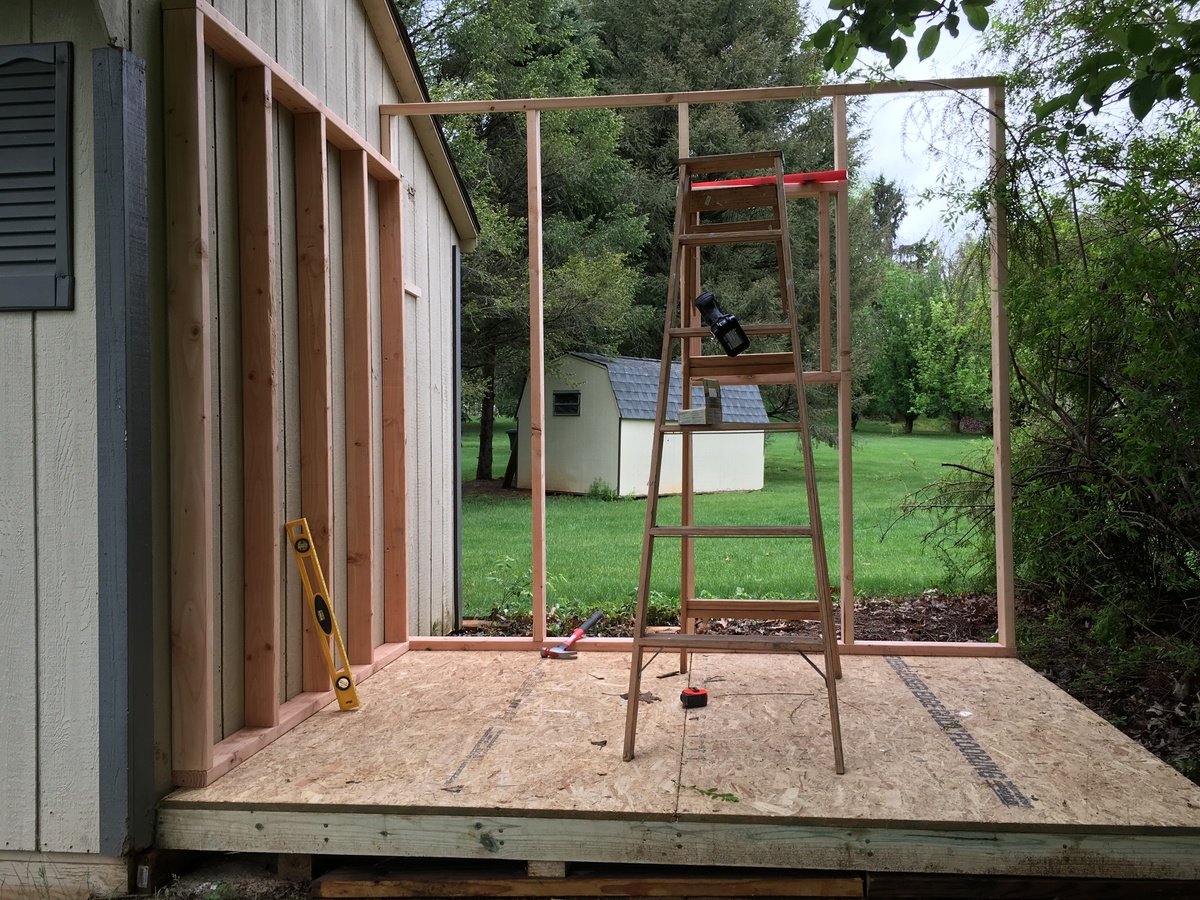
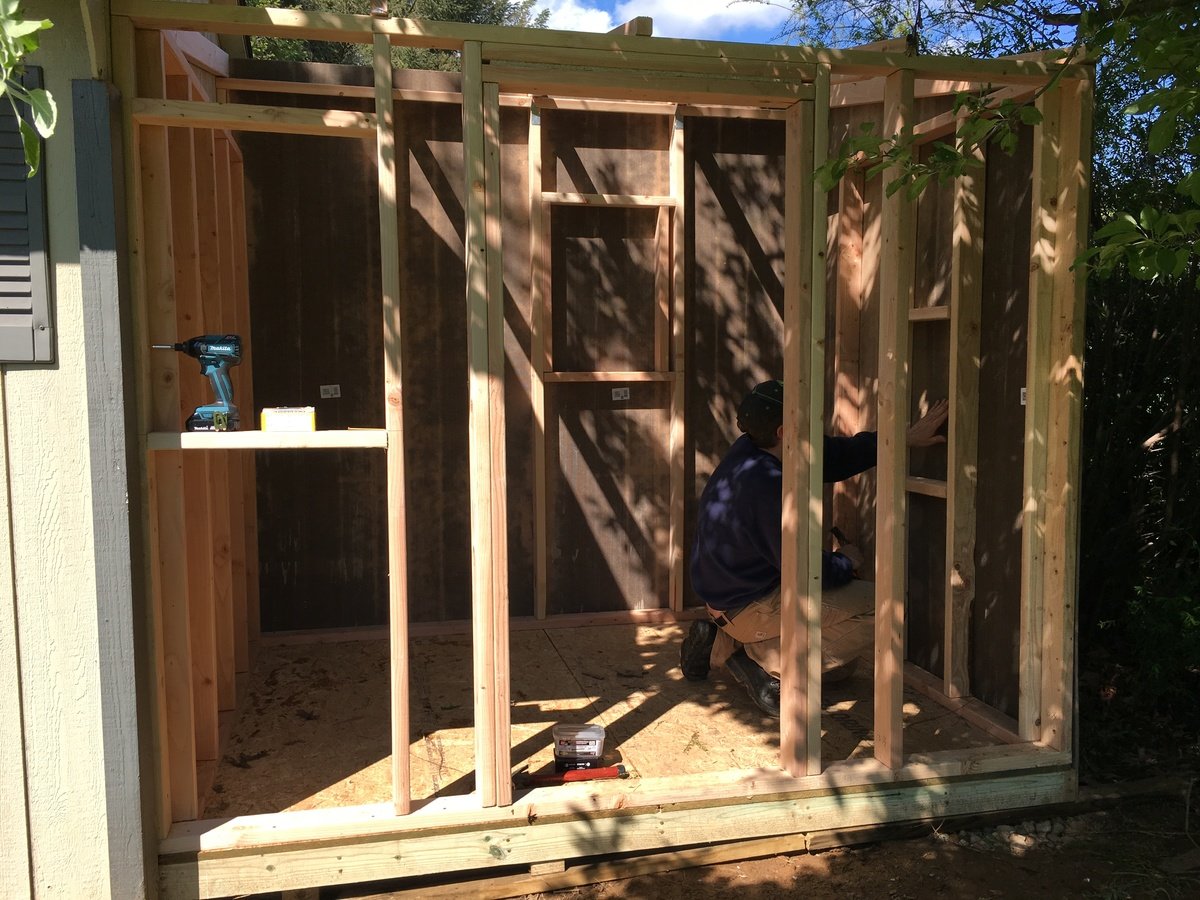
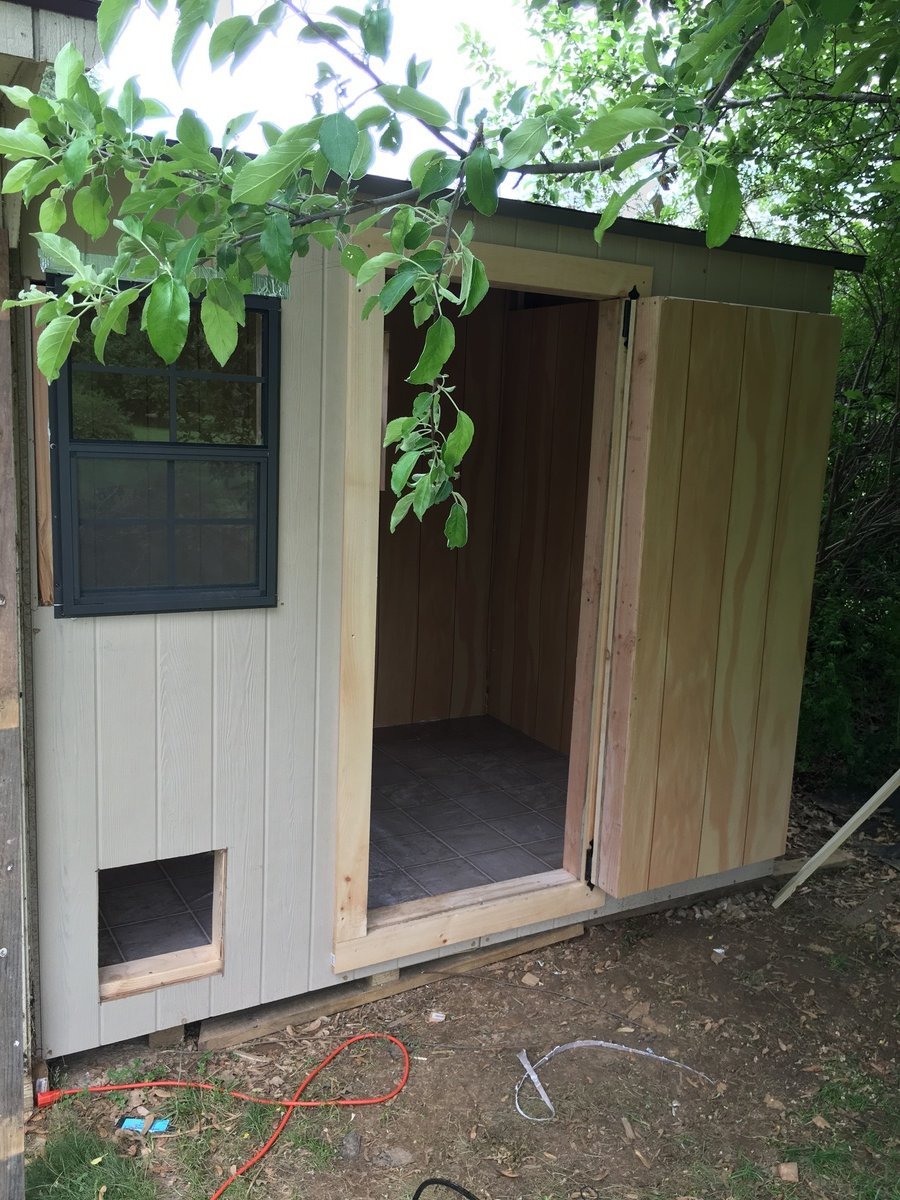
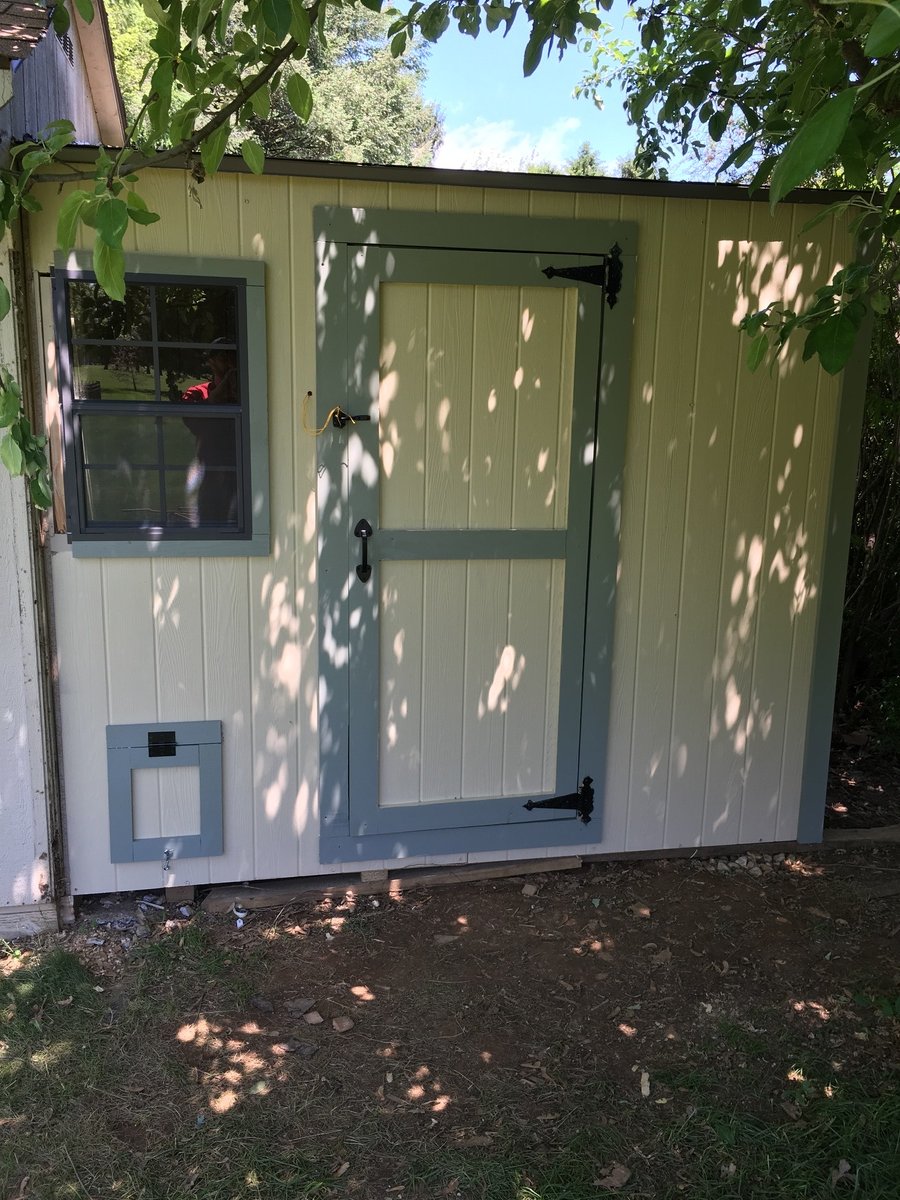
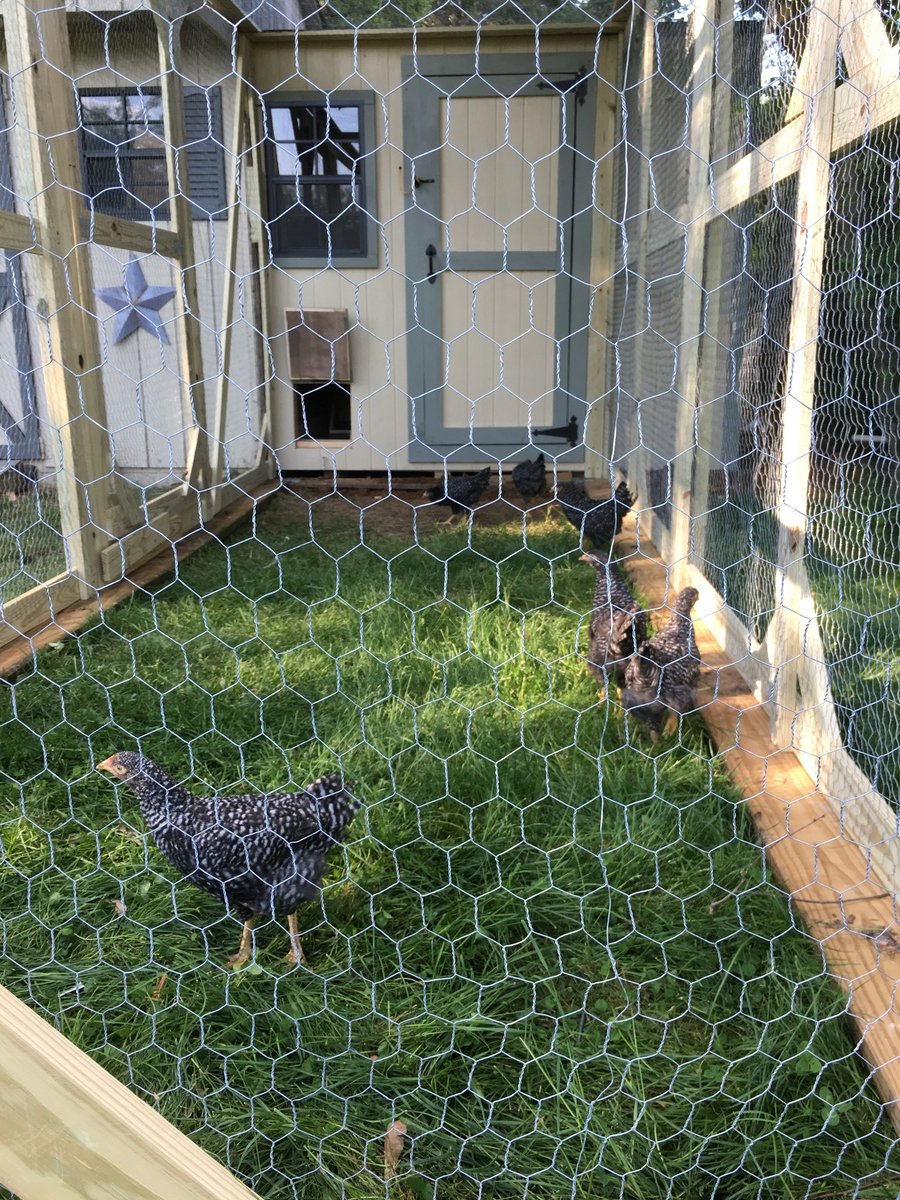
 The project was used using the same plans but I extended the floor to be 6 feet wide vice 4 feet the additional 2 feet provided the perfect amount space I wanted. I also added an extra windows  to get cross ventilation.    I also insulated the coop and put paneling on the walls and lenolium on the floors.  I dropped the back wall sheeting 1.5 inches for additional airflow since the shed doesn't have a ridge vent.   The plans are easy to follow and easily adaptable.   

Built from Plan(s)
Estimated Cost
$700. You may think that is a lot but you will learn a lot. Coops we were looking at were $1,200. This coop was less expensive and bigger and better plus you can say you built that.
Estimated Time Investment
Week Long Project (20 Hours or More)
Finish Used
T1-11 with home depot behr exterior paint.
Recommended Skill Level
Beginner

Comments