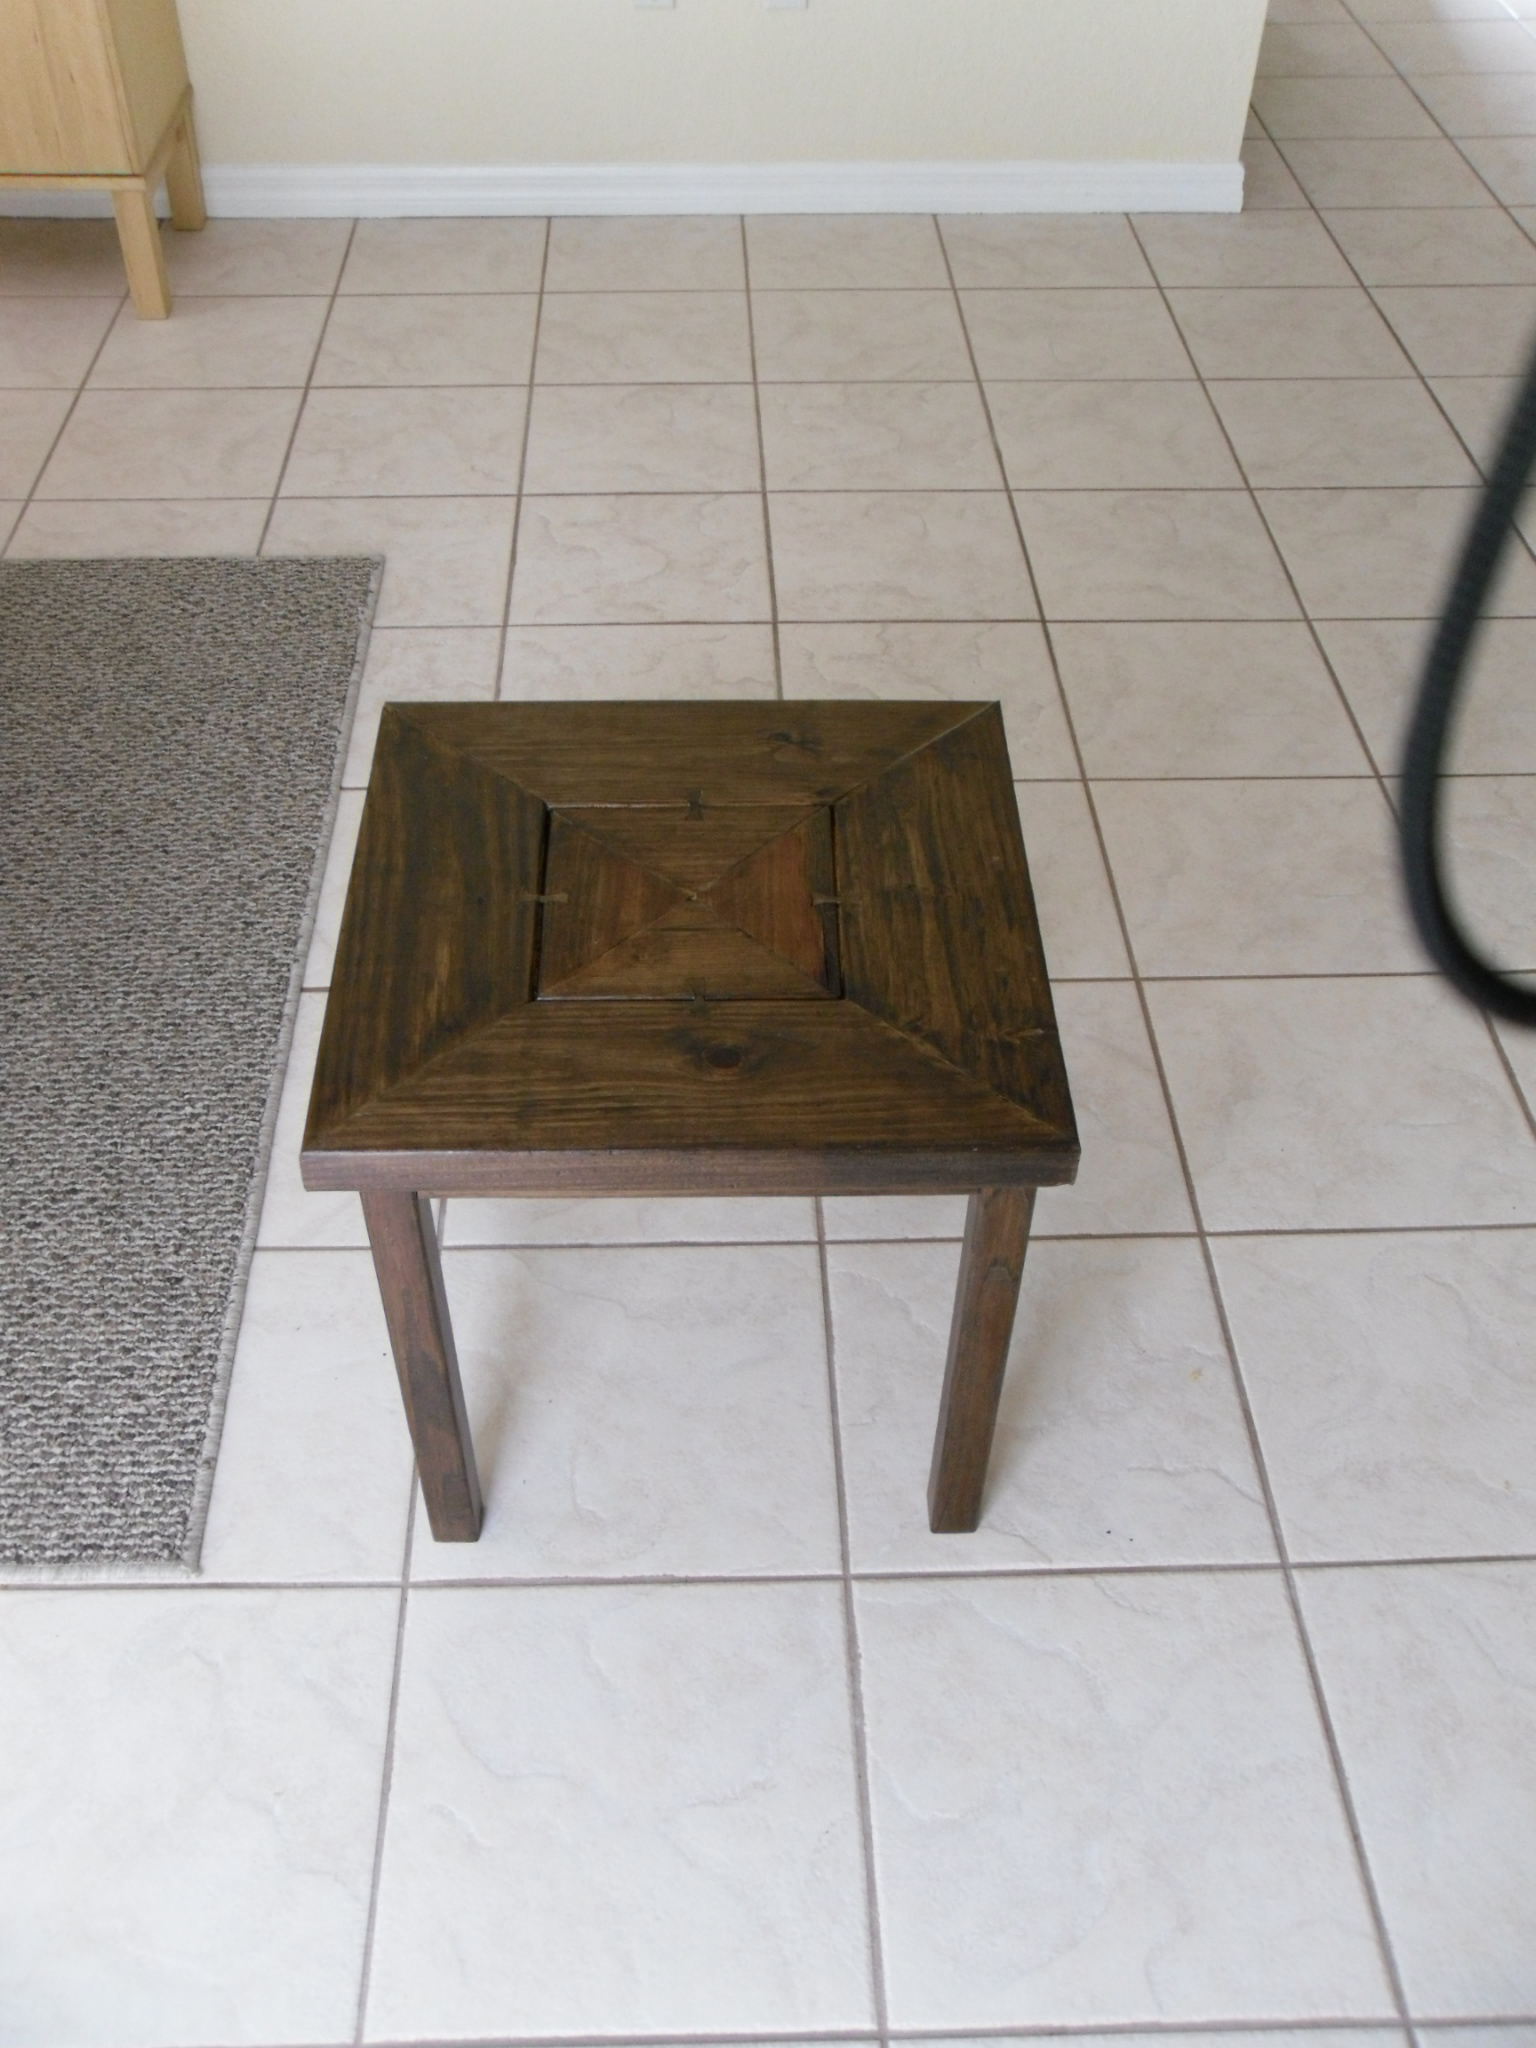
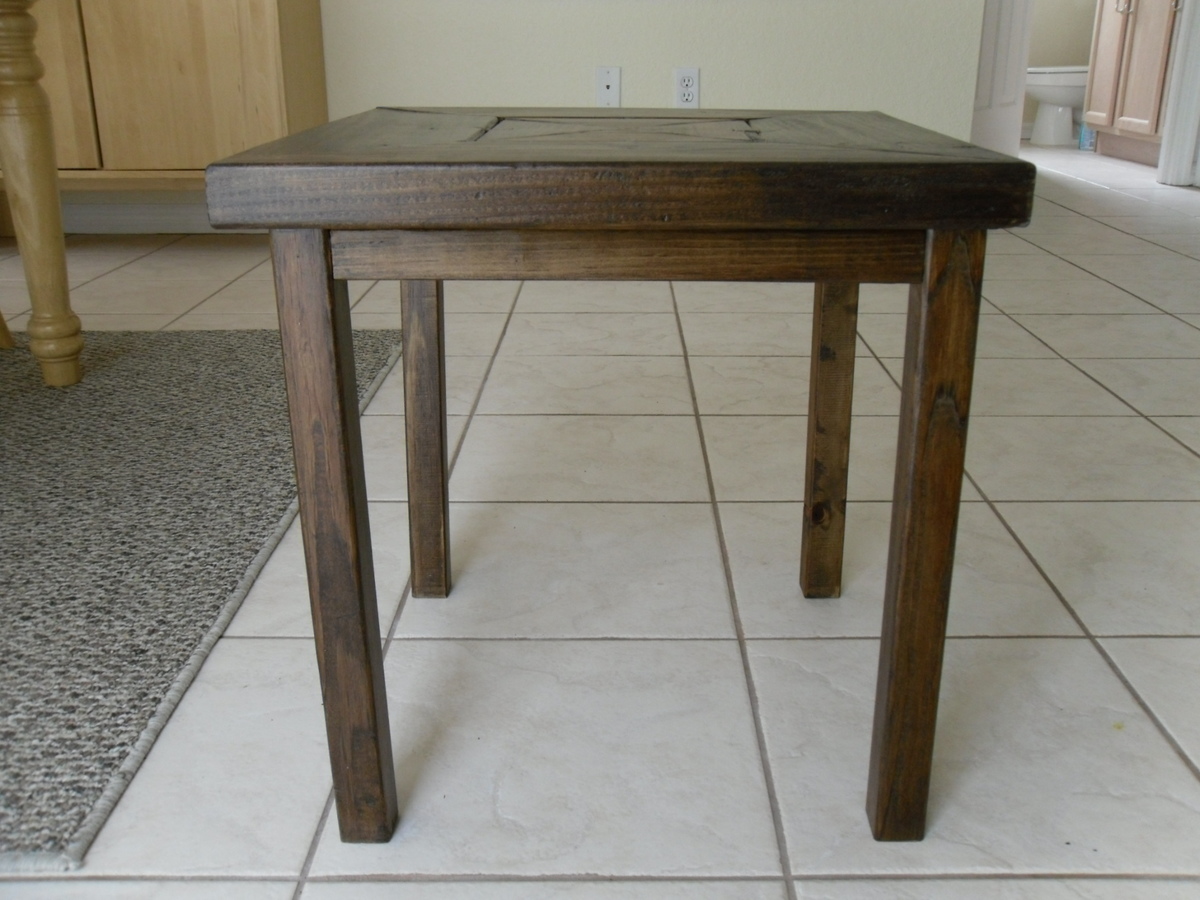
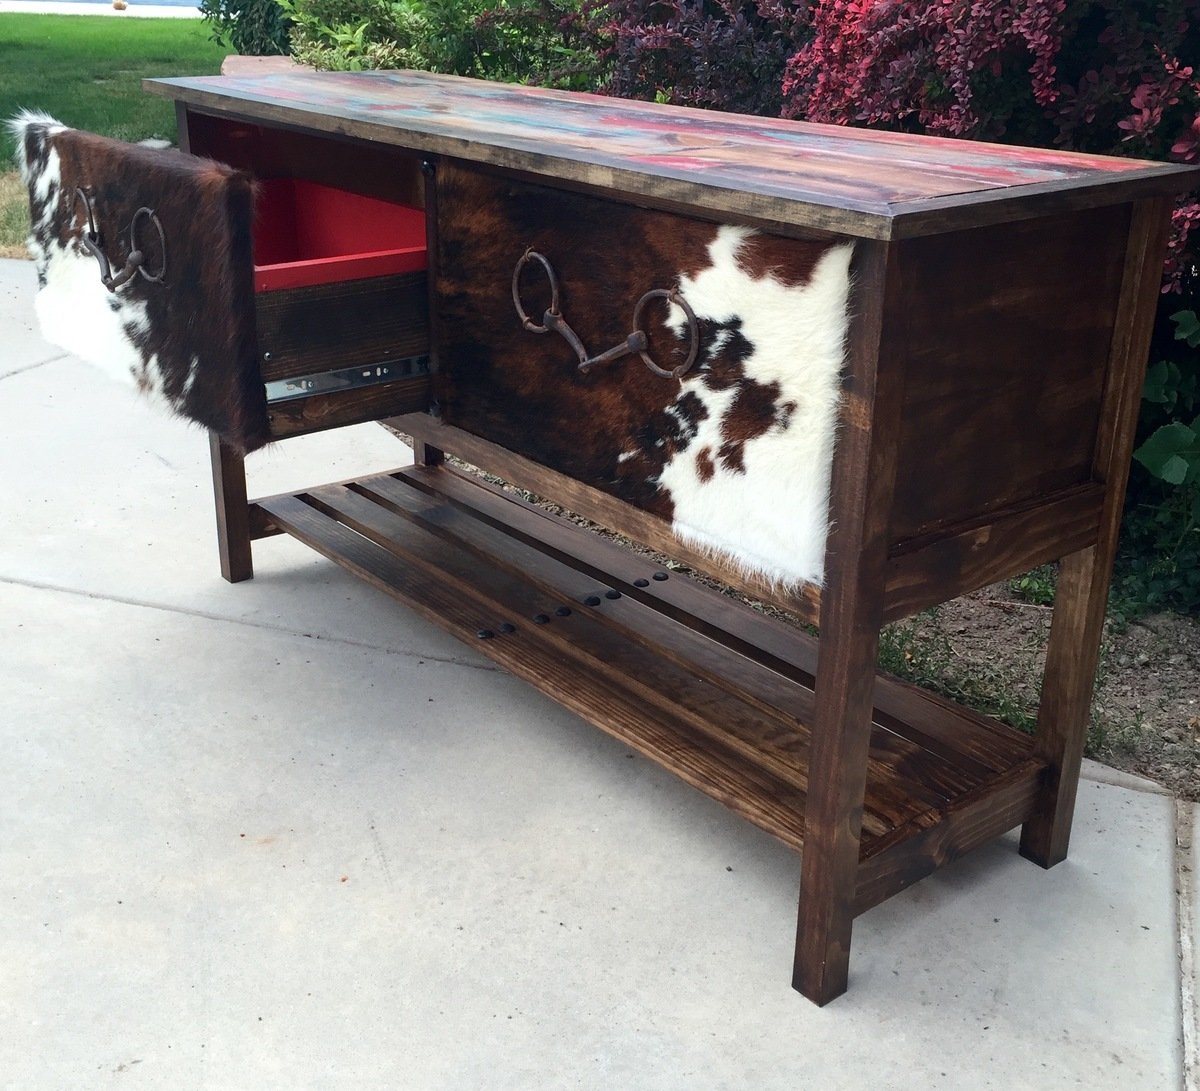
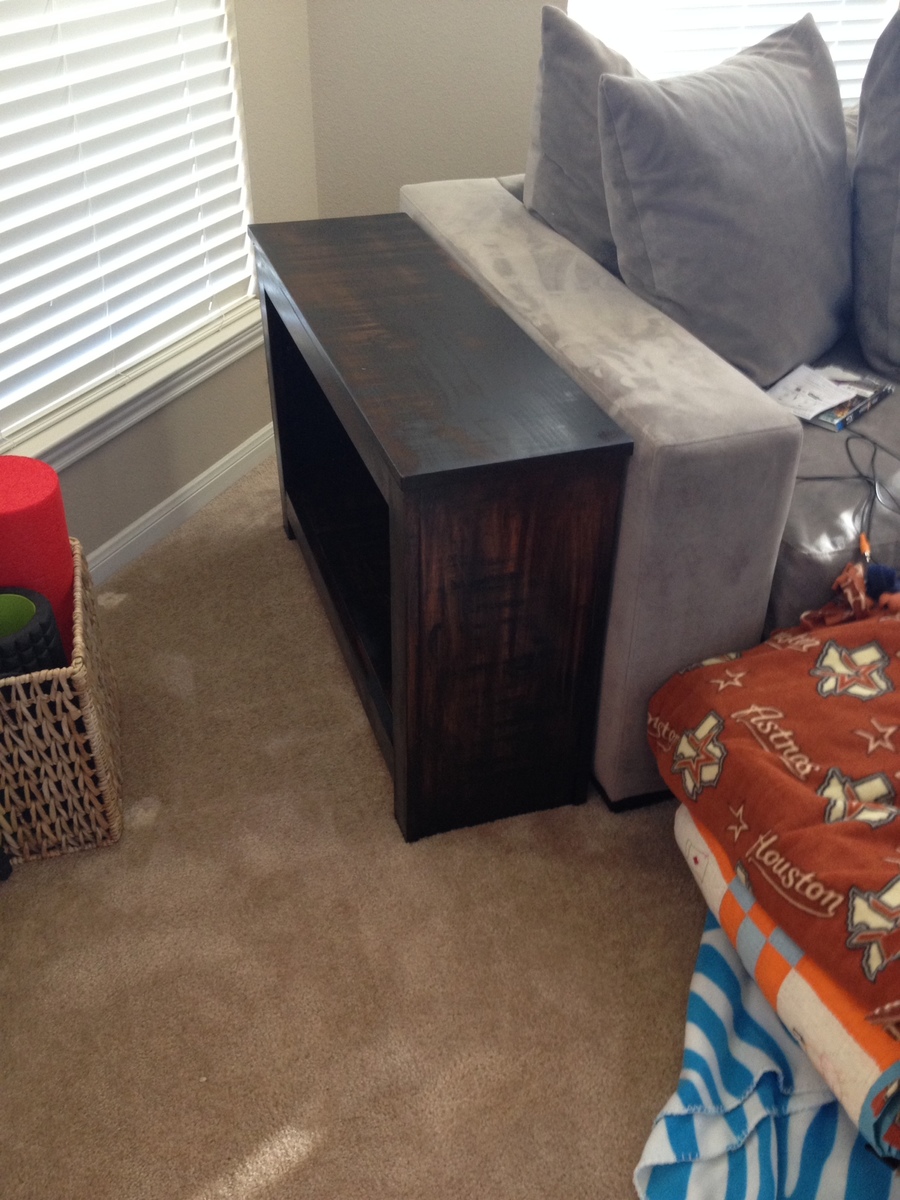
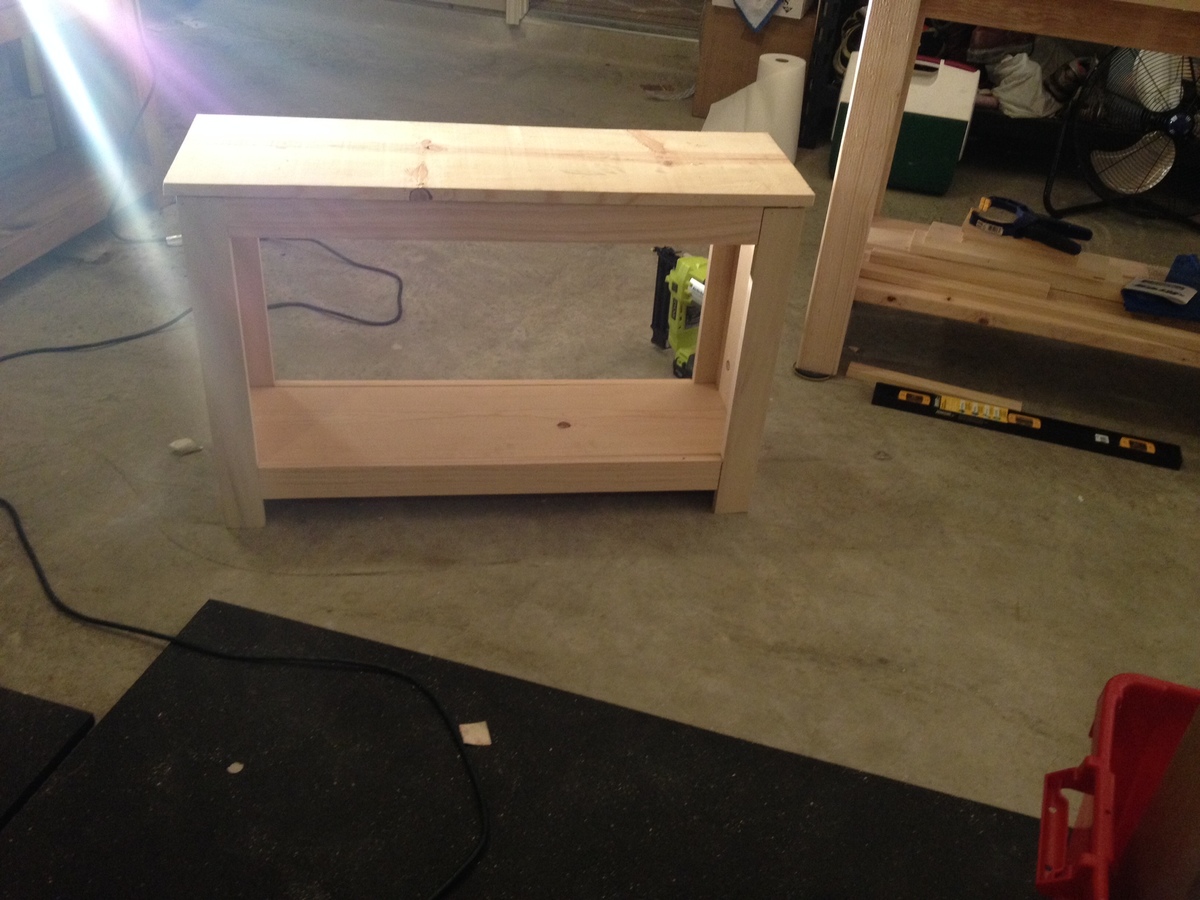
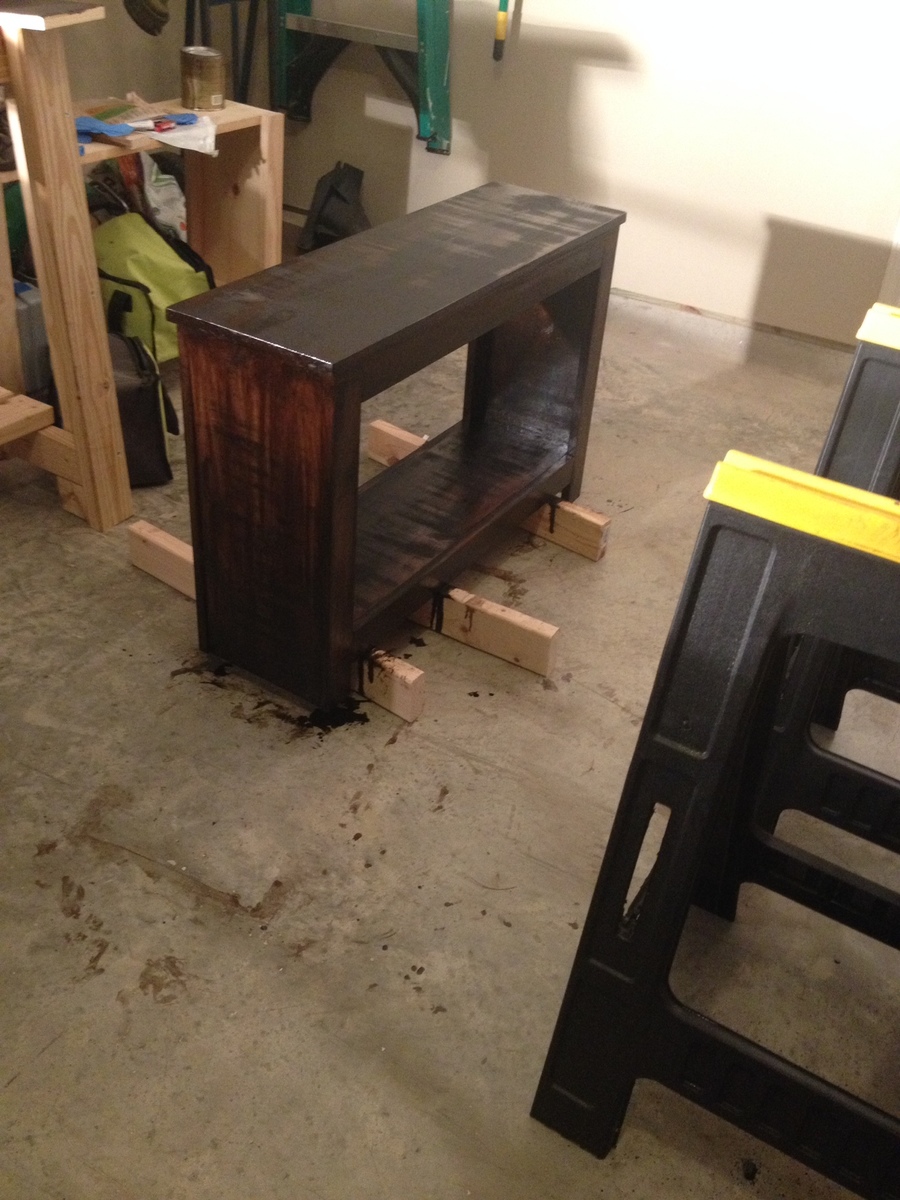
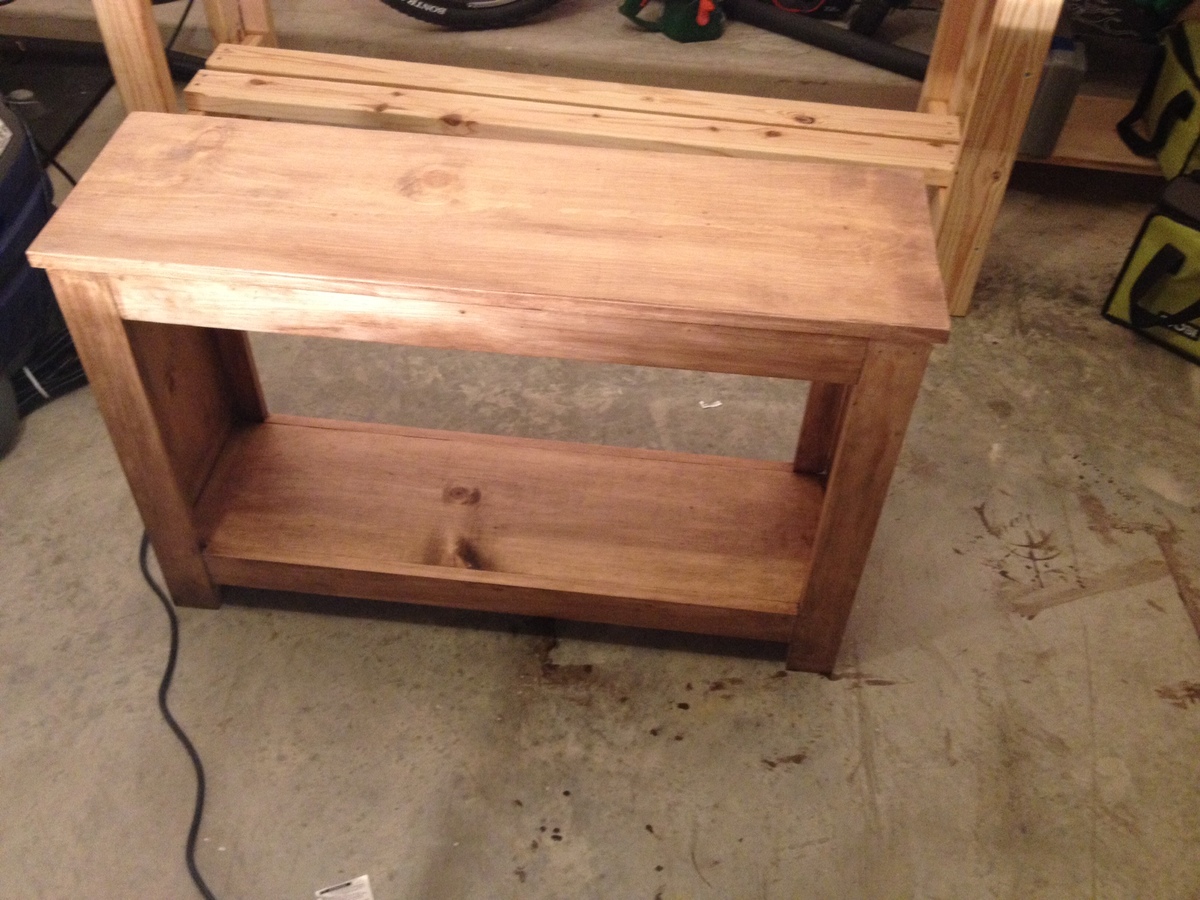
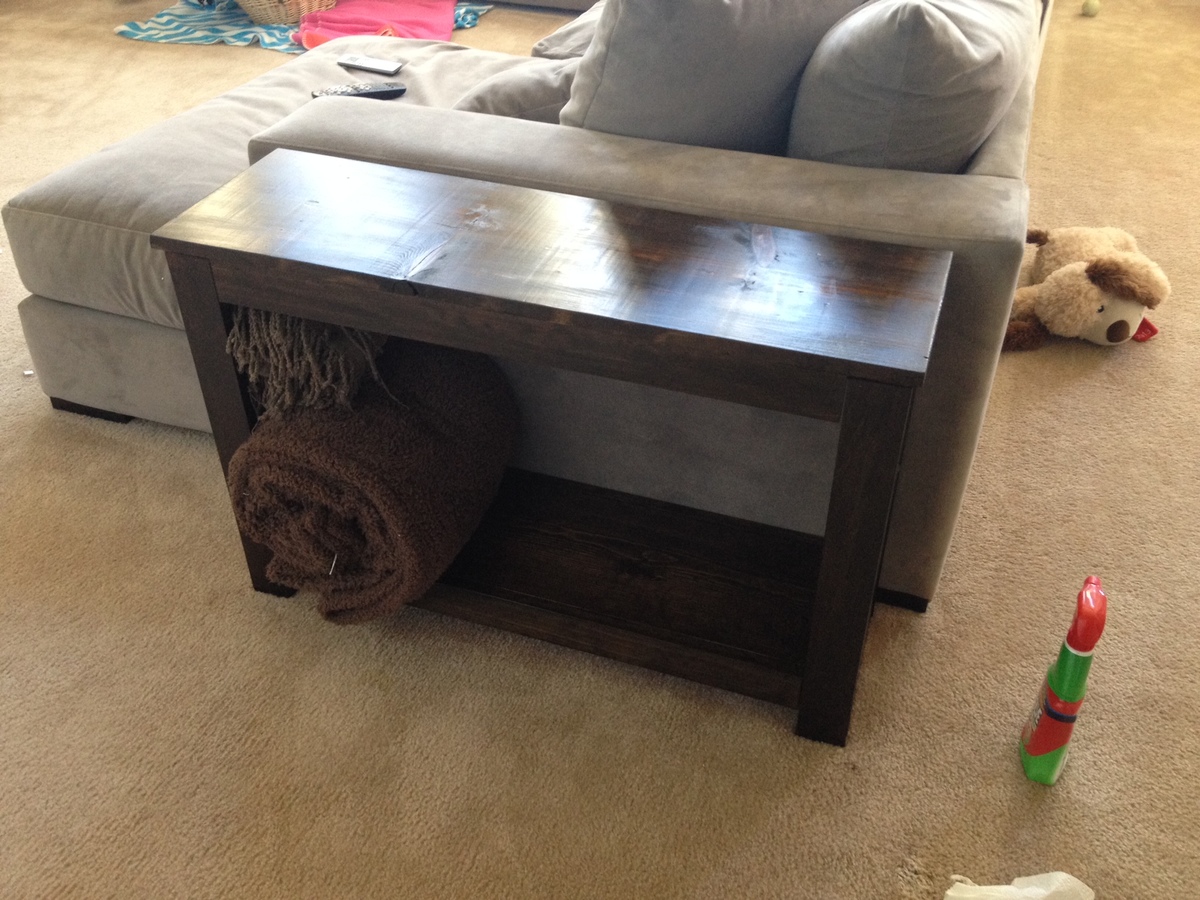
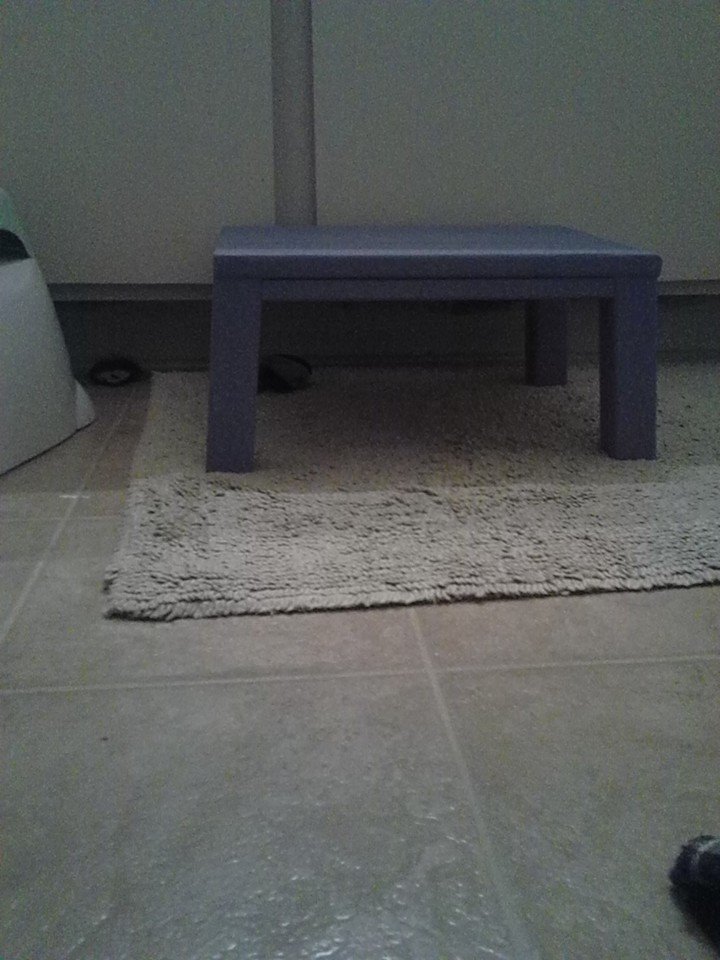
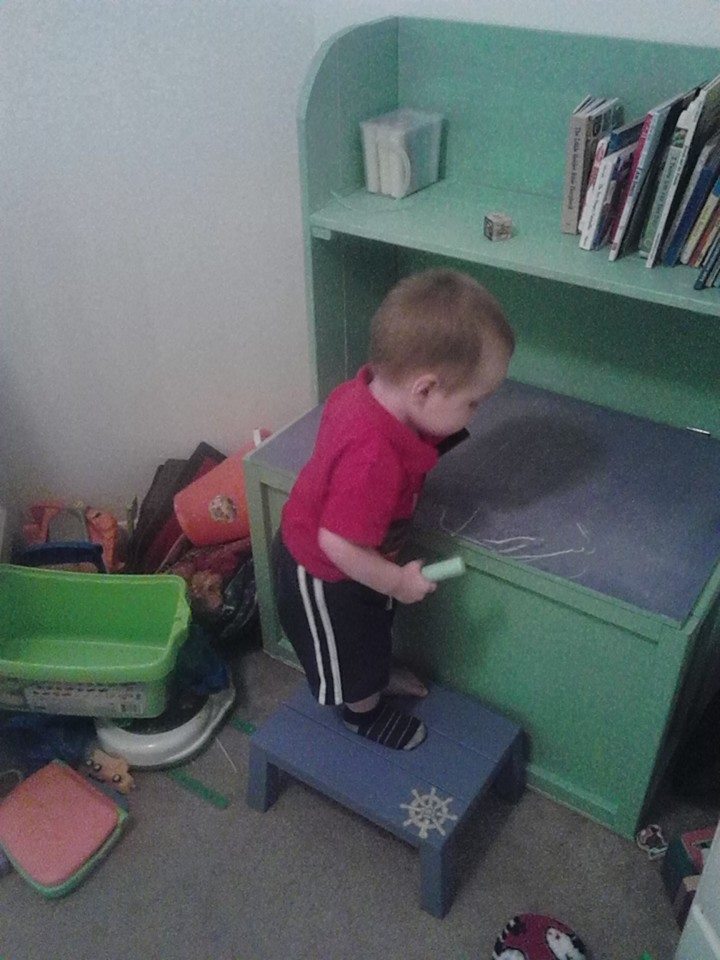
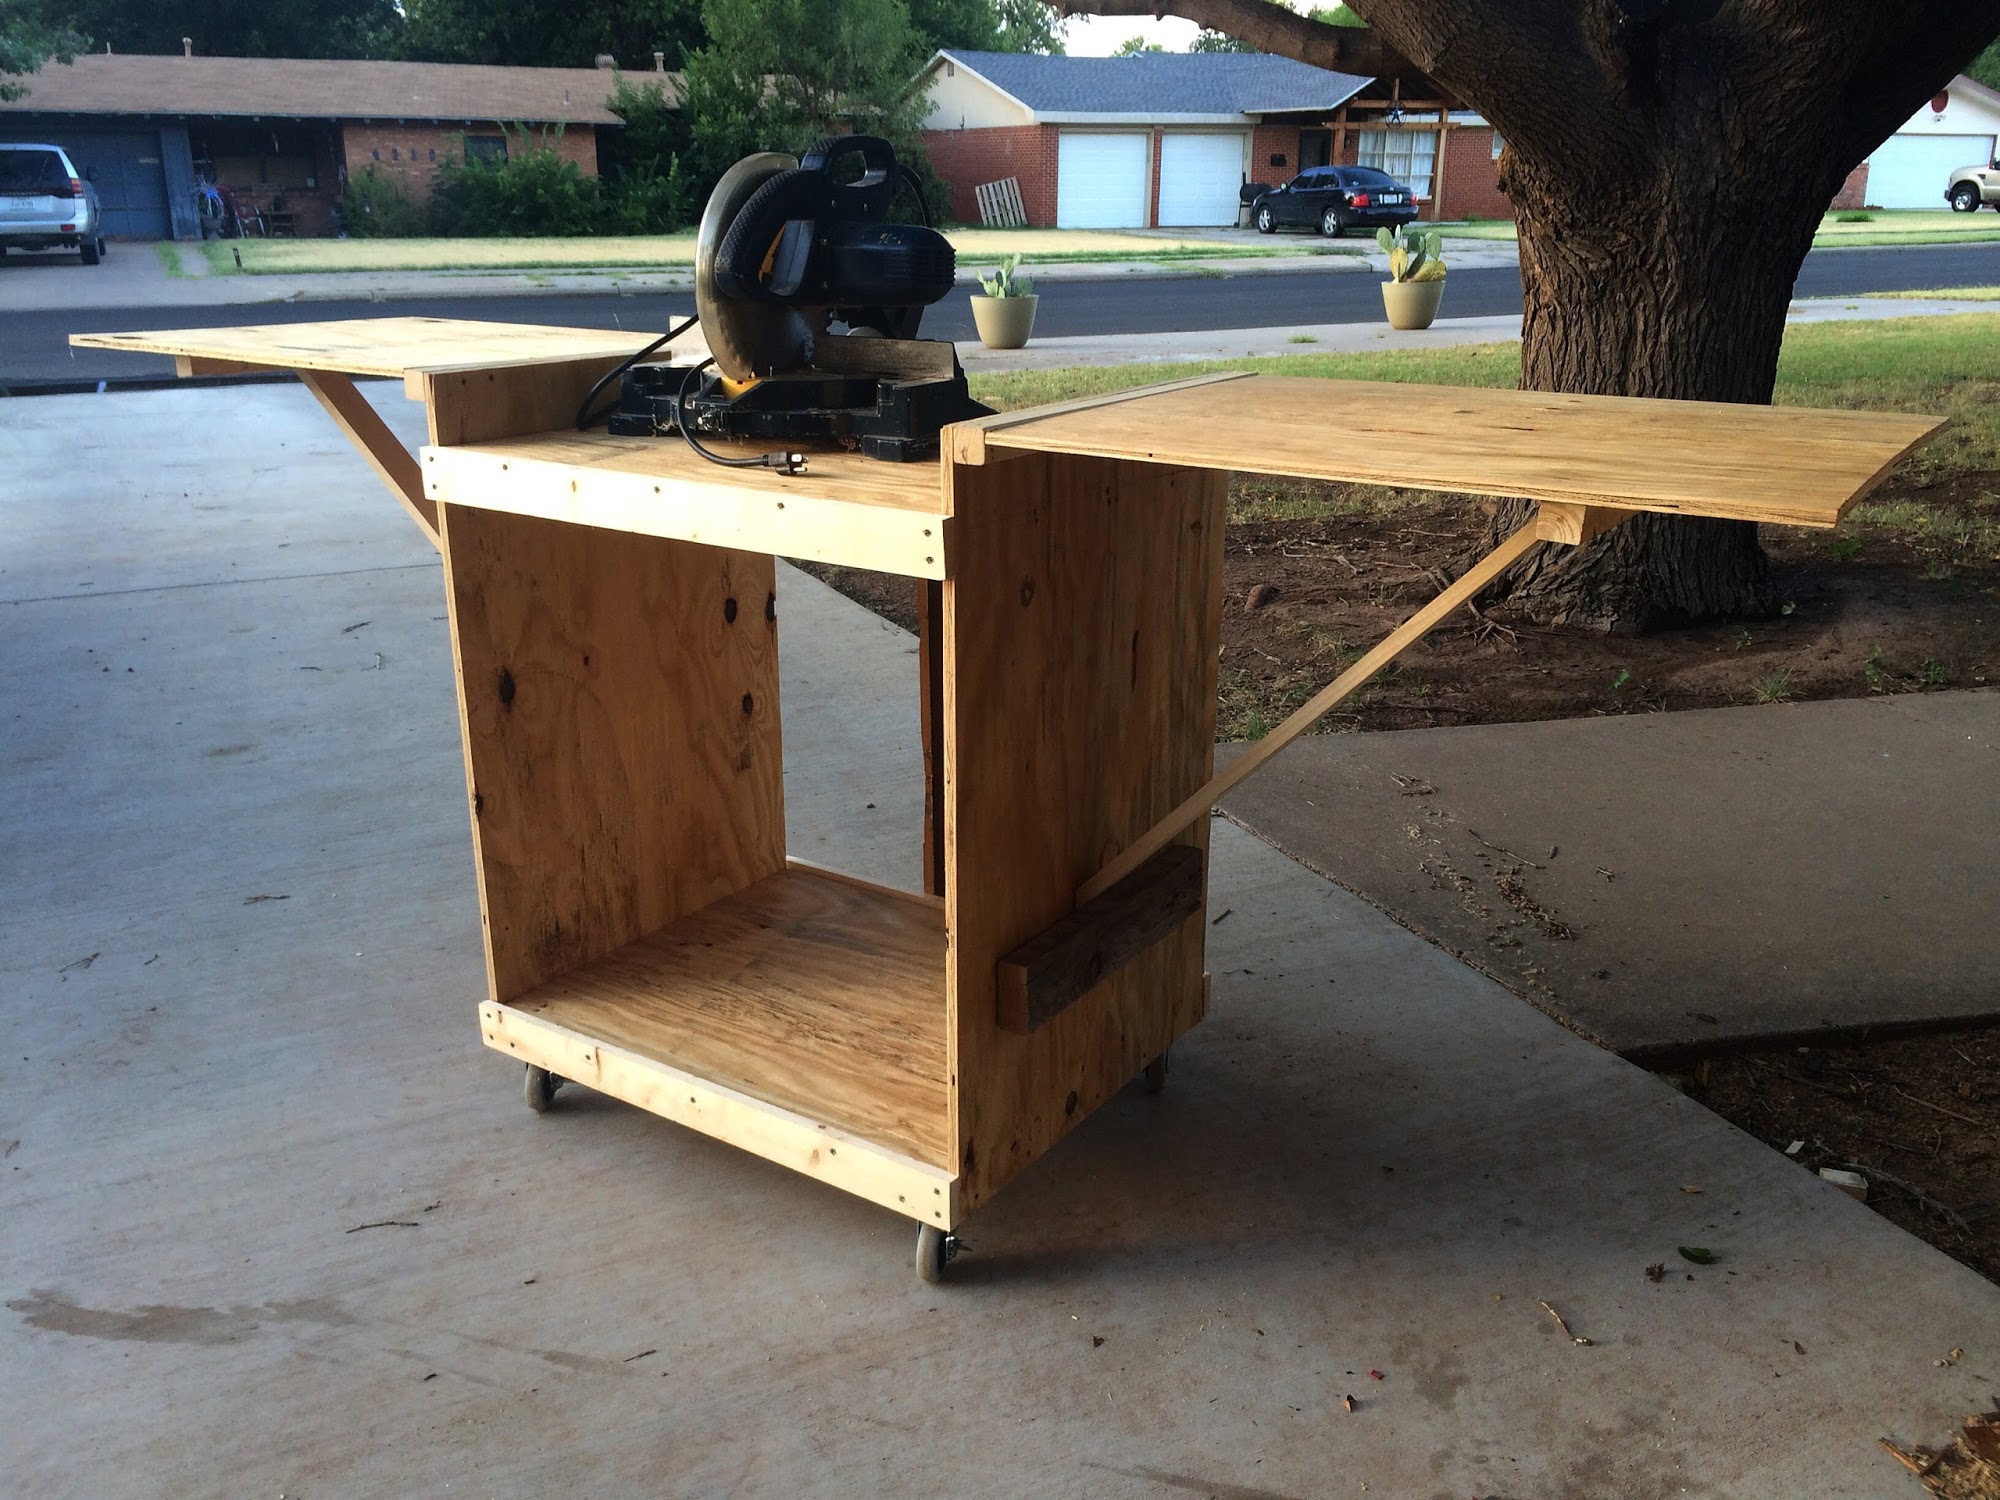
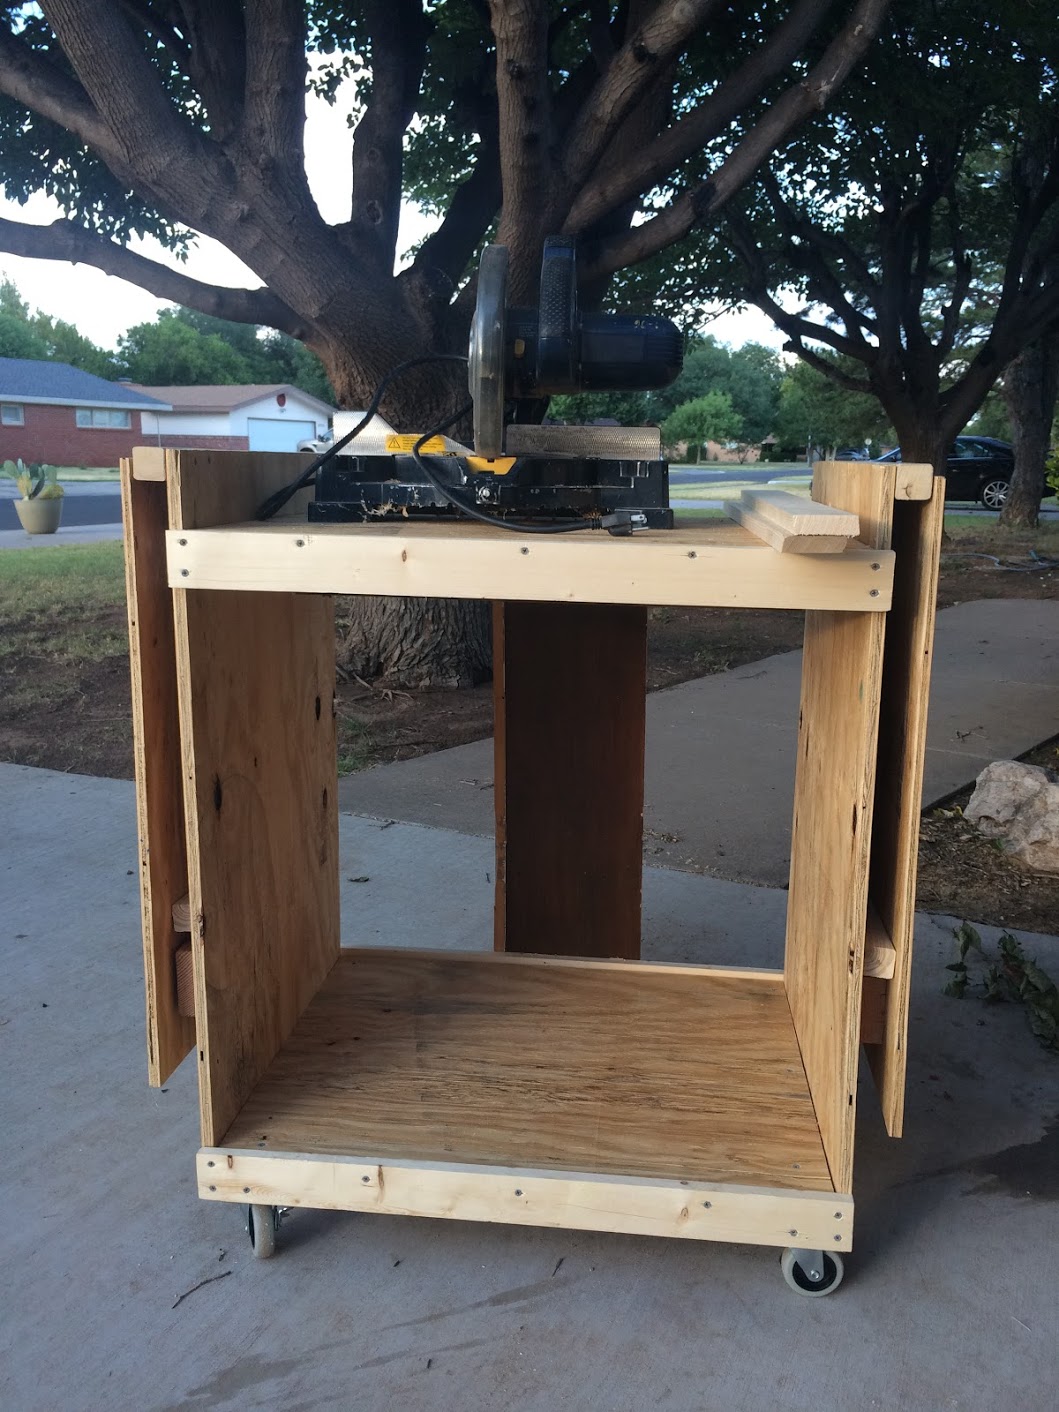
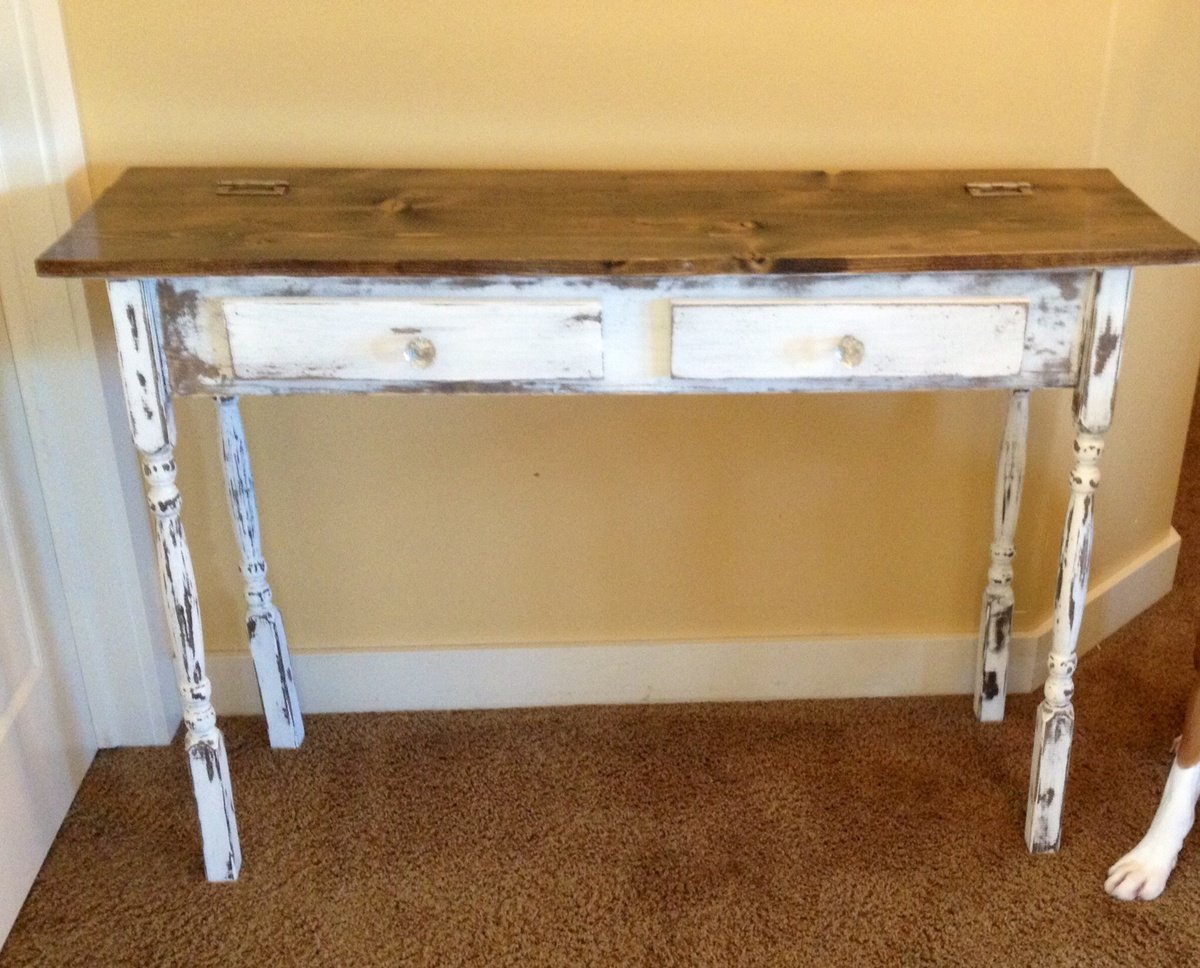
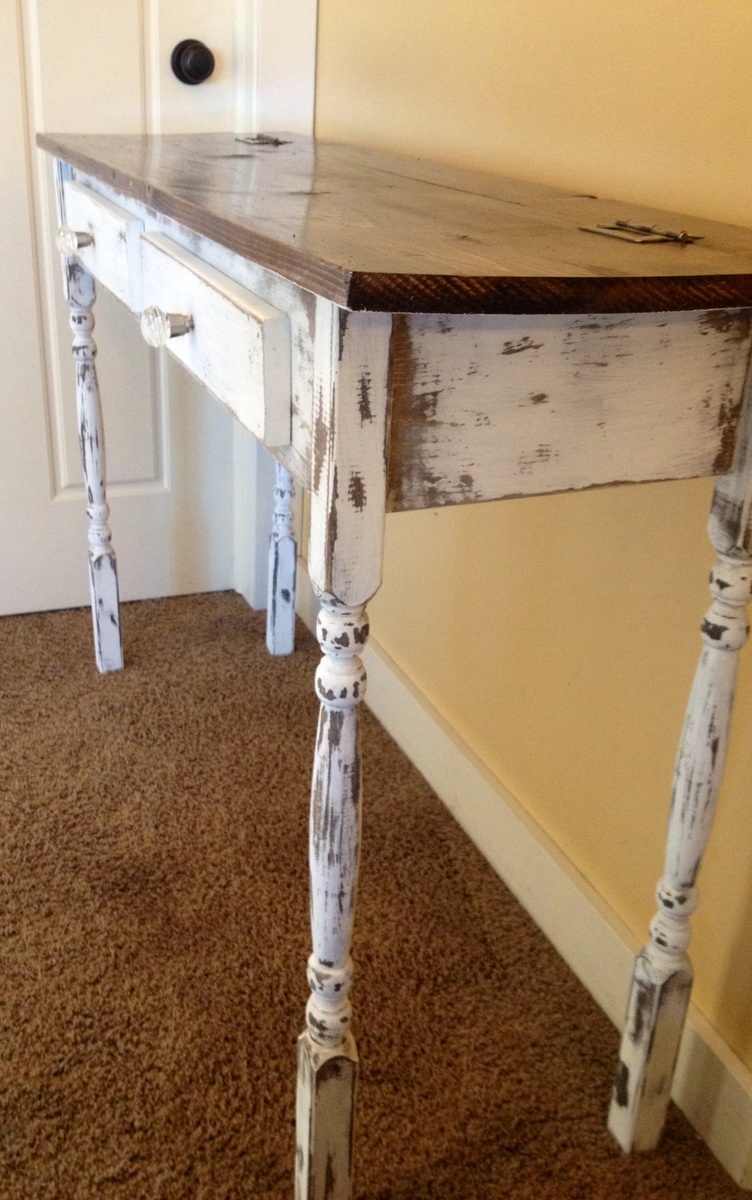
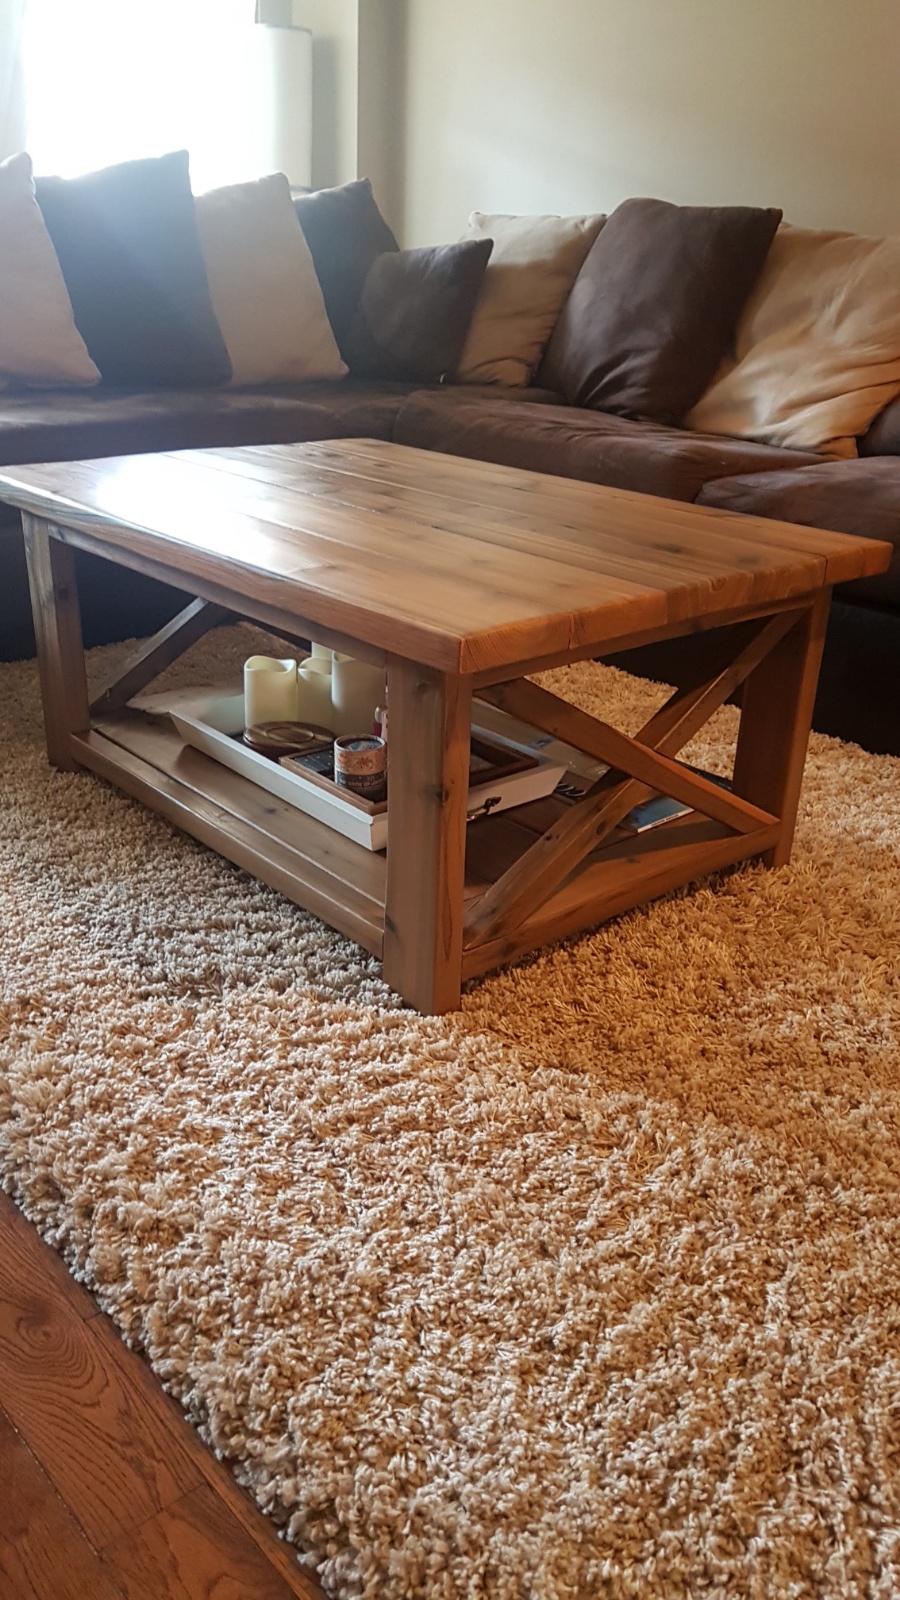
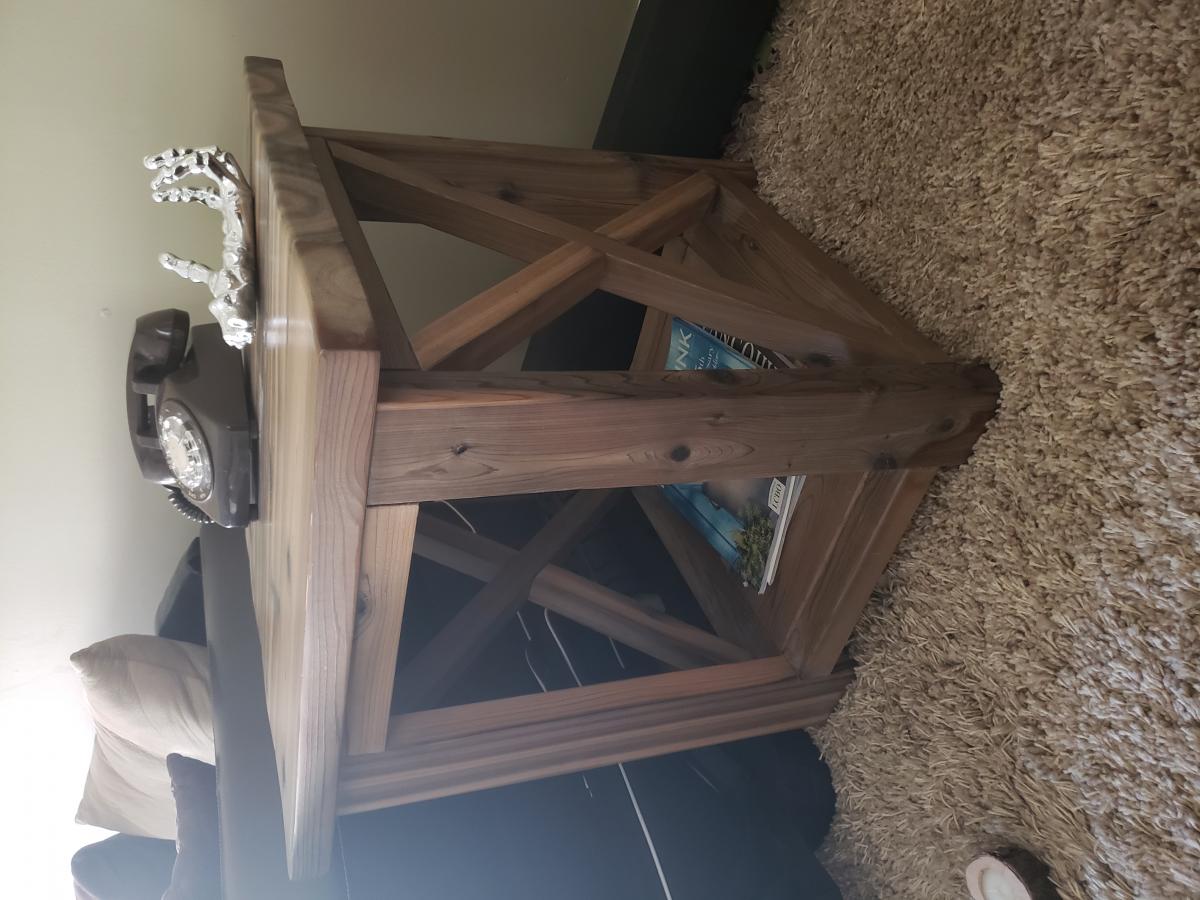
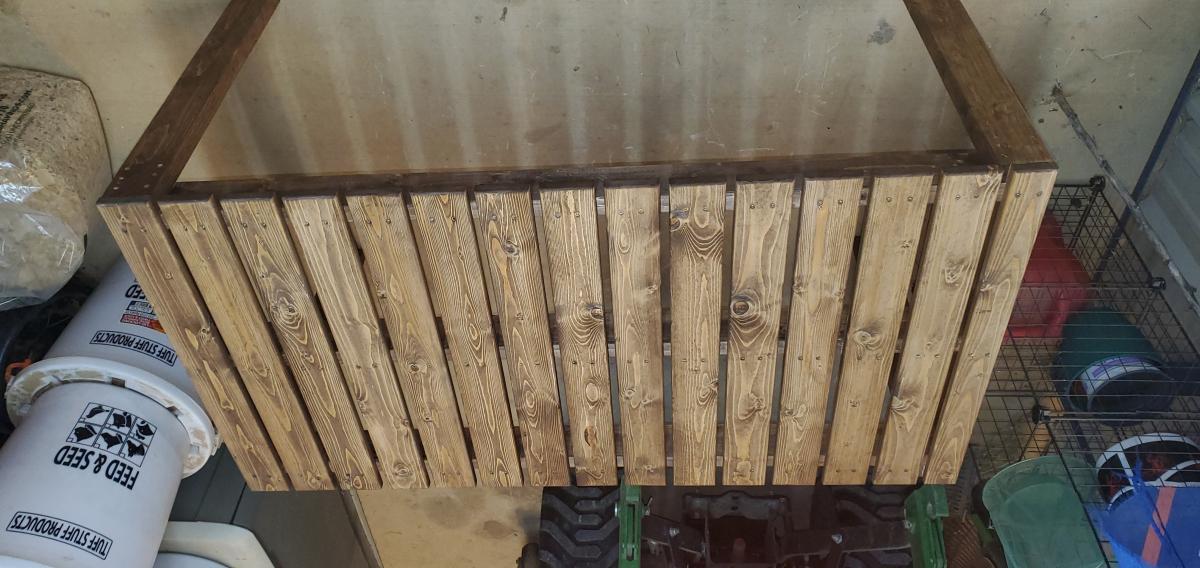
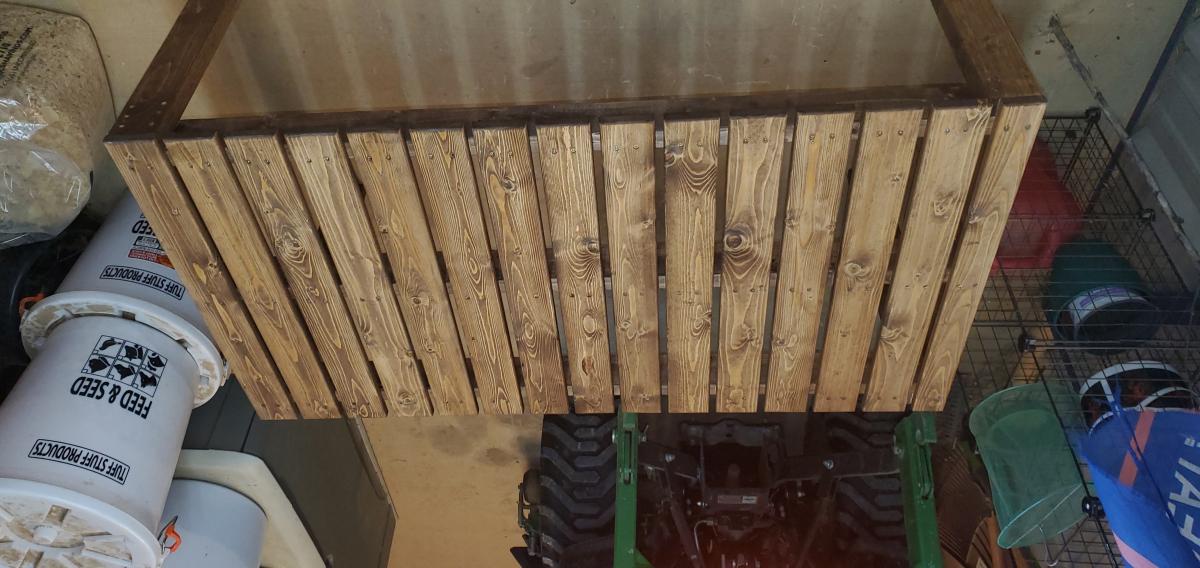
Simple Table
This table is very nice and so simple and inexpensive. Just choose your lumber selectively. I used prime 2x4's for higher quality.
Built from Plan(s)
Estimated Cost
$50.00
Estimated Time Investment
Afternoon Project (3-6 Hours)
Finish Used
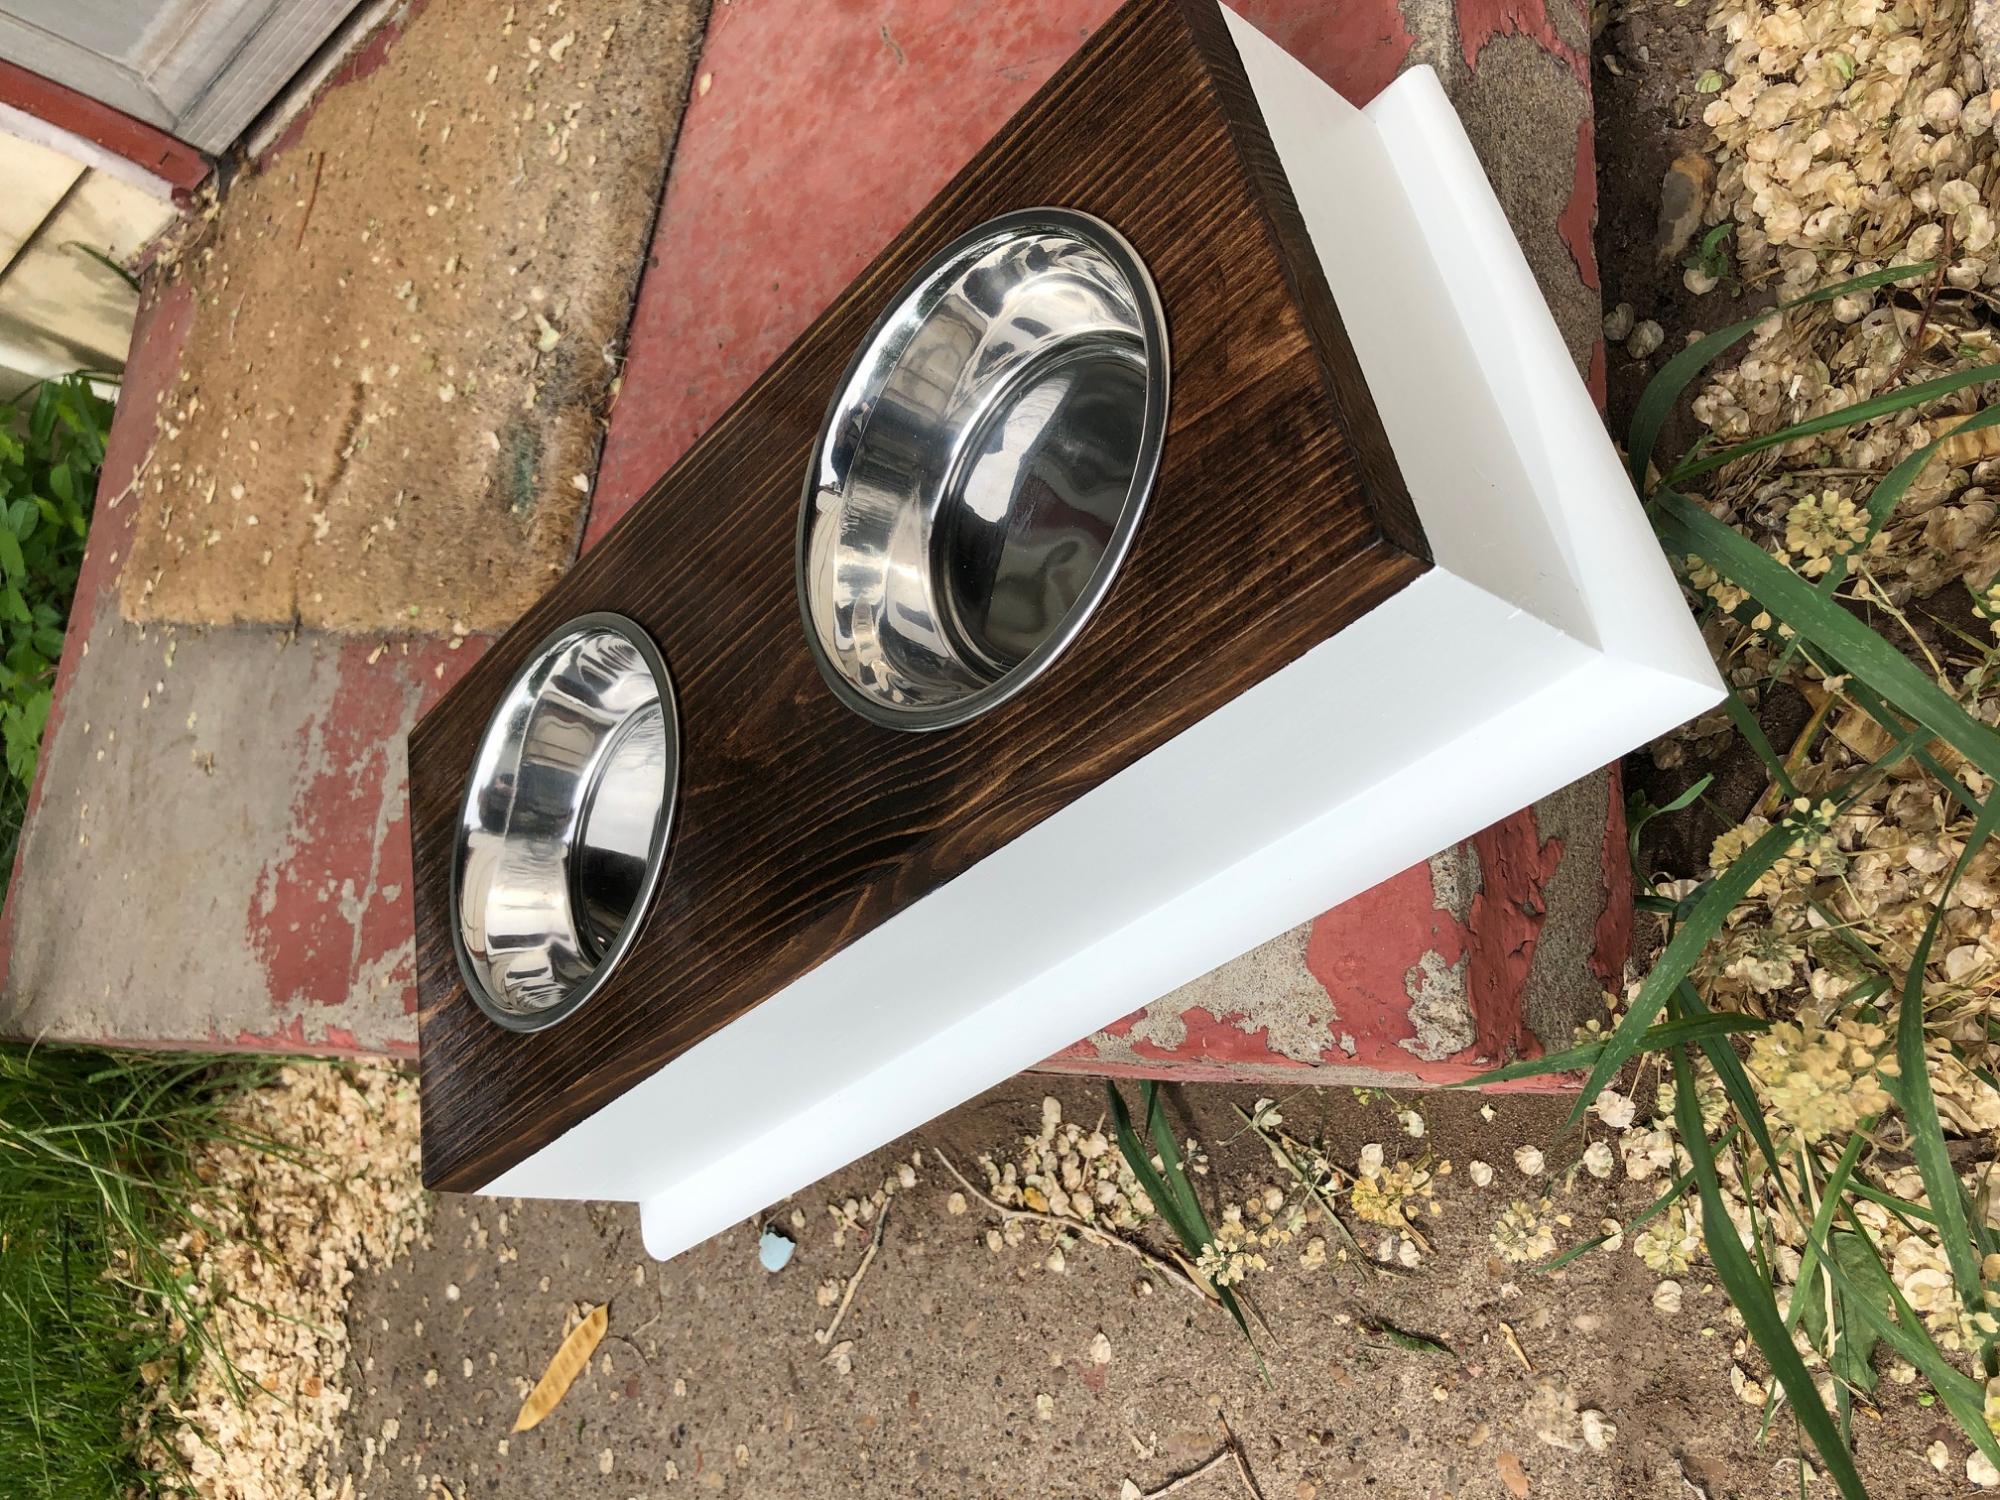
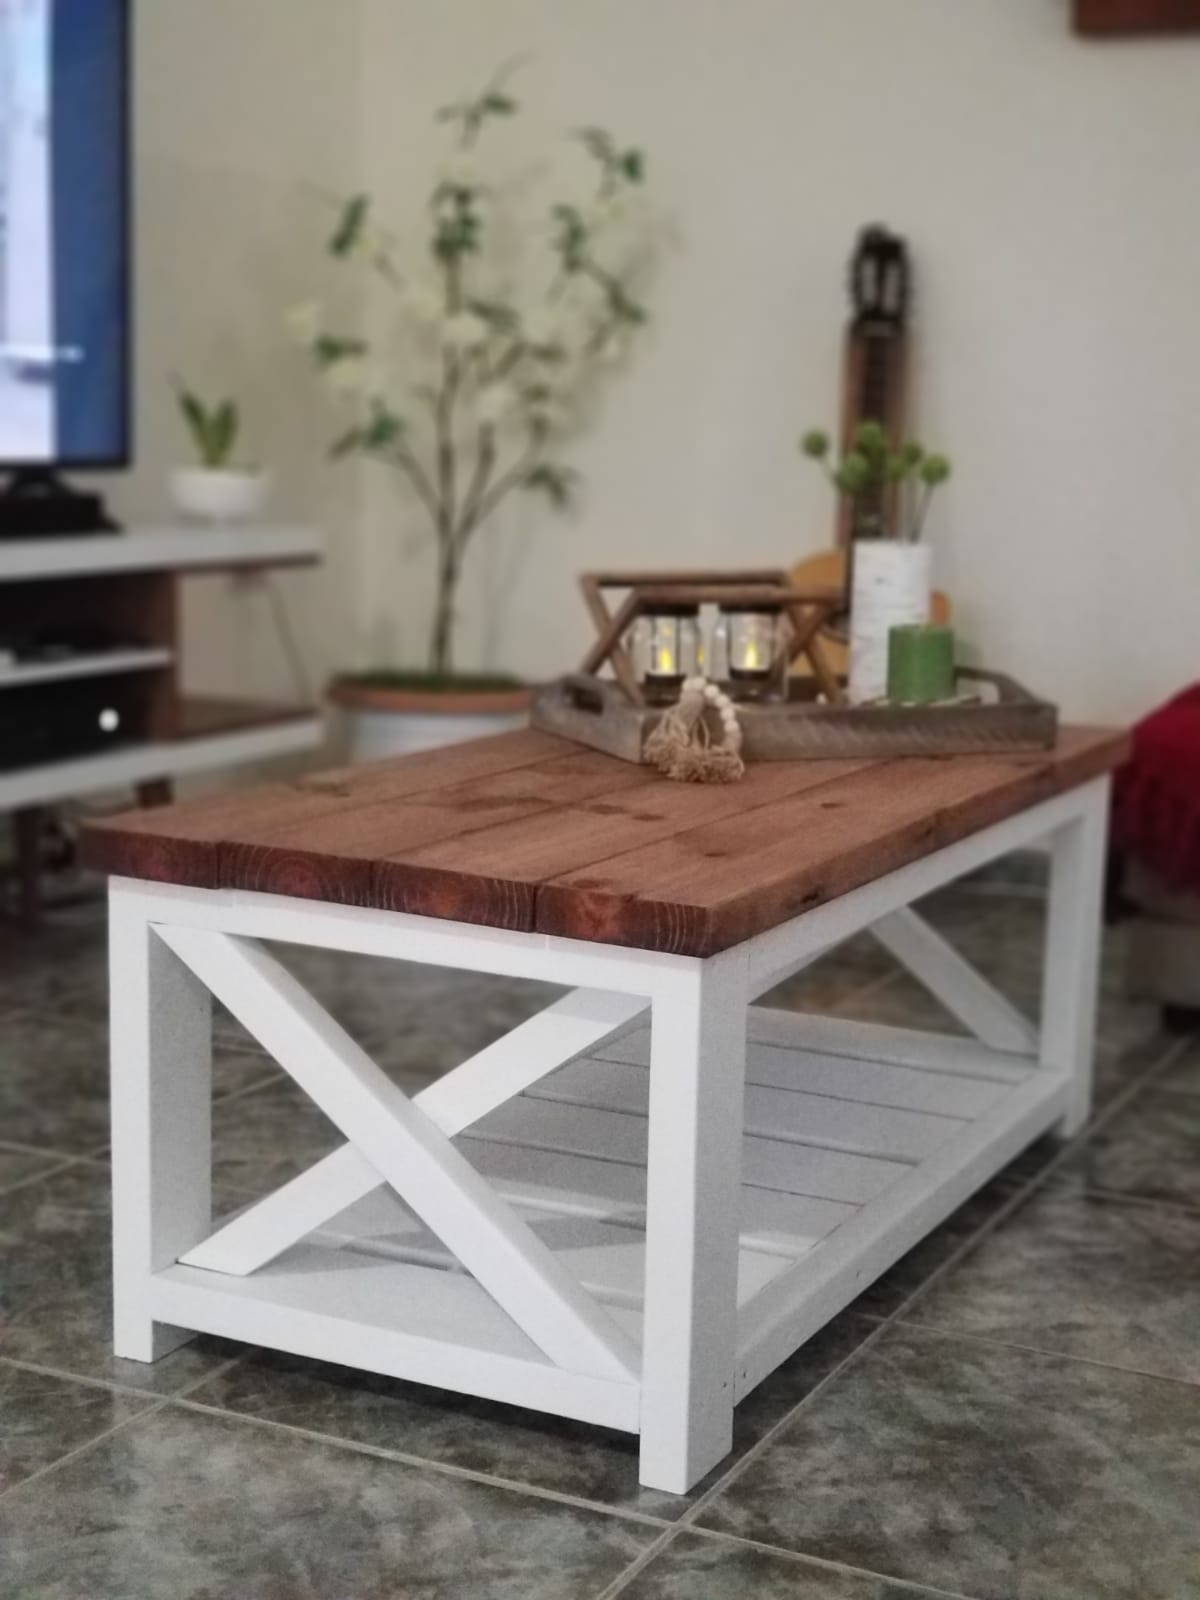
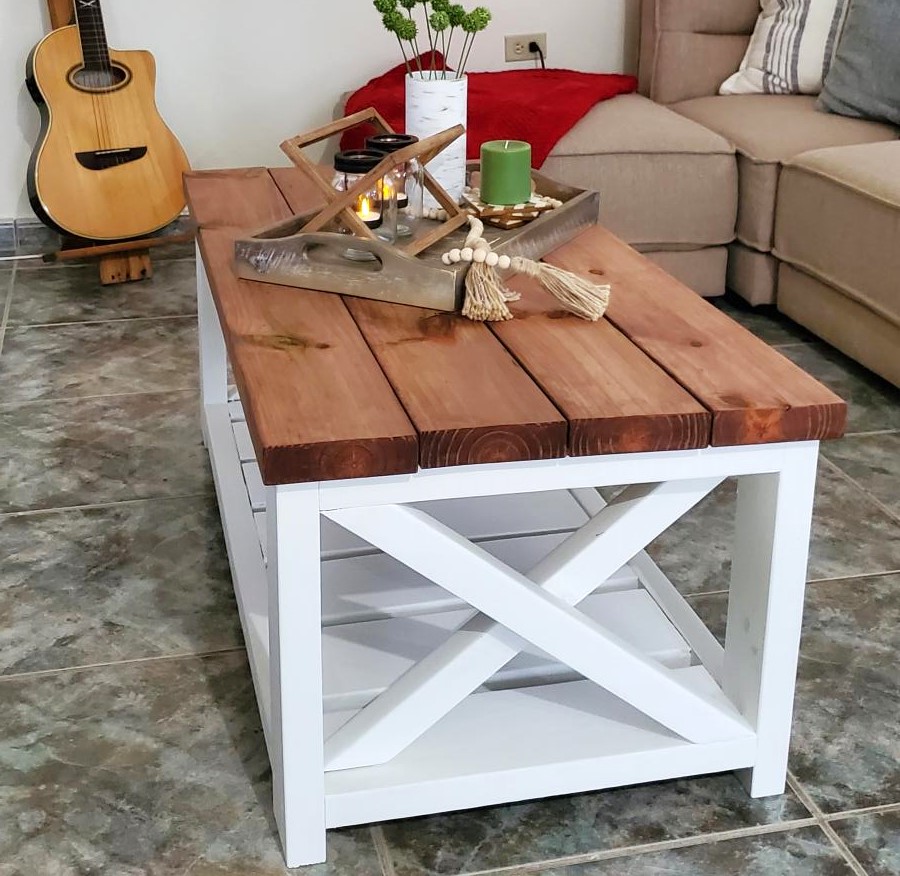
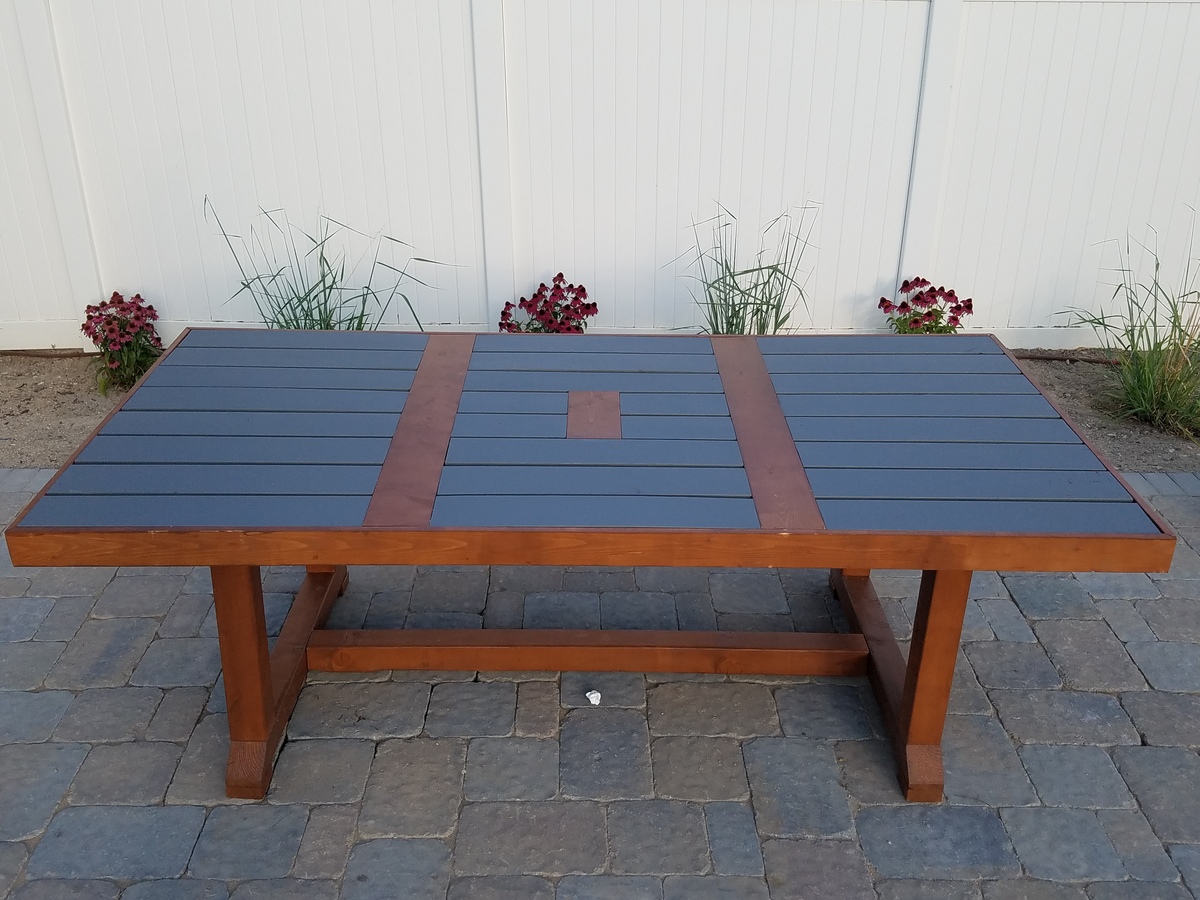
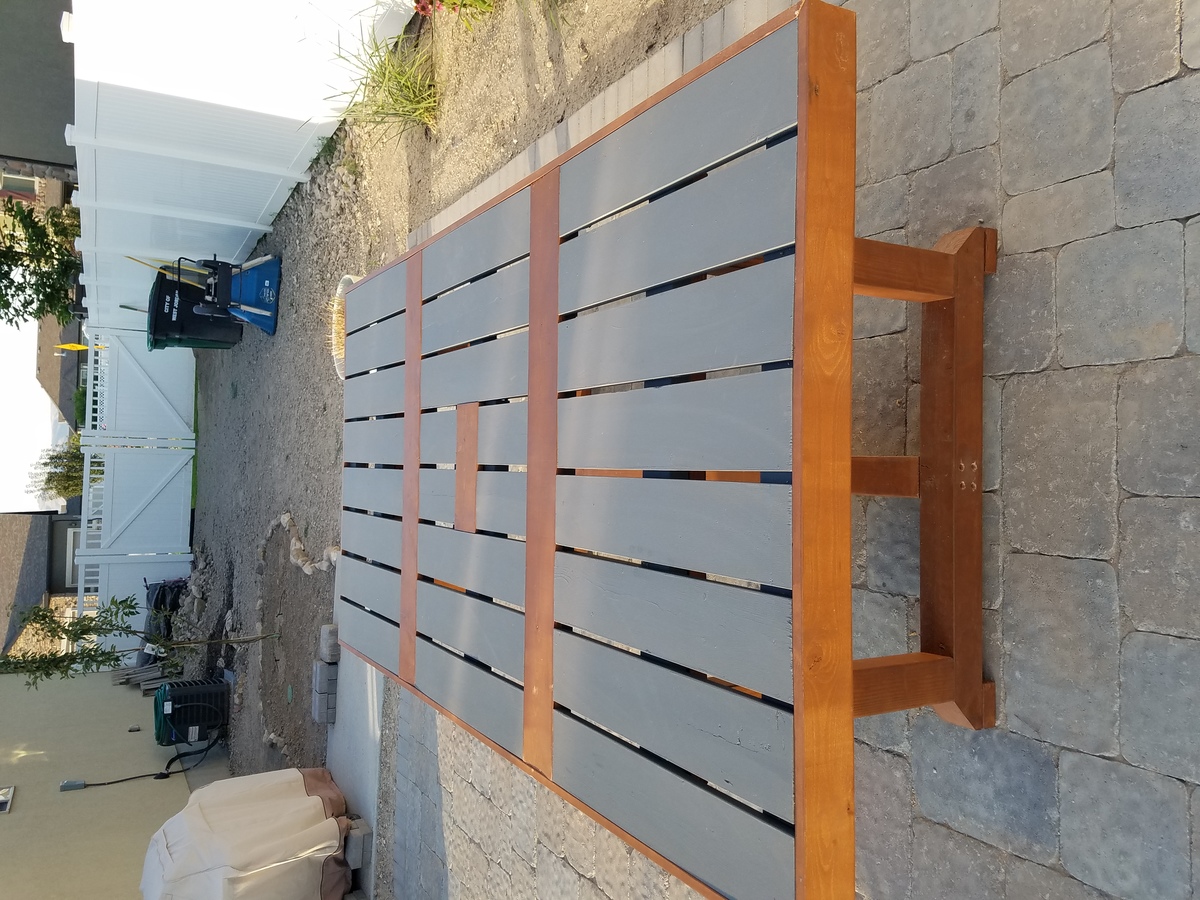
Screen porch table.
Recommended Skill Level
Beginner