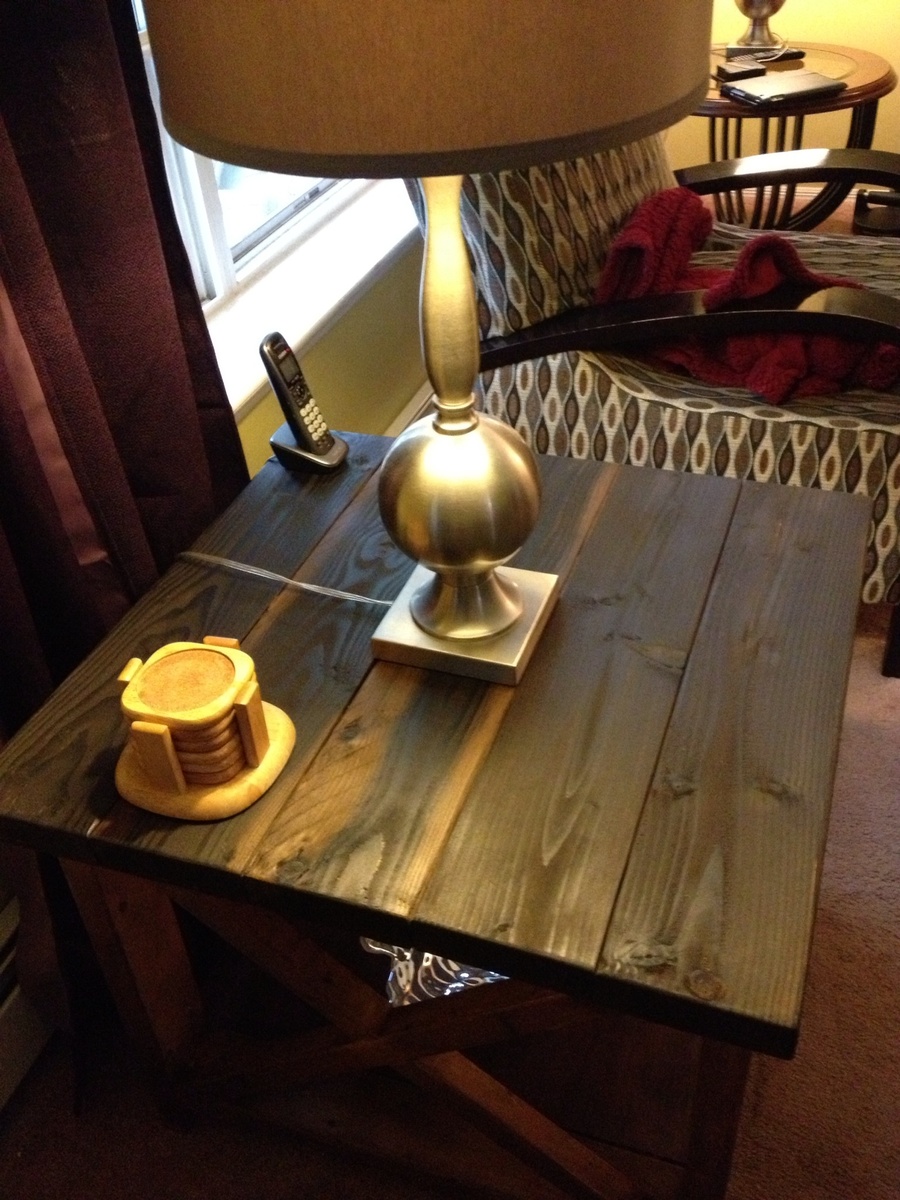
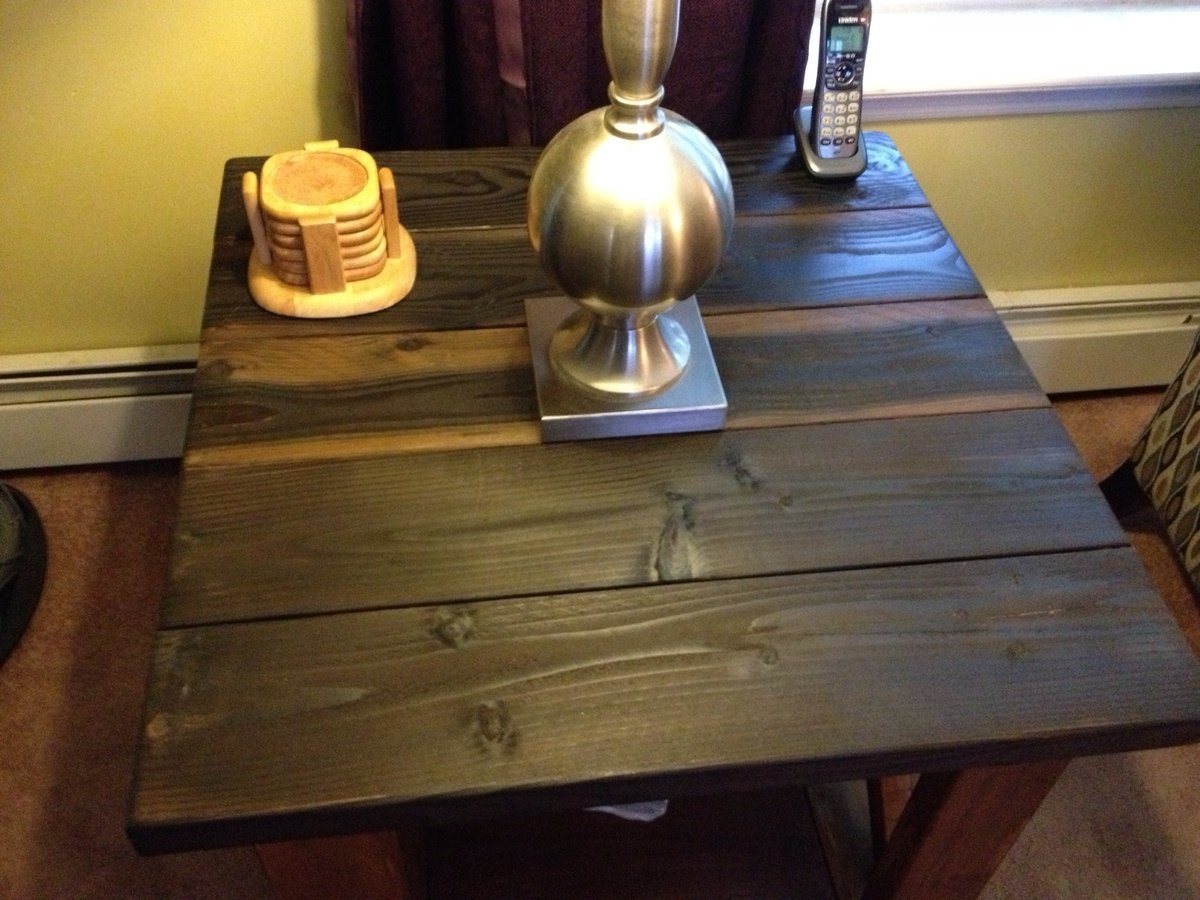
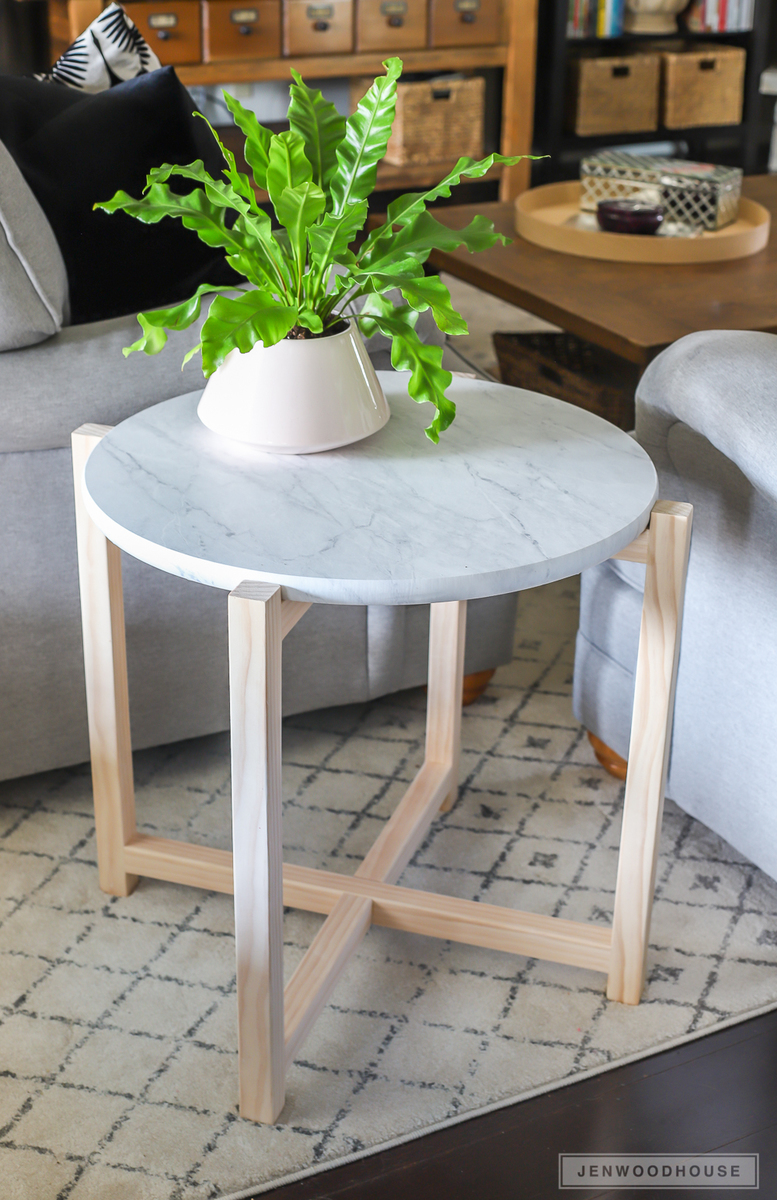
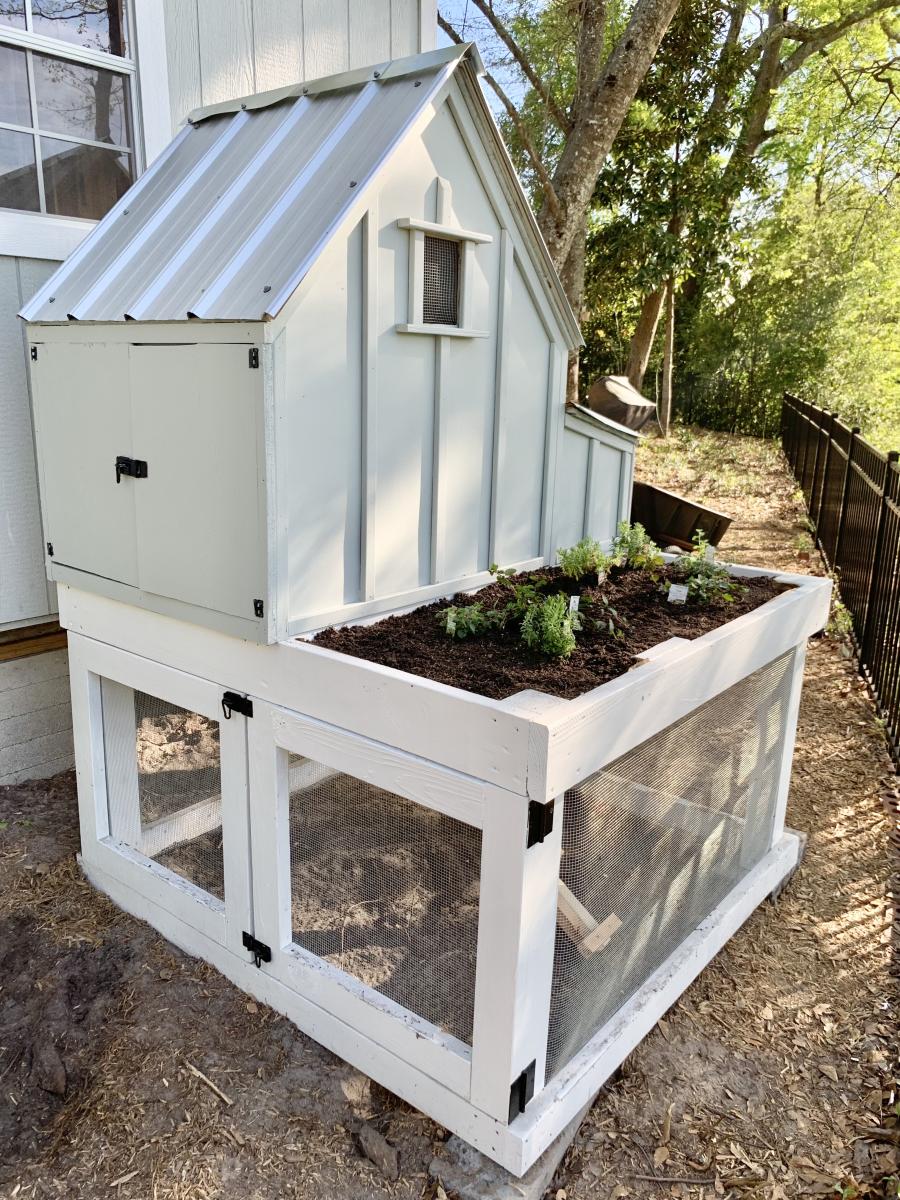
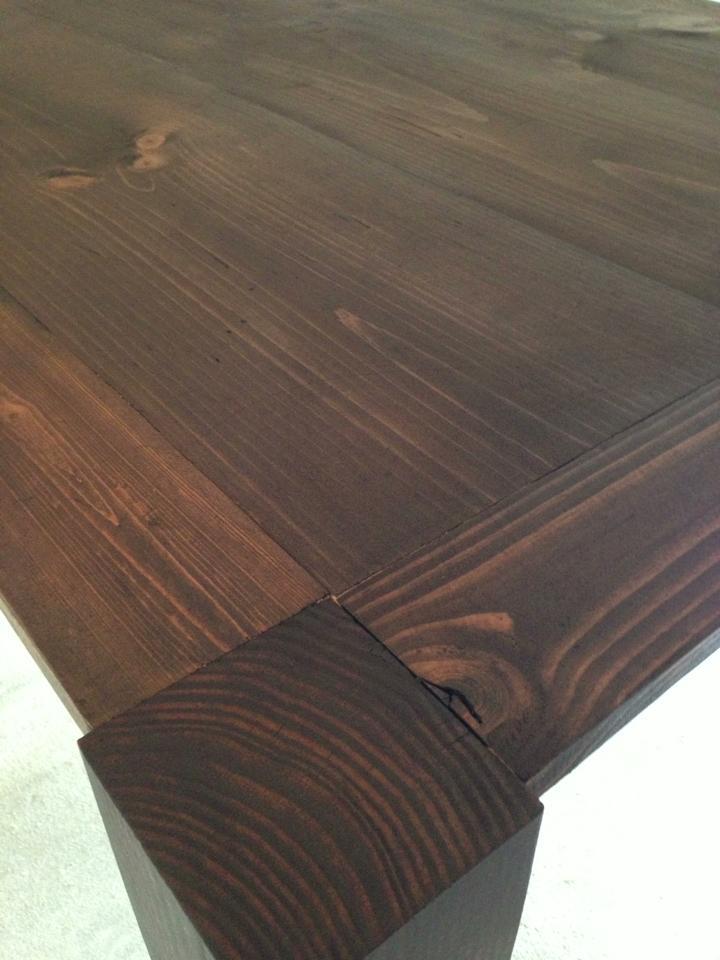
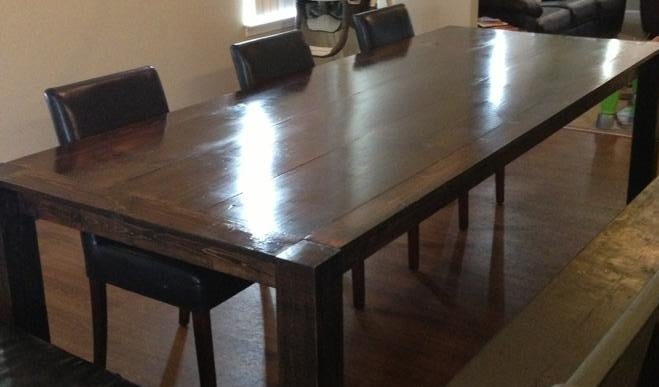
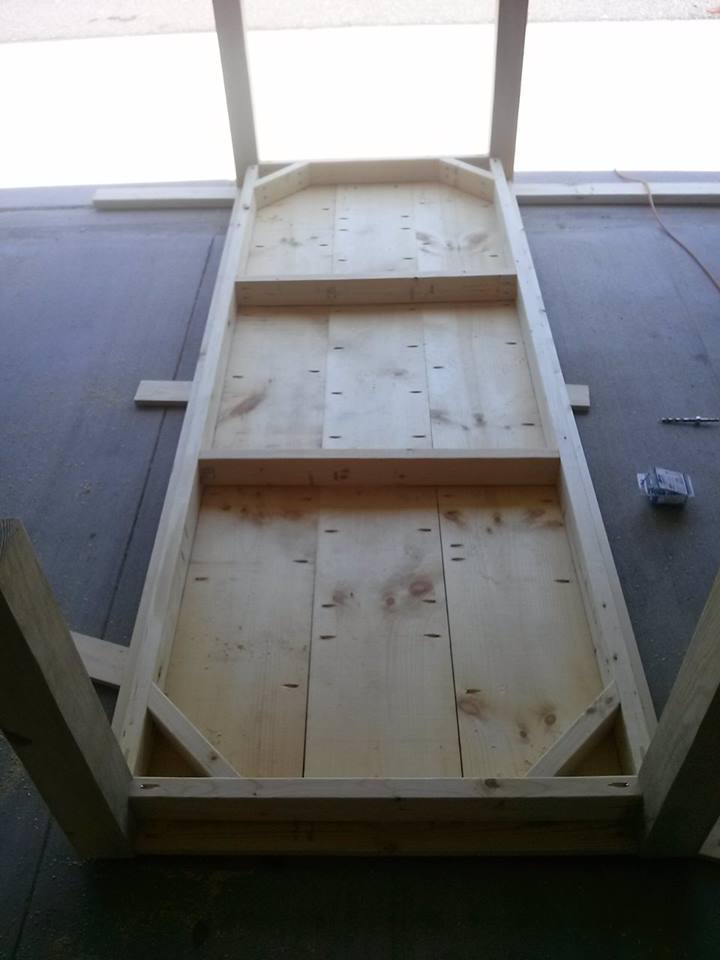
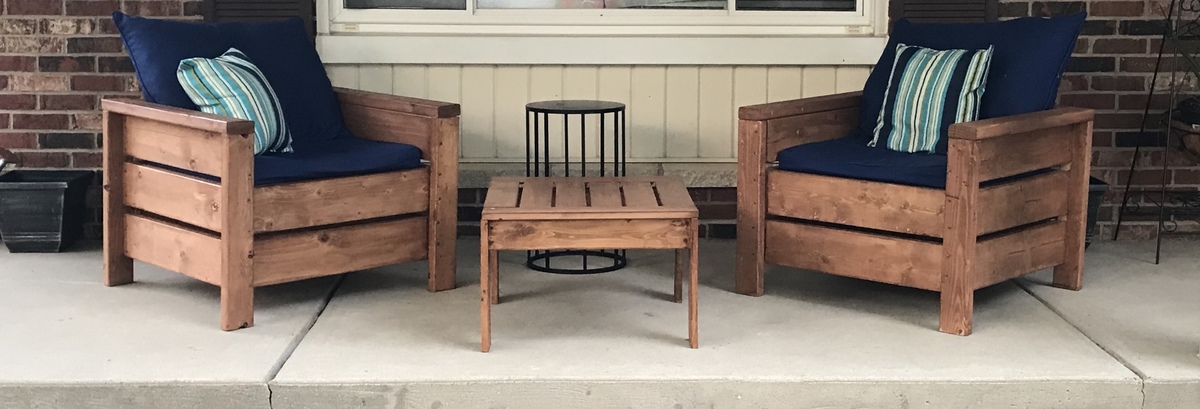
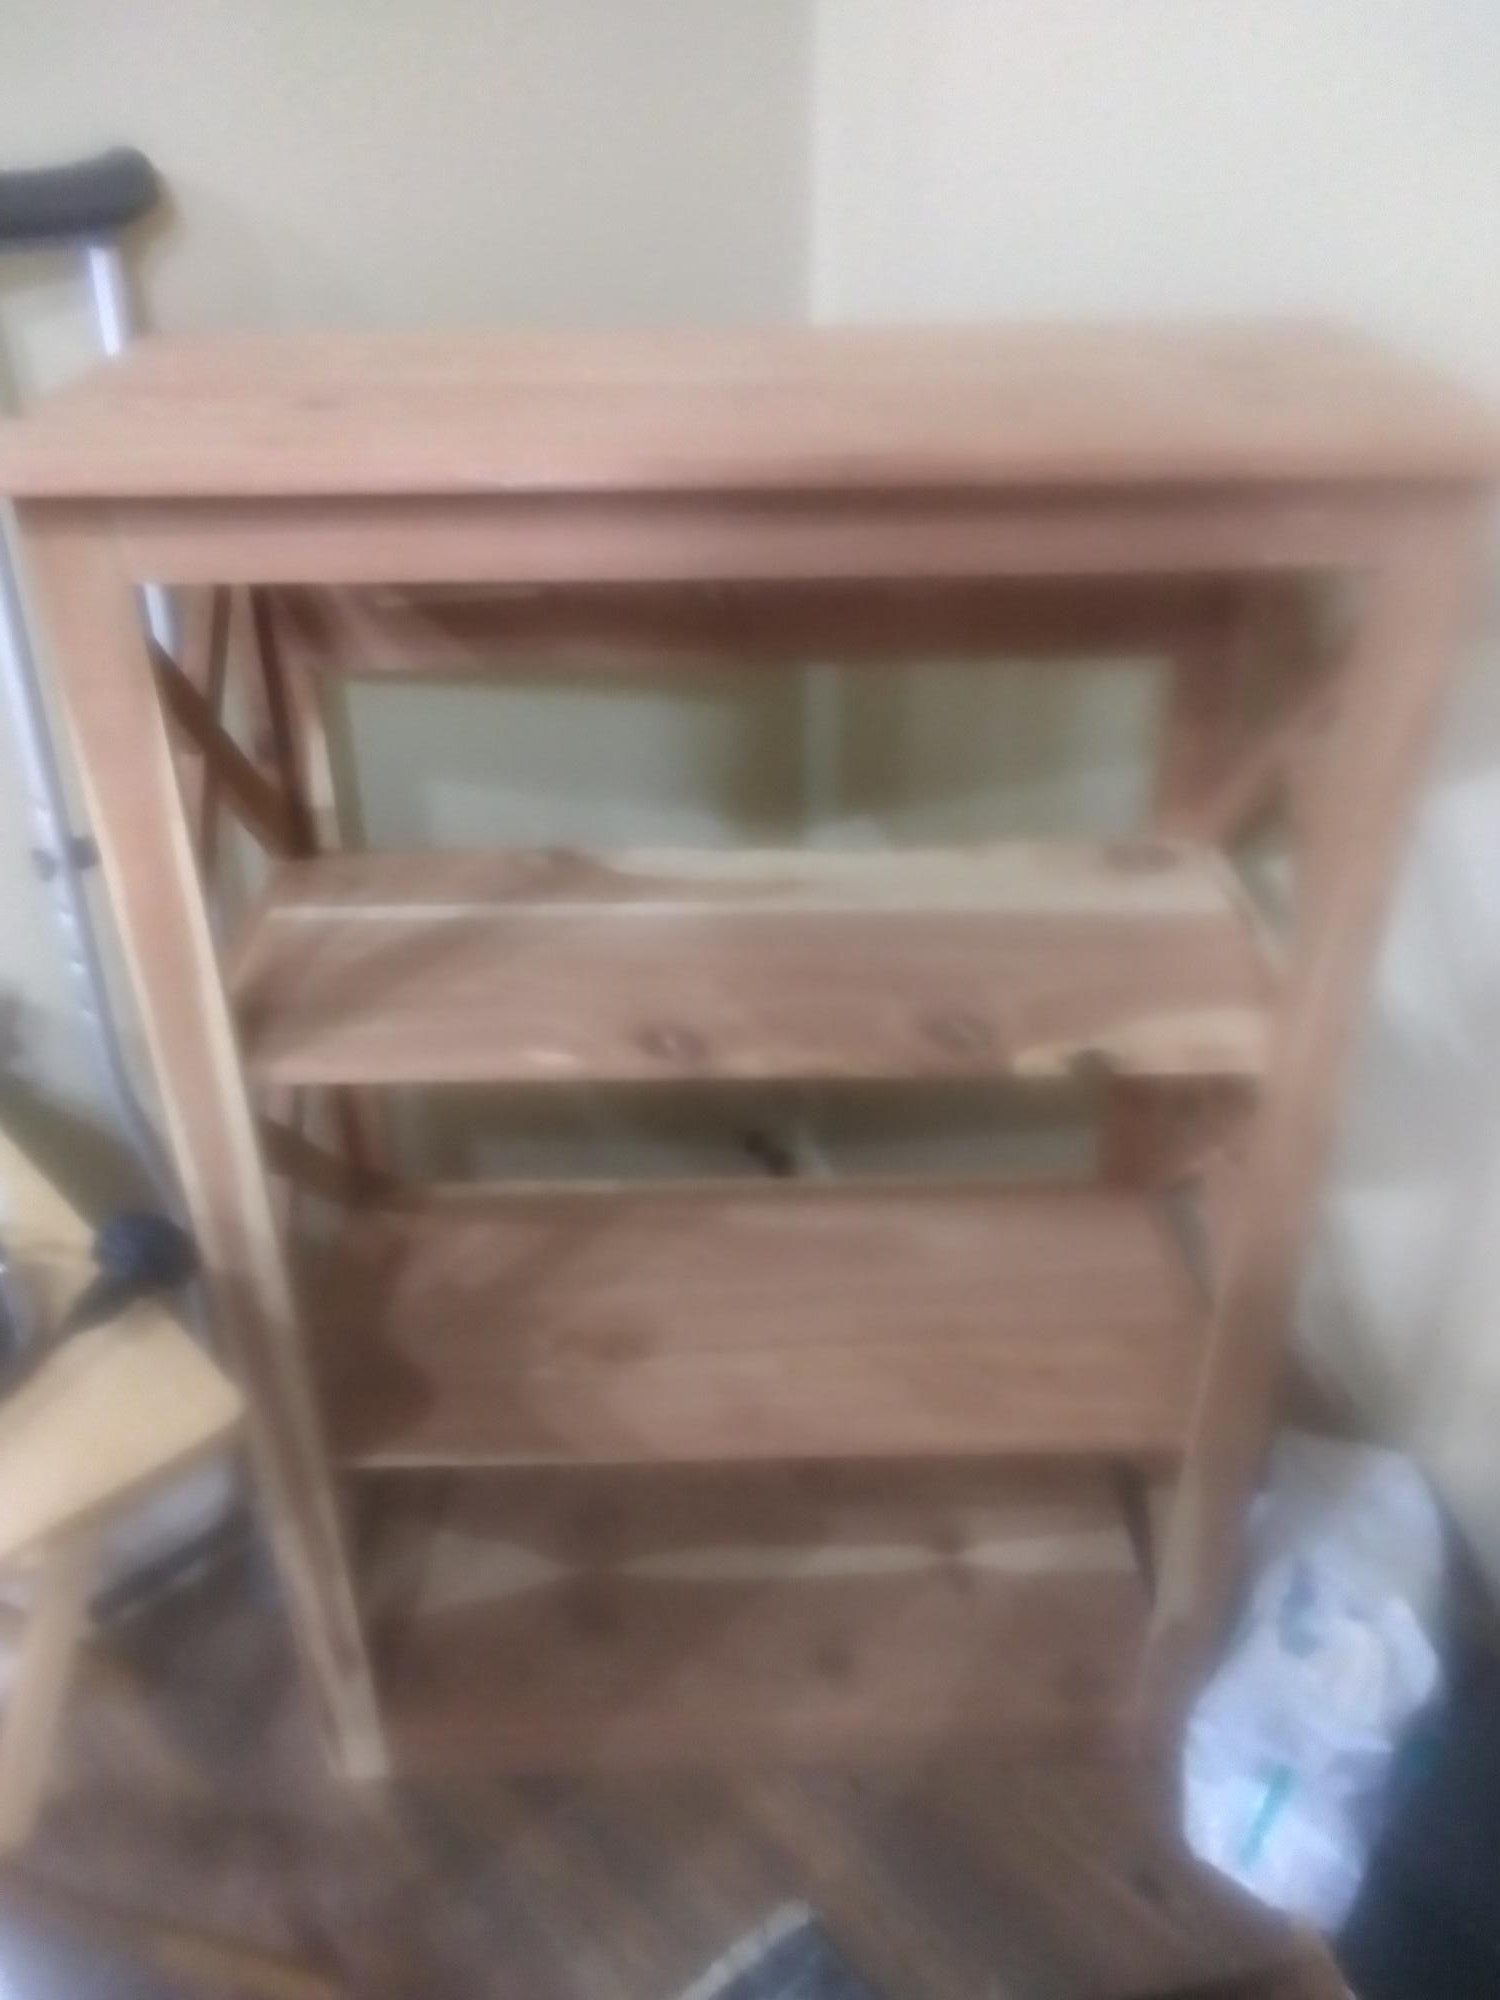
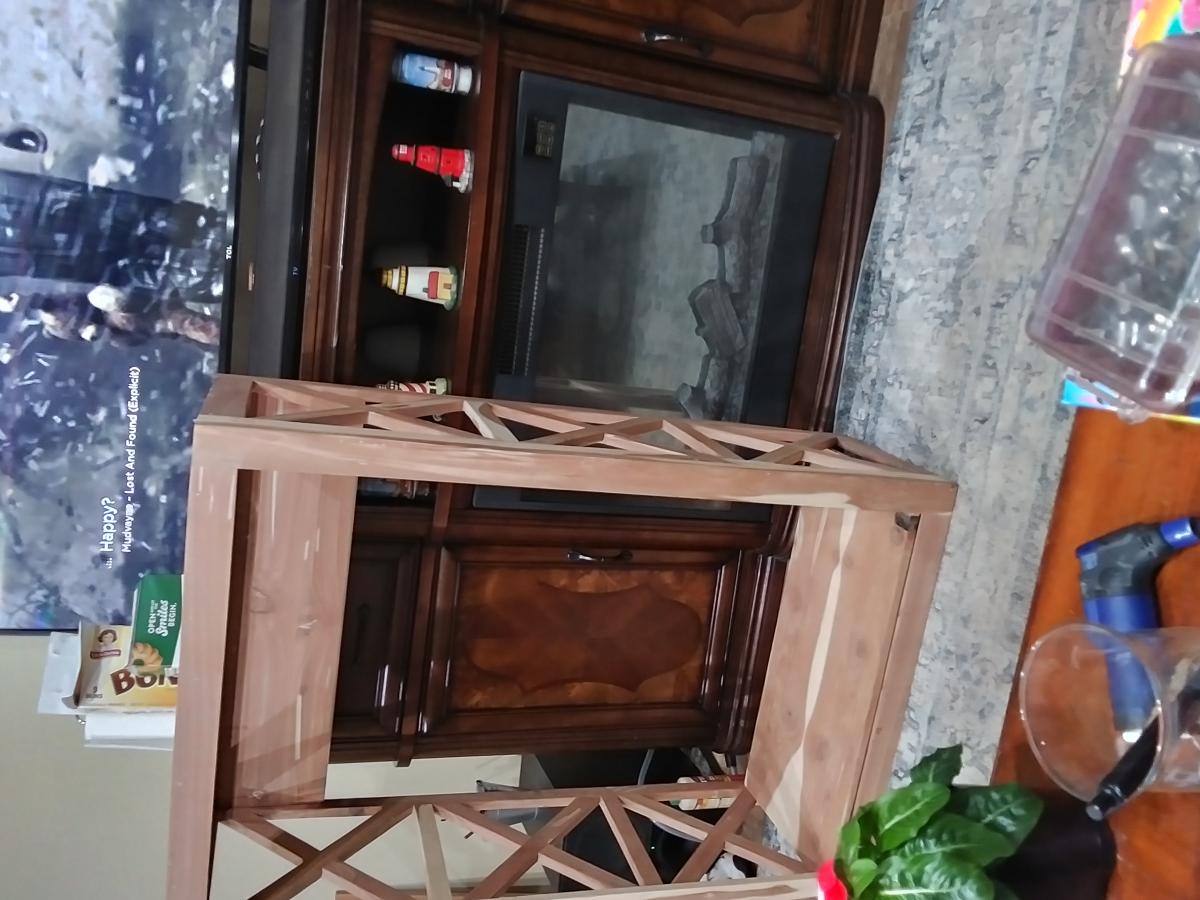
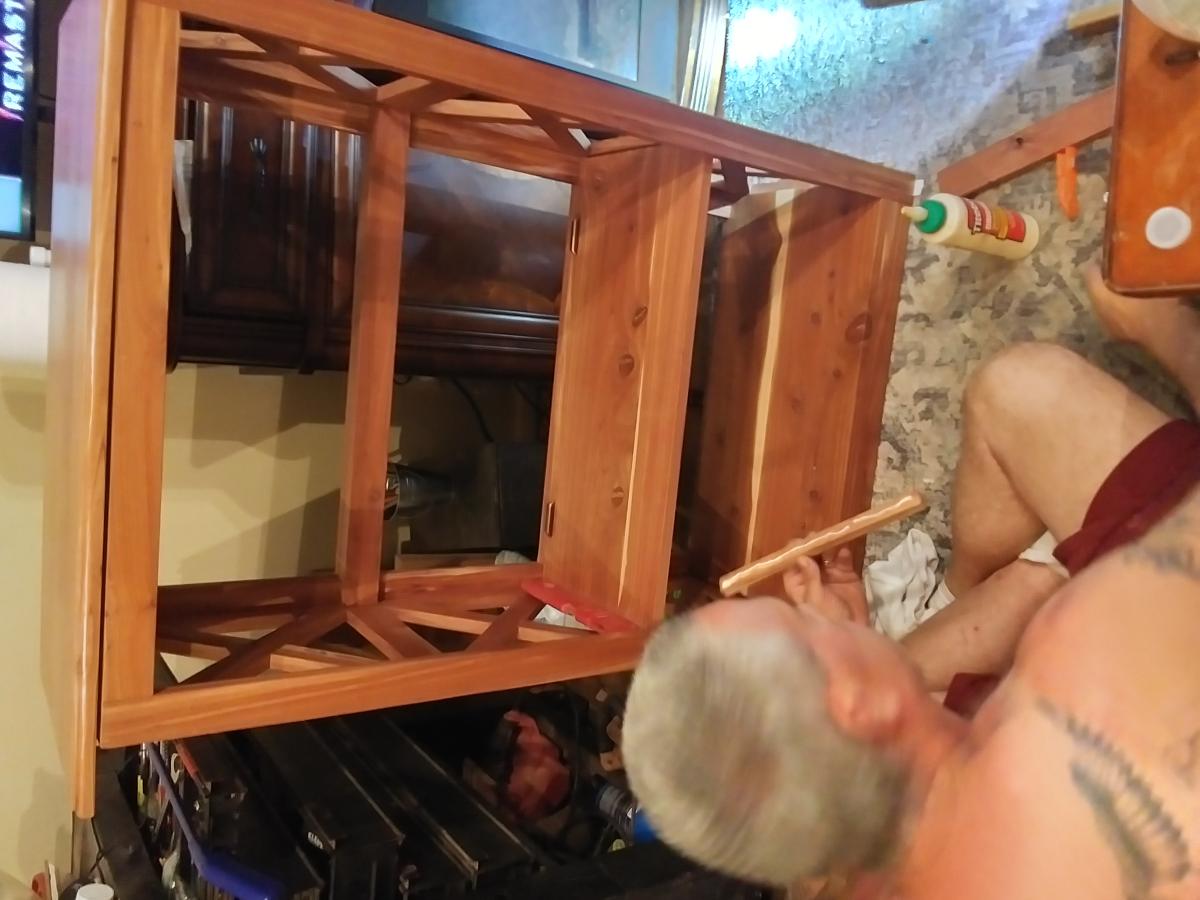
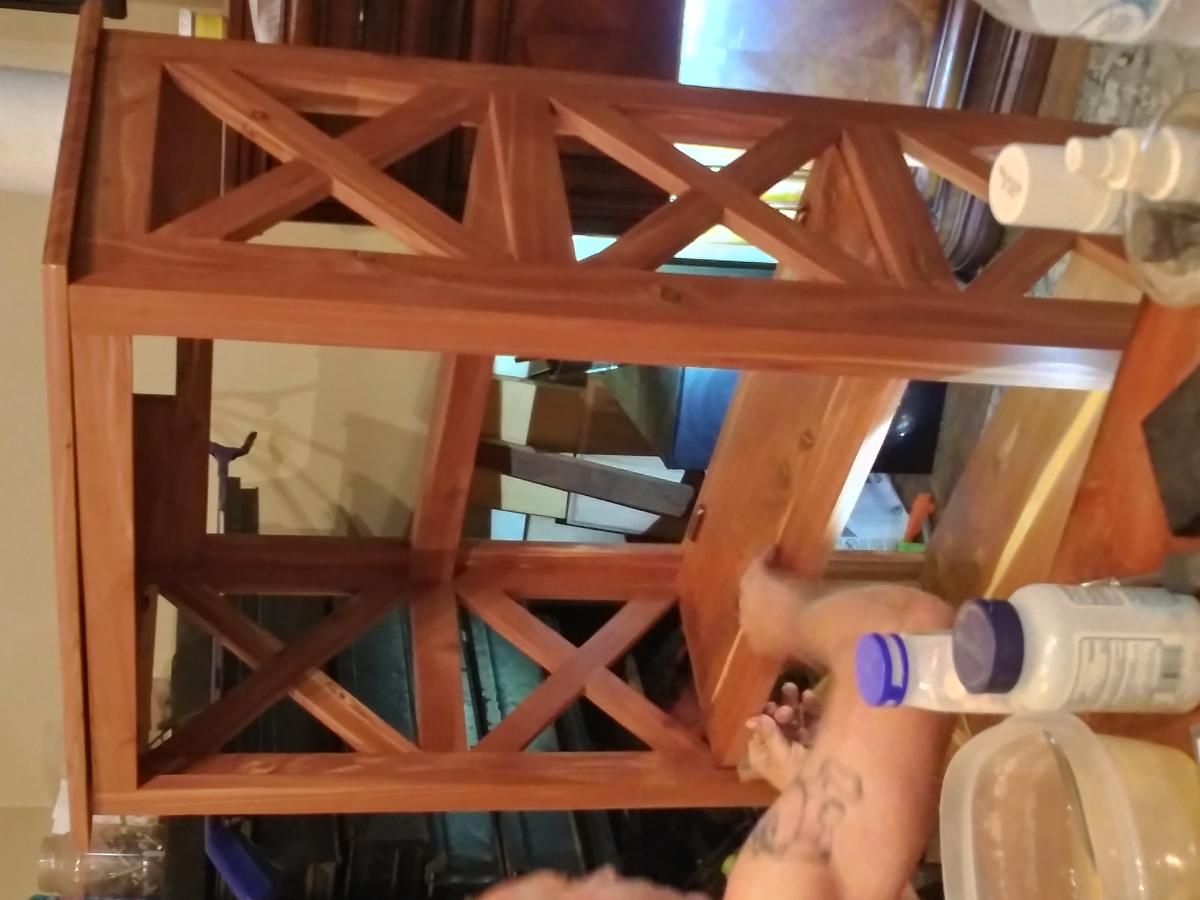
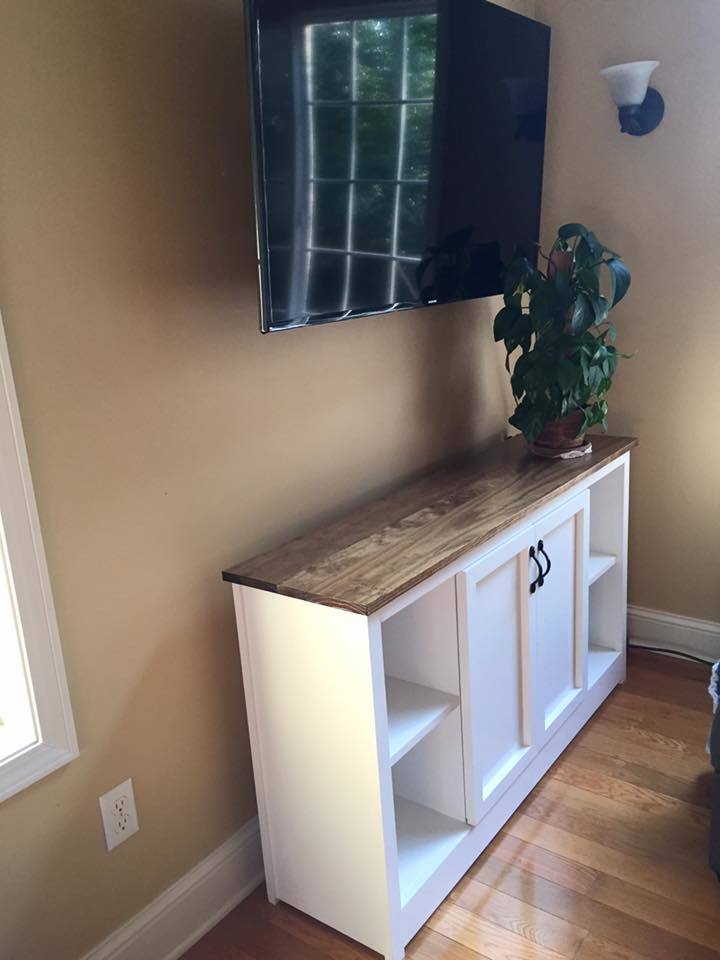
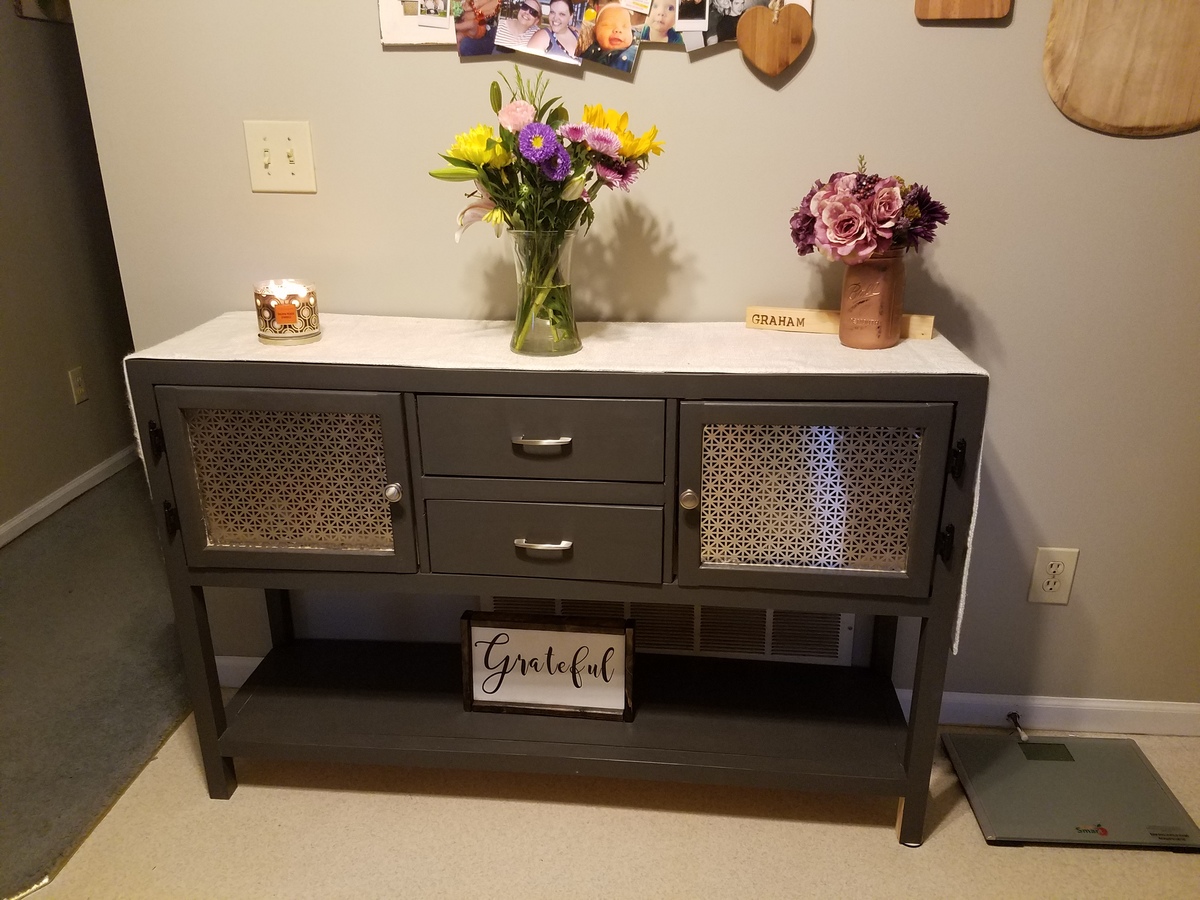
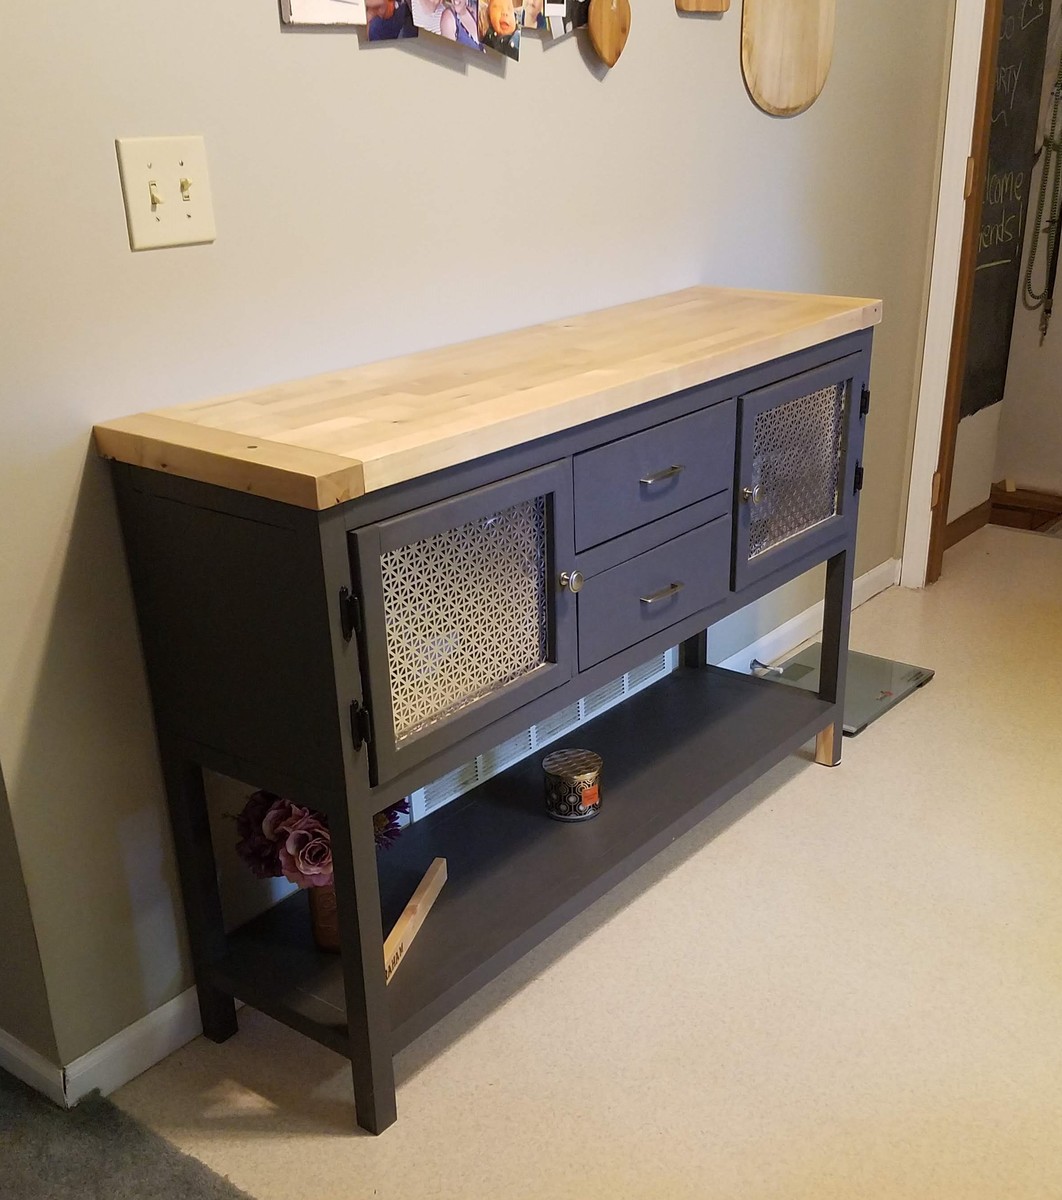
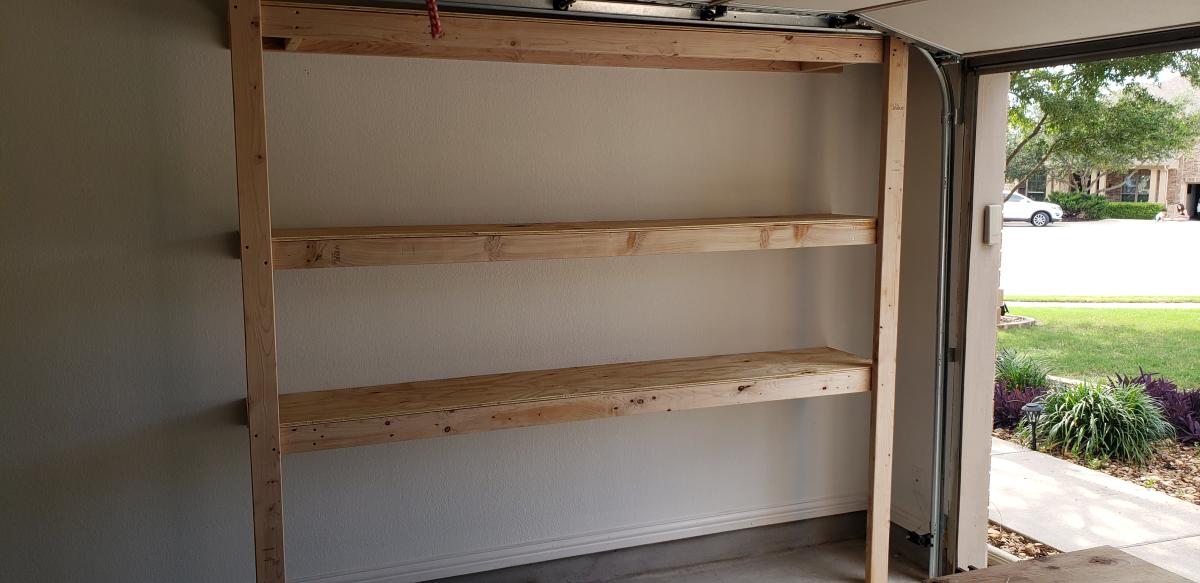
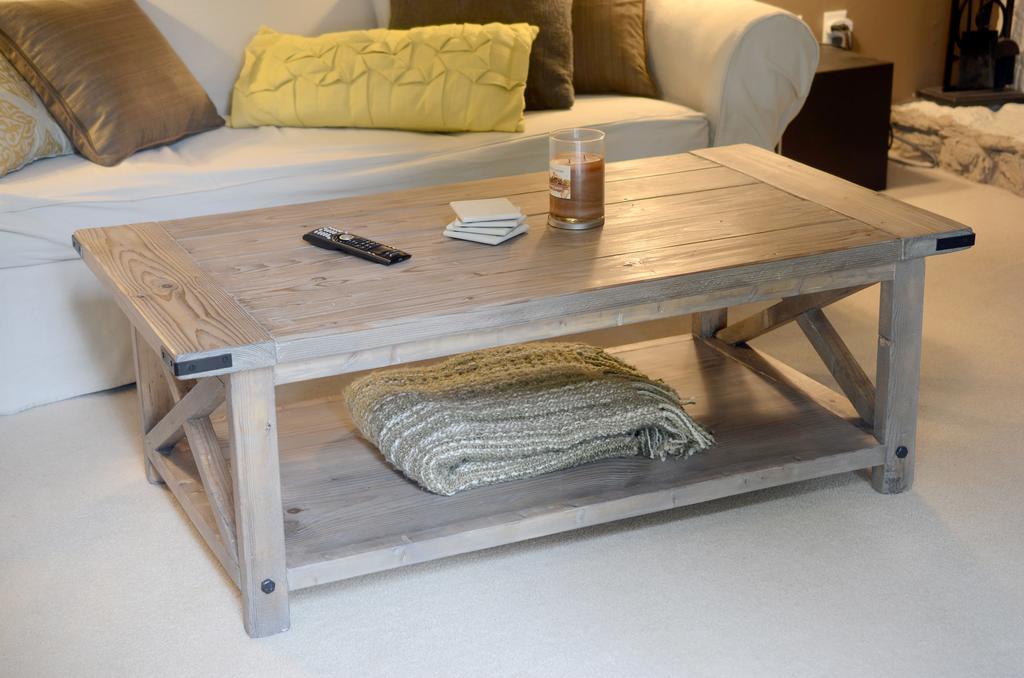
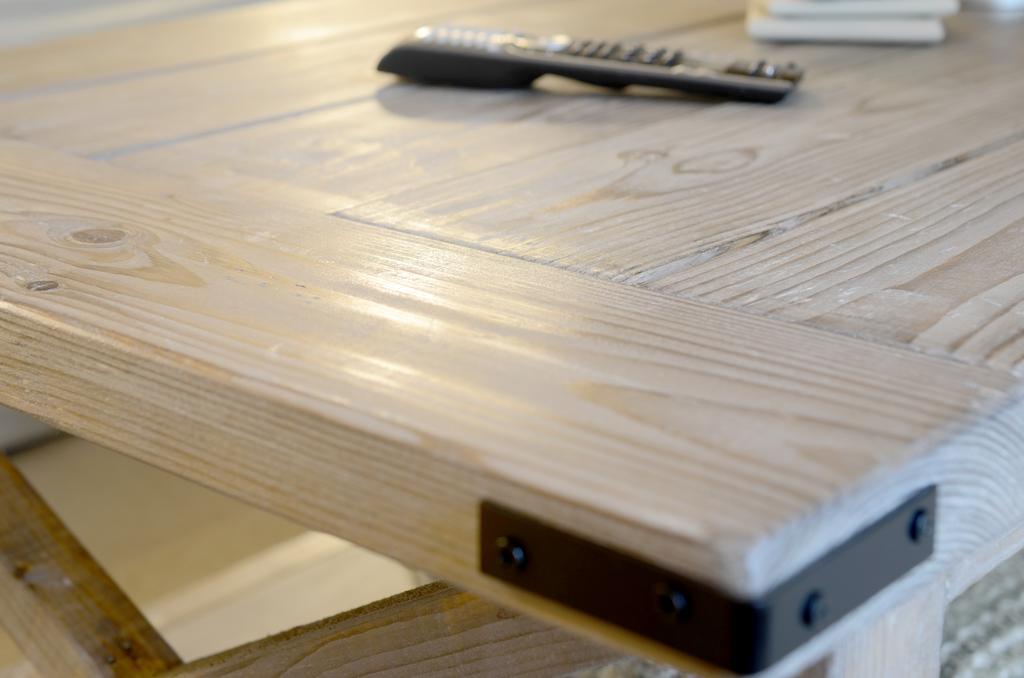
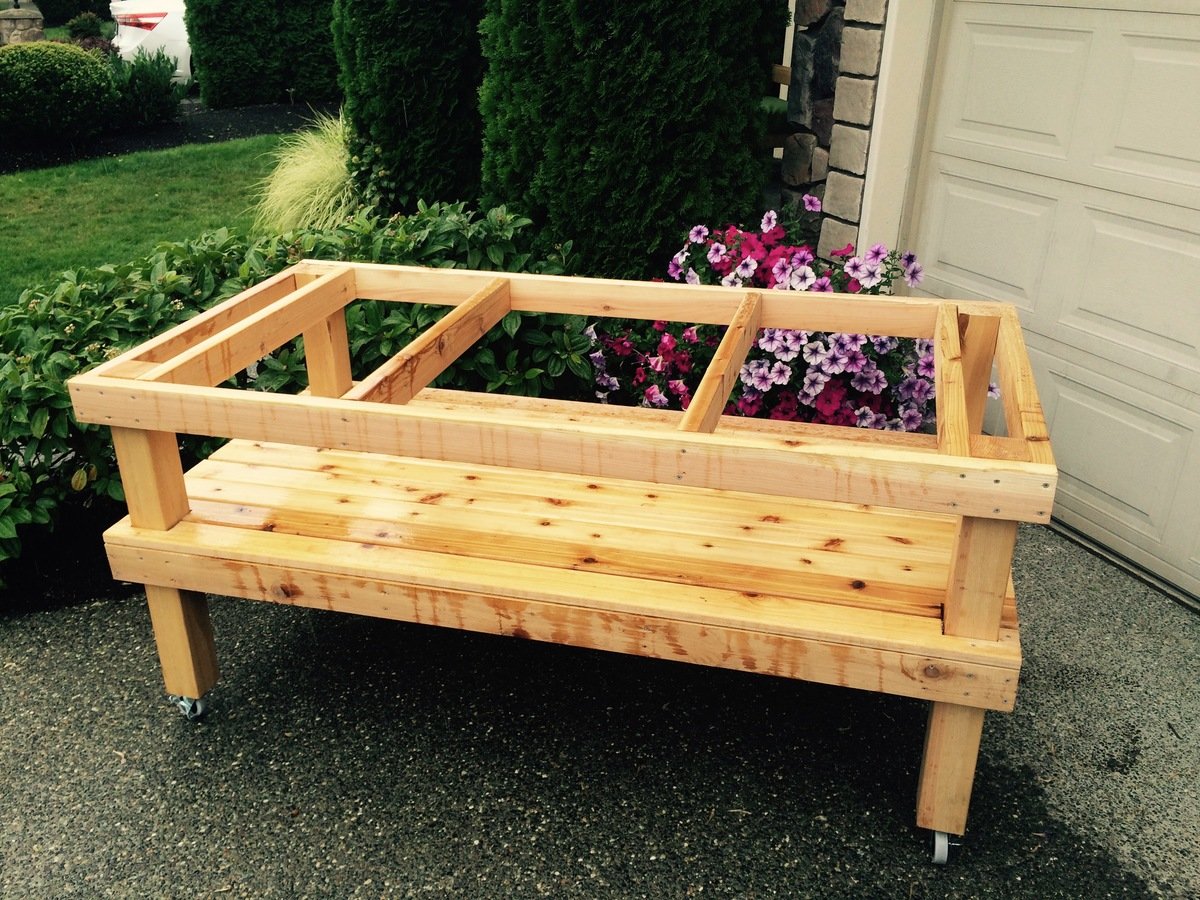
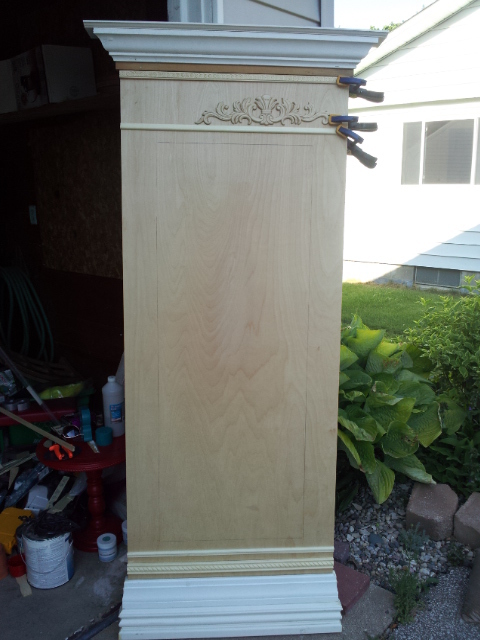
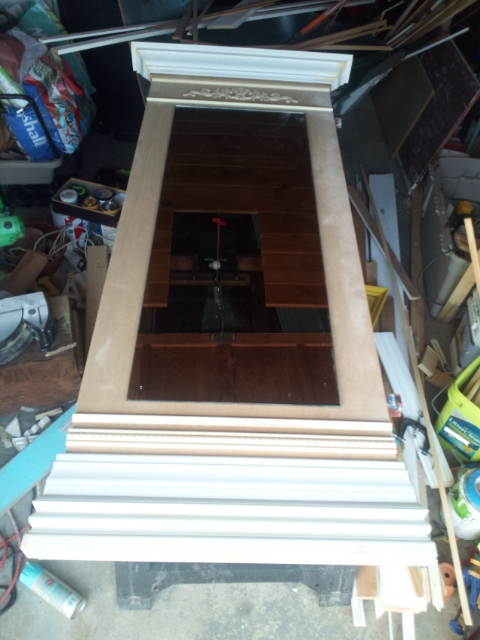
Rustic X end table
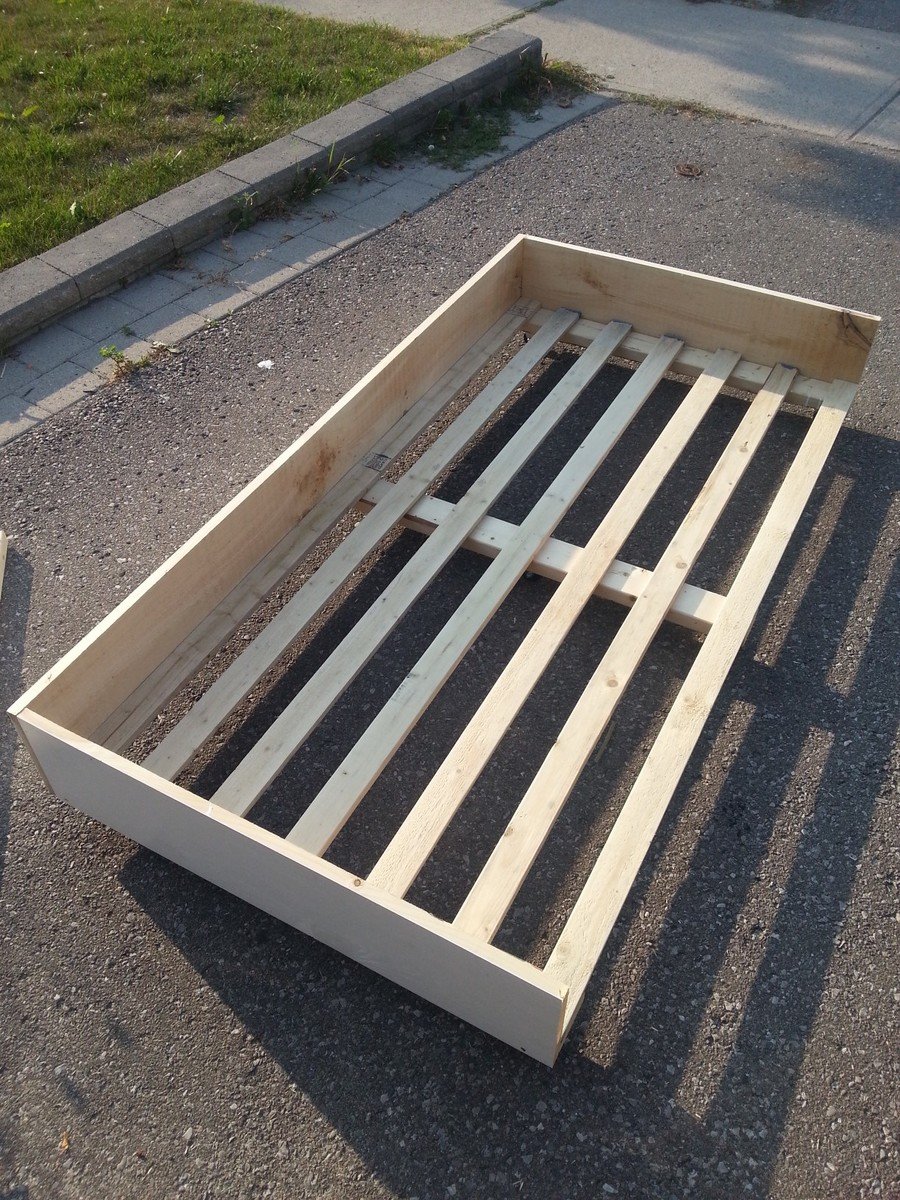
Took a Saturday to make this project. Loved the plans!
Took the farmhouse plan and added a Trundle. Was initially going to build two farmhouse beds for my two girls, but thought adding the Trundle would free up some much needed floor space. The girls love it!
Hi friends!
Jen Woodhouse here from The House of Wood.
Take a good look at this round marble side table. Would you guess that isn’t real marble? It’s contact paper! Yep. It’s true. We’ve been wanting to put a table here between our sofas for months now, so I’m thrilled to have this project finally crossed off the list. This sleek side table cost about $50 to make!
I built this table in about 3 hours – the super simple yet sleek, modern design is beginner-friendly so if you’re wanting to tackle your first project, this is a great one for you.
Be sure to tag me @jenwoodhouse if you share photos of your build on social media. I'd love to see it!
You can get all the details for this build on my website jenwoodhouse.com.
Tue, 10/03/2023 - 14:40
Thank you so much for your help, I am learning a lot at least. I for one have learned a lot from this.
My husband and I had so much fun building this for our ladies! We had some material leftover from the build of our house so we made a few adjustments. I’ve included progress pics because we found others very helpful during our build. We also added hardware wire and brick at the base to predator proof (not pictured).
I built this bed for my new doll I got from my mother-in-law. All the girls in her family got one as a child, so she got me one, too. This is such a cute bed! Matches my own Farmhouse bed:)
I'm sure this would have been easier with a nail gun, but it is was pretty simple with the drill too.
LOVE IT!
We needed a Dining table to fit our growing family and our friends. Combined ideas from the iTable, Farmhouse and Big Ur table plans. Used 8ft boards so with the breadboards it measures roughly 8ft 7in long. Rustoleum Kona stain. Only took the weekend to build. Thanks Ana!
Our fireplace wall was quite plain to say the least. We thought about stone, tile but then ended up doing a simple and inexpensive board and batten wall. This is a simple DIY project, we kinda made up the pattern as we went.
More details on my blog - http://www.woodworkingfourdummies.com/blog/board-and-batten-fireplace
Cheers,
Ian
2 modern outdoor chairs and and a matching ottoman.
I had never built anything before. I also hadn't had a headboard in years, so I figured two birds with one stone. The biggest lesson we learned was how important it is to find the best wood. One of our pieces was not straight and we ended up having to make another trip out to the store. Otherwise, it was a pretty easy build!
Used the plans to make a desk for my girls!
I based this off of the farmhouse media console plans, but made a lot of changes with dimensions, doors, etc. Originally we wanted the doors to slide sideways instead of opening outwards... but we couldn't figure out how to do that and still make it look nice! Very easy to build. I am happy with the end product!
We really wanted a narrow console tabtabltabtable for this space. This was perfect! Modified the original plans to add to the width and height so it is counter height. We added a butcher block top to match our existing kitchen cabinets. I used aluminum decor inserts from Home Depot for the doors. Thank you Ana for your amazing plans!
I followed your plan for my 16 inches garage shelves and I absolutely love it. Tons of storage and easy to customize. Each 8 foot shelves is now costing $120 in material - which is still a great deal! Thank you @Anawhite 🙏
I built 11 doll highchairs for my daughters 5th "Adopt A Baby" birthday party! These chairs were fast and easy to build and I had a BLAST painting them! The girls loved, loved, loved them! A little extreme for a 5 year old birthday party? Maybe. But definitely worth it!
Fri, 07/15/2011 - 05:13
Wow! That's a LOT of work!!! They turned out absolutely adorable, though.
In need of a new coffee table and having a budget lower than what would allow for similar looking store bought tables, I decided to build a variation of the Rustic X coffee table. I used the modified plans by Pete Sveen which included the bread boards on the table top. We used a solution of white vinegar and steel wool to age the wood and used a clear furniture wax to finish it.
This grill table took a weekend to build. The base is made of cedar and top is concrete. More information on how to build this table is available on my blog.
This project was a great learning experience and turned out fantastic. The mitered/beveled cuts were a bit tricky for me, It took me a while to understand how to use my miter saw to make the cuts correctly. Other than that, the building plans were clear and easy to follow. Cara, an author at Inspired Workshop, posted the plans at the following link: https://theinspiredworkshop.com/diy-slim-truss-console-table/
-Drew Cameron
We needed some additional seating in the backyard so I built 6 Adirondack chairs for the fire pit and the bench using the plans that you have shared on Facebook. They turned out really nice and so far they have been a big hit!!
Thanks!!
After seeing the $400 PB Tables on their website, I decided I wanted the look without paying such a high price.
I recreated a table using their table as an inspiration piece. I plan on building the little table next week.
Mon, 07/18/2011 - 06:59
I requested plans for nesting tables because I don't have the confidence to try and do it myself. Beautiful job and yours look much better than PB's and their ridiculous price! Once you get the smaller table done, will you please post your plans? I would really appreciate it. We have an ottoman so there isn't room for a coffee table and we badly need tables for when our weekly guests arrive. I don't like the snack tables as they are too wobbly. Again, beautiful work!
Wed, 07/20/2011 - 12:50
And yes, I'll be posting the finished plans and table pictures this weekend. I even tried my first attempt at the plans on the sketch up program. The big table is already up on my little blog site.
http://www.thequaintcottage.net/2011/07/copy-cat-nesting-end-table-part…
My table is a bit larger than the PB table, but I wanted the little table to be able to be used as a secondary table when guests come visit (move to side tables).
Once I get them perfect, I'll post here.
THANKS for your positive feedback. :)
Karen
Sun, 07/24/2011 - 17:02
This was made as a present my mom's birthday. I found a good sized mirror at the thrift shop which was perfect for the project. I adhered it to some plywood, added trim around it, bulked up the top and bottom with multiple layers and types of trim and added some crown molding to the top. The finish is "A Day at the Jewellers" by Valspar with a Red Mahogany stain/glaze over top.
Comments
yurra-bazain
Sun, 08/11/2013 - 20:50
One day wonders
I'm amazed by 1 day projects and the builders, like you, who pull them off! =D It must have been an incredible feeling to built it and bring it the same day.