Community Brag Posts
Rosie's Baby Doll Bed
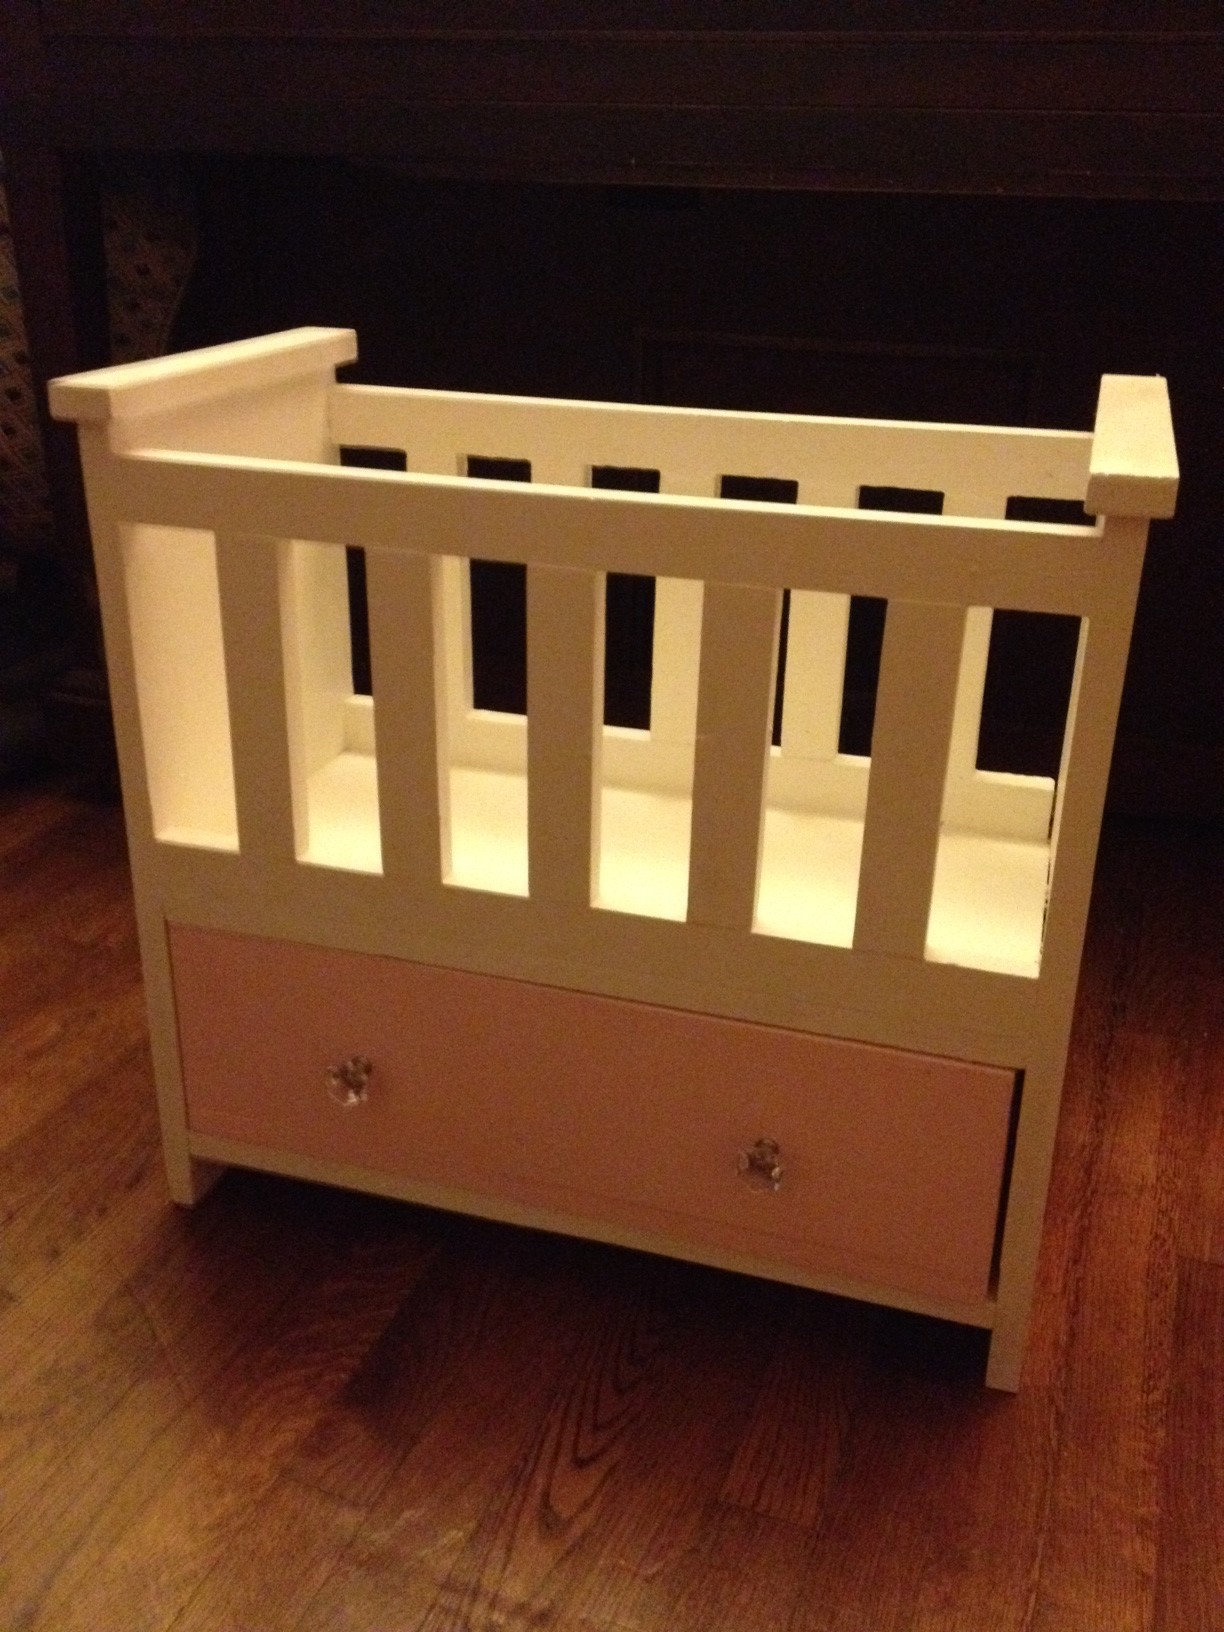
Made this based on the Oliva's Doll Crib plans with changes to the shape of the top of the ends (to better match my daughter's crib), taller end pieces (about 2 inches), and a shelf under the drawer. To keep the drawer from falling out, I built the crib as usual, then turned the crib upside down, and screwed two rubber stoppers to the front of the underside of the crib bottom. I then put the drawer in place, placed the bottom shelf, and then screwd it in through the bottom (which is on top right now because the whole thing is upside down). I also put in some spacers so that the drawer doesn't get stuck, squished between the bottom of the crib and the shelf.
Built from Plan(s)
Estimated Time Investment
Day Project (6-9 Hours)
Recommended Skill Level
Beginner
Comments
Mon, 09/10/2012 - 15:49
Can you tell me the
Can you tell me the measurements of wood you used? Piece by piece?
Thu, 11/15/2012 - 16:05
Answer to kad050209
I really did just follow the plan that Anna made. The ends, the tallest solid pieces of wood that I added length to, are about 21 inches long. Ana had them at 18 or 19 inches long. Everything else was the same.
Porch Swing for a 1924 FourSquare Home
I was shopping for a porch swing for my 1924 Four Square home and I couldn't find any to my liking...I stumbled across this web site on Shanty2Chic's Blog via Pinterest....and I am thrilled by what I have found!
Attached is a photo of the swing I built. I need to finish sanding, filling in the holes and then paint it. I will post a pic of the hanging on my front porch once the weather breaks.
The only deviation in the plan design is that I made the back 2x4 50' long so I could attach eye bolts to support the back. If you have scrap lumber, it would have cost me hardly anything.
Think spring!!
Estimated Cost
$90
Estimated Time Investment
Afternoon Project (3-6 Hours)
Finish Used
Will use an exterior white paint and poly on it for additional protection from the elements.
Recommended Skill Level
Starter Project
Toy room shelving
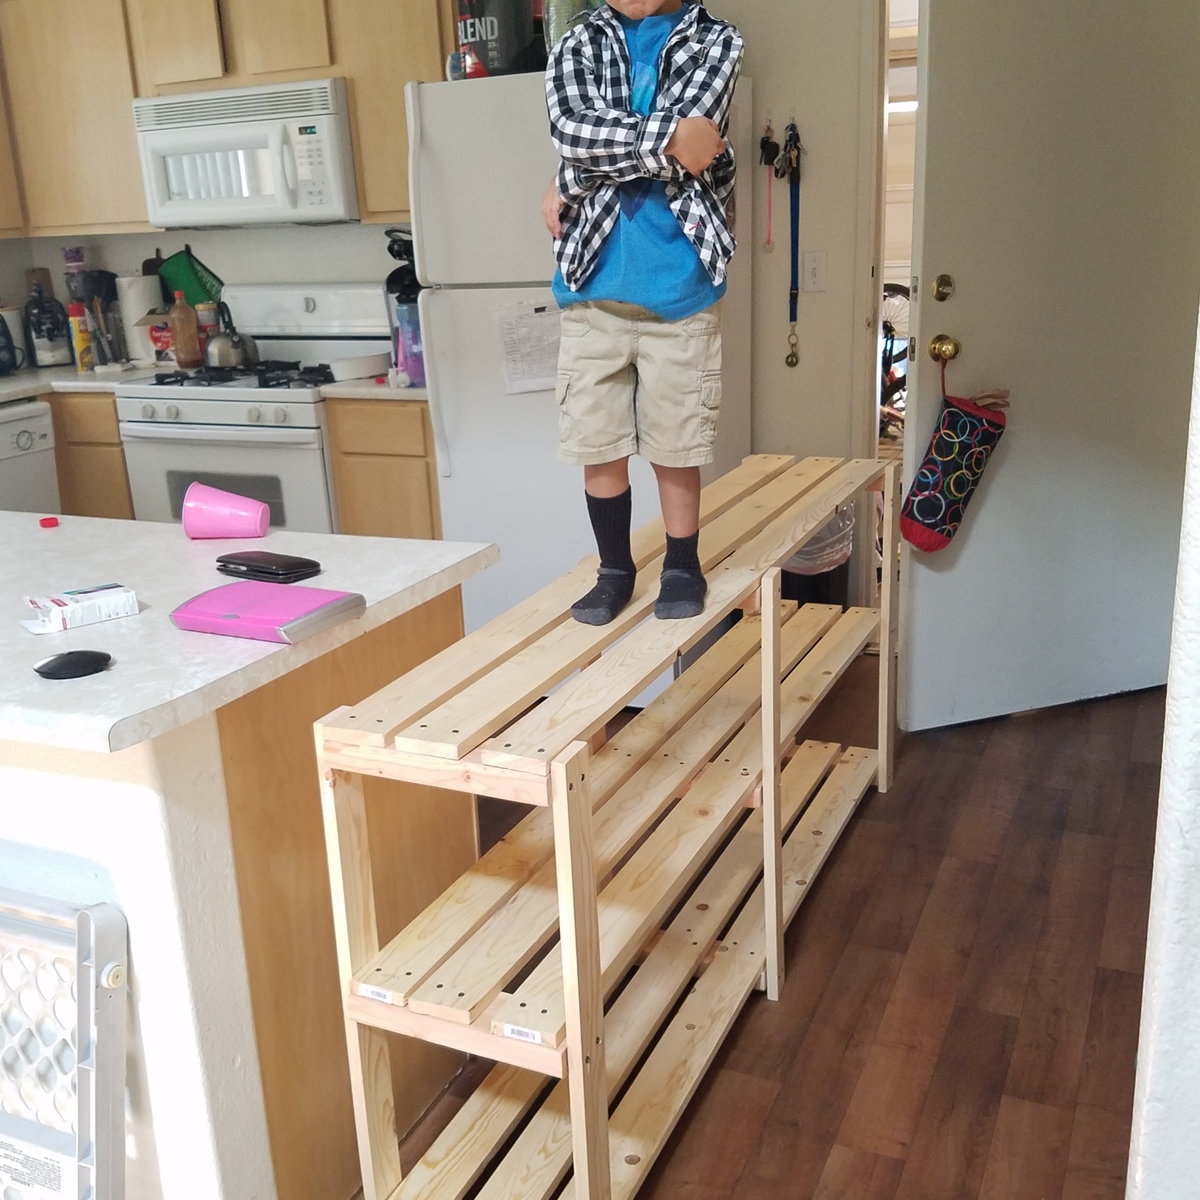
Super easy project. My space is smaller so I modified to 6ft instead of the 8ft used in the plana. I plan to make the white board crates to finish the project.
Built from Plan(s)
Estimated Cost
$31
Estimated Time Investment
An Hour or Two (0-2 Hours)
Recommended Skill Level
Beginner
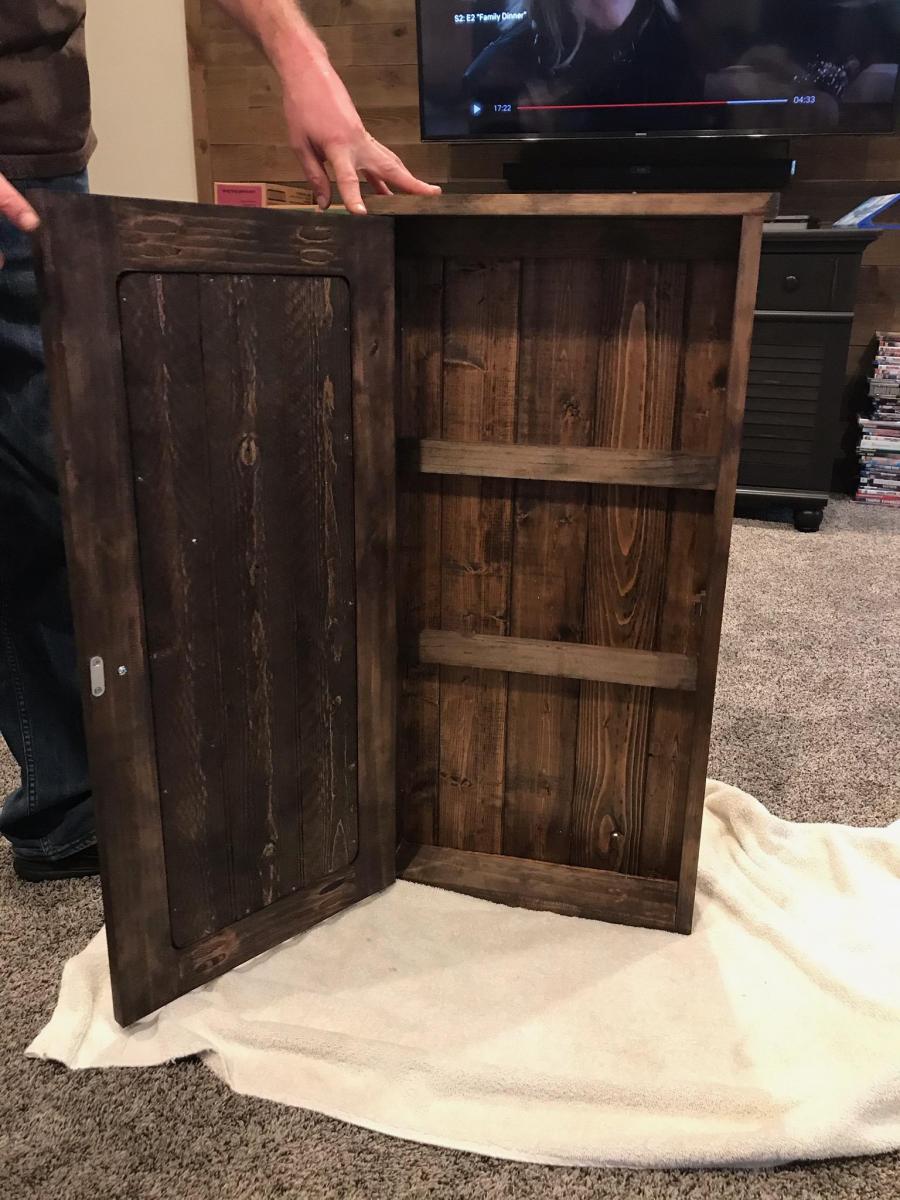
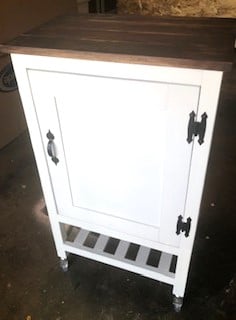
Farm House jewelry Cabinet
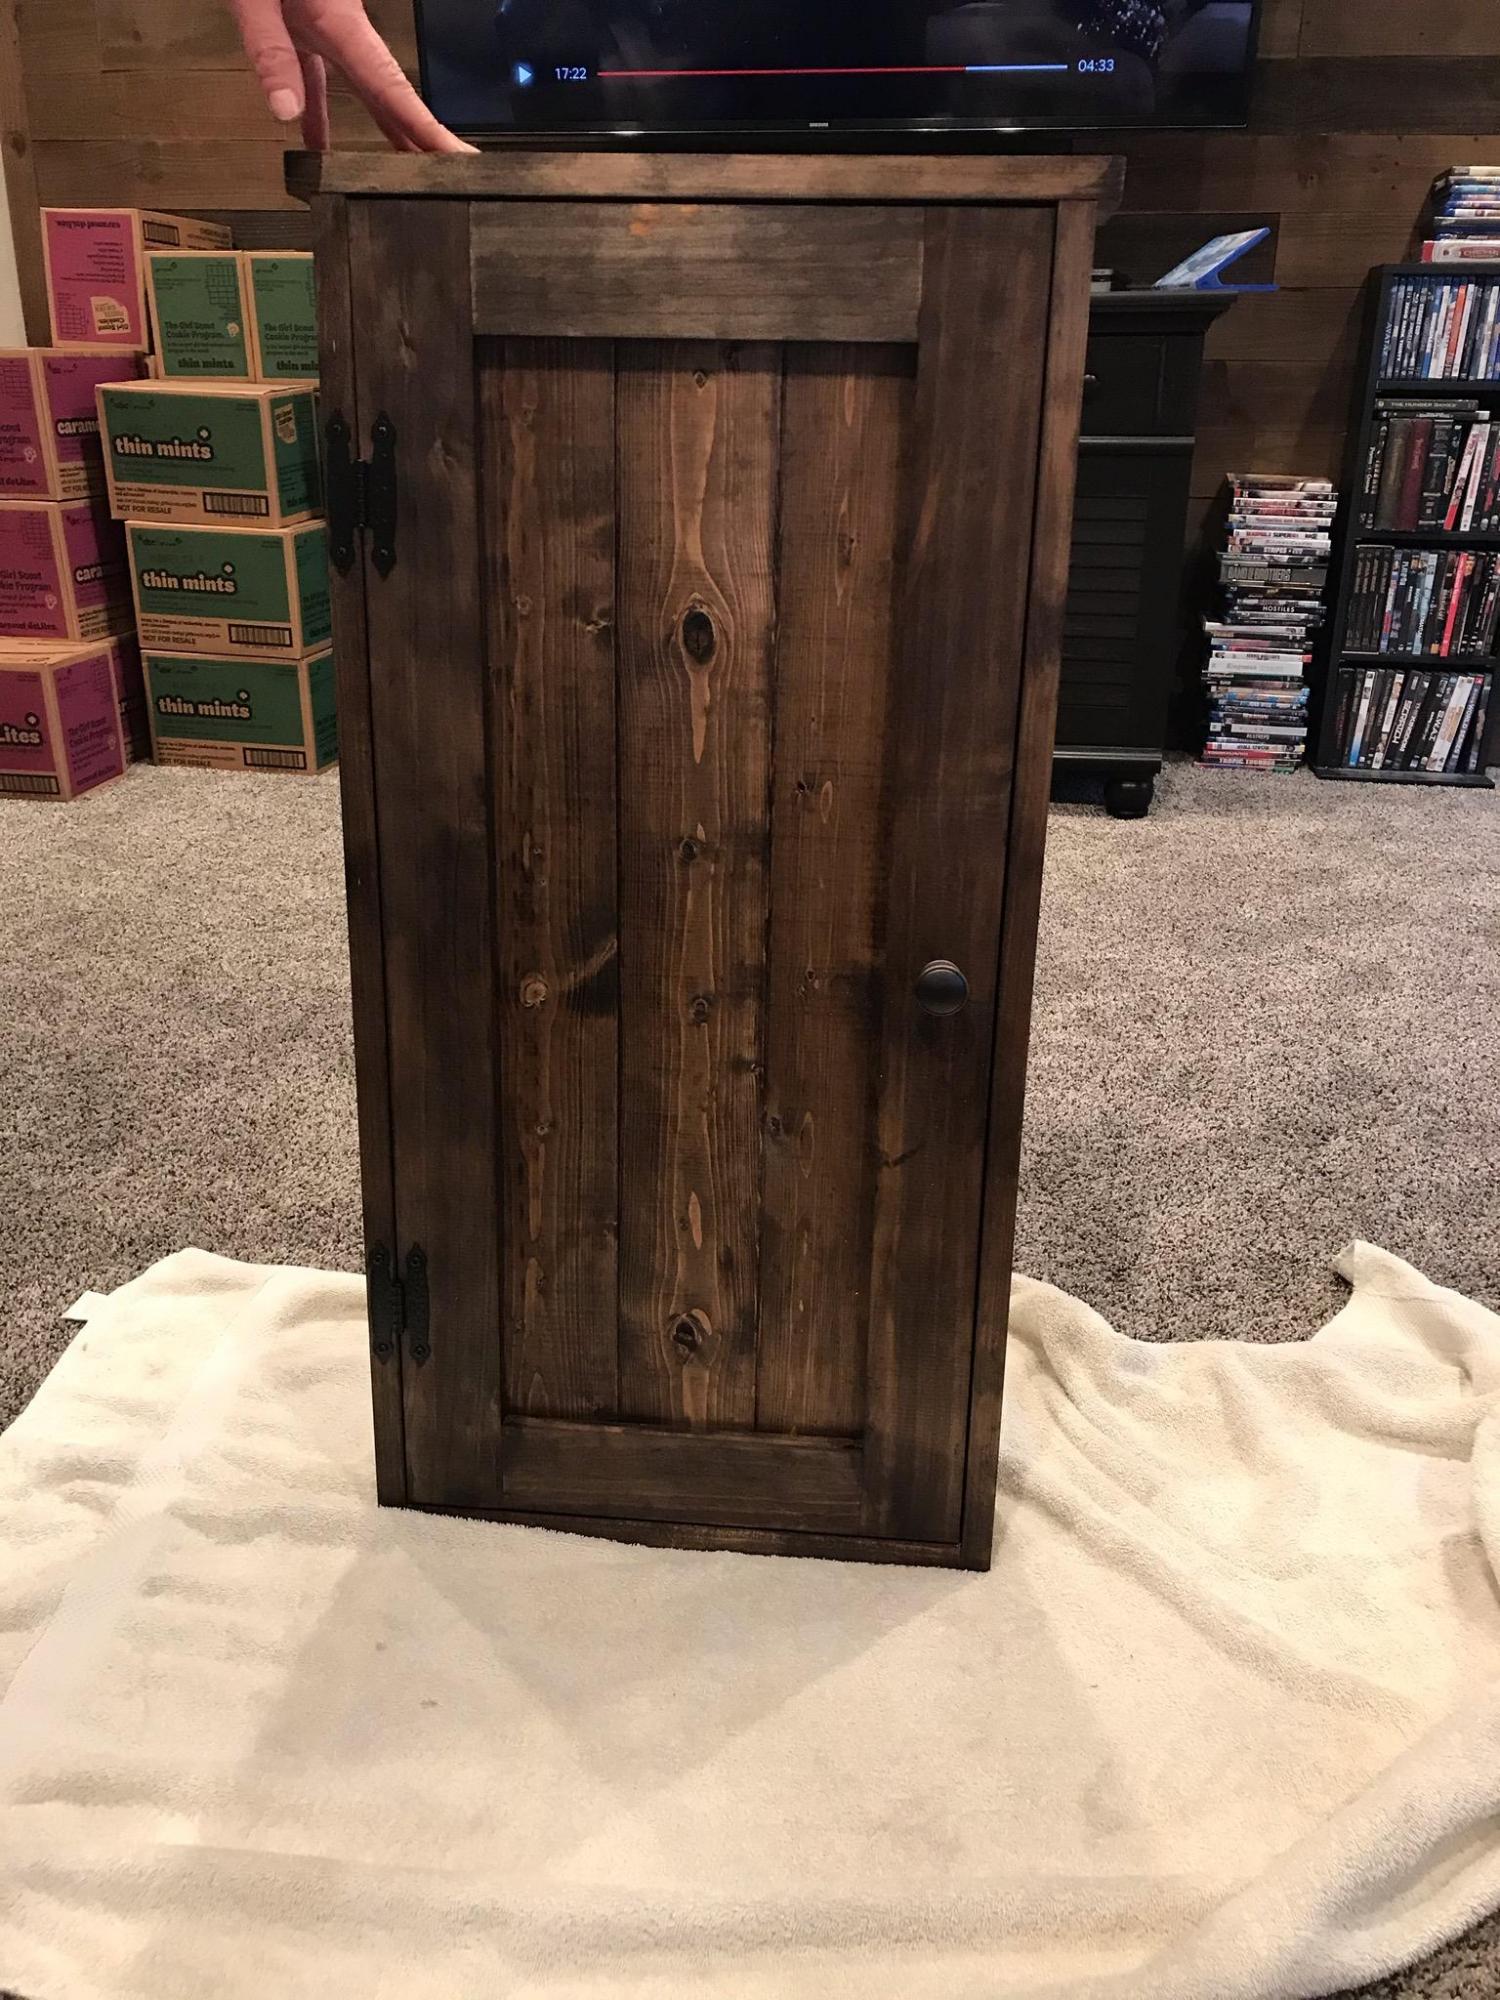
The plans were simple to follow. Made some small changes, used some pine wood wall paneling from Lowes. The pine paneling was used on the back and door. Both were inset with a routed step the same thickness as the panels.
Estimated Cost
$50
Estimated Time Investment
Day Project (6-9 Hours)
Finish Used
minwax stain espresso
Recommended Skill Level
Beginner
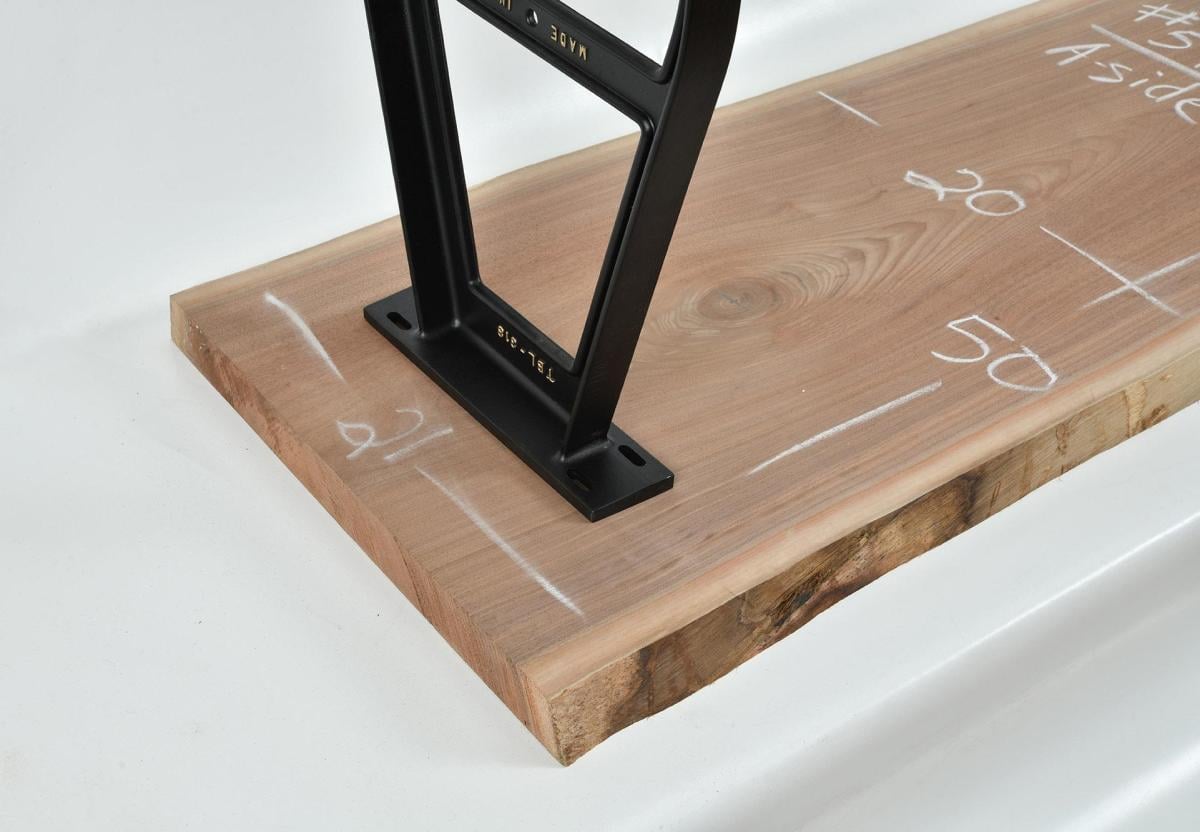
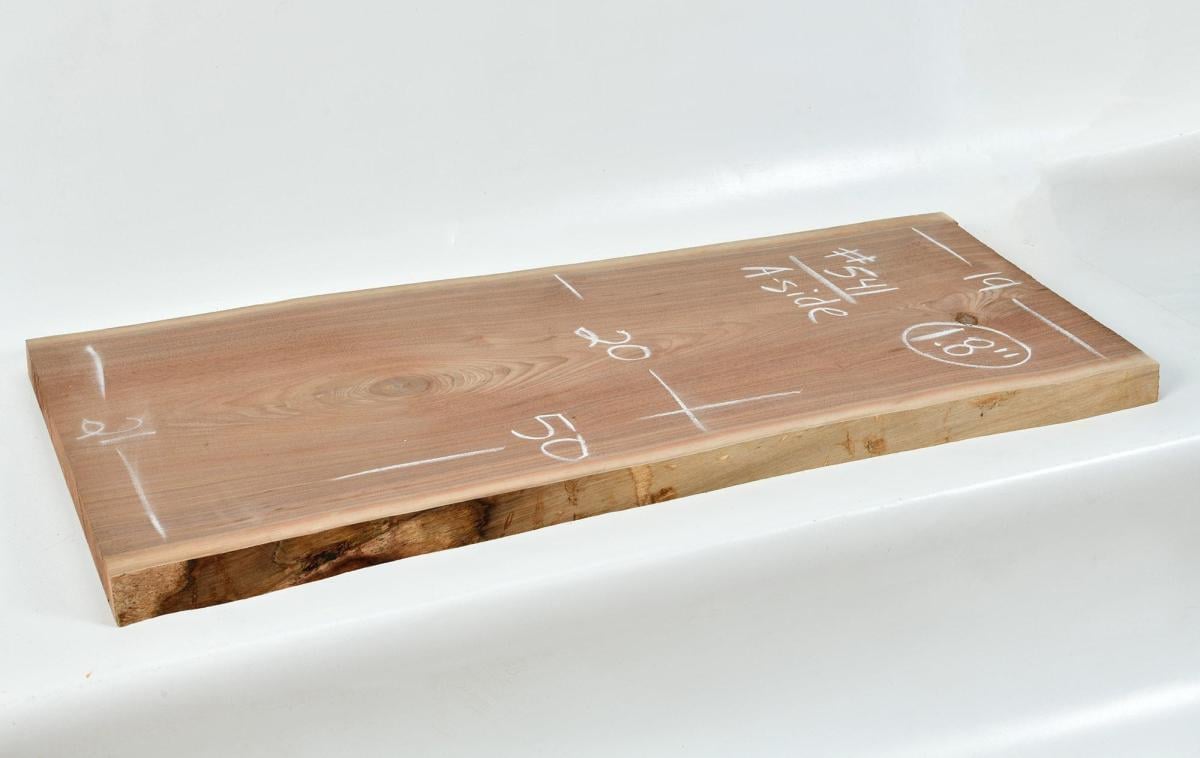
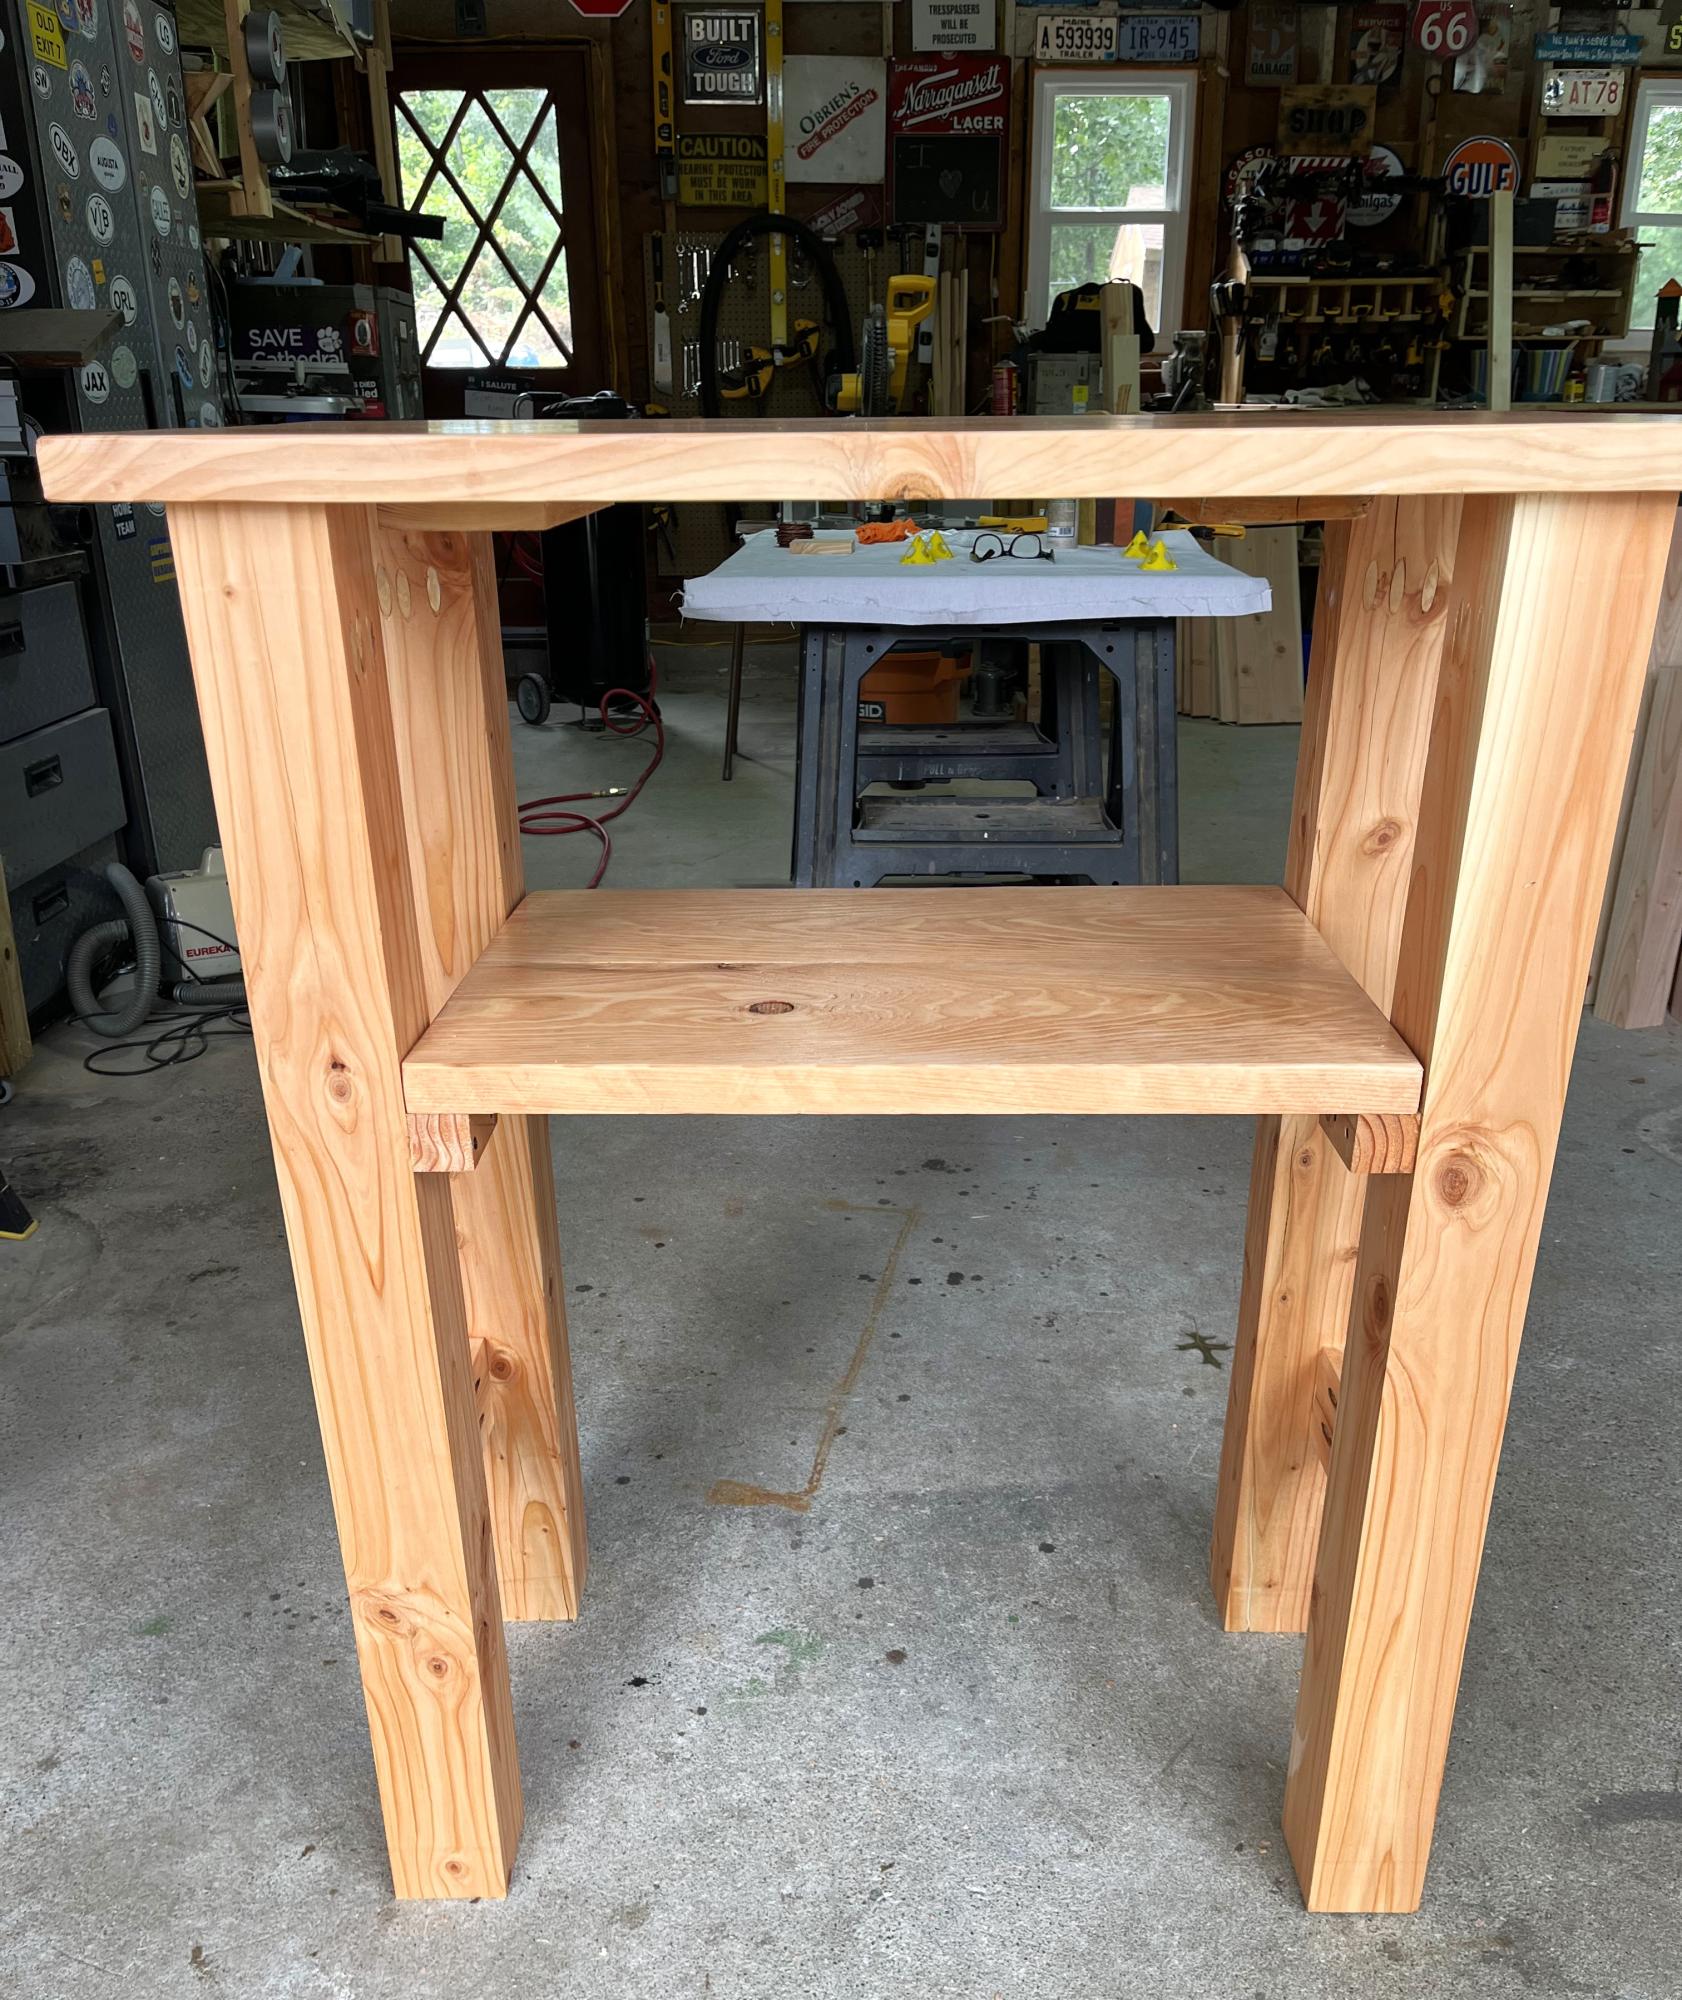
Table Top Just Add Legs
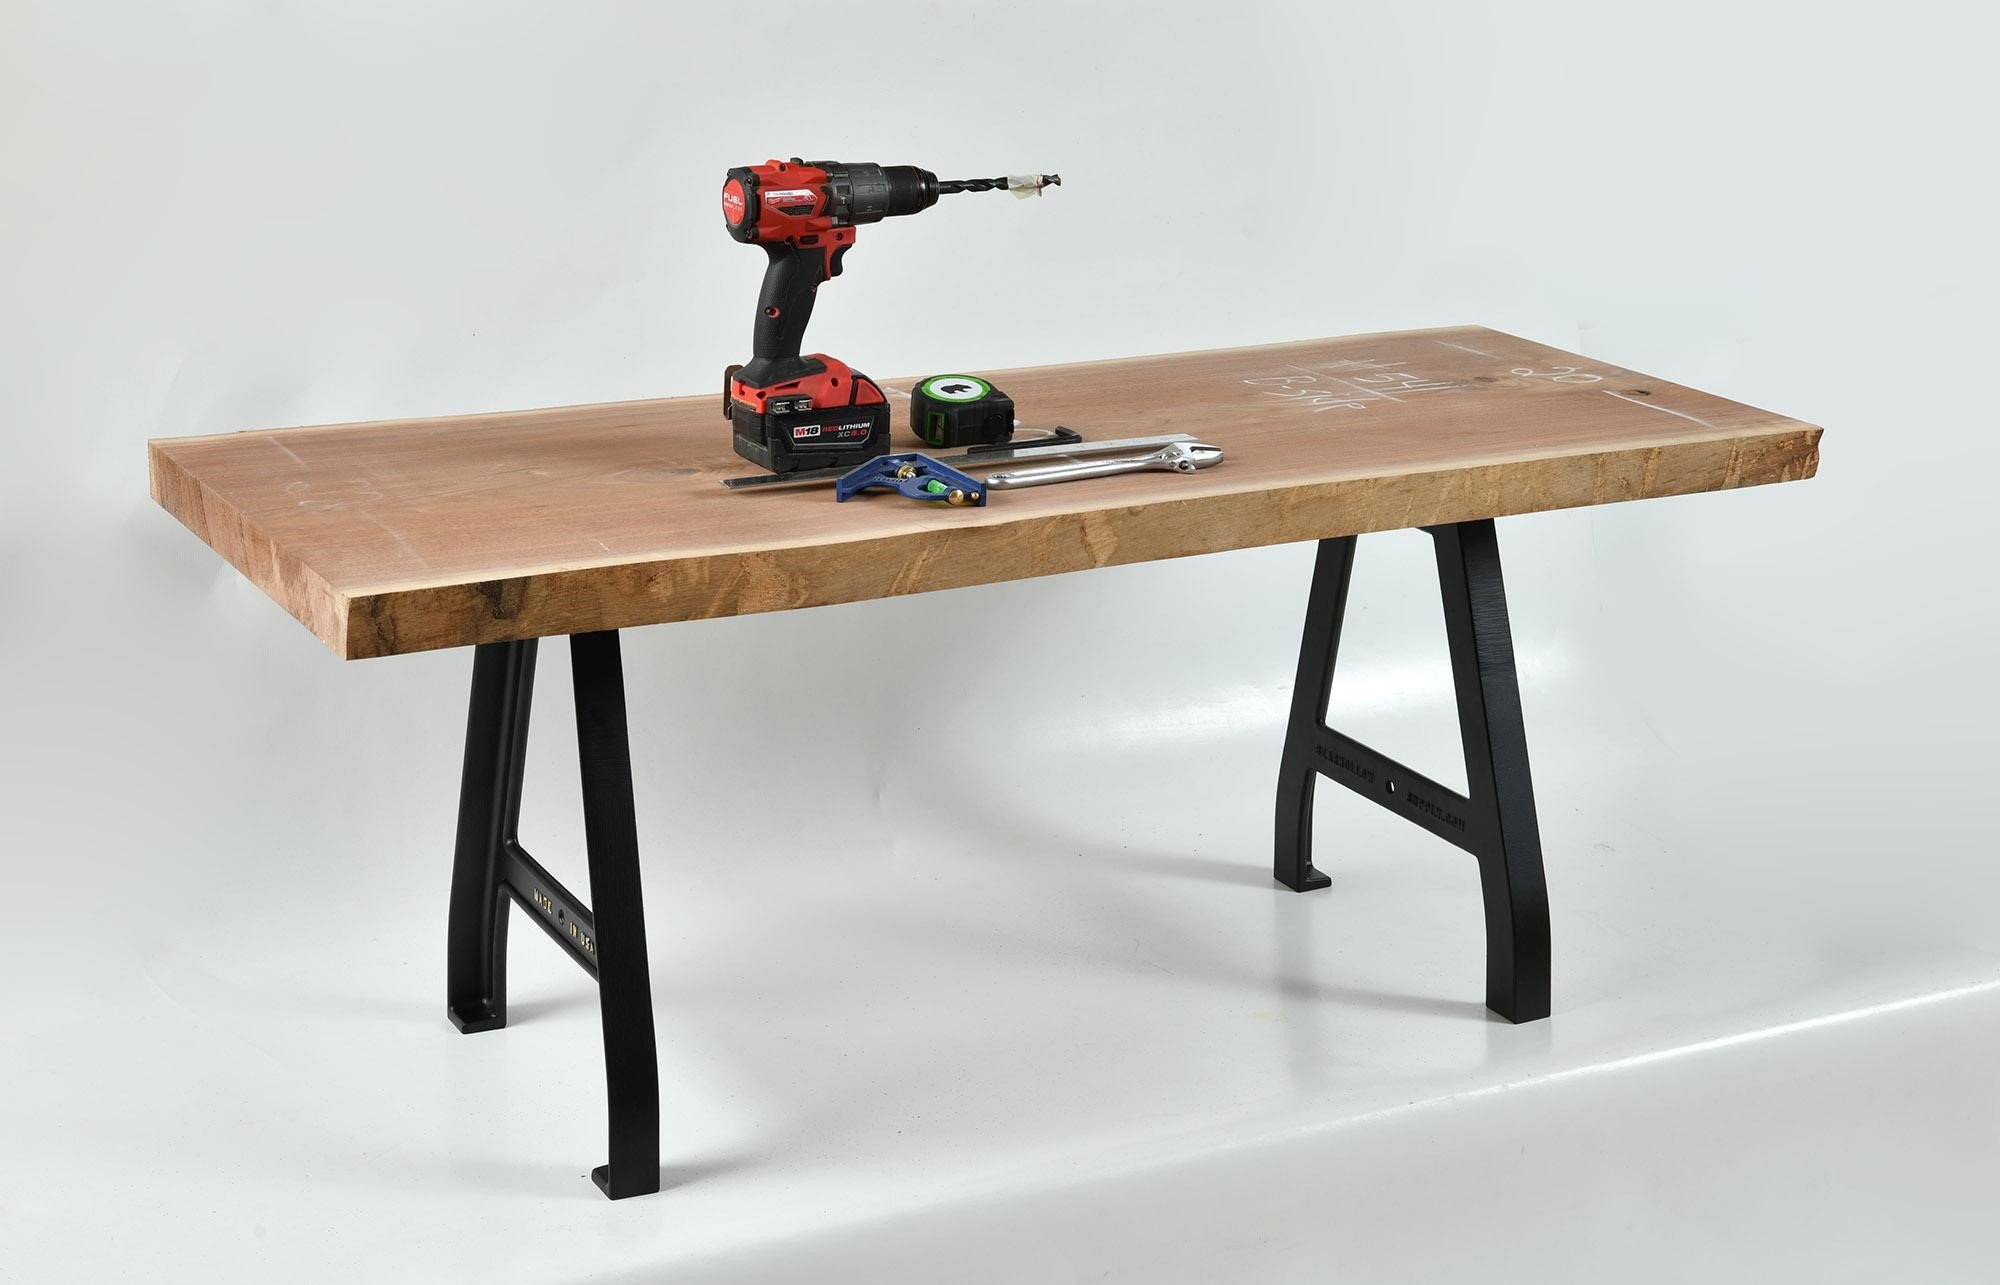
I built a simple, yet very classy table using table legs from Bear Hollow Supply. All you need is a table top, which in my case I used a nice looking wood slab. Then you just attach the legs and you're done. It's a very simply process and the final results is a great looking table.
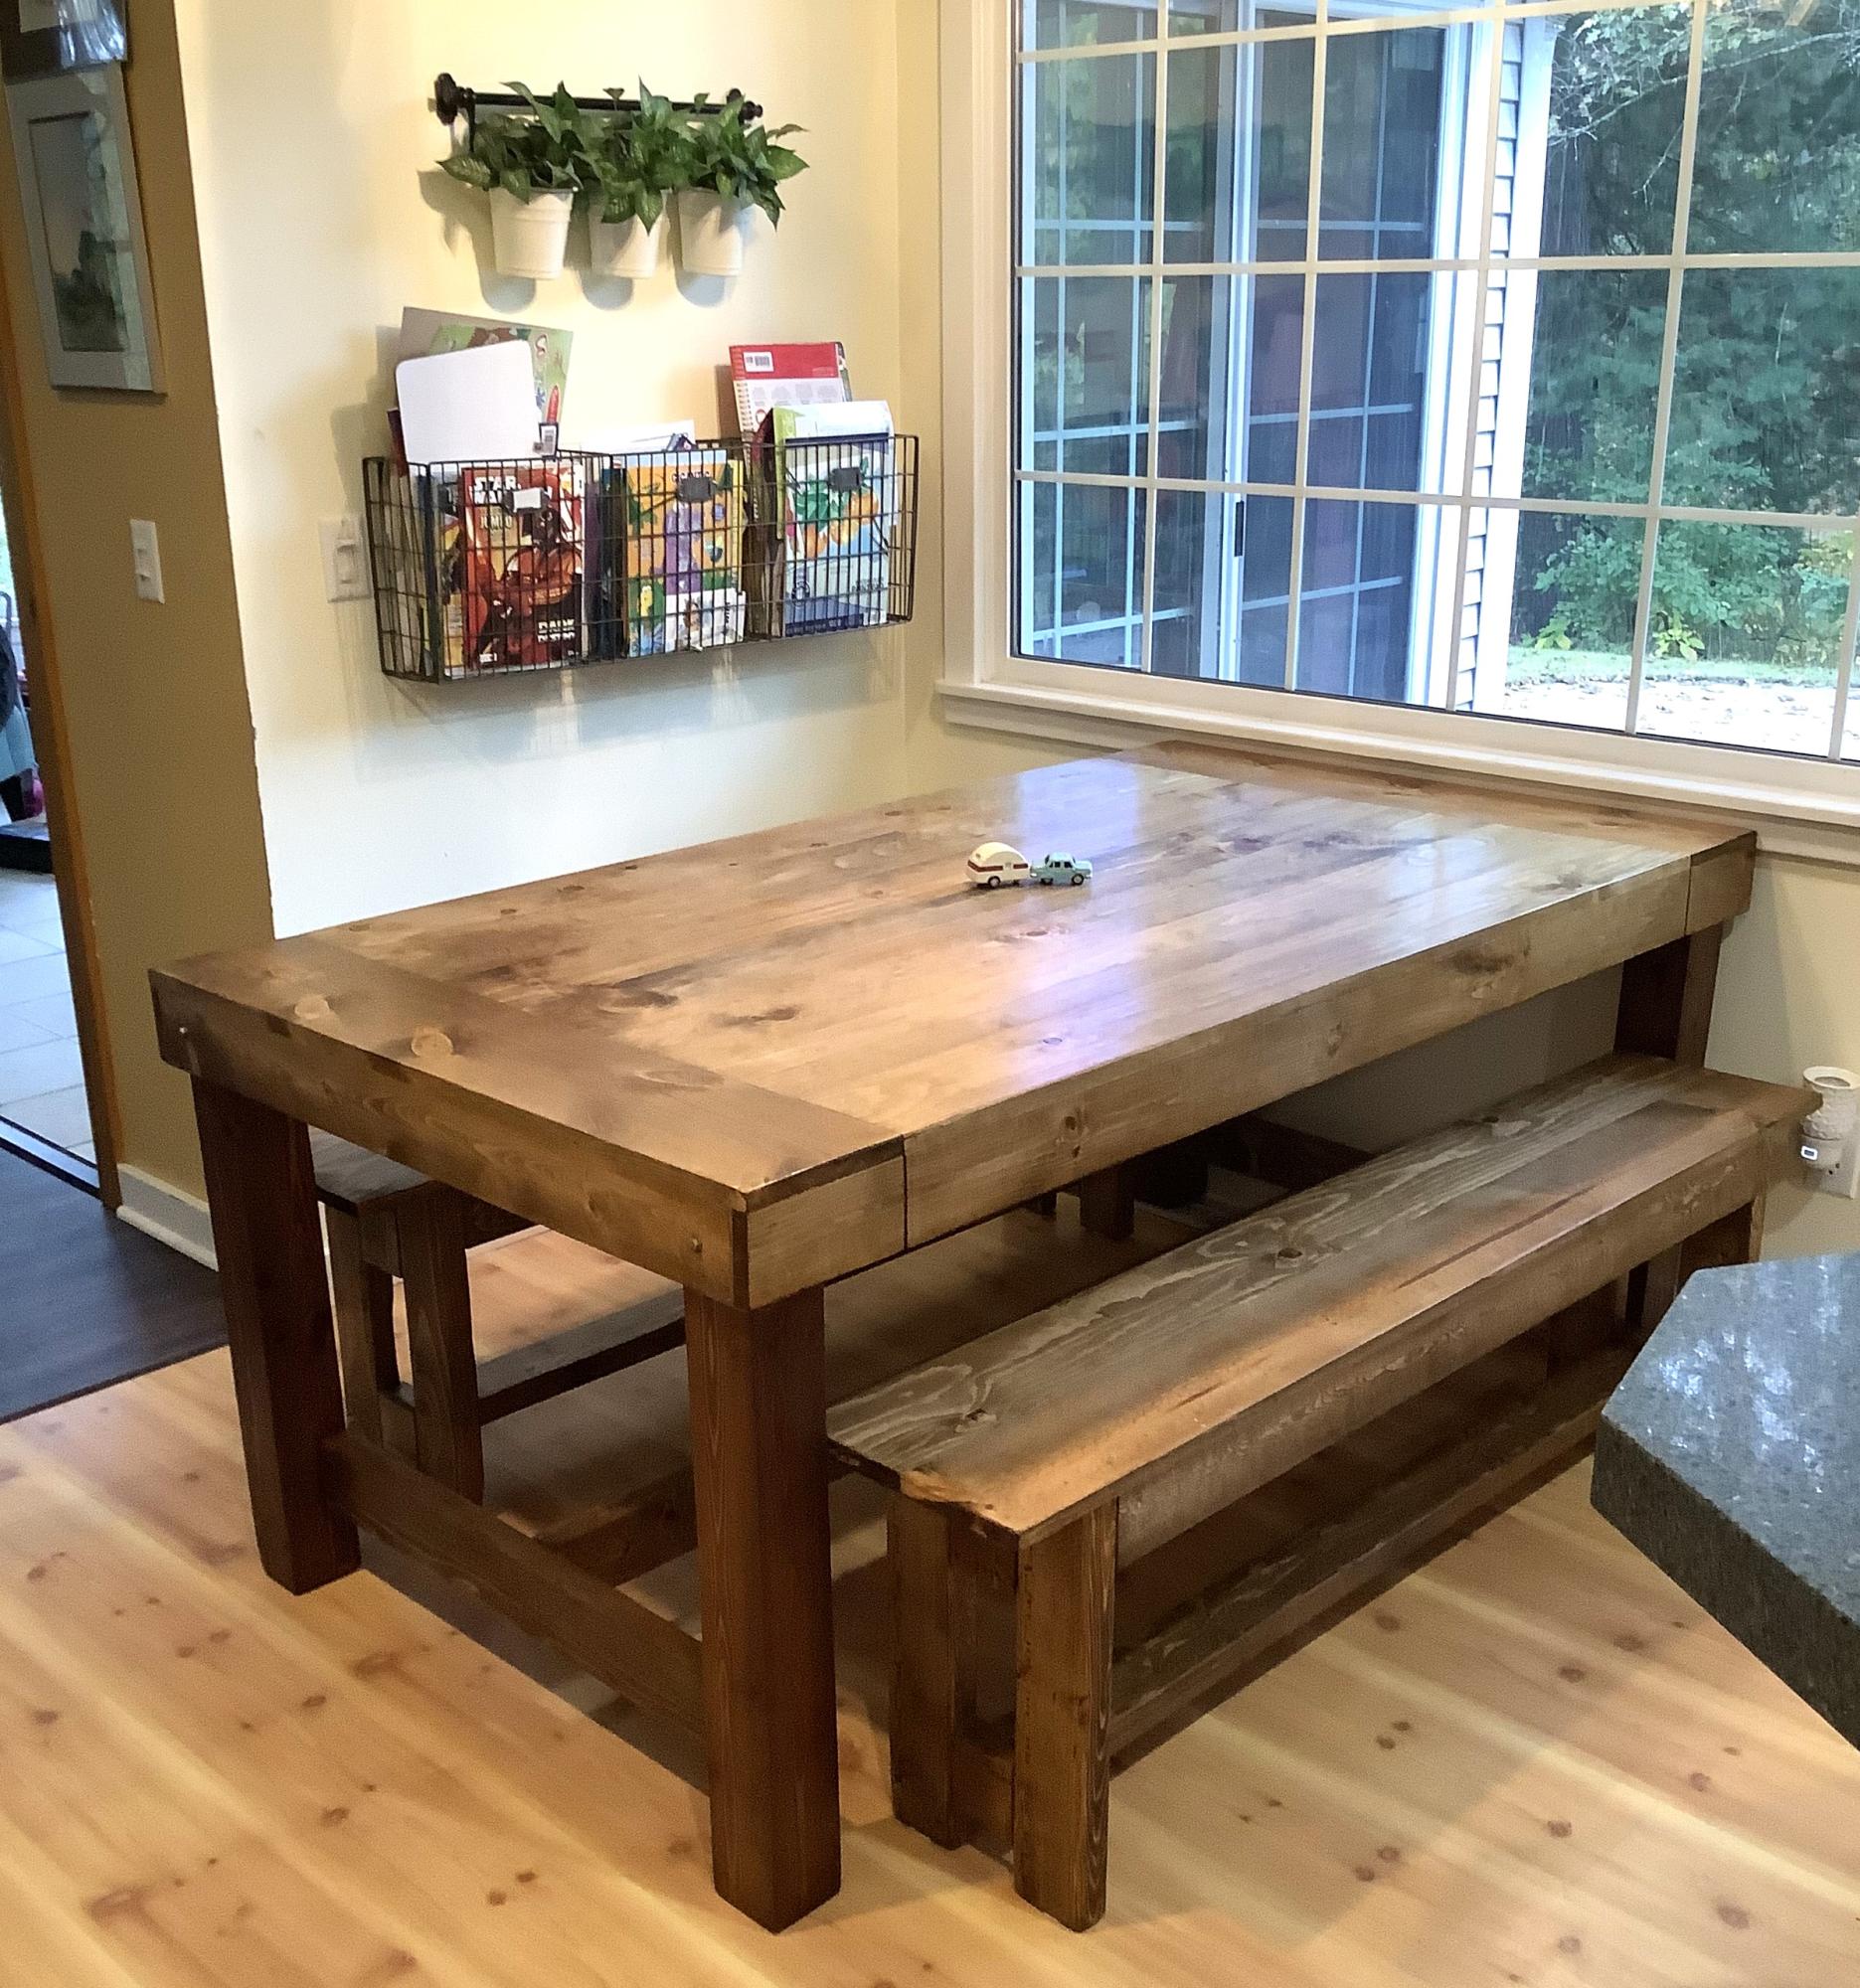
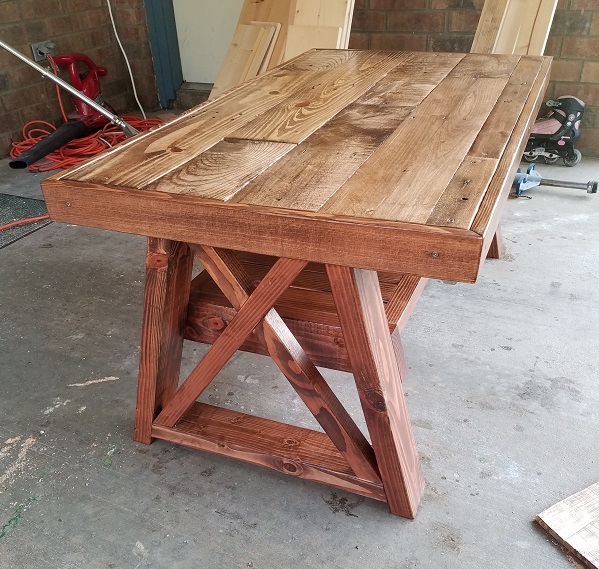
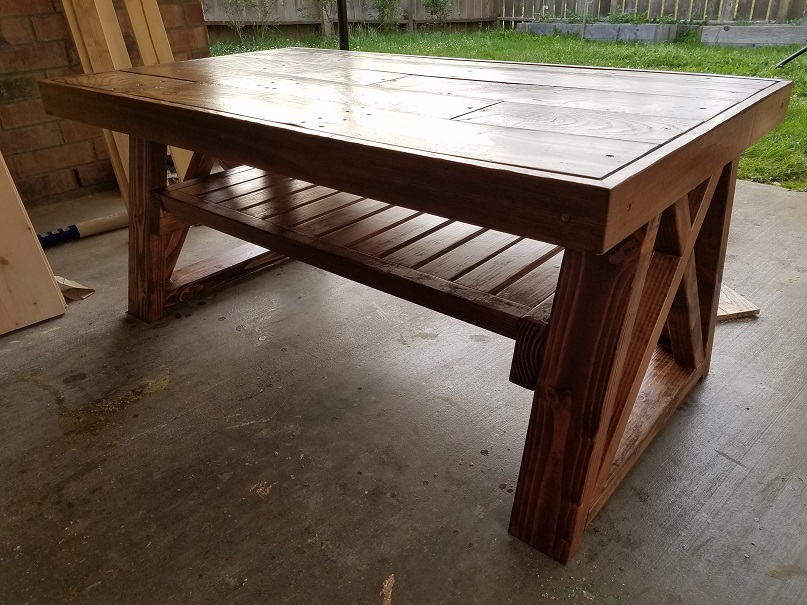
Farmhouse Table
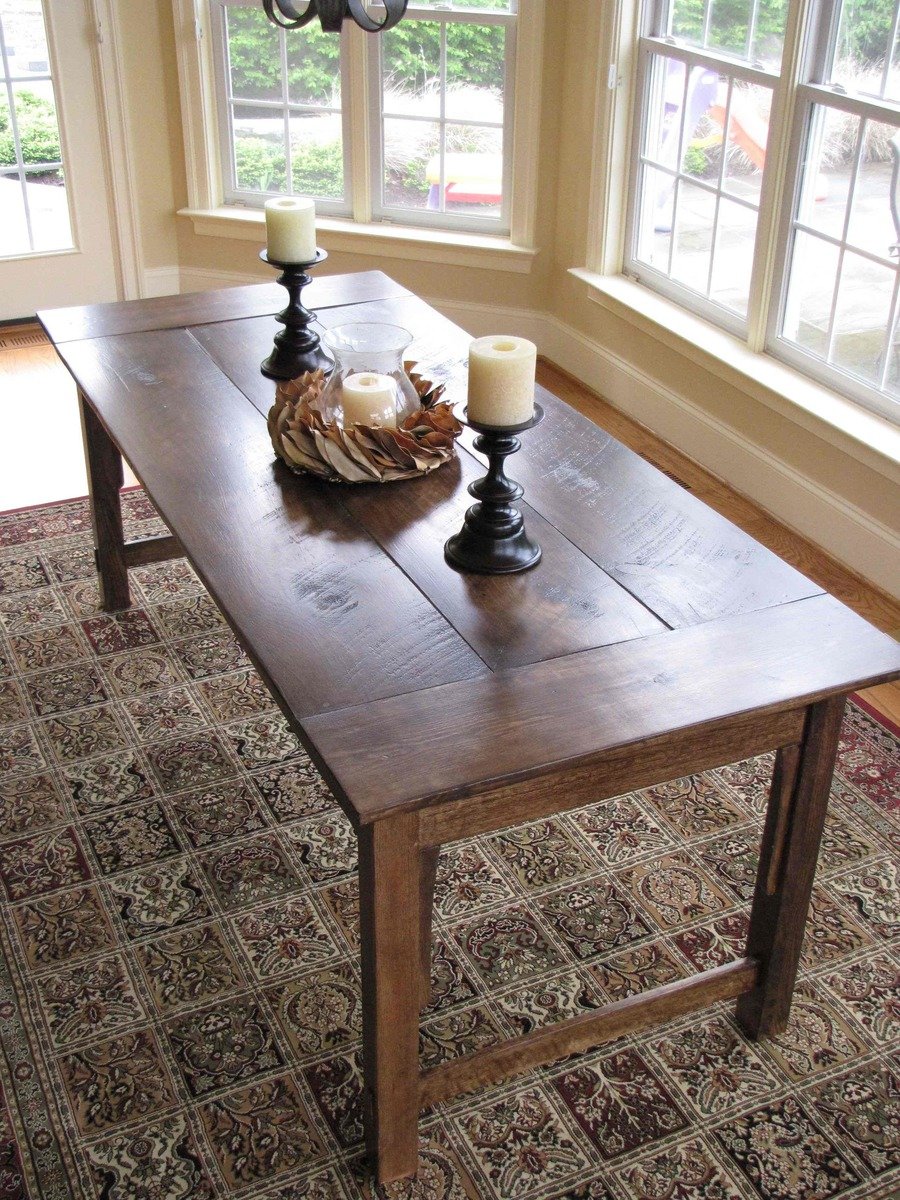
Since I am in the middle of a divorce, my ex- took my dining room furniture. I decided instead of buying something new, or getting a hand me down, I would build a new table. The wood top was made of 3 wood planks from my sister in laws hardwood flooring leftovers. It was sooo fun to make this. The stain was a mix of Minwax Providence and Ebony 3 to 1 mix appx. I did not add the bottom wood piece, as I did not think it needed it, it is plenty strong without it. I am working on the bench and chairs now. This has been by far my most fulfilling project ever. Enjoy!
Built from Plan(s)
Estimated Cost
$100 for stain, trim, poly etc. I had a lot of the wood, not the breadboards
Estimated Time Investment
Weekend Project (10-20 Hours)
Finish Used
2 coat mix of Minwax Providence and Ebony (3 parts to one part)
4 coats Polysealant
4 coats Polysealant
Recommended Skill Level
Beginner
Comments

Tue, 04/24/2012 - 09:55
Good for you!
I think you came up with a great solution to your dining room problem. As a victim of the "ex furniture snatch" myself, I also decided to build my own instead of buying. It was quite the confidence boost! Love the table with the wider boards. I also didn't use a stretcher for my Farmhouse Table, and it's held up perfectly for over a year now.
In reply to Looks great! What size did by whitney_smith
Tue, 04/24/2012 - 16:53
Size of table.
The finished size is 36x 85x32 high. It may be about 1/2- 1 inch too high, but I custom made the bench for it and am repurposing some bar height swivel chairs to size as well. Thanks for the compliments
Thu, 09/27/2012 - 08:38
Beautiful!
I am looking to do the same design with the larger boards in the middle. What size are the boards running vertically on the ends? 1 x 6?

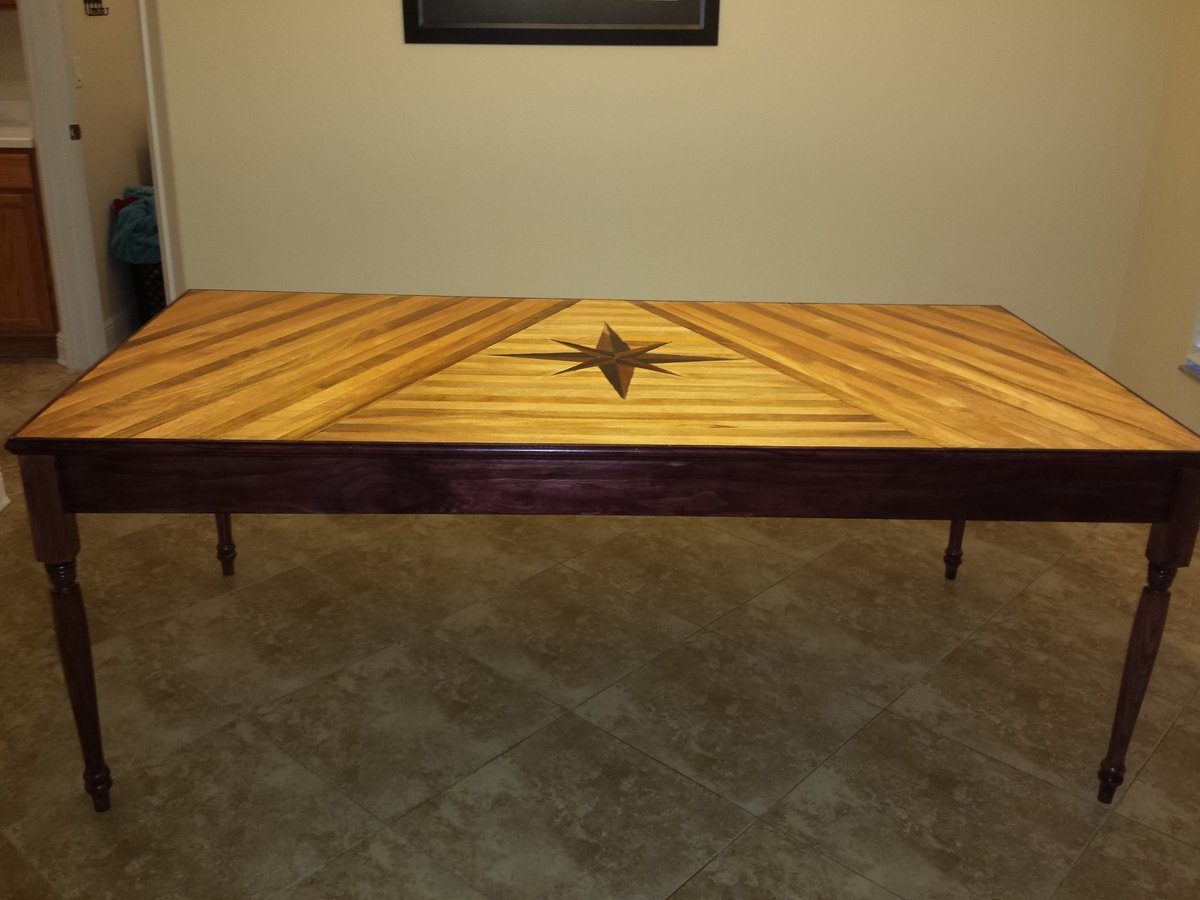
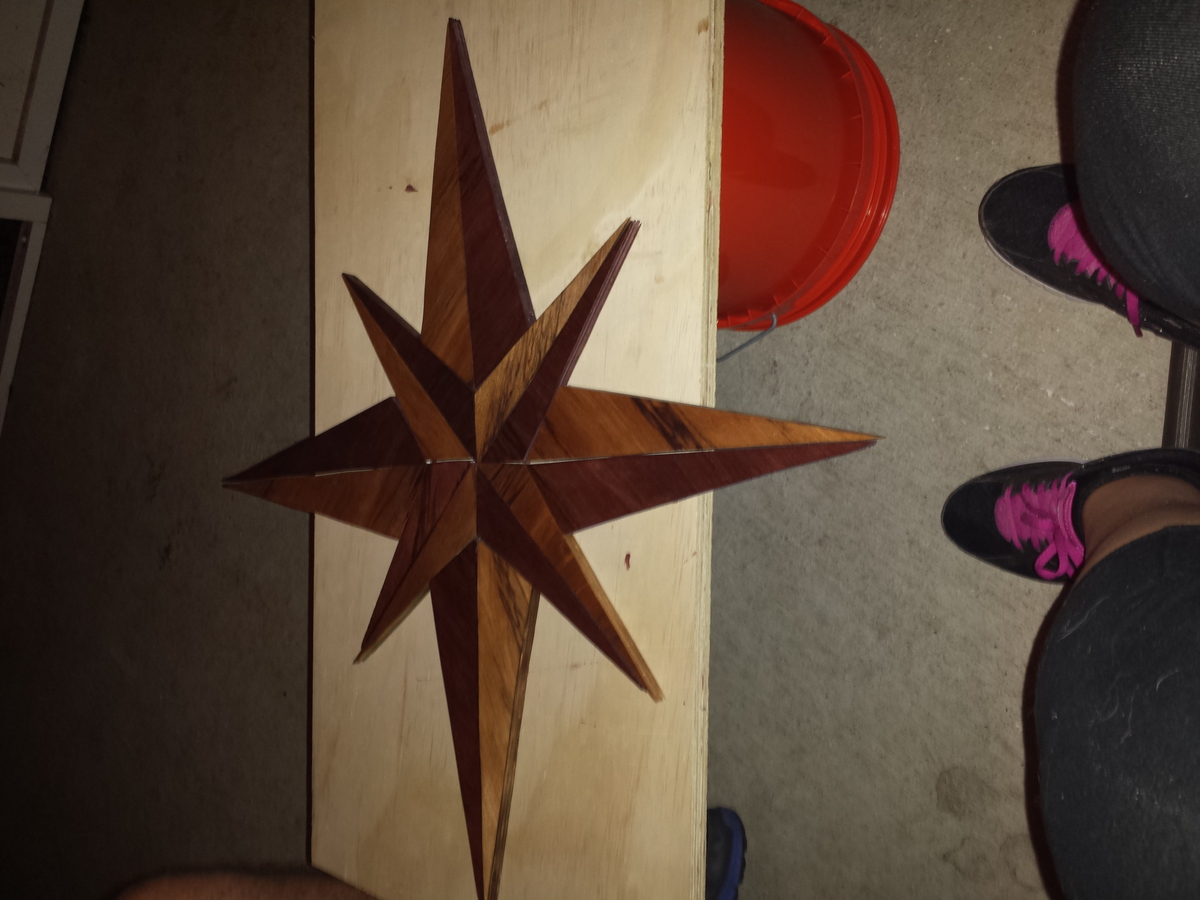
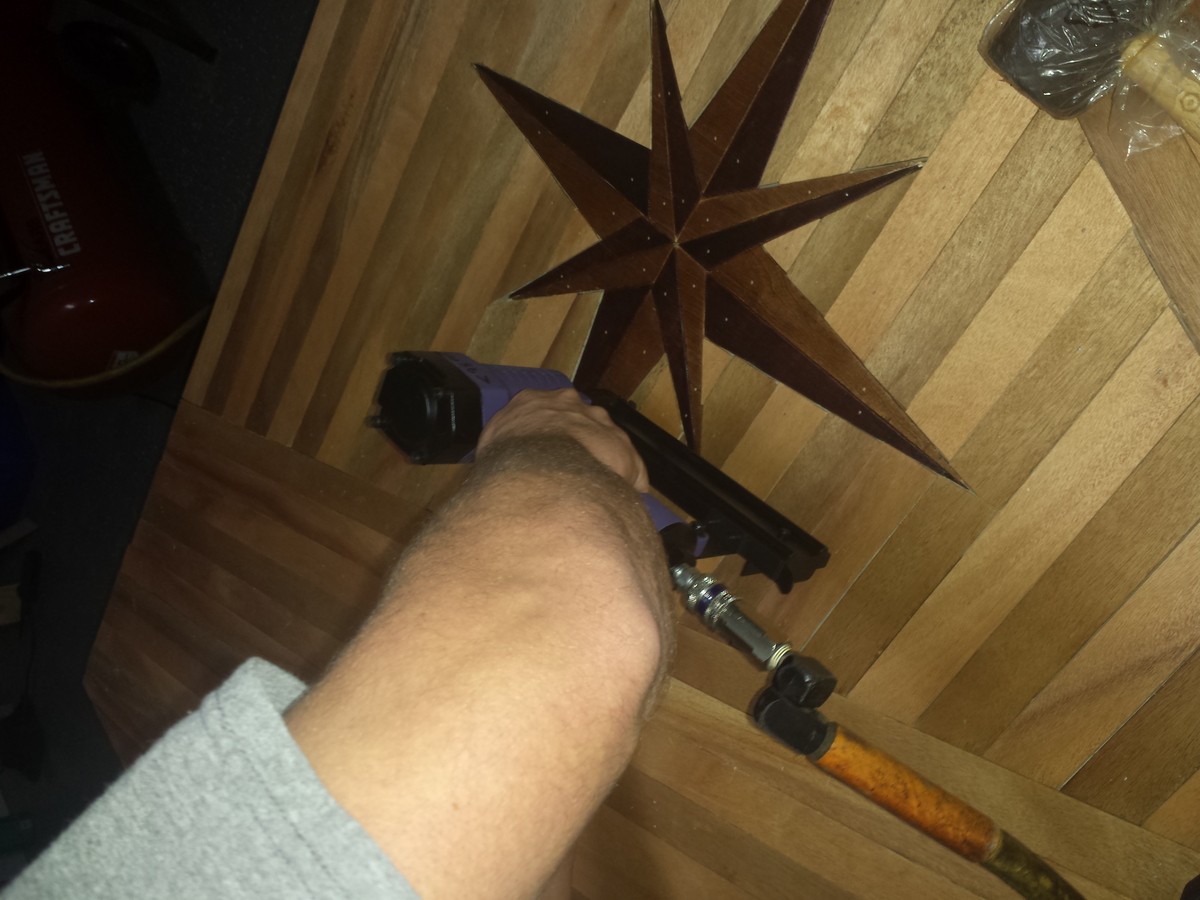
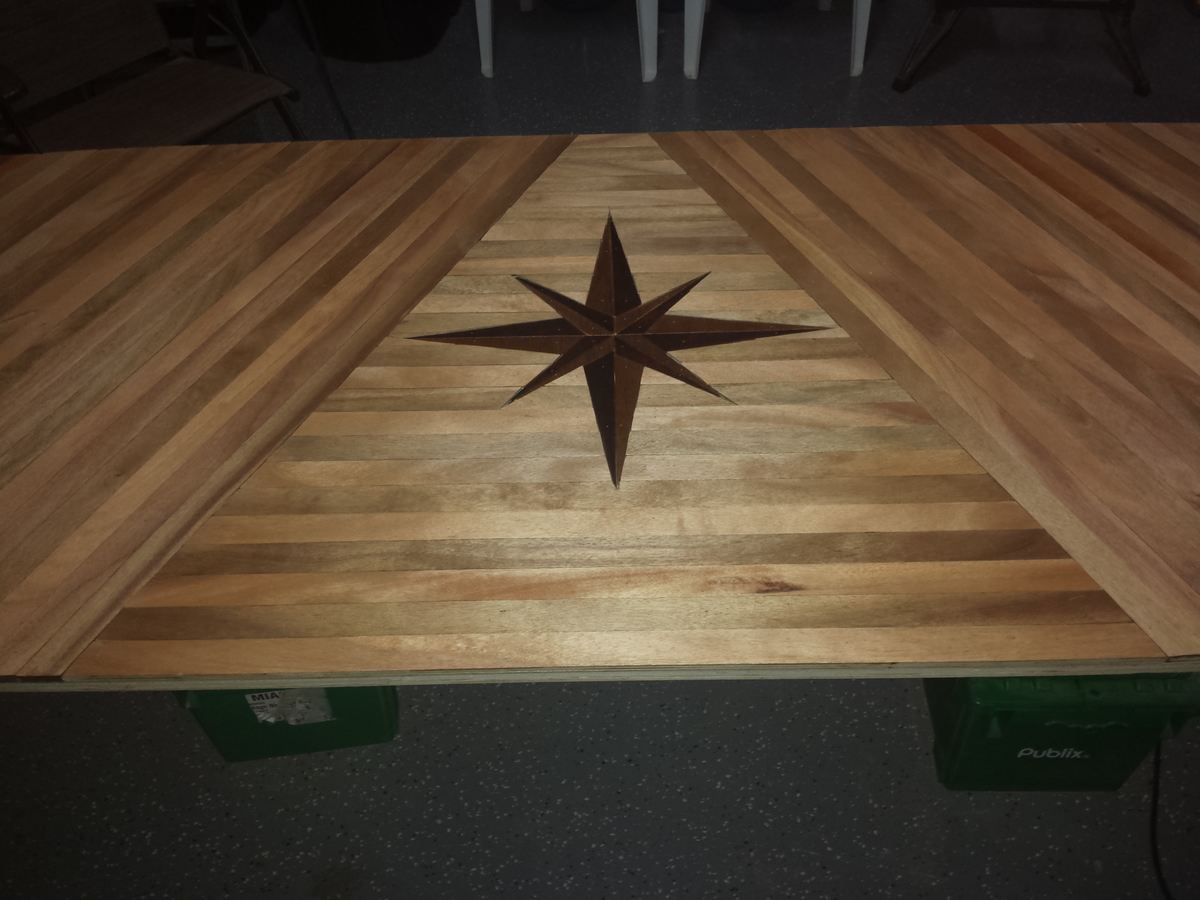
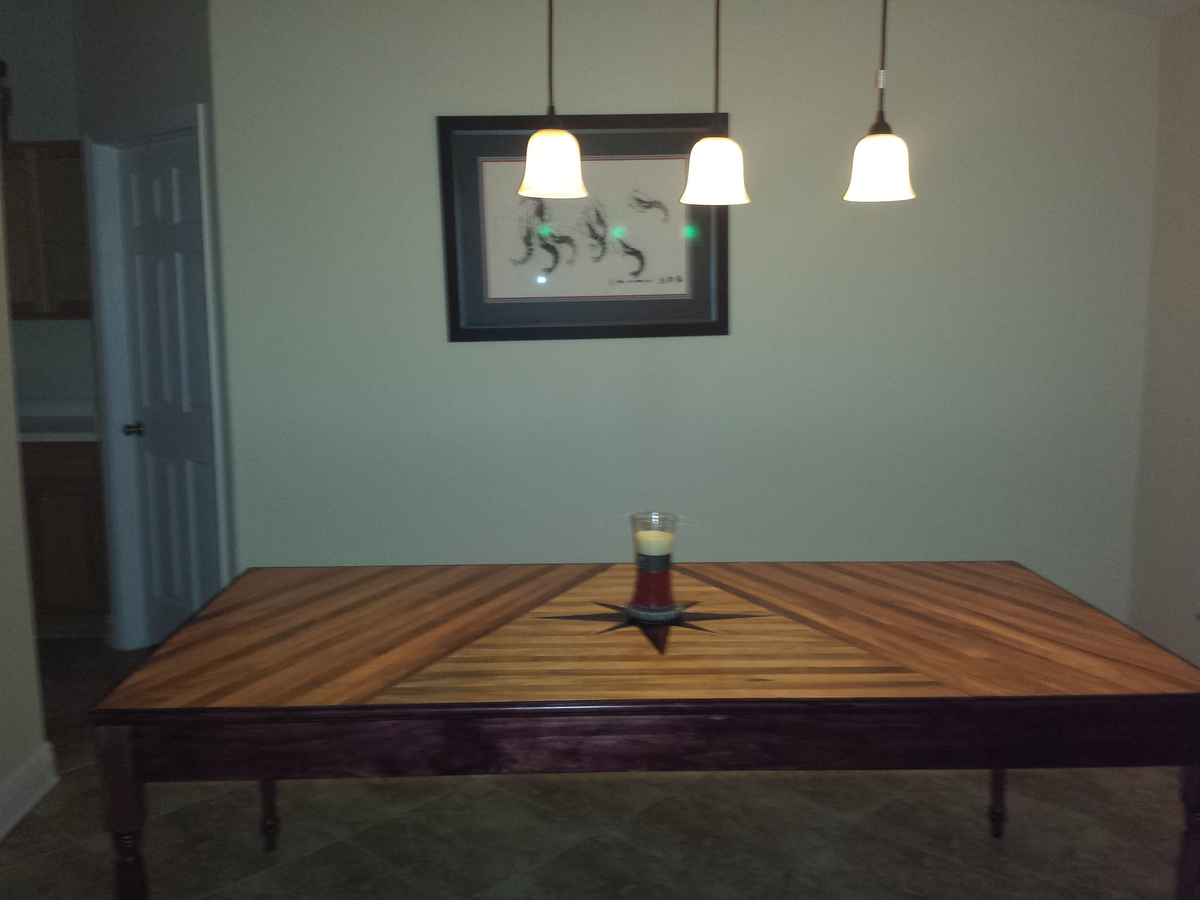
Compass rose plywood table
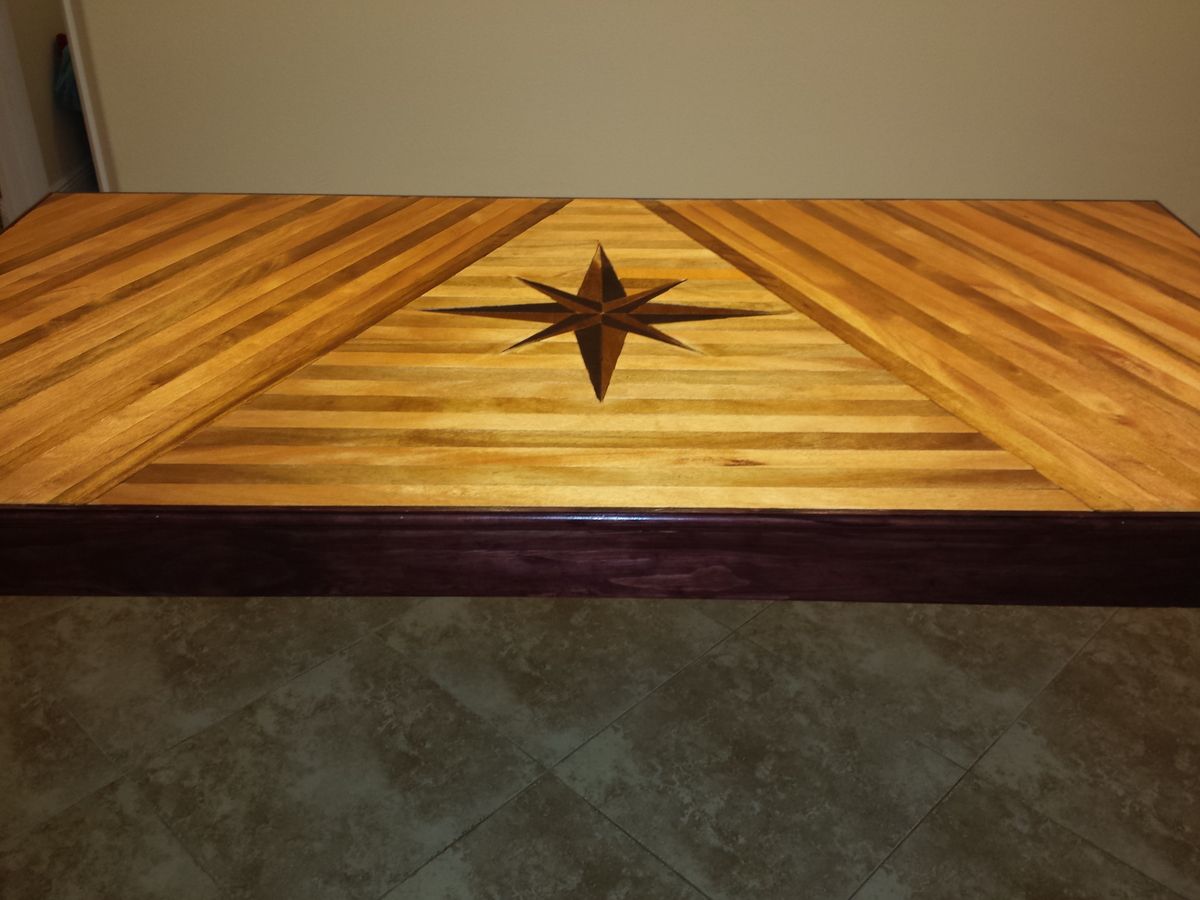
Compass rose dimensions: 22×22 (90 degree cross) tilt 45 degrees 16×16 (90 degree cross) then connect lines with a ruler, start with the 16" lines connect from outer point to 2" from center of the 22" crossed lines, once that star is complete make lines from point of the 22" lines to 2 1/2" down side of star adjacent to that point (hint: it's much easier to look at a picture of a compass rose while trying to sketch it). Cut sizes should turn out to be: 8- 9"×7"×2 1/2" triangles and 8- 8"×7"×2" triangles (hint: we had best results using a table saw to make all the cuts)...
Built from Plan(s)
Estimated Time Investment
Week Long Project (20 Hours or More)
Finish Used
Minwax stains (black cherry (half the star and the frame), golden oak (other half of the star and strips), golden pecan (strips), and American walnut (strips)); minwax water based polyurethane (blueish green can) for the finish (Awesome Finish Because It Can Be Used With Both Oil and water based stains).
Recommended Skill Level
Beginner
Comments
Kitchen Island with Concrete Countertop
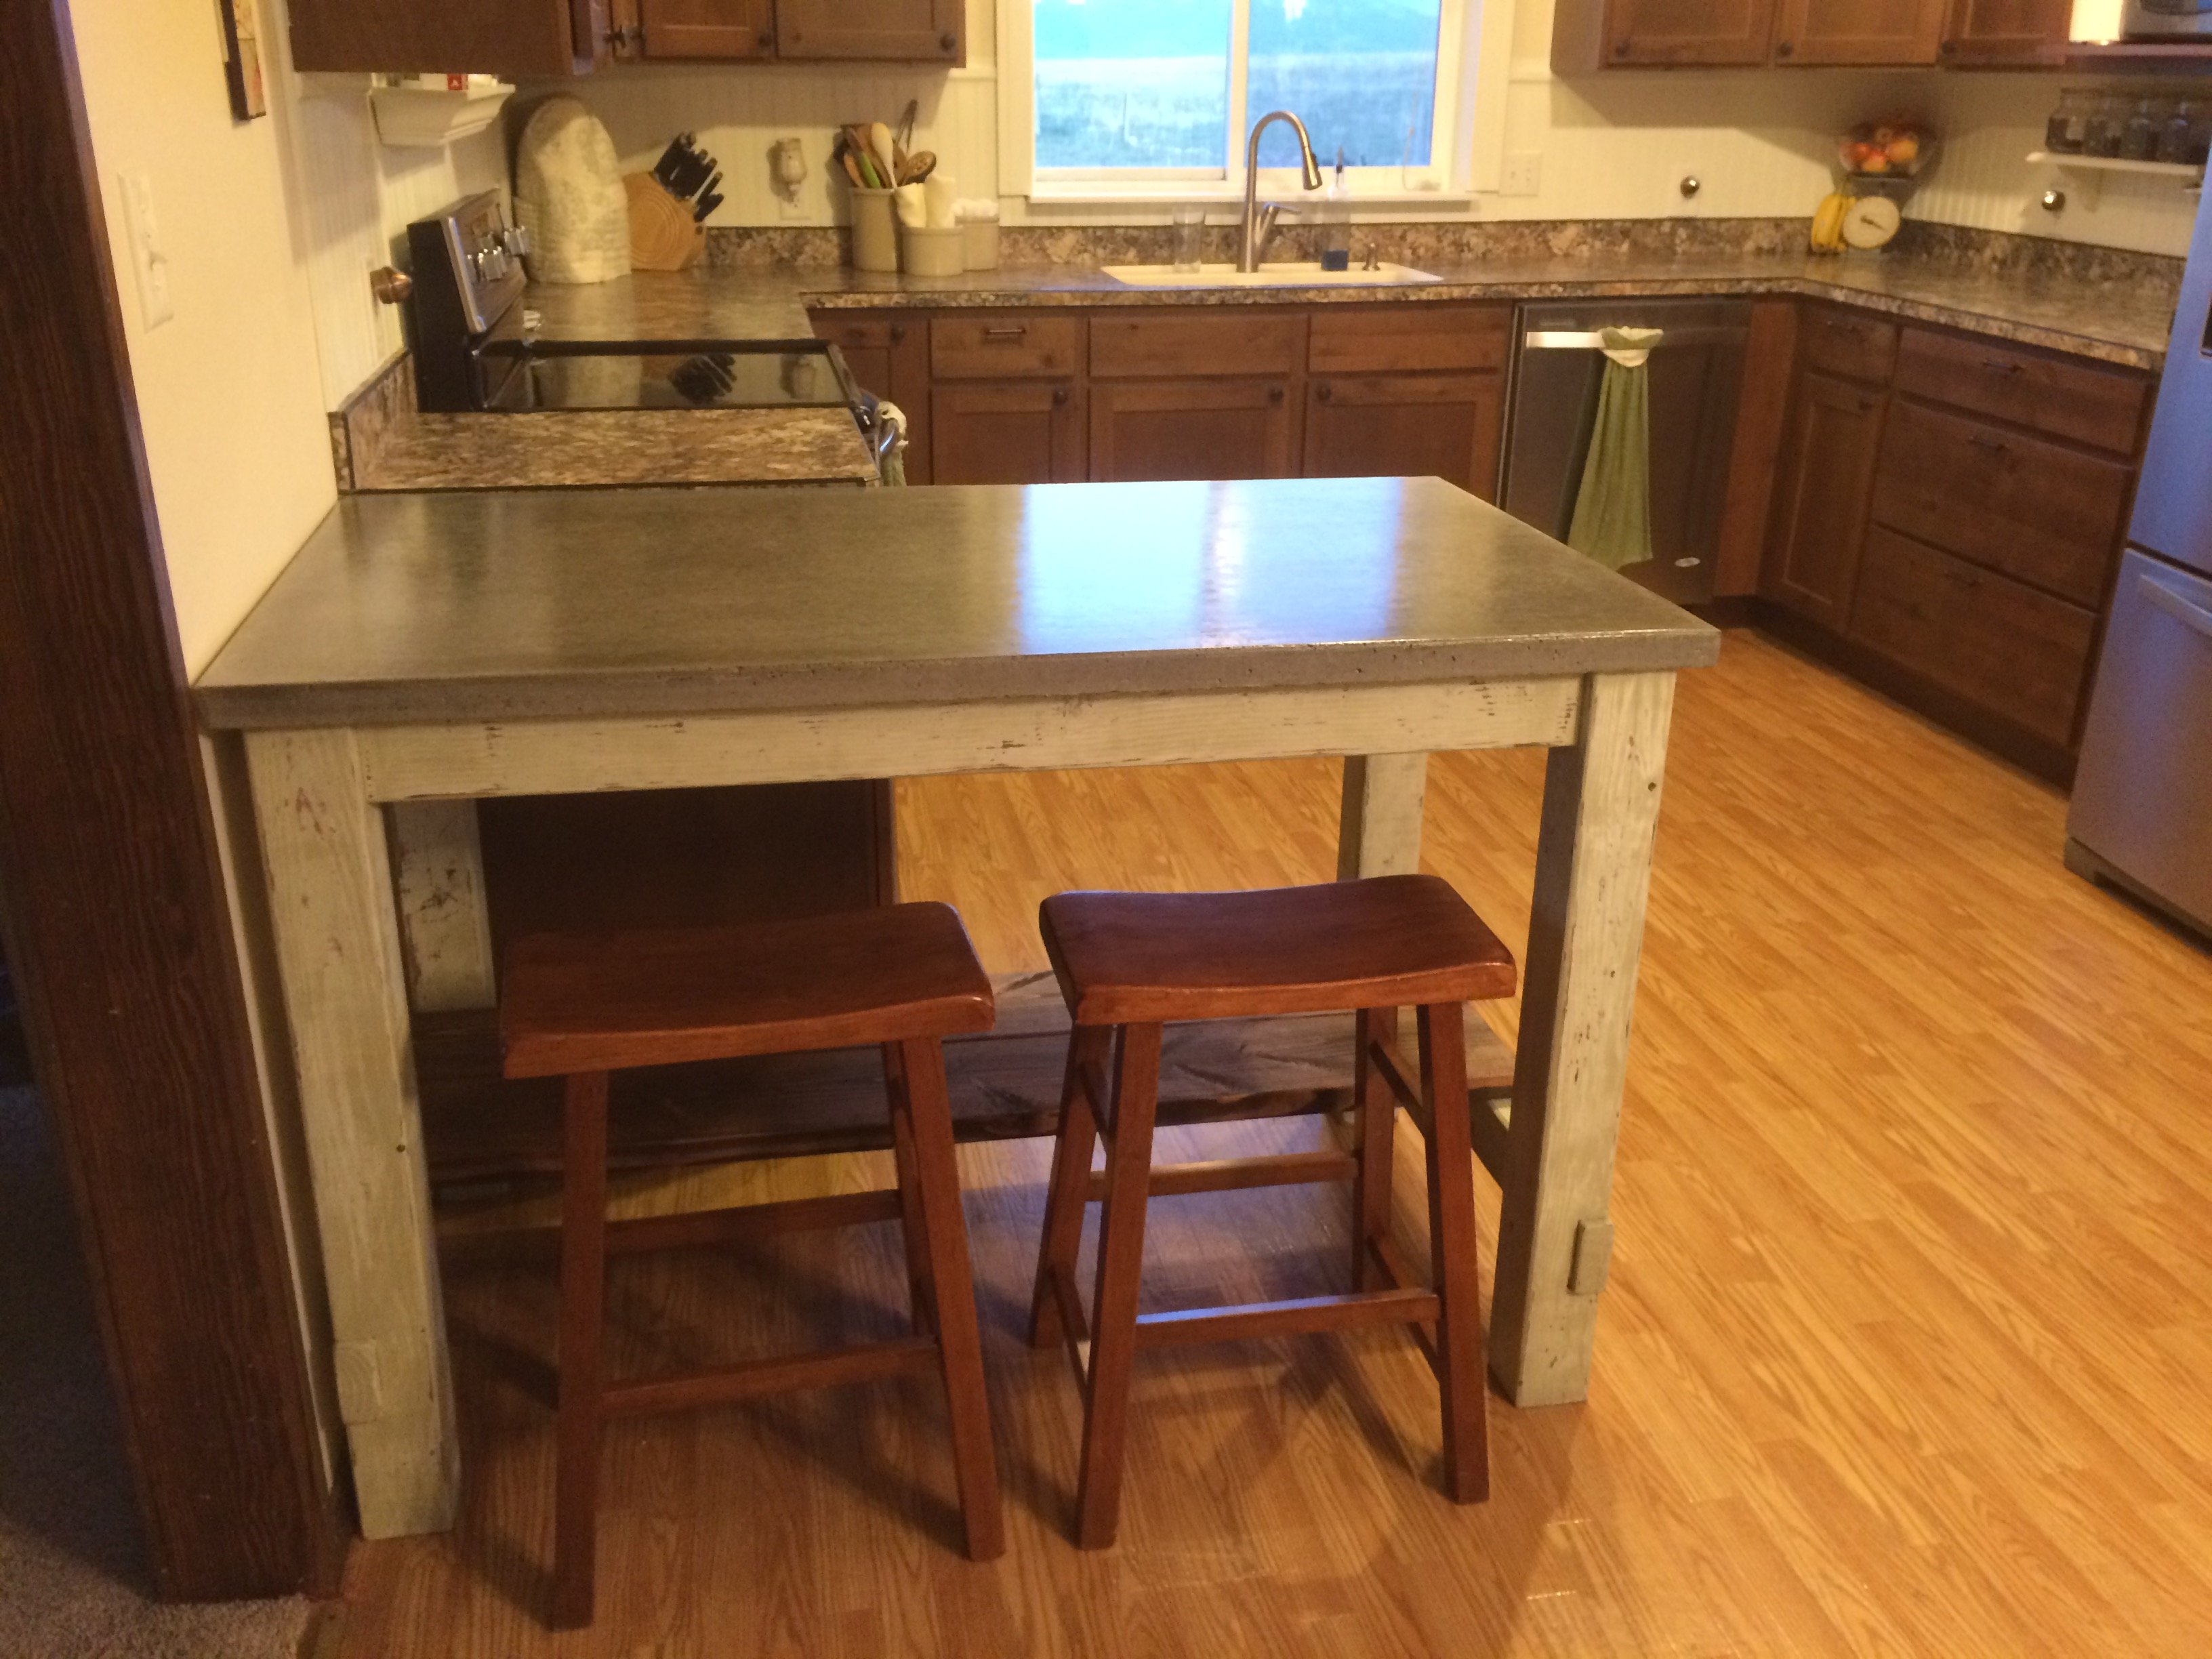
This was super easy to build and I love the way it turned out. I painted mine to add some color to my kitchen and did a concrete countertop.
Built from Plan(s)
Recommended Skill Level
Intermediate
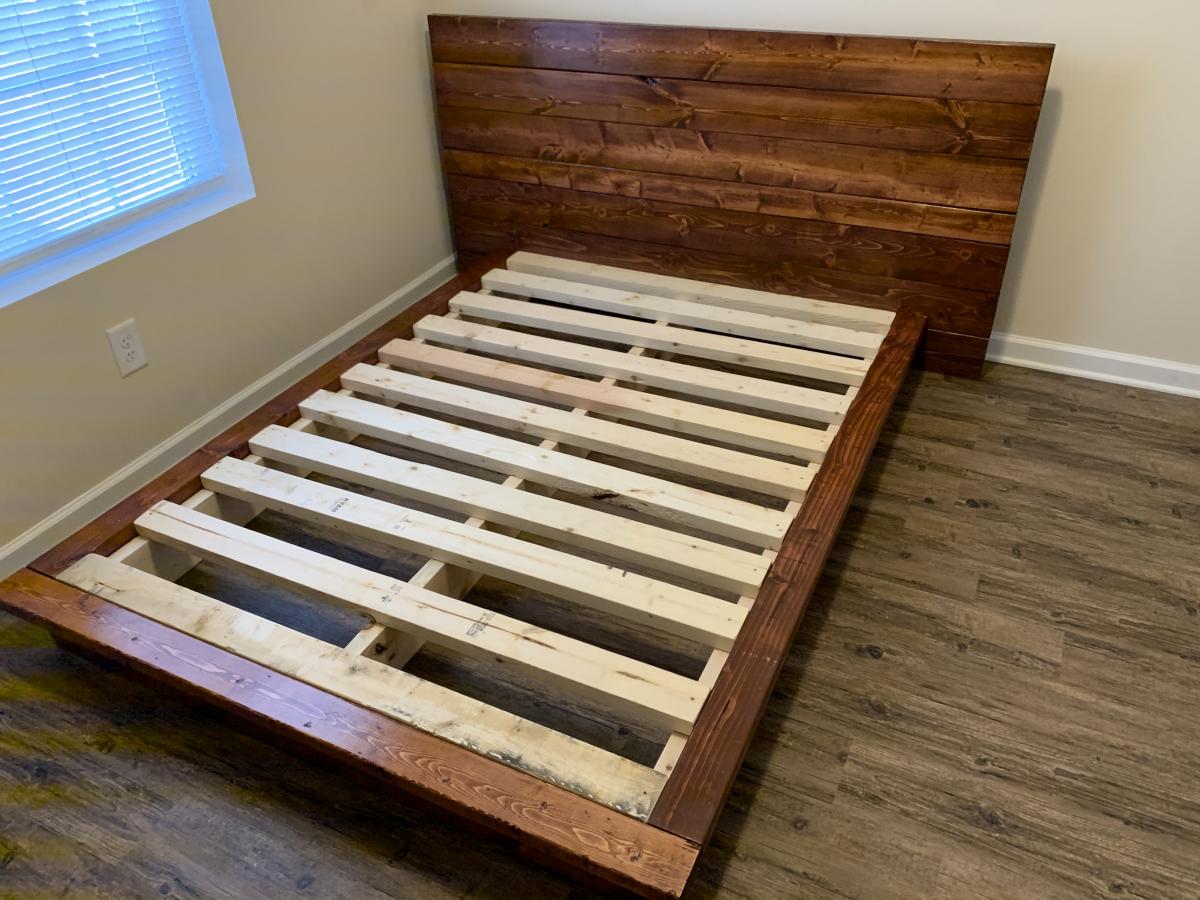
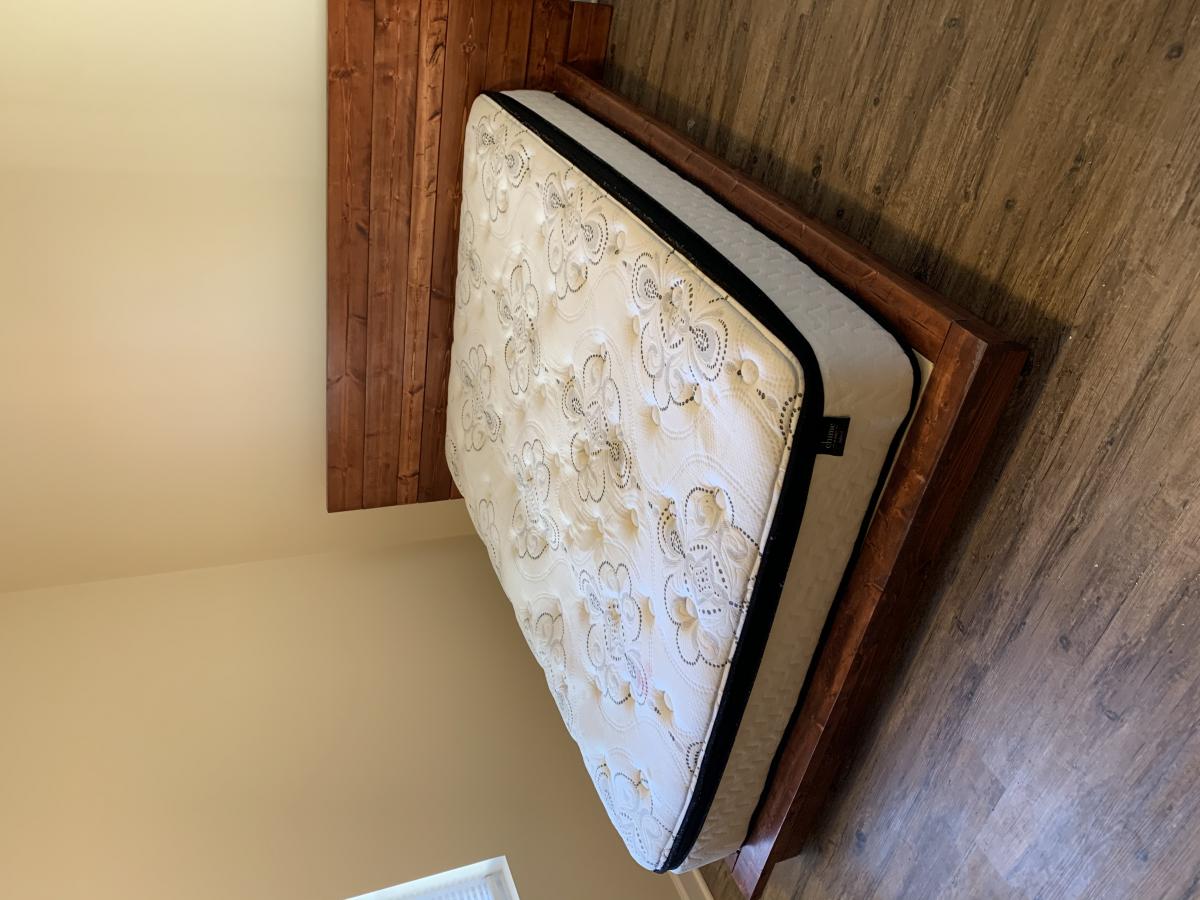
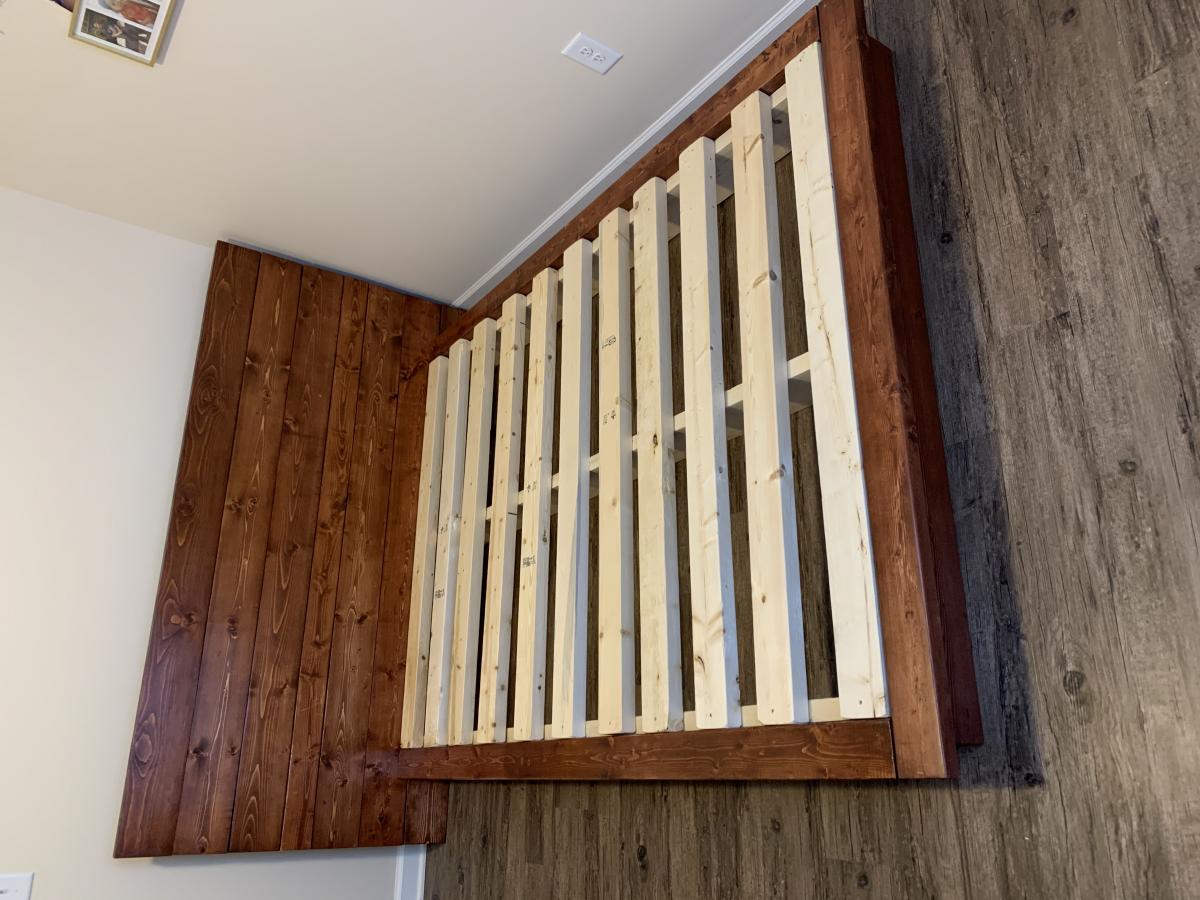
Sweet Dreams
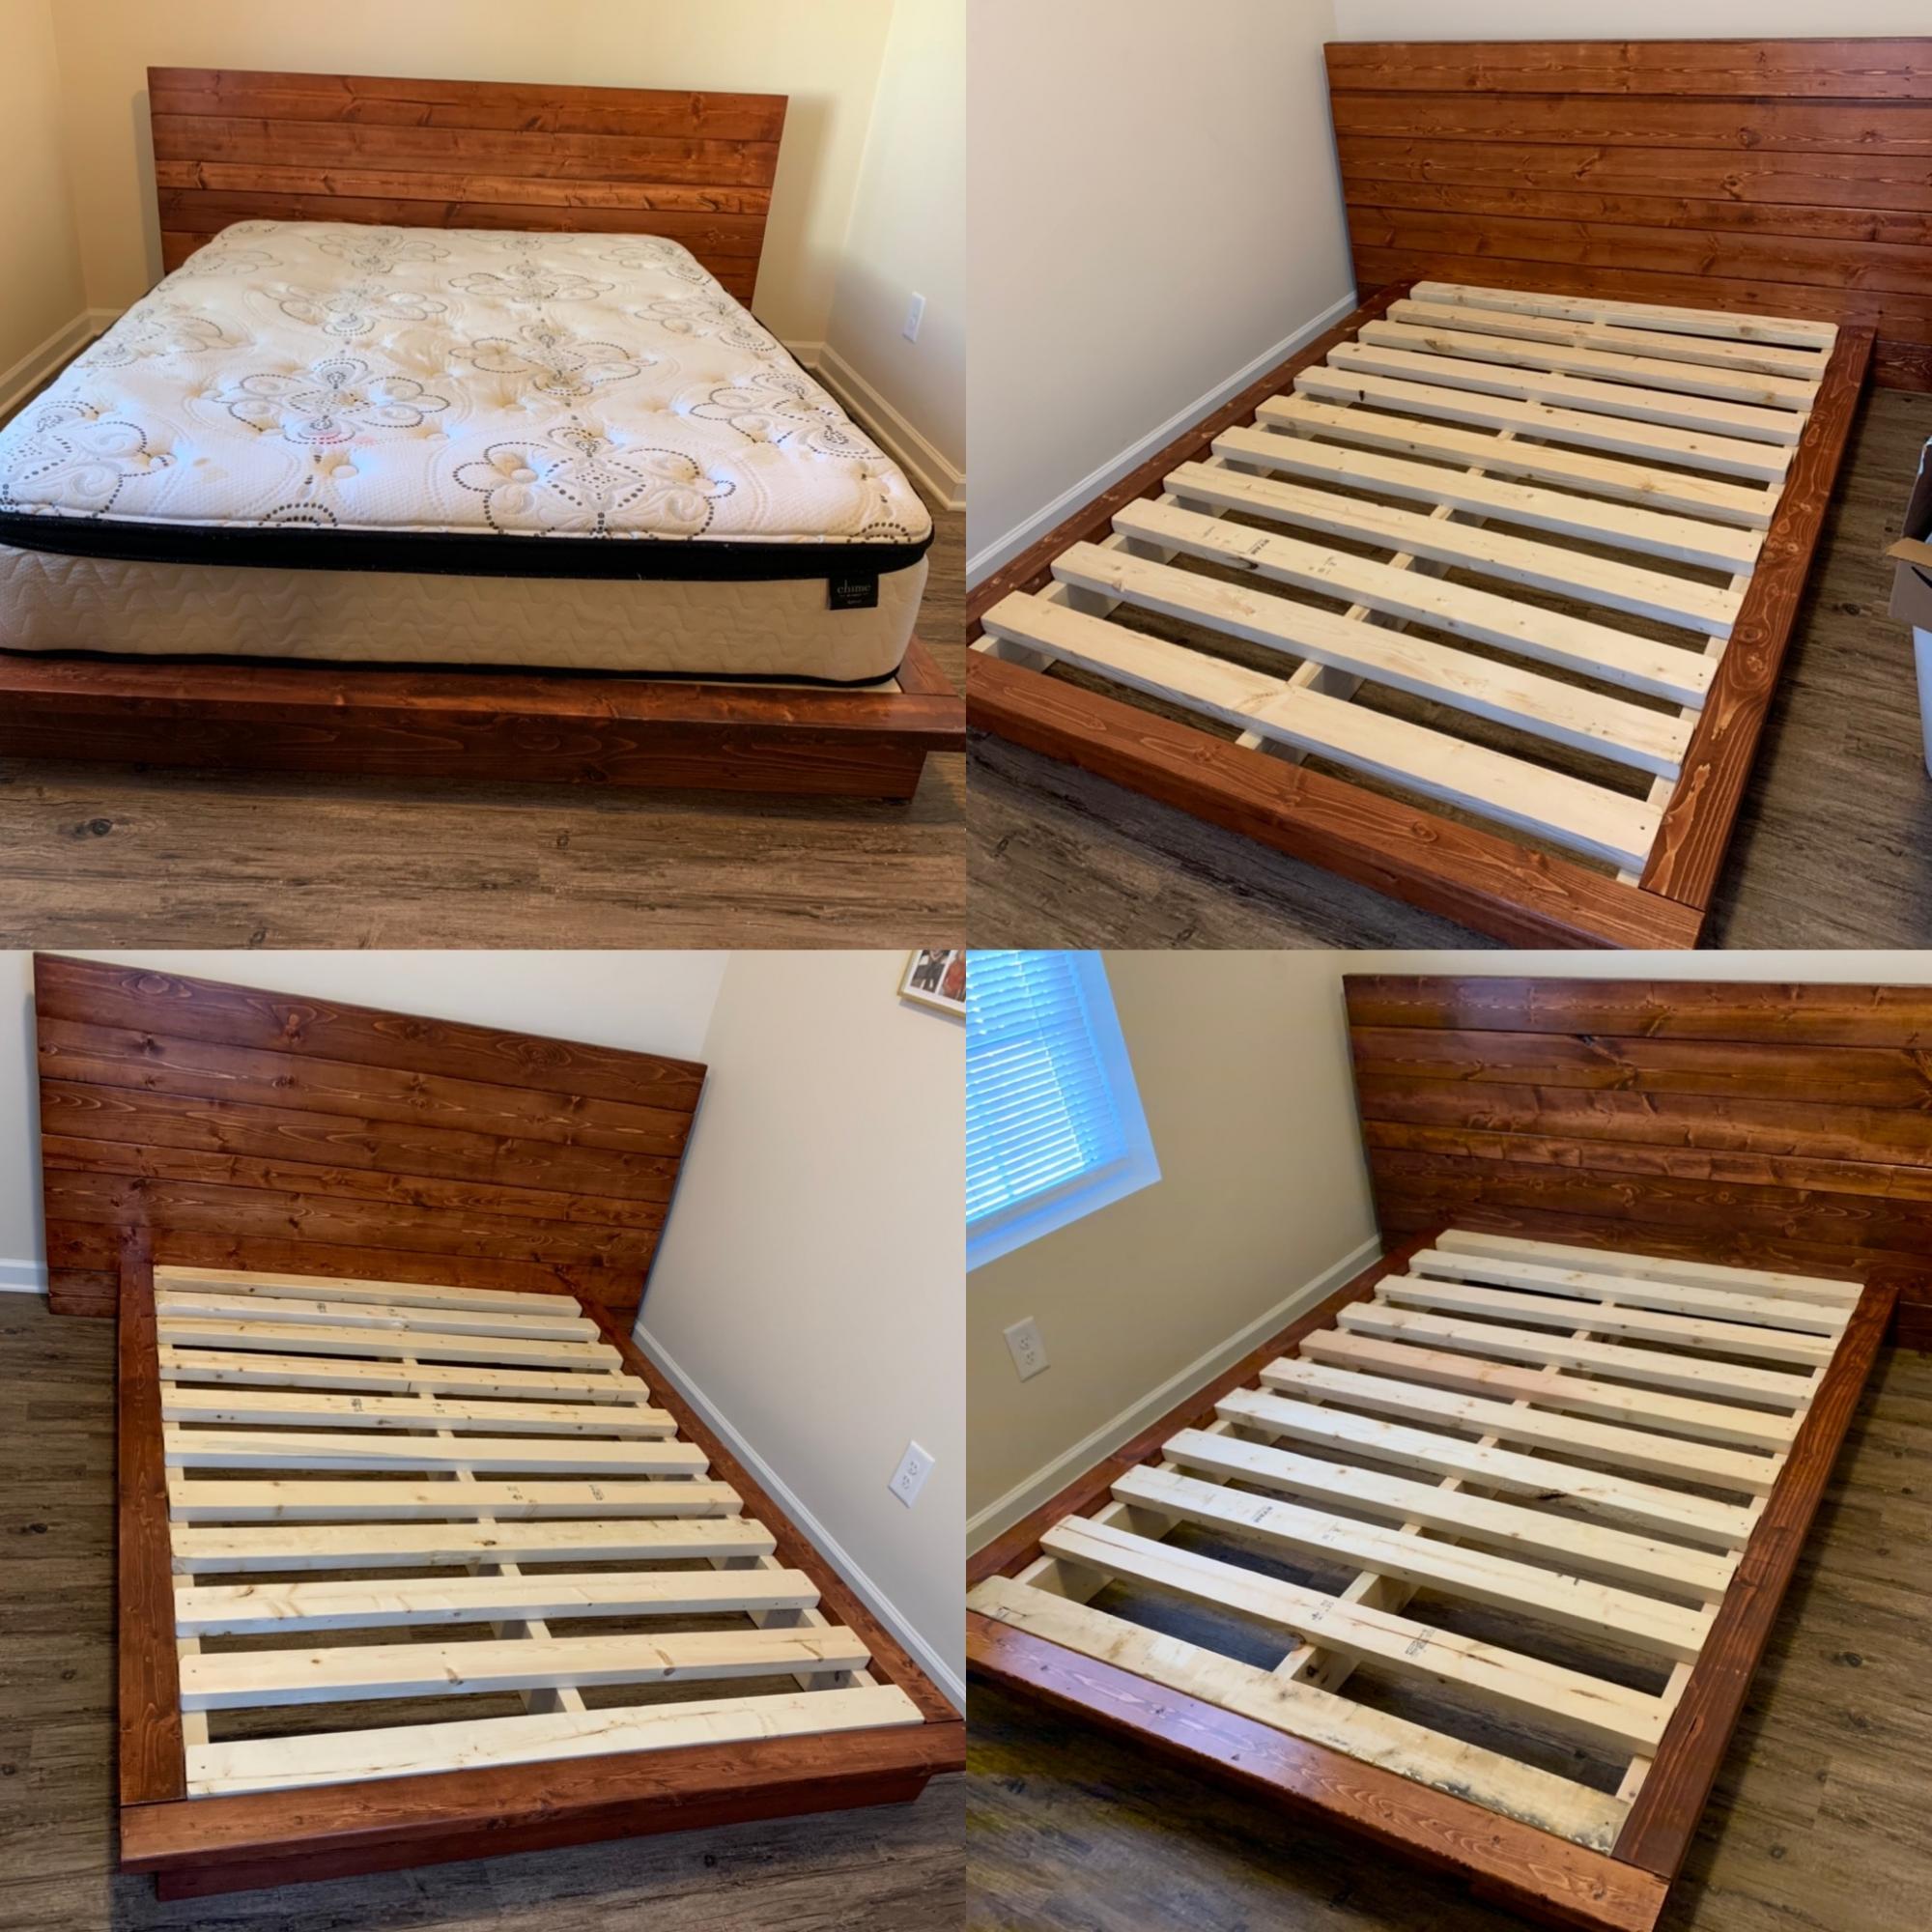
A lady that my husband works with just got her forever home through Habitat for Humanity. We wanted to do something special for her and her kids so we used Anna’s platform plans to build one queen and 3 full size bed frames. The plans were easy to follow and assembly was a snap on delivery.
To make the fulls we took the queen dimensions and modified the cuts for the full size mattress dimensions.
Thank you Anna for helping us to make 4 beautiful additions to our friends home.
Built from Plan(s)
Estimated Cost
$200/bed
Estimated Time Investment
Week Long Project (20 Hours or More)
Finish Used
Varathane Cognac
Recommended Skill Level
Intermediate
Kitchen Prep Cart
Made the Kitchen Prep Cart. Just altered a bit for storage in the cabinet. Still need to plug the Kreg Jig holes inside.
Built from Plan(s)
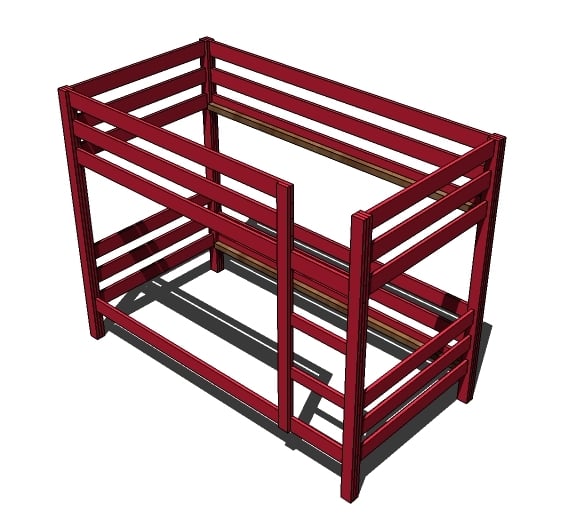
Double loft / desk combo with storage ladder
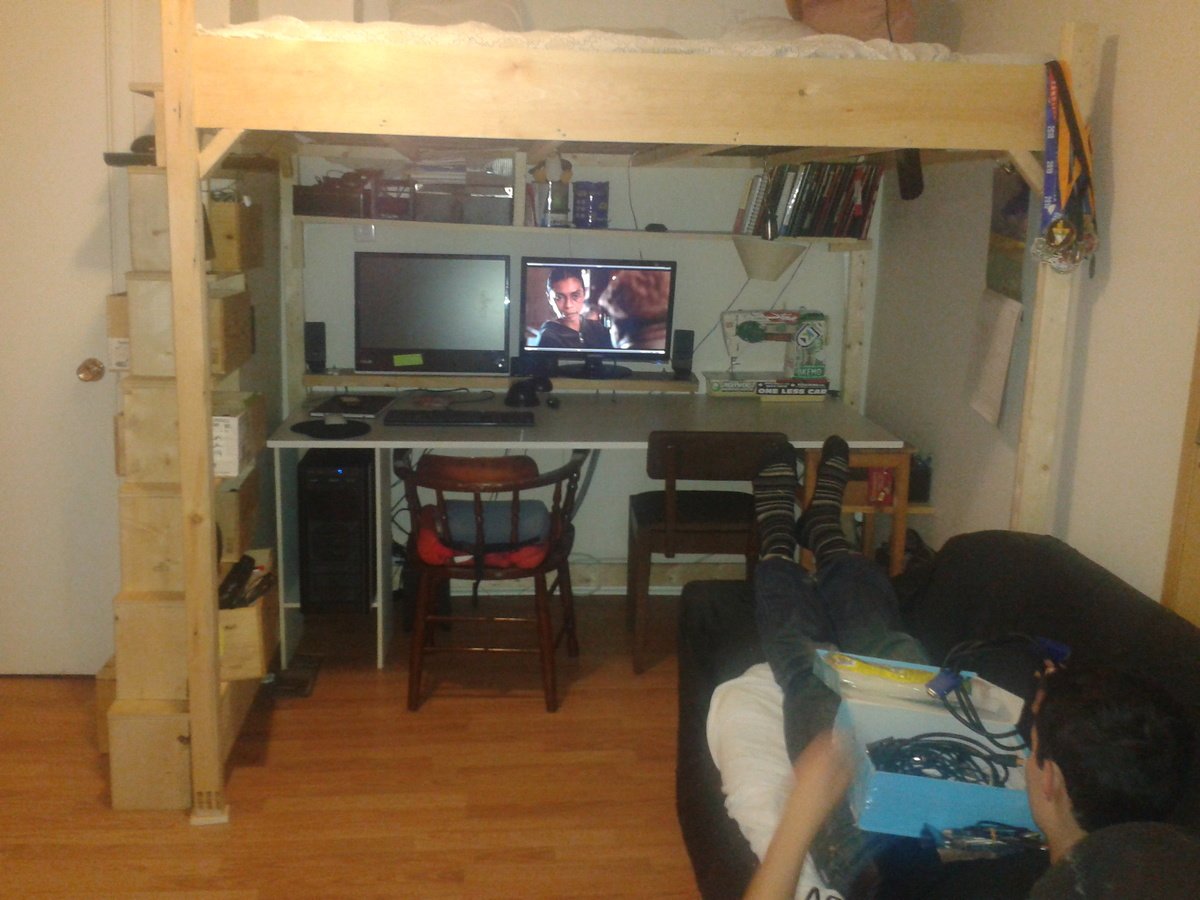
Our den is an awkward spot and we wanted to have a usable double bed as well as desk space for two people, but putting in two desks and a futon made it really cluttered and took up a lot of space, plus we were always having to move one of the desks in order to use the futon as a bed. So we combined all three items!
I changed the dimensions of the loft to accomodate the futon frame (I actually just dropped the futon bed support into the top of the loft) and then I used a long counter I already had as a desktop. The desk is sitting on large shelf brackets that are attached to the uprights of the loft, and then at the front there are shelves to hold up the front part of the desk.
It's ideal because most of the time we are not both working and so we can take advantage of the other person's space, but if we are both there there is enough room as well.
The plan I used below is awesome because everything is really firm but you can still take apart the key parts to get it out of the room. So I built it outside but put it together in the room itself.
We call it the sky bed and my friends love it. I also ditched the ladder and built the shelving unit you see that is both a ladder and shelves, and takes advantage of the shape of the room.
Built from Plan(s)
Estimated Time Investment
Day Project (6-9 Hours)
Finish Used
none.
Recommended Skill Level
Intermediate
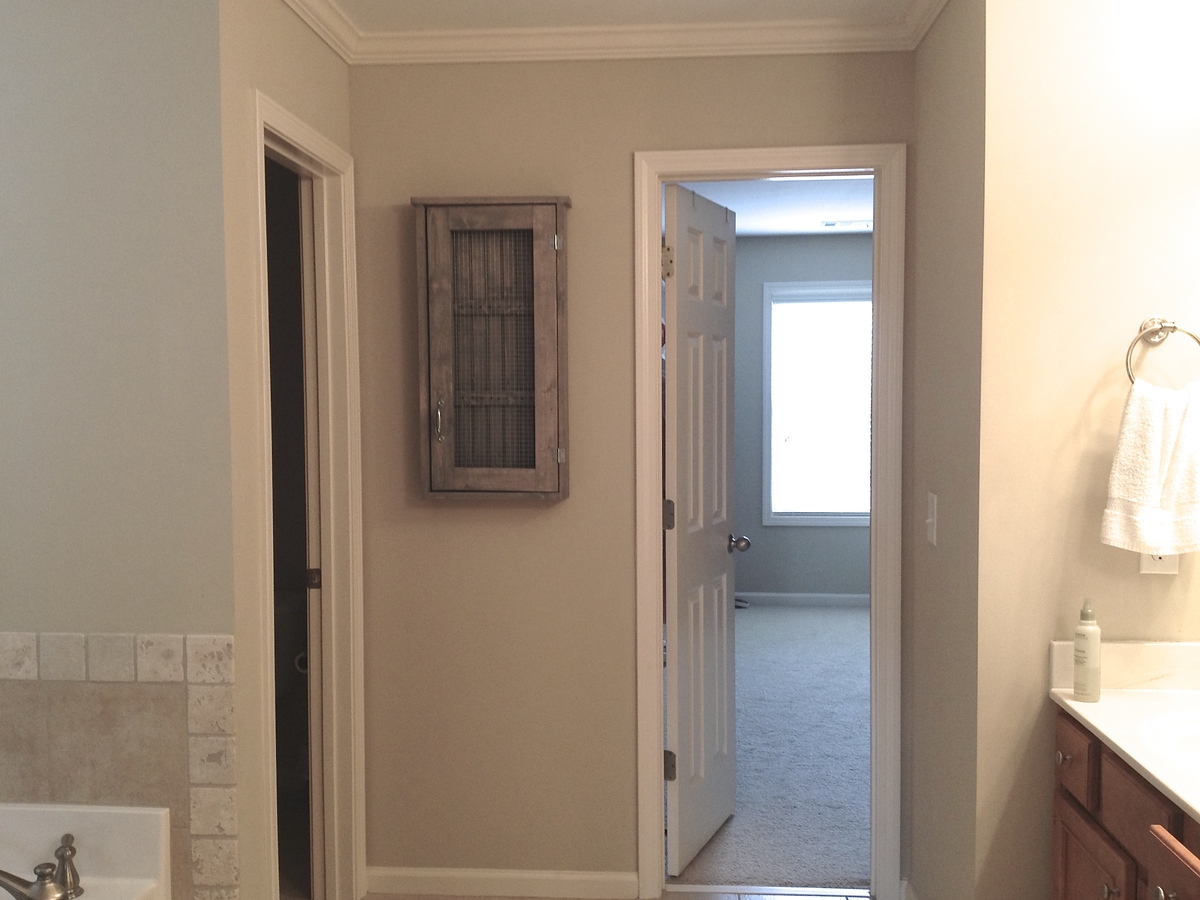
Jewelry Cabinet
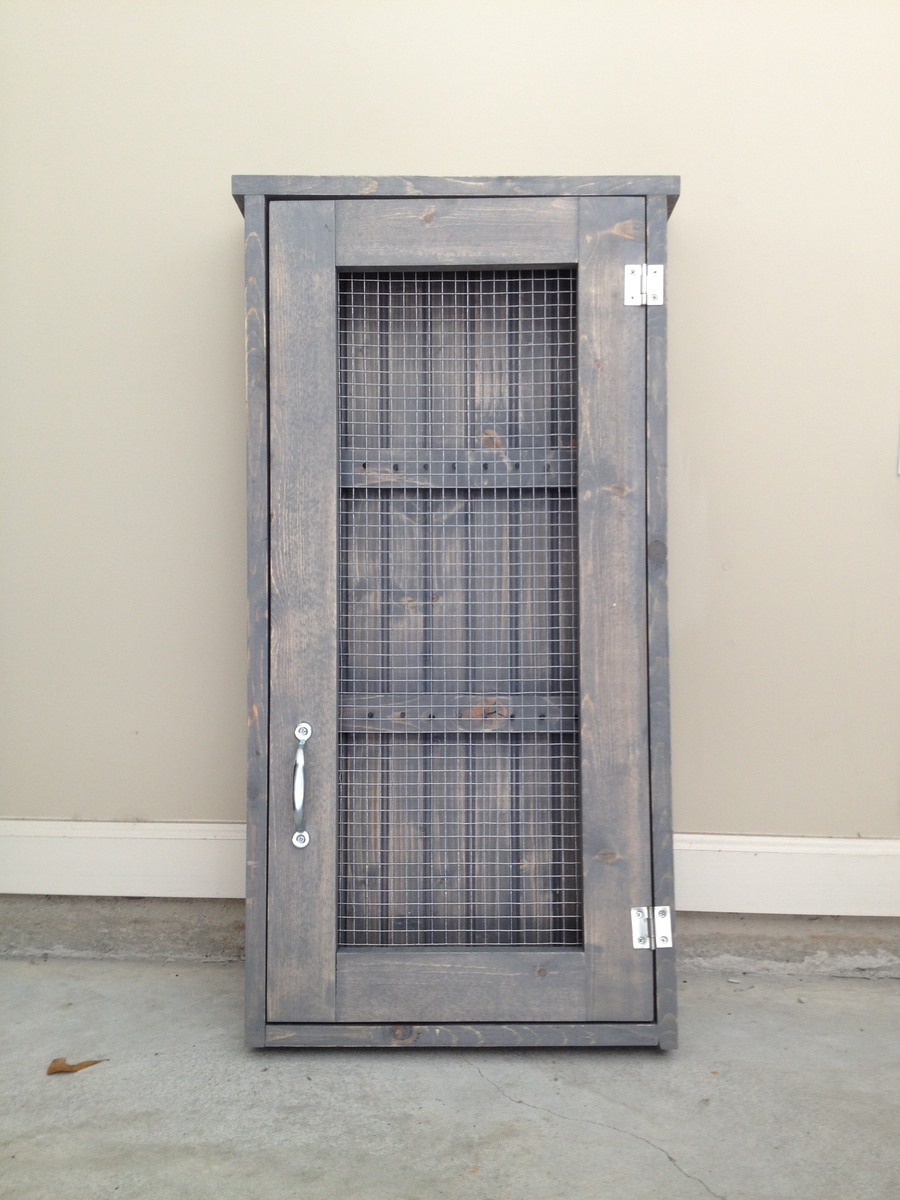
Building this Jewelry Cabinet was really fun and easier than I expected. I made one to give away as a birthday gift, could not resist making another to keep. I don't really have that much jewelry, I just think its gorgeous! I loved the look of the original posted project, that I wanted to duplicate it just as it was.

Built from Plan(s)
Estimated Cost
$35 for wood, hardware, and hardware cloth
Estimated Time Investment
Afternoon Project (3-6 Hours)
Finish Used
Rustoleum Weathered Gray, then sanded for weathered look
Recommended Skill Level
Starter Project
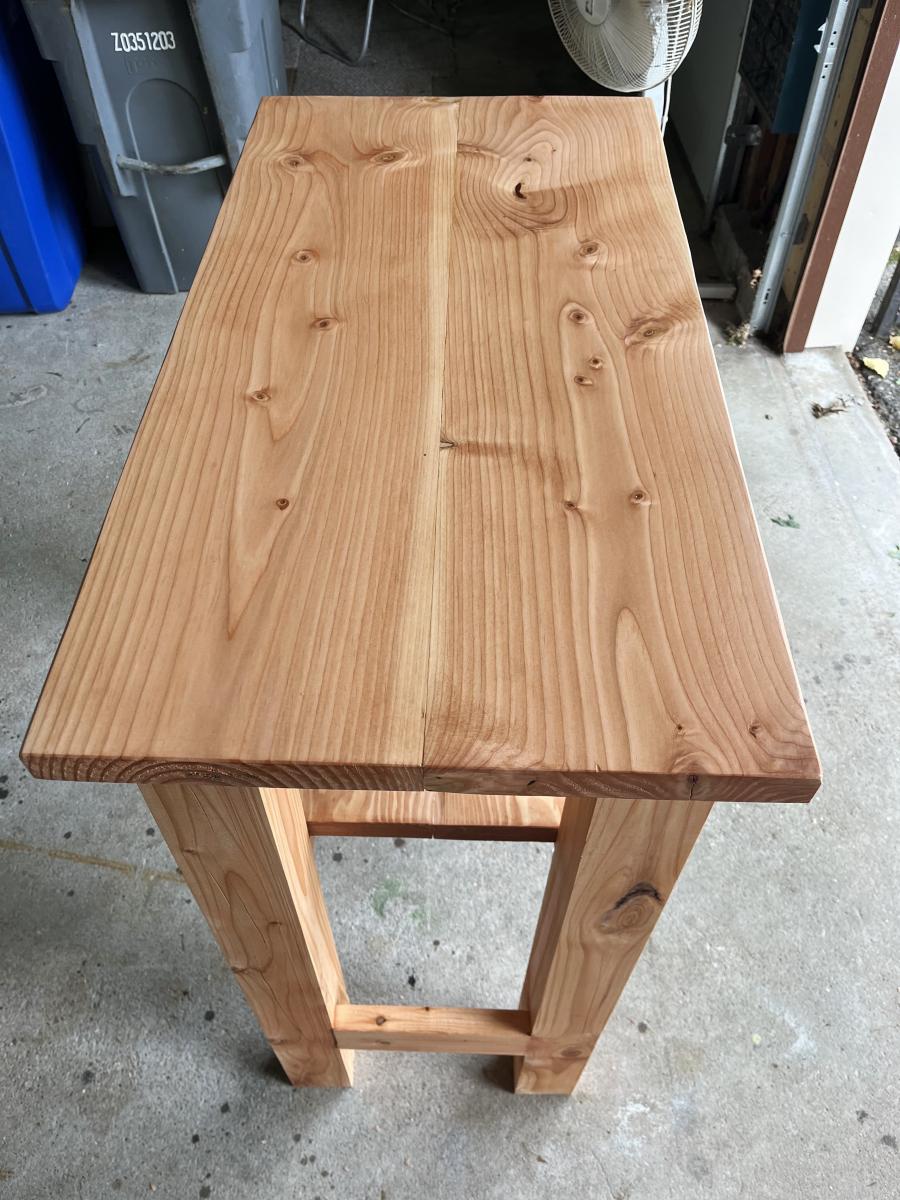
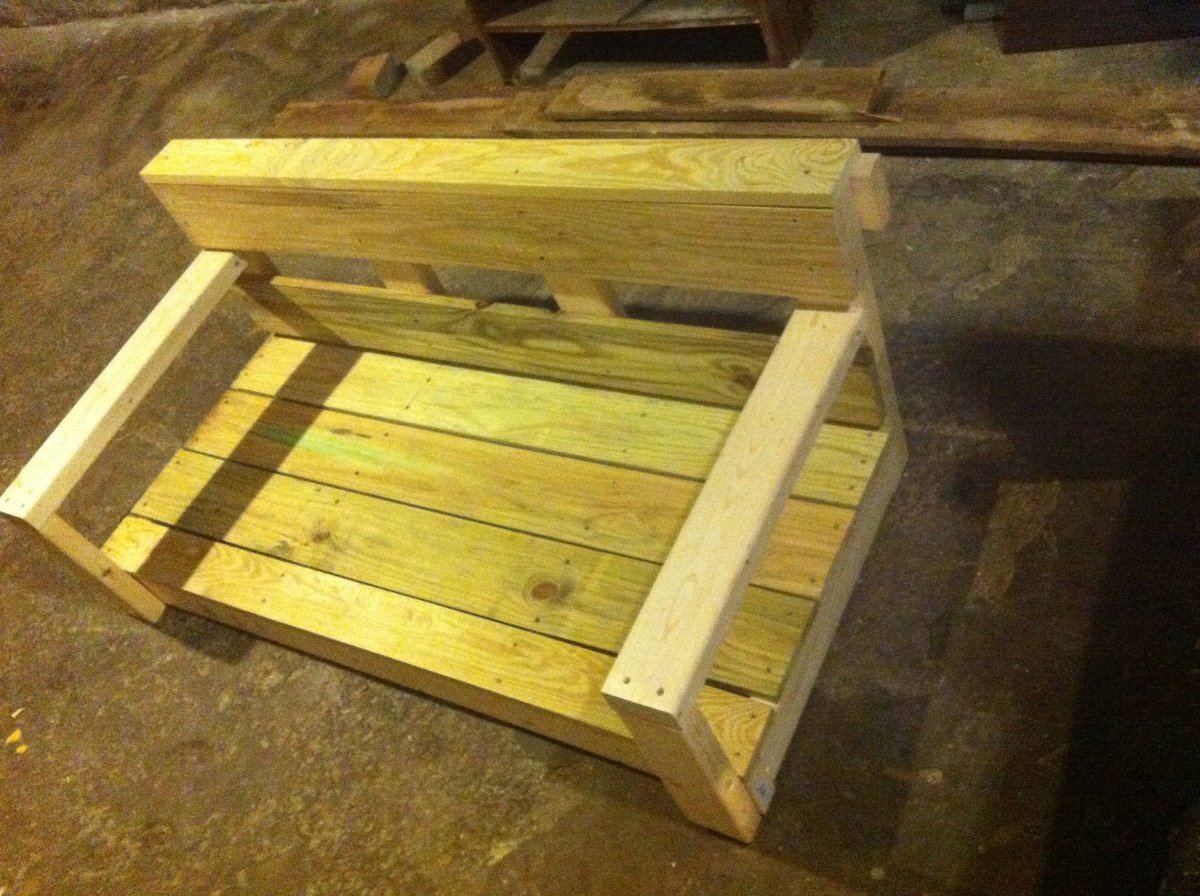
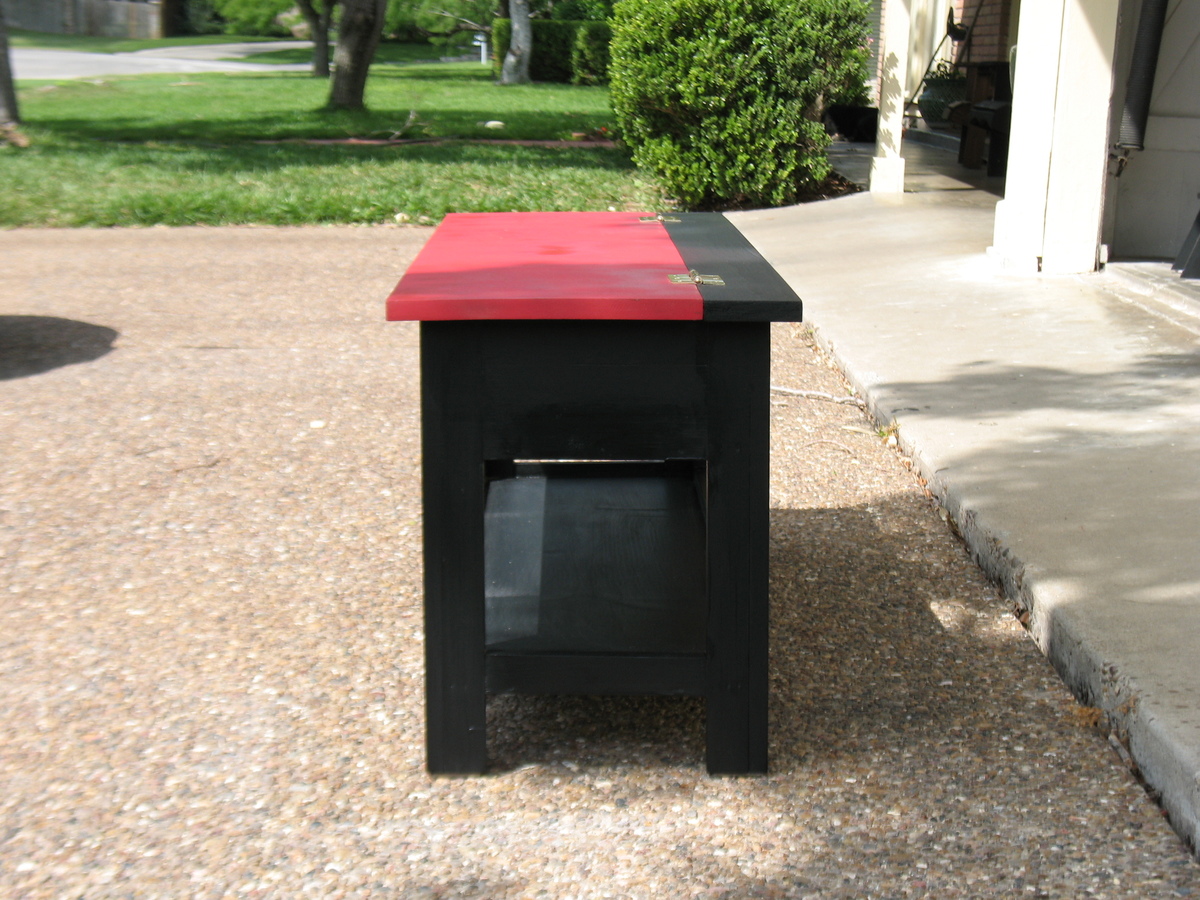
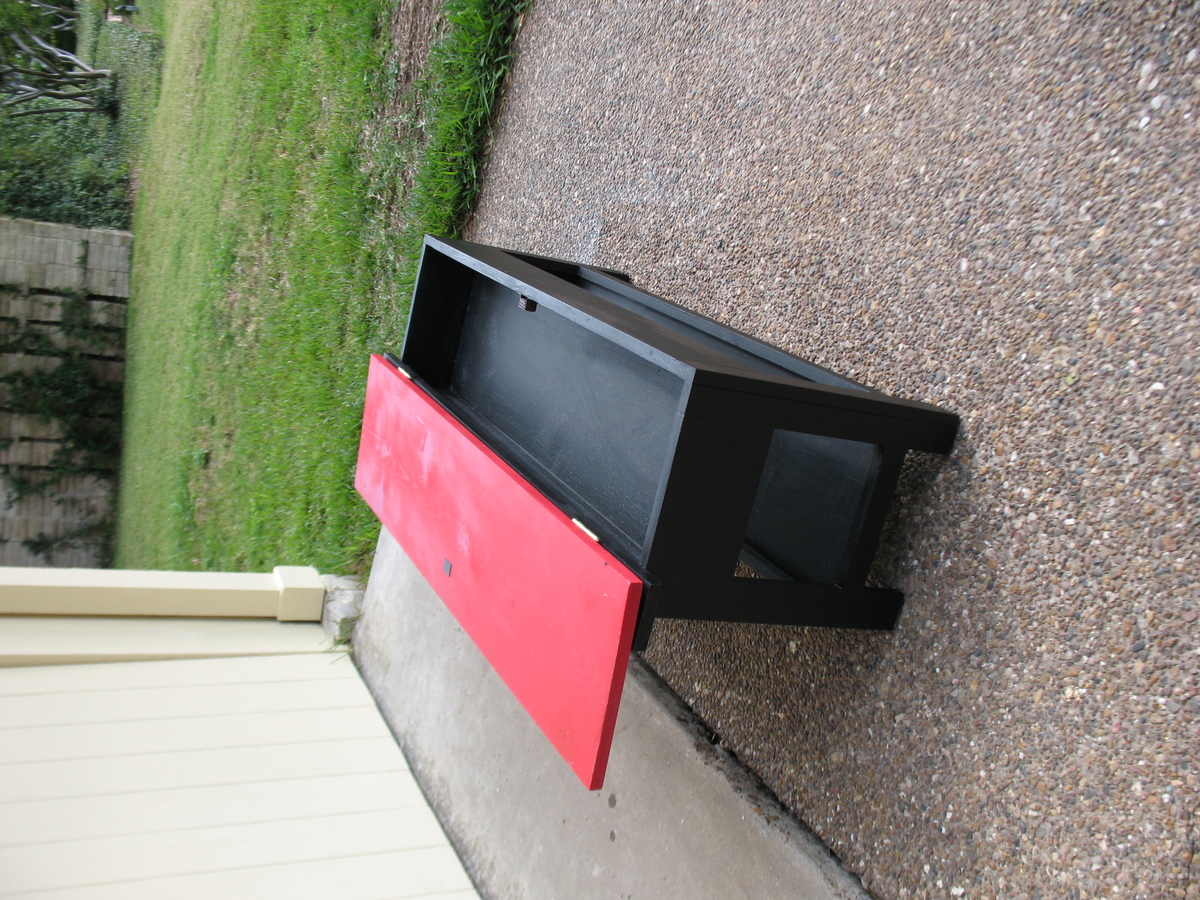
Finally I Finished My Bench

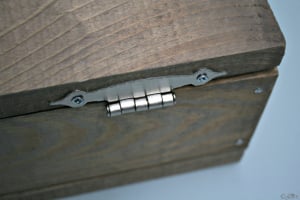
It is a great storage bench. It took me a while to finish it because I made the decision to make the storage area deeper to 4.5 inches without thinking about how that would change the side panels. So I had some adjusting to do. I took my medicine and moved on. I was going to use the bench in the garage to store tools but it came out so well that now I may find a place in the house. Great bench and very sturdy. I was going to paint it entirely black but the idea of the flip top being a different color hit me and I kinda like it. If I do it over I would go with black hinges, which I can still do.
Estimated Cost
$30
Estimated Time Investment
Weekend Project (10-20 Hours)
Finish Used
Valspar flat black and satin red paint..
Recommended Skill Level
Beginner
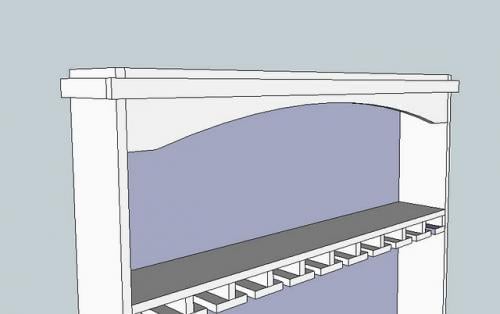
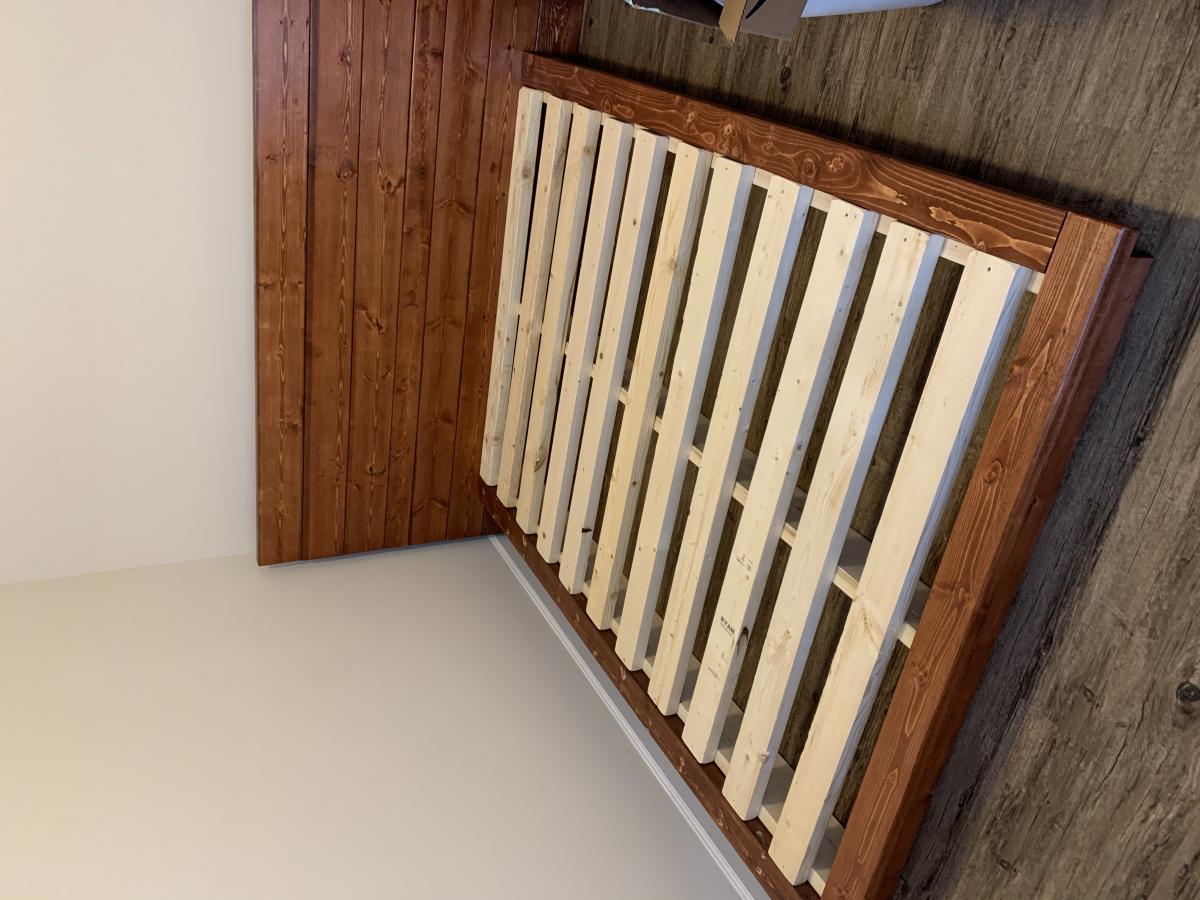
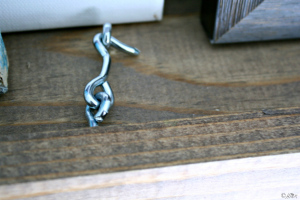
Barn beam ledge with hidden storage

I modified this plan to allow for interior storage space within the shelving. Rather than nailing the front board on, I attached two lower hinges so that it functions as a drop-down panel. The front panel then secures to the top board with a centrally located screw-in hook and eye (not visible if the top of your ledge is above eye-level).

Built from Plan(s)
Estimated Cost
$15
Estimated Time Investment
Afternoon Project (3-6 Hours)
Finish Used
Finish in photos created using: http://ana-white.com/2013/08/rustic-yet-refined-wood-finish
...Later discovered a similar but less toxic approach using green tea followed by steel wool dissolved in vinegar.
...Later discovered a similar but less toxic approach using green tea followed by steel wool dissolved in vinegar.
Recommended Skill Level
Starter Project
Sofa Table with Reclaimed Wood Top
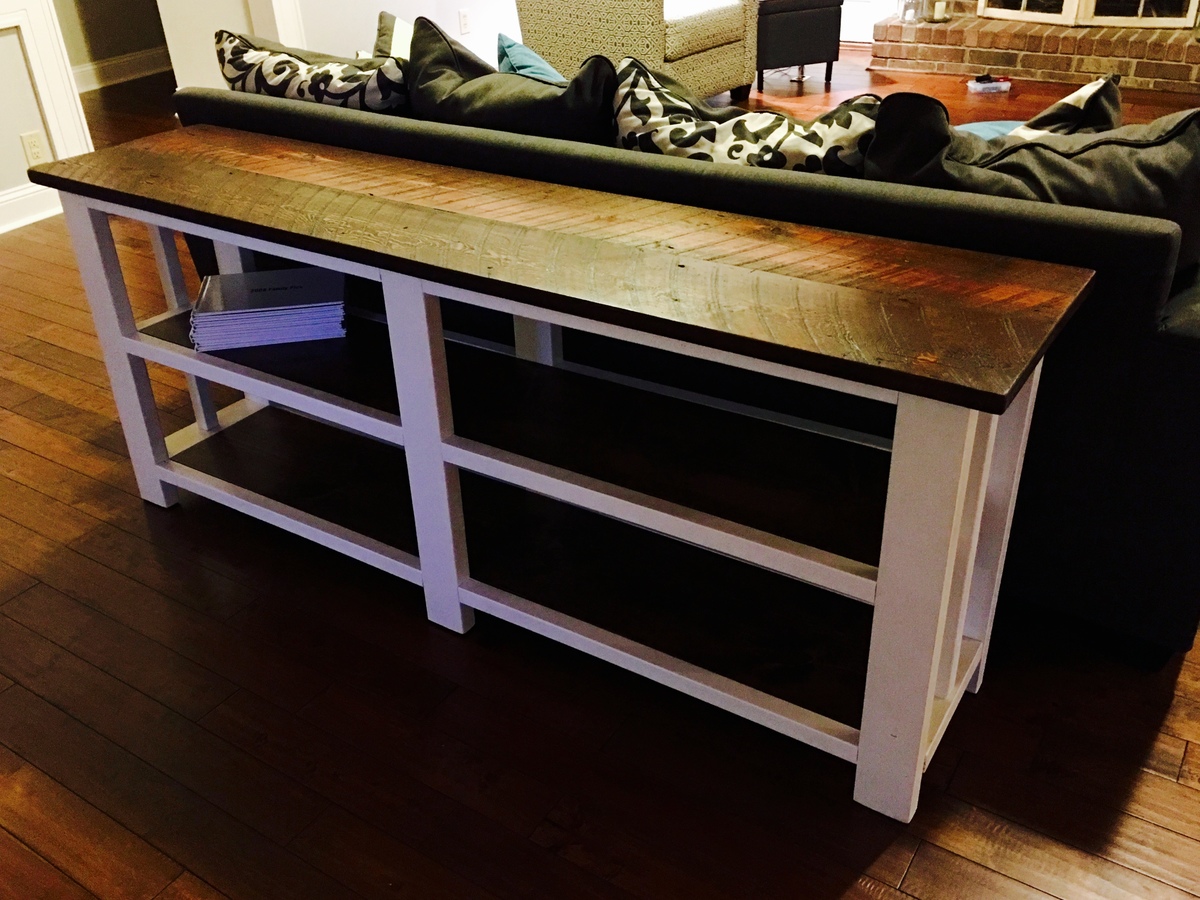
I took the Rustic X Console plans and used some rouch sawn pine and hemlock from a reclaimed lumber yard. We left some of the character (nail holes, saw marks, imperfections) in the table top for a more rustic look.
Built from Plan(s)
Estimated Time Investment
Day Project (6-9 Hours)
Finish Used
White is Olympic Assure Ultra White Satin (primer + paint) and stain is Minwax Special Walnut and then I applied Minwax wipe-on satin poly.
Recommended Skill Level
Intermediate
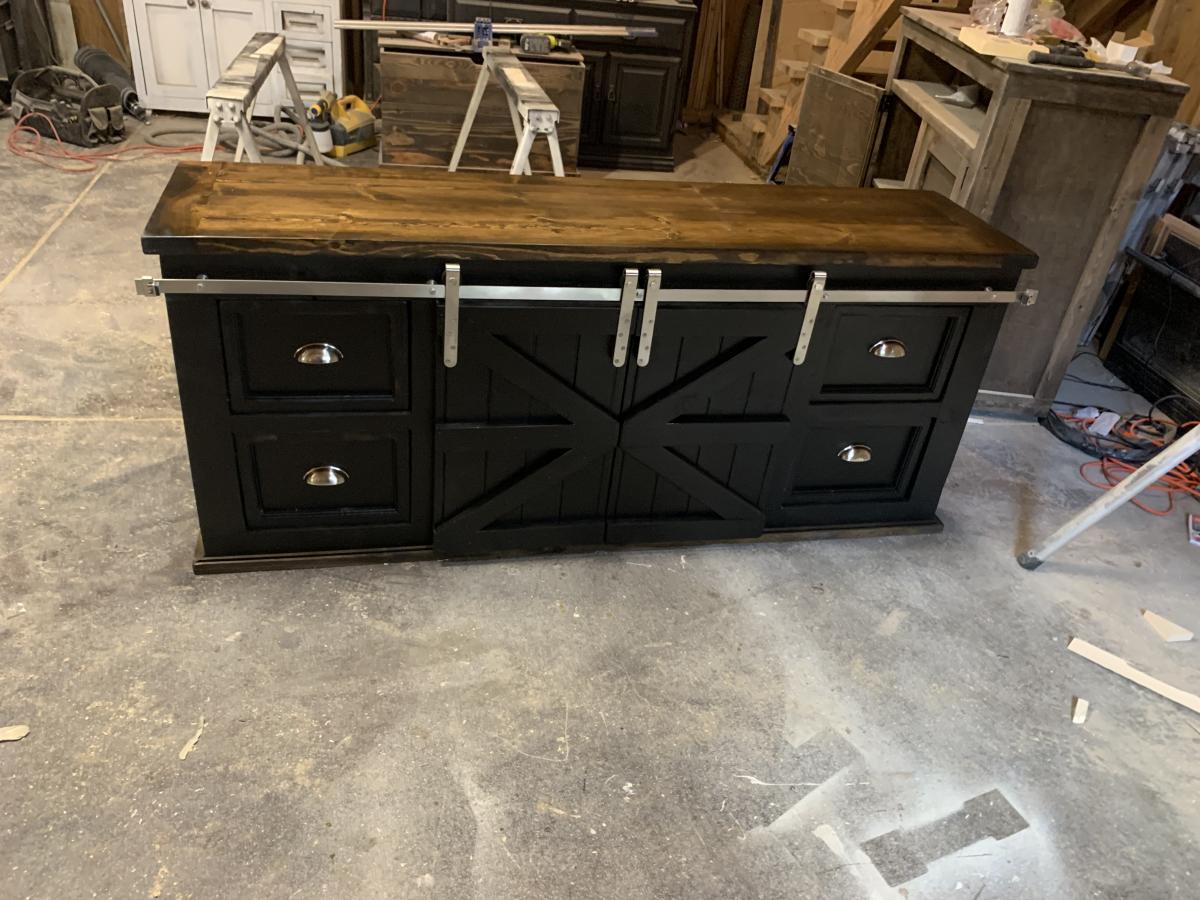
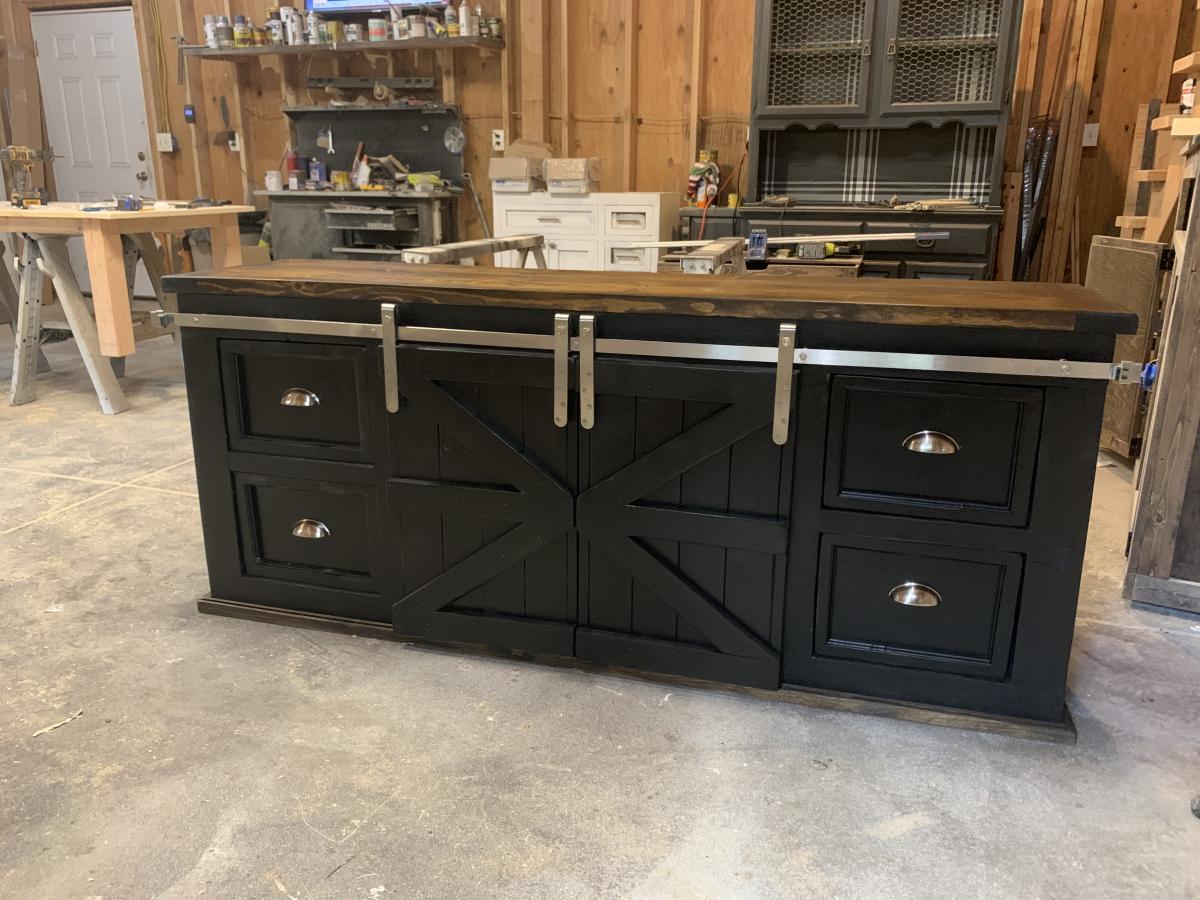
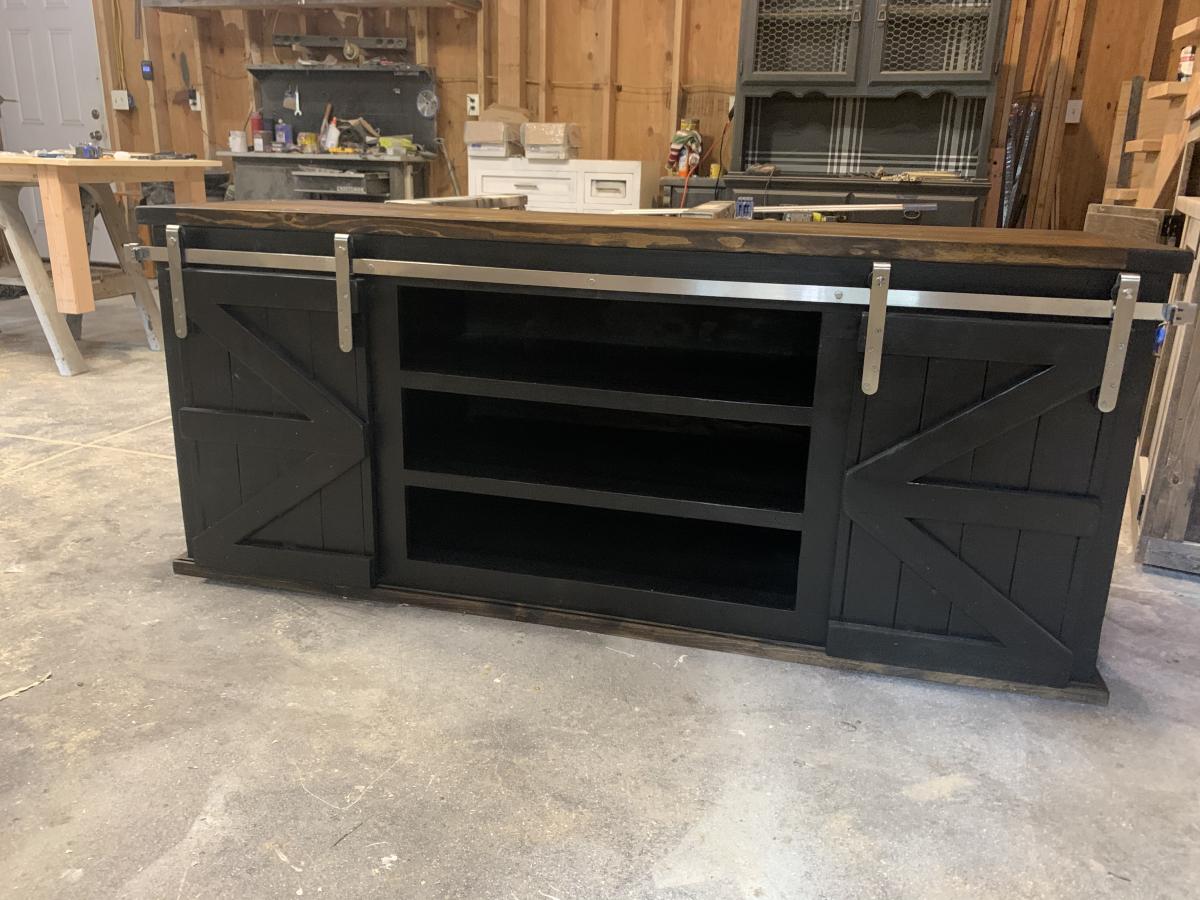
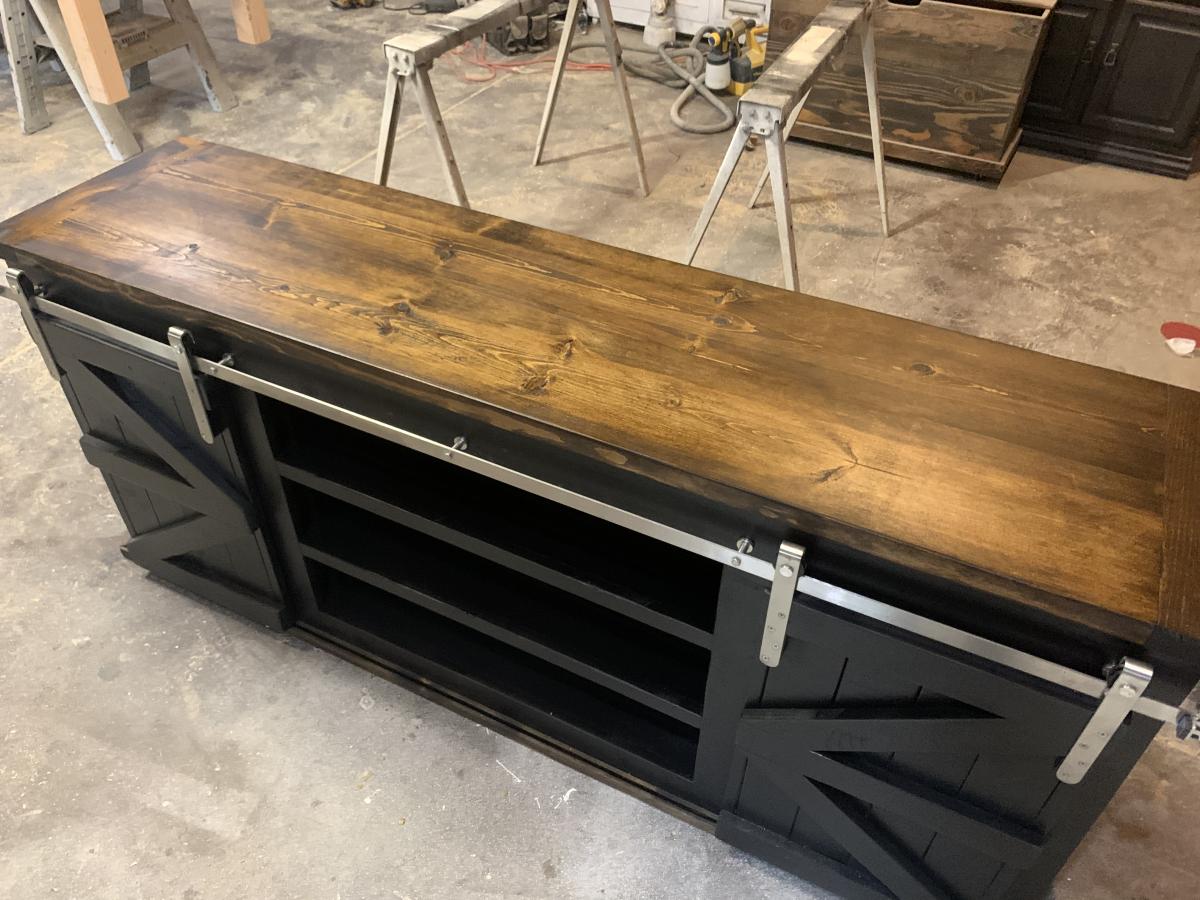
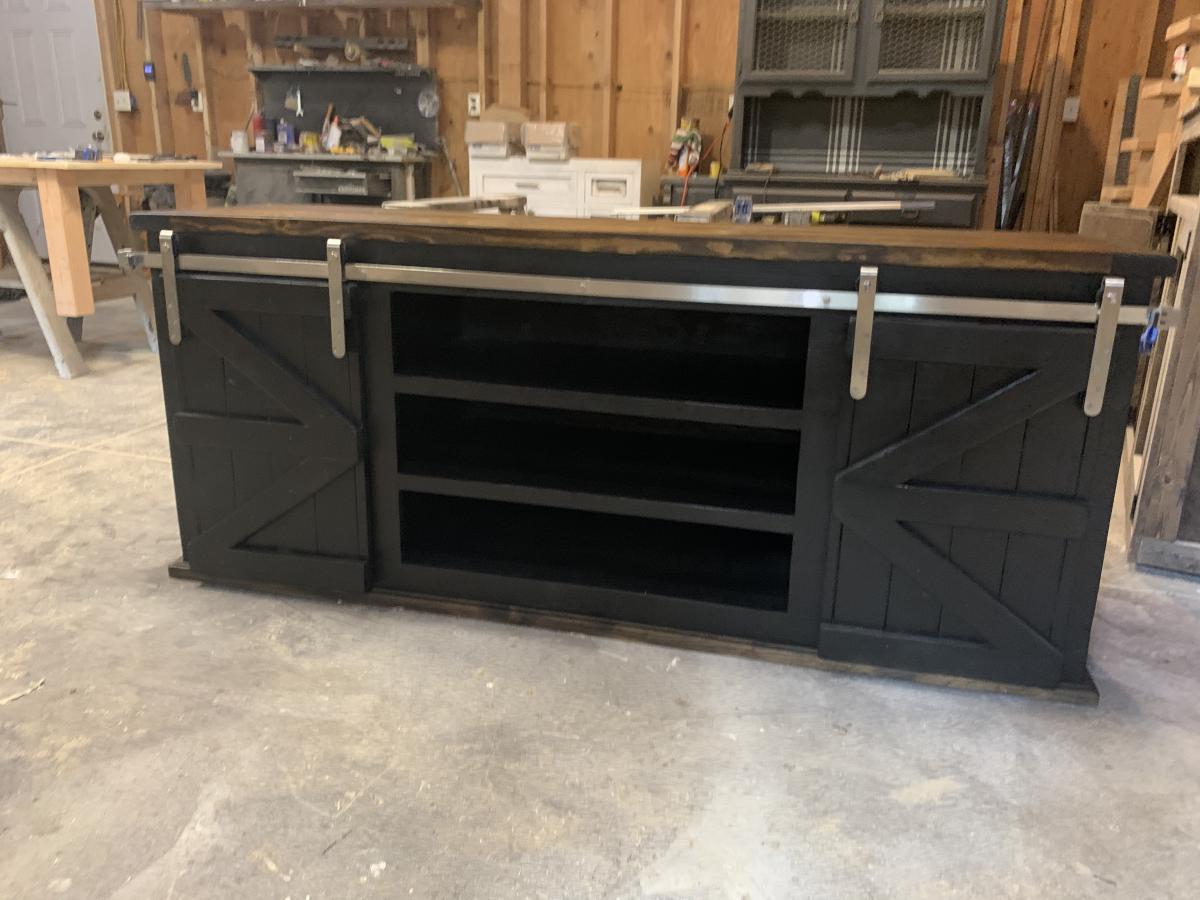
Bar door console
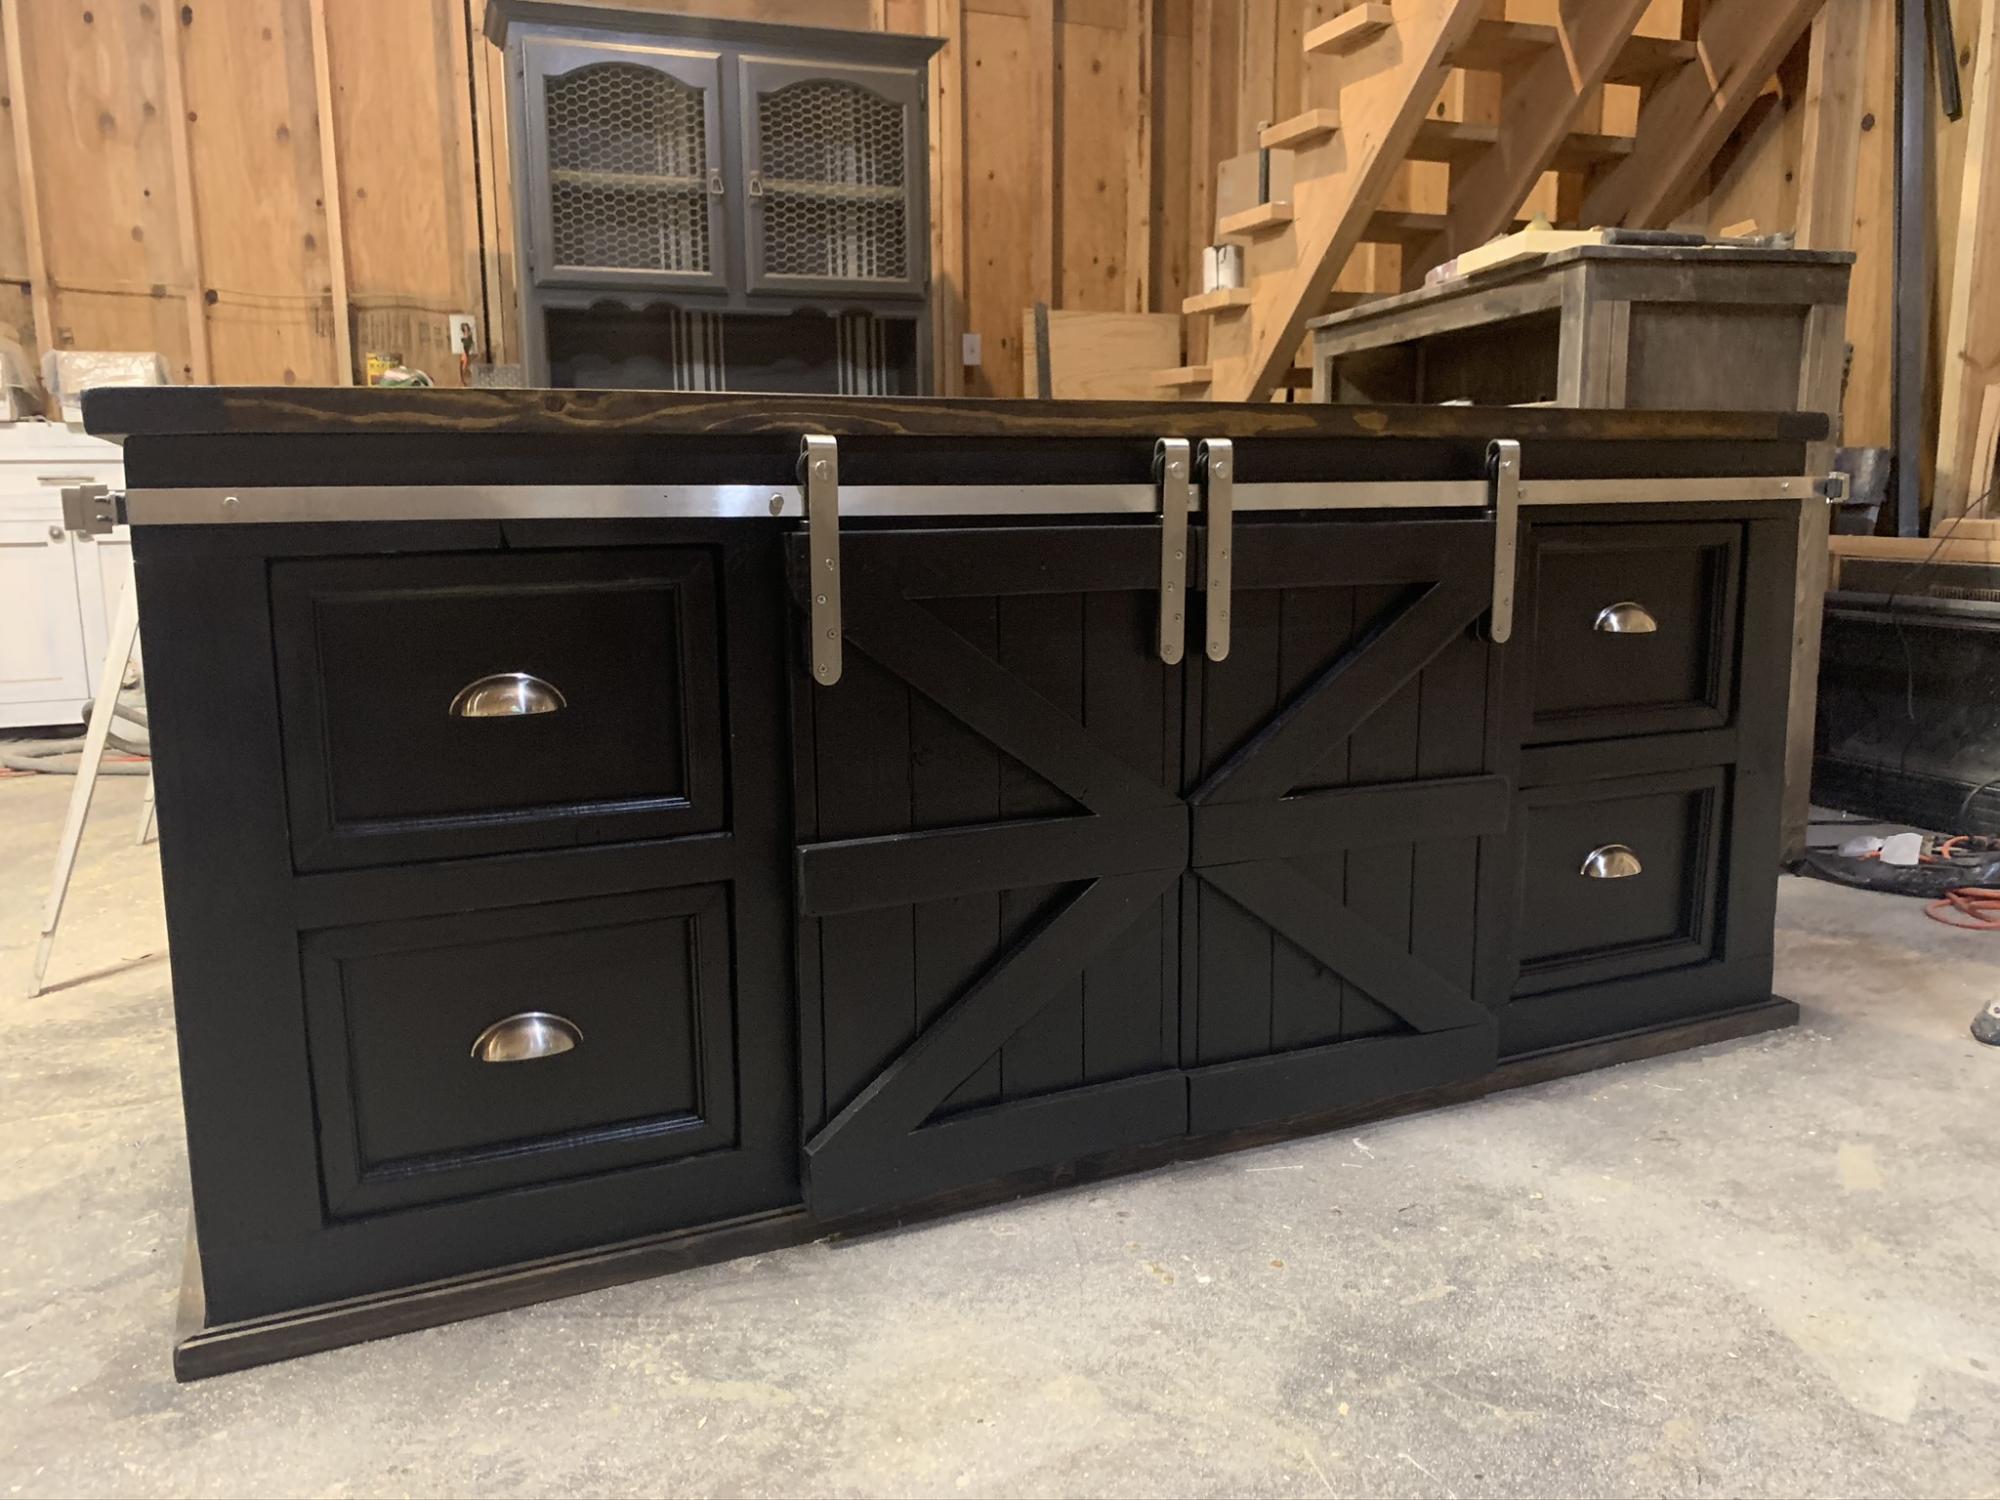
Hand made barn door console with drawers
Built from Plan(s)
Estimated Cost
160
Estimated Time Investment
Weekend Project (10-20 Hours)
Finish Used
Stain and varnish
Recommended Skill Level
Intermediate
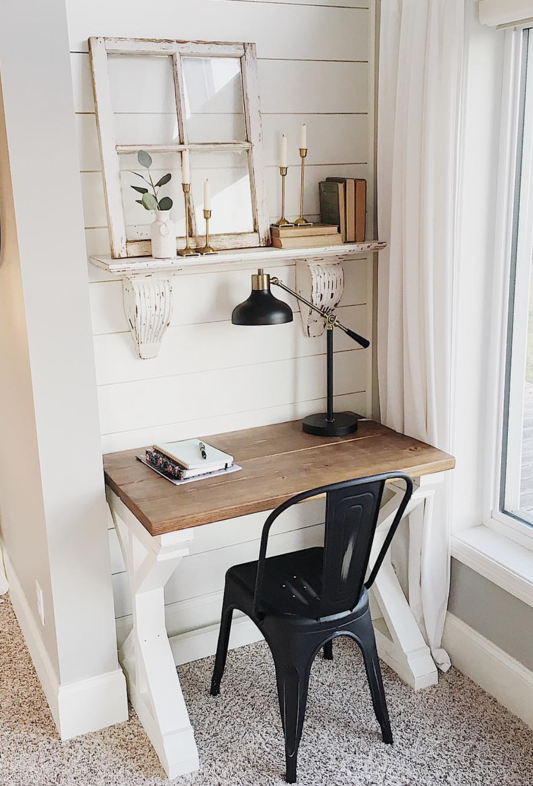
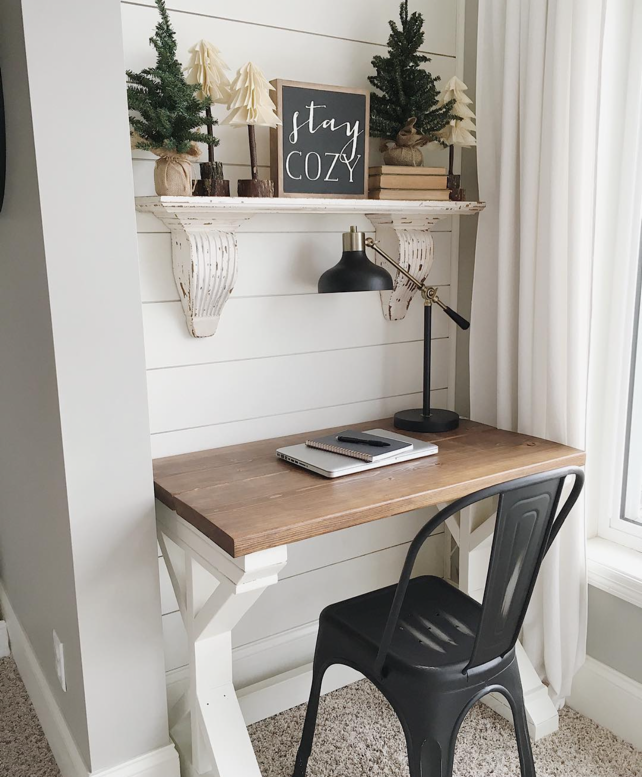
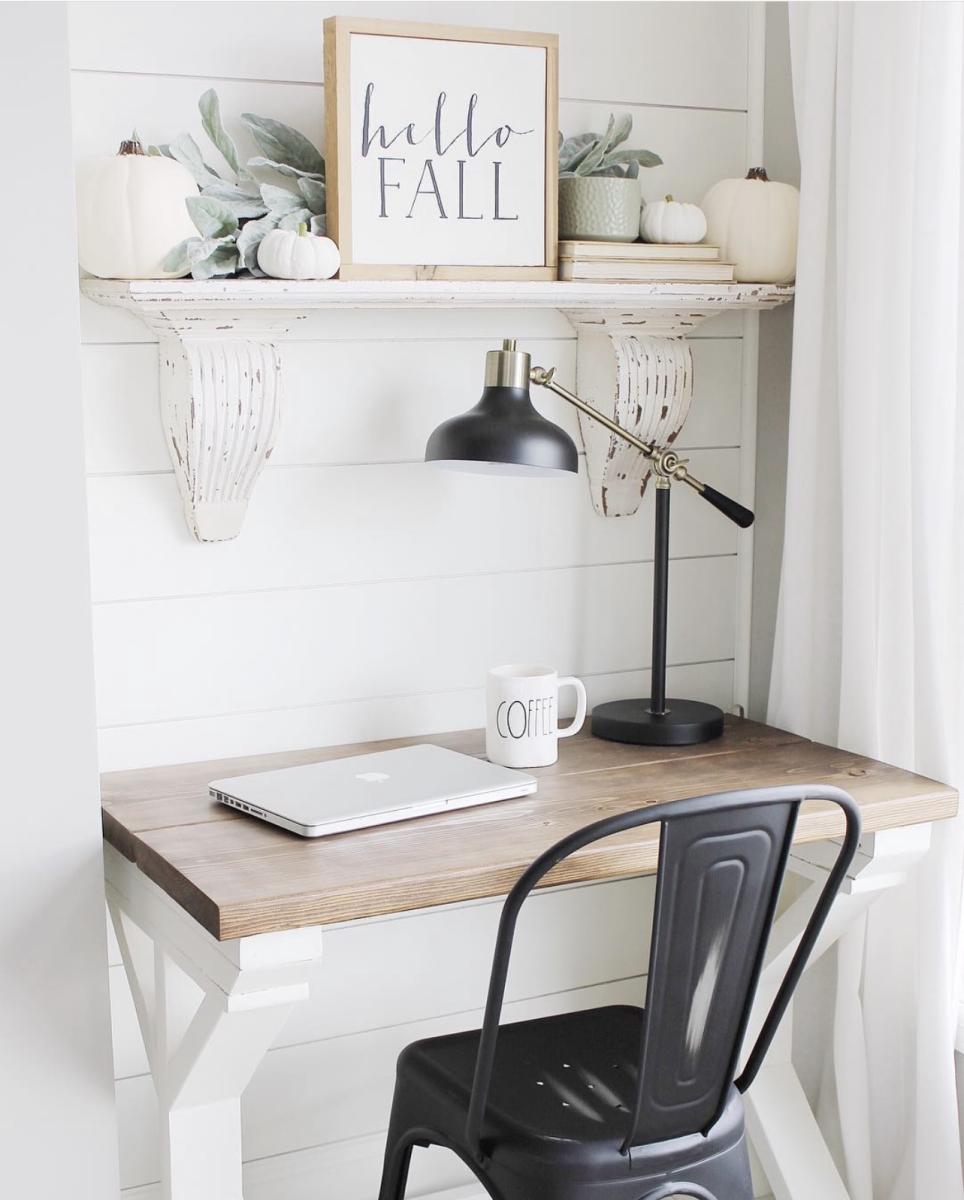
White Farmhouse Desk
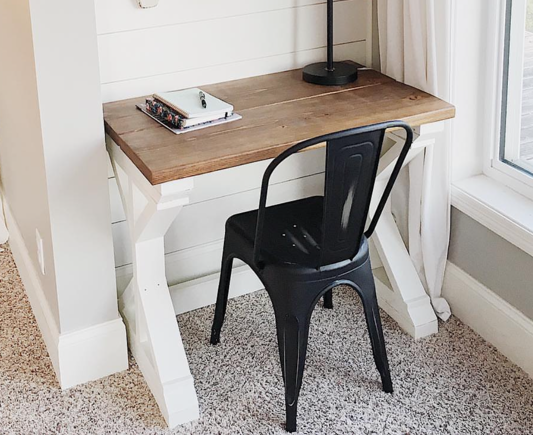
Pretty white farmhouse desk by textured.living.interiors on Instagram

Built from Plan(s)
Seasonal And Holiday
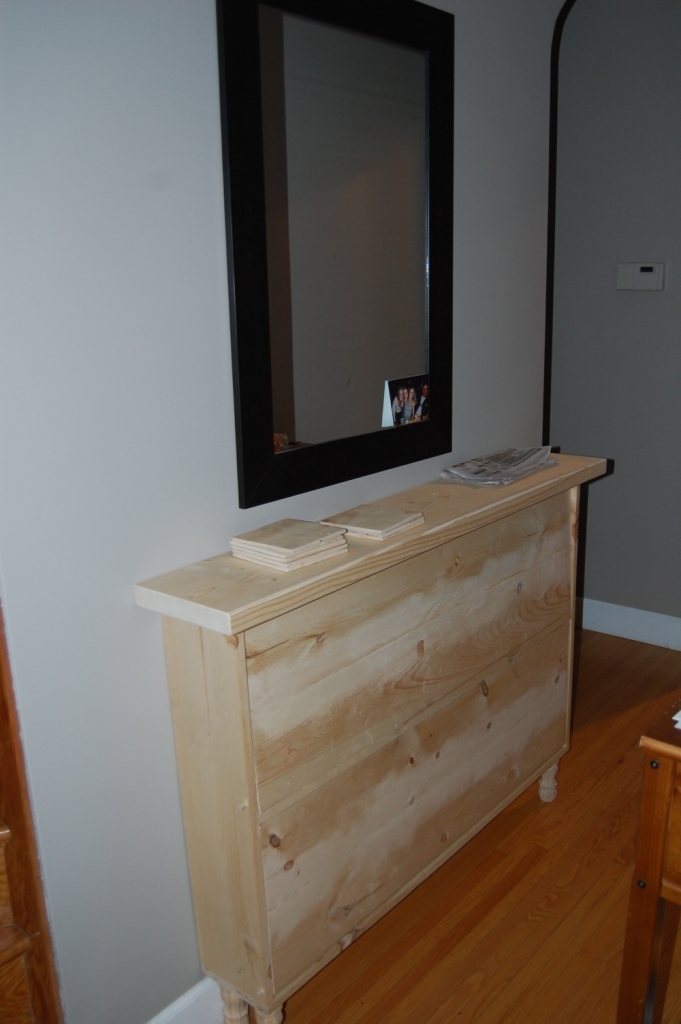
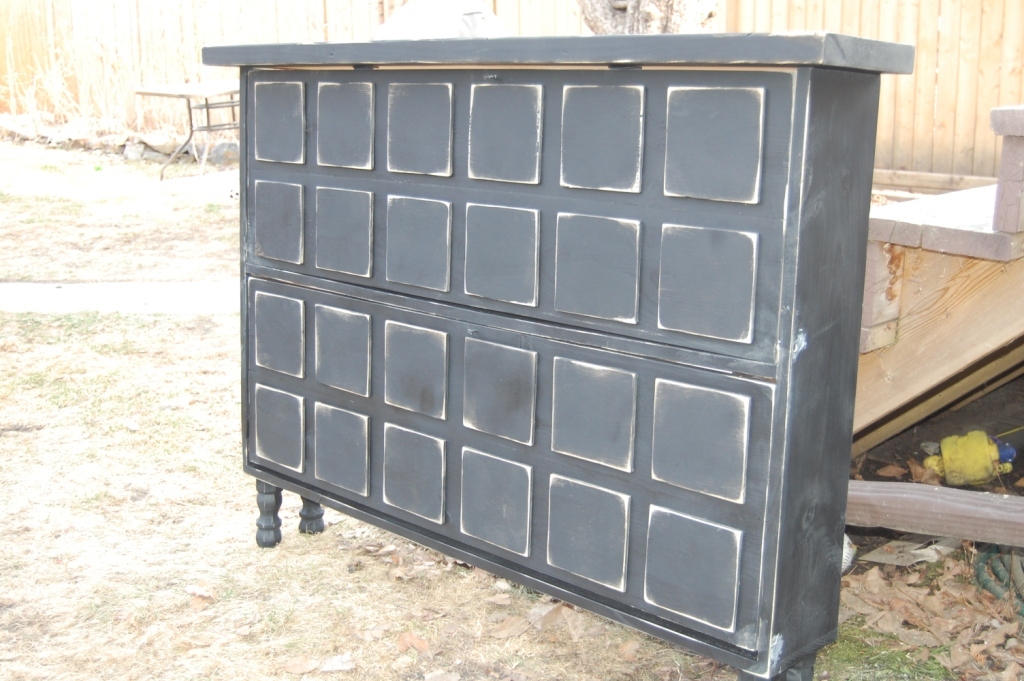
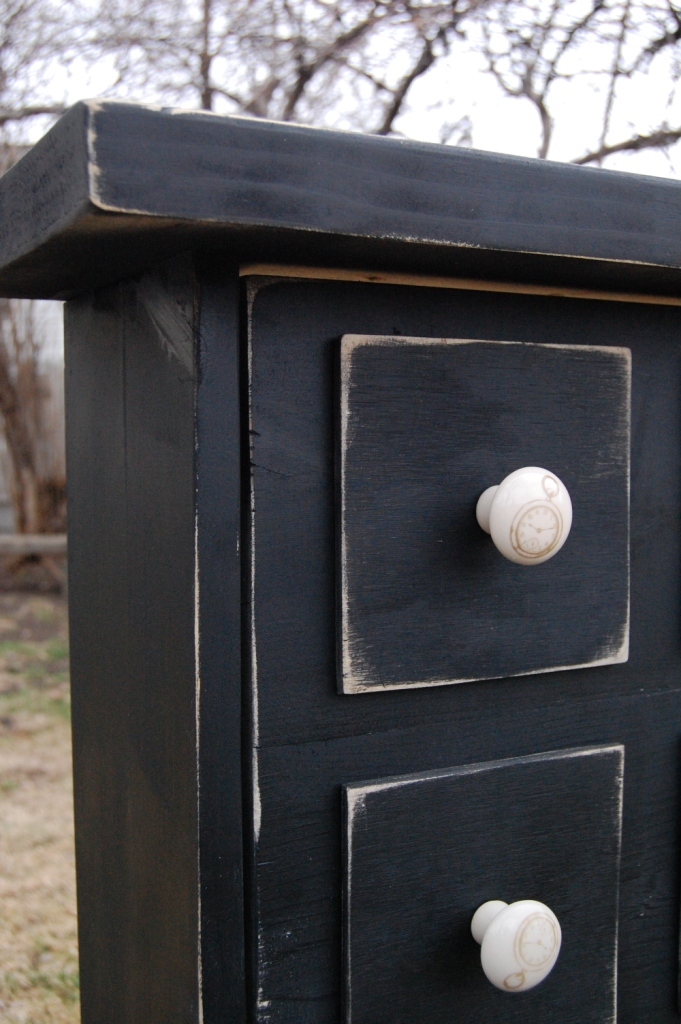
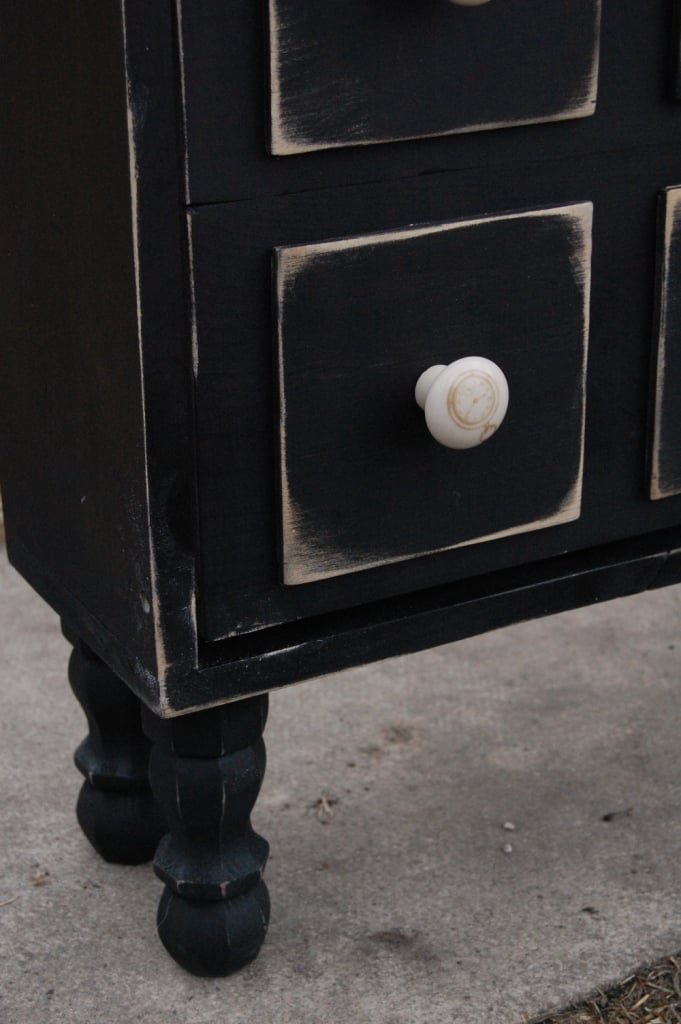
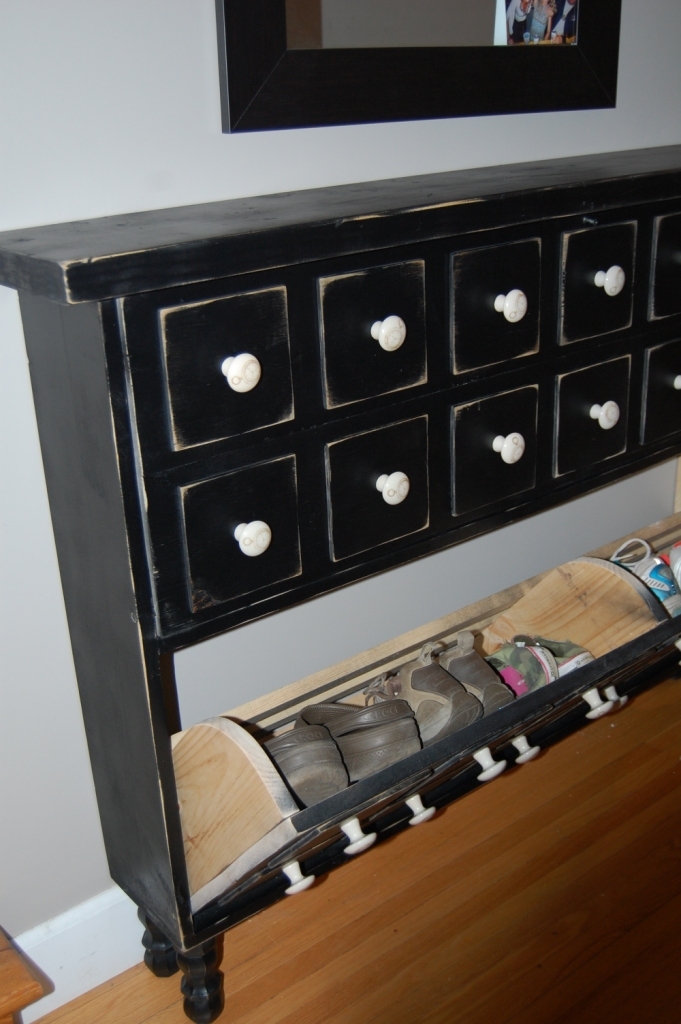
Apothecary Shoe Dresser
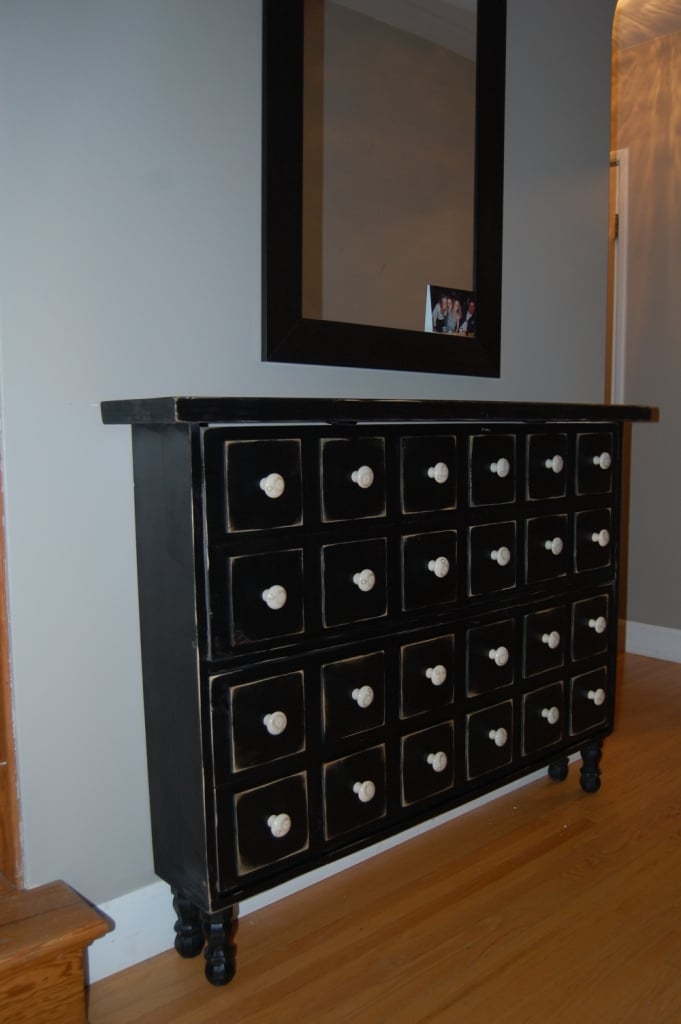
I have been planning to build the apothecary media console, but my desire for a new hall table and shoe storage won out. So...I transferred the look, and I love it! I wanted a vintage feel so I added legs, apothecary drawer fronts and knobs, a 2x10 top, and a distressed finish.
Built from Plan(s)
Estimated Cost
$150
Estimated Time Investment
Day Project (6-9 Hours)
Finish Used
Black spray paint, distressed with a sander and finished with varathane.
Recommended Skill Level
Intermediate
Comments
Tue, 05/01/2012 - 07:52
You are a very smart cookie -
You are a very smart cookie - who would think that there are shoes in there! awesome~

Comments
Ana White Admin
Mon, 09/18/2023 - 15:15
Great table!
Love your modifications! Thanks for sharing.