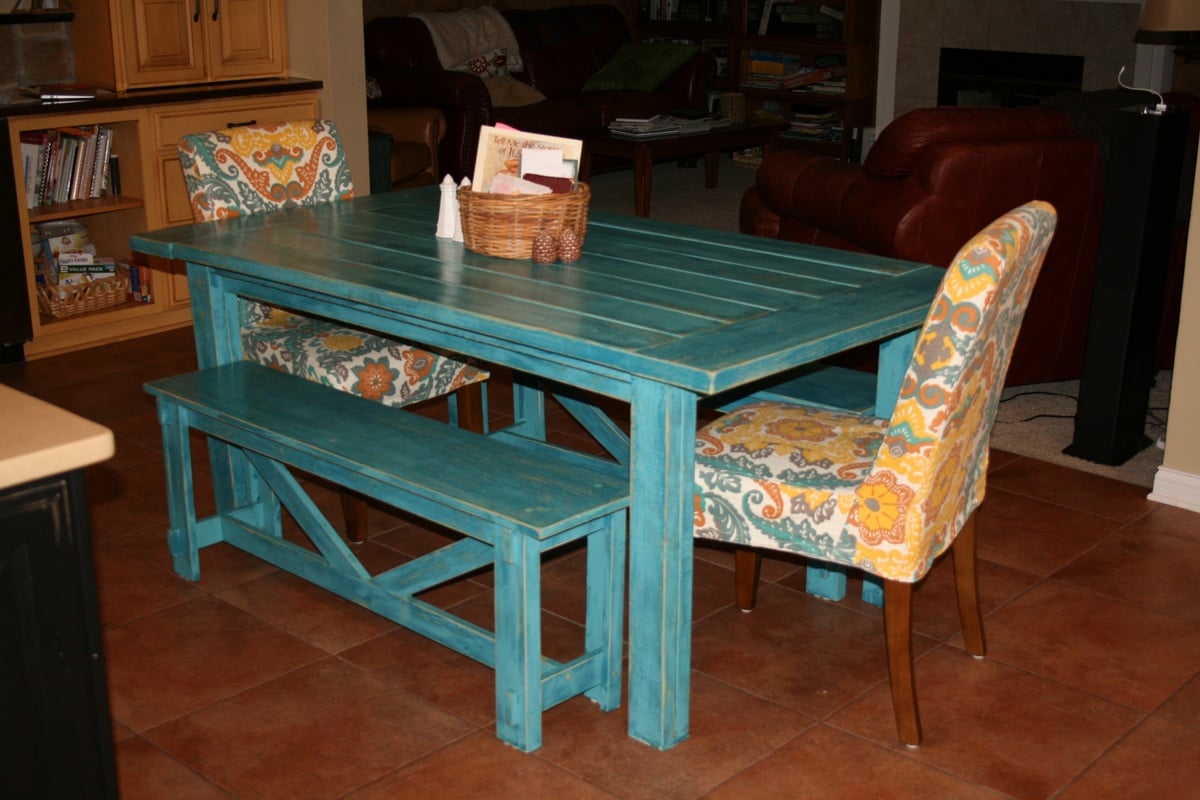
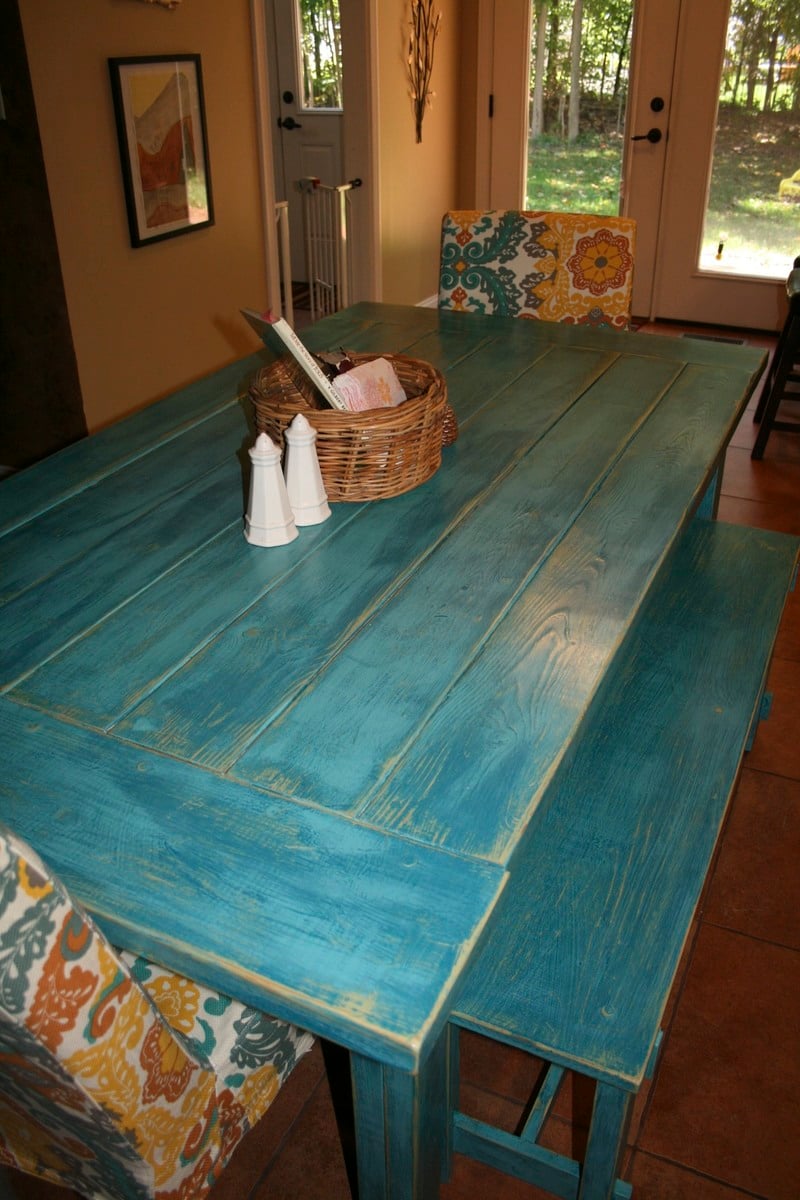
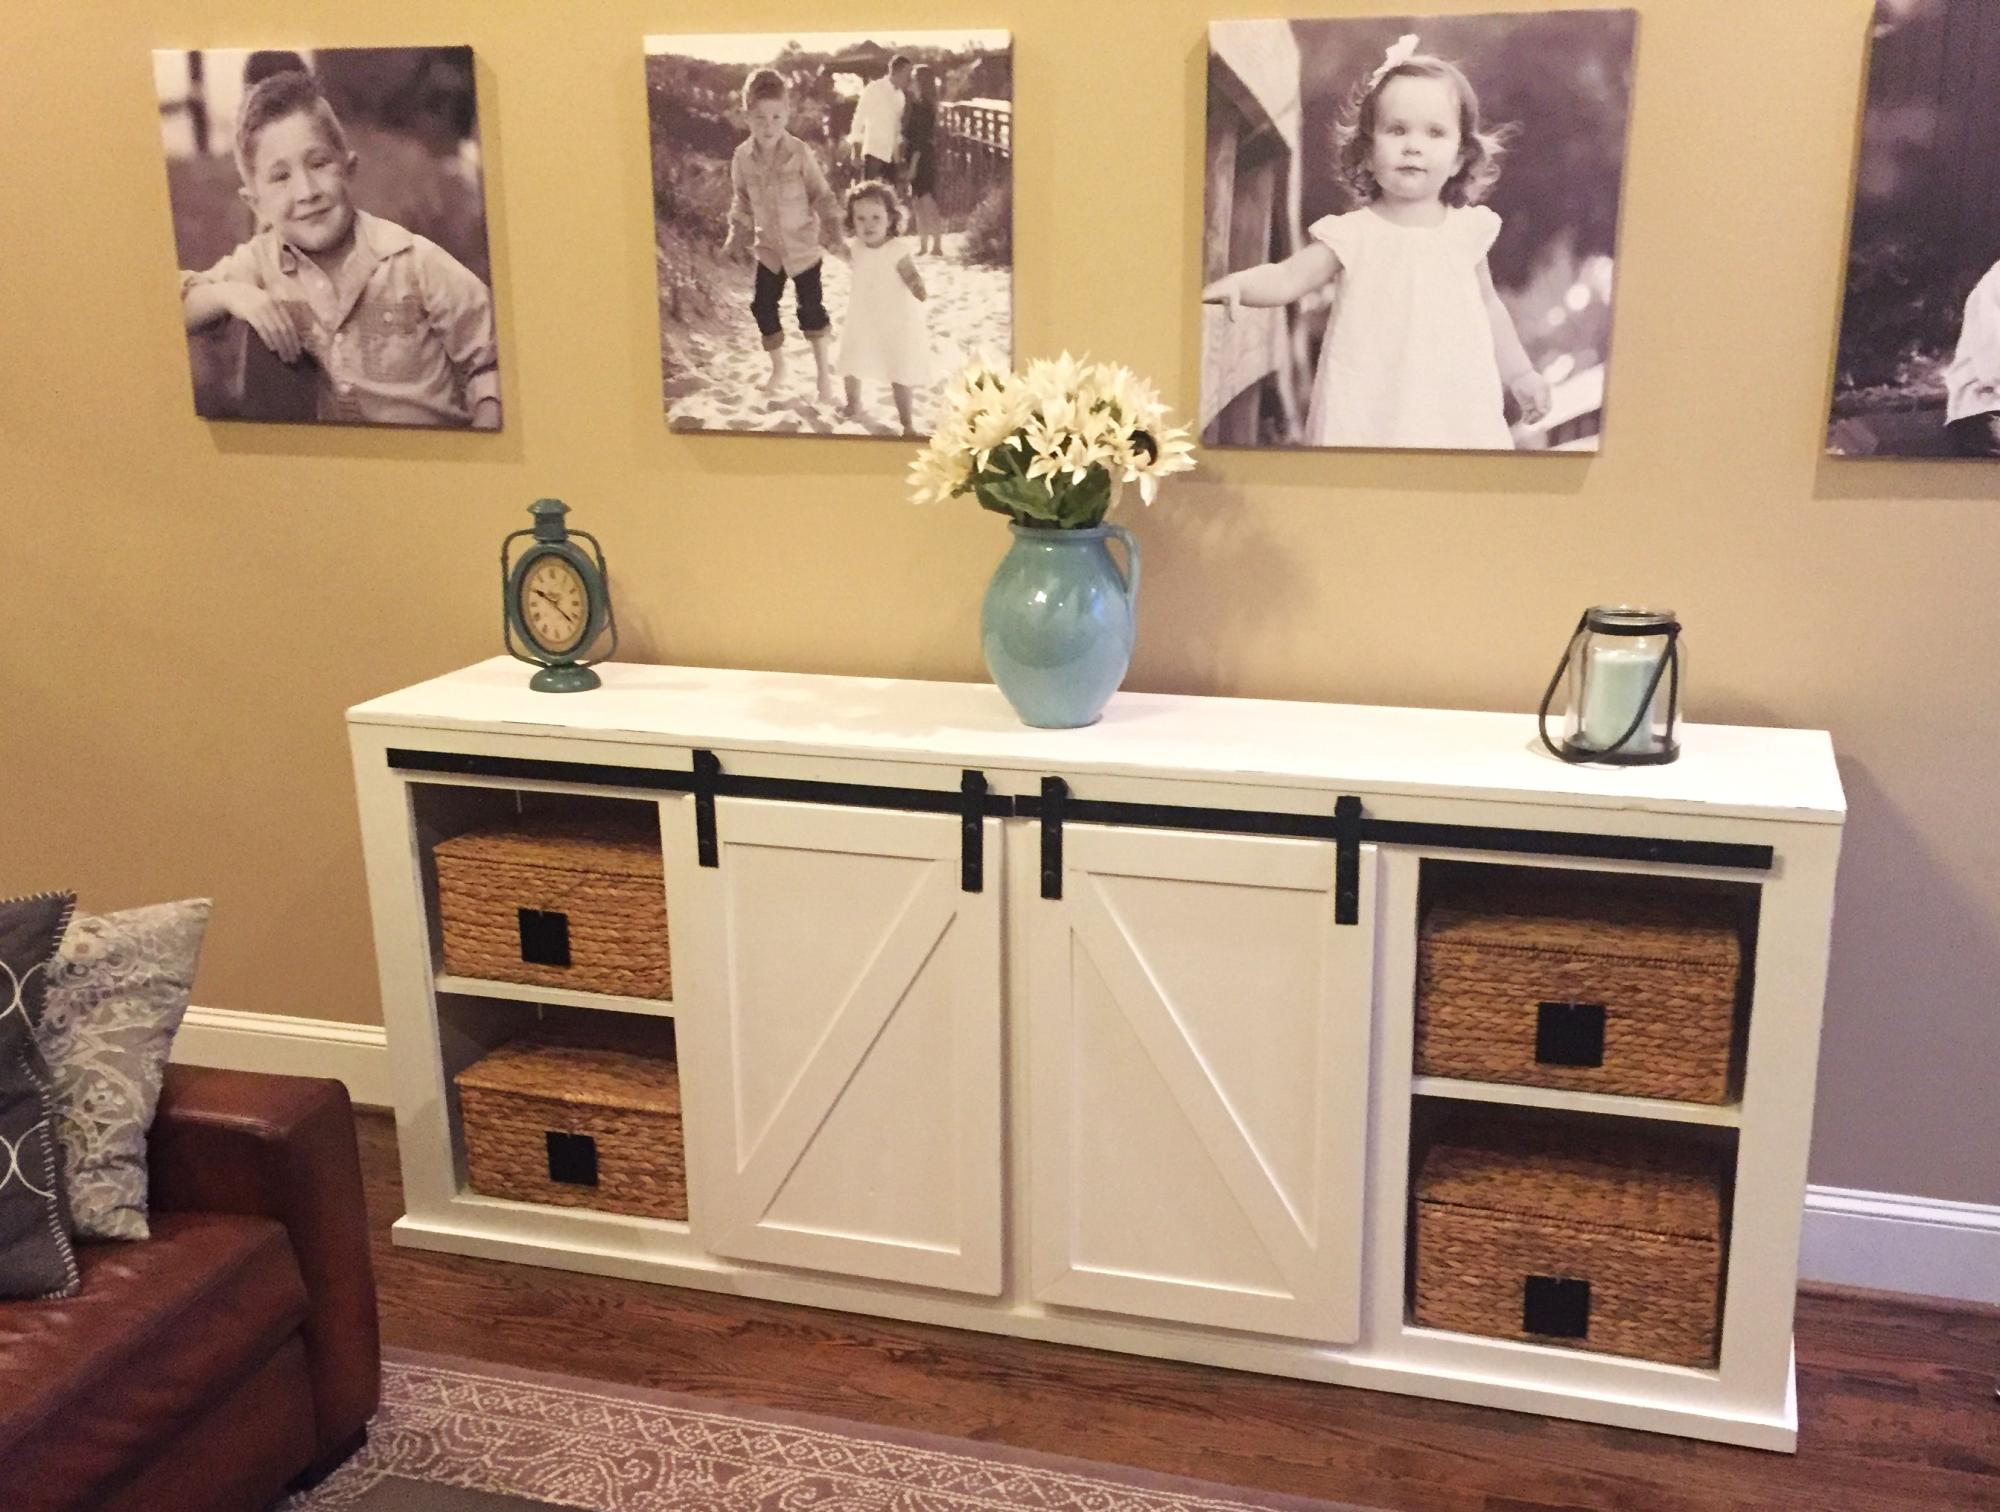
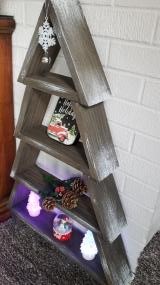
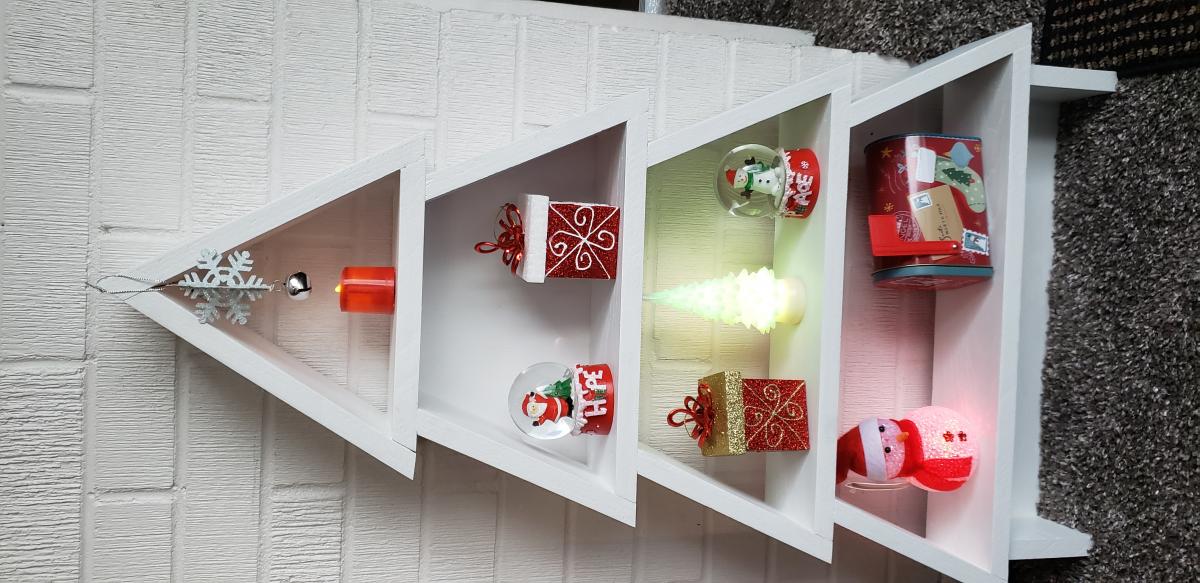
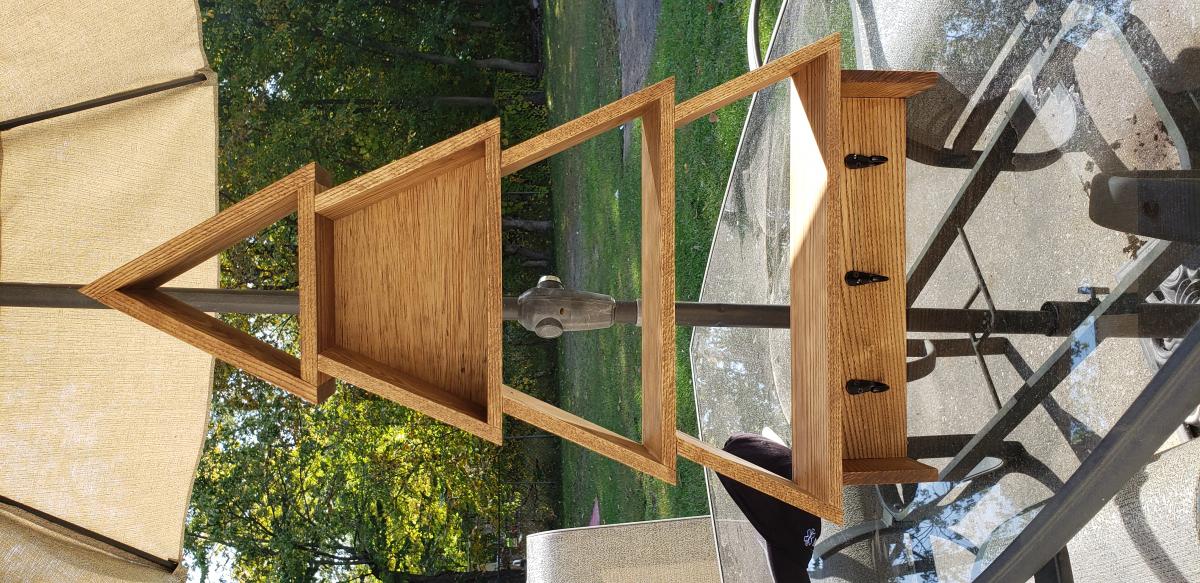
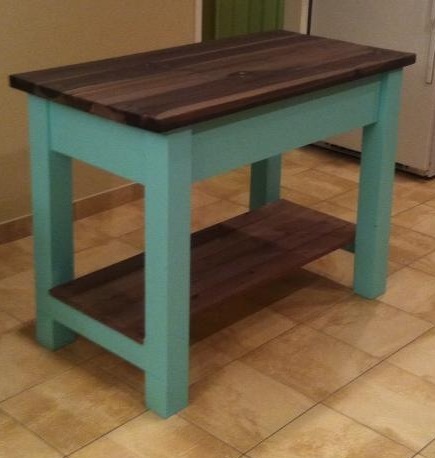
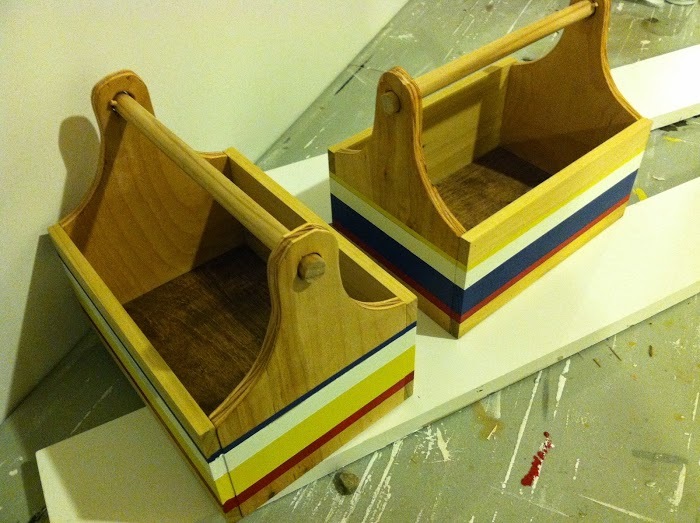
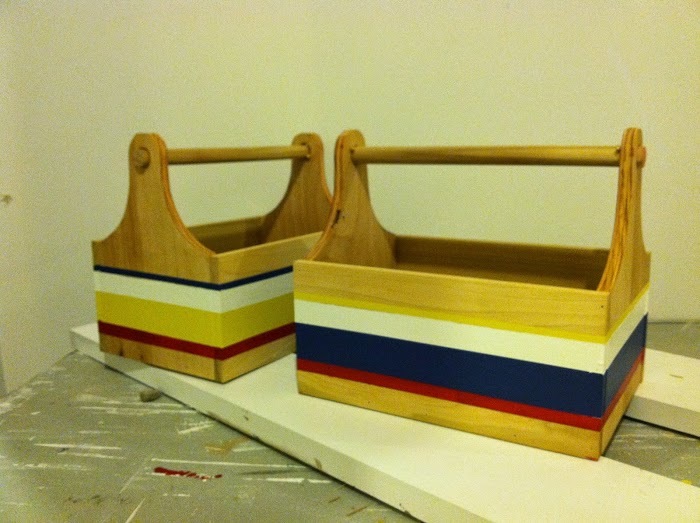
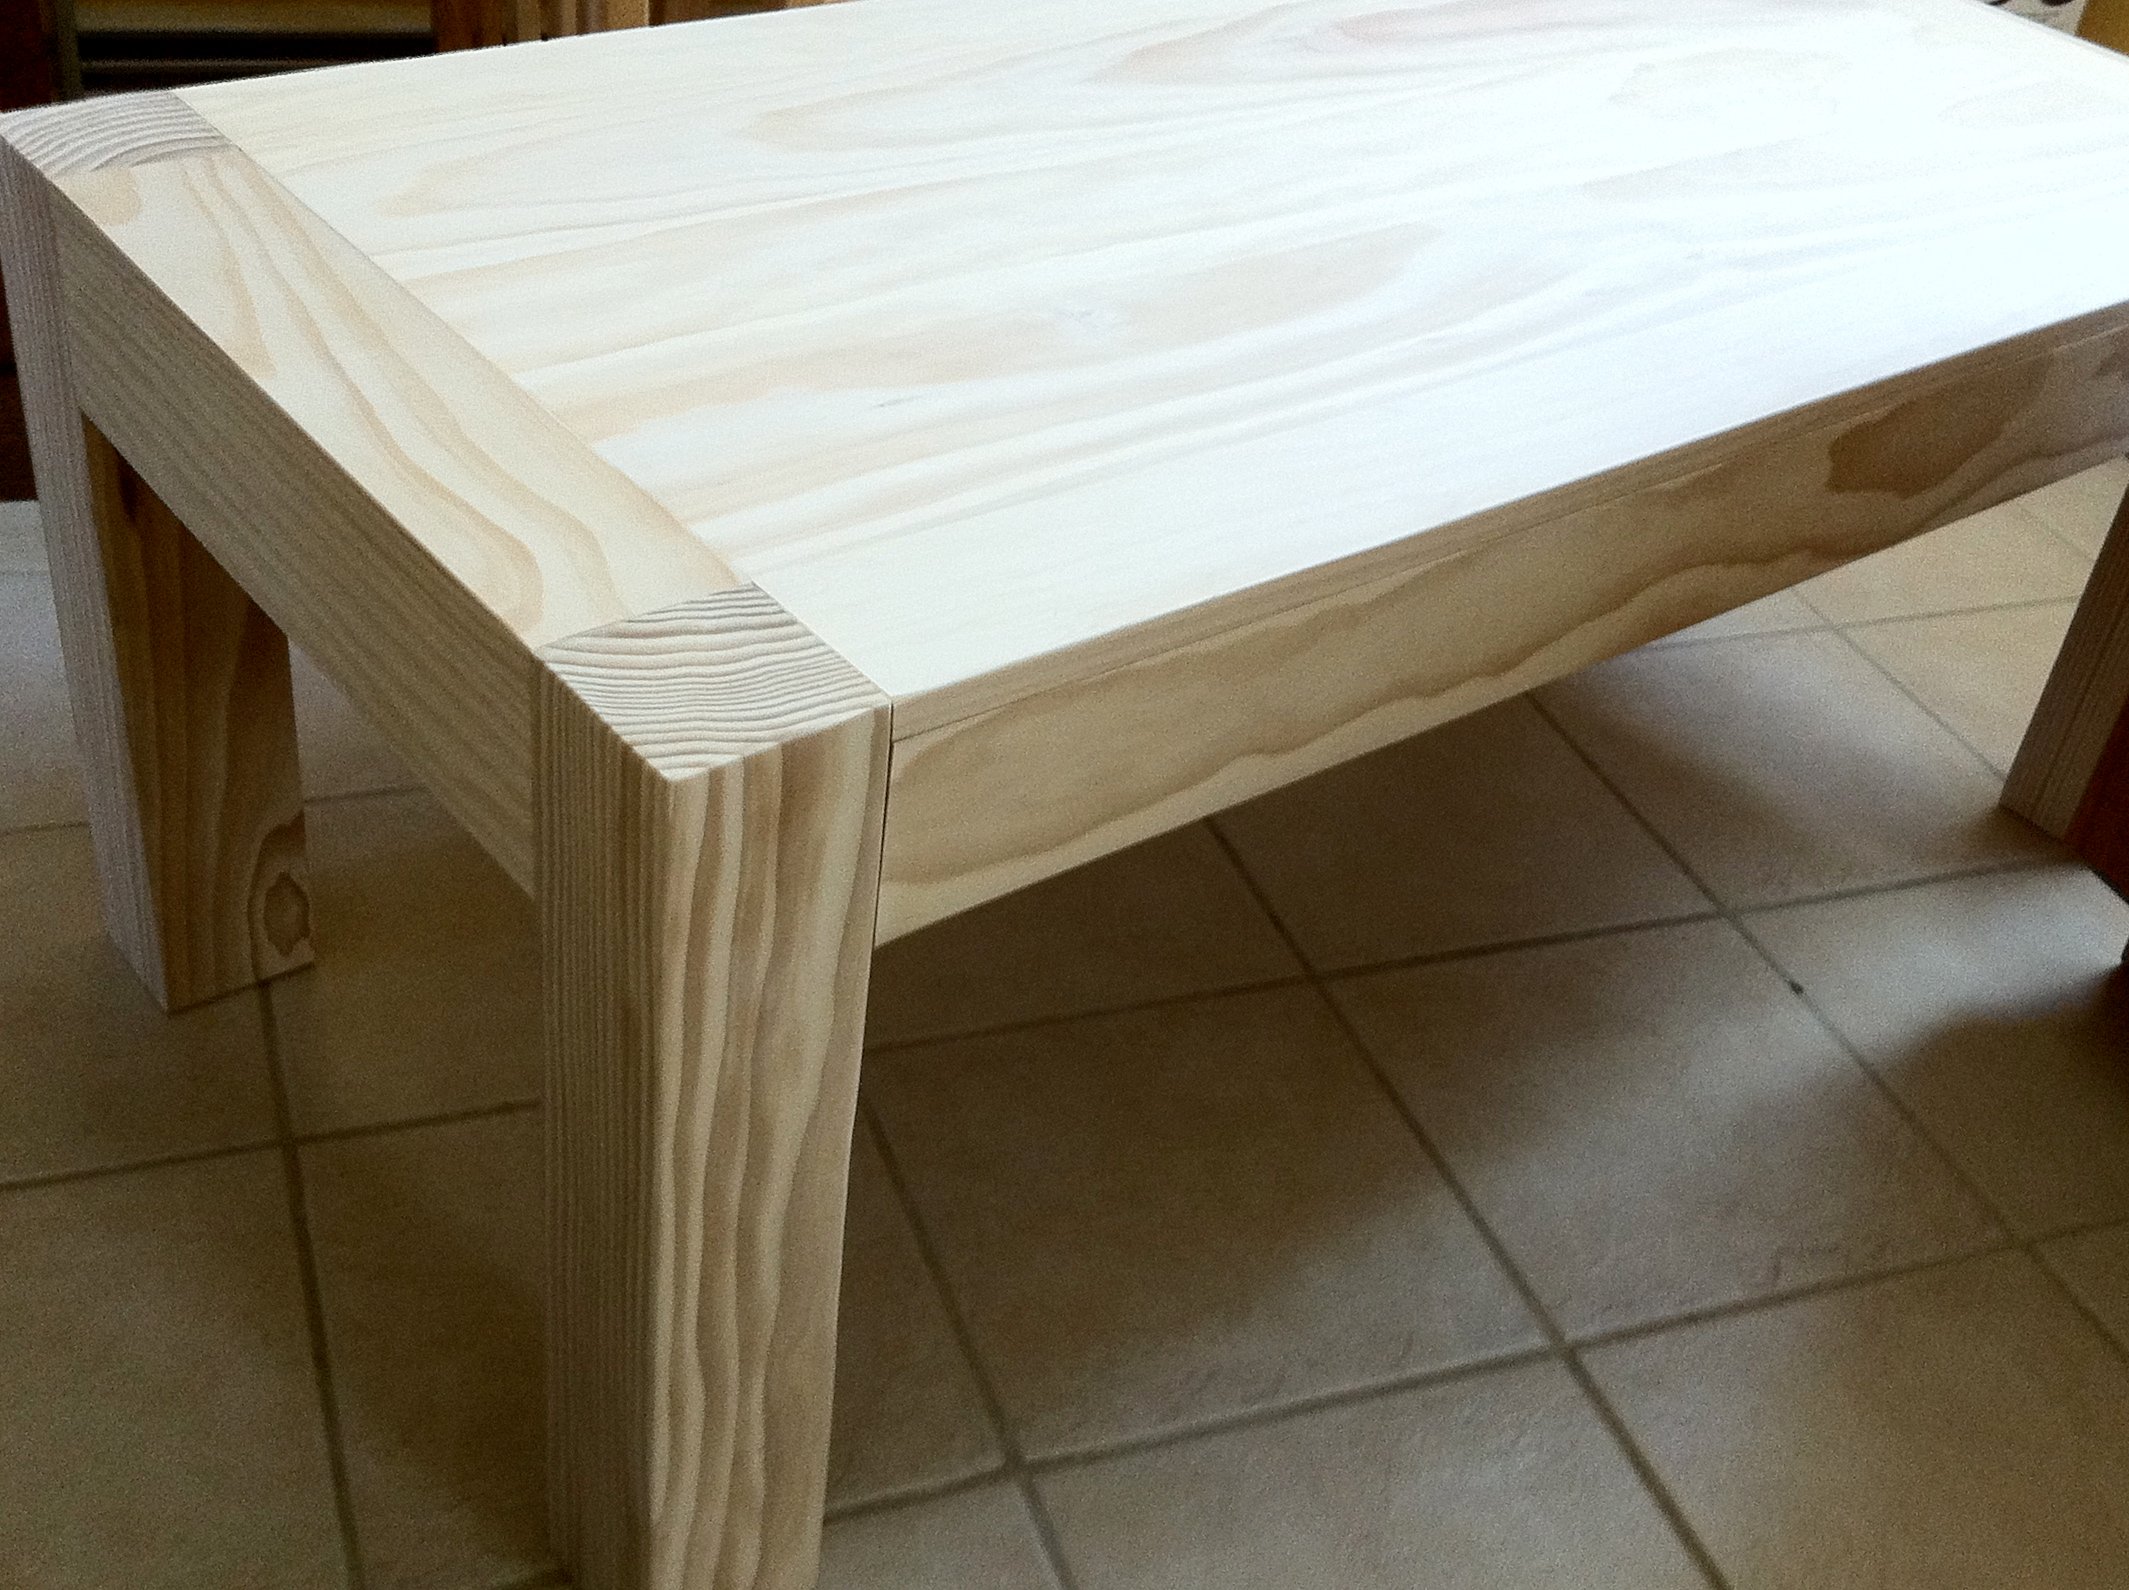
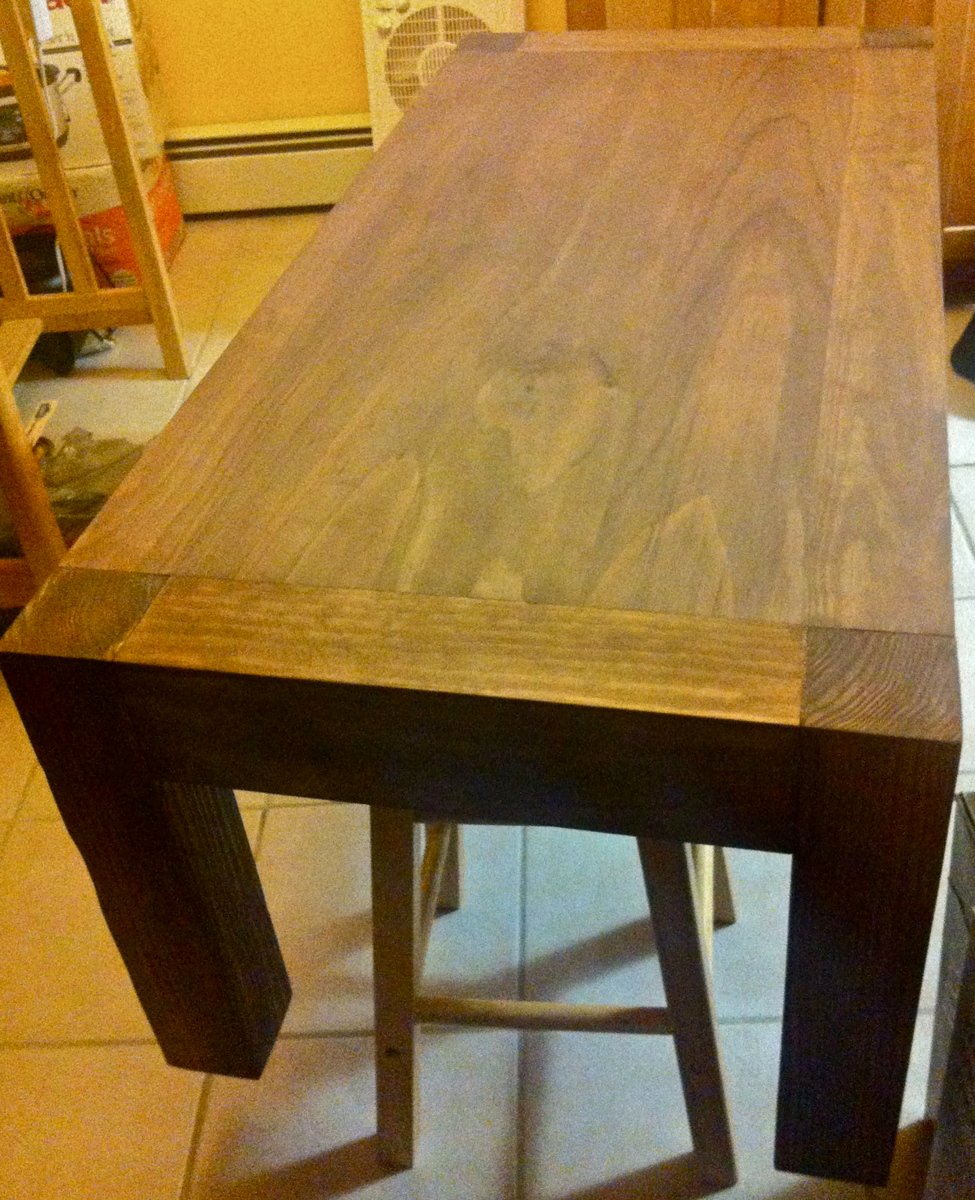
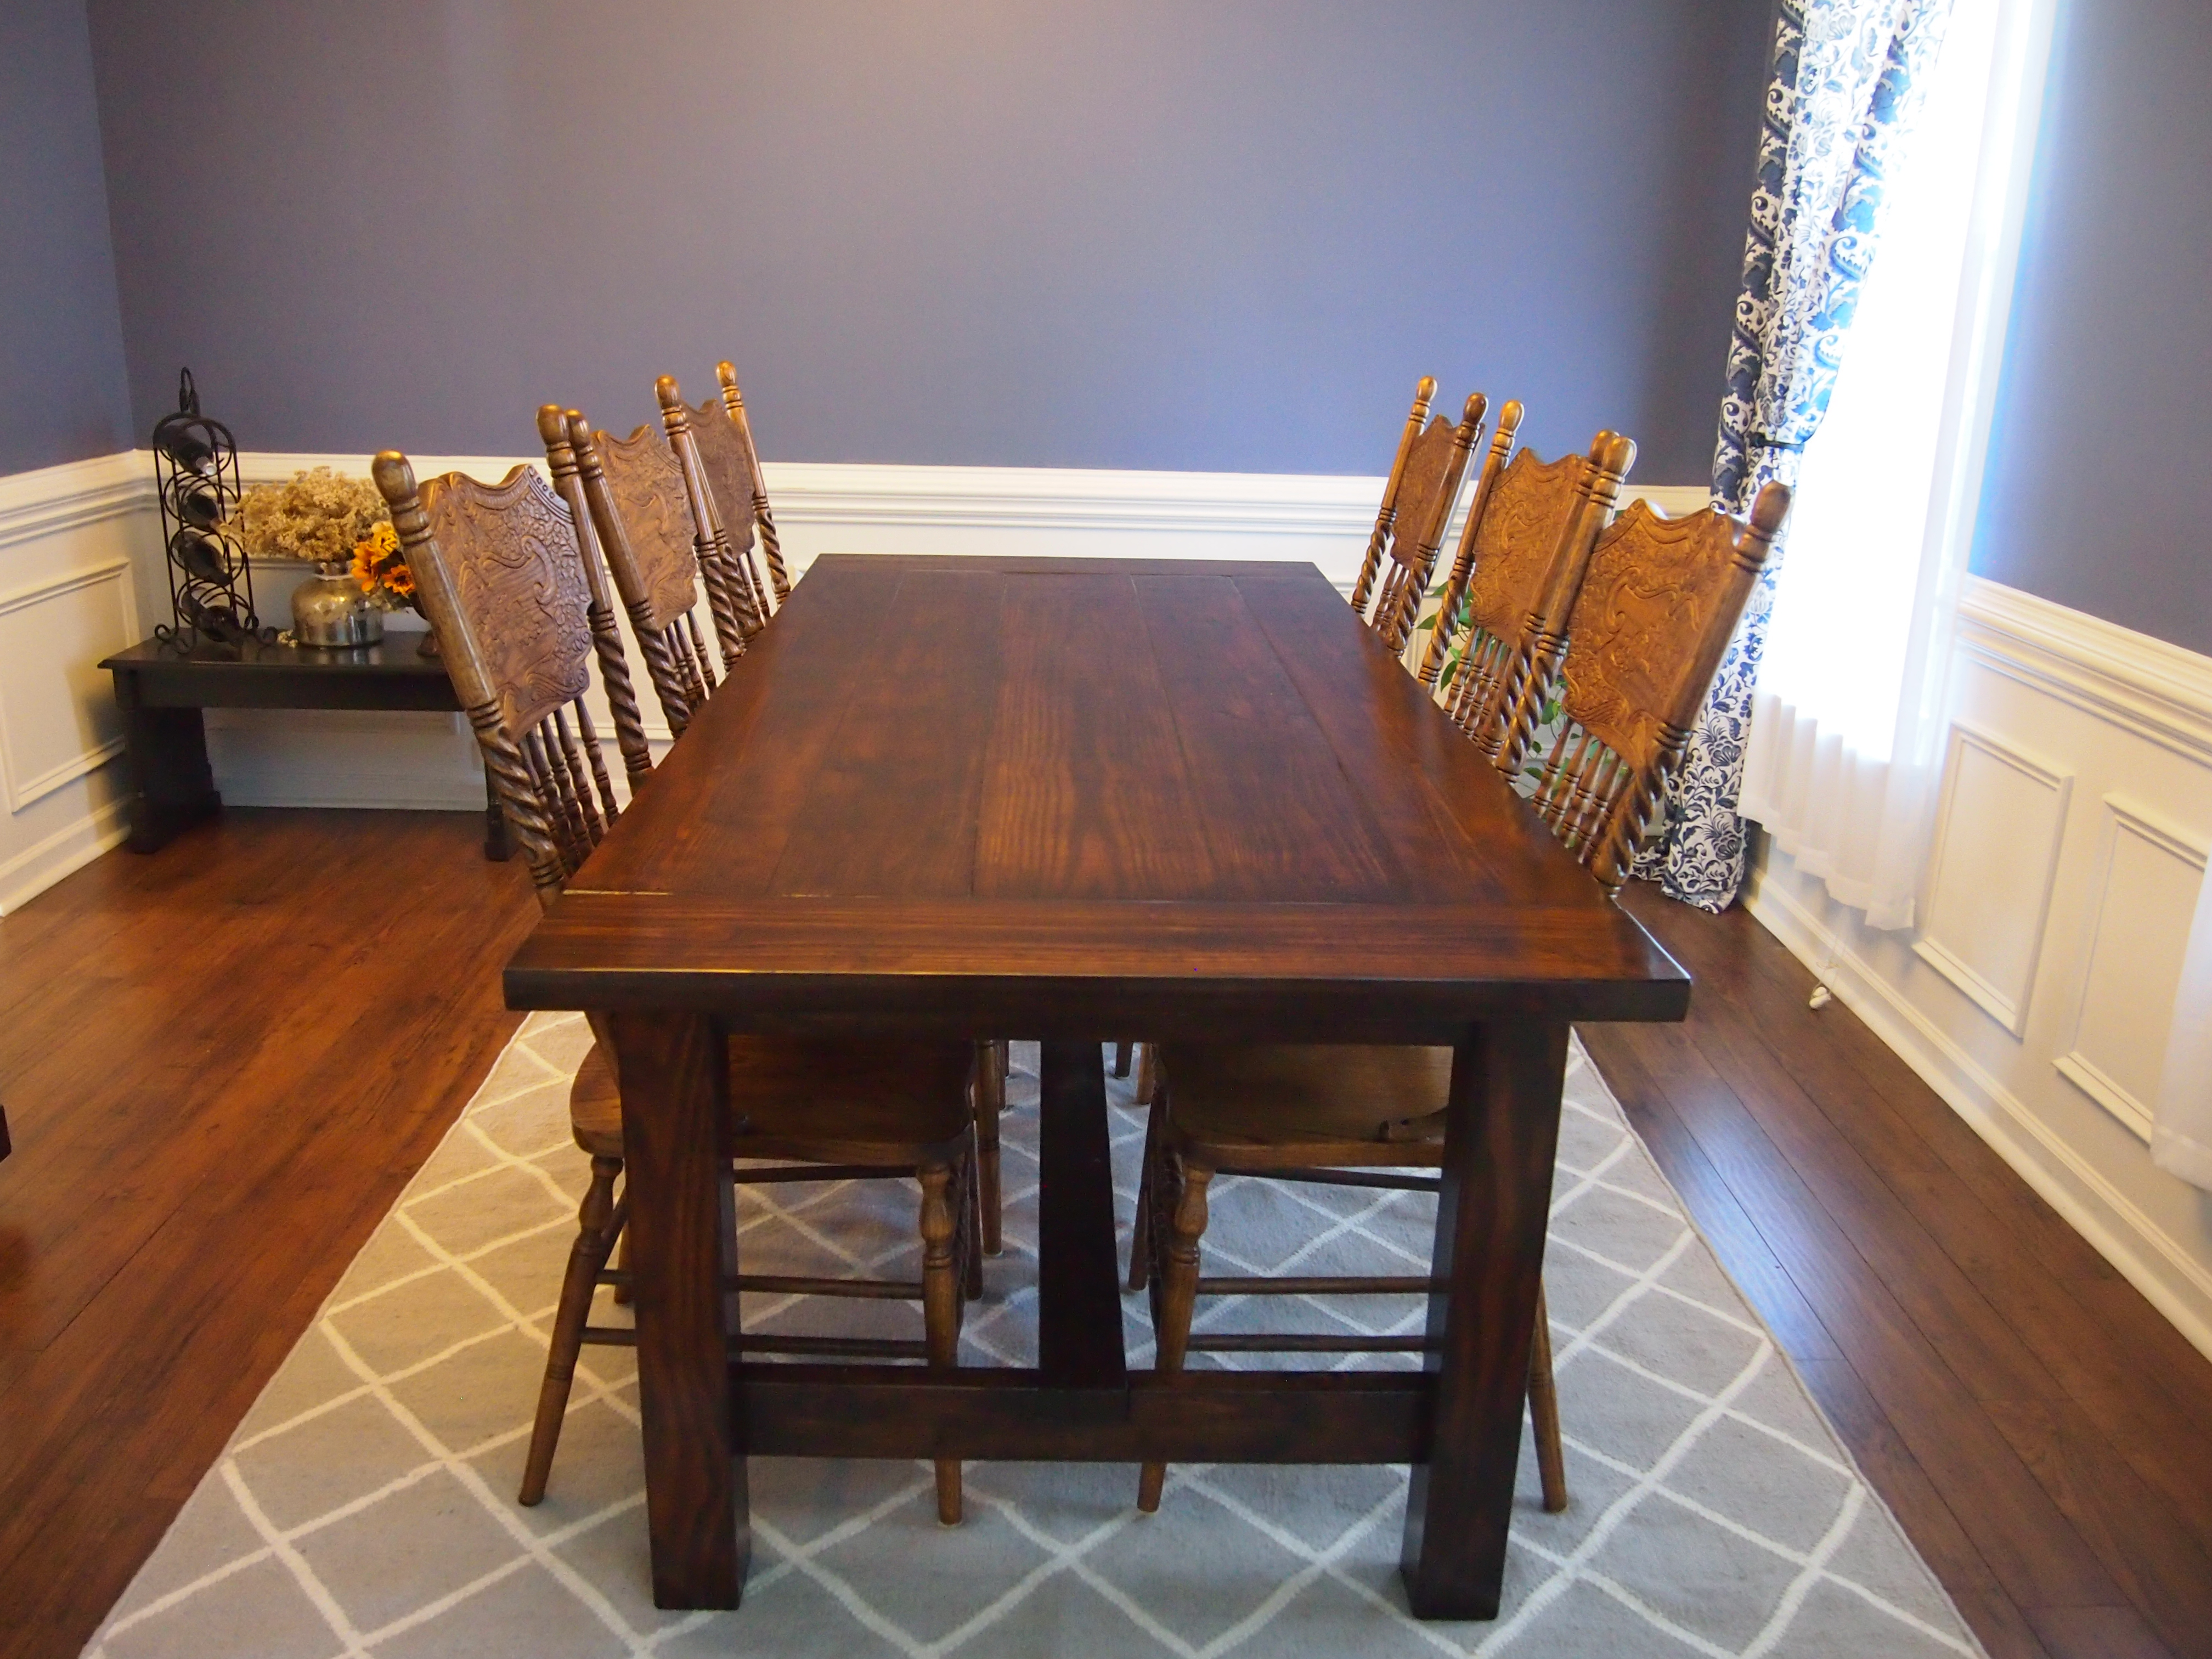
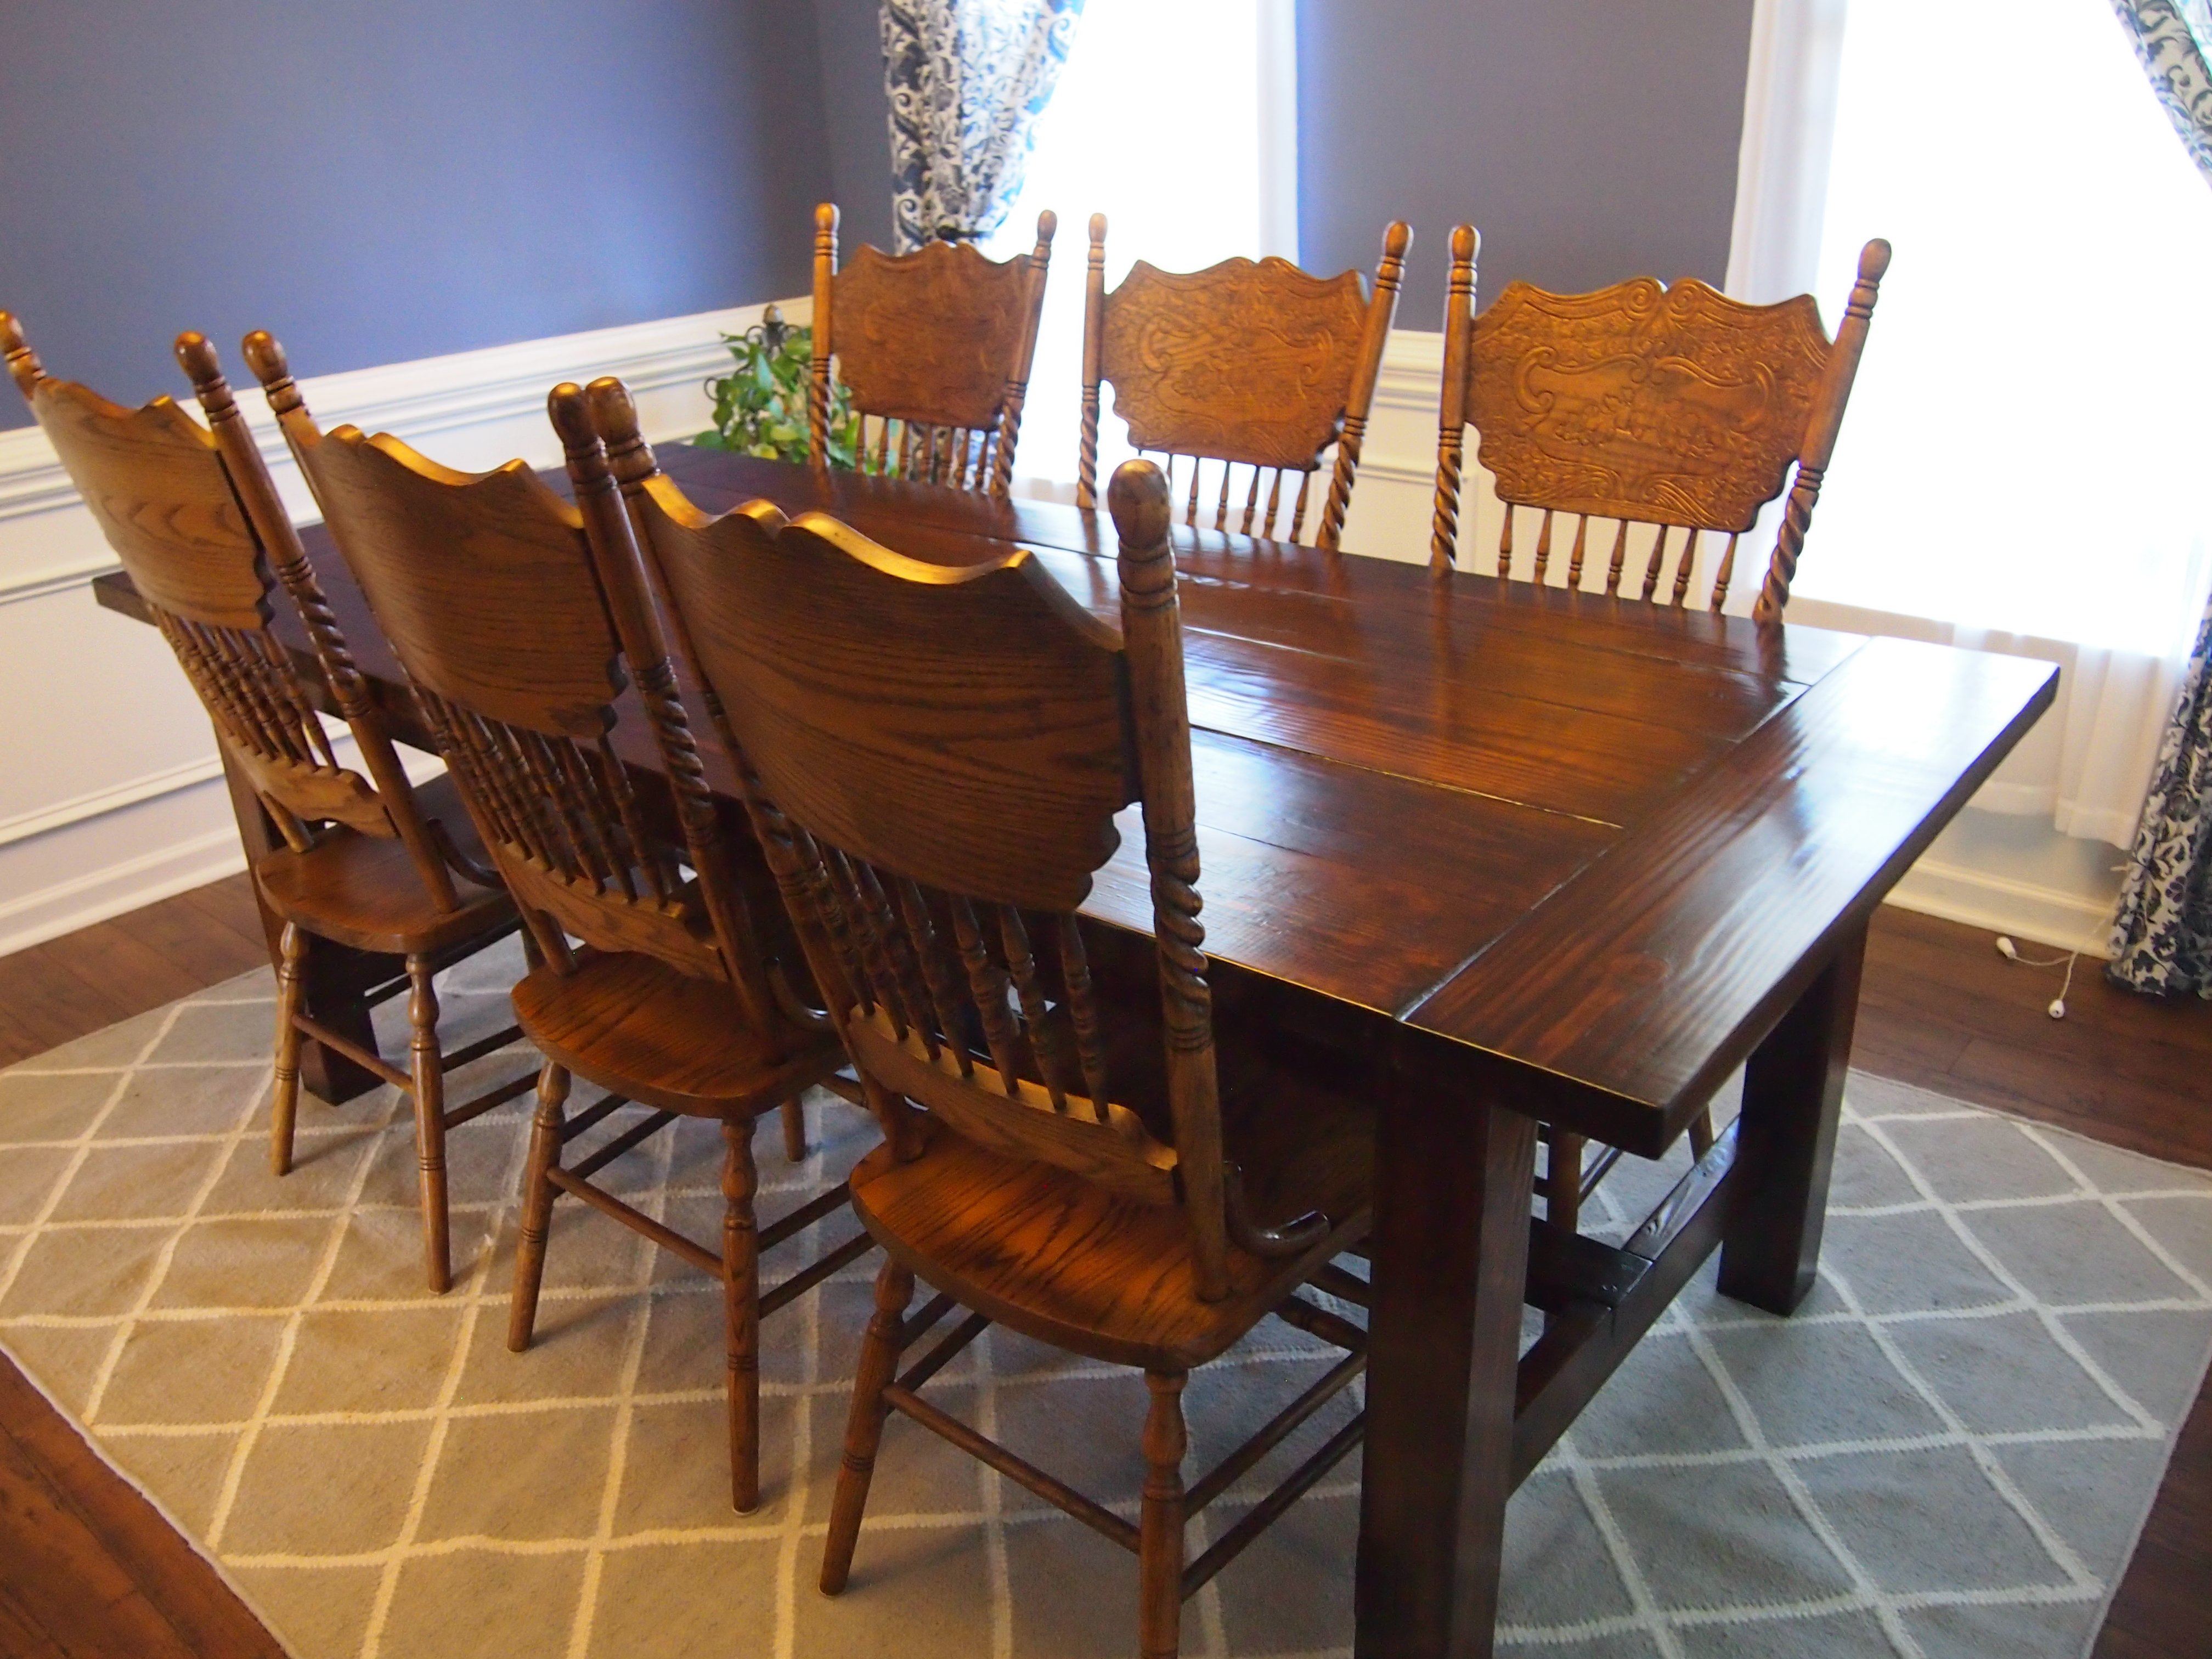
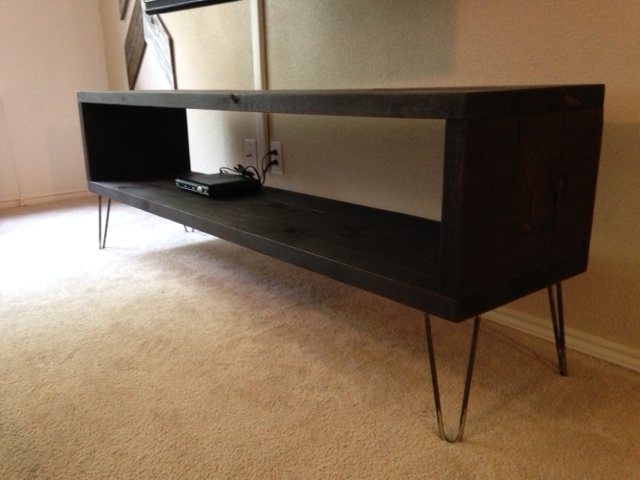
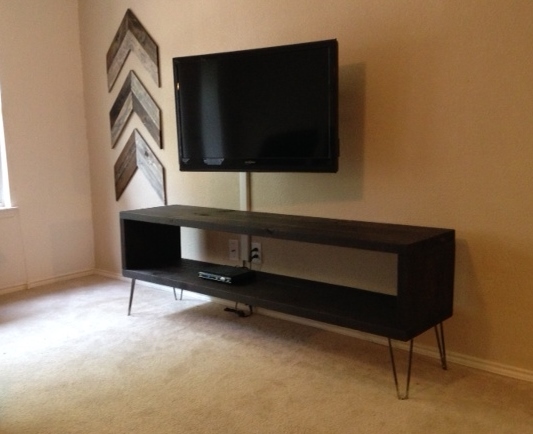
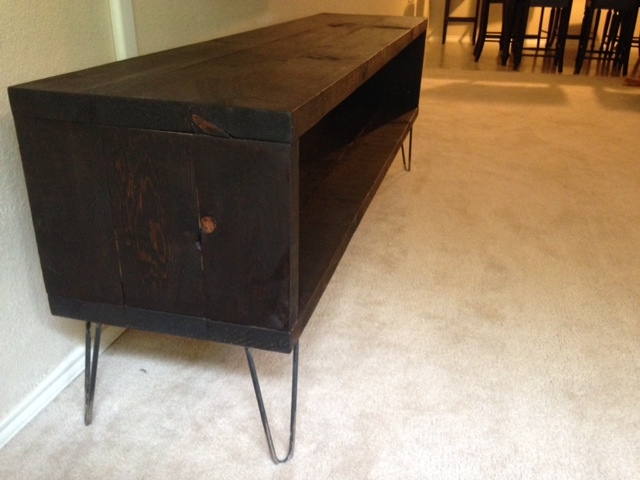
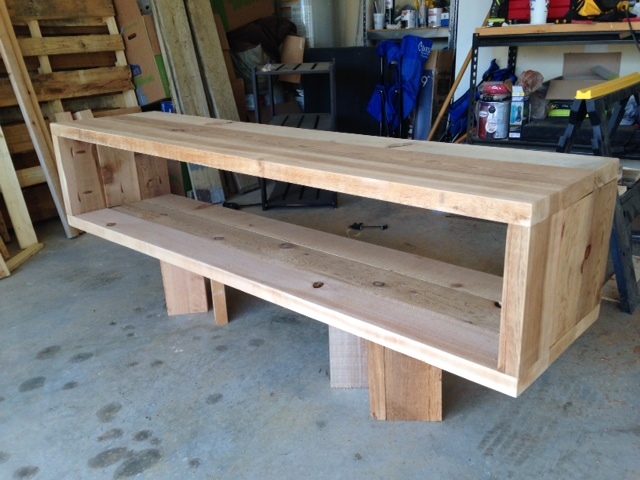
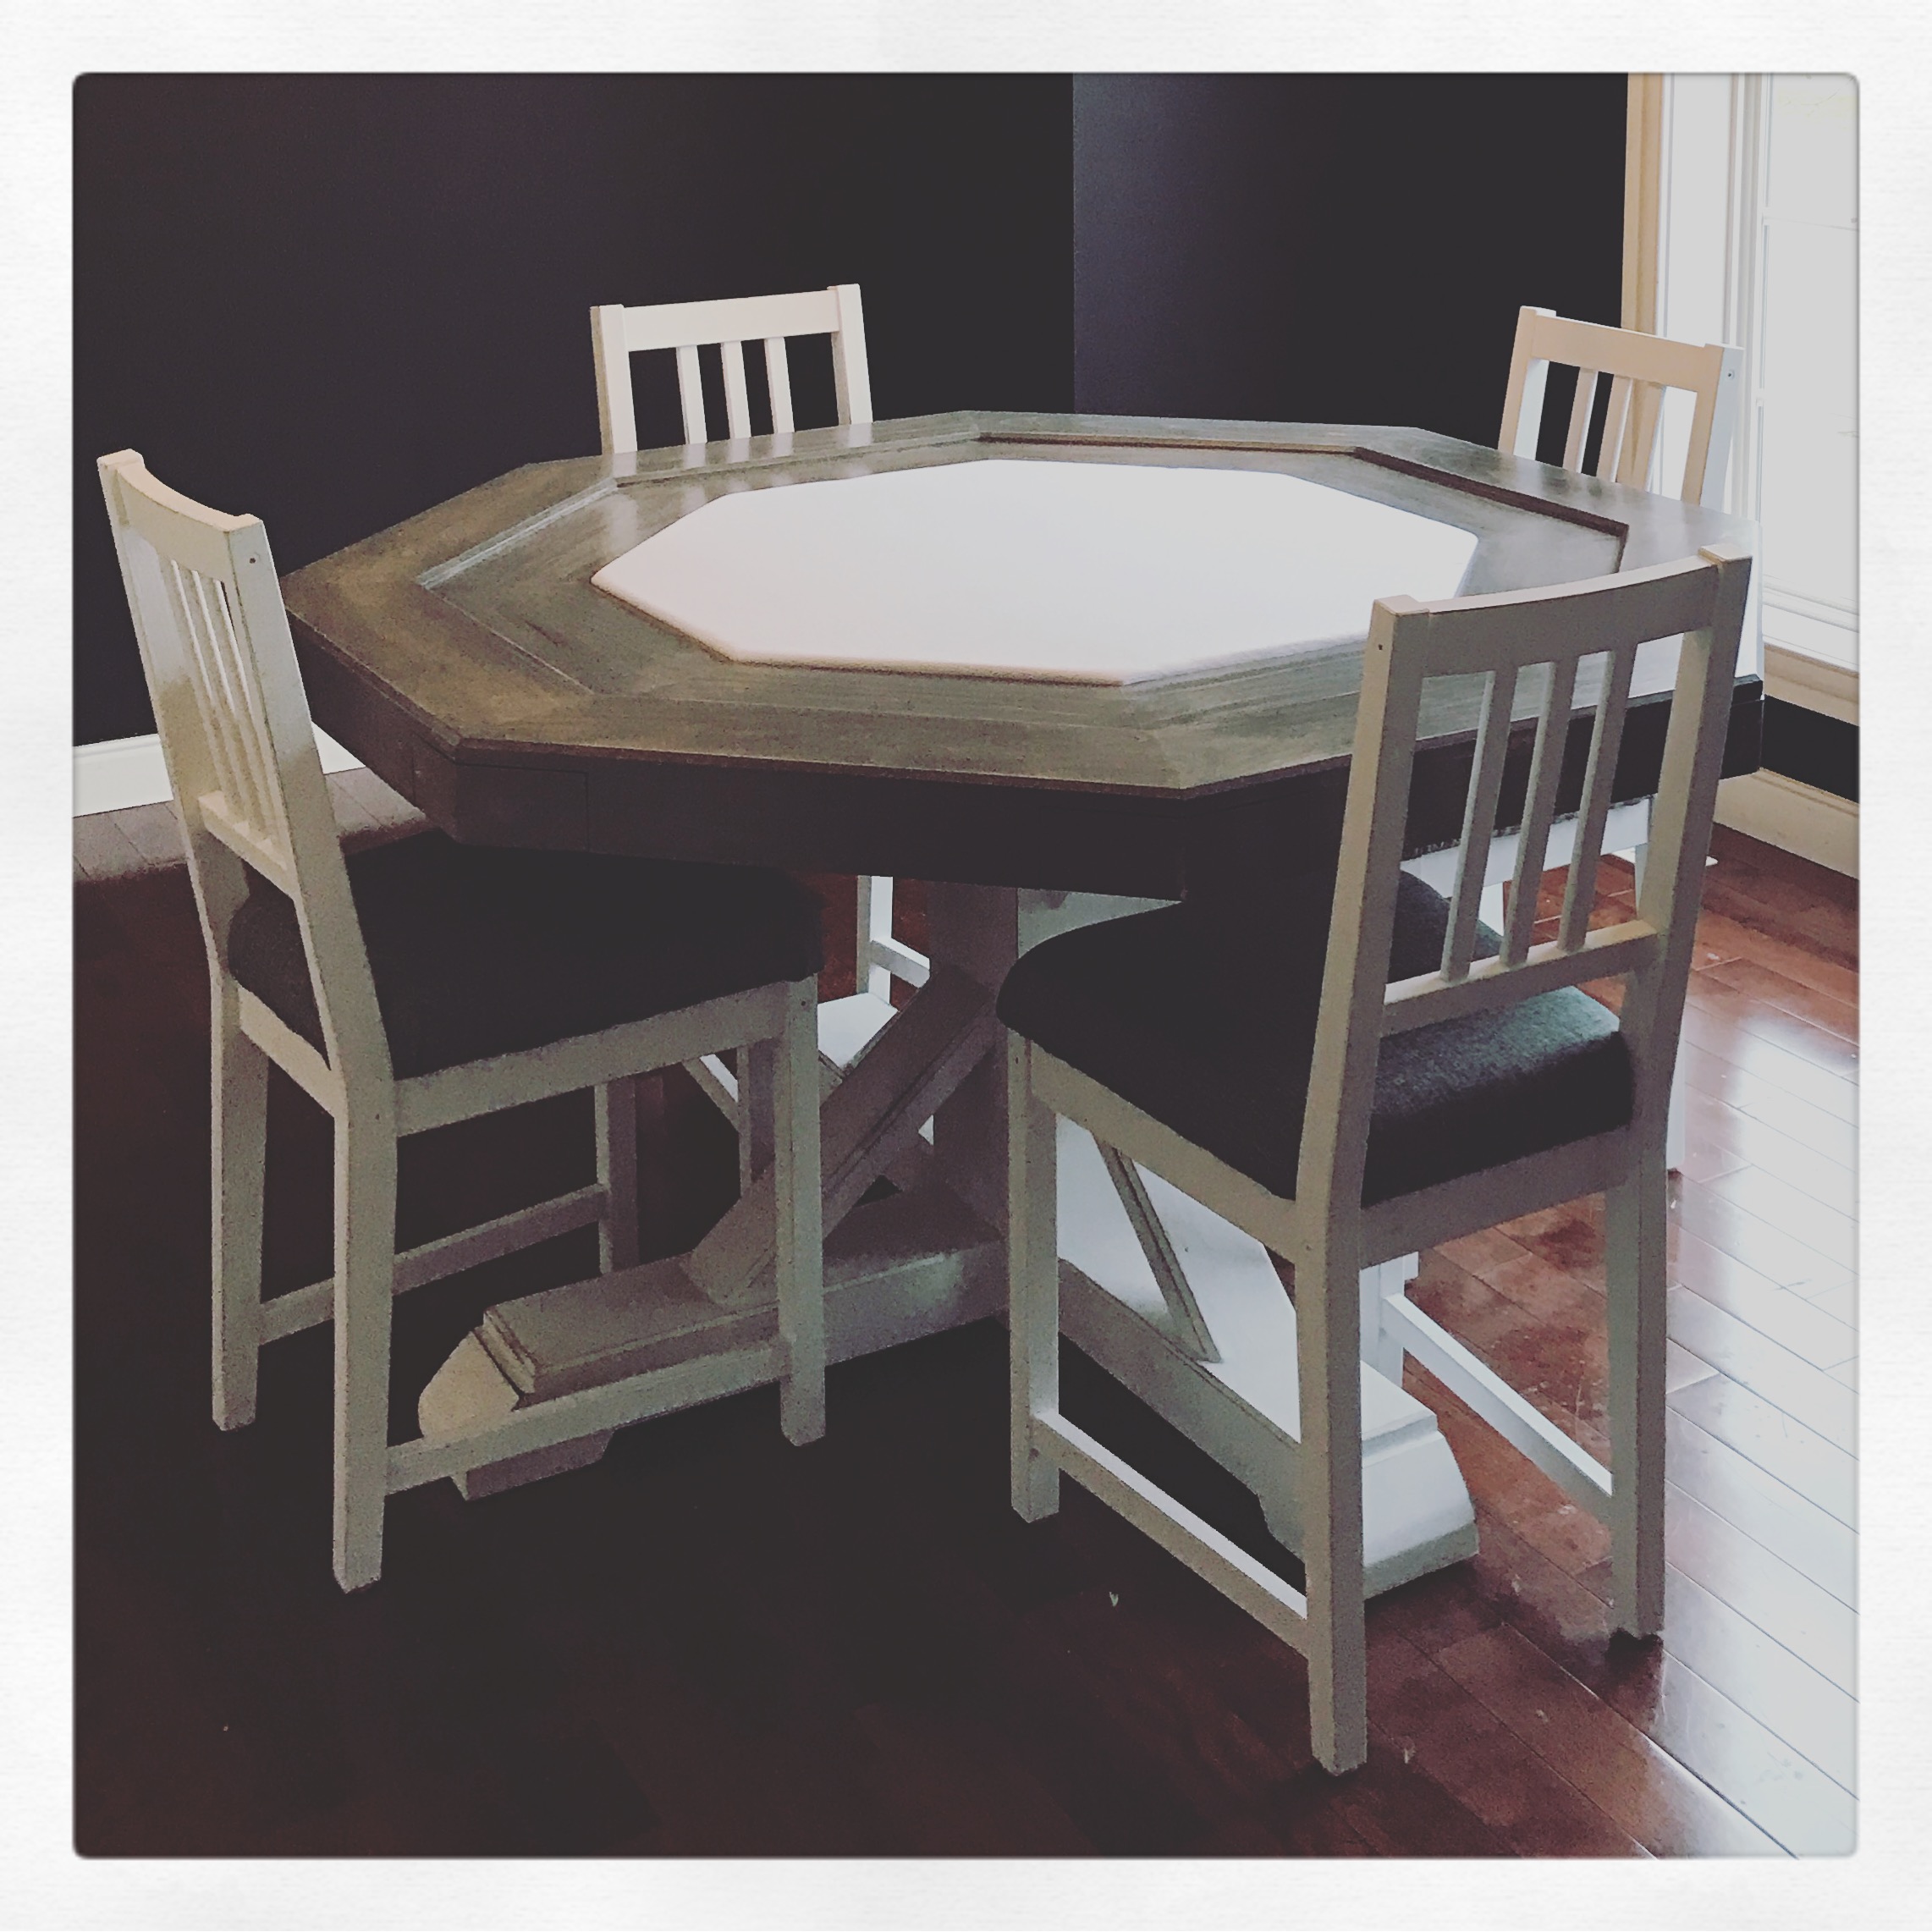
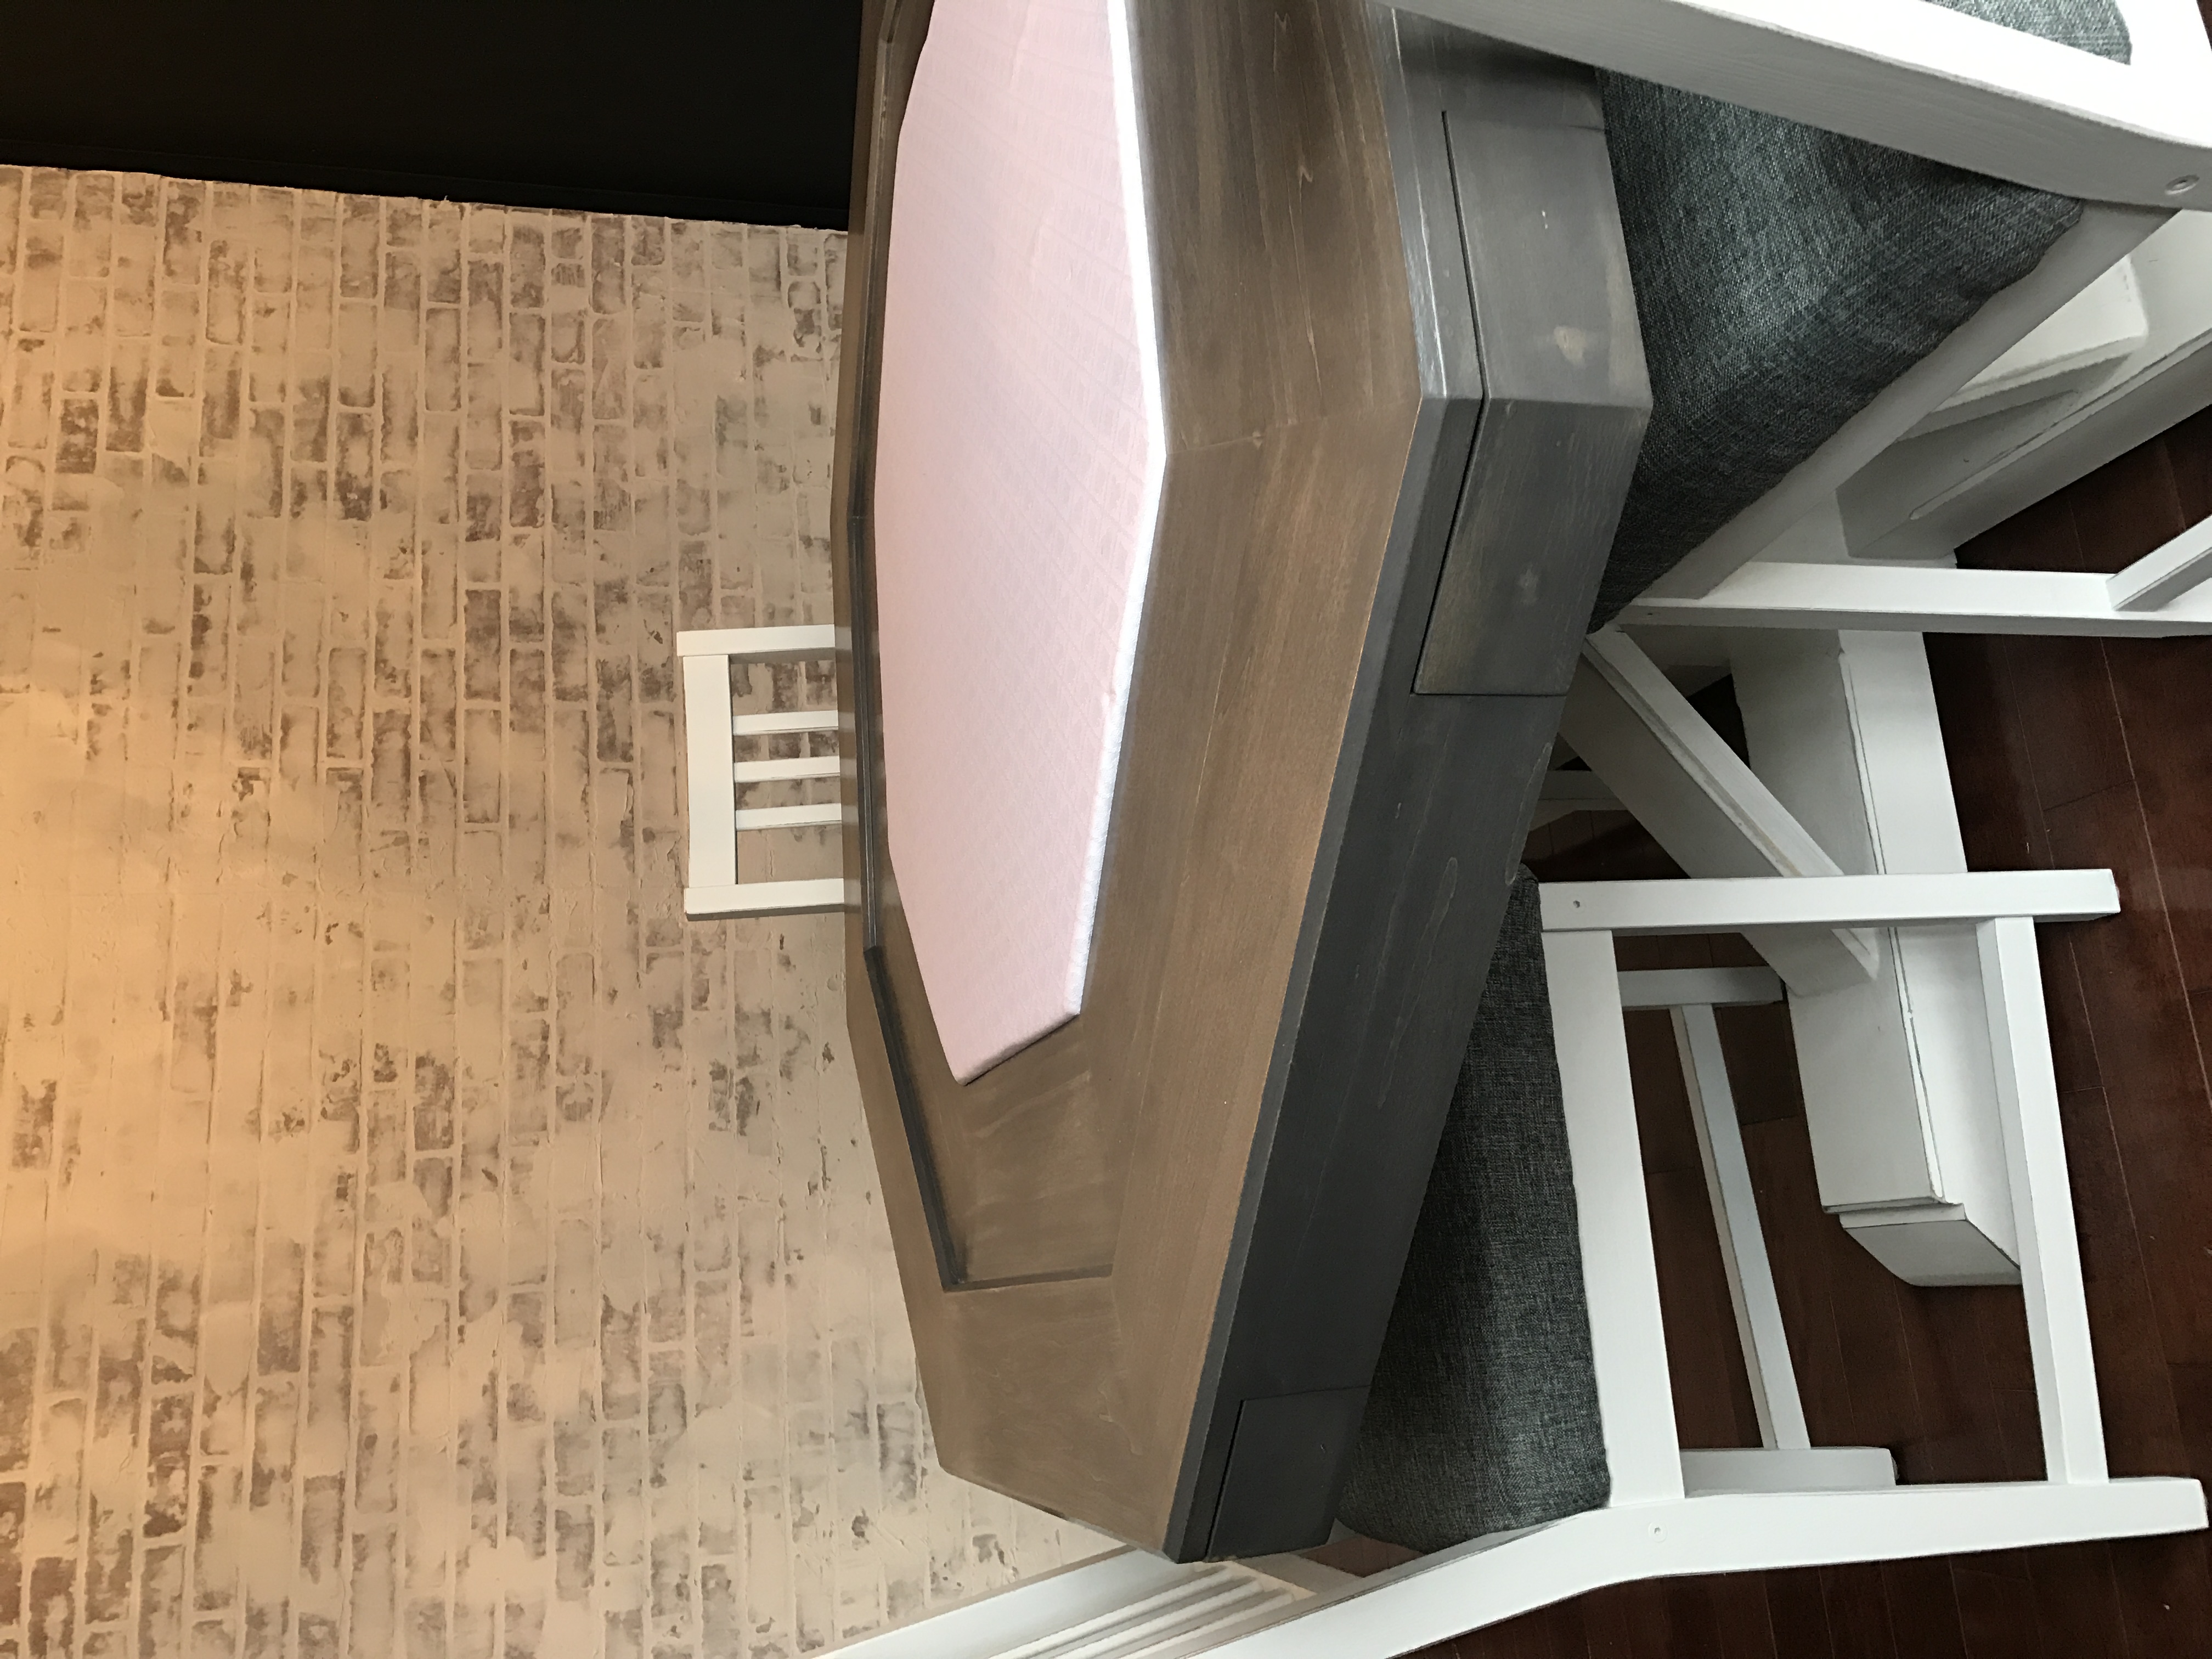
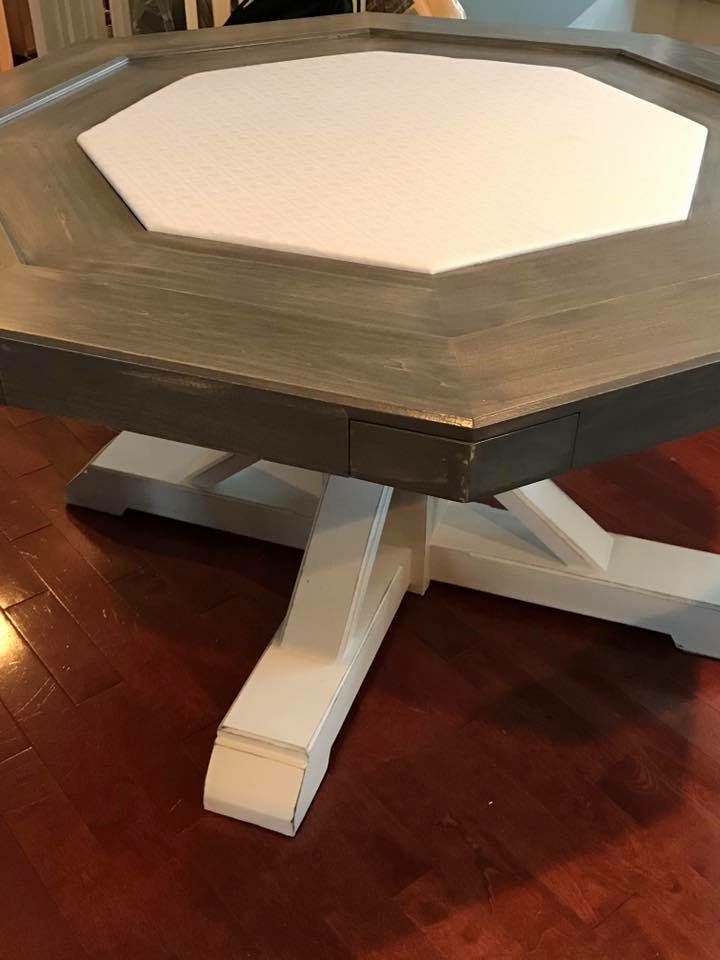
Farmhouse Sidetable
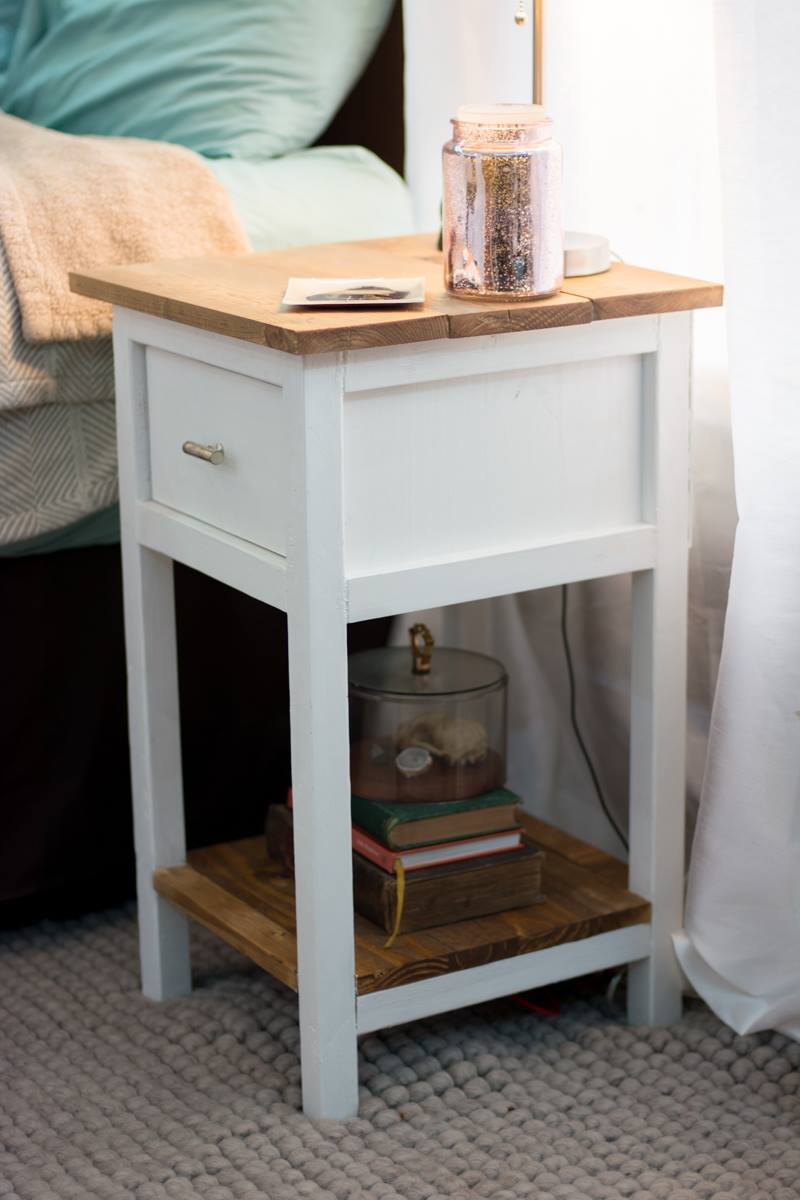
This is the second thing i have ever built and I am SO excited with the result! This has inspired me to take on new ambitious woodworking projects. Love it, thanks for the free plans!
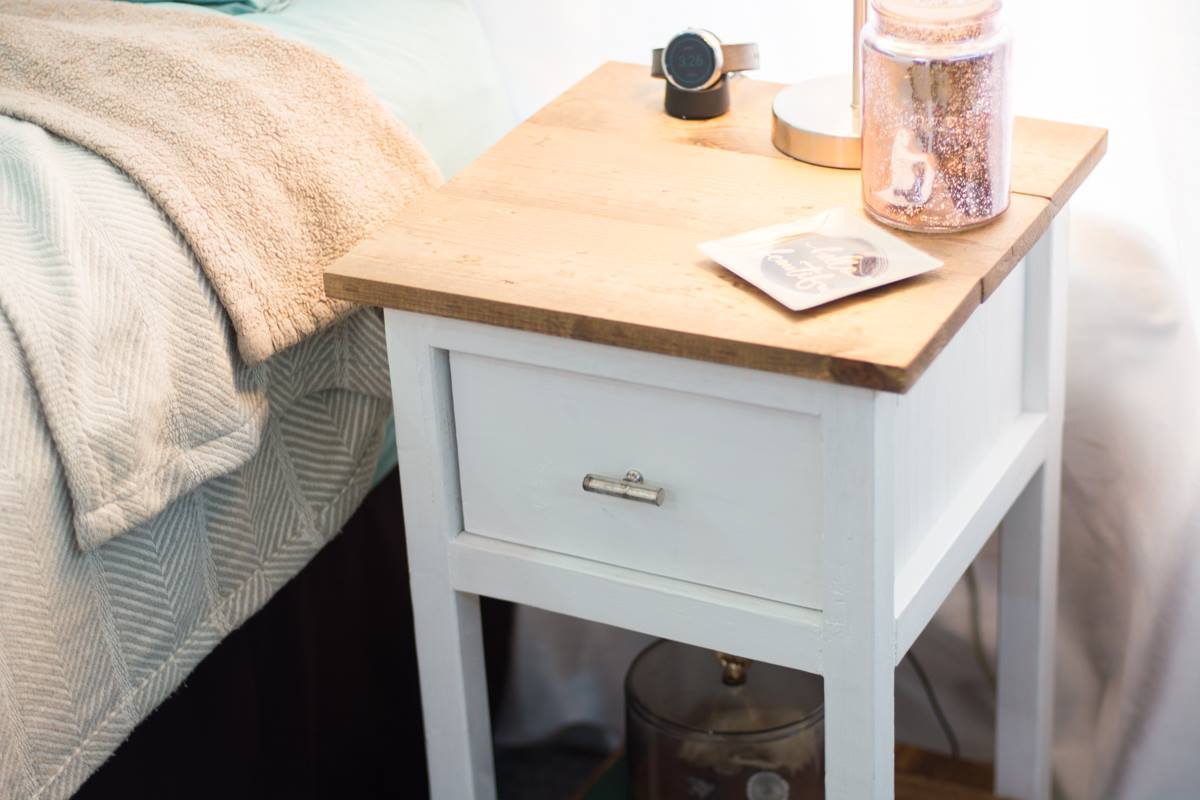
Built from Plan(s)
Estimated Cost
about $30
Estimated Time Investment
Day Project (6-9 Hours)
Finish Used
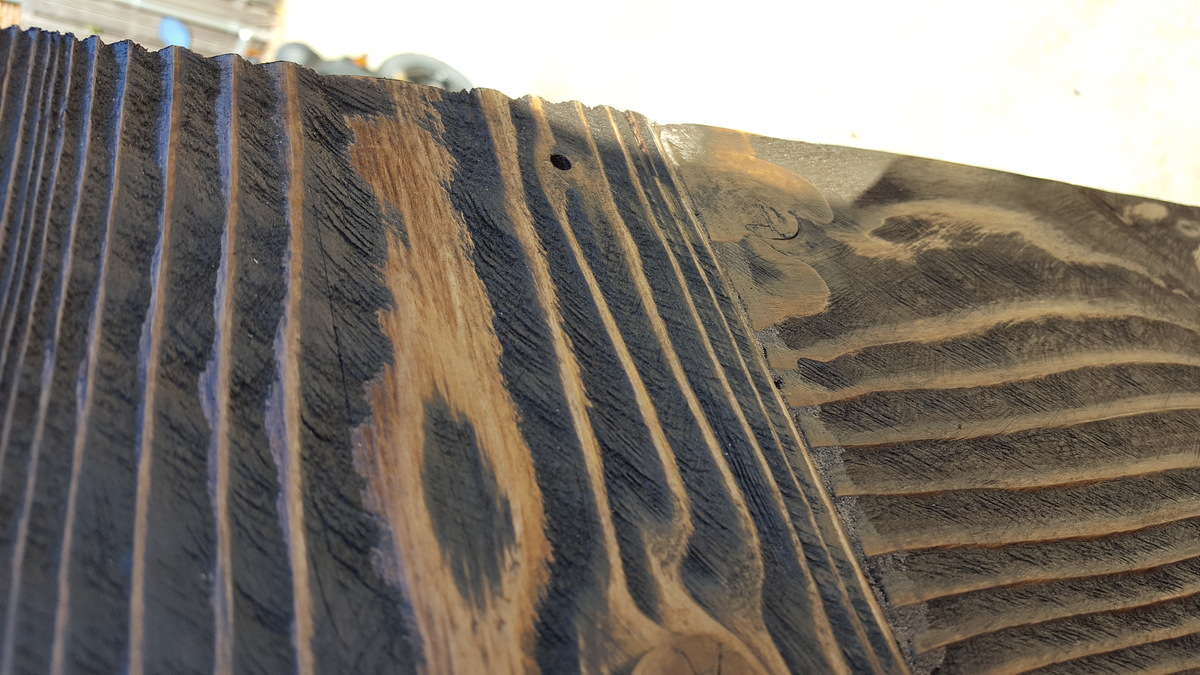
I used satin finish white paint, and Danish Oil for the exposed wood.
Recommended Skill Level
Beginner


Comments
Ana White
Wed, 01/18/2017 - 09:47
So beautiful! Love the two
So beautiful! Love the two tone finish!