Community Brag Posts

Painters shelf
Whew! I am a total novice. I have never used a saw in my life, but with a little bit of instruction from my husband i was able to do it almost completely on my own. Even as a beginner i could have finished it in a full day, but i was trying to work on it during my daughters naps so it took almost a week!
Recommended Skill Level
Intermediate
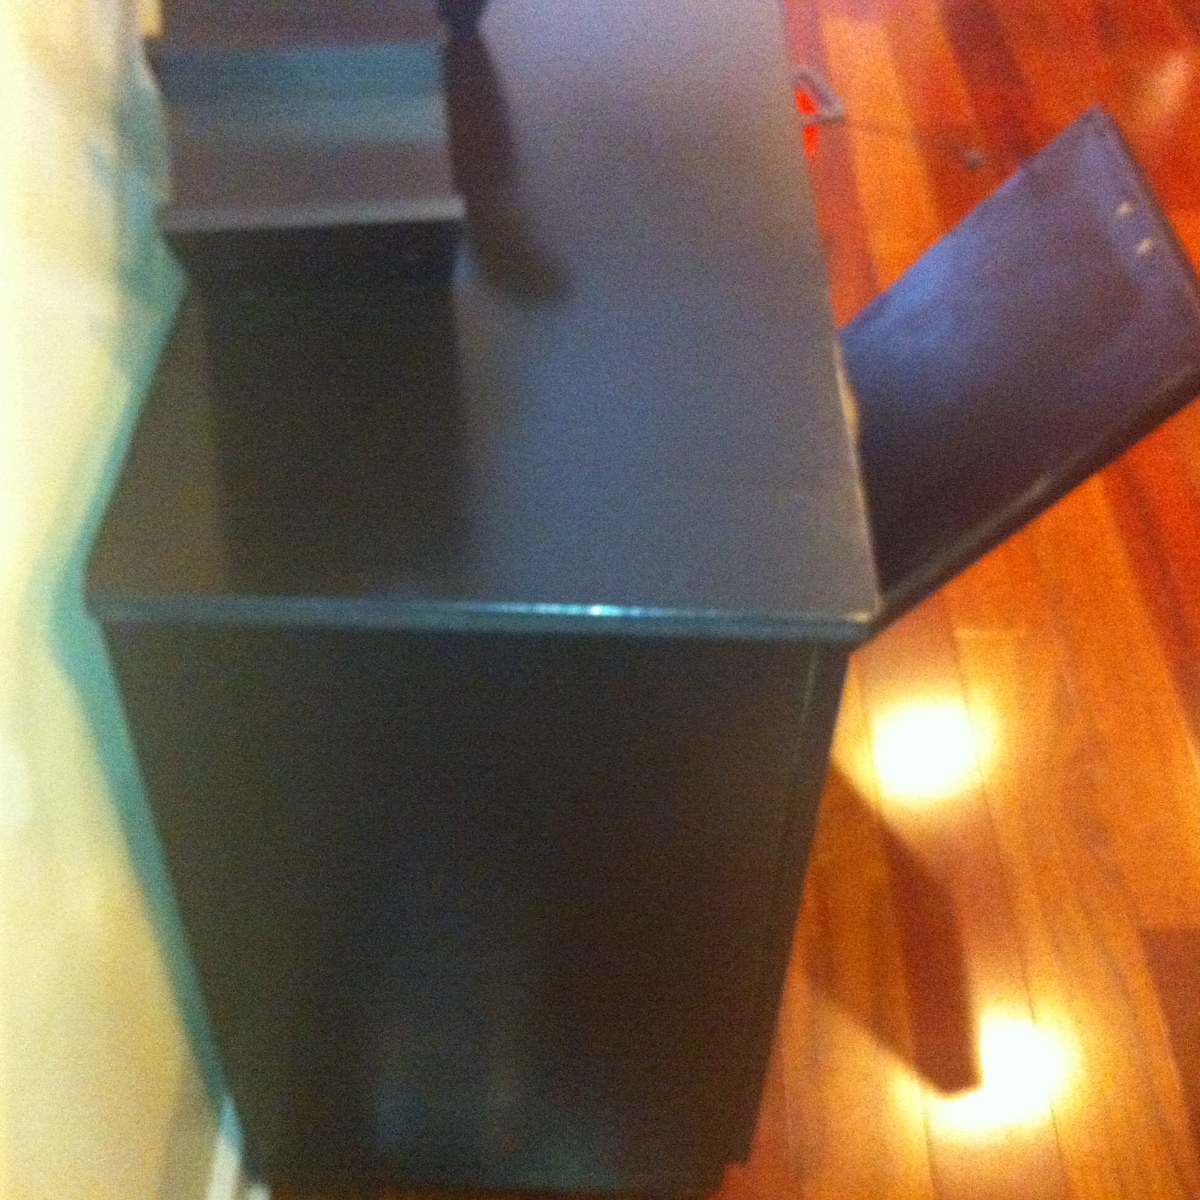
5th Project - Tilt Out Trash Can
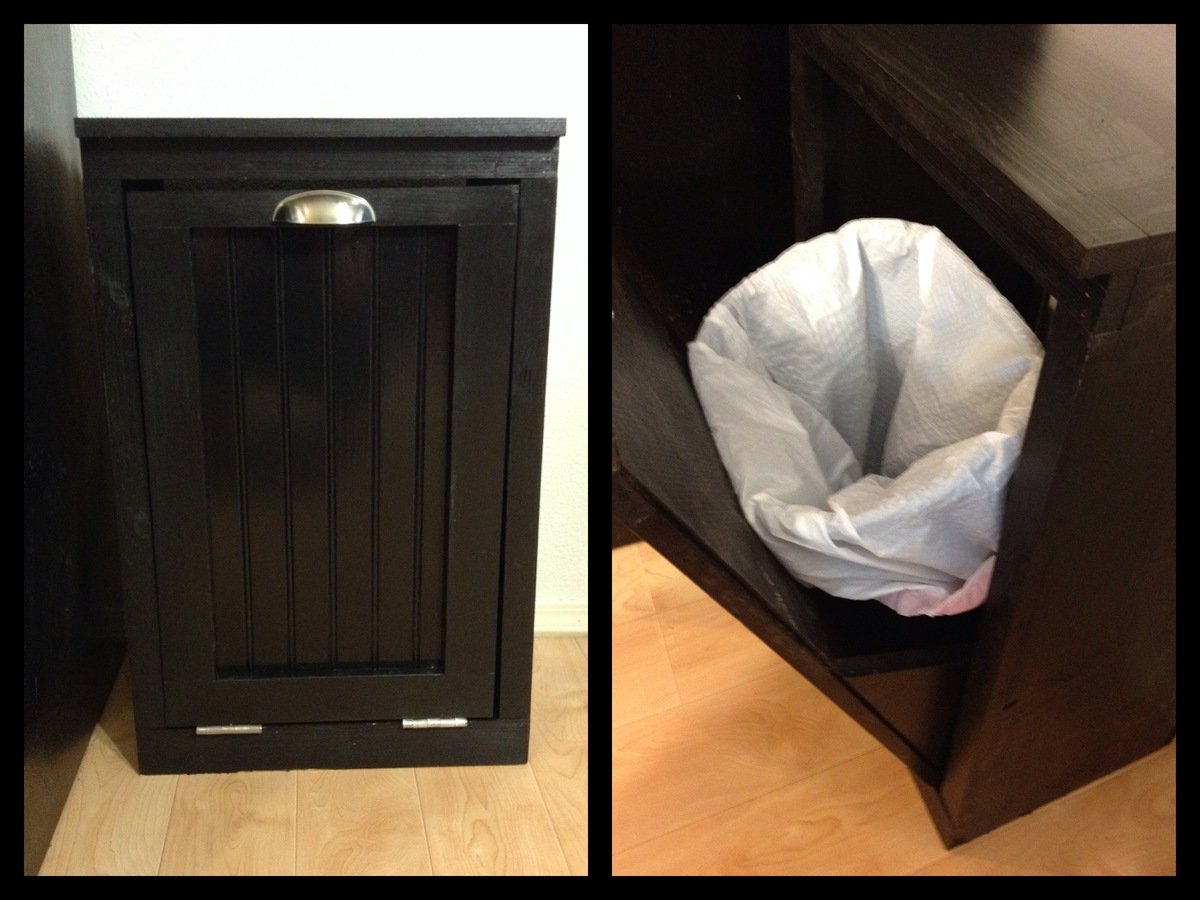
This was my fifth project and it went pretty well. I ended up having to trim a little off the top of the door after I had it assembled because I wasn't paying attention to detail and built it to fit the back opening. It was pretty simple to size it down, though. I finished it off with some leftover black paint that I used for the top of my workbench last summer. Super happy with the way it turned out!
Built from Plan(s)
Estimated Cost
$50
Estimated Time Investment
Day Project (6-9 Hours)
Finish Used
Behr black
Recommended Skill Level
Beginner
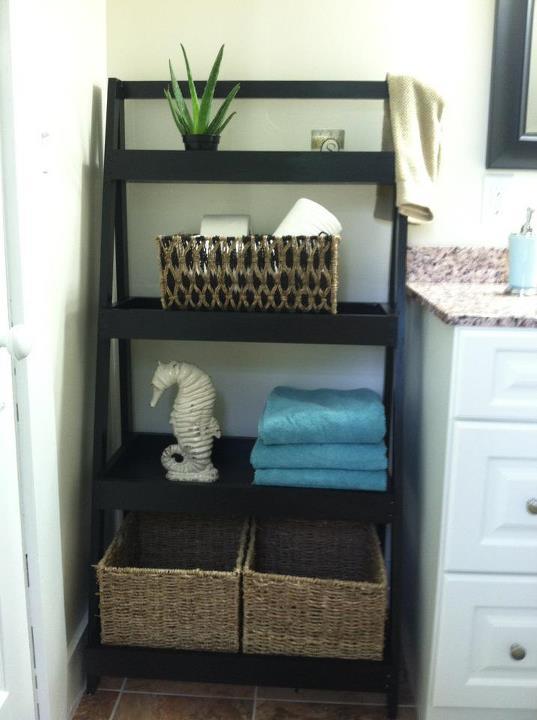
My Leaning Bathroom Shelf
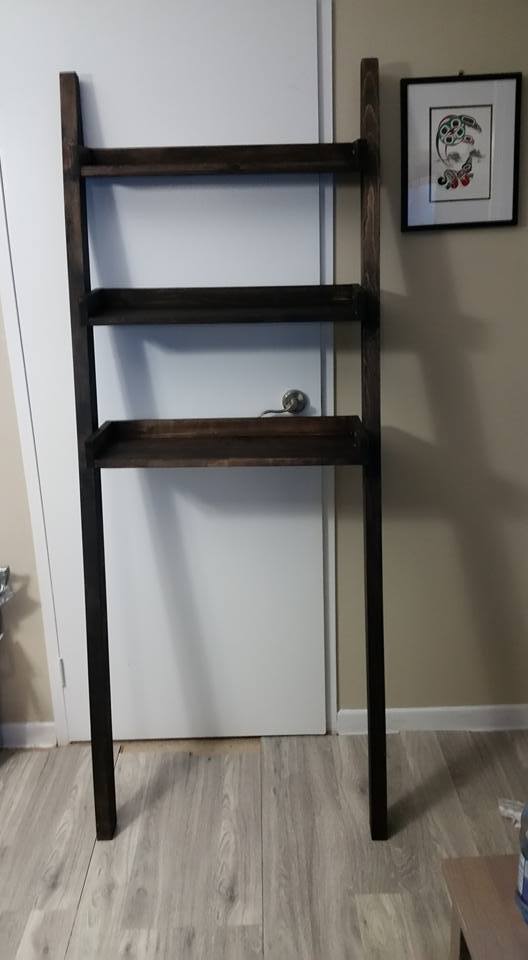
I followed the directions and made two of the same shelf -- using a expresso gel stain. I love it in my bathroom!
Built from Plan(s)
Estimated Cost
$50
Estimated Time Investment
Afternoon Project (3-6 Hours)
Recommended Skill Level
Beginner
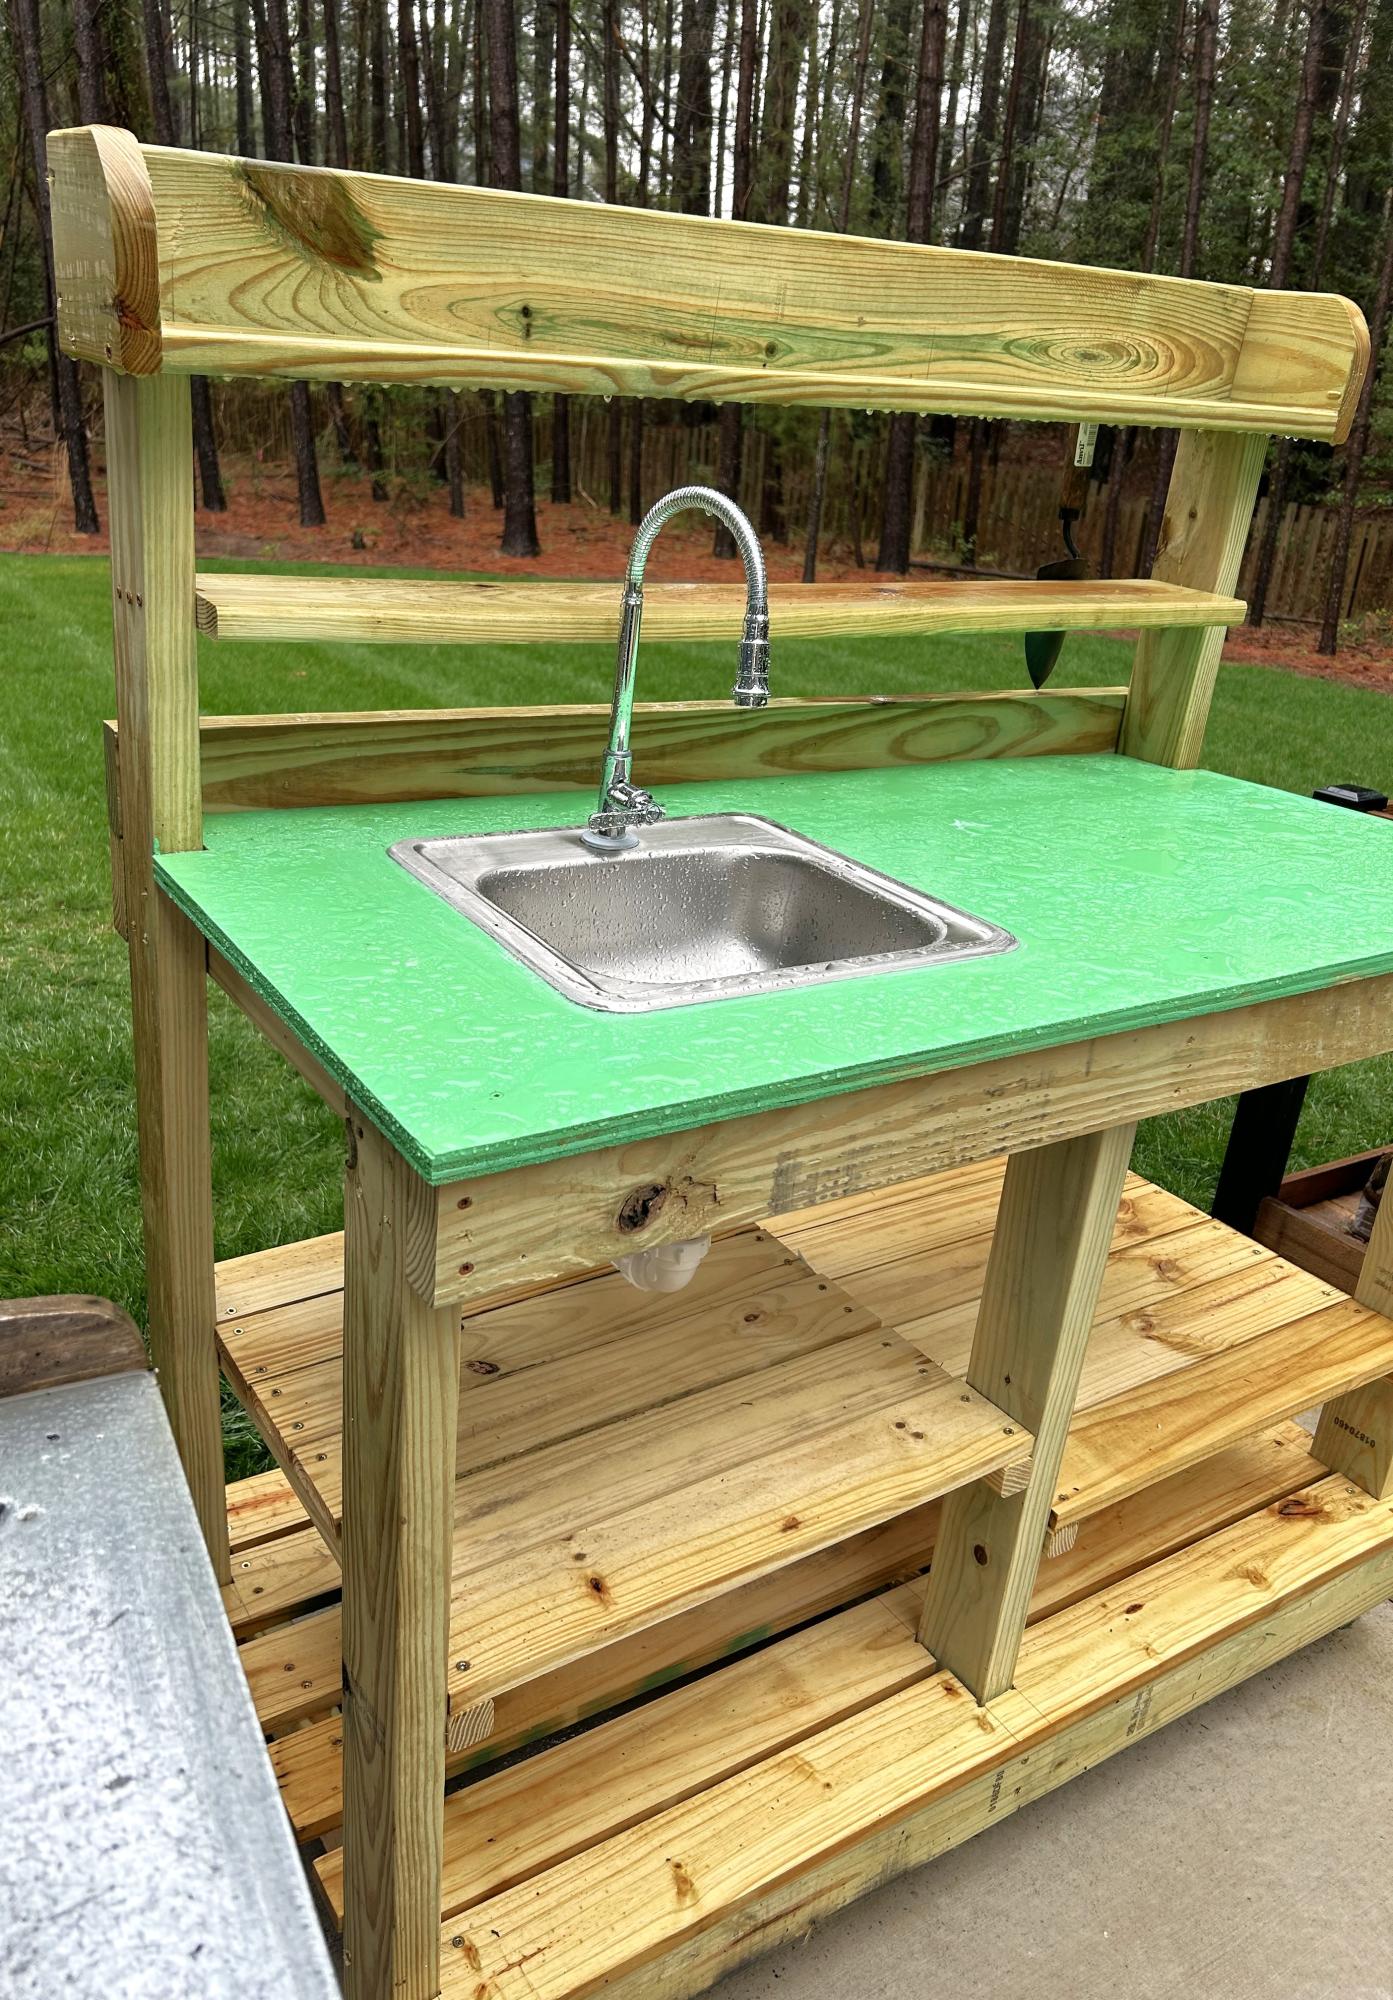
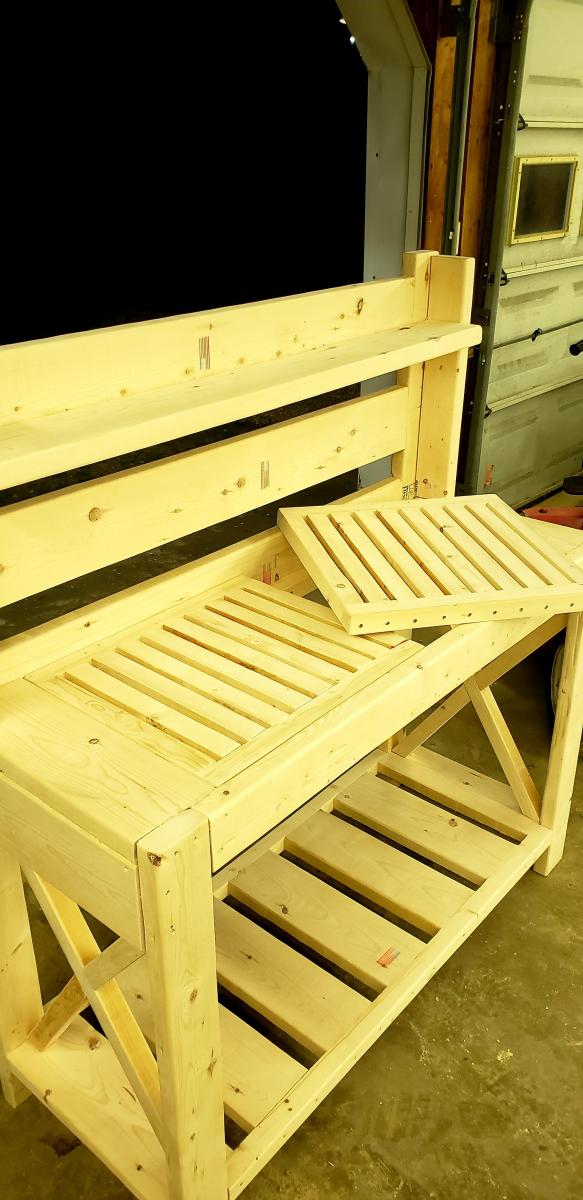
Farmhouse Potting Bench
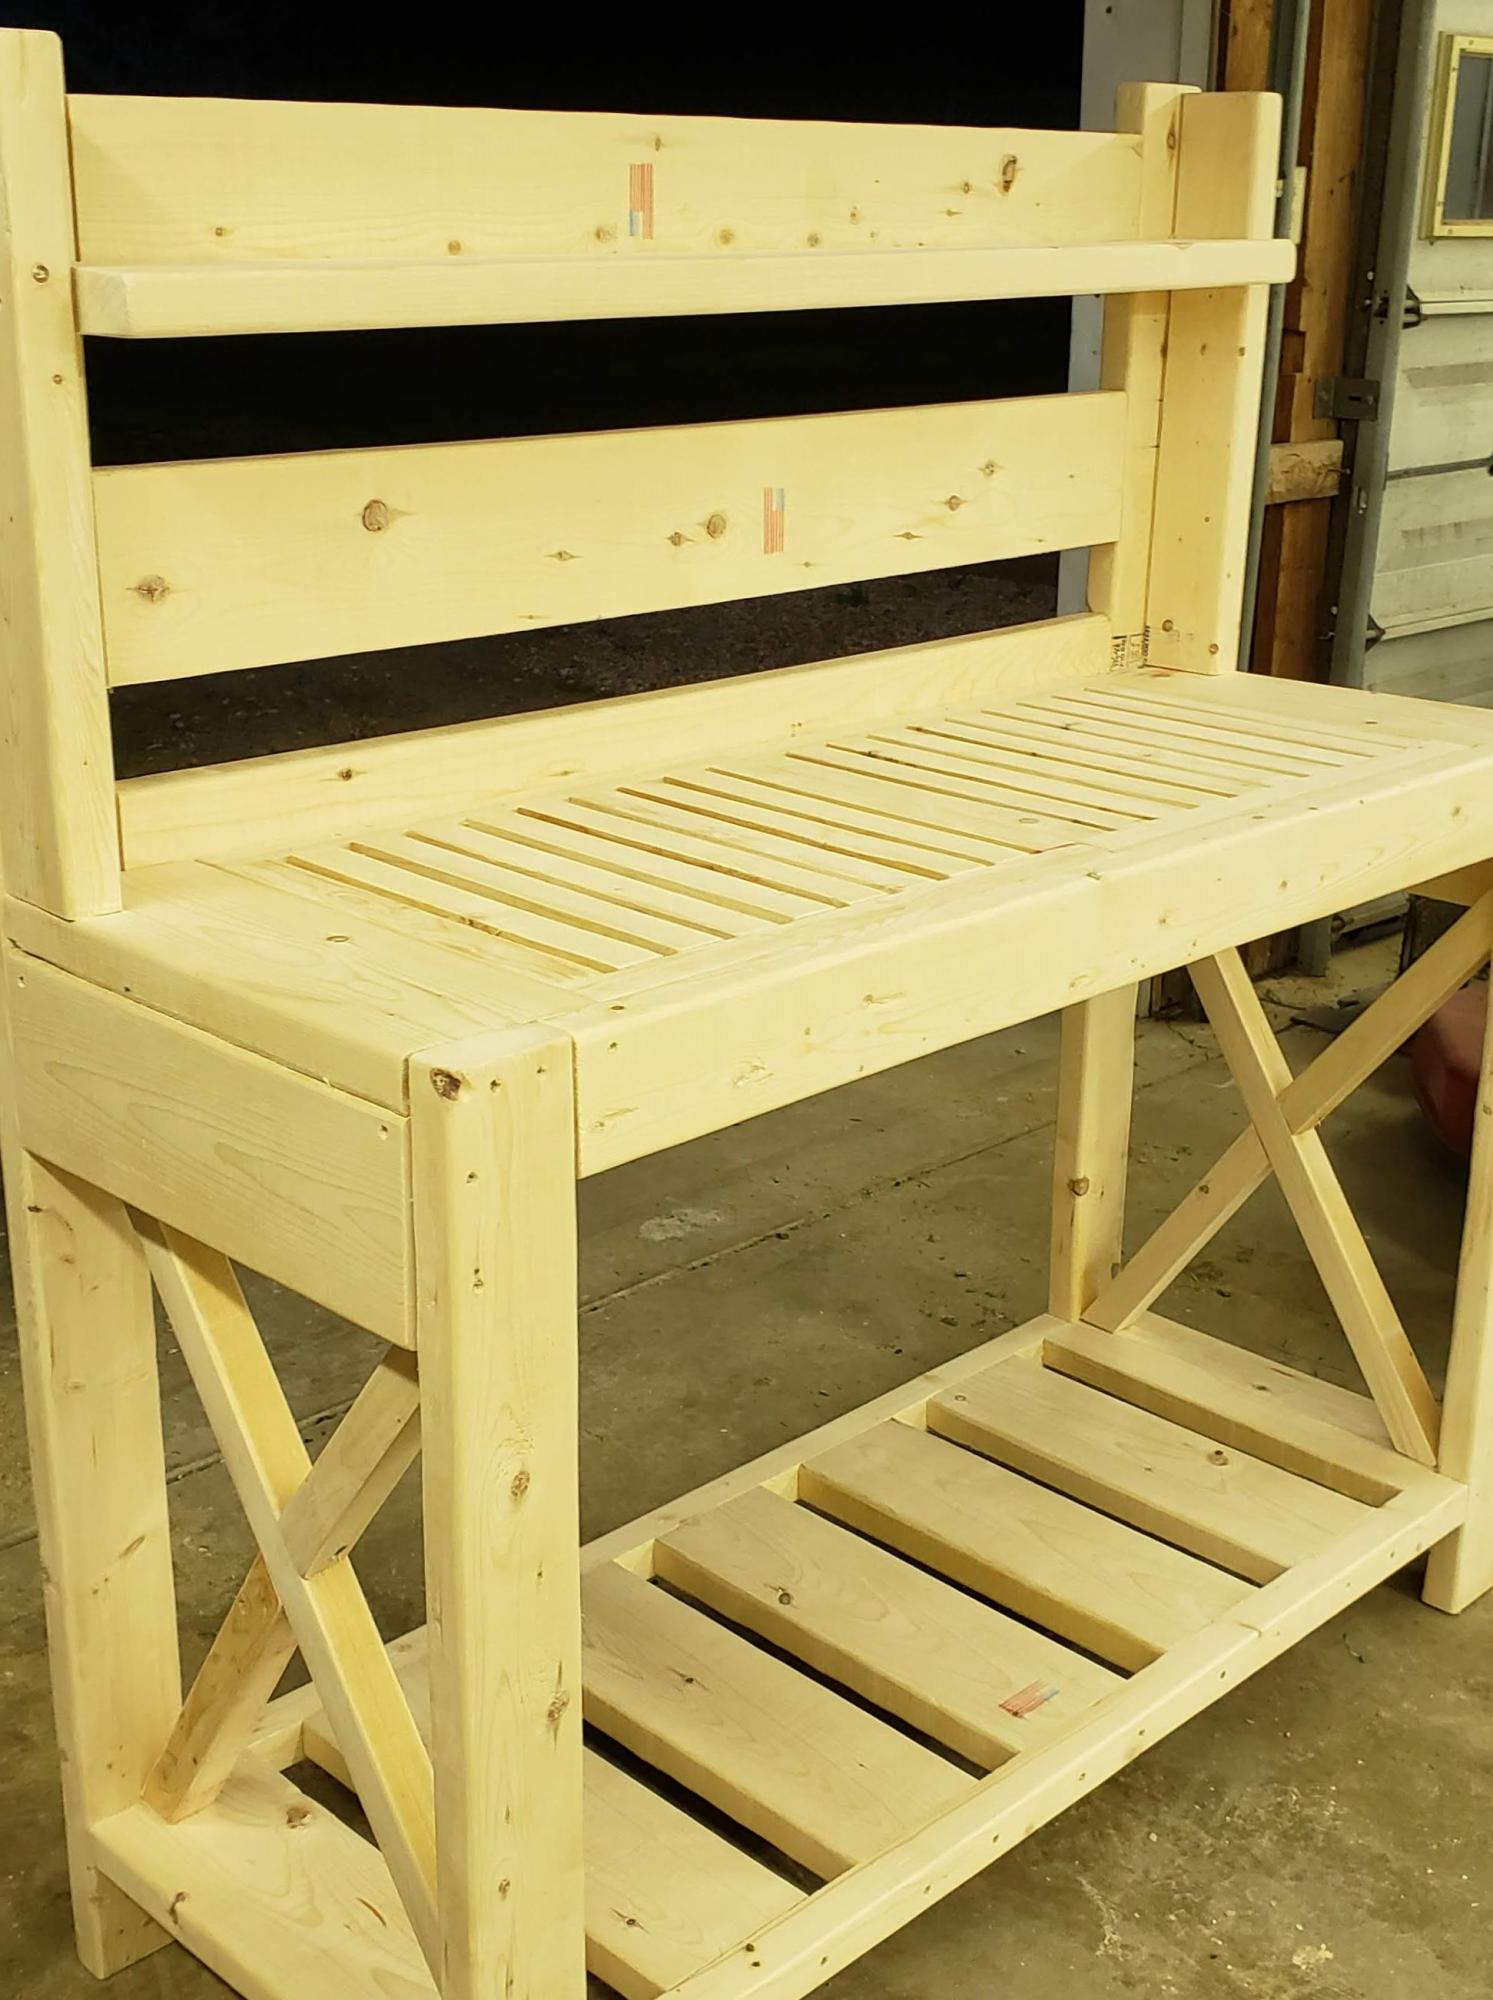
I haven't put the finish on it yet, gonna leave that up to the recipient. Added a couple of modifications, most noticeably the top shelf, grated workspace, and "side panels" for extra mounting /hanging space. Great design! She's sturdy.
Built from Plan(s)
Estimated Cost
$85
Estimated Time Investment
Day Project (6-9 Hours)
Finish Used
I think the plan is to put a nice stain on it and then I'd like to give it a few coats of spar varnish. I'll try to add a picture once it's complete.
Recommended Skill Level
Intermediate
Firehouse Loft Bed
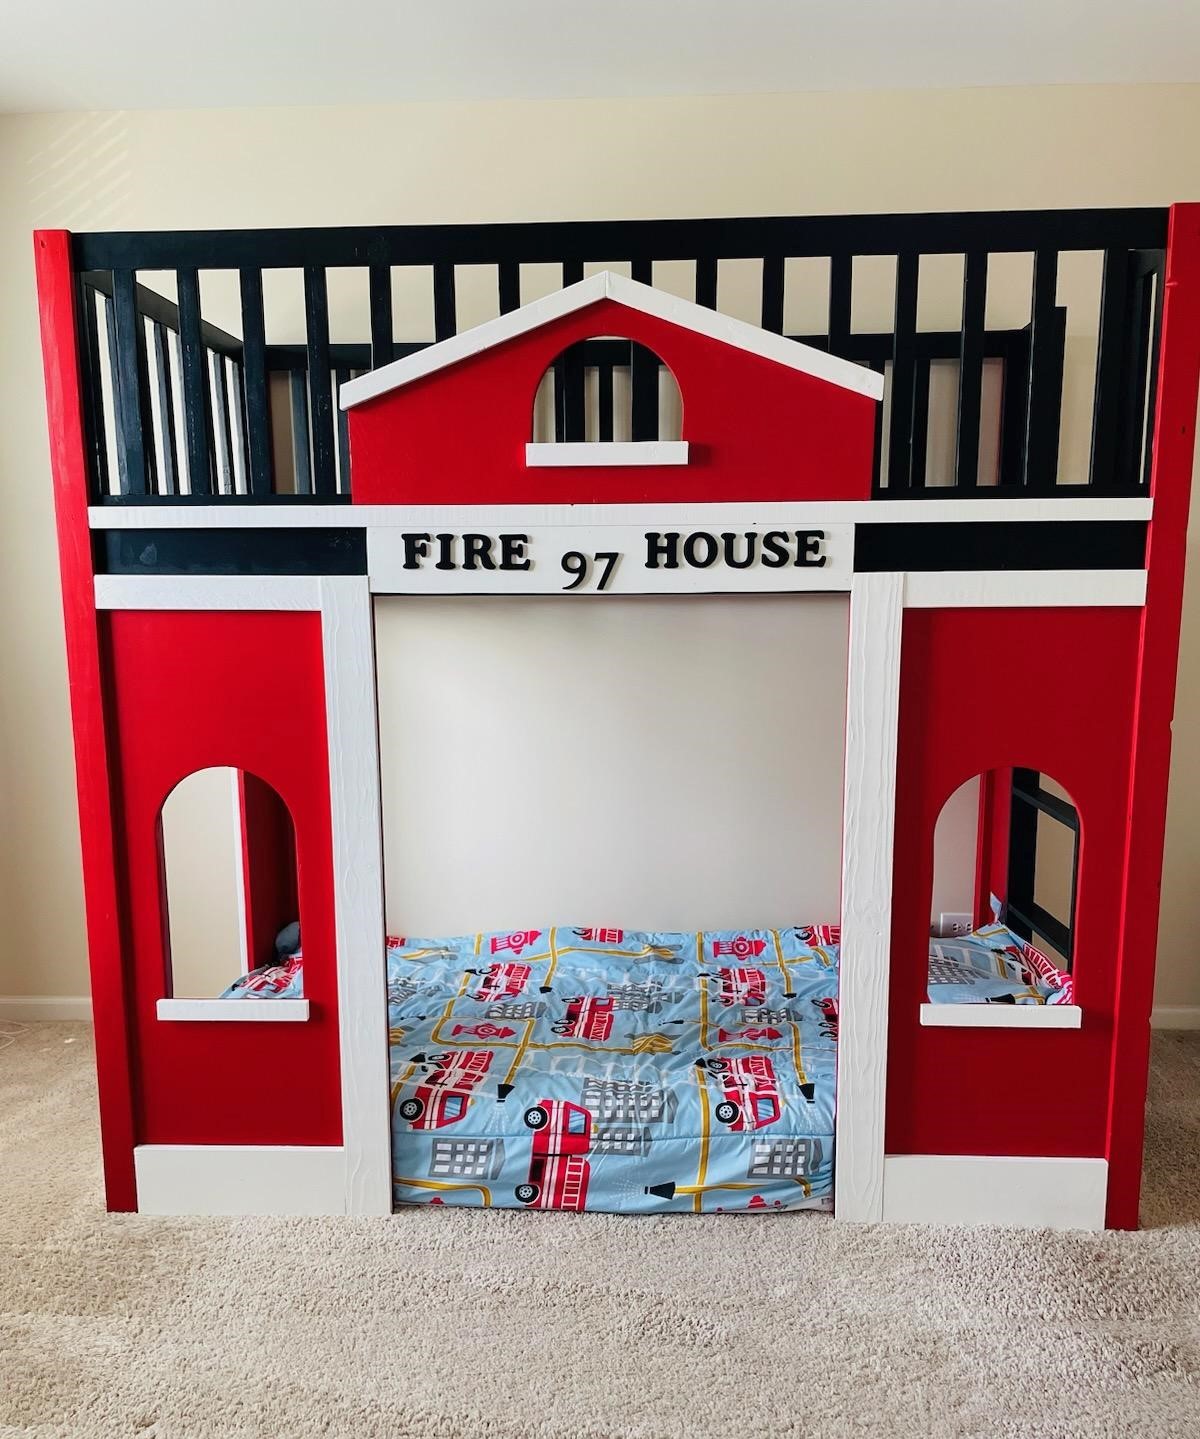
Our son moved up to a big boy room and we made him the Fire Station bed. He LOVES it. Not quite ready for him to use it as a loft bed so he is sleeping on the bottom for now.
Kaity
Built from Plan(s)
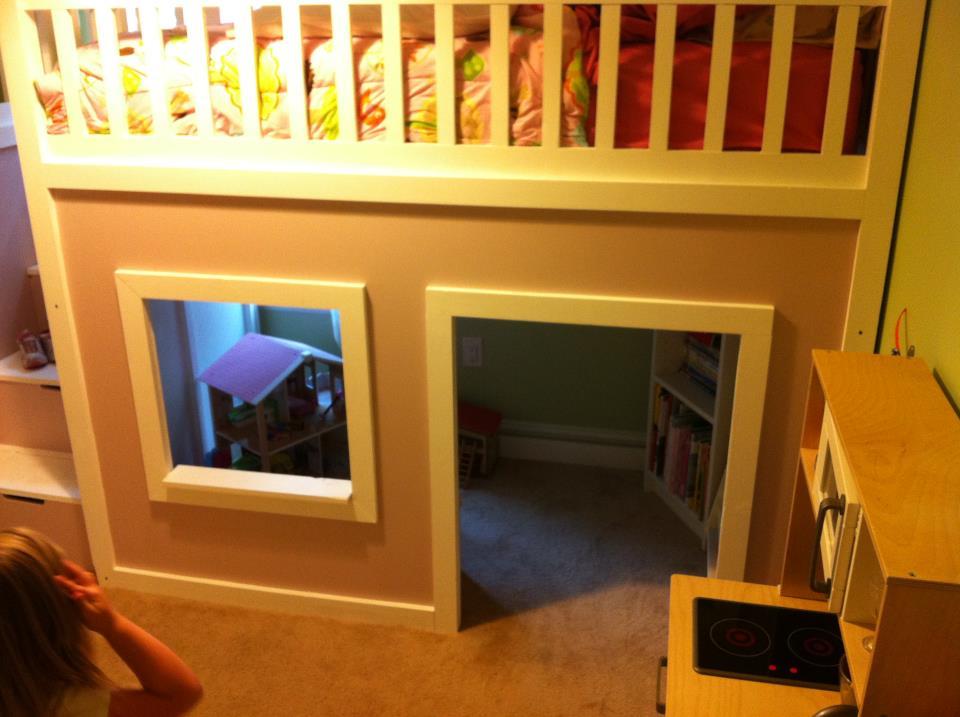
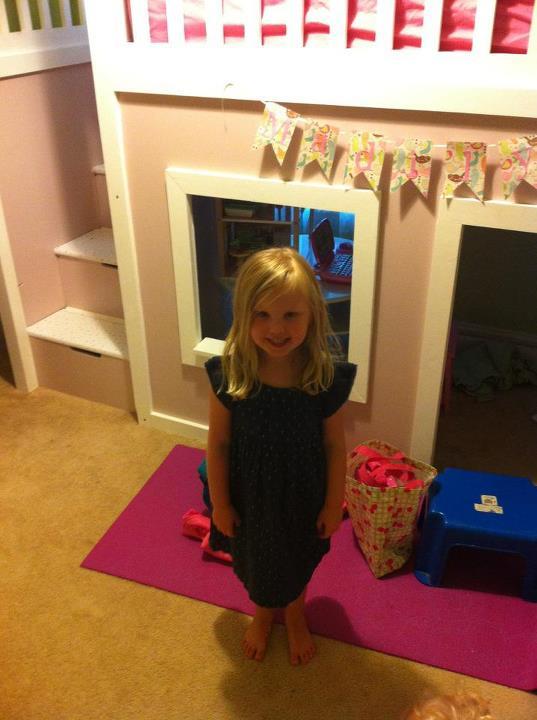
Playhouse Loft Bed with stairs
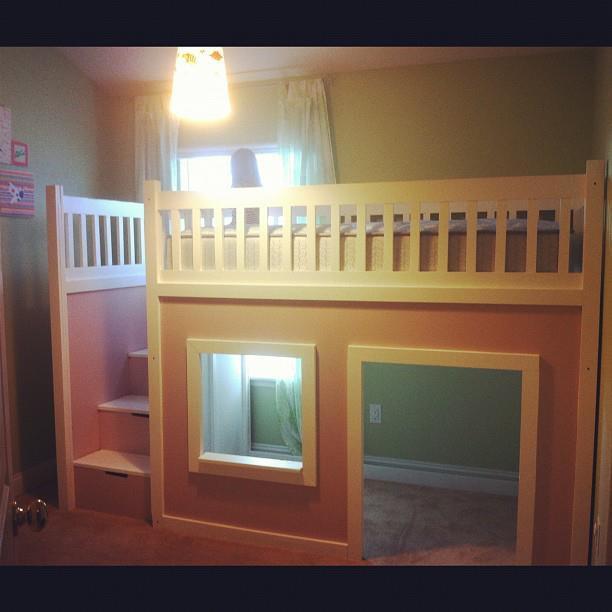
This was my first major project I built from this site. I would say that I am a beginner builder with only a little experience building small things. This was my first big project and I built it piece by piece over the course of a few months. This was my 4 year old's birthday gift. I bought my first Kreg Jig Jr. (I already want the master system!) and got a lot of confidence by doing this project. It was pretty straight forward, although the painting and sanding took way longer than I thought! I pretty much stuck to the plans and did not change much. The only thing I did was add hand hole cut outs on the stairs and I chose not to cut out a side window because that side was against a wall anyways. I am SO excited about this project and will be posting MANY MORE builds from here.
Built from Plan(s)
Estimated Cost
$250
Estimated Time Investment
Week Long Project (20 Hours or More)
Finish Used
Sand entire project. Primer coat followed by waterbased paint. I used a spray gun with many light coats.
Recommended Skill Level
Beginner
Comments

Sun, 10/21/2012 - 22:14
Great job dude! I bet your
Great job dude! I bet your daughter loves it. I am going to start building one for my nephews this week, hopefully it looks half as good as yours!
Adirondack chairs
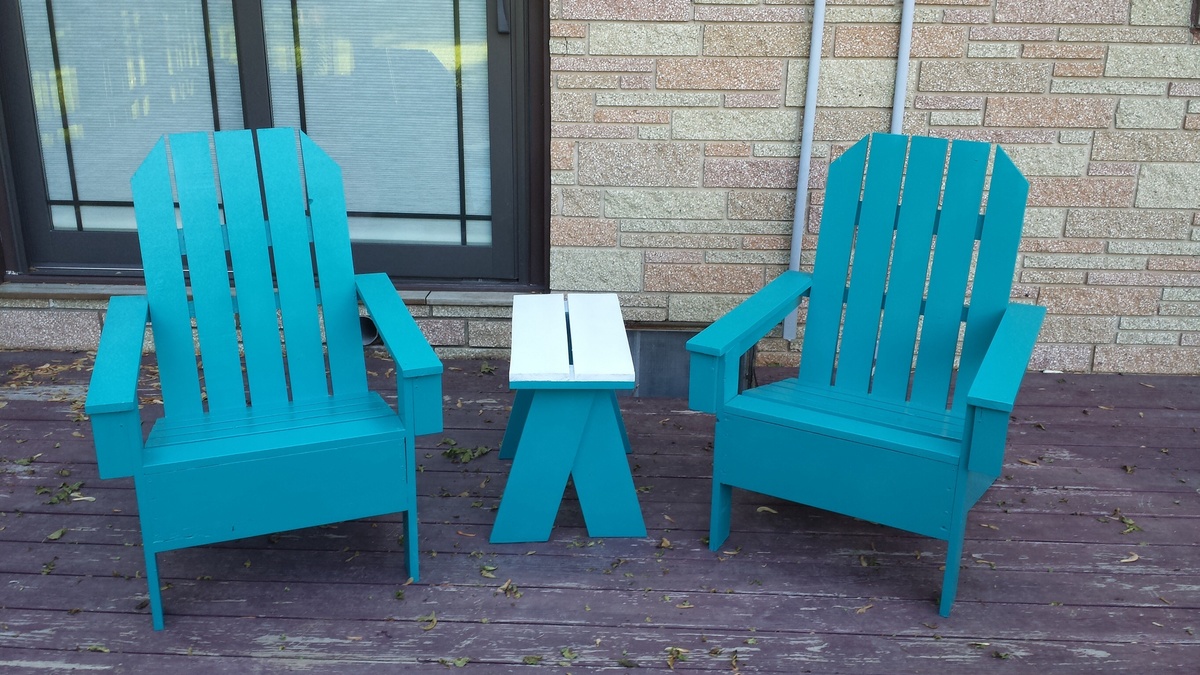
This site as ever so helpful and vital to the completion of these chairs. Honestly,this project was the first time I had taken stock lumber and constructed something from it. I am handy by my own account,but never attempted anything like this before. Great site. If not for Ana white and this website,I'd have 2 less chairs. It is very rewarding building something from scratch. I'm sure this was the 1st of many projects and ideas I will get from this site. A+++. Thank you very much.
Built from Plan(s)
Estimated Cost
$60.00
Estimated Time Investment
Weekend Project (10-20 Hours)
Finish Used
Primer and outdoor spray paint.
Recommended Skill Level
Beginner
Children's chair

Our son is learning cello and we were told he needed a 14" chair for practice, so this plan looked perfect.
Other than tweaking some of the dimensions as the plan didn't seem to quite work, the only other change I made was to use wooden dowels instead of screws to give it a cleaner finish.
Seems stable enough for me to sit on.
Built from Plan(s)
Estimated Cost
£10
Estimated Time Investment
Afternoon Project (3-6 Hours)
Finish Used
None yet, but son wants it painted red
Recommended Skill Level
Beginner
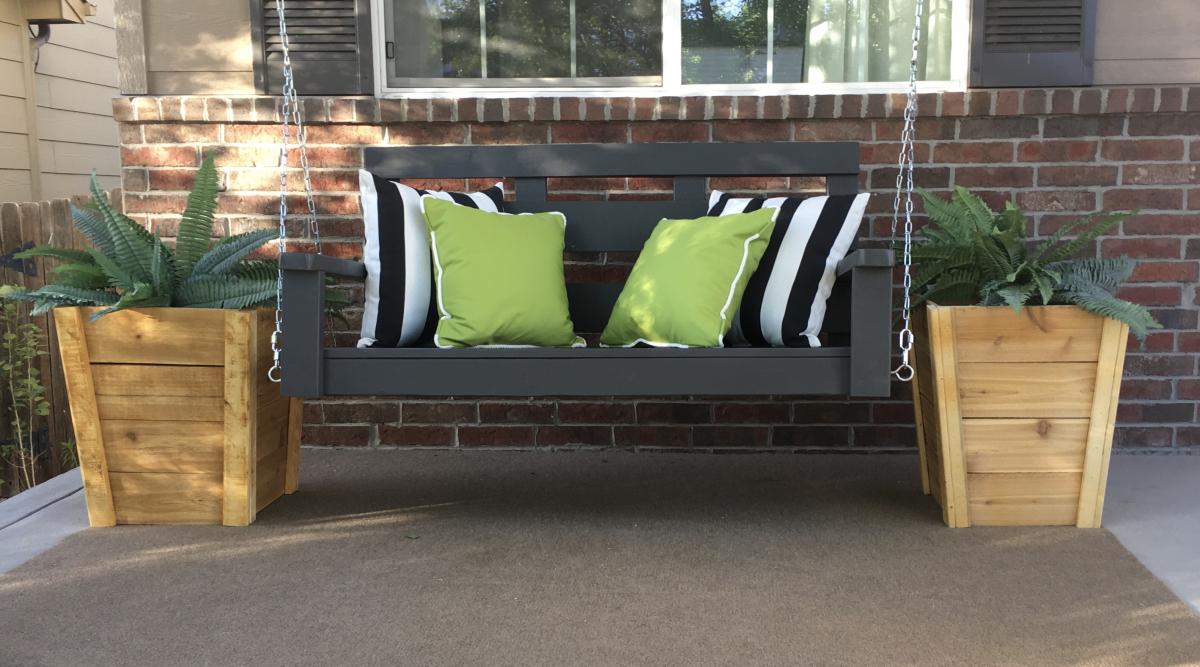
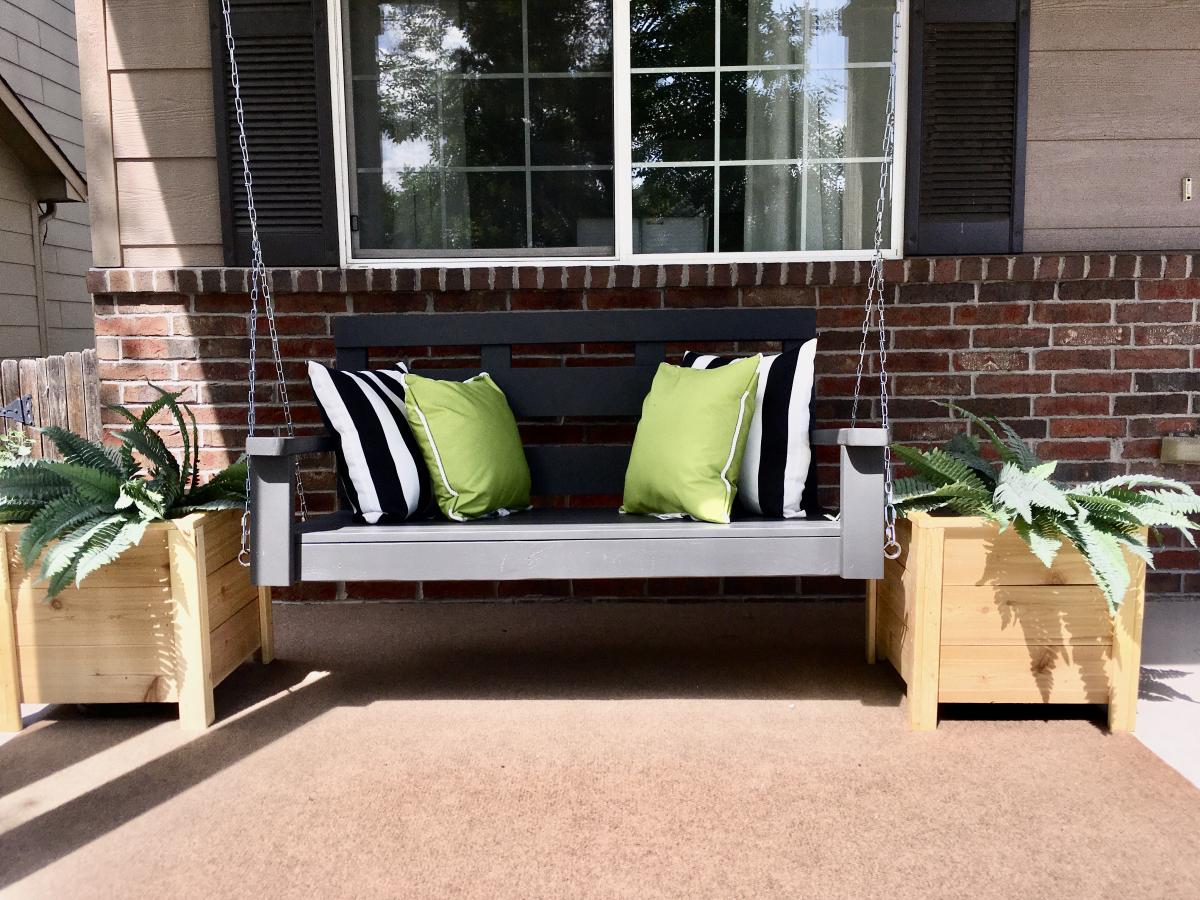
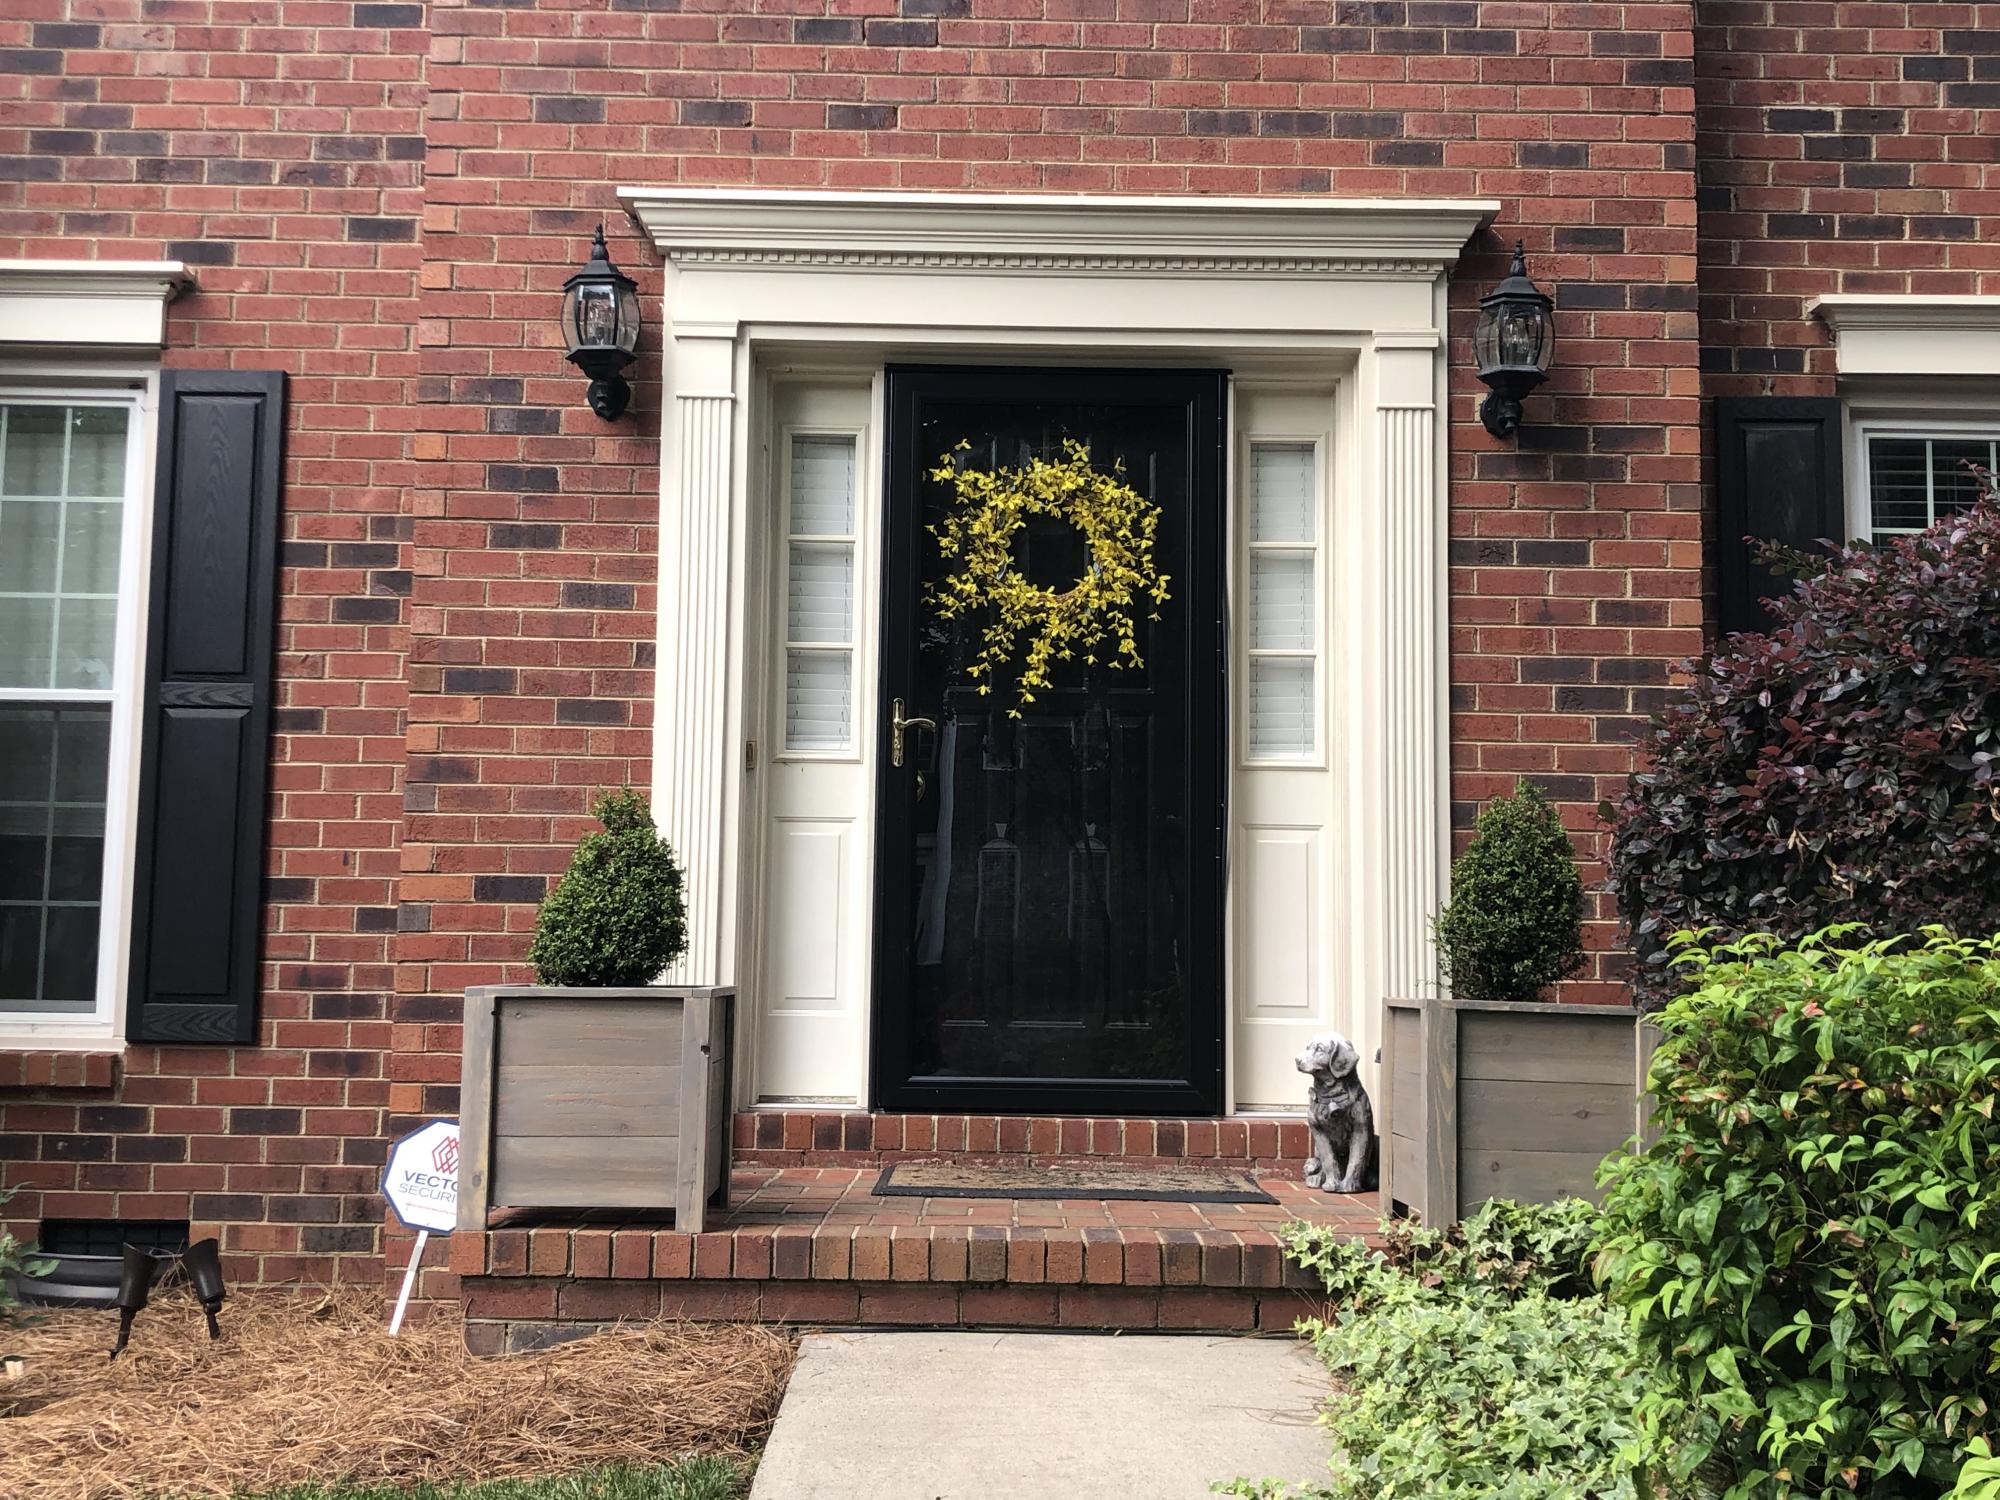
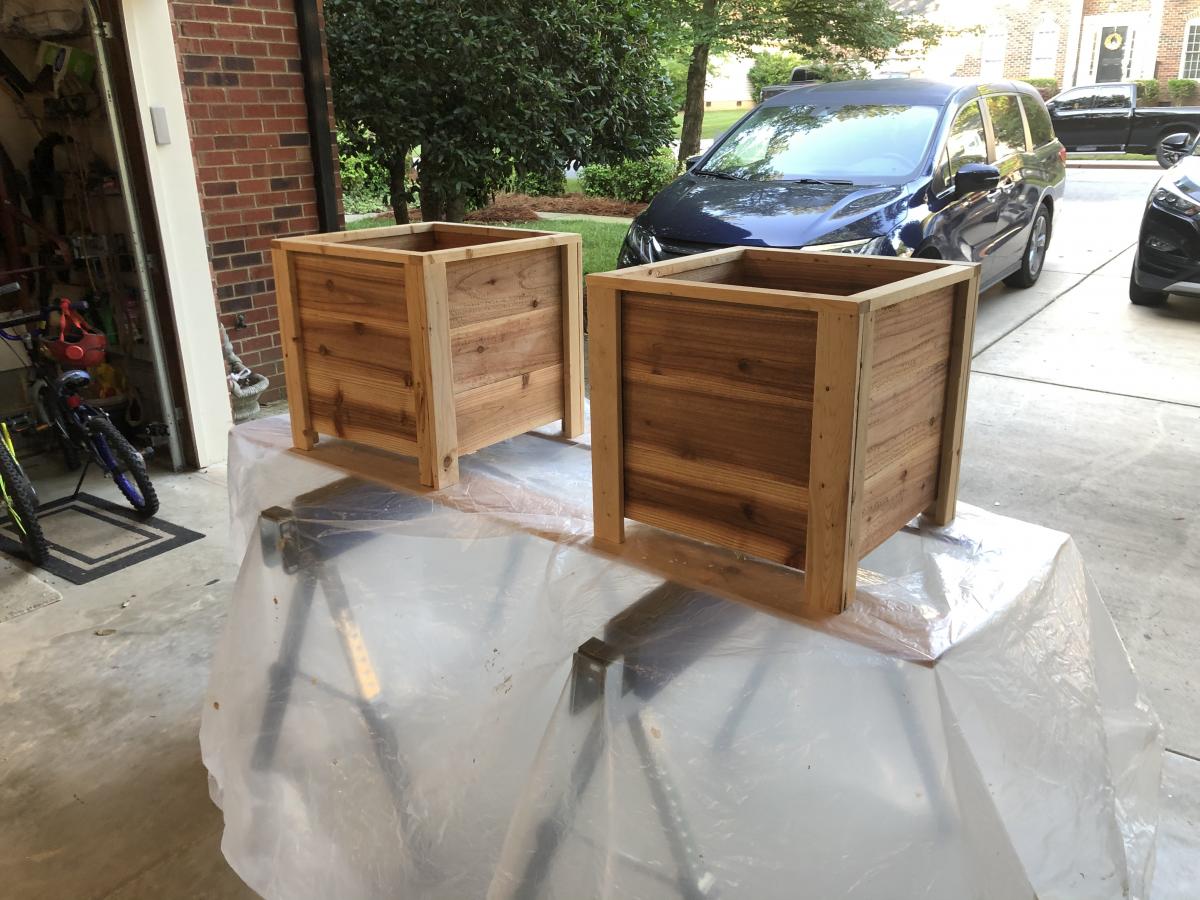
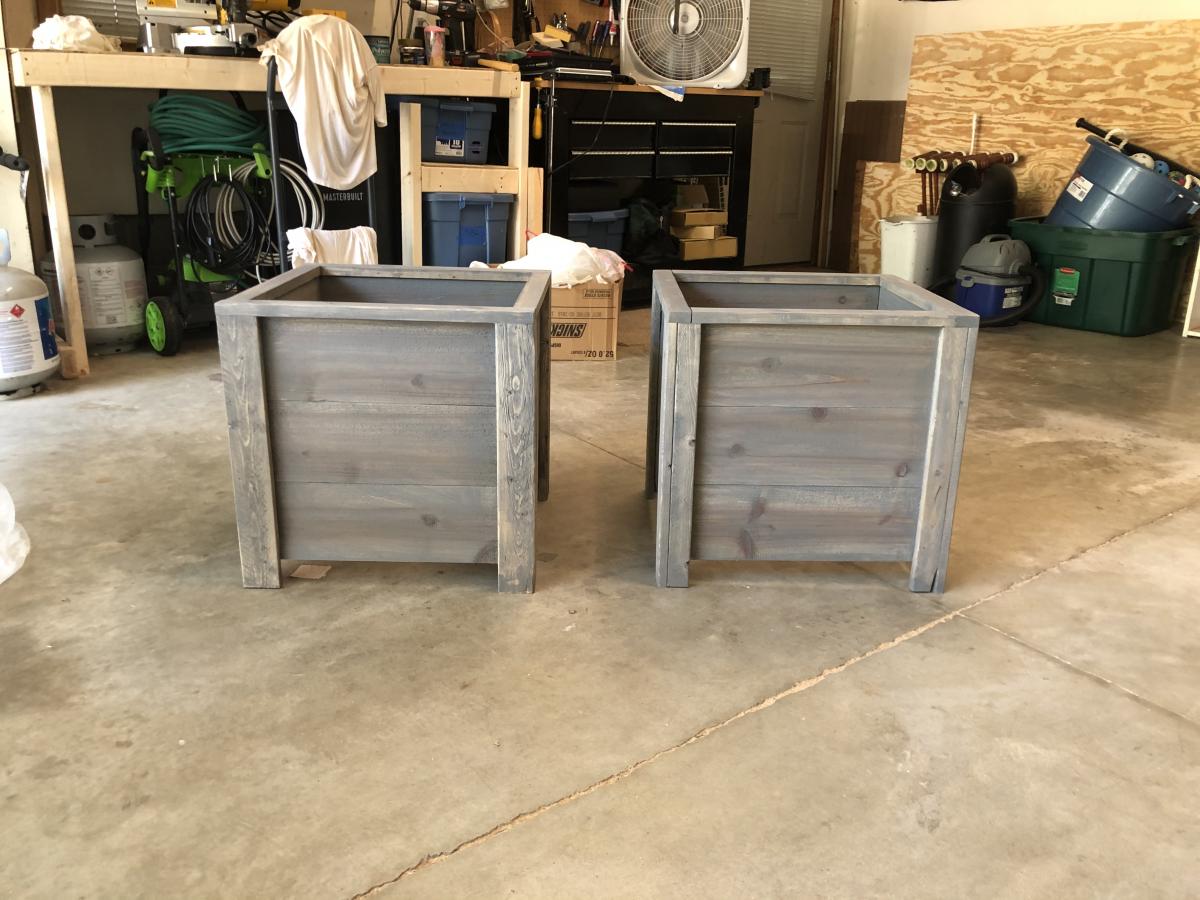
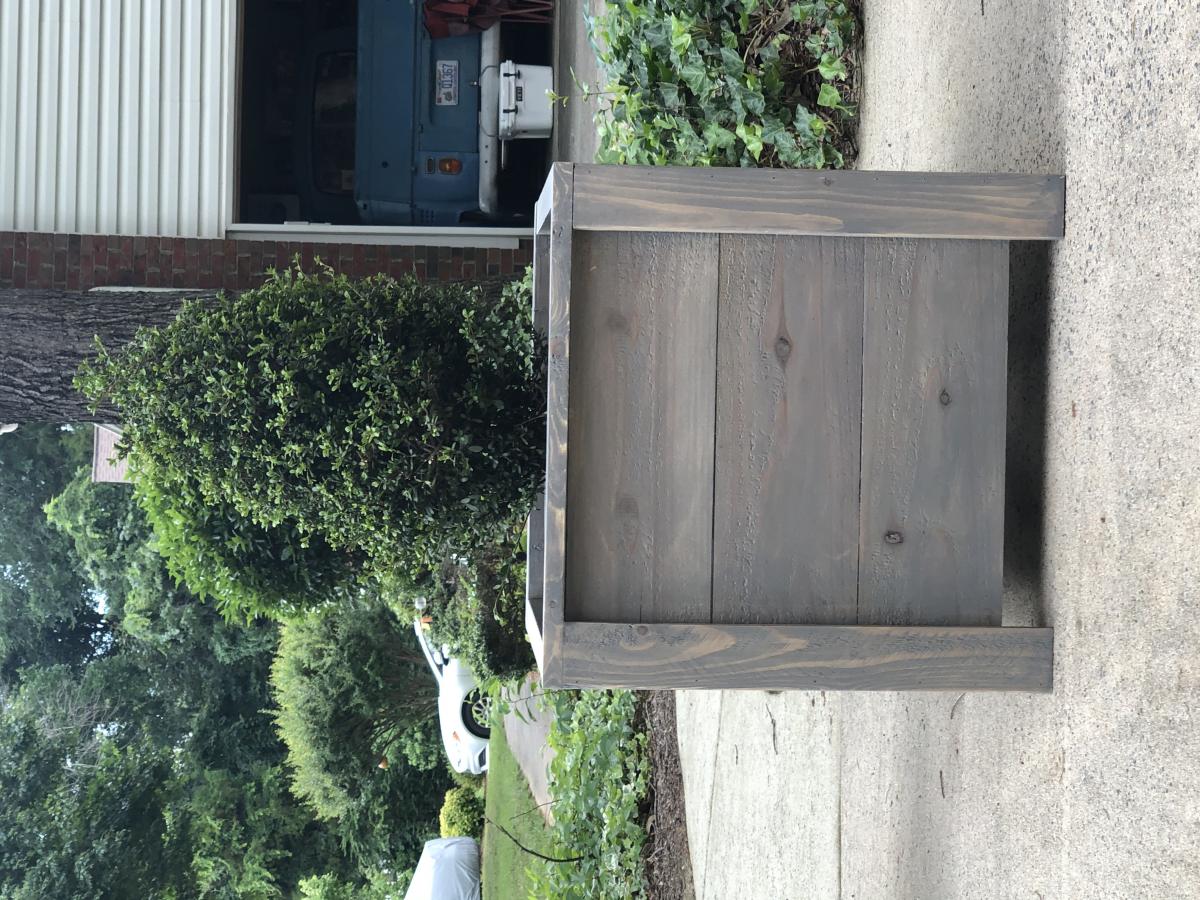
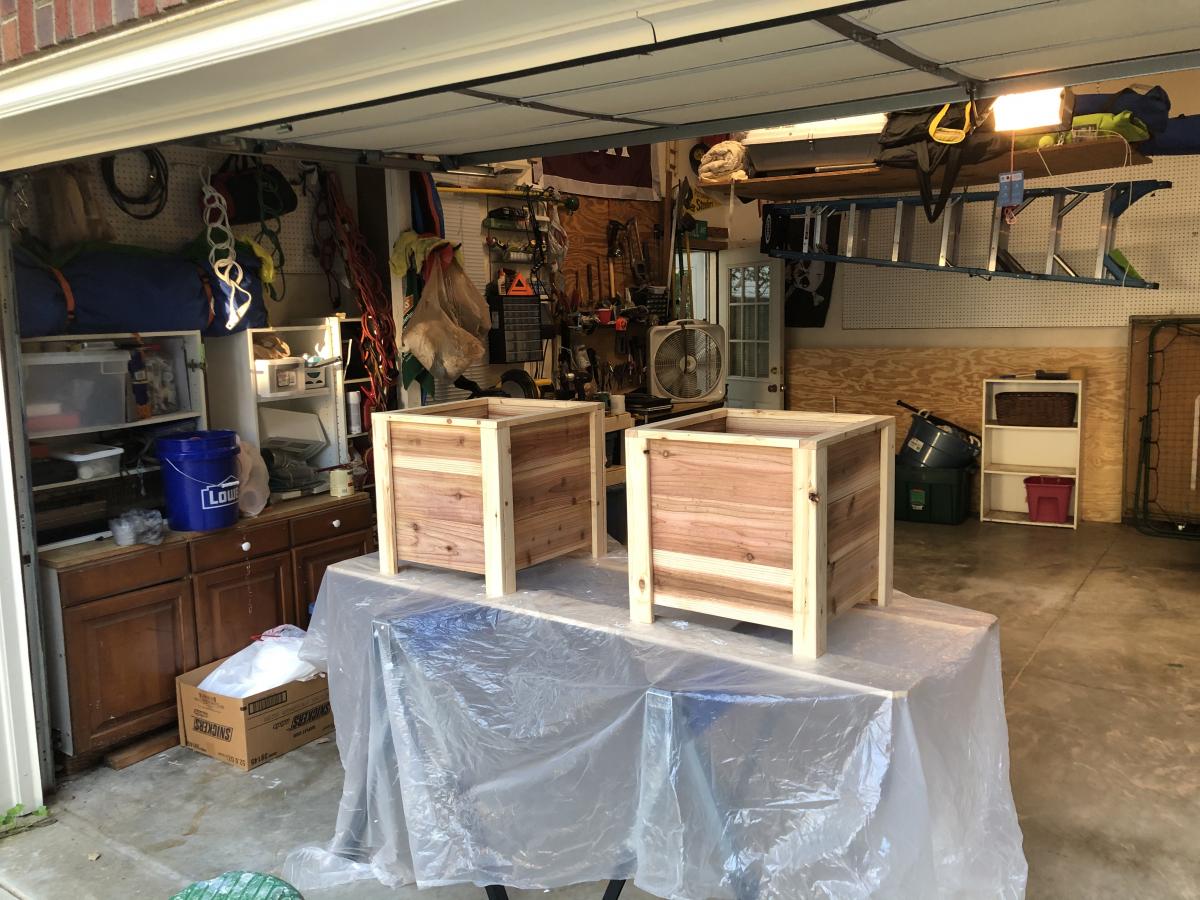
My First Builds!

Made the swing and two sets of planters since we were on stay Home orders. I’d never done anything like this...ever! My husband helped me hang the swing. We love, love the results. (Now to make a seat cushion😆) I couldn’t tag the plans for the modern square planter boxes. They are huge and I can hardly wait until Christmas to put trees in all four!
Built from Plan(s)
Comments

Backpack Locker Cabinet
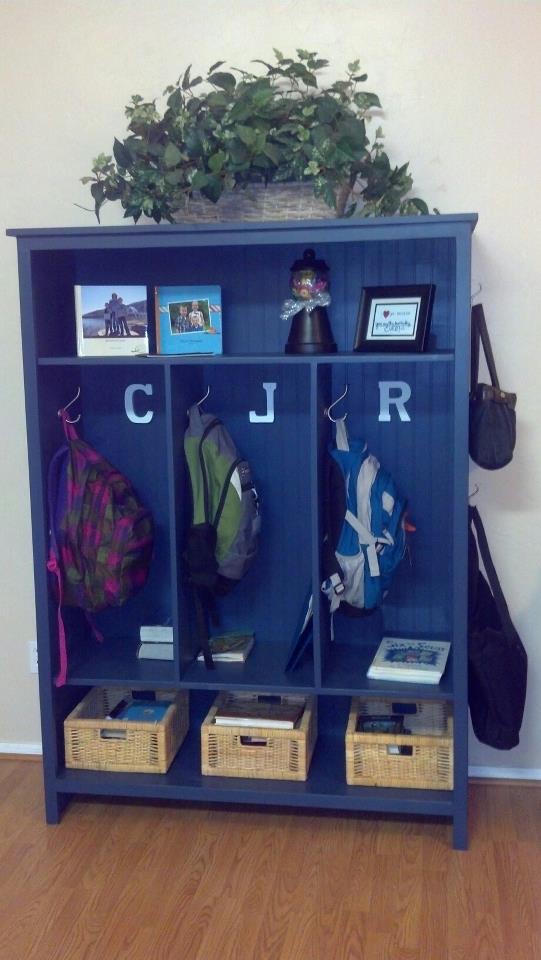
Thank you so much, Ana, for posting these plans. My husband built the storage locker in a few hours last Saturday. Our only modification was to use beadboard for the backing instead of plywood, and to switch out the 1x12's for 1x16 project panels to add depth so the backpacks will fit. I love how it turned out and now there is no more tripping over backpacks! I can't wait for our next project.
Built from Plan(s)
Estimated Time Investment
Afternoon Project (3-6 Hours)
Finish Used
Valspar Latex Paint, Furniture Wax
Recommended Skill Level
Beginner
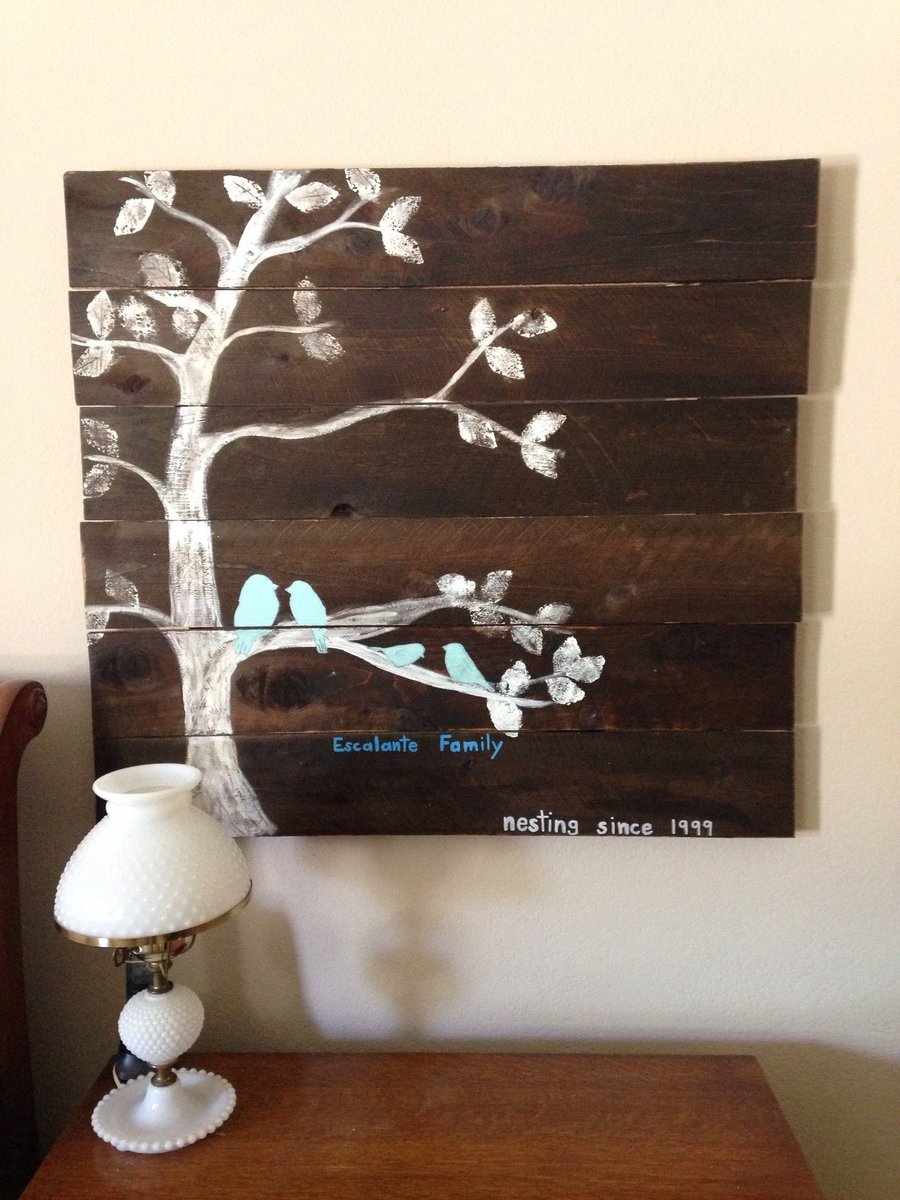
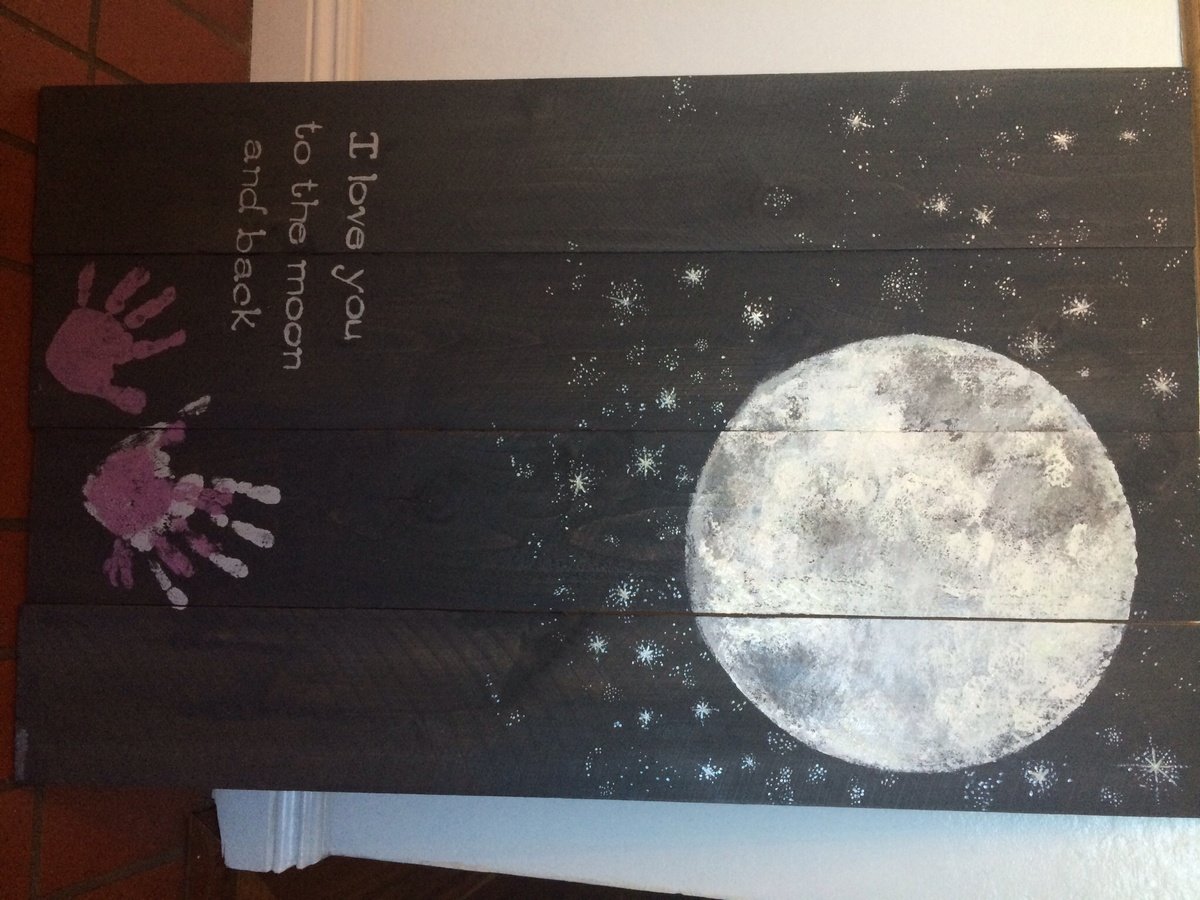
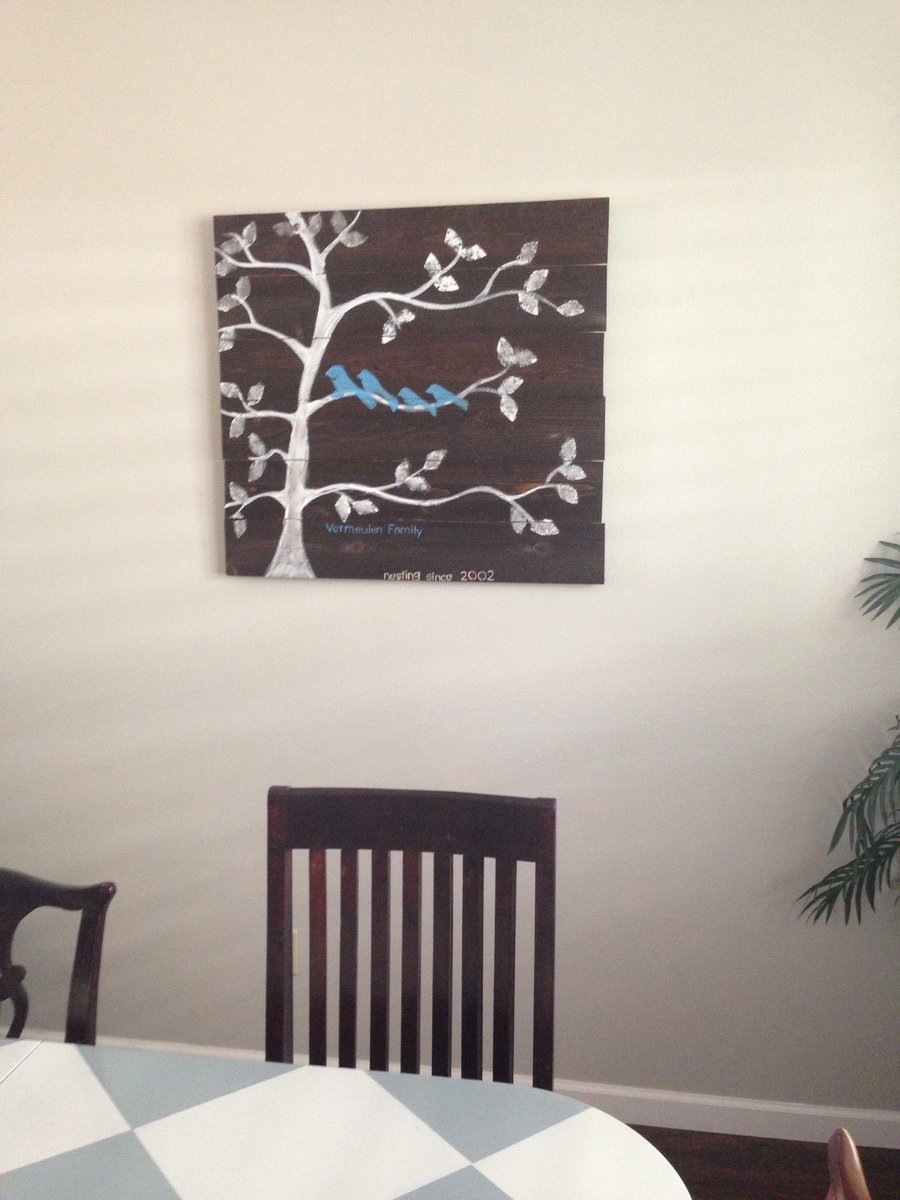
Family tree nesting bird sign
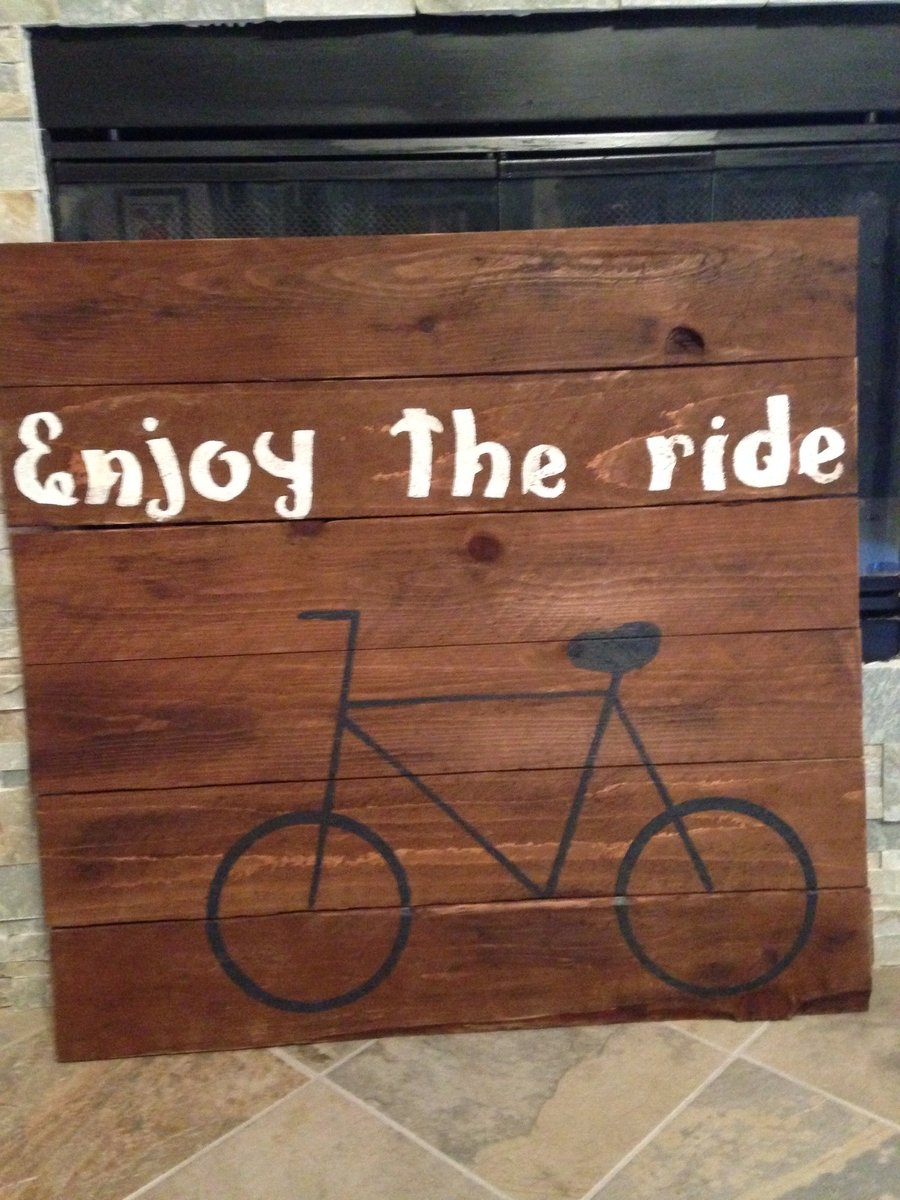
I had a girls night in and we each made out our art using the nesting family tree sign. I put together the cedar fencing signs per Ana's instructions and we all brought supplies we had in the garage and we painted away! Thank you so much!
Built from Plan(s)
Estimated Cost
$10
Estimated Time Investment
Afternoon Project (3-6 Hours)
Finish Used
Early American (bike one), walnut (2 trees), chalk paint (moon)
Recommended Skill Level
Starter Project
Comments
Learning tower
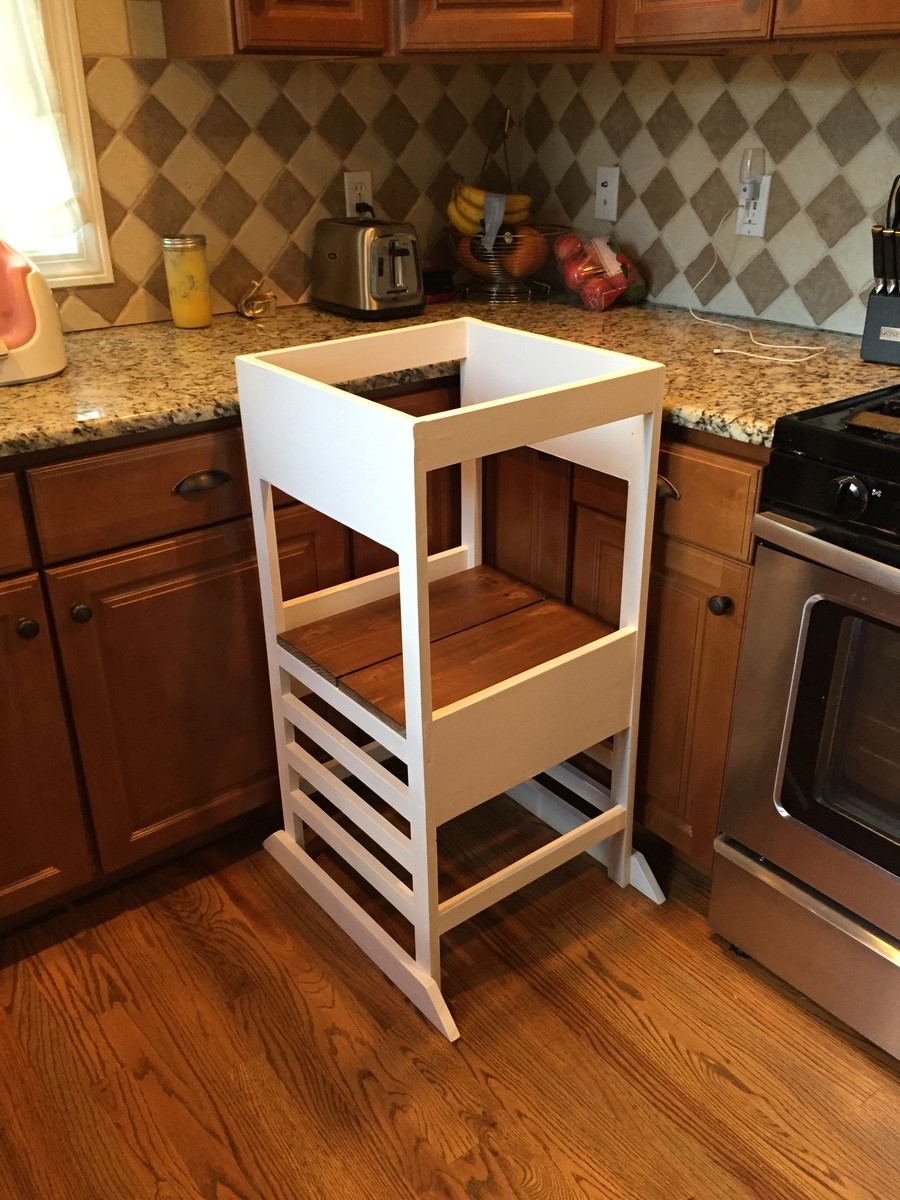
Built one for my niece, my daughter's is next!

Built from Plan(s)
Estimated Time Investment
Weekend Project (10-20 Hours)
Recommended Skill Level
Beginner
Easy planter for first father daughter project
Determined to get back into woodworking, and teach my daughter some life skills, we set out to build something easy... and it was! She did almost all the measurements, cutting and nailing. I tried staining, thought we got a nice wood color but got grey instead. Still looked great. Thanks for the plans! So excited for our next project!

Built from Plan(s)
Estimated Cost
$100
Estimated Time Investment
Weekend Project (10-20 Hours)
Finish Used
Minwax waterbased stain and protectant.
Recommended Skill Level
Beginner
Two Tone Console Table
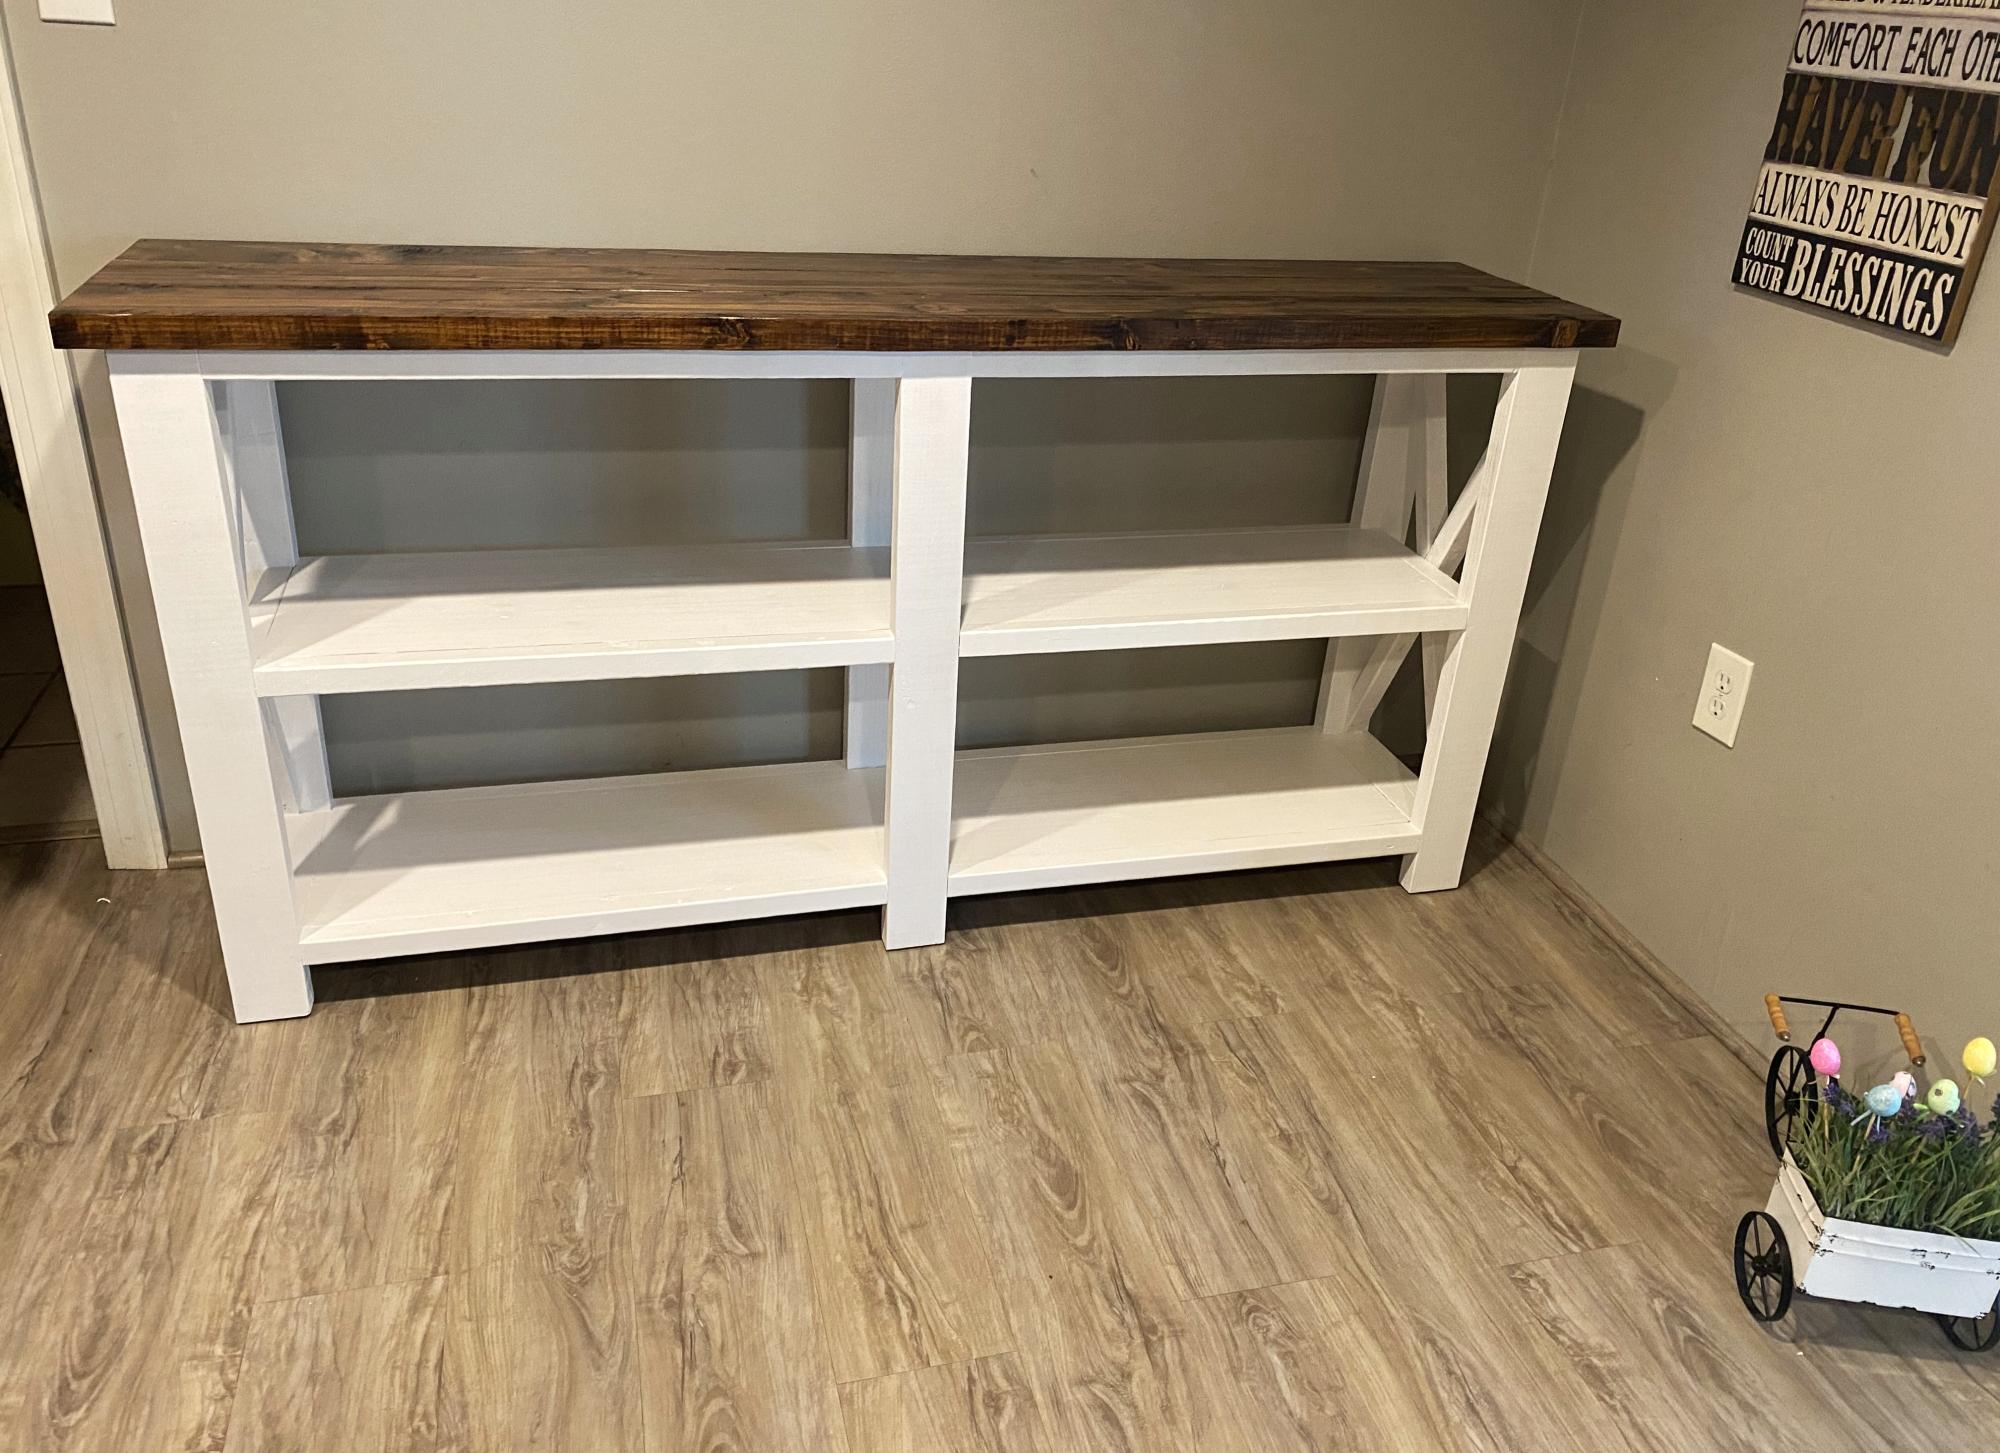
This is the 3rd table I built. Love all of your work. Ross
Built from Plan(s)
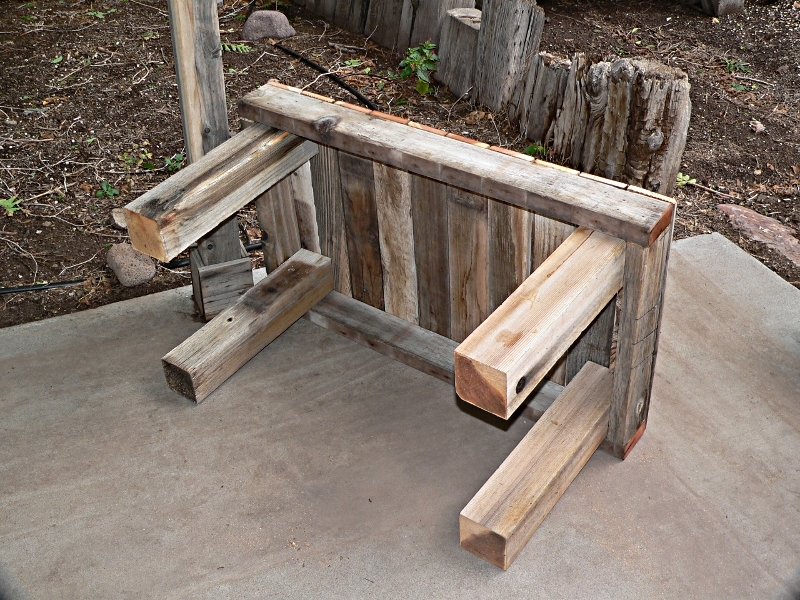
Reclaimed Fence = Free Benches

These are made from the 4x4 posts, 2x4 rails, and slats from an old wooden fence that weren't good enough to re-use when we repaired the fence.
It's close to the Simple outdoor bench, but I simplified the plan even more to take advantage of the pile of free lumber. Or maybe it's the Simple Outdoor Dining Table ... but a lot shorter.
CAUTION: Be careful to remove ALL nails, screws and bolts from the lumber you are reusing. If you can't get the metal out, mark that area and figure out a cut that won't hit it.
TIPS FOR RECLAIMED LUMBER:
* Trim the ends of the lumber square before you measure.
* Don't try to salvage split or rotted wood. Trim it off and see what you can do with the good bits.
* Plan your cuts so you have the least waste.
TOOLS:
10" Miter saw
Wood glue
Nail gun, with 2 1/2 and 1 1/4 inch 16gauge nails for gun (You could use deck screws if you have them)
Surform Pocket plane (wood rasp from Stanley tools)
CUT LIST:
For one bench, 21x36
NOTE: To cut a 4x4 cleanly with the 10" miter saw, put a thin shim behind each side of the 4x4
4 4x4 post scraps, 18 inches long (legs)
2 2x4 18 inches long (sides)
2 2x4 36 inches long (front and back rail)
10 fence slat pieces, 21 inches long (cut to fit the top after it is assembled)
ASSEMBLY:
See the picture of the underside of the bench:
1 - Square up the legs with the end pieces, glue and nail.
2 - Square the sides with the legs, so the legs are inside the 2x4 apron, glue and nail.
3 - Align the 2 end slats with the edges of the bench and nail through them into the 2x4 apron
4 - Space the rest of the slats on the top, leaving 1/8 inch or so etween the boards for drainage. Nail them to the 2x4 apron.
FINISH: Use the wood rasp to round the cut ends of the slats and 2x4s. Rasp with the grain to avoid raising splinters. Lightly rasp the tops of the slats to smooth any really rough spots.
A table or maybe a buffet is planned, with the same construction method, but a bit taller. Tables are 26-29 inches, most buffets are 36". It depends on what will make best use of the remaining bits.

Built from Plan(s)
Estimated Cost
$0
Estimated Time Investment
Afternoon Project (3-6 Hours)
Finish Used
none
Recommended Skill Level
Beginner
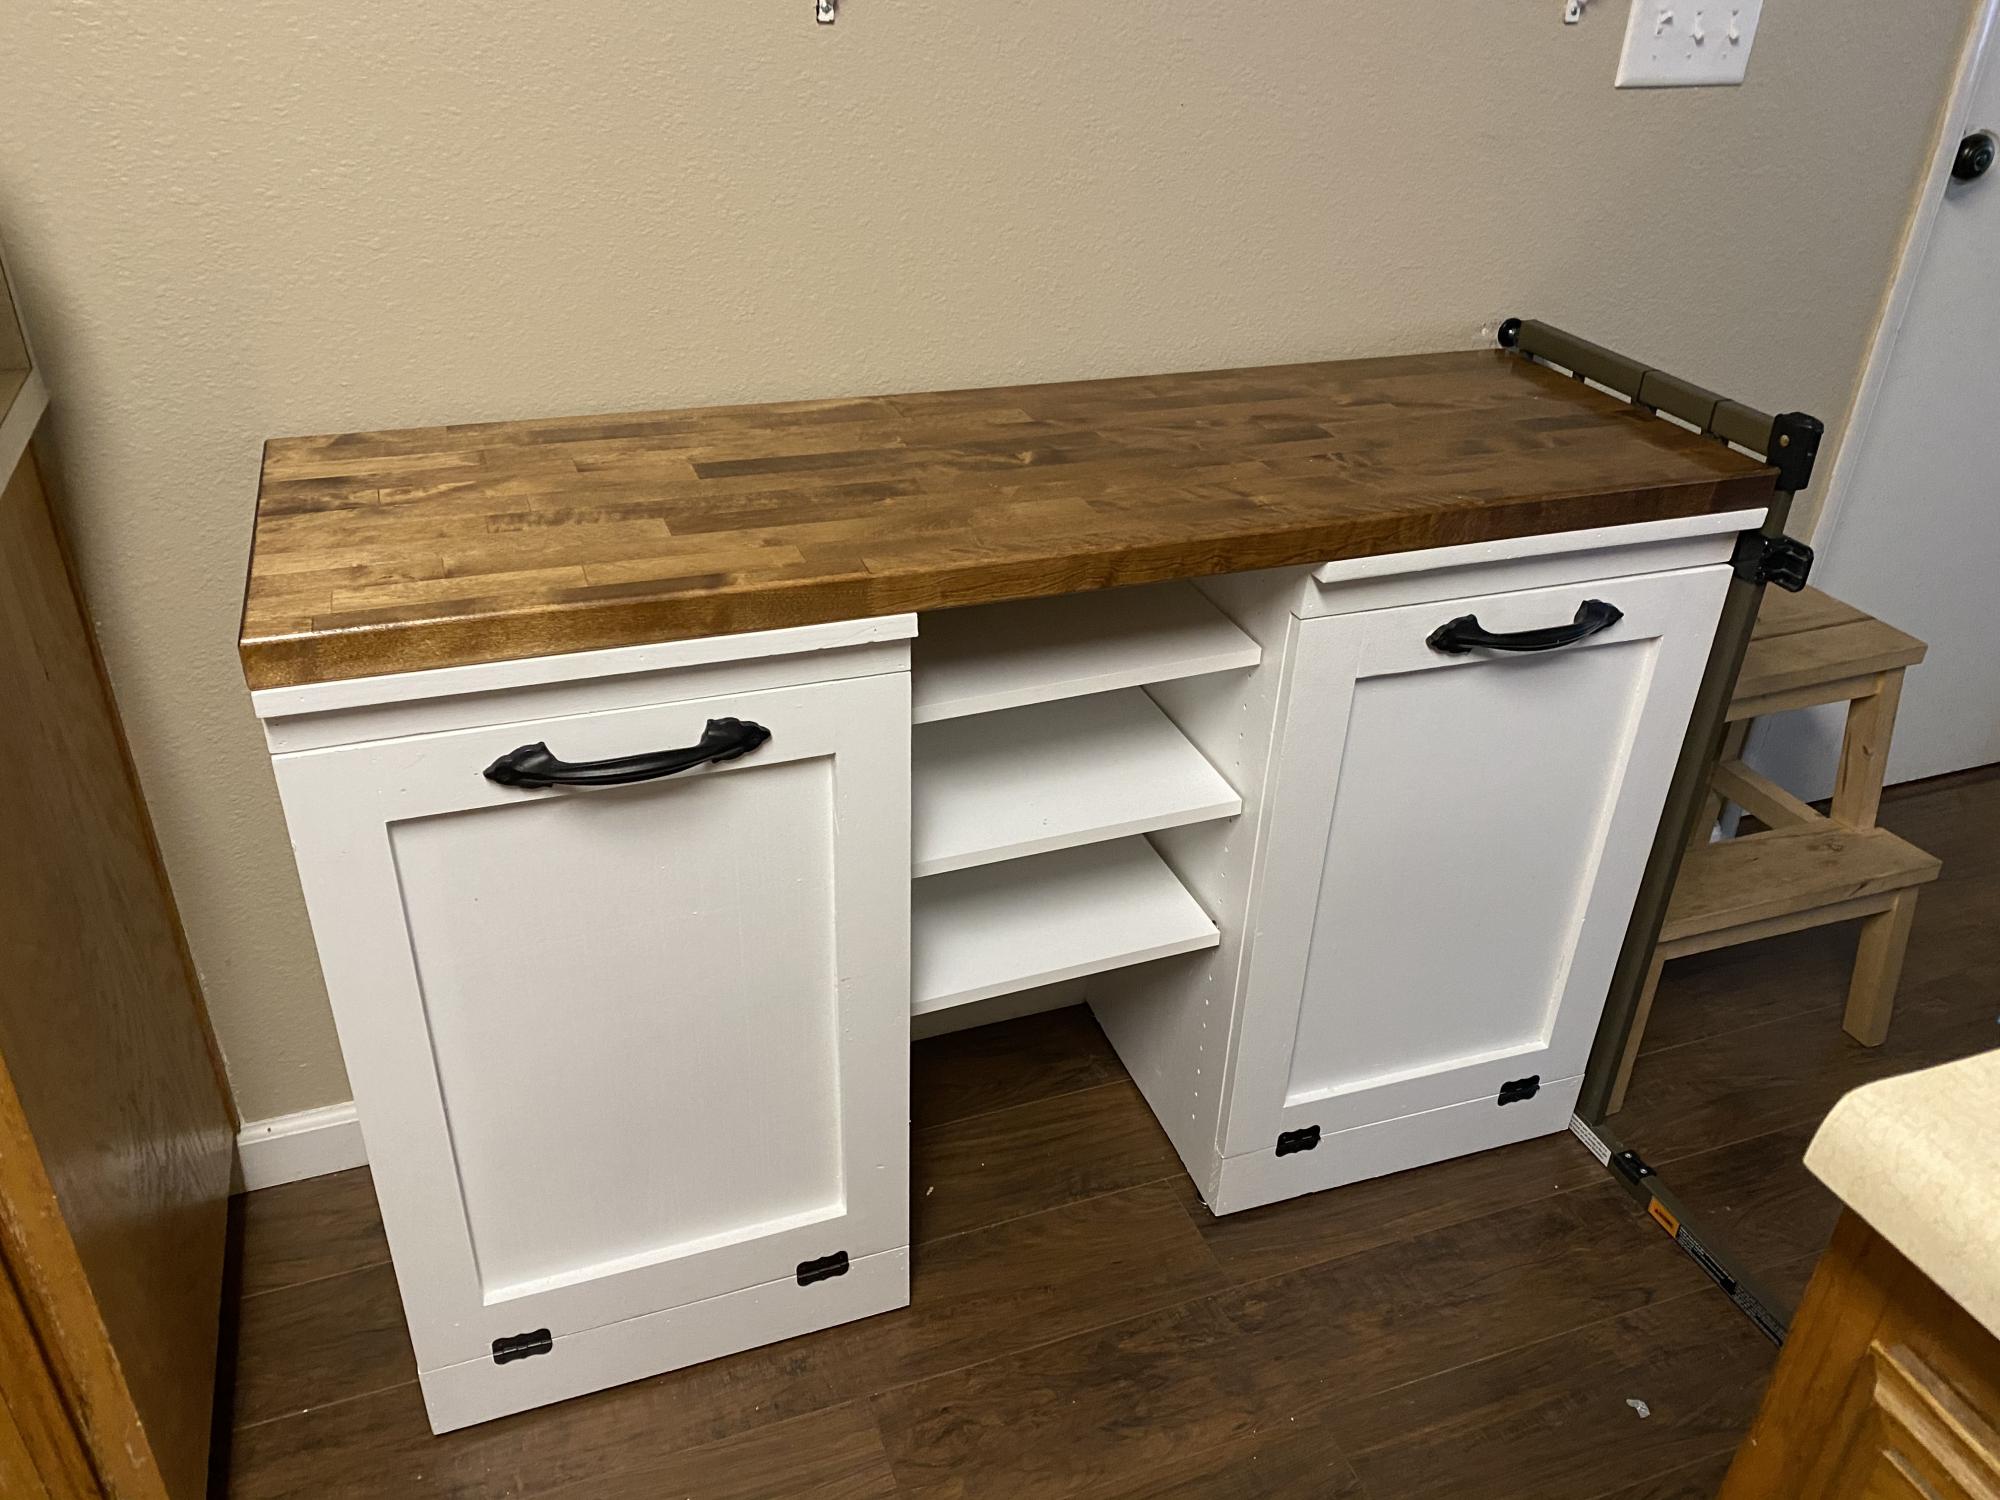
Tilt-out recycling sorter --Modified Build

I attached the tilt out portion using a Kreg jig and eventually removed the brace (it wasn't necessary and removing the brace gave it a cleaner look.
I used 2 x 2 as a trim around the outside which also allowed me to hide the hinge.
Other than that -- followed the build pretty closely. I used a cable on either side to stop the tilt out from falling to the floor (which allows me to leave it open as well.
This was my first project and it was a battle to figure out how to install the hinges and I did not love my jig saw work with the plan feet so I bought and installed furniture replacement feet which turned out much nicer (IMO).
Good luck!
Built from Plan(s)
Estimated Cost
$150.00
Estimated Time Investment
Weekend Project (10-20 Hours)
Finish Used
General Finishes Java Gel
Recommended Skill Level
Intermediate
Modified Rustic X End Table
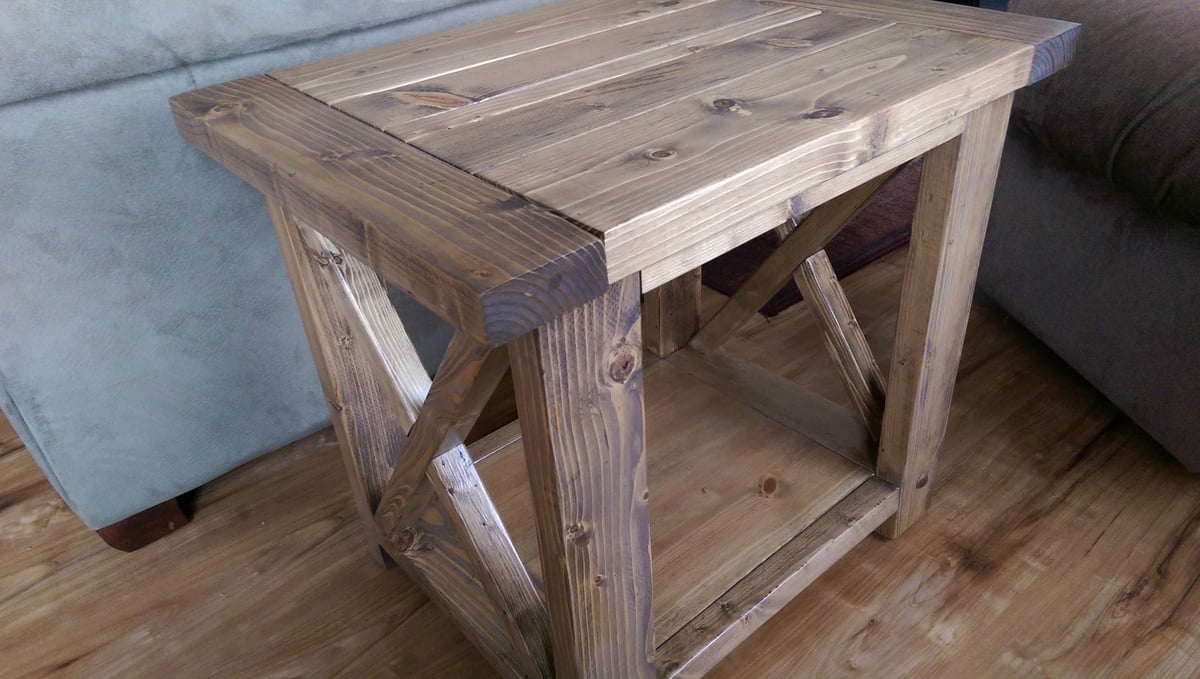
Modified to dimensions 23"H x 19.5"D x 27"W.
Built from Plan(s)
Finish Used
Stain and Polyurethane
Recommended Skill Level
Beginner
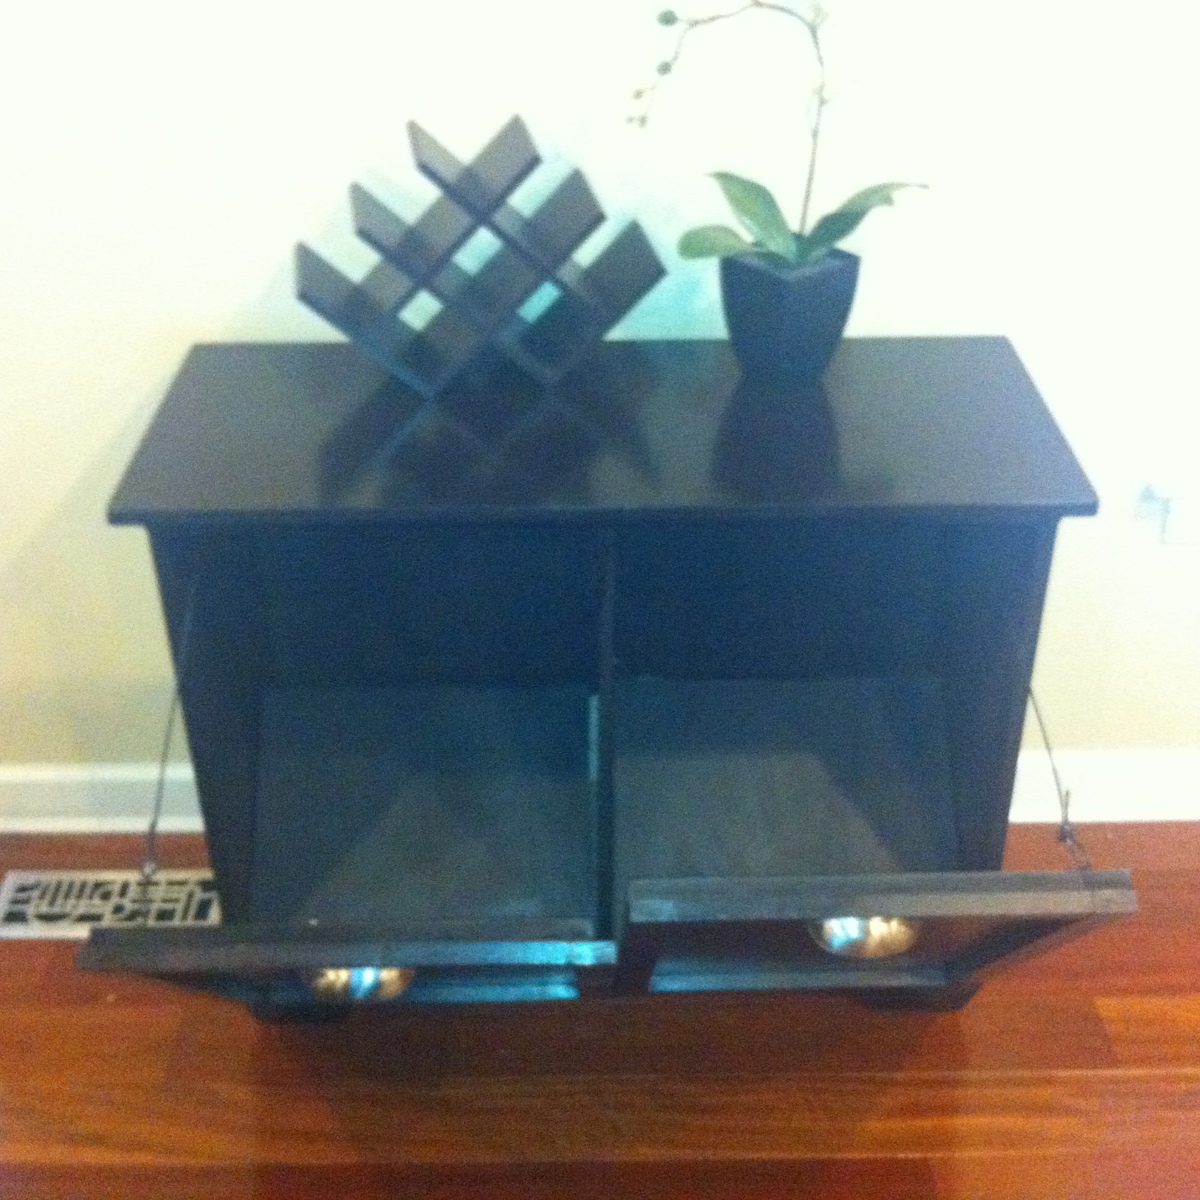
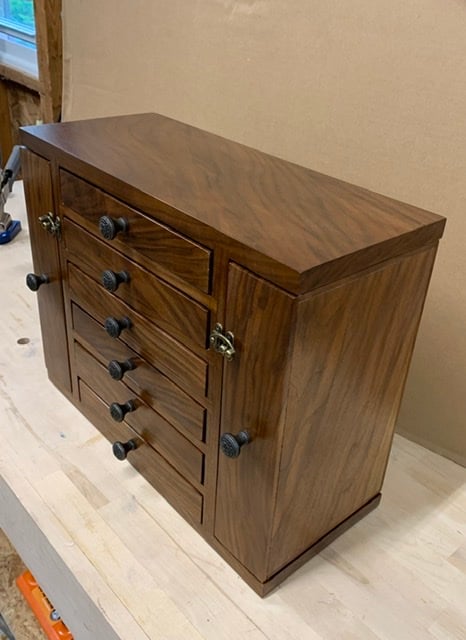
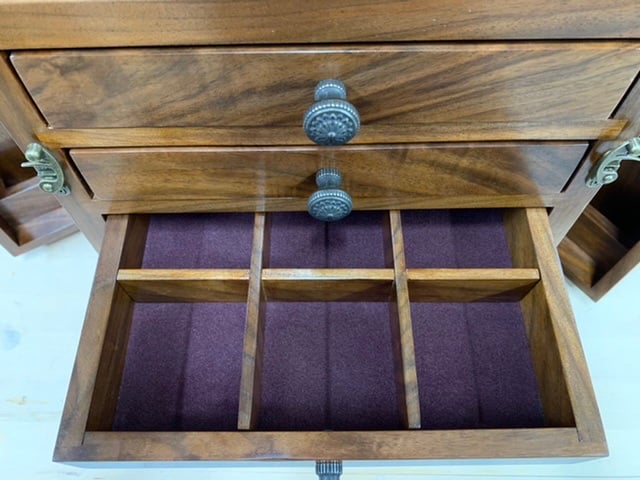
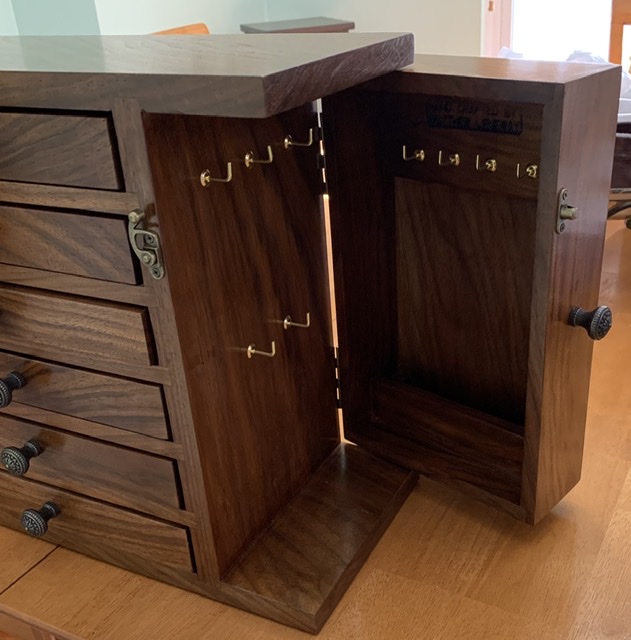
Fancy Jewelry Box
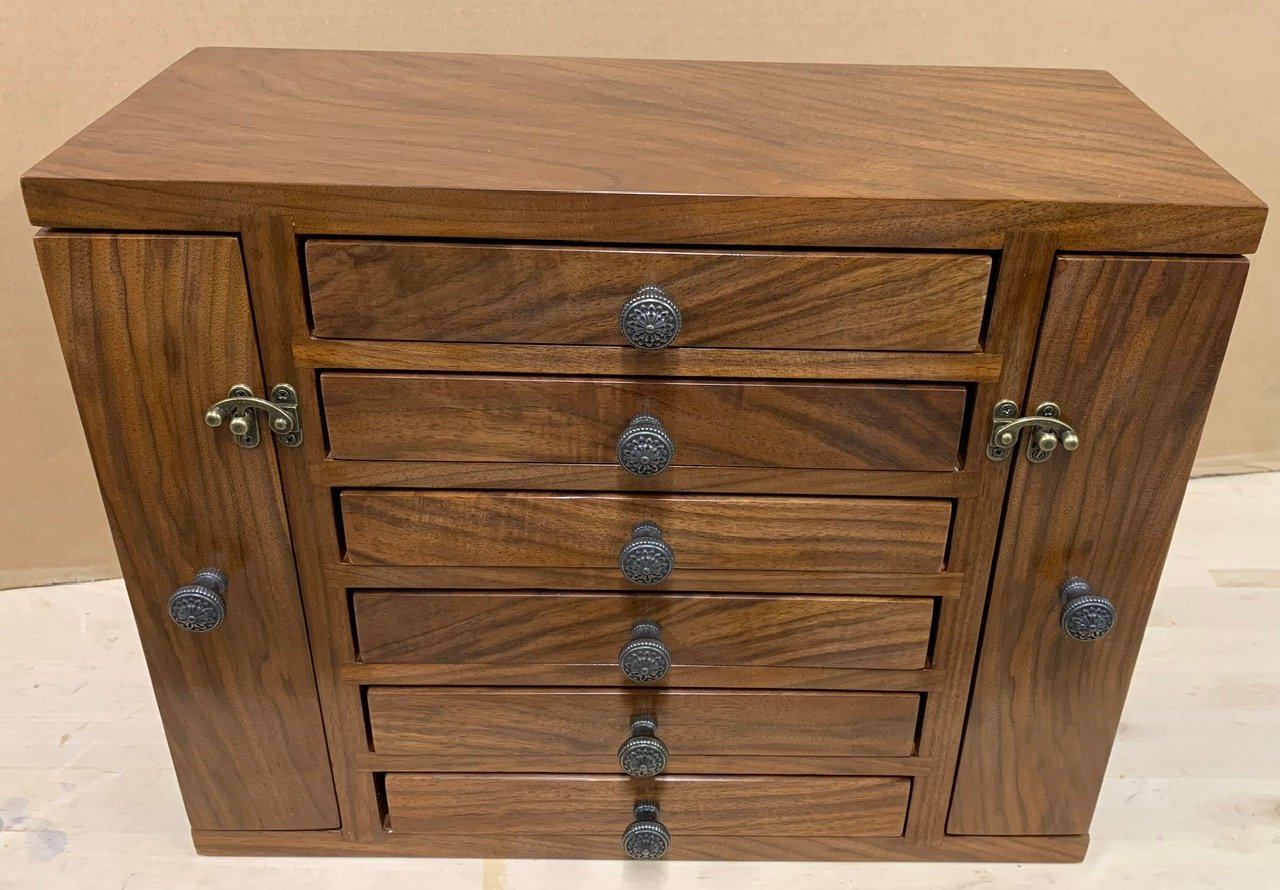
Great plans and a fun build. I made some modifications. My drawers are 1.5” high and 10” long. It allowed for 6 drawers. Overall height is 13.75” and length is 17.5”.
I used rabbits and dados rather than butt joints. There is flocking in the drawers.
Built from Plan(s)
Estimated Time Investment
Week Long Project (20 Hours or More)
Finish Used
Garnet Shellac at a 2# cut. Wiped on. I used 4 coats sanding with 400 grit after coats 2 and 3. I used 0000 steel wool after coat 4. Then I applied Paste wax.
Recommended Skill Level
Intermediate
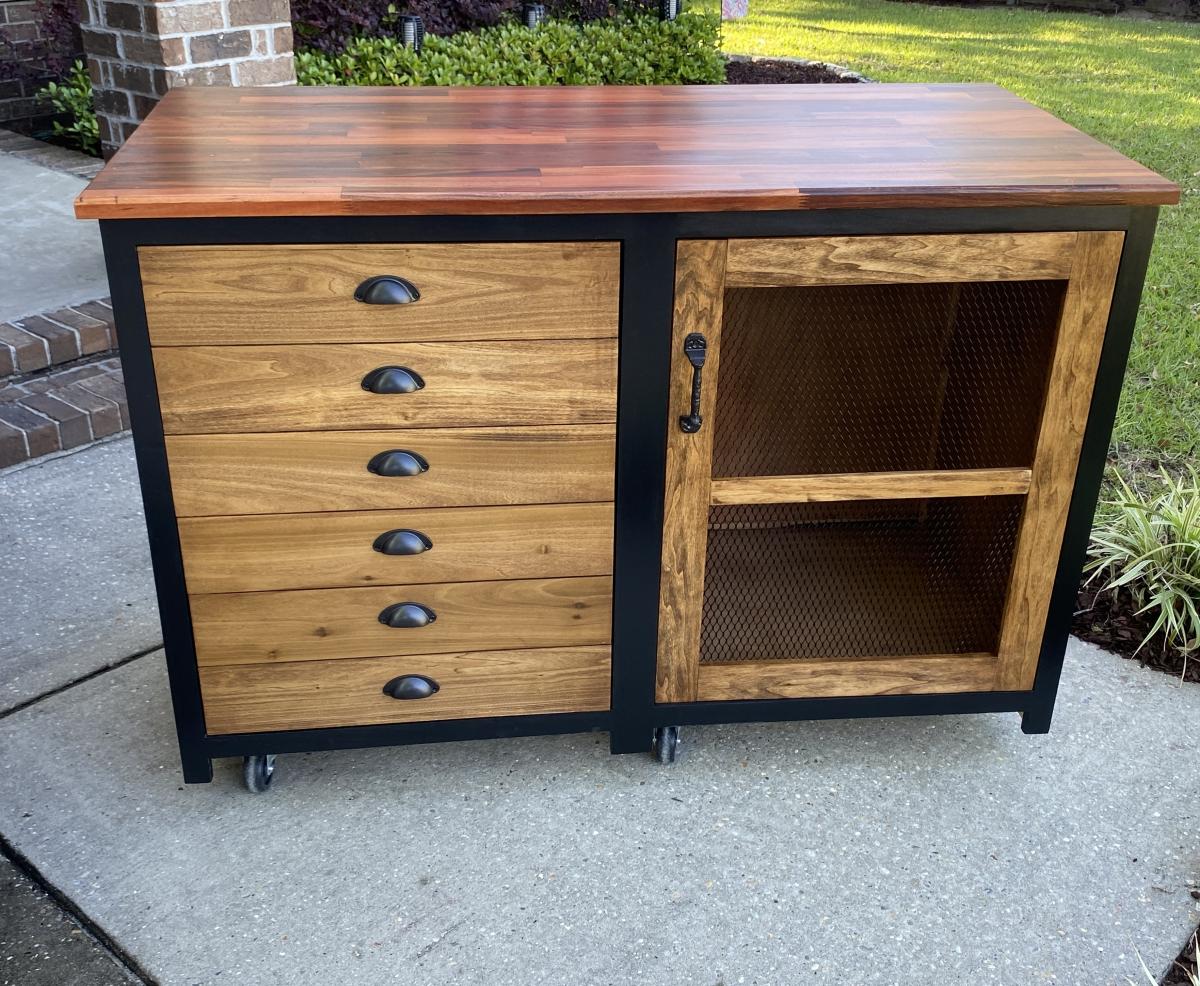
Modern Printer's Cabinet
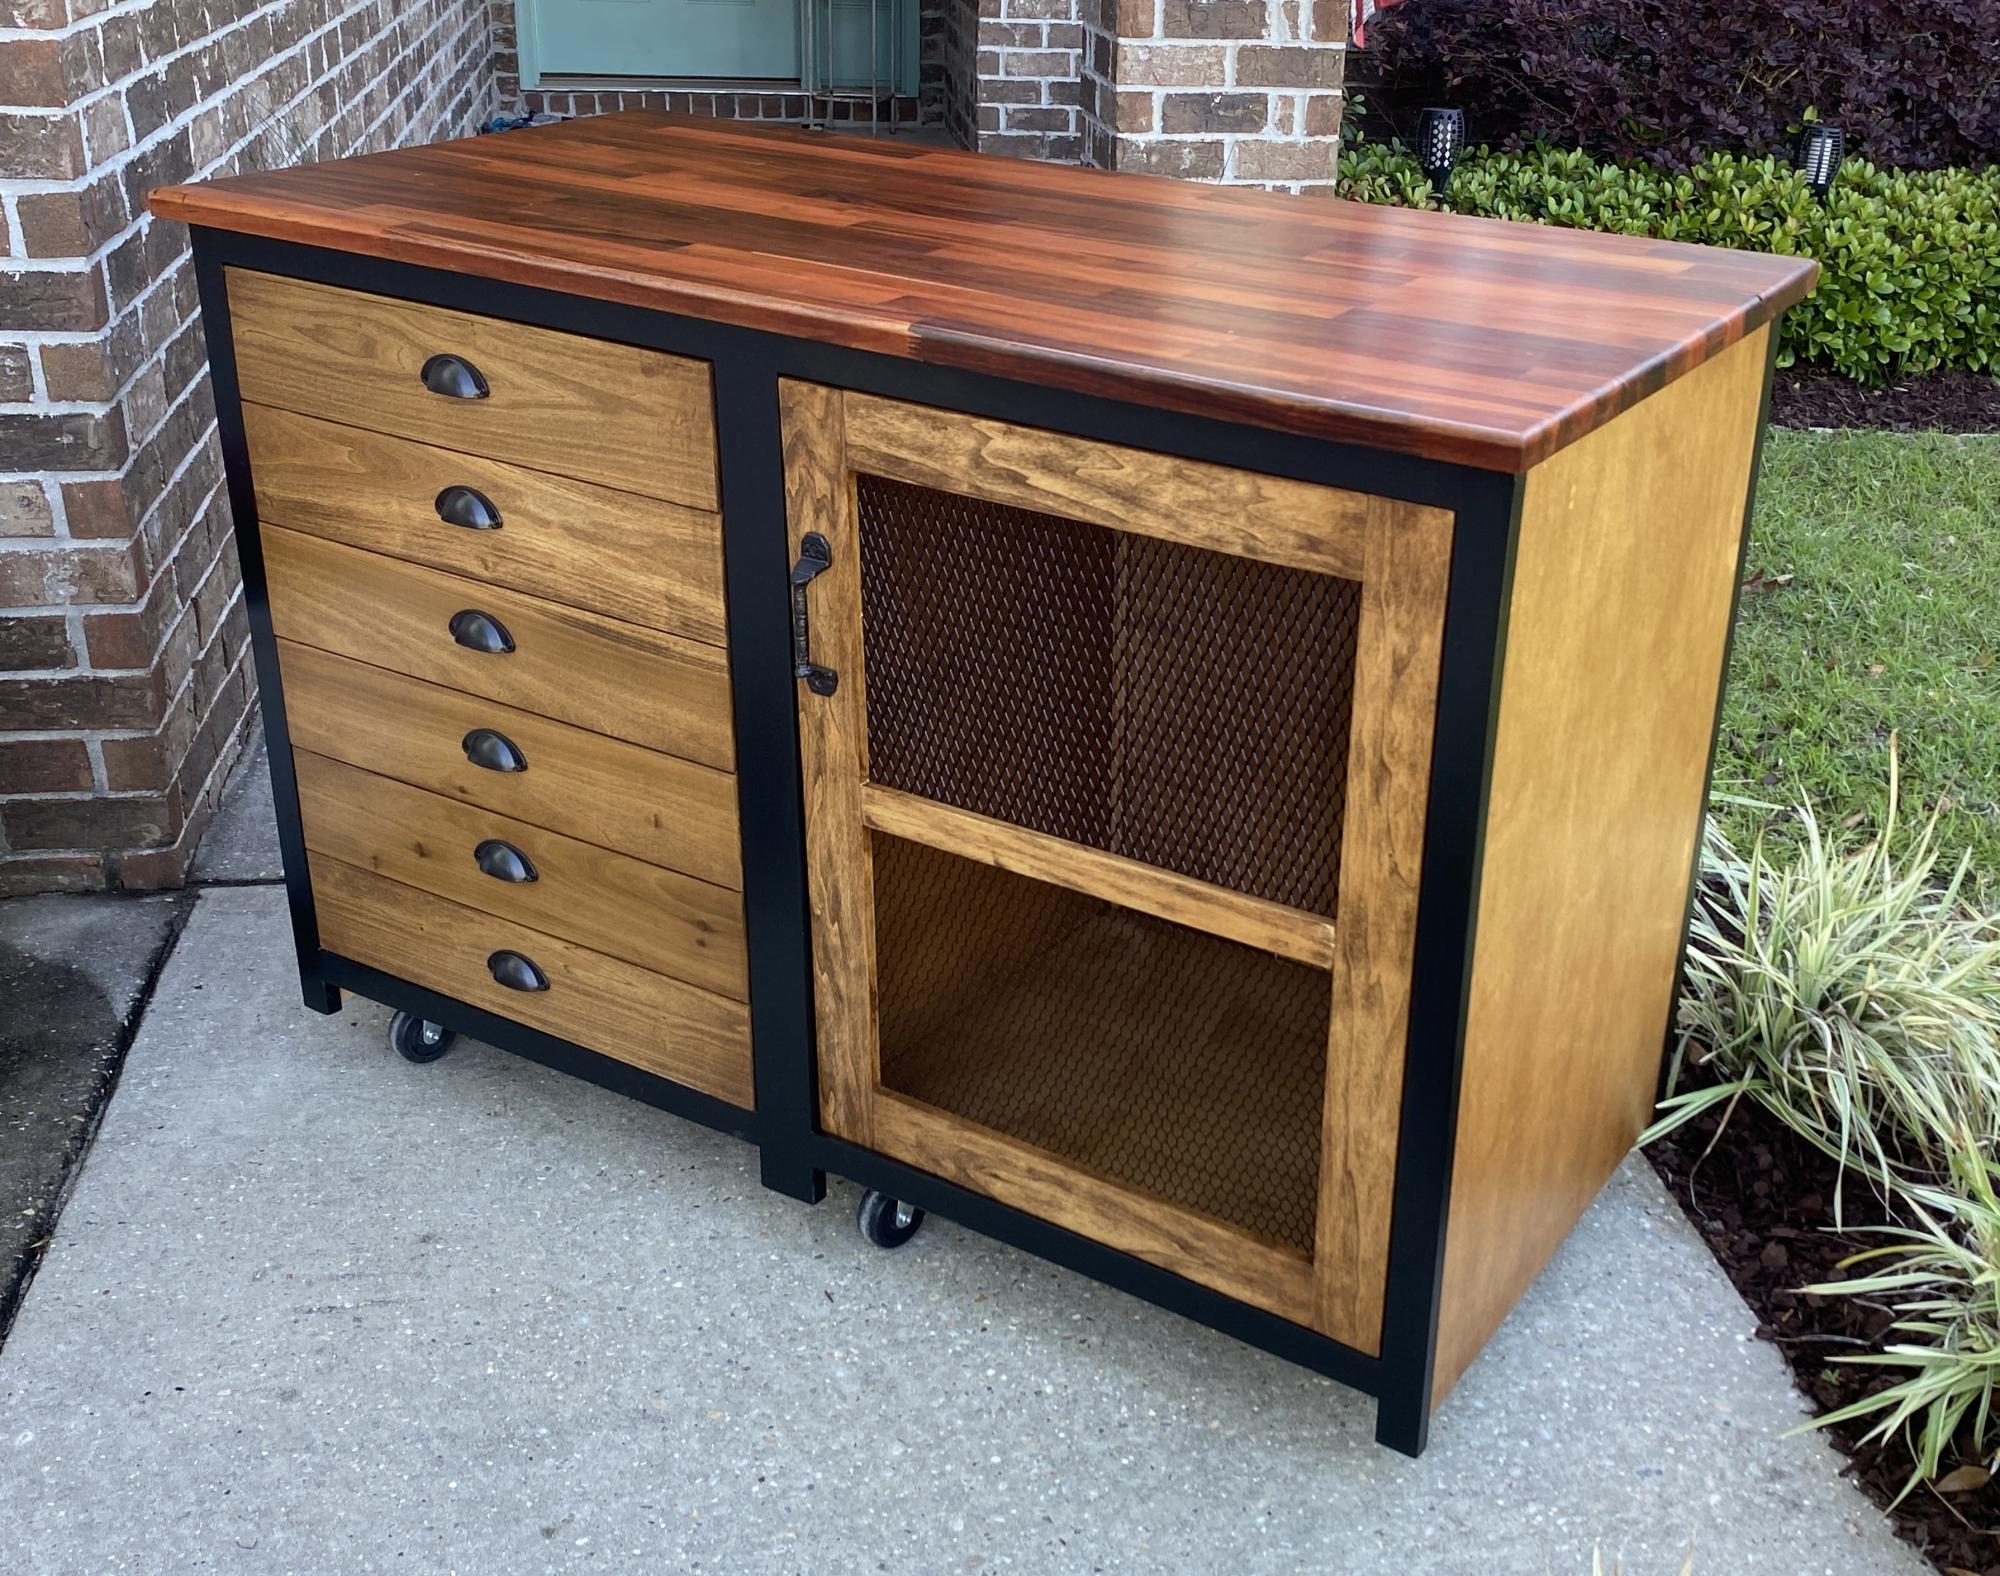
My interpretation of the printers cabinet. Needed something for my office that was deeper for my printer, 3D Printer and a few other items.
Built from Plan(s)