Community Brag Posts

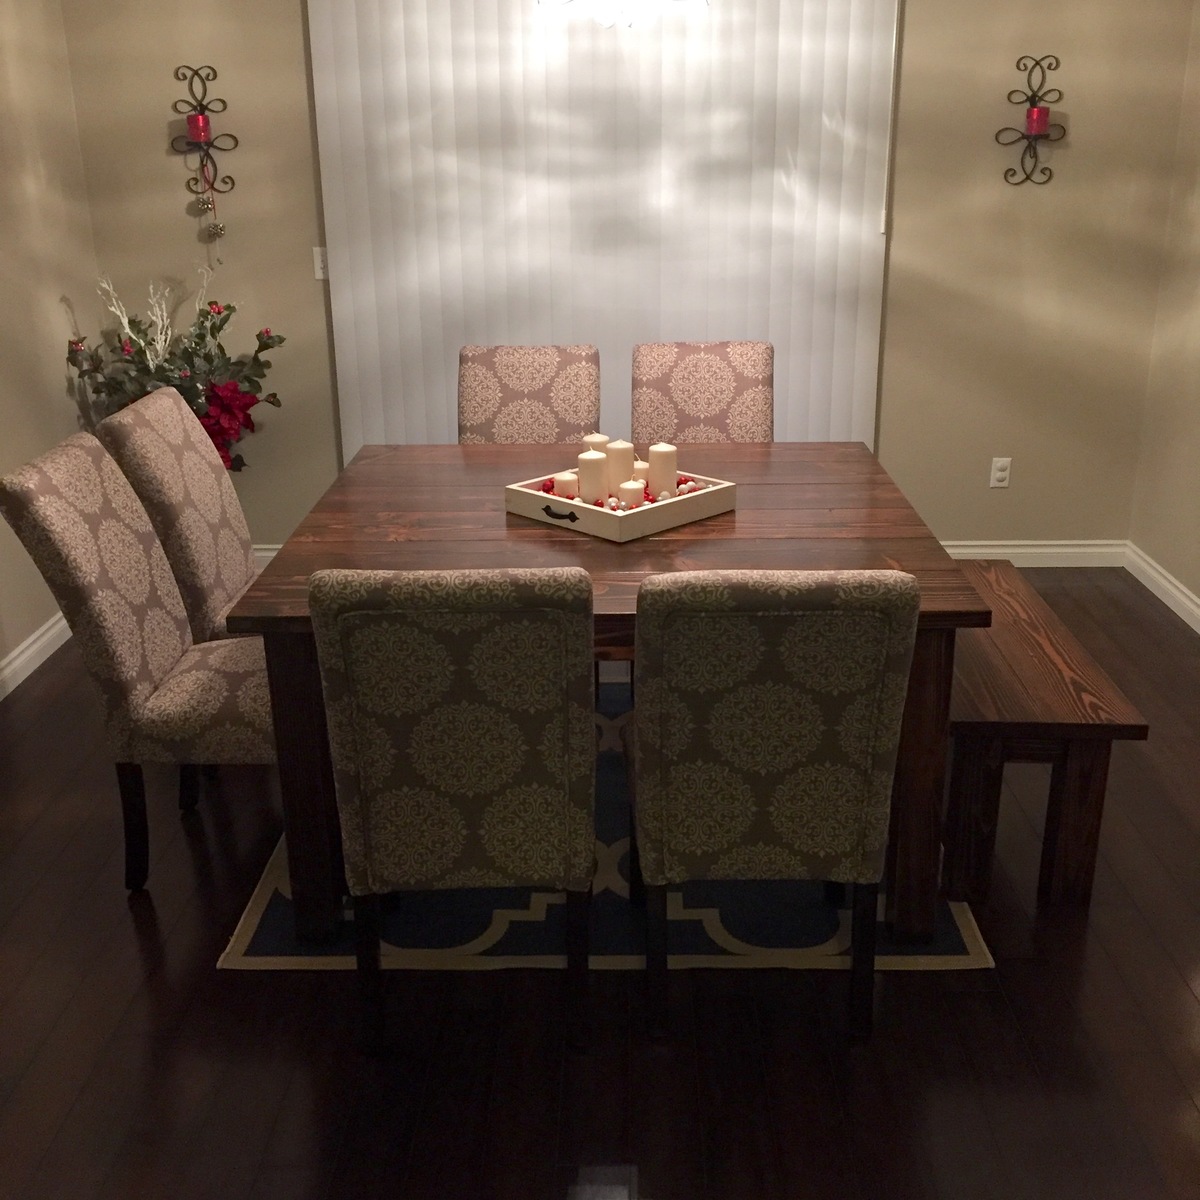
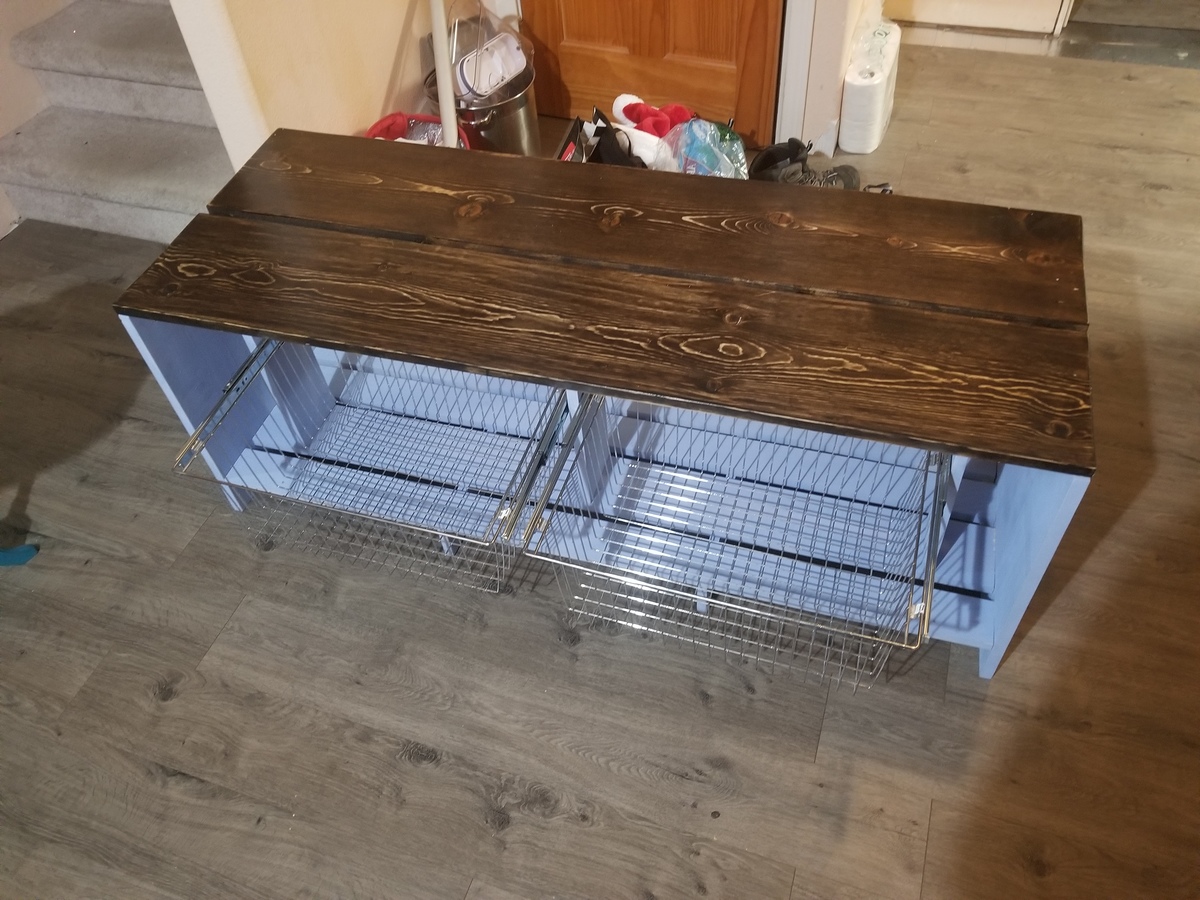
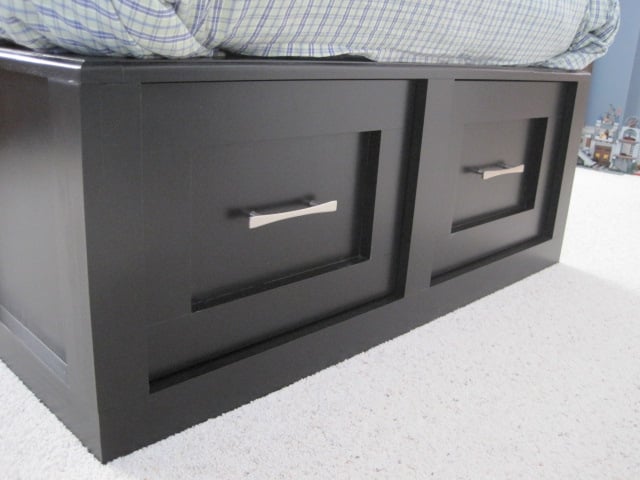
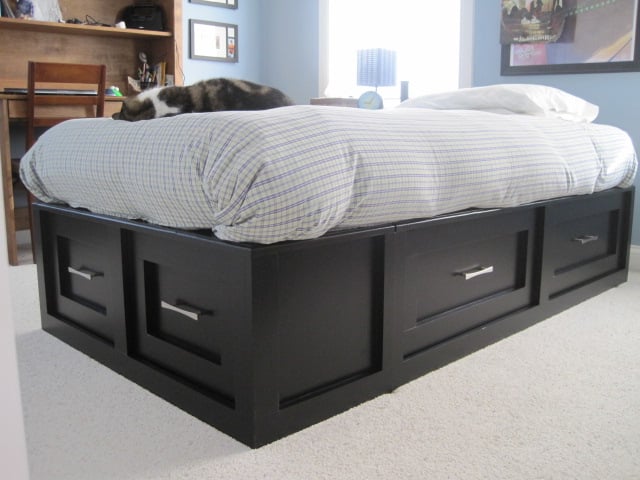
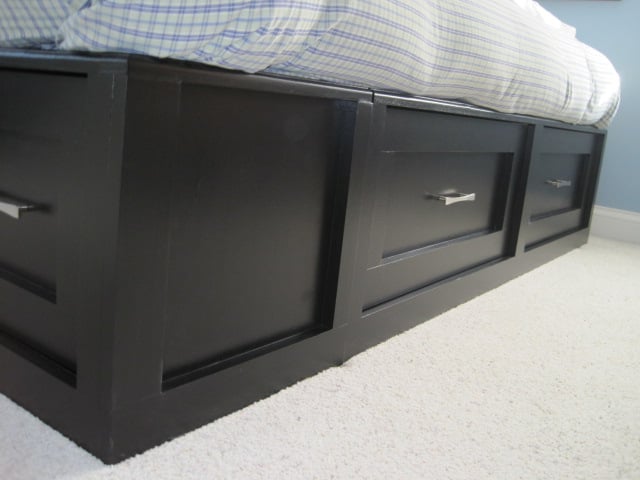
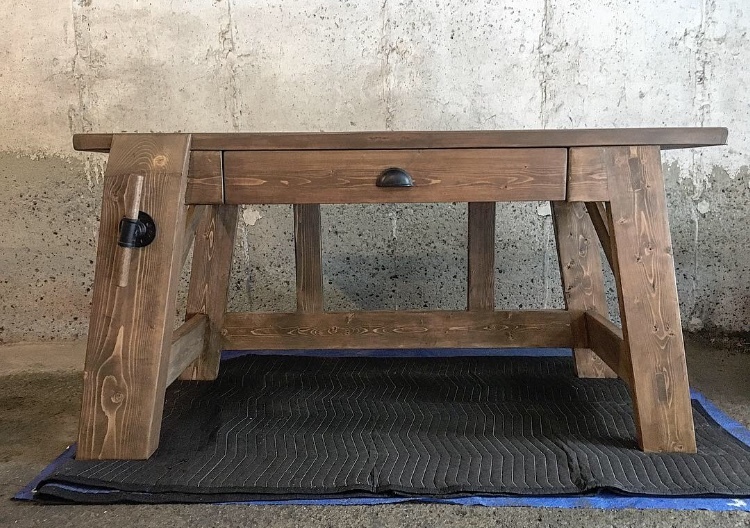
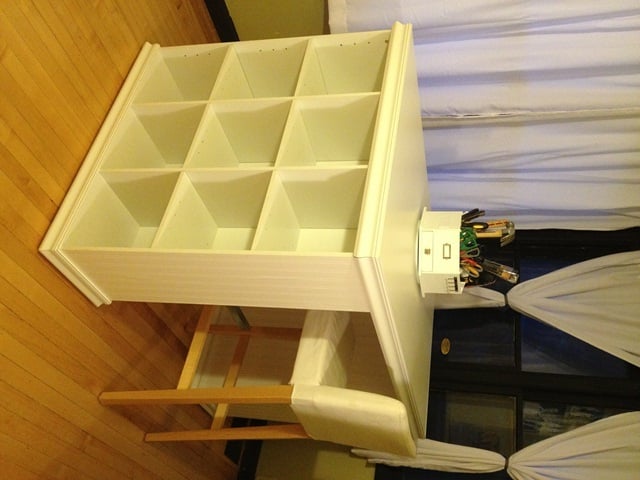
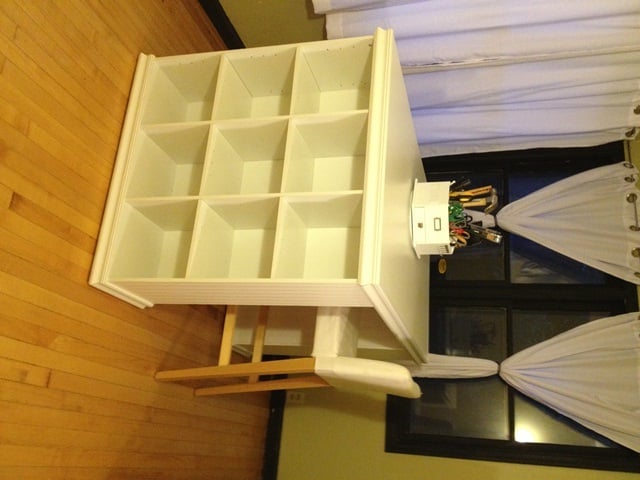
Square Farmhouse Table

Submitted by 42jbmayer on Sat, 12/19/2015 - 21:25

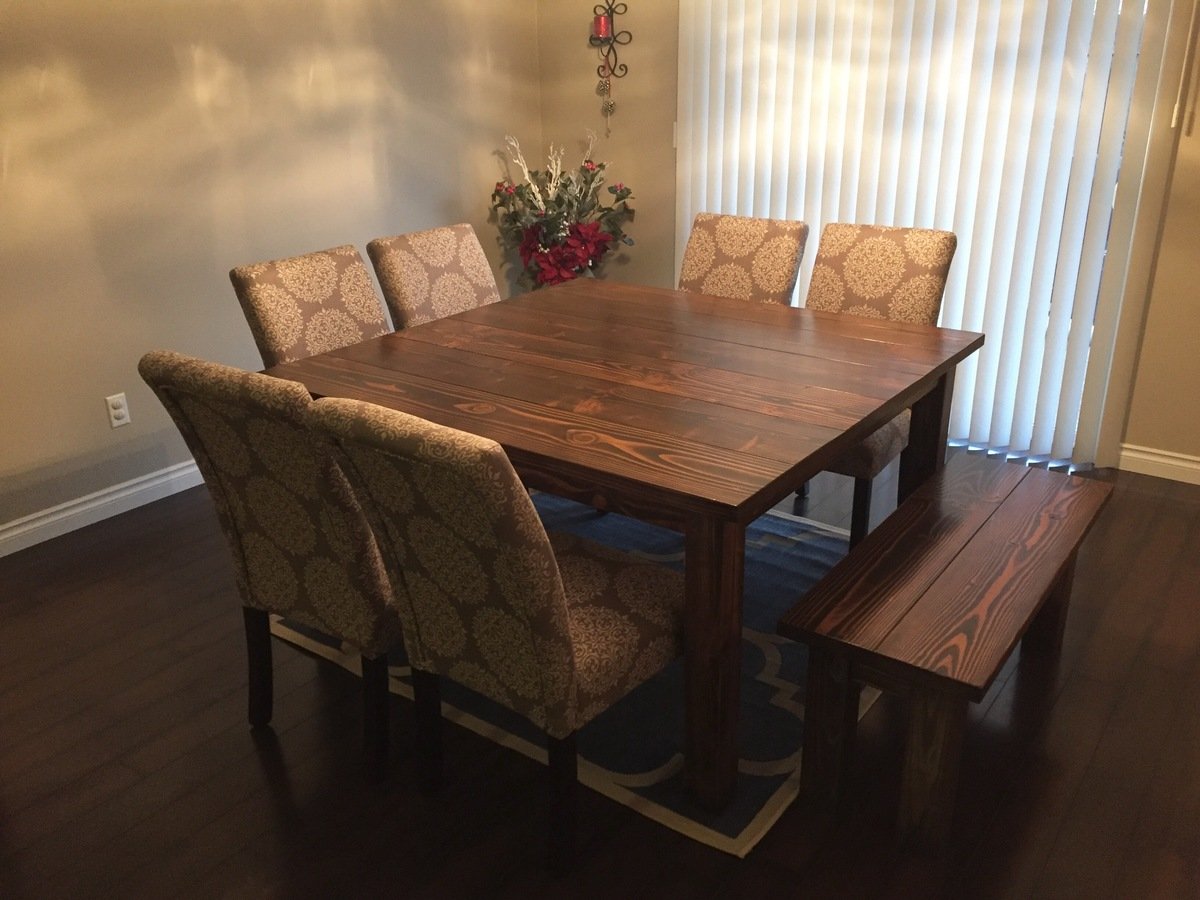
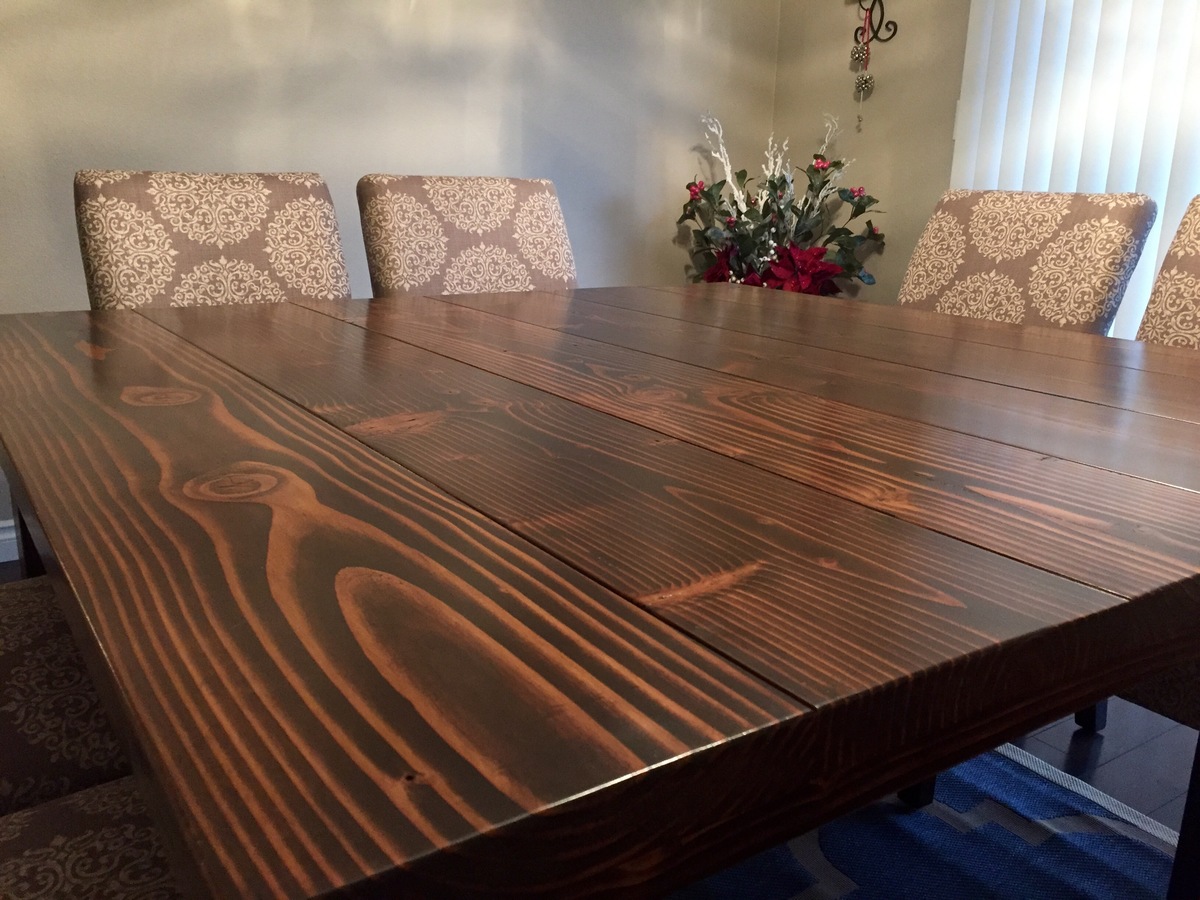
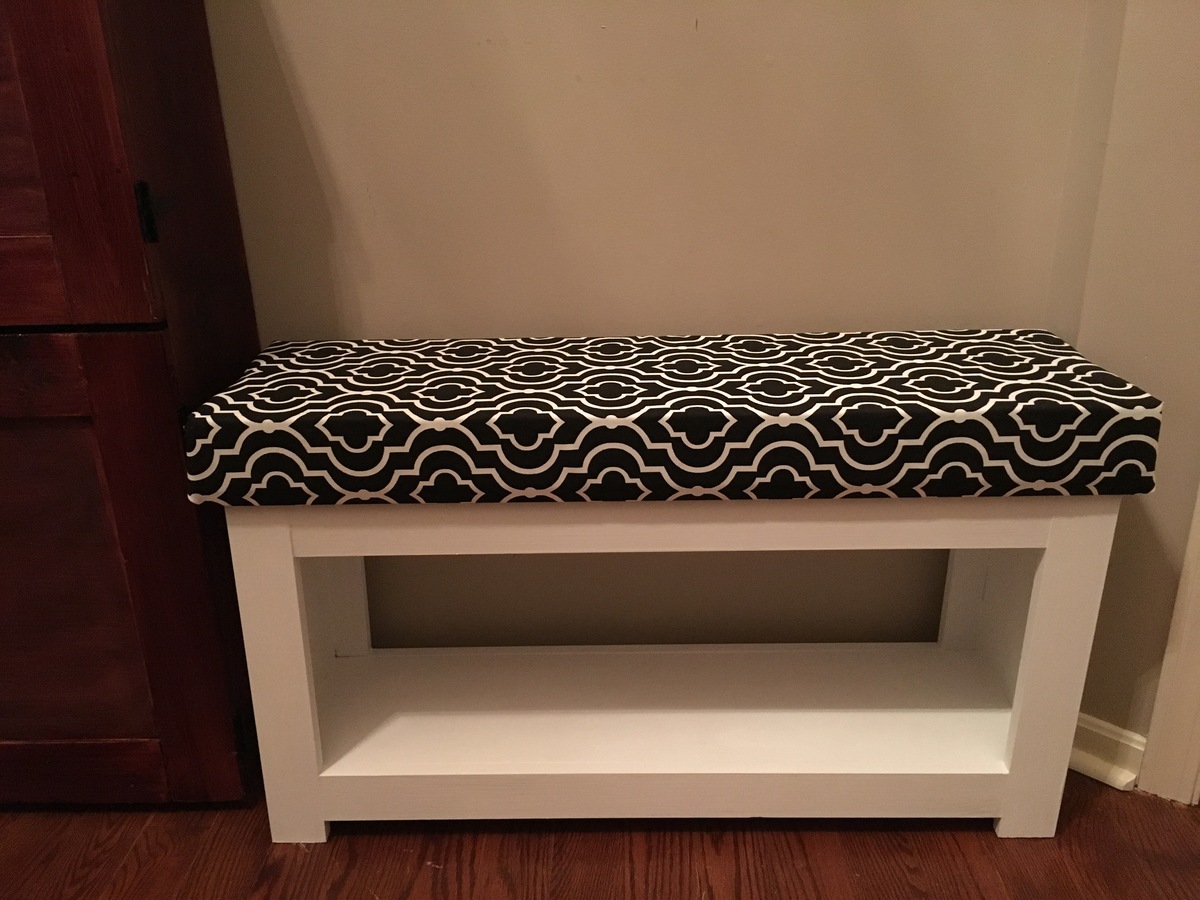
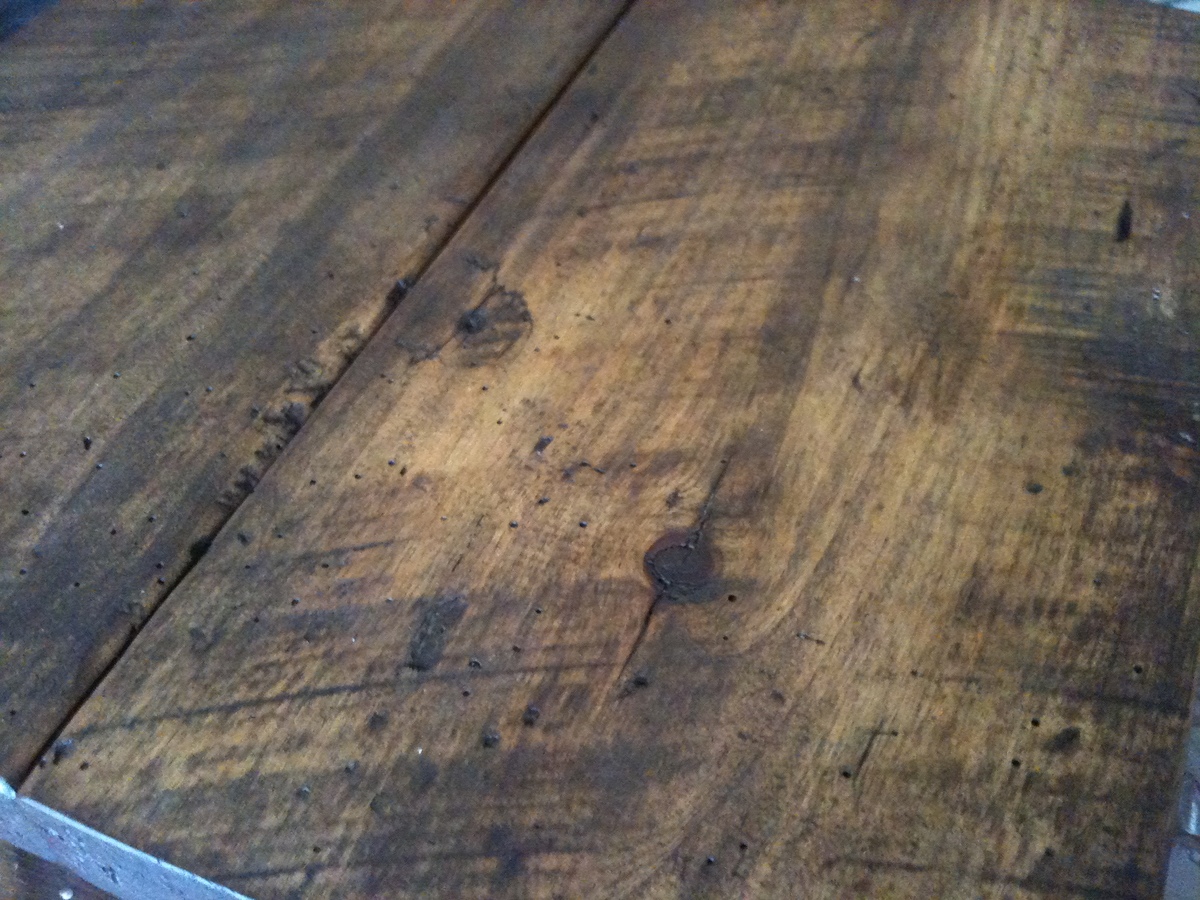
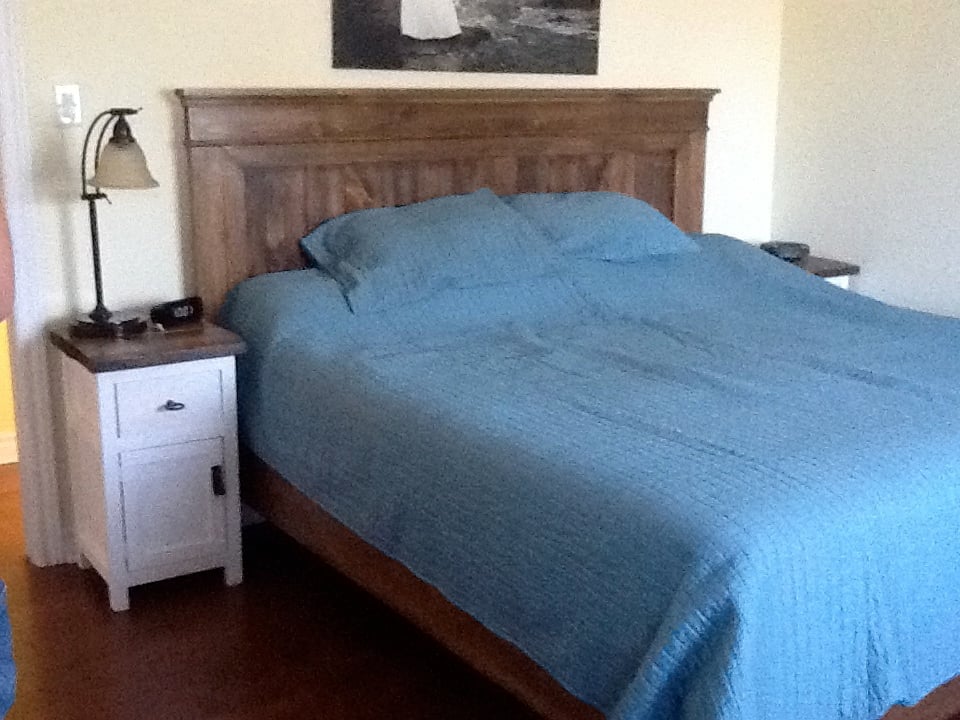
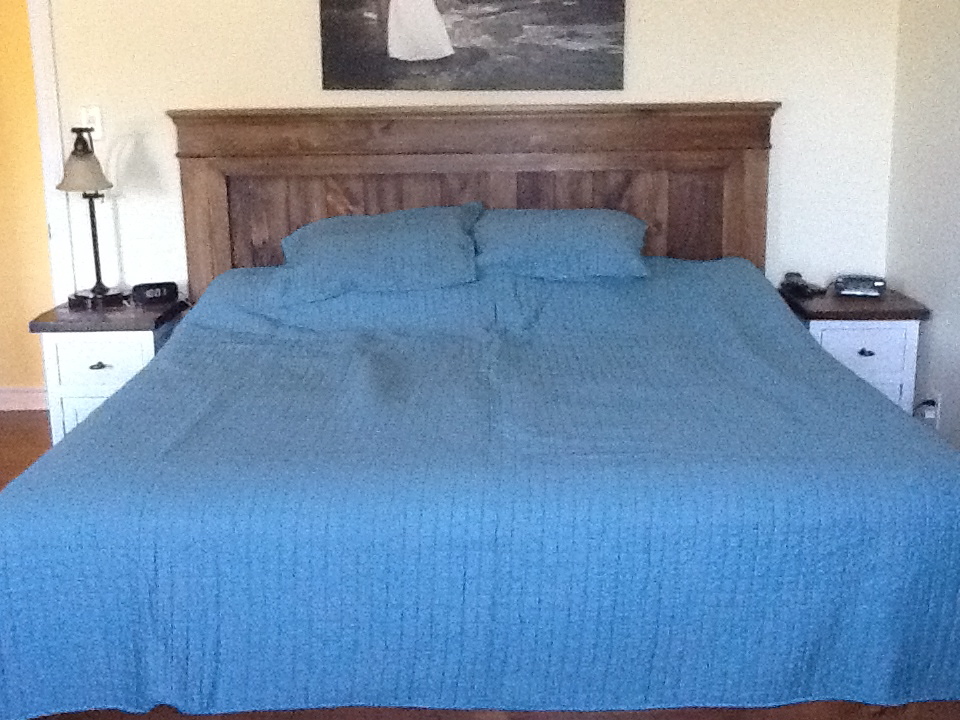
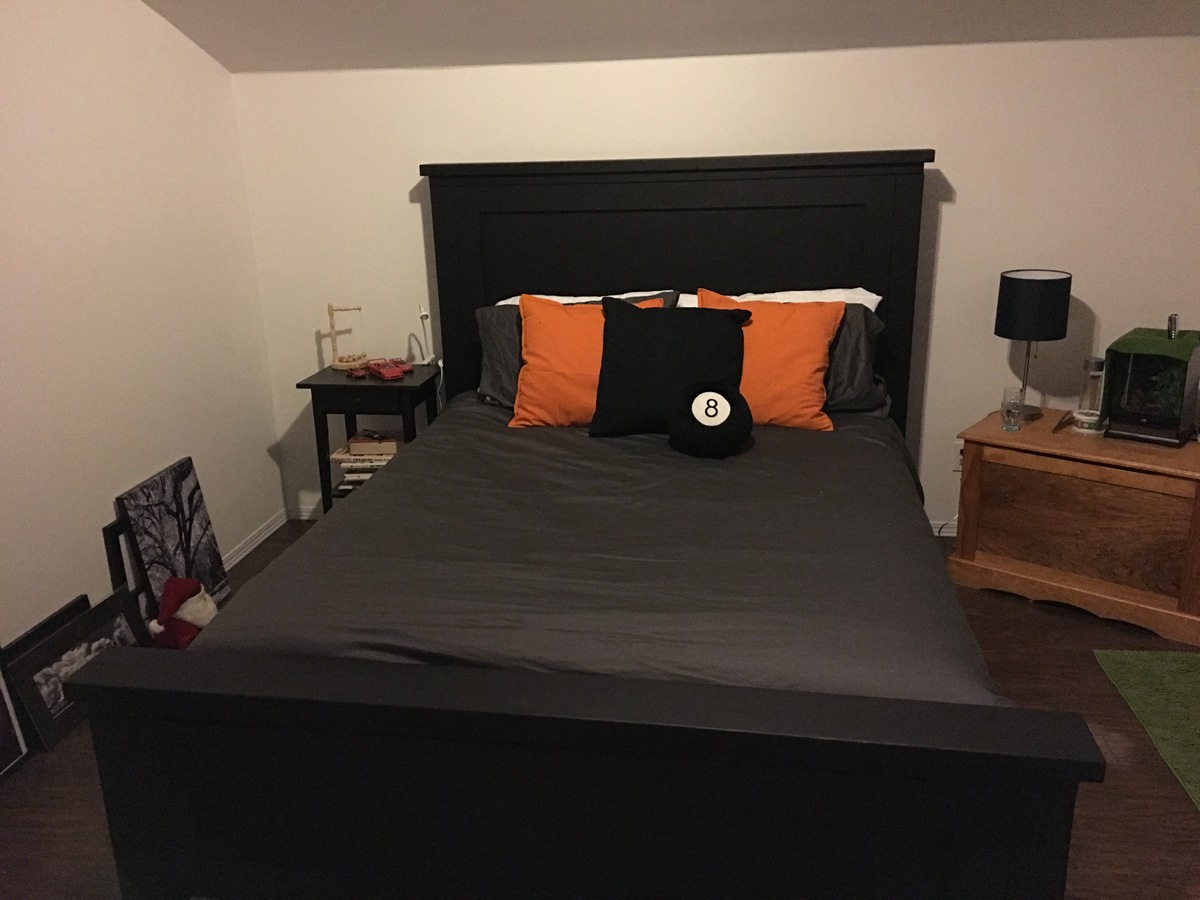
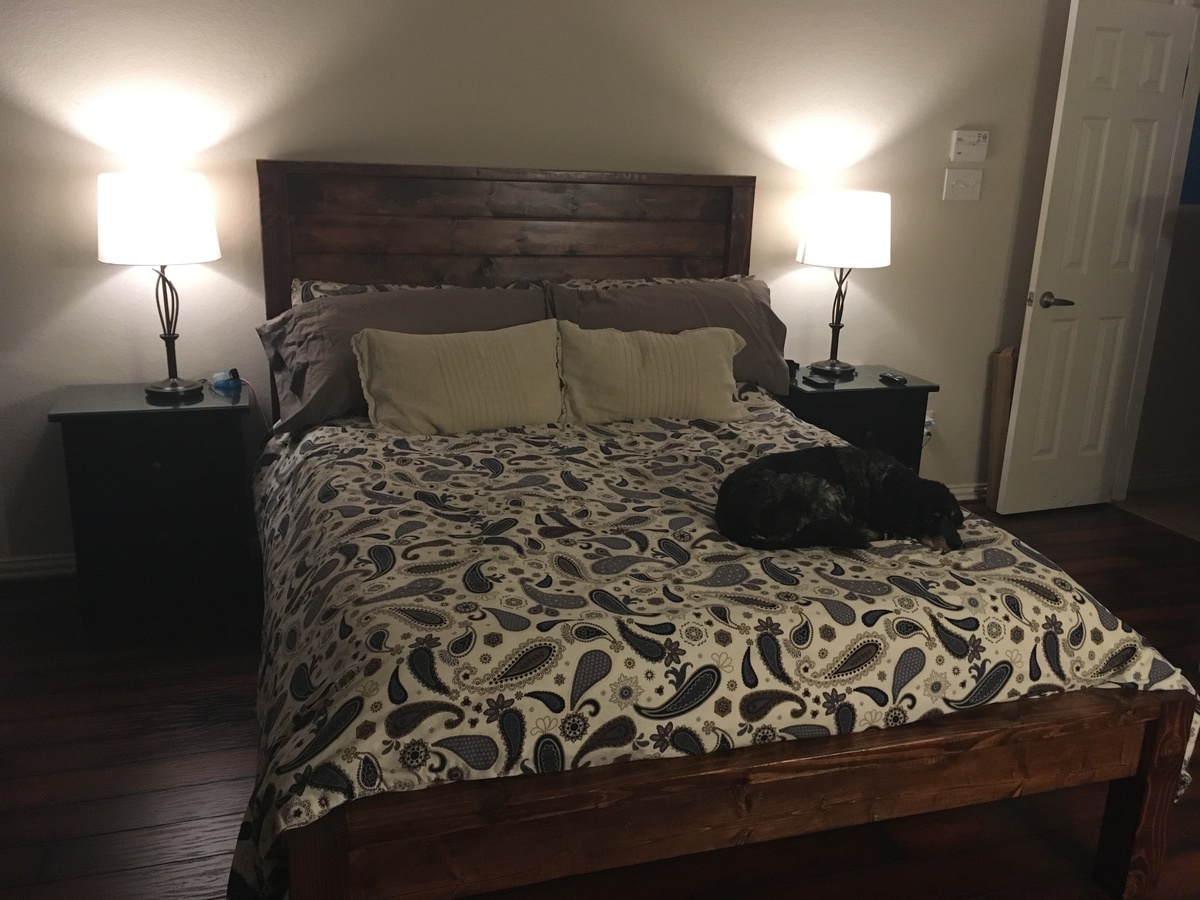
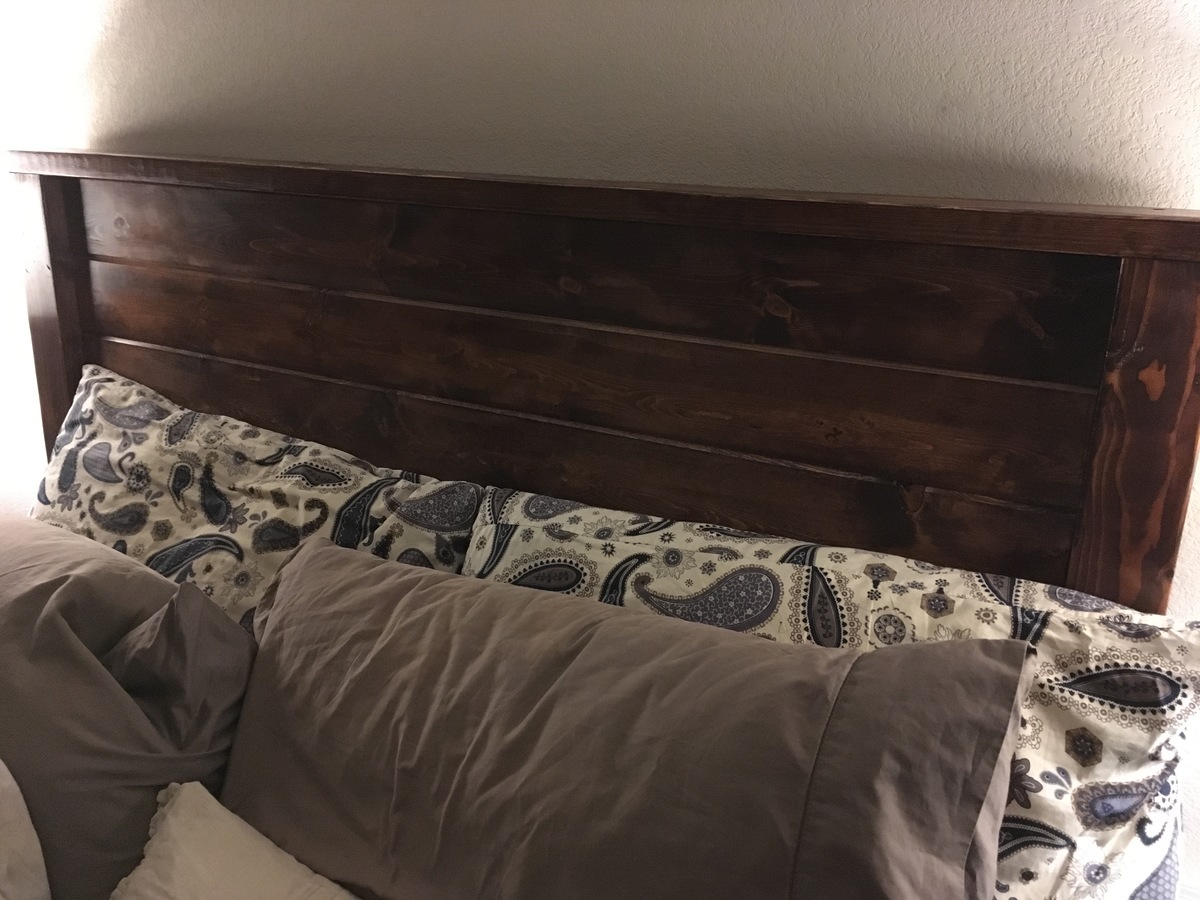
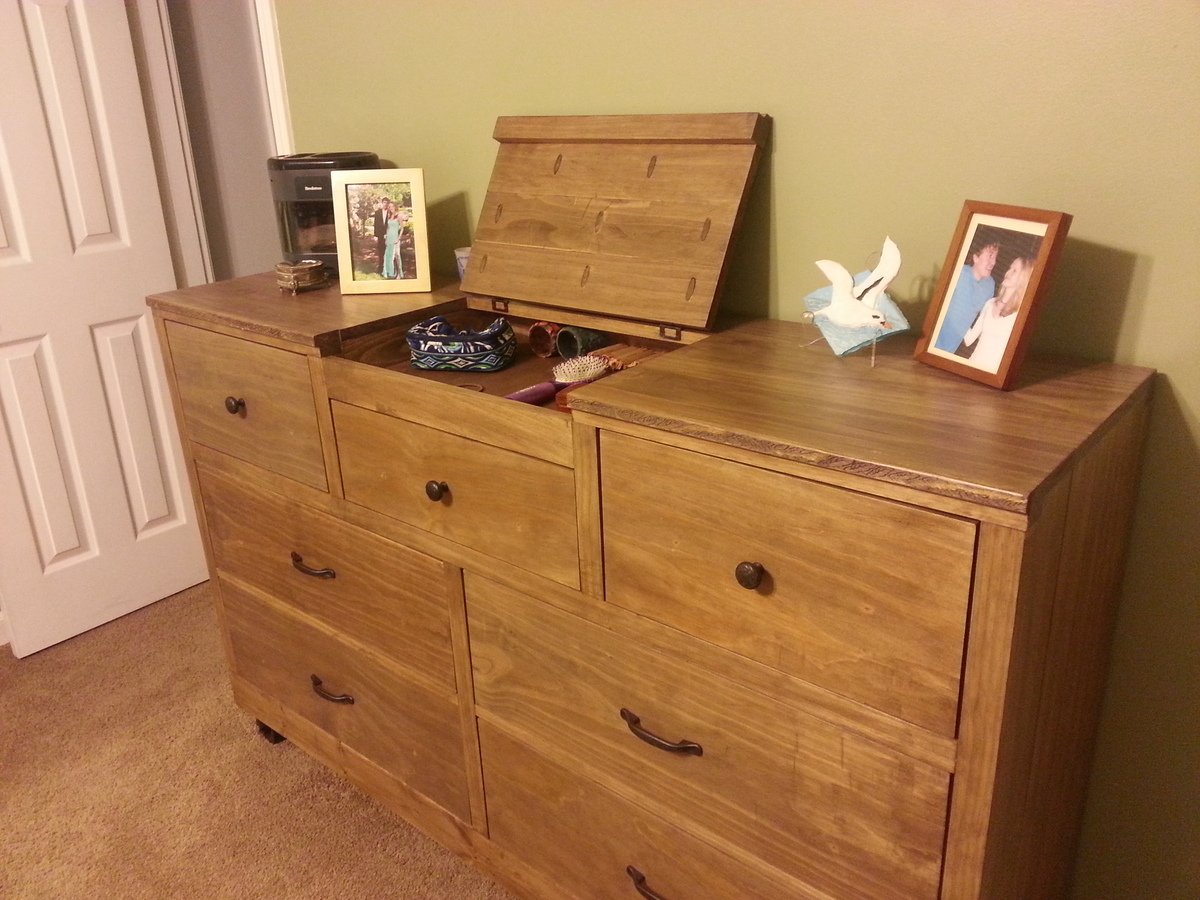
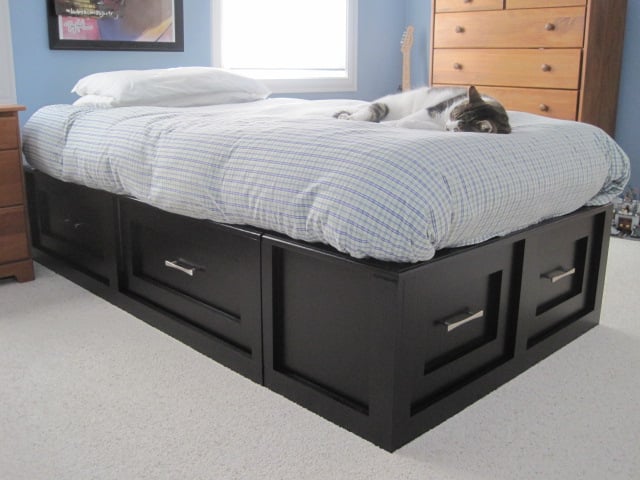
This is a square farmhouse table I built for my dining room.  It is just under 5ftx5ft size.  The top is 6 planks that I cut down from 2x12 down to 10inch sized planks.  Then routered each plank with a 1/8 roundover router bit.  I made the bench big and wide since I wanted it safe and stable so my toddlers don't fall off.  Lots of sanding since this is all kiln dried construction lumber.  I sprayed varathane poly, water based, and loved it.  I put 4 coats on of semi gloss, came out perfect.

Estimated Cost
250-300
Estimated Time Investment
Week Long Project (20 Hours or More)
Finish Used
Varathane Dark Walnut
Recommended Skill Level
Intermediate

Comments

Bench with foam padding

Submitted by Anonymous (not verified) on Mon, 02/11/2019 - 16:52

This was a fun little project. I made the bench to be placed in our foyer to sit down and put your shoes on and off. 3” foam and fabric makes for a comfy bench.

Estimated Cost
$100 ($60 lumber, $40 3” foam and fabric)
Estimated Time Investment
Afternoon Project (3-6 Hours)
Finish Used
White paint
Recommended Skill Level
Beginner

Ella's Doll Bed

Submitted by margjack on Sun, 09/25/2011 - 17:12

Just finished the American girl farmhouse bed for my sweet niece's birthday & she loved it! The best thing was that it was made totally from scraps and paint on hand - only had to spend $6 for the fabric!

Estimated Time Investment
Afternoon Project (3-6 Hours)
Finish Used
white spray primer; Gloss white spray paint
Recommended Skill Level
Beginner

Bedside Tables

We love our farmhouse king bed, but that meant that our old side tables didn't fit anymore! (our old bed was a queen)

I really like the mini farmhouse bedside table, but the open storage would be problematic with the dog, so I added full length sides and a door.

The top of the tables is a board we found at my husband's grandparents farm, and the pulls are from some old tack. The metal loops were on some old horse harness, and the leather was cleaned up from the same piece. I was able to drill a hole in the leather and then pre-dill the doors to accept post screws from home depot.

I love these tables!

Built from Plan(s)
Estimated Cost
$125 for both tables
Estimated Time Investment
Weekend Project (10-20 Hours)
Finish Used
The tops are stained with Varathane gel stain in Walnut, and then a wipe on poly.
The sides were done with Kilz primer and then a white paint.
Recommended Skill Level
Beginner

Comments

JoanneS

Wed, 10/02/2013 - 19:11

Love these tables! The wood top is just gorgeous, and I love you you re-purposed other items to make the hardware. That is so creative! Great job!

spiceylg

Thu, 10/03/2013 - 05:24

I concur. Love the tables and love that you re-purposed items for them!

jackiemacrae

Sun, 11/10/2013 - 18:58

Thanks guys!
I'm loving these- they are perfect for the space, and it makes me smile to know that the re-purposed parts come from the cottage.

Black Farm House Bed

Submitted by Anonymous (not verified) on Wed, 12/23/2015 - 06:26

I used Anna's plans, but I wanted to reduce the weight of the bed so I replaced the 2 x 10's with 1 x 8's and I made the cross slats 1 x 4's face up. The 1 x 4's also create a platform to put your bed on so no need for ply wood or box springs. This is still very sturdy, but about half the weight as the original plan.

Thanks Anna for the great ideas and plans! Now I am on to the farm table, wish me luck!

Estimated Cost
I actually spent too much, I bought everything to plan and then bought everything to redo the plan, so all in with paint it was about $300.
Estimated Time Investment
Day Project (6-9 Hours)
Finish Used
I used Killz as a base coat then a flat black paint, looks great but it will take some maintenance.
Recommended Skill Level
Intermediate

Farmhouse modern queen

Submitted by Anonymous (not verified) on Sun, 02/17/2019 - 19:10

We followed the plans except added in bed rail brackets to make it easier to relocate and adjusted the bed as a whole to sit higher off the ground. 

Built from Plan(s)
Estimated Cost
$150
Estimated Time Investment
Weekend Project (10-20 Hours)
Finish Used
Varathane carrington with gloss finish
Recommended Skill Level
Beginner

Reclaimed Wood Look Bedside Table

Submitted by holly1968 on Sun, 10/02/2011 - 08:52

My husband and I built this table in an evening. We really like the finished table as it suits our needs perfectly. The plan was easy to follow. We followed the plan nearly as it was written with the exception of leaving out the drawer glides. The drawers are a little wonky because of this, but i think it adds to the charm and character of the farmhouse feel. I bought the drawer pulls from Lowes on clearance for $1.19 each. This table and the farmhouse bedside table match the farmhouse bed that we built back in January so very well. We love our new furniture and we love Ana White plans! Our plan is to have a whole house full of Ana White Farmhouse Furniture in due time. lol. Thank you so much Ana for your plans. You are truly amazing to design and put them online for others to build!

Estimated Cost
$30 - $35
Estimated Time Investment
Afternoon Project (3-6 Hours)
Finish Used
Do-It-Best Hardware paint and primer in 1. Color is Bullfrog. I used 1 coat.
Stain is Rust-oleum in the Summer Oak shade.
I have not put polyurethane over the paint or stain as of yet.
Recommended Skill Level
Beginner

Rolling Dressers with Flip-up Compartment

Submitted by SaraLodise on Sat, 10/05/2013 - 17:39

New dressers to match the nightstands. I modified the plans to make three smaller drawers up top and added a flip-up compartment for small stuff like jewelry, hair brushes and trinkets etc. It was fun to get more creative.

I made two at the same time so the wood and stain would be more consistent. However, in hindsight, I will never do any project that requires me to make 14 drawers at the same time again. I also used planked 1x4s instead of plywood for the sides and tops for looks. This made the dressers about an inch or so narrower. I used 2x4s instead of 2x2s for the bottoms of the frames to beef it up and reduce deflection, and also did not use braces in the back.

Wood -> $245/dresser
Hardware -> $ 150/dresser
Strain -> $20/dresser

Built from Plan(s)
Estimated Cost
$415/dresser
Estimated Time Investment
Week Long Project (20 Hours or More)
Finish Used
Wood conditioner -> 1 coat of Miniwax oil based stain in Weathered Oak -> 1 coat of Miniwax oil based stain in Special walnut -> 2 coats of Polycrylic
Recommended Skill Level
Intermediate

Comments

Entryway closet bench

Submitted by ga2akwld on Mon, 02/25/2019 - 13:33

Adapted from Ana's mudroom in closet plans, I made this to fit the small closet when you walk into the house. I slotted it and hung wire baskets for air flow since it will be used mainly for hats and gloves which we wear more than not up here in AK. Next for the closet directly across will be a sho storage project which I'm sure I will find on here. Thank you Ana for your awesome site and work you put in.

Estimated Cost
$80
Estimated Time Investment
Weekend Project (10-20 Hours)
Finish Used
Espresso min wax and satin poly for top. Morning sky chalked paint for bottom.
Recommended Skill Level
Beginner

Fancy X Farm table

Submitted by Anonymous (not verified) on Fri, 01/20/2023 - 17:59

Had to watch a few YouTube videos but got it done and very happy with how it turned out!

Comments

Twin-size Storage Bed

Submitted by kristen on Thu, 10/06/2011 - 08:30

I recently finished this bed in white for my daughter, when one of my sons decided he'd like one for his room. So this is my second time building this bed. I like the drawers Ana has in the Queen storage bed, but I needed it in a twin, so I used two of Ana's plans to modify the bed to our needs. Drawers make me nervous (but less so now that I've done them a few times) and these work great, so all is well!

The only problem? Now with the bed in his room, I feel the need to paint the rest of the furniture, change his duvet cover, paint the walls...you know what I mean?

Built from Plan(s)
Estimated Cost
$325
Estimated Time Investment
Week Long Project (20 Hours or More)
Finish Used
Benjamin Moore Super Spec D.T.M. Acrylic low-lustre in black (comes off the shelf in black)
Recommended Skill Level
Intermediate

Comments

Pam the Goatherd

Thu, 10/06/2011 - 17:05

Definitely paint the rest of his furniture to match, but with a black and white graphic design of some sort. All black would be too dark, but with the white trim in the room you could get away with some really creative graphic art on those dressers.

jen227

Sun, 03/10/2013 - 21:31

looks like the face of the drawers are trimmed out instead of being just plywood in the front...how did you modify this?

"Fireplace"

Only heating source for our house have been wood stove and some mornings we don't feel like starting a fire even if it is chilly, so we bought electric fire place. As our house is Scandinavian country romantic style, I wanted to make modern fireplace a bit more rustic.
We are missing some beams and moldings, so it looks a bit "naked" now.

More about this project you can read in my blog:
http://ourleaningtree.wordpress.com/diy/fireplace/

Estimated Cost
left over lumber
Estimated Time Investment
An Hour or Two (0-2 Hours)
Finish Used
Minwax Dark walnut
Recommended Skill Level
Beginner

Henry Desk

Submitted by Anonymous (not verified) on Mon, 03/04/2019 - 04:48

Hey guys,

Here's my version of the Henry Desk following Ana's plans. There are a few minor differences that were requested by my client:

- A thicker top. I used 8/4 dressed pine (basically 2x6 knotty pine) and I laminated them together.

-Smaller desk - Top 60 inches long.

-A large drawer. 

-Through tenons on the right leg that I made by using a drill press, chisels and lots of elbow grease.  


I used mainly glue and dowels to assemble the pieces together, but also some pocket holes here and there.


Very helpful plan Ana. Thank you!


Erika

Rustic Charm Woodshop

Built from Plan(s)
Estimated Cost
$200 CAD
Estimated Time Investment
Week Long Project (20 Hours or More)
Finish Used
Stain: Minwax water-based stain - 1 part Colonial Pine to 1 part Coffee.
Clear Coat: Varathane Diamond Satin finish
Recommended Skill Level
Intermediate

Dog Kennel into Entertainment stand

Submitted by bigshowble on Mon, 10/10/2011 - 15:44

This was my first ever woodoworking project. I was looking for a good plan for me to use. At first, the kennel was going to be in the living room, but we couldn't imagine spending nights without our little girl in the room with us. The only thing is that the bedroom is quite small. However, the TV stand she was using at the time was lower than the level of the bed making it awkward to watch TV. I decided to create an entertainment stand out of the kennel in order to save space and make the TV at a viewable height.

Well, I already had a kreg jig for a project I am planning in the future. I borrowed a circular saw from my dad and I had a few tools of my own. It took a total of two days from start to finish. I ran into a few hitches because I wasnt using the jig properly, and a few other rookie mistakes, but I fought through and managed to get it done! I can't wait to do some more plans from this site!

Built from Plan(s)
Estimated Cost
$50 for Lumber about $20 for screws and stain
Estimated Time Investment
Weekend Project (10-20 Hours)
Finish Used
Minwax black stain and polyurethane finish
Recommended Skill Level
Beginner

Comments

Gimbler

Tue, 10/11/2011 - 06:21

It looks to be plenty large enough for your pup and an attractive and functional piece of furniture too. I just love multi-function furniture. Nice job!

Kristi's Craft Desk

This was my FIRST Ana White project ever! I really wanted the PB version of this desk, but didn't want to spend $1,200 (cough, cough, gag)!! I started out with Closet Maid cubbies (since I had never used a power tool - ever) just to be safe. Then, I went to Home Depot and got the MDF for the table top, and had the hubby help me figure out how much moulding to get (because it HAD to be fancy, darnit). I raised the height with 3 support boards across the top and the hubby made some feet for the cubbies. Then I attached the moulding. On the sides and back of the cubbies I used spray adhesive and paintable beadboard wallpaper! That stuff rocks! And it's really cheap at Lowe's.
I didn't get very detailed photos as this was my first project and I was so excited I didn't want to stop. Now all I have to do is fill in the nail holes and throw a coat of paint on it! The best part: The whole thing cost under $300!! AND the Ikea chair that I almost gave away fits and matches perfectly! Someday I will build matching chairs (1 for each side so I can craft with a gal-pal), but for now my craft room looks pretty awesome. Thanks Ana!!

Built from Plan(s)
Estimated Time Investment
Afternoon Project (3-6 Hours)
Recommended Skill Level
Beginner

Handcrafted table set

Submitted by Anonymous (not verified) on Sun, 03/10/2019 - 10:18

I was tired of browsing the market place and seeing the same traditional farmhouse design coming from just about everyone in the woodworking industry. It seems as though the market place is inundated in the same 4 leg, and cross support design. I designed these to go against the grain. They were my first project ever and were sold within days. They had nearly 3k views within the first 2 weeks on facebook. I am particularly proud of them. 

Estimated Cost
$120
Estimated Time Investment
Weekend Project (10-20 Hours)
Finish Used
Briarsmoke varathane stain
Lacquer finish
Swan white legs support w/ poloycrylic finish
Recommended Skill Level
Beginner

Comments

Open Top Toy Box Build

Submitted by Anonymous (not verified) on Wed, 02/01/2023 - 12:05

Cute open top toy box

Built from Plan(s)

Comments

Ana White Admin

Wed, 02/01/2023 - 13:42

This is so stinkin' cute, love all the custom touches and finishes! Thank you so much for sharing.

My First Ever Project

Submitted by Kathryn1 on Sun, 10/16/2011 - 00:30

I've never built anything before. Not a single thing. When I couldn't find a bookshelf I liked in any stores I decided to build one and modified the 25 Cubbies On A Wall design to make it something a little different.

I'm stoked with the result.

Thank you for such a great site with wonderful plans.

My partner has now asked me to "whip up" a kitchen island, entertainment unit, more bookshelves and the list goes on.

I might need to look at some more of your plans.

Finish Used
Gloss stain and vanish - water based
Recommended Skill Level
Beginner

Comments

Kathryn1

Wed, 10/19/2011 - 16:19

I don't really know how to describe the wood because I'm truly a novice, but here goes:

It's 29cm deep and approximately 2cm thick.

The bottom shelf is 2m long and each cube is 40cm x 40cm. So to build this I got 2x 200cm sheets, 1x 160cm, 1x 120cm, 1x 80cm and 21x 40cm.

I measured and marked then glued and screwed the verticals to the shelves, then used dowel and glue to attach each row to the row below.

I decided to put feet on the bottom so I could lift it above the skirting boards on the floor and have it sit more flush against the wall.

I hope this explains it OK.

Kathryn1

Wed, 10/19/2011 - 16:27

Thank you for your comment. I knew I didn't want a standard everyday bookshelf design and when I saw the "25 Cubbies" design my little head started ticking over and this is what I came up with.

I've seen a few similar things around, but nothing fit exactly what I wanted and there was certainly nothing of this size for a reasonable price.

You can imagine my joy when I found this website and the plans that I could modify to build exactly what I wanted.

I'm really very happy with how it worked out!

Kathryn1

Wed, 10/19/2011 - 16:36

Thank you for taking the time to post your comment.

I'm really happy with the end result.

I never thought I'd be able to put together something like this. I always knew I could hammer a nail or put in a screw, but to build something that's actually functional and looks kinda good too, I never thought I'd be able to pull it off.

Needless to say, my confidence is now soaring and I'm looking forward to my next few days off work so I can do some more projects for around the house.

My father has asked me where I get my building skills, to which I reply with a grin that I don't know but I always thought I looked a little like the milk man :)

Sweet Pea Garden Bed

Submitted by Aspenos on Sat, 10/12/2013 - 18:30

This project was a lot of work, but was so worth it. It took my husband and myself a month of working weekends and some evenings. We have 2 little girls that adore it. I think the little touches make it perfect. We have not completed the storage boxes, but they are in the beginning stages. We did alter the plans slightly as we liked the bottom doors to open so that I didn't have a tiny hole to crawl into to make the bed. We also made the space under the tallest step a closet area to hang up all their dress up clothes. I think this is one of those great projects you can make your own.

Built from Plan(s)
Estimated Cost
$700
Estimated Time Investment
Week Long Project (20 Hours or More)
Recommended Skill Level
Beginner

Comments

birdsandsoap

Sun, 10/13/2013 - 12:10

I love the modifications you did on the lower bunk for easier access. And the little touches on the bed slats are fantastic. My girls say they want a bed exactly like this, nevermind that they already have it, haha!

Aspenos

Thu, 10/17/2013 - 08:24

We love this bed! Your plans were fantastic! Although it was a lot of work, it was so worth it. We have 2 friends now that are looking into making this bed for their girls. This bed is a dream come true. What little girl wouldn't want to have this in their room?

Garden bench

Submitted by law0103 on Sat, 01/02/2016 - 07:29

The plan had excellent bones, though I modified the top to hold a sink for rinsing and cleaning.  It is now painted "San Antonio Rose", and resides happily in the backyard.

Built from Plan(s)
Estimated Time Investment
Weekend Project (10-20 Hours)
Finish Used
Benjamin Moore San Antonio Rose, enamel
Recommended Skill Level
Intermediate

Comments

law0103

Sat, 01/02/2016 - 07:34

Don't cheap out on tools!  This piece did not come out square, and I accept that as it is an outdoor work bench.  Good tools never go out of style!