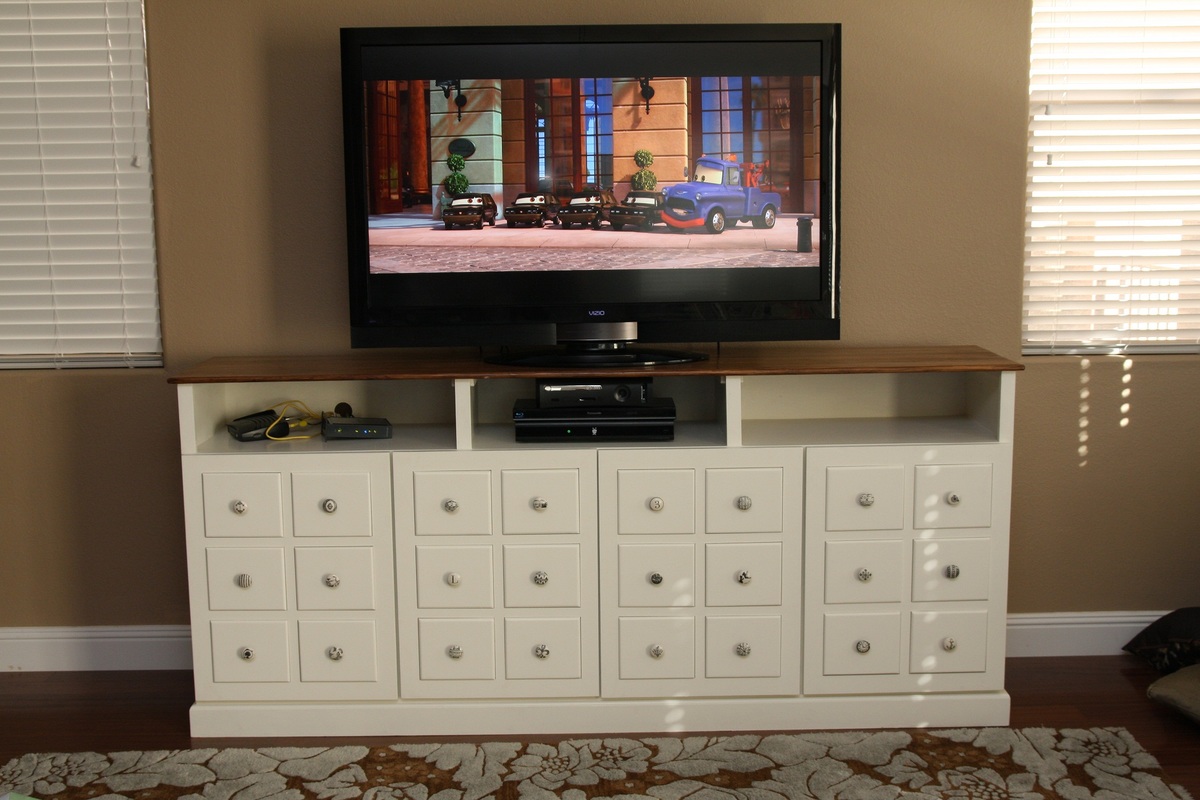
This is my first wood project. It was probably a bit ambitious for a first project, but what can I say other than Ana White inspires me.
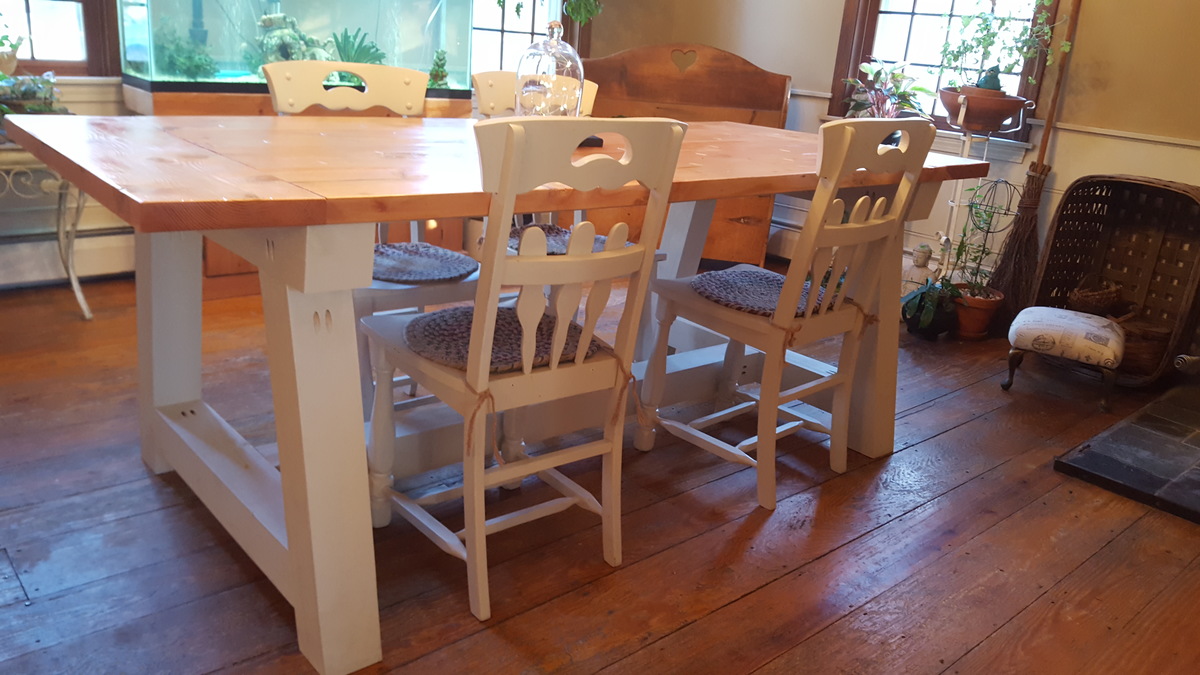
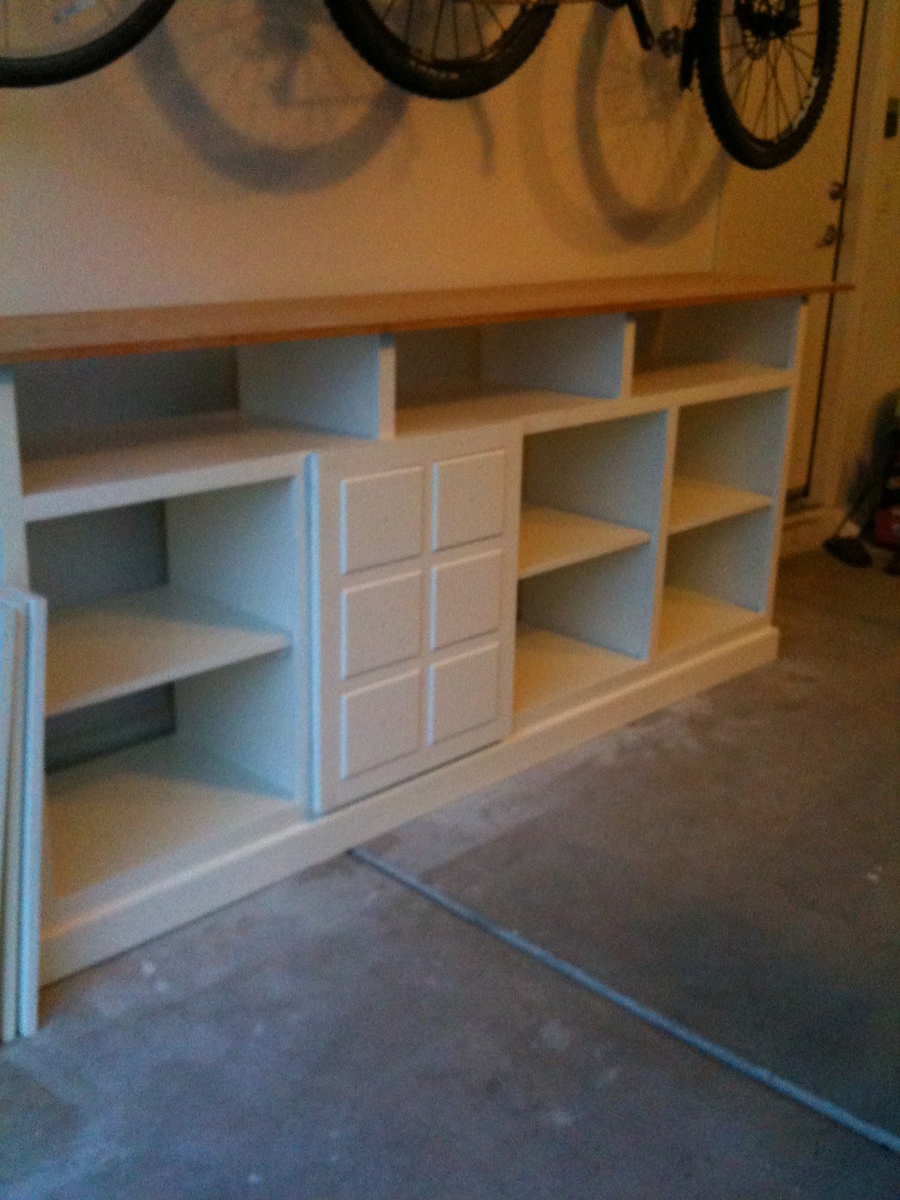
It all started with buying that big ol' TV. We had a chunky armoire that wasn't going to work anymore and I really liked Ana's Apothecary Console and I REALLY liked kayleentheobald's take on the Console in the brag posts. My wife went out of town for the week and I had redhead_61 help me take the design and make it bigger to fit between our windows and be big enough for my son's bigger toys. I was going to be the good husband and surprise her with a finished product when she got back. So I went to work, every night after work with redhead_61 and got the carcass put together pretty fast and really the only thing we needed was the top and the doors. I decided to pack it all up in the back of the truck and ask my neighbor for help on the doors.
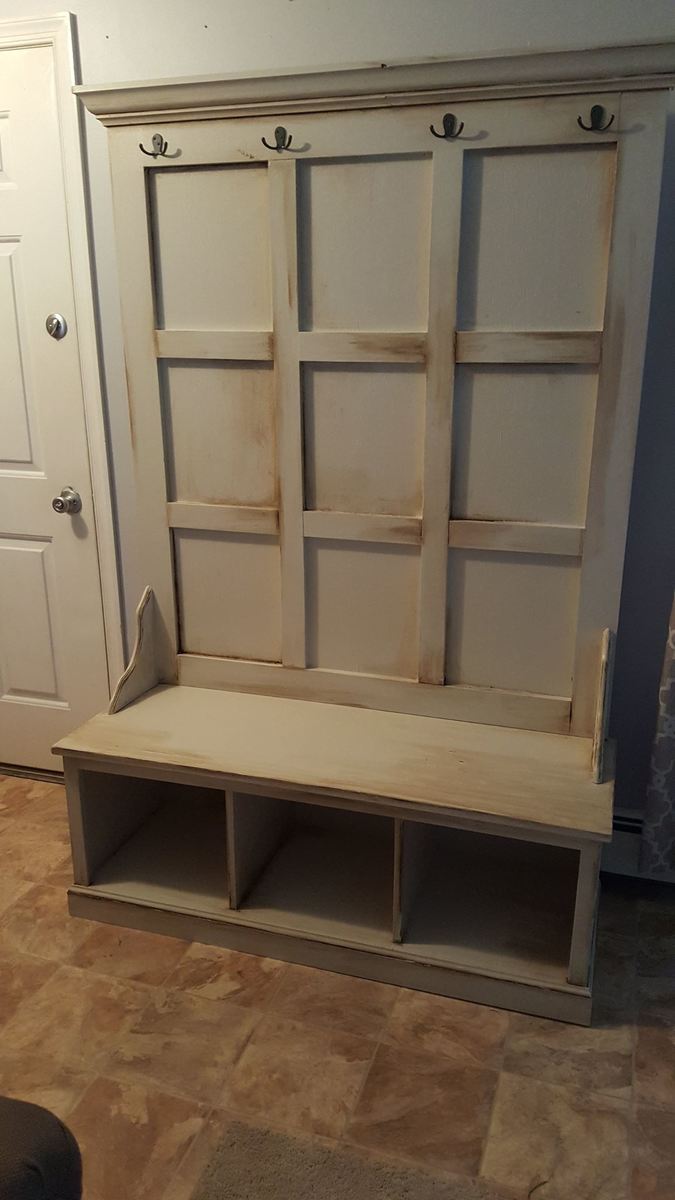
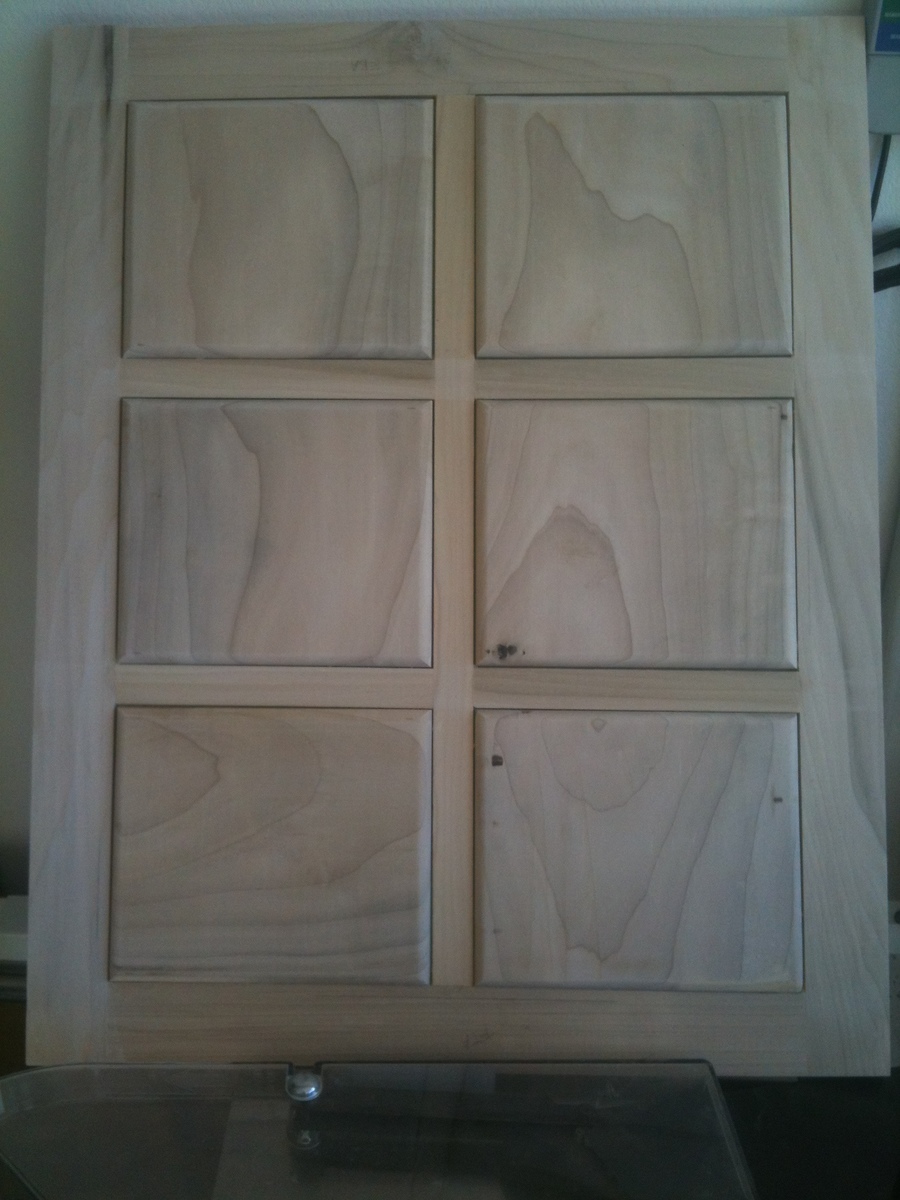
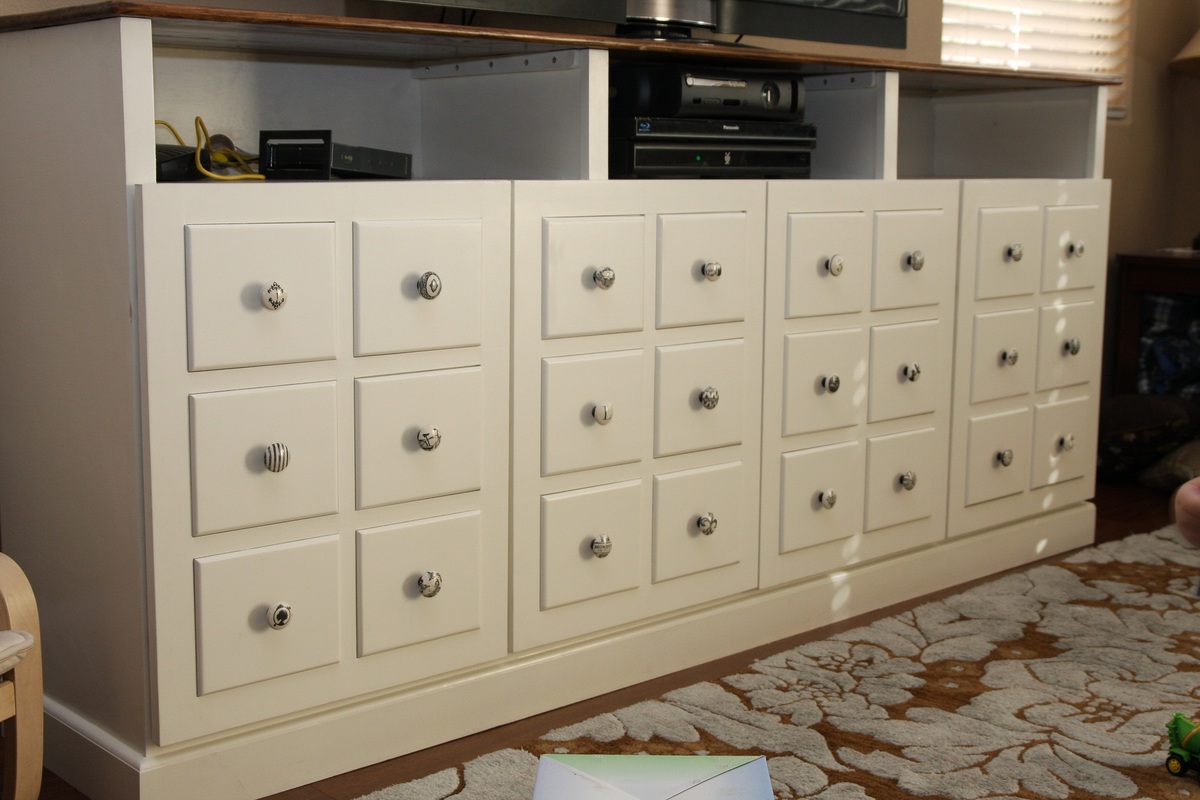
Now this is where the amount of time I put into the project got a little out of hand (BTW there is no button for "way more than a week" for estimated time investment). I told my neighbor that I wanted my faux drawers to look a lot more like an apothecary cabinet with smaller drawers, so we came up with a plan to make 6 panels per door all done tongue and groove using muntins and styles (like window panes) and do it without any screws or nails. If we knew what we were doing maybe we would have got the doors done in only a few days, but it took closer to a few weeks spread over a couple months due to work and other obligations.
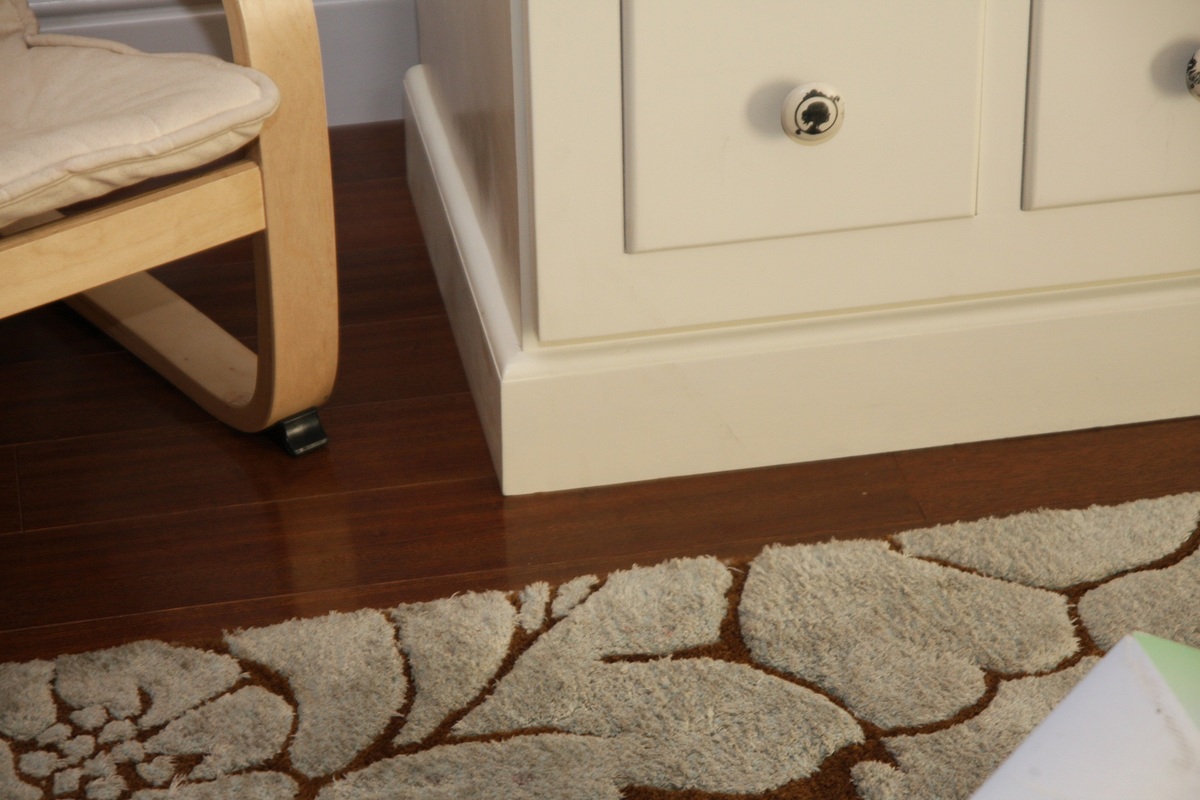
Building the base is not that hard; just square everything up and use wood glue and screws. We added a little molding at the bottom for some aesthetic appeal.
The real time came in the finishing I described below. After I had spent several weekends building the thing I no longer wanted something I could just throw in the family room and put a TV on top; I wanted a real piece of furniture that would last forever. This is where my wife interjects, "well it better since you took over a year to finish it." I love you too, honey.
I wood filled, primed, sanded and repeated many times over until I had it just right. (BTW if you're going to use plywood, take the time and effort to find a place that sells good high quality stuff that is meant to build furniture not the construction grade crap I got from Home Depot - it'll only save you about 100 hours of wood filling, priming and sanding)
Finally, after 14 months (I didn't work on it constantly - being a lawyer and a dad kind of sucks up disposable time) I could haul my masterpiece into the house put the TV on top, sit back and admire the work. I can tell you it was worth every moment. Thank you Ana White for inspiring me to bite off more than I could chew. That said, I think my next project is going to be a shelf or something.
Estimated Time Investment
Week Long Project (20 Hours or More)
Finish Used
THE BASE:
(1.) Get a pint of wood filler, apply generously (especially on cheap wood), and sand the crap out of it for that super smooth finish.
(2.) I got an oil-based primer and applied lightly for one coat - this let me see more imperfections. I applied more wood filler and sanded more. I probably did 3 coats of primer and sanding - but I'm a little anal and didn't want to see any wood grain.
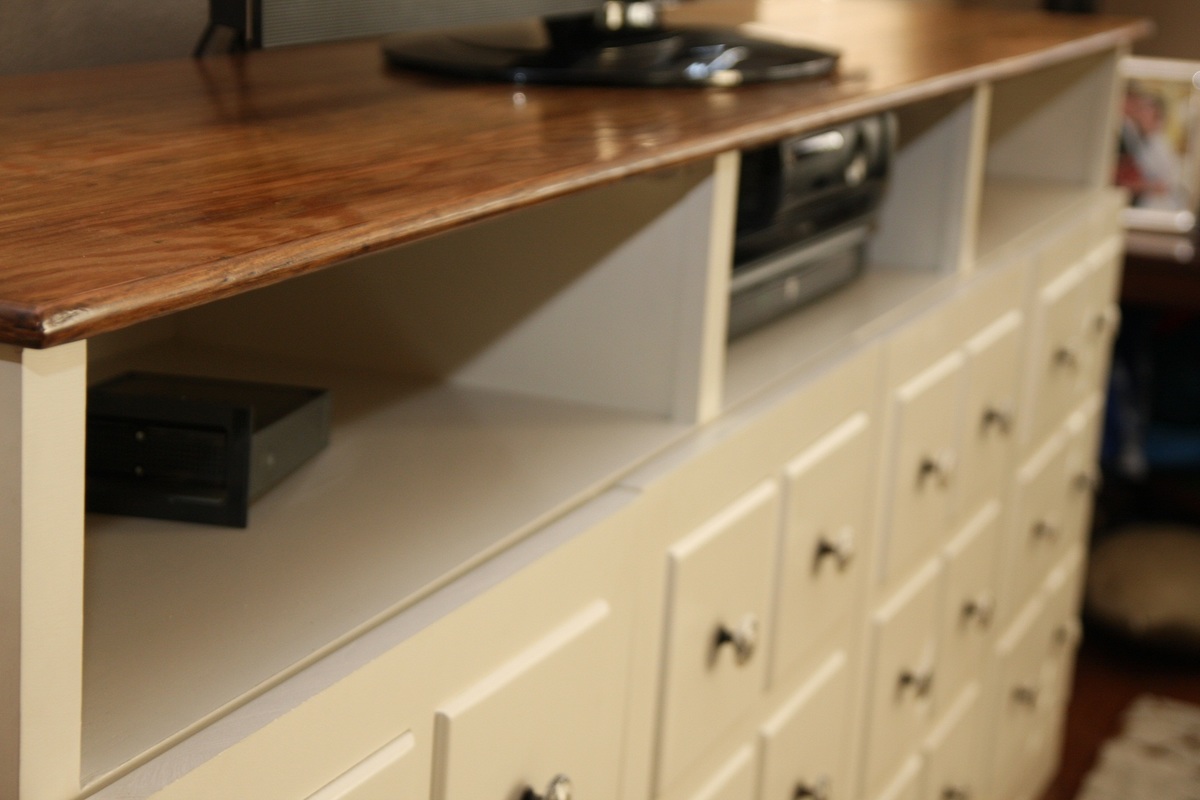
(3.) For the paint I went to Sherwin-Williams and asked for an oil-based paint. We got talking about what it was for and he steered me to another product: ProClassic Interior Acrylic Latex Enamel. Said it was supposed to dry harder, smell better and clean up better than oil-based stuff (which is a plus because I have a 2 year old), plus it was on sale! It was a little hard to get used to since the paint would "rope up" if it was too thick. I added some Floteral and it evened out pretty well. And I can tell you after SEVERAL messy little hands getting on the console it cleans up great! BTW, the color I choose was "Dover White."
(4.) For the doors I really didn't want to mess with hand brushing it because of all the grooves in my construction. So I bought the cheapest HPLV spray gun I could find ($30) and primed it with several coats, with gentle sanding in between coats, and sprayed it with the Acrylic Latex Enamel. One thing I did learn was to filter the paint before putting it in the little canister. I just used the cheap paint filters 4 for $2 from Home Depot.
(5.) Also for the doors we decided to buy a collection of different but similar knobs on Etsy.
THE TOP:
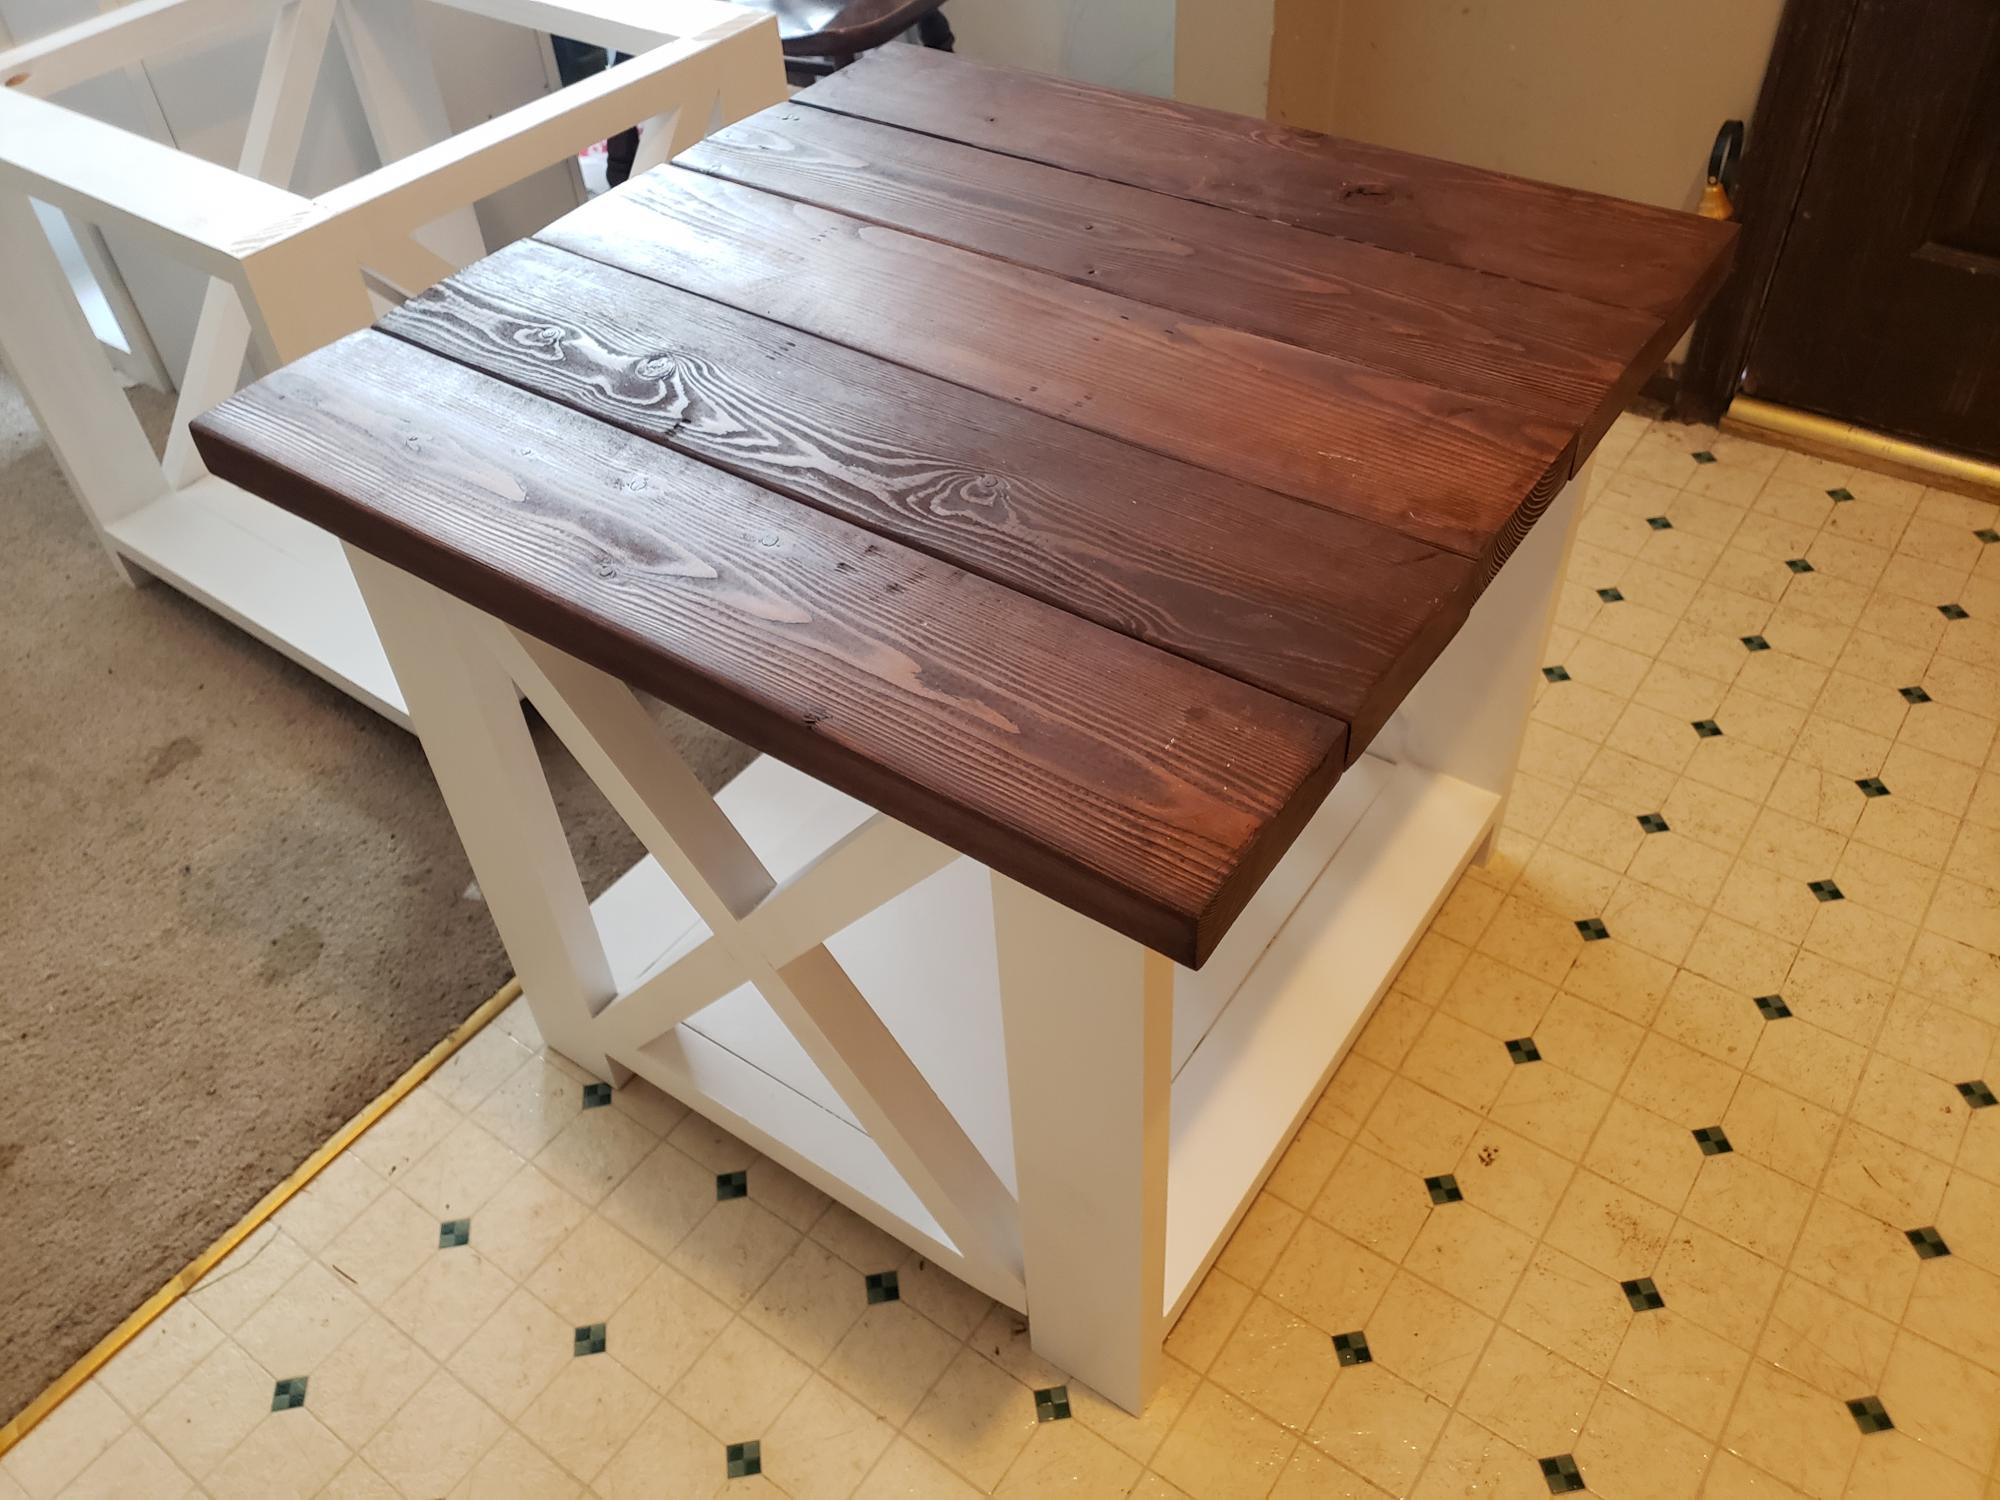
(1.) After joining the four pieces of Douglas Fir it basically sat in the garage for 8 months. I routed the edges with a quarter-round bit and sanded it.
(2.) I then used Minwax Pre-Stain Wood Conditioner. Two coats, sand in between.
(3.) Because I had never stained anything before, I made sure I stained the underside first for practice. I used Minwax Wood Finish stain, color: Dark Walnut. I applied with a rag. I learned to do LONG strokes wiping on the finish and not to mess with it once it started to dry. Don't apply too much and it's ok if some spots are lighter than others, just let dry and then go back over just that lighter area. I felt that little mistakes made the piece have more authentic character anyway.
(4.) Once everything was dry I applied Minwax Wipe-On Poly, two light coats with a rag. You can certainly apply more liberally than I did but I didn't want a glass top finish, just something that made it smooth and easy to wipe off the dust. For the top I wanted the little nicks to show up with the natural wood grain.
(5.) As you can maybe tell from some of the pictures I screwed the top in from brackets on the base that I had made. It's nice to not have any screws shown on the top.
Recommended Skill Level
Intermediate