Herringbone Shiplap barn door
This sliding barn door was built with pre-primed shiplap 1x6s and 2x6 boards. It took a little over a day to build, sand and finish. It's definitely a sizeable piece, measuring 83x54".
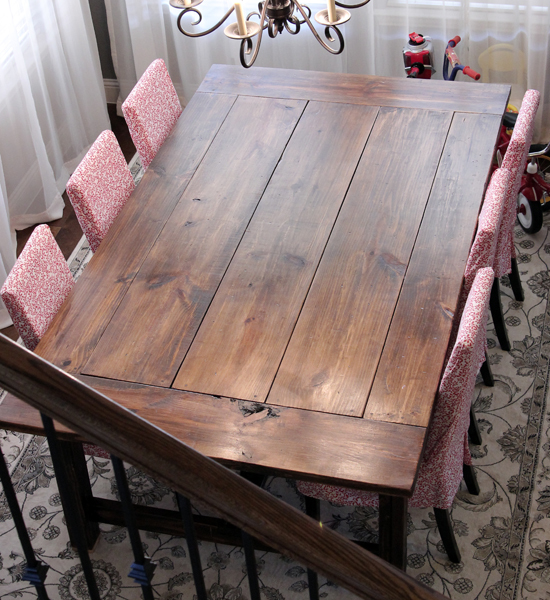
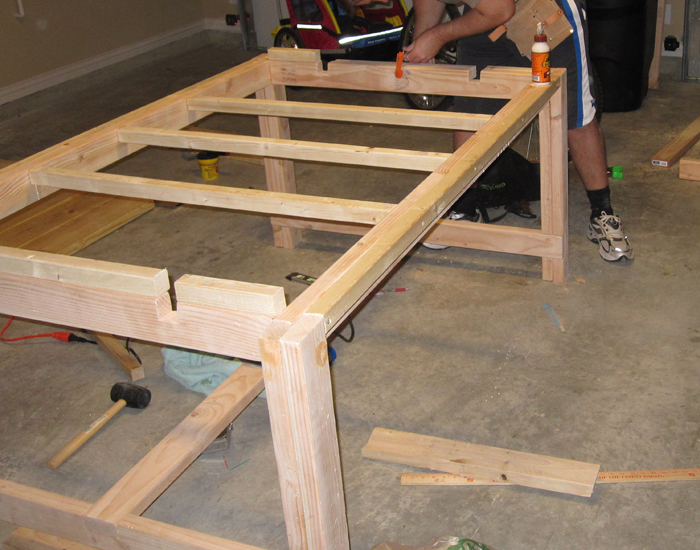
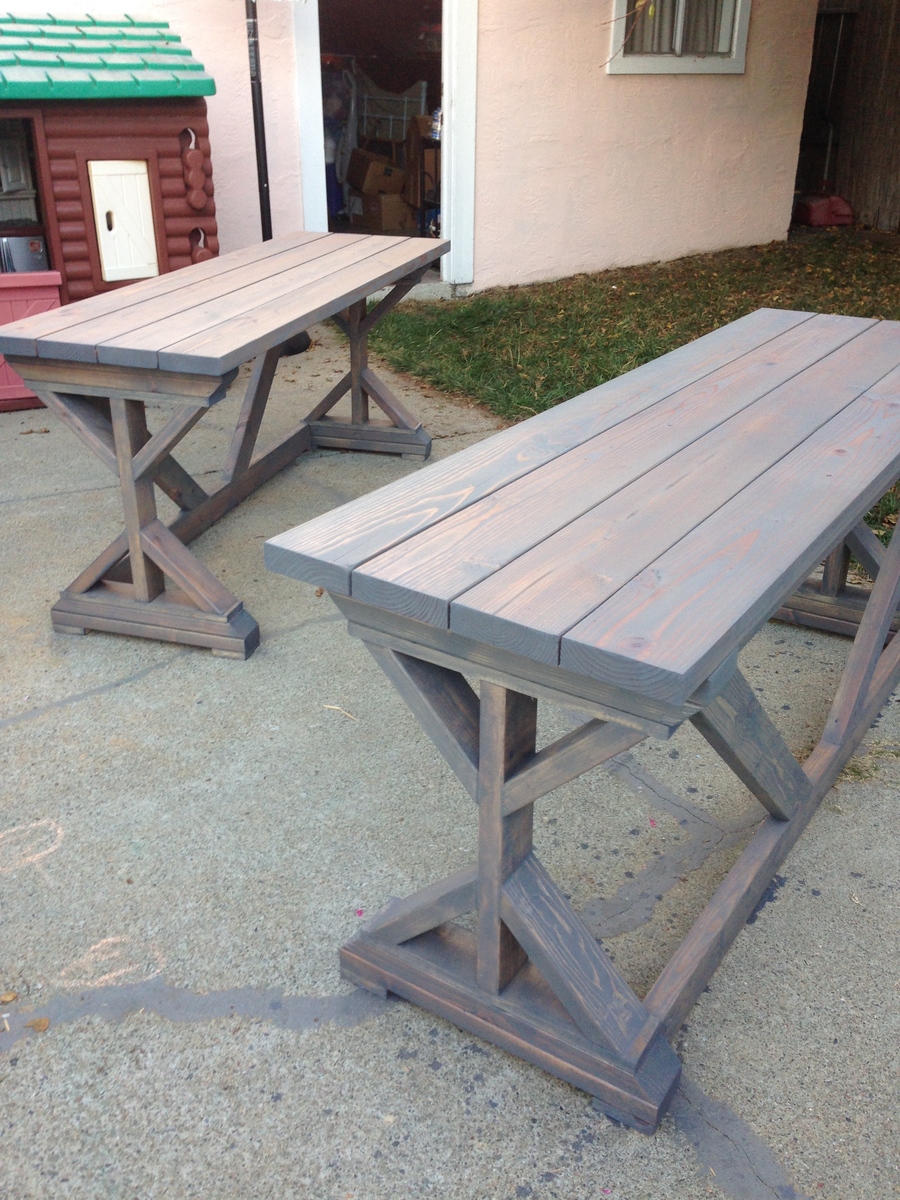
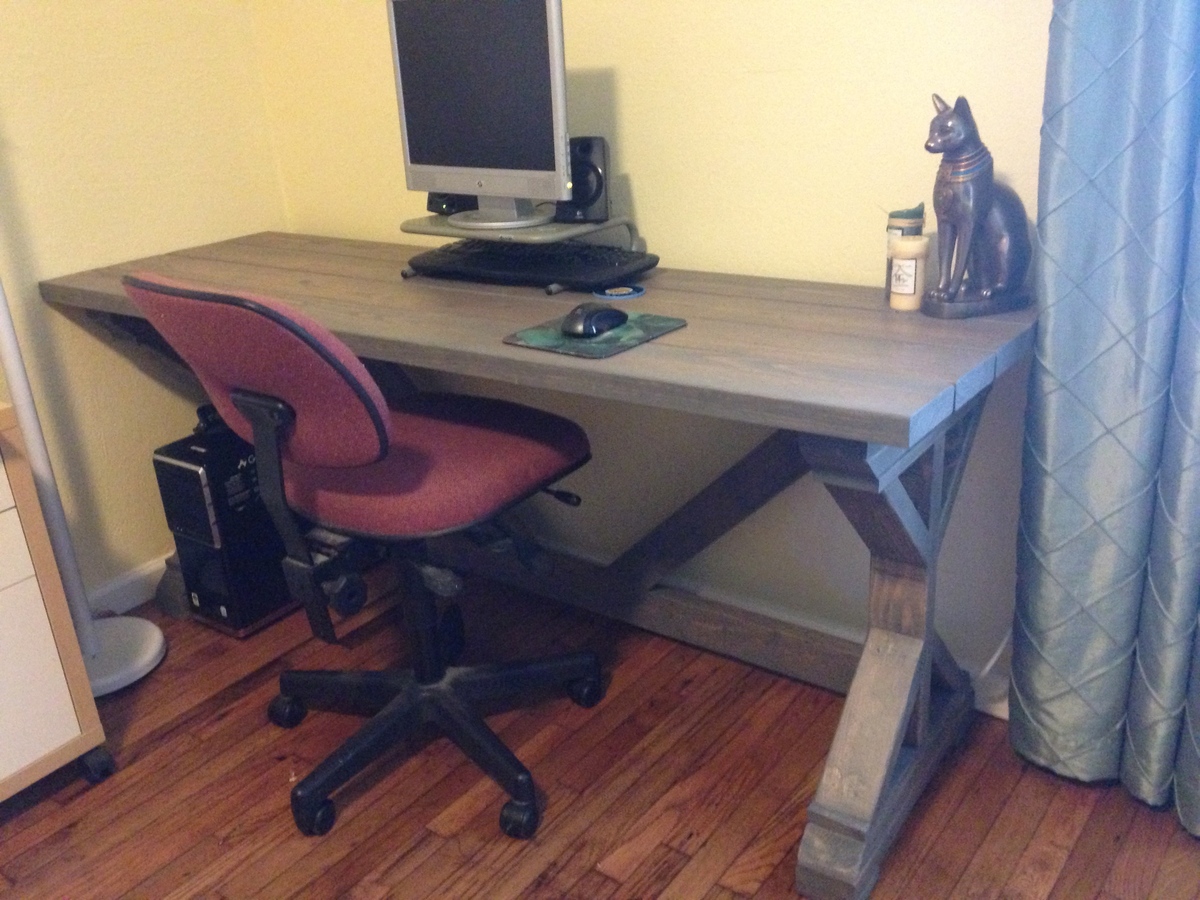
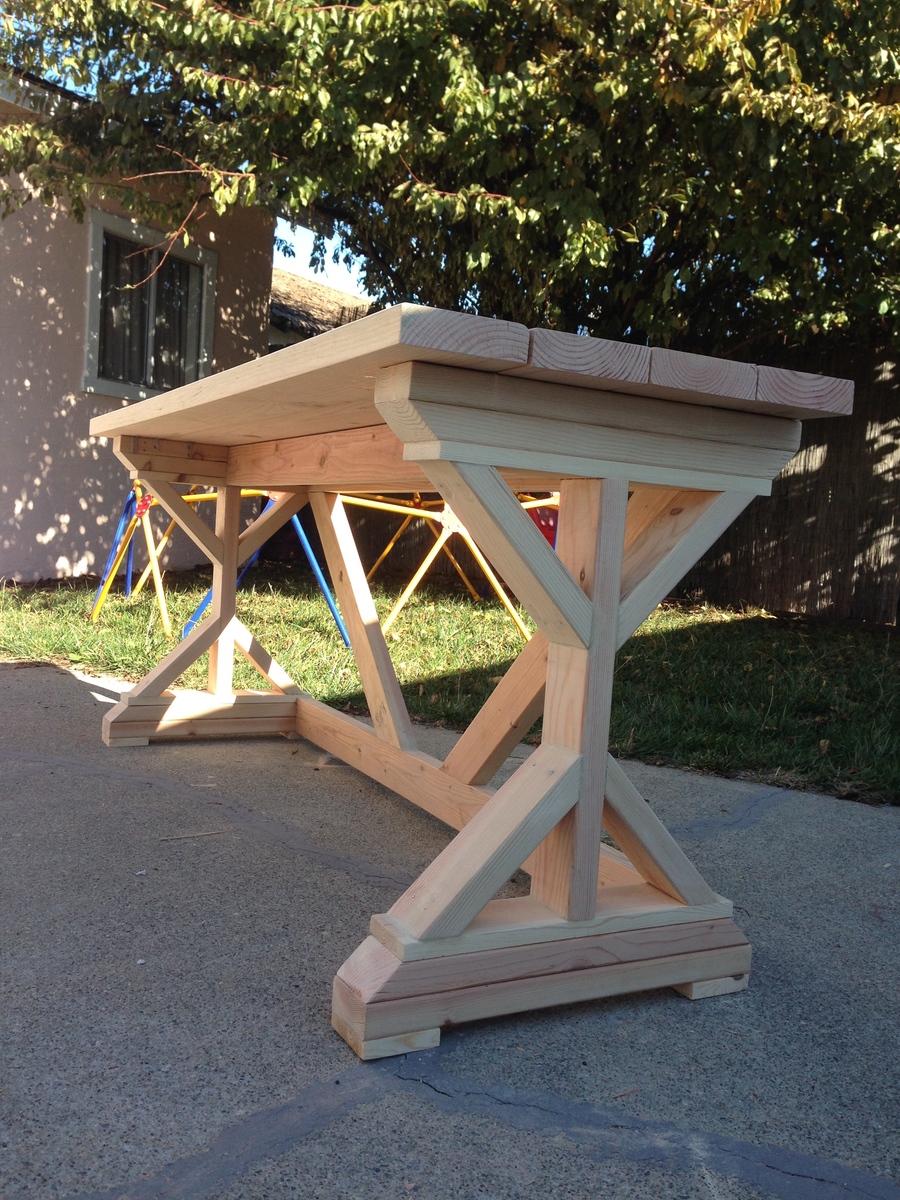
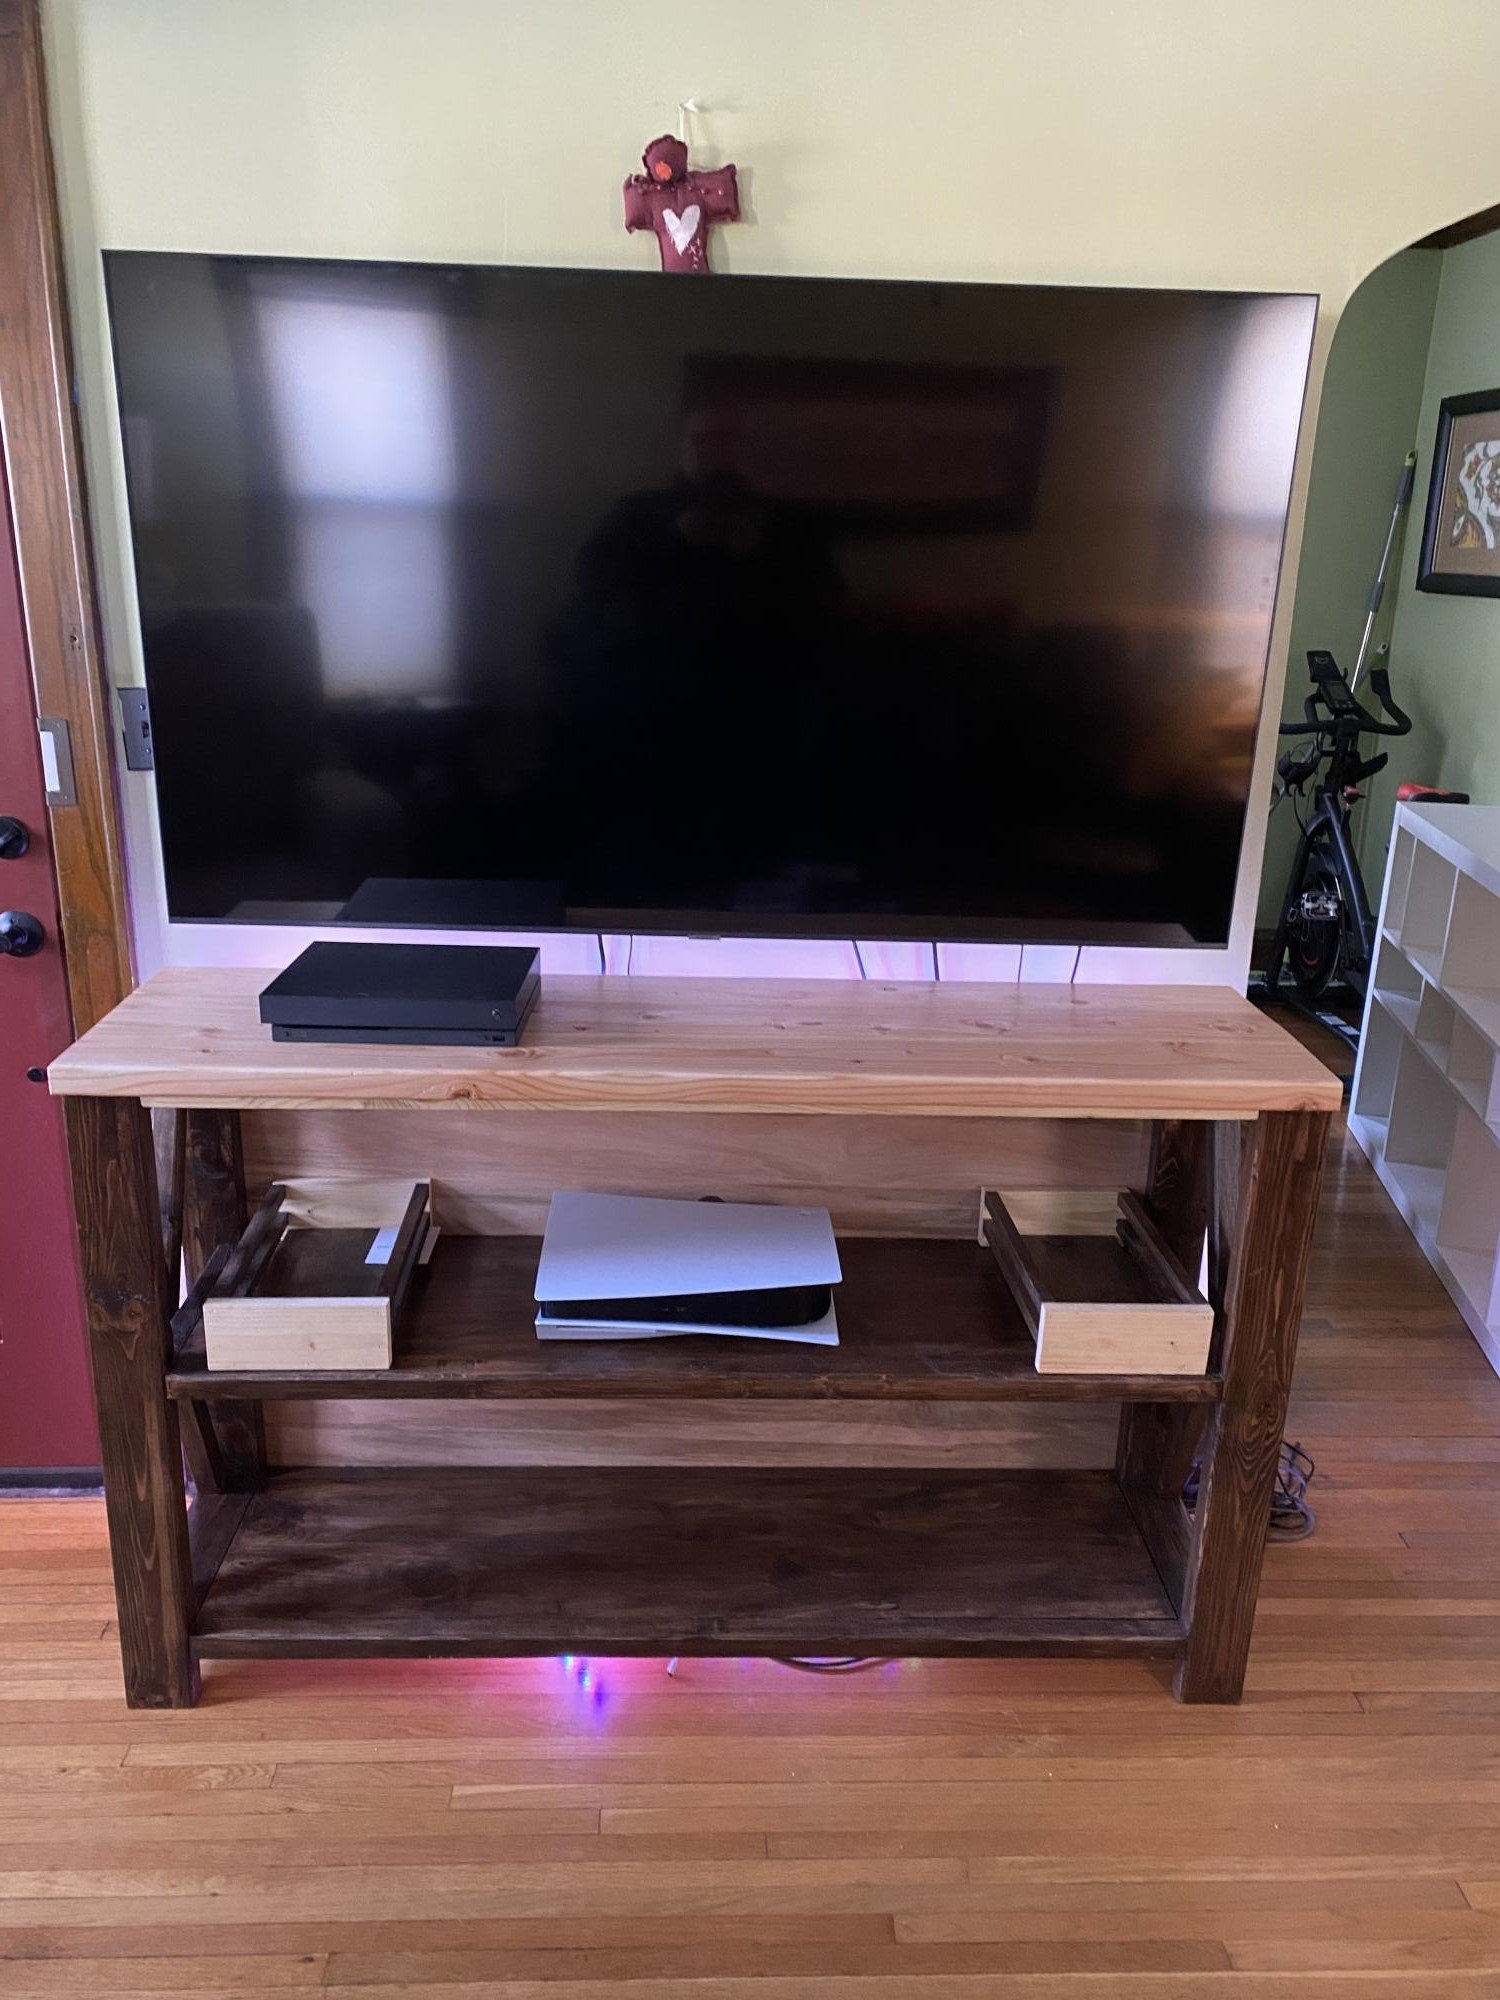
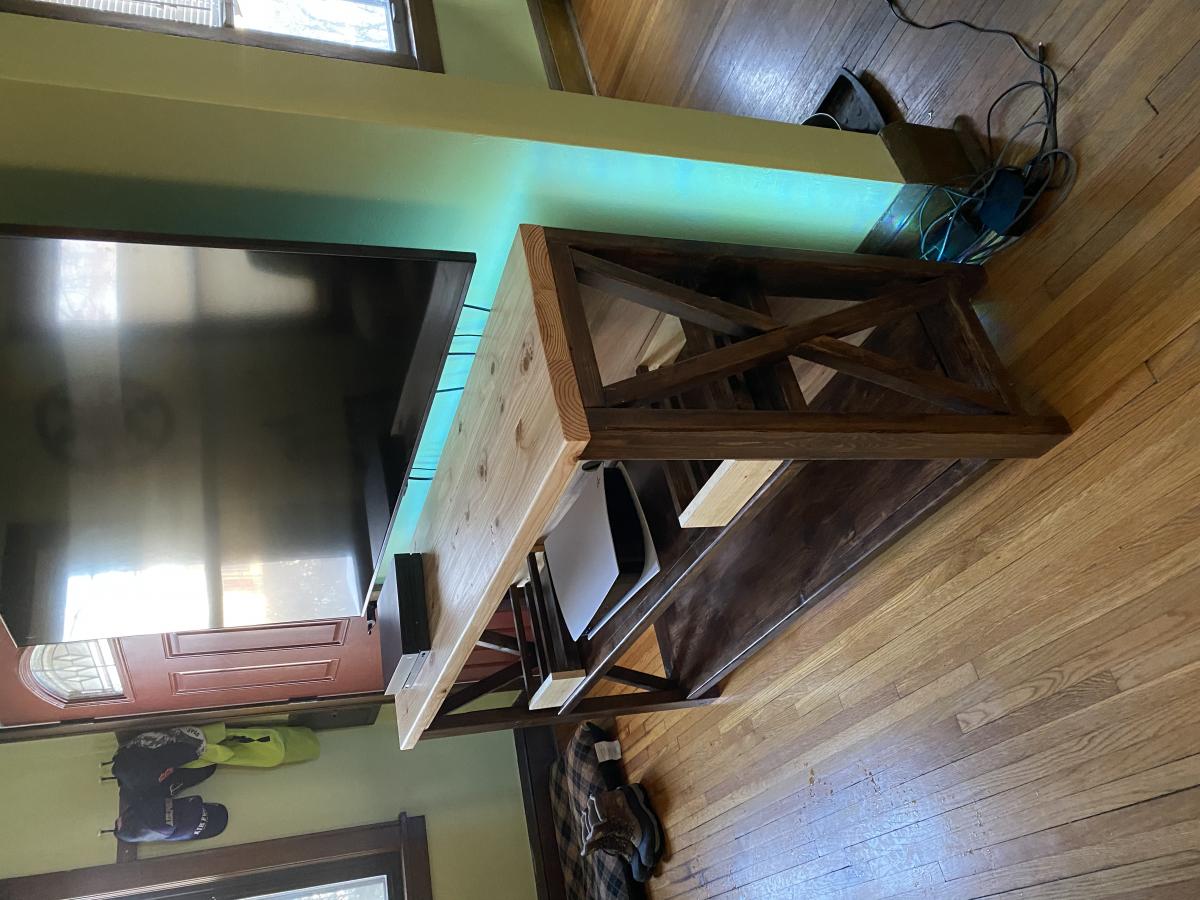
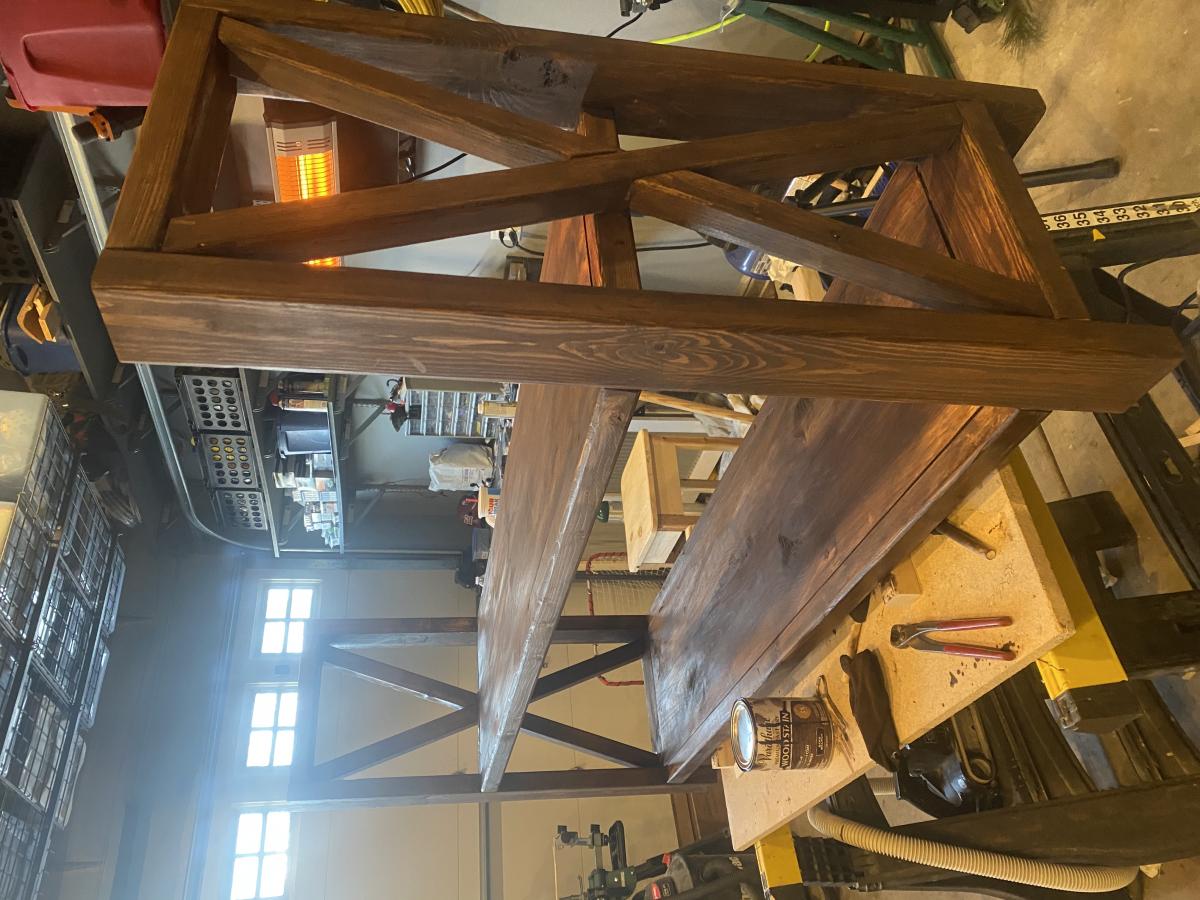
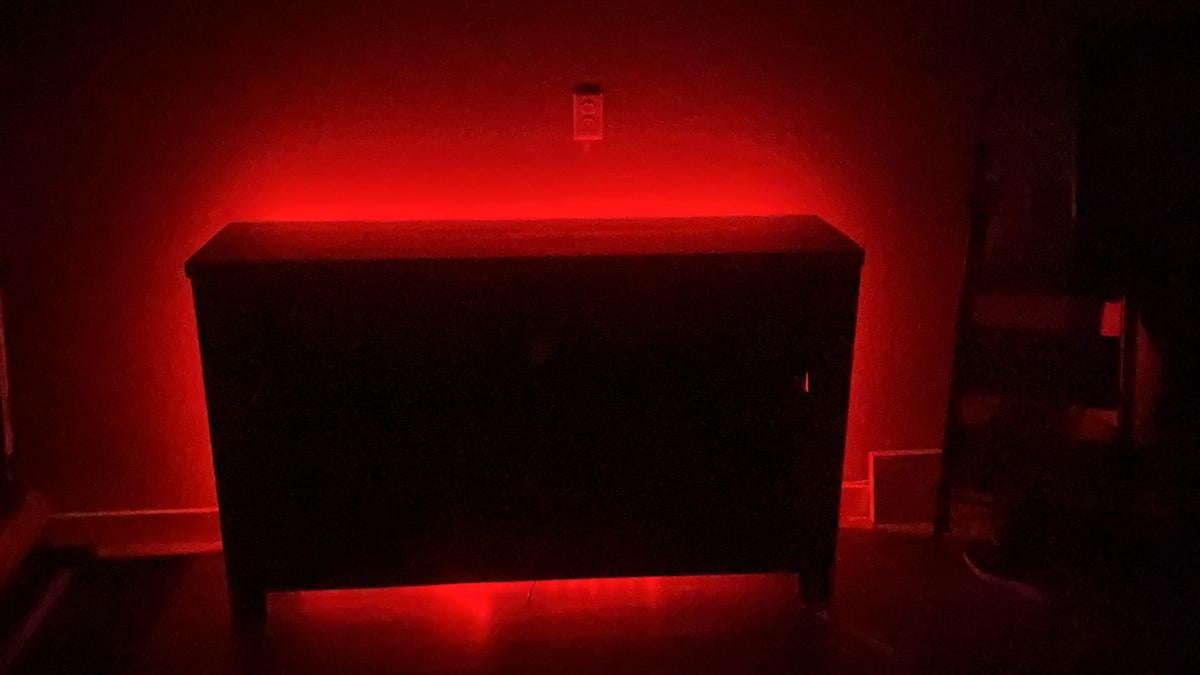
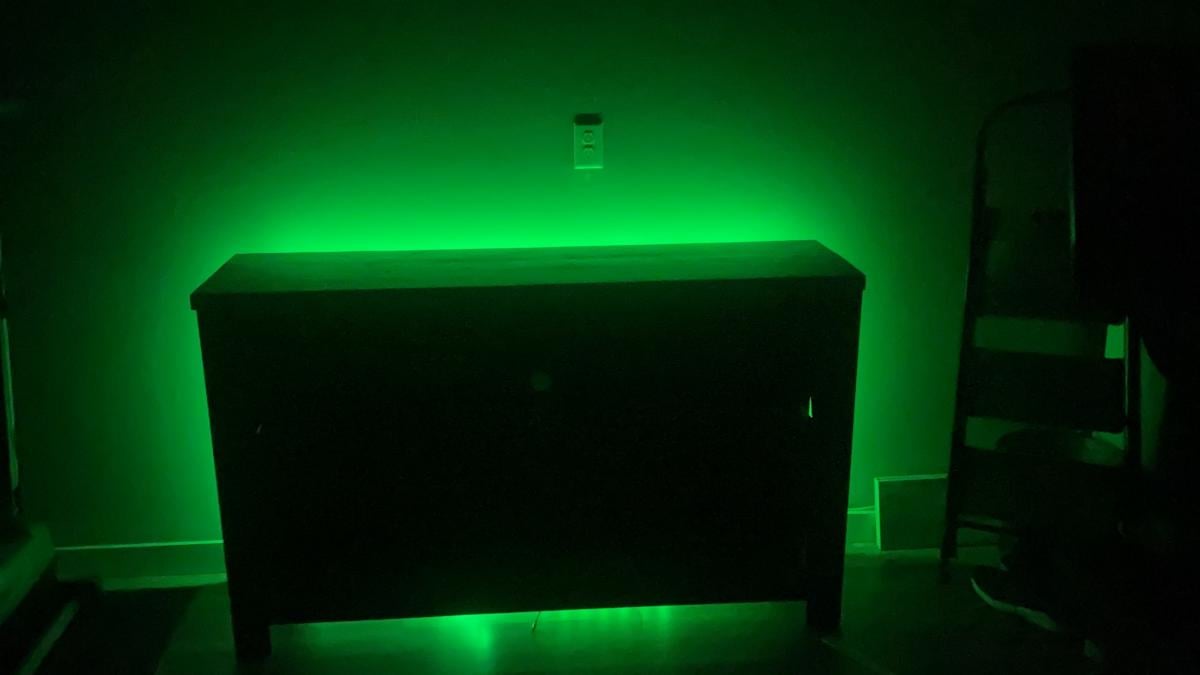
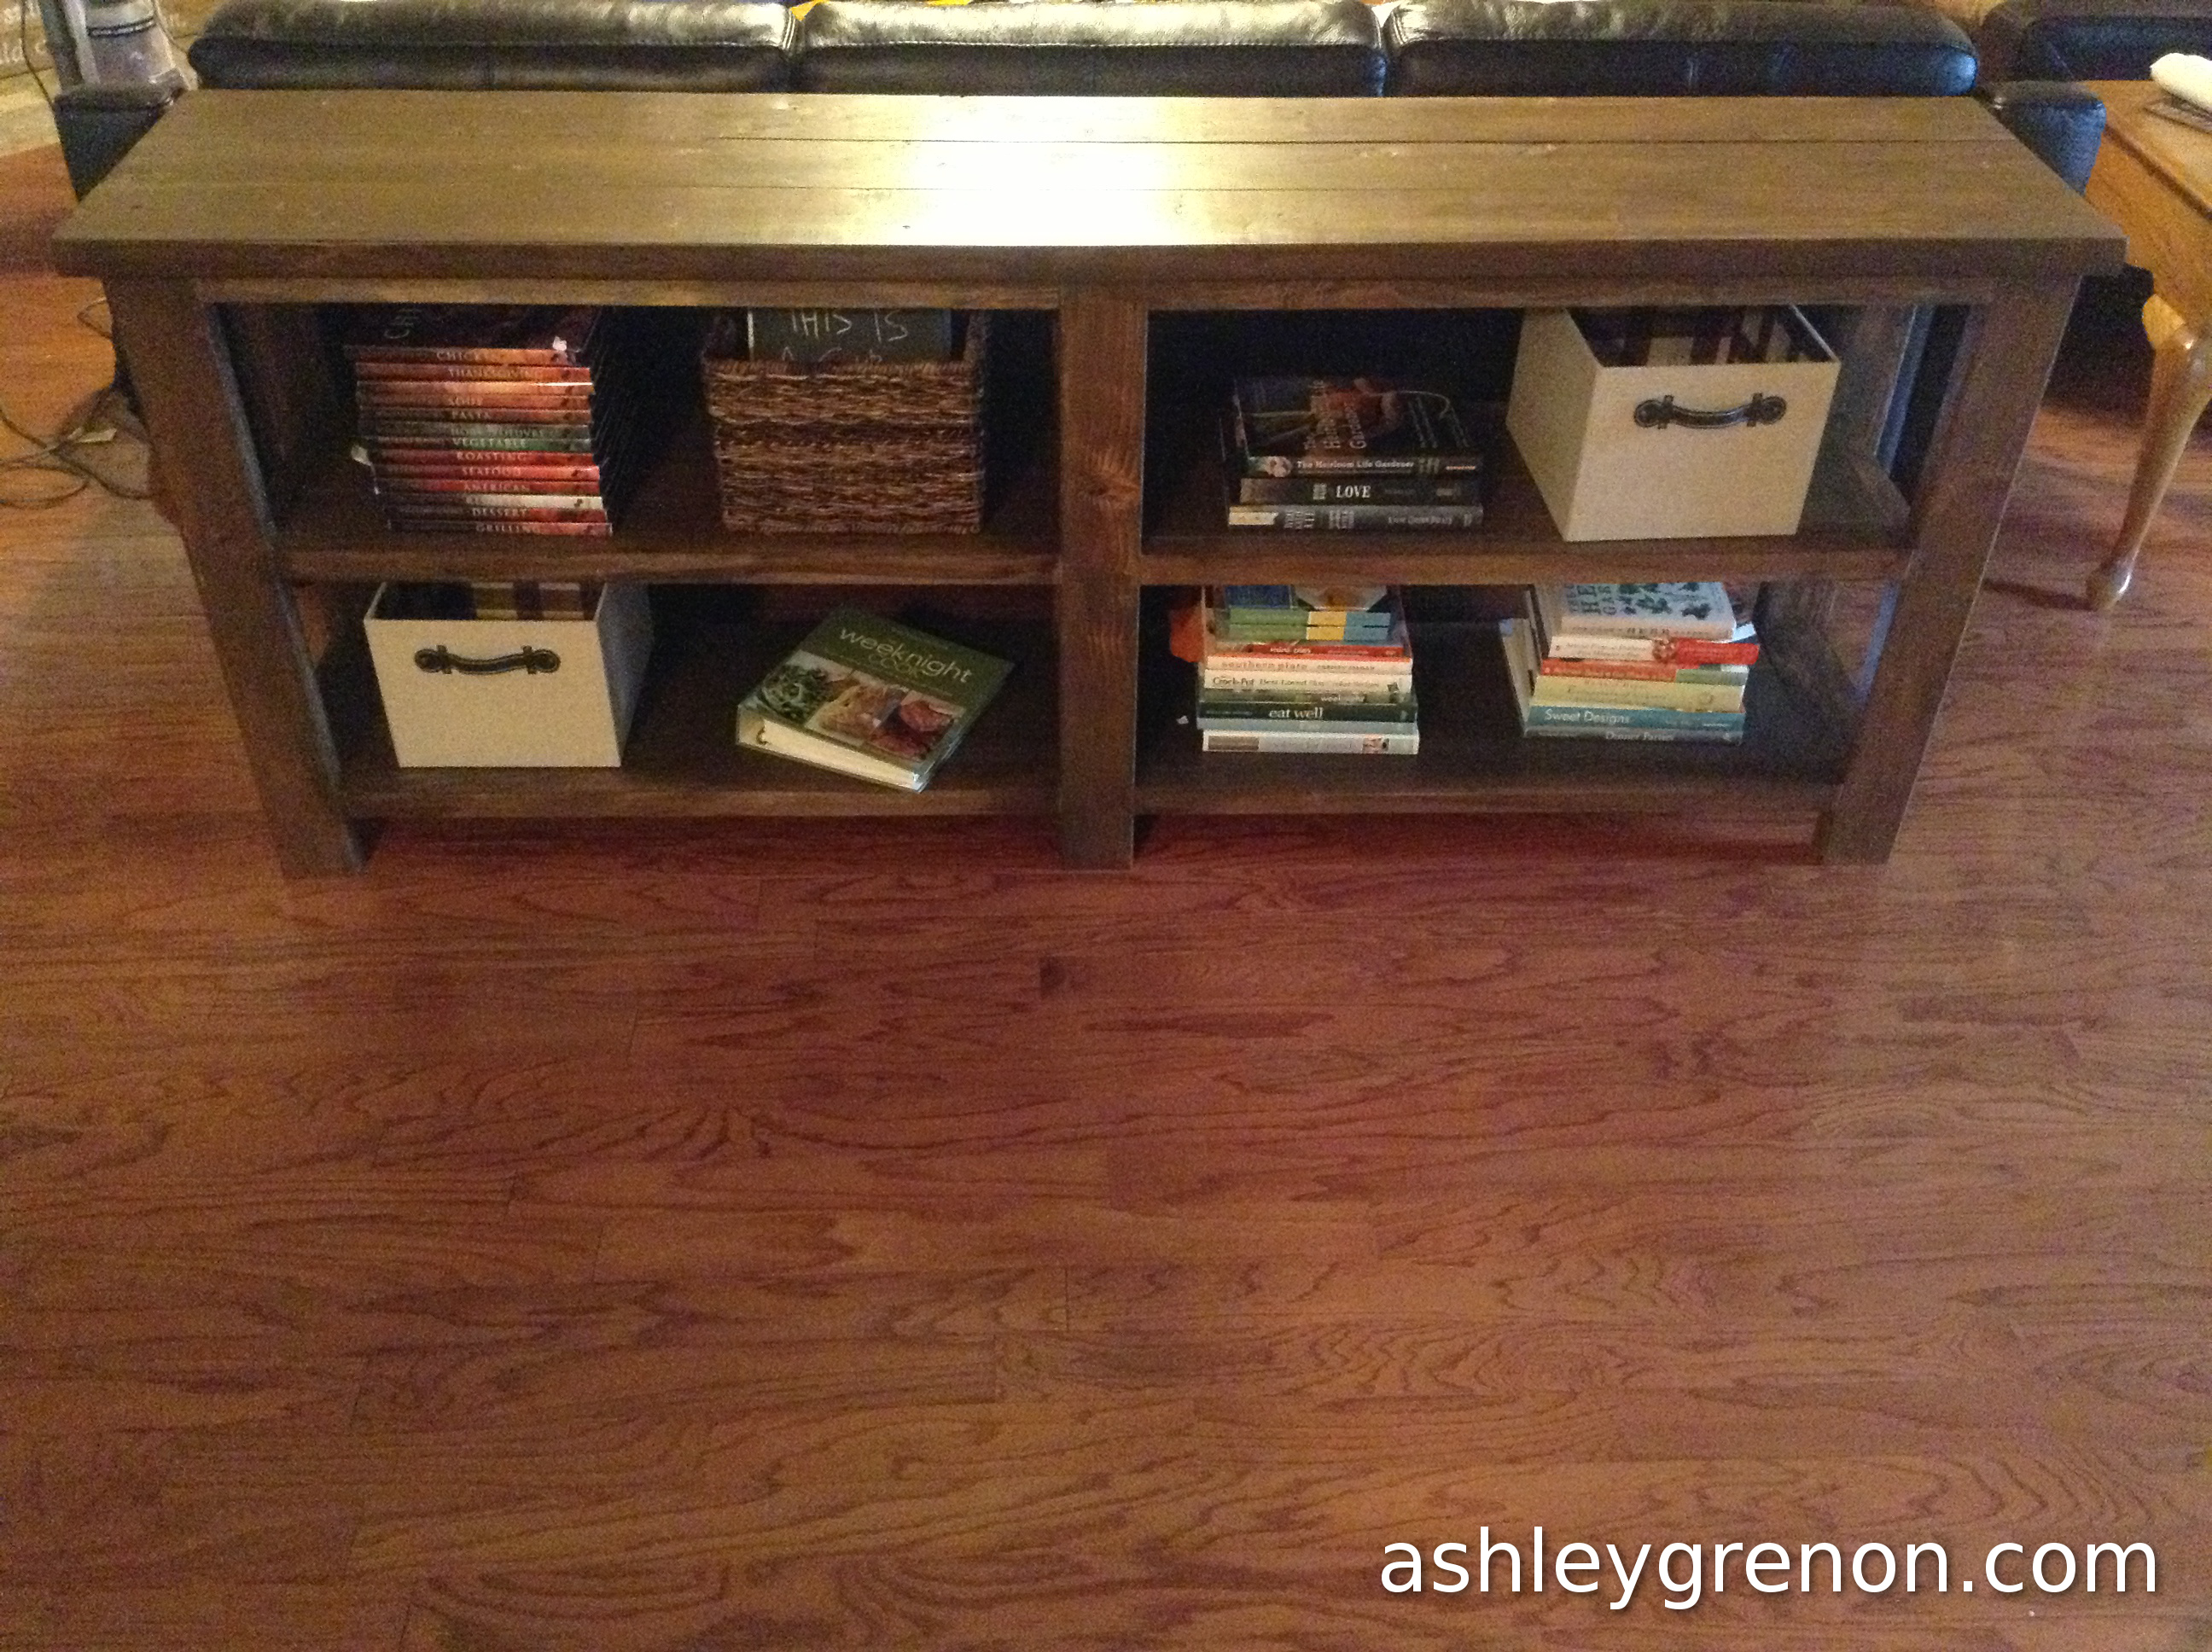
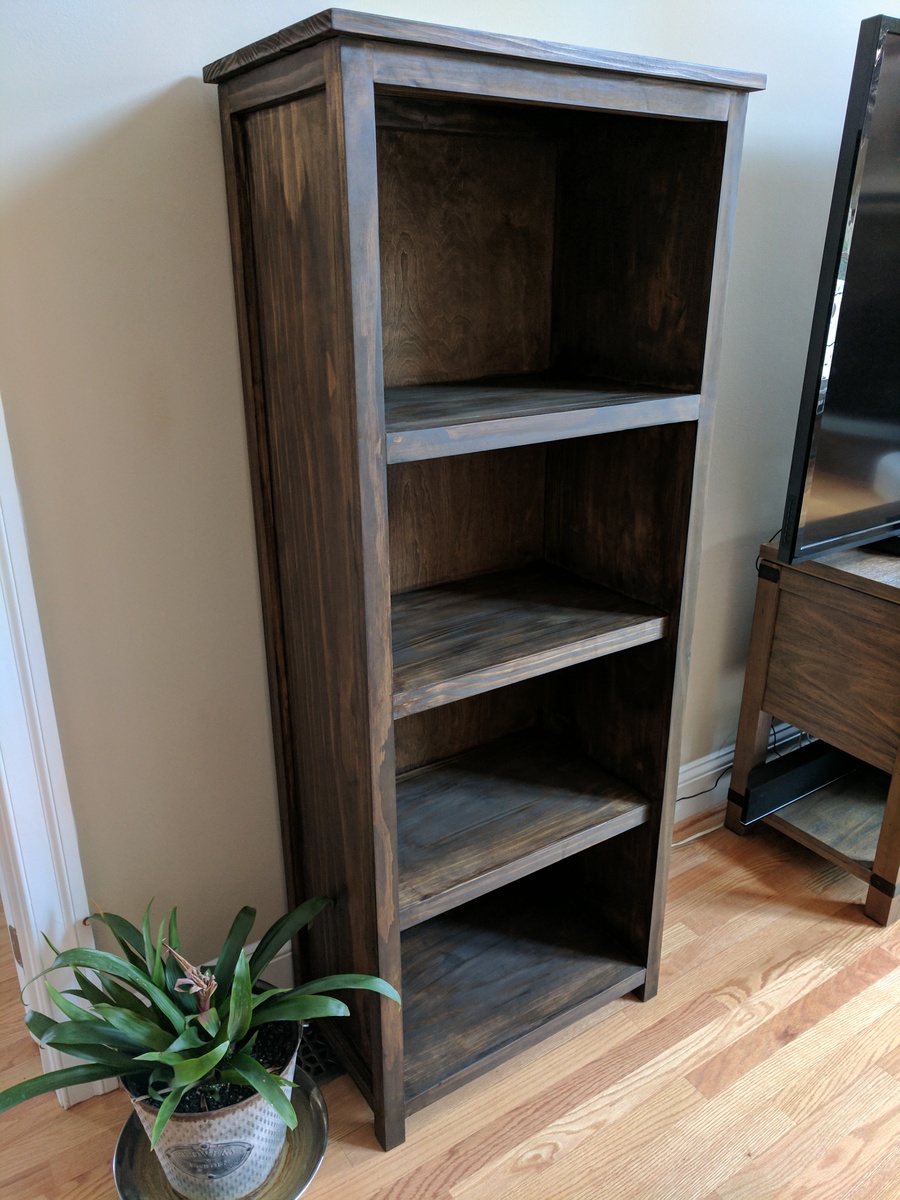
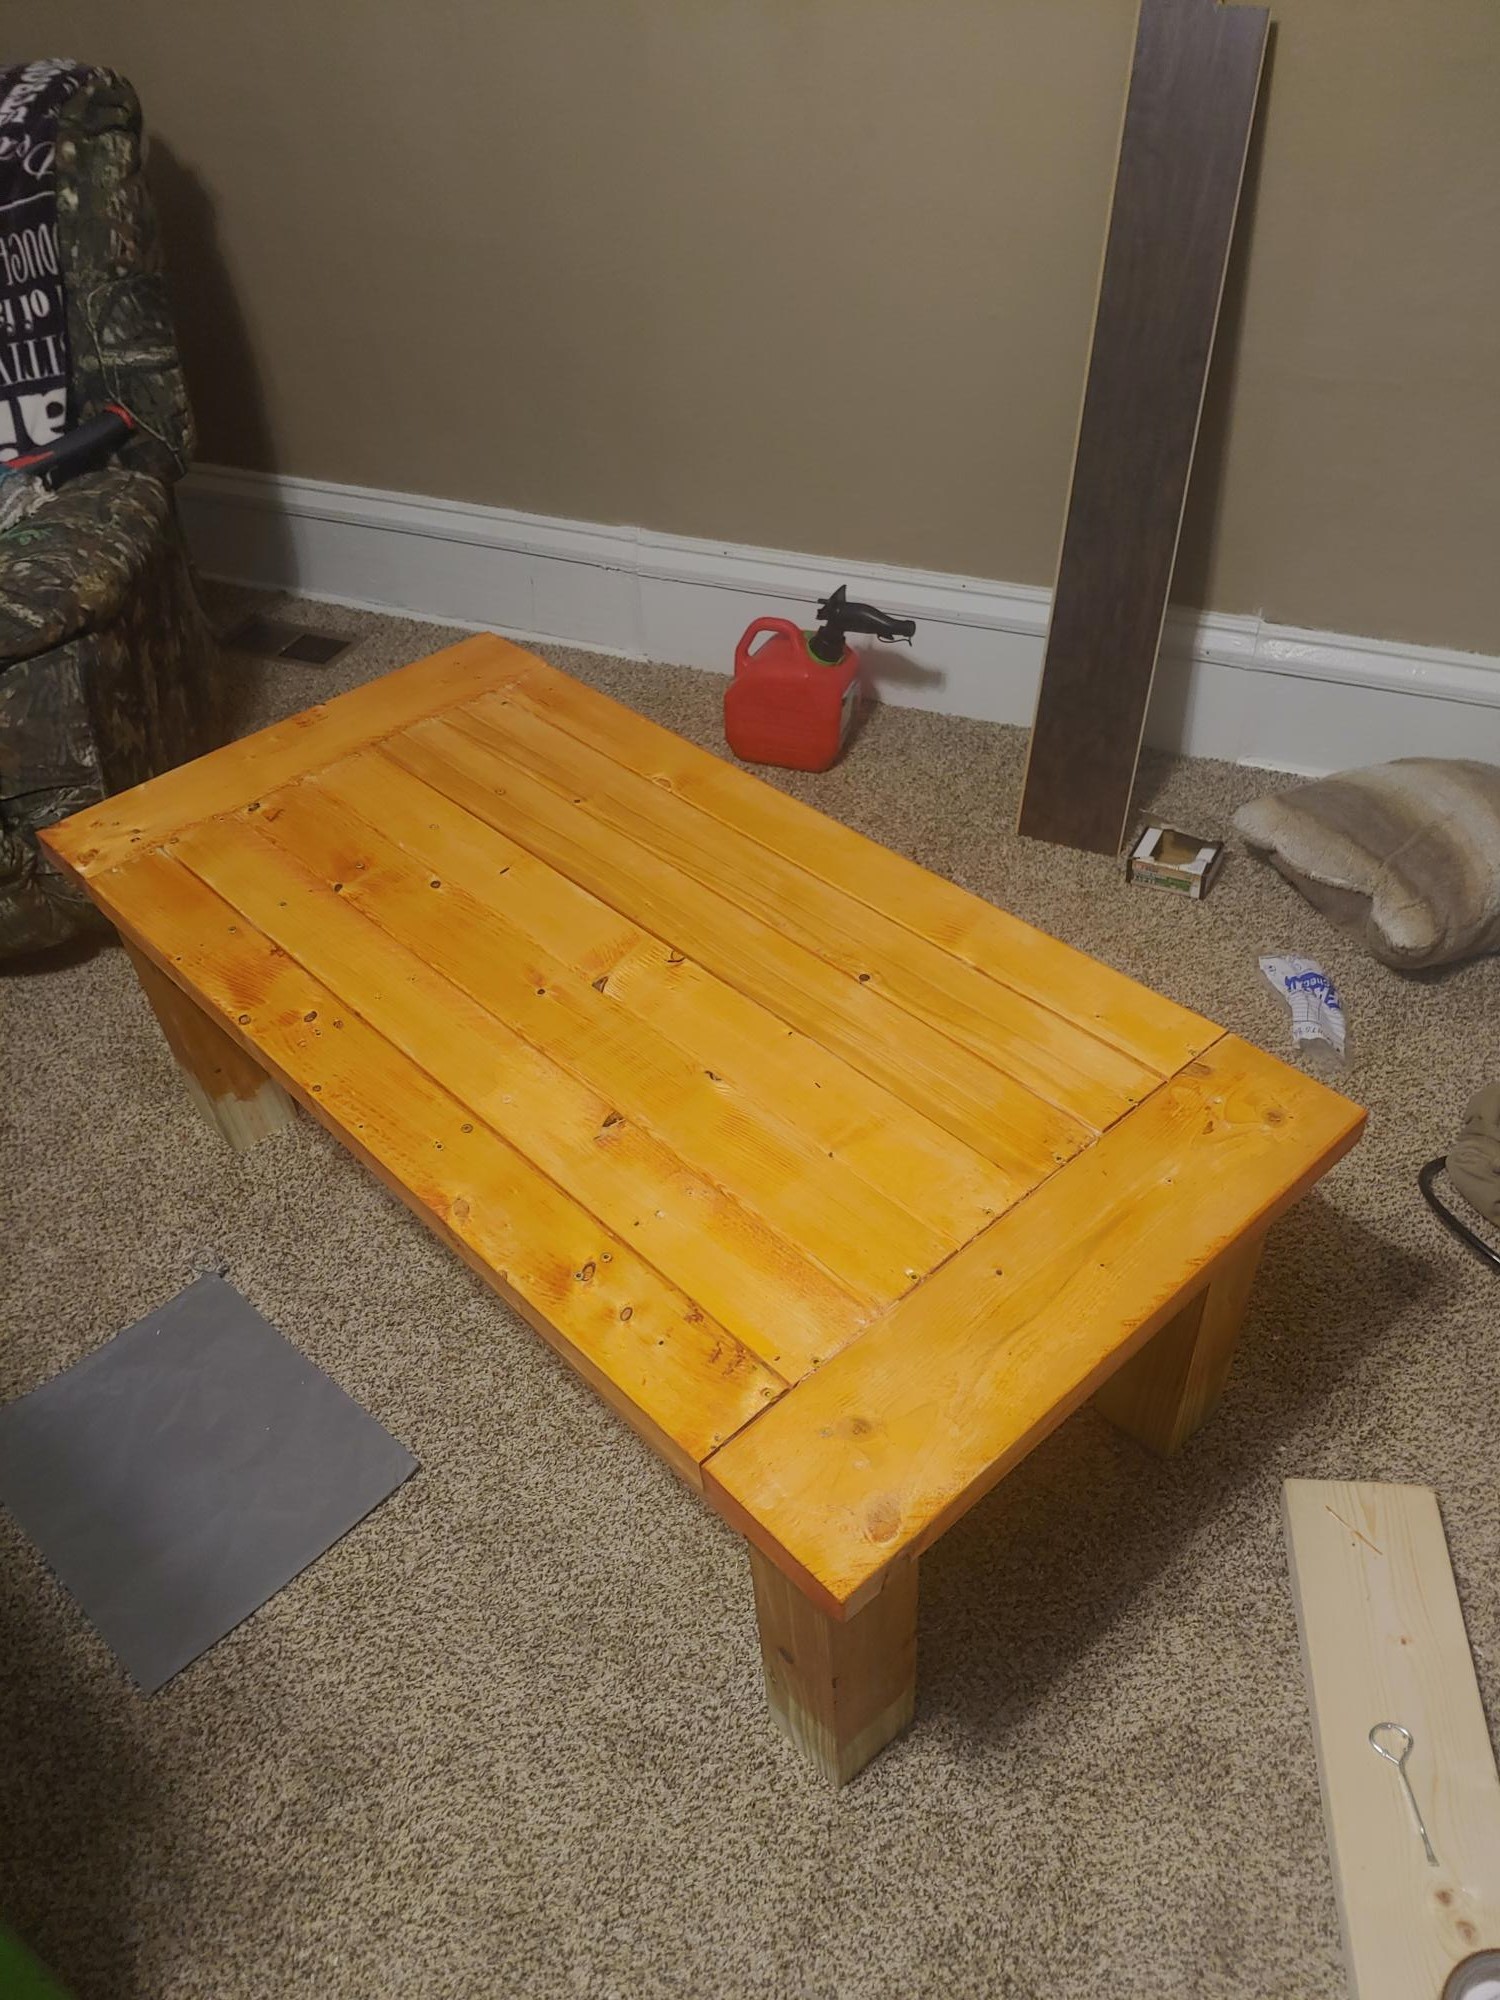
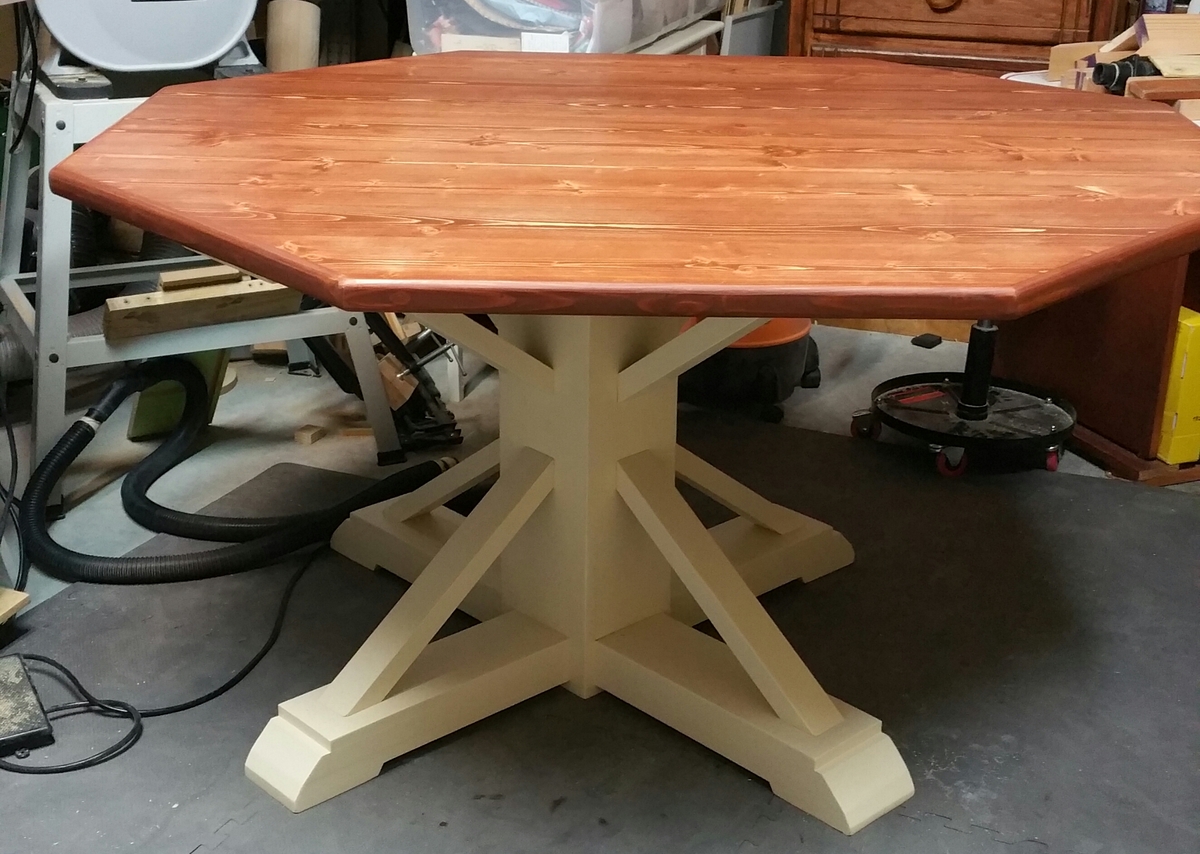
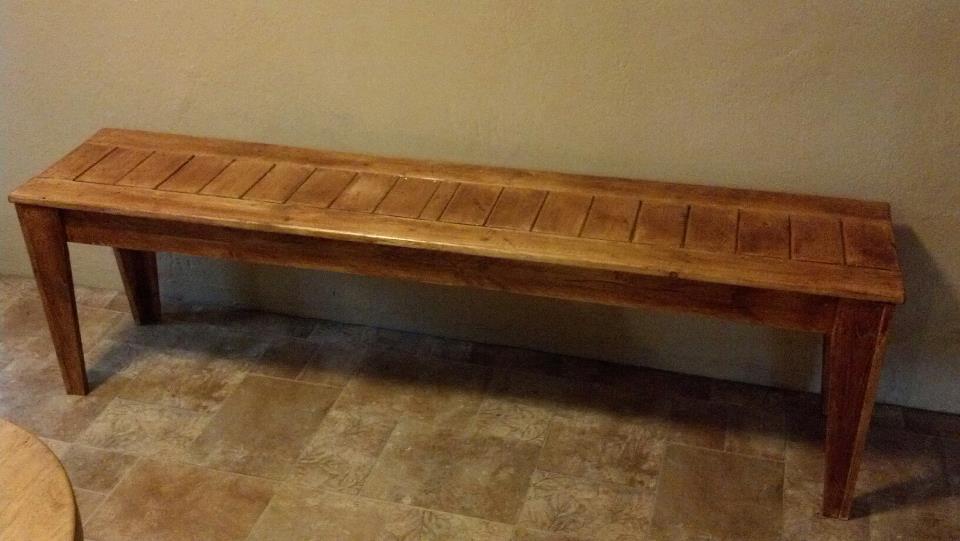
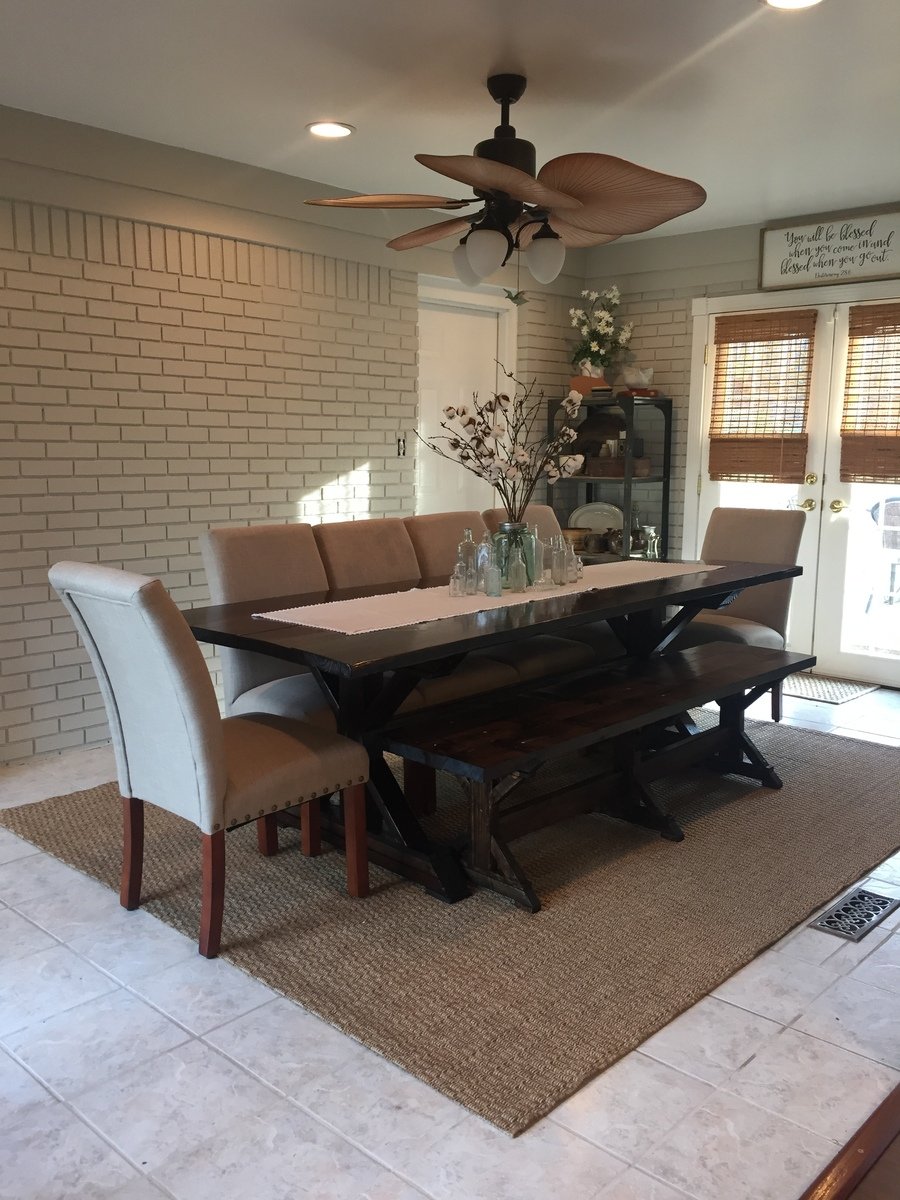
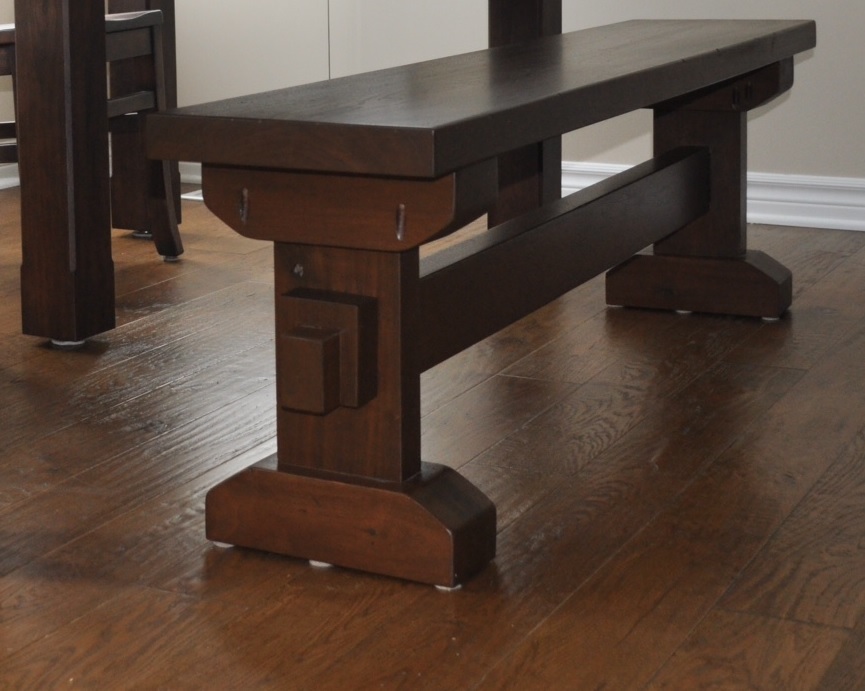
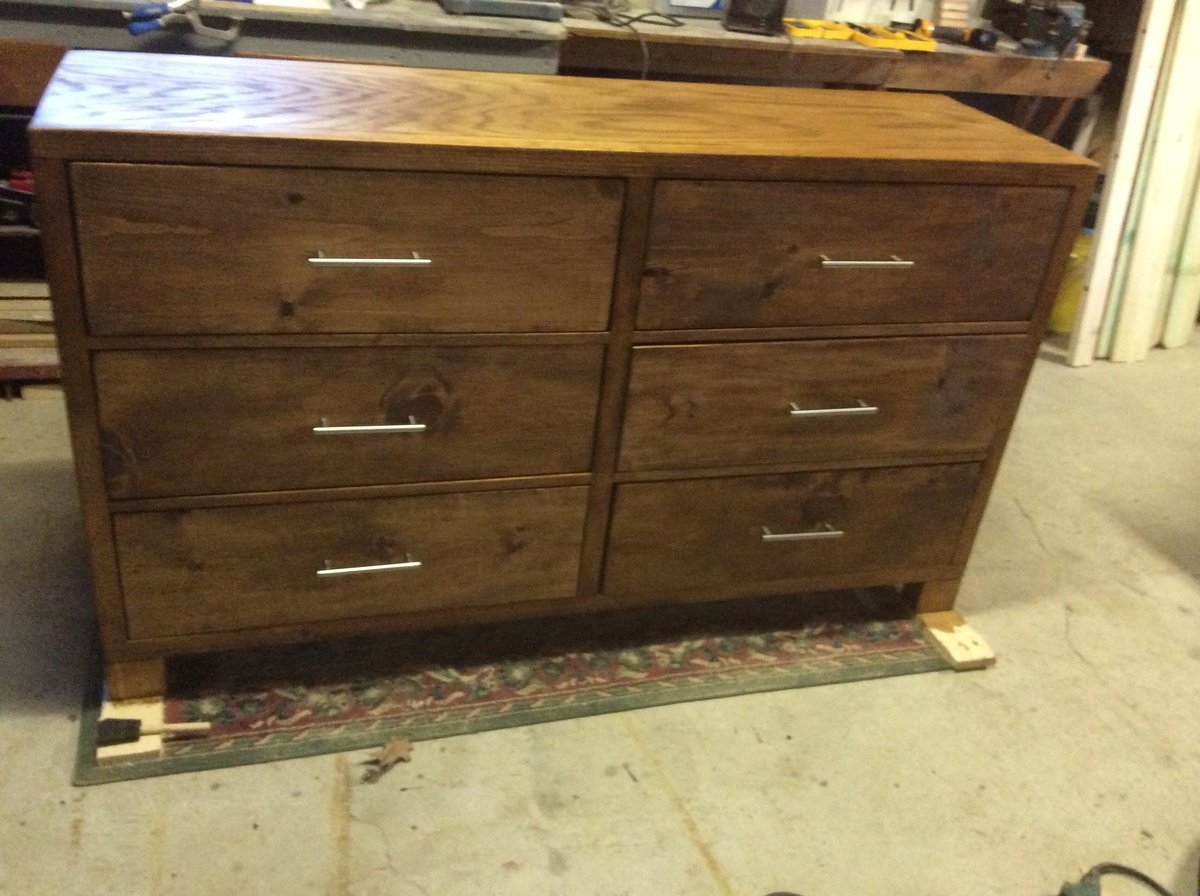
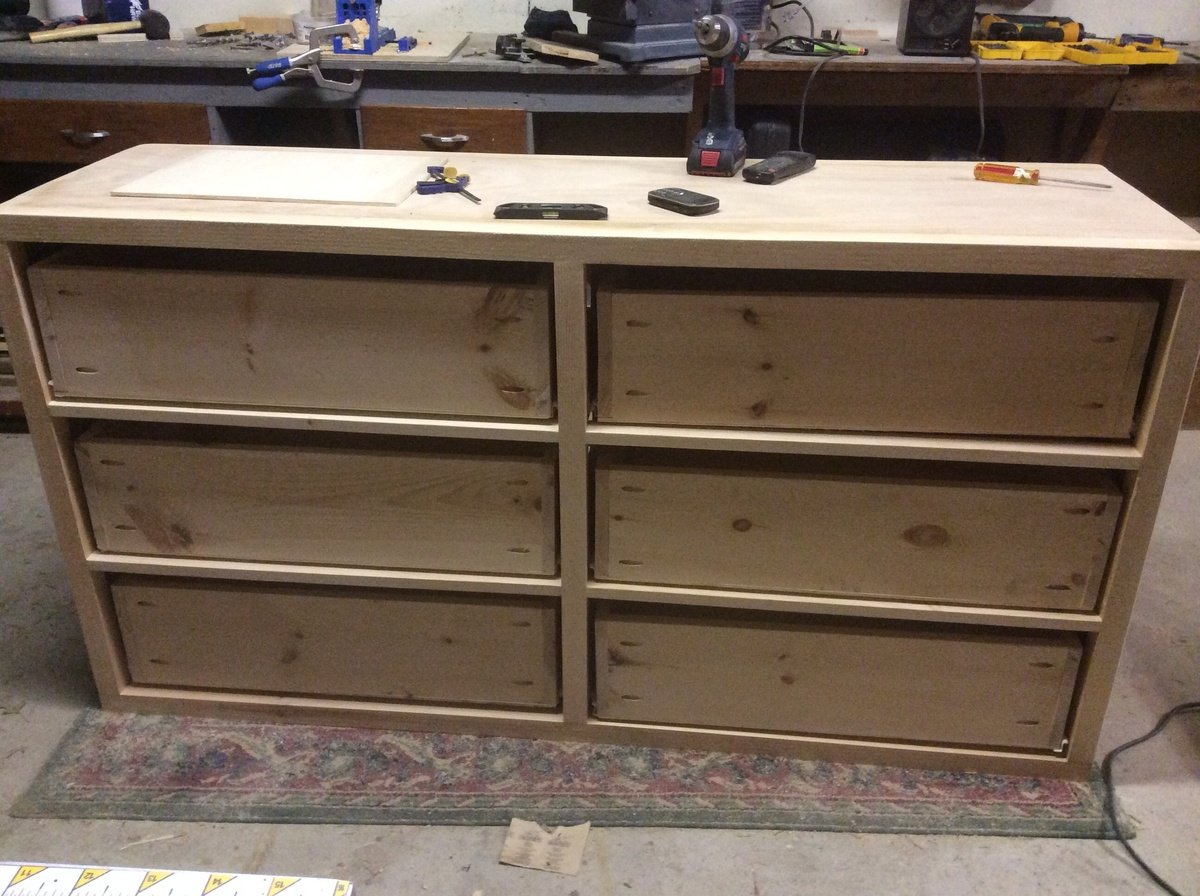
My brother-and-law has been building a TON of projects from Ana's site. After comparing prices of farmhouse tables online, my husband and I decided to try building our own. I measured our dining room, modified the plans (to make the table slightly shorter and slightly wider), then we picked up some basic tools and lumber, setup a little shop in our garage, and went to work. It took us a whole week (of after-work and after-the-kids-are-down nights) plus maybe a weekend to complete this project.
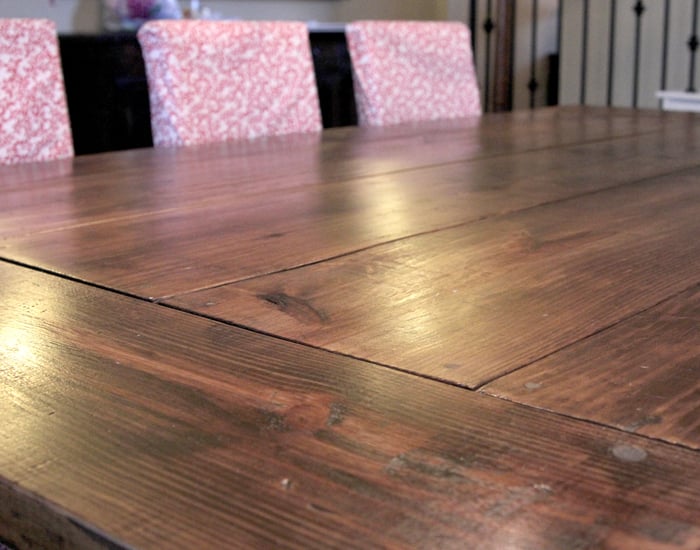
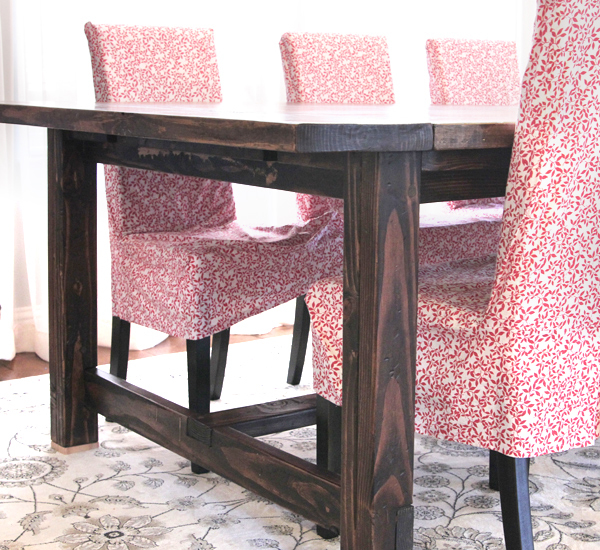
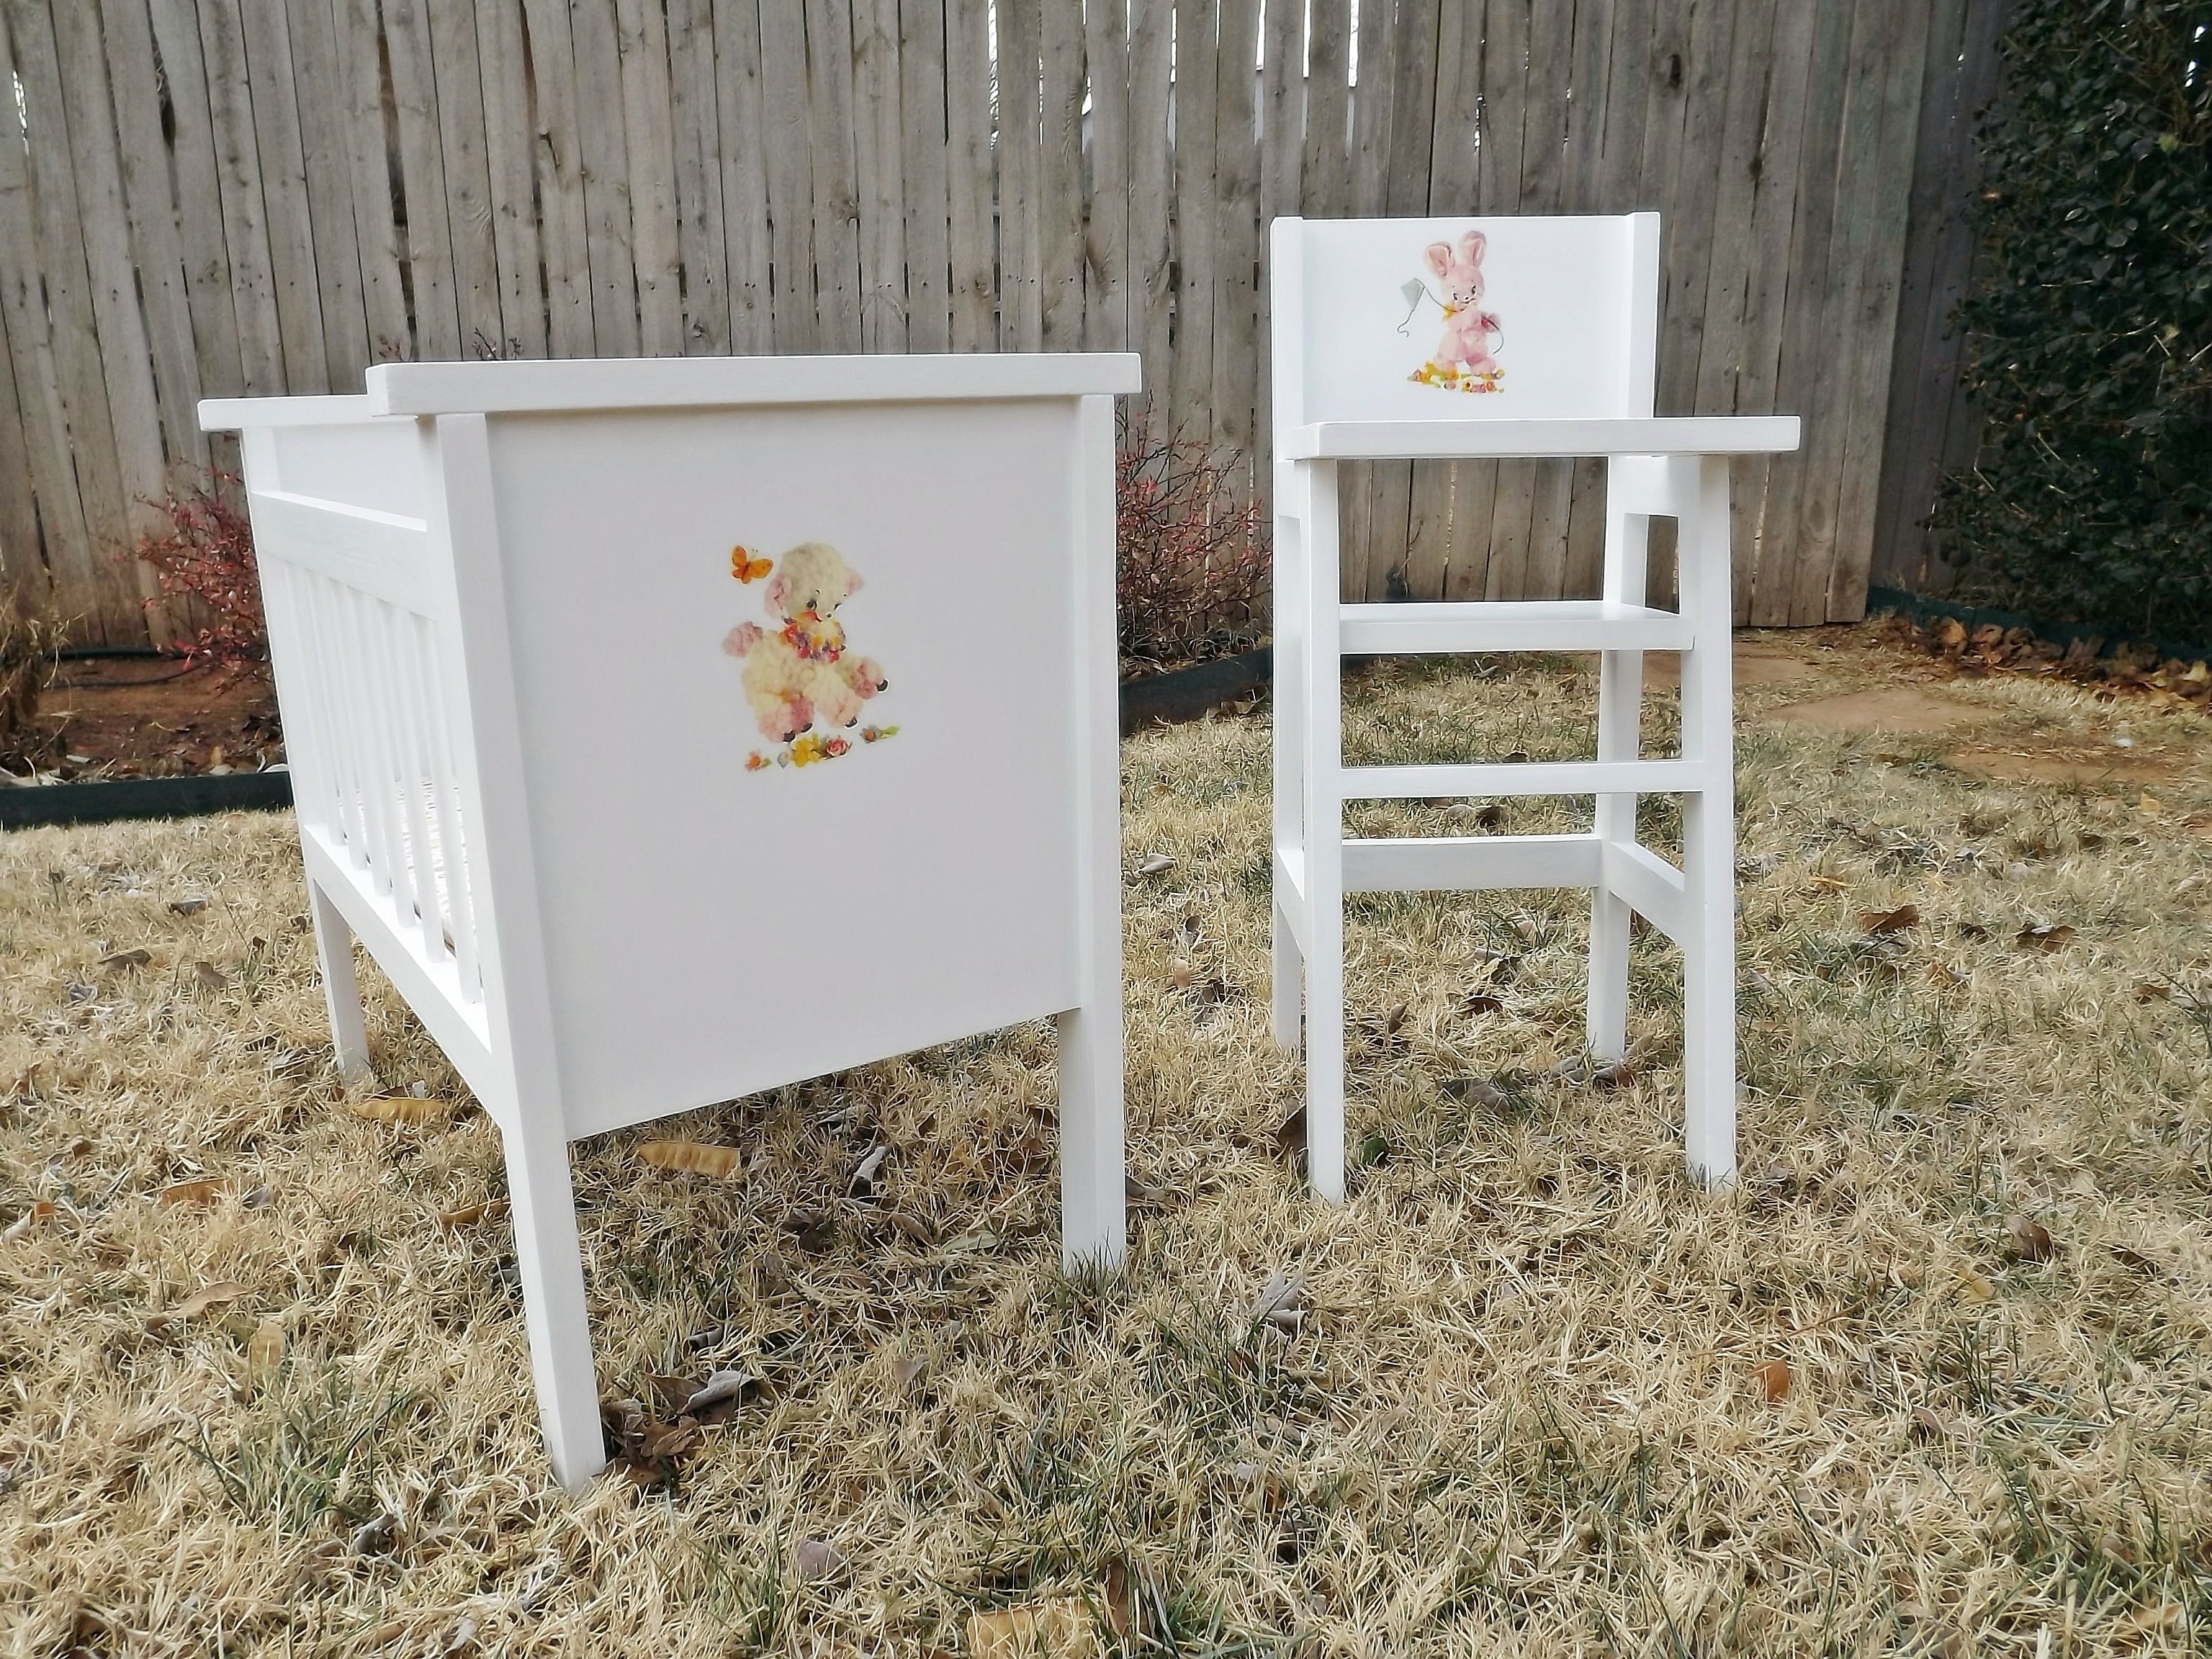
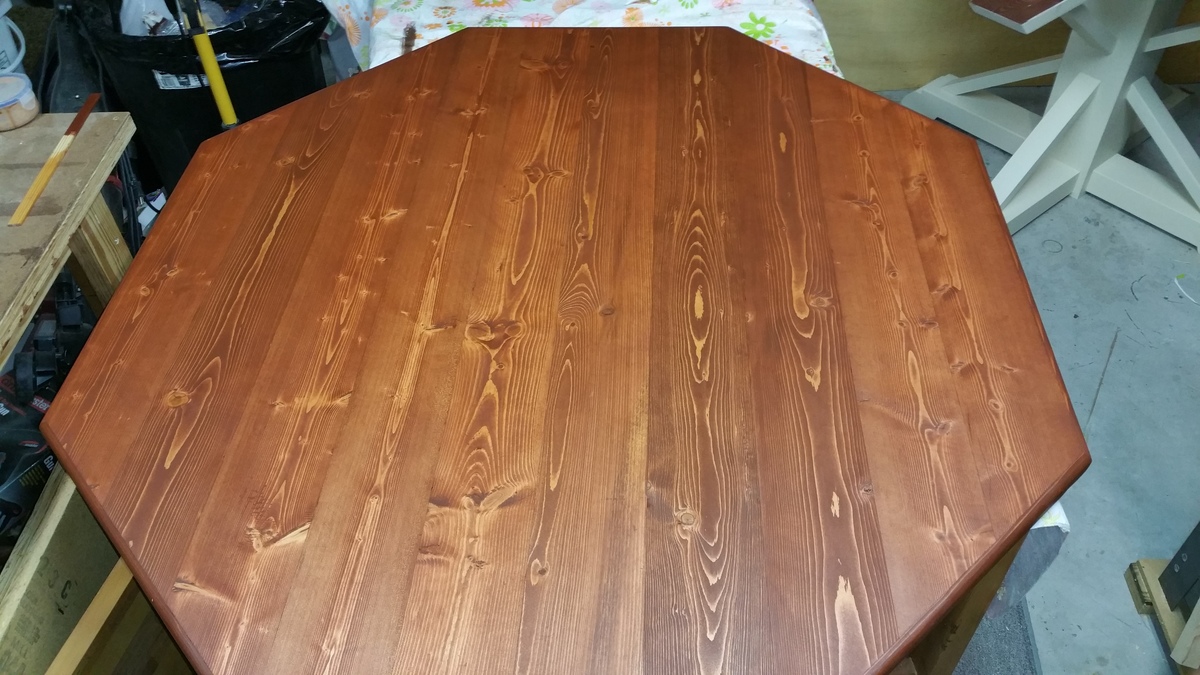
We started staining the legs of the table with a minwax stain in Dark Walnut, but it left it looking very contrasty/zebra-like. An employee at the hardware store recommended Rust-o-Leum, so we finished up the top with it. Added a clear satin varnish on top (Deft), then moved it inside. We love it!!! (We stained it after distressing it, then added 5-6 coats of varnish).
Things we'd do differently:
1. Invest early in a Pocket Hole Jig (like the Kreg Jig) to piece your wood together. We actually bought one for our second wood project (which I was able to screw together pretty much the entire thing myself...whereas, both my hub and I had to work together to get this table put together...it was a pain!), and wished we had purchased this earlier.
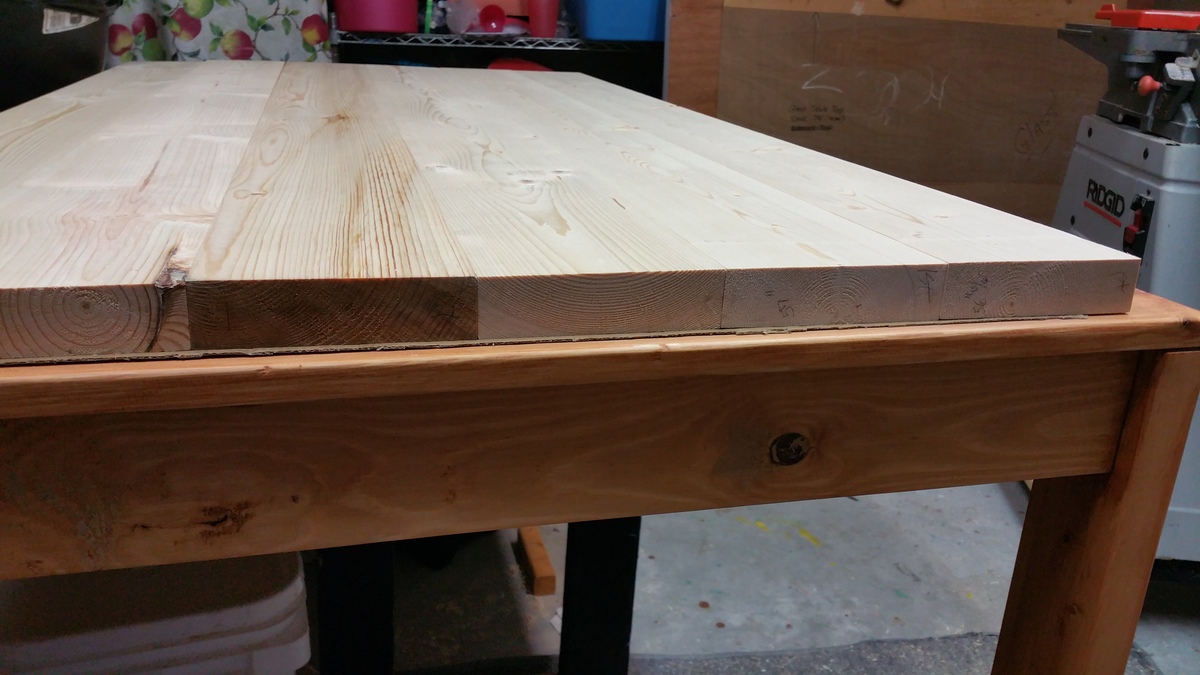
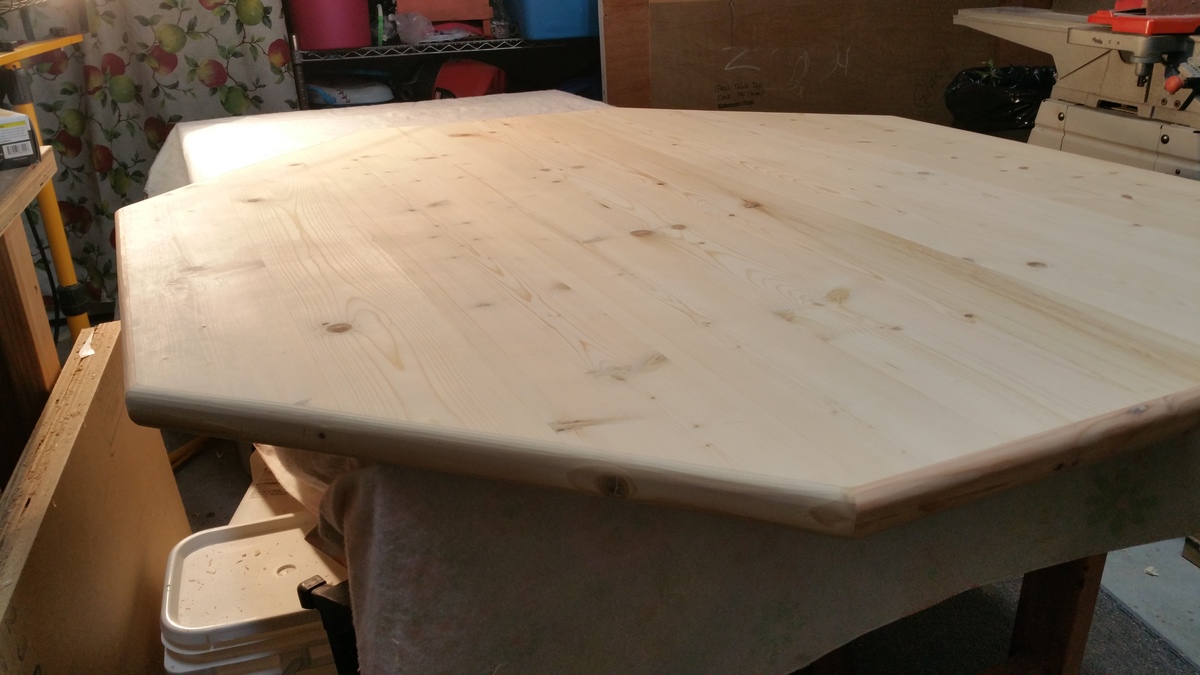
2. Check your wood and get it as straight (not bowed) as possible. Then don't let the sprinklers or rain get on it. :) Don't worry about knots, holes, or other things that could give your table character.
3. You can stain the wood using paper towels. (I did this on the second project...worked great, and easy clean up).
4. Make sure you square up your wood every step of the way. We THOUGHT we did this...but with trying to screw pieces together, and making them fit... now we've got an extra piece of wood underneath one of our legs. :P
Fri, 02/08/2013 - 09:36
This is a gorgeous build! The table top finish is just outstanding. You all did a marvelous job (even without the kreg jig)!
I wanted a project to build with my husband, and his desk was falling apart. Mine was old and tiny so we made two of these side by side. I did all my own work with some instruction from him, and it was pretty easy! It was also really fast: I think the total time spent was under 8 hours!
Rustic X Entertainment Stand. 55” long x 36” tall. 3 shelves. Natural top with dark walnut bottom. Custom made game crates and LED back lights to finish the look.
I built the Rustic X Console to store my growing collection of cookbooks. The plans were pretty easy to follow. I really struggled with warped boards!
You can check out my blog entry for more photos and details.
Used this plan as a "practice" platform for a larger version in the future. Very simple yet nice design. I would prefer to hide some pocket holes on the sides to avoid the extra work of plugging them next time. Also, Lauan plywood panels are cost effective way of finishing the back.
This is the final installment (#6) in the doll bed and high chair sets I've been building my great nieces. Each set was decorated with a lamb water-slip decal on the end of the bed (kind of a little theme going). This is the second crib I've built with dowels - I usually use 1" x 2"s - and I learned to use a spade drill bit rather than a regular drill bit. It doesn't split the wood around the holes. I've had a lot of fun building these for my nieces, and now I may have to start building them for my friends' children and grandchildren. :-)
The angles were very challenging. I wanted to replicate the angles of 55 degrees. But of course my saw wouldn't cut them. So I made a quick jig for my miter saw that allowed the supports to be cut on their side just 10 degrees off 45 degrees equaling 55.
I made the wood wine holder as a Christmas gift for my mother-in-law. It's great! I modified the plans a bit by routing the curved edges with a roundover bit. It was a great project for some scrap Fir I had from a bed project.
I have hunted for the perfect dining room bench for my large family but they were either to poorly crafted to withstand my crew, to small, or to pricey. Then I found this site showed the farm house bench to my husband and he said, "Hey I can build that!" and build it he did. He changed a few things here and there but the overall finished bench is AMAZING, and I LOVE IT!!! Thanks Ana!
I absolutely love my rendition of the Fancy X Farmhouse Table (and bench). I took Ana's plans and combined them with some of the details from charmingimperfections.com to create the vision in my mind of exactly what i wanted. The build was not bad at all but the Kreg Jig is a MUST have tool! This was my frst experience with the KREG jig and i am now looking forward to many more DIY Builds! :)
I purchased a harvest table from a local store that sells only solid wood furniture. The store had the option of purchasing a bench. I decided that I could save some cash and make the harvest bench myself.
For details, check out my blog - http://www.woodworkingfourdummies.com/blog/harvest-bench
Cheers,
Ian
We took the plans for the twin headboard modification and added an x brace to make it look like a barn door. We also added a piece to the bottom for additional support for mounting to the boxspring as well as to prevent warping and narrowing of the posts.
My second ever project my wife said I could do followed your plans are use pocket hose after asking about using them and you sent me a link on how to use it. I did not use the X instead my wife wanted me to Make a cross so it would go with the crosses in our living room thanks for the plans.
This took me an afternoon because I have never used a compound mitre saw before so I was teaching myself through trial & error.
It was really fun to try and I will definitly be making more!
Thanks so much for the plans to build the sweet pea bunk bed.
It was just the ticket.
My little girl loves it, we used glitter paint and used some to replicate the stars and night sky on the lower bunk ceiling
We made a little ladder only because of space (or lack of) and will make the shutters and drawers at a later date.
Many thanks.
Dan, Alena and Leonie
I duplicated this plan from Ann White's Smiling Mudroom Plan. My space was not as deep and was longer than the original plans, so we modified the plans to fit our space. . I liked the idea of a thicker seat that another person used, so we incorporated that. Materials cost us about $200 to make it. Thank you for the inspiration. I love it!
Tue, 02/19/2013 - 16:36
This is a beautiful, yet practical build. The empty space pictured is just begging to be filled. I especially like the wall color and the trim just above the seats that is repeated with the coat hangers. Great work - love it!
Tue, 02/19/2013 - 18:52
Phenomenal !!! Looks great. LOVE the colours too. what wood did you use?
Fun build. Took me a few weeks but enjoyed it. Gave a ton of storage for my sons room.
I made this garden trellis with cheap 6' cedar fence pickets ripped down to 1 1/2" strips. Get the free plans and tutorial at The Handyman's Daughter!
Comments
Ana White Admin
Sat, 01/02/2021 - 13:24
Stunning!
Absolutely beautiful, well done! Thank you for sharing!