Weatherly Outdoor Sectional!
I really wanted some outdoor furniture but did not want to spend the thousands for a sectional. I used this plan and created the entire sectional for less than $500!
Wood =
I really wanted some outdoor furniture but did not want to spend the thousands for a sectional. I used this plan and created the entire sectional for less than $500!
Wood =
My first attempt at a country farmhouse style dining table, my children managed to also use it as a playhouse within minutes!!
I enjoyed making this outdoor sofa and table combo from Ana's Ryobi series. An inexpensive and easy project that we just love! All construction grade 2x4.
Lockdown here in Sydney has been going for over 100 days now, so in-between home school and quietly going insane, I thought I would make something for the house in the hopes that at some point we may be able to have people back in our home and enjoy entertaining again. The Deck chairs are to replace some horrible plastic ones we had on our balcony. Now my wife and I can enjoy a glass of wine while looking out over our bay in style! The bar was made from leftover timber I had and the deck chairs are made from 2x4 Treated pine (bits painted white) and NSW Spotted gum - which is a hardwood. The bar is also made from 2x4 treated pine and Merbau ( another hardwood) . I have put a few bronze hooks on the front to hold tea towels etc when entertaining. They are both fantastic additions and we love them. Thank you for saving my Sanity Anna!
Mon, 10/04/2021 - 16:38
Those are gorgeous, we are thinking of you and hoping for sanity and peace! Thank you for sharing.
My husband, step father and I built these Thanksgiving weekend (2010) and my mom got us a half bushel of oysters to snack on and made awesome steamed mussels with bread for dinner. This was a very fun family weekend.
I modifyed the plans a little to make the arms angle in a bit instead of being straight boards and also created the curved front. Then after building the first chair, Pat decided to make the second chair's back rest taller and cut angles to match the arms.
I picked intermediate because of needing a miter saw for all the different angles needed for getting the front right.
Also, It took one day for each chair
I loved this plan, but needed to cut down the size. I added fabric to the side panels to make it a little prettier. I had my ply cut at Home Depot, but cut all of the rest of the wood with my little had miter box, which added a lot more time to the process, but it was worth it! More details on my blog. Great plan, as always, Ana!
I built this headboard as a birthday gift for my grandmother. She had a rickety, old makeshift headboard composed of a couple of 2x4's and some lattice that was spray painted. I modified the plans to fit her Full size bed and lowered the height down to 62".
Finished the X end table, turned out great.
I used a few pocket holes and cut it down to 5 ft long(I have a smaller kitchen). The plans made it real easy to do so. The bench was also cut down.
Tue, 10/05/2021 - 09:12
Perfect solution for a smaller dining area, love it! Thank you for sharing:)
I made this pair of nightstands as Christmas gifts for my husband in 2010. They were my first project and I'm pleased with how they turned out!
When my wife and I bought our new house, our little apartment-size table looked dumb in our new dining room. With the help of Ana White's plans, my first ever building project was a great success. The project took some extra time because I was doing it by myself in the afternoons and whenever I found the chance. The plans were for a 9ft table and matching bench, but our dining room wasn't quite that big. I shaved about 14 inches off the length and planed the boards for a flat surface (making the table and bench slightly narrower.) As an absolute amateur, I cannot stress how important the use of the Kreg Jig was for this project! With a little bit of patience, love, and faith in yourself, you can do anything you put your mind to. I am so honored to have built the table at which my children will grow up sitting. Thank you, Ana White!
Wed, 08/21/2013 - 12:26
I love how smooth your tabletop looks! I grew-up with a kitchen table with a grove all the way around it and can't imagine dealing with that again. Can you go into more detail about how you planed the boards and how difficult the process was? I have built a couple pieces from Ana's site but am still new to all of this...any advice would be greatly appreciated.
Thanks,
Sarah
This is only my second build. I love it and am very proud. I made this for my son and daughter in law to put at the foot of their bed. It took a couple of times for me to get drawer glides on right but I did it! I love wood working and want to keep learning!
Wed, 04/15/2015 - 15:49
I really love the two tone colors :) I've got this bench on my todo list too :)
Fri, 04/17/2015 - 07:09
I know, I do too, thanks. Seriously, not that hard really, I say give it a try.
Large cooler stand built for a huge cooler. I wanted to be able to take the cooler out, so it oversized for the cooler, with slats on the bottom to hold the cooler for draining without water sitting on a solid surface inside.
Building Ana’s farmhouse doll bed went so well that I felt ready to take on a full-sized bed.
Each project seems to come with its own set of lessons. I learned the hard way about the “Measure twice, cut once” rule with a couple of “oops” cuts that sent me back on another trip to the Blue store.
Sourcing untreated 4×4′s was also an issue. I ended up gluing and screwing 2×4′s together to use as the headboard and footboard legs.
The biggest issue, though, was my own fear. Sure I hit some stumbling blocks during the build, but resolved them and got the headboard and footboard all put together… and then choked. Who the heck makes her own bed? Is this really going to work? I delayed and delayed the final steps of screwing the siderails to the legs and attaching slats until I finally had to give myself a stern talking-to and a self-imposed deadline! Has anyone else ever been scared to push through to the final steps?
OK, here goes! I wasn’t sure that I understood the step about toenailing lagbolts through the end of the cleats into the legs until I got out the drill and tried it. Yup, it worked just fine! Next came the slats, and then when I hoisted the mattress on and saw that I had built a bed…. Well, I don’t even know how to describe that feeling of success and empowerment. Wow!
Ana, I wish I could thank you for all that you do.
I made this awesome step stool for my daughter to be able to reach things a little bit better. It works perfectly. And the heart adds the perfect touch, don't you think?
My friend just bought a condo here in Atlanta, and it only had an awkward tile mantel. She had requested we update this, so one Saturday we decided to tackle this. The plans were super easy to follow - and we could not be more excited with the results!!
Hello Builders!
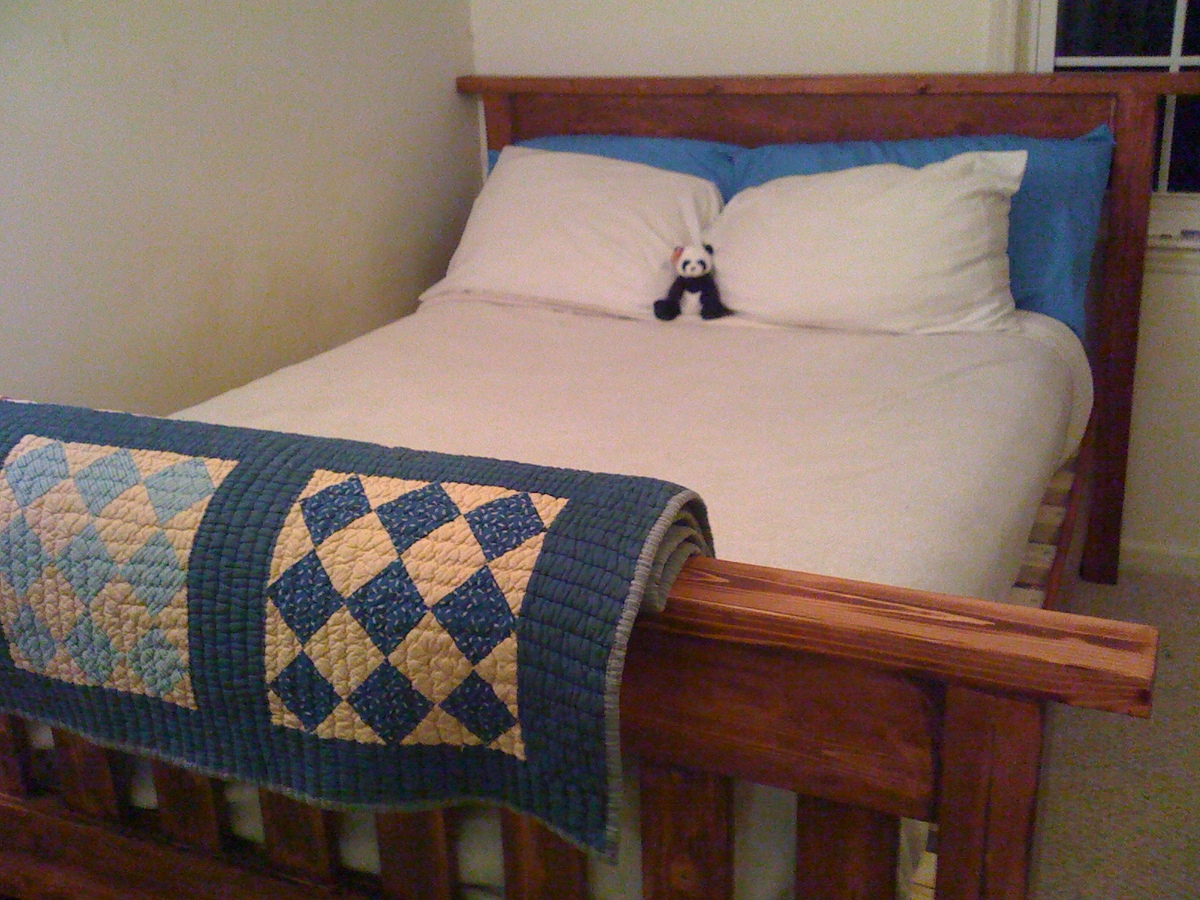
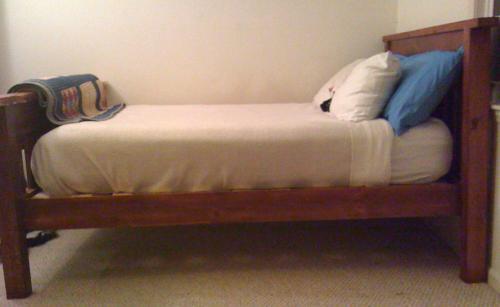
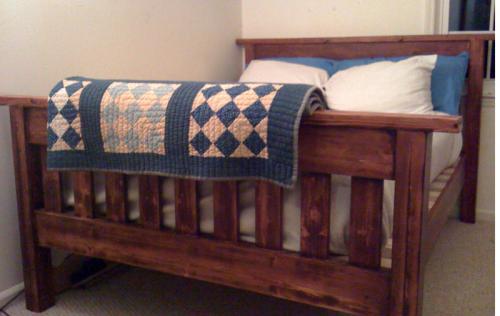
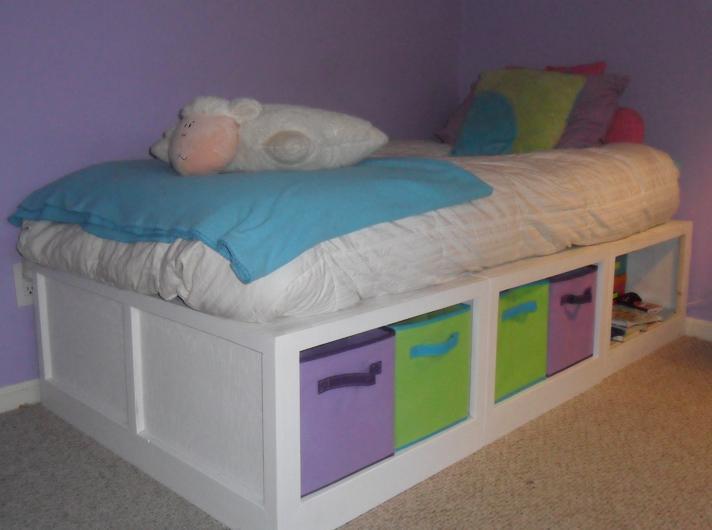
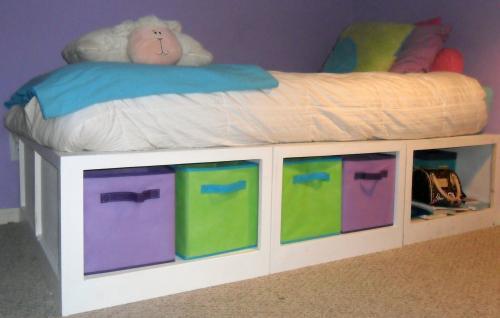
I made this bed for my daughter right after finishing Ana’s Simple Bed for myself. This bed is great because it is cool-looking (the most important factor for my middle-schooler) and because it adds tons of storage space (the most important factor for me, the mom!). Ana has this bed marked as easy, and it was easy. After working on the Simple Bed with lots and lots of cutting and gluing and nailing, I was amazed at how quickly this bed started looking like itself.
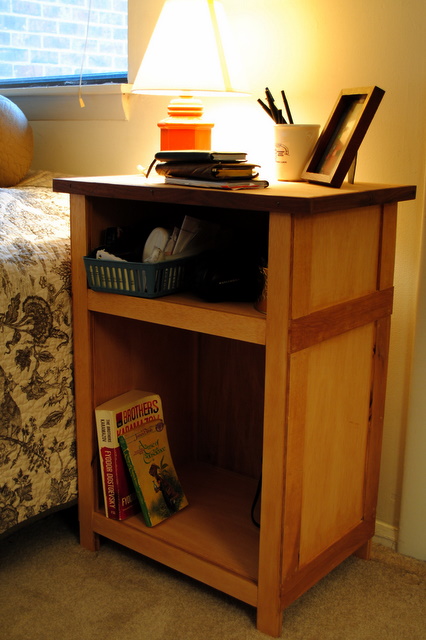
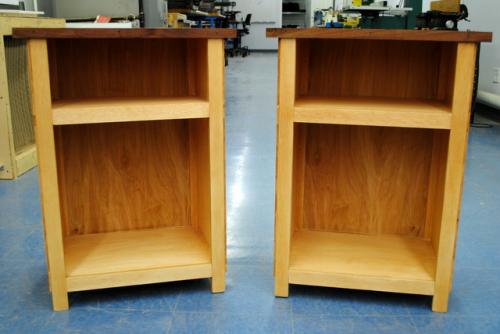
As a newbie builder, I read and read and re-read Ana’s plans and the comments on the plans and any similar plans until I feel comfortable. The Storage Daybed is just three separate benches that sit side-by-side and the mattress just lies on top. Somehow, when digesting the plans, I was really confused about the divider in the middle of each bench, but eventually the light bulb went on (the divider is necessary to support and strengthen the top, but the end result is that there are three cubbies in the front of the bed and three cubbies in the back – perfect for storing off-season clothes).
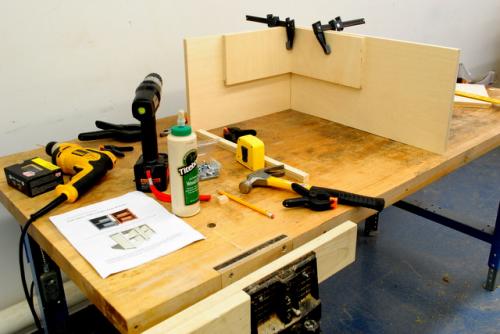
So I went to the Blue home improvement store and decided on birch plywood. Special thanks to Jen for working up the plywood cutting layout that Ana included in the plan. I don’t think I could have figured out how to get the pieces cut without you. The associates at the large home improvement store were very nice, and they offered to make the cuts for me even though they said that they really weren’t supposed to make “project cuts”. The problem was that their cuts were oh, so bad! They marked out all of the cuts at once, which doesn’t account for the sliver that the blade takes out, and when measuring they didn’t even have the tape measure blade flush against the top in the first place.
On my other projects, I made plenty of mistakes. But they were my mistakes, you know what I mean? On this build, I spent so much time trying to fix bad cuts. But it’s my fault. I was concerned, but I second guessed myself and didn’t speak up while they were cutting. I ended up having to cut a thin strip of plywood to lengthen the side of one of the benches, and had to sand and sand and sand. Also ended up having to re-cut the dividers.
Oh, well. I got a little life lesson in assertiveness, and I got to add a circular saw to my toolkit! After all was said and done, this really is a great bed, and it made my heart glow to hear my daughter going around telling folks: “My mom is making my bed!
This was our first project. The directions were easy to follow. We used wood screws to put this project together as I do not have a nail gun. My five year old was in charge of the electric screwdriver. I just used 1 peice of wood for the table top and diagonally screwed into it from the bottom. It took us a few days to complete as when you are working with a little one, everything takes quite a bit longer. This was the perfect project for us to work on together! My husband requested a table to put next to the hottub so he could put his drink on it, but I don't want this to move outside! Maybe I'll have to make another one. :)
This secretary desk and hutch was made using the Grant Secretary and Hutch plans, modified to be 48" wide. As a finish, I wanted to try out a new method - instead of staining, I decided to char the wood using a method known as Shou Sugi Ban. There are tons of You Tube how-to videos on how to do it, and it's actually pretty easy (as long as you are comfortable using a propane torch).
The project definitely took longer than I had originally anticipated, at least 40 hours. However I thought the end result was worth it.
Comments
spiceylg
Tue, 05/21/2013 - 04:43
Beautiful
This came out so beautiful! Okay, I usually don't bring attention to typos, but this one you might want to fix. You wrote suck instead of such. Oops! :)
Celeste808
Tue, 05/21/2013 - 16:21
LOL
Thank you! Typo definitely corrected ;)