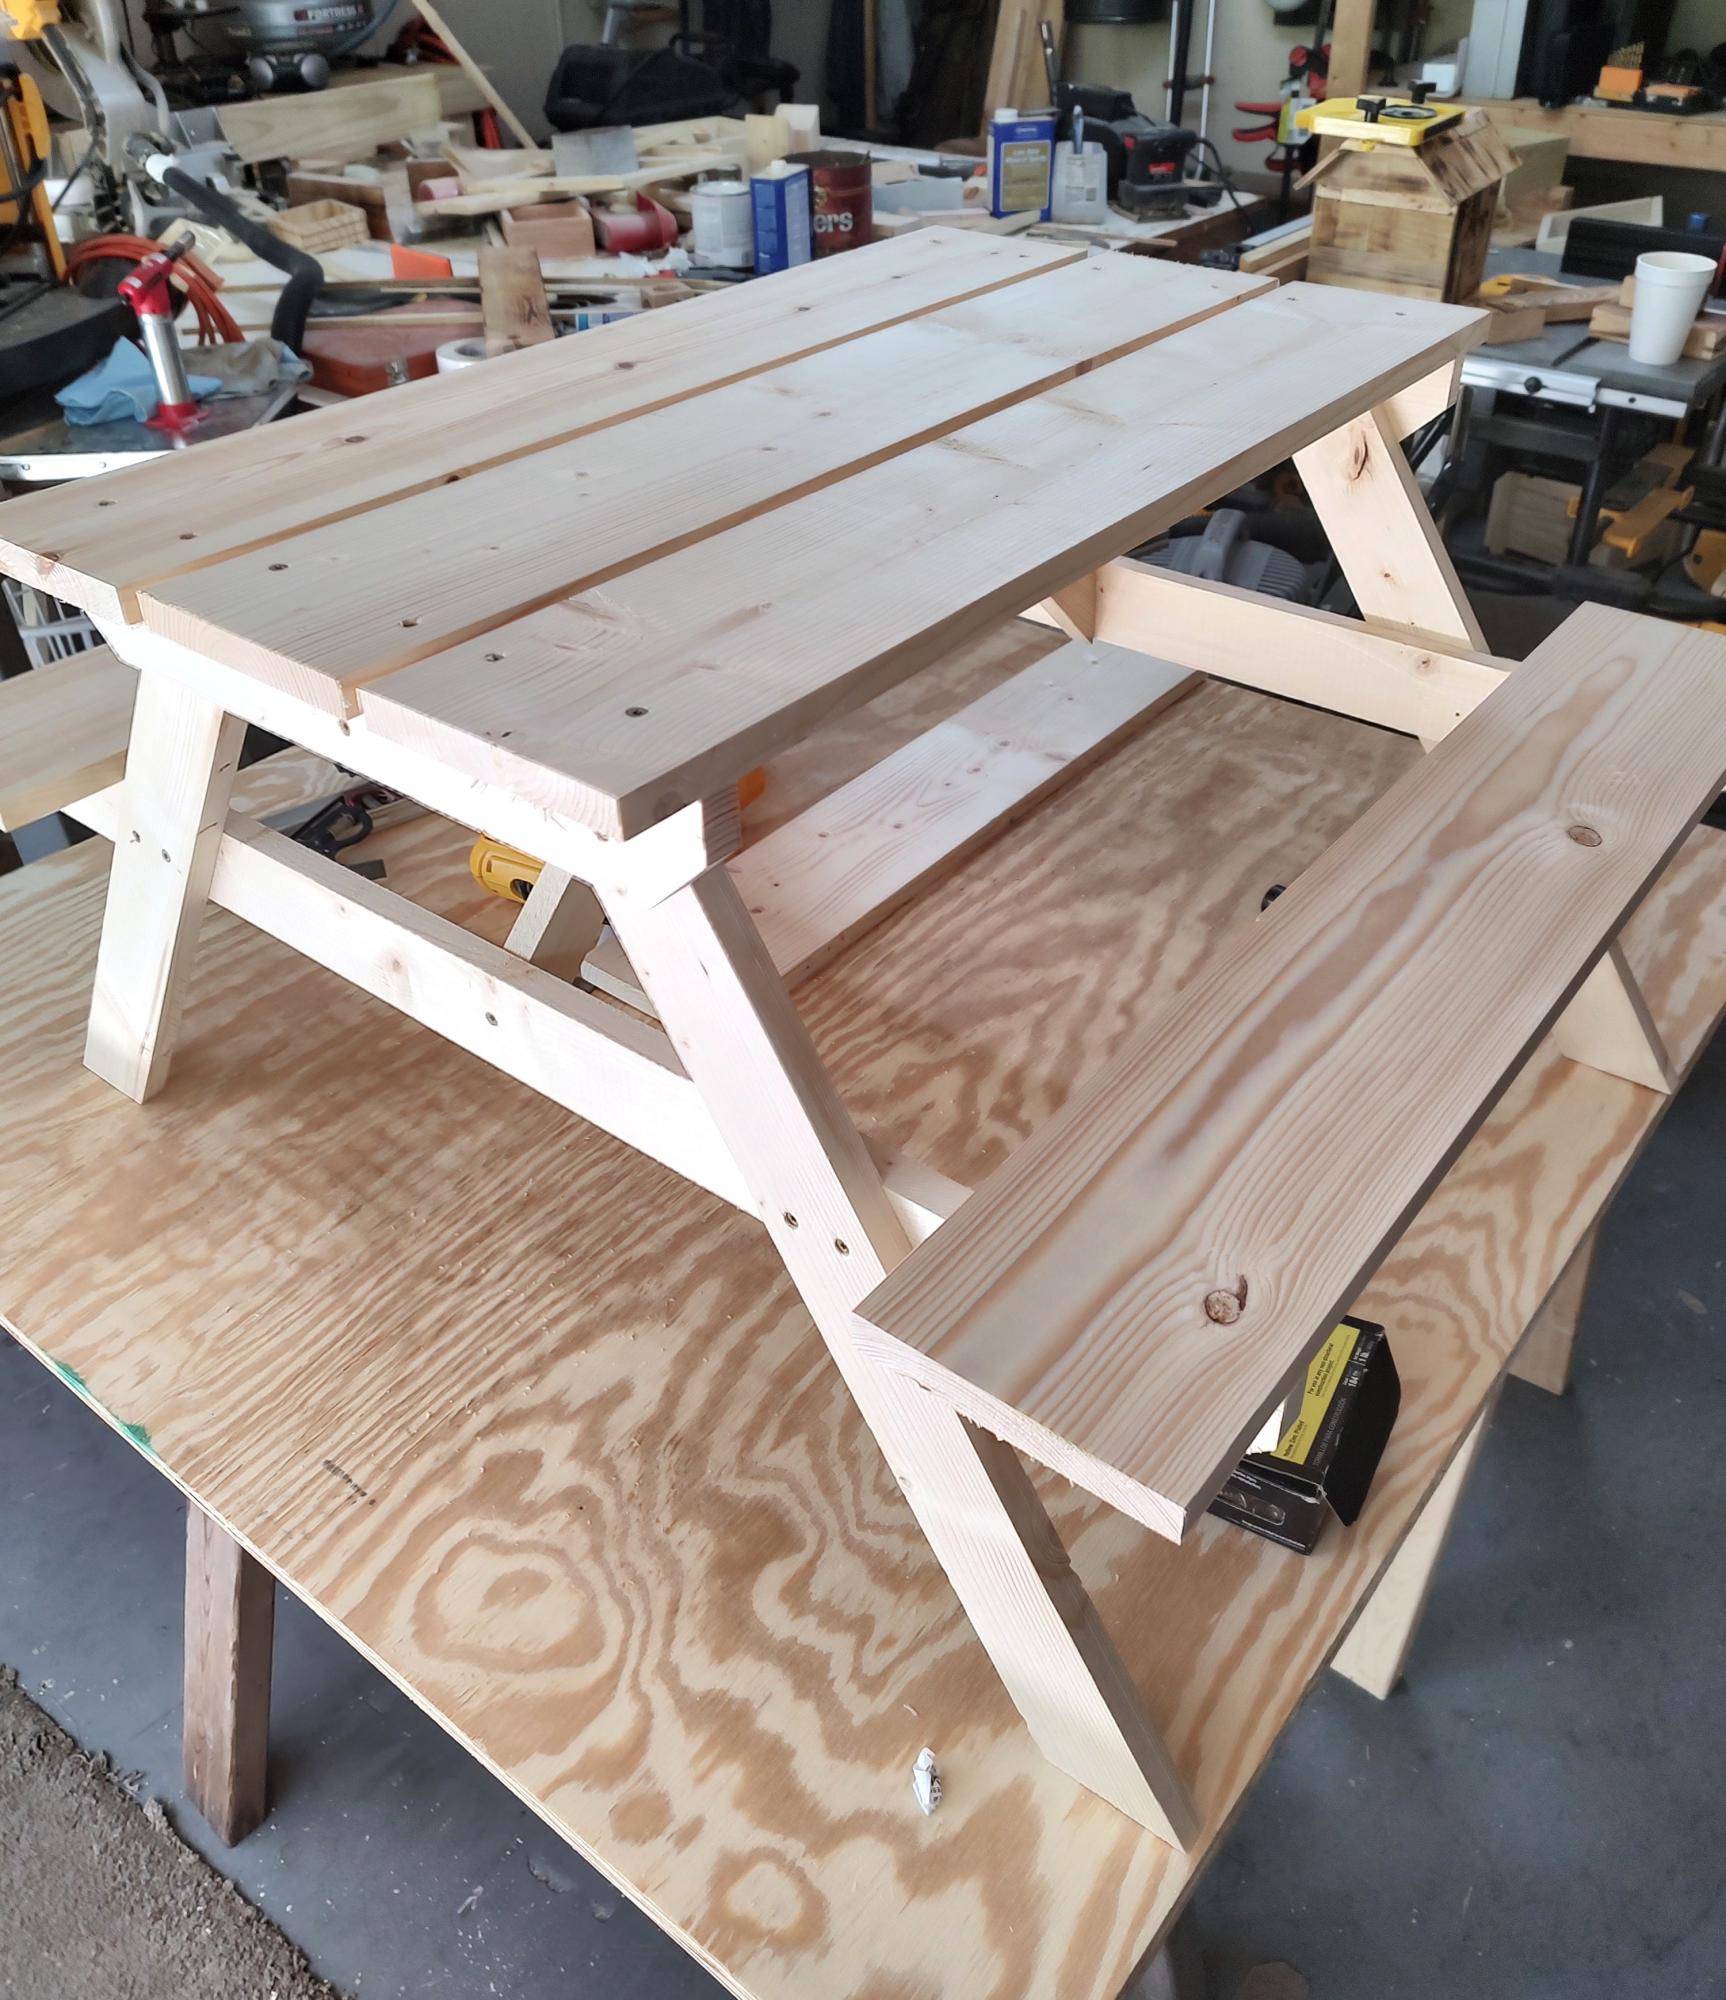
Pallet Picnic Table
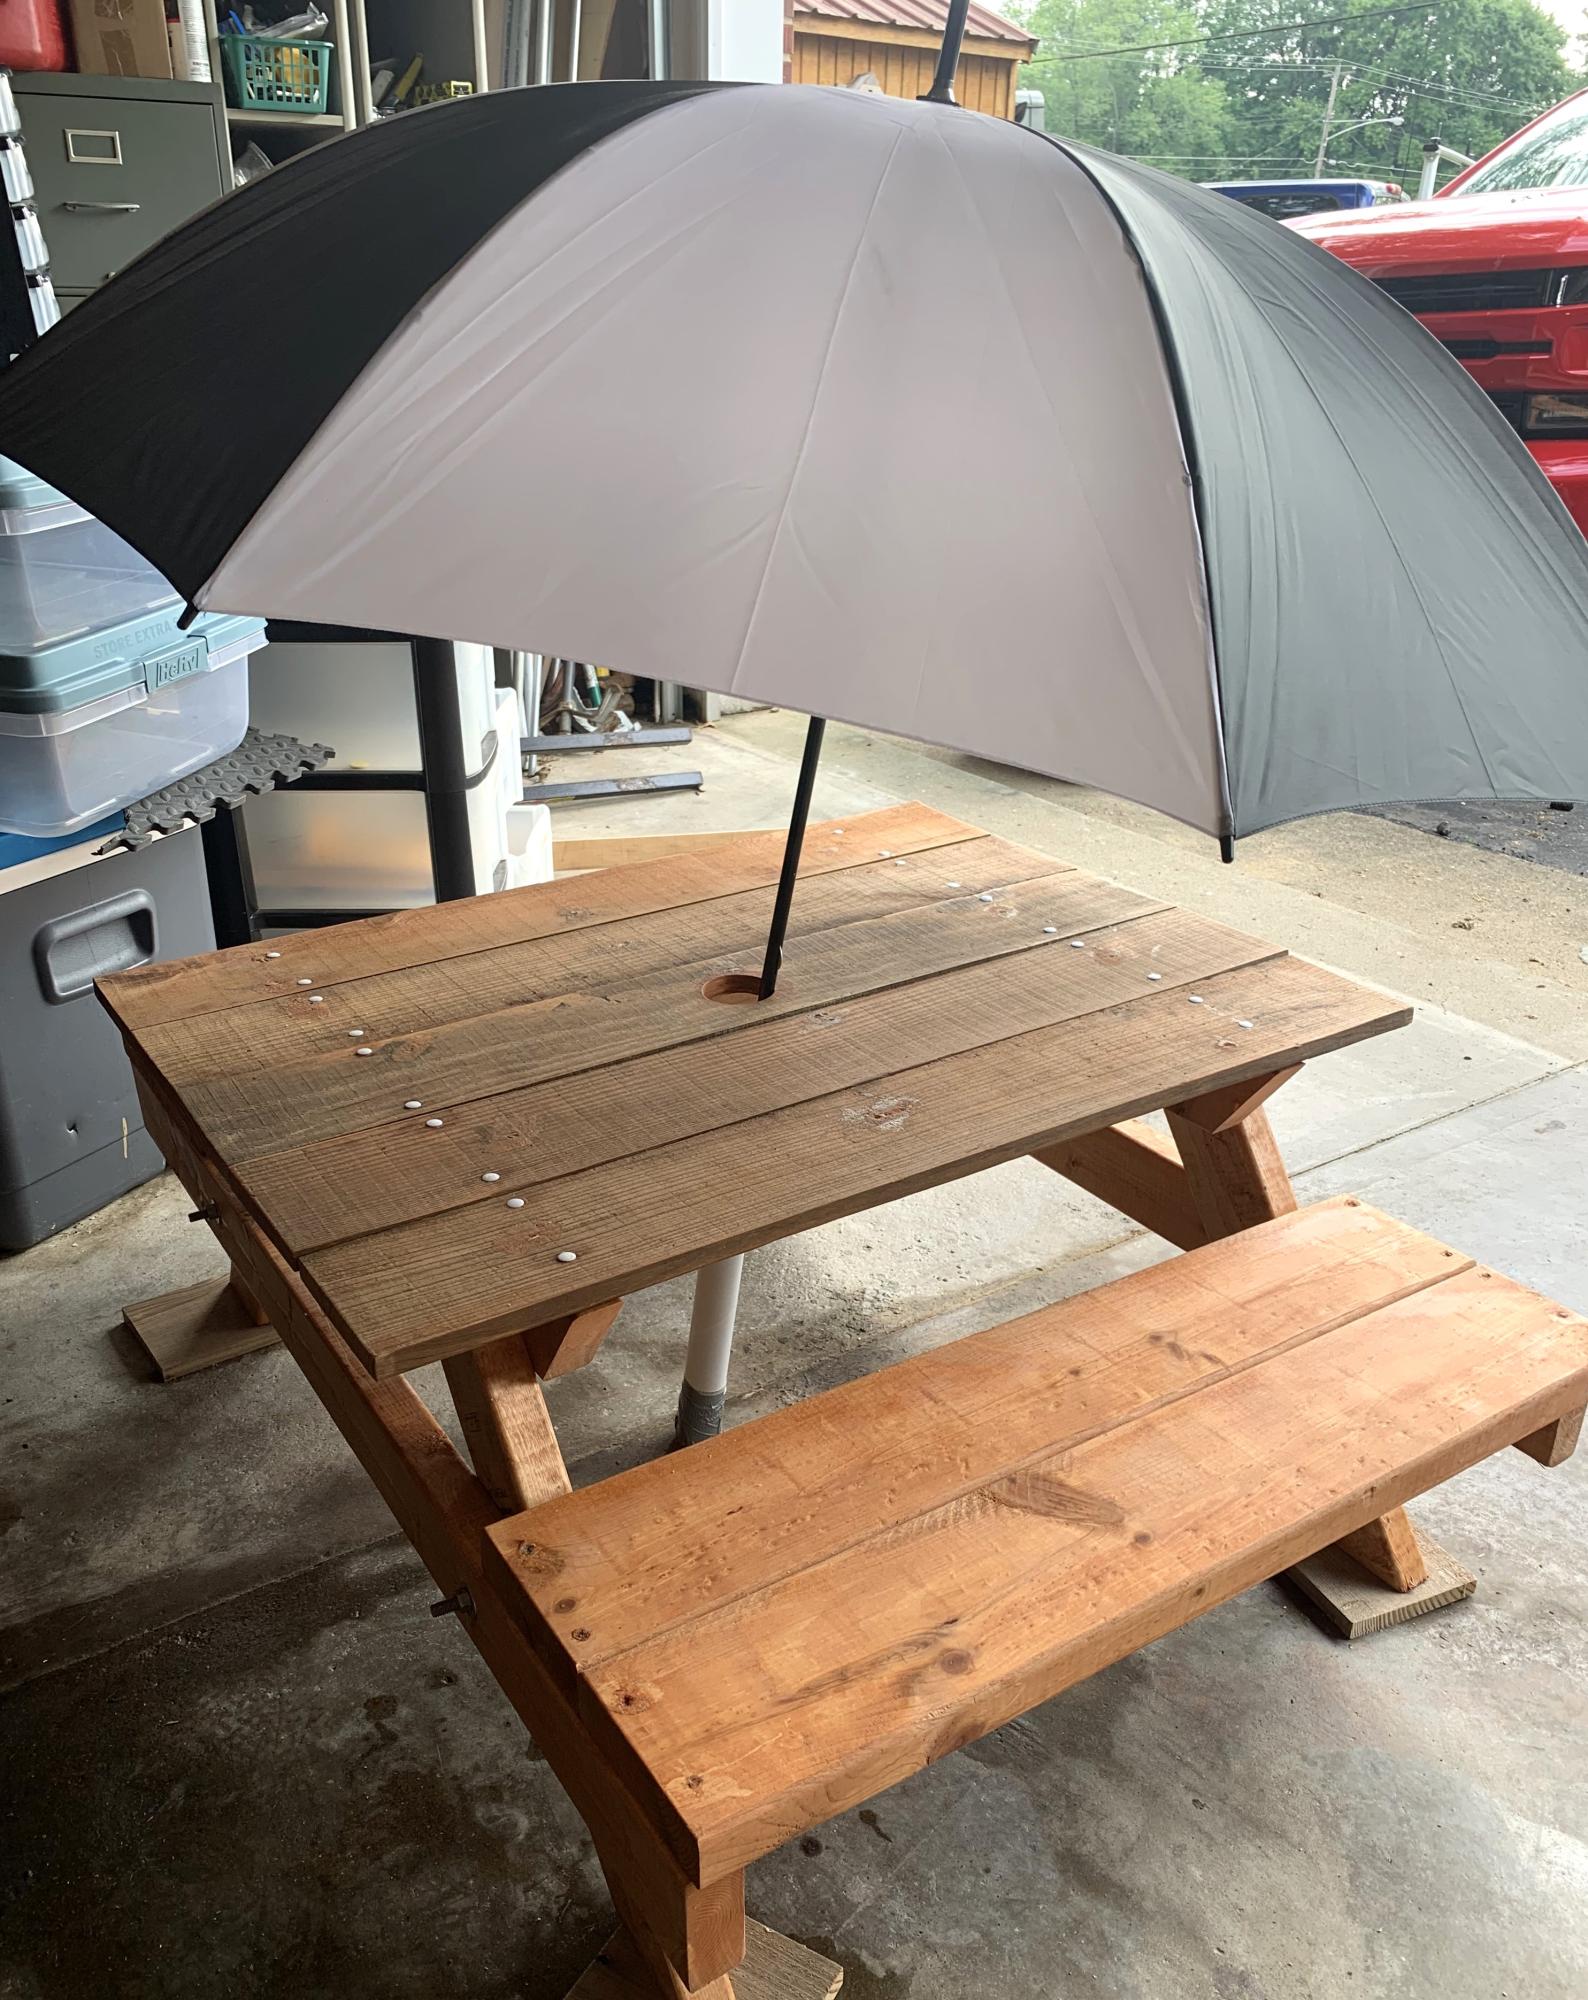
I built this picnic table from pallets and 2/4 it’s my first one nothing fantastic but I’m still learning.
Karen
Built from Plan(s)
I built this picnic table from pallets and 2/4 it’s my first one nothing fantastic but I’m still learning.
Karen
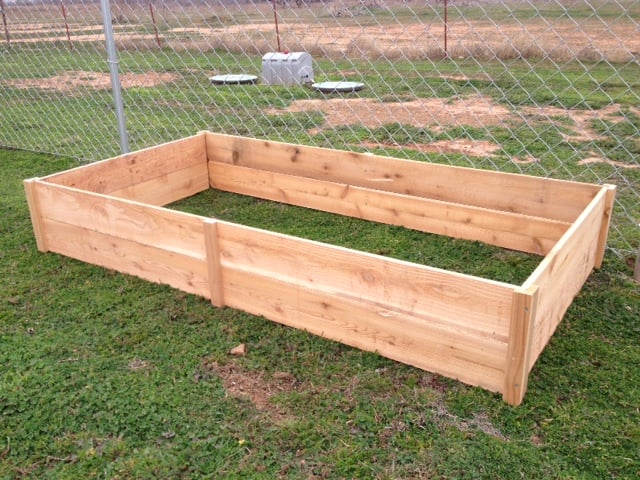
I made this garden bed in one evening. I love it! I bought 6 6' cedar fence pickets and two cedar 1x2s. I don't have a table saw, and they wouldn't rip a fence picket for me at the store, so I had to buy the cedar 1x2's but the project was still very affordable. I wanted it a little wider than the original plan, so I just cut the 6' pickets in half for the sides.
It is 6' x 3' and I didn't bother to cut the dogears off. You probably wouldn't even be able to tell they are there. I didn't trim the top out because that would add on about $6, and I like it just the way it is.
Now, lets see if I can actually grow some plants in it!!
I'm a beginner, and this project was really easy.

Fri, 05/24/2019 - 10:06
Awesome! These turned out amazing!
I love your can do attitude too!
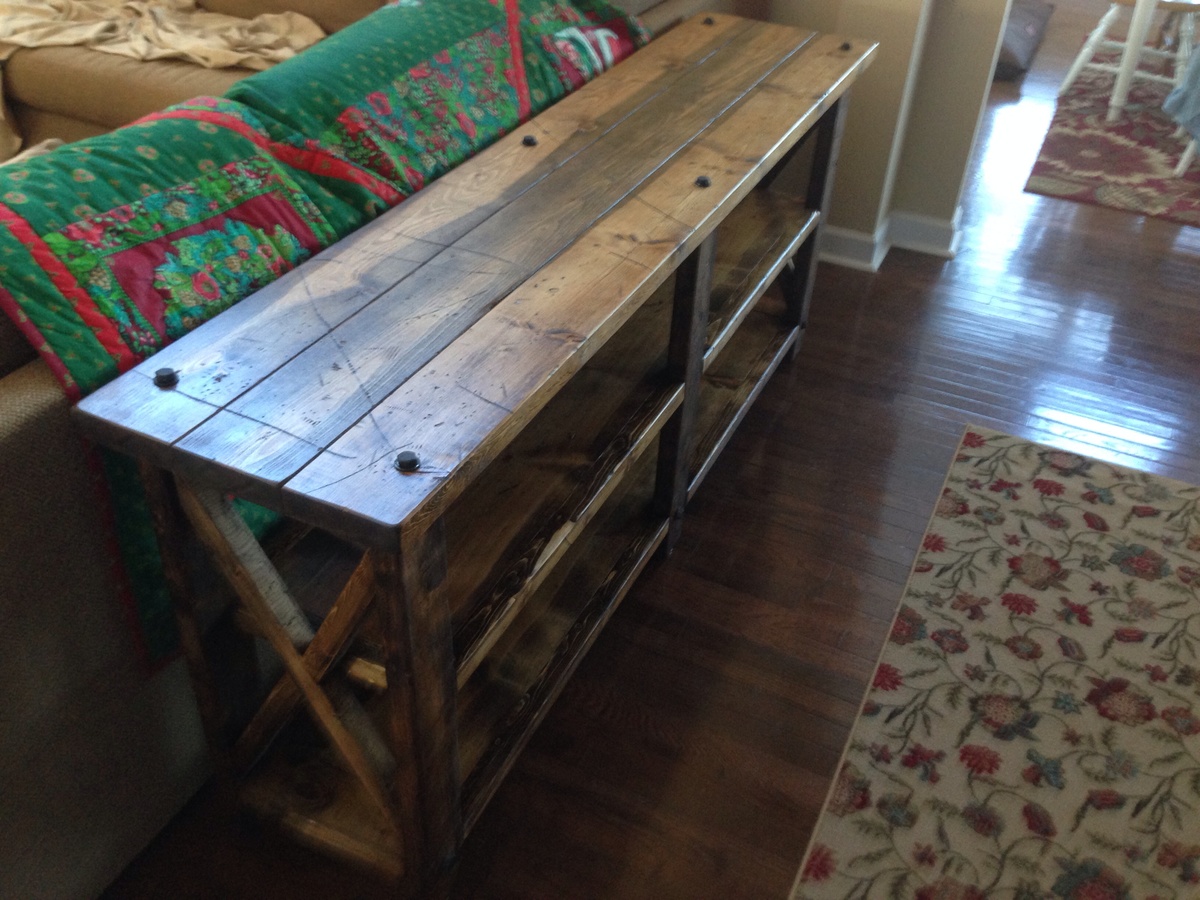
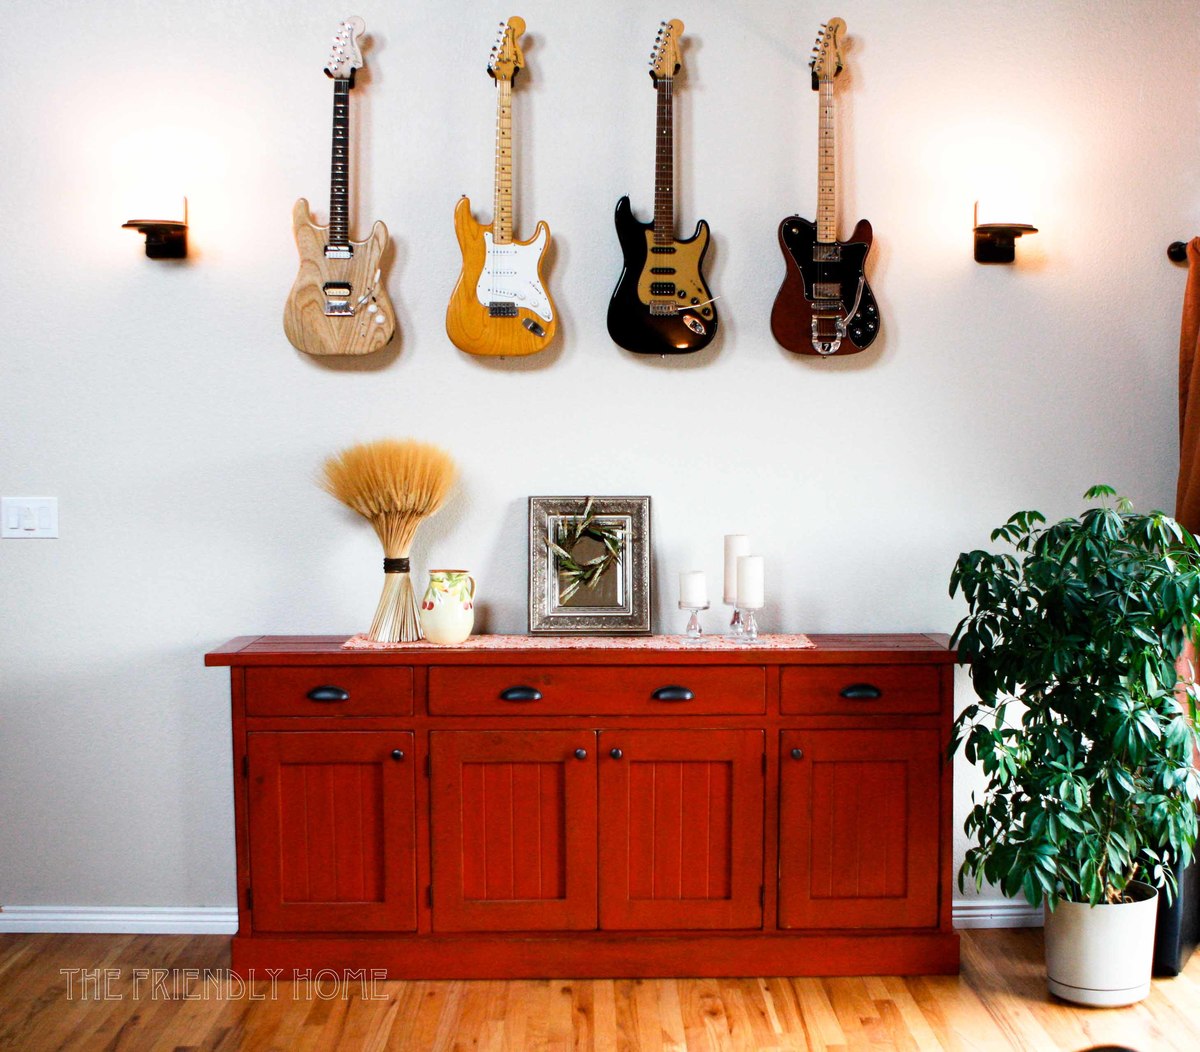
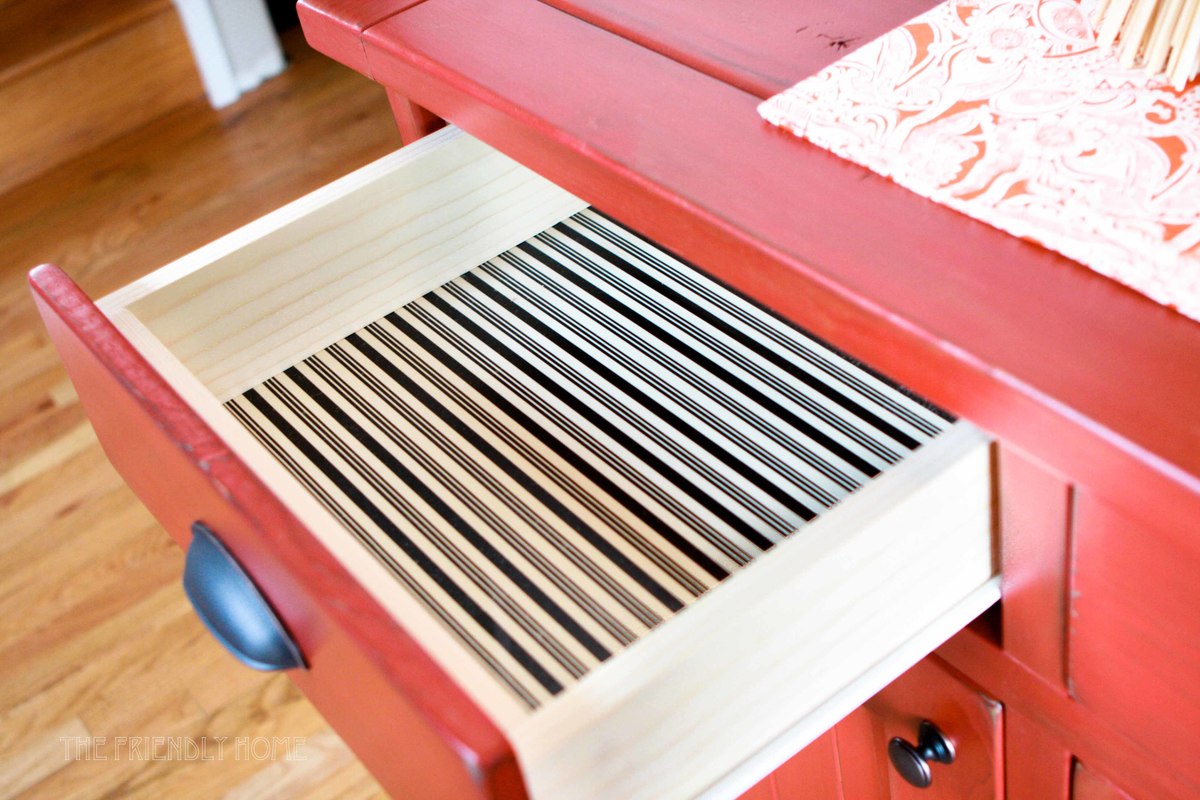
So my wife found this on Pinterest last month and loved it. We have been searching for something to go behind our sectional couch in our den. When she showed it to me I discreetly emailed it to myself as a plan was forming in my head. She was working nights for the month of December so I worked on it in the garage in the evenings and hid it in the crawl space so she wouldn't see it. She woke up Christmas morning to find it in place with a bow (clearly made by a man who is much better at carpentry than bow making) attached and was very surprised and excited.
I distressed the wood using several highly complicated techniques such as hitting it with a hammer, dropping a bag of screws on it, and scratching it with a screwdriver. It was then sanded and stained with Minwax Provincial 211. I applied two coats of satin polyurethane for protection.
I liked the look of the hex head screws so after painting them flat black I actually used them to hold the top on.
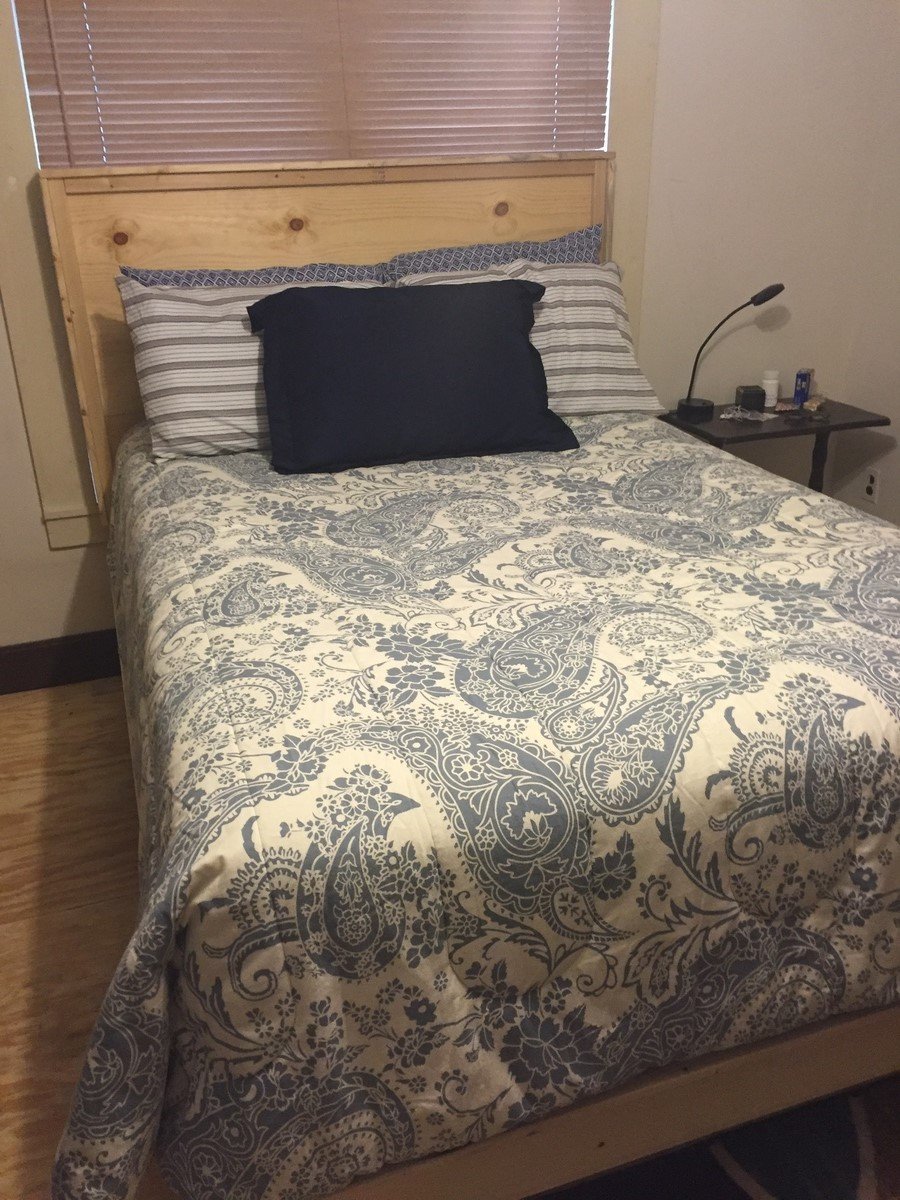
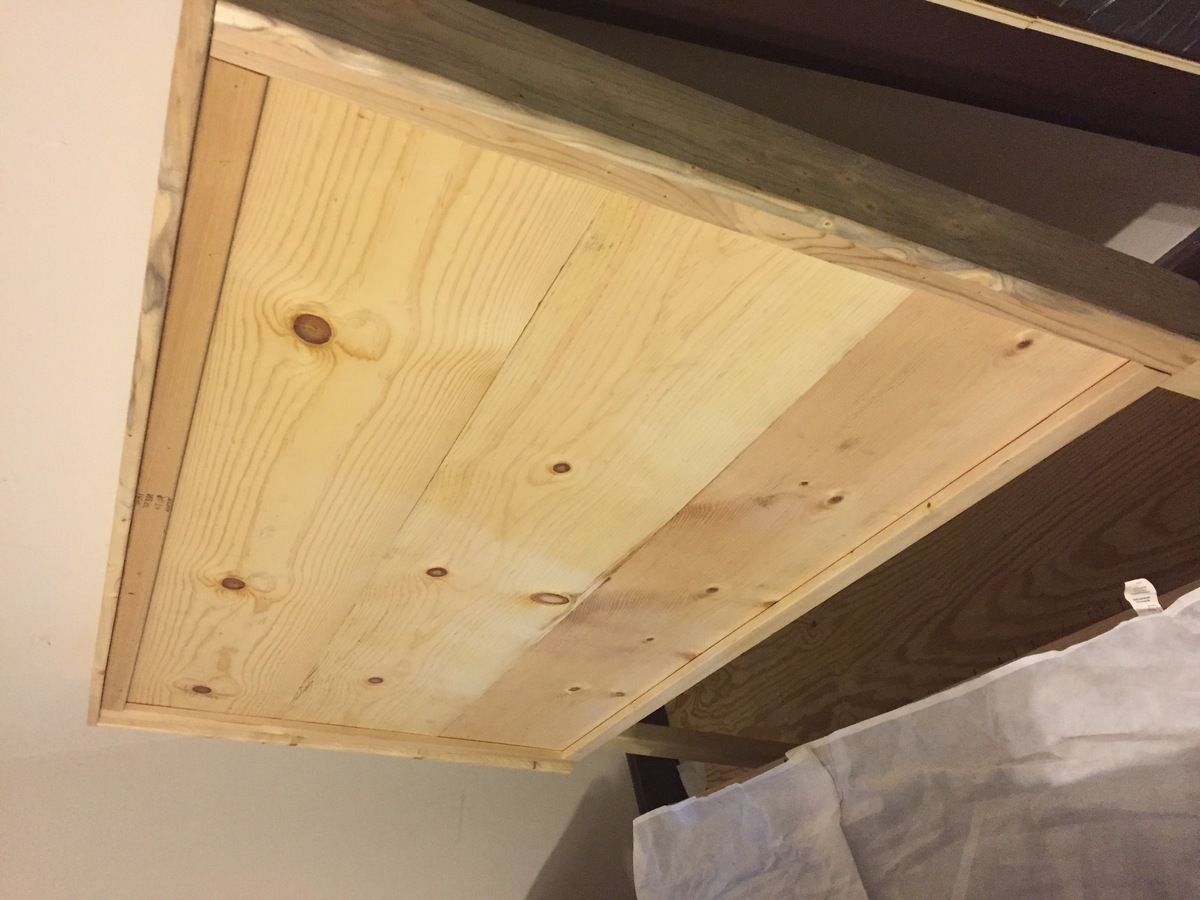
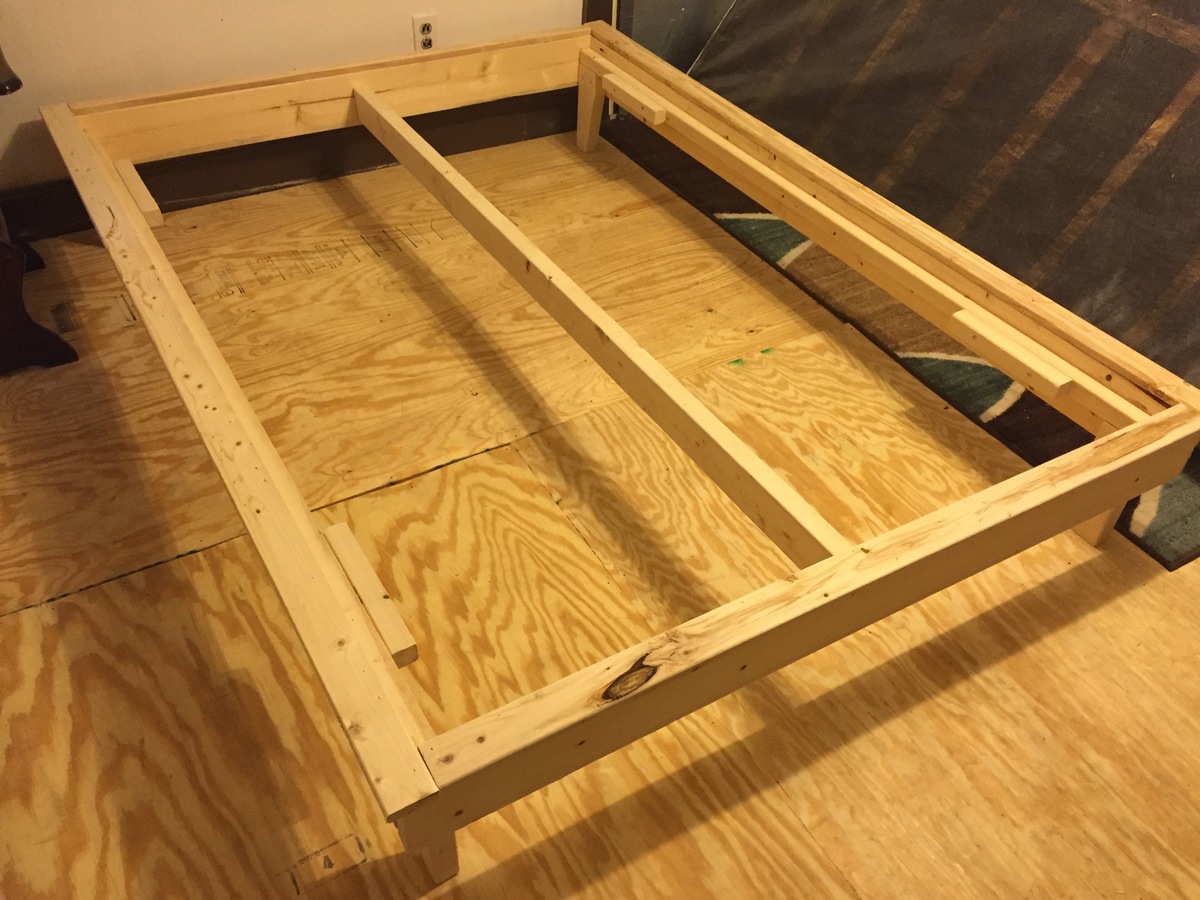
Platform bed and headboard
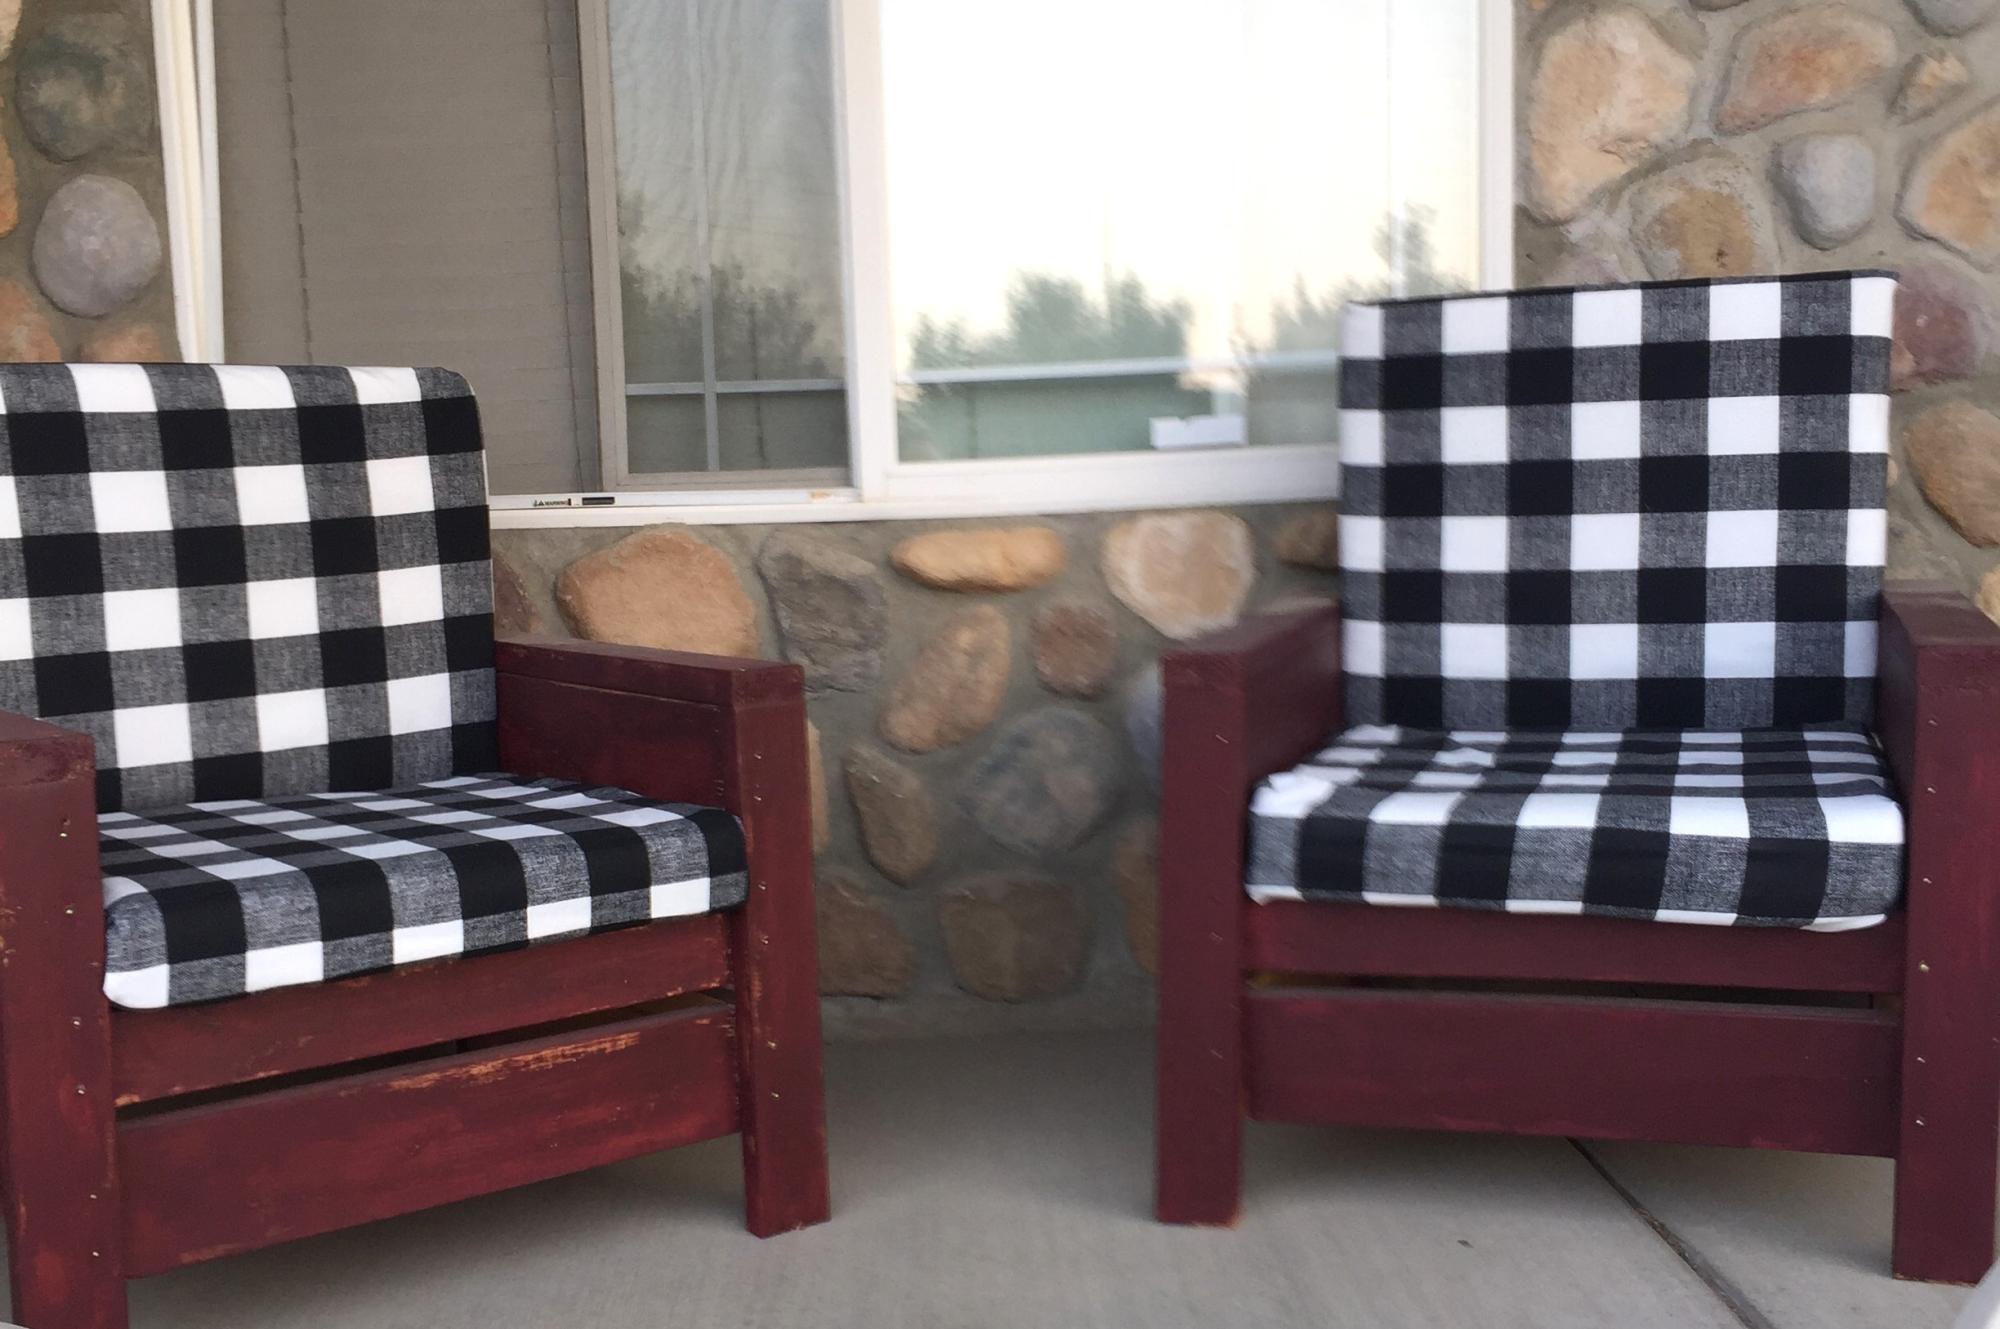
When my two teenage boys were out of school in 2020 due to Covid19, I had them choose a project to work on and they chose theses chairs. I made cushions to go with the chairs. I think it turned out fantastic! They were proud of their work and so was I.
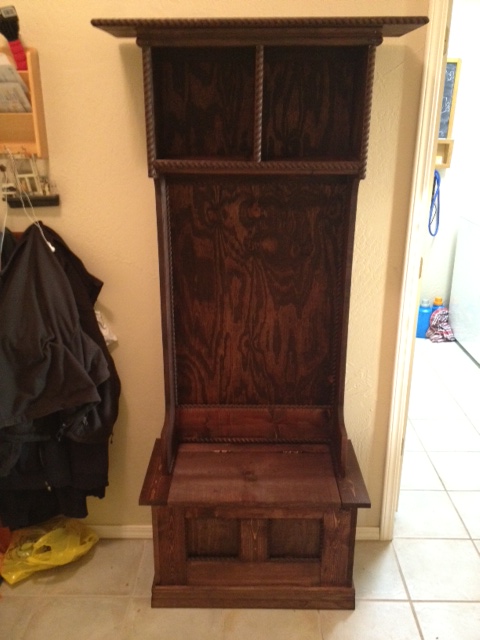
This is my first ever build (so be gentle). My fiance has always wanted a Hall Tree and her birthday was comming up so I posted a request for a Hall Tree and that afternoon there was a post from Ana with Mimi's Hall Tree, so I figured that was a sign I HAD TO BUILD IT! So I took the lists went to the local Home Depot and bought all the wood, plus a Jig Saw, Kreg Jig, Sliding Compound Miter Saw, Circular Saw, Clamps.... a few weeks later just in time for her birthday this is what I had. I have to admit its flawed but we love it!
I can't thank Ana and company for turning me on to my new hobby and I am looking forward to my next build!
PS I will be putting the hooks on tonight, I will post more photos when the hooks are on and there is stuff on the Hall Tree
My sister n law and her family were moving and sold a lot of their furniture, so I built these as a Christmas gift. They came out great and I think they really appreciated it!
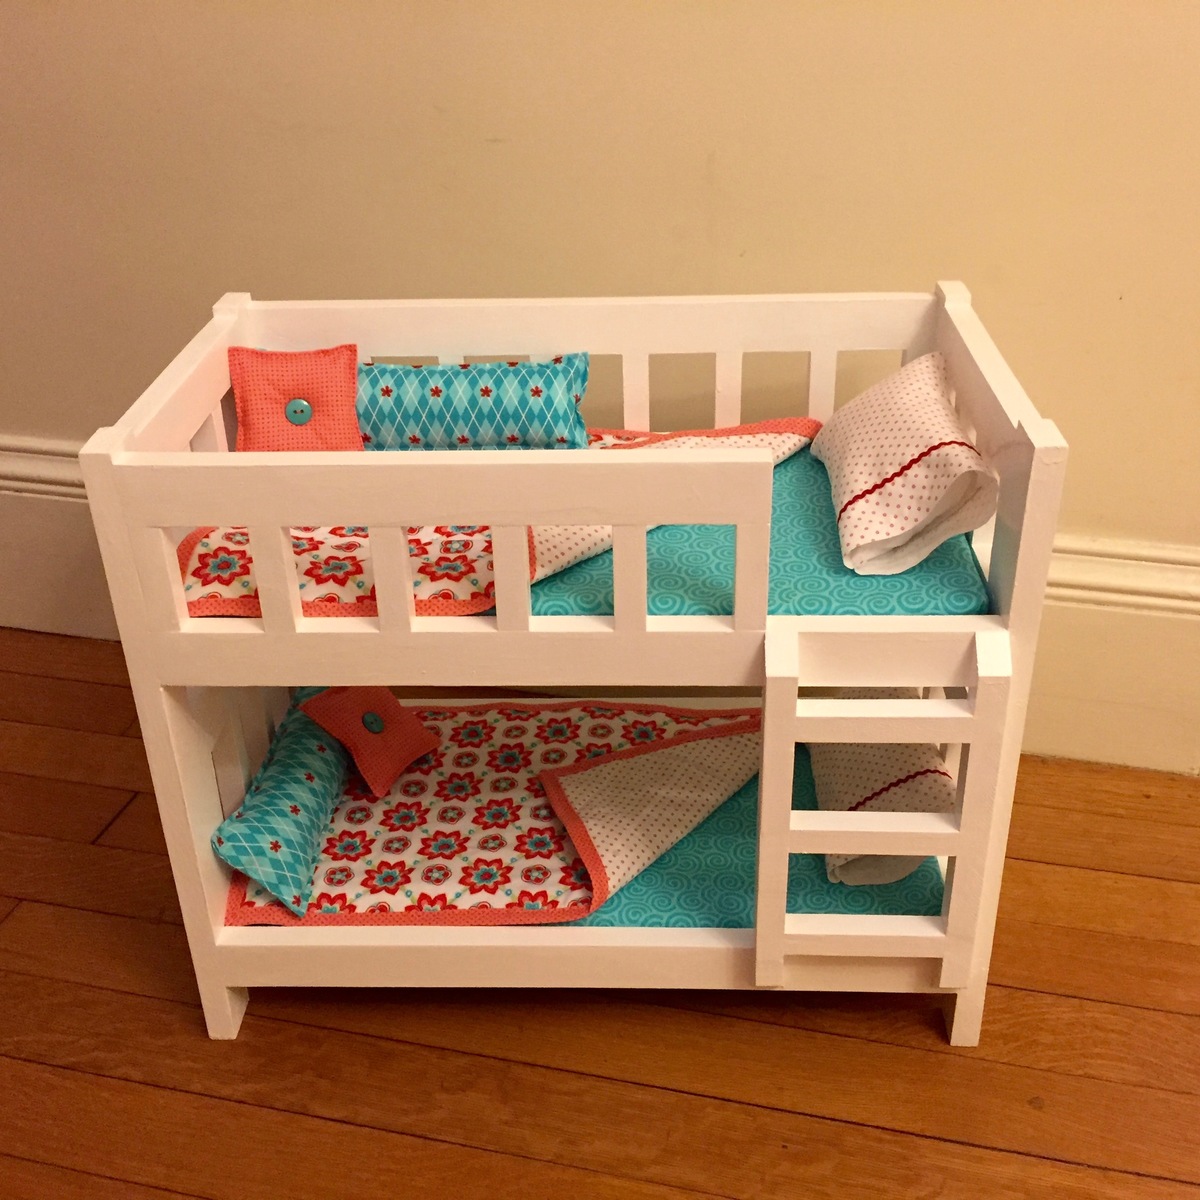
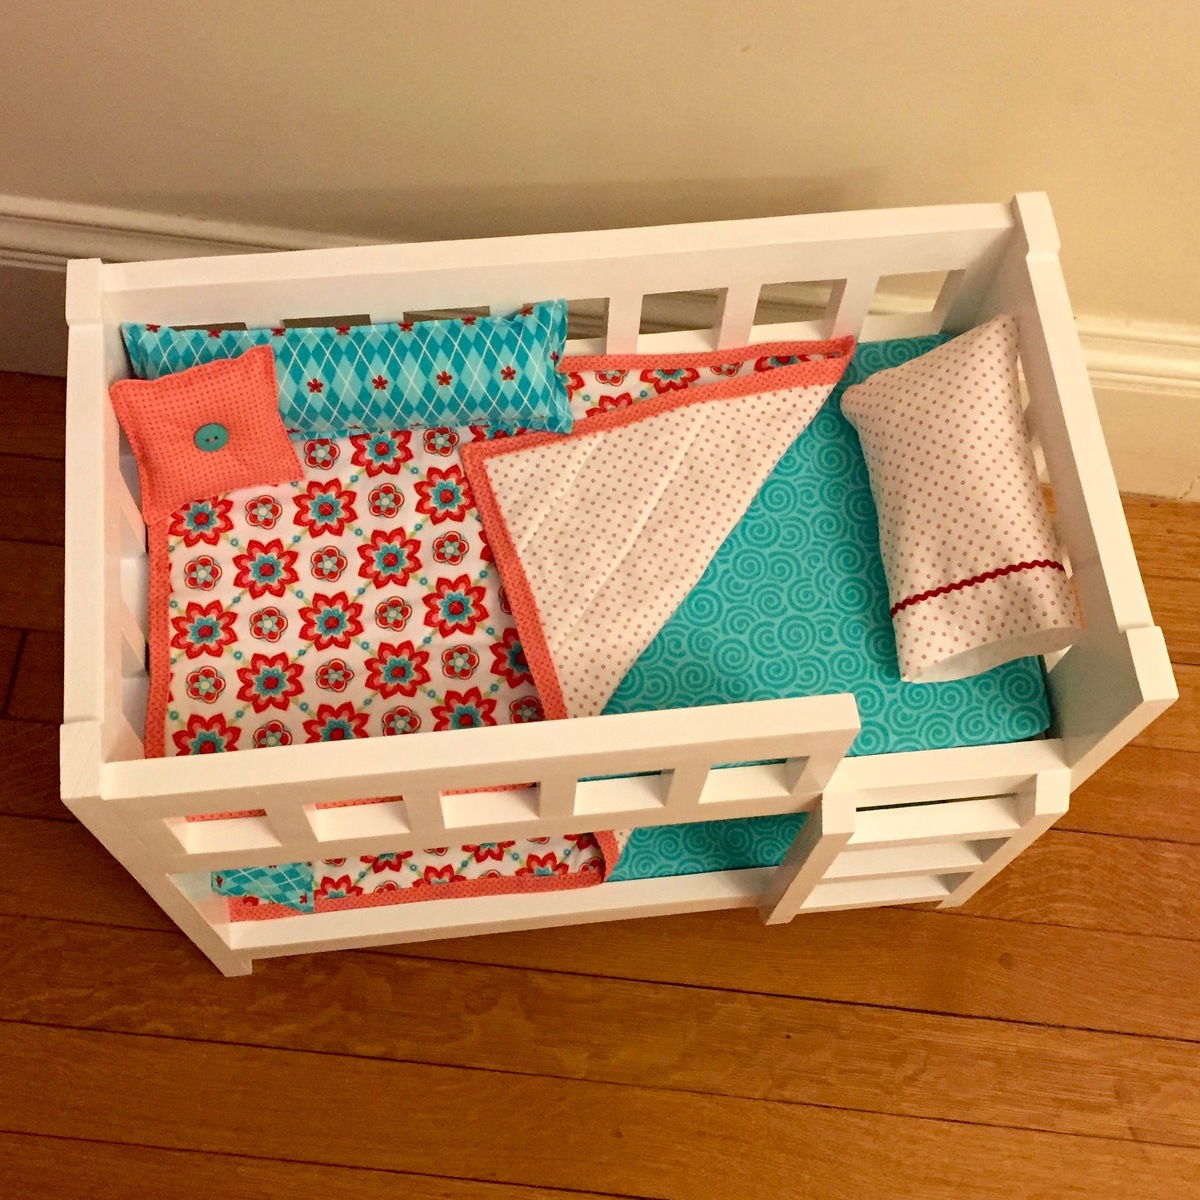
Built this bunk for a school fundraiser raffle. Hope it will be a hit! Followed the plans as written with only one change. I cut the tops and bottoms of the vertical ladder rails at 45 degree angles so they slant in towards the bed.
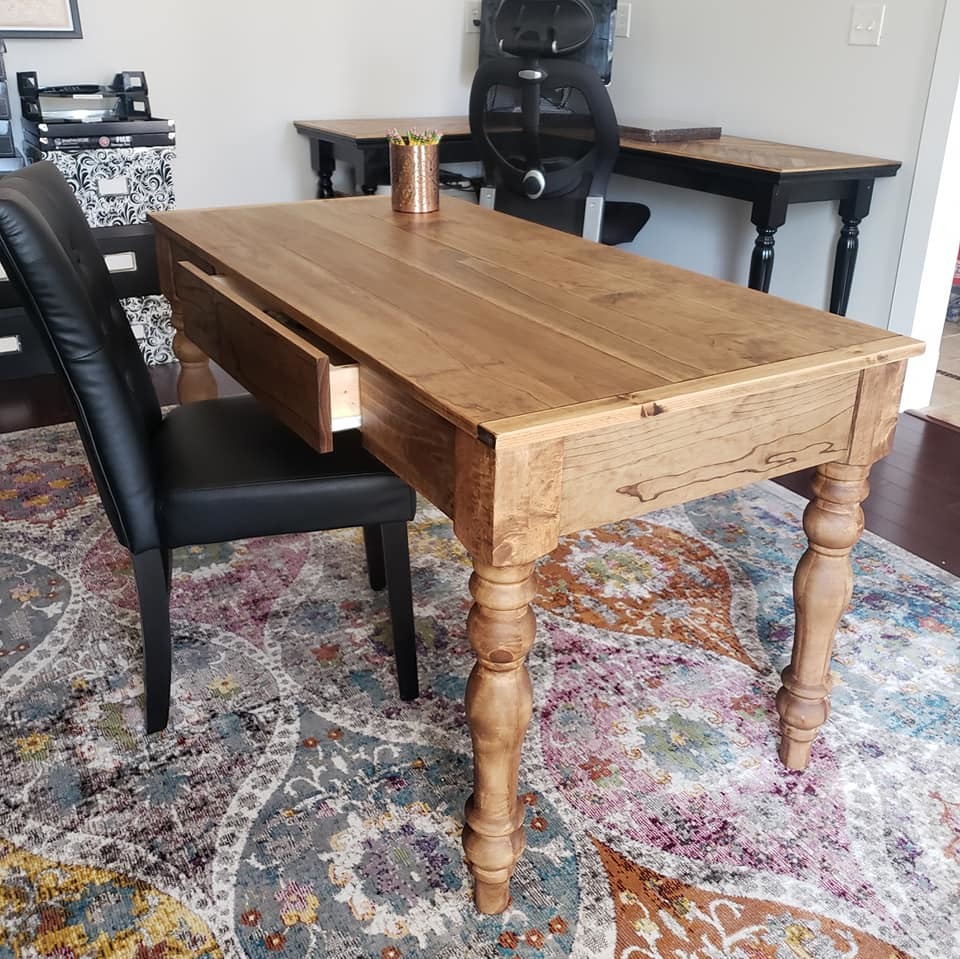
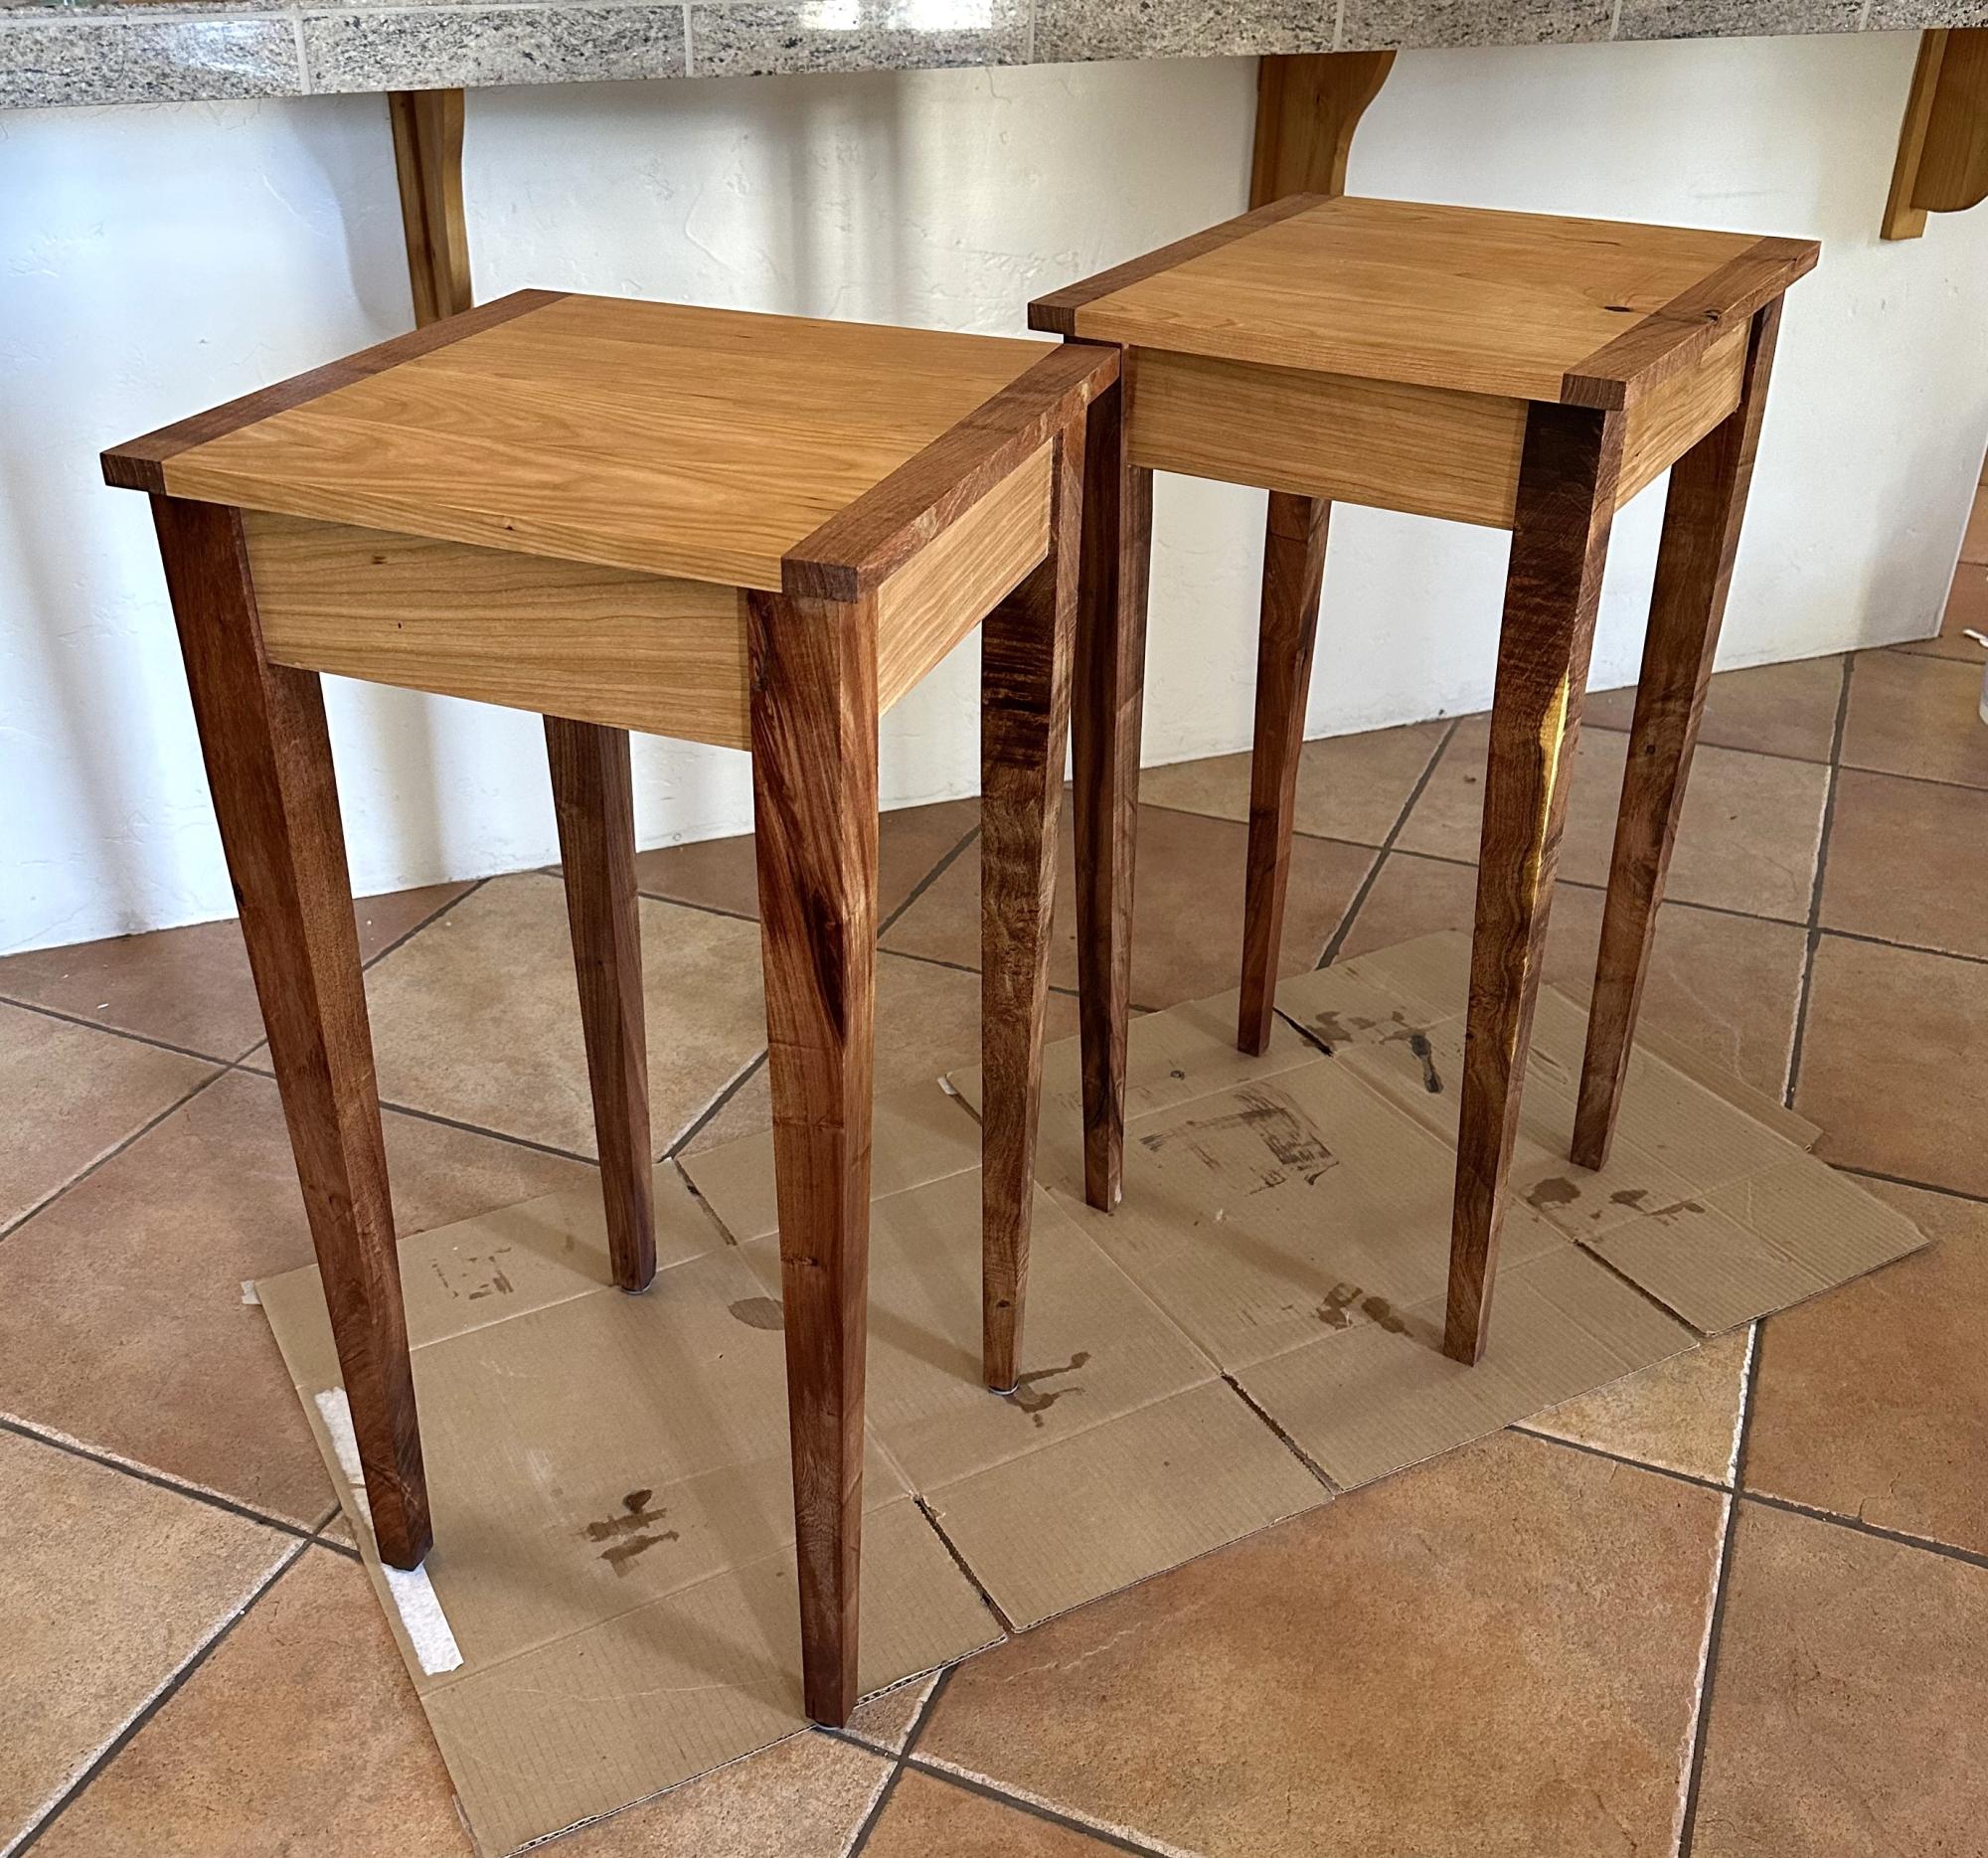
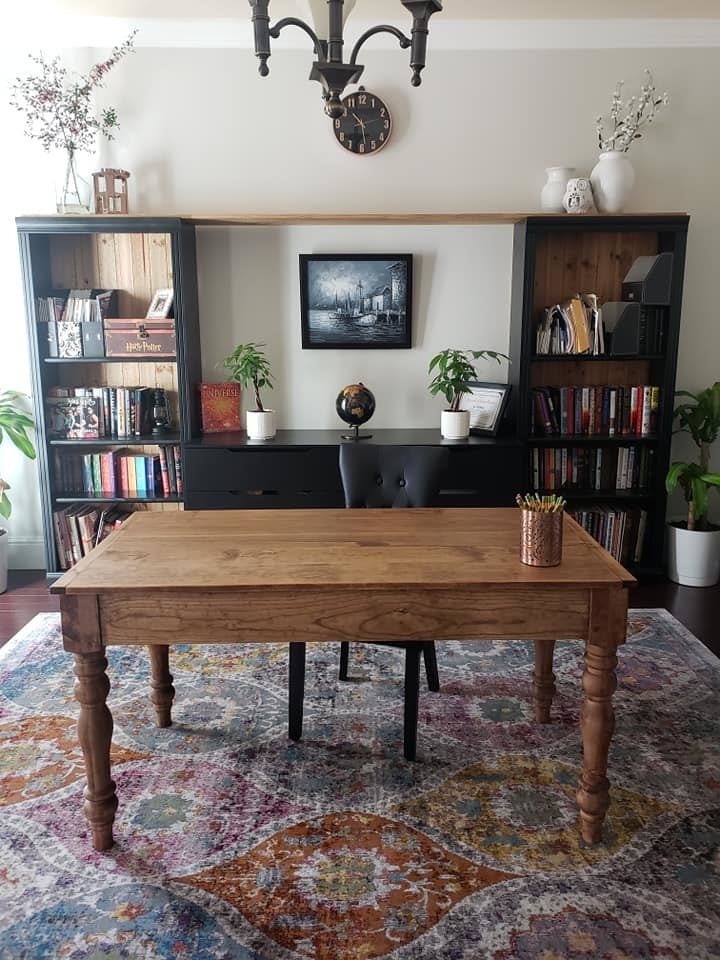
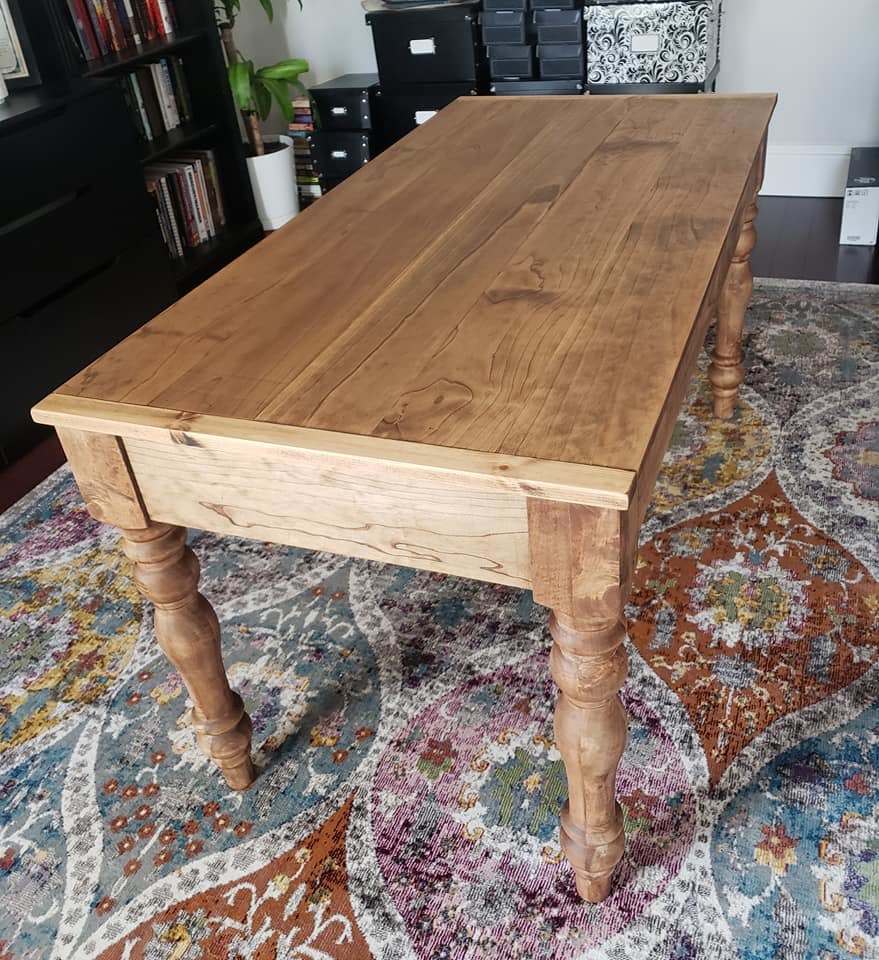
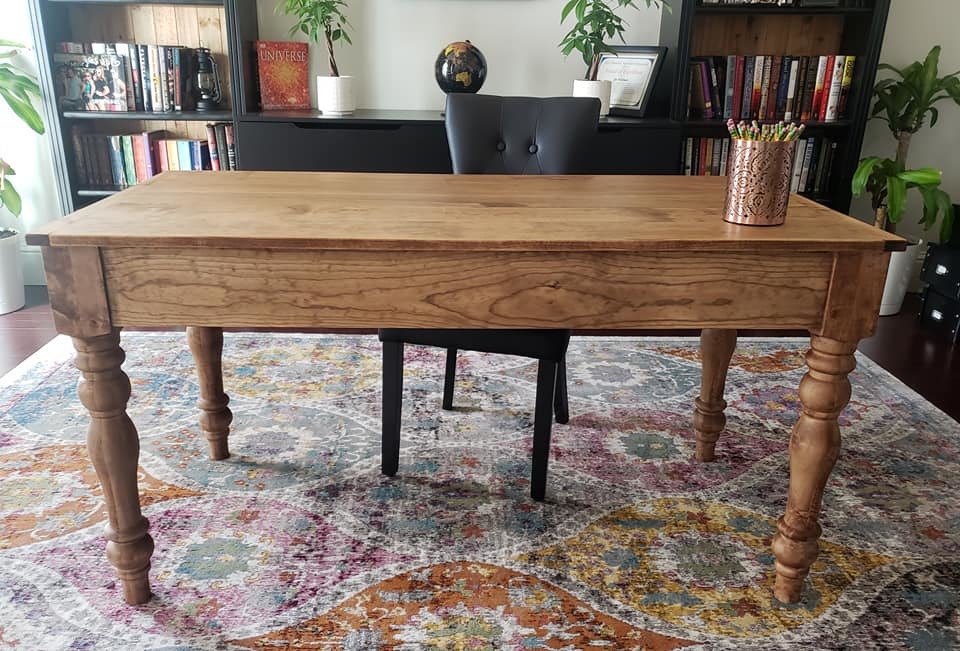
I modified the Small Old English Style Farmhouse Dining Table plan to build a writing desk.
I used five 1x6 boards for the top for a width of 27.5 inches. I made my desk 56 inches in length. I put the drawer on the long side like a pencil drawer. I did use the legs that Ana recommended in the plan.
I watched the video Ana posted on how to make the drawers for this table and it was so helpful. I just made it like Ana did in the video but on the long side instead of the short ends.
I love how it turned out. I used Watco dark walnut danish oil and Minwax dark wax for the finish.
Check out my blog post for more on building this giant, hardworking piece! It took me about 45 hours to build it from start to finish (I work slowly) and cost about $400 in materials.
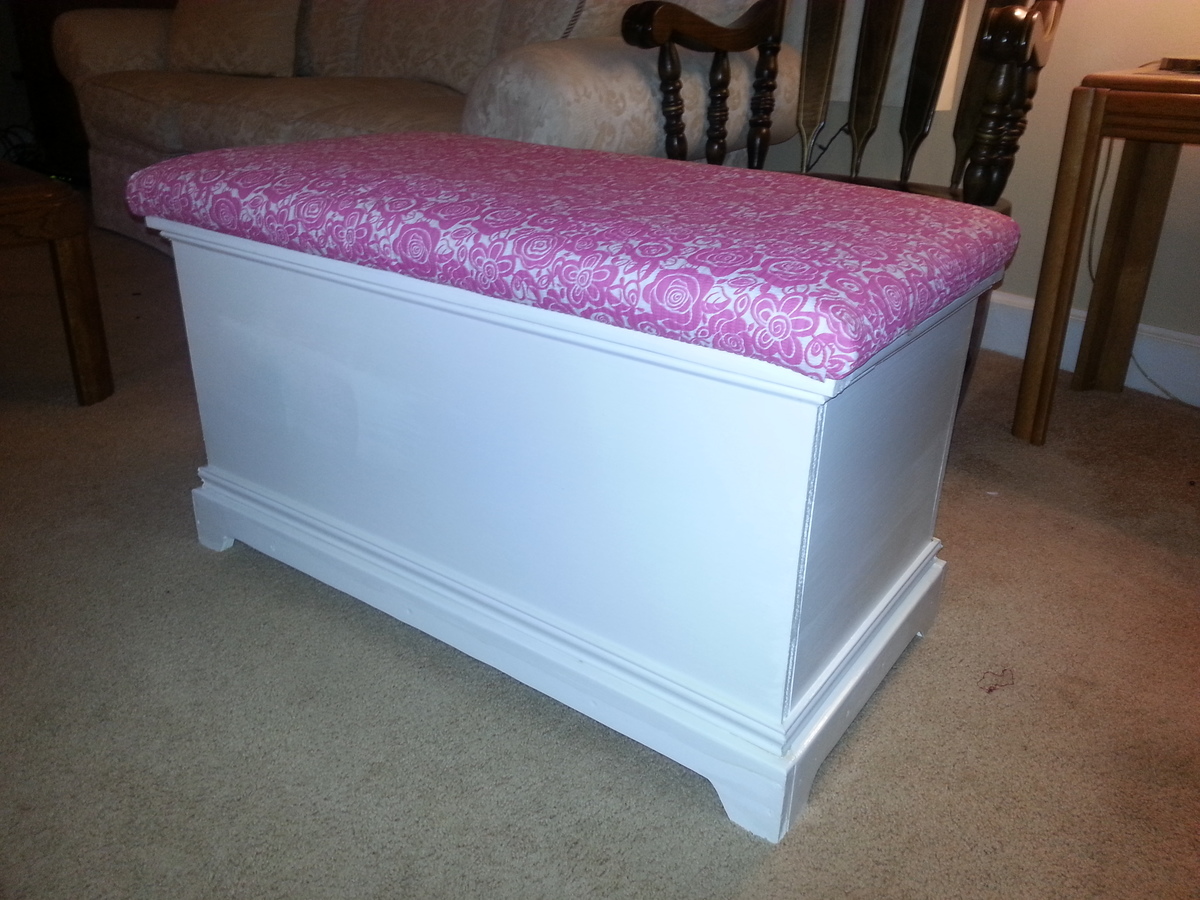
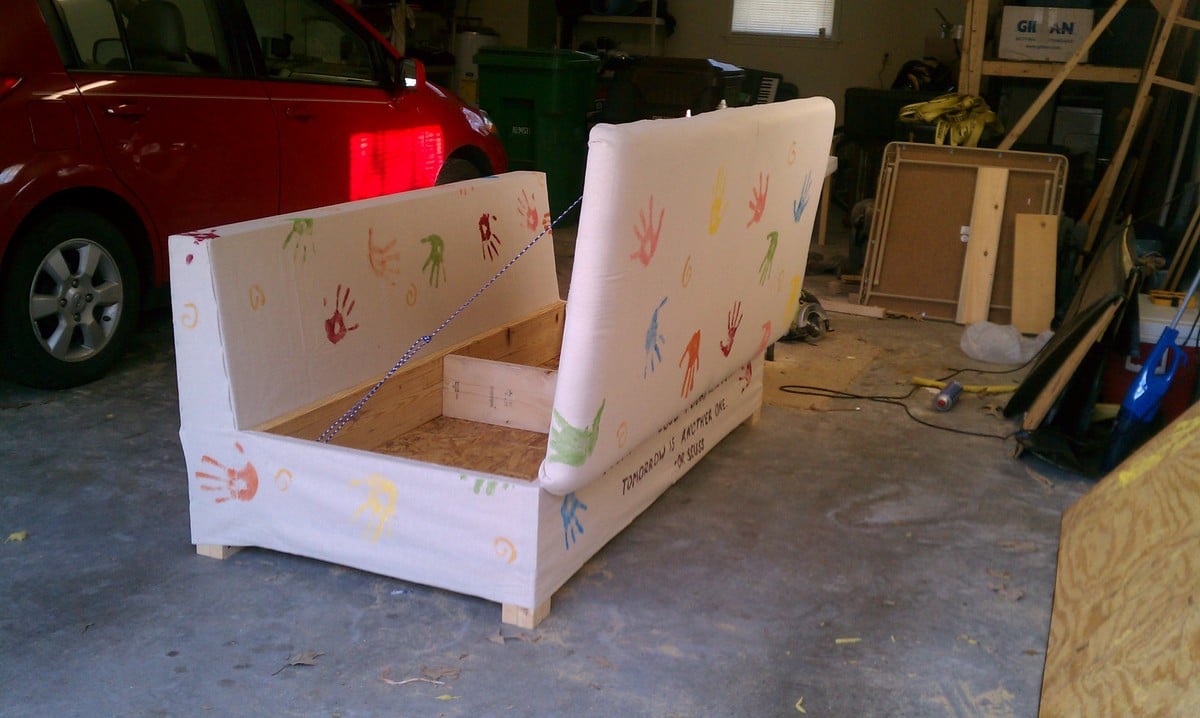
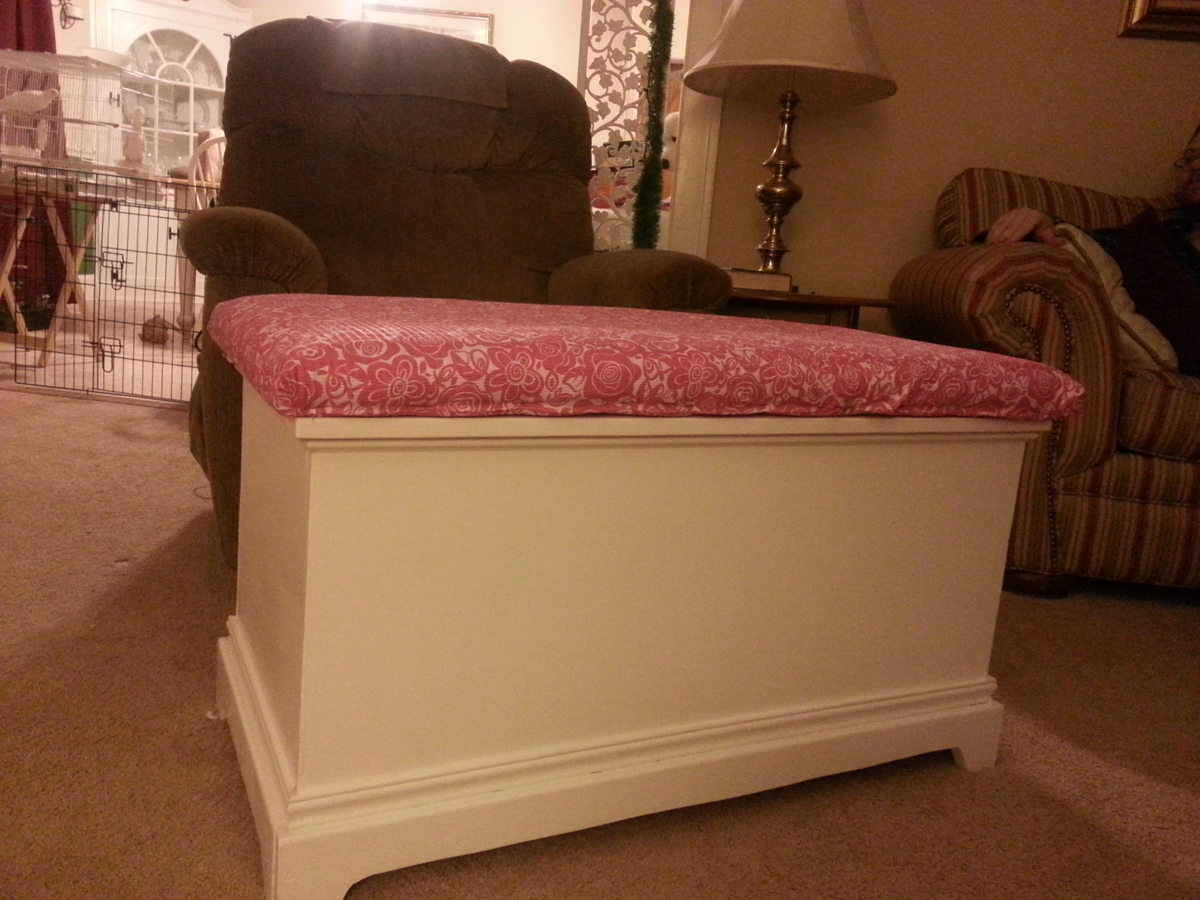
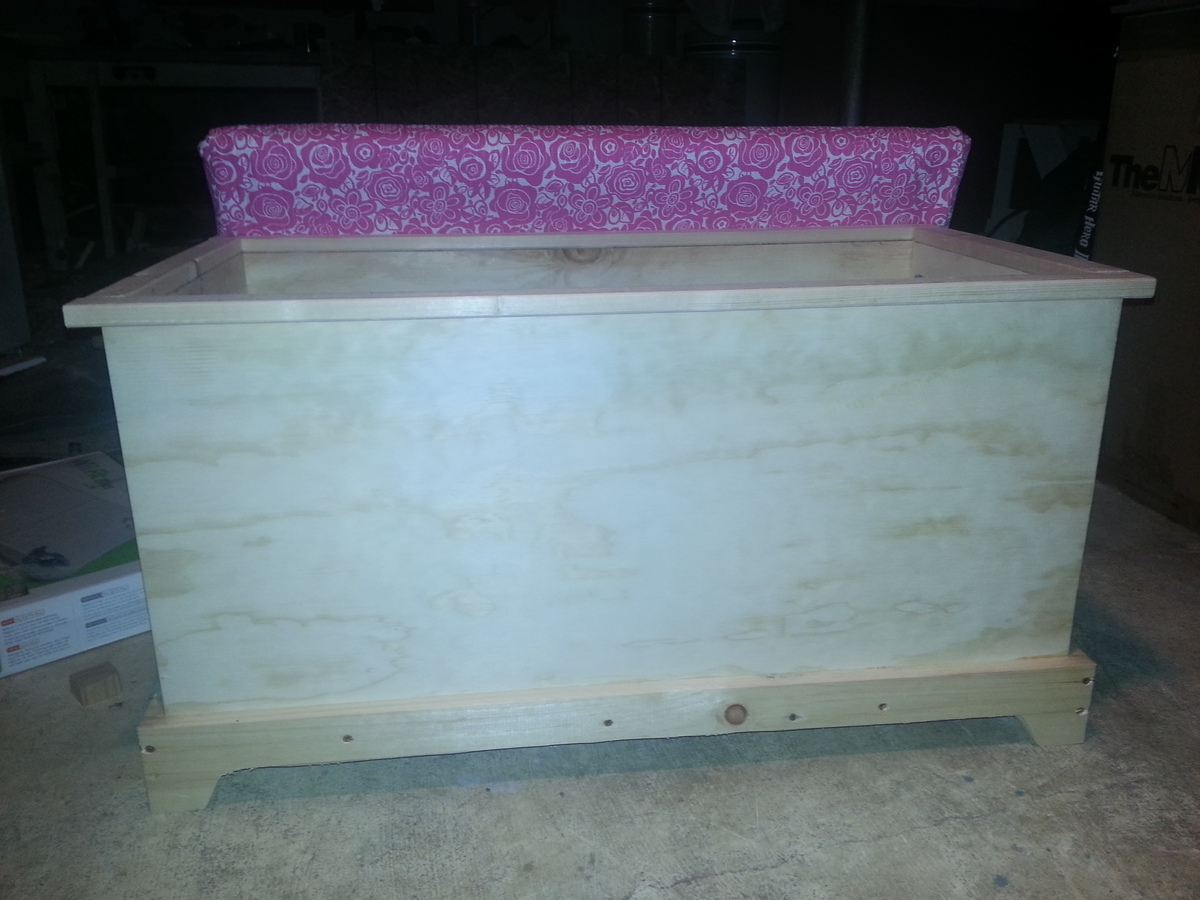
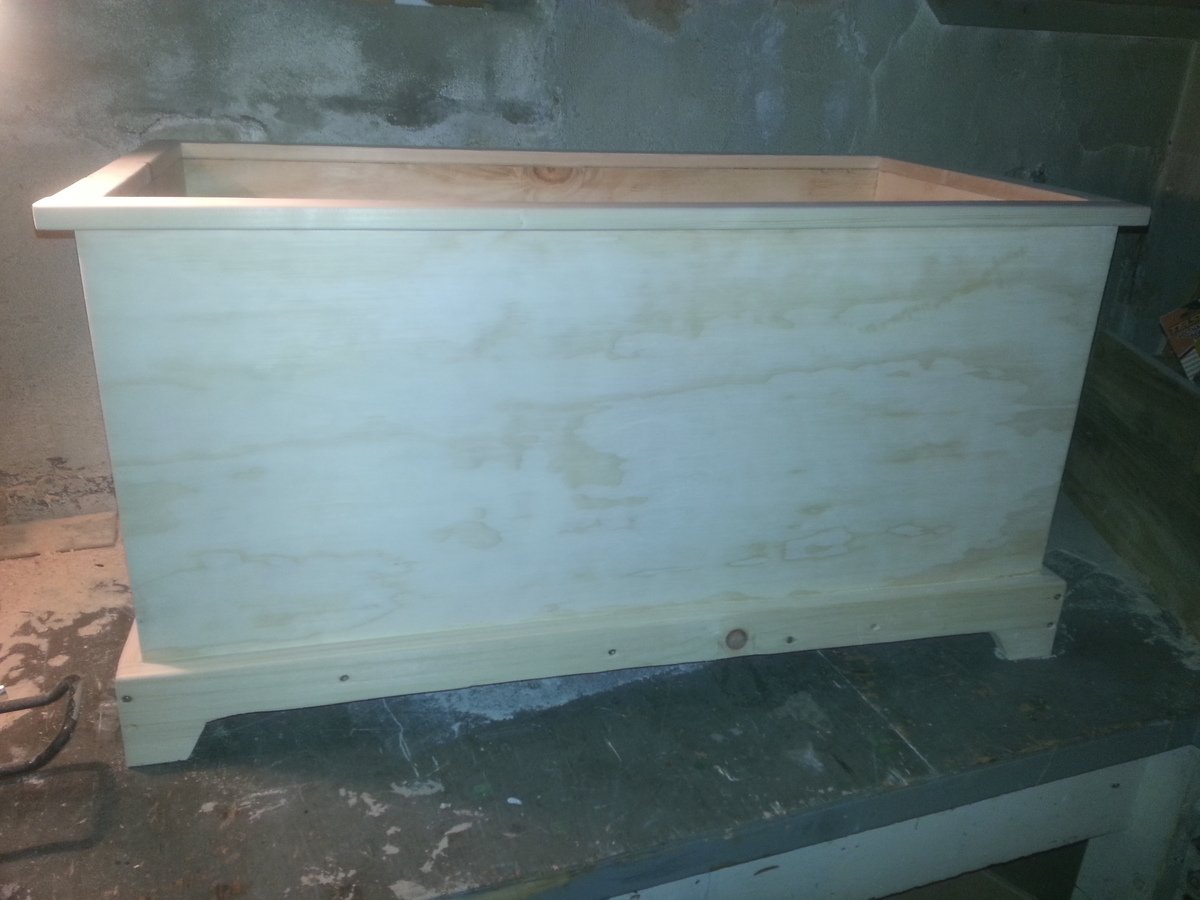
This is my first fully finished build. My very good friend was about to have her first child and I wanted to do something special for her so I embarked on this project. I had HD cut my wood to size. After I came home and started building I found that my wood was not exactly cut to size. One side was one quarter inch too short. I did some improvising and some trimming with my jig saw (only saw I had) and was able to eventually create a rectangle.
This is also my first mitered trim project. The edges are NOT perfect but what I could I filled in with wood filler. That helped hide where the edges did not quite meet.
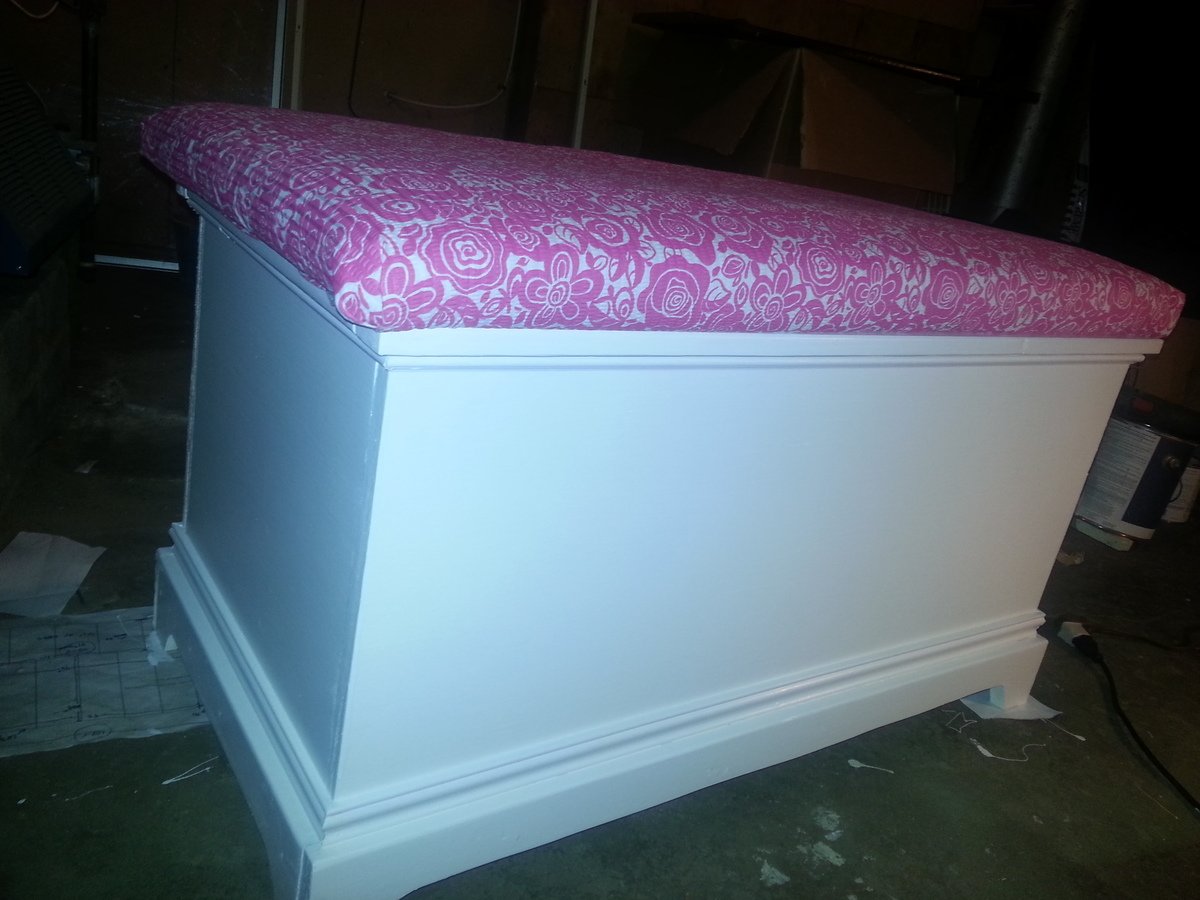
I then sanded and sanded and sanded. Don't want little fingers to come into contact with bad splinters. I finished with a bright white paint.
I wanted the toy box to also be a seat so I got some fabric and did just that. I was going to add hinges to it but then thought again and decided not to. Wanted to prevent any accidents.
I built it over many months spending maybe 20 hours or so. Many many mistakes and many hours thinking about how to fix them.

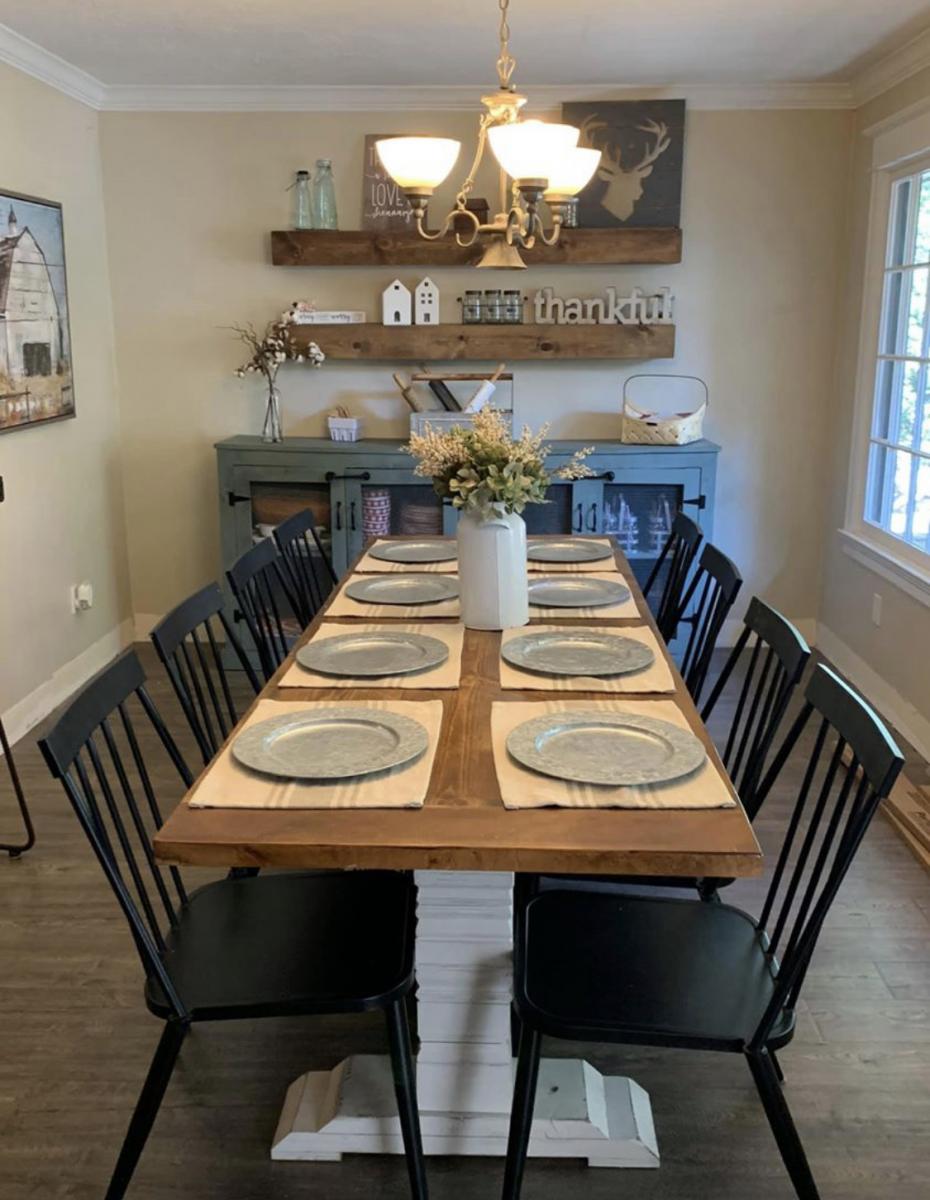
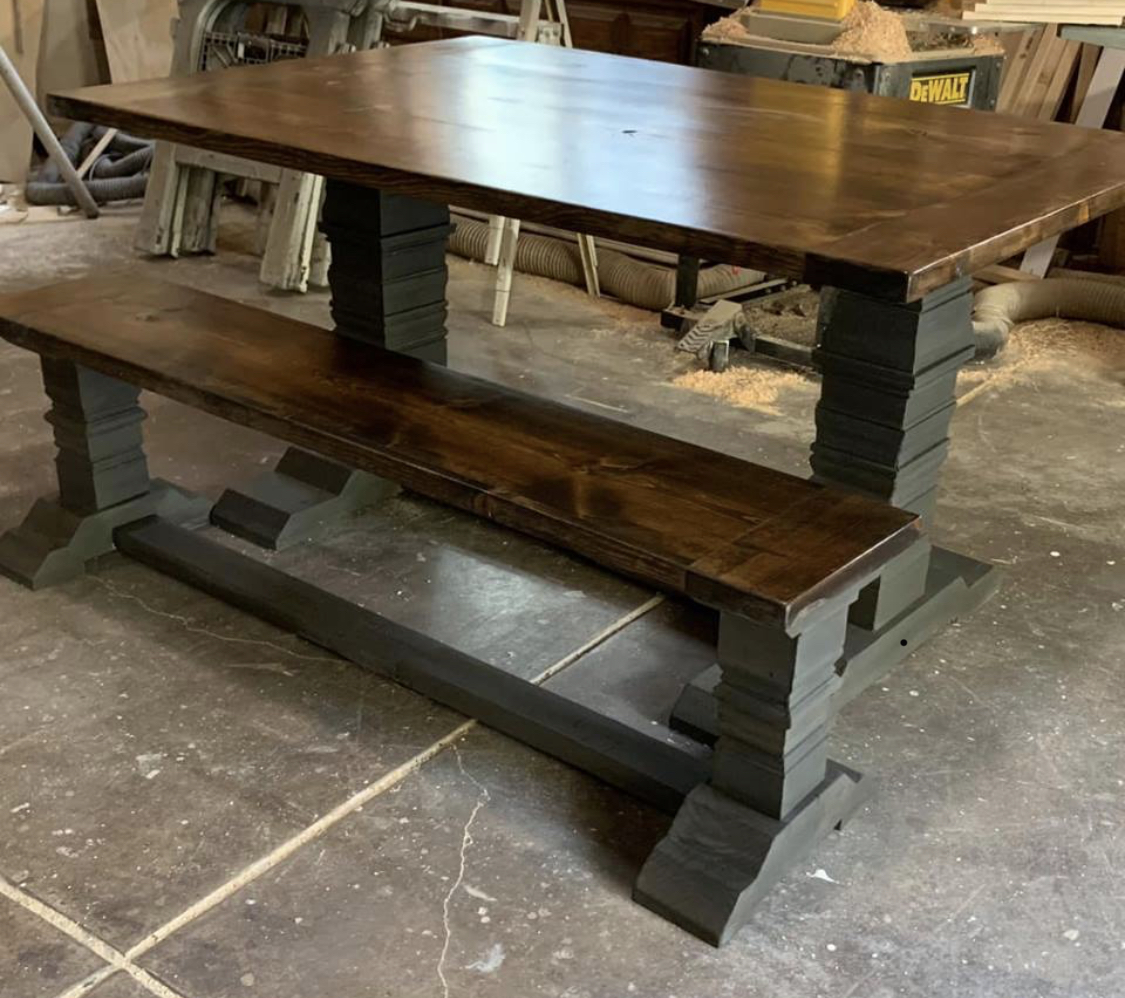
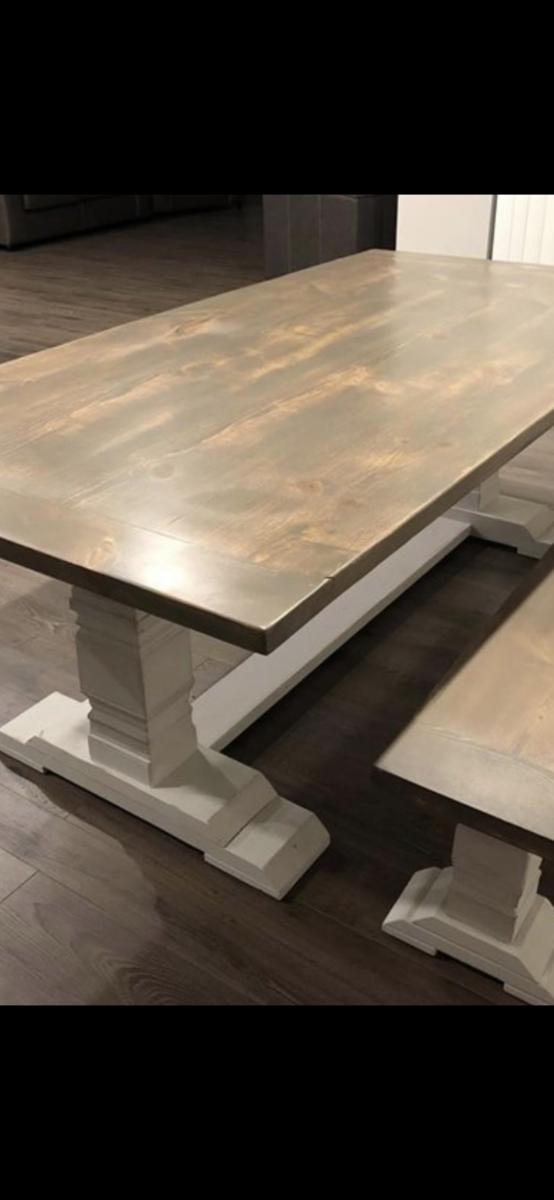
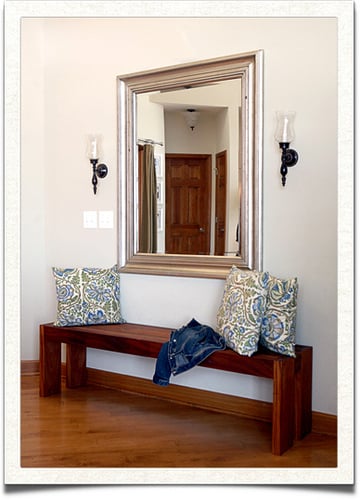
The table was my very first project and with the help of my Dad, we completed build, stain, and finish in 2 days. I've had it over a year now and of course it is still beautiful (I've learned not to move it around too much to clean because the legs have a few splits in them now!). Just finished the matching bench ($17 project). I adjusted the legs to make them longer, so that my kids will sit up higher at the table :-)
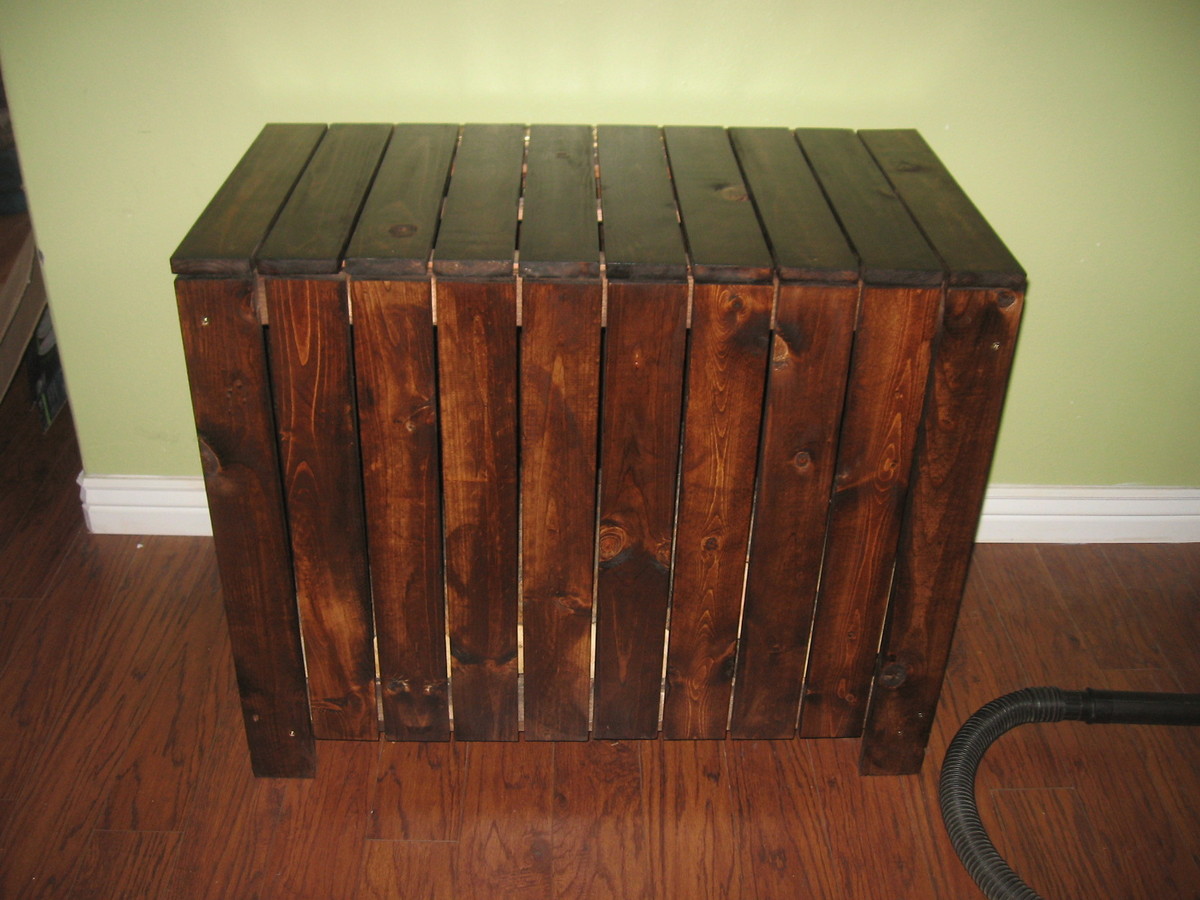
My first project based on the Outdoor Storage Bench. We will use it indoors for firewood.
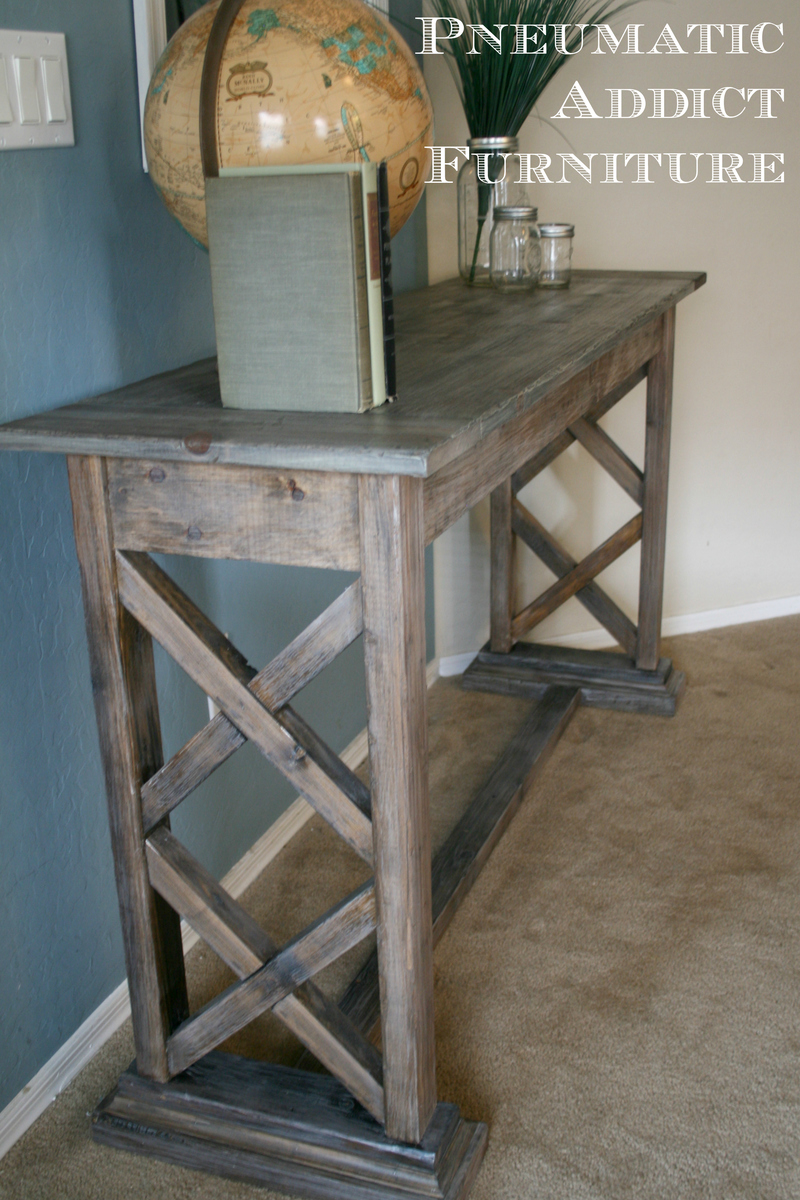
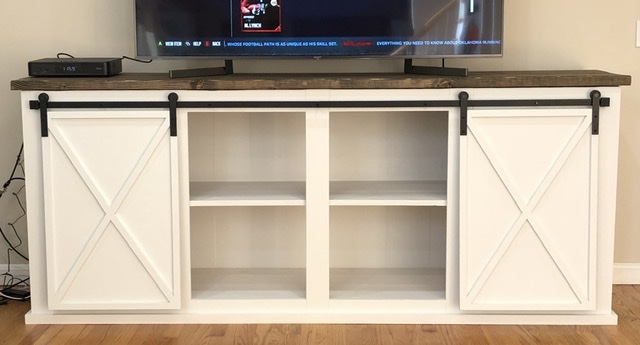
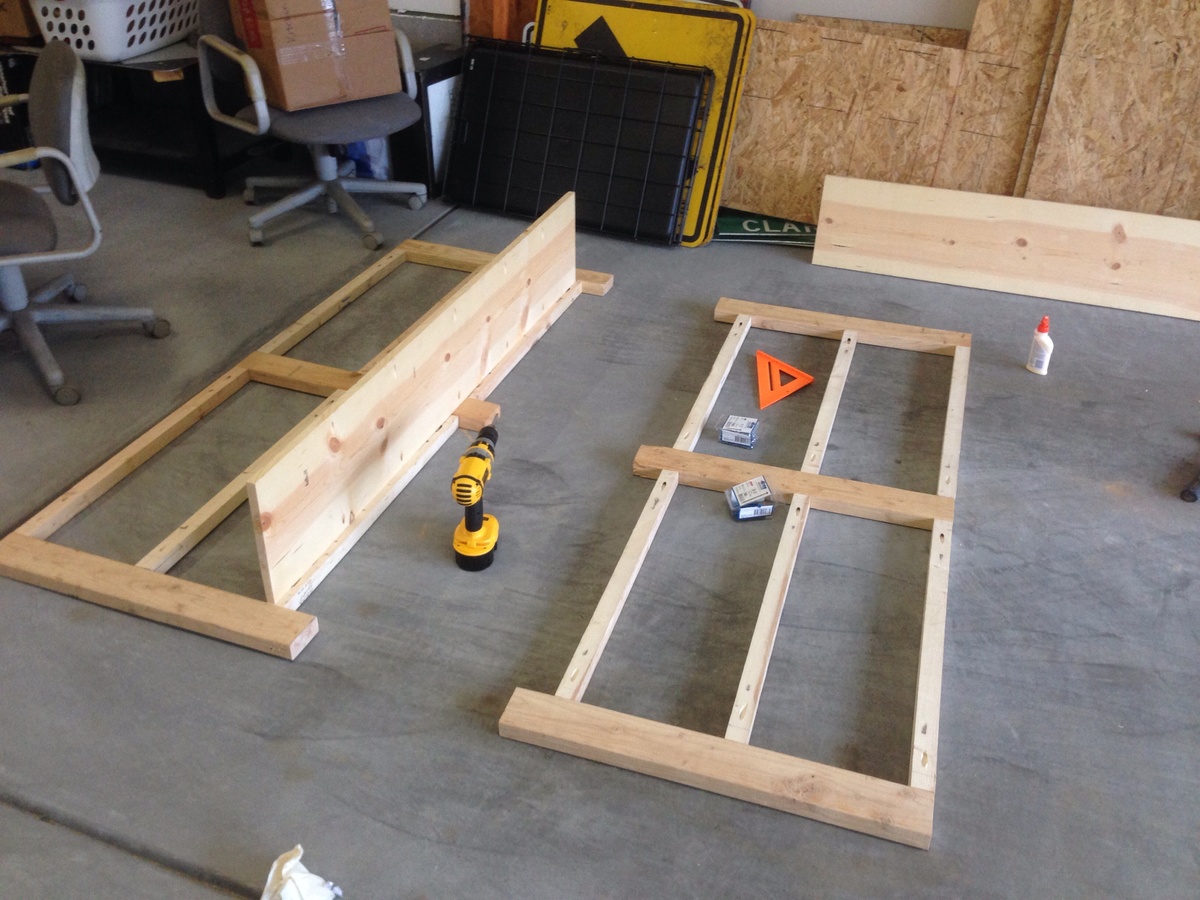
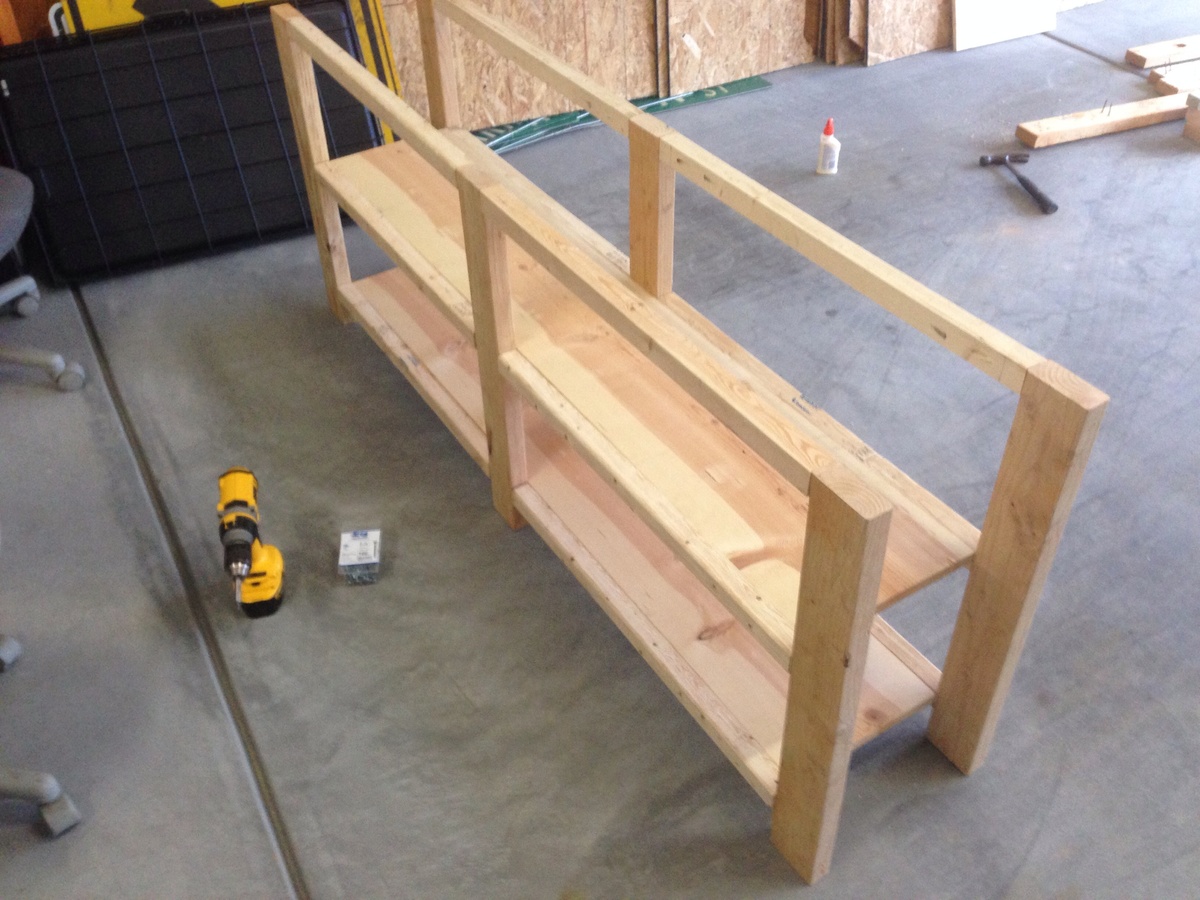
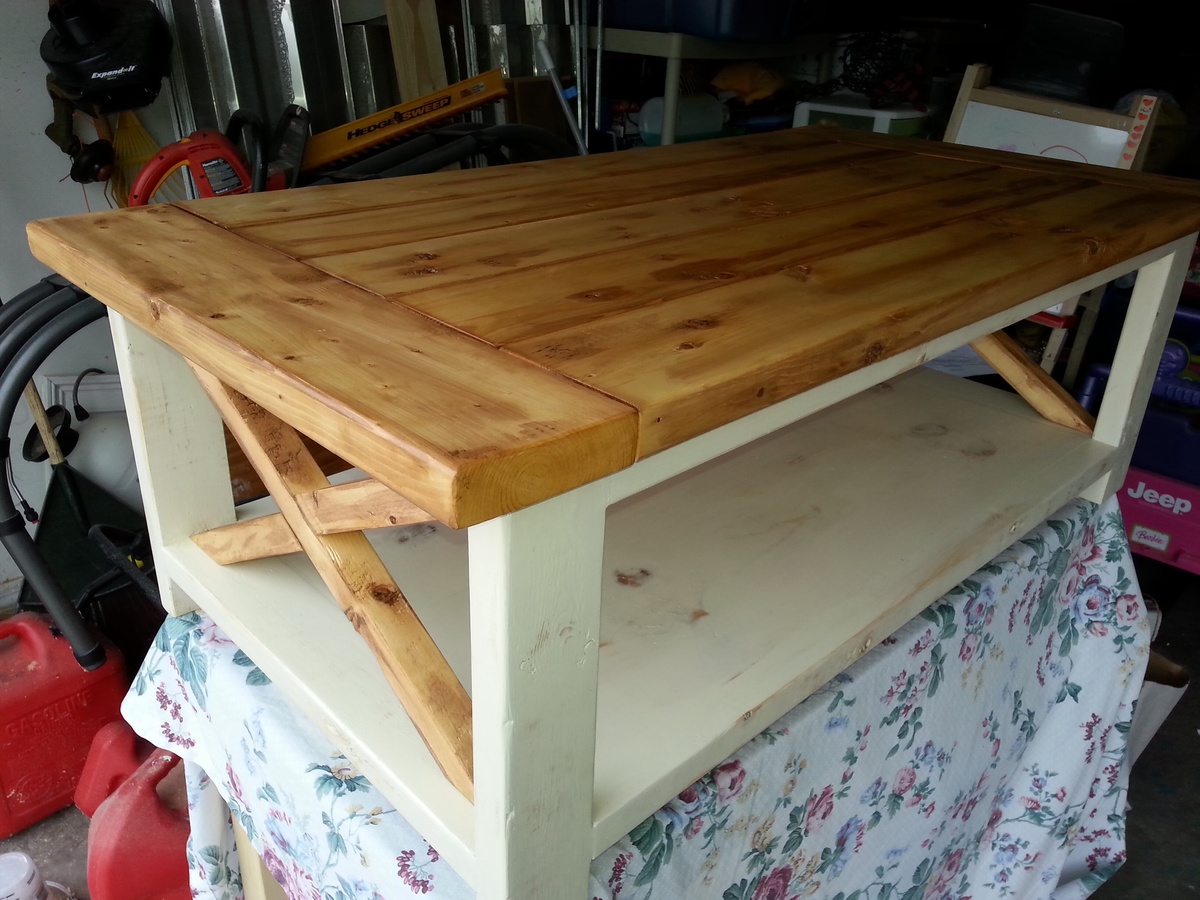
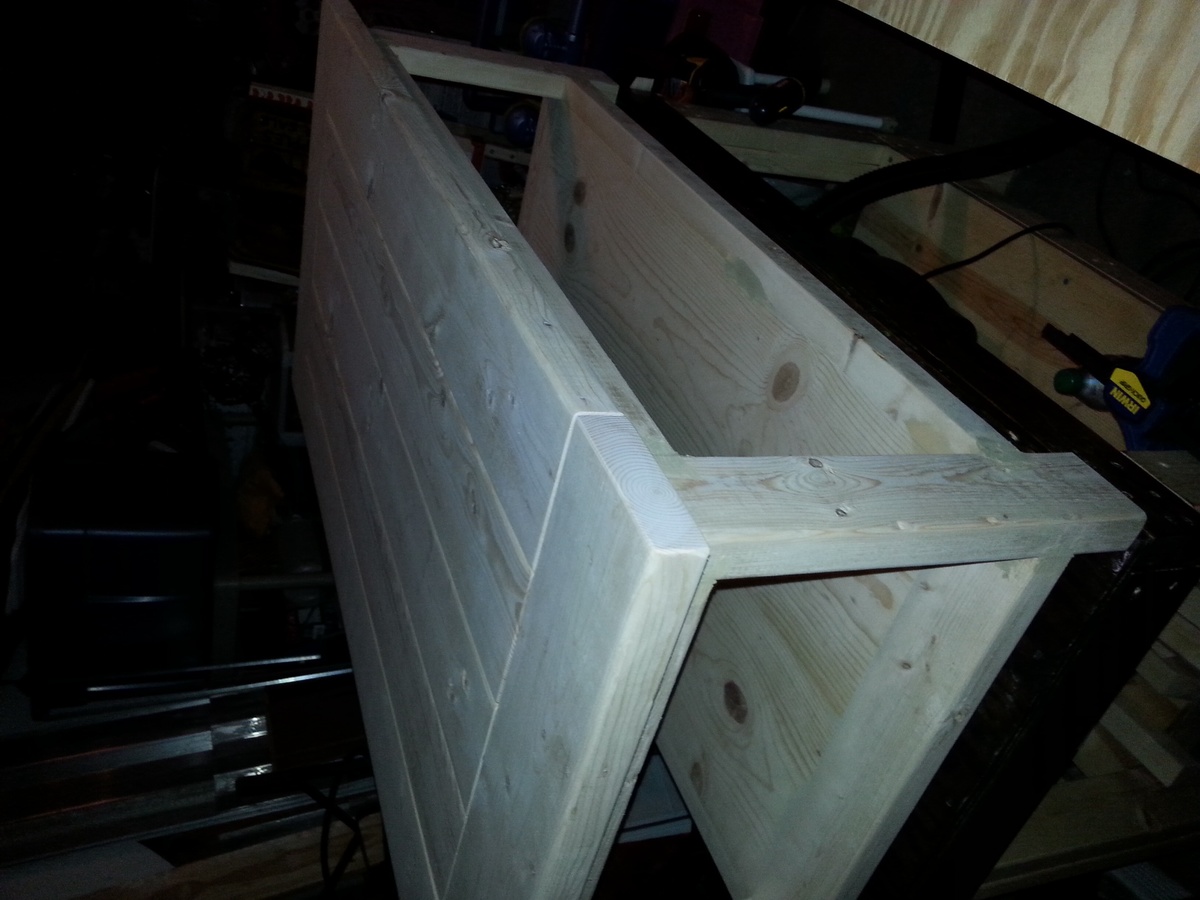
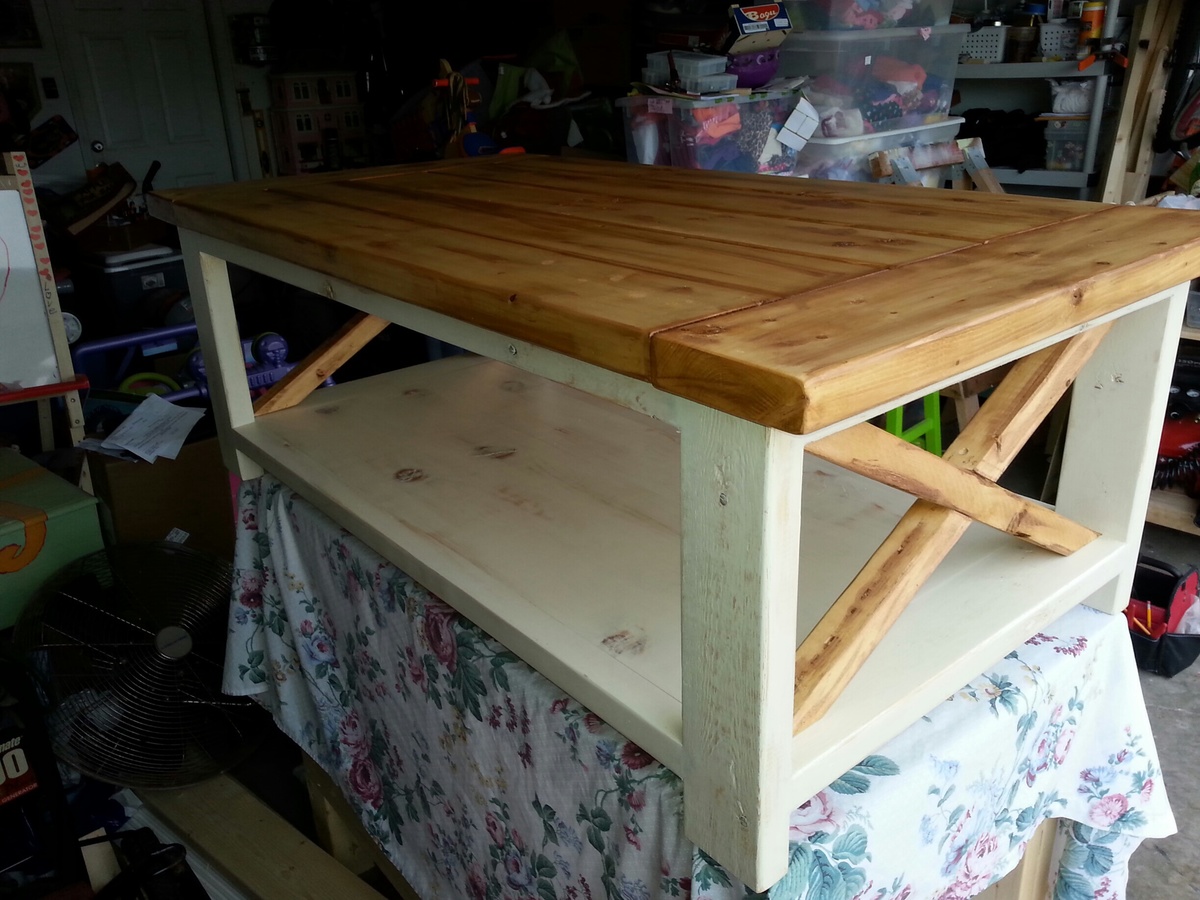
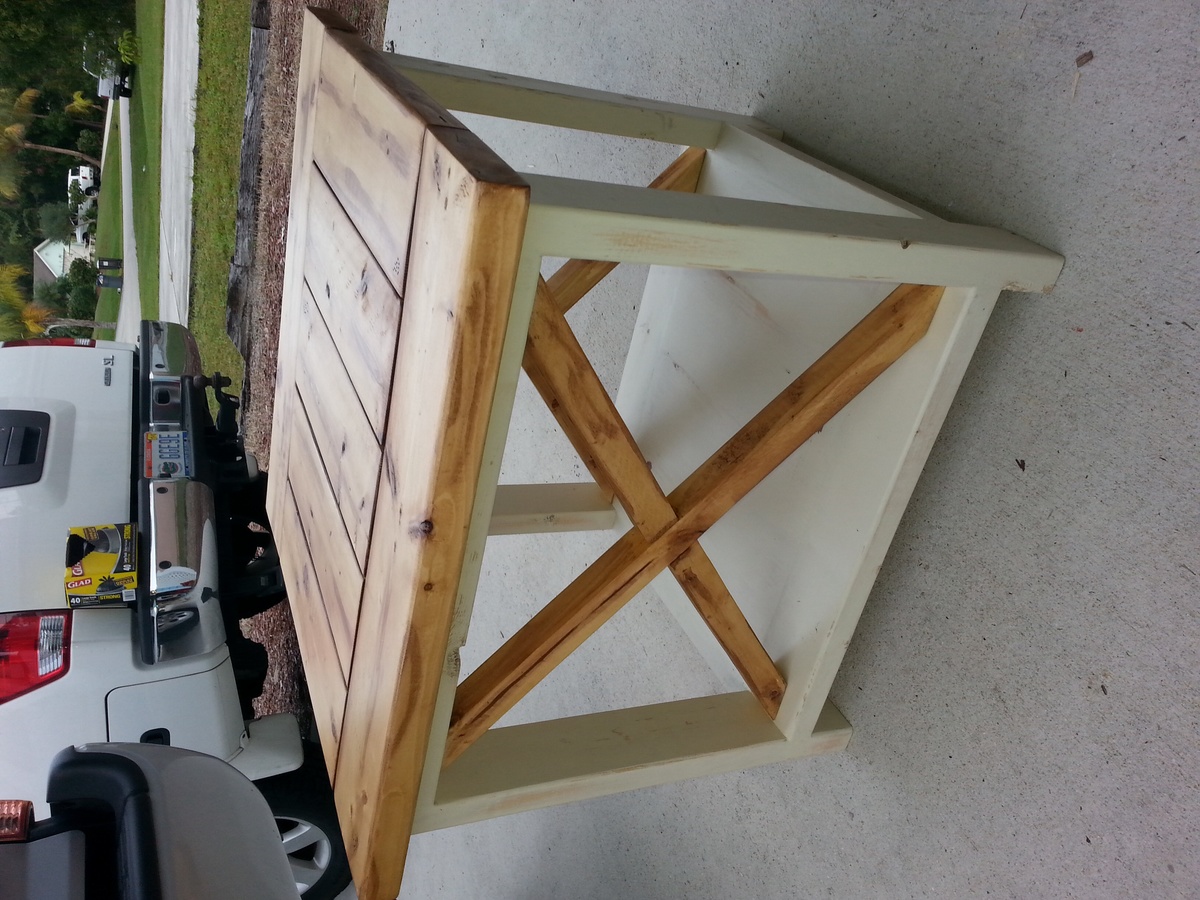
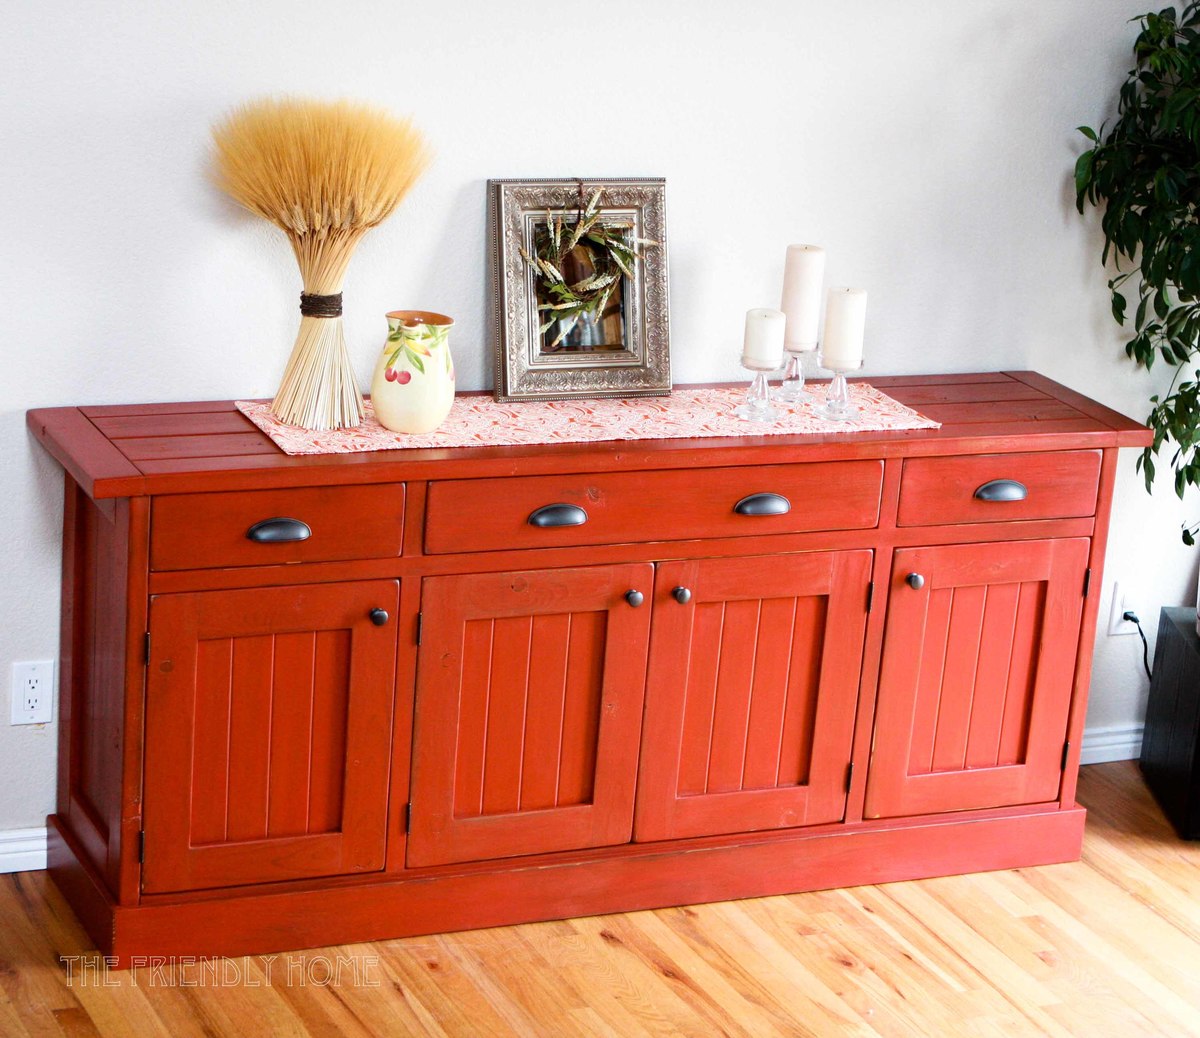
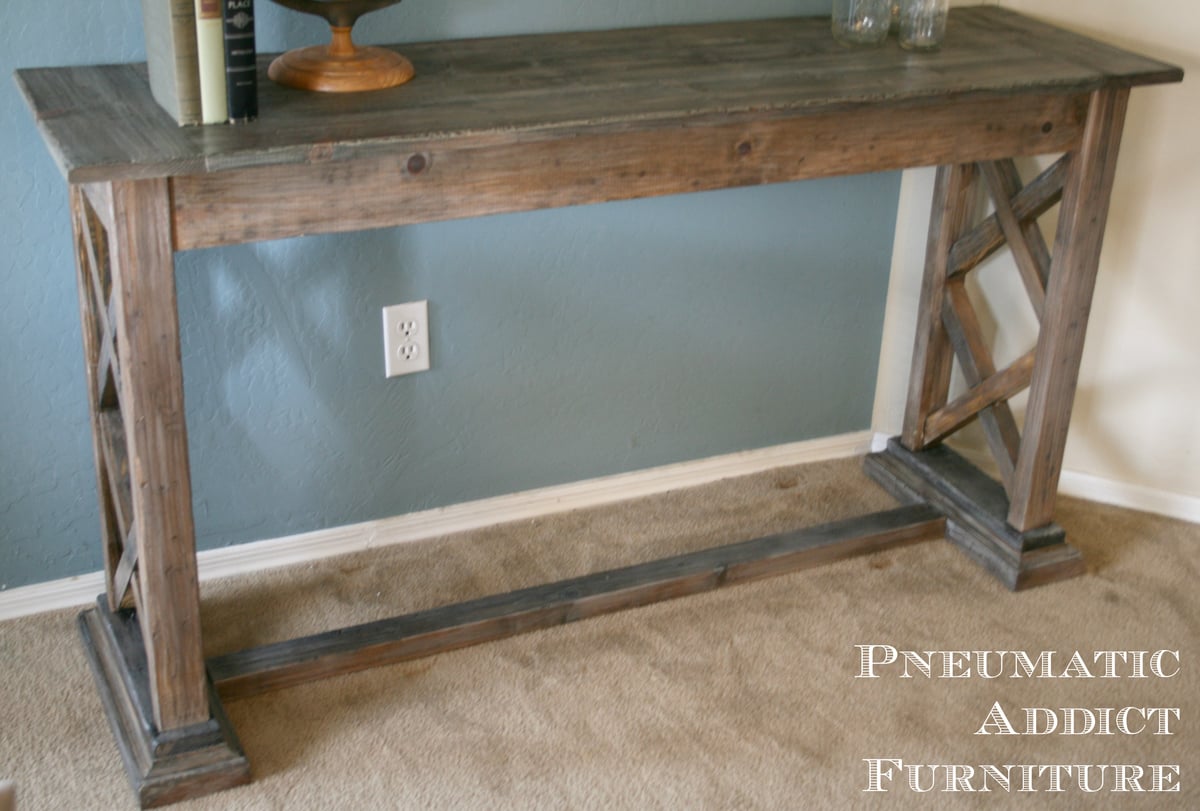
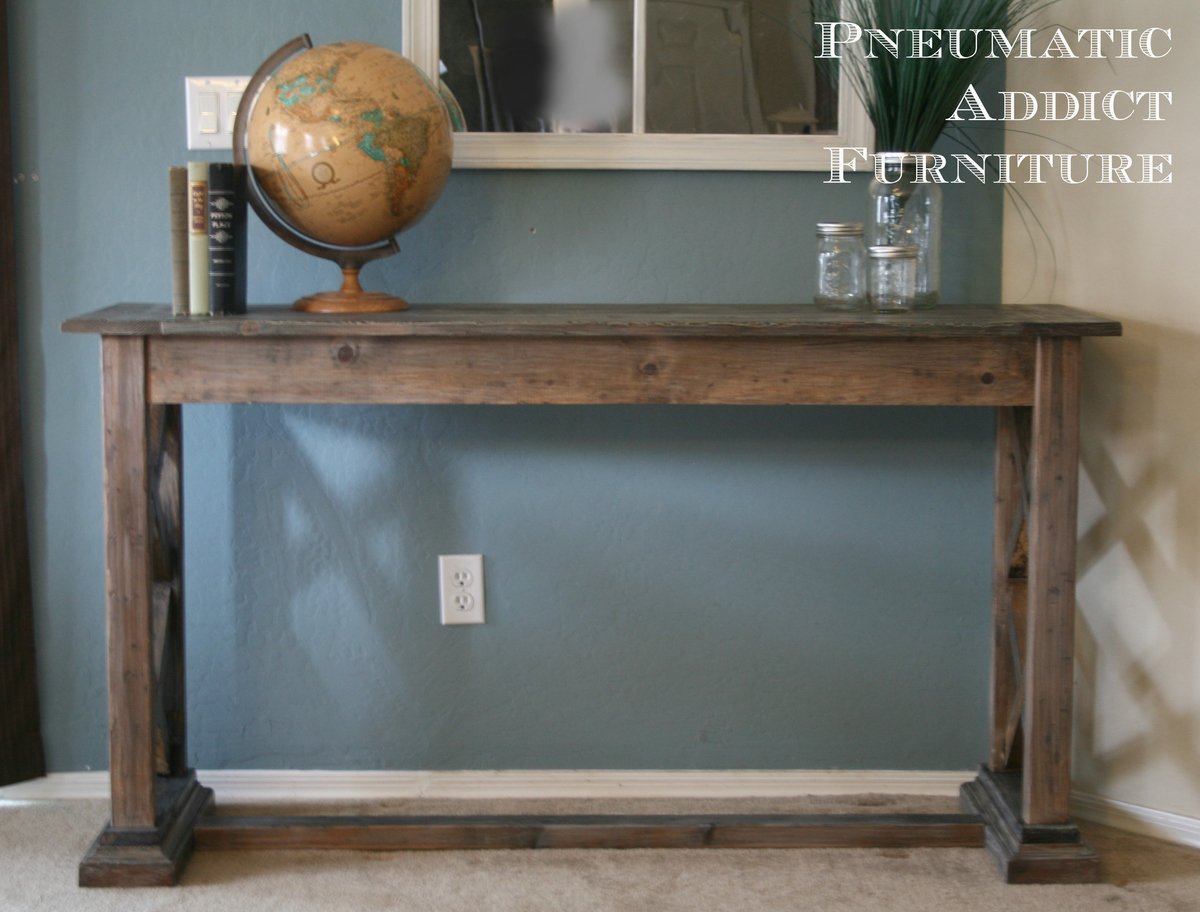
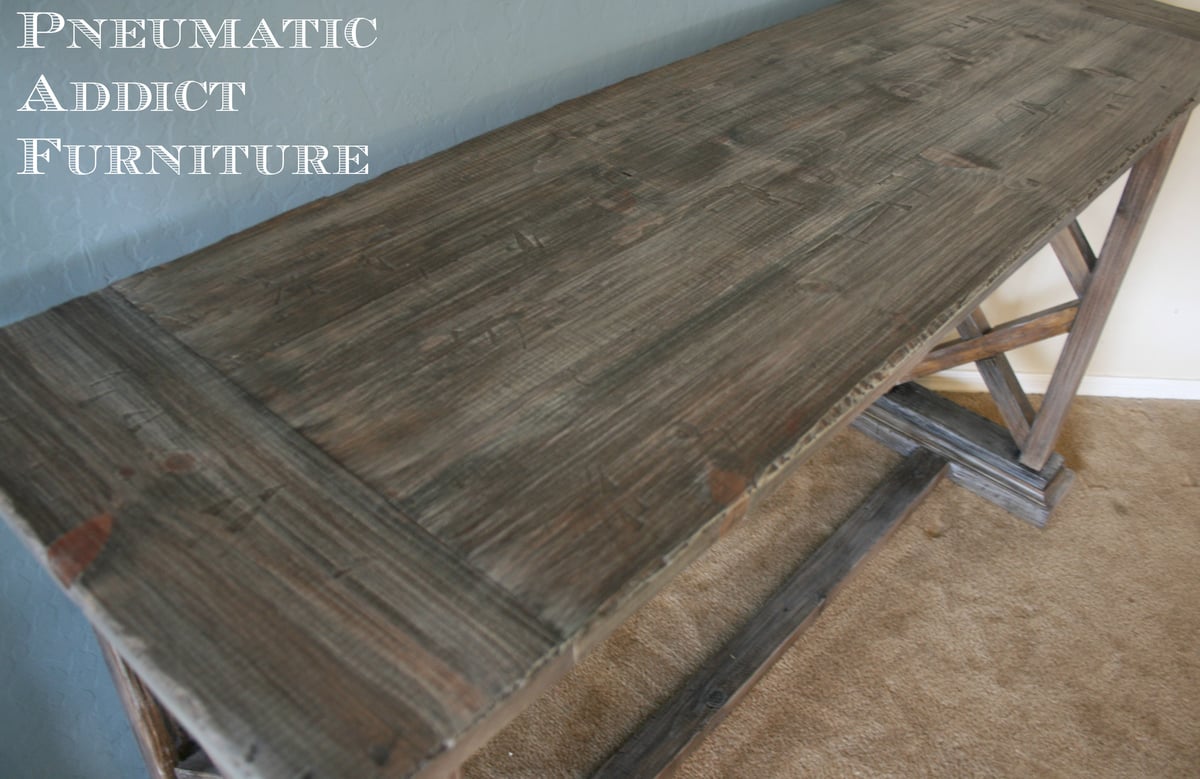
This console table was actually pretty easy to make. The top was constructed with 1 x 6 pine boards, and assembled using a Kreg jig and pocket hole screws.
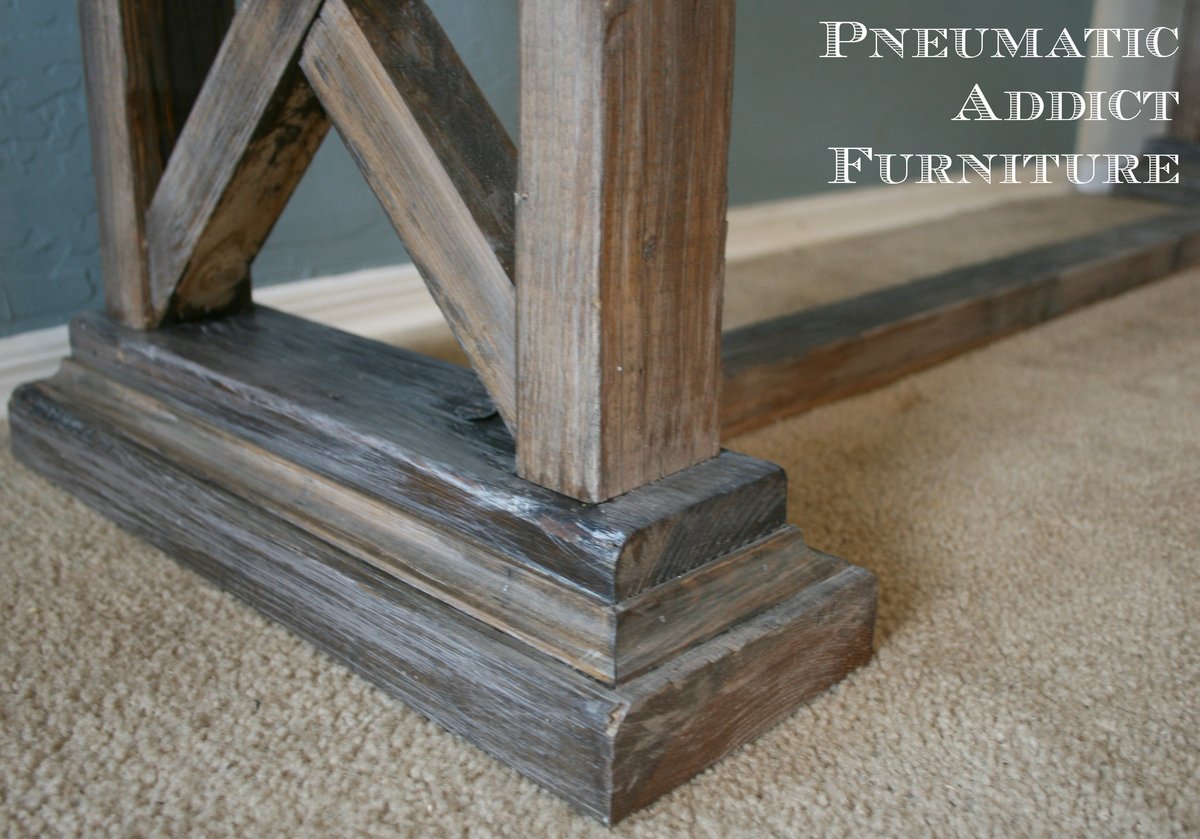
For the base, I used 29" long, 2 x 3 legs attached together with 1 x 4 aprons. To make the platform, I cut 2 pieces of 2 x 6 the width of table top, and 2 pieces of 2 x 4 , two inches shorter. I stacked the 2 x 4 on top of the 2 x 6 and attached them with glue and screws. I then ran 3/4" cove moulding in the corner between the two pieces.
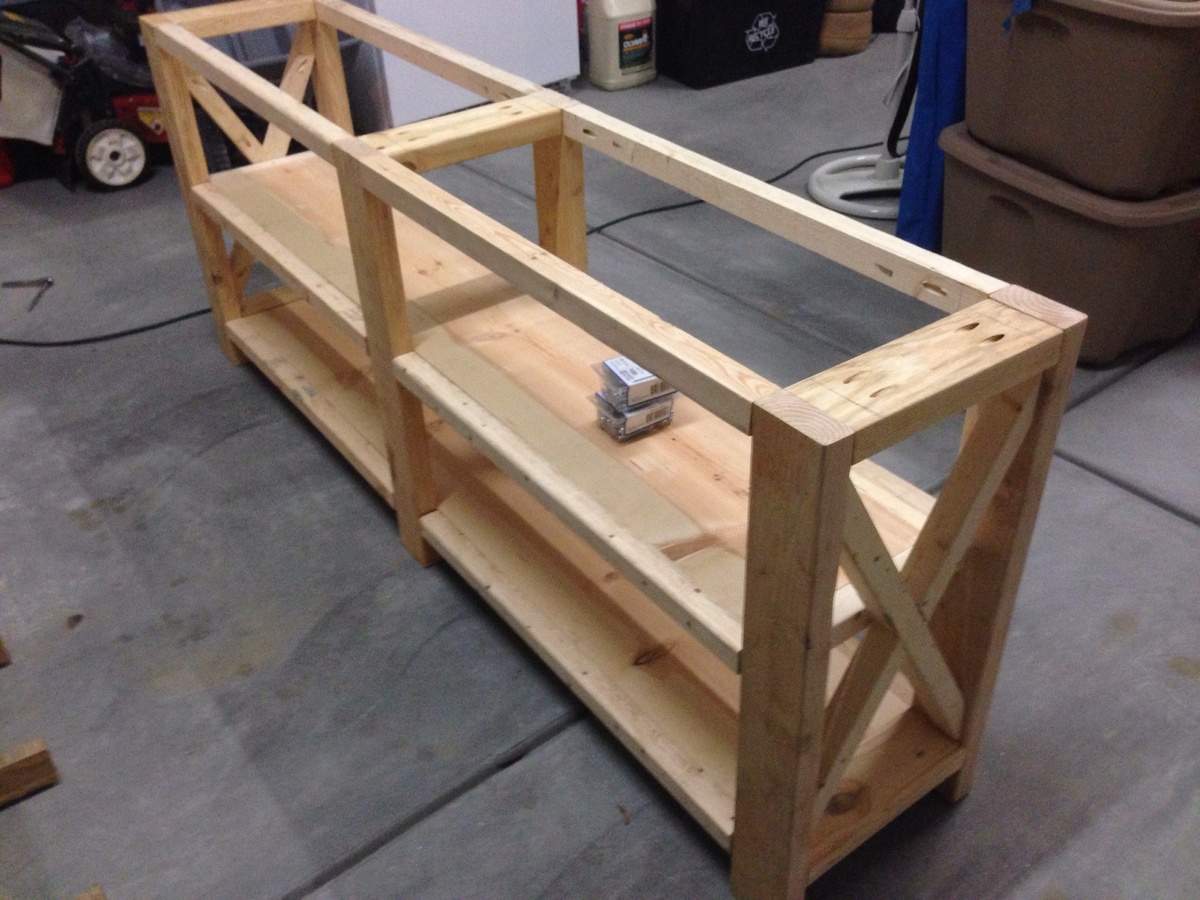
Using my Kreg jig, I drilled 2 pocket holes on the inside of each table leg, and attached the platforms. I then cut and mitered 4 pieces of 2 x 2 for each end, notching them in the middle to create X's. I attached the X's with glue and finish nails.
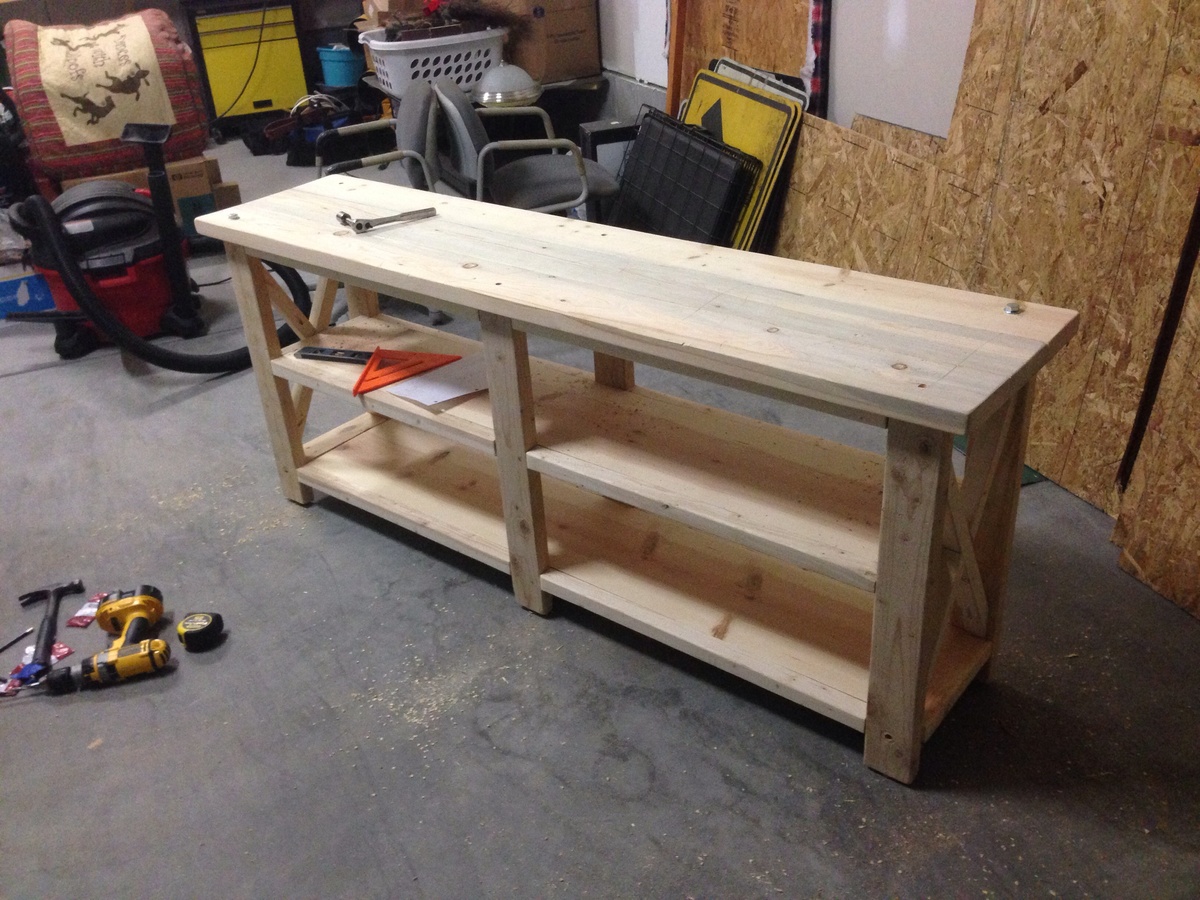
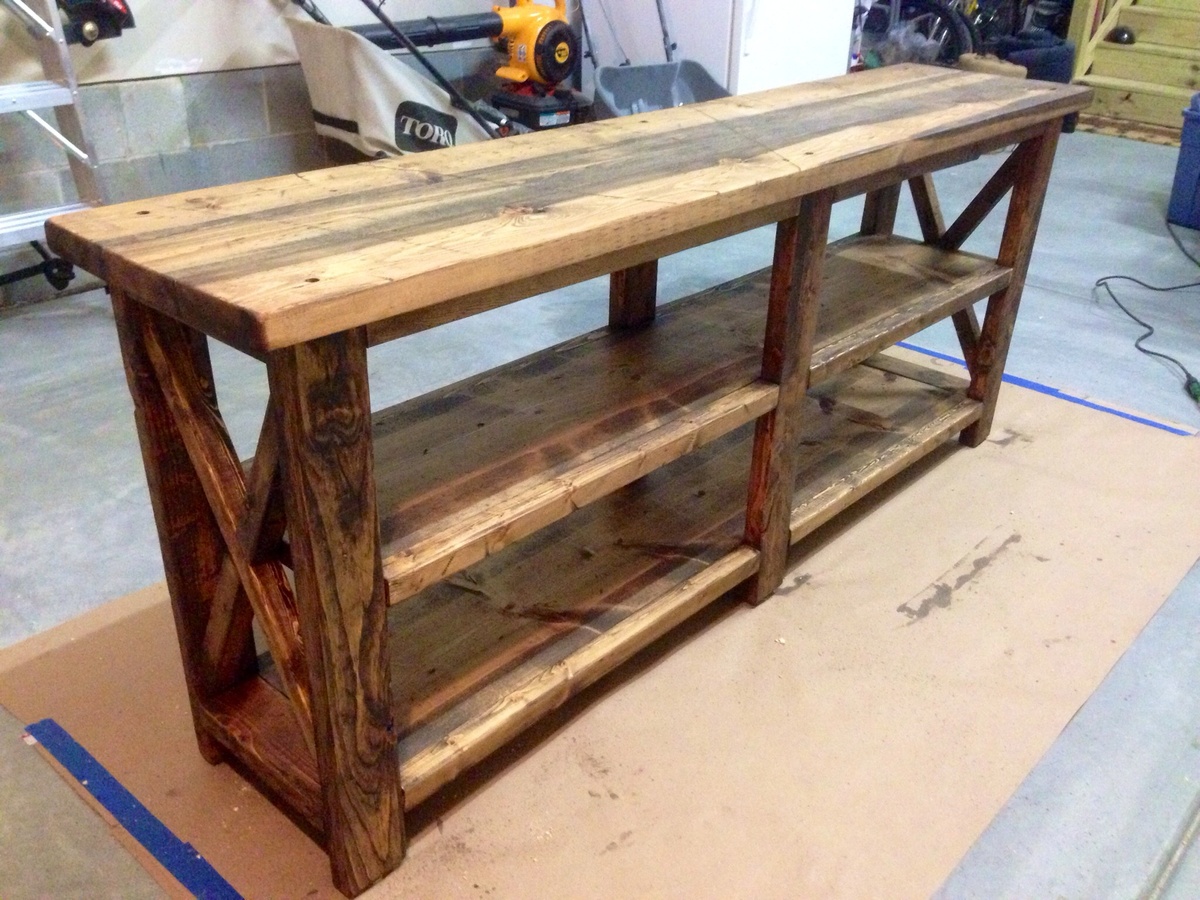
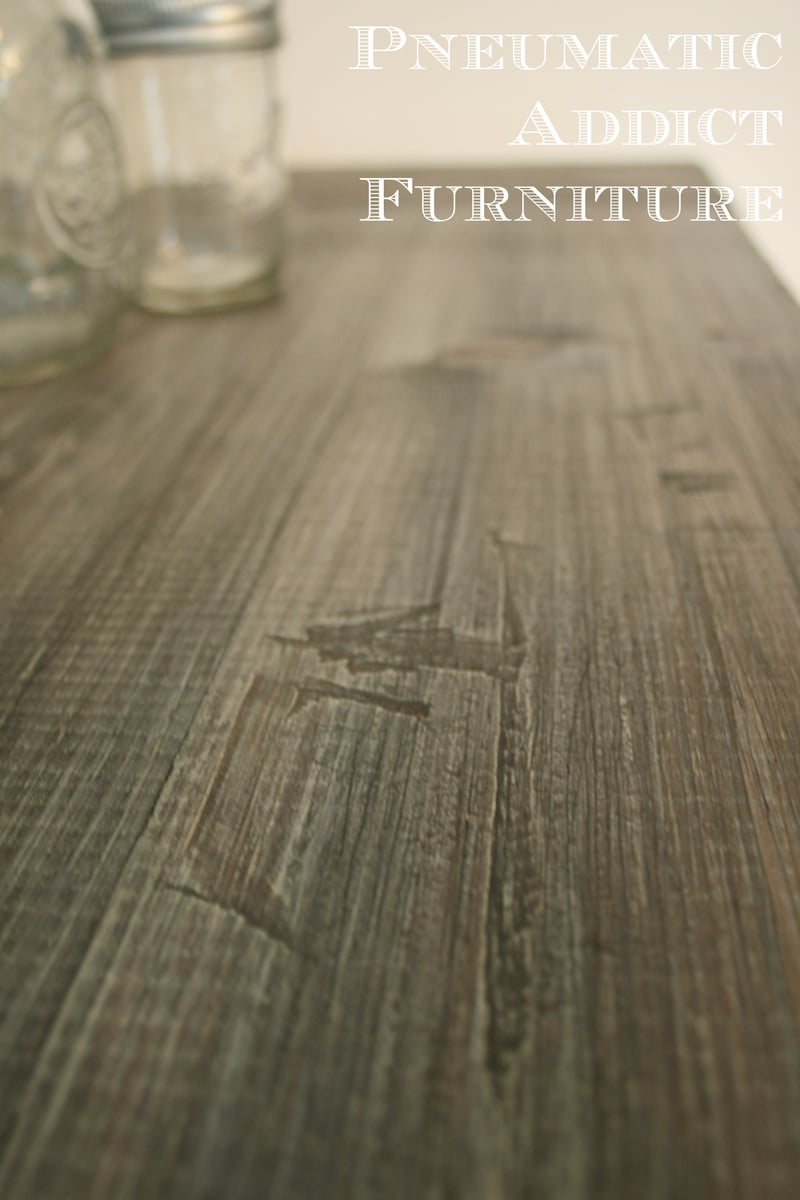
The last step before finishing was to distress the wood. In addition to hammer, chains and nails, I skipped a hand planer along the edges to create a "hand hewn" look.
Wed, 04/16/2014 - 05:30
Nice job on the table!! Are there plans for this anywhere?? I'd like to make one.
Debbie.
Thu, 08/20/2015 - 13:20
I think I can put this together, but I am trying confirm the length and angle of the X's. Drawing this up with exact measurements the X's wouldn't line up using 45 degree angles. There is a 5/8" overlap. Would that be accounted for using the "true" measurement of a 2"x4" 2"x6" etc? (I have a SketchUp file if someone wants to double check me!)
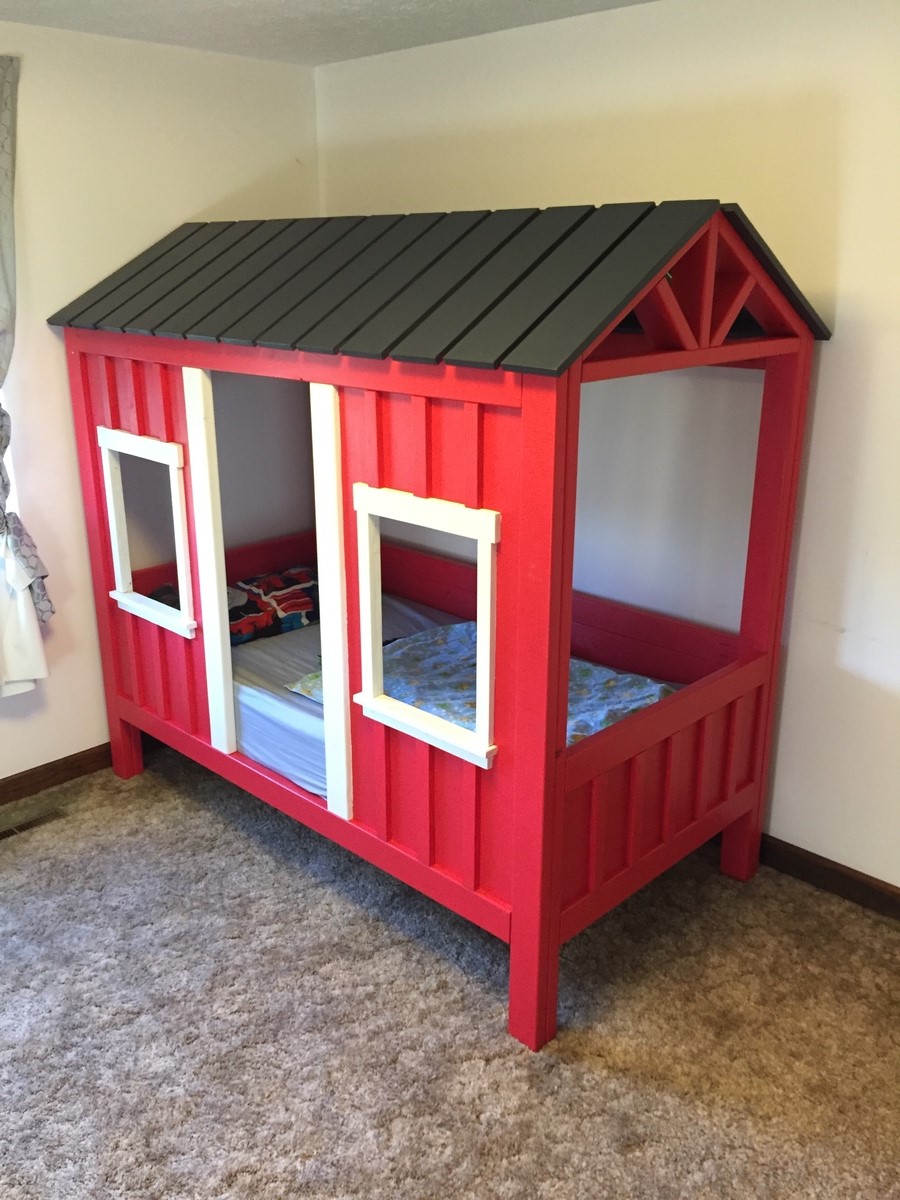
Cabin bed made into a barn for a 3 year old birthday boy! He. Was. Pumped!
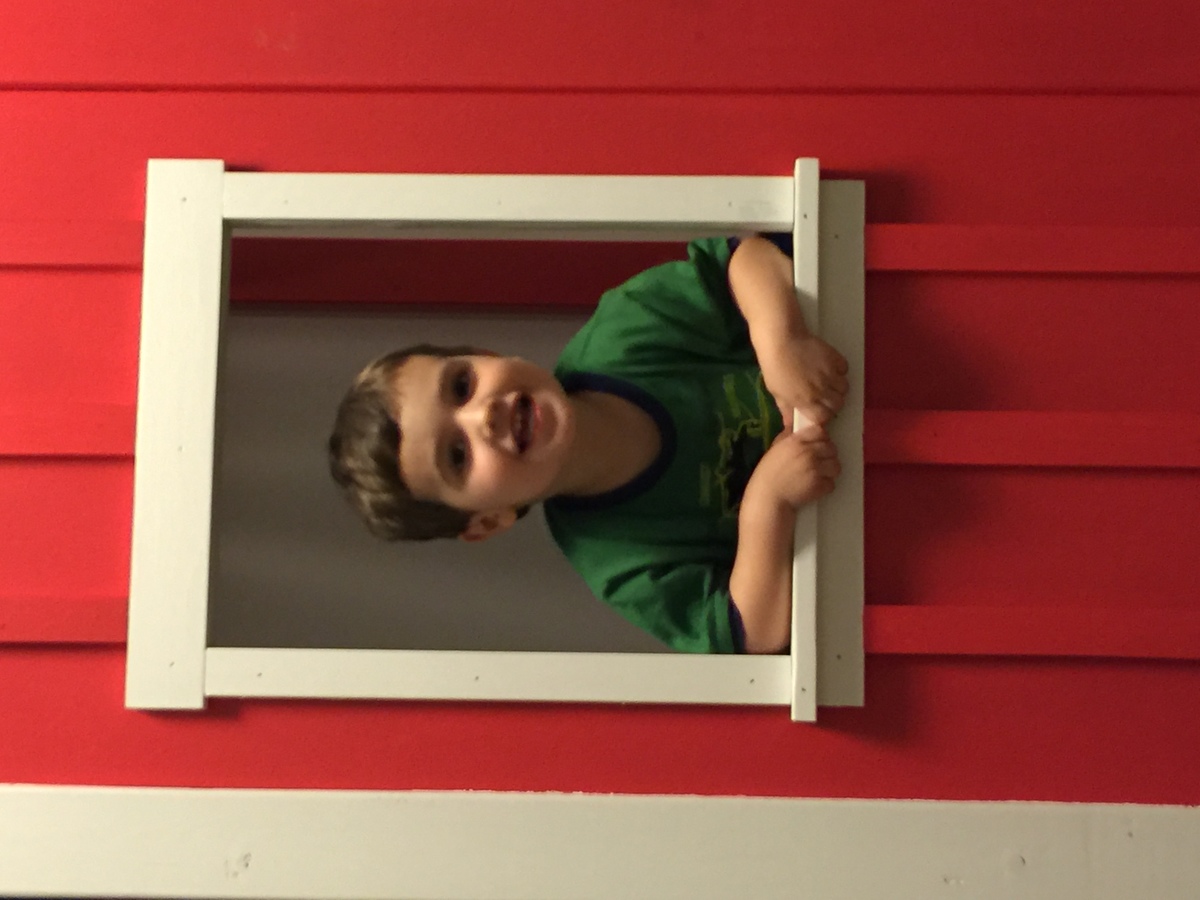
Made this for my grandson, didn't take to long. Now him and his dad are going to paint.
Joe the retired firefighter
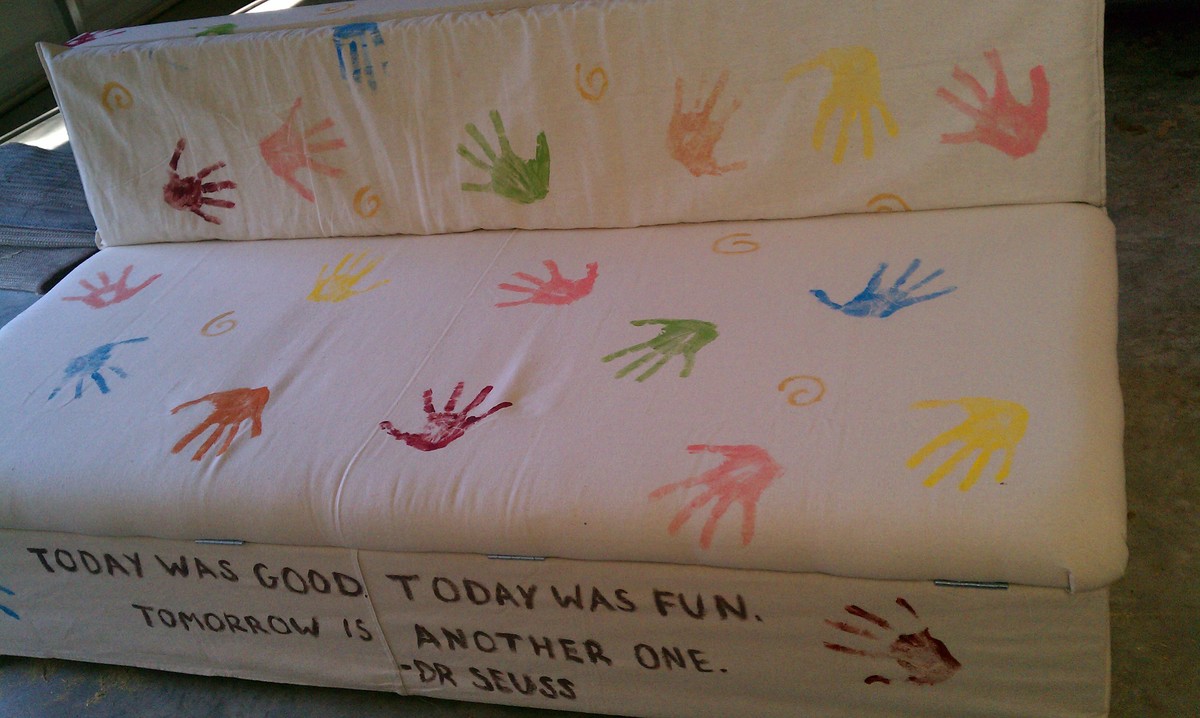
This project was lots of fun. Made it for a college apartment- it is perfect.