Library Coffee Table with Reclaimed Barn Wood Top
Modified the plans to be only 3 drawers which saved on weight and hardware. Used reclaimed 100+ year old barn wood for the top, adding lots of character.
Built this for a friend of mine, but didn’t need it quite as long…I absolutely love this table!!!
Tue, 06/28/2022 - 11:36
This looks gorgeous, thank you for sharing, I'm sure your friend is thrilled!
This really is a easy beginner project and adds instant decor for your wall.
This project is also pretty versatile because it lends itself to ANY decor. You could go totally country like I did or pick a nicer, newer pallet and paint or stain it for a more modern or traditional take. Whatever you choose, it's something you can do in no time at all!
Another great thing about this is you don't need any fancy tools, although it does make it easier! You can choose from a circular saw, a sawsall, a jig saw or even a hand saw to cut your section out.
This was a pretty easy project, but I had to adjust the vertical legs to accommodate the sloping garage floor. I drew a horizontal line for the top edge then measured to the floor at the spacing I wanted the vertical legs. I used these measurements to cut the three vertical legs. It’s level and straight, even though my garage is sloped.
I have not yet sanded or sealed the chairs. I made two in 5 hours because I ran out of screws and had to go and get some more but I made these for my husband and my 15 year wedding anniversary to be able to spend more time outside after the kids go to bed. It cost me $130 plus the cushions to build
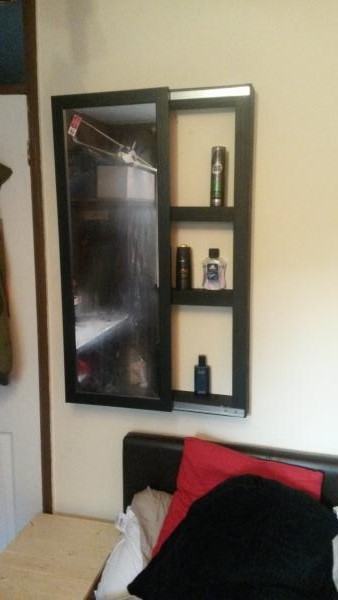
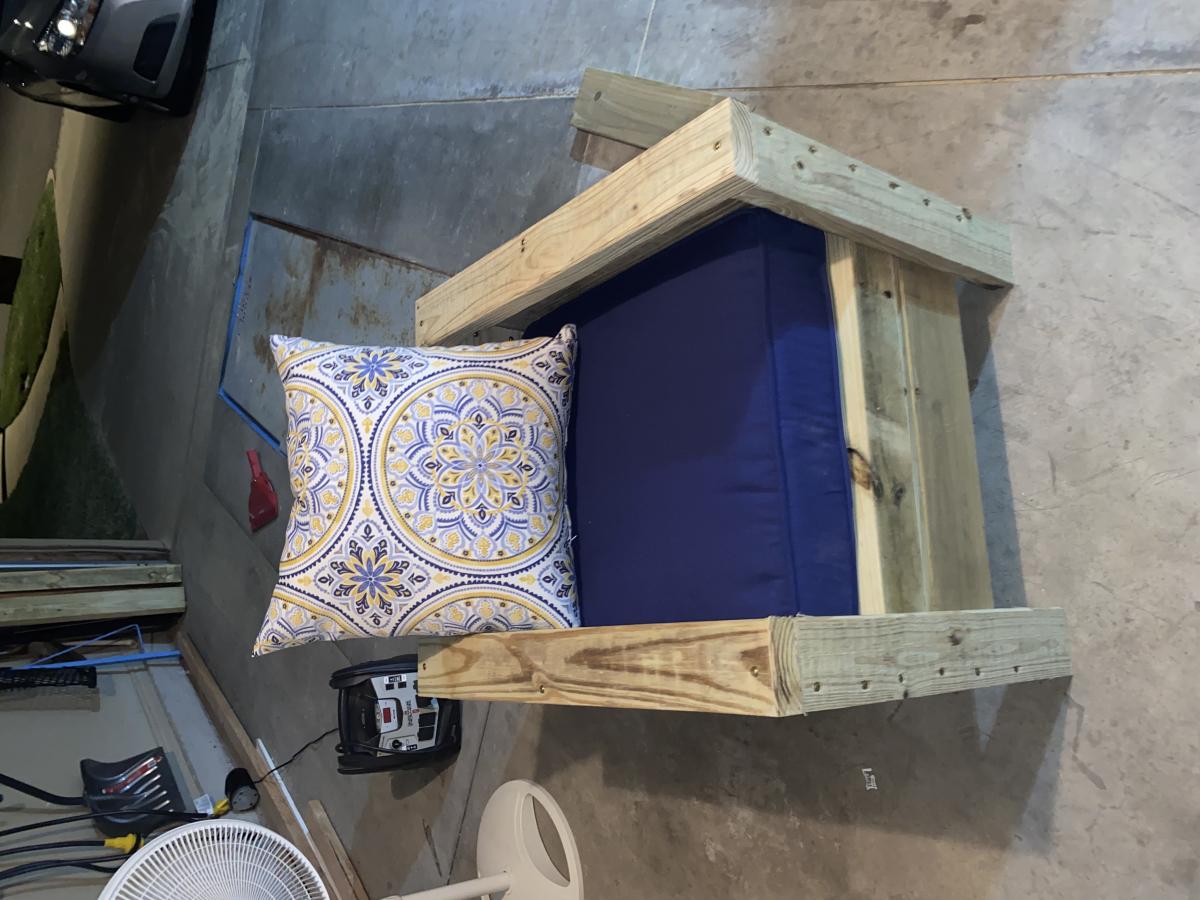
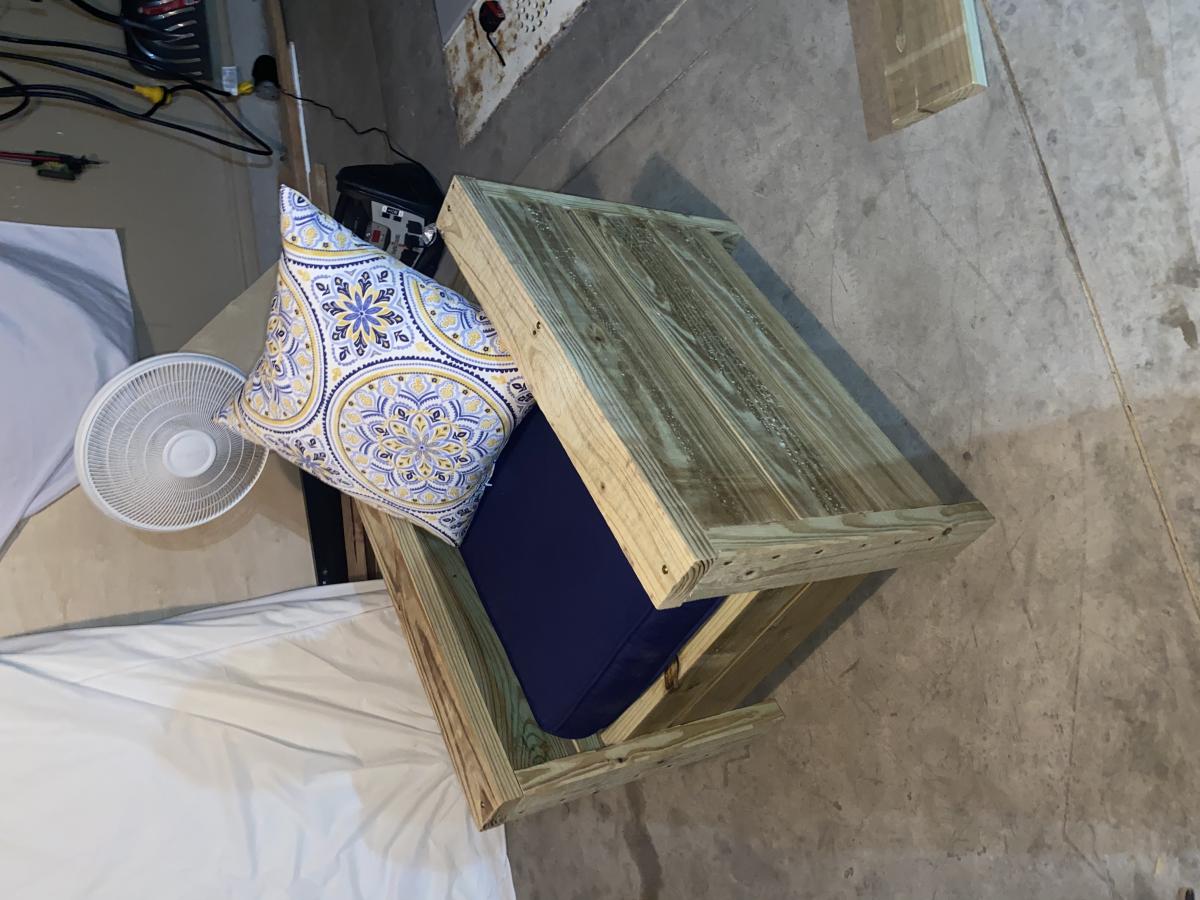
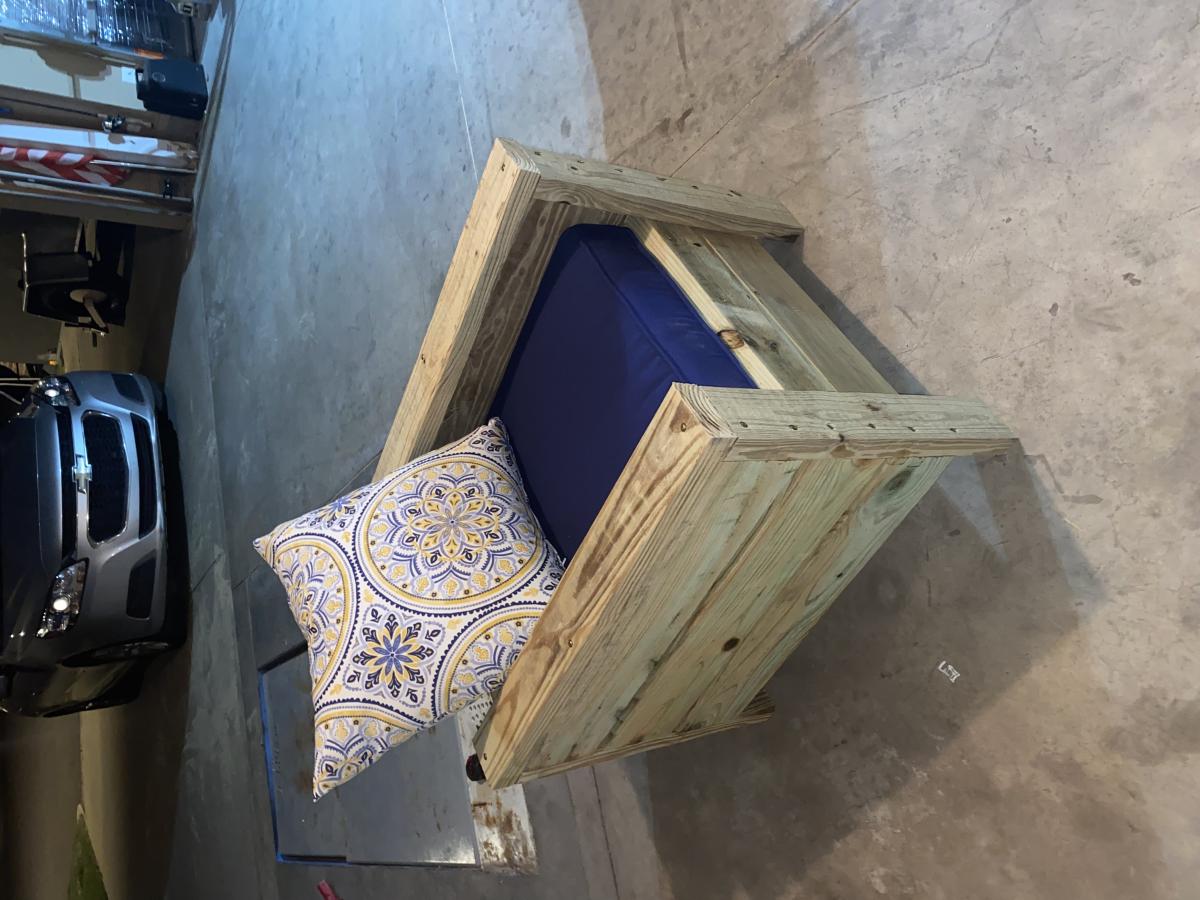
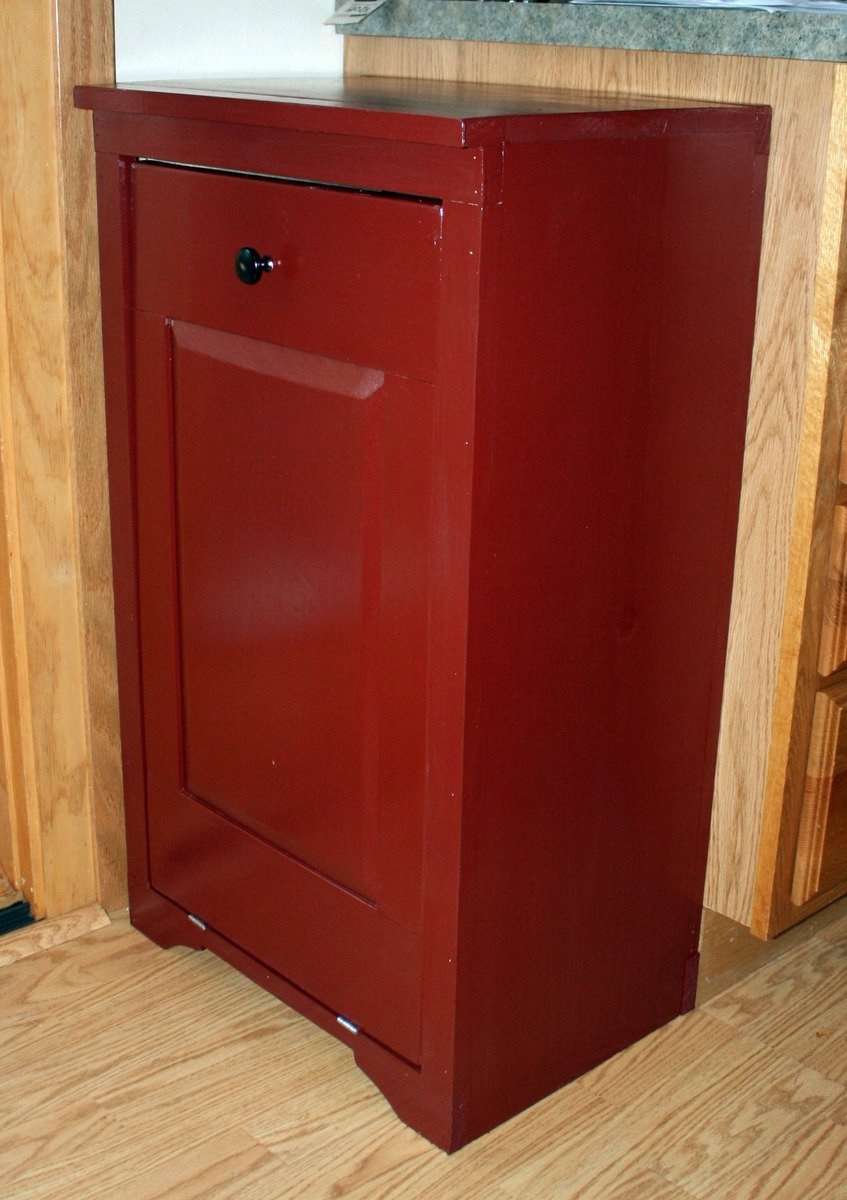
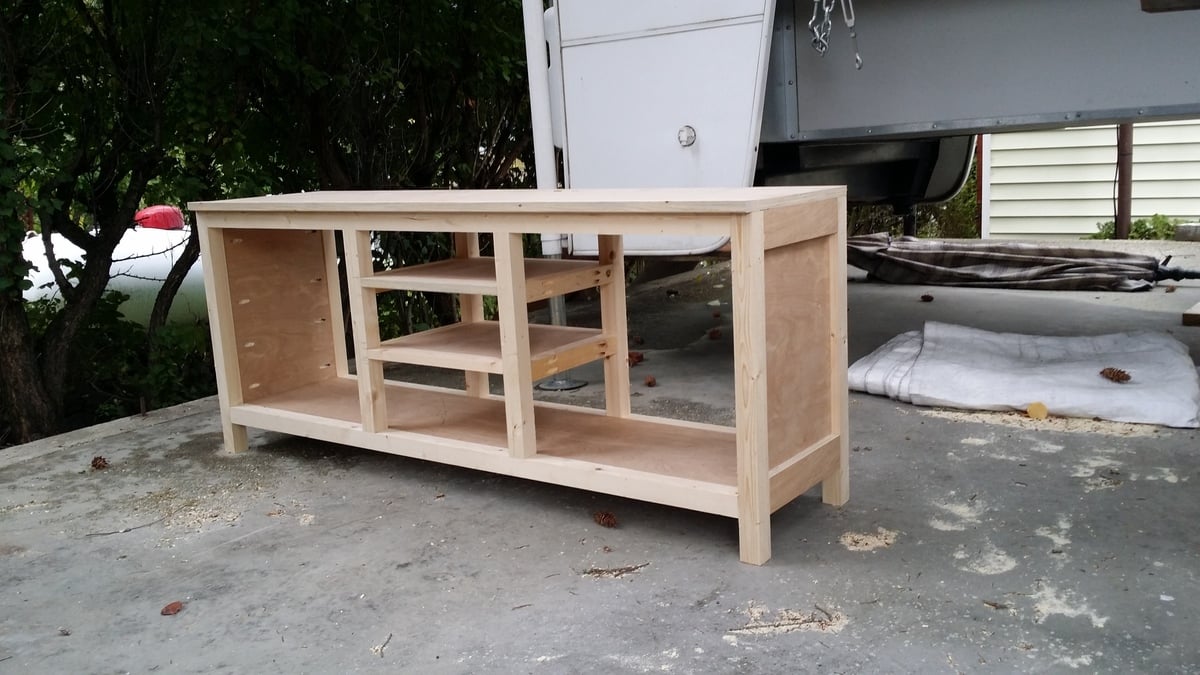
I started this project thinking that I would put in a rental home we were working on. But after I completed it I couldn't part with it.
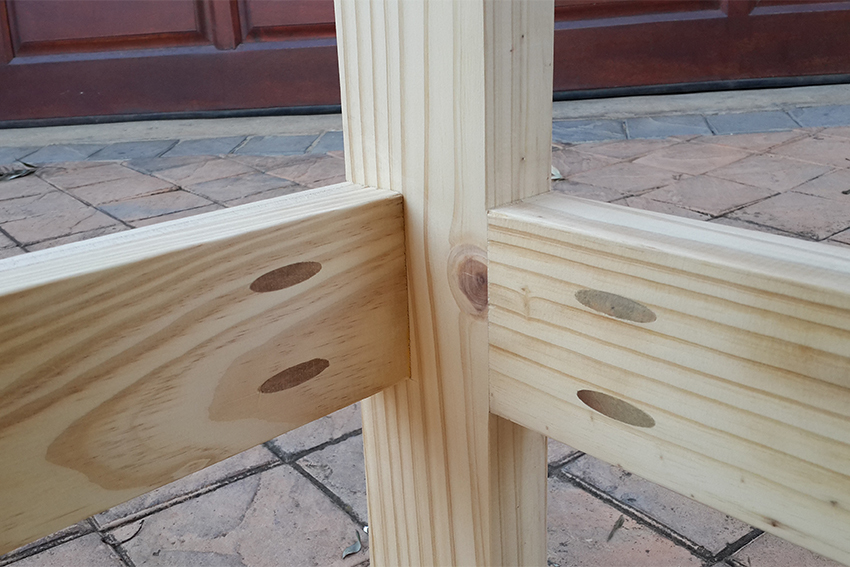
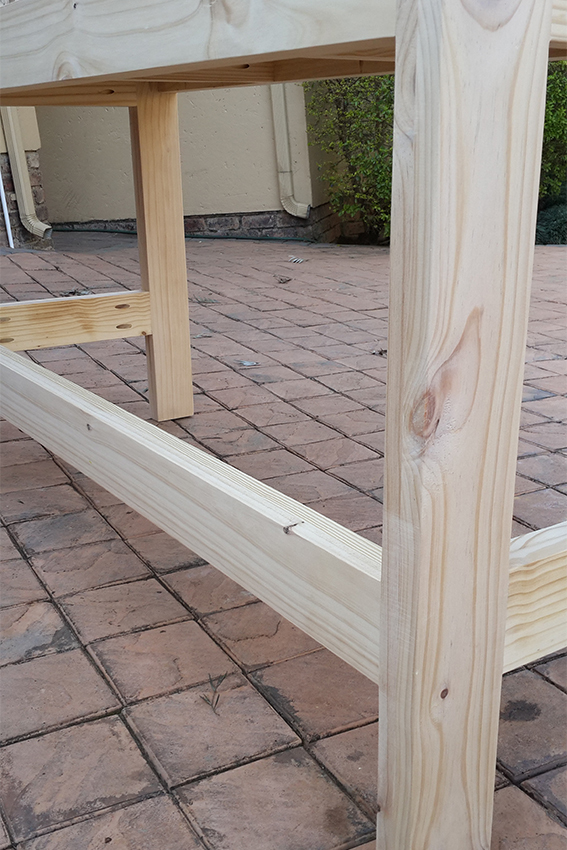
I found the plans to be easy to follow! I watched the videos and tackled the raised panel doors. I wanted to add some height so added a few inches just in-case. I couldn’t bear the thought of completing this project and my garbage can not fitting. So I did use 1x6 for the rails and found it didn't look too bad.
I put a lot of thought about what color and finish I wanted. I thought about distressing it but couldn’t decide on the color or technique. So I decided on Color Place paint that I had left over from another project. I am going to find a spray paint that matches and do the inside.
I choose an oil rubbed bronze knob that I had left over from a kitchen remodel, added a magnetic closure as well as a door safety chain. I have lots of little hands and toes that I don’t want getting smashed. I like the idea that if I want to open it all the way for cleaning all I have to do is unhook the safety chain.
Over all I am so pleased with how it turned out. It keeps the garbage and smell in and curious fingers out! My kids love to put stuff in the garbage now!
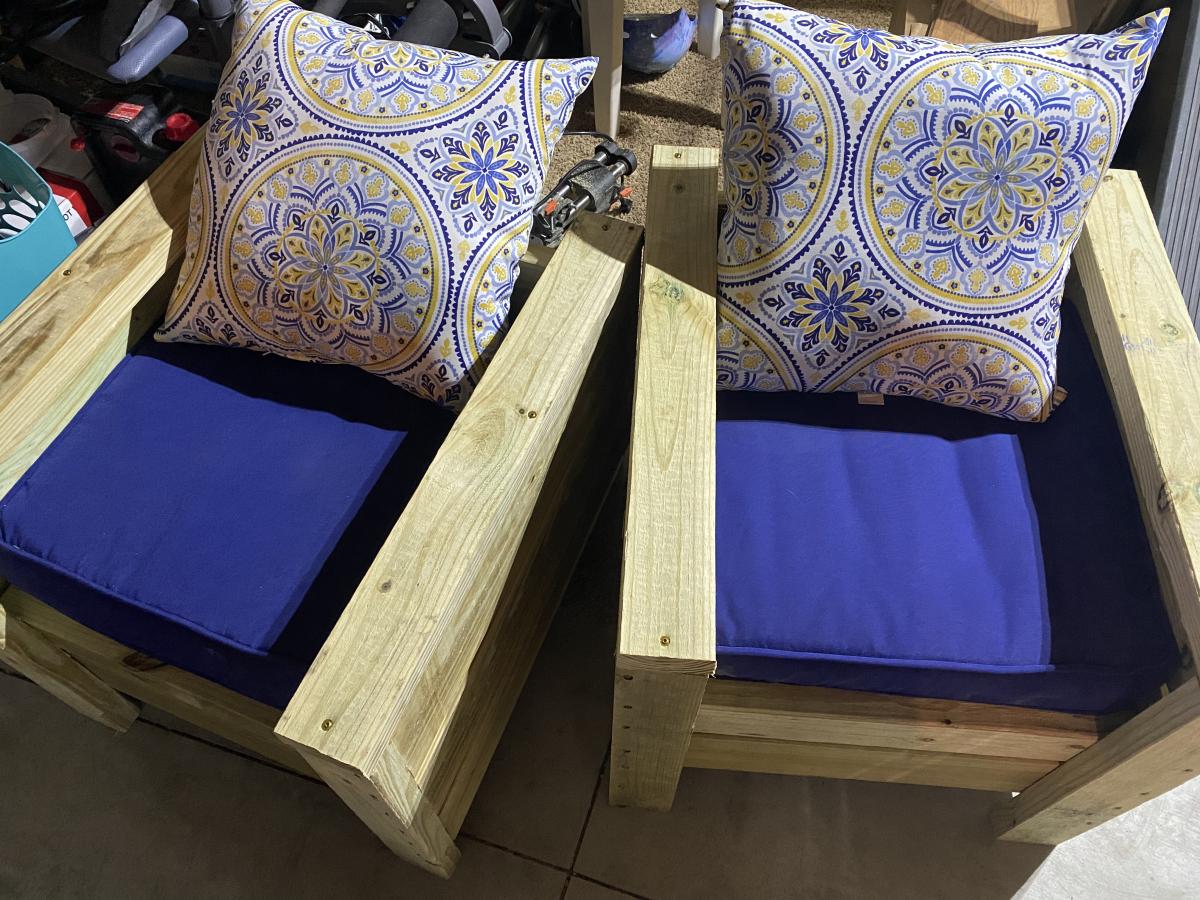
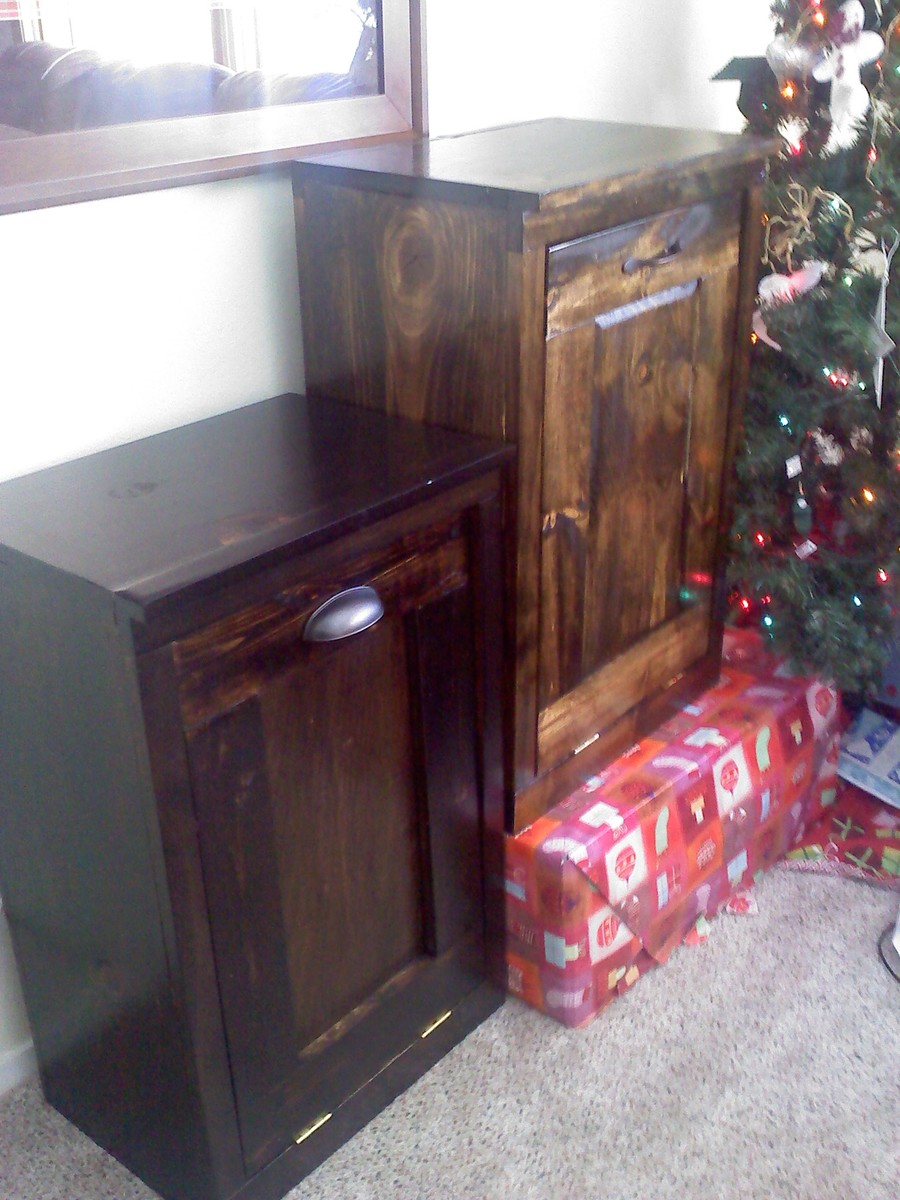
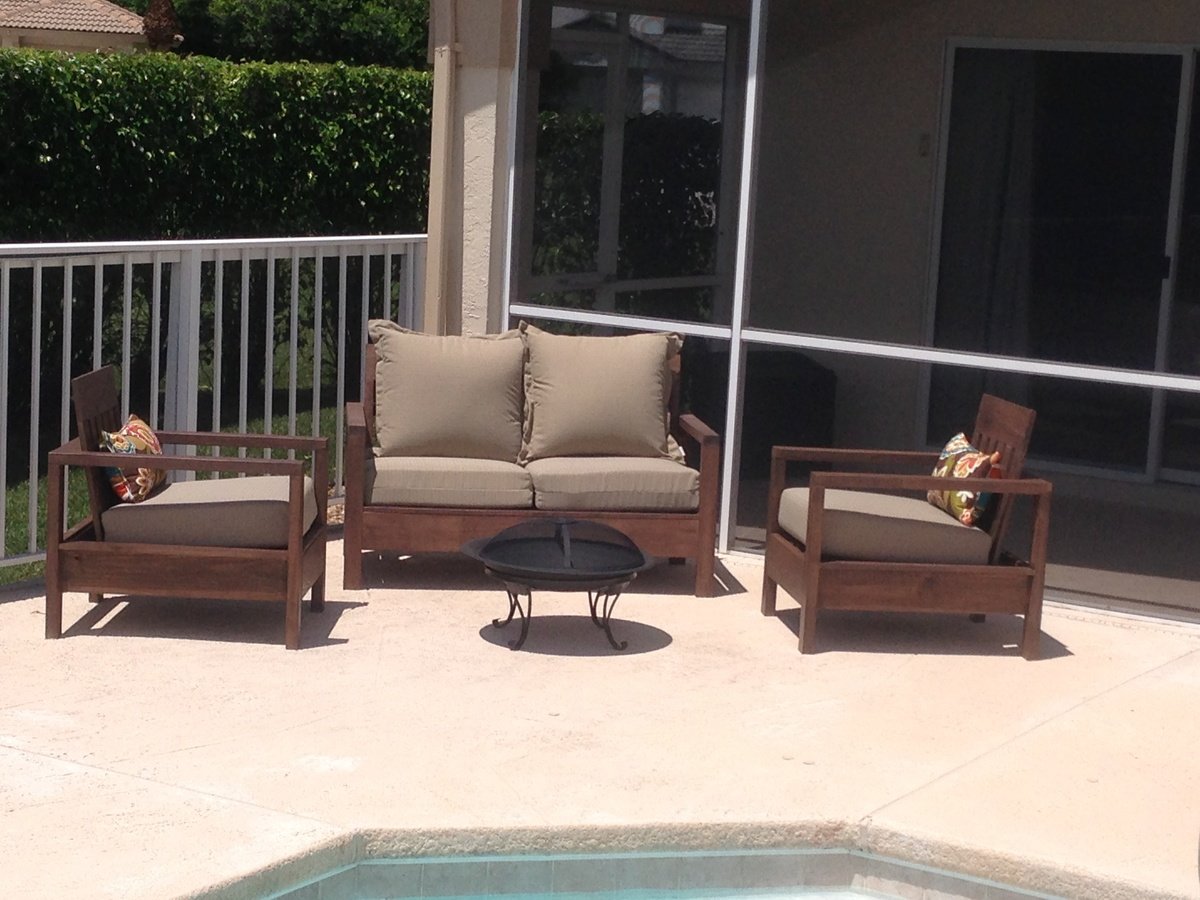
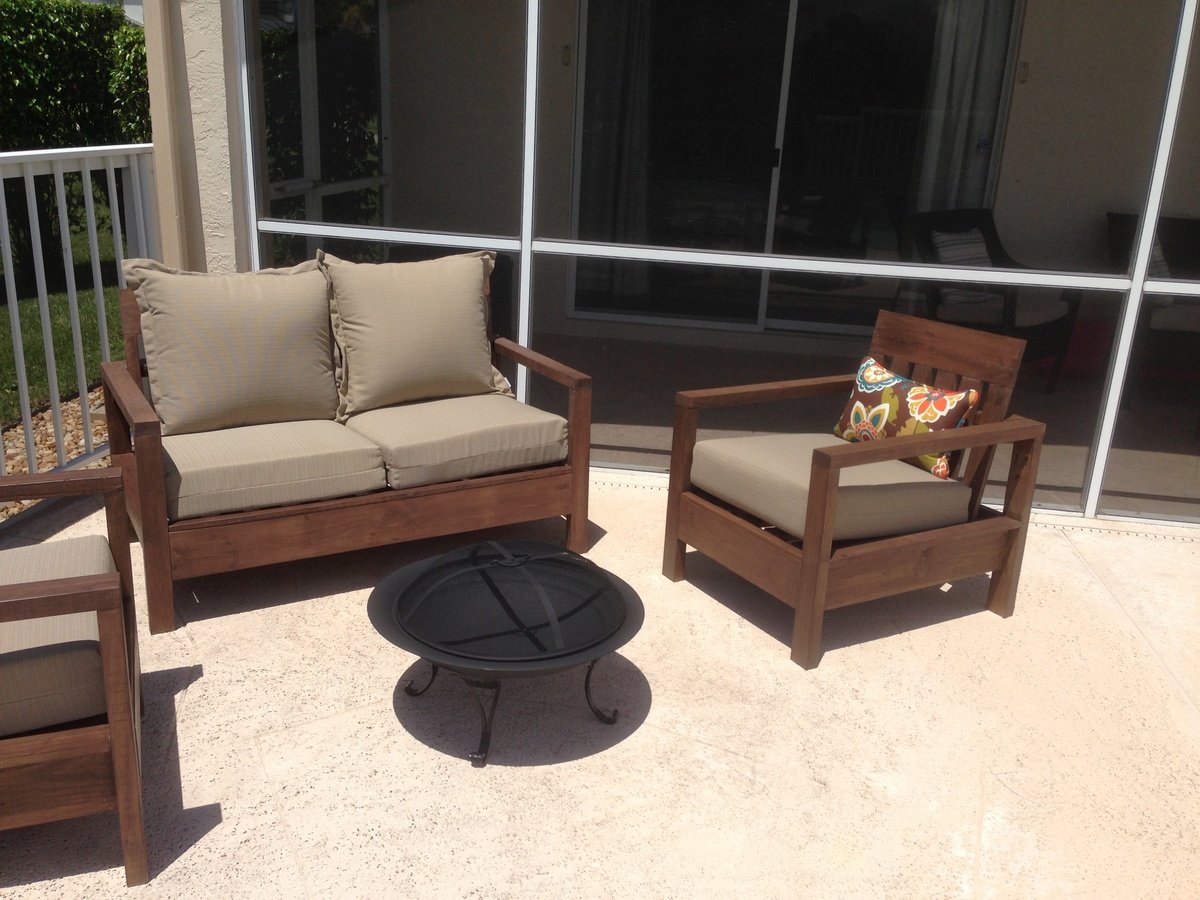
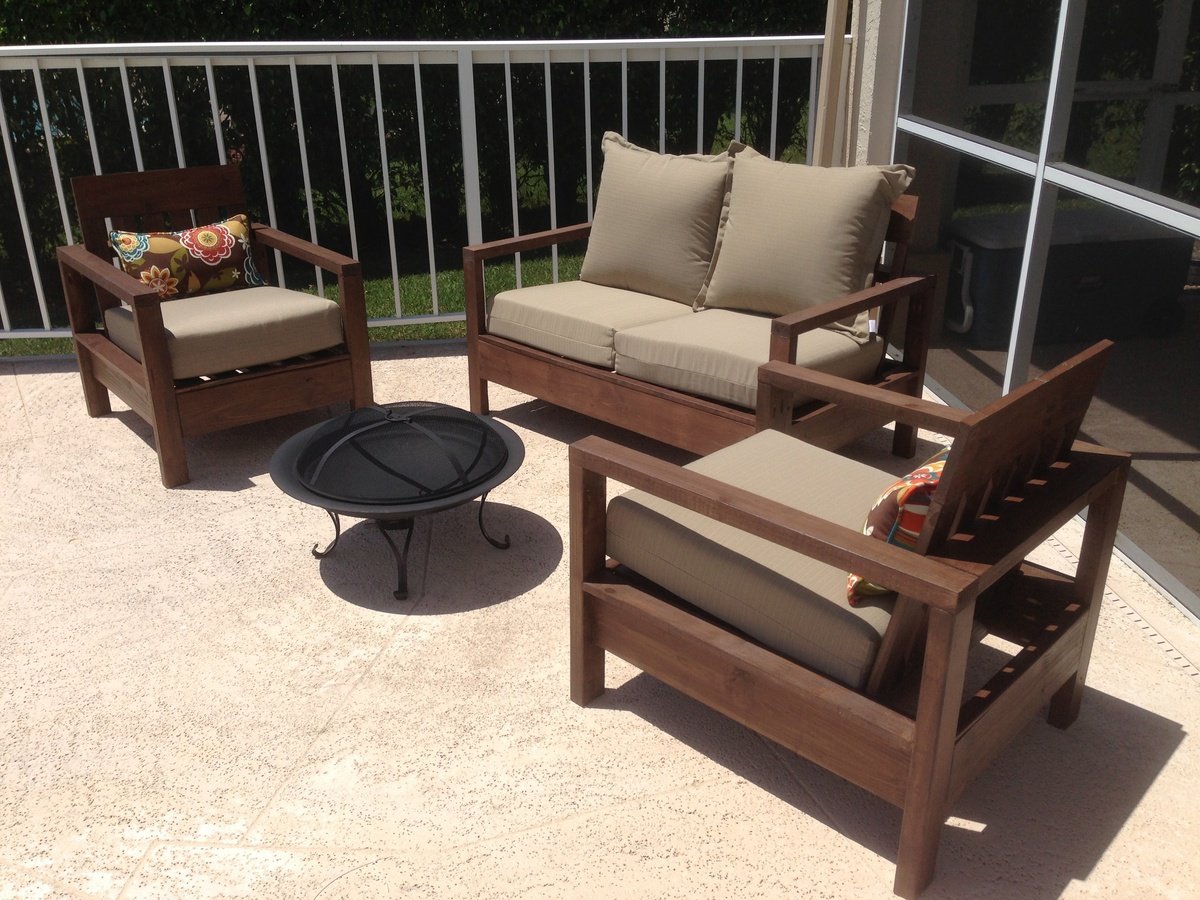
I spent a weekend with a visiting friend and made one as well as completed two more for Christmas gifts.
Thanks Ana
I shortened the legs to 20 inches and left the lower rung off.
It lives in the playroom and is just the right height for our sons desk.
I followed the basic plans but adapted it to fit in my cabin. The whole unit is 82" high by 126" wide. I also put in more drawers and made the fronts in a shaker style. I used 2x4's that I ripped down to 2x2's and 3/4 inch birch plywood. I trimmed out the birch with 1" pine boards. I sanded the whole unit, primed with an oil primer and painted 2 coats of latex from General Paint in Grayling. I don't know how many hours I put into it. A lot. Probably around 80. Mostly by myself. My husband helped with getting the 4x8 sheets of plywood through the table saw and occaisonally when I needed a 3rd hand to pursuade some wood to do my bidding. I love how it turned out. Tons of much needed storage in my cabin.
Mon, 10/12/2015 - 12:08
That looks fantastic, love all of the storage! Thanks for sharing!
We modified these plans to make this, liked the sides.
I followed the plans on the site but made the rear posts the full size of an 8 foot 4X4. For the front posts I had to cut down to fit around the fan/light. For the headboard I simply put 2X6's spaced out 3 1/2 inch between, I used scrap 2X4 for spacing. To attach all the piece I use those newer large Kreg screws for large lumber, way bigger and stronger screws. The bed platform is 1/2 plywood, added a 2X4 for support and skipped the support in the middle. Extra screws and metal L brackets hidden and added for support. Used a router to round out all edges and multi-tool to sand the rest.
So I finally painted my coat tree this weekend (in the 105+ degree heat). I love it. It's far from perfect but it was only my second project and was a great learning project and serves great for towels, coats, hats, dog leashes, etc. Sorry about the poor photo.
Overall the project took much longer than it should have since I was cutting everything with a crooked cutting circular saw so getting the angles right took a long time. (I have learned that a power miter saw is worth every penny!)
I'm very happy with it. Thanks for the great plans Ana!
I had to a quick conversion from the original plans as we get metric wood sizes so decided to use the following:-
Desk frame: 44 x 94
Desk frame front: 44 x 69
Desk Top: 32 x 144
I drew up new plans to fit my 1500mm space I needed the desk to fill, with the new wood sizes.
The purchase of the Kreg Jig was my best investment as it made construction so easy.
I finished the desk off in Antique Oak after wanting to add a little Antique White to it, but got scared that I would mess it up!
Total cost for wood and finishing materials was R1,500.
Thu, 09/05/2013 - 08:39
Many thanks for the compliment. The design is based on the casual 2x4 desk on this site, however I made adjustments and redrew them due to the standard timber size I could get hold of and also a bit of personal preference. I have the plans in electronic format should you wish to have a copy.
I made this fast and easy table, I was using as a small night stand in a small bunk room at my work for a coworker. I used scraps that I had and had him choose a paint I had on hand! Covered the top with polyacrylic to add some protection!
This was a fun and quick build! Because I had an existing bed frame (and didn't want to headboard to stick out past the mattresses) I narrowed this by eliminating (1) tongue and groove board and changing the "legs" to 2 x 6 boards instead of the 2 x 4's in the plan -- overall width ended up at 76-1/2". Before framing out the tongue and groove, I cut the exposed tongue off of the last board so the frame would attach better. After getting it all together, I wished I had used a 1 x 4 (or perhaps even a 2x4) as the very top piece so it hung over the moulding more. I painted it with Old-Fashioned Milk Paint in Tavern Green and sealed that with Howard's Citrus Shield. The wax turned it a little too John Deere green so I'm thinking I'll go back with a Burnt Umber Wax to darken the color a little. Overall this was a great project that got me back in Dad's wood shop and refueled my love of building things. I'm searching out my next project now.
Loved this simple desk project for my teenage daughter. She has spent many hours here with her school work. My favorite part is that it only took a couple of hours to build, is lightweight and doesn't take up much room. I think it would be perfect for a dorm room or small space. Thanks for the great plans Ana!
This is my very first project! I had so much fun building this for my son. His room wouldn't fit the stairs so I modified the ladder so that it was inclined to make it a bit easier to climb and less scary for him. This was such a fun project to take on. Thanks Ana for the plans!
Sun, 12/11/2011 - 12:35
Hi. my husband is just about finished building this bed, and now it's time for me to paint it. Just wondering how you painted it for a nice finish. Did you use rollers or brushes? And tips on technique?
Thanks!
This project seemed to take forever, but it was so worth it! We finally have a great cozy outdoor space to gather around the fire pit comfortably. Thanks so much for the plans Ana!
I should mention I used 2x3's instead of 2x2's for all legs because pressure treated 2x2's here are only 1 1/4"??
Comments
spiceylg
Thu, 08/22/2013 - 04:44
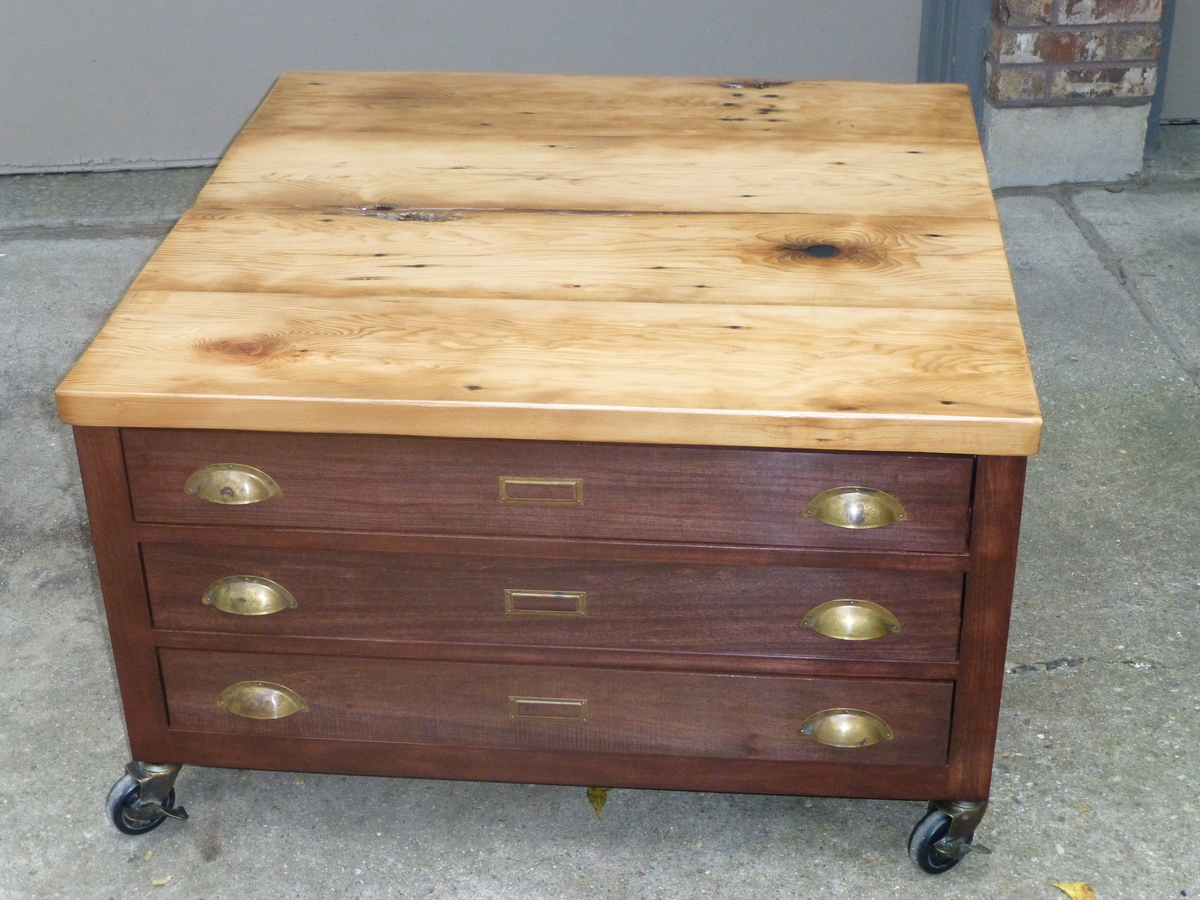
Gorgeous
Totally looks professionally built!