Fancy X Desk
I made this desk for my wife's office space. The plans for this desk are great and easy to follow. The only change I made was I shortened the size of the desk top to fit in our space.
This is one of my favorite puzzles so far. You are given 8 blocks that must be placed in a box. They will fit and the box will be "totally filled." Once you are done, slide the lid on the top to complete the puzzle. Your test subjects might feel pretty smart by knowing that they solved this puzzle within a few minutes. However, you have a surprise. Pull the extra piece from the lid and tell them to place it in the box. I've tested this puzzle with 20 people so far and the common response is "No Way!". But yep, it can be done.
This video shows the solution but doesn't answer the why. Do you see a difference?
Followed the plans and it came out great. I am still thinking about the extension on the right side since the hinges are so expensive.
The moment I saw this I knew it would be a perfect teachers gift for my daughters teacher. She loved it.
This was only my second project, the first being the 10 dollar ledges. I'm glad I tried a smaller project before tackling the farmhouse bed. I think it helped with just knowing how to assemble a project a bit better.
I used my Kreg Jig and it worked marvelous! Also I ended up not having a jigsaw so I just cut the top at a 35 degree angle with the miter saw and rounded the edges a bit with the sander. I was going to add handles but the top goes up enough that it's easy to manuever without. I also wanted her to be able to fit it in anywhere and was worried that the handles sticking out would just get in the way.
Overall I think it turned out great. Her teacher loves it. Thank you Anna for such wonderful plans!!
Krista
This was the first project my husband and I attempted. I'm new to building but he has lots of experience. Went real well, I should have taken the advice though to measure and cut trim at the end. I did it at the start to get it sanded and we ended up needing to redo it all with new wood. So happy with the end result though, tons of storage for baby's toys.
My wife was dying to have me build her a halltree for the entryway in out house. She drew up some "blueprints" and we started building together. I know the finished project is dark but from the before pic you can visualize it.
I'm sorry for not having the plans up. I will get her "blueprint" scanned for everyone to use as this was our design.
A lot of fun to try. X’s were challenging, and used the pickled white washed stain for the first time.
Finished over 2 hrs with 2 more friends. All of us inexperienced :)
This was my first project! I love how it came out. Now my husband want the matching end tables. Can't wait to get started
This was an easy build and it's a very sturdy design. I've had many requests for converting this into a media center.
Loved how rad this table turned out. I wanted a mad beefcake table top -- so I chose 2x12s for a more industrial look. To get perfect seams and a completely flat surace for the table top, I planed each 2x12 multiple times, followed by many sessions in a jointer to get my edges to a beautiful 90 degrees. Once I had the top measured out to the length and width I wanted, I ripped the pieces down closer to a 2x10. Following that, I domino joined the pieces with a crap-ton of glue and clamped it for 2 days. To finish, I created an original 5-step stain process (including white wash) to get a weathered, Restoration Hardware-inspired final look. So stoked on it! (Wifey loves it too, so that's a huge win).
-Andy
I took your plans for the beginner book ledges and modified them for our 90 degree space. I had to learn about mitre and bevel cuts so that was fun.
I also learnt that when the wood is slightly warped it pays to be attentive to the eventual install and how stress will flow through the work.
We were searching for the perfect bookshelves for our girls' room. We came across these bookshelves and decided to build them ourselves. In the end it worked out perfect! The book are easy enough for our 6 & 3 year old daughters to put away, they look amazing, and it was special building them with my husband as a gift to our daughters. You can find more info on the room and bookshelves on my blog www.brebuskey.blogspot.com
My dad made most everything I have ever had in life including the house I live in. So I wanted to make him something this dad's day that he could really use and enjoy. He just built a hang out place in his back yard that I call "his fort" Since he's in his 60's now and a little more mellow, he has a lot of little parties with friends, family, basically anyone who wants to come hang out in his back yard. lol. (He claims to have made the fort a covered stage for my 12 year old and his band. But I know the truth. hehe. it's his fort :) ) So I thought this cooler stand would come in handy. He saw me working on it a few days before fathers day and told me he was afraid I was gonna make his something girly. hehe. He's such a man's man. I love my pops and am soooo happy he likes my gift. Its already in use in the fort. hehe
Mon, 07/22/2013 - 20:43
Thank you Sue :) his fort is so awesome. both my sister and I have houses on my dads property. The picture of his fort is from my balcony and I can see my dad in his fort every day. It makes me so happy to see him over there just relaxing (with his cooler hehe) looking around the yard at the trees, creek and all of his hard life's work. Everyone needs a grown up fort in my opinion.
New to building, but it went together fairly easily. I think next time I'll decrease the width of the foot stool, so I can just step over it and sit in the chair. Give it a try!
Thank you so much for the well explained plans! We had HD do all our 1x12 cuts so it would fit in the car (they were happy to help). We ended up painting it in Polar Bear White Semi-Gloss, and It turned out great!
Sofa made out of 2x4 & 2x6 painted in a light French gray with sapphire blue cushions. I also made a matching love seat (not pictured). Turned out nice!
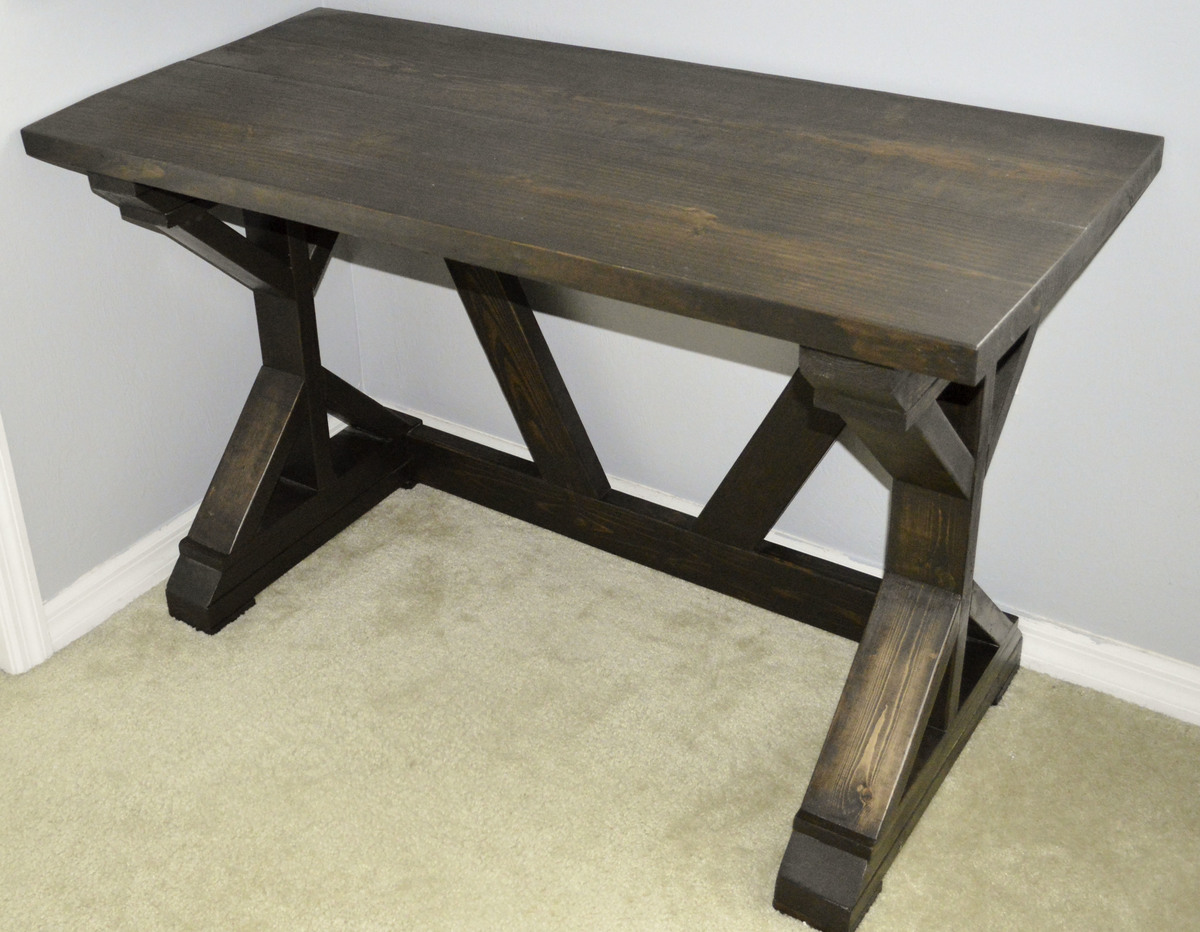
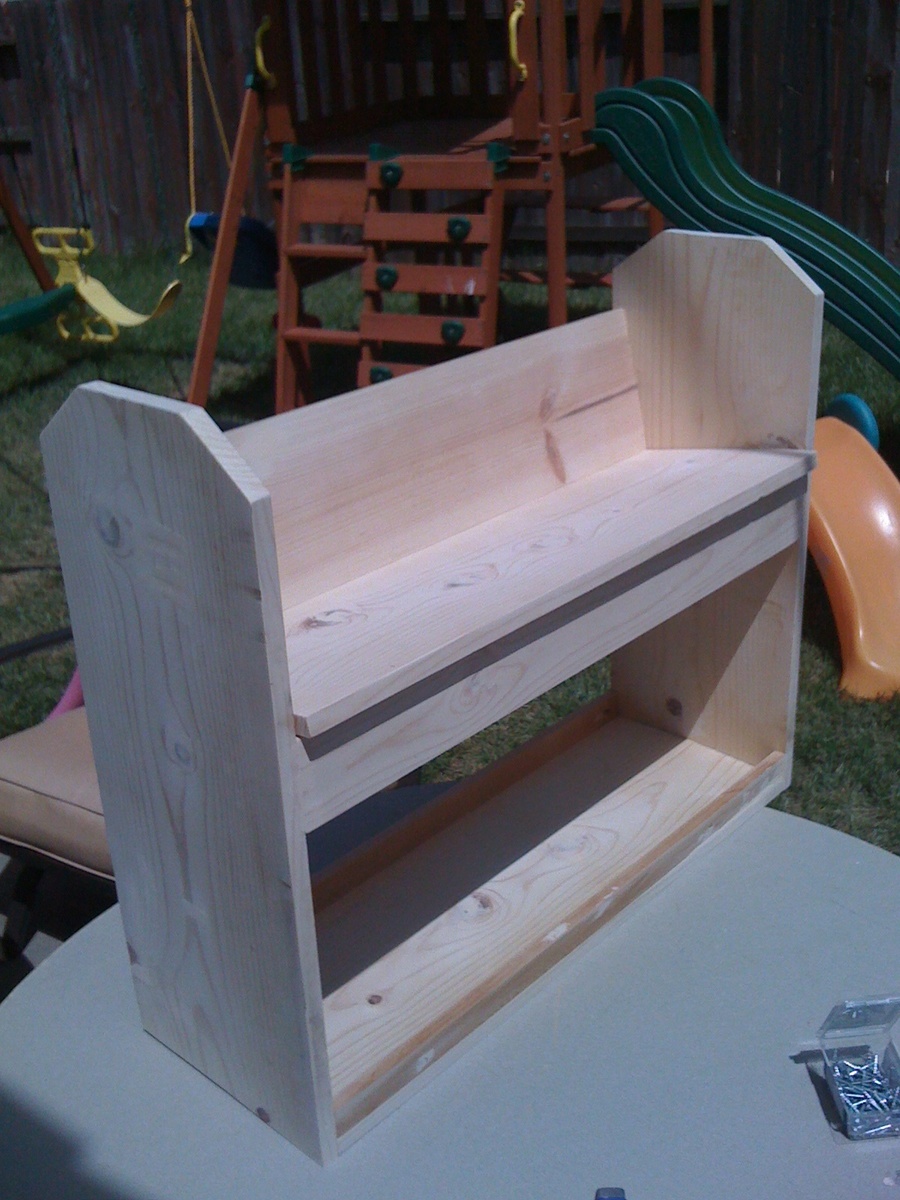
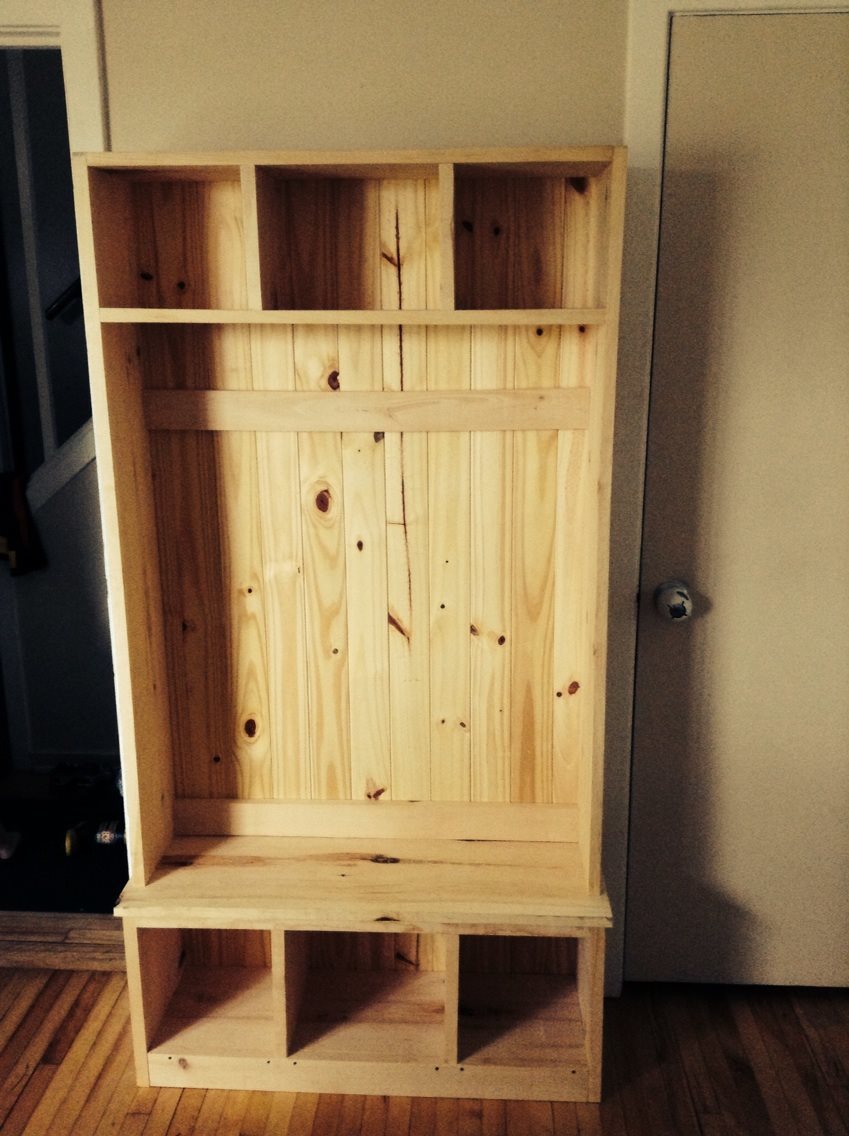
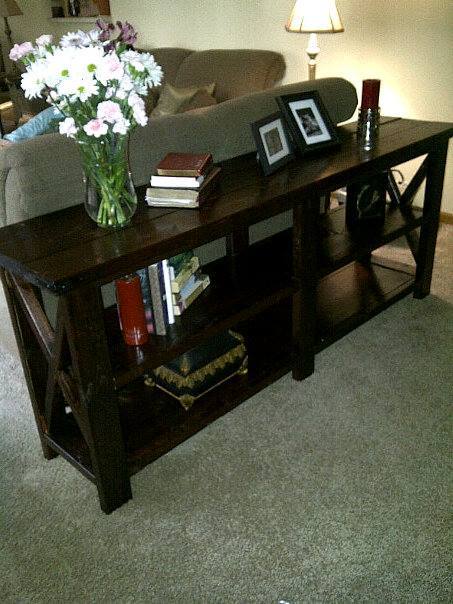
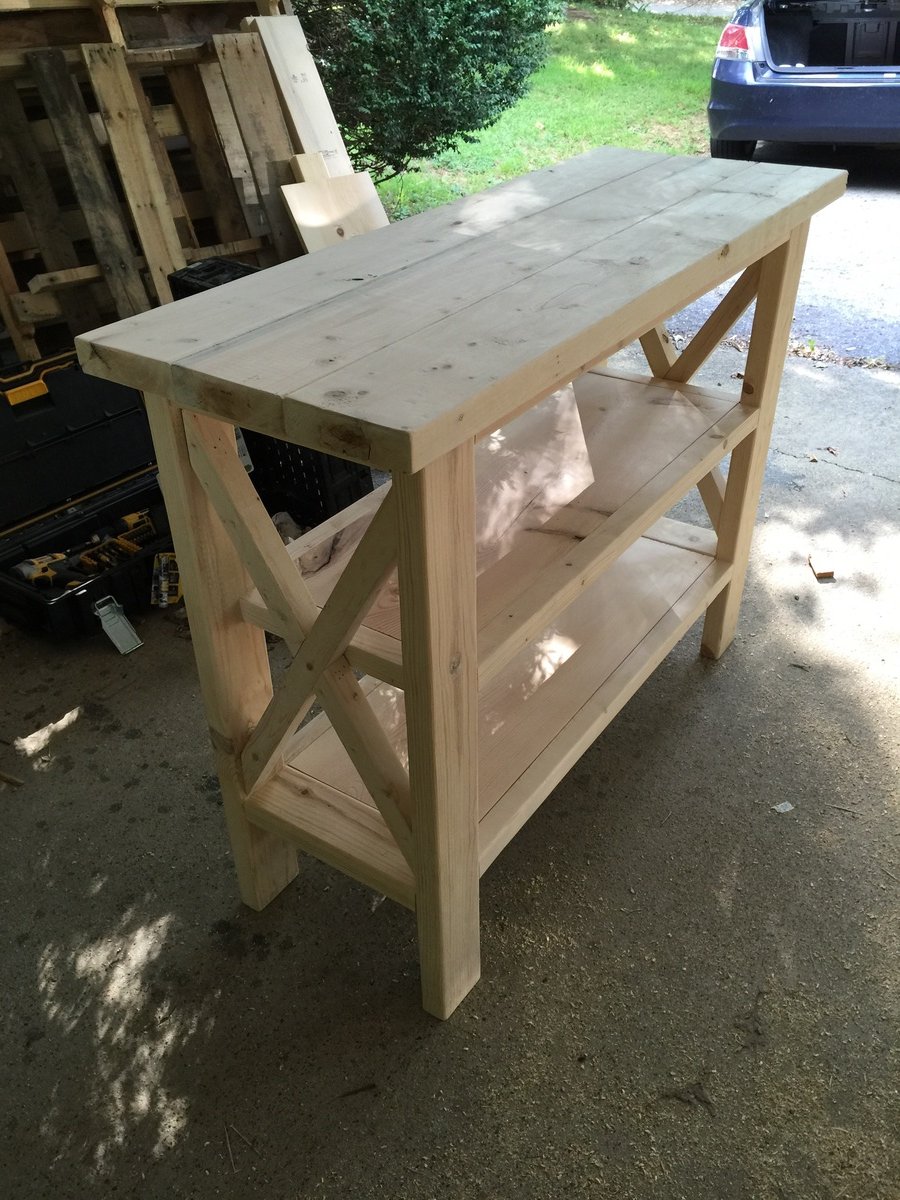
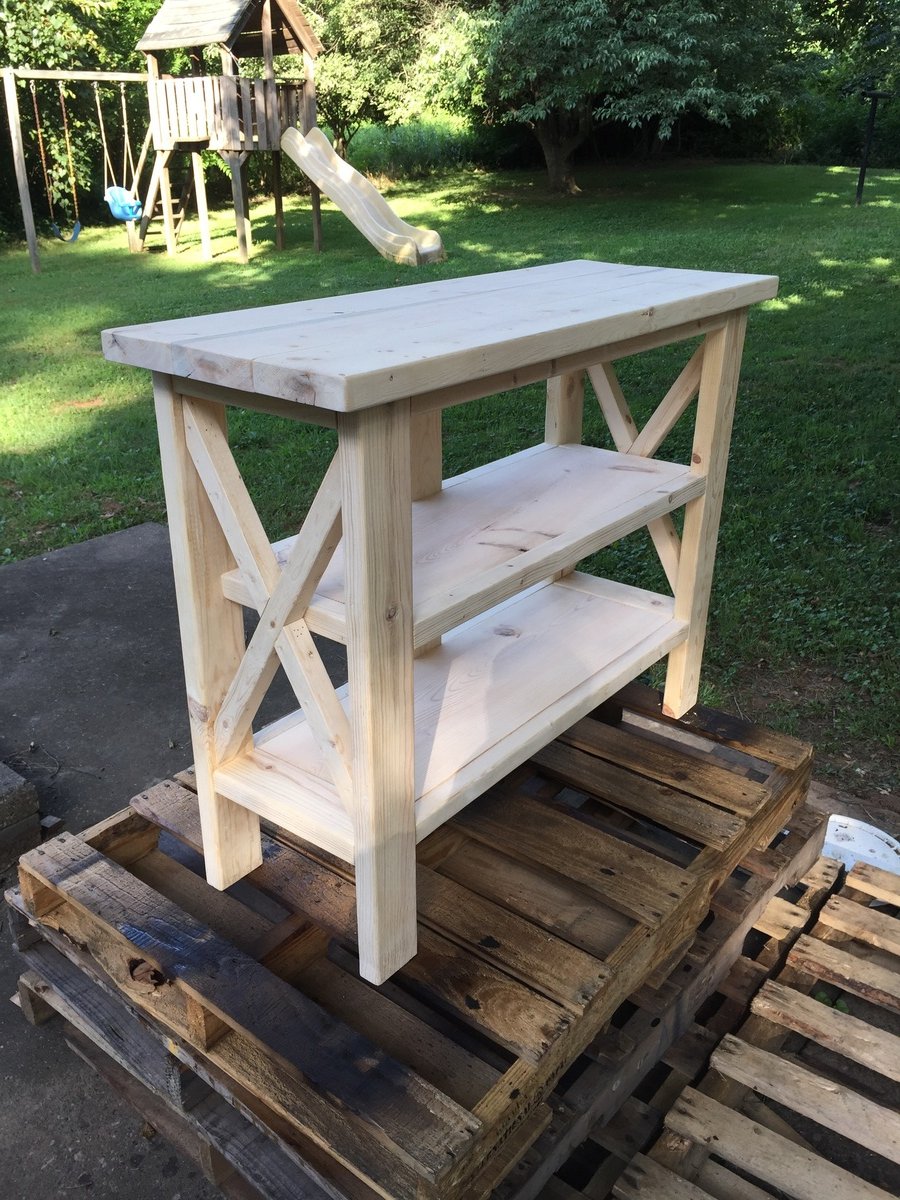
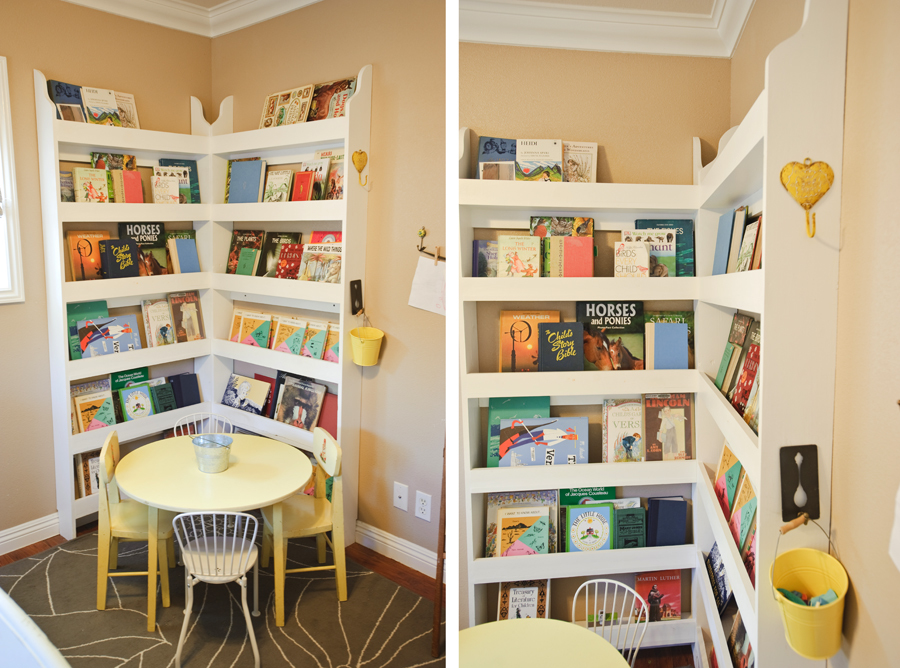
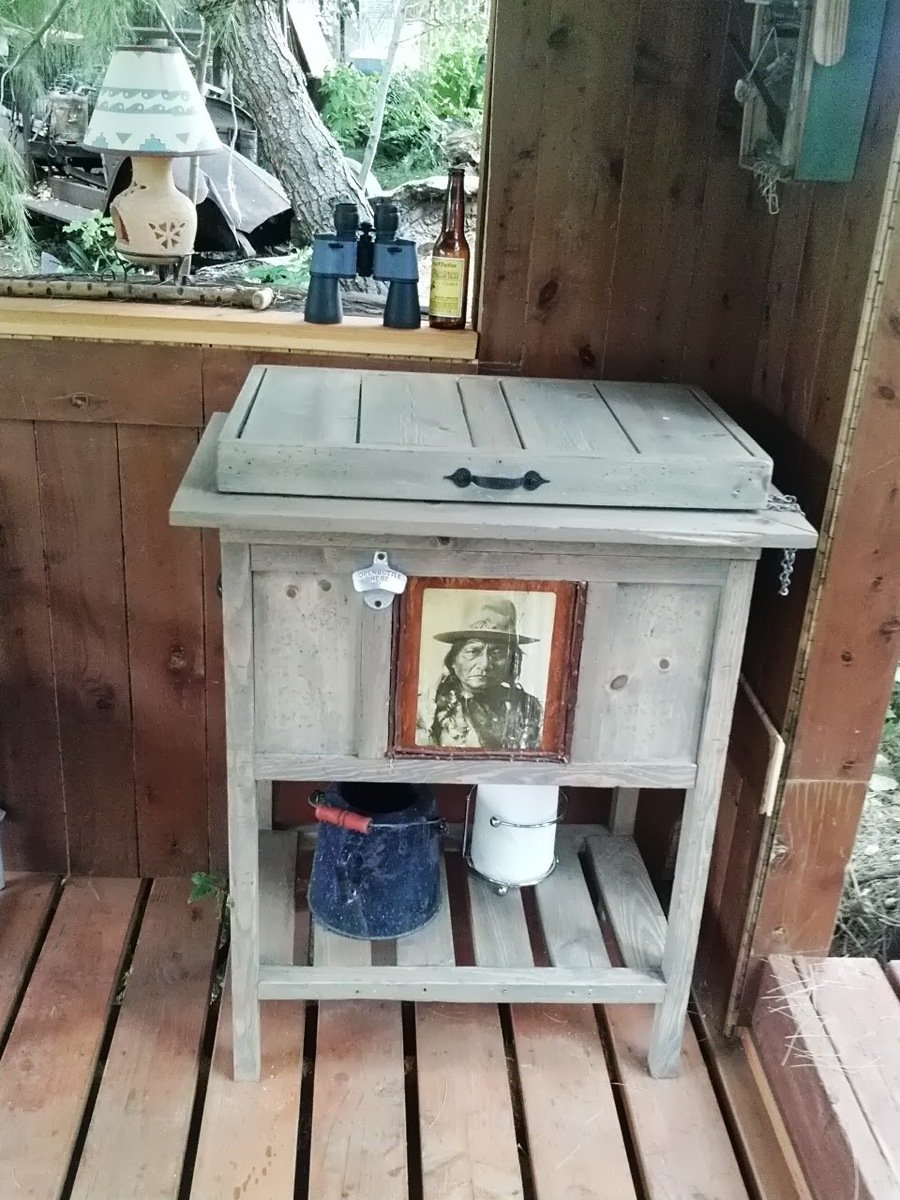
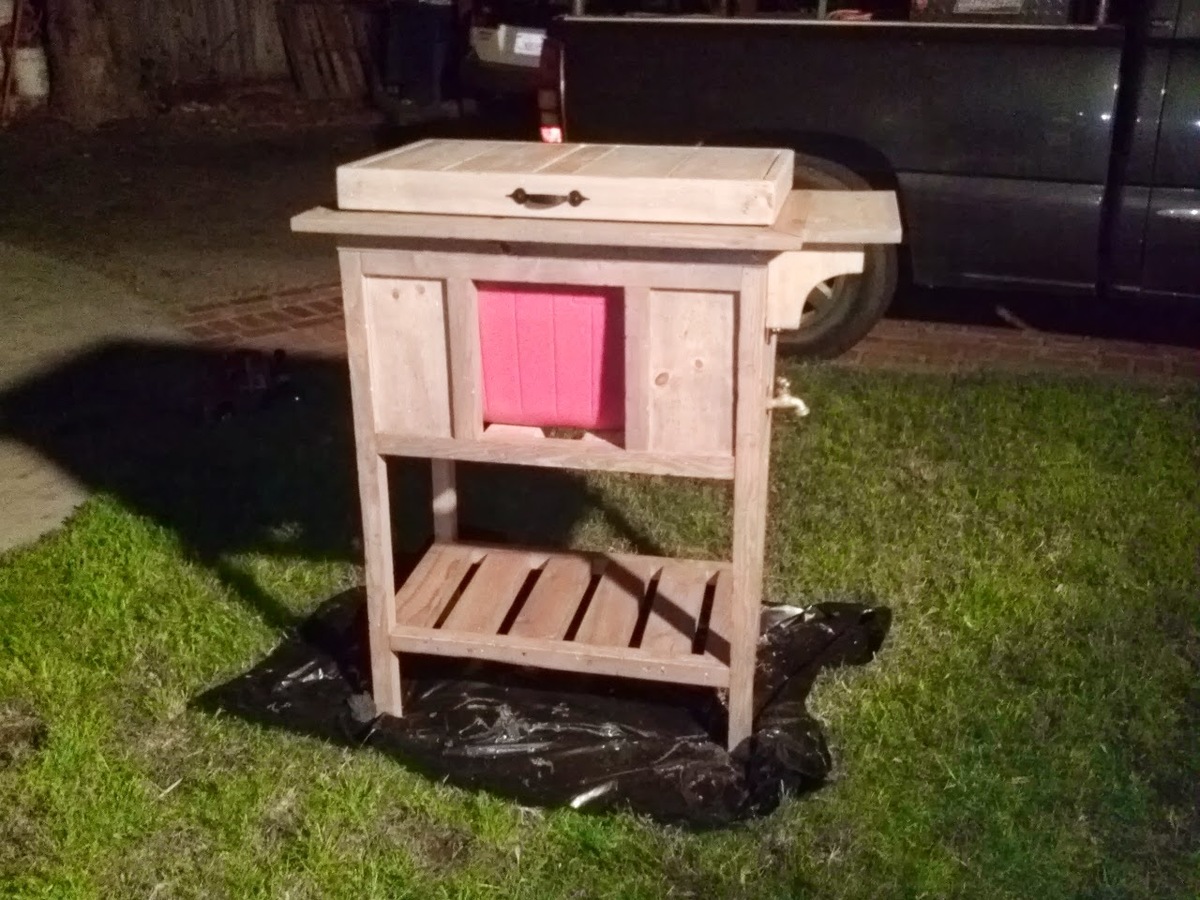
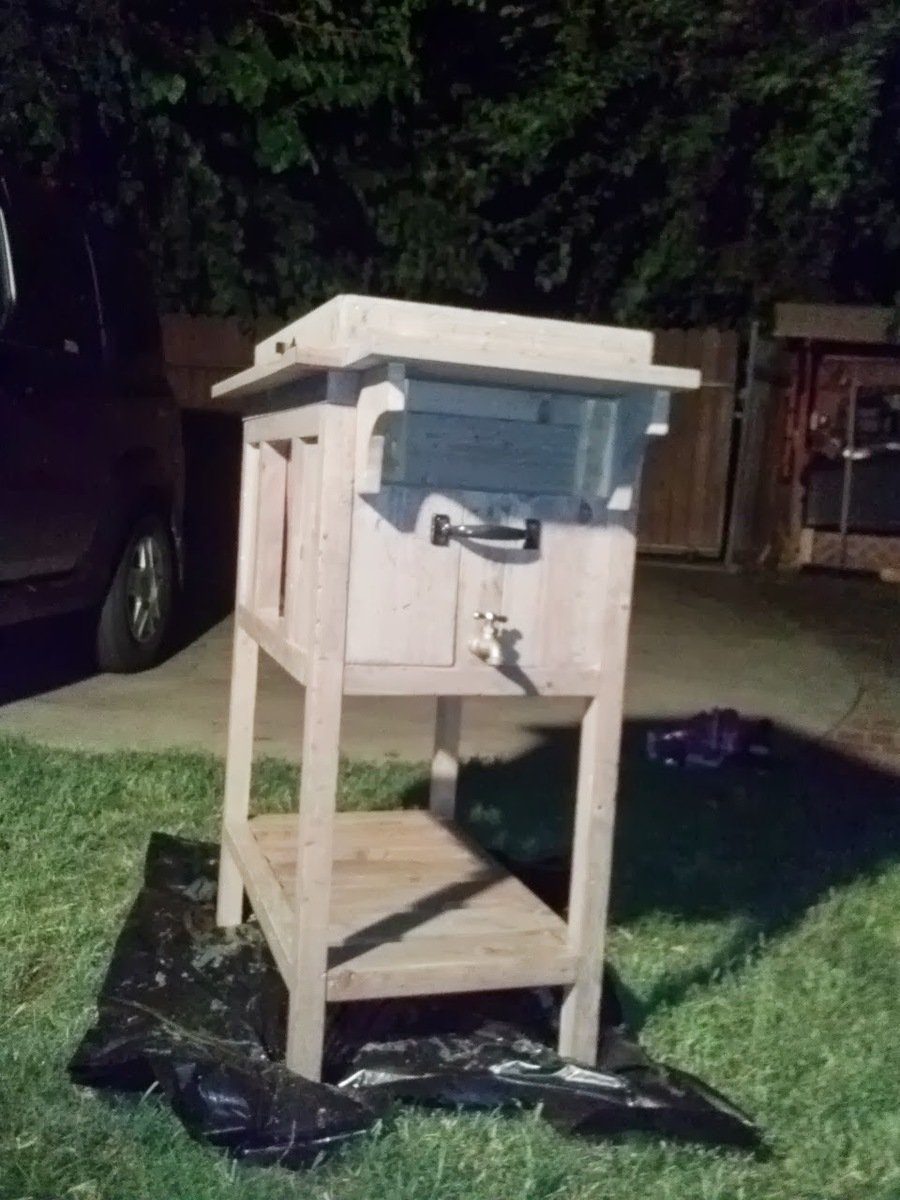
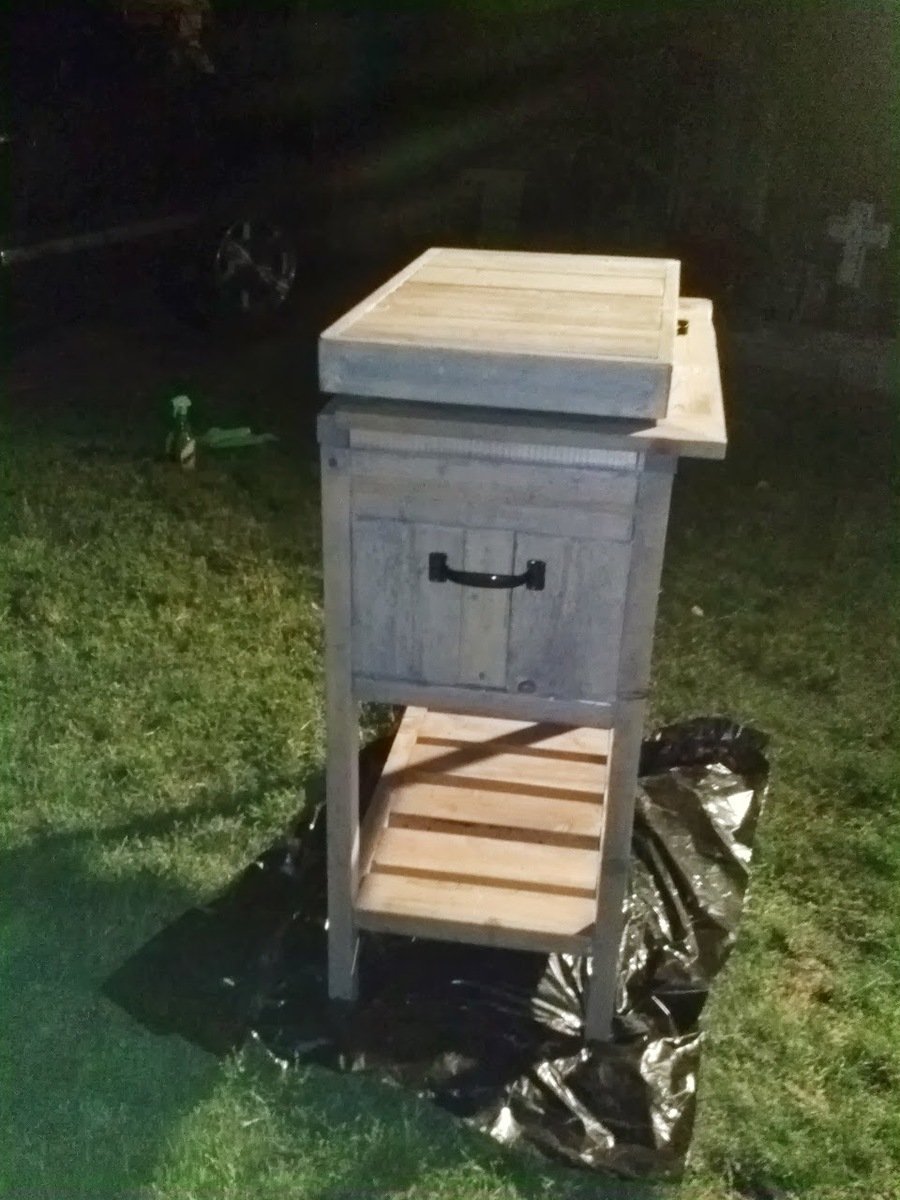
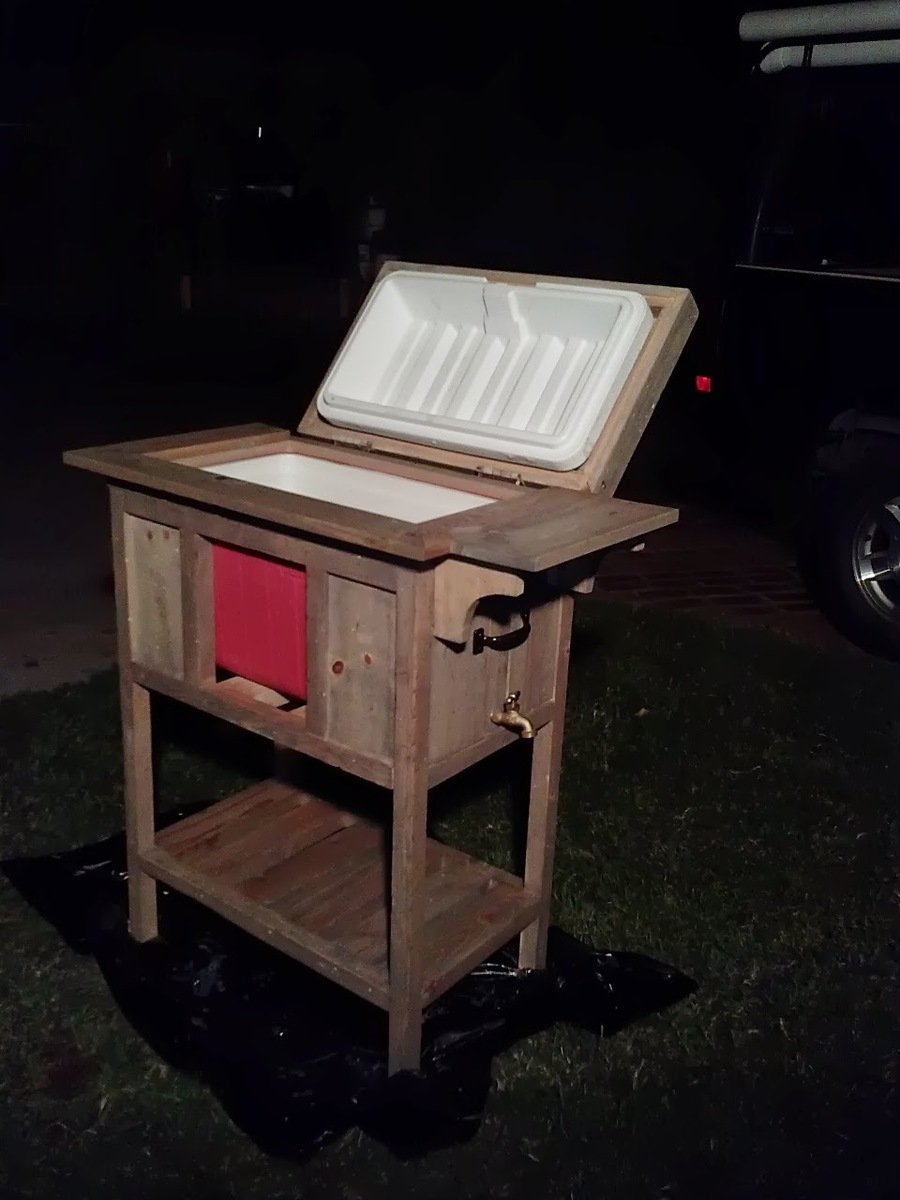
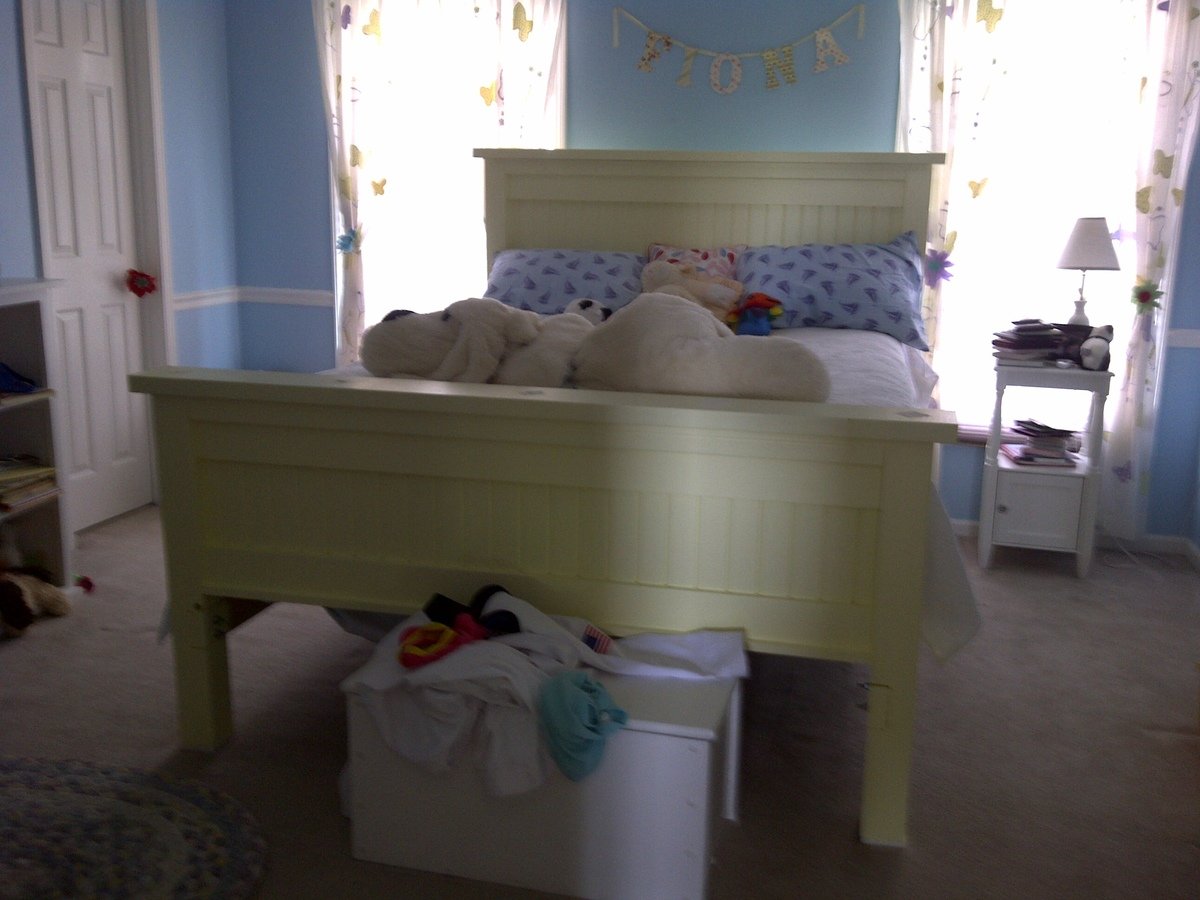
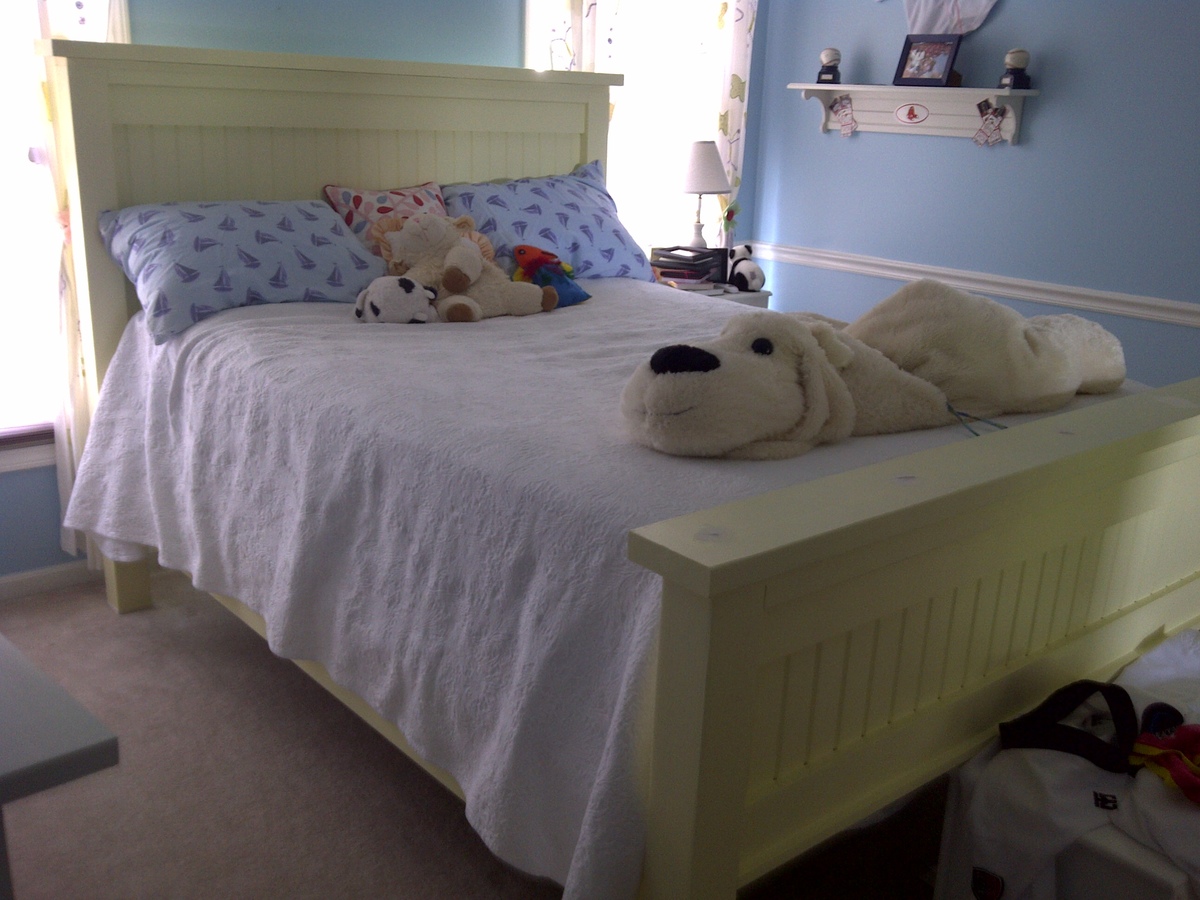
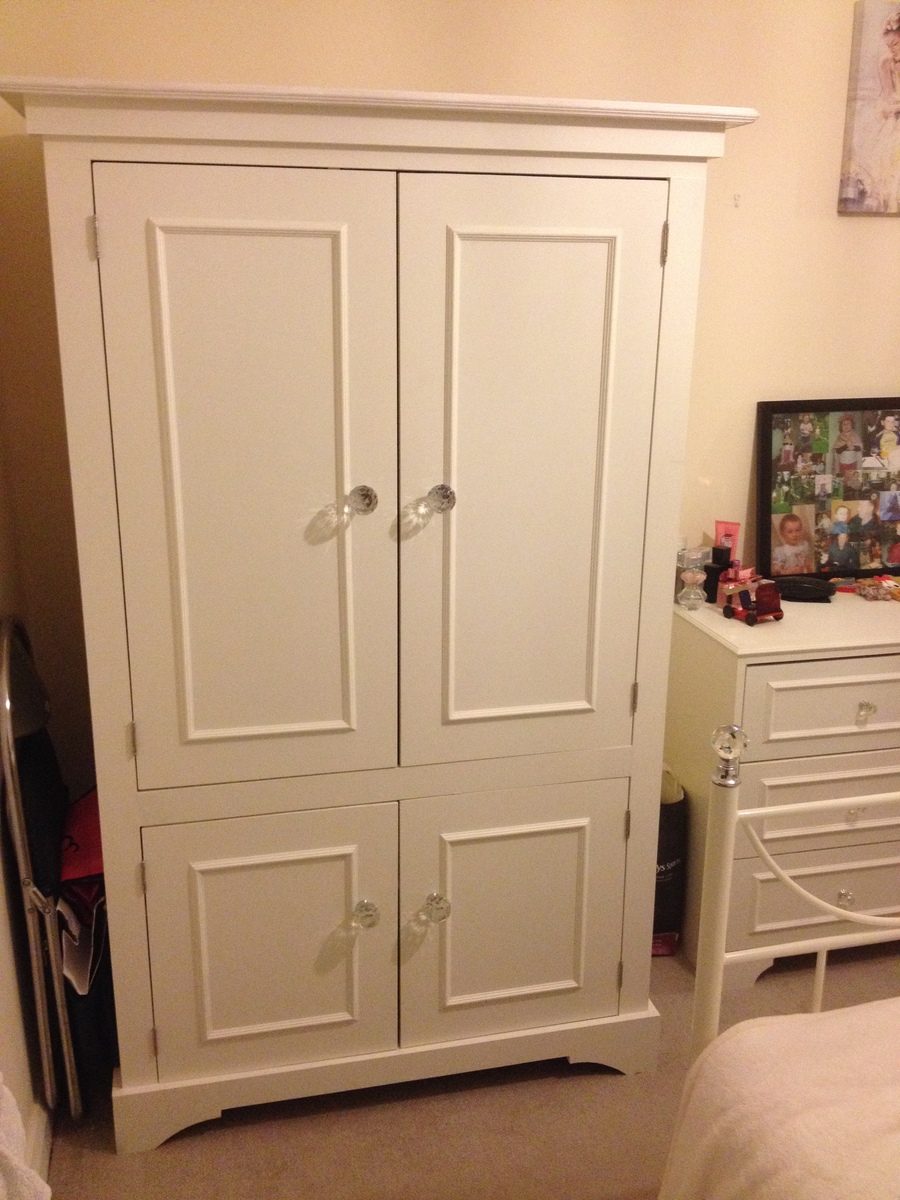
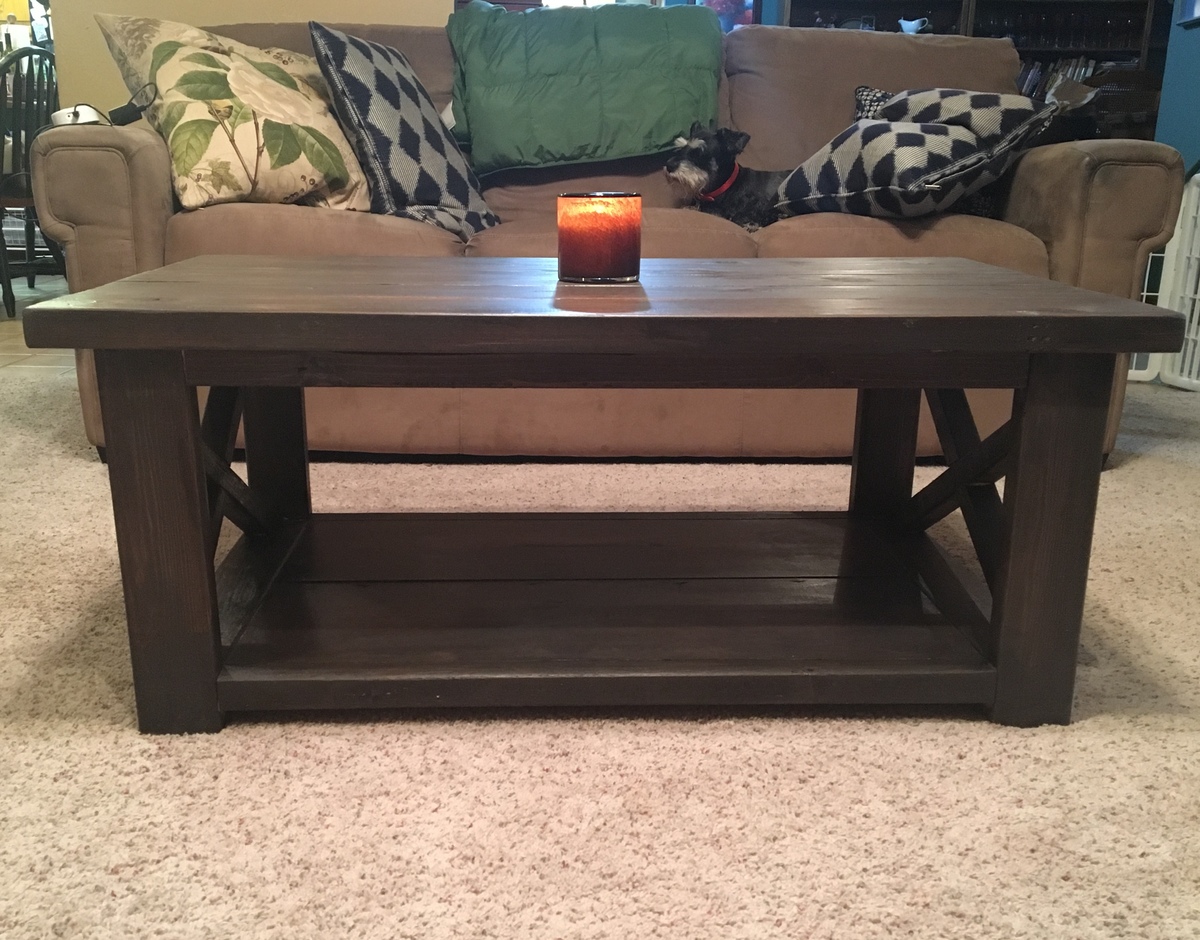
This took about 10 hours, including prime and paint. I raised the side rails 3 1/2 inches to dado the posts to accept a 2x4 siderail on the inside of the post, with 1x8 covering it at the center of the post. The siderails are bolted with 4x5/16" bolts, washers and nuts. We chose to leave it more rustic, showing the siderails at the ends and the bolt holes. It is all pine, bought new and along with a 1" forstner bit to recess the bolts, cost $198. It can be repainted at any time. Tools I used were a compound saw for ease of cutting straight cuts, a cordless and corded drill, 1/2" socket and box wrench, easy square and a circular saw for the 1x8's. We painted it with left over paint. Because its pine, we primed with BIN,
Sun, 06/05/2011 - 20:23
It is 1x5 bead board (pine). Some places call it match board. It is v-groove, tongue and groove and has a smooth (flat) side and a two inch flat, bead, two inch flat side. The plans called for a 61" wide panel but I made it 58" with the dadoed posts (1 1/2 inch each cut).
If you want to do the panel using the T&G bead board, make sure to lay your 1x4's out the distance of what ever height you want your panels and center the first piece of T&G bead board on both the top and bottom panel. Then you work your way out fitting the T&G and screwing in each piece. When you come to the two end pieces, they are going to ned to be ripped but by starting at center, they will be even at the end when ripped.
Another tip is when screwing the panel, you will want to get at least halfway into the 3 1/2" post. measure the distance you want to cut on the drill bit and put a piece of tape on the bit. Then drill until you get to the tape.
I spent a few hours on a Saturday cutting the wood for this project and drilling the holes and putting it all together. It's a very sturdy side table....
I made two small errors -
1) When I bought the 285mm * 17mm pine for the centre piece of the top I neglected to check whether the board was dead flat - it wasn't and was bowed slighty, however, after the top has been attached to the base it's not noticeable.
2) The other error was my shelf - it wasn't quite long enough....I think that I made this error because my legs may have had a slightly different size to the wood/lumber from the USA (where the plans are from).
All in all, I'm very happy with the table. It looks great and is super sturdy.
This was made from MDF
For my daughters room.