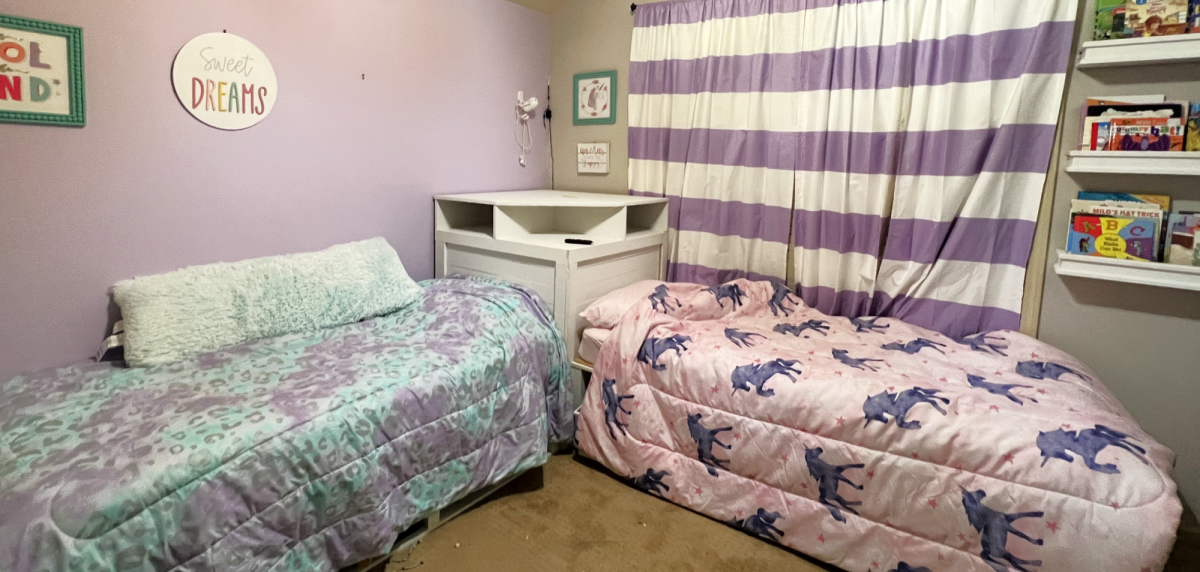
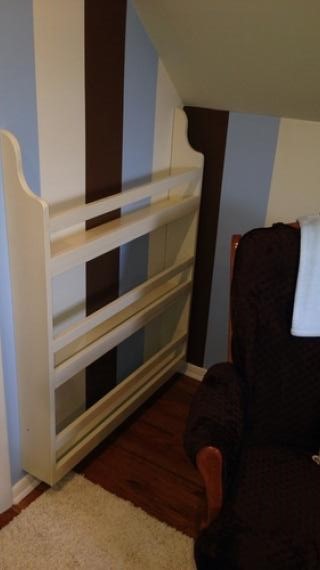
Twin Beds with Corner Cabinet
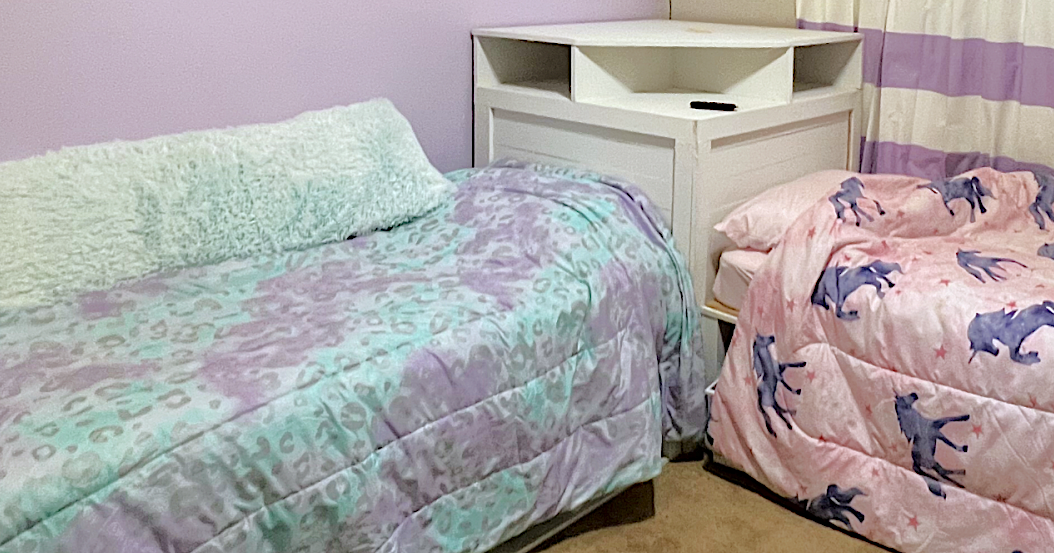
Made this for my granddaughters from Ana White’s plans.
jburks23 Instagram: johnburks31
Built from Plan(s)
Made this for my granddaughters from Ana White’s plans.
jburks23 Instagram: johnburks31

I had been wanting to make this for sometime but didn't have the curtains. I was at a friend house and she asked if I wanted the red curtains that she was going to throw them away. So I got to make the tent, her daughters got a cool place to play and the curtains got a new purpose also the tent was made to fold for storage!!!
Thanks Ana for all the plans and ideas you give us!!
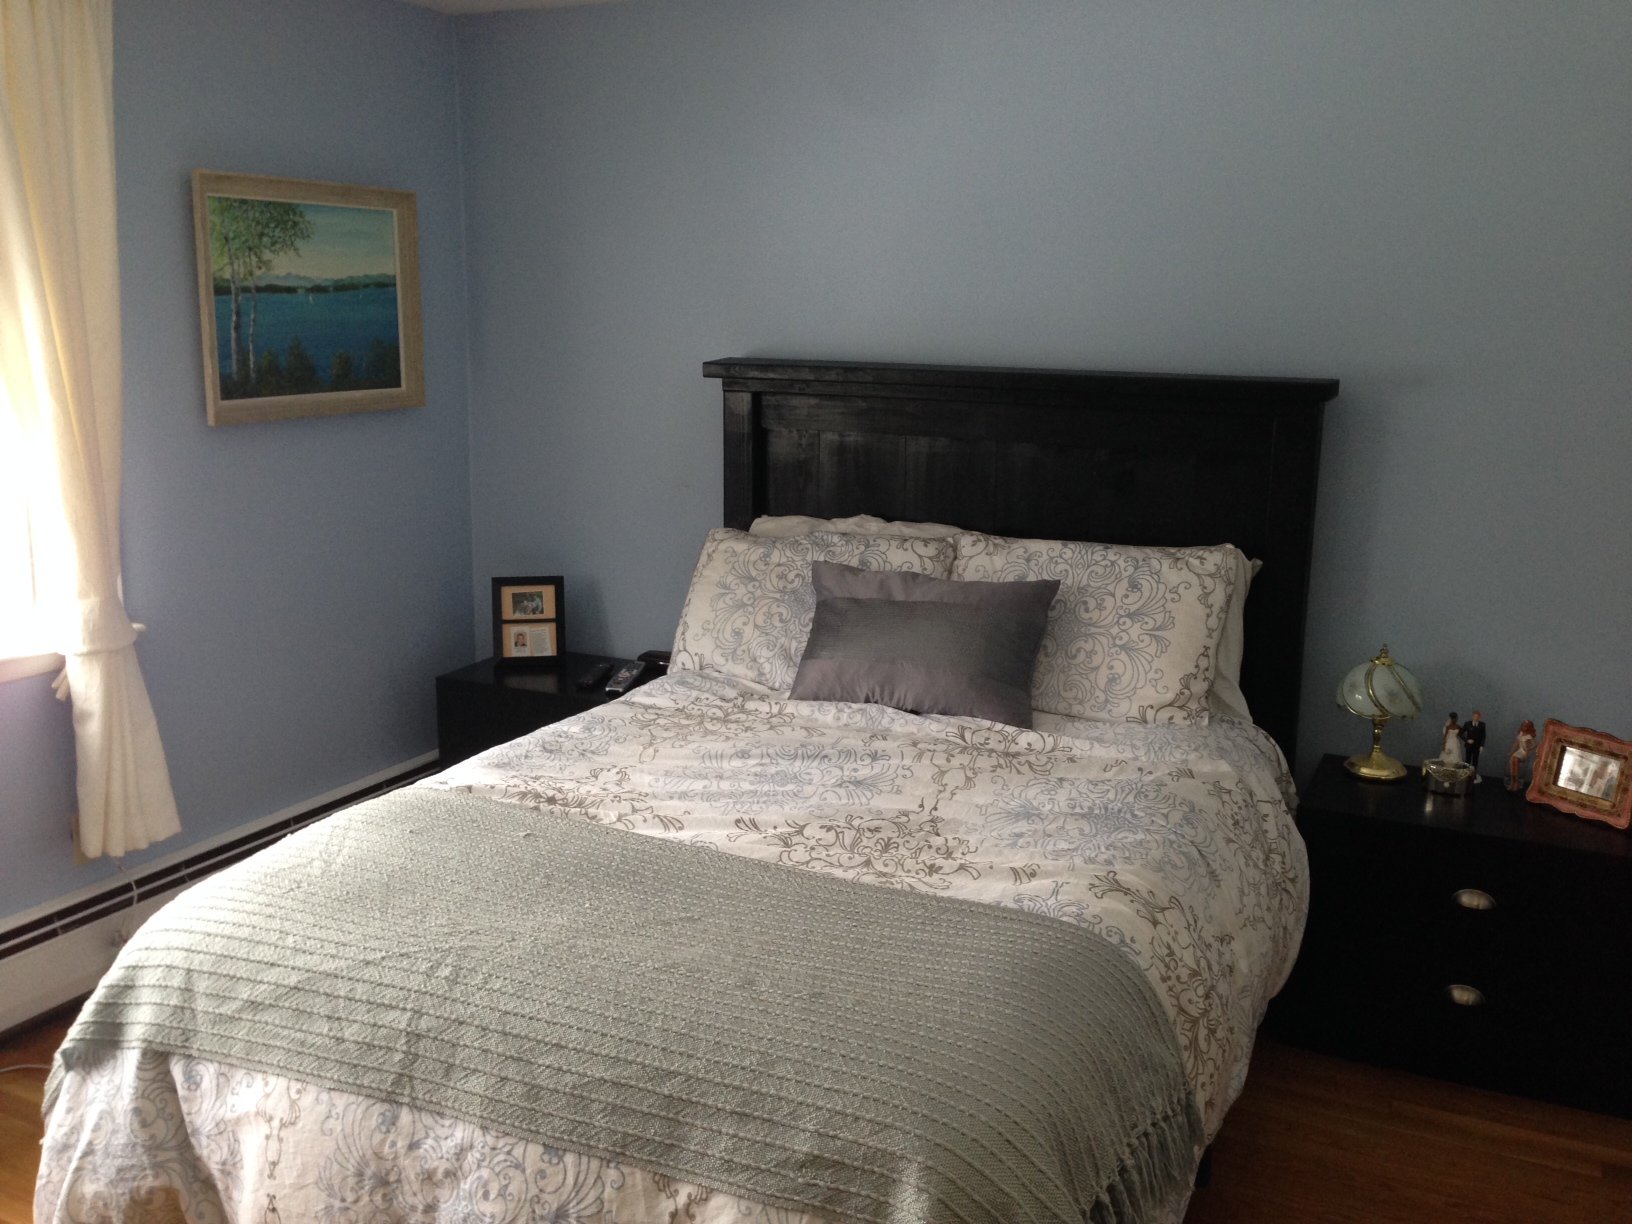
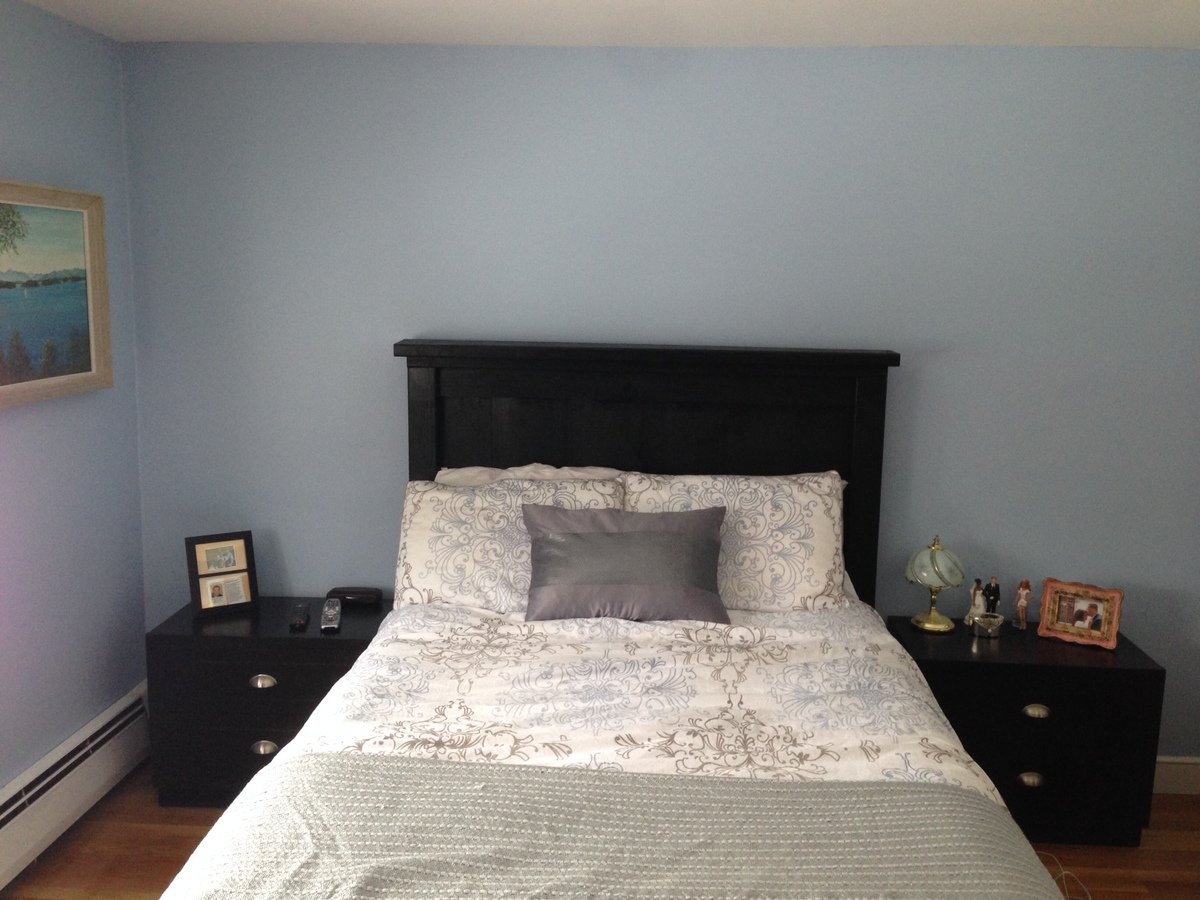
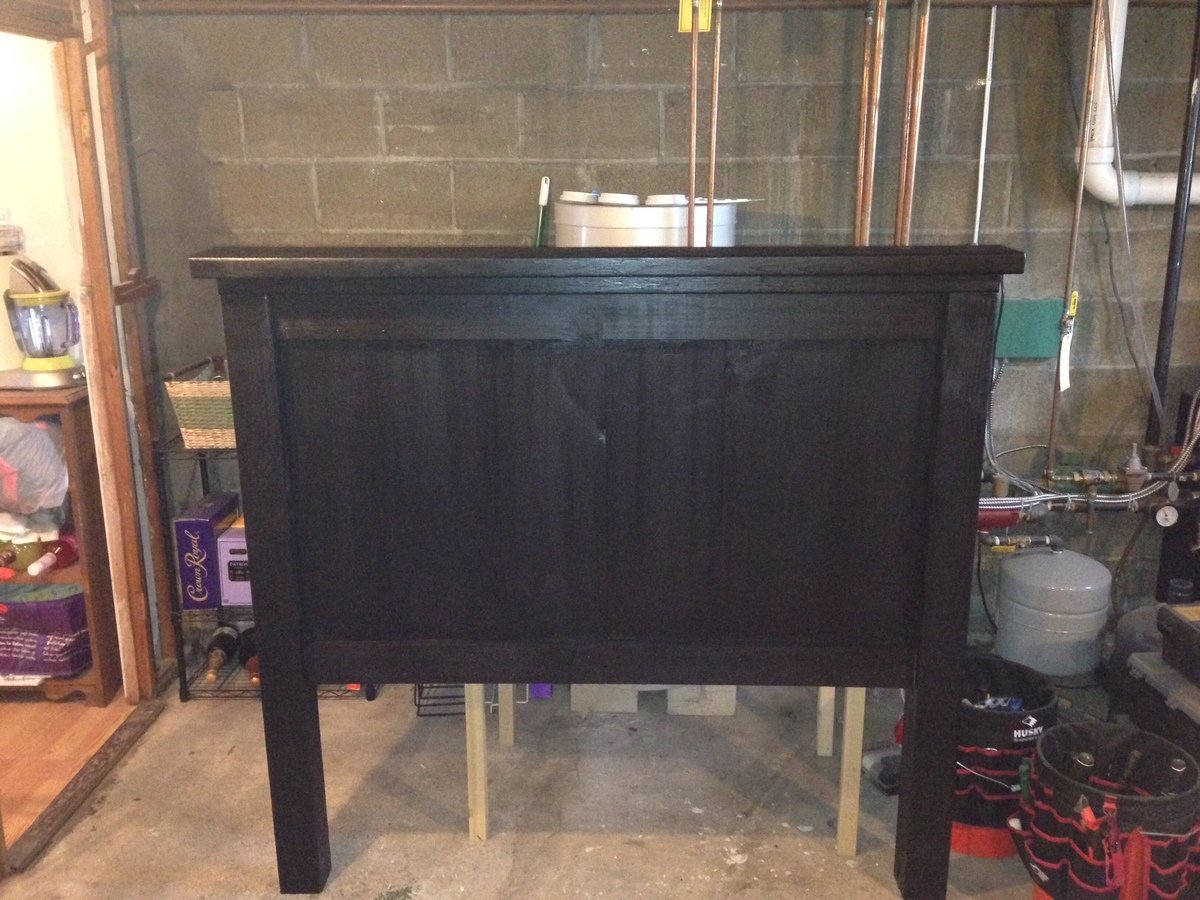
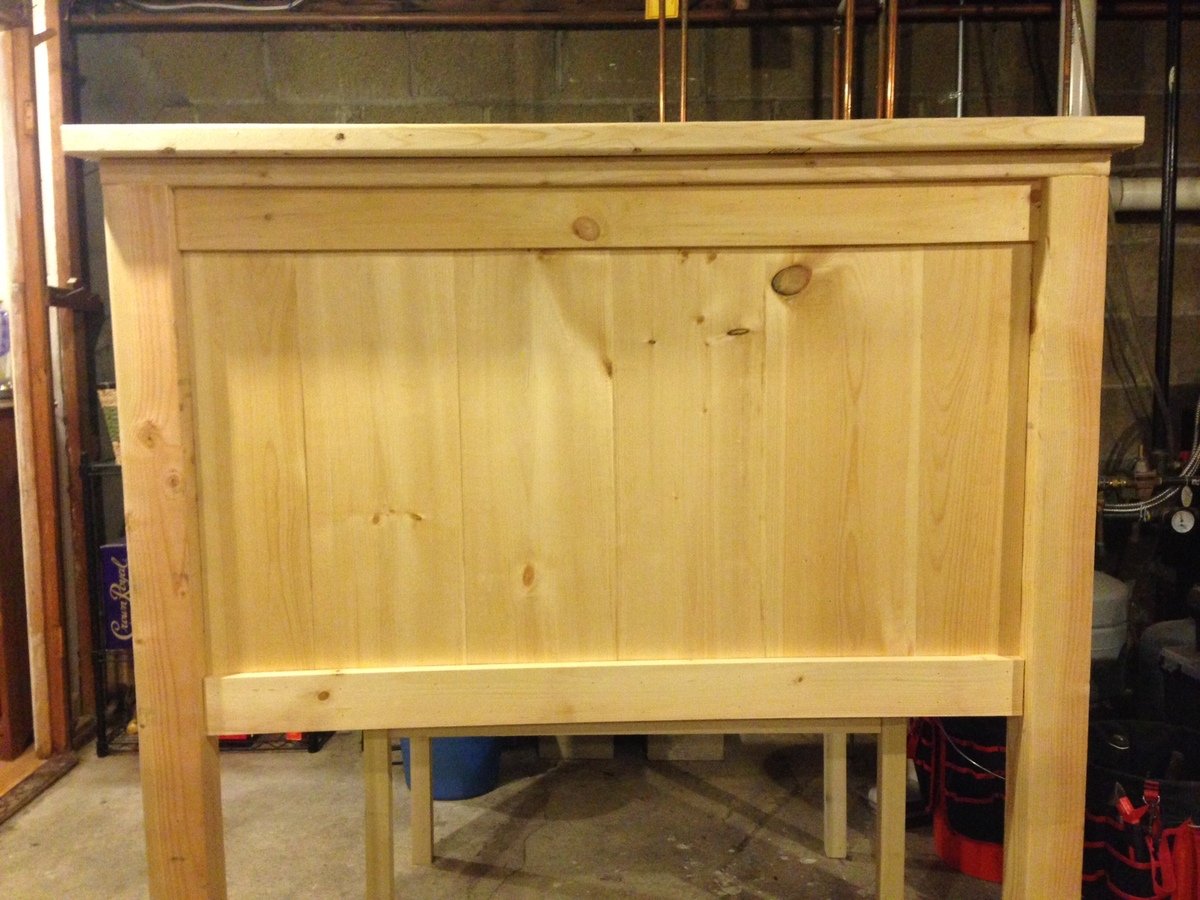
My wife wanted a black headboard to match our existing bedroom set so I built just the headboard from the farmhouse bed plans. It was simple to build, looks great, and my wife and I love sleeping under it.
Mon, 06/09/2014 - 10:03
I just built this headboard for my daughter's new full bed and she wanted the headboard with the metal frame. I was wondering if you could share how you attached your headboard to the frame? The holes in our metal frame on the the flanges for the headboard are rather large. I used kiln dried 2x4's for her legs because we don't get 4x4's here that aren't pressure treated.
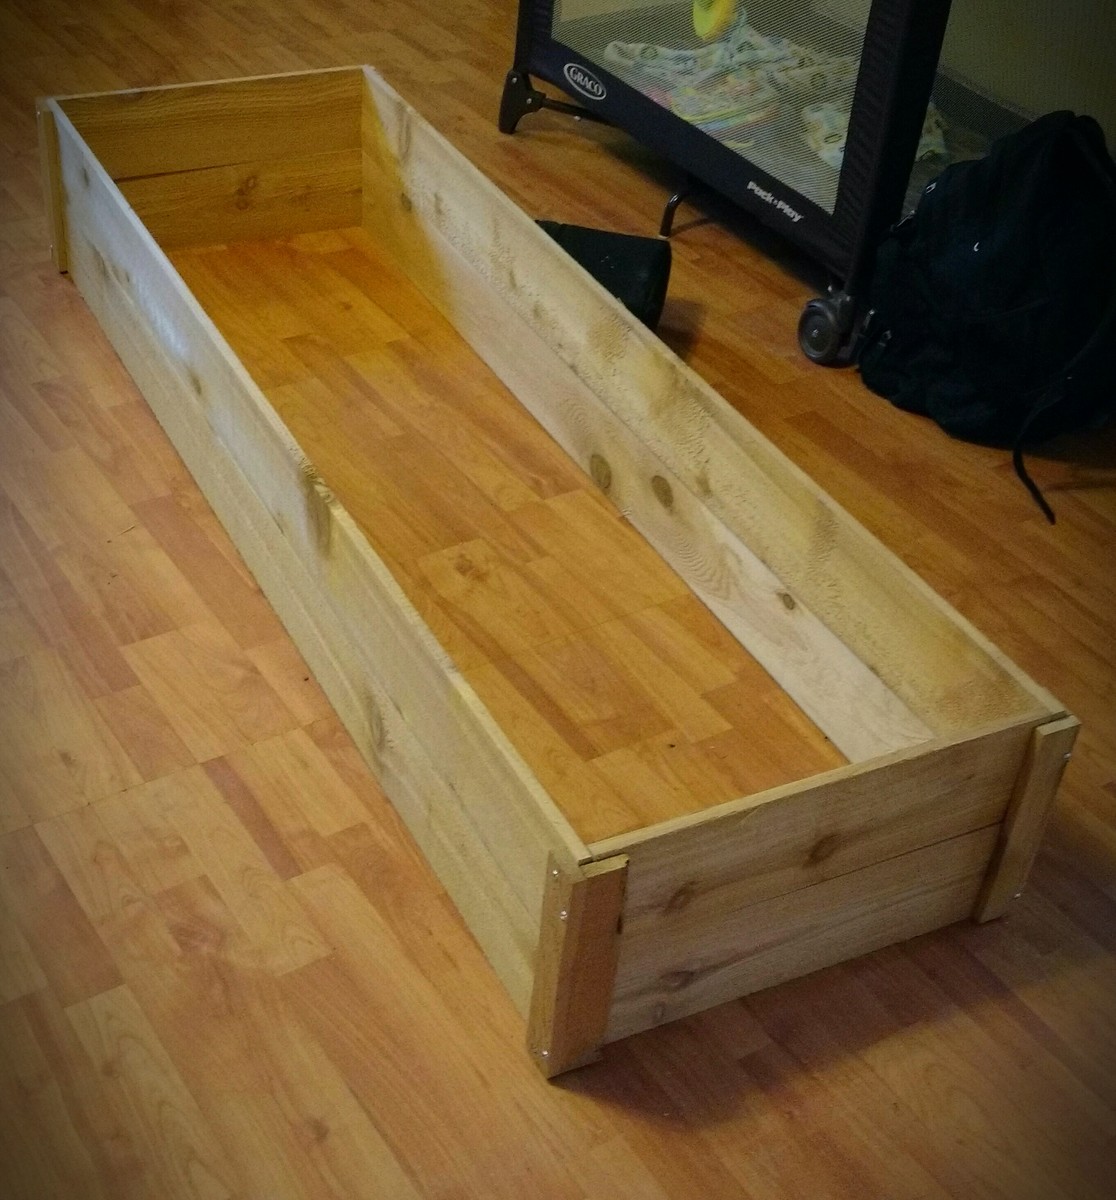
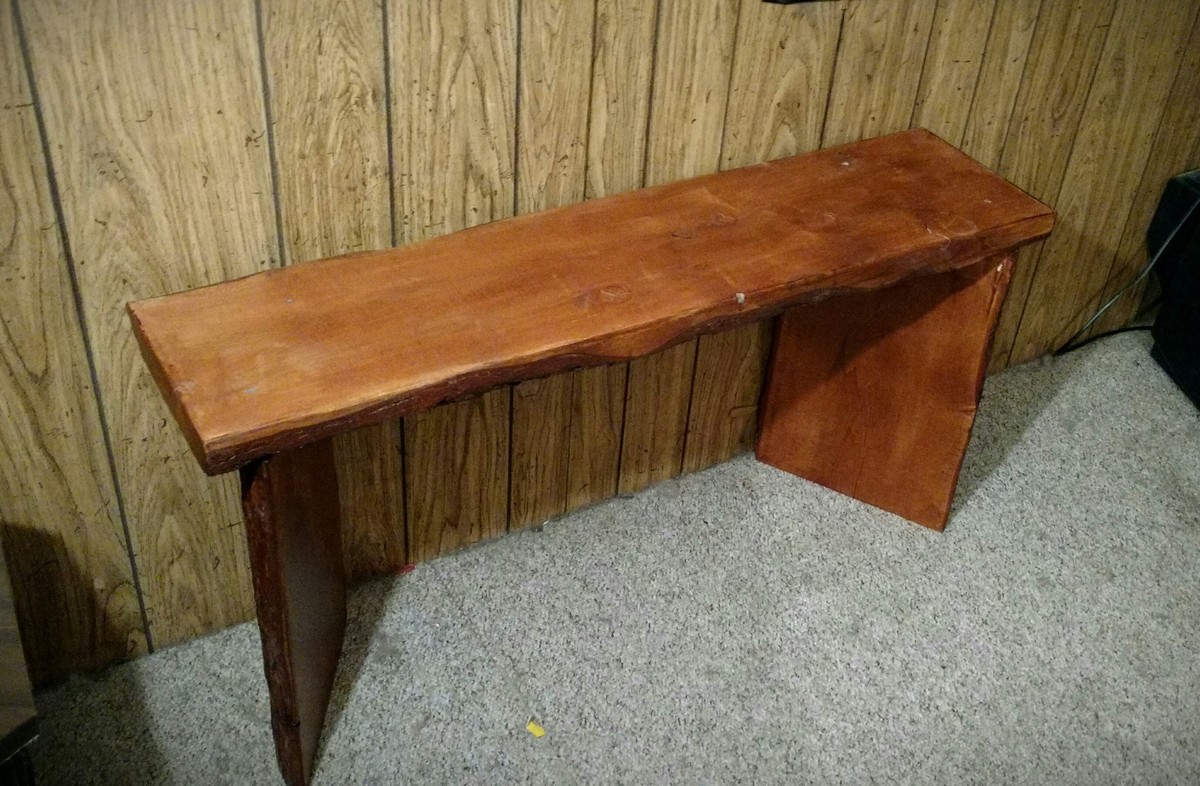
My little sister is building her first garden this year, and had asked about a garden bed and bench. I found this plan on the Ana White site, and waited until the local Home Depot had cedar fence pickets on sale for $2.34 each. Once these were purchased, the 3 garden beds were put together easily with screws and some Titebond II, and then sprayed with spar urethane on the outside for further protection. I also took some live edge fir slabs I'd gotten for free from a lumbermills scrap pile, and cut, sanded, and stained them to put together a live edge bench. I assembled the bench using rabbet and tenon, and then further braced the legs with small L brackets that cant be seen from the front and some 3" screws from bench top to legs. After assembly, I spar-urethaned the bench with 4 coats for protection. My sister loved both the bench and her boxes. Thanks for the plan!
Built by Renee Boone
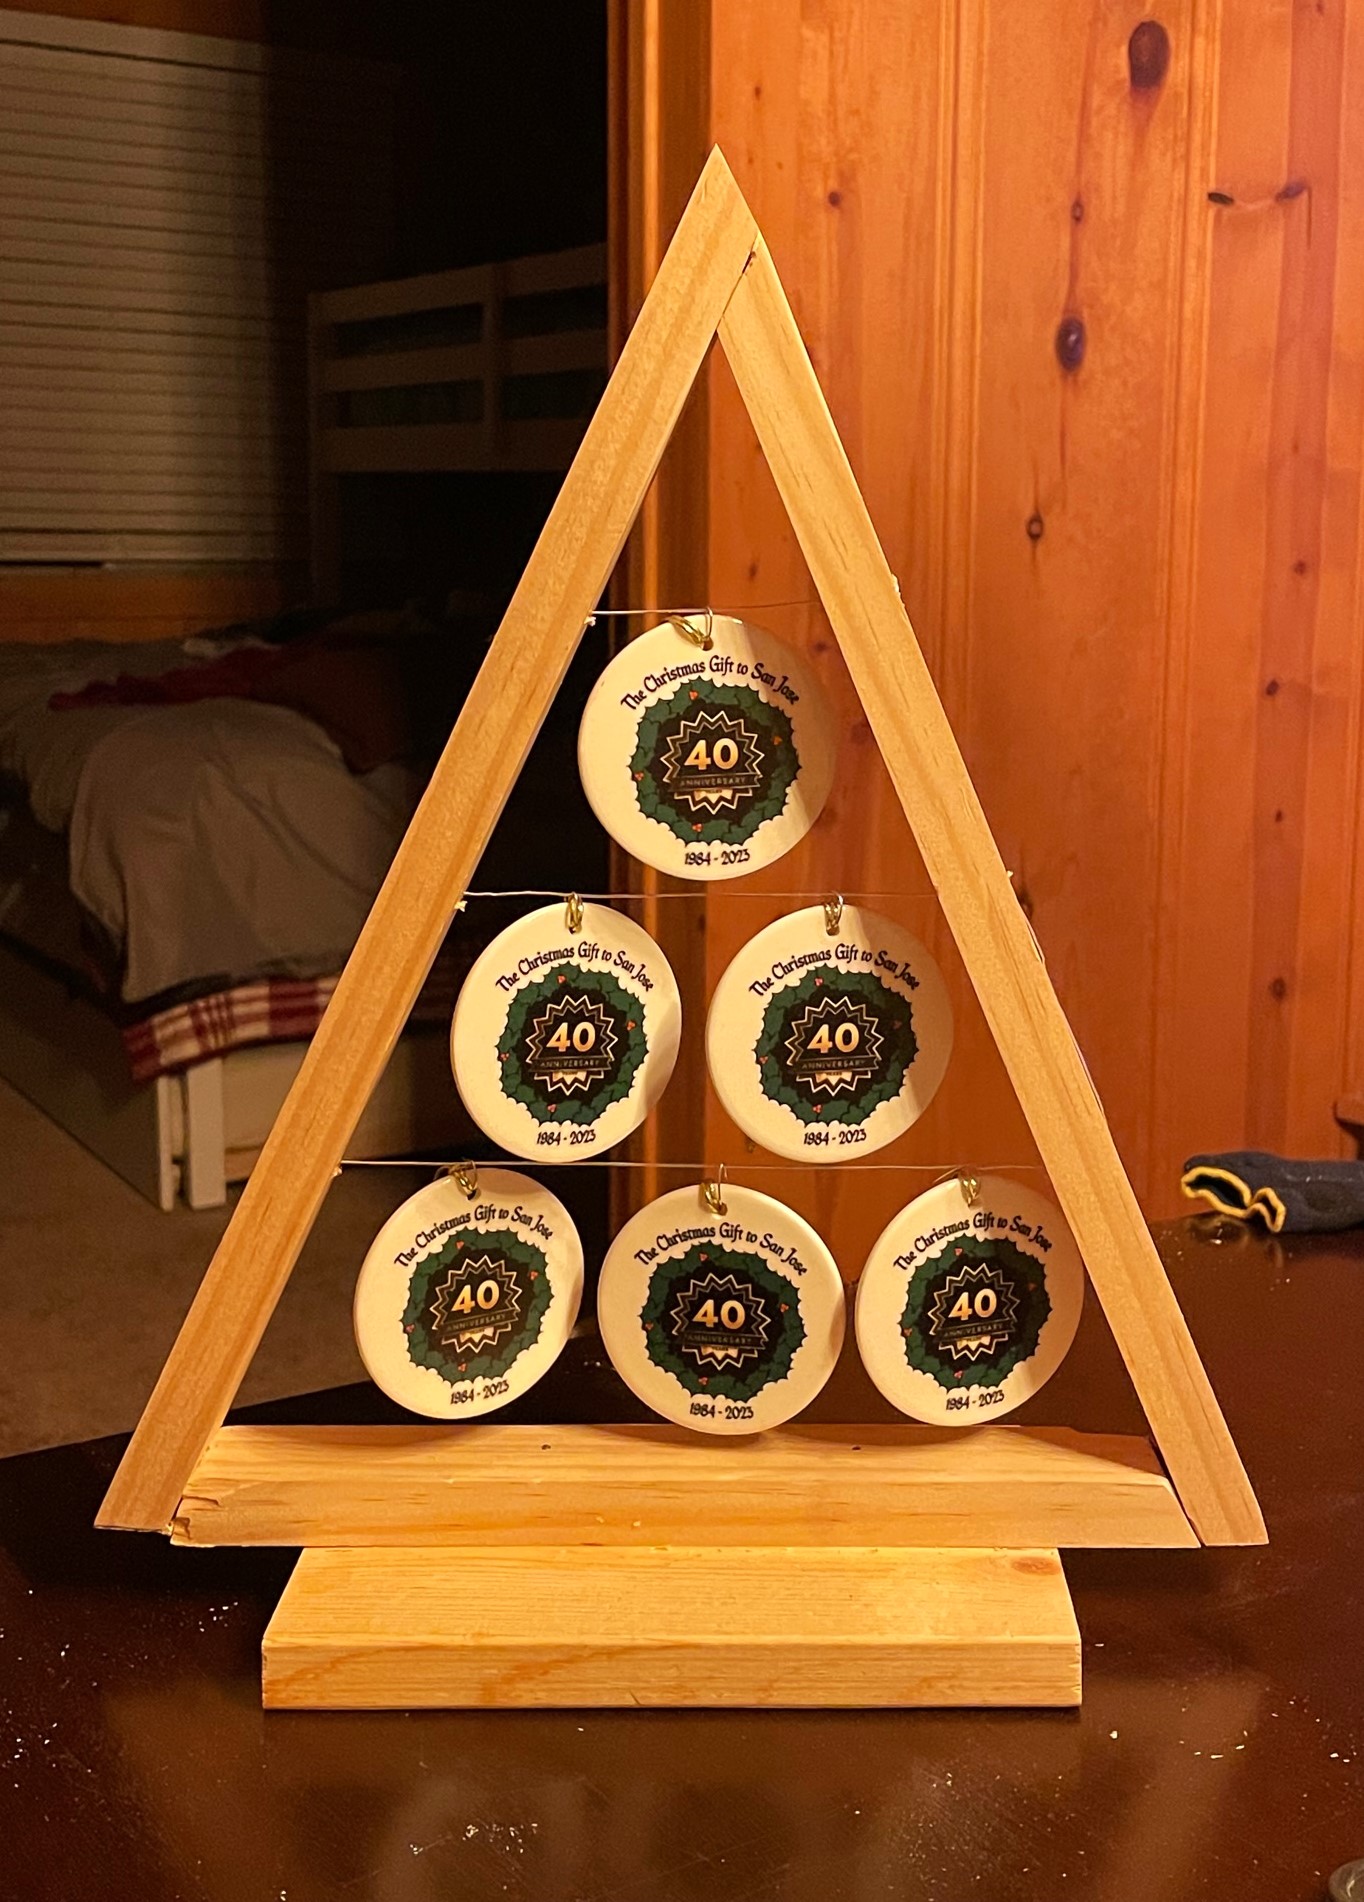
I made 15 of these ornament trees for our church's Christmas banquet. We adjusted the height to 14". I locked the wire in place with 8 x 3/4 screws that were countersunk. I plan to paint the trees gold.
Don Fugate
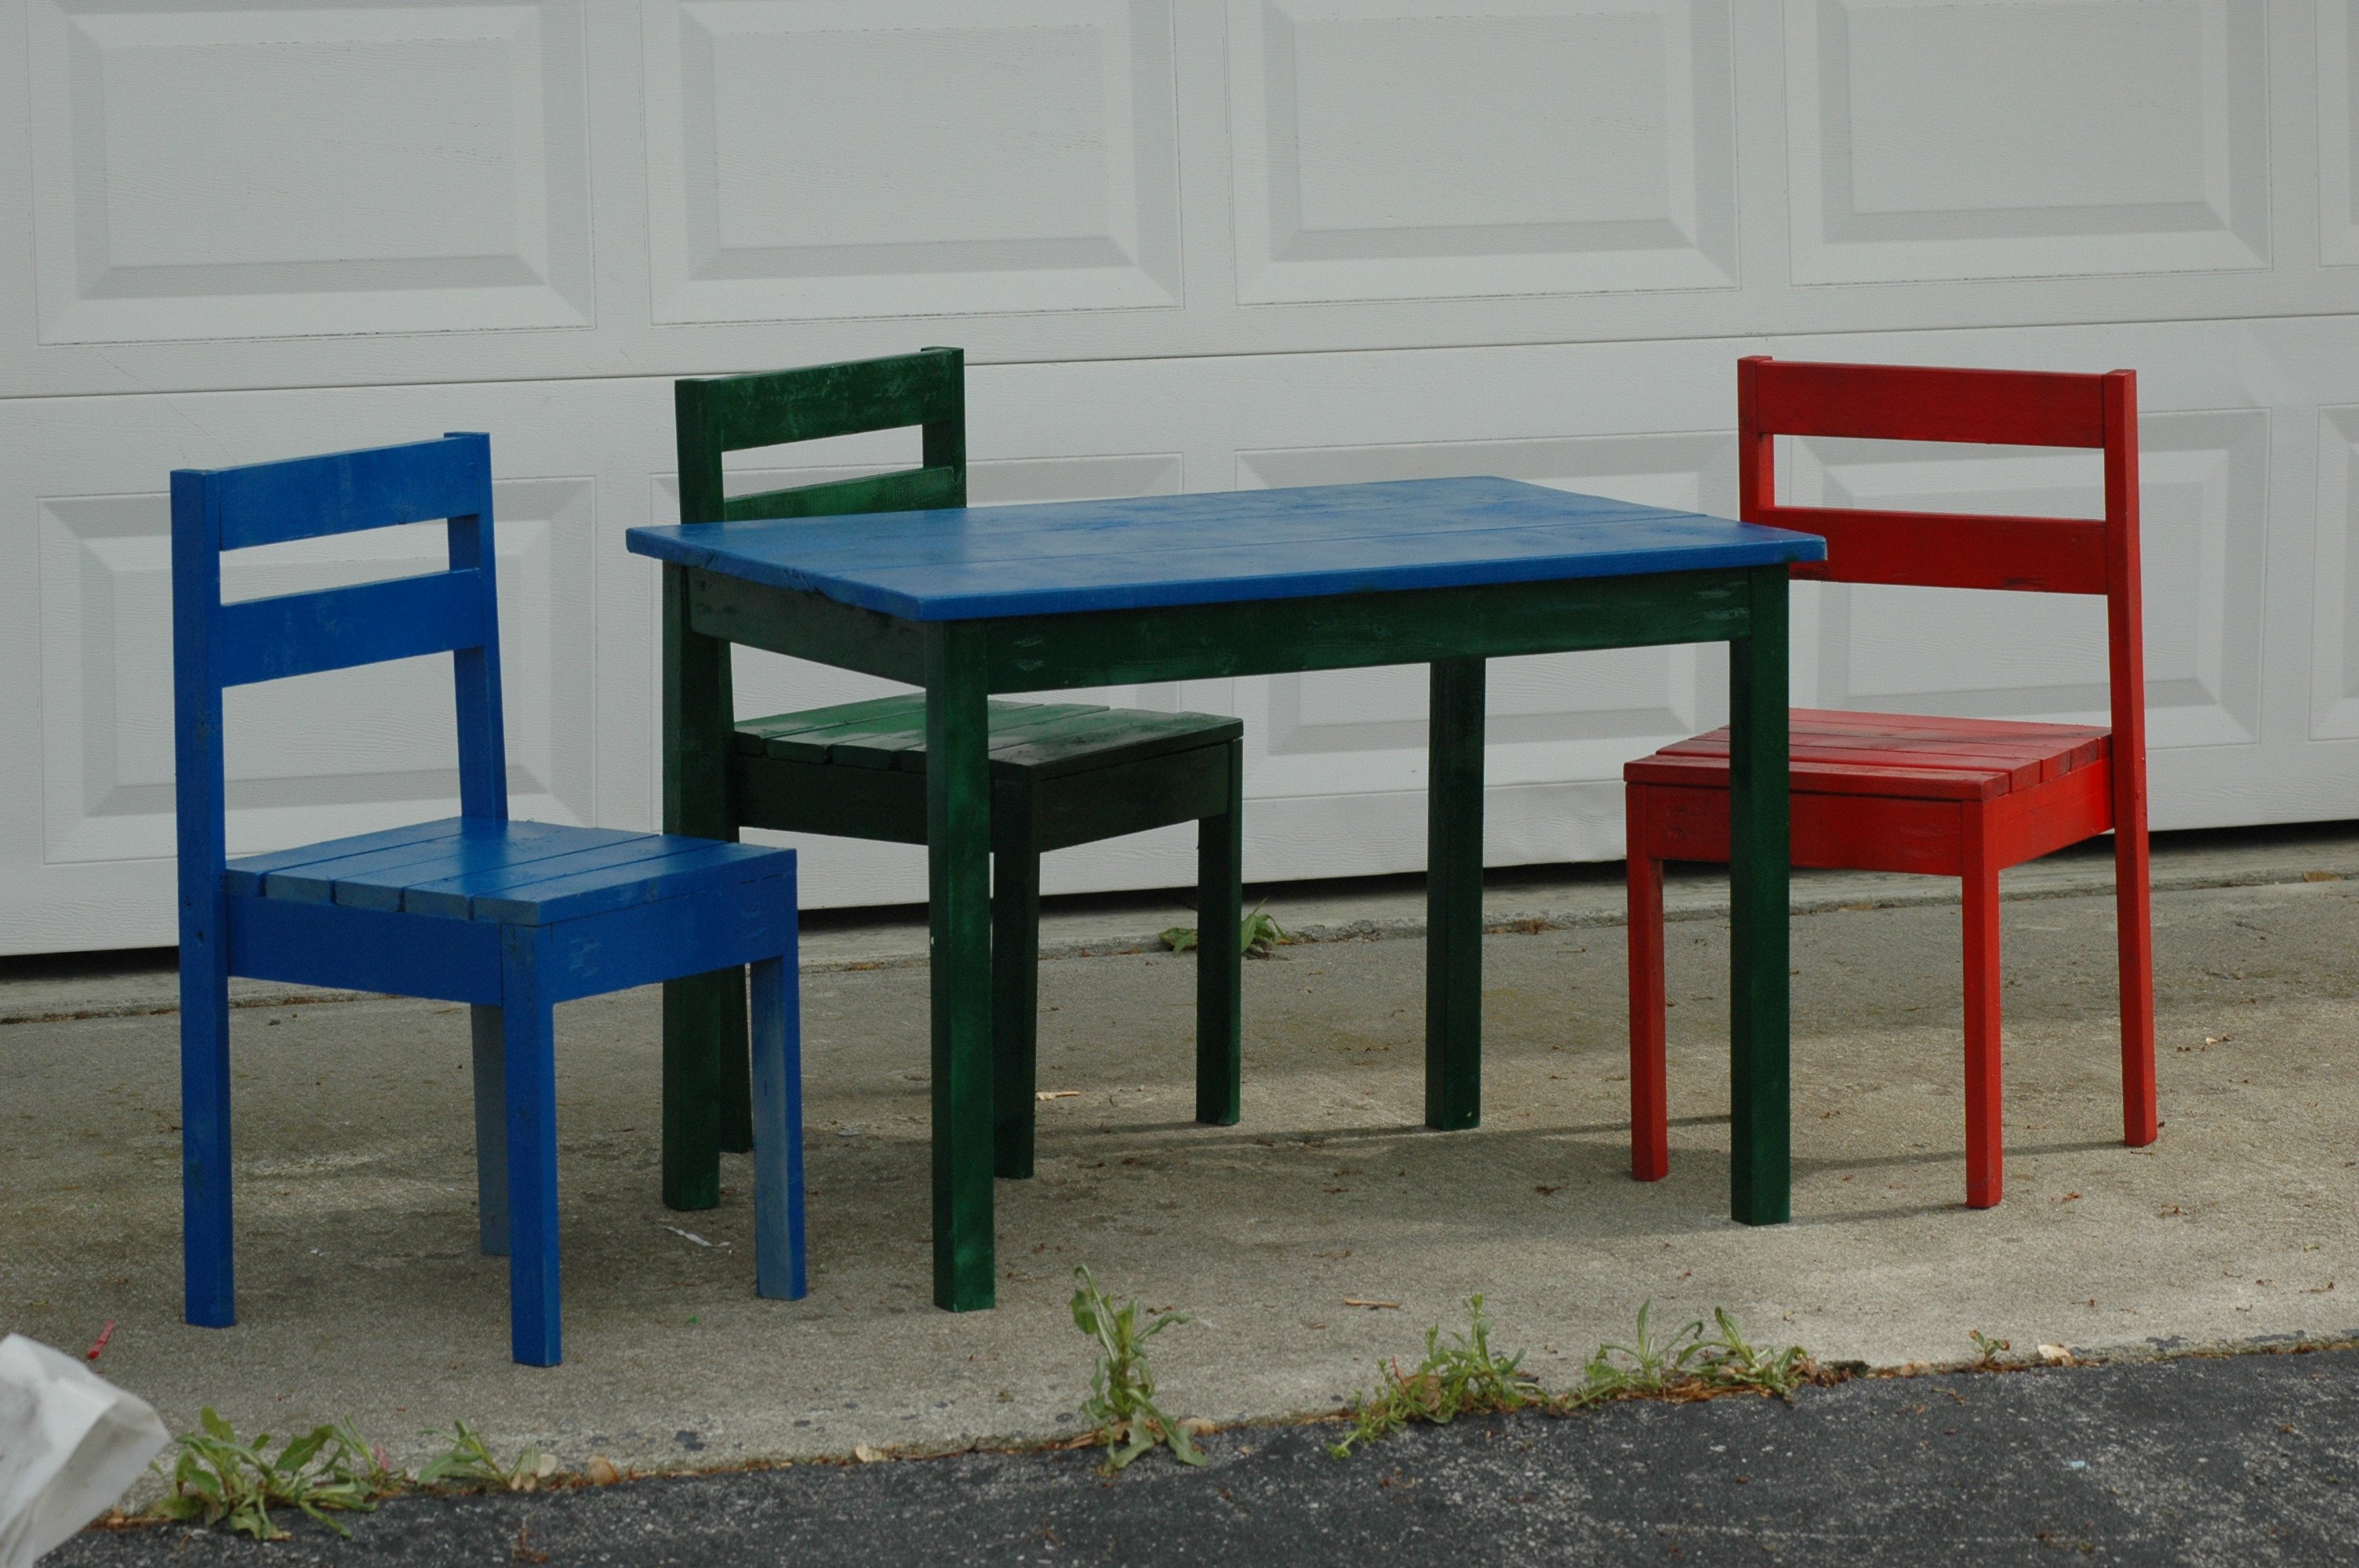
Fun, easy build. This is the first project from this site and the kids loved helping make their own chairs. They got to pick their own color paint - I think I spent more on paint than I did on the wood!
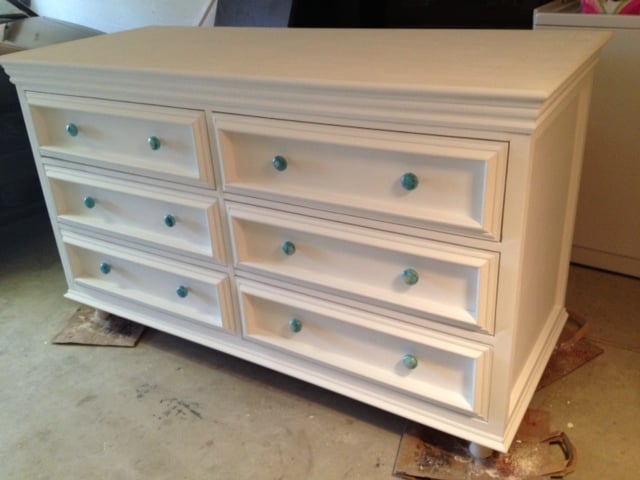
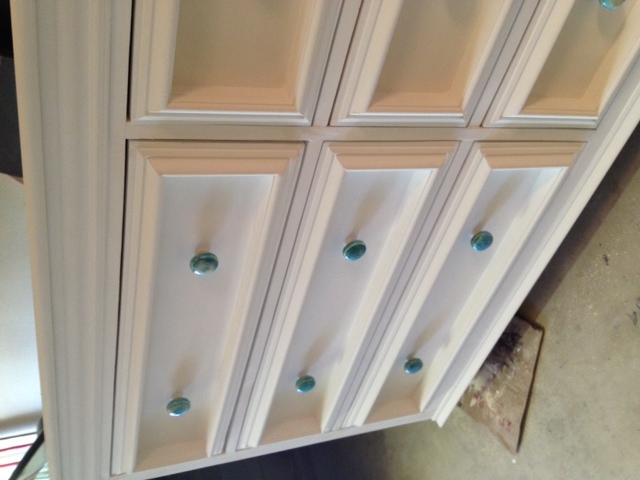
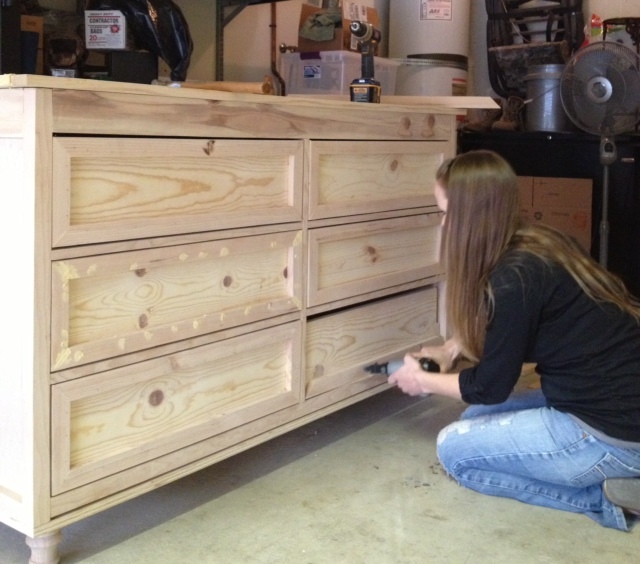
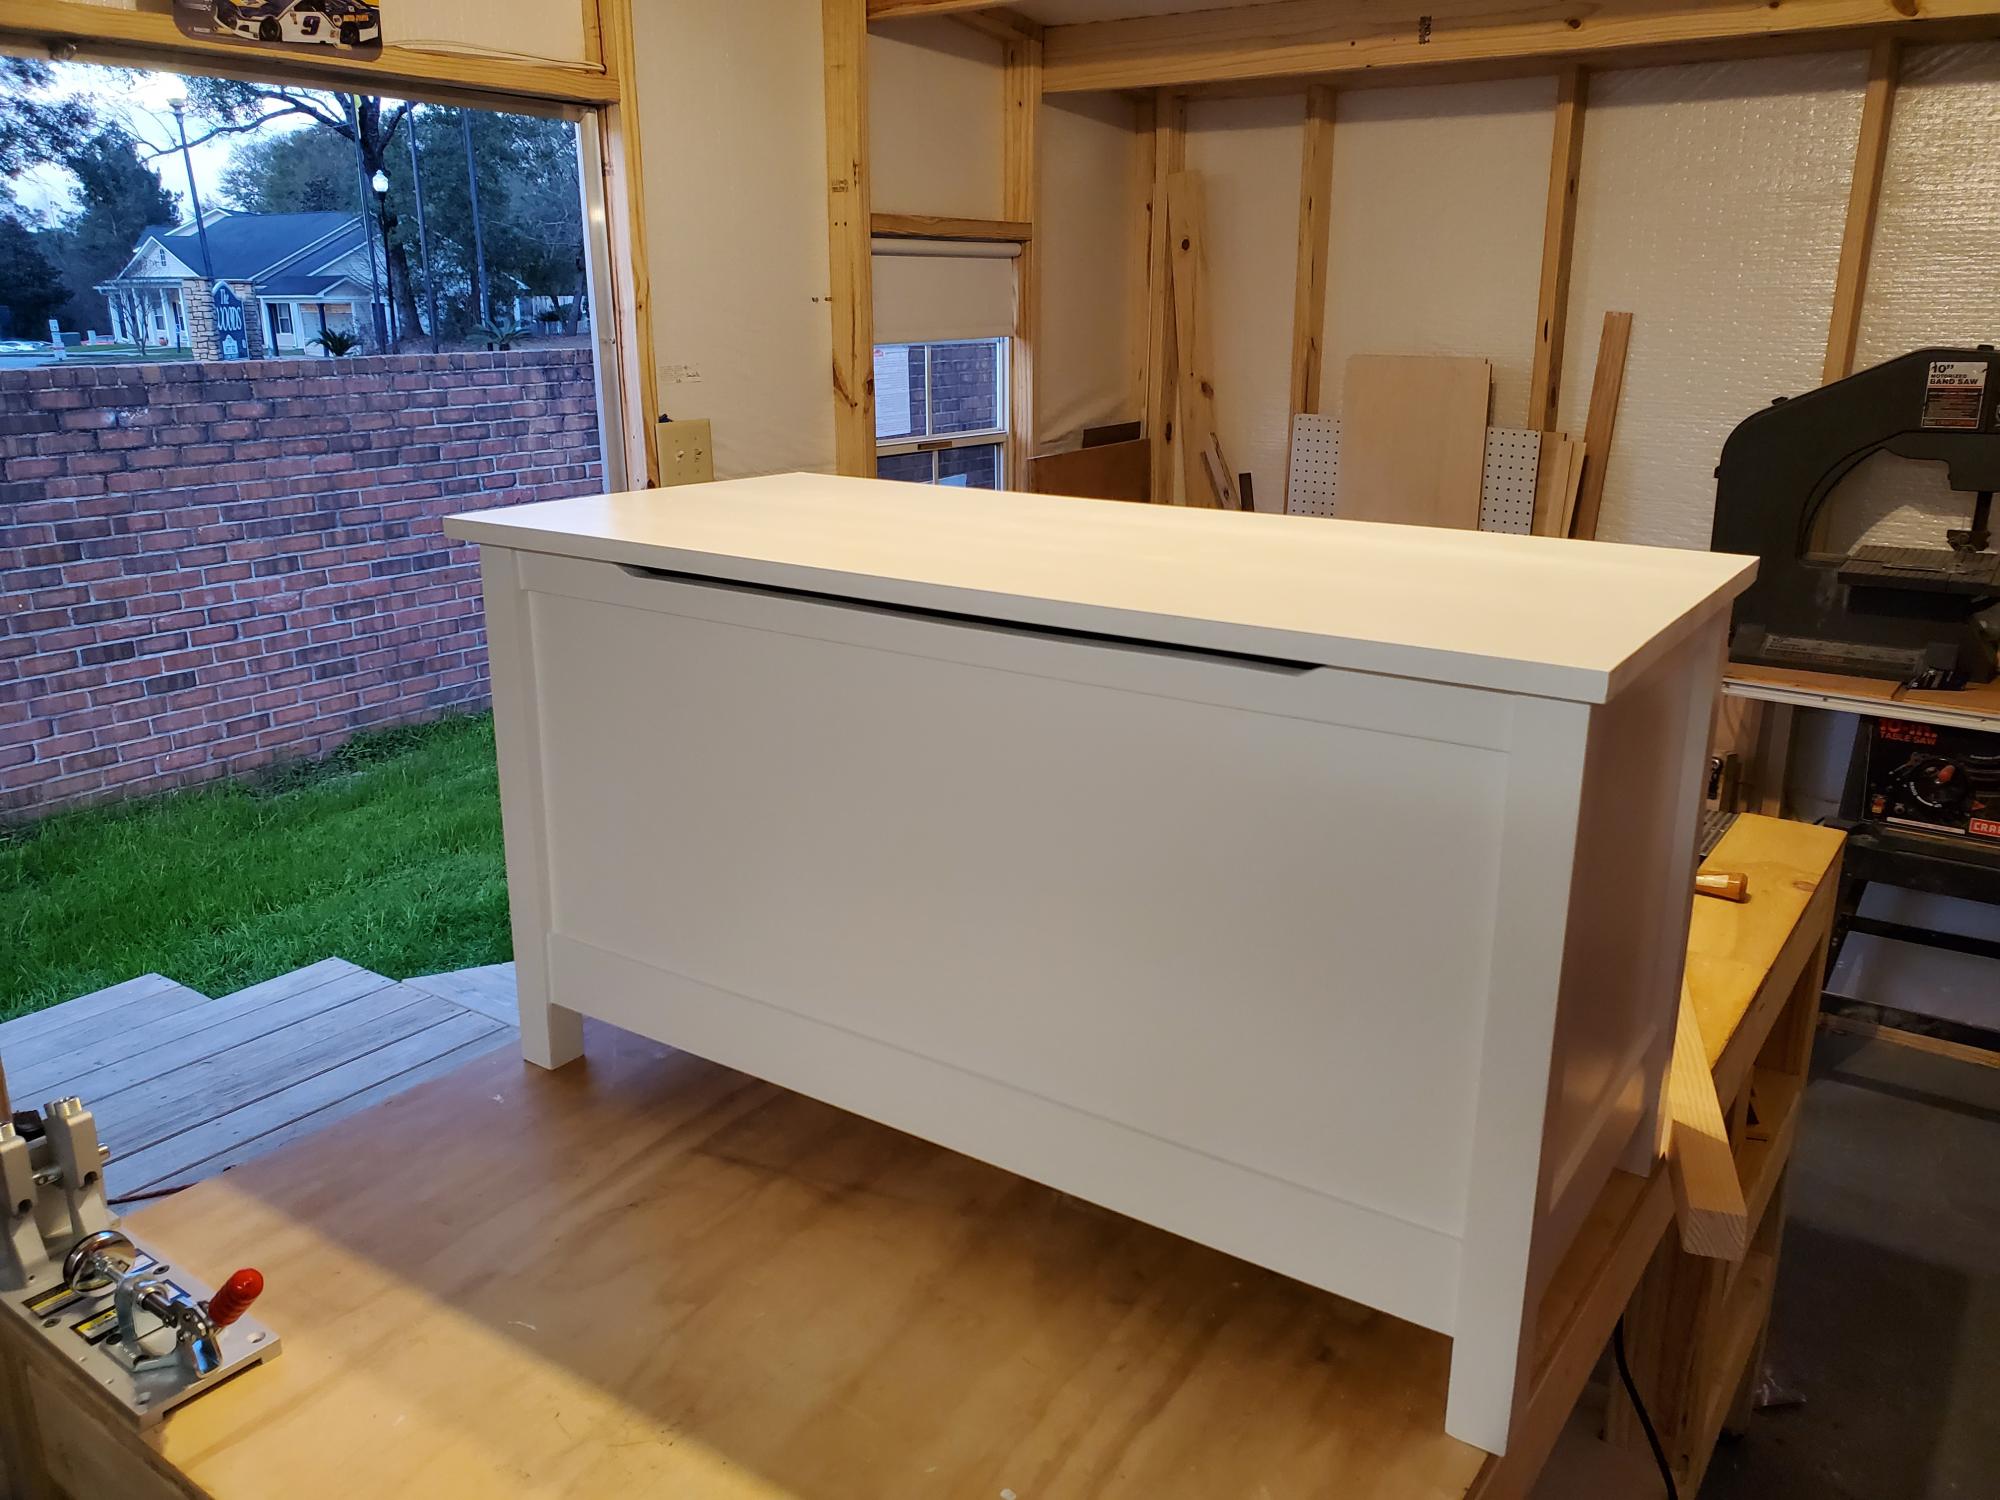
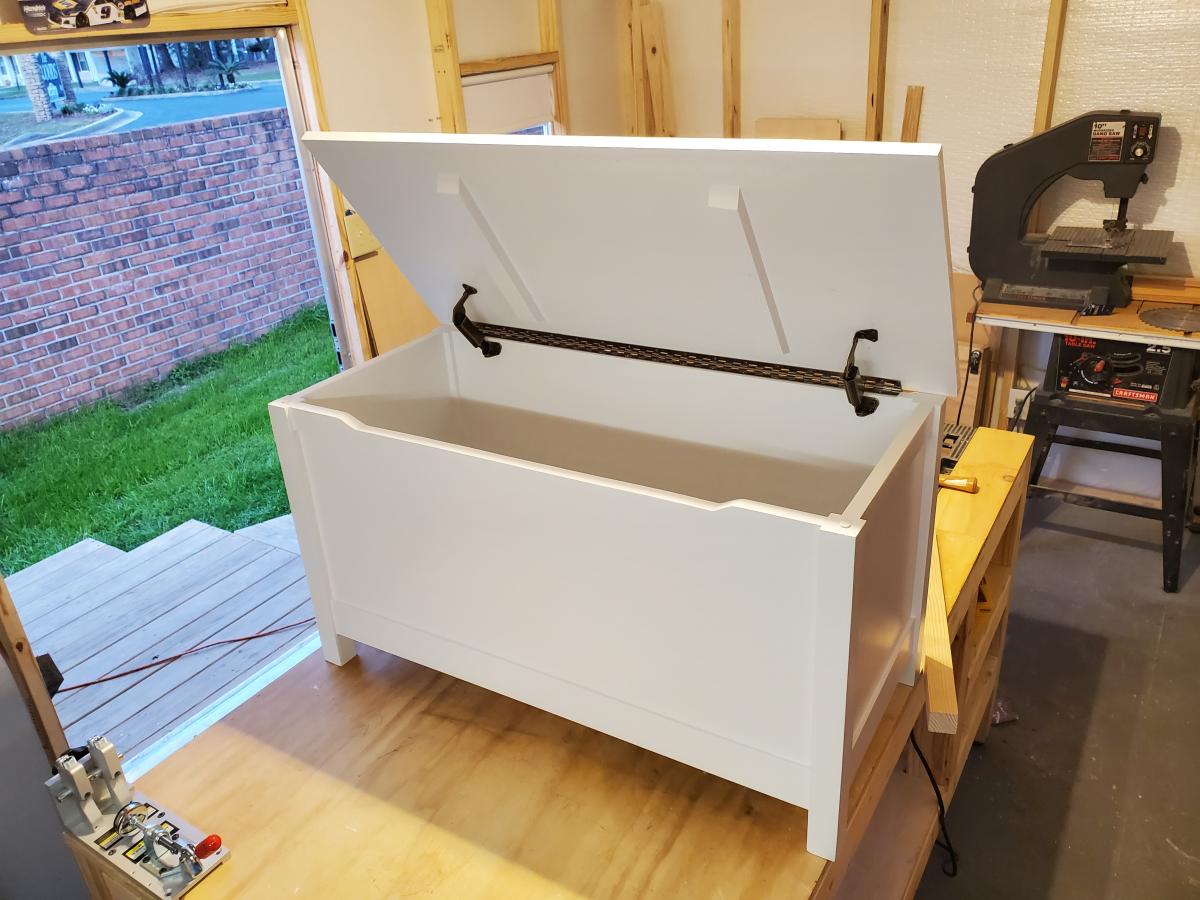
Similar to a previous poster, I was inspired to build this project to use as a combo dresser/changing table for our first child's nursery. It took quite a few days worth of work (spread out over a couple of months altogether) but I finally finished the bulk of the work a few days before entering the third trimester of pregnancy, phew! I think we'll enjoy this piece for years to come, thanks Shane and Ana for the plans! (Please excuse the poor lighting and ugly garage, we haven't set up the nursery yet so the dresser may be living in the garage until we do!)

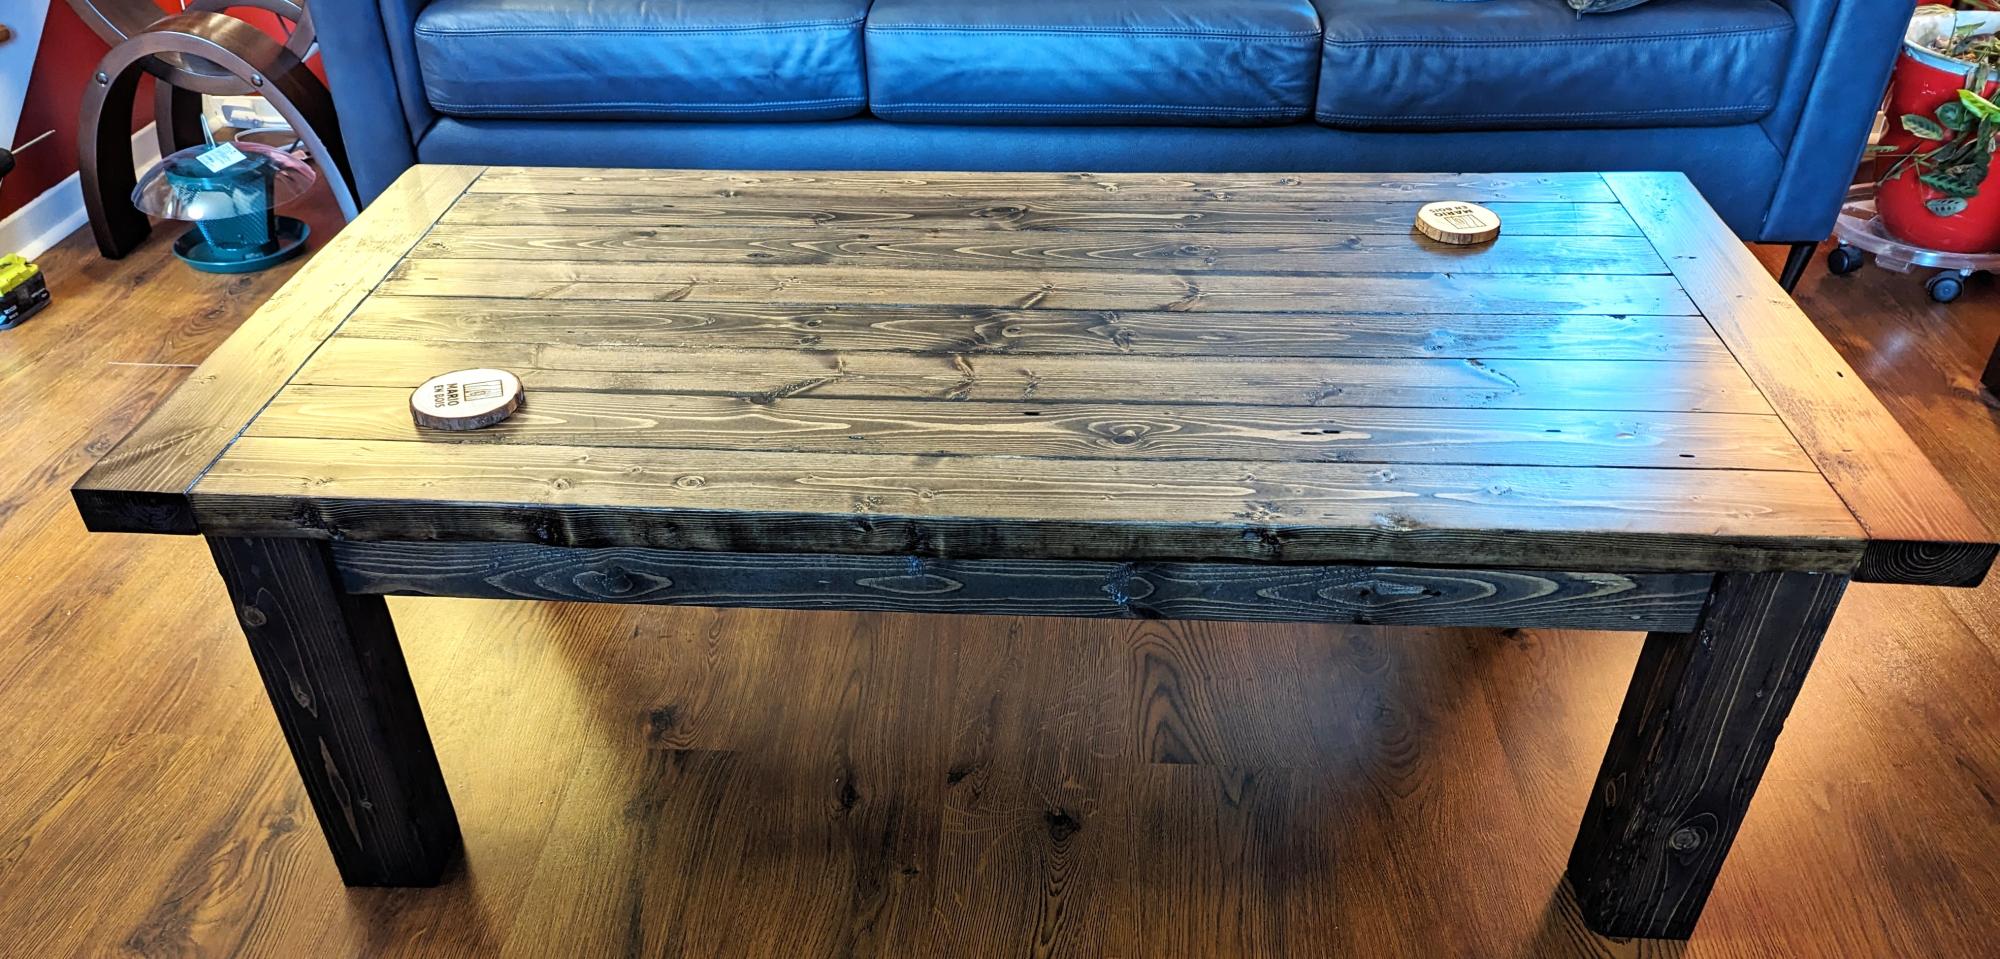
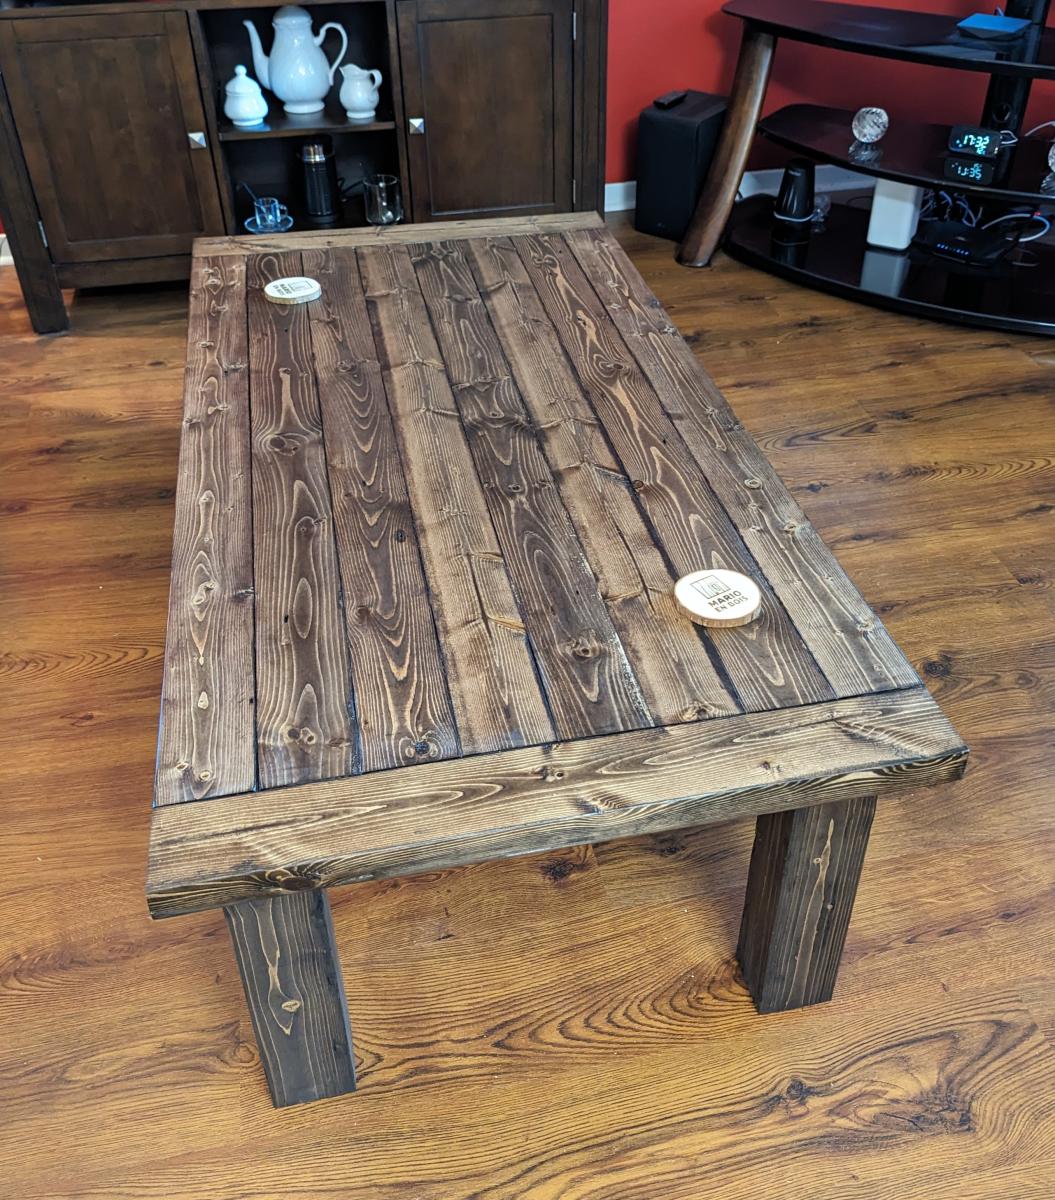
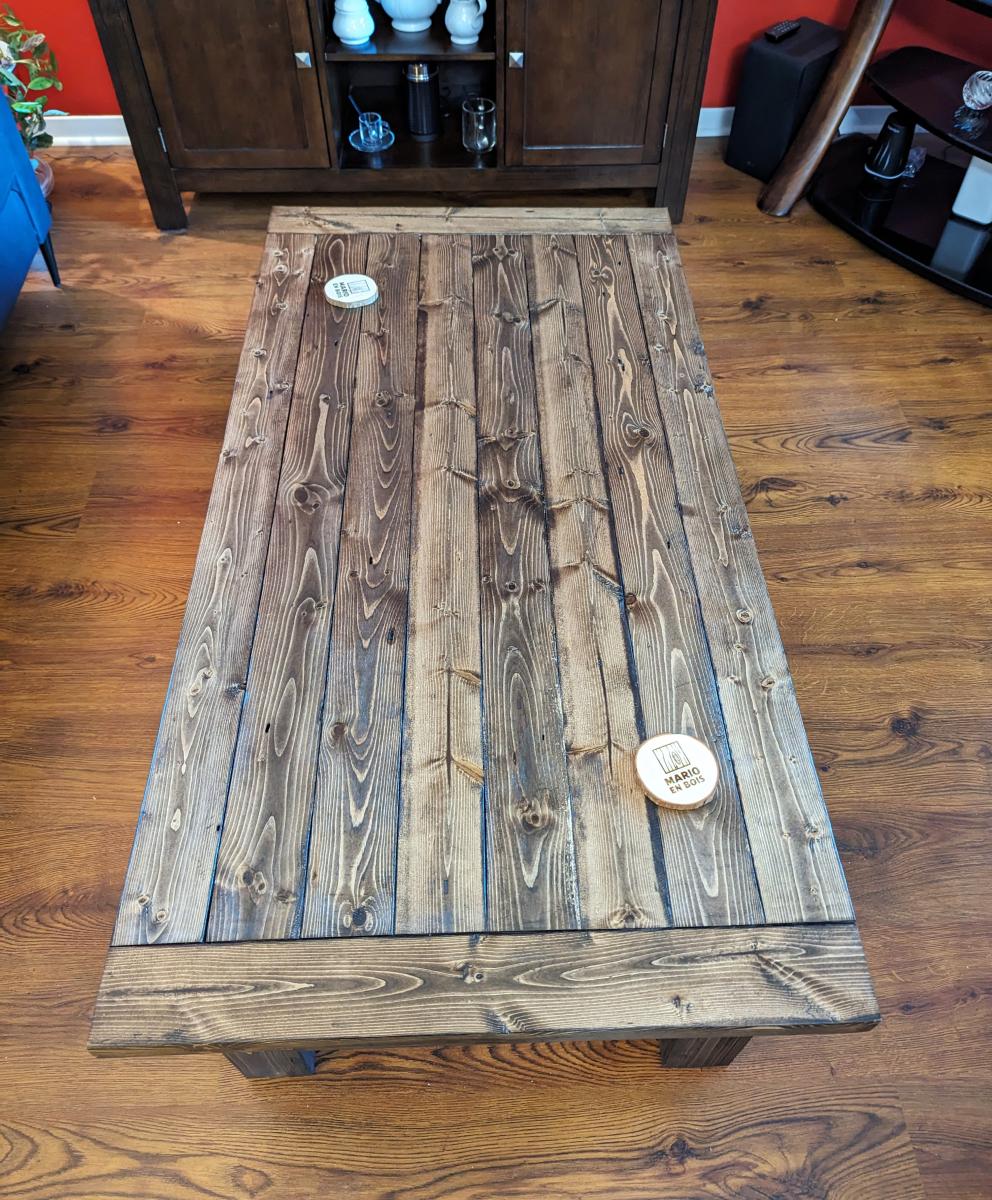
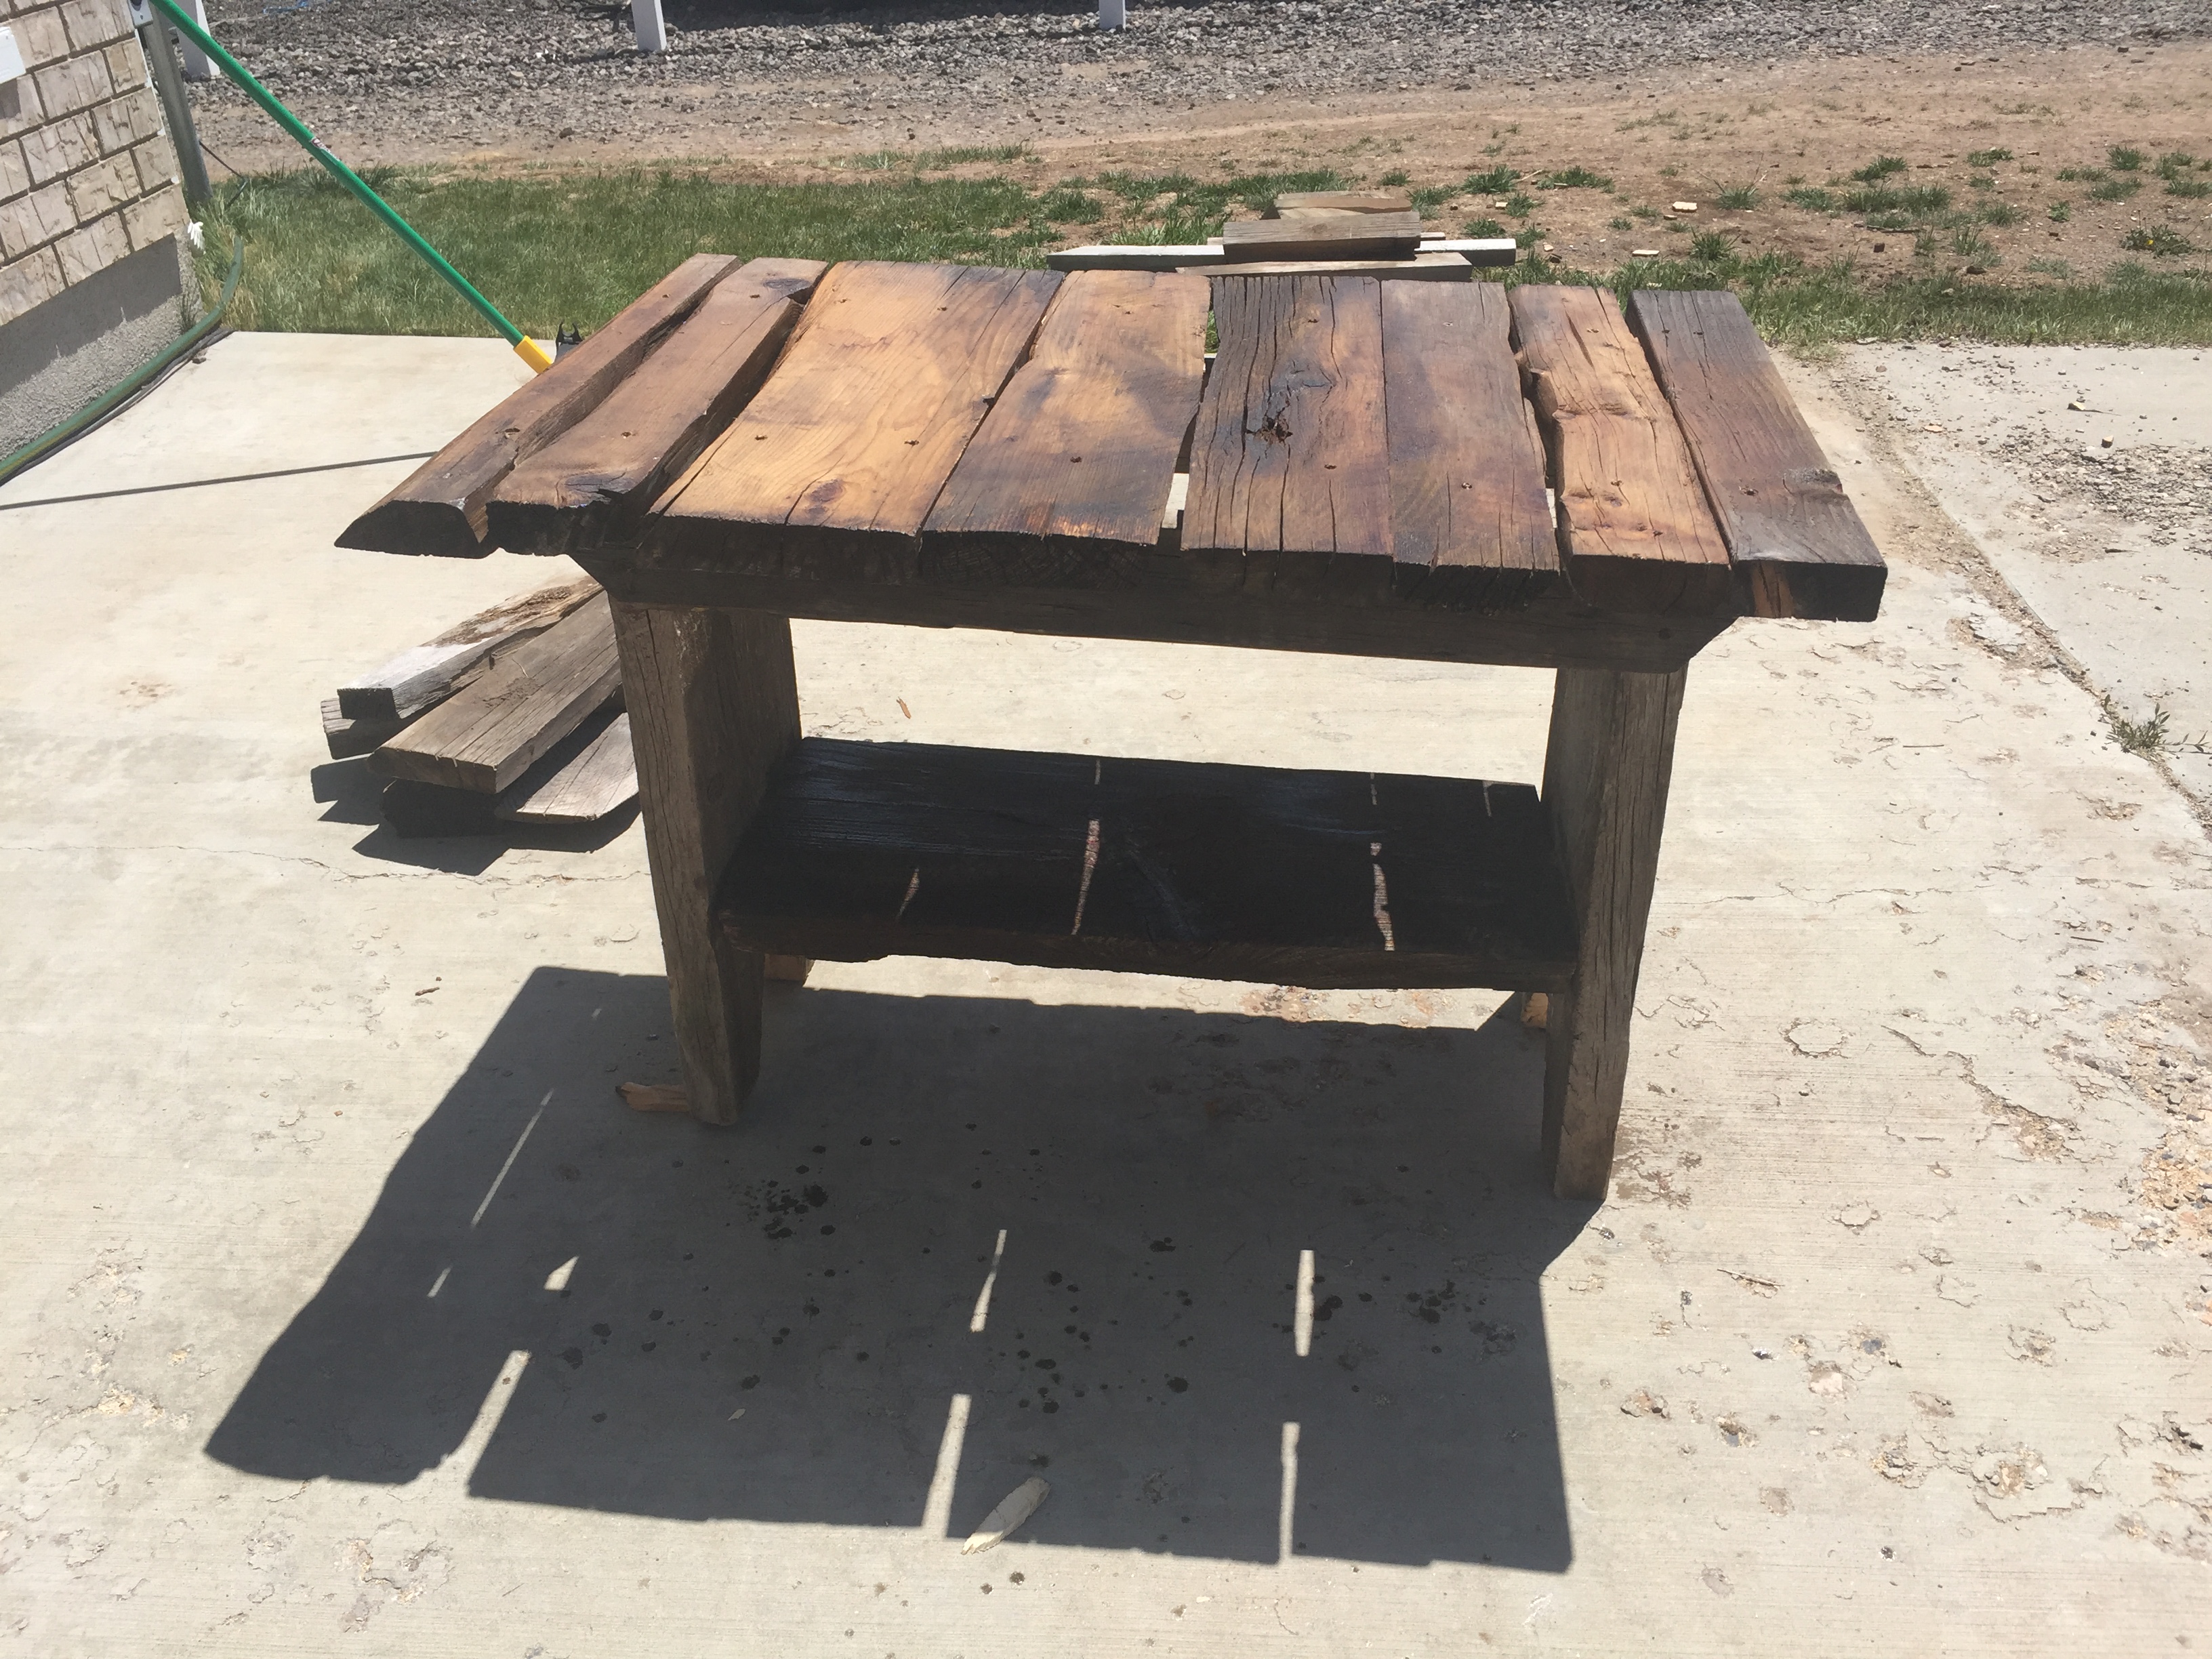
Found these plans and fell in love! Opted to use 7 2x6's for the top with 2x8's for the breadboard! Knocked it out between Saturday and Sunday. Planning on doing the steel wool and vinegar agingtechnique after distressing the table with various tools. Ended up being 7ft 1/2 in by 3ft 2 1/2in. Definitely looking forward to searching through the plans and trying other projects! Was my first time building a furniture piece from scratch!
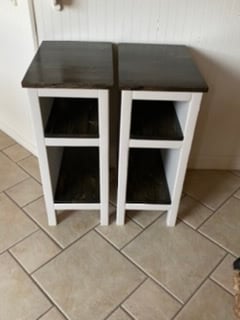
I built these for outdoor. Made them narrower than actual plan. Love them! Thank you for the plan!
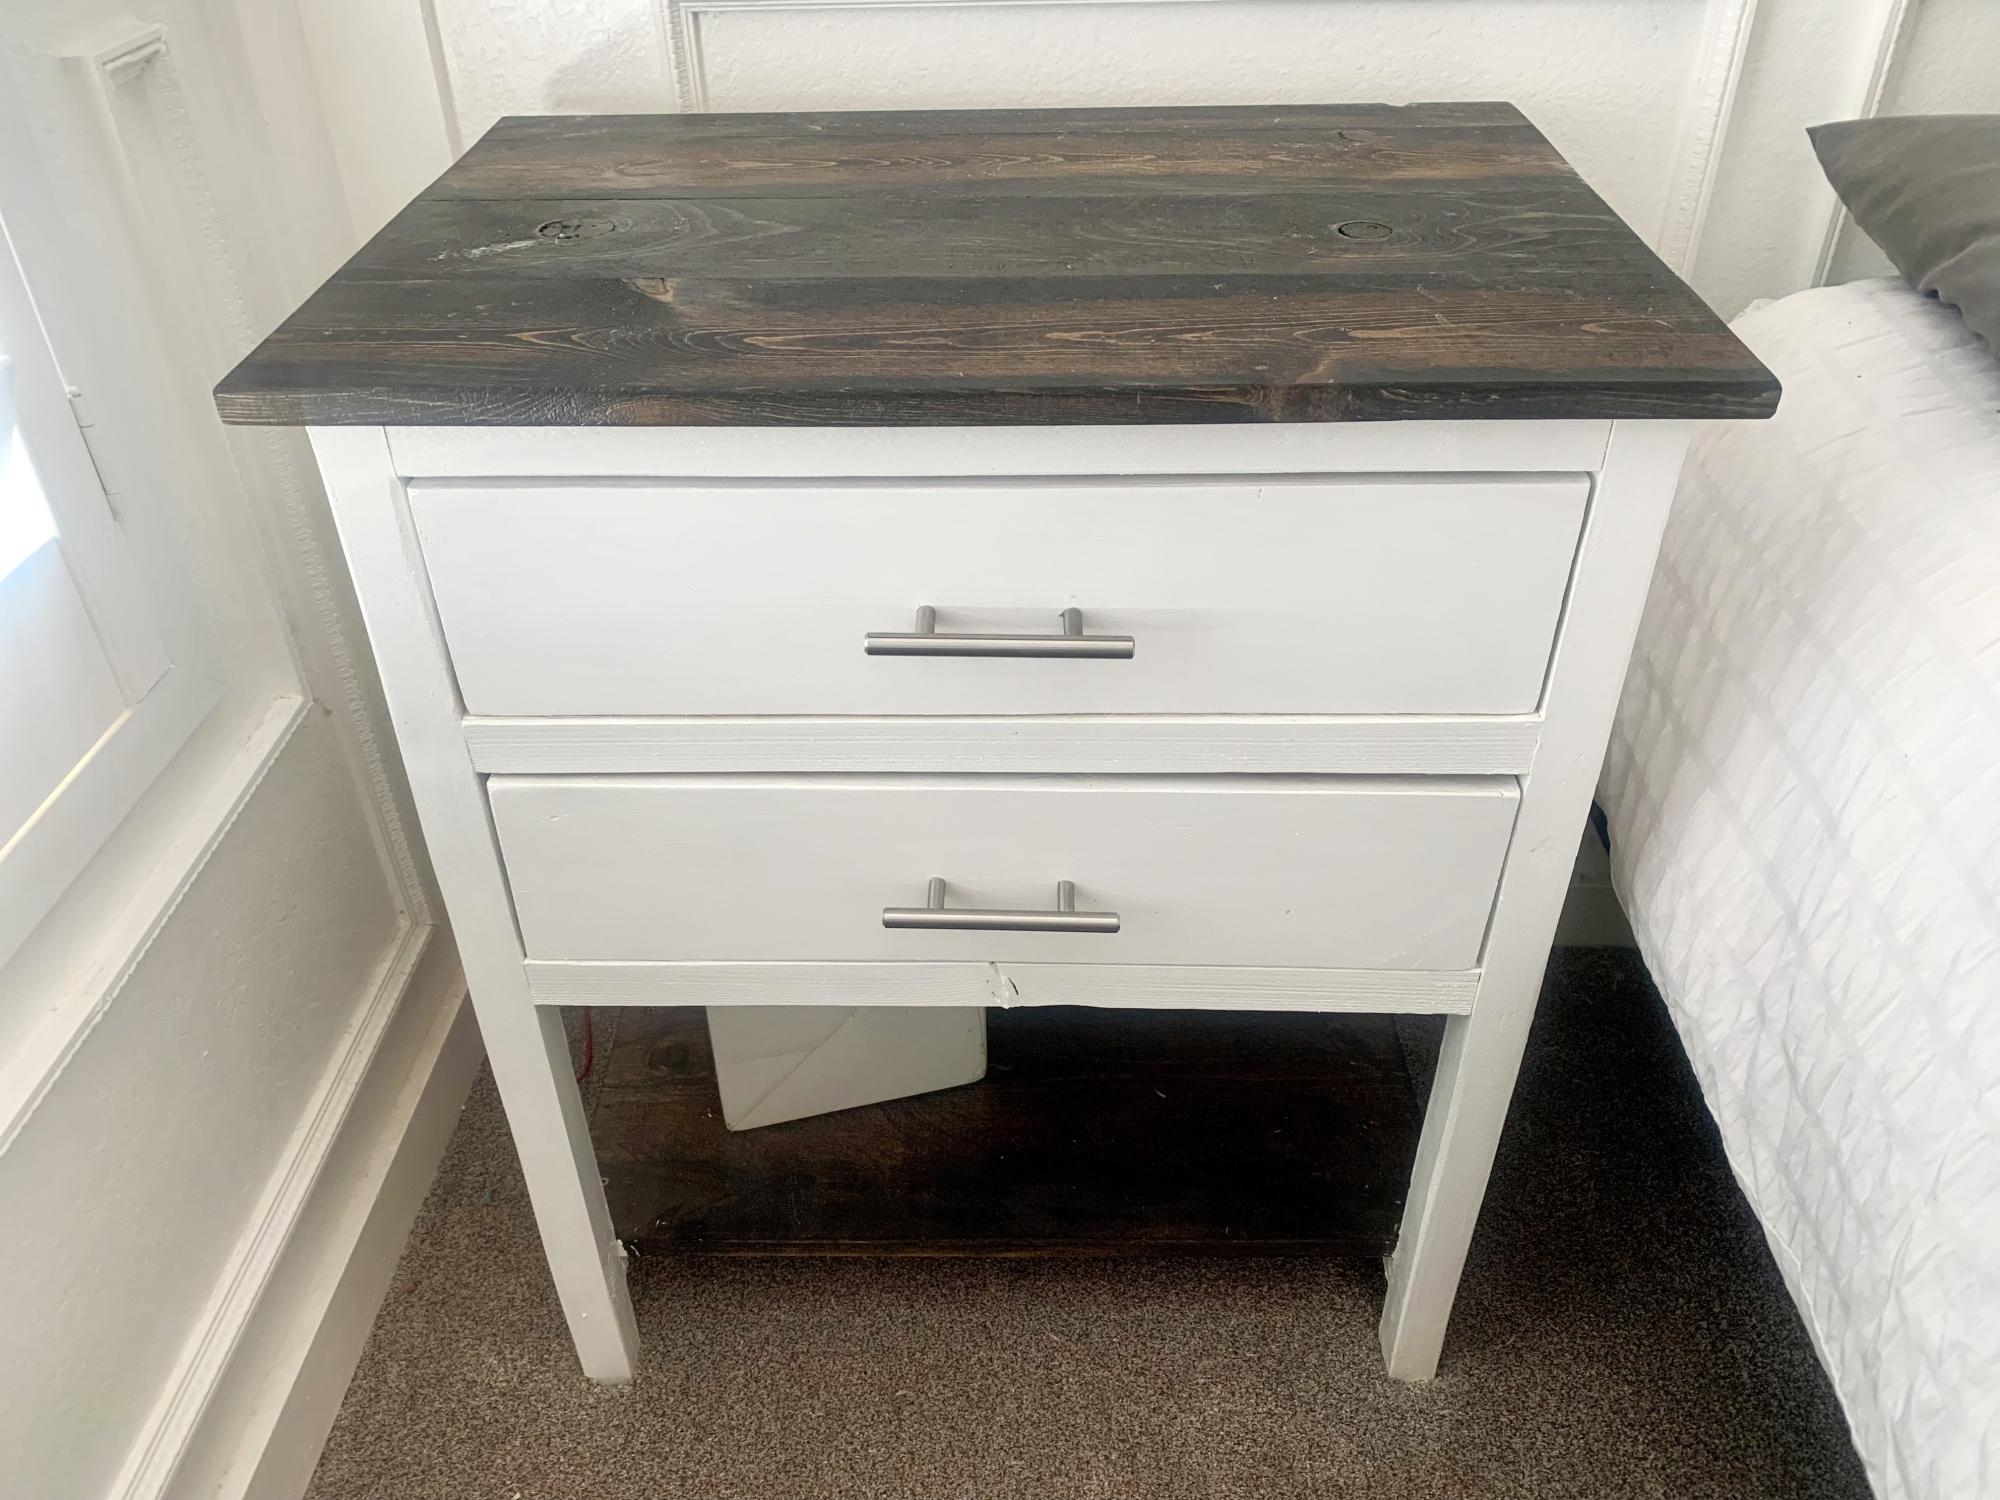
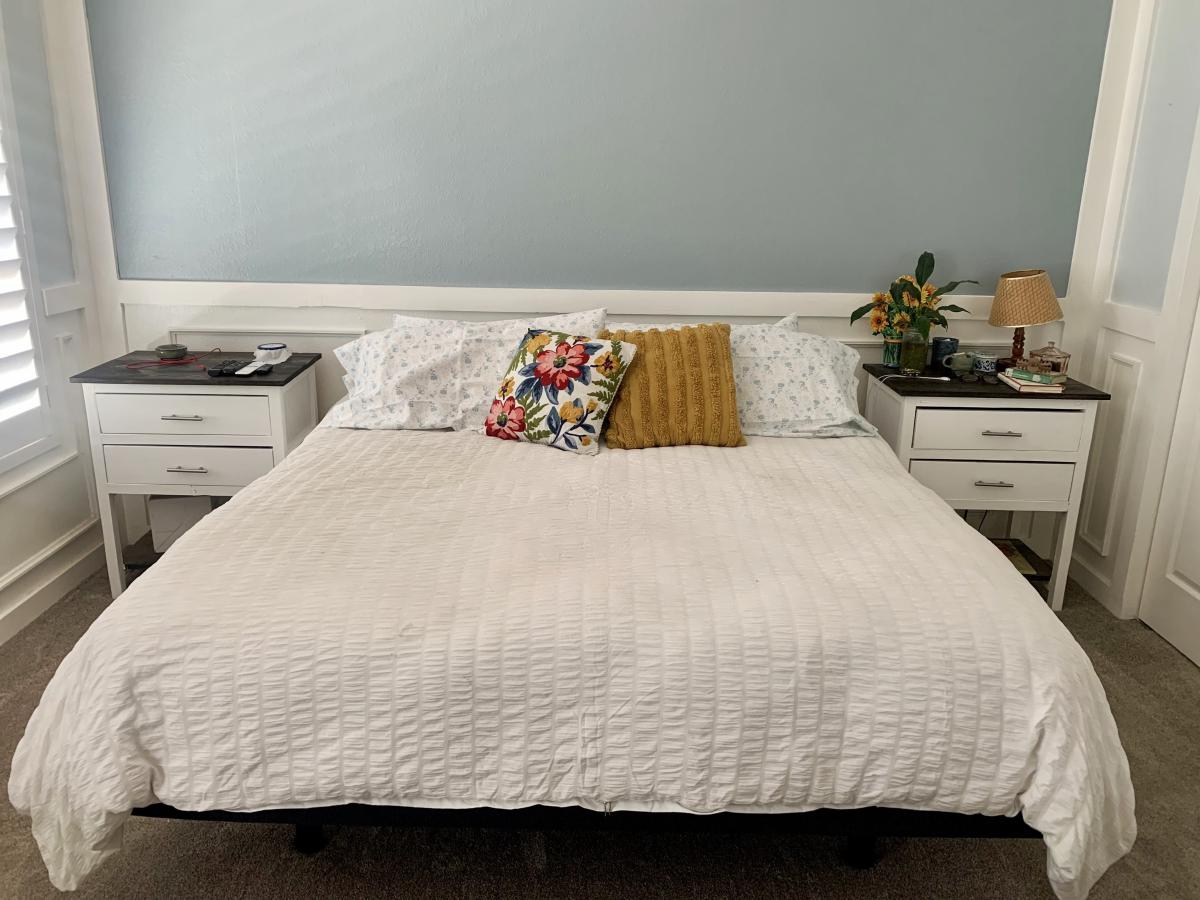
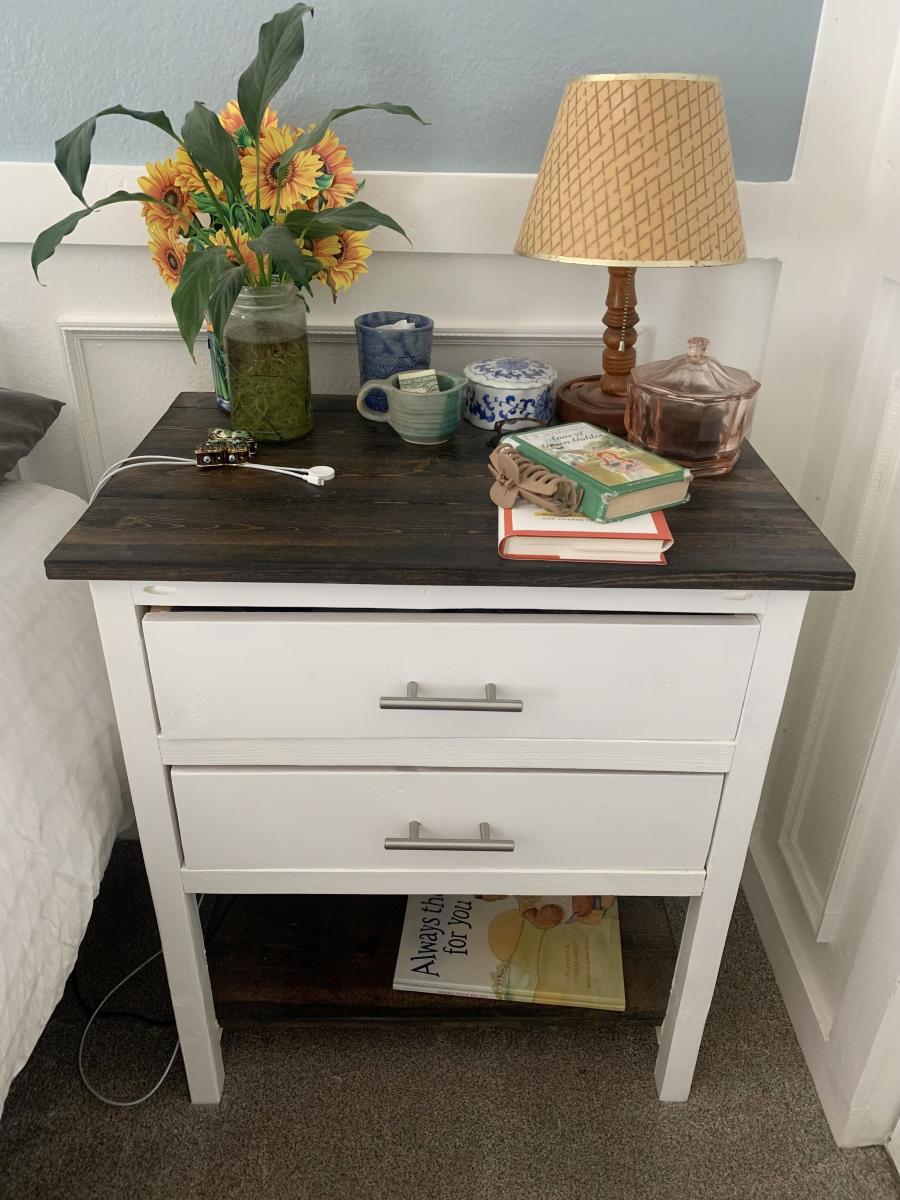
I have always wanted to build some furniture. So, when we were looking for some nightstands for our bedroom and couldn’t find any we liked I found your Farmhouse Nightstand plans and decided to build them as a surprise gift for my husband for Valentine’s Day. I personalized them by adding an extra drawer and making them a little taller and wider to fit the space we had. We absolutely LOVE them! Thank you, Ana, for helping to make a dream of mine come true!
Toni Imlay @ toniimlay.com
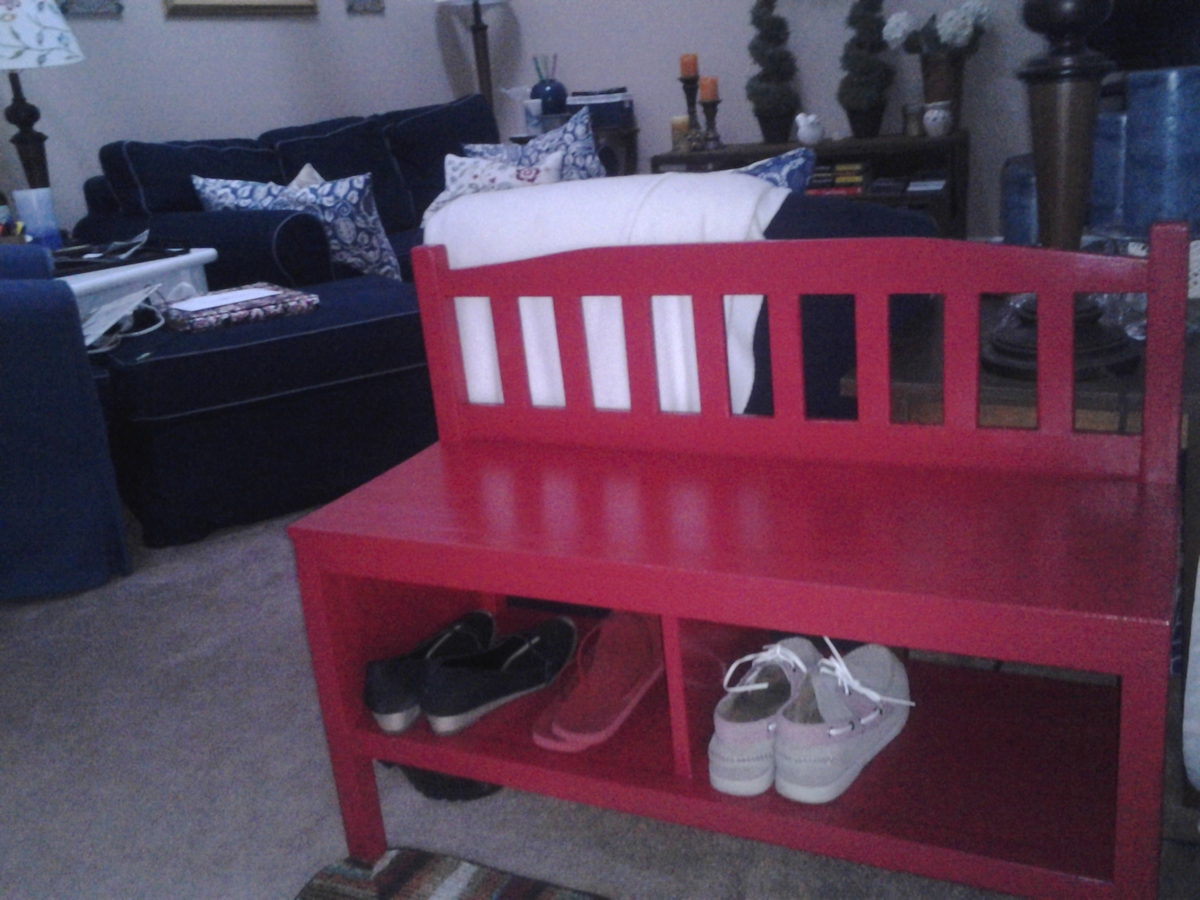
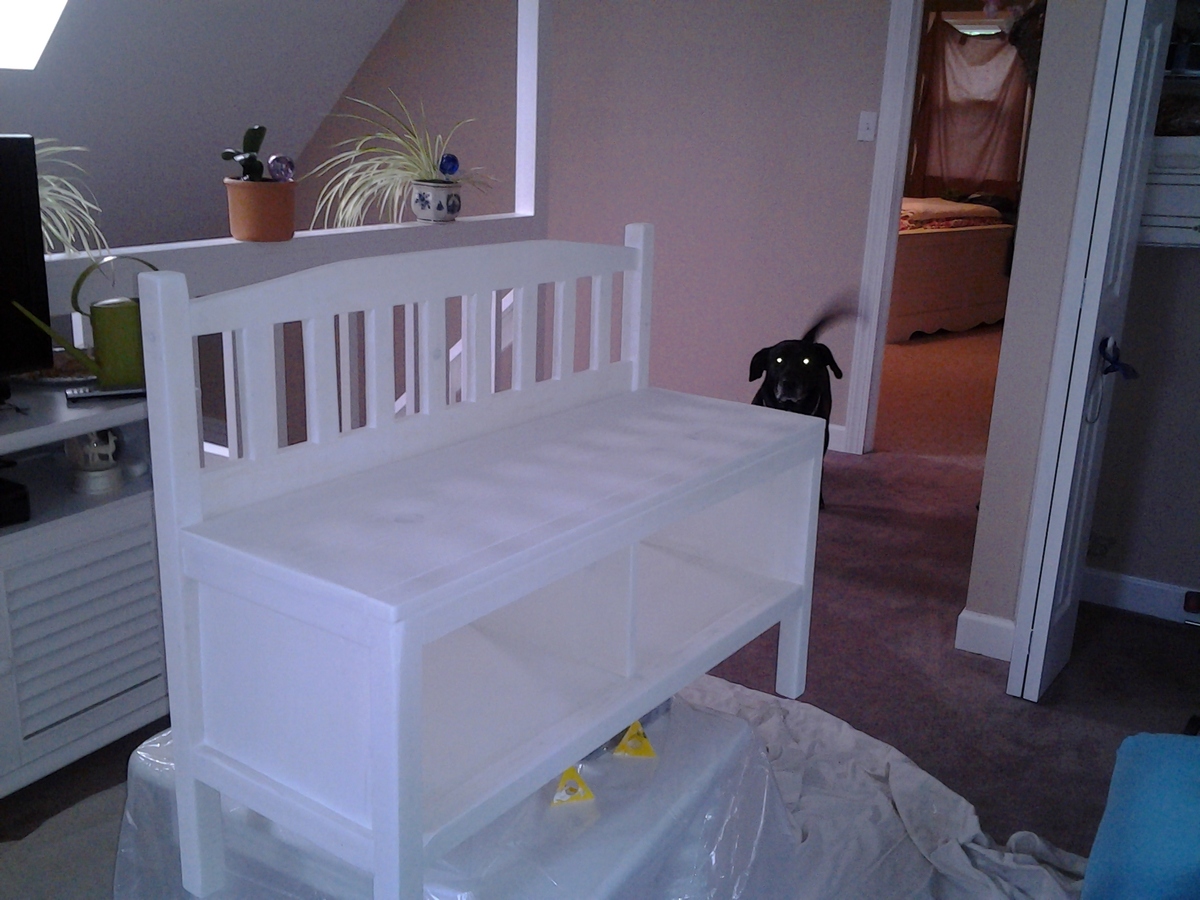
I really wanted a place to sit down and take my shoes off when I got home. I don't have a large entryway, so the space was tight. I looked online for a bench that would fit the measurements, and found a few that looked good-- except for the price! Luckily I already knew about Ana White, so I came here in search of some plans and lo and behold she already had plans posted for the exact same bench I liked most from the catalogs!
I've used power tools before, but never actually *built* anything from scratch. I thought my boyfriend would help me with this (he's got woodworking experience), but I got tired of waiting for him to get around to it, so I just did it all by myself!
I first attempted to make this without a Kregg Jig, cause I didn't want to spend the money on it if I didn't need it. But it didn't take long to figure out that I needed it. So back to the store I went (found out the hard way that Lowes sells Kreggs but Home Depot does not, at least the ones near me). And holy cow it was SO WORTH IT!
I also got to buy a new sander for the project, cause the hand-me-down from my dad had a missing bit of the clamp that holds the sandpaper to the sander (kind of essential)
So all in all I spent more than the catalog price of the bench, but I will get to use the tools to build all sorts of fun stuff!!!
Thank you Anna! You empowered me to build exactly what I wanted and I LOVE IT!!!!
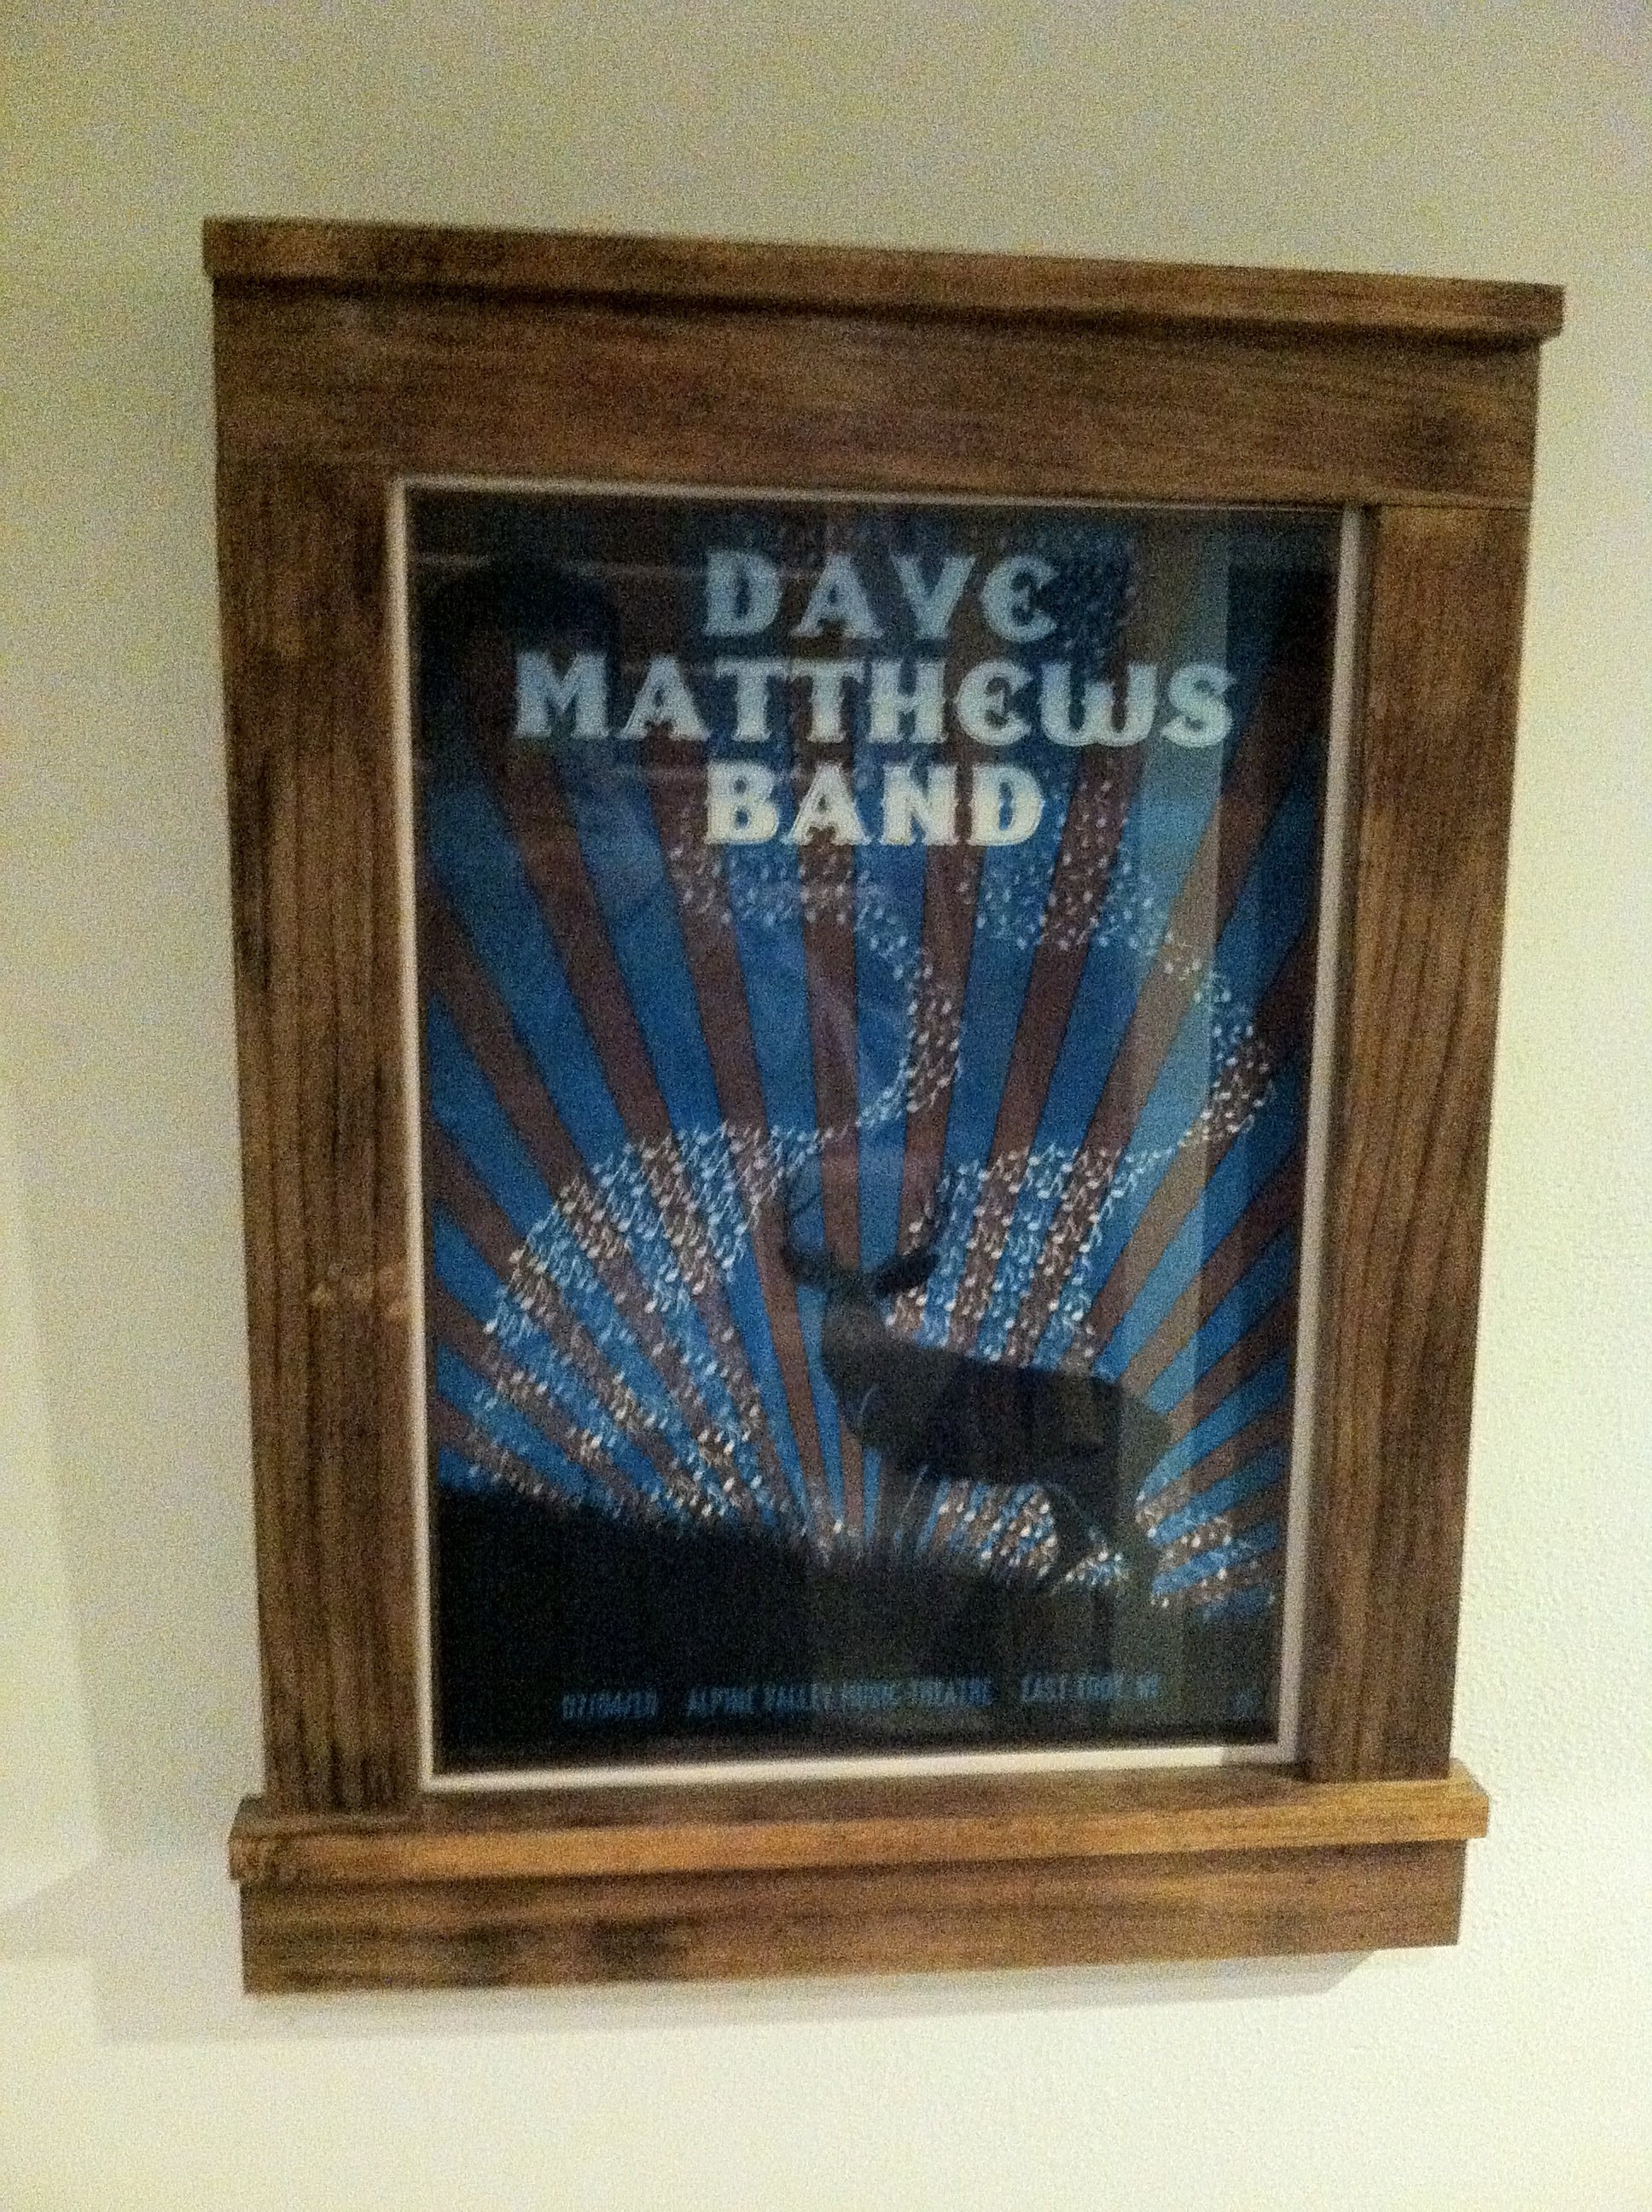
Had an old concert poster that I had been looking to frame. Glad I found these plans.
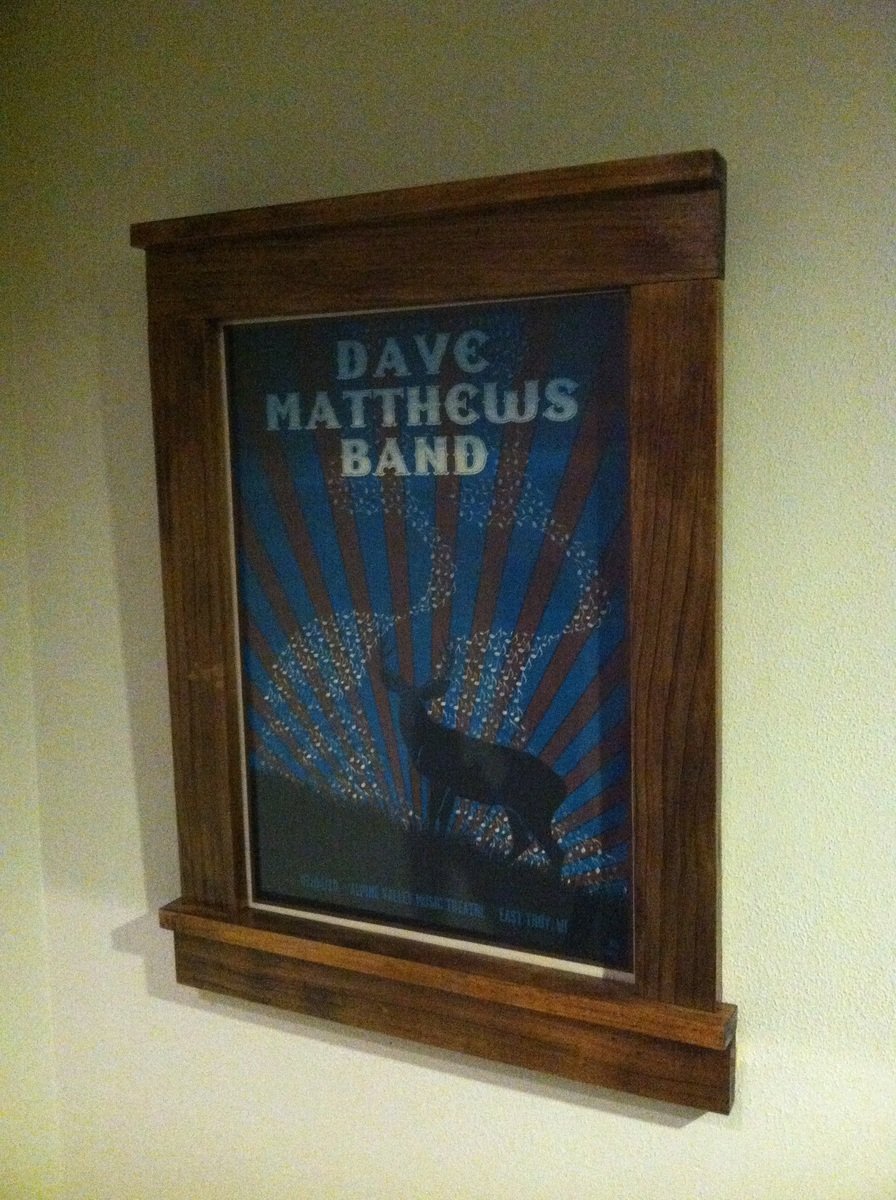
I used old barn wood I had out back its not a perfect fit all across the top but I made it that way on purpose I like the things that don't look perfect! Great project did it all in about 2 hours!
So proud of how this turned out. Plans were so easy to follow. Thanks for such a wonderful site.
David Akridge
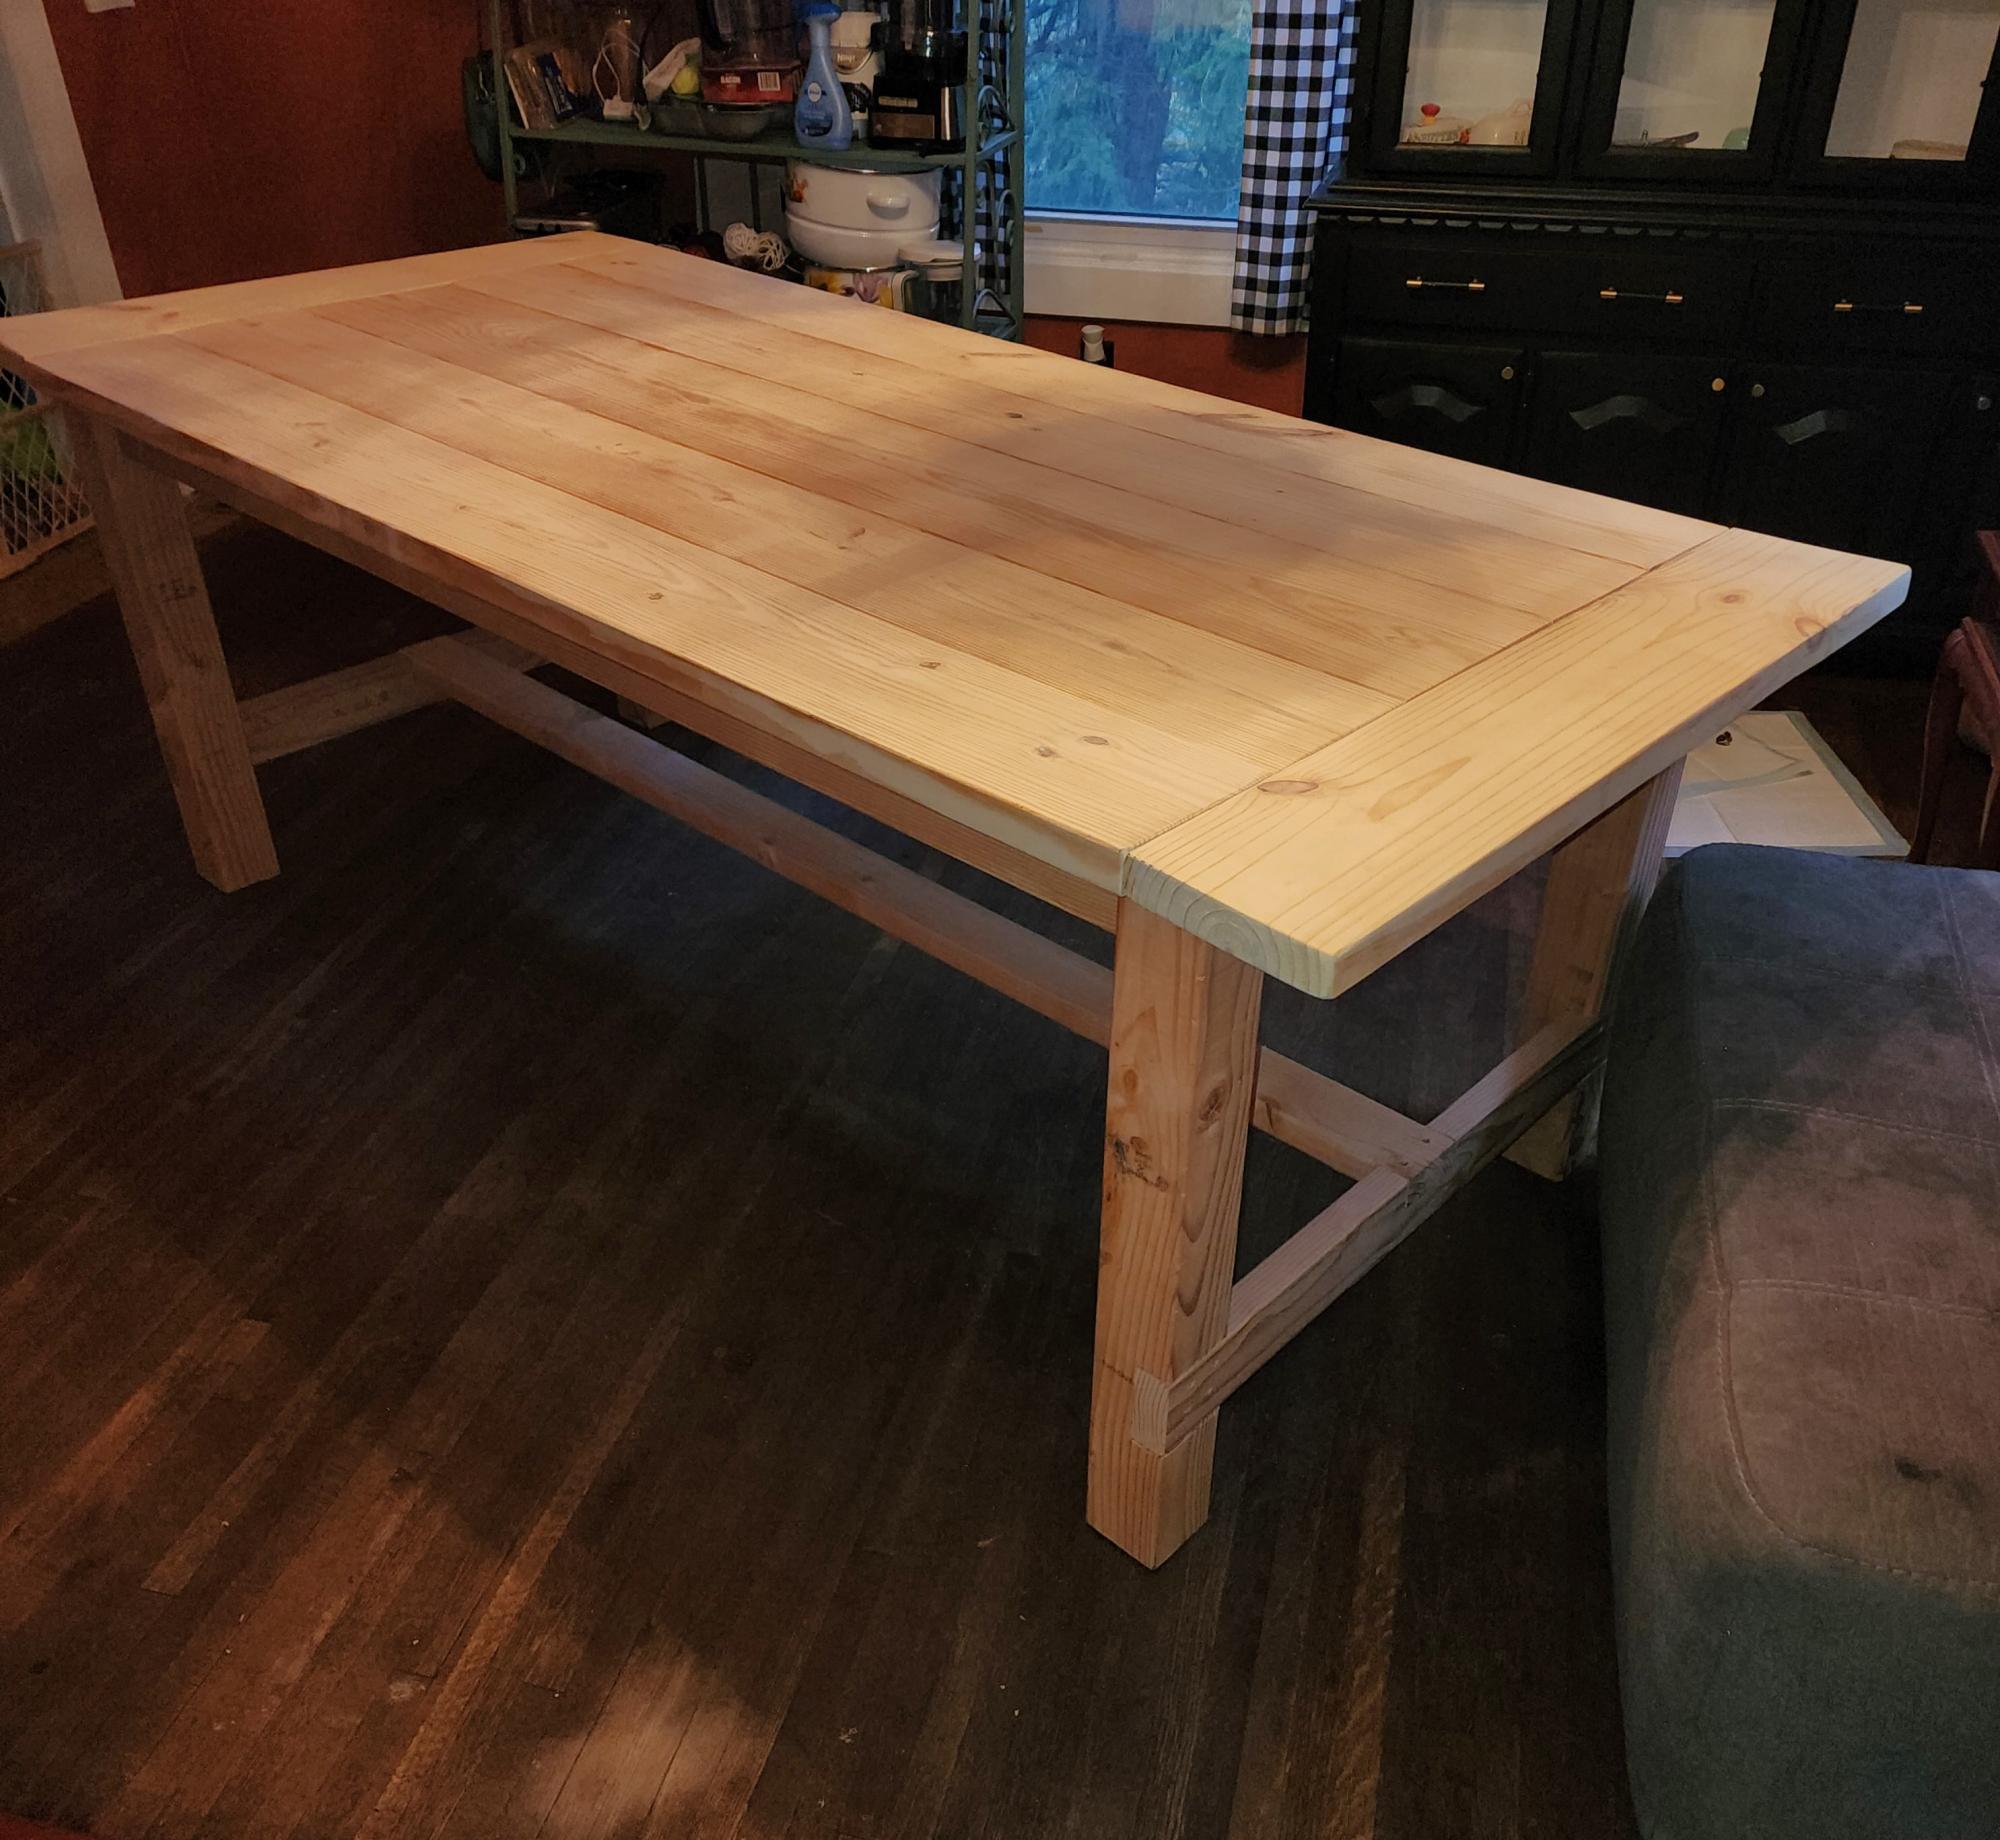
Loved building this table. Look forward to building more! Thanks Ana!
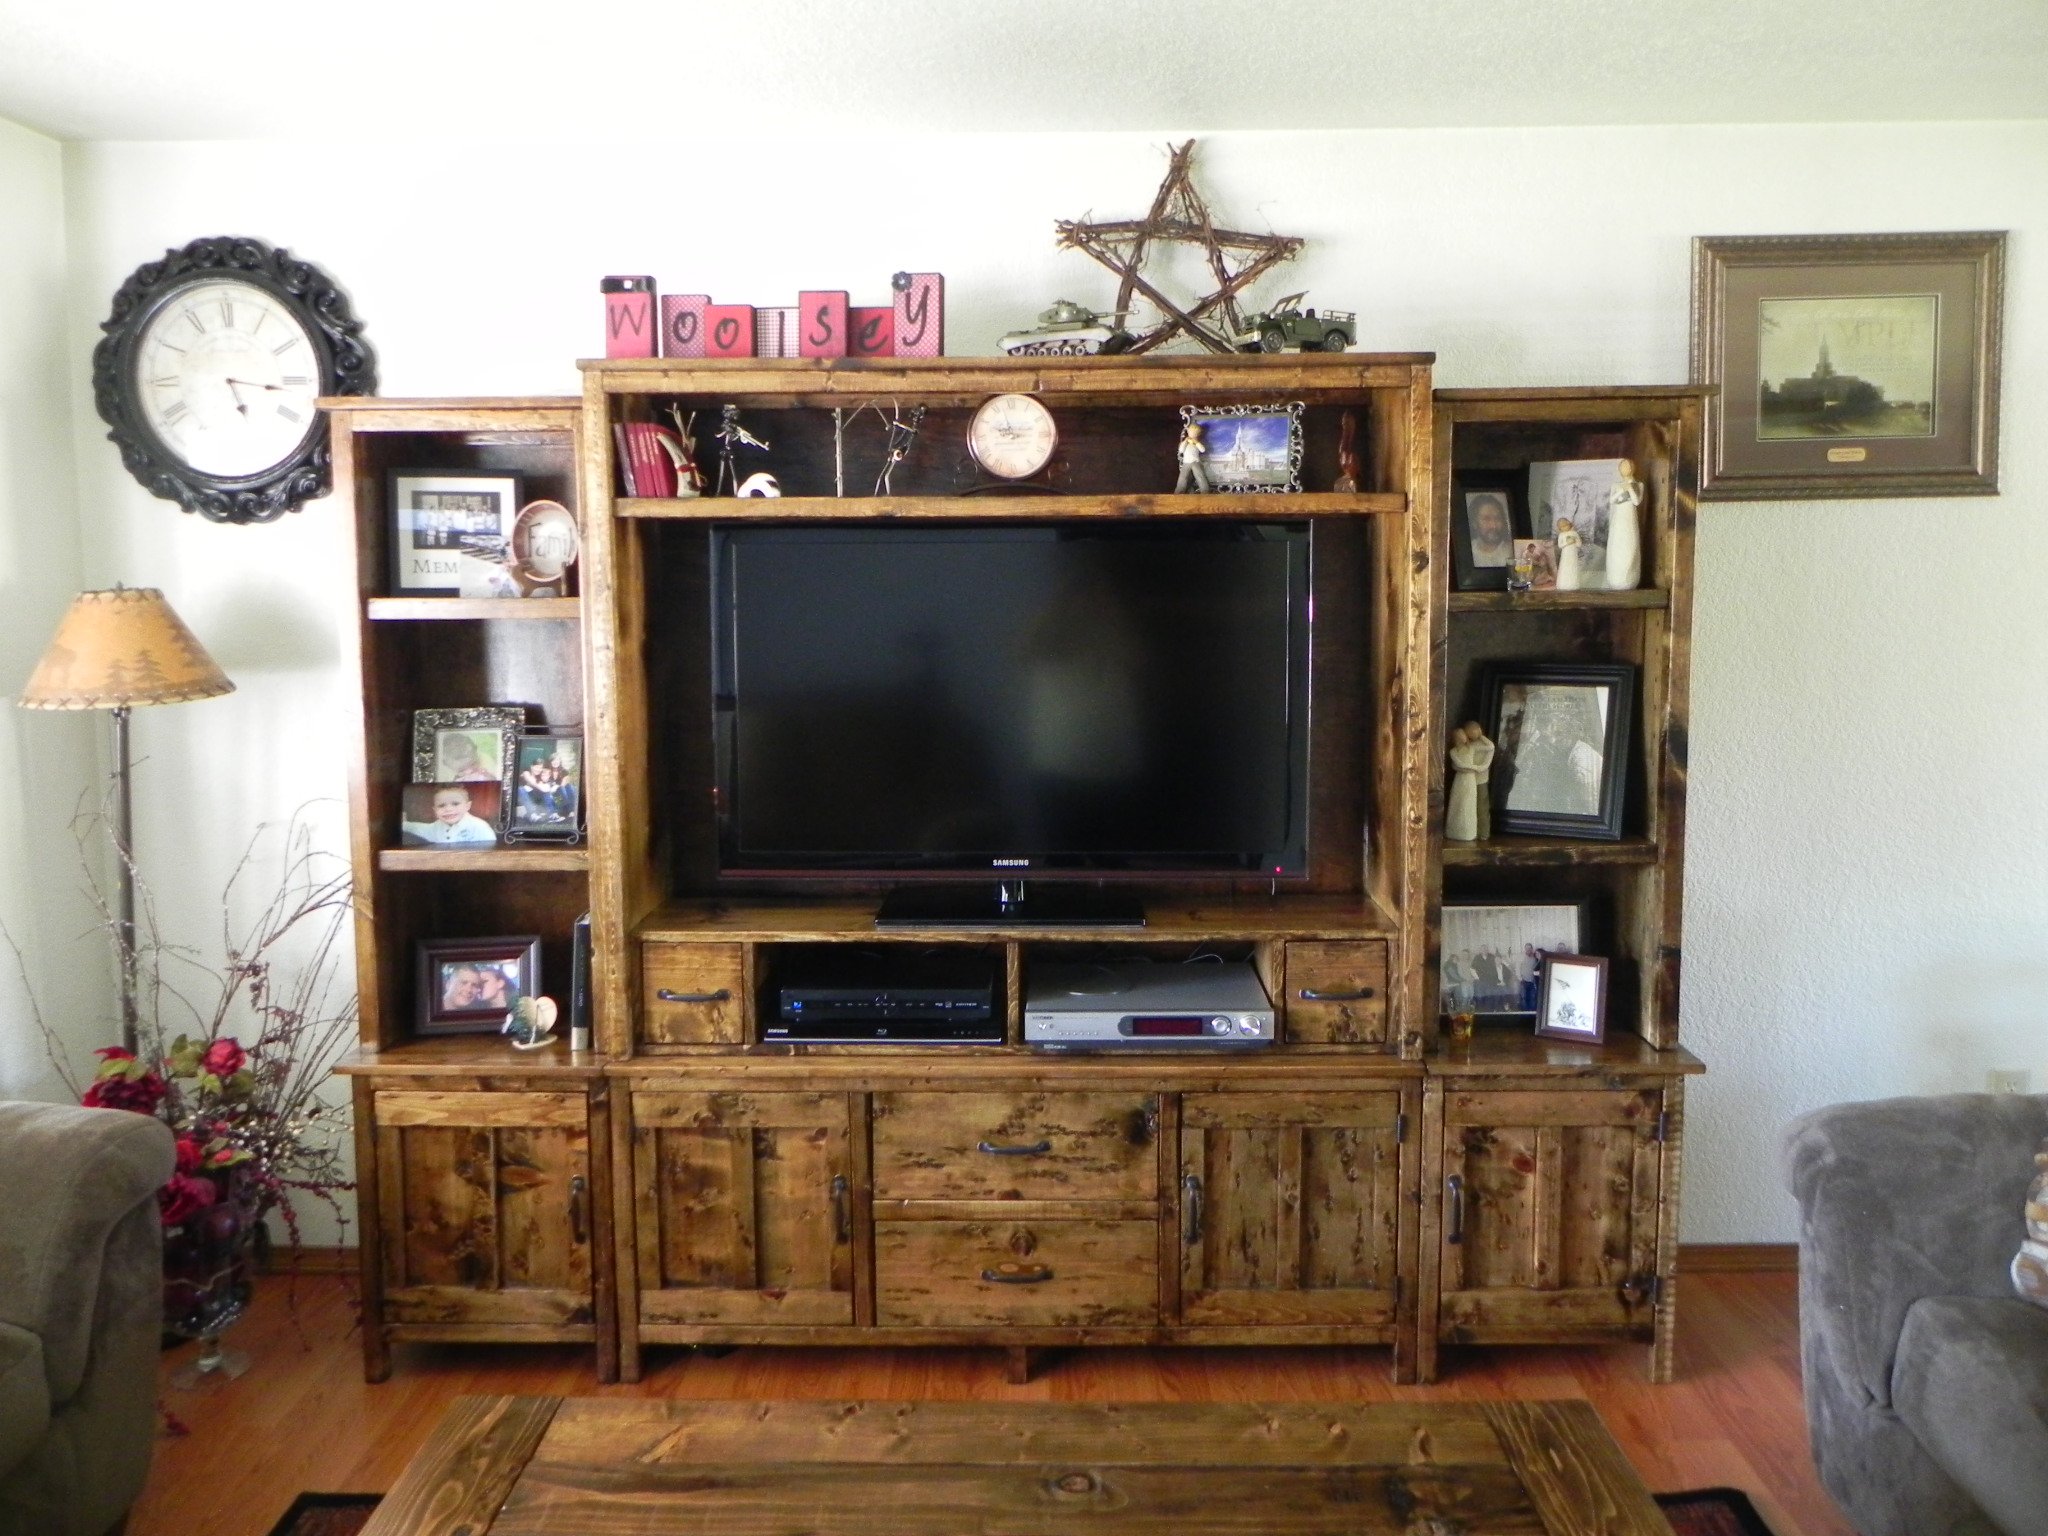
Easy, fun great project that my husband and I did together. This project cost about $202, and I will take that price over the price that you would have to pay in the furniture store any day. We found some great wood at Lowe's that worked perfectly and gave it the "rustic" look that we like. Thanks Ana for the plans and sharing them with us.
Wed, 05/16/2012 - 19:01
That's a fine quality piece of furniture!
Why can't I get dark walnut stain to look like that?

Wed, 05/16/2012 - 19:45
Debi_G, I've had lots of trouble getting stains to look the way I want too. What I've taken to doing is either mixing my own (see http://claydowling.com), as well as trying out various commercial stains until I find one that satisfies my desires. Good use for your scrap.
So far the best commercial stains I've found are from General Finishes. They're designed to sit partially on top of the wood, which prevents some of the splotchy and washed out look that make some stains unpleasant to work with.
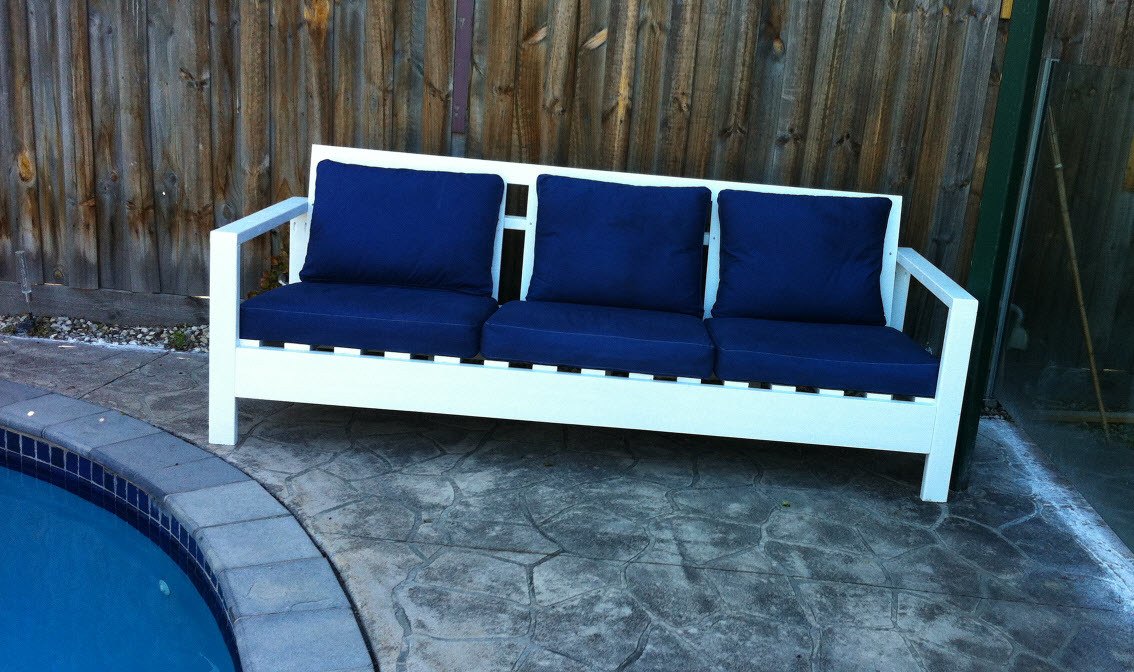
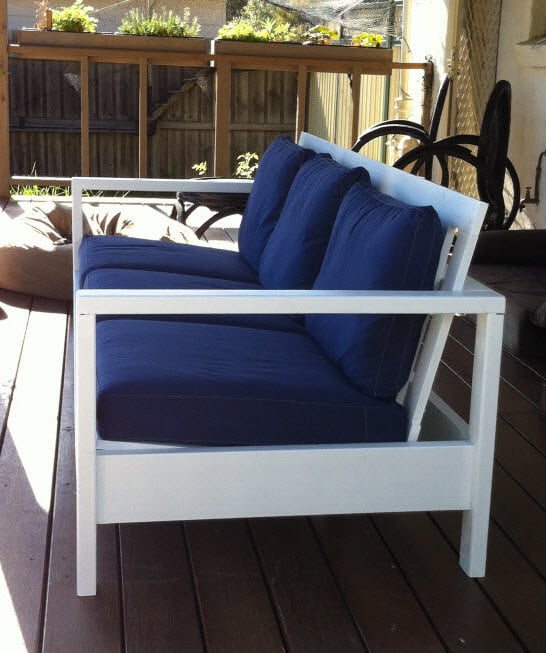
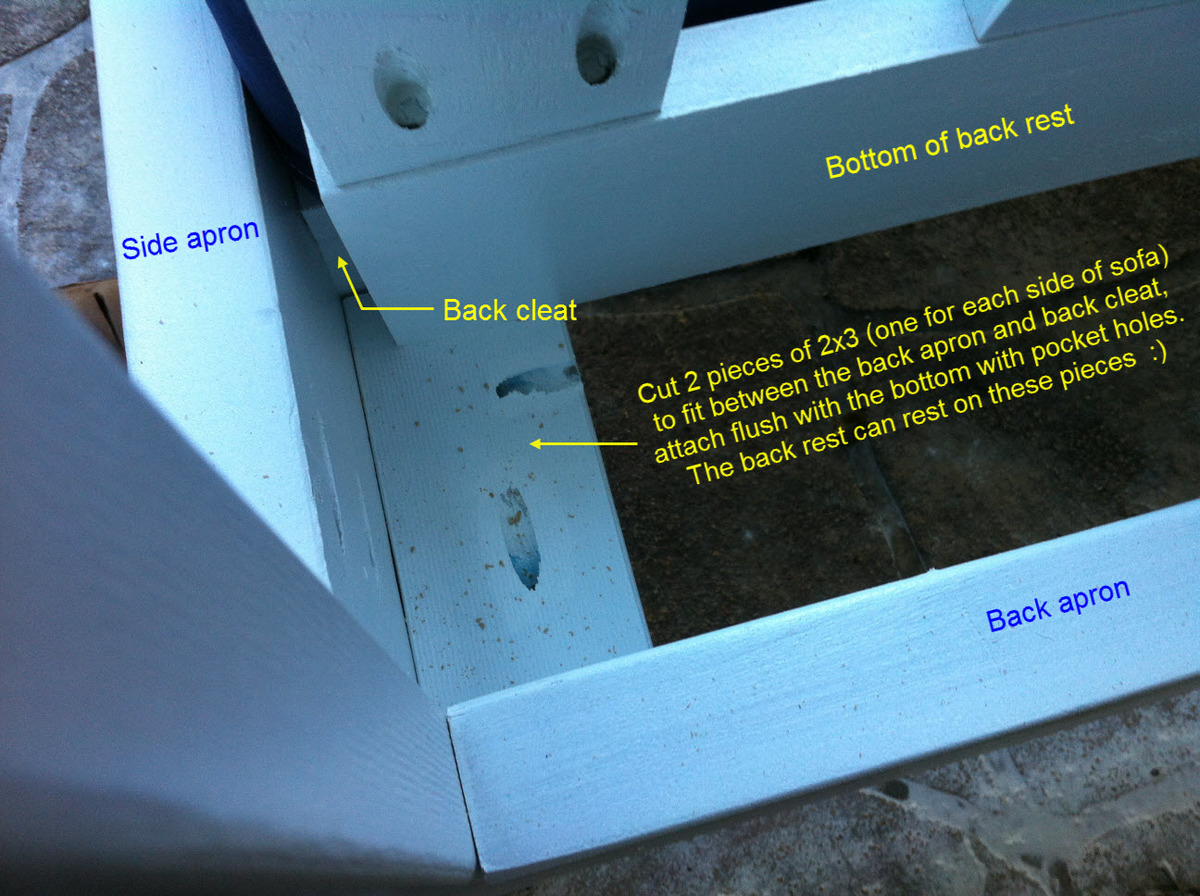
An easy build! Thanks for the plans, Ana. This was a housewarming gift for some friends and it now sits nicely by their pool. I got the cushions from Ikea (Arholma range) and sized the sofa around them. I used 2x3s for the frame and added a couple of 2x3 support legs under the back cleat for extra support. I also attached a couple of 2x3 pieces between the back cleat and the back apron for the back support to rest on. Now for the table... :)
Built this for my son's nursery. Cutting and assembly was a snap. Took under four hours. Painting however took forever. I'm a slow and careful painter. Each coat took two hours, then sanding in between. I'm happy with the result. I bought the kreg r3 pocket hole jig and I love it.
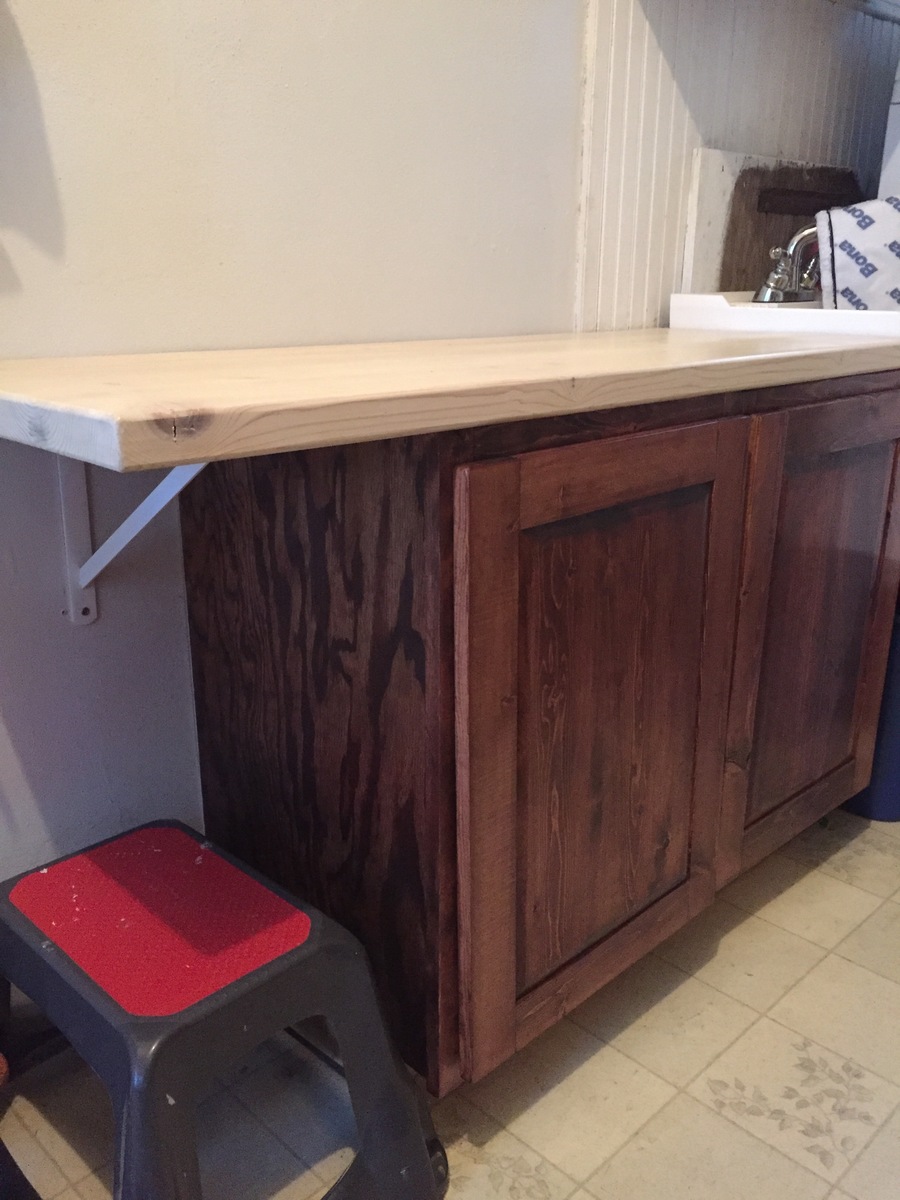
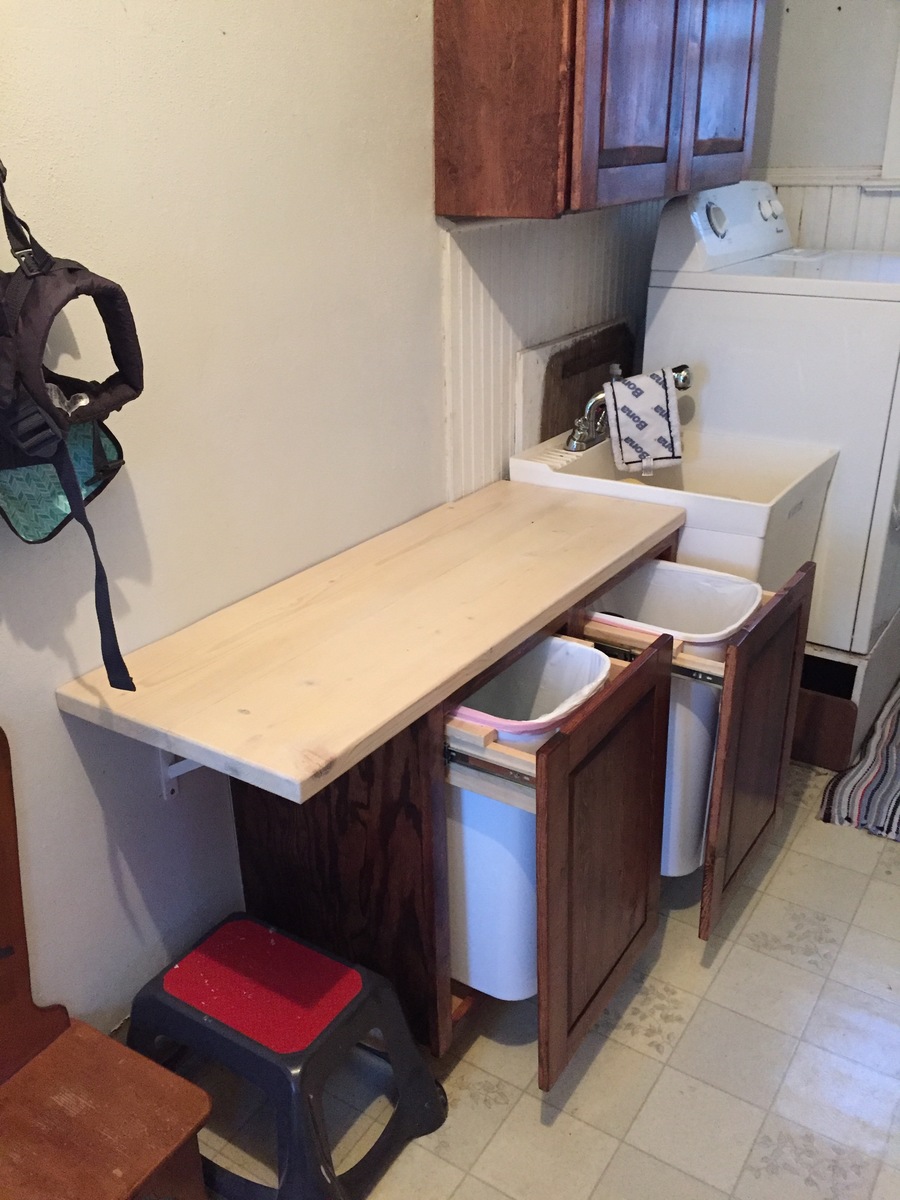
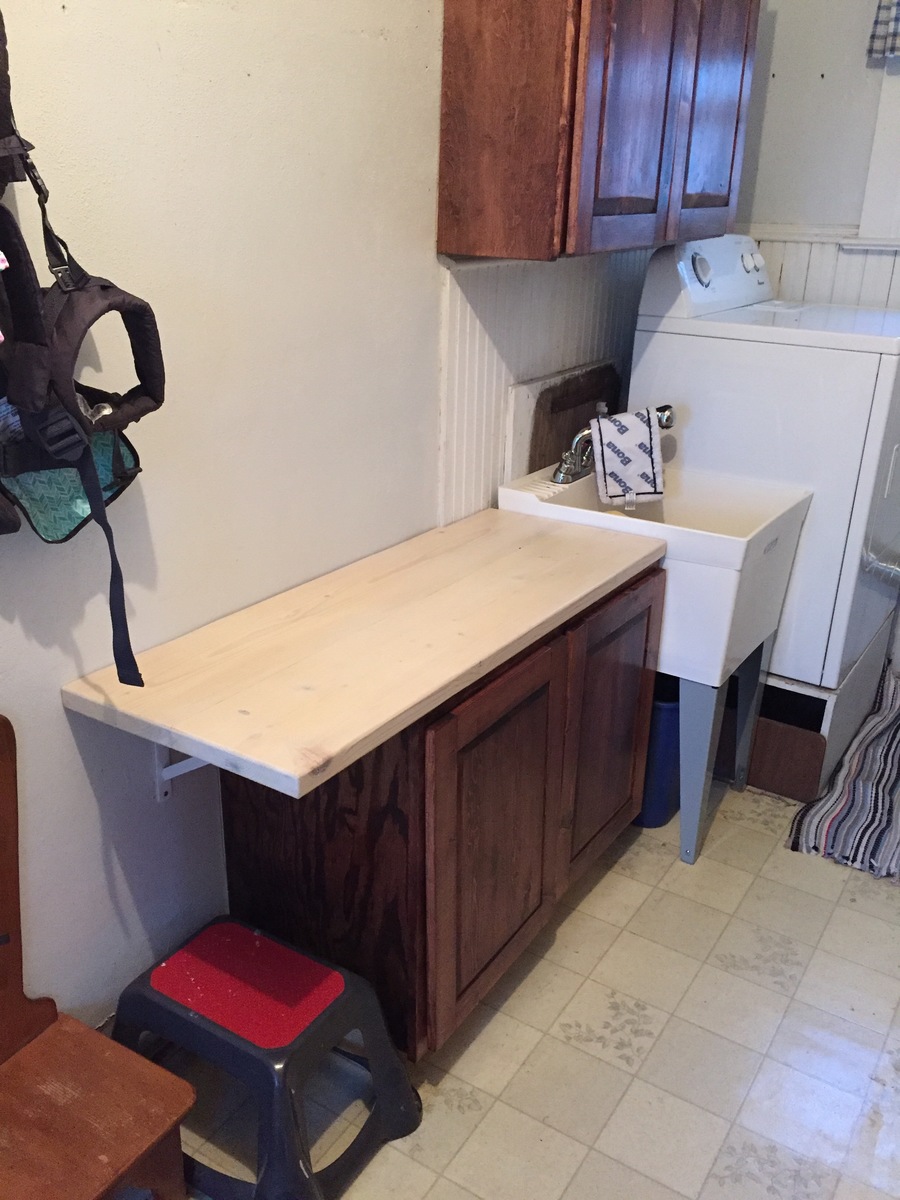
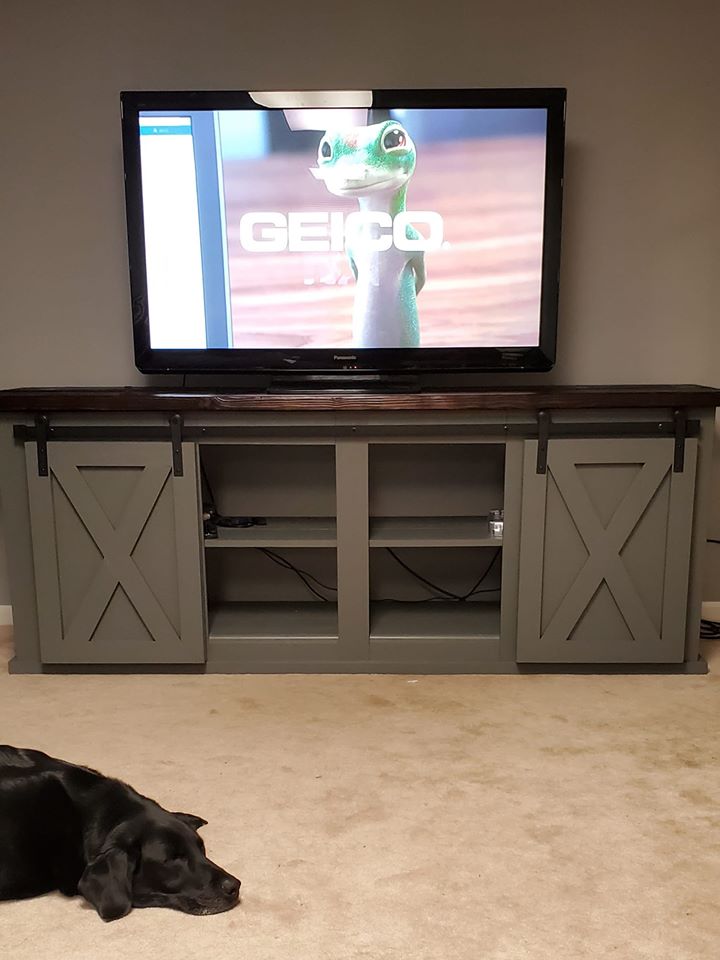
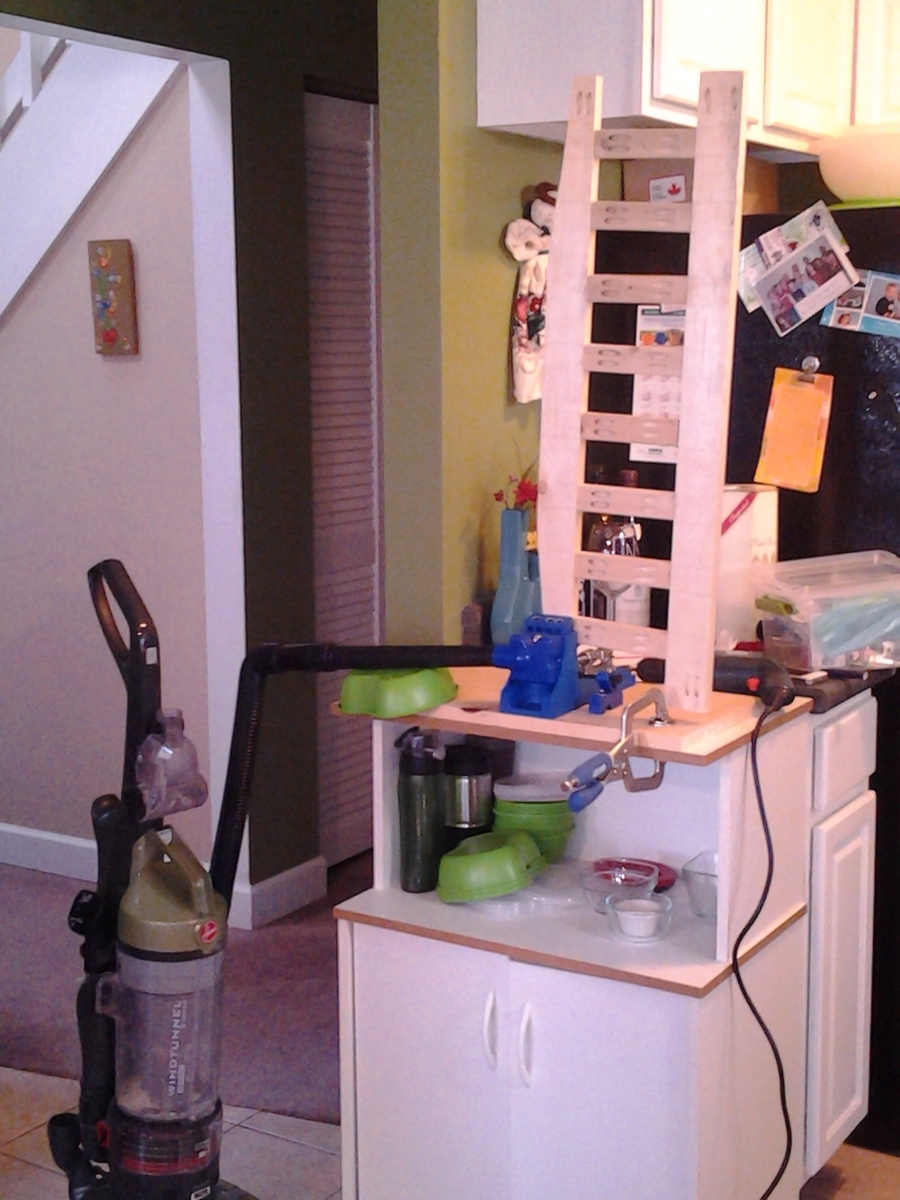
We are trying to tidy up our laundry/mud room and needed a place for the recyclables. I ran across Ana's plans for these pull out cabinets and raised panel doors, adjusted the measurements to fit our space, and had at it! It's kind of a tight fit in that room but these seem to help with the clutter. I also added that little table on top for folding laundry.