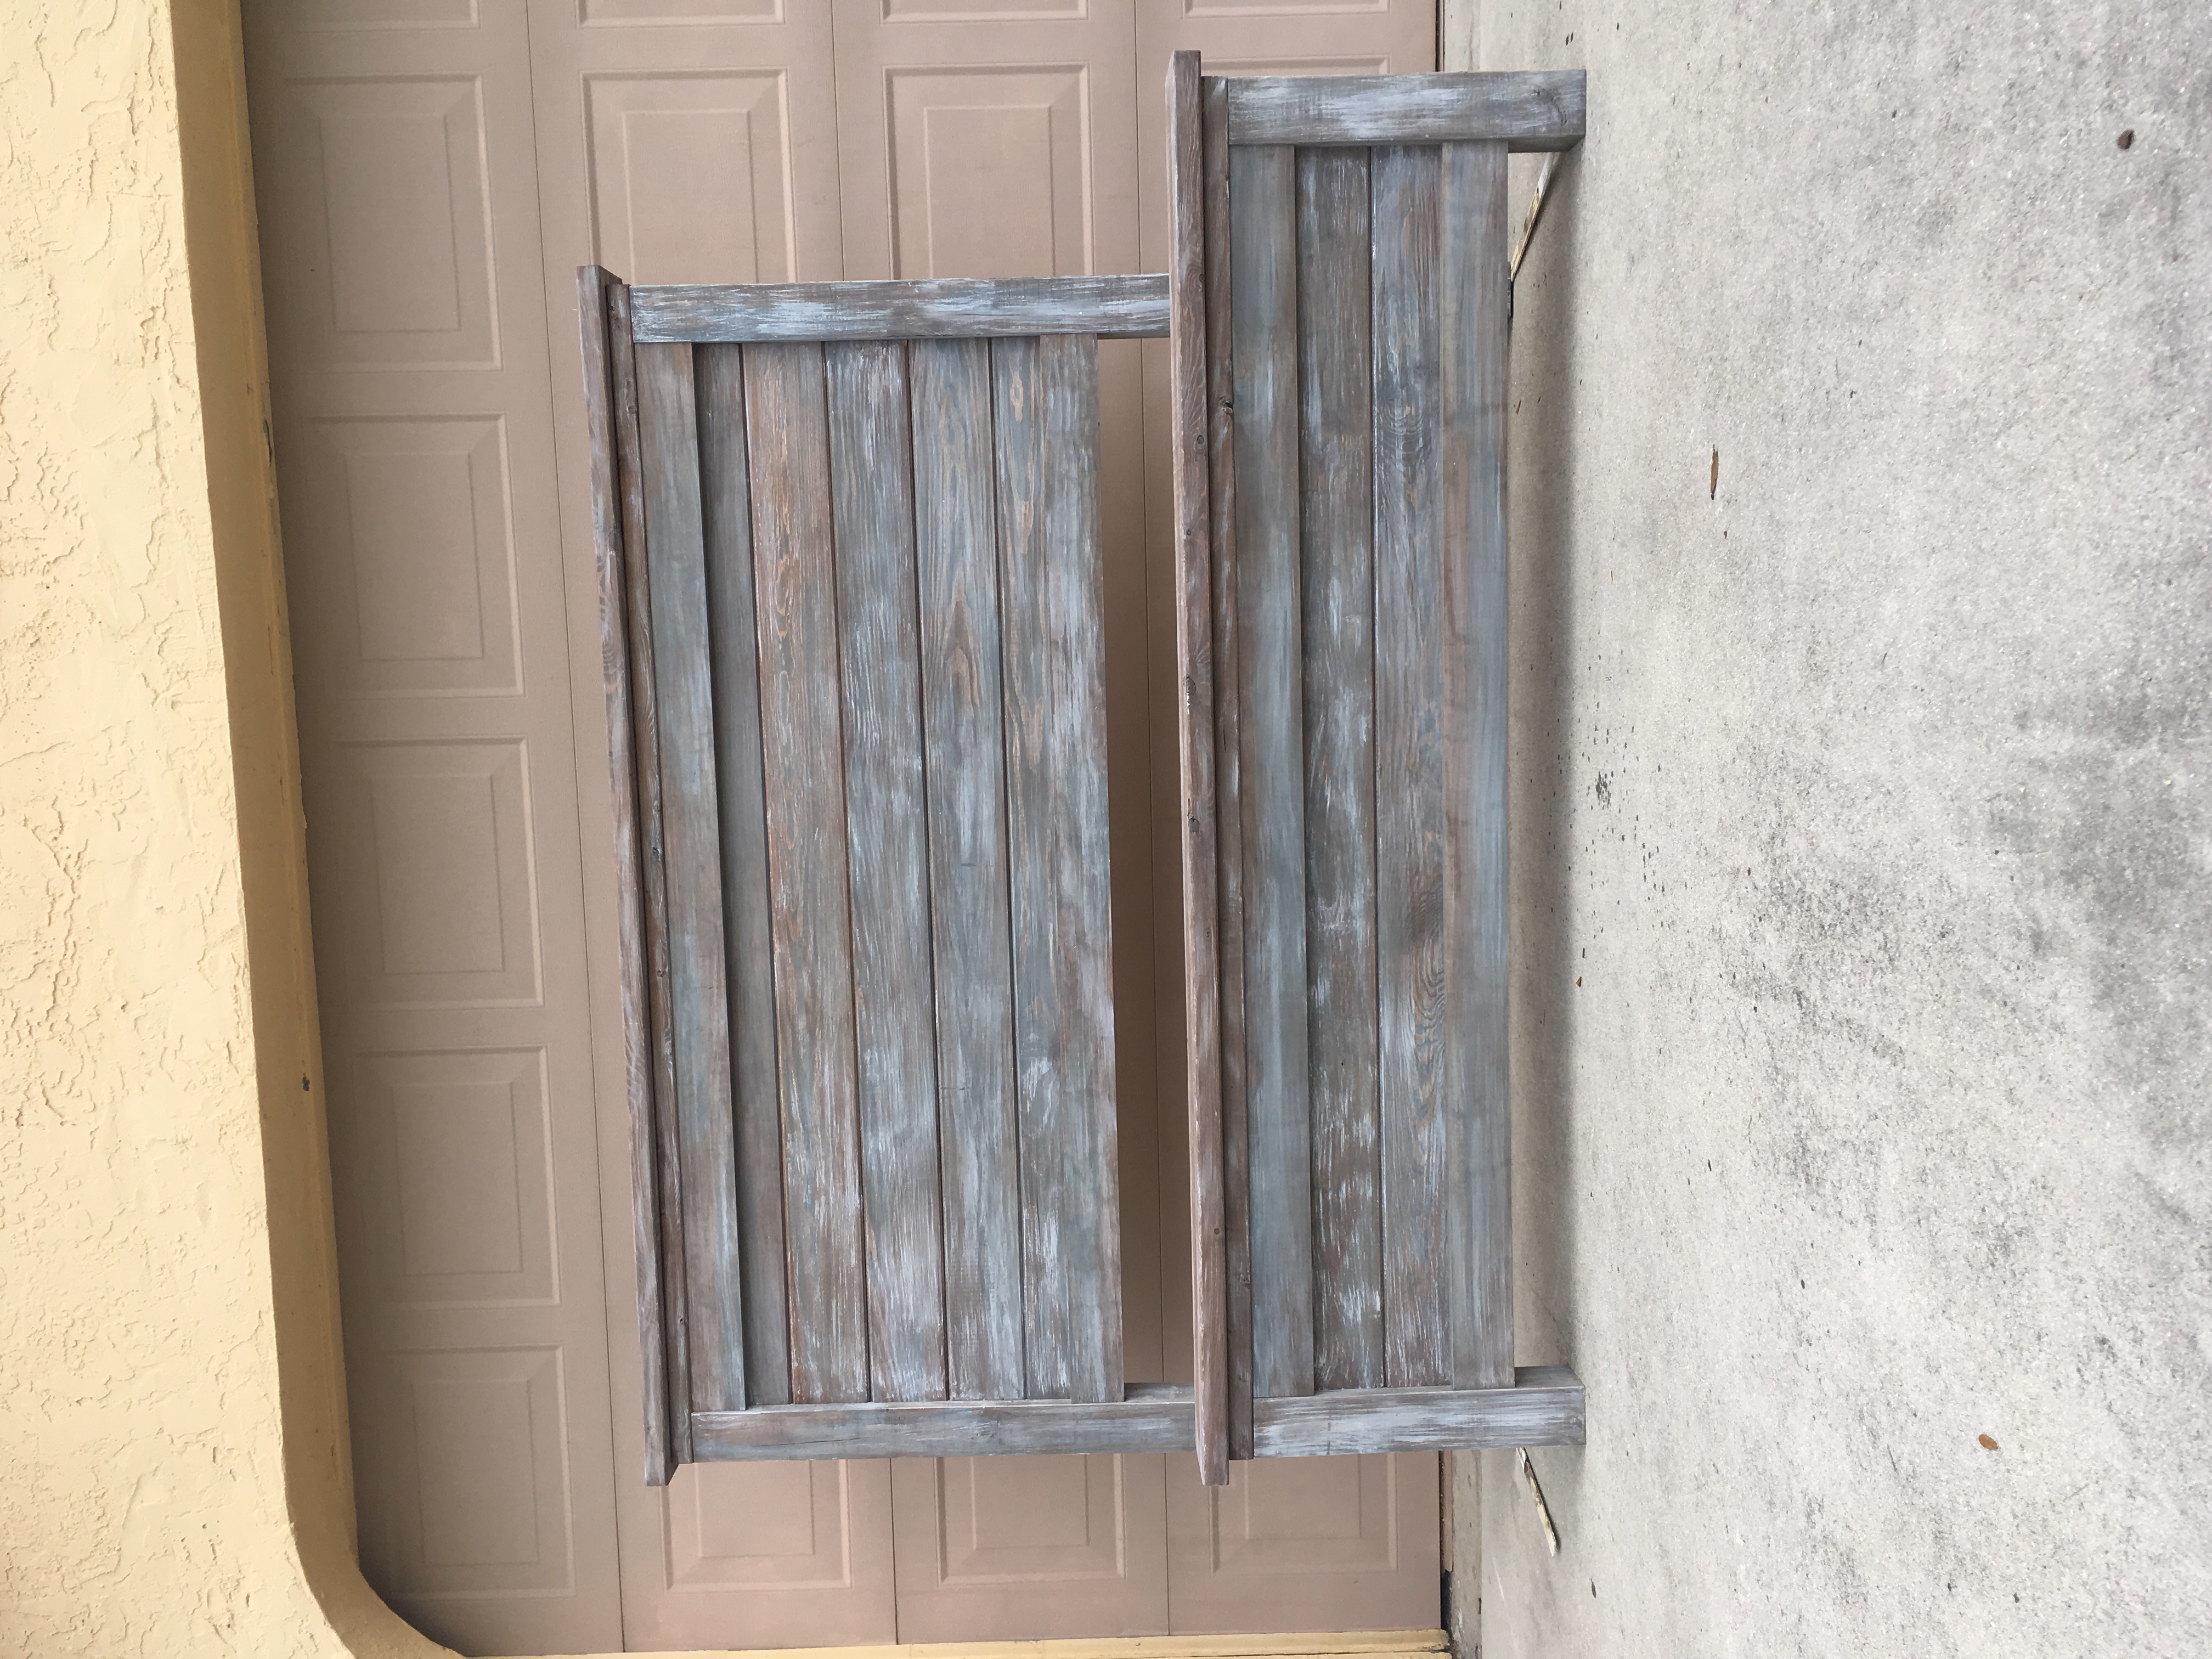
Classic Bunk Beds for our boys!
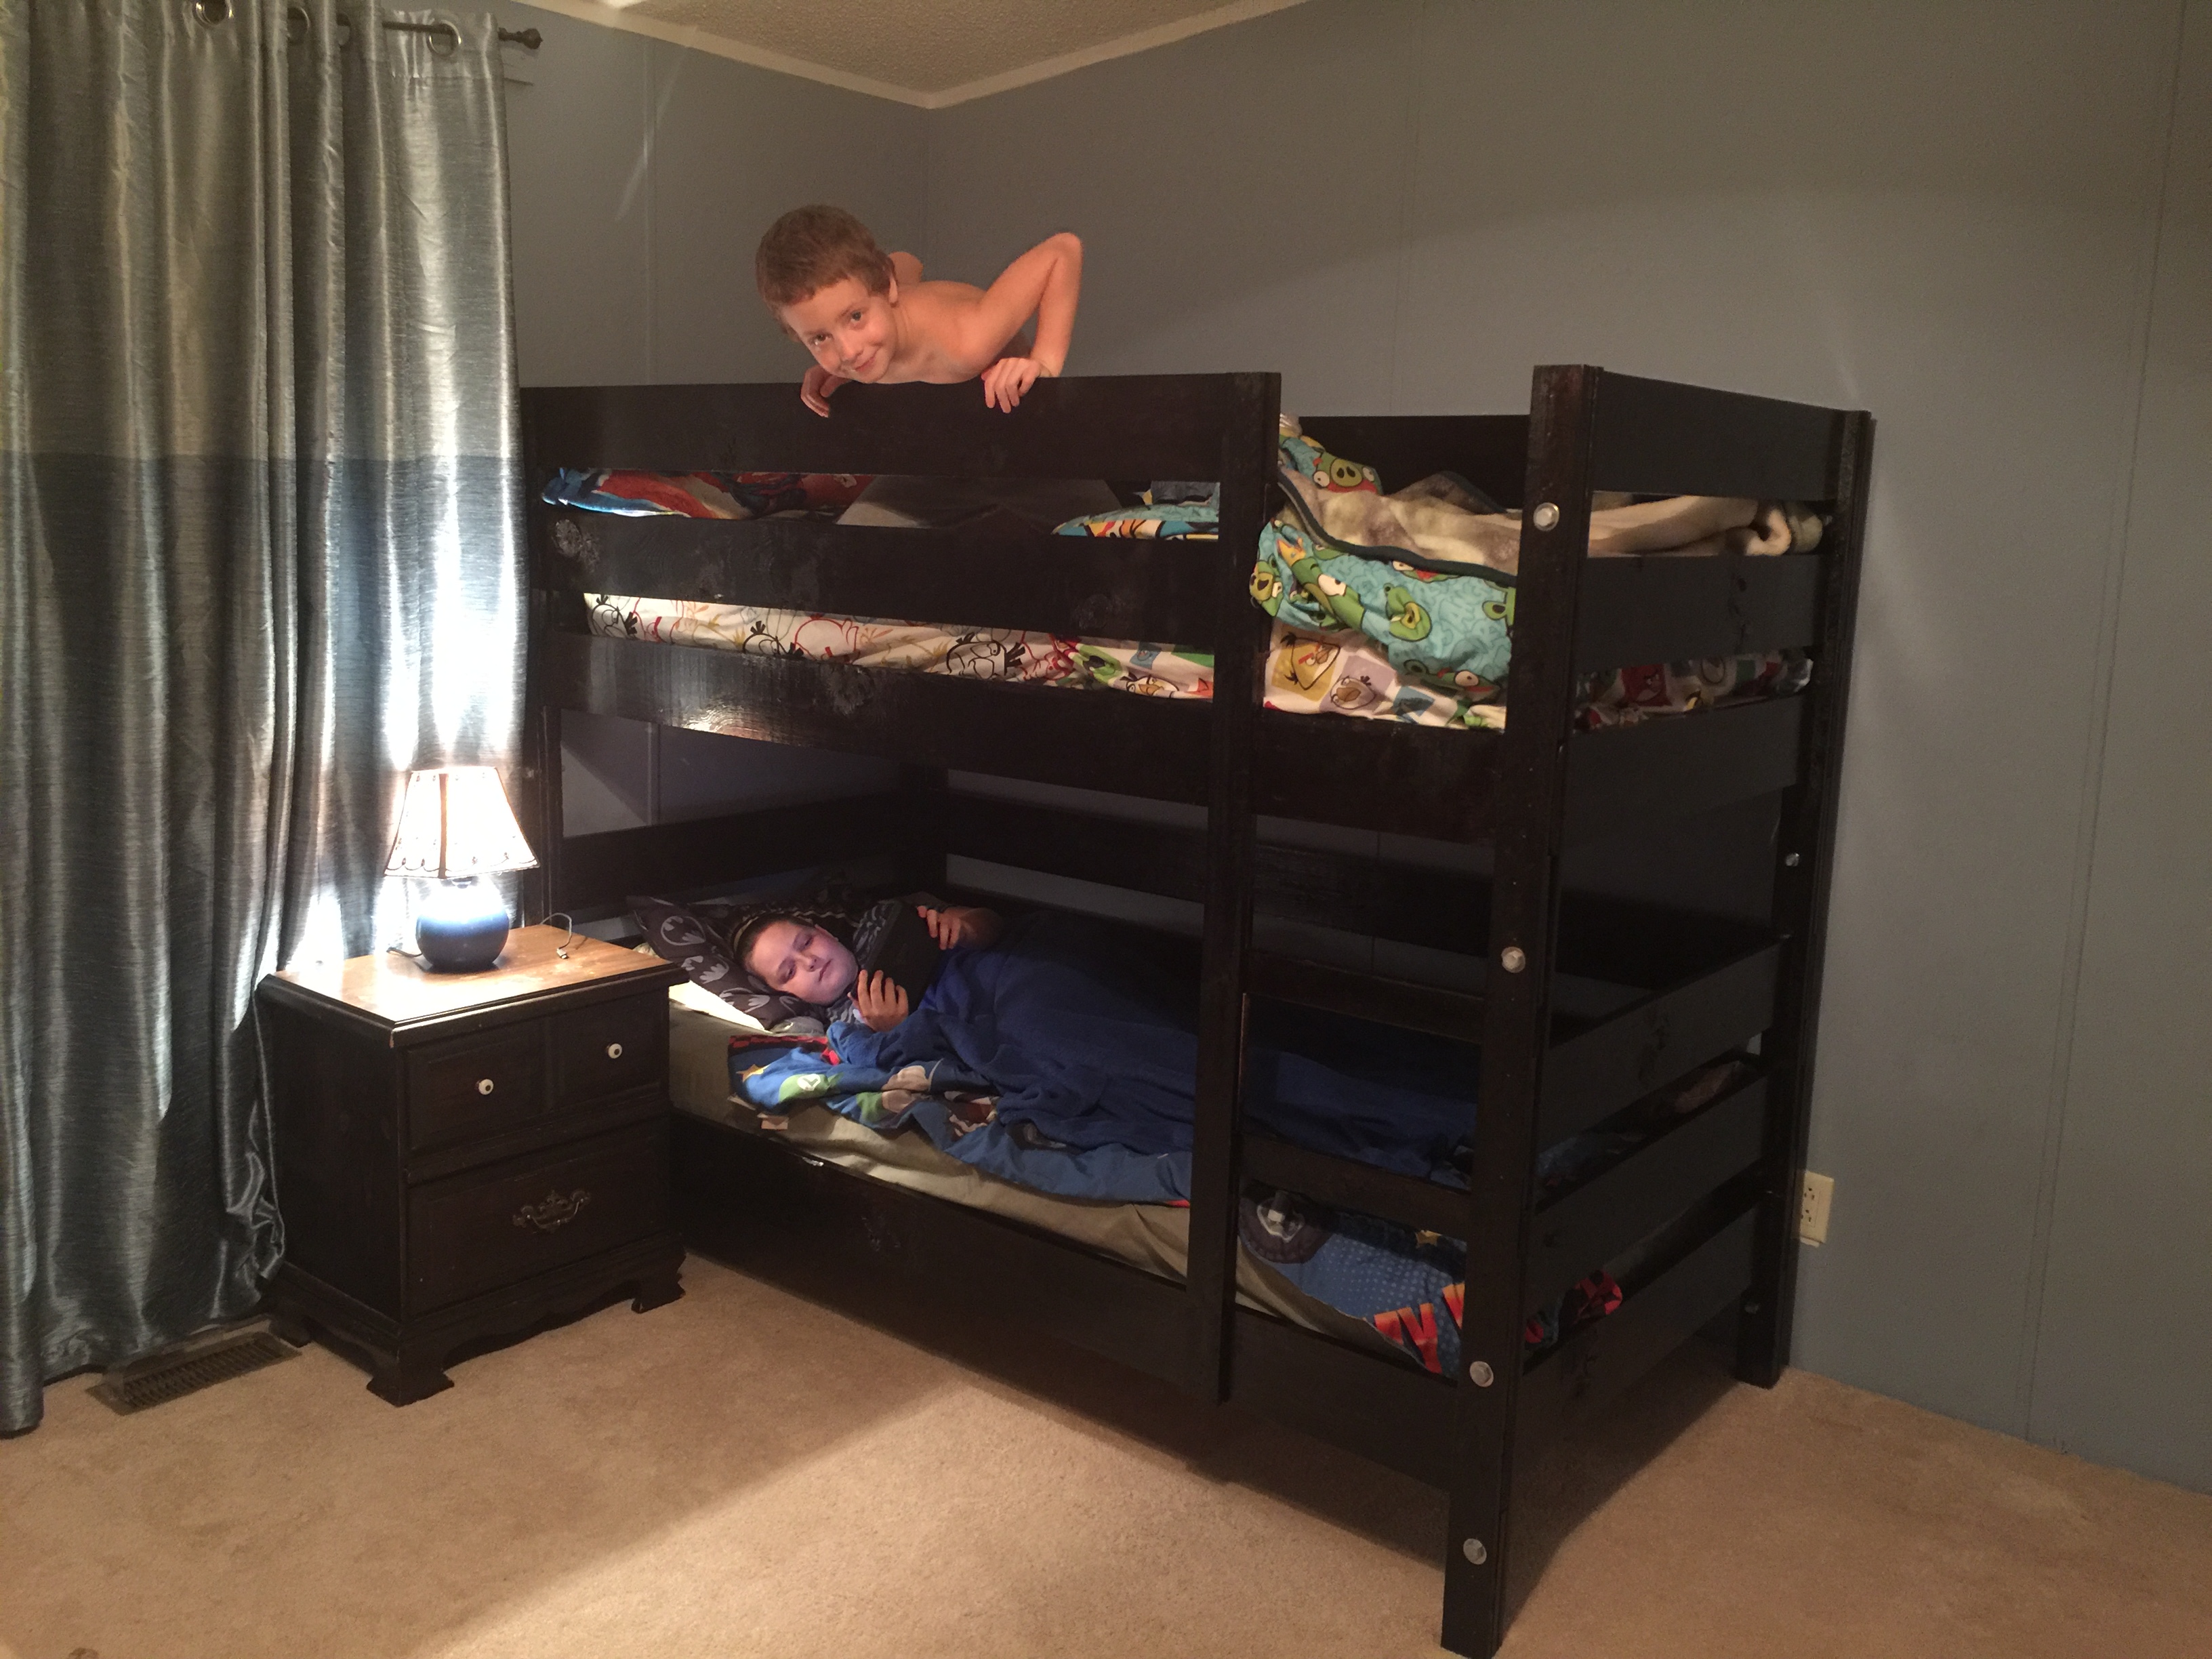
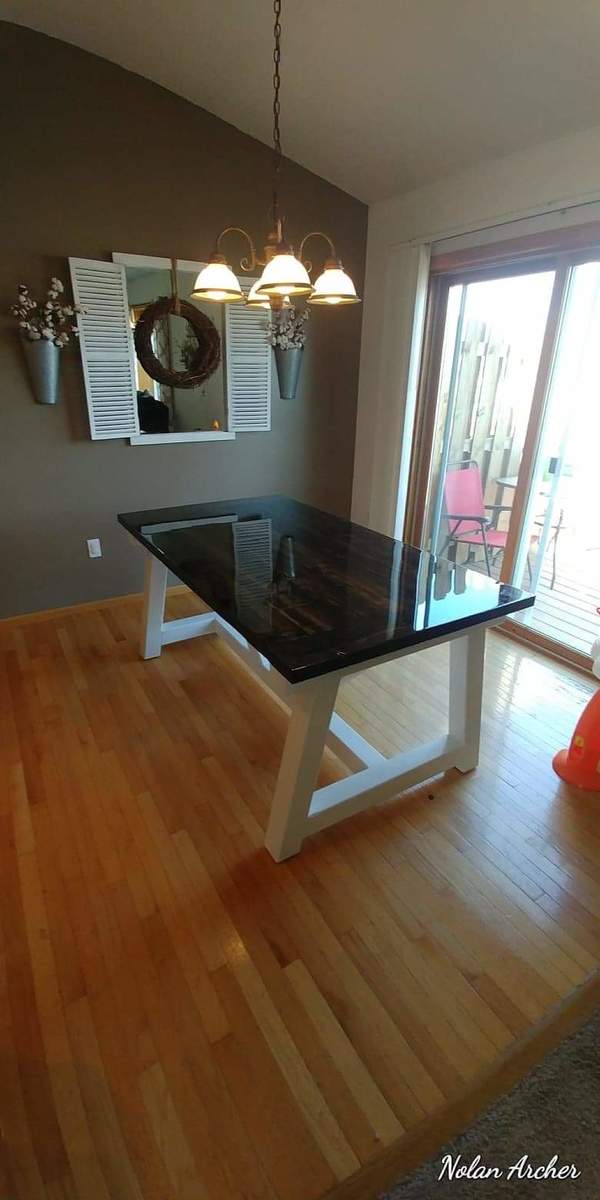
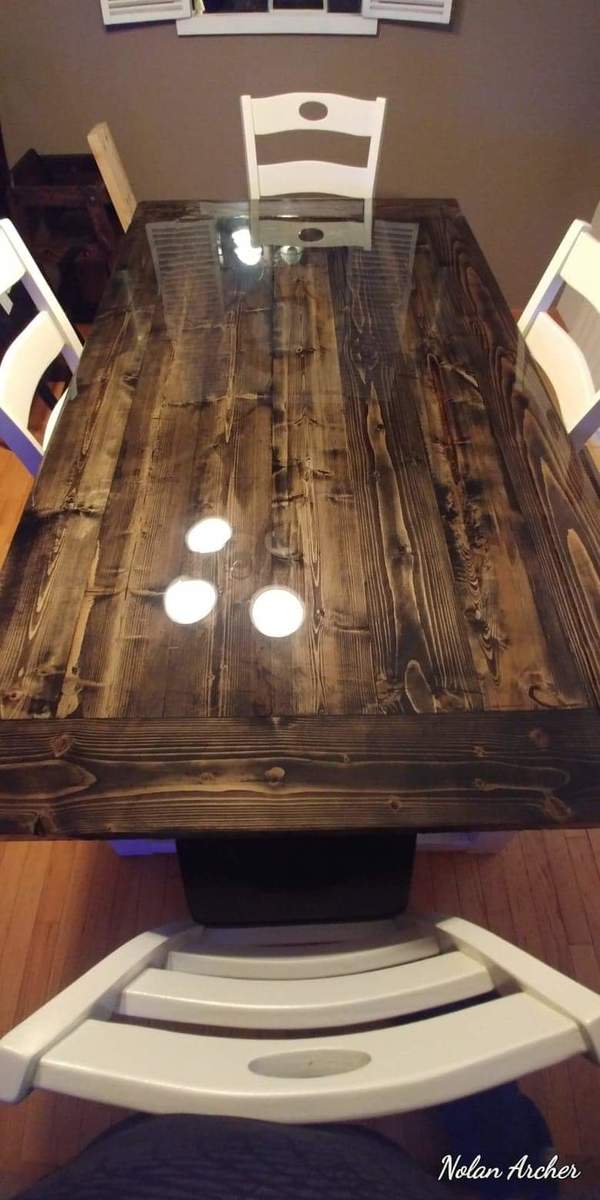
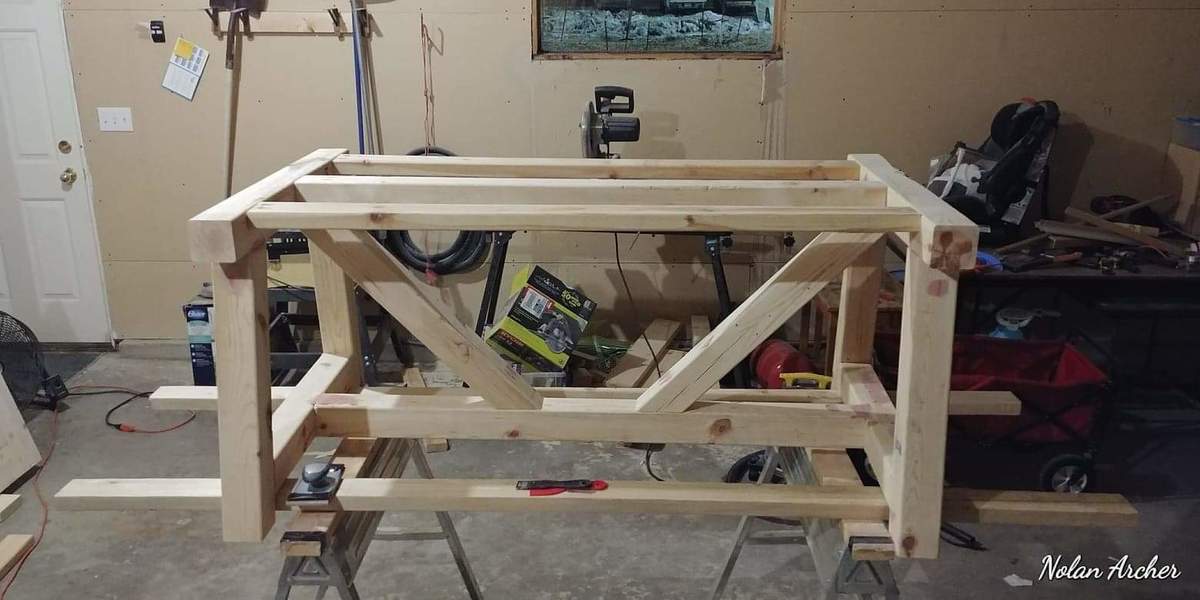
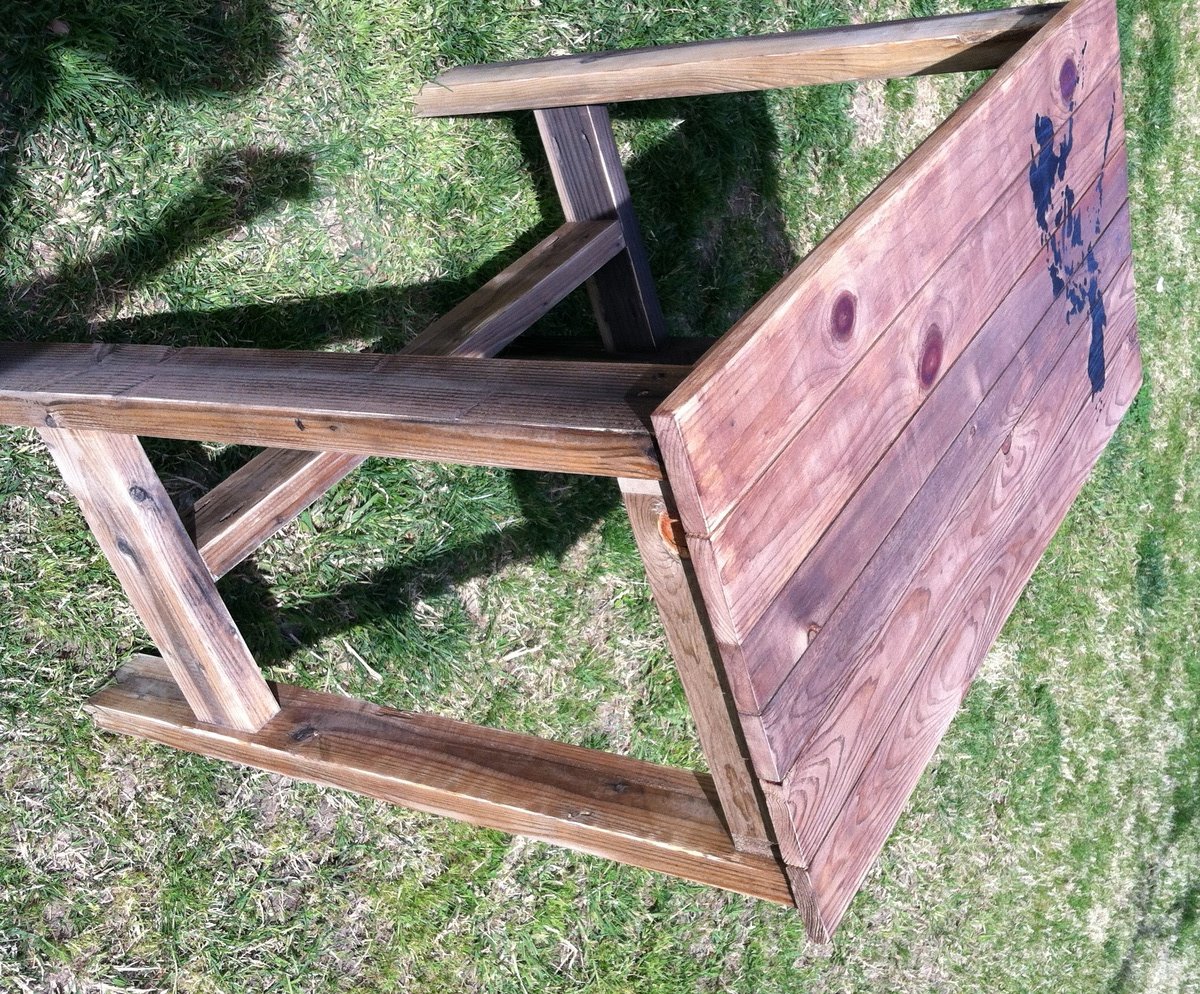
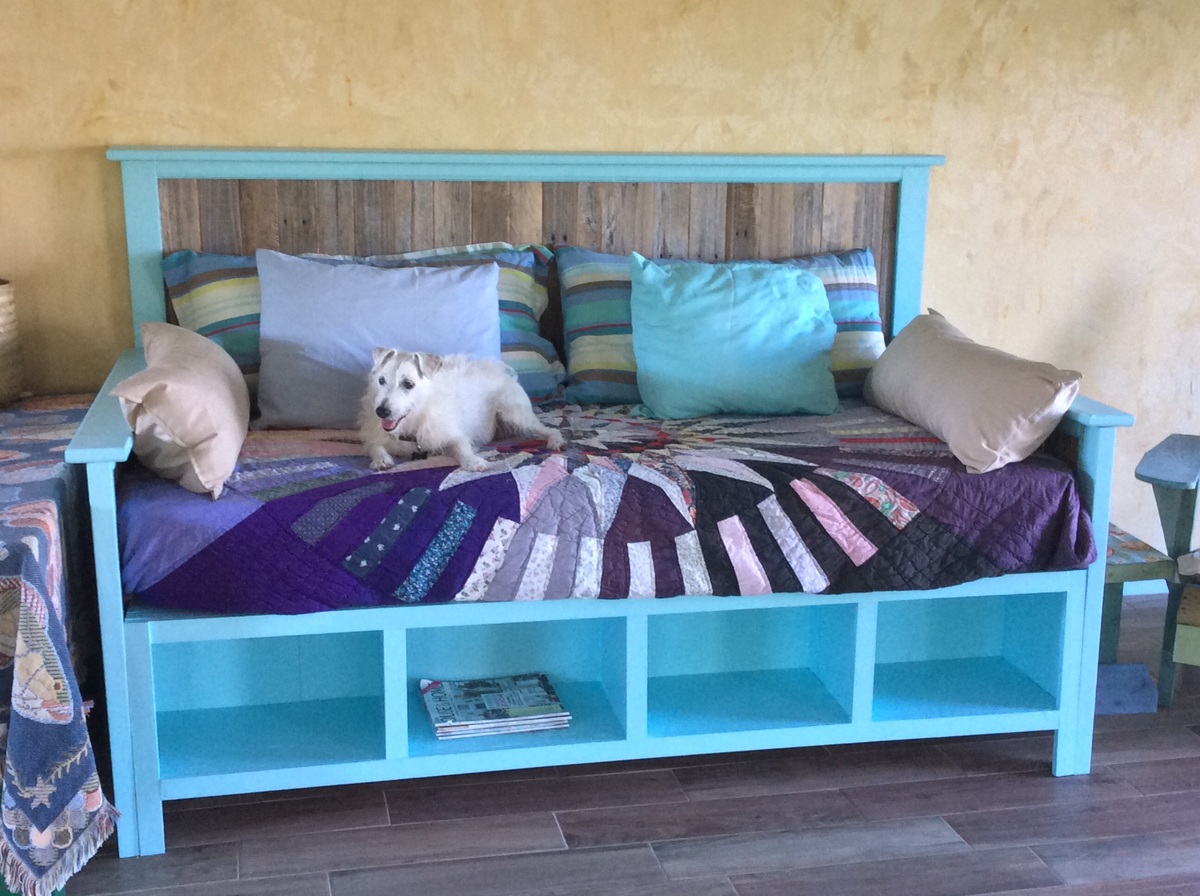
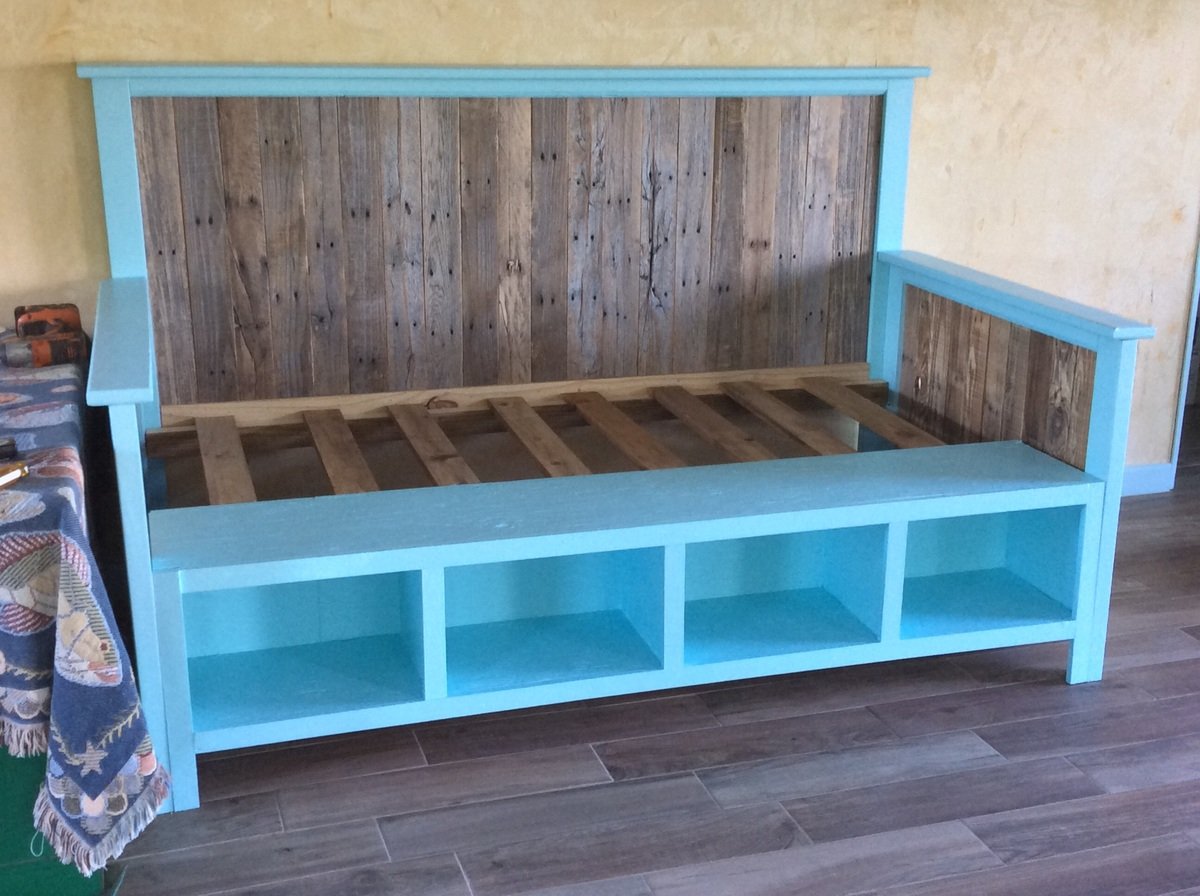
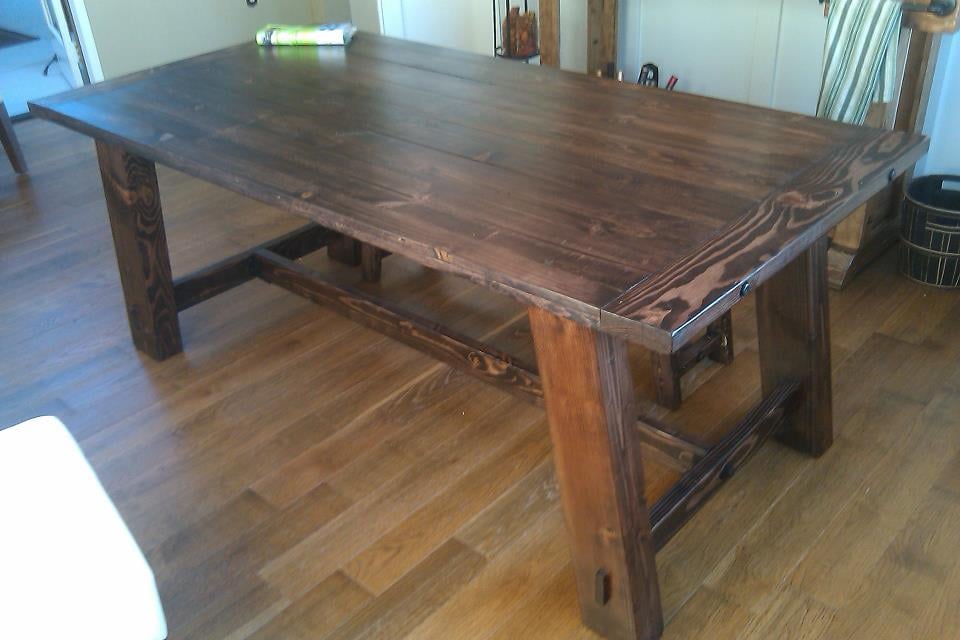
We found the plans for the Classic Bunk Bed look and we loved it. Since our boys share a room this bunk bed design was the perfect match for us. We used Red Mahogany stain with a polyurethane clear coat to give it a good shine. I made a little revision to the slats but adding a 1X6 crossbea, across the bottom and top bunk to give added support for the boys as they get older but other than that the beds are directly from the plans. Now onto the same design for our girls!
Built from Plan(s)
Estimated Time Investment
Week Long Project (20 Hours or More)
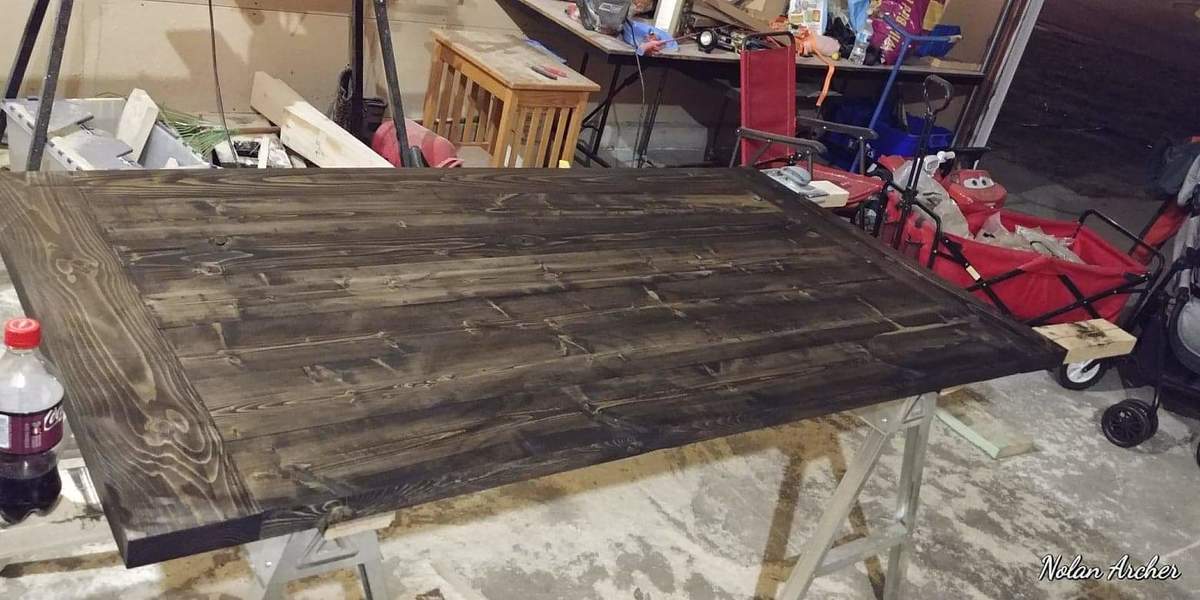
Finish Used
Red Mahogany and Polyurethane Clear Coat
Recommended Skill Level
Beginner