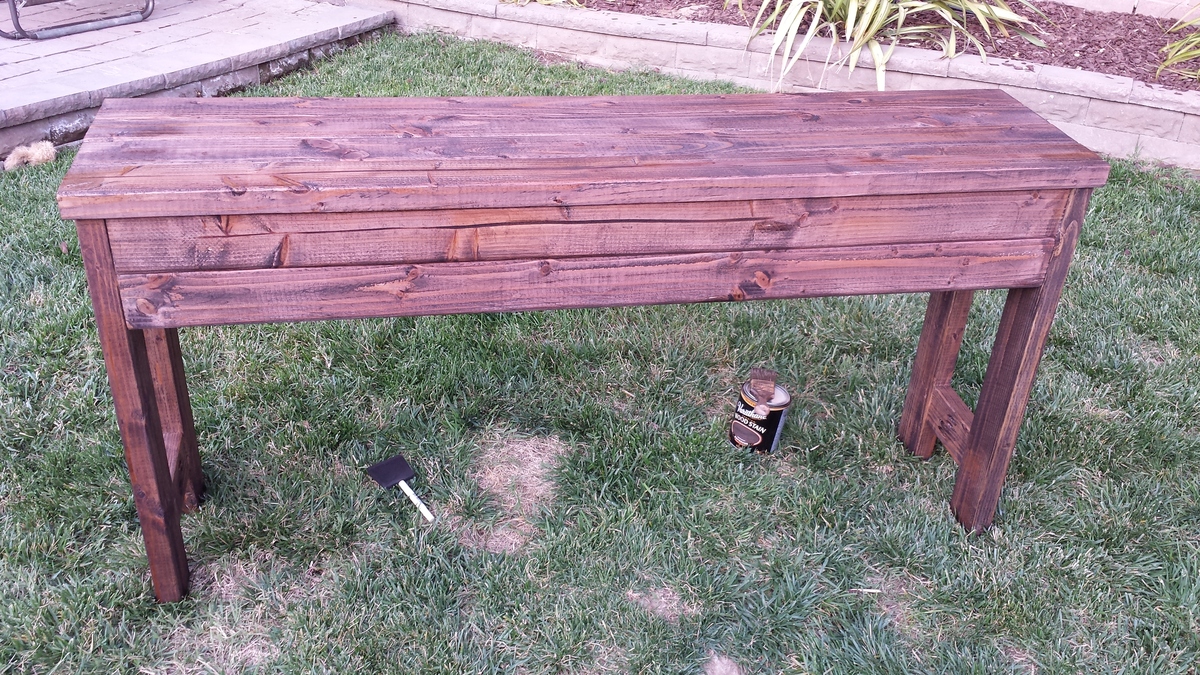
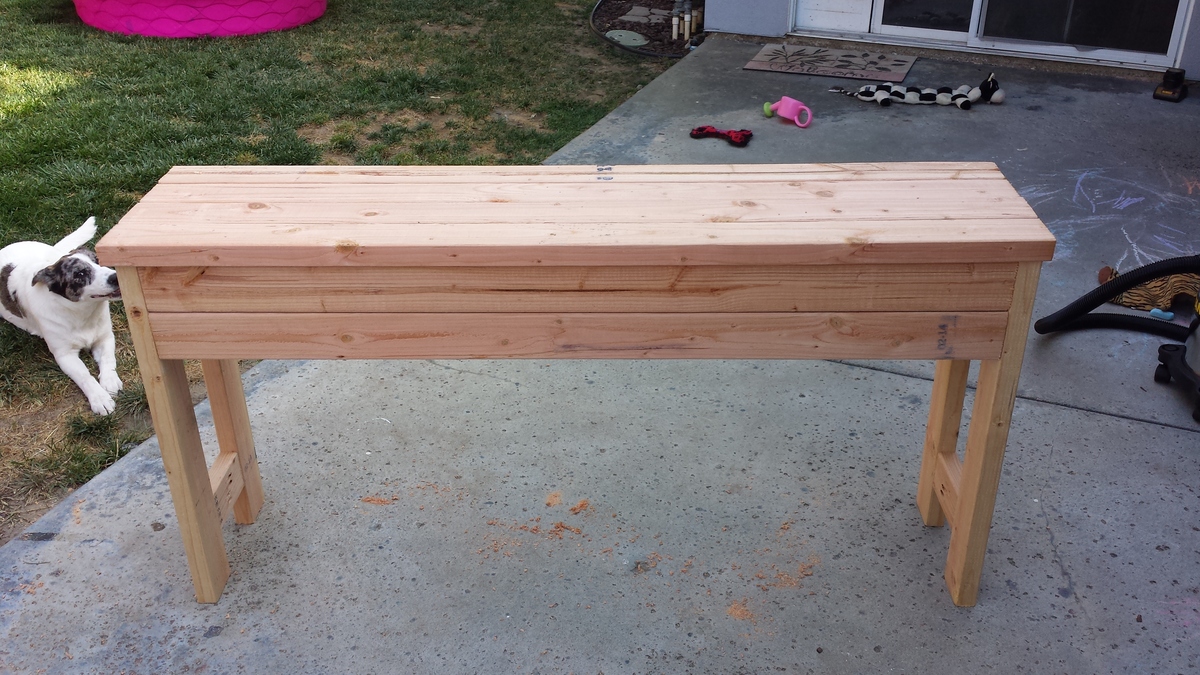
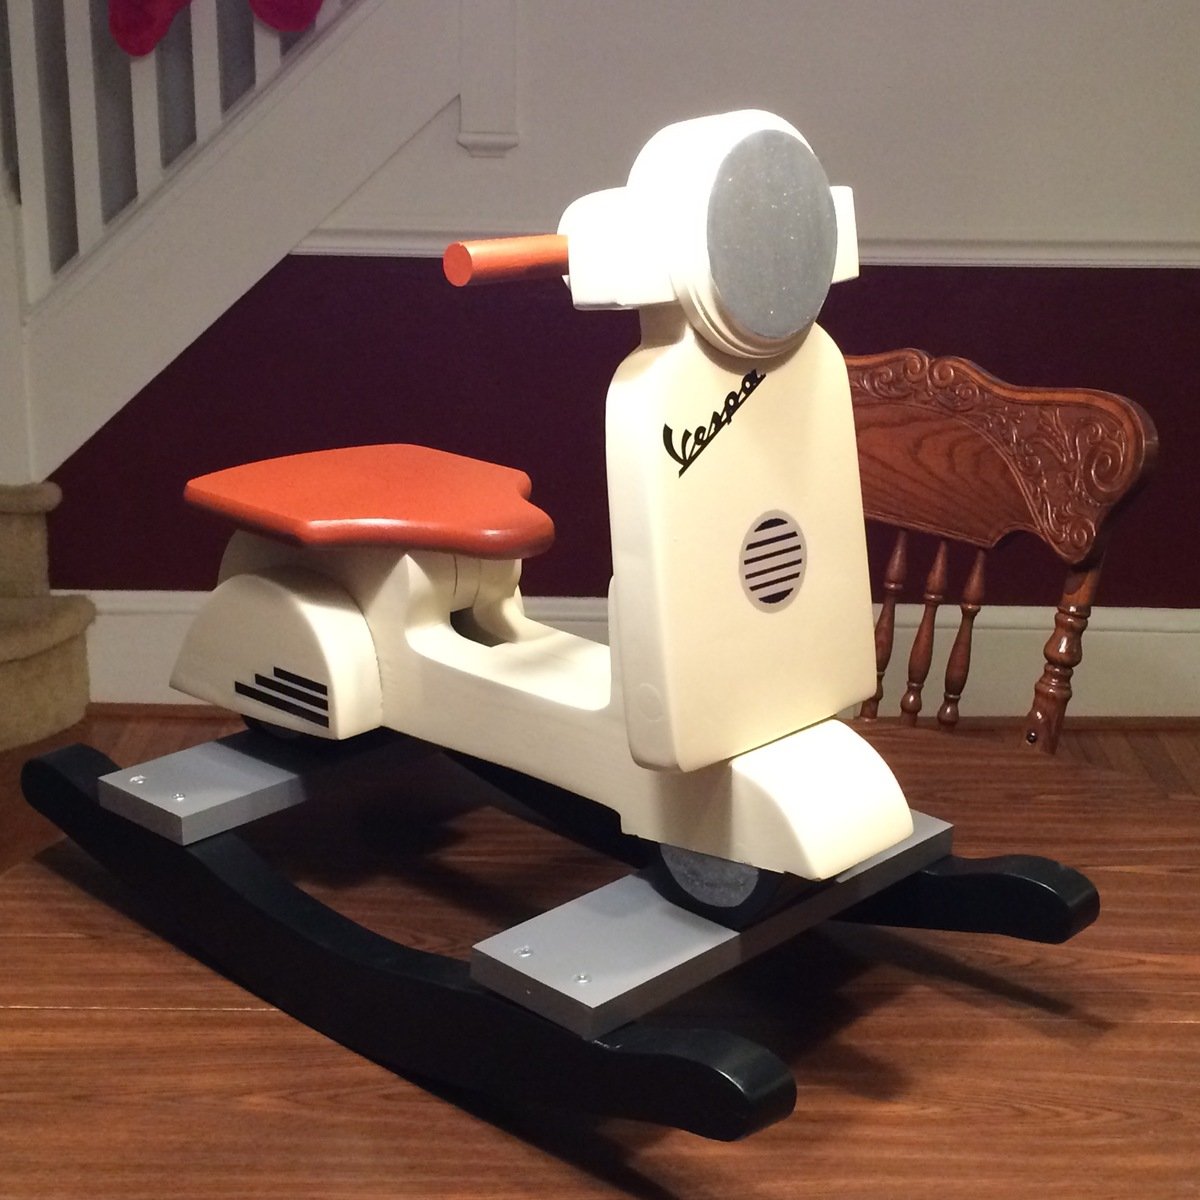
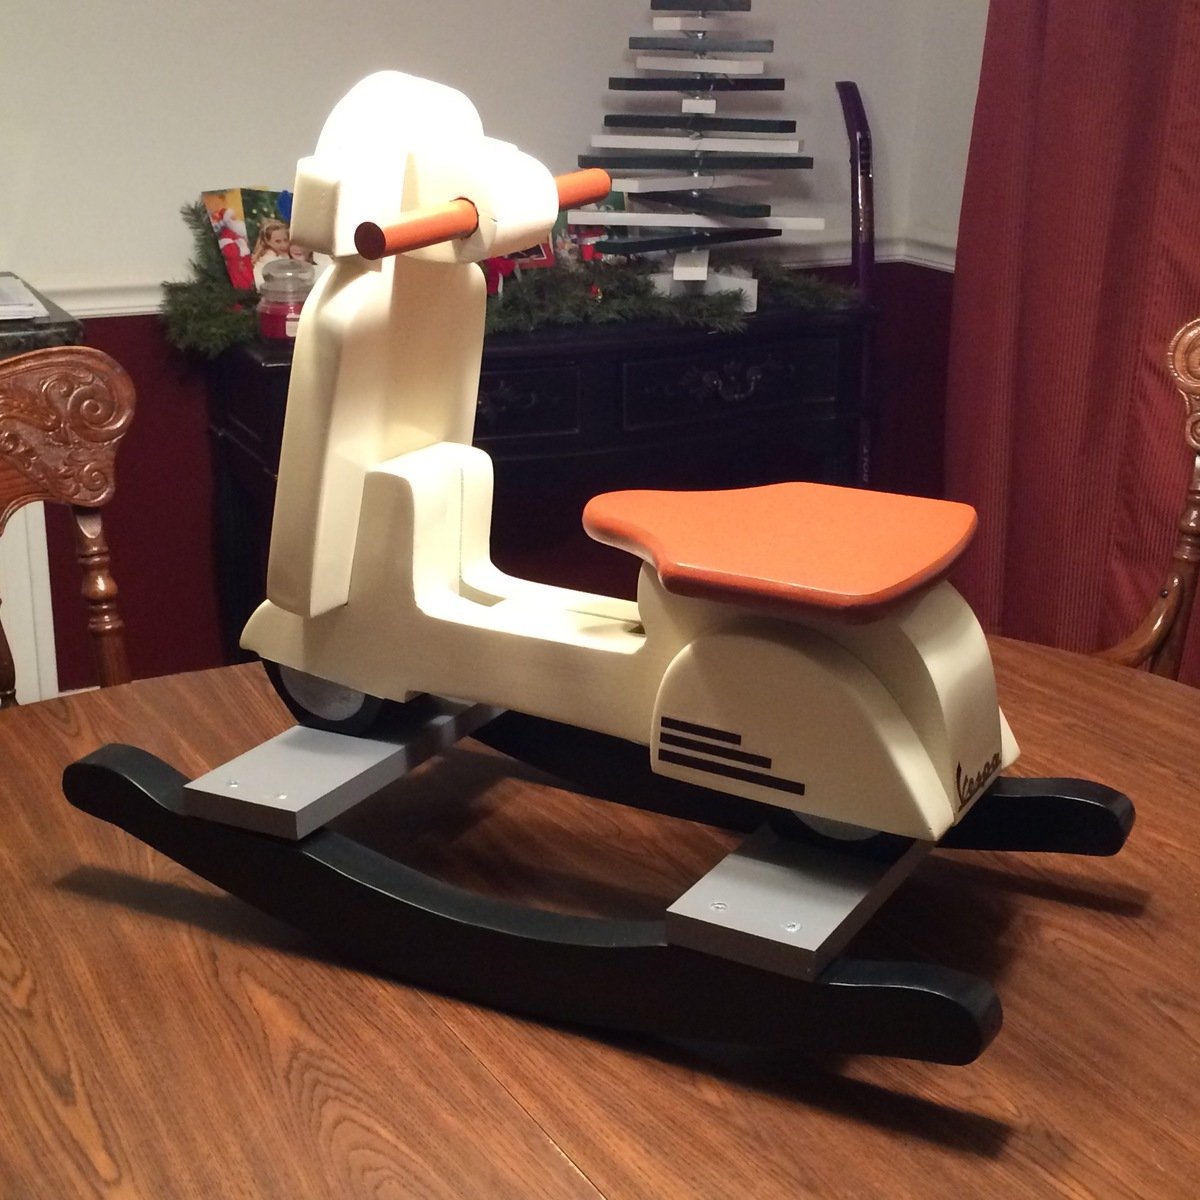
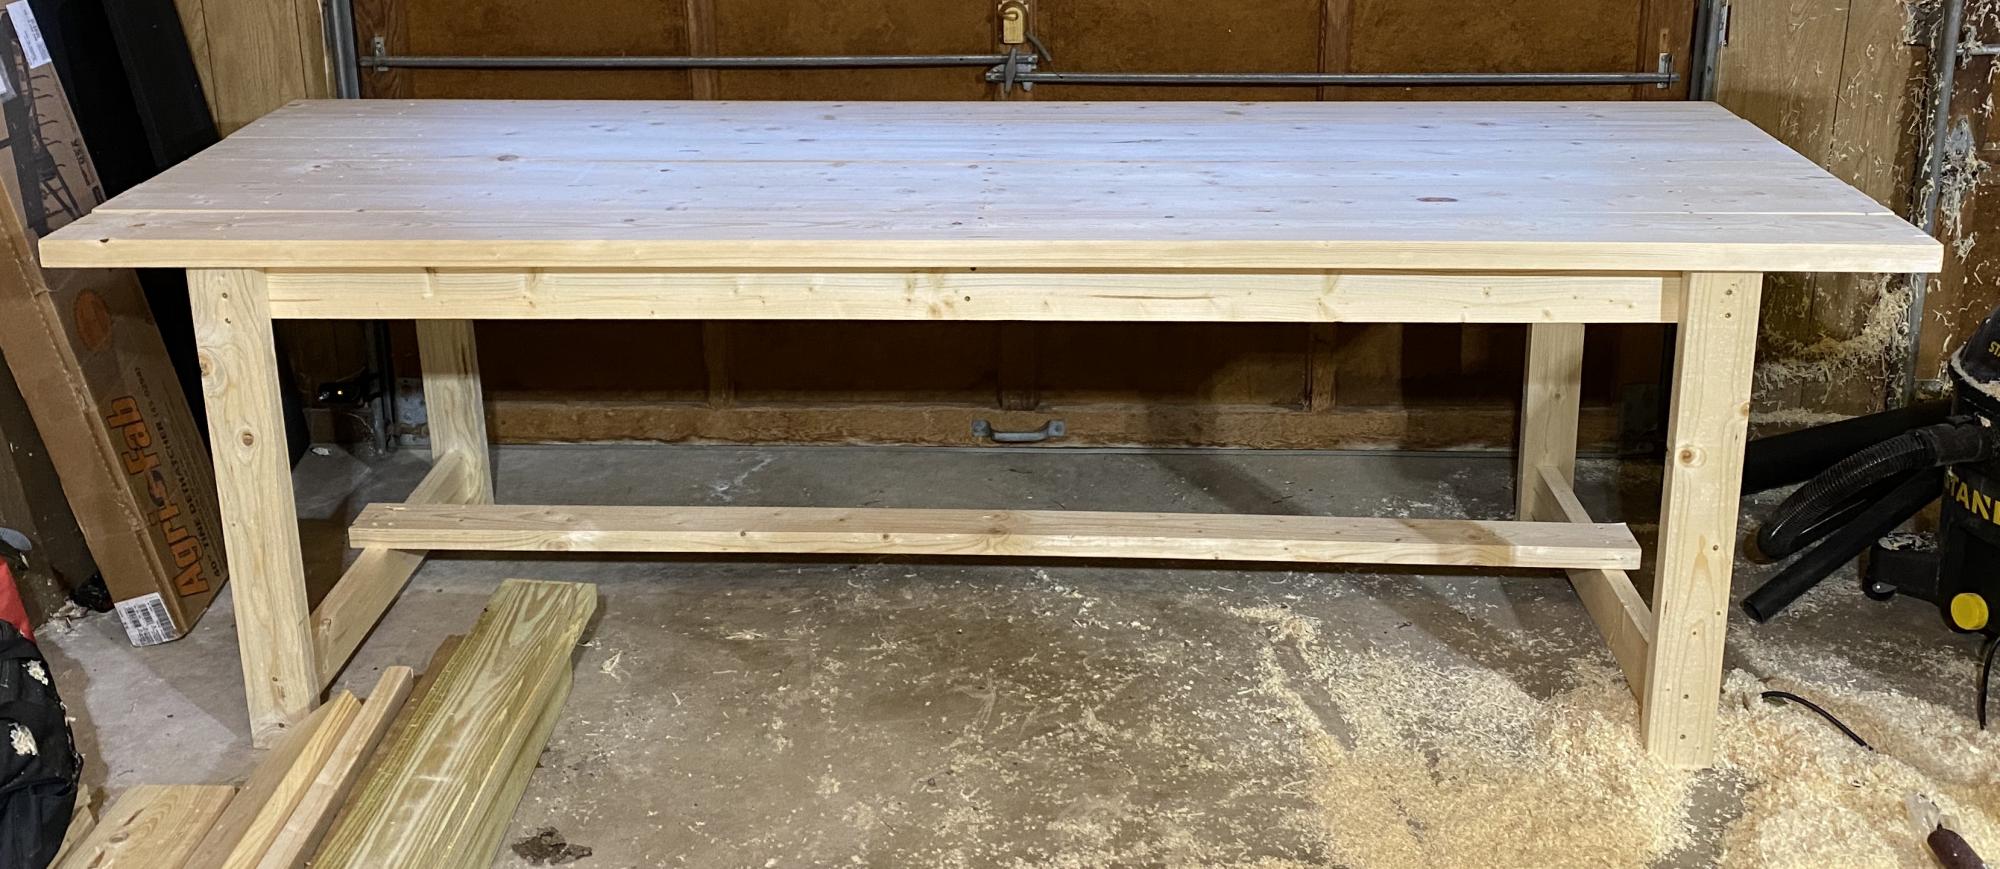
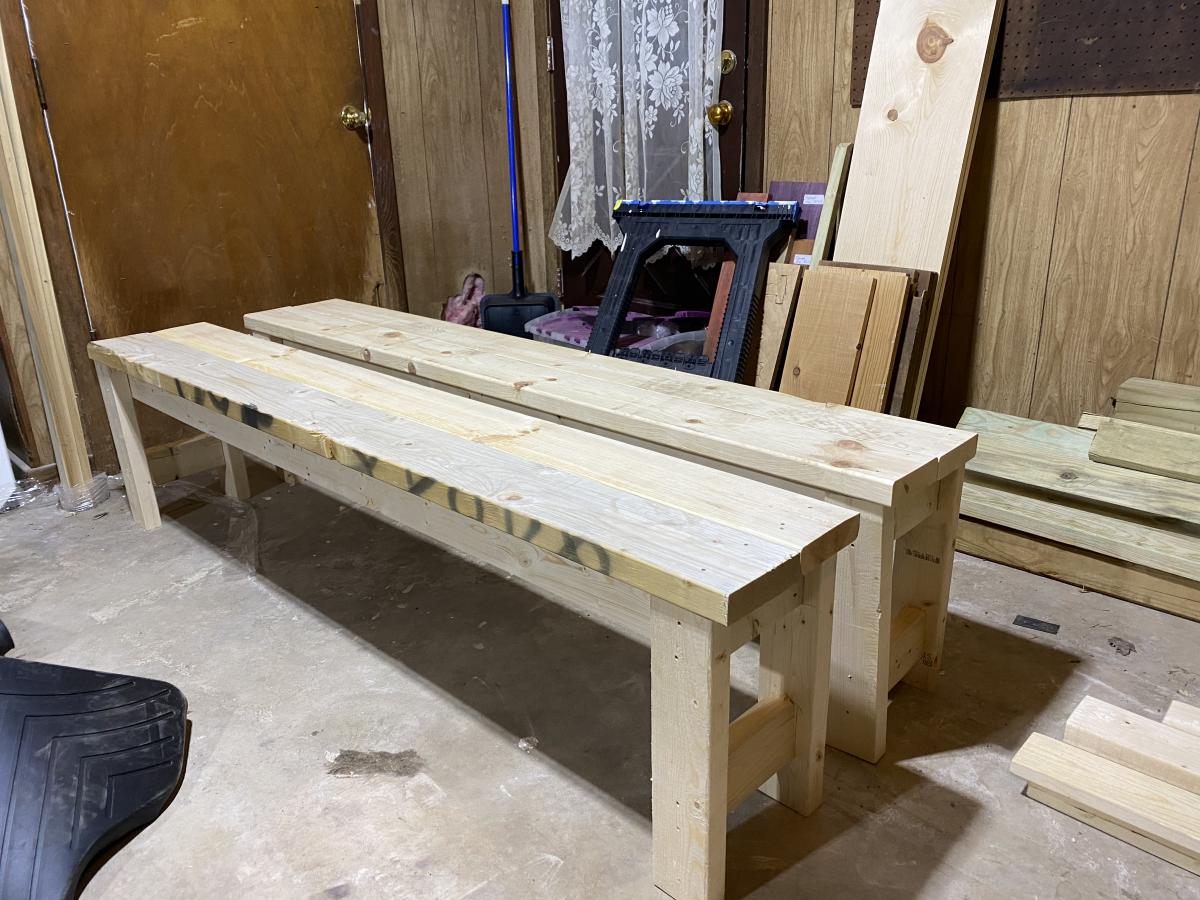
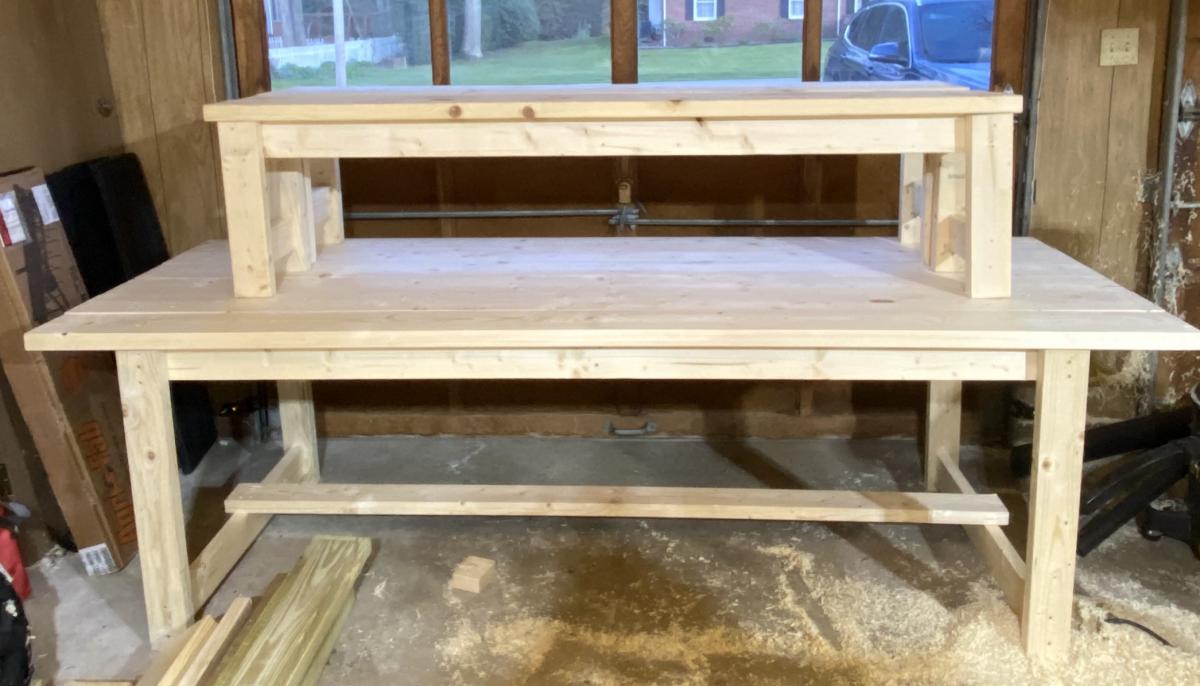
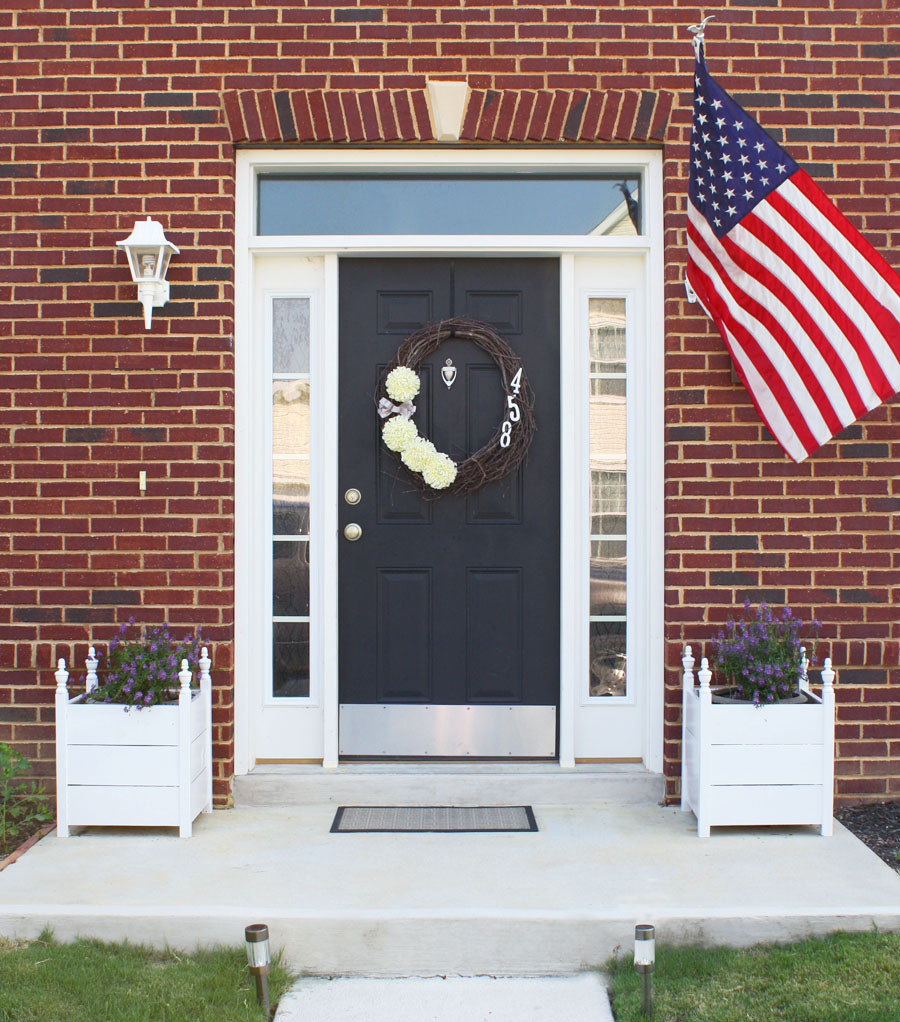
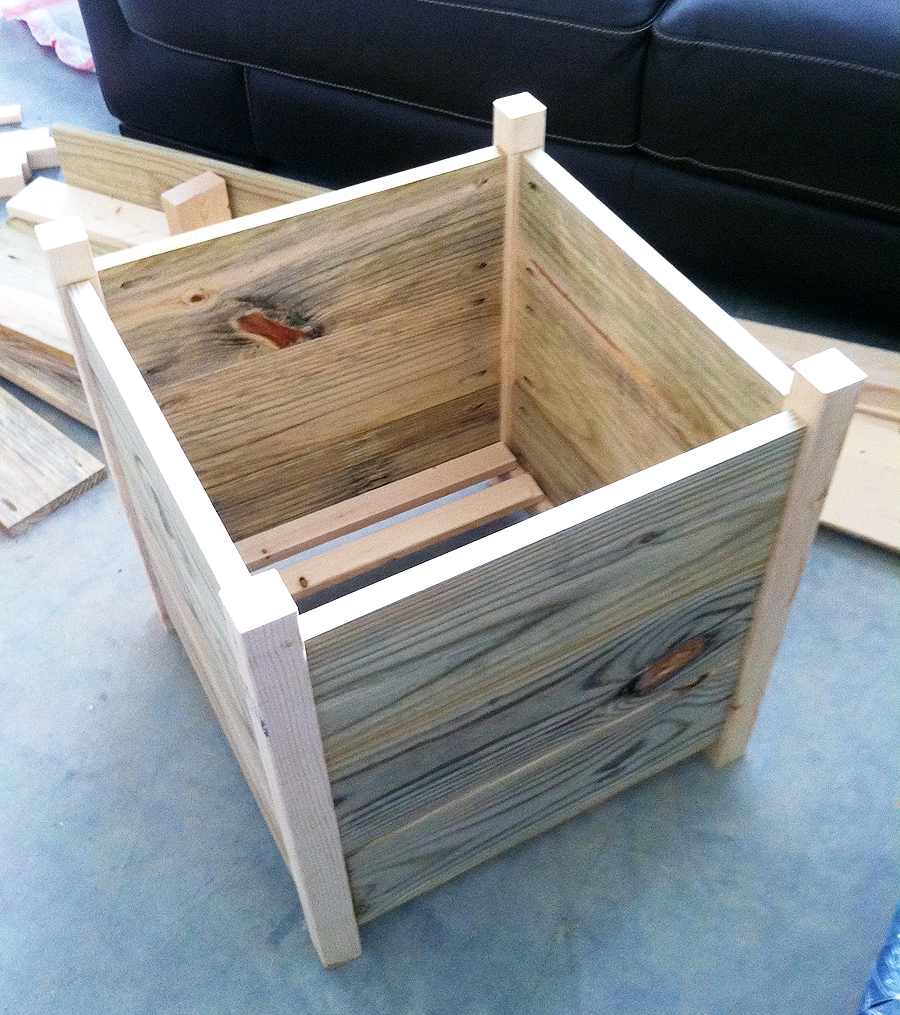
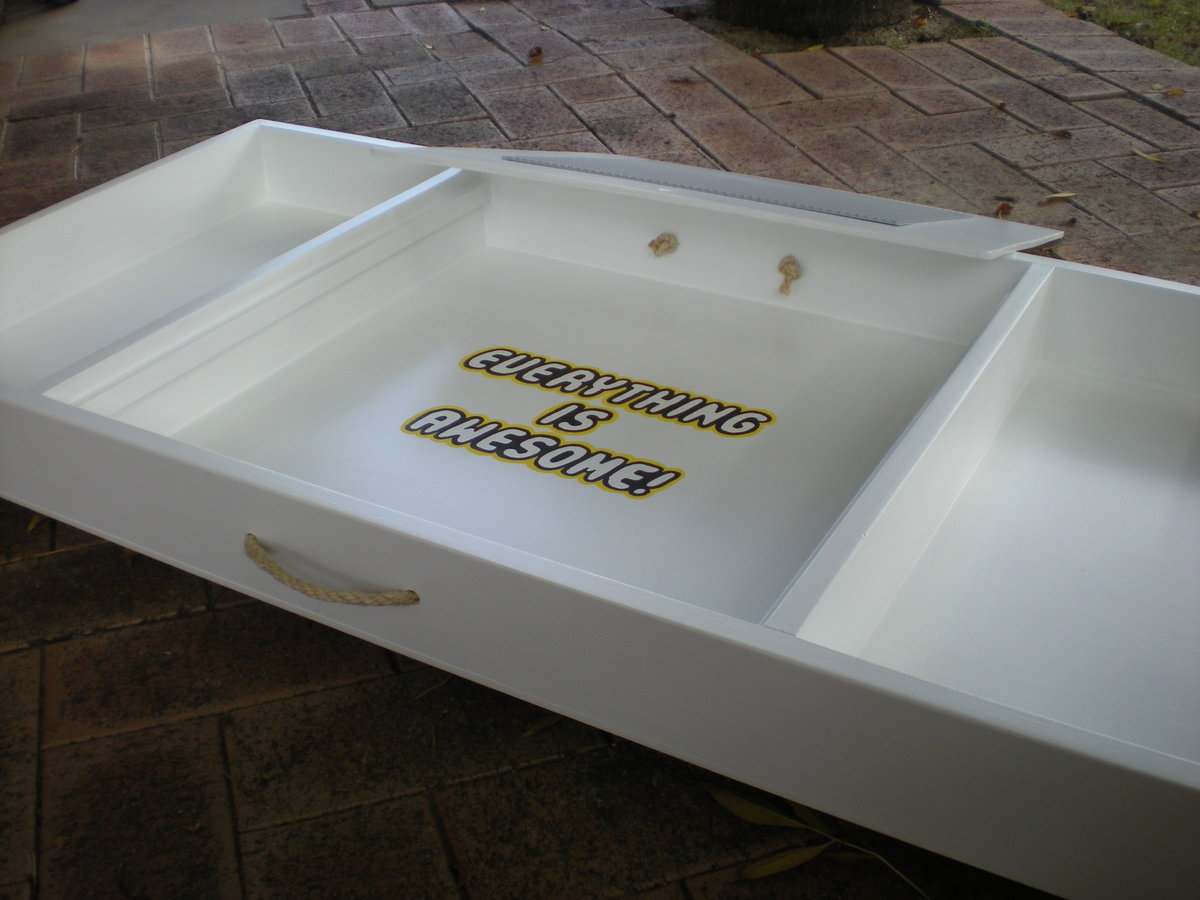
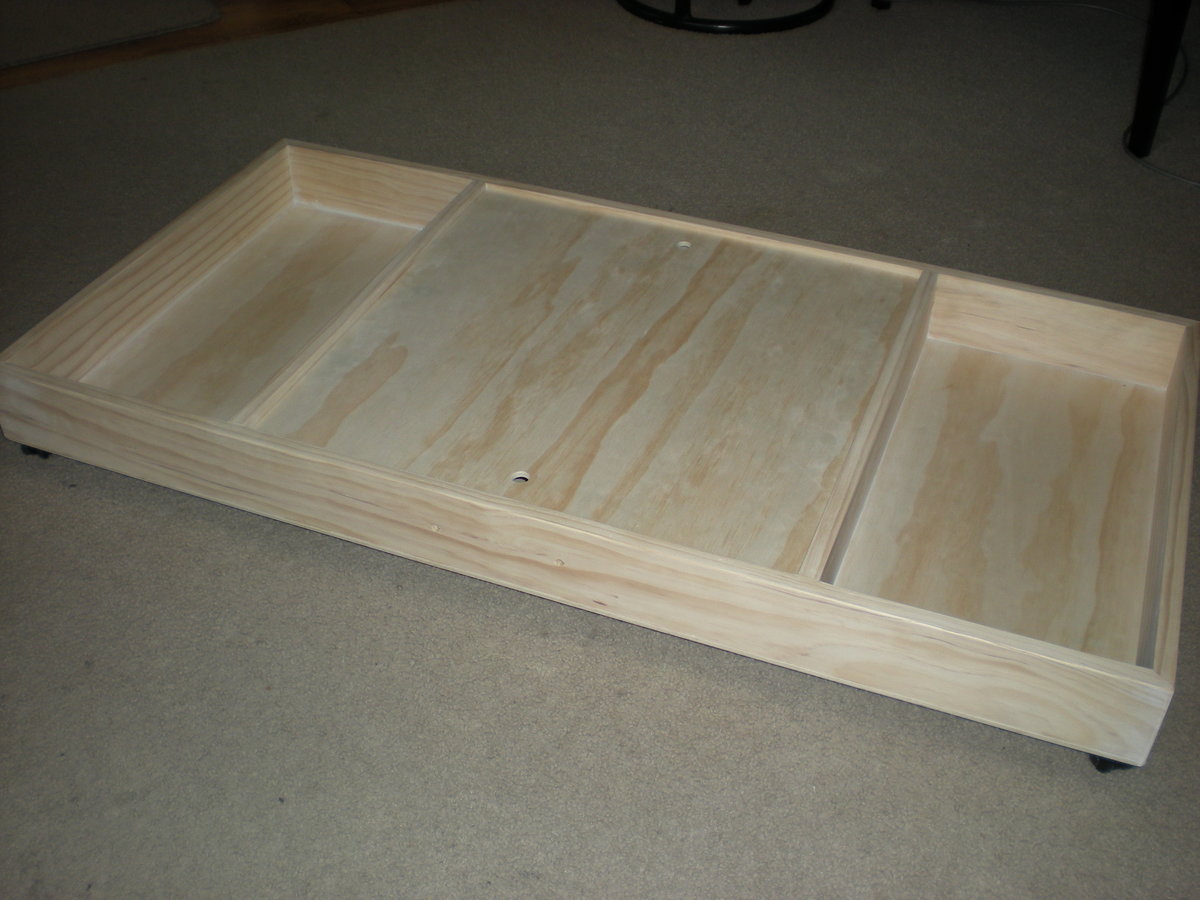
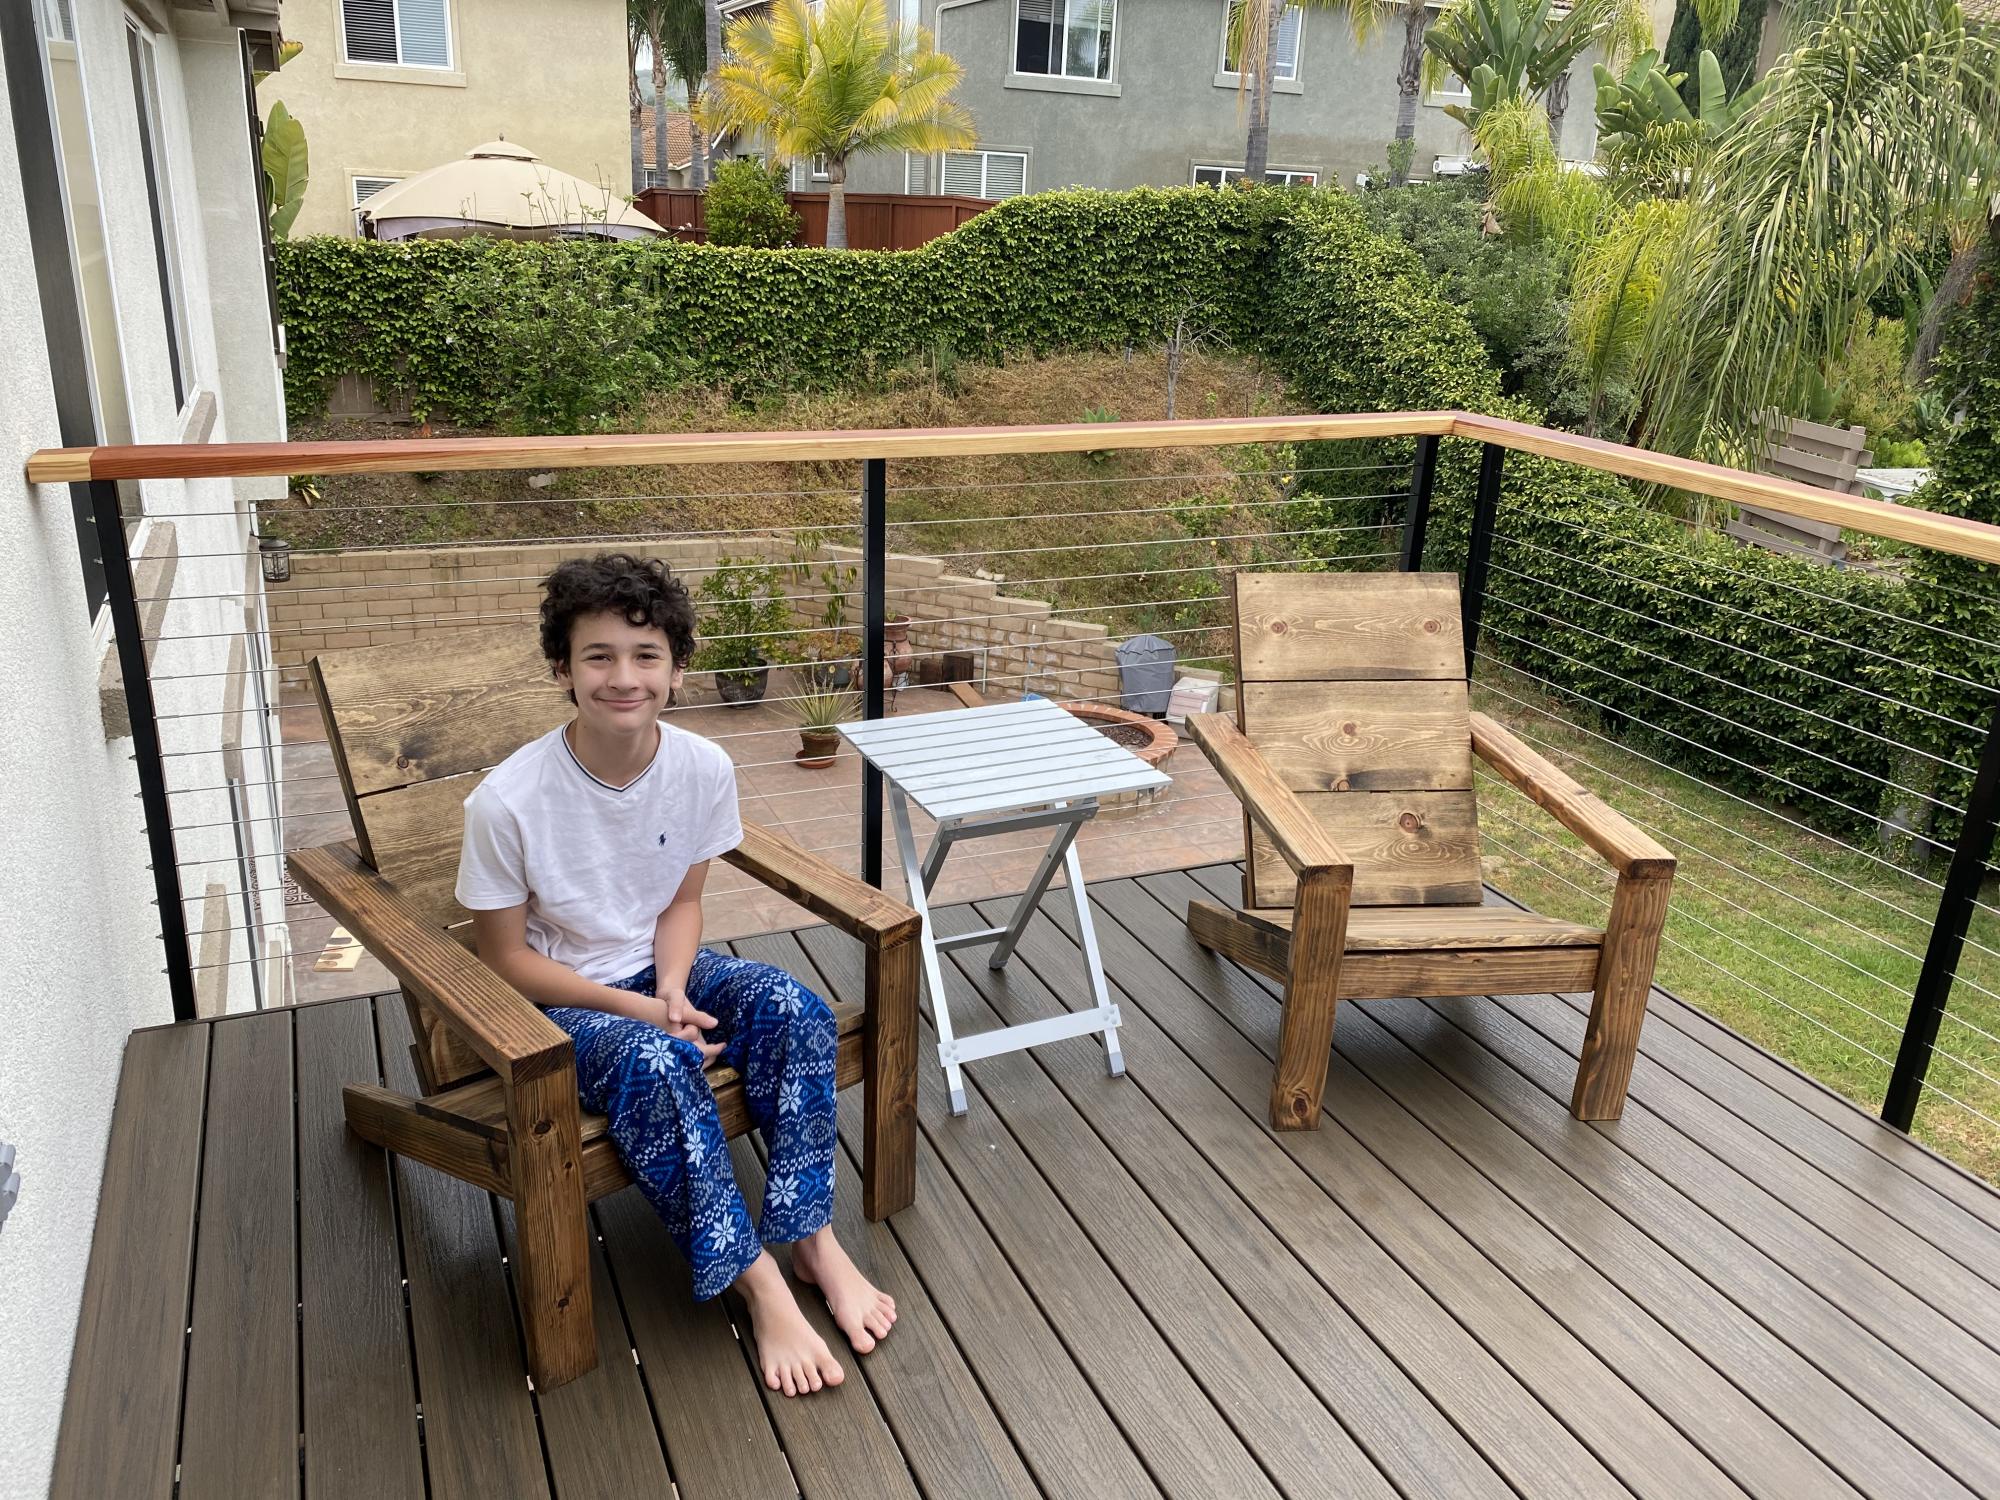
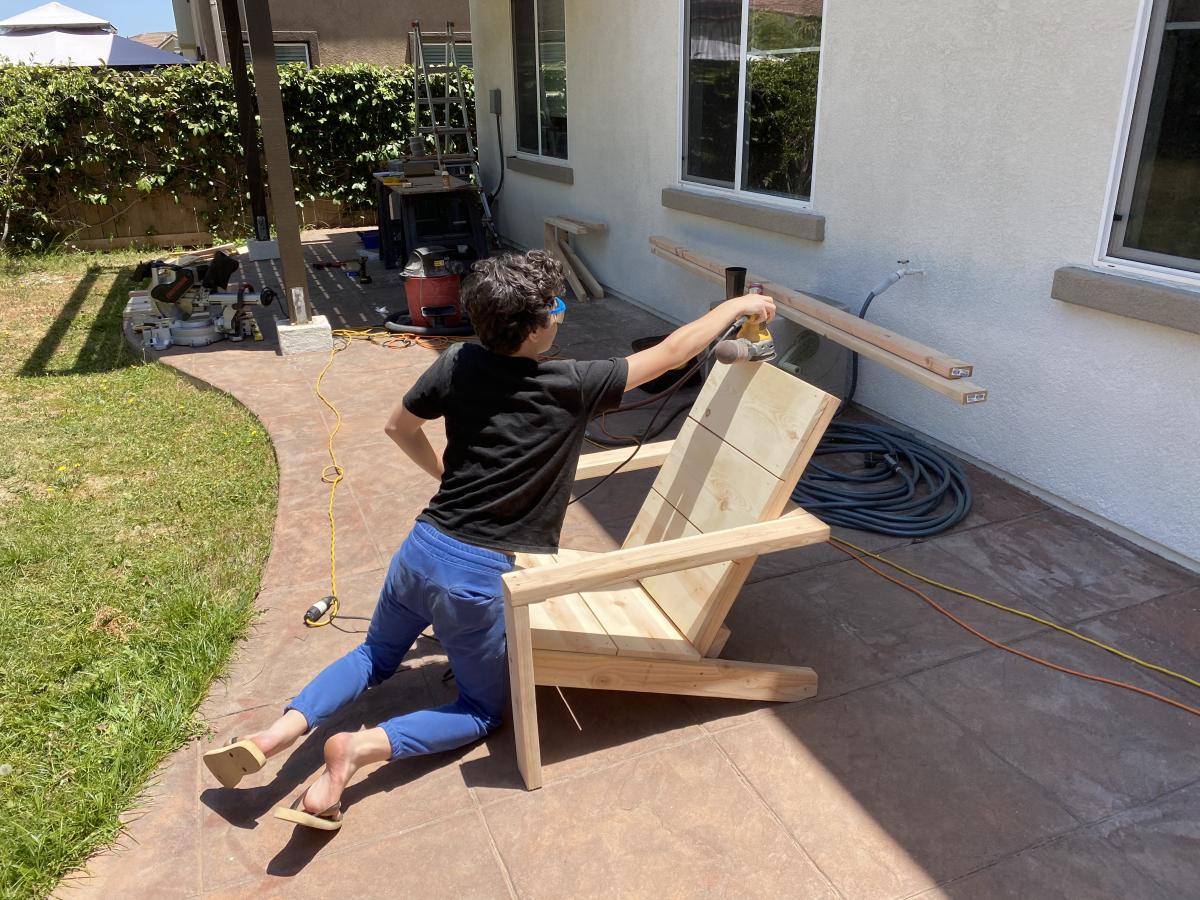
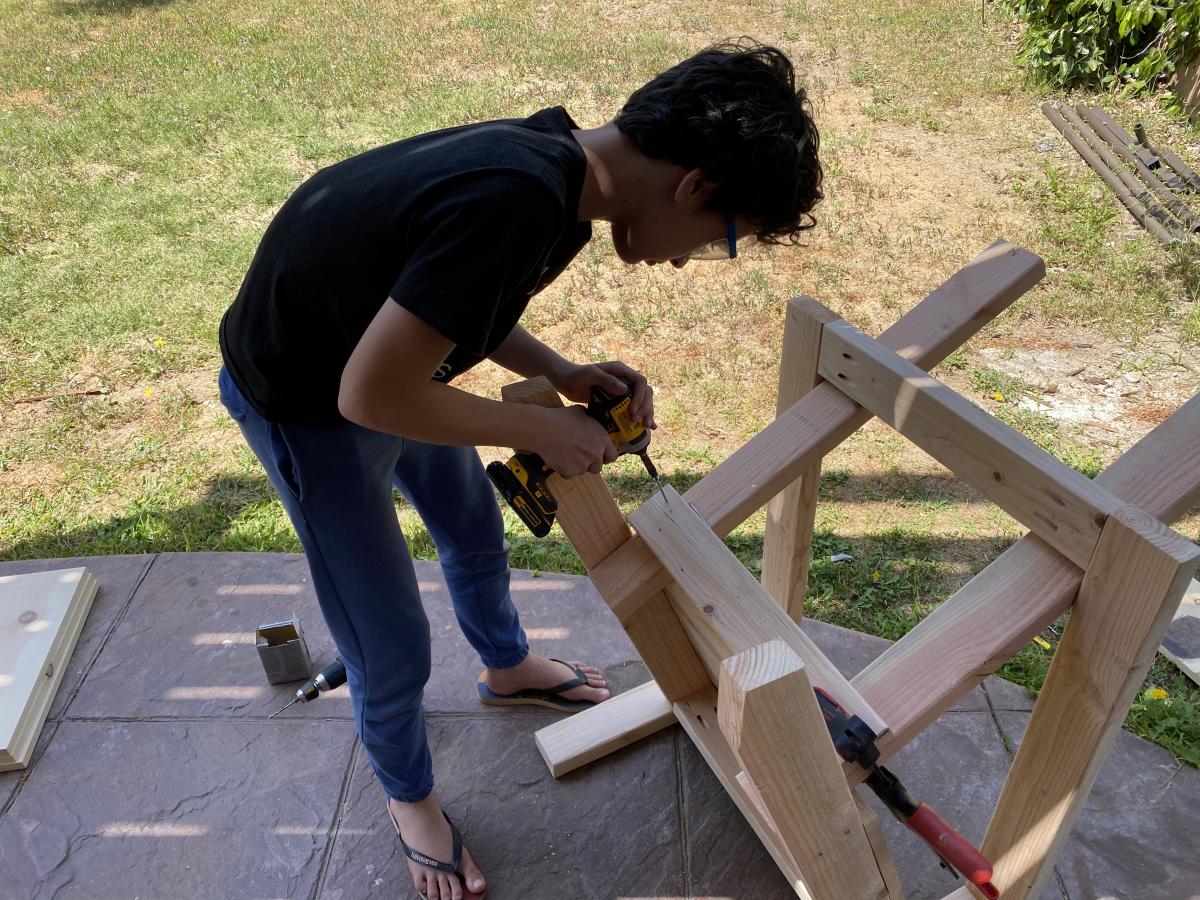
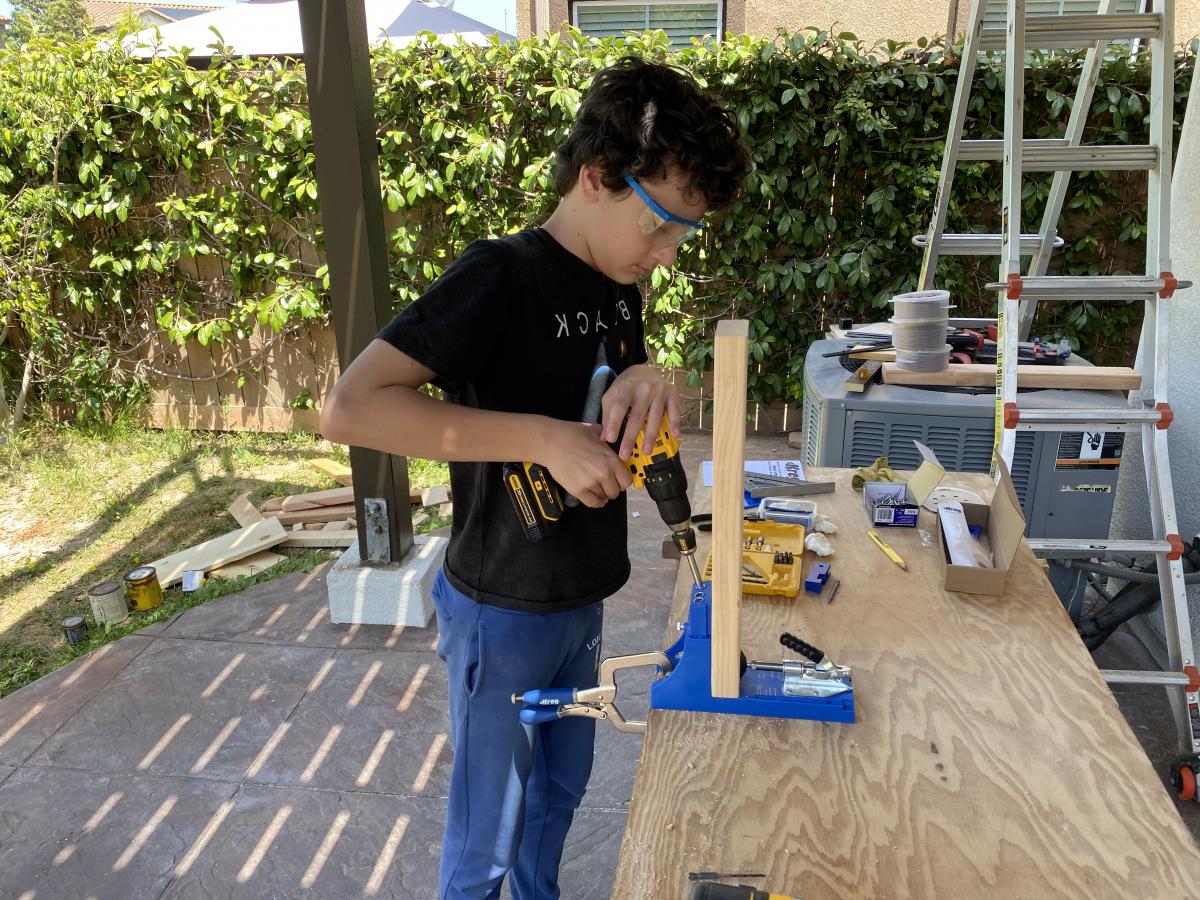
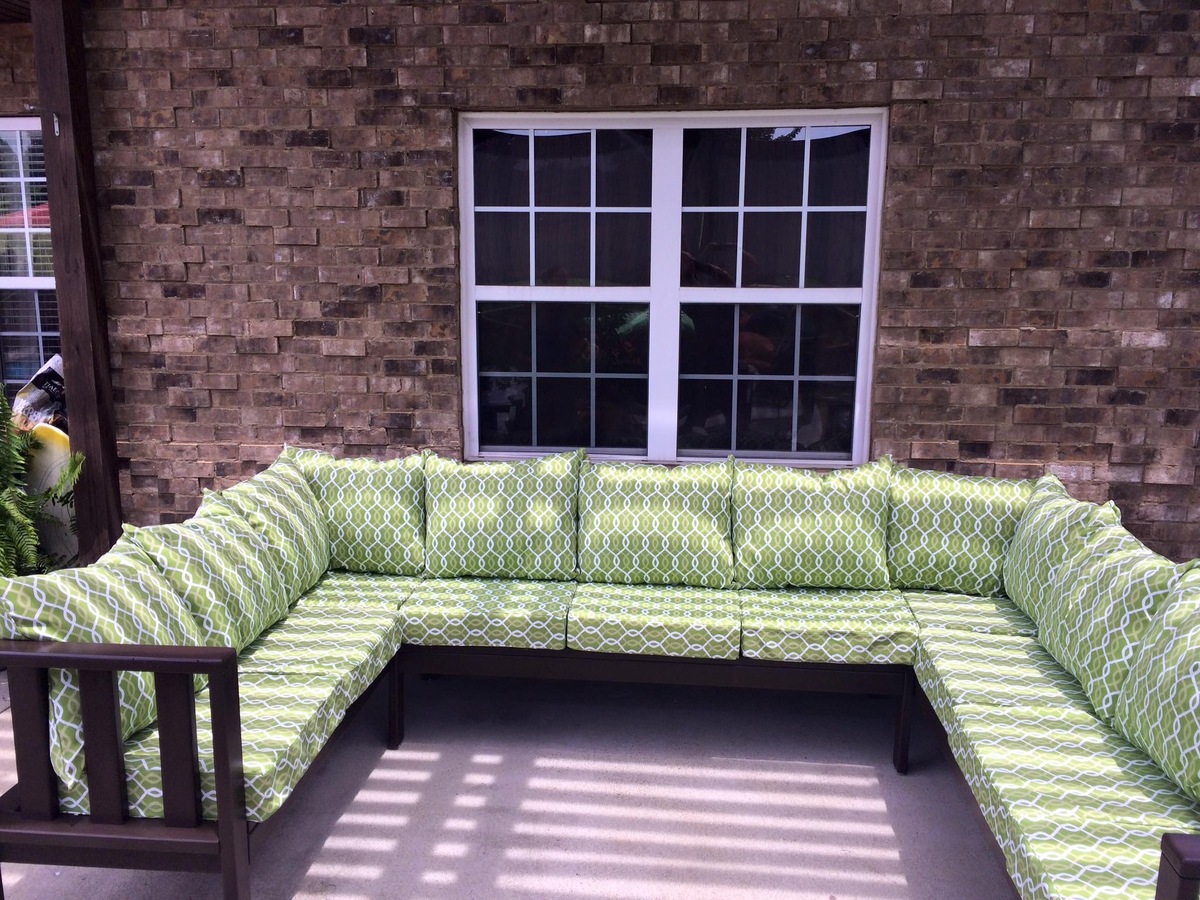
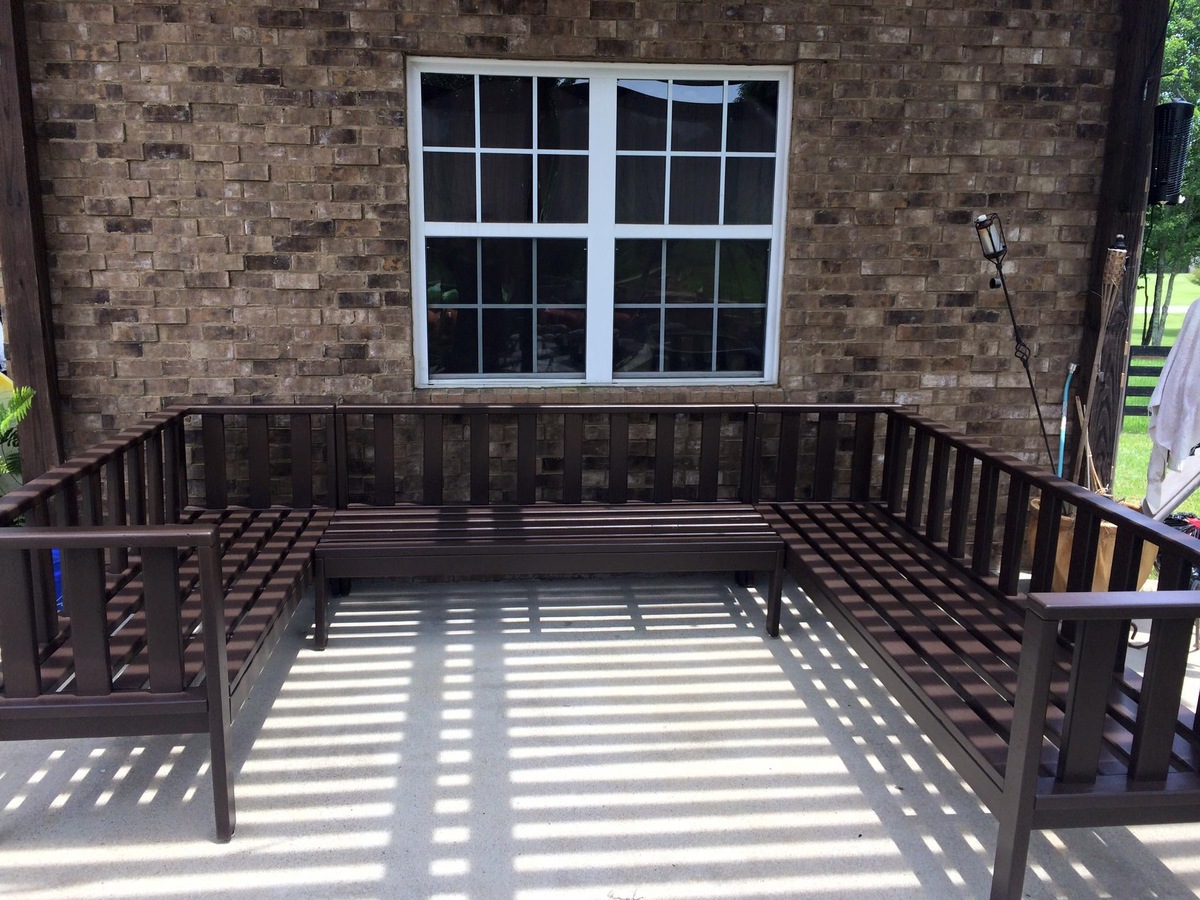
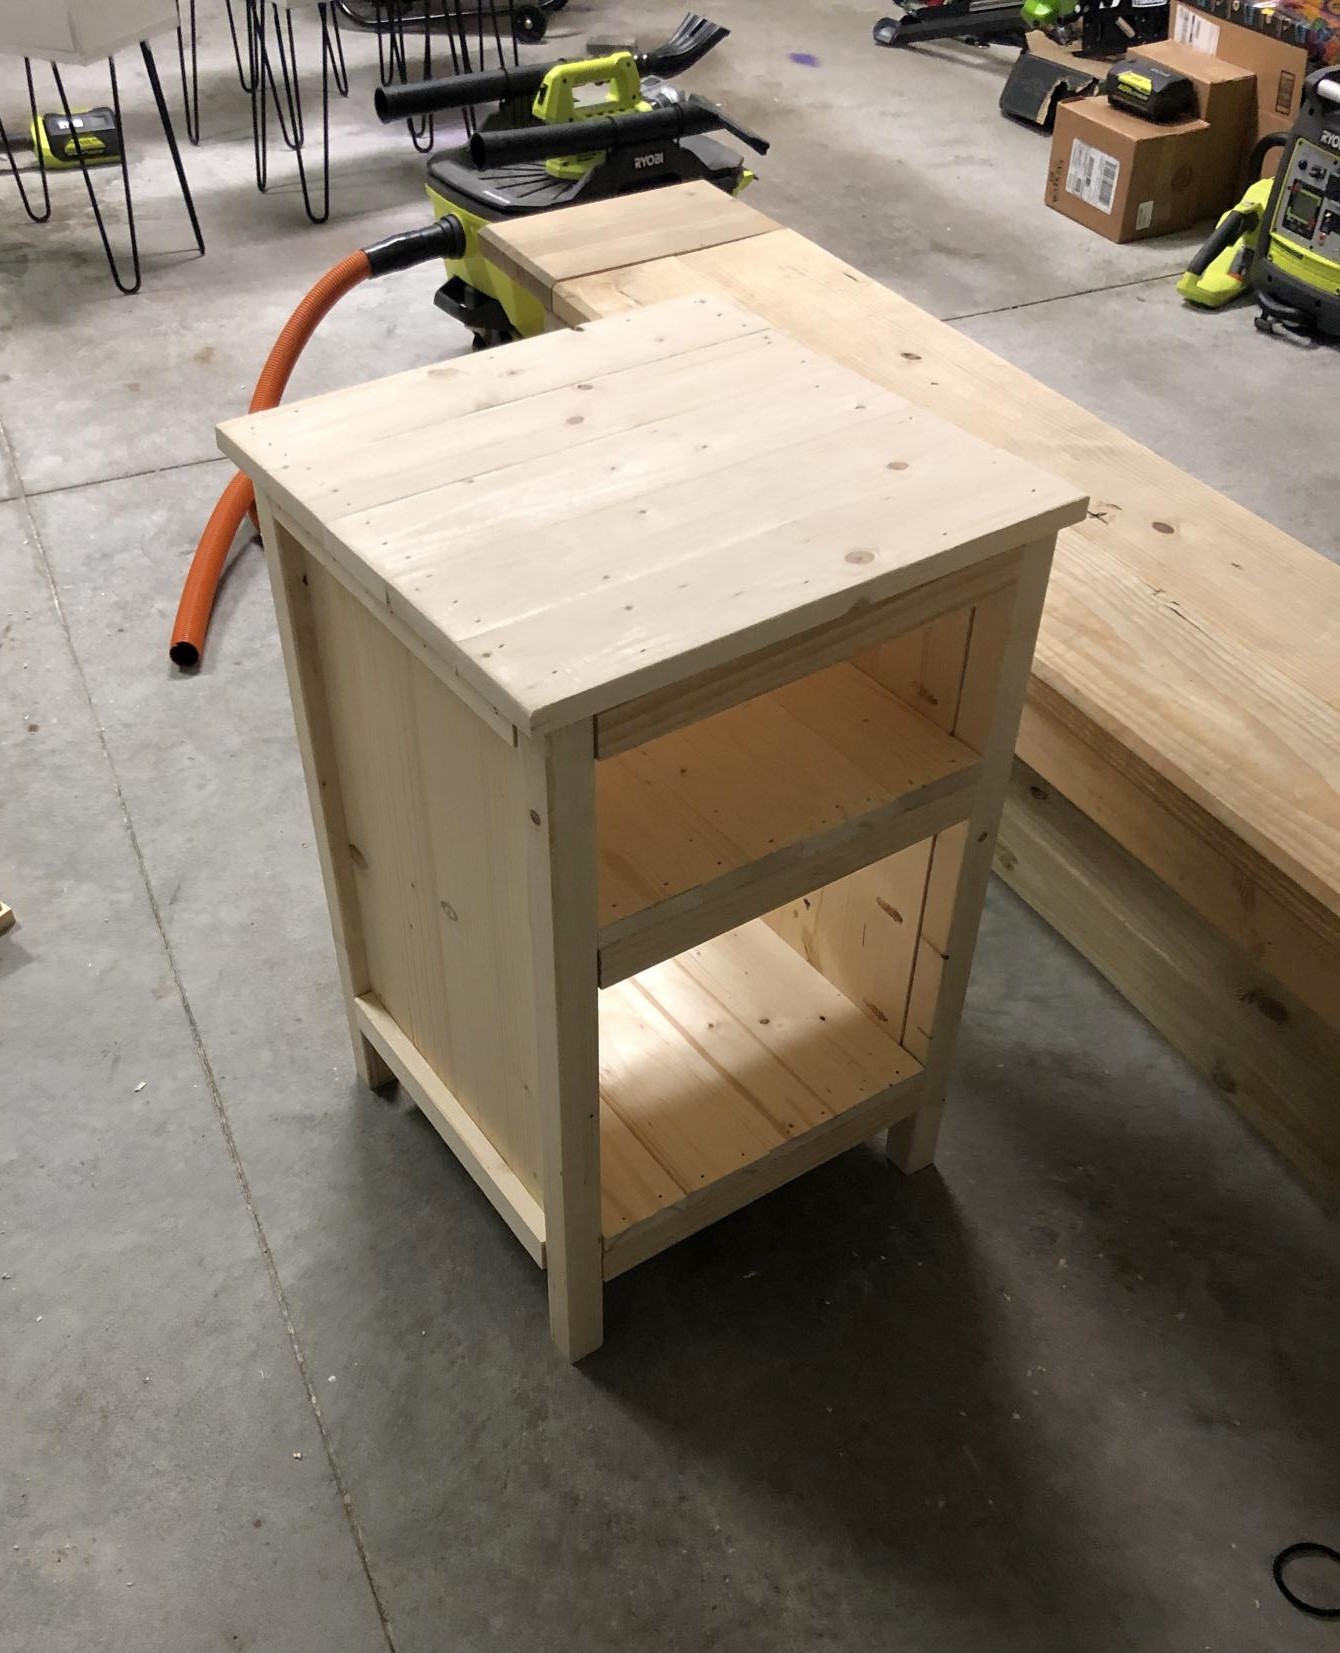
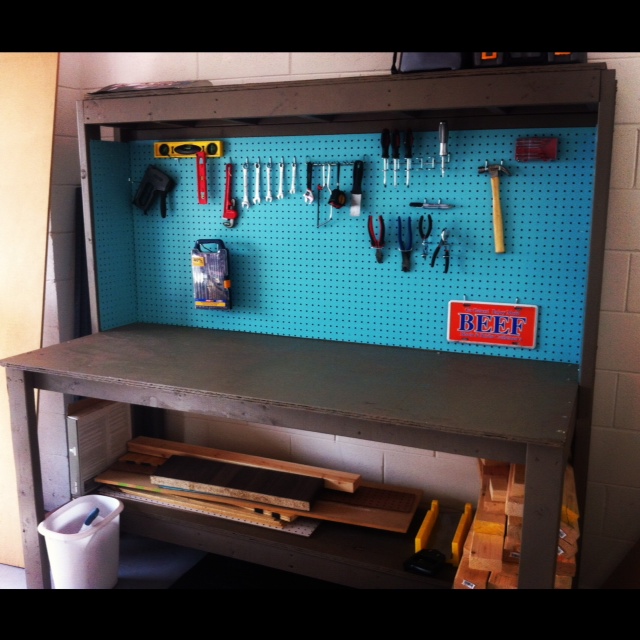
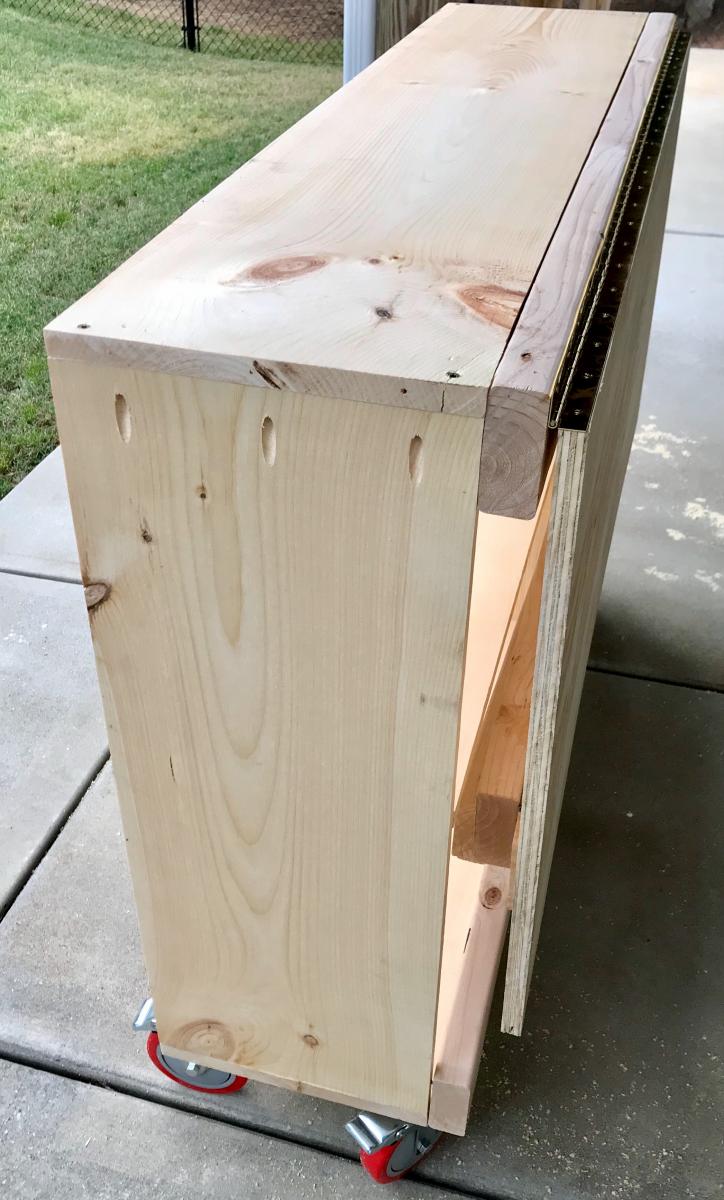
Portable Workbench
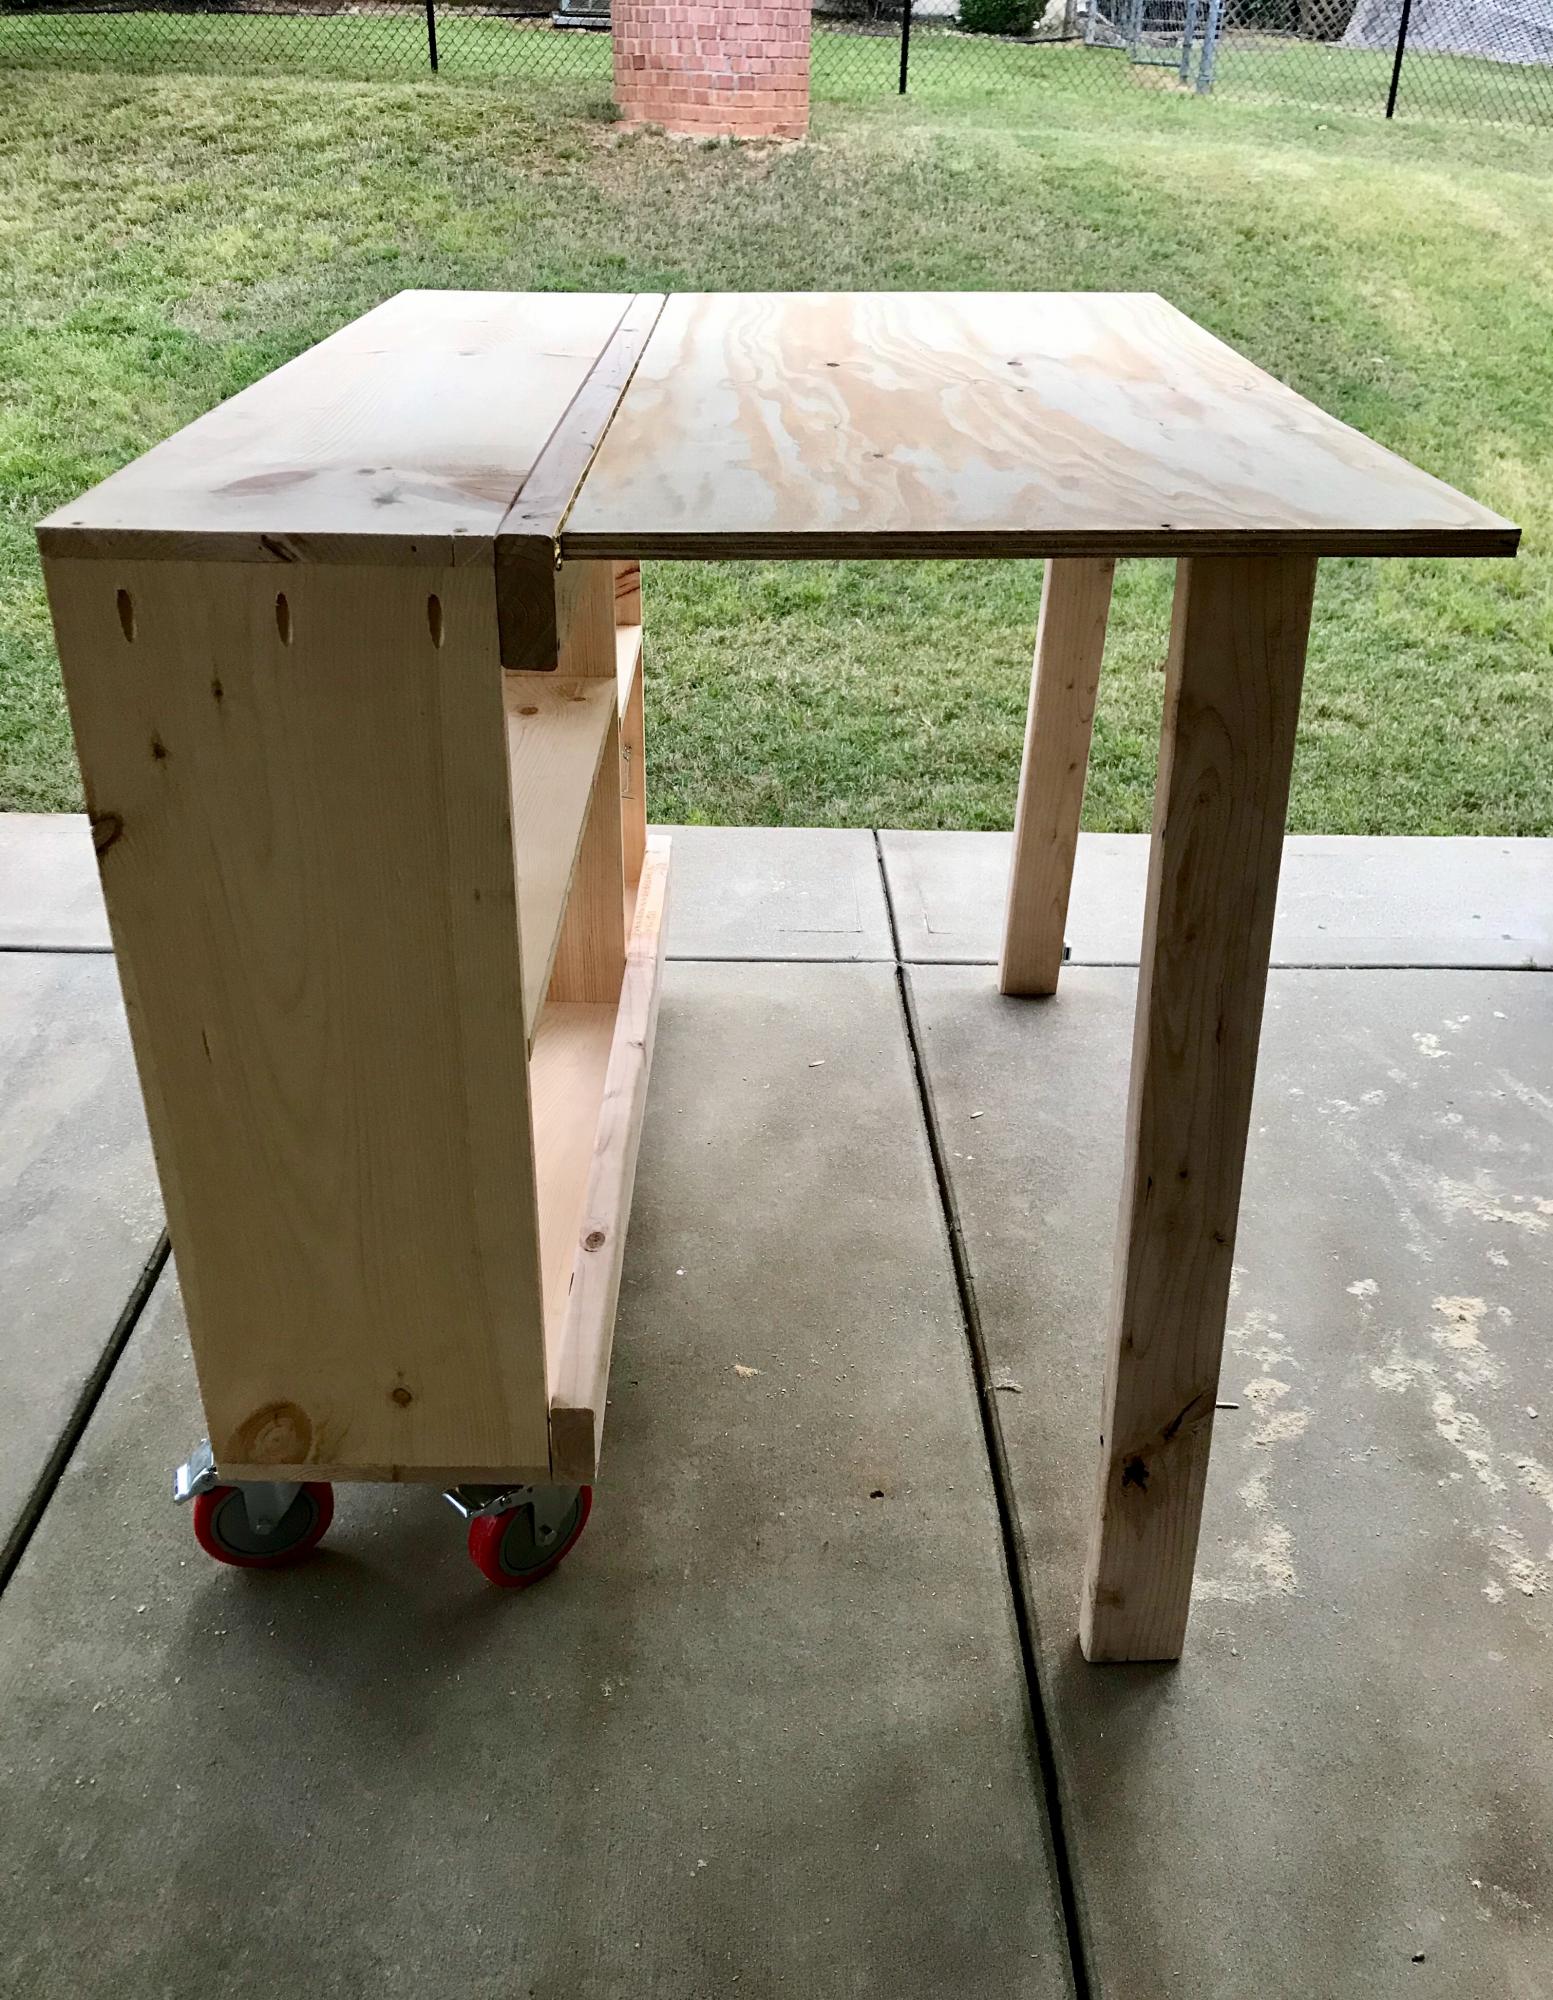
I have a small workshop so this workbench allows me to bring the work outside. It was my first project and I think it came out great.
Just finished this Twin Size Simple Bed direct from the Ana White plans. This is my first project that I've completed, and it went well! The plans were great, and my only advice would be to take your time. I know that some people don't like to paint the wood, but this white just fit the room perfectly. As a side-note, this bed is SOLID and very heavy! Amazing what a difference real wood is to the stuff you get at the furniture store.
Wed, 07/25/2012 - 12:49
I am looking into making this bed but into a bunkbed, but I am afraid of doing a bad paint job....any suggestions?? Should I paint prior to putting together? Thank you your detoured out GREAT!!!
Thu, 07/26/2012 - 05:20
Hi Amie! After putting this all together and then sanding and painting, I think this time around (I'm making a 2nd one), I'll cut the pieces according to the cut list, then sand and paint the pieces before putting them together. The painting wasn't too bad to do after putting it together, but the sanding was difficult with some of the angles on the head and footboard. I'll update this after I do it this other way..good luck with your project!! It's very satisfying to see the finished result after you finish!
Sun, 01/06/2013 - 13:35
I just priced this out and the lumber comes to $130 for decent pine...
Sun, 01/06/2013 - 16:00
Hi Ahab.. One thing I've figured out from reading posts is that the cost of lumber (and pine) varies widely across regions. Each store also has different grades of lumber available. If you take the time to go through lumber piles and choose boards that are straight you can save a fair chunk of change. Just my 2 cents.. Good luck with your project though!
Thu, 12/18/2014 - 16:36
I have a question on how the rails connect to the head and foot board. I think the original plans have you make a box out of 2x2's, Do the 2x2's just screw to the headboard and footboard? This seems like the easiest, unless you want to take it apart and move it! Anyone have ant thoughts on this?
This is the first thing I have ever made. I had my wood cut at Lowe's, bought a Kreg pocket hole jig and screws. I borrowed a friend's drill, sander and stain. I was amazed at how easy this was and how well it turned out.
Fairly easy to make with a jigsaw and sander. I would suggest to whomever makes one of the Charlie scooters to use a hardwood as some of the section in the handlebar area can be fragile when weight is applied.
Super easy project to do with a Kreg Jig! I made two for my front stoop. The finials add that extra touch! Check out my blog link for more info!
We were in desperate need of a lego storage solution for our son's small bedroom. I made this for his 7th birthday. I saw a photo of a similar one as a result of a google or pinterest search and decided to draw up some plans.
I recessed the top slightly so that pieces won't fall off. I just glued thin cleats to the inside of the box to hold the lid, (using spacers to get it at the height I wanted) Ideally the top would be reversible however I didn't quite get one of the dividers square so it only fits one way. I used Posca water-based markers to do the text. Make sure you wait until the text is really dry before you try to seal it (don't ask me how I know that...) Turns out that the markers don't react well with the brush on poly so I just left the text unsealed.
I was just going to have one handle on the front but then I made a stupid mistake and wrote the text so it would be upside down when pulled out (I know, dumb right!) So I added another handle on the other side. I used a water-based enamel for the whole box. Not sure if that was worth it of if I should have just used flat and given it a top coat of poly. I used a brush on the inside corners and found it really hard to get an even finish because I rolled the flat surfaces. Painting the pieces before assembly would probably fix this.
Added some castors so it can be pushed under the bed.
Sun, 02/05/2017 - 08:48
This is so awesome. Do you think you could share a more detailed account of build. Dimensions? Supplies? I am a newbie at this! I would greatly appreciate!
Great family project, thanks Ana!
This was made using Ana's "Garage Shelf" plans. I modified it for a corner spot between two exiting cabinets, so it took a bit of thought, but the Ana's technique for the build made it so easy.
AND I used up scrap wood that I'd been hording in the garage for the build.
Thank you Ana!
Loved all your tables!! I was inspired by the tweaked plans of Modified Simple Outdoor Patio Table and made mine out of pallets :-) (Only the top slats, not the frame and supports)
This was a pretty easy build, always a plus when you're looking for more storage. I'm not sure about the darkness of the stain though; I usually go with a walnut to match the rest of the house and wanted to try something different. This seems like a bit much. Might be easier to build an entire second set vs re-doing the stain though...
Built a shiplap wall with an electric fire place and mounted T. Built a custom mantel out of Birch plywood.
Jim F
This was my first project to cut angles. I like the way it turned out! Clamps were a help to hold all the pieces together. Very easy to put together.
This was built off Ana's Outdoor Couch plans. I just made some additional things to it and made it larger.
I added the vertical back supports so the cushions don't slip out the back. I raised the seat height to 17".
An easy to build workbench to keep my tools organized in the garage.
I am a really beginning builder (read: this is about my fifth project ever), but it works perfectly for our really tiny, narrow bathroom. I finished it with some stain we already had on hand. Thank you so much for the building plans!
Love this little planter. Already have ideas for anew version. Need to work that out, but that’s another brag. Thanks for the easy planter plans.