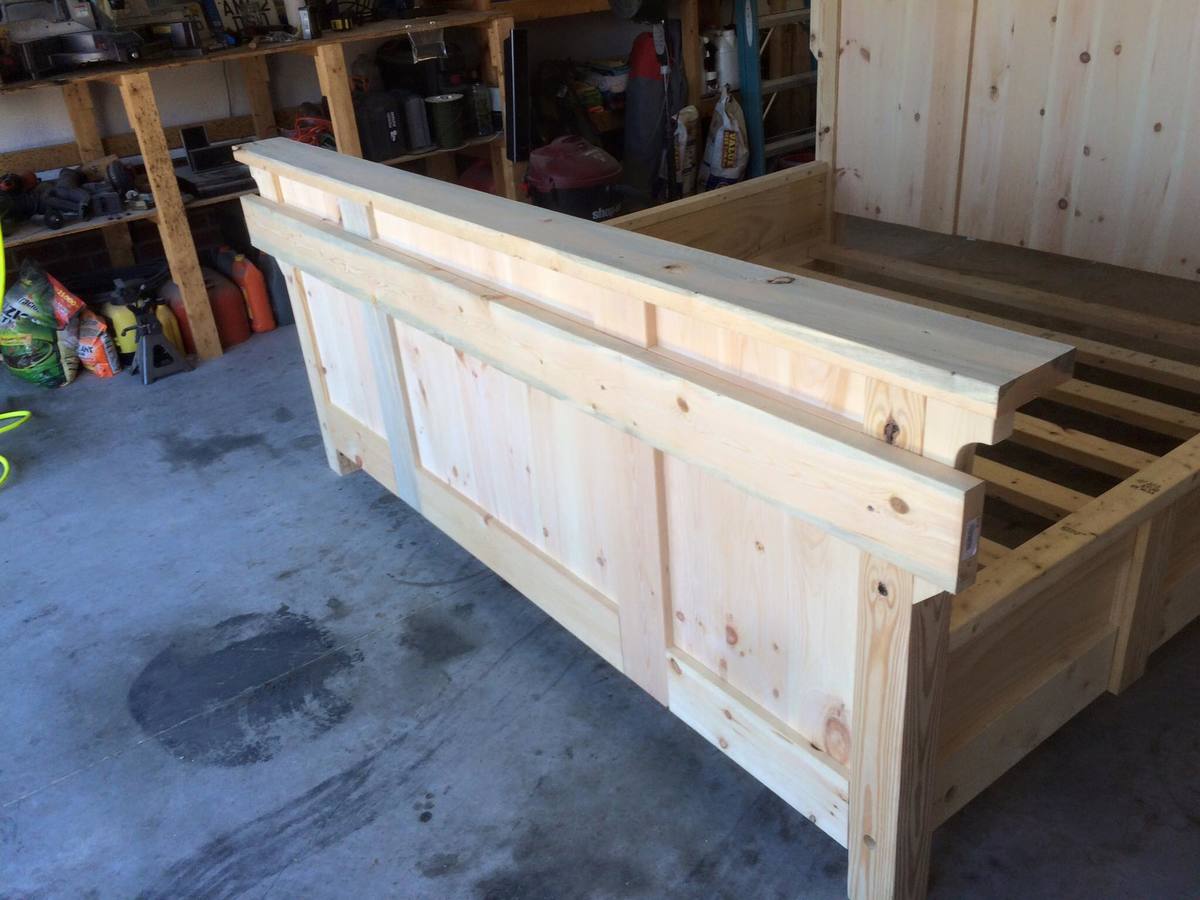
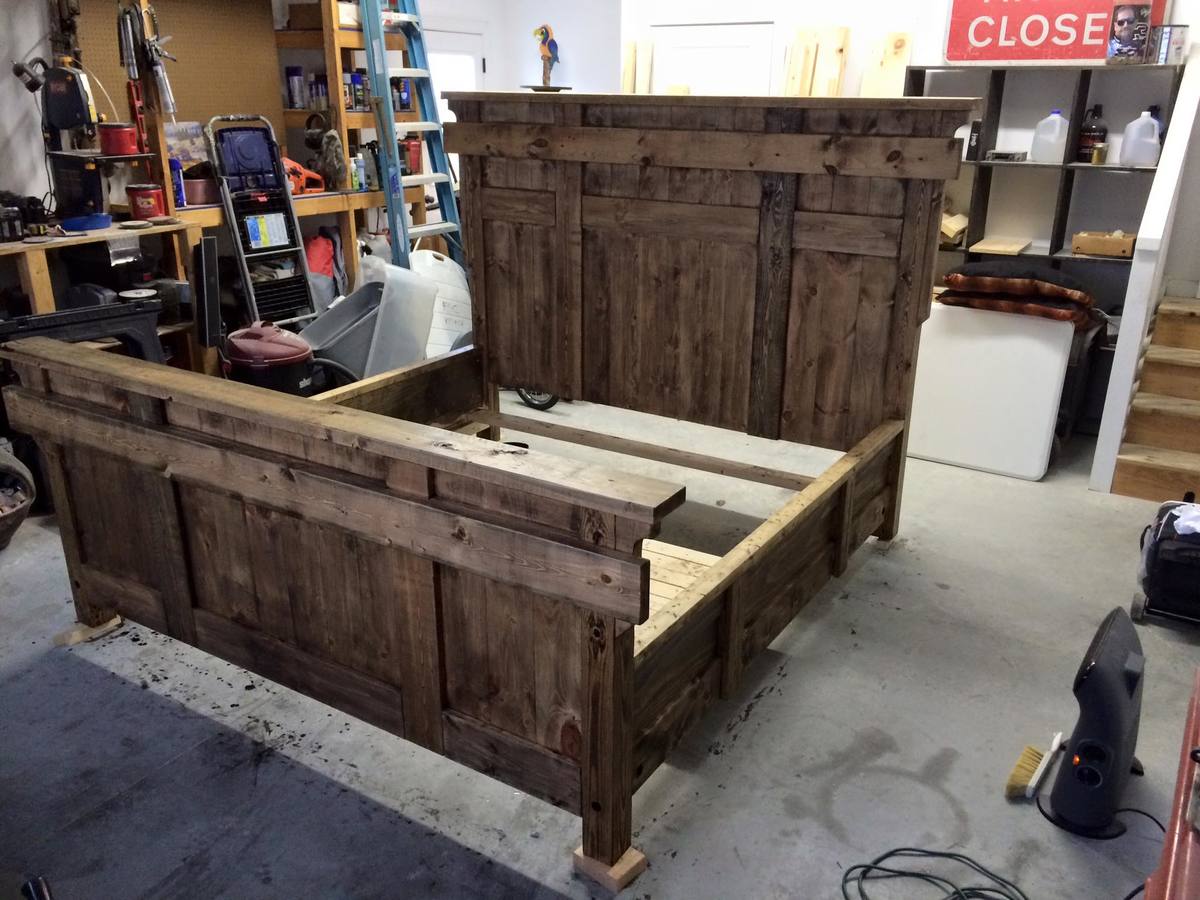
Shanty Side Board and Hutch
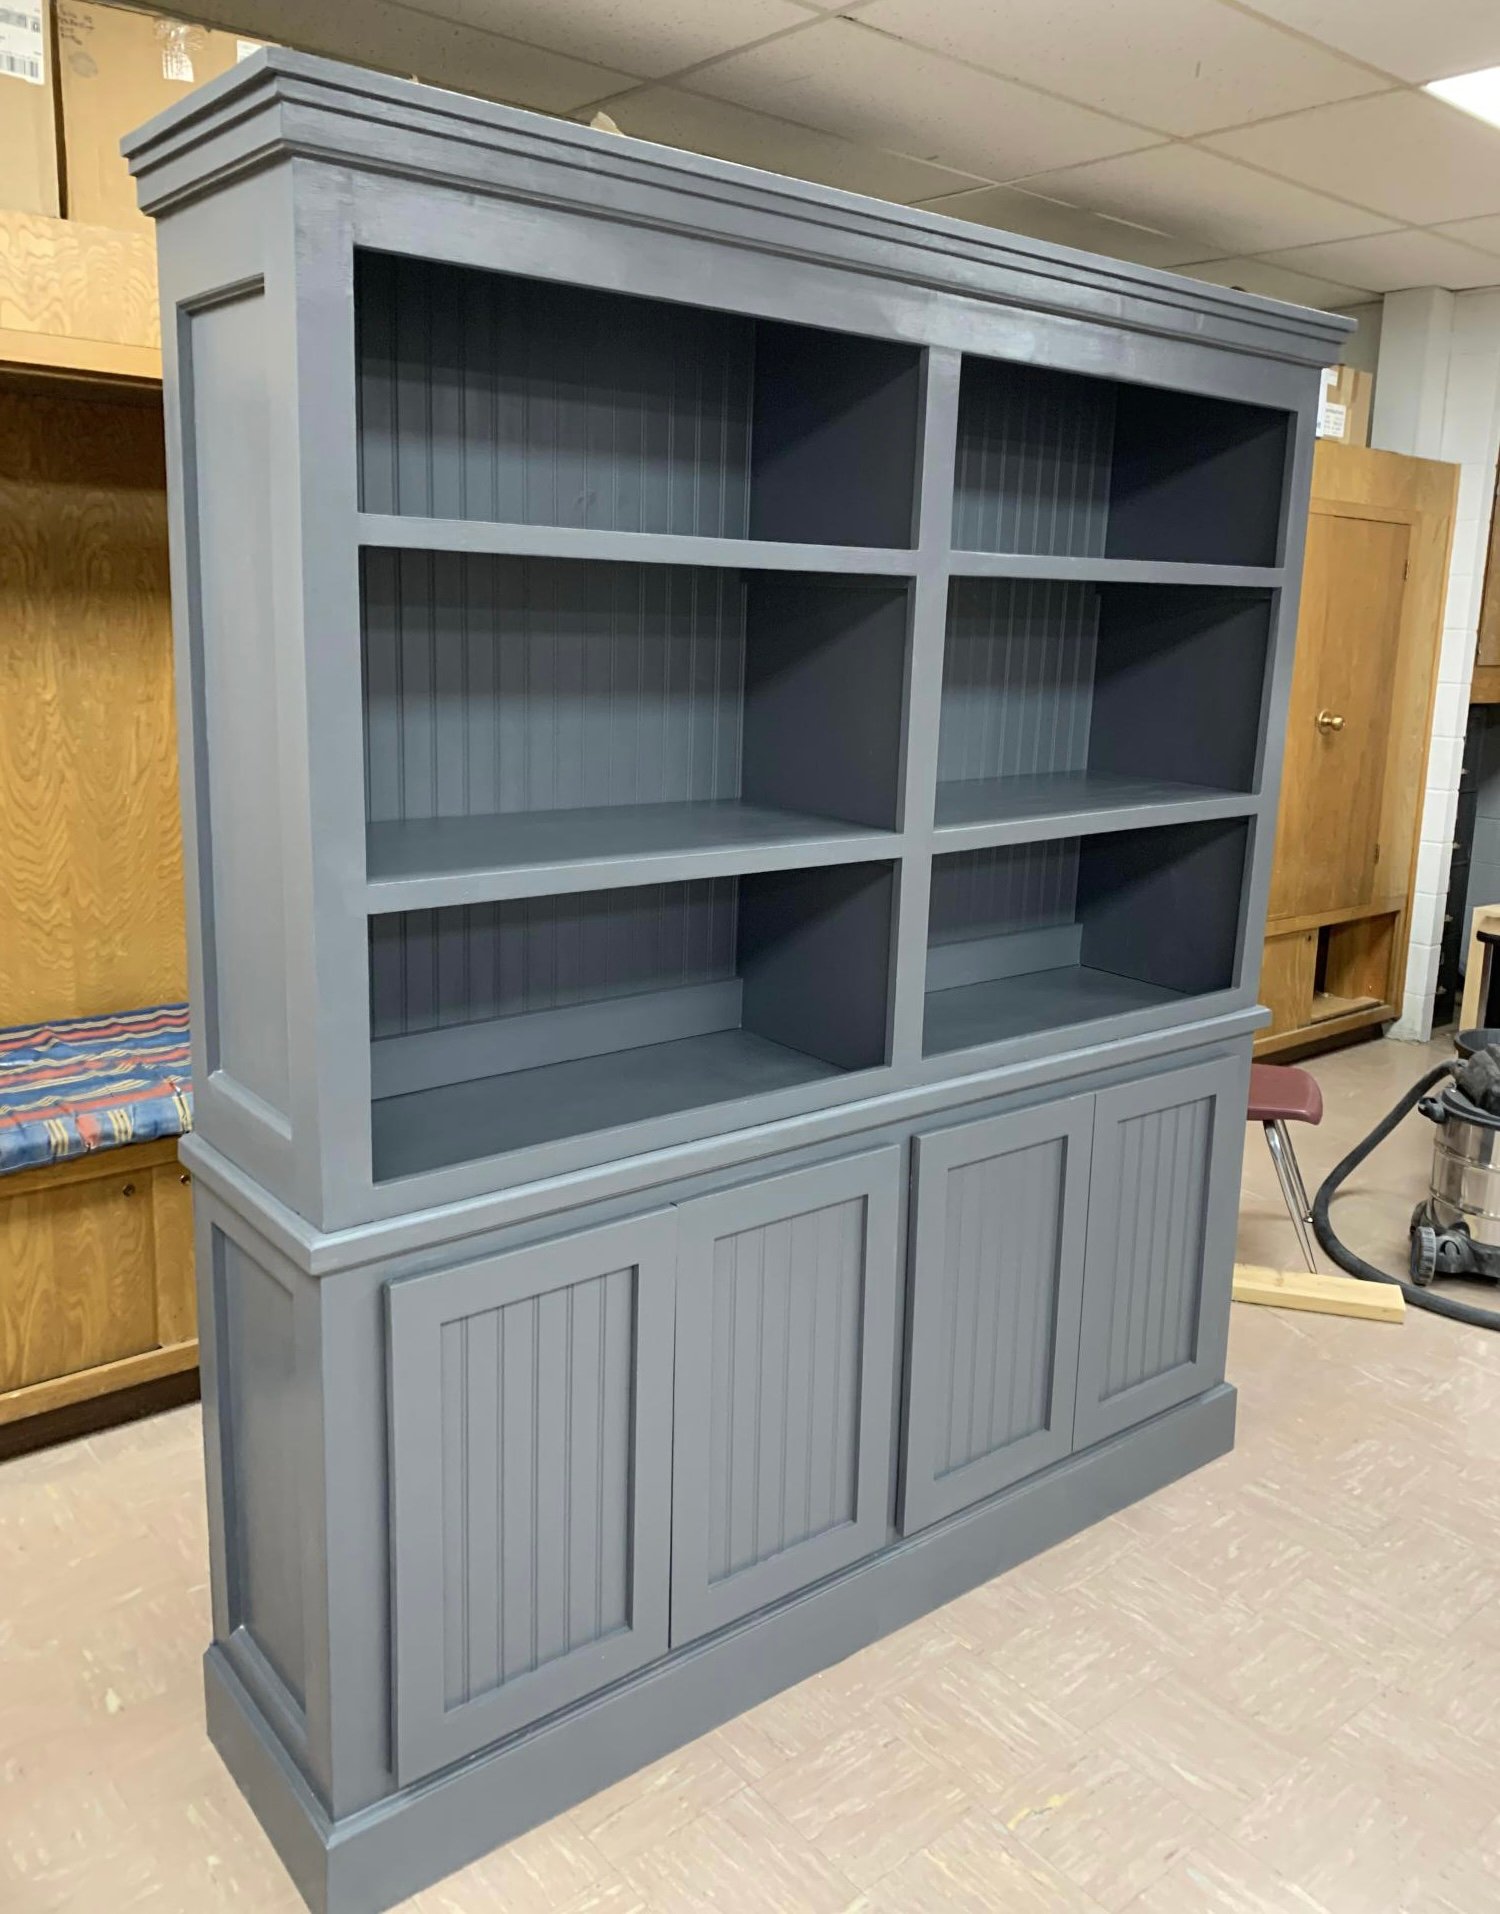
This is the Shanty Chick Side Board and Hutch that some of my high school students chose to build. It is going to the Texas state contest in Corpus Christi next week.
Built from Plan(s)
This is the Shanty Chick Side Board and Hutch that some of my high school students chose to build. It is going to the Texas state contest in Corpus Christi next week.

This was my first project and while I prepared to build it I had to endure some real negative forces coming from people who knew my building skills. But I was heart set on doing this and proving people wrong.
As you can see from the pictures I made some adjustments to the table as I did not want a square table rather a rectangle to fit perfectly in front of my sectional, LOL.
I could not believe how well it came out and how easy it was to build. Thank you Ana for this site as I know I would never have taken on this project without finding this site. Furniture building is something I always wanted to do and have as a hobby. I will NEVER purchase another piece of furniture from a store again!
I have included a few pics to show the progress.


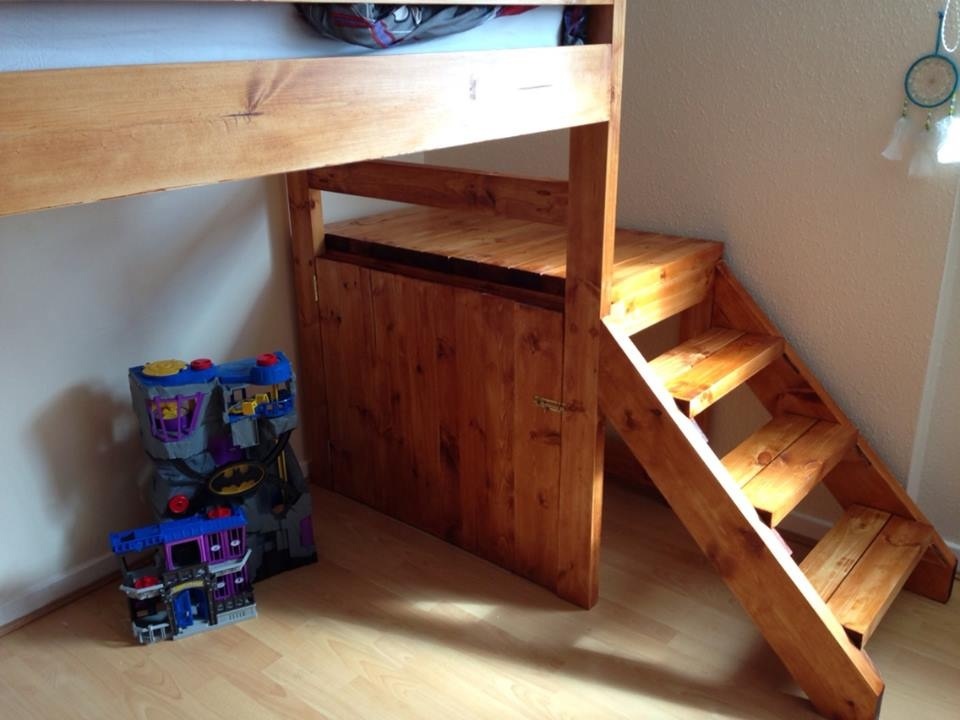
I've made three of these loft beds. The plans are very easy to follow, and once assembled, they form extremely solid structures. Thank you very much Ana, what you are doing us very much appreciated.
Mon, 11/04/2013 - 11:42
I made a gate style door to close off the space under the stairs, a nice little tidy up.
Thu, 09/11/2014 - 17:24
How can i get the list of materials needed for this and also the plans for it please. my email is [email protected].
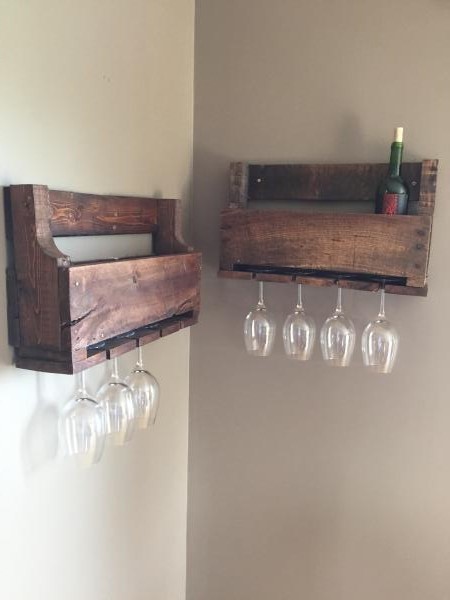
My wife showed me this wine rack on a you tube video so I checked it out. She really wanted one so I made her two of them. I also made a longer one for liquor bottles as well, ill post it as soon as I hang it on the wall.
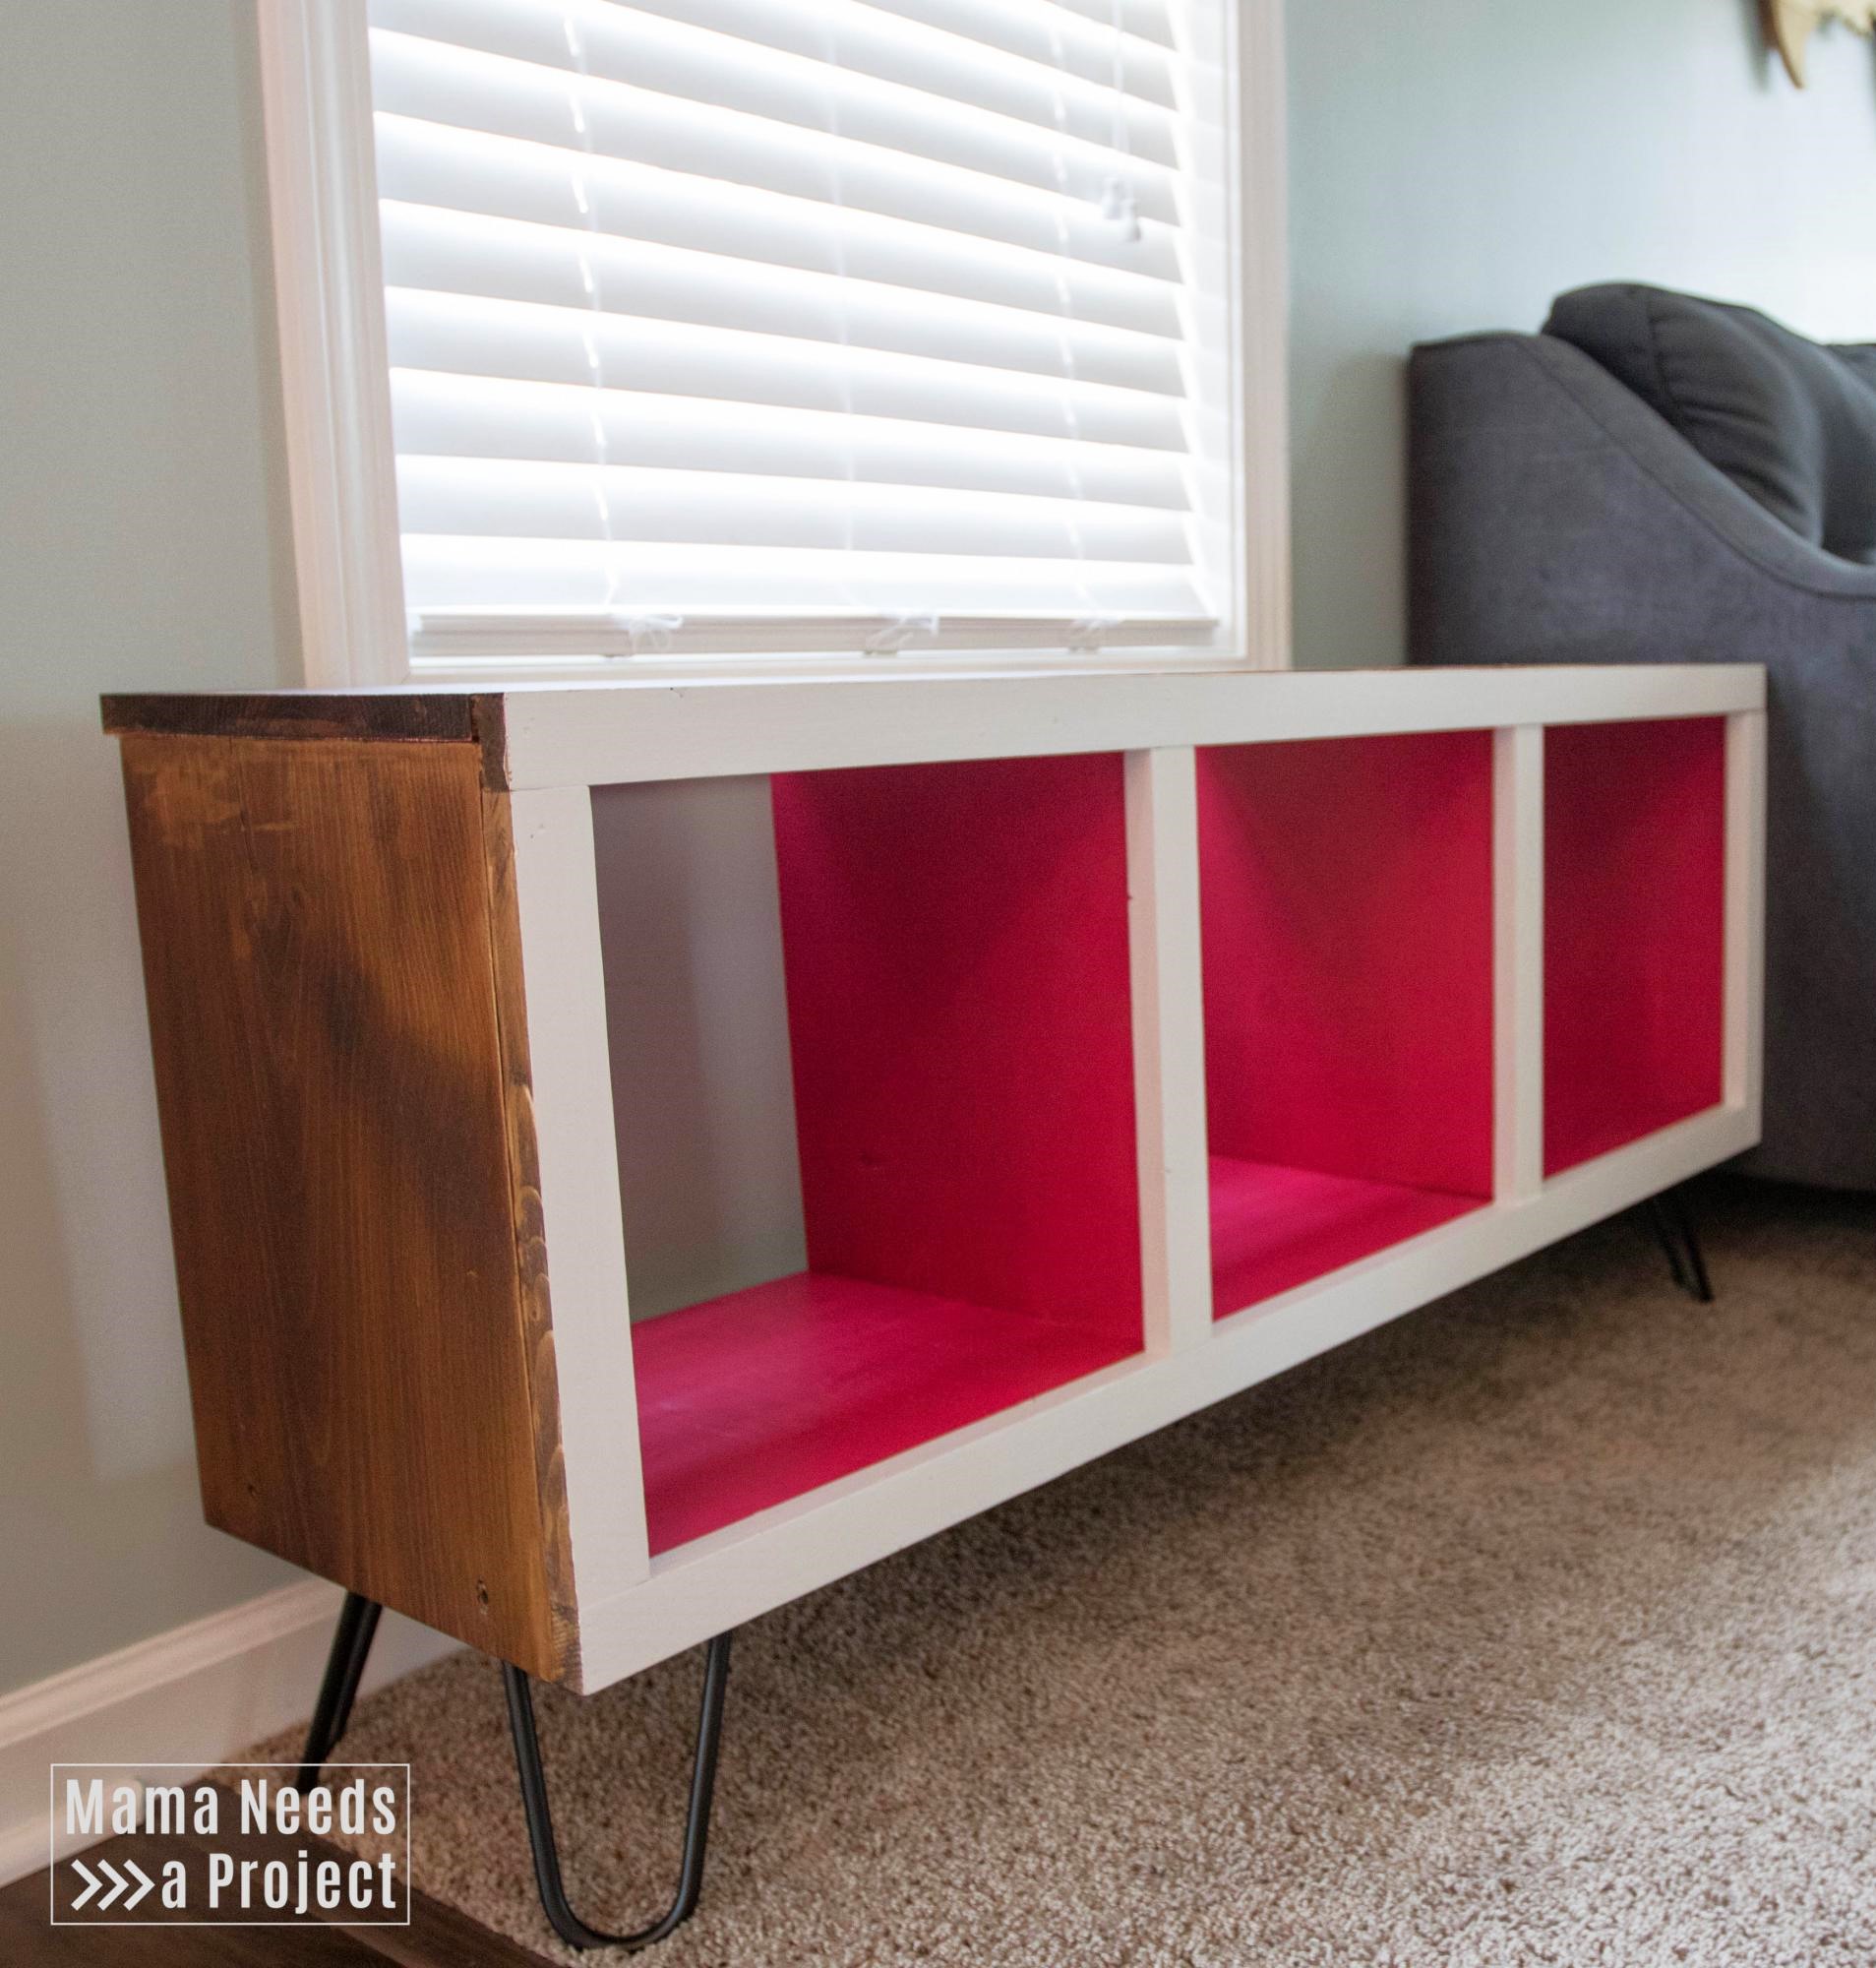
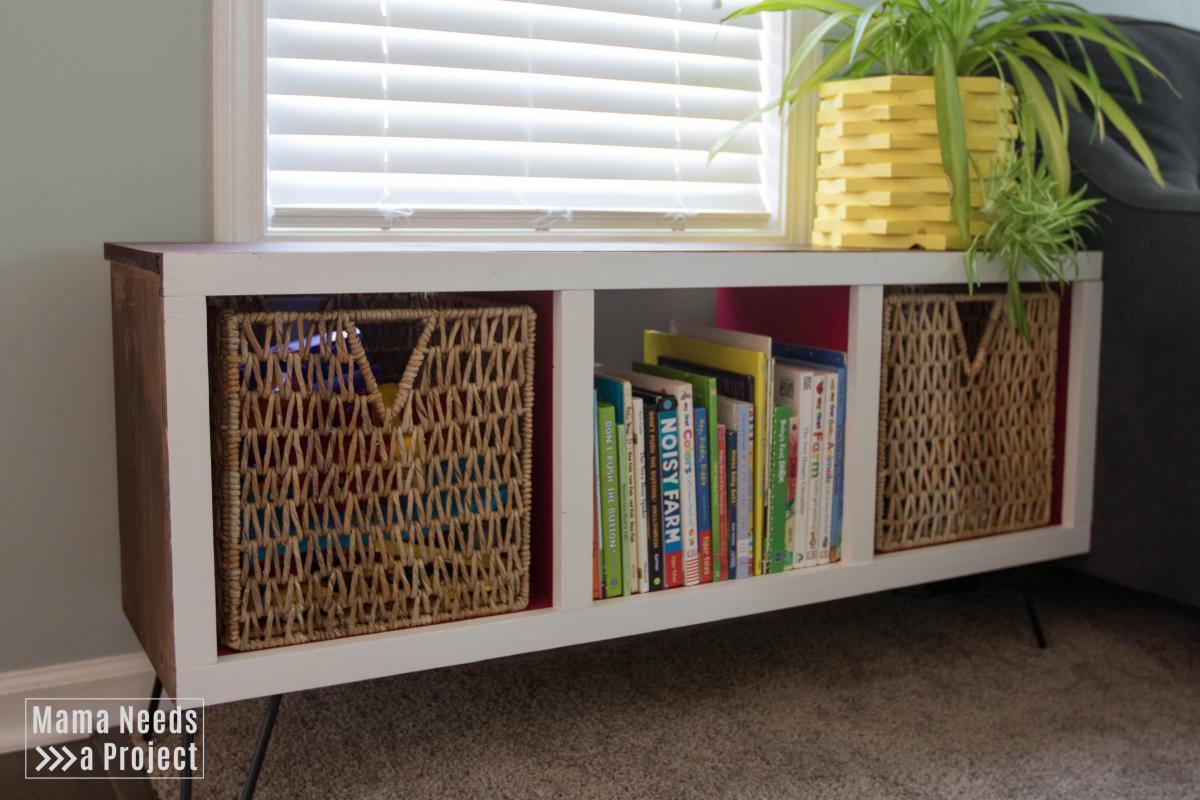
I built this modern cubby storage shelf by making a few modifications to the Rolling Cubby Bench plan. It's a quick project with extra bright paint to add a bit of fun. Check out all of my tips for building this fun storage bench at https://mamaneedsaproject.com/modern-toy-storage-project/ .
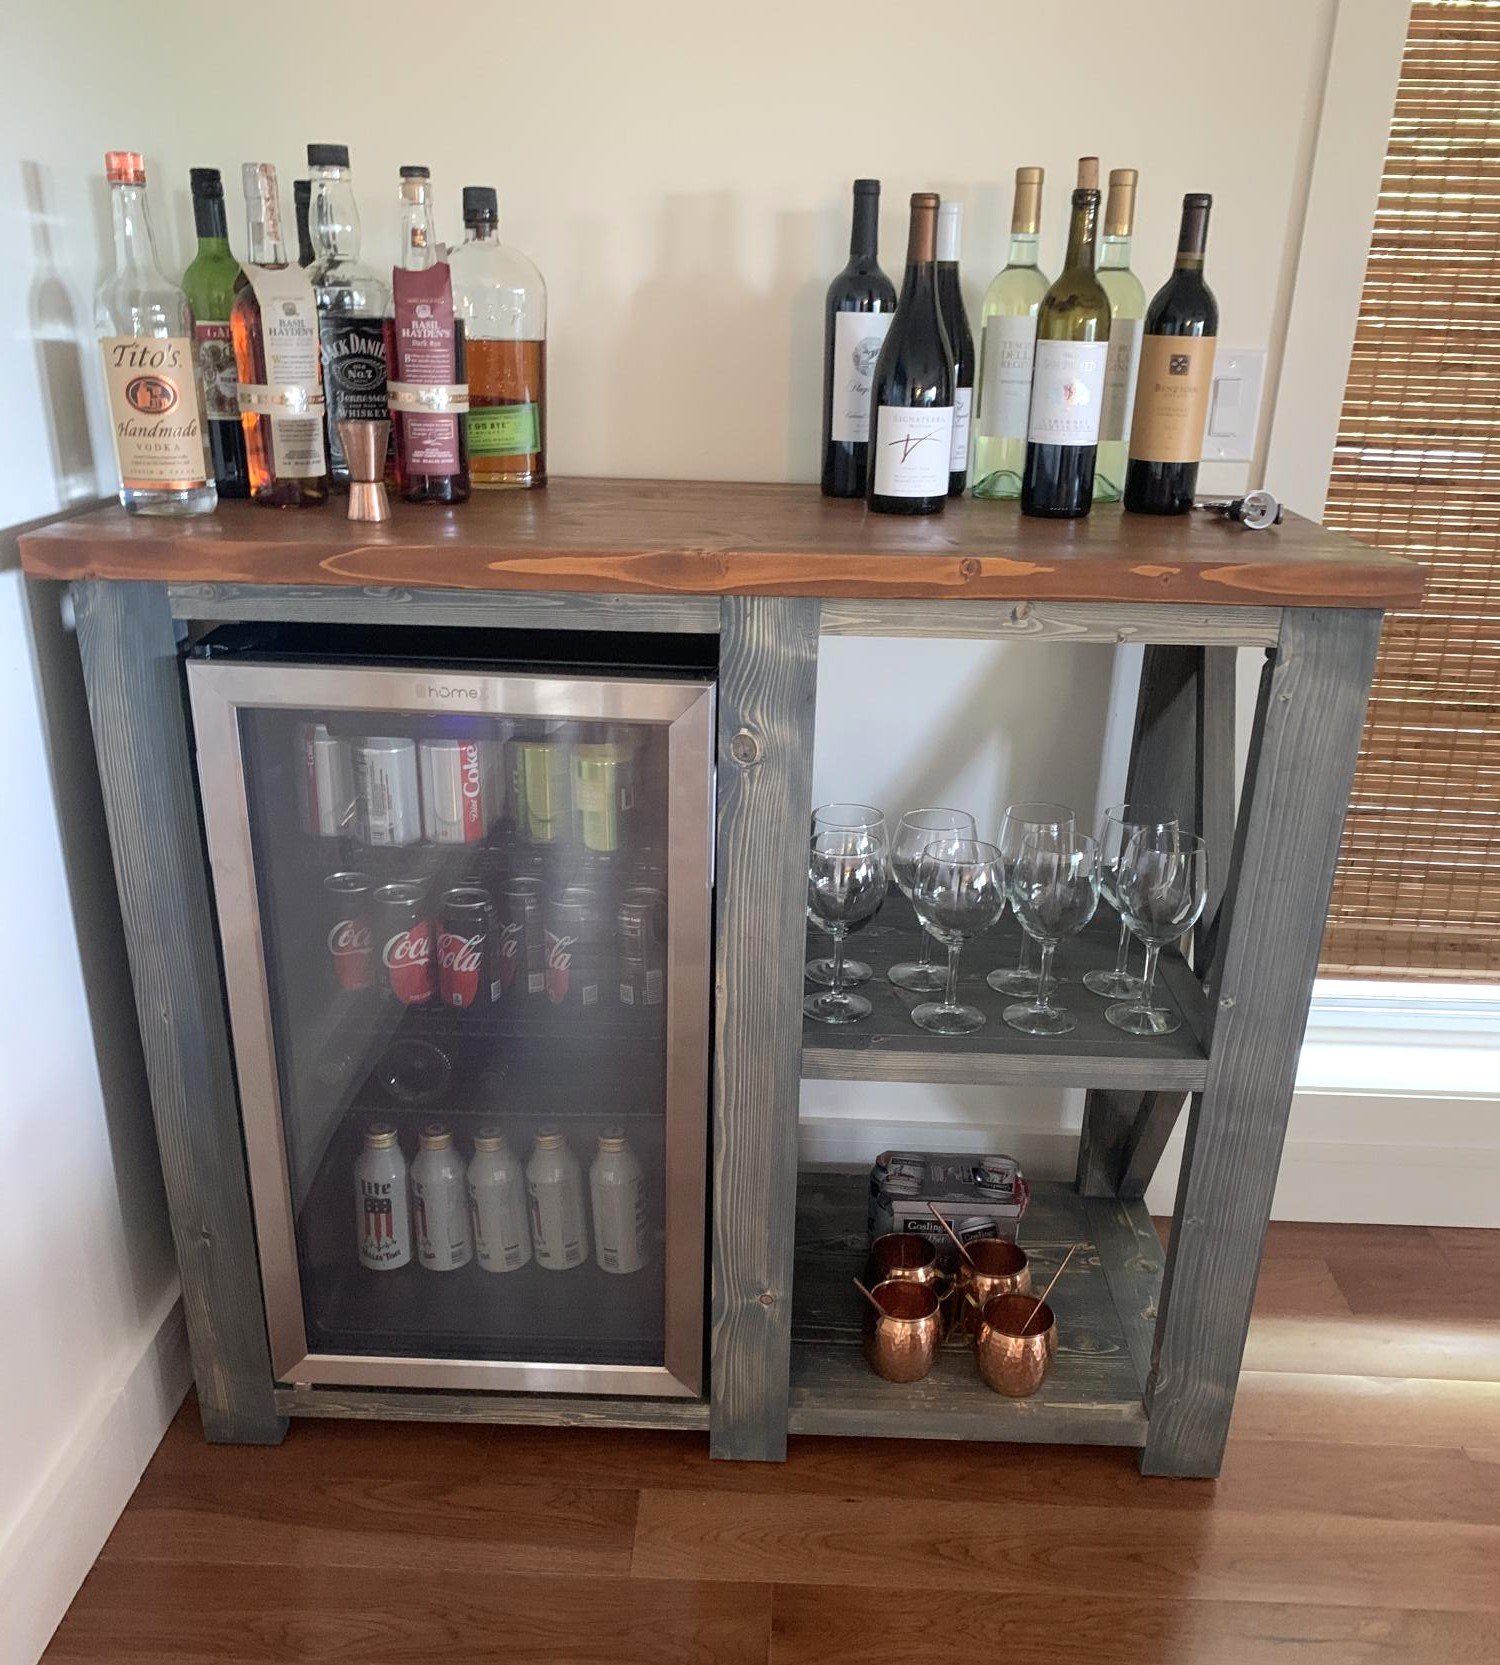
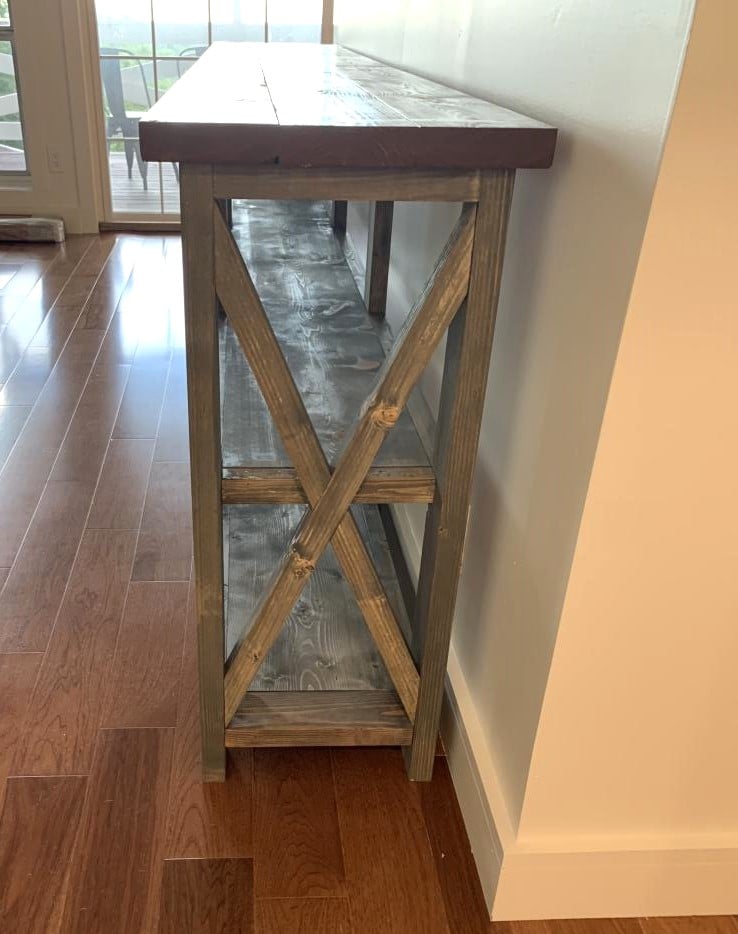
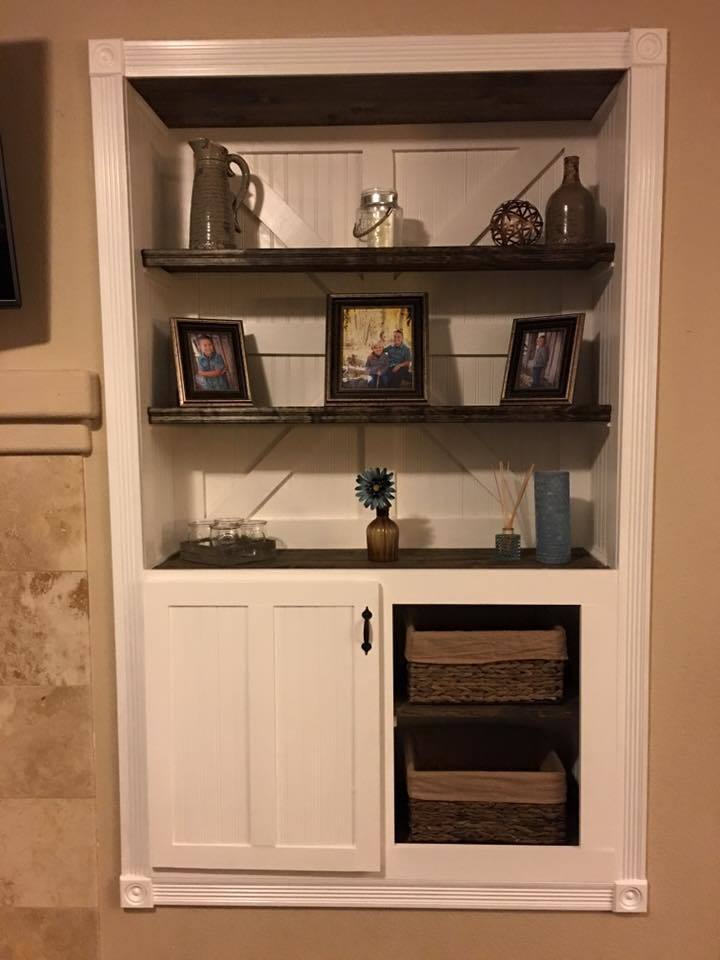
During Covid, my husband and I renovated our mountain house. After taking down a wall enclosing a staircase, we were left with awkwardly long pony wall. Originally we planned to do built in bookshelves, but then I decided the x bookshelves would look good and be a lot easier. So we customized the measurements and built them. Then I decided we really needed a bar space, so we built another x bookshelf around the measurements of an inexpensive bar fridge and voila! They look great and we get lots of compliments on both!


Wed, 03/29/2023 - 08:15
Love the finish and use of both of these! Thanks for sharing.
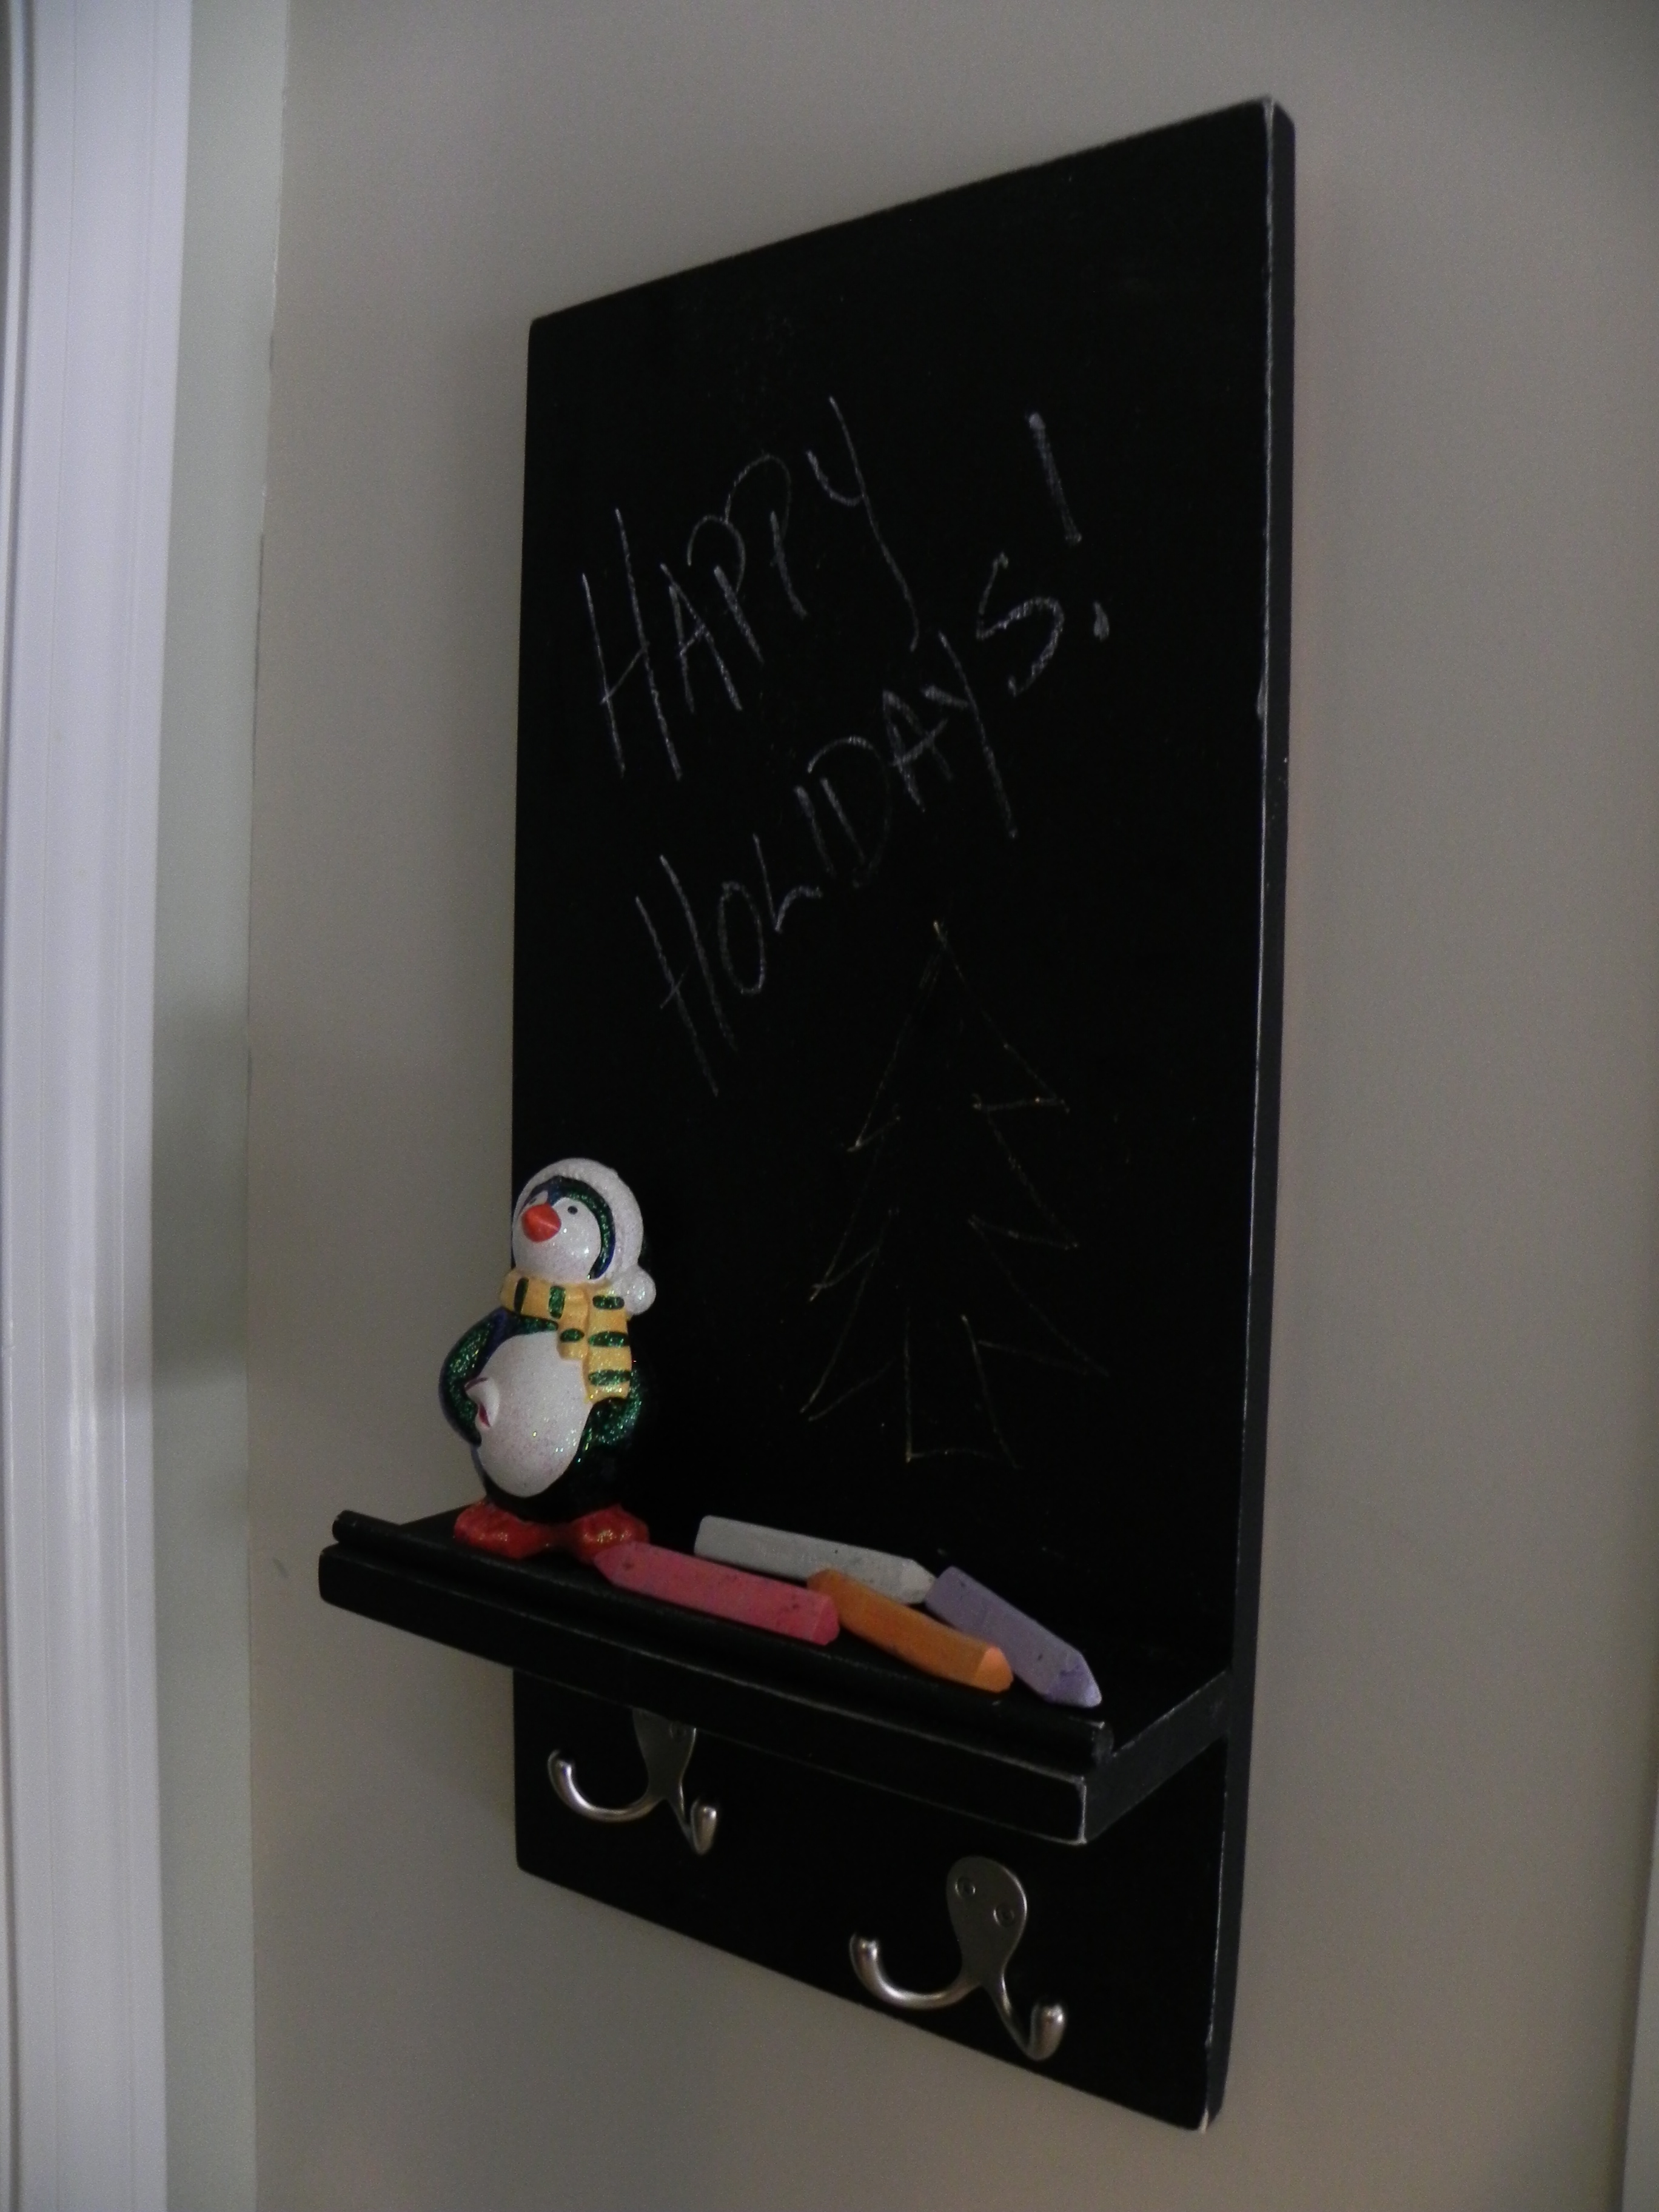
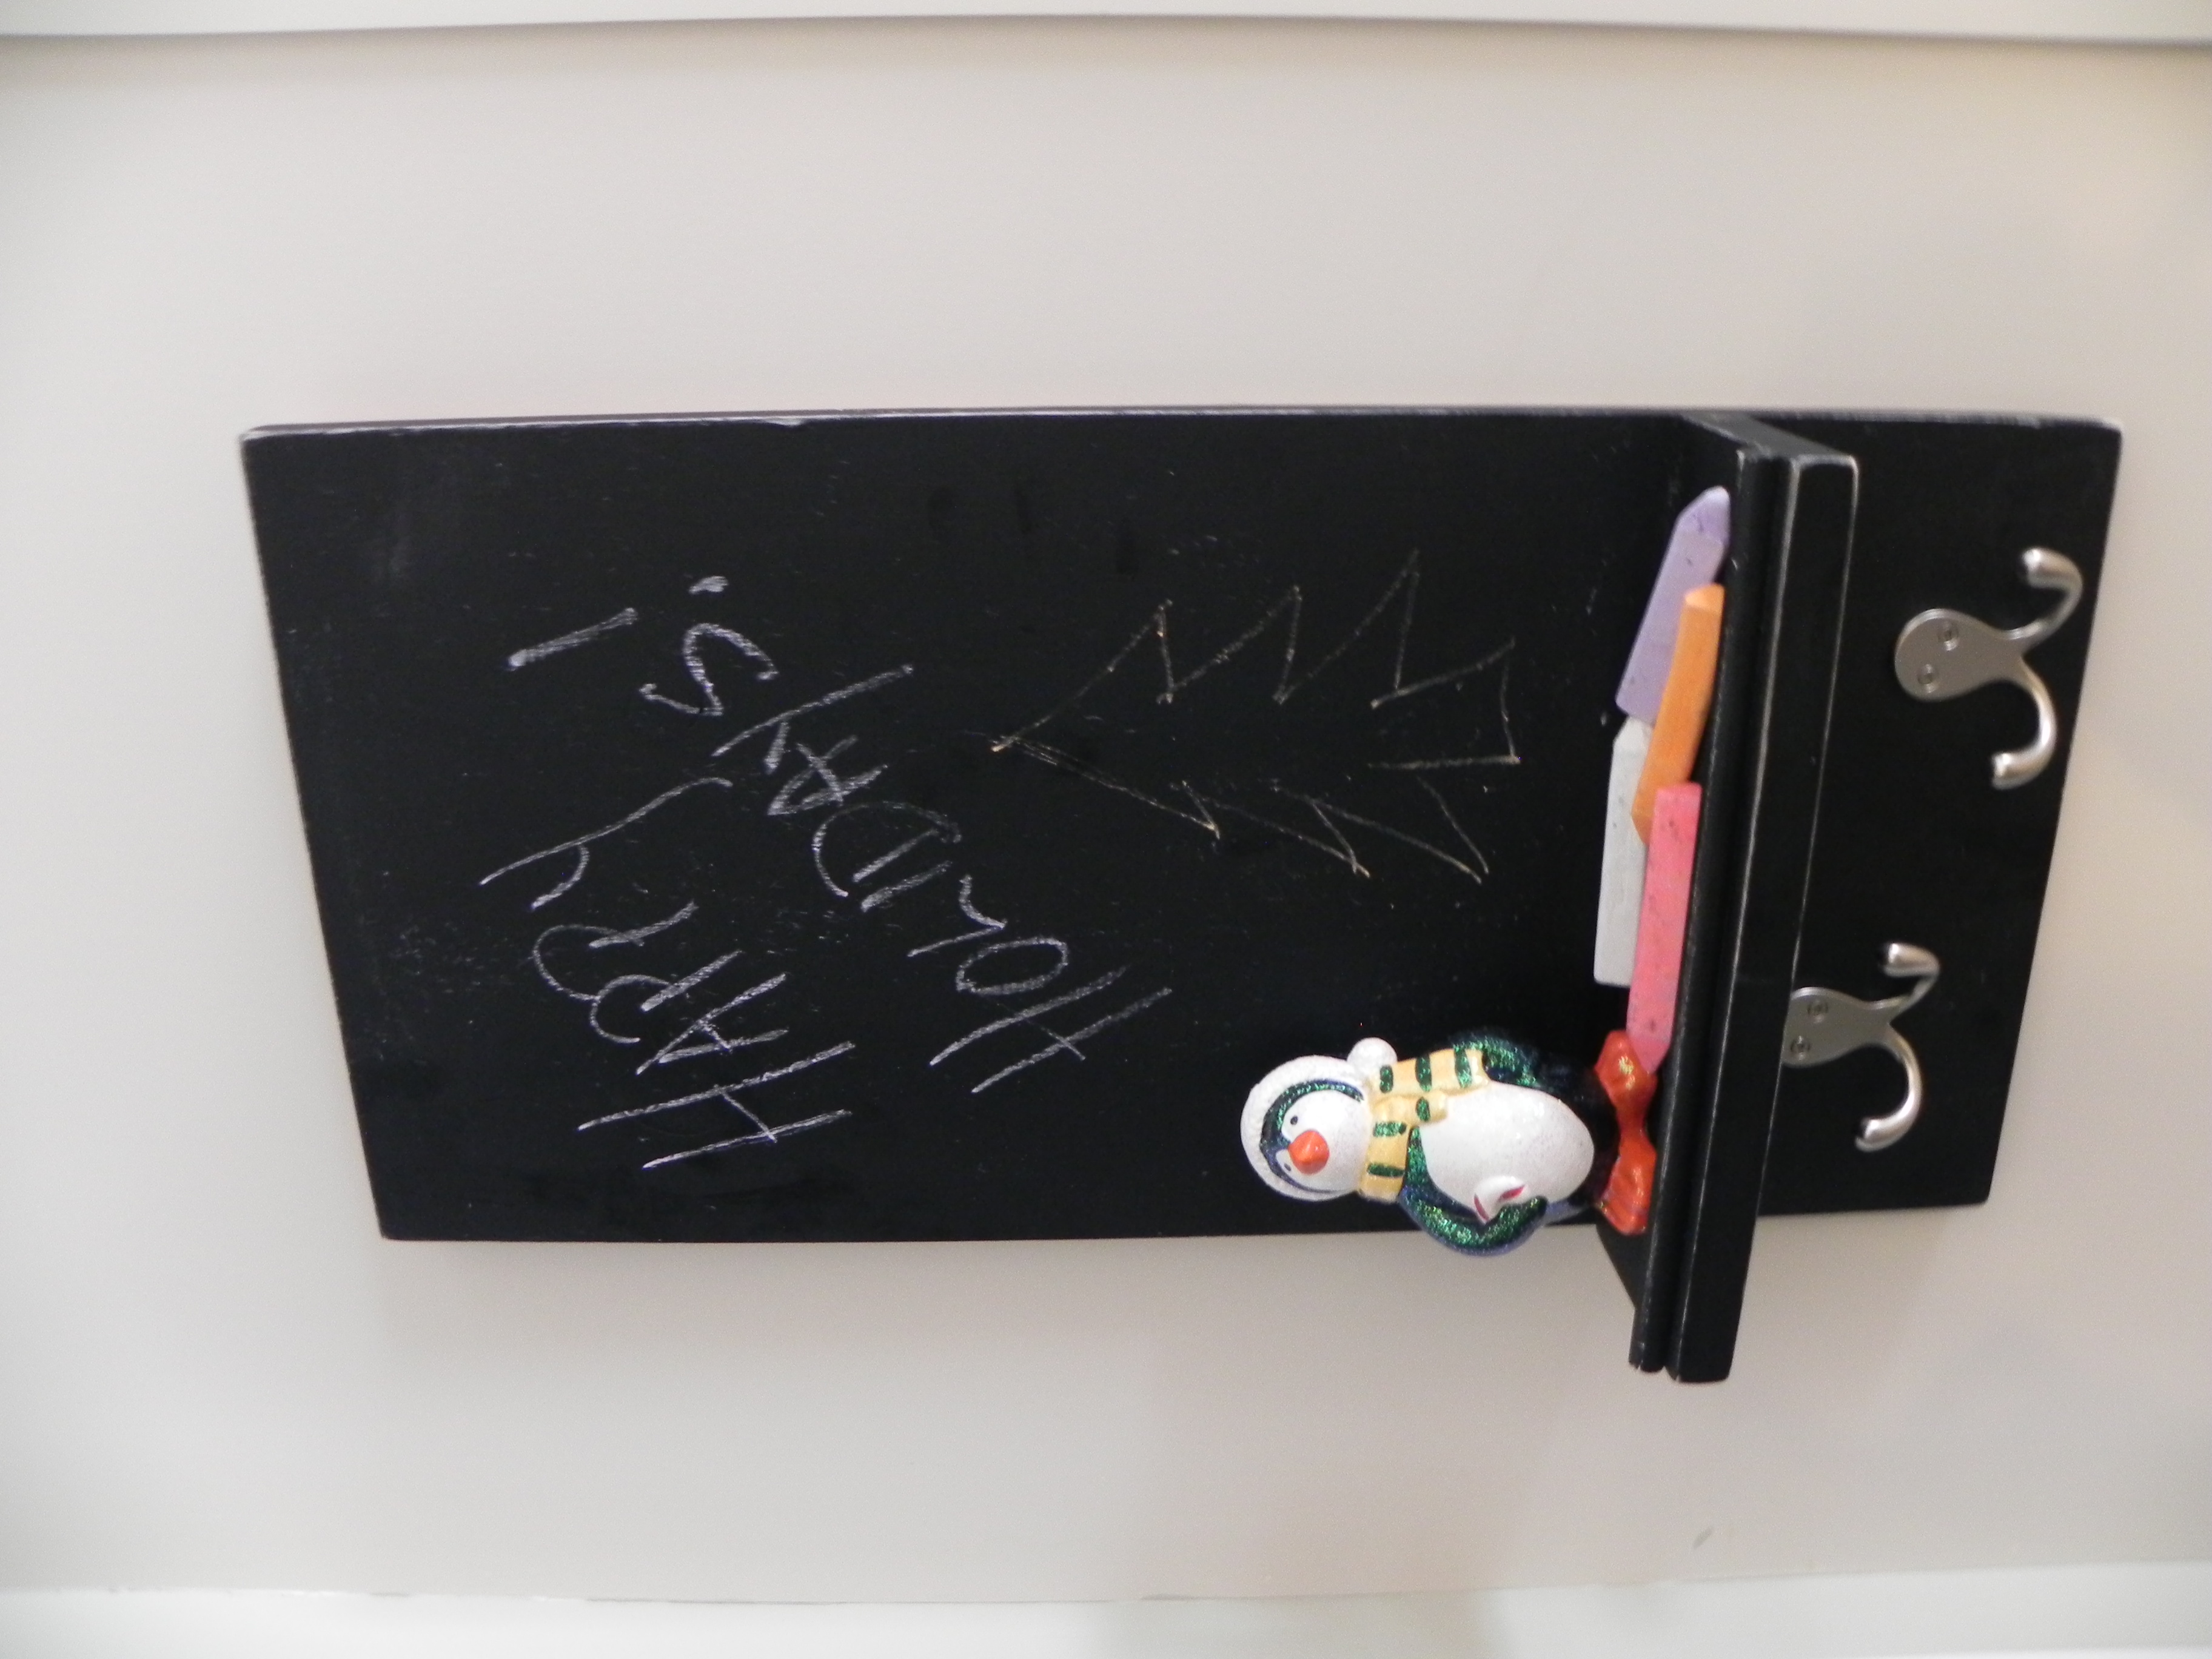
I loved this when I saw it posted the other day, it really doesn't take long to make and adds character to our kitchen! I added a dowel that i sanded a little on one side to the long end of the 1x4 so that the chalk won't slide off, just something that I can see happening here.
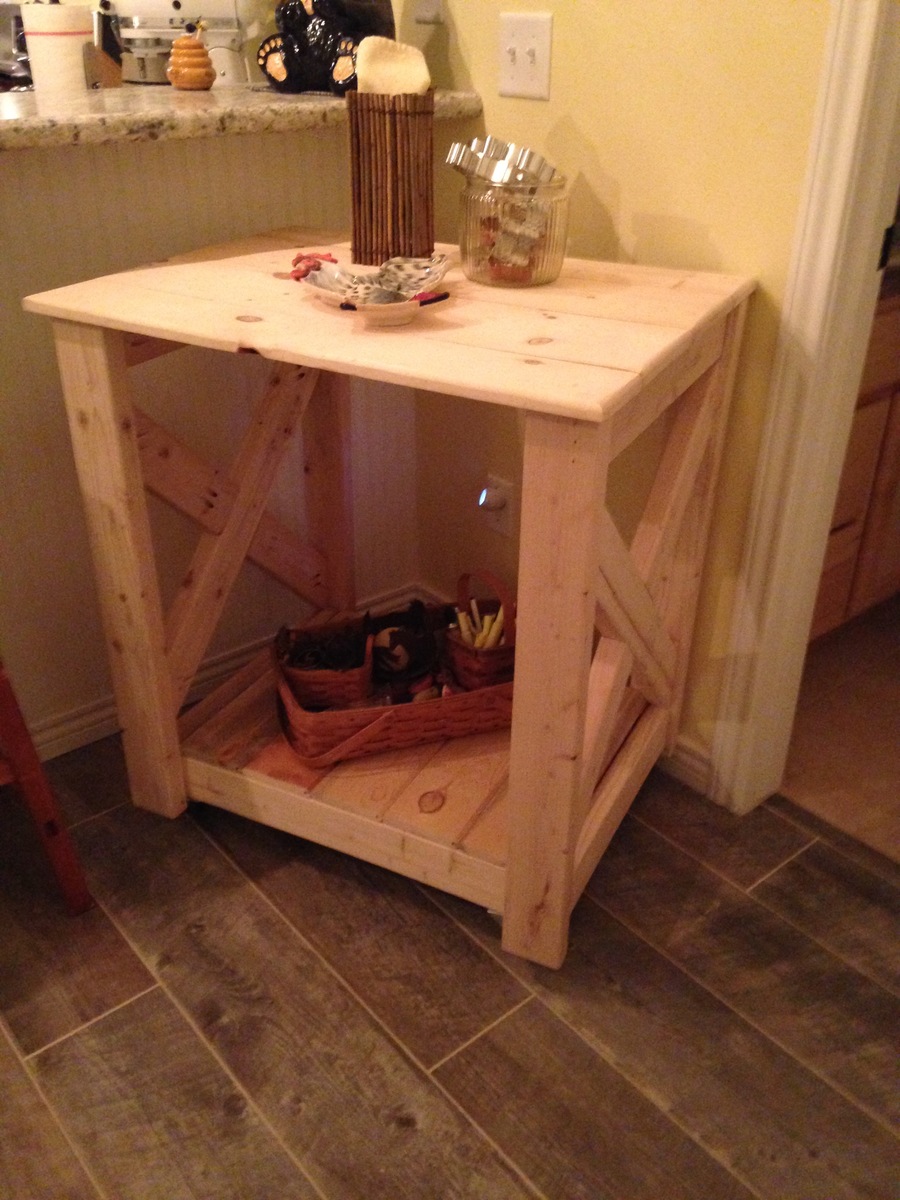
Mom wanted an island for her new large kitchen but something that could be moved out of the way. With all her cabinets and drawers, we omitted the shelves and drawer from the original plan. We also wanted it full across the inside, not just half way. This allows her to put her stool on the shelf out of the way if needed. However, after getting all her furniture into her new home, she decided that she had enough in her new kitchen so she scoots it under the breakfast bar for now.
This was made on a tight budget. We only had to purchase the 2x4s and casters.
We also used tongue and grove blue pine left over from our house for the bottom shelf and staggered scrap pine 1x4 & 1x6 boards for the top and then routered it to give it smooth rounded edges on top.
From a picture I found on Pinterest
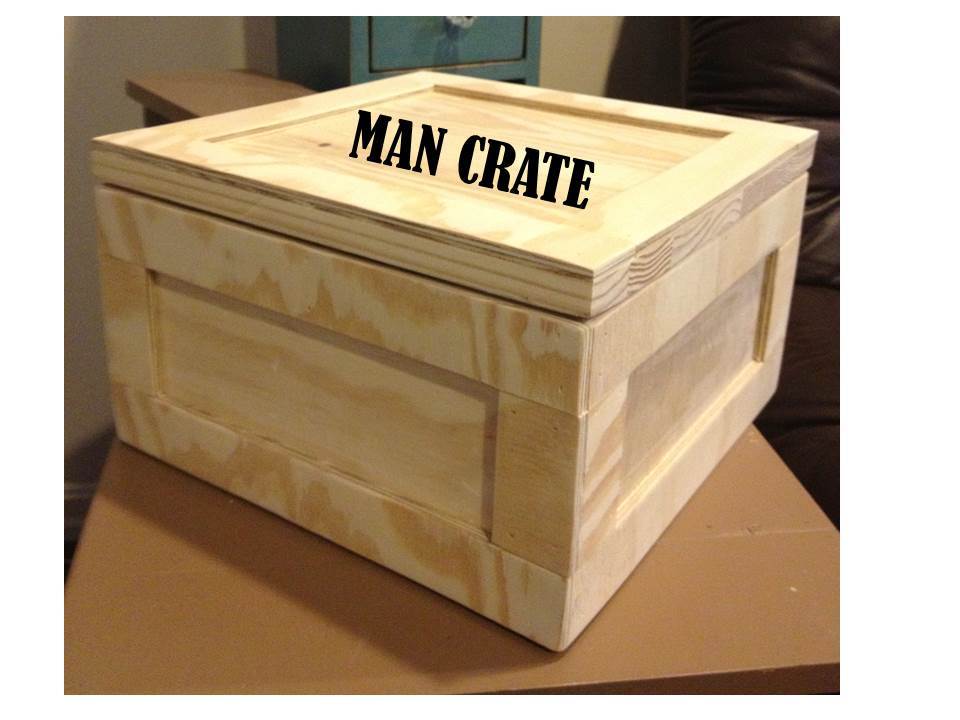
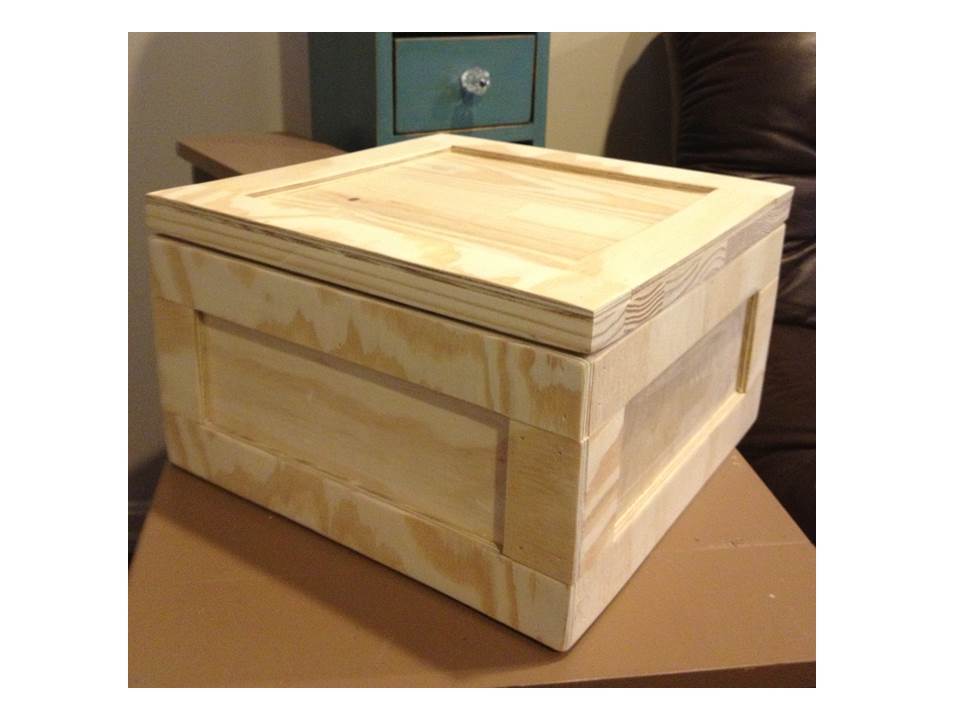
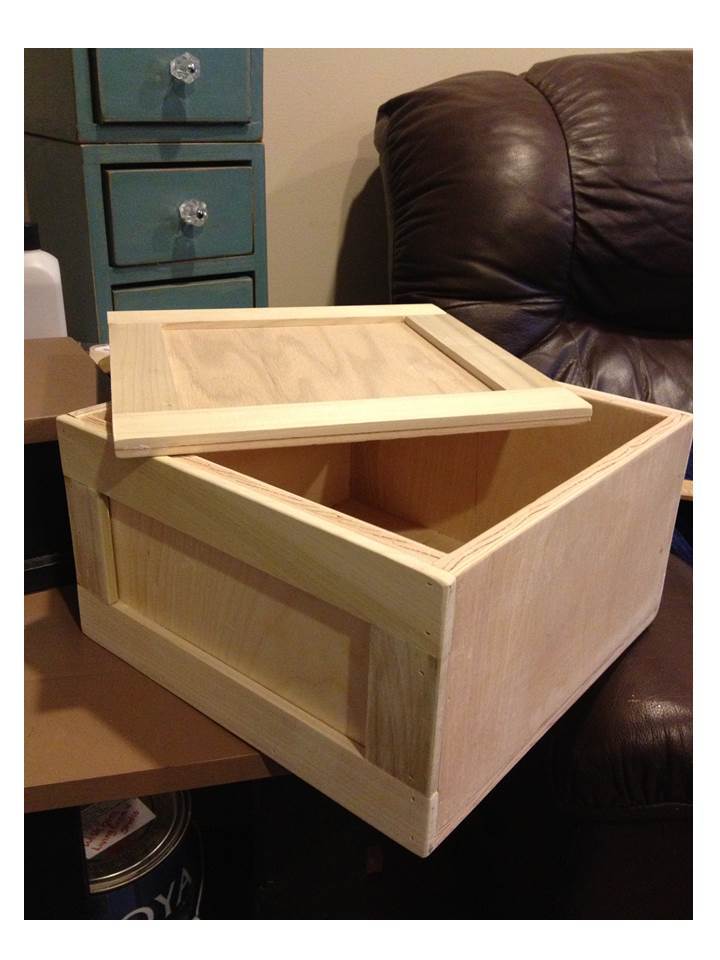
This is the prototype builds for the Plywood Gift Crate (man crate) plan. I had a great time developing and building this plan! I read a forum post about these and was inspired to do up a plan and build. When you give these as a gift, present it with the top nailed shut, and a crowbar for getting it open!
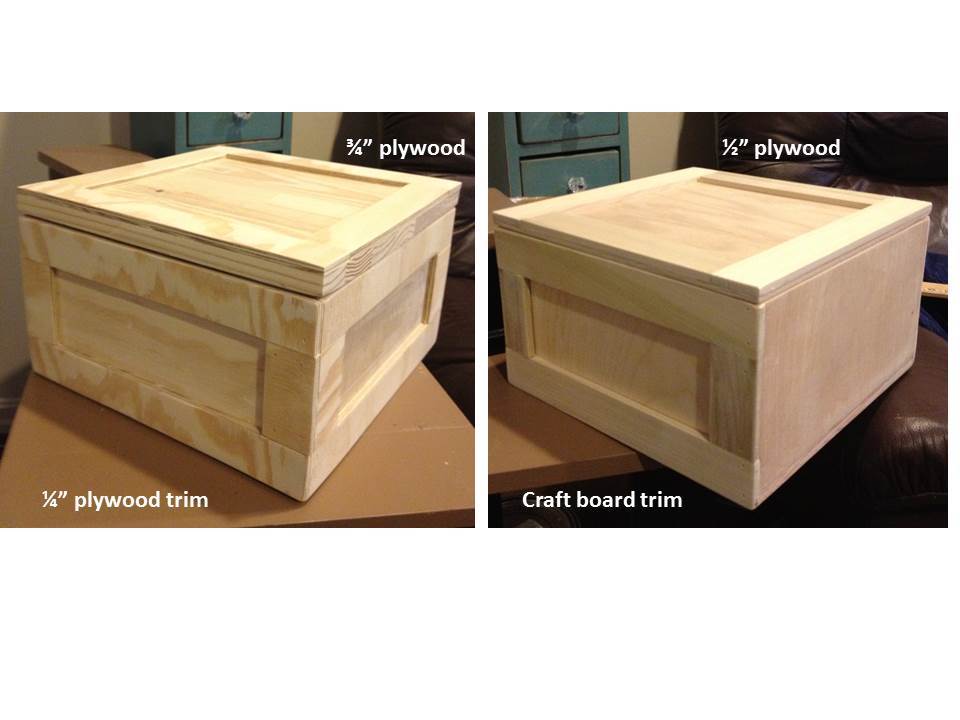
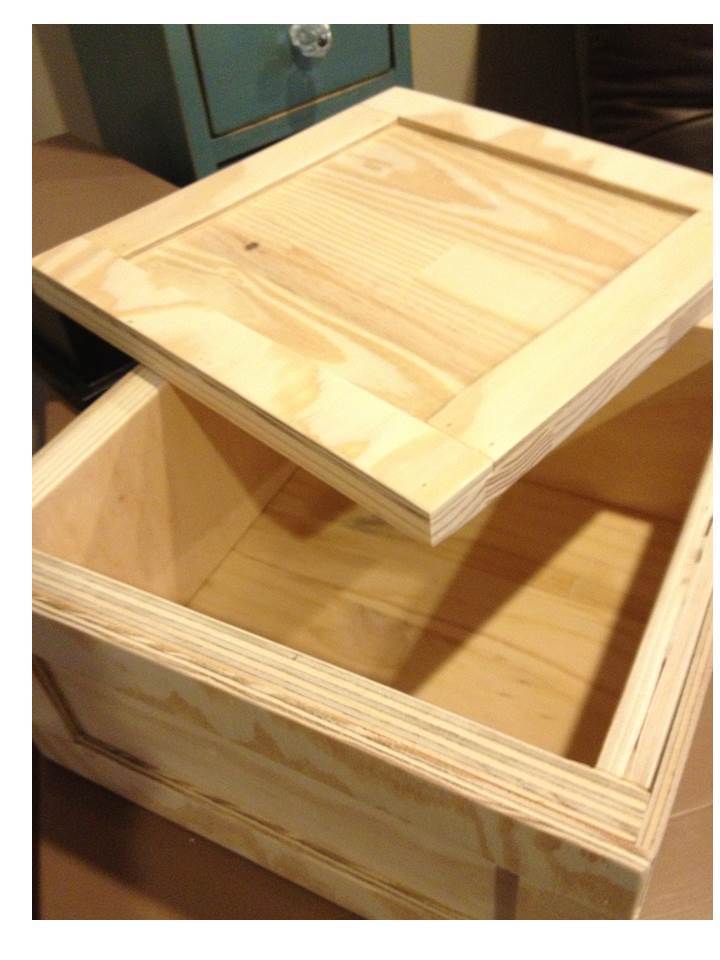
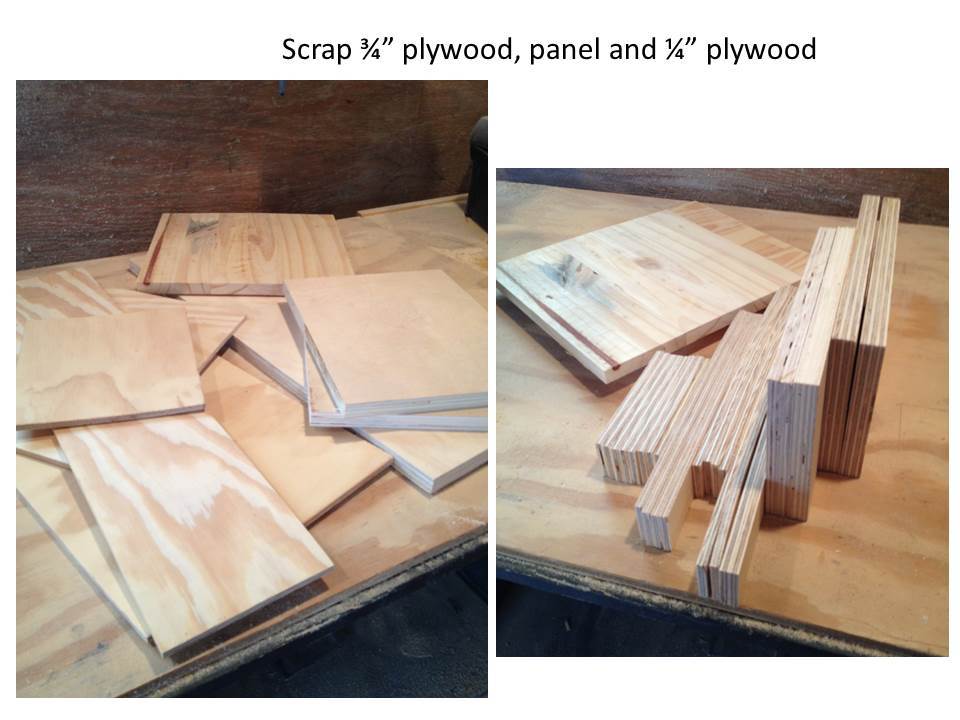
Two crates are shown. These each took a little over an hour to build. The 3/4" plywood one was entirely from scraps, and I purchased the poplar craft boards ($2 each) for the 1/2" plywood one. New wood would cost about $15. I left them unfinished like the inspiration. The picture just has the text added to it as a graphic. I do plan to stencil "man crate" on them though. The first prototype with 1/2" plywood scraps was made with a 1/4" scrap plywood top and poplar trim boards. My scrap top wasn't wide enough to cover trims on the sides, which is why the sides on that one are plain. The 2nd prototype was with 3/4" plywood scraps and uses strips of 1/4" thick scrap plywood for the trim boards.
If anyone is interested in different size crates, I've created a project calculator in Excel, that you can key in the desired dimensions and sizes of wood you plan to use, and the spreadsheet will give you the sizes for the pieces and a cut list. I couldn't figure out a way to attach that to the plan, but if you would like one, just send me a note through the contact form, and I'll email it to you.
I hope you build these, it was a fun and easy build!
I spent 3 weekends building this for a friend. It was alot of work but it came out great!! He got the plans from Shanty-2-chic. We modified the plans alot to make it a truly unique piece.


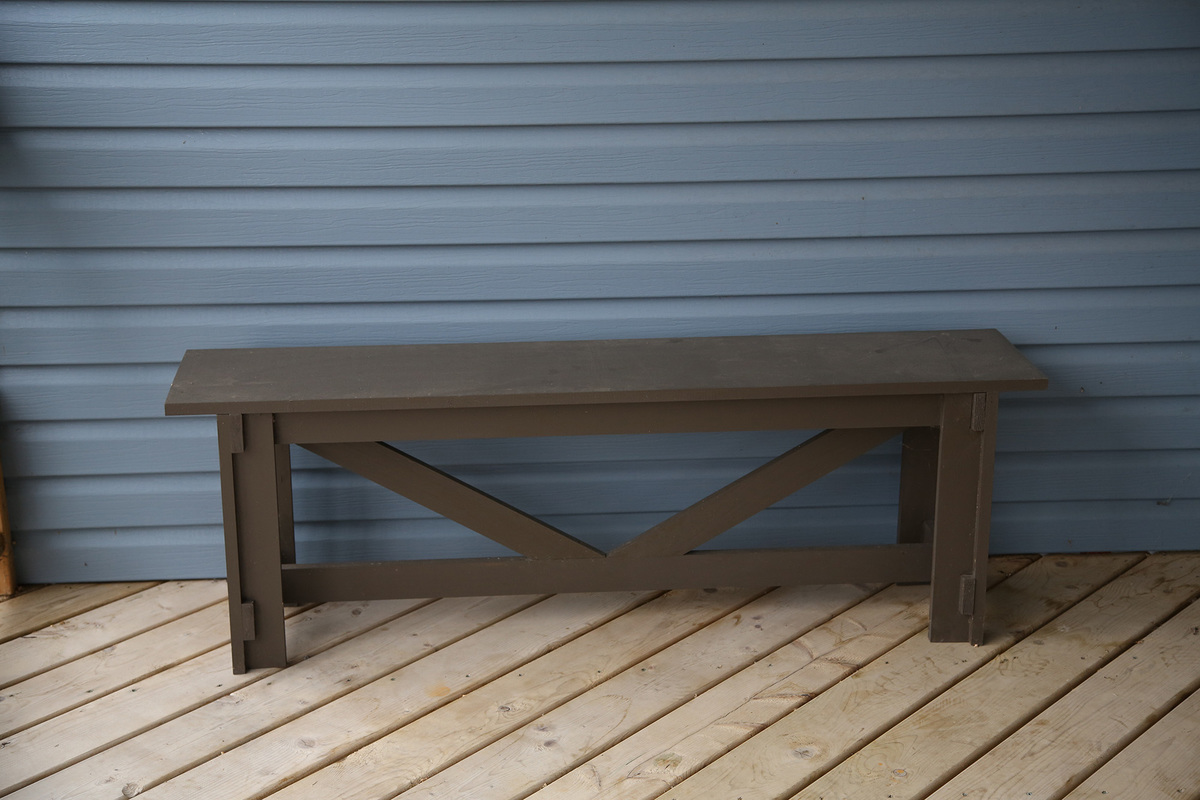
This bench is a perfect addition to our front porch.
This is one of the first projects that I tackled, and its holding up beautifully!
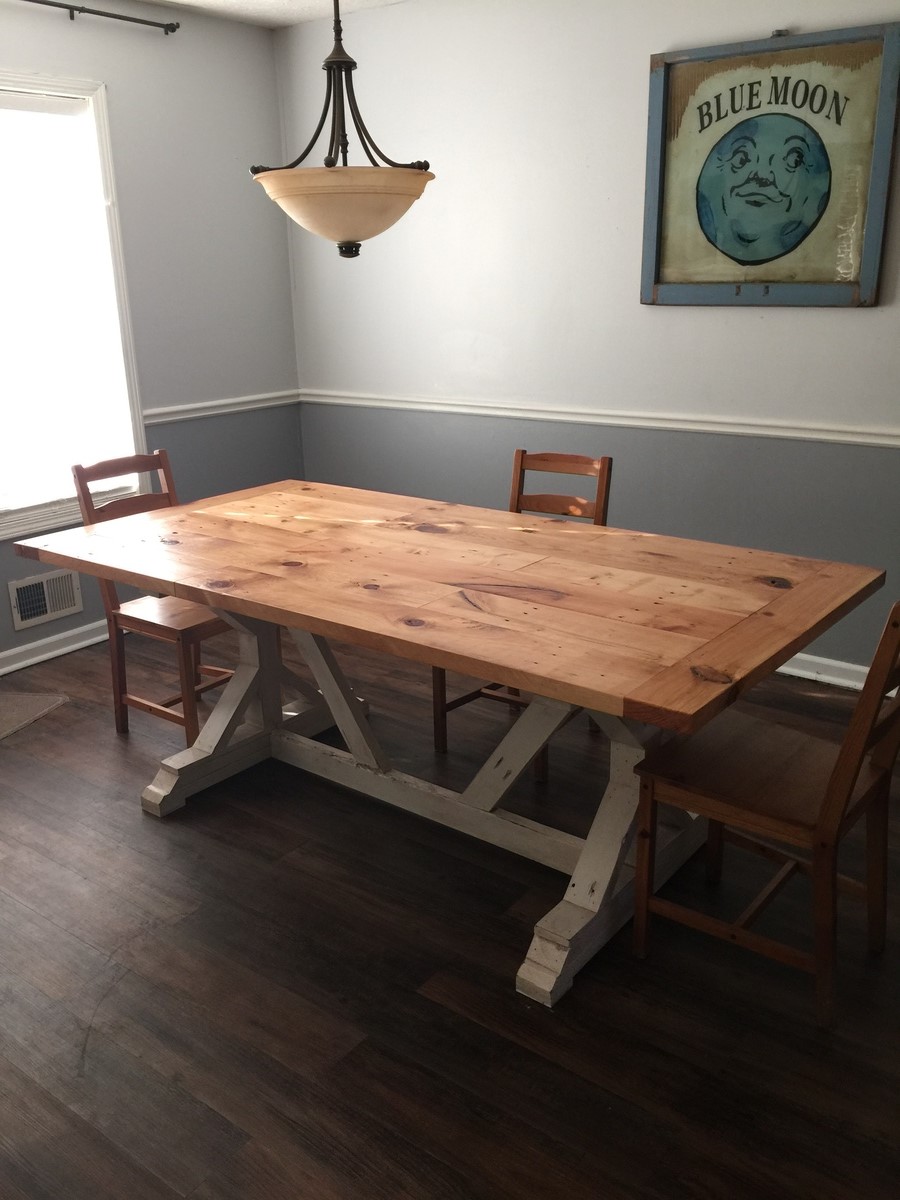
This table took me a few days to build and finish over my Christmas vacation. It's made completely of reclaimed wood. I left as many defects as I could to give it character. I'm finishing a bench for it now. Building this has brought the family together again. We are now eating at the table each night instead of in front of the tv. This table Is going to be in our family for many years to come. Thanks for your great plans Ana.
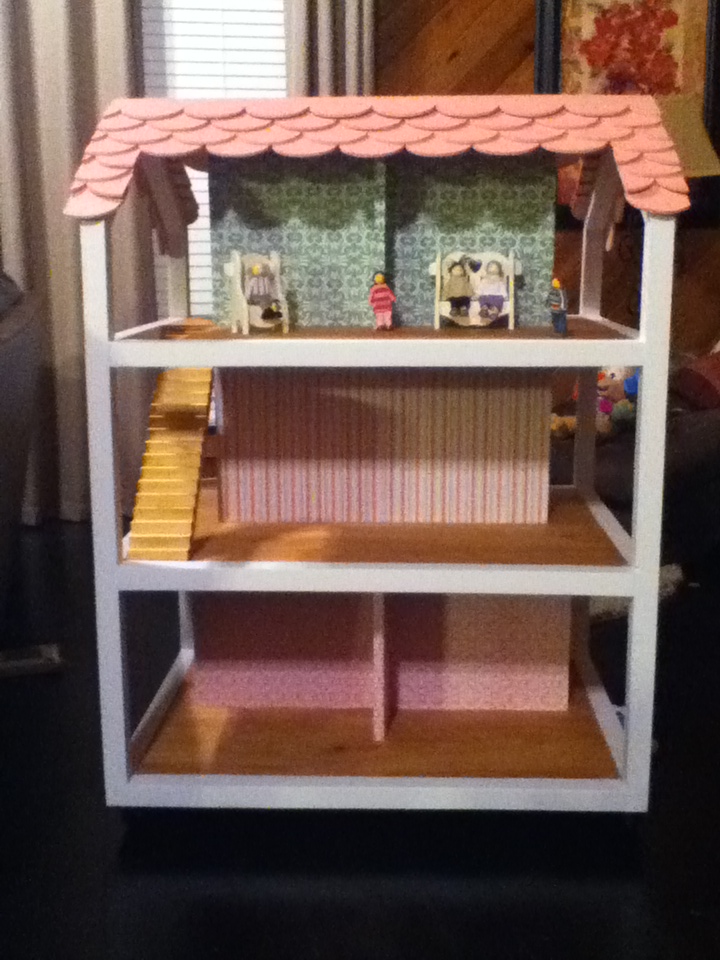
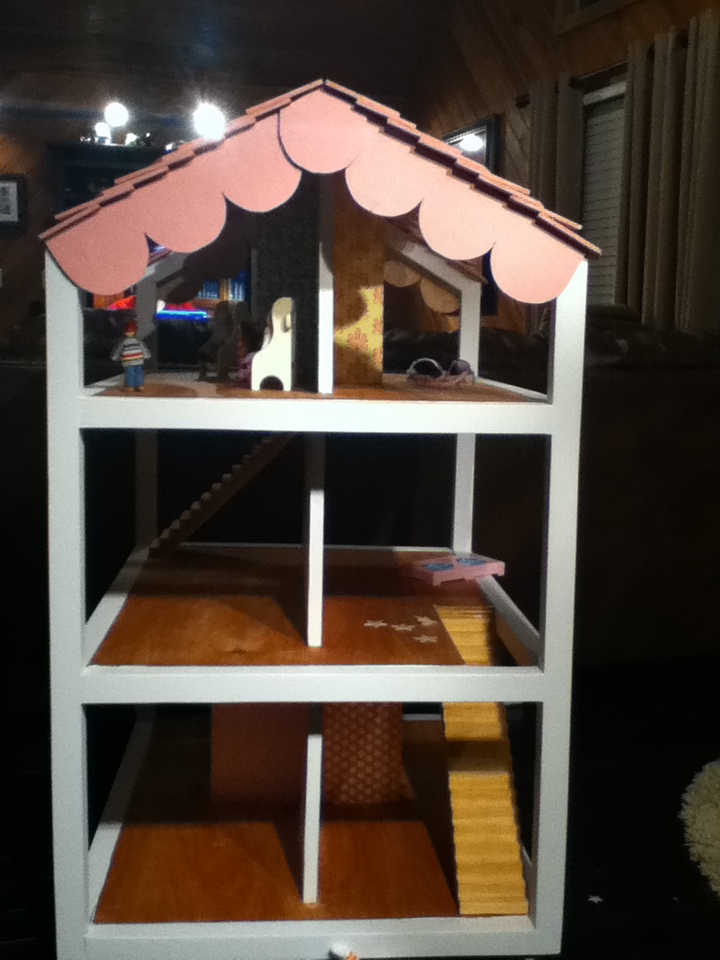
Dream Doll House
Fri, 01/13/2012 - 13:51
I love this! The floors look amazing, and the side scallops are too cute!
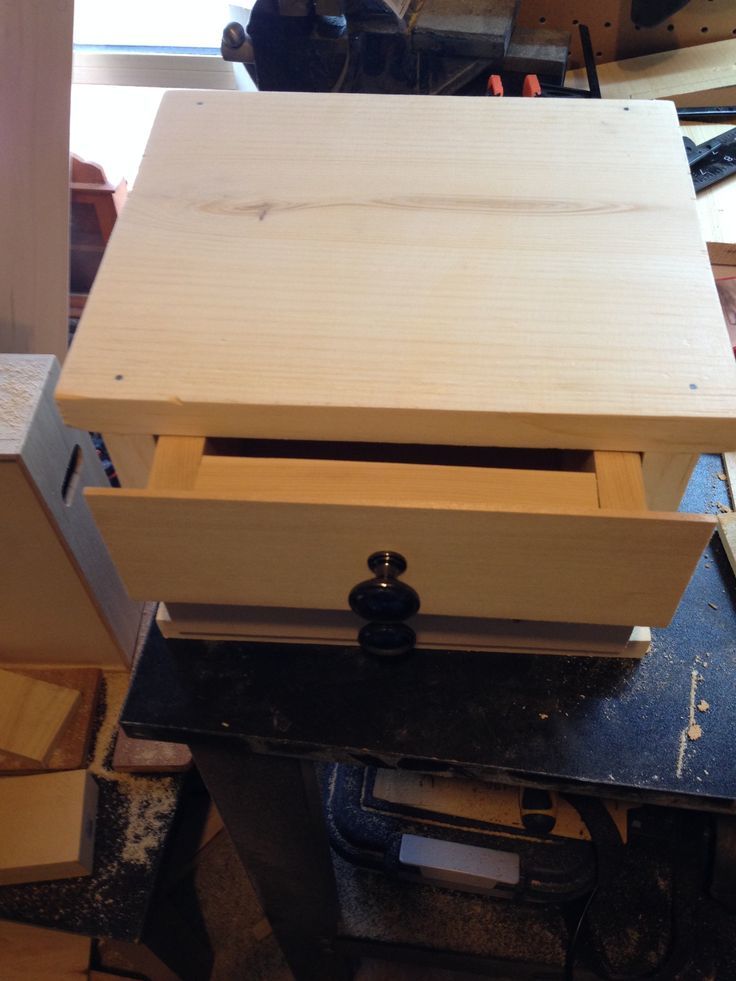
some minor changes in the box height and added fronts to the drawers,
currently working on this project will update when completed.
thanks for checking it out.

Thu, 11/14/2013 - 16:33
Love this! It looks awesome. What a fab idea to add the basswood drawer fronts! Definitely copying that! Thank you for posting, great job!! :)
Joanne
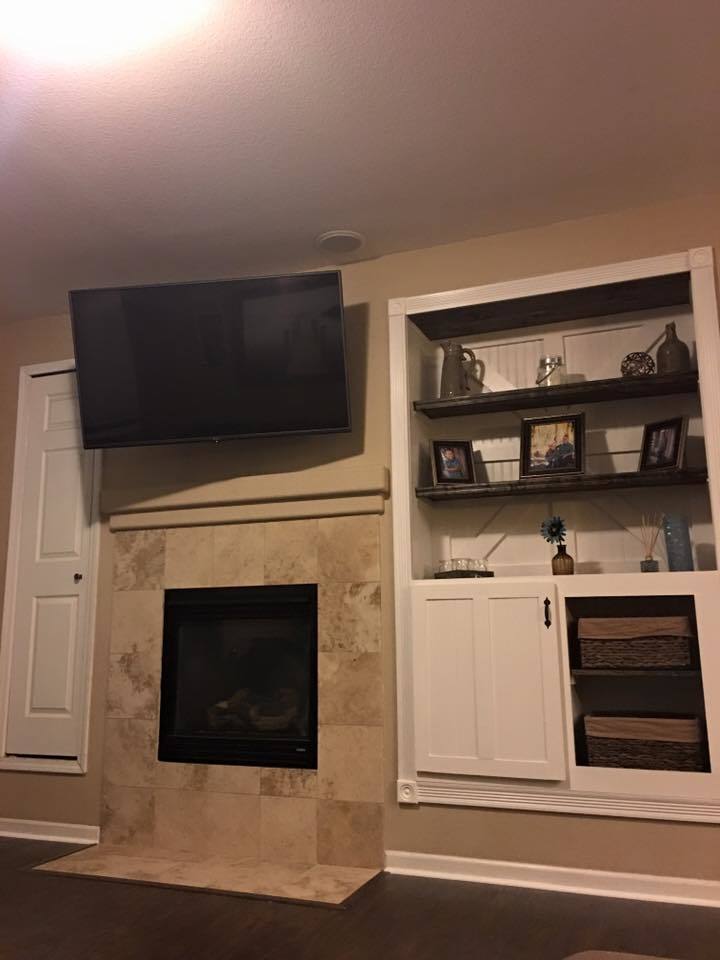
We built and designed this as we went. All the wires are concealed behind the back of the center and all the media equipment is in the cabinet. Everything was custom built for roughly $400 and it took about 2 days.
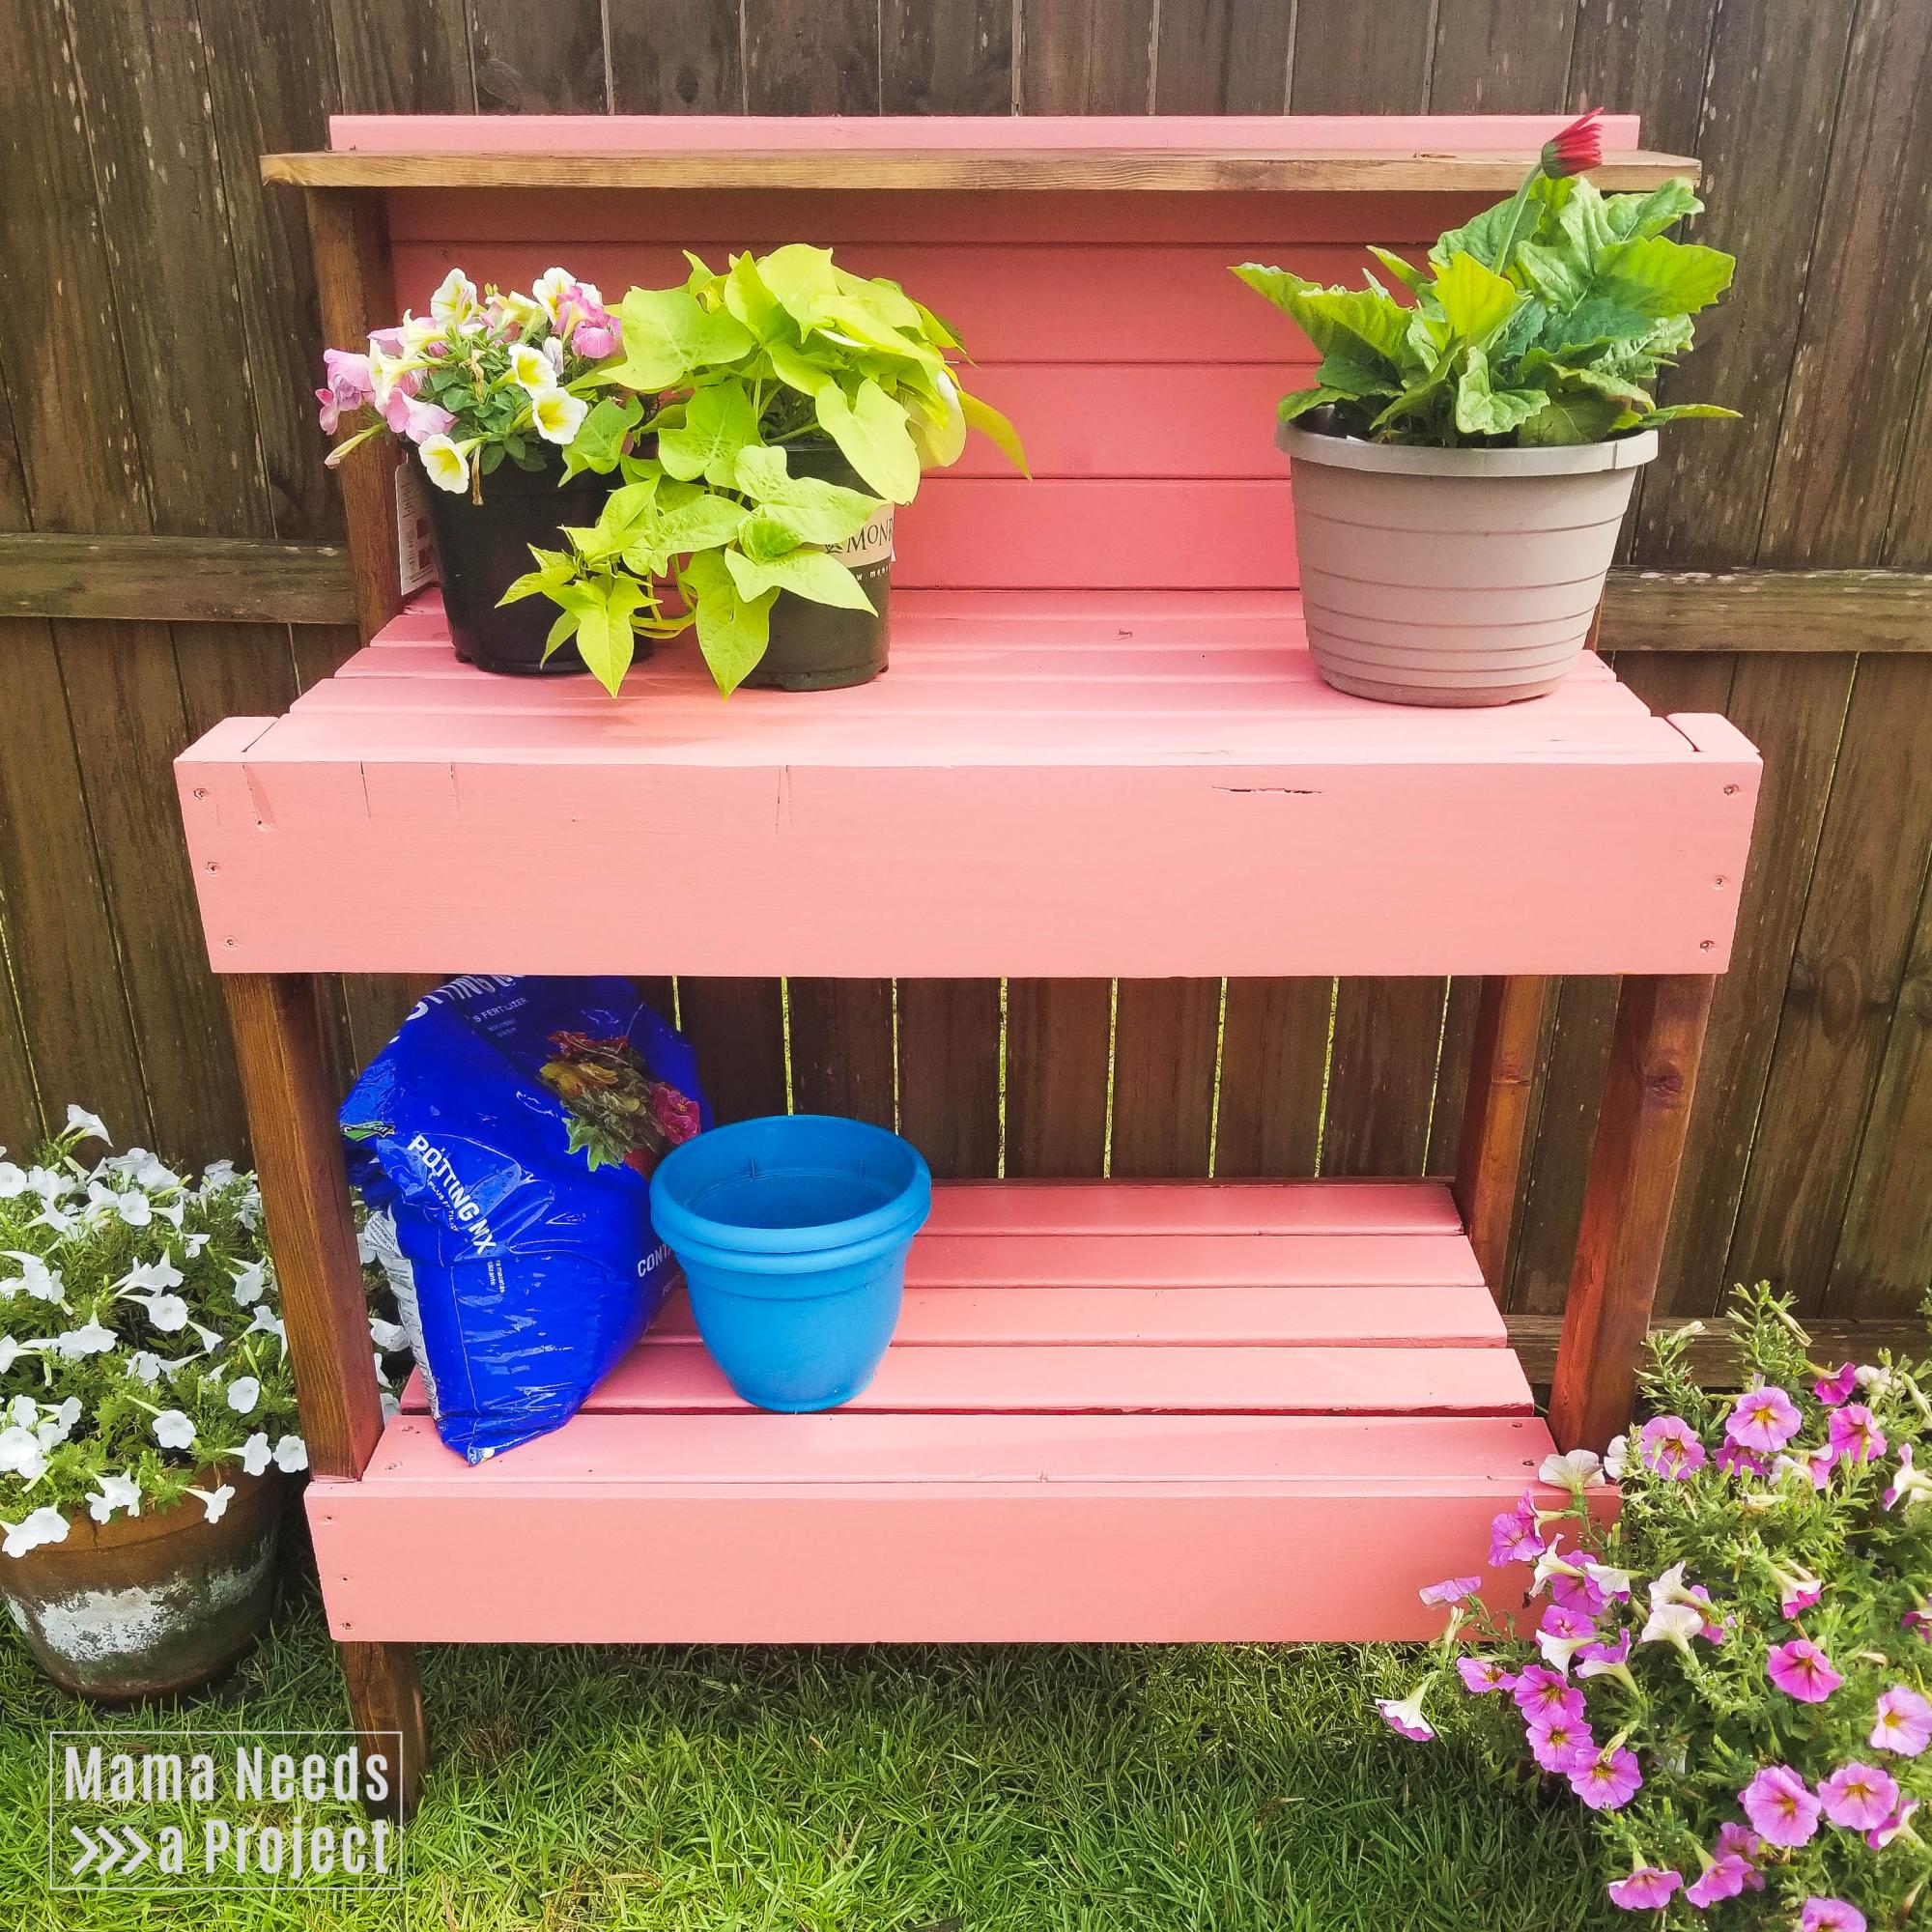
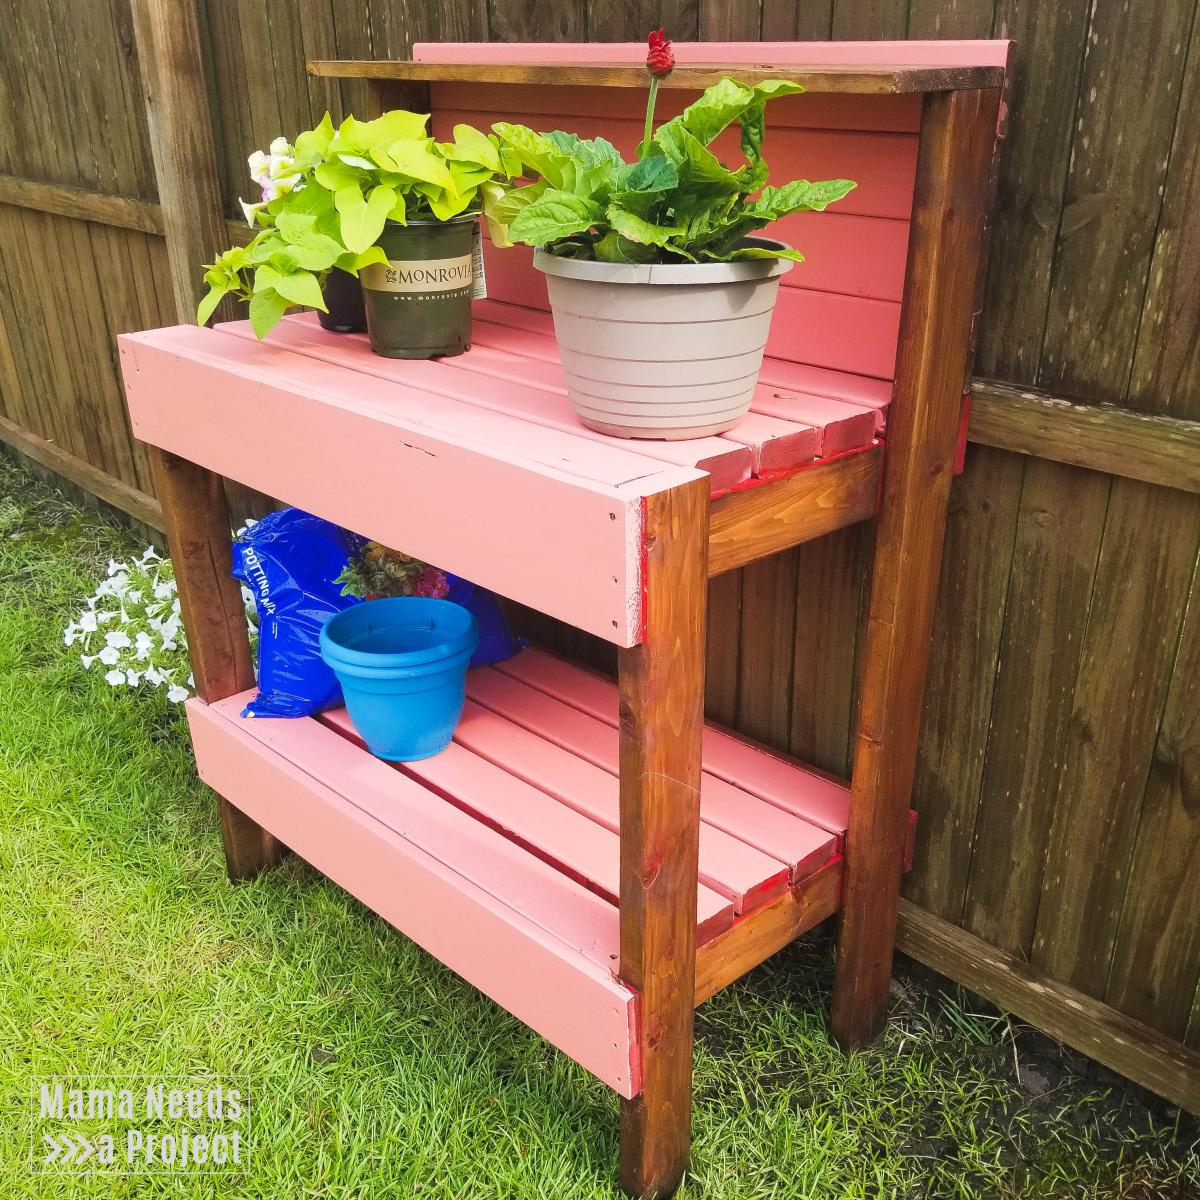
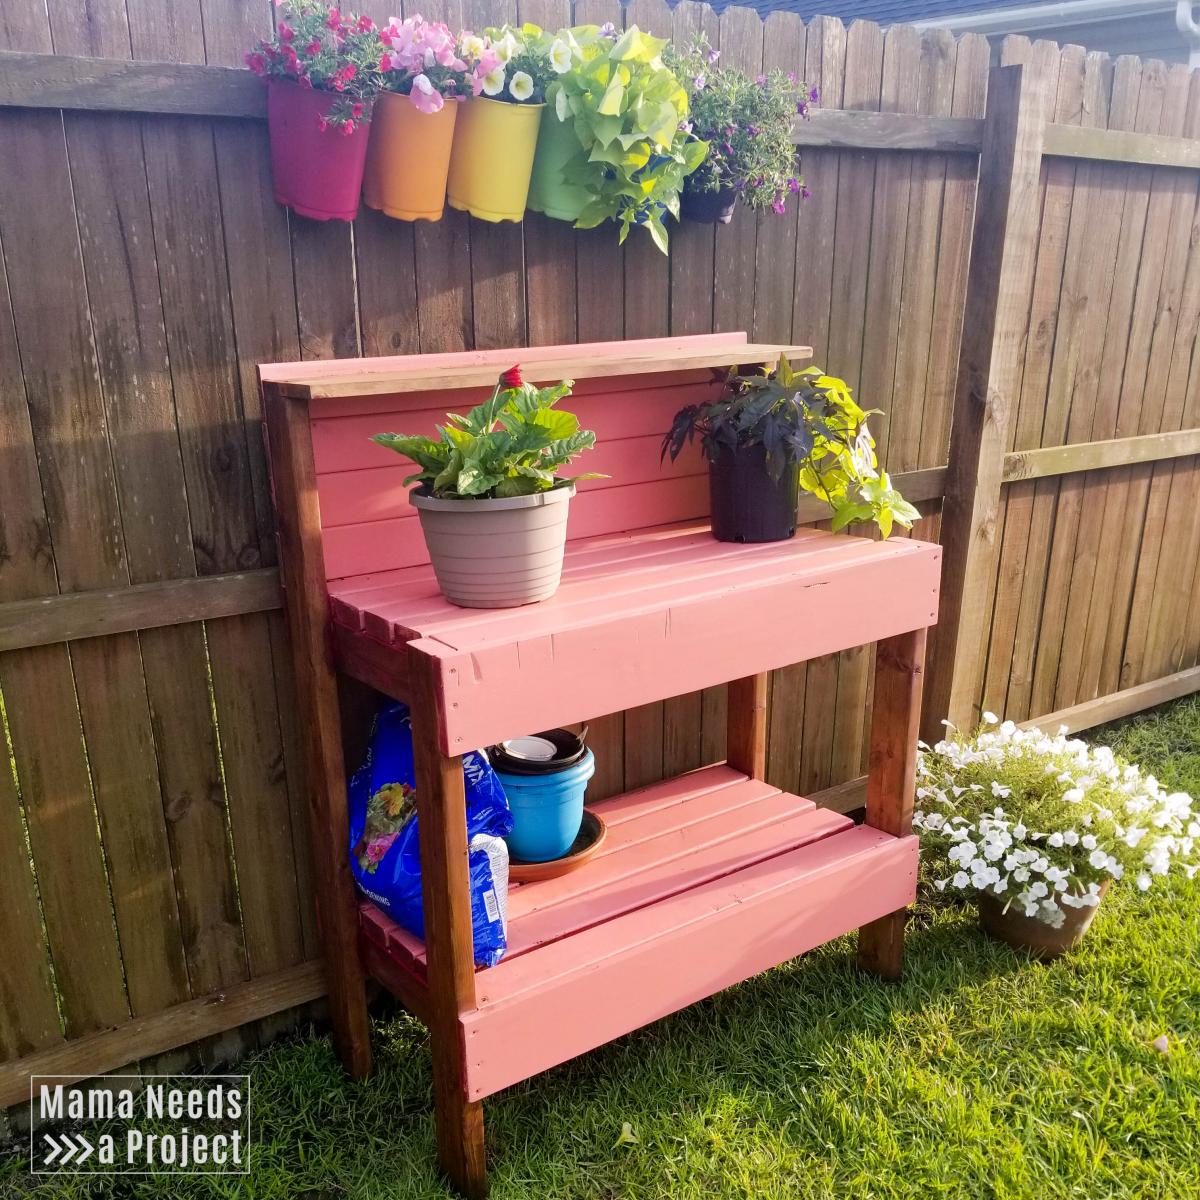
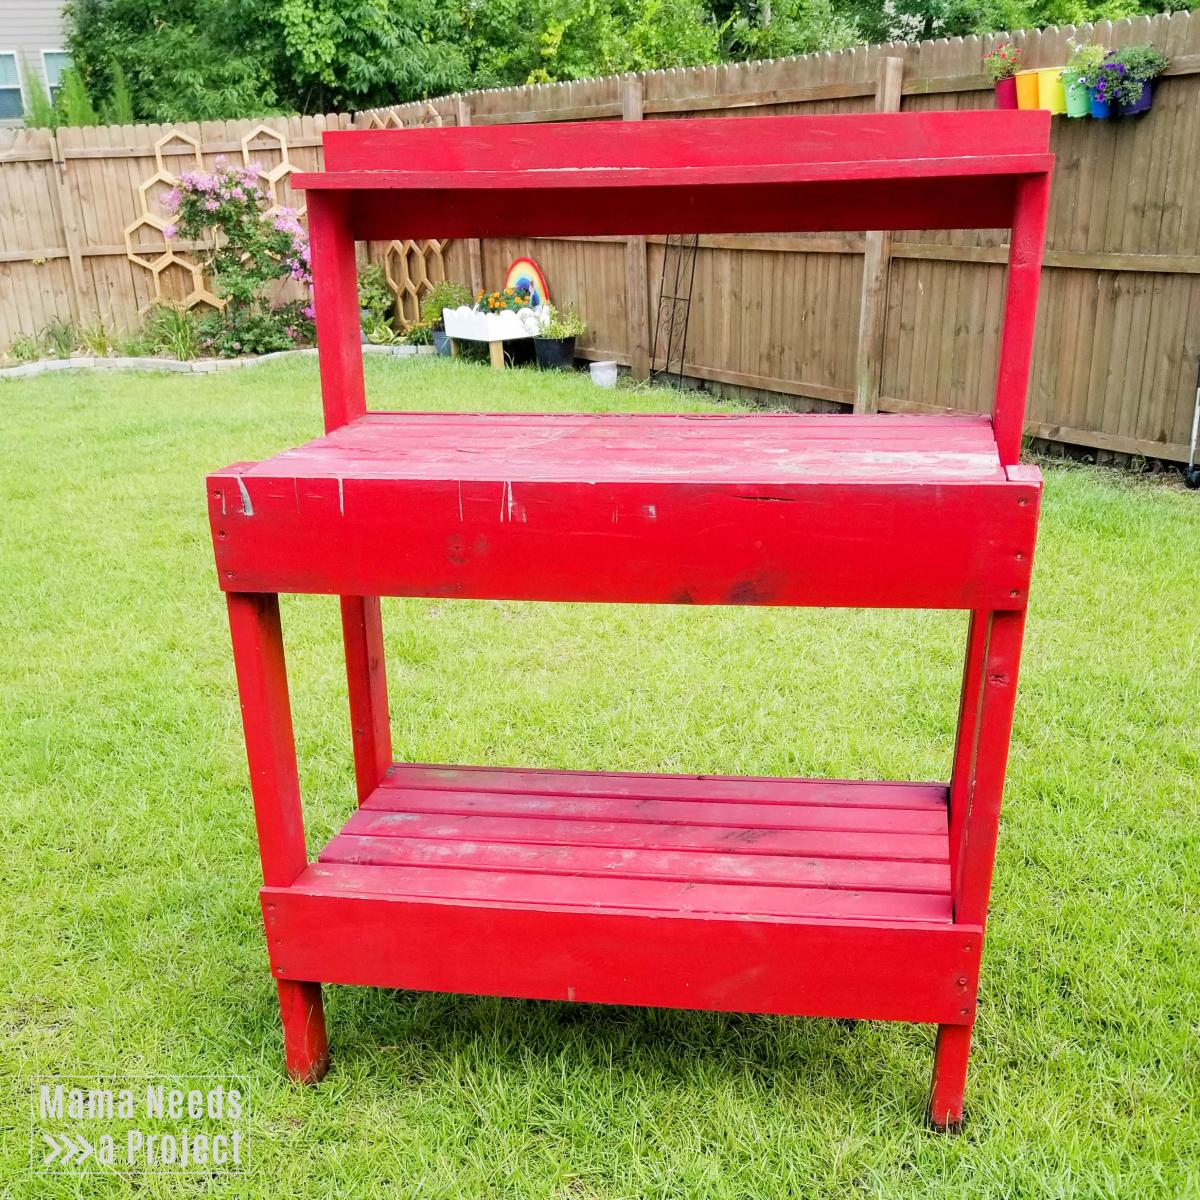
I originally built this potting bench in 2014. It was the very first project I built completely on my own! After 5 years of being outside it needed a little makeover. I sanded and refinished it, and made a couple modifications.
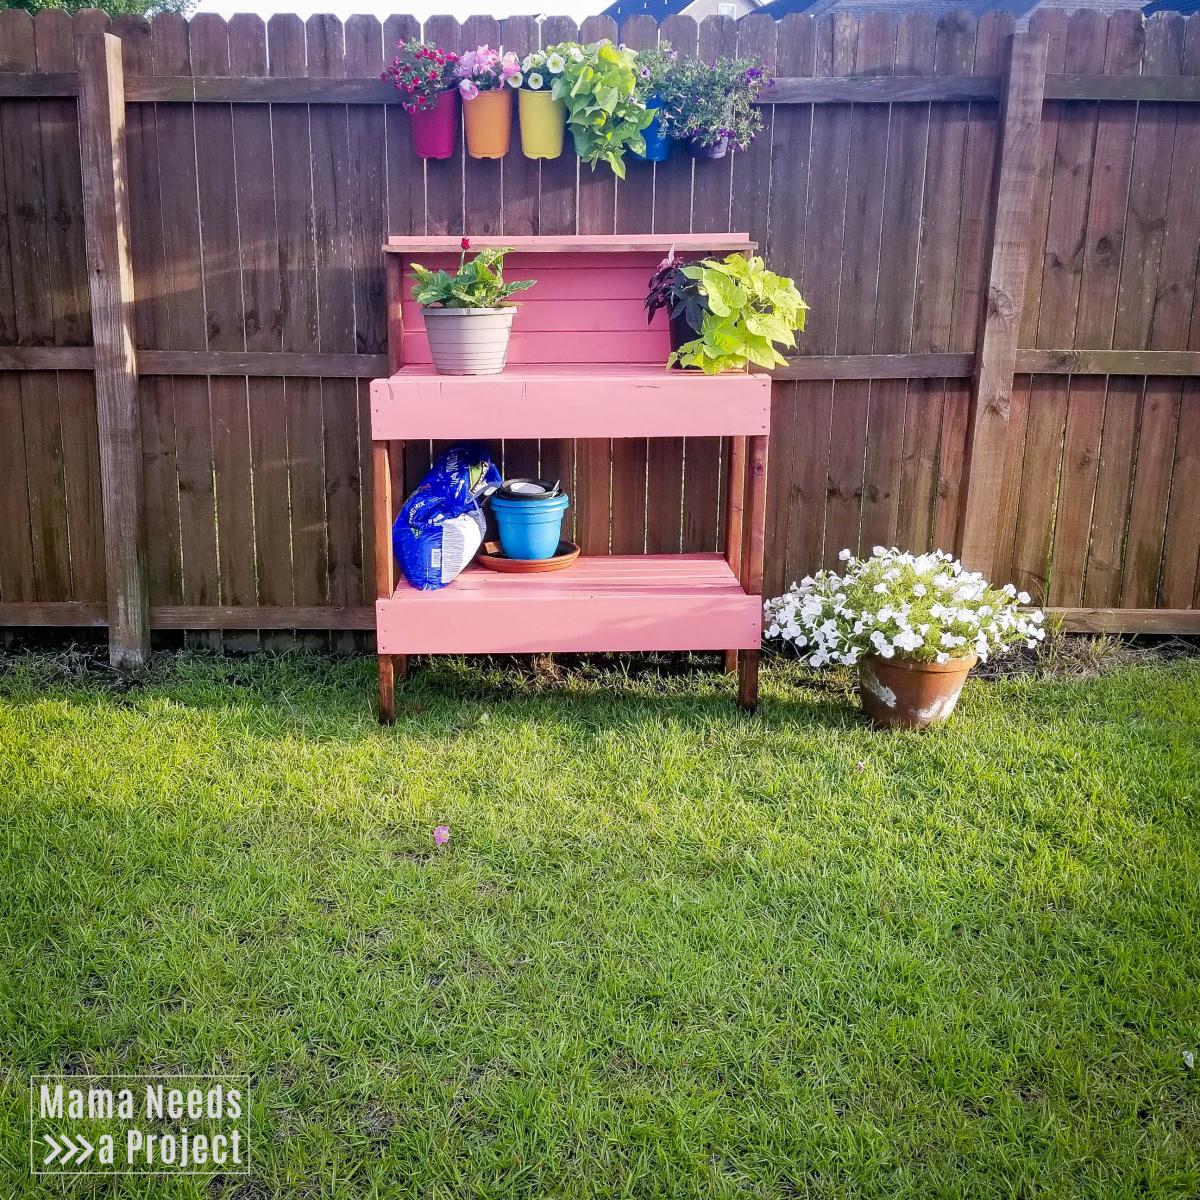
The last picture is the before :)
You can read about the whole building process here: https://mamaneedsaproject.com/2x4-potting-bench-makeover/
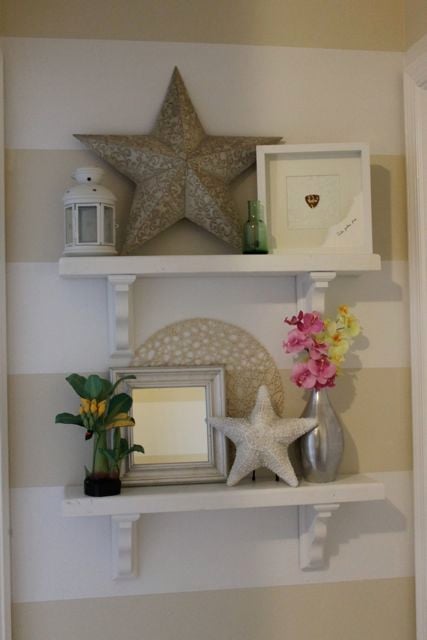
Love how these turned out and LOVE that I had almost everything in my garage already! Here's a tutorial for those of you who would like to make it!
Thu, 12/29/2011 - 12:59
LOVE these shelves, and your wall colors are to die for! great job!

Sun, 03/11/2018 - 12:48
Was hoping to see these plans, but the website is parked. No luck finding the plans anywhere.
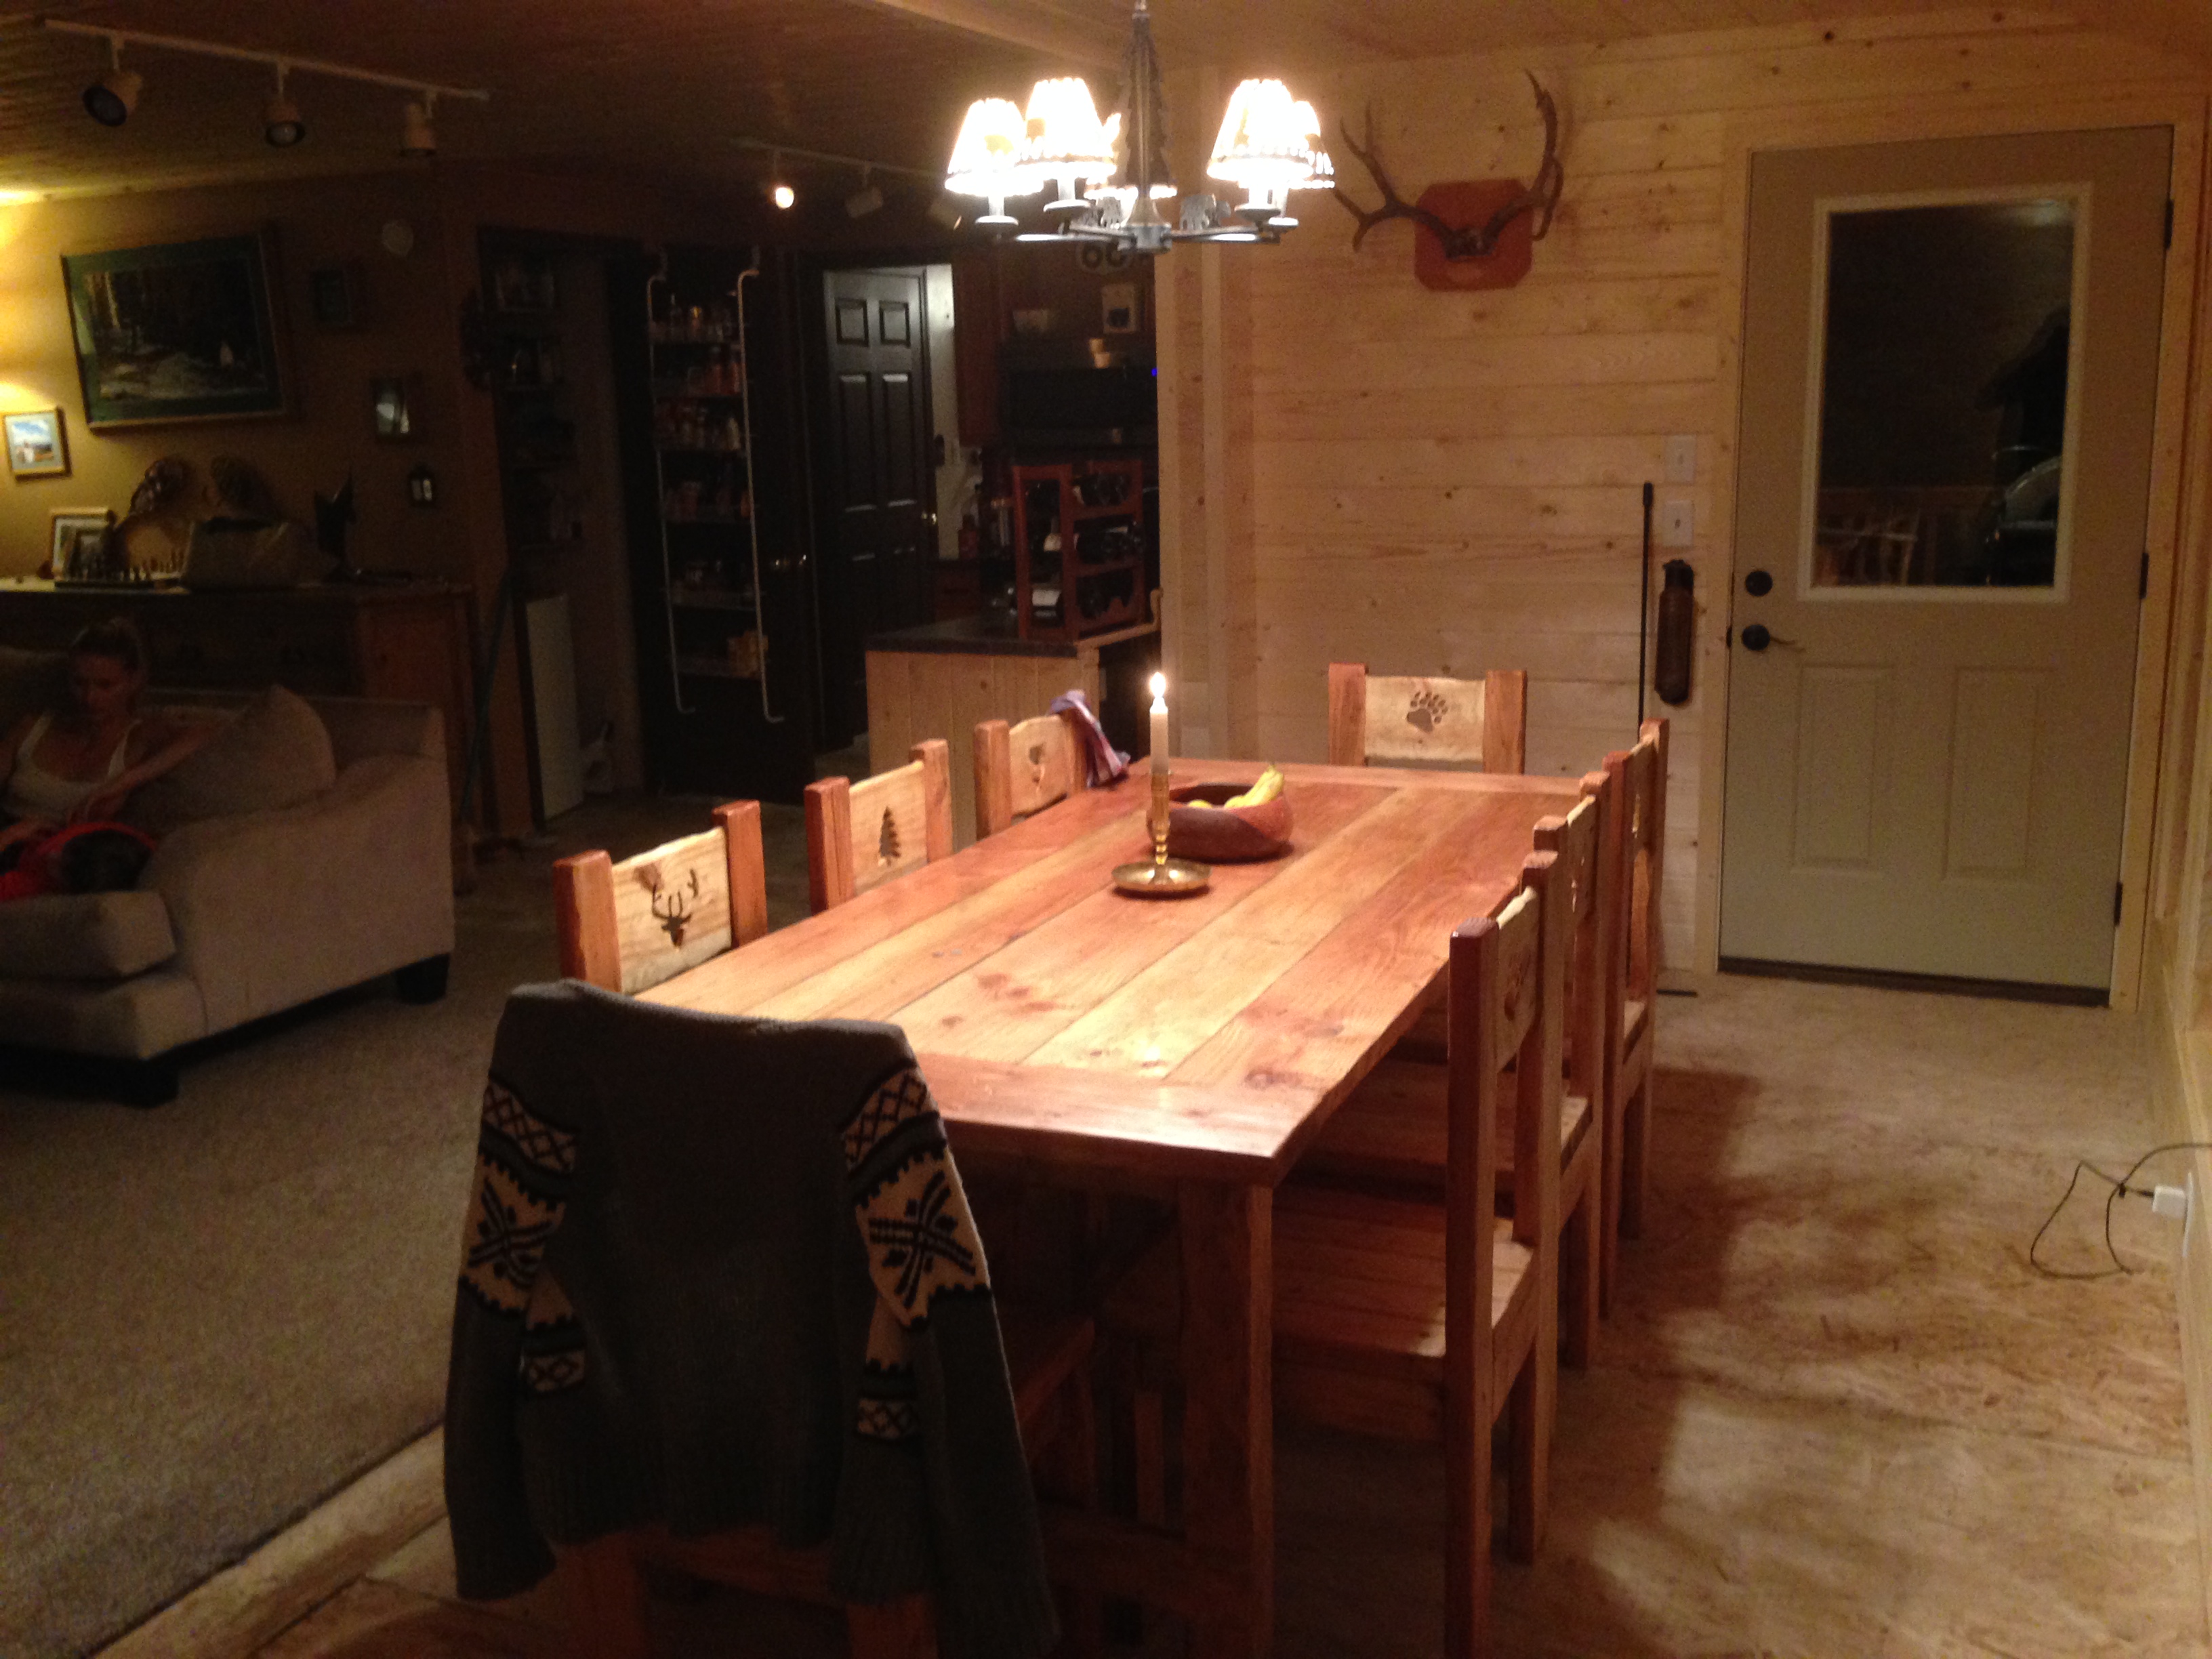
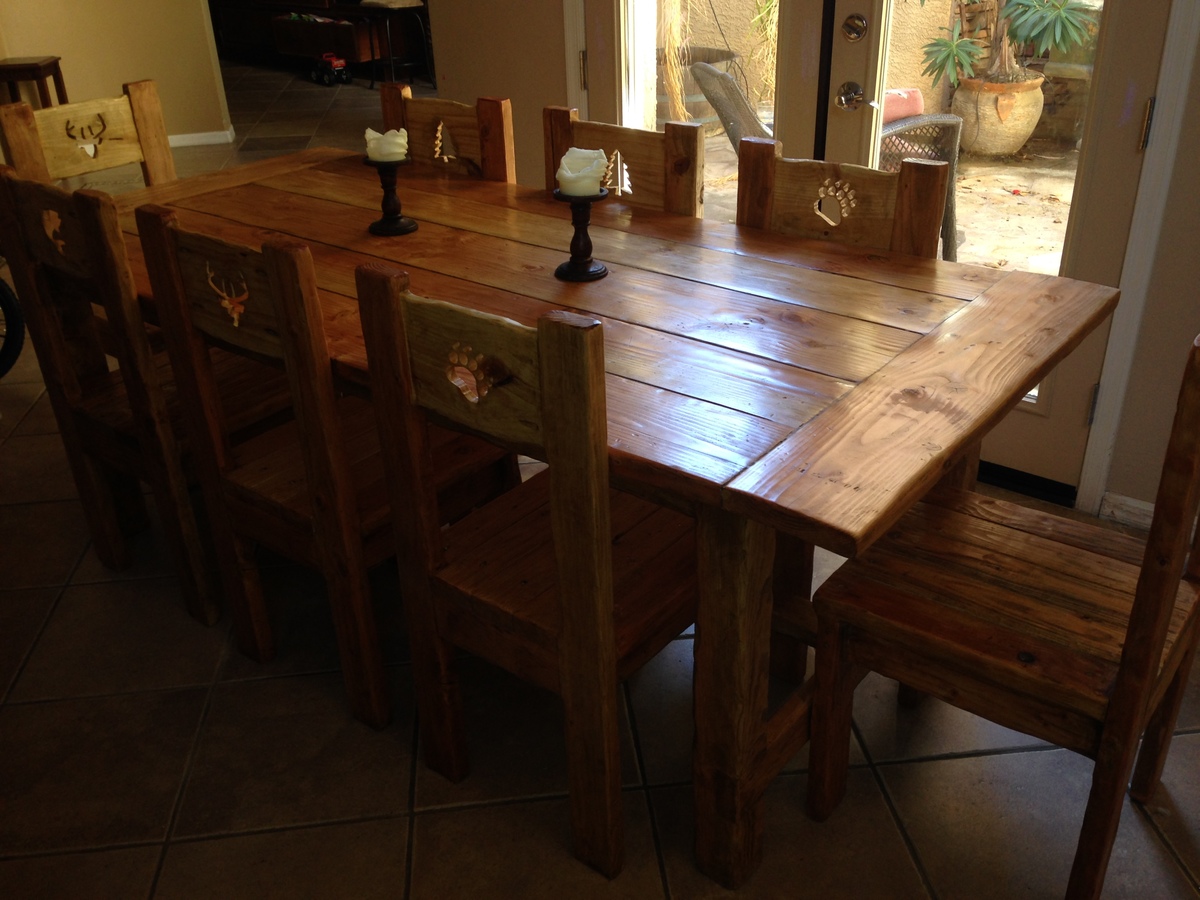
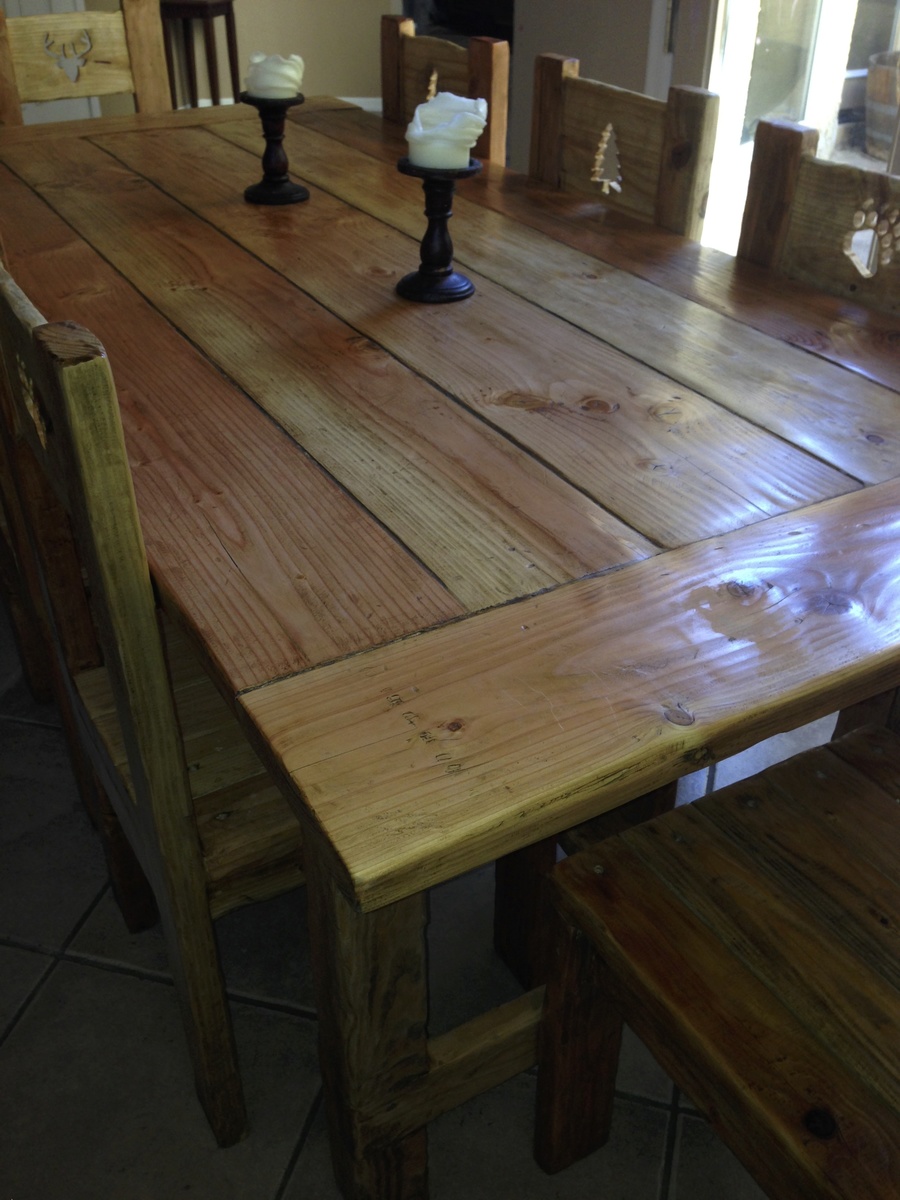
My wife and I wanted a rustic looking table for our cabin and didn't want to pay a fortune for it! This was my first project and I found it pretty easy to make. The finish is Briwax Rustic Pine and I was so happy with how it turned out I had to build some chairs to go with it! The chairs were made from a plan I found for making chairs using 2x4s
Sun, 11/17/2013 - 06:05
Great Job! I am braving my first table myself ...
Sun, 11/17/2013 - 07:30
These look awesome! Love the finish - how many coats of Briwax did you need to achieve that sheen? It's just the perfect amount of shine. And those chairs! Can you post some close-ups of those designs on the backs? Those look sooo cool, how did you do them?
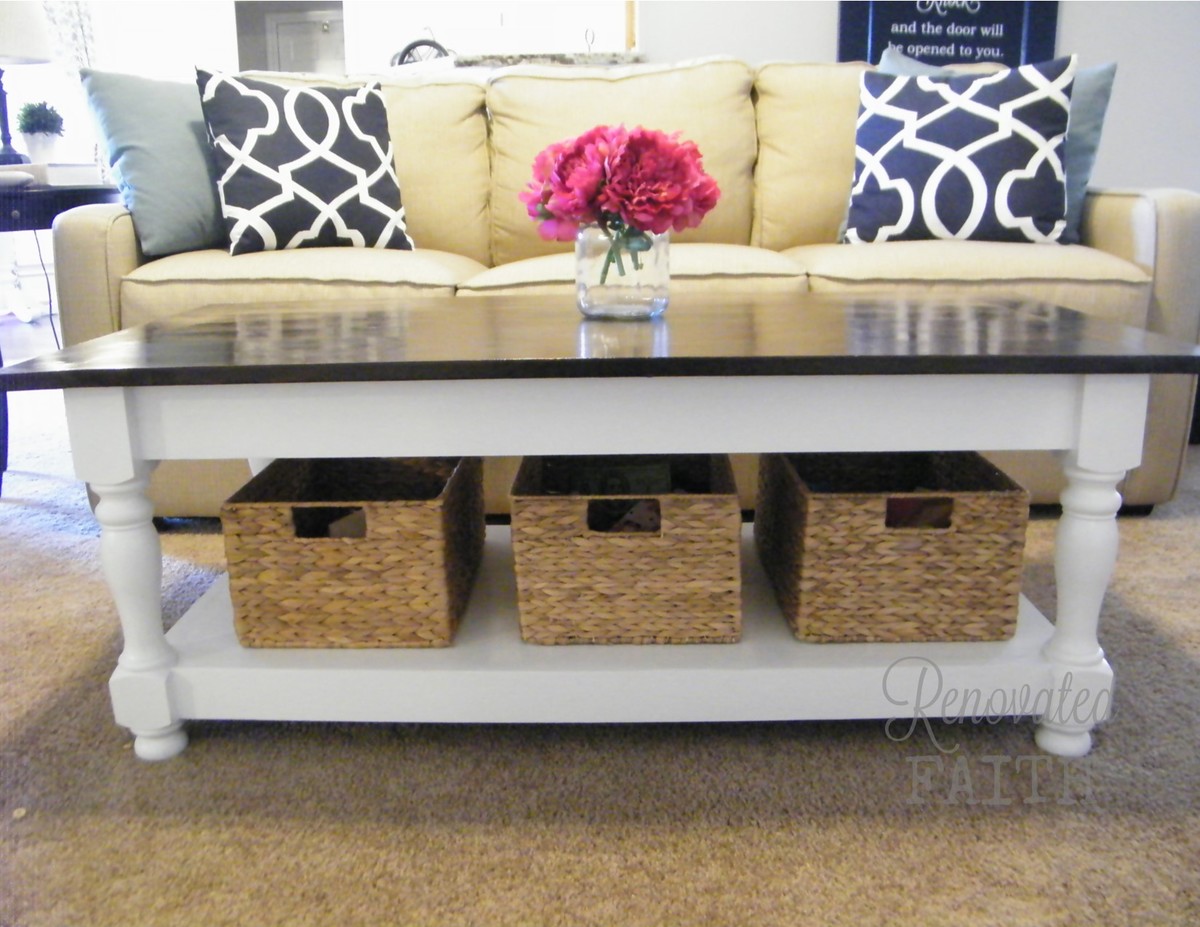
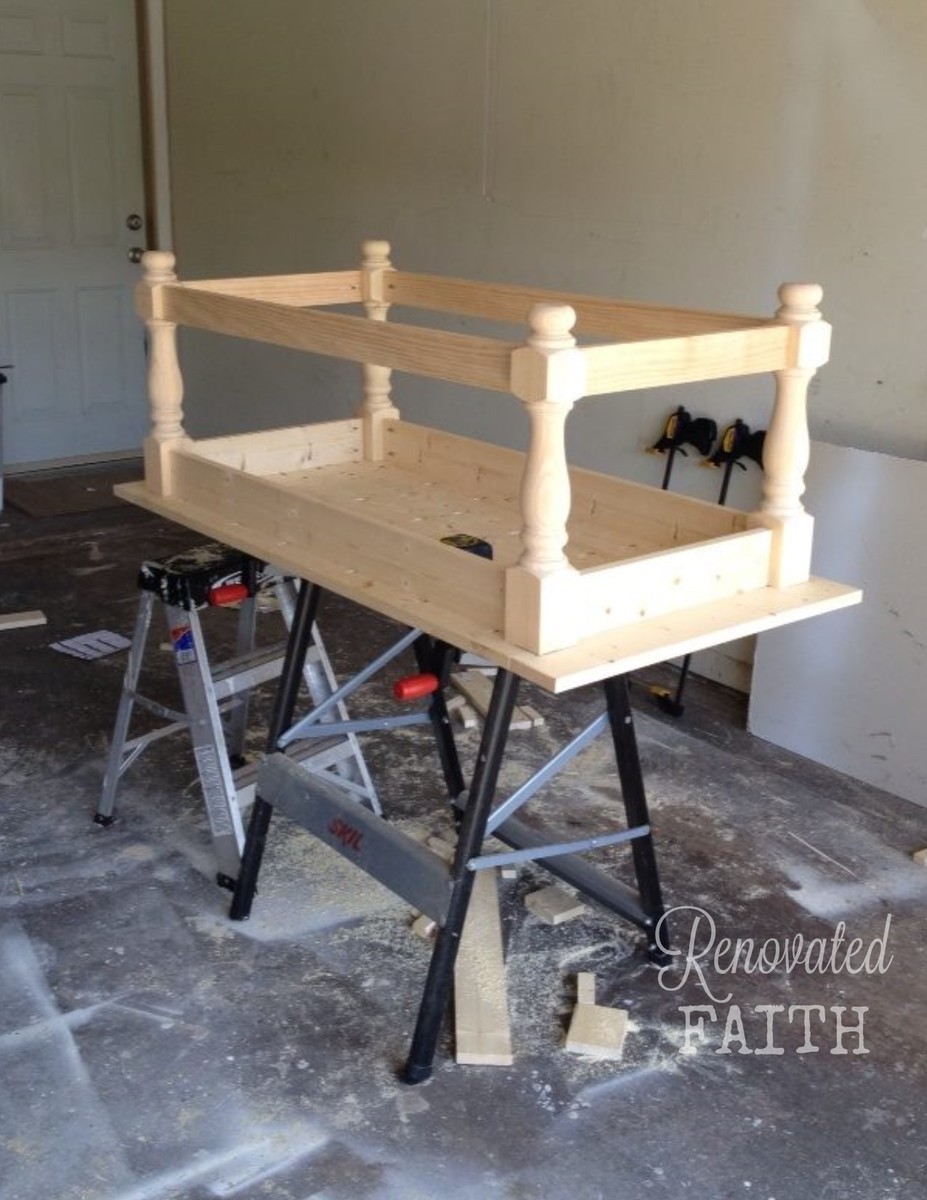
We combined the plans for the Turned Leg Coffee Table and the Corona Coffee Table to add the storage shelf for toys. Visit my blog for more details and pictures:

Comments
Ana White Admin
Fri, 03/24/2023 - 10:06
Beautiful work students!
This is amazing, love the finish! We just shared it to our Facebook page, it is quite popular :)Thank you for sharing and good luck!