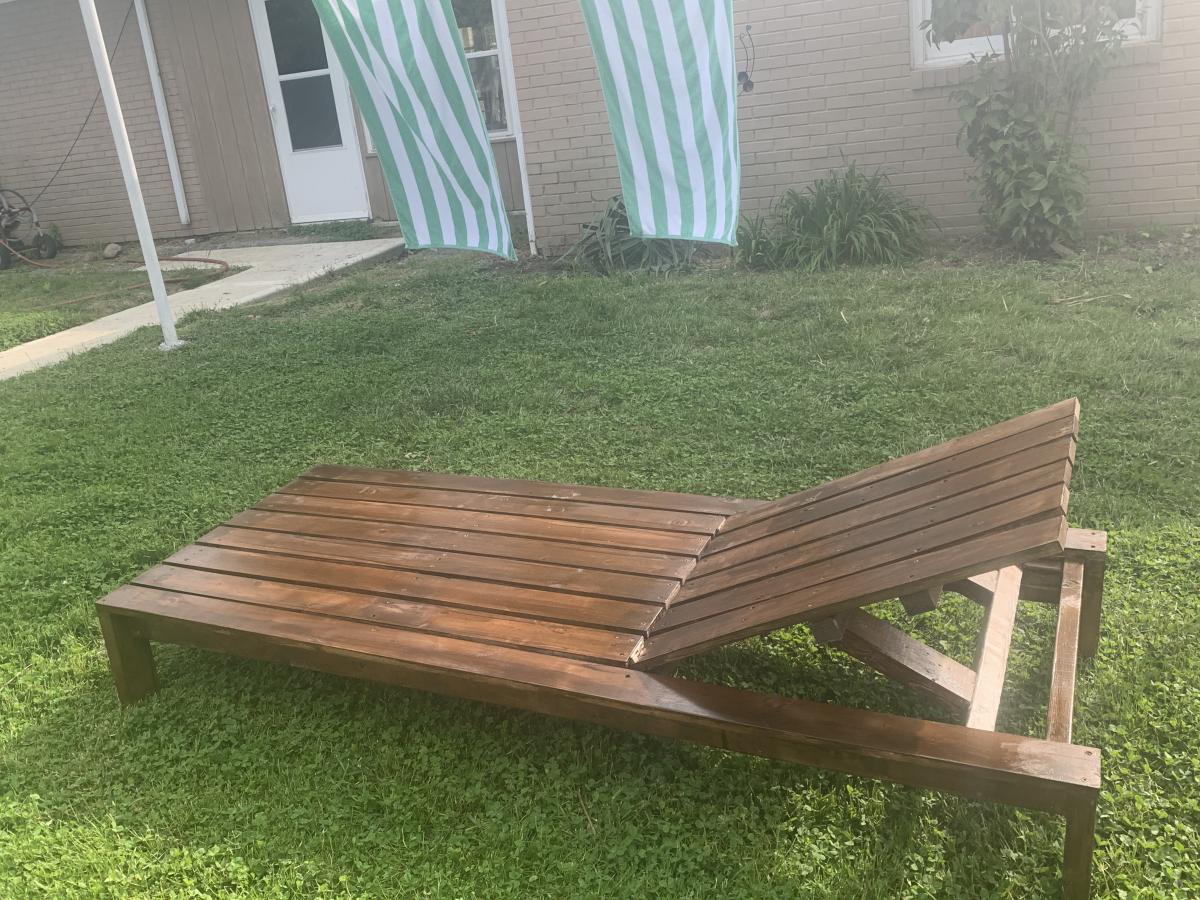
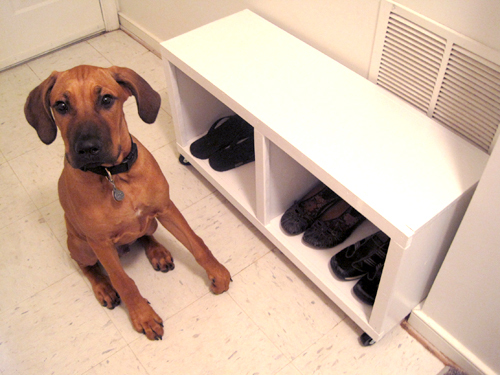
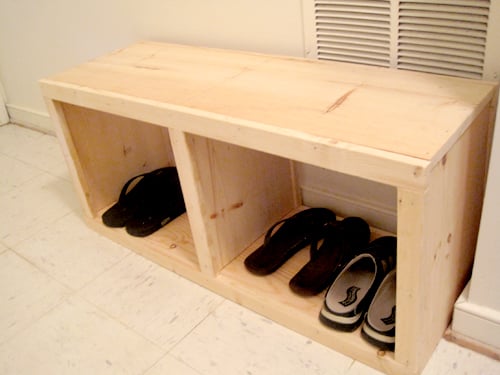
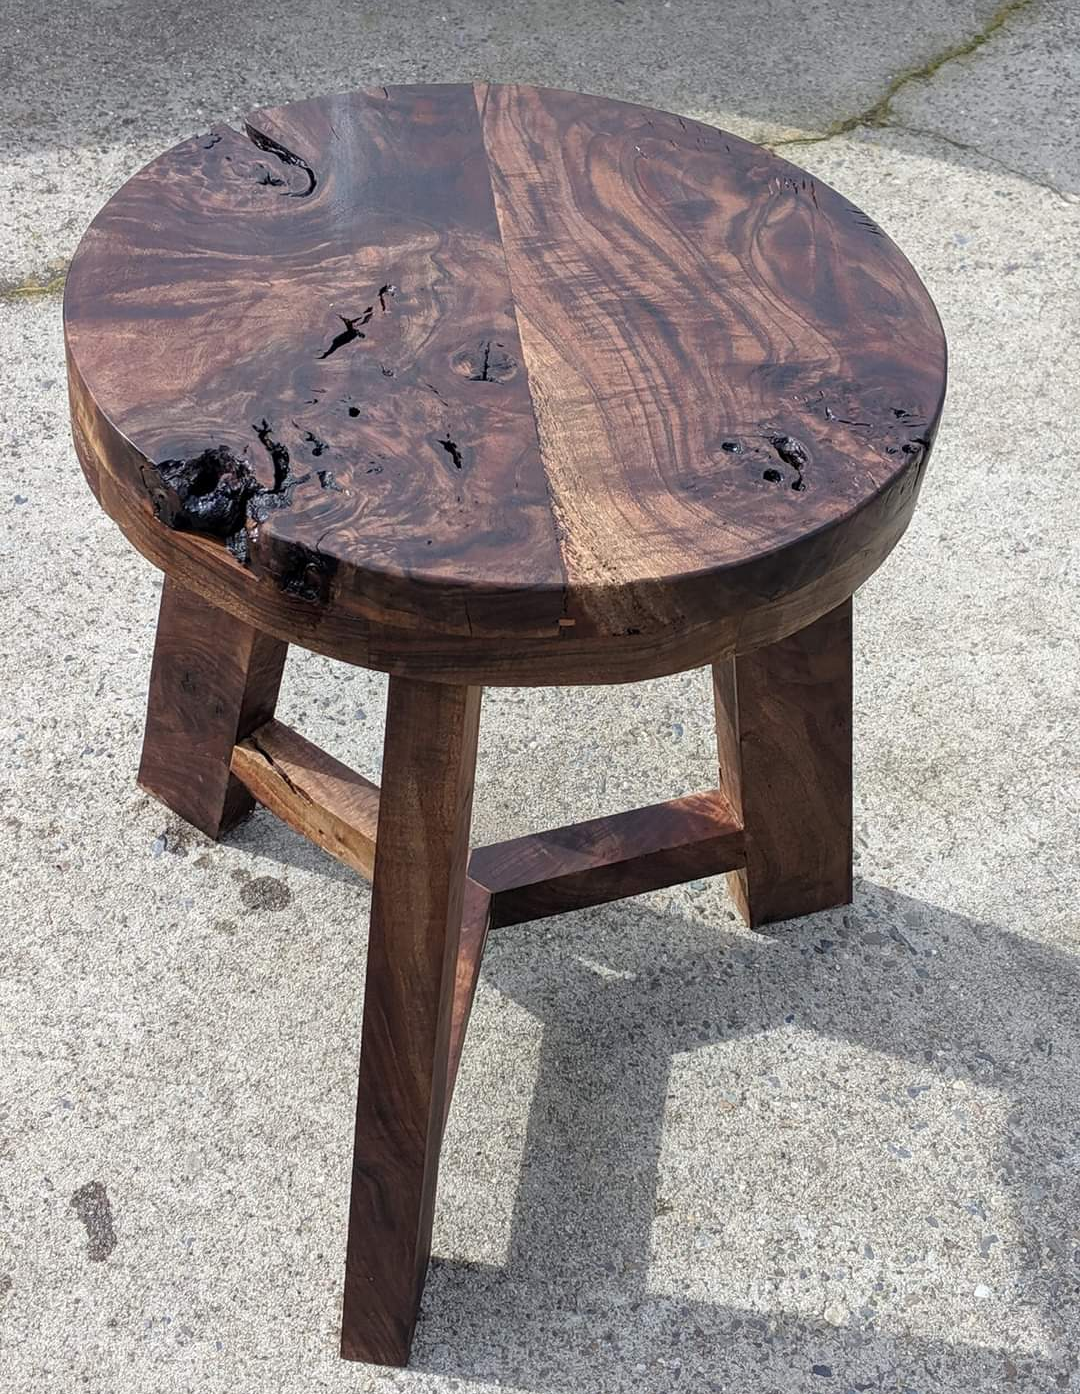
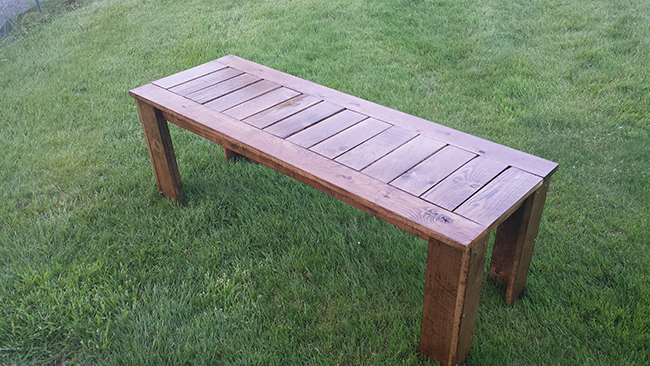
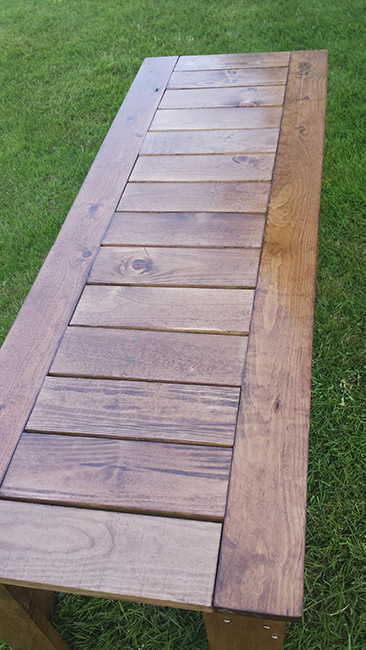
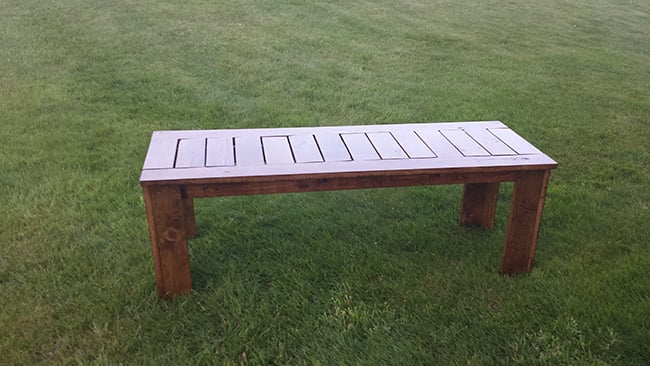
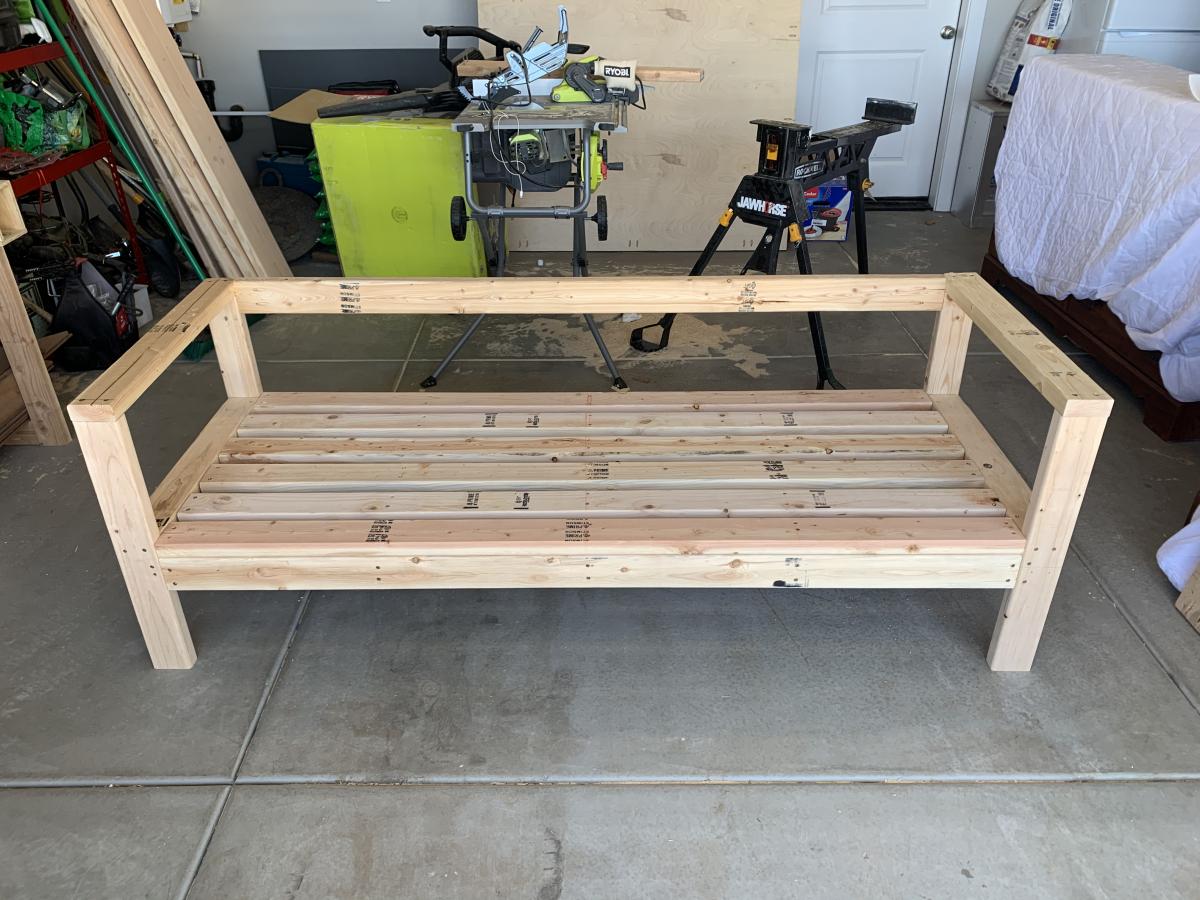
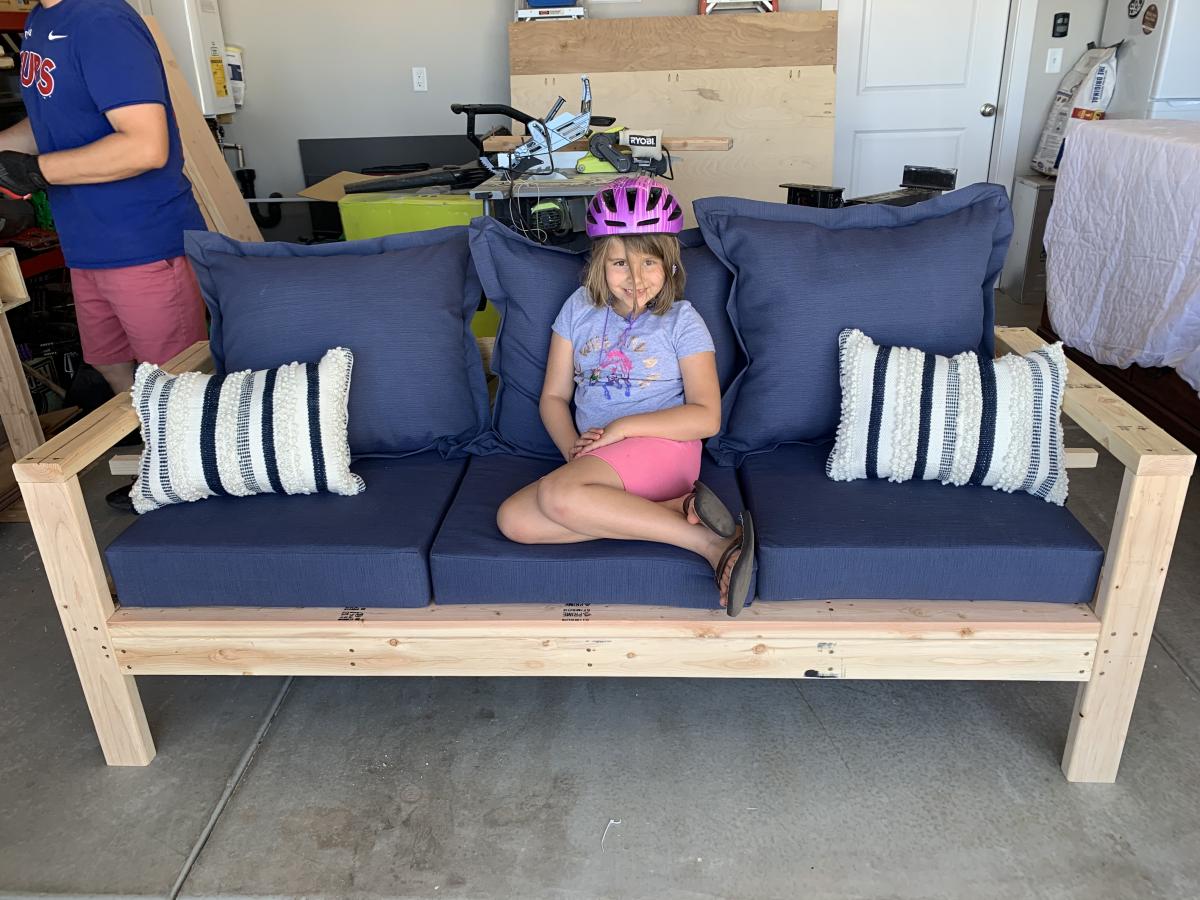
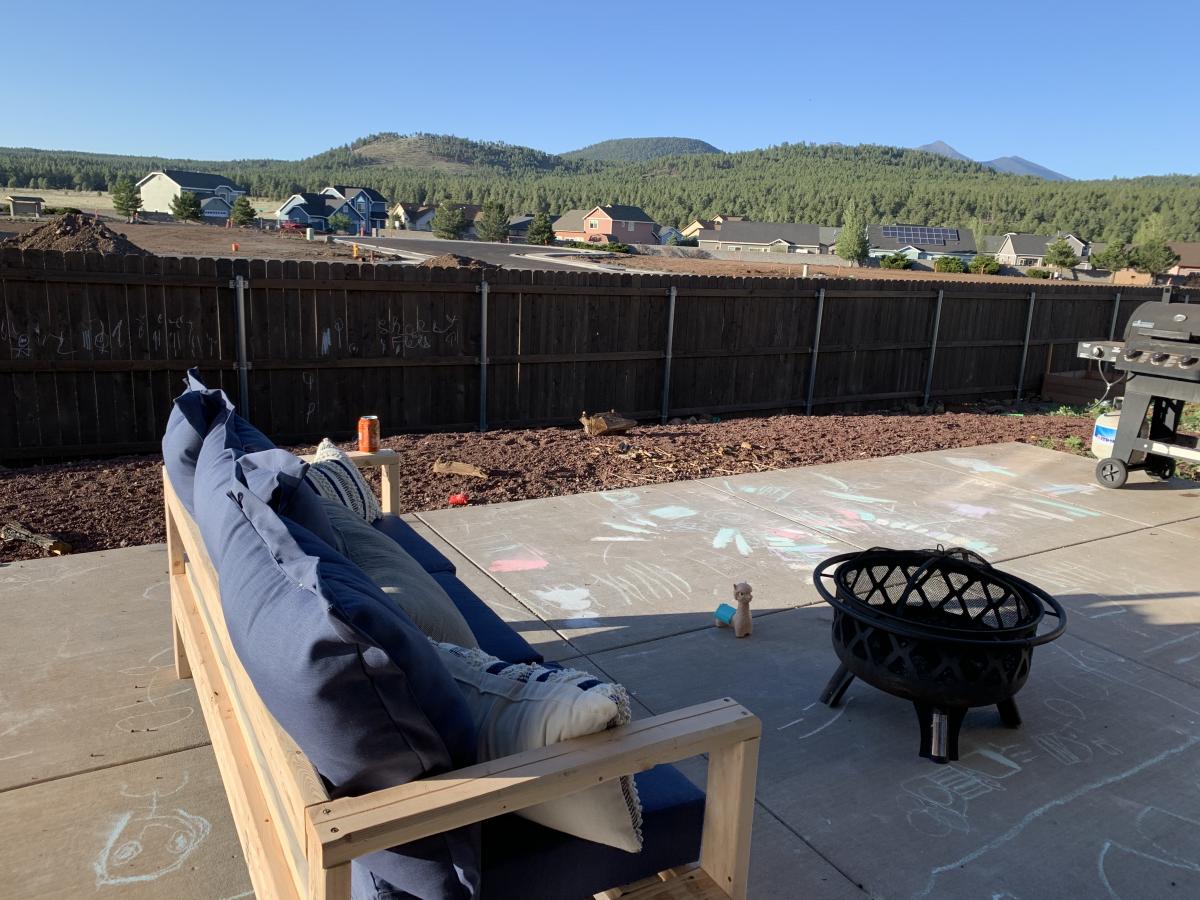
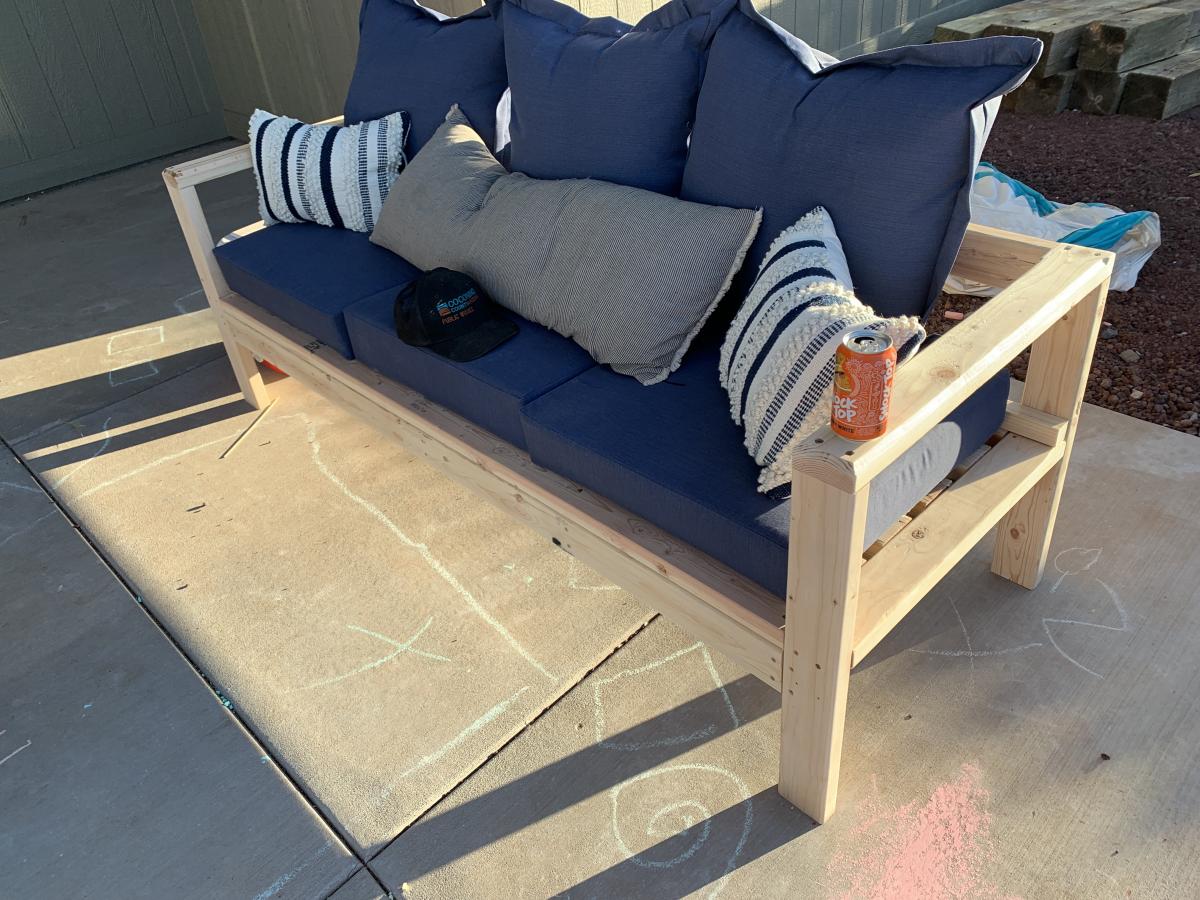
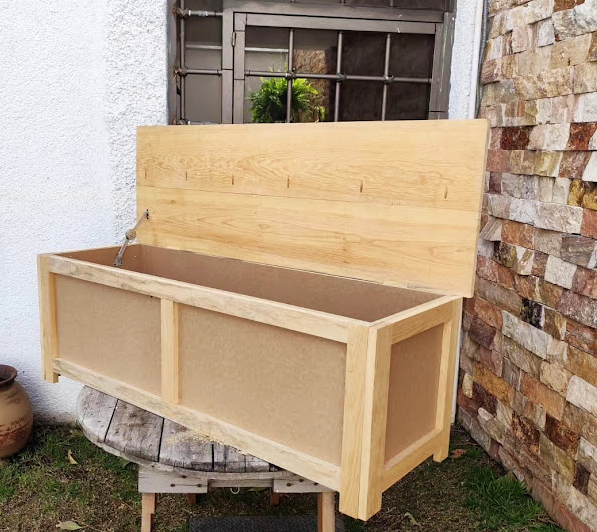
Chaise success!
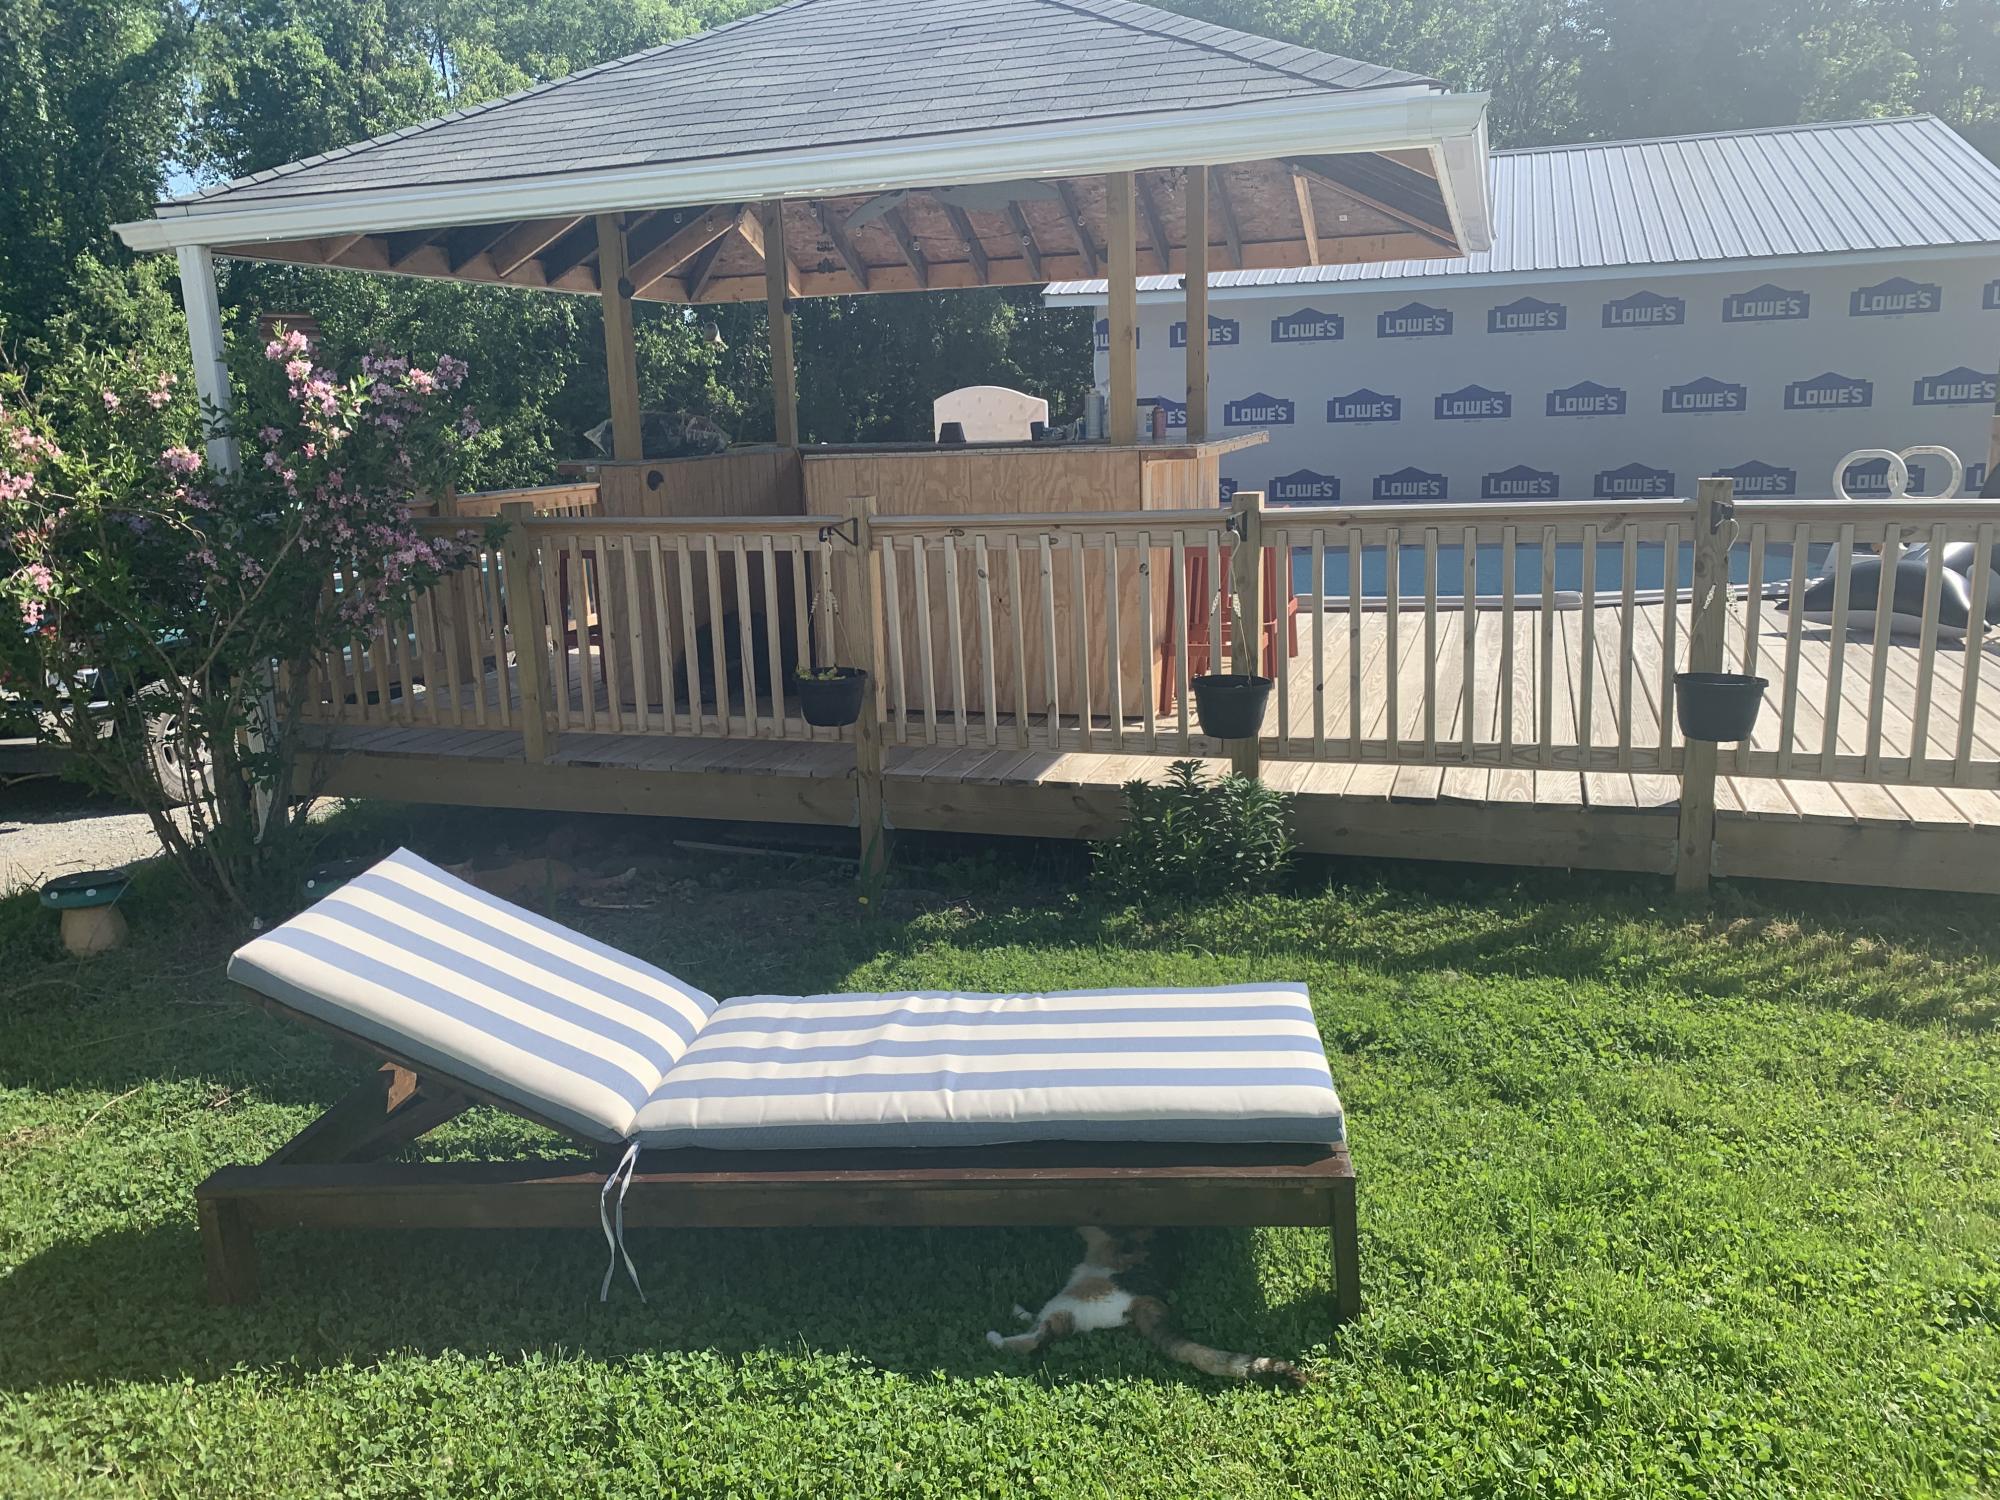
This is my first project, I’m soooo happy with how it turned out!
storage for totes - can be made to accommodate any size totes - just adjust the measurements basically it is "ladders " 2x4s for legs 2x2s for "runs" 2x4s across the bottom & top this is in a basement with short ceilings so if you have a taller space you can go taller or you can go shorter.
This was my very first build! I didn't even have a saw, so I had the lumber guys at Lowes cut my boards for me. Also, I altered the dimensions to fit my space.
Check out my blog link for more info!
I had fun building this Leaning Bathroom shelf you posted from RyobiNation! I had been looking for the right bathroom storage for awhile. I have a small bathroom and not much really did it for me until I found the link to the plans on your Facebook feed. The moment I saw it I knew I had to build it for my bathroom so thank you so much for posting it!
Built a fort for the boys with two climbing walls, a spot for their toys, and added some hammock swings
We loved the storage of the Farmhouse bed, but loved the headboard and foot board of the Kentwood. We also wanted a twin size bed. Instead of trying to figure out the measurements to make the farmhouse to a twin size (which is shorter in length), we made it at the full size length and just bought XL twin size mattresses, which were not hard to find and now we can keep the beds even after our boys become teenagers :-)
We basically built the headboards and foot boards from the kentwood exactly as Ana's plans state. Then we built the Farmhouse storage drawers. We love them!!! Thank you so much Ana for MORE great bed plans (this is our second set of bed plans we have made!
Tue, 07/24/2012 - 20:48
These look great. I'm sure your kids are thrilled with their beds, and how amazing that you made these for them. They'll probably take them with them when they move out - years from now!
I did this project over the weekend. I love it. Makes the family room pop. I needed something to hide my cable box and this worked perfectly. I made two, one in each corner. I too purchased the creg jig and now that I know how to use it, I will be doing more diy projects. Thanks.
Mon, 05/19/2014 - 06:05
Excellent job, looks great. Where did you get the plans from? My wife bought one from a unfitted furniture store last year and stained it but it looks nothing like what you build. I would like to build one myself if I can get the plans.
With some left over scrap 2x10 wood I made this stool for my children.
The total heigh of the stool is 9" (7 1\2" for the feet, 1 1\2" for the top, and 1\2" for the design on top made from scrap pallat wood)
The top is 1 1\2" x 9 1\4" x 16" (because of the thickness of the wood I would recommend cutting the top to 18" instead of 16")
The legs are cut with a 5 degree angle
I made the design on the top by ripping some reclaimed pallet wood into 1" strips and then cutting each into 2" pieces
My kitchen table needed something, so instead of buying new, I sanded and used a dark stain on the table top and chair seats. It looks like whole new table! This wasn’t from a plan, but used skills I learned building from Ana’s plans! Off to build the Little Helper tower now!
This thing is a beast ! I made the top way thicker than I should have but I love it.
I made this table before the PB plans came out on the this site. I used gate hinges on the corners and 3/4" piece of all thread on the bottom. The top was poured with the High Gloss glaze from Lowes. It fits 8 all around and you could squeeze in 12 if you really needed to. All together this only cost $350.
This was a fun simple project. I added some fabric to the bottom of the trundle. If you have questions when building please let me know. Thank you for viewing.
Wow! This took much longer than 2 hours and cost around 200 but it was worth it! My 3 year old LOVES it. We added a safety rail to the foot end.
Struggled with this one, but it’s done and I’m pretty proud of her
We took out the tv entertainment cabinet and built a frame for a 60” electric fireplace. We found the ledger rock to match the wall I completed two years ago and then I tiled the rock over the backer board and installed the fireplace. The wood on top of the fireplace came from an oak tree that was growing through our deck. I milled the wood and joined three boards to give me the depth I needed, sanded, stained and put a poly finish on it. Love the final result and we gained 6” of space in the room.
Wes Silvey
Shelves in garage
Wed, 08/22/2012 - 22:07
You are a genius! lol I have been complaining about my garage and how I need to organize the clutter so I can build more. All along I just needed to build this. Could you tell me an estimate of what it cost you?
I wanted to make something for my mom so she could have a place to grow her herbs this year on the balcony for easier access instead of planting in the backyard. The project was stretched over a few days. Cutting on day one, sanding on day two, painting on day three and drilling and putting it together on day four.
With the exception of the legs, the entire bench was put together using the Kreg Jig mini. I added extra 1x4s to the legs. Though, next time I will change to either 2x4s or 4x4s for extra stability when sitting. I really love how it turned out. I almost don't want to put it outside.
Wed, 11/25/2015 - 16:28
I love how your bench came out! I am looking at doing something similar - two in sectional arrangement to use as project/work space seating and convert to spillover sleeping area (the table will lower to bench height). I have a question about stability.Even with the additioanl 1x4 are you finding this bench not very stable?
thanks!
I am a really beginning builder (read: this is about my fifth project ever), but it is perfect for our tiny, narrow bathroom. I finished it with Golden Oak stain I already had on hand, and I enjoyed the process. Thanks so much for sharing the plans!
Fairly simple, especially if you have a miter station. So many repeating cuts. I think I cut the entire couch in 20 minutes. I believe we’re in this for about $250; including screws, and cushions, and paint. Very inexpensive compared to purchasing. So, I routed the arms with a 45 and added a 2x2 rail to keep the cushions from moving out the back. I will be turning it into a sectional soon. Also painting it red... Stay tuned.
A toy box, im not a profesional, but its a grate hobby. Regards from Hidalgo, México.
Herwin
Comments
Ana White
Wed, 05/27/2020 - 11:16
Looks awesome!!! Thank you…
Looks awesome!!! Thank you so much for sharing photos!