Community Brag Posts

Rustic Bench

Submitted by cassiet717 on Wed, 10/02/2013 - 14:14

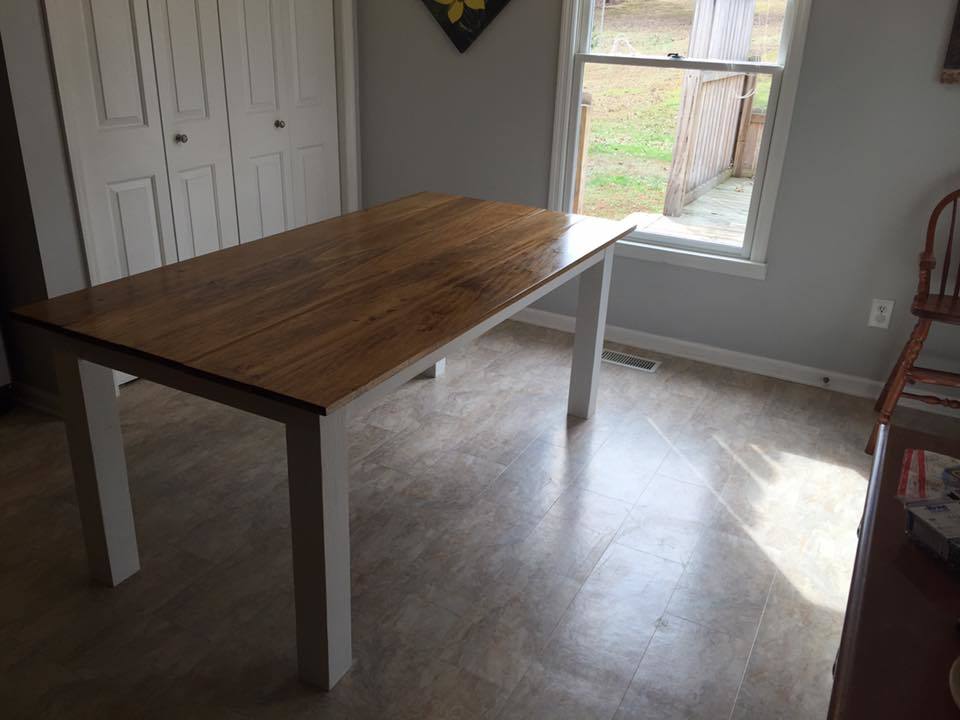
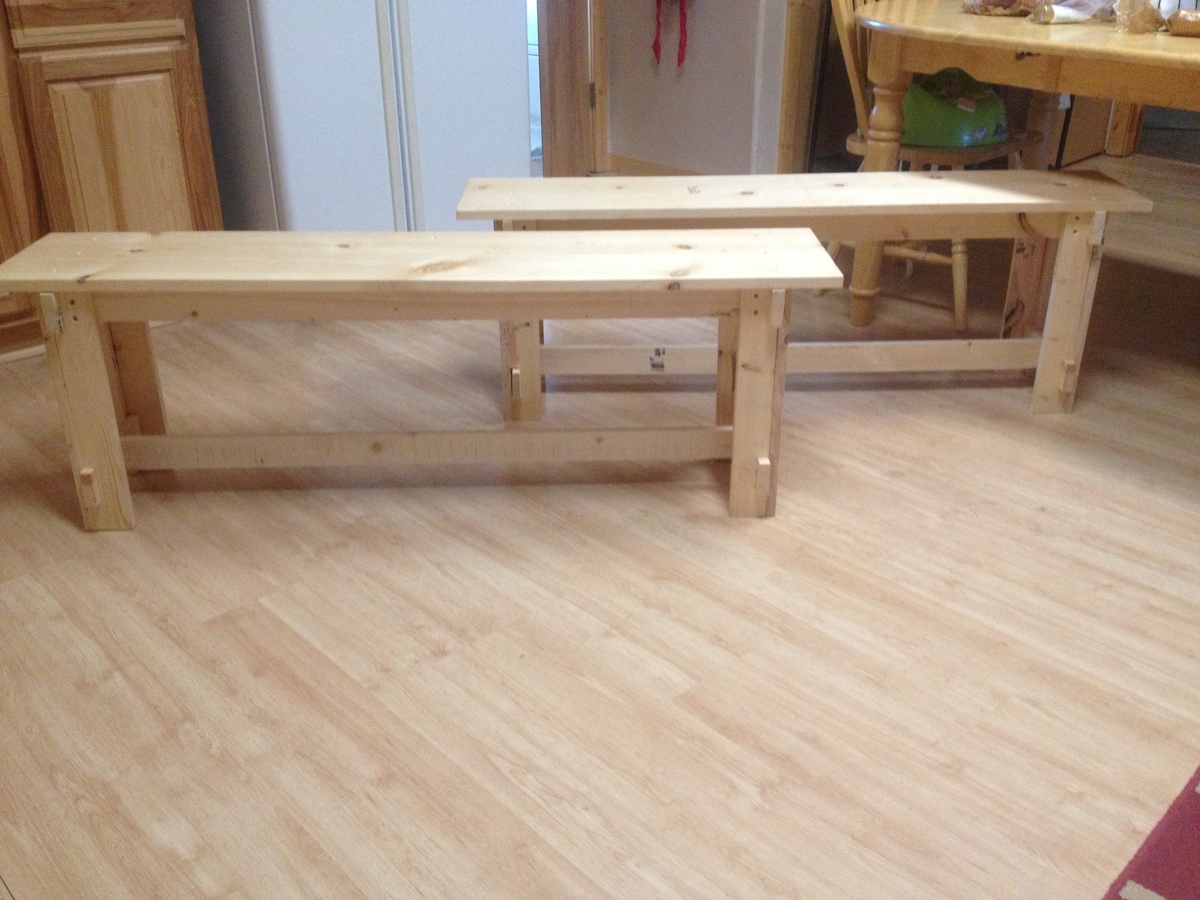
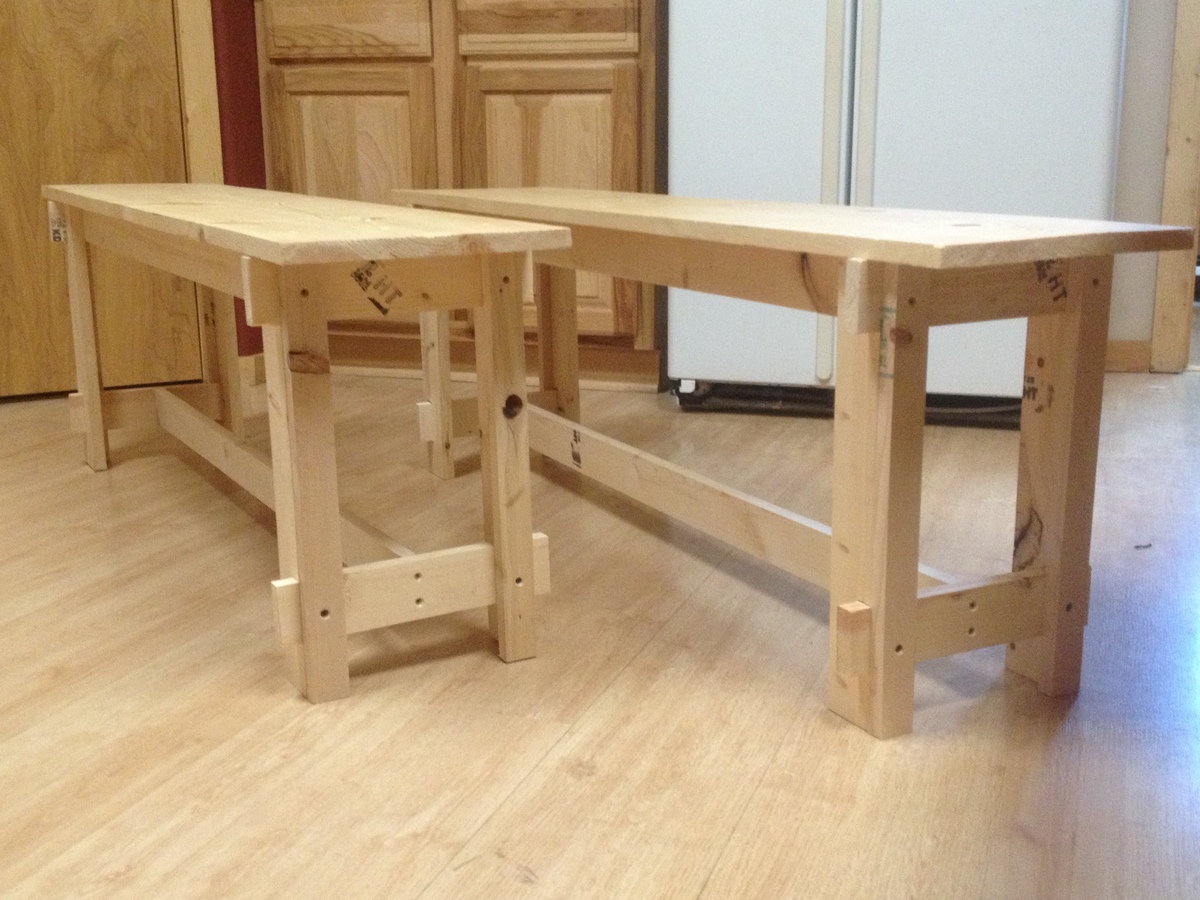
I have always loved benches at the dining table. They are so practical for cleaning, kids, and for cramming extra people at a table! We are (mostly) happy with our current table, but I was so sick of 6 clunky chairs floating around my kitchen, and these benches were the perfect solution. They were very simple to make and are exactly what I wanted!

I mixed my own color of stain for the top board from two Cabot colors (Golden Oak and Walnut) to create a color that break up all the oak in the room, while still fitting in. I painted the bases of the benches a creamy ivory for the same reason, to break up all the oak, and distressed the edges lightly.

I omitted the "x" feature in the plans because I was happy with the look of just the board along the bottom.
Estimated Cost
about $40 for 2, plus left over paint and stain
Estimated Time Investment
Day Project (6-9 Hours)
Finish Used
Cabot wood stain in Golden Oak and Walnut (mixed), and Valspar latex paint in Crisp Linen
Recommended Skill Level
Intermediate

Lego Table

Submitted by aclayton on Wed, 12/23/2015 - 10:35

I decided to build the art table and use it as a lego table instead. I had a piece of 3/4" maple plywood left over from a previous project, so the only thing that I had to buy were the 1x4's and lego plates.

Built from Plan(s)
Estimated Cost
I spent about $30 at Lowe's for the 1x4's and $24 on ebay for some generic lego plates. I already had the plywood, screws, and stain on hand.
Estimated Time Investment
Afternoon Project (3-6 Hours)
Finish Used
Minwax "Red Mahogany" stain and a coat of polycrylic.
Recommended Skill Level
Beginner

Comments

Modern Farmhouse railing on a deck

Submitted by Anonymous (not verified) on Fri, 01/13/2023 - 09:07

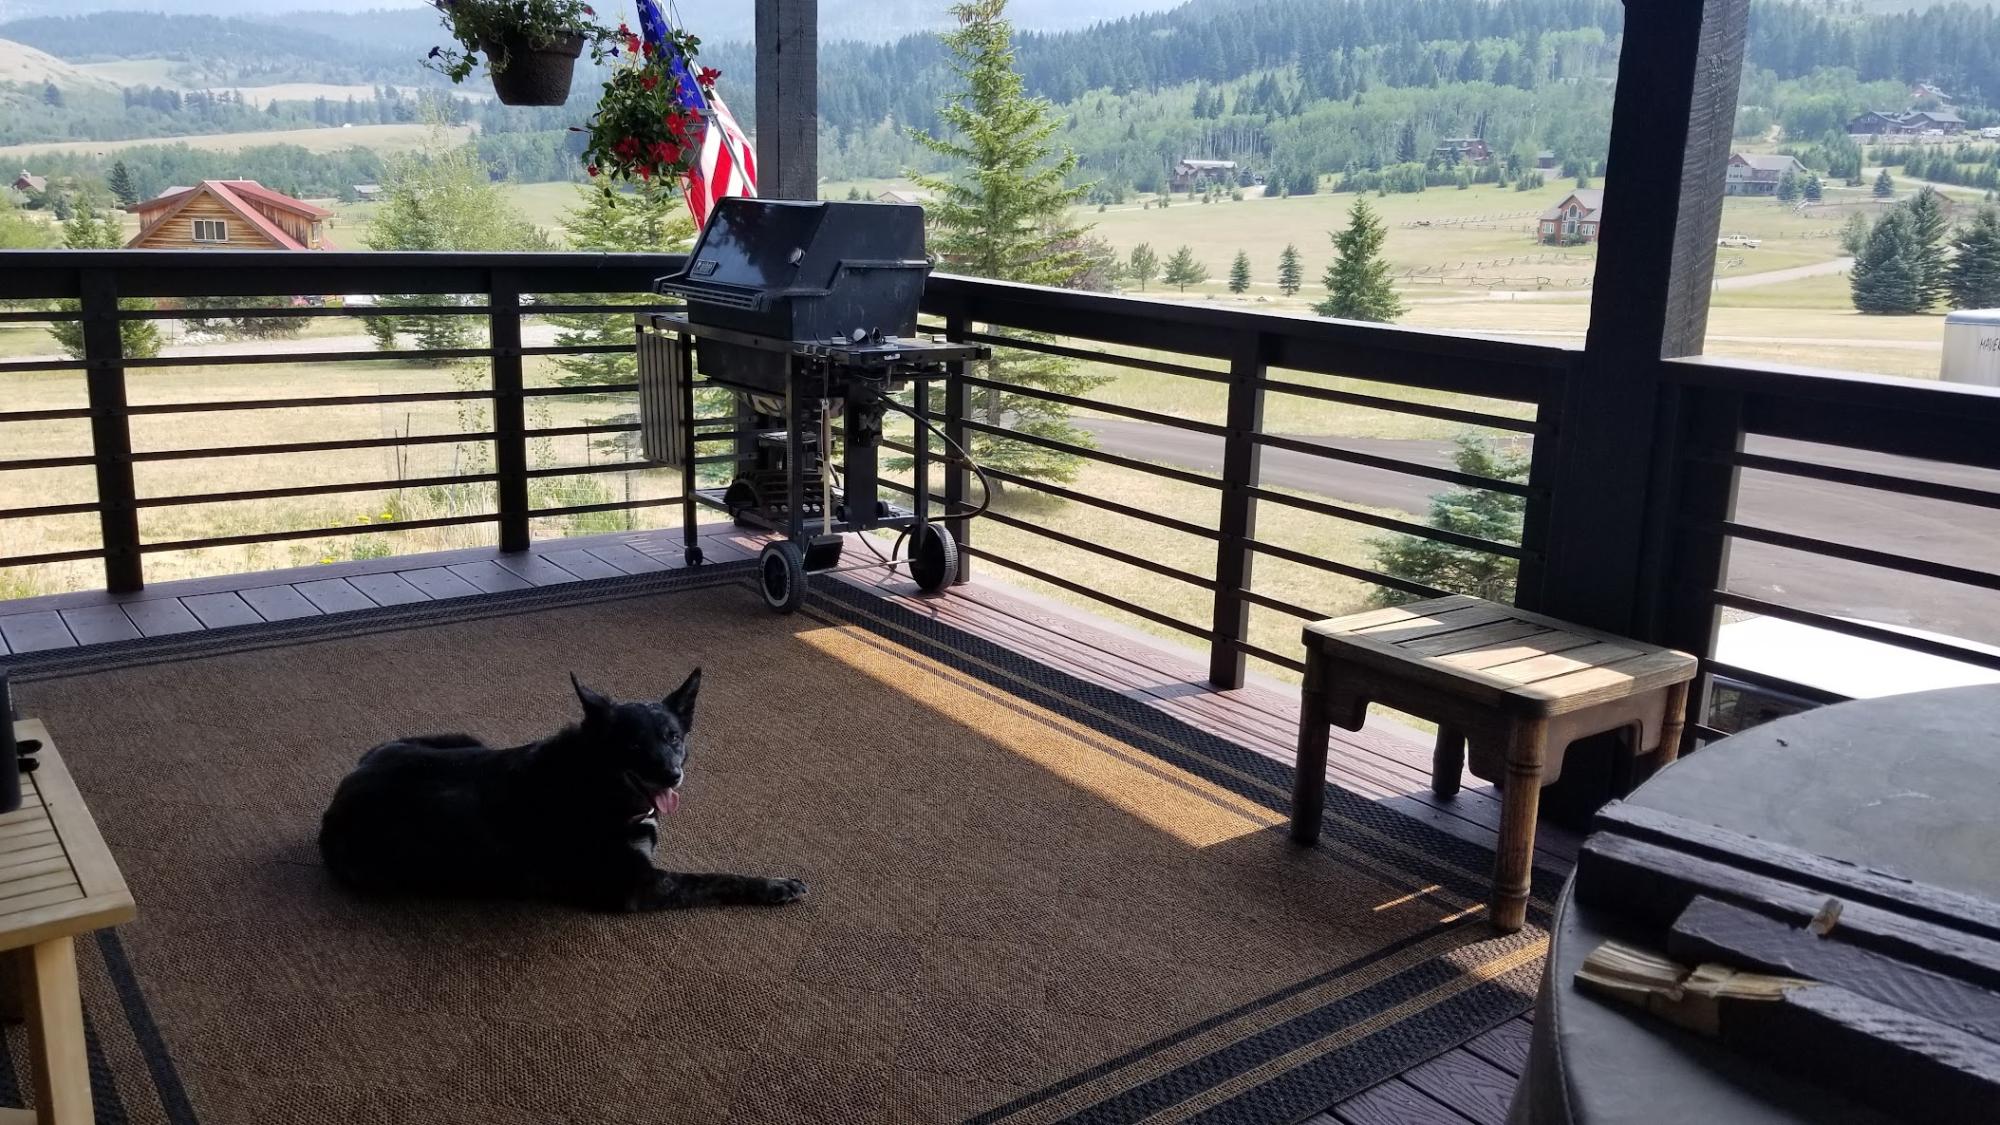
Inspired by the modern farmhouse railing we decided to install the same style on our deck. Our old railing was aged an deteriorated. The project took about two weekends, one to treat the metal with black magic, another to build the actual railing. We love how it looks!

Comments

Floating Shelves

Submitted by amym on Sun, 10/02/2011 - 11:50

When I saw Ana's post within Young House Love's blog, I thought this would be great for pictures. We have a large wall that spans two stories in our entry way. This shelf helped make a dramatic impact when we have visitors over.

Built from Plan(s)
Estimated Time Investment
Afternoon Project (3-6 Hours)
Finish Used
I used a high gloss finish of Espresso Beans by Behr from Home Depot. After sanding and sanding, I primed the entire shelf and then used 4 coats to give it a really smooth finish.
Recommended Skill Level
Beginner

Comments

Rustic x console

Submitted by Anonymous (not verified) on Sat, 12/26/2015 - 20:48

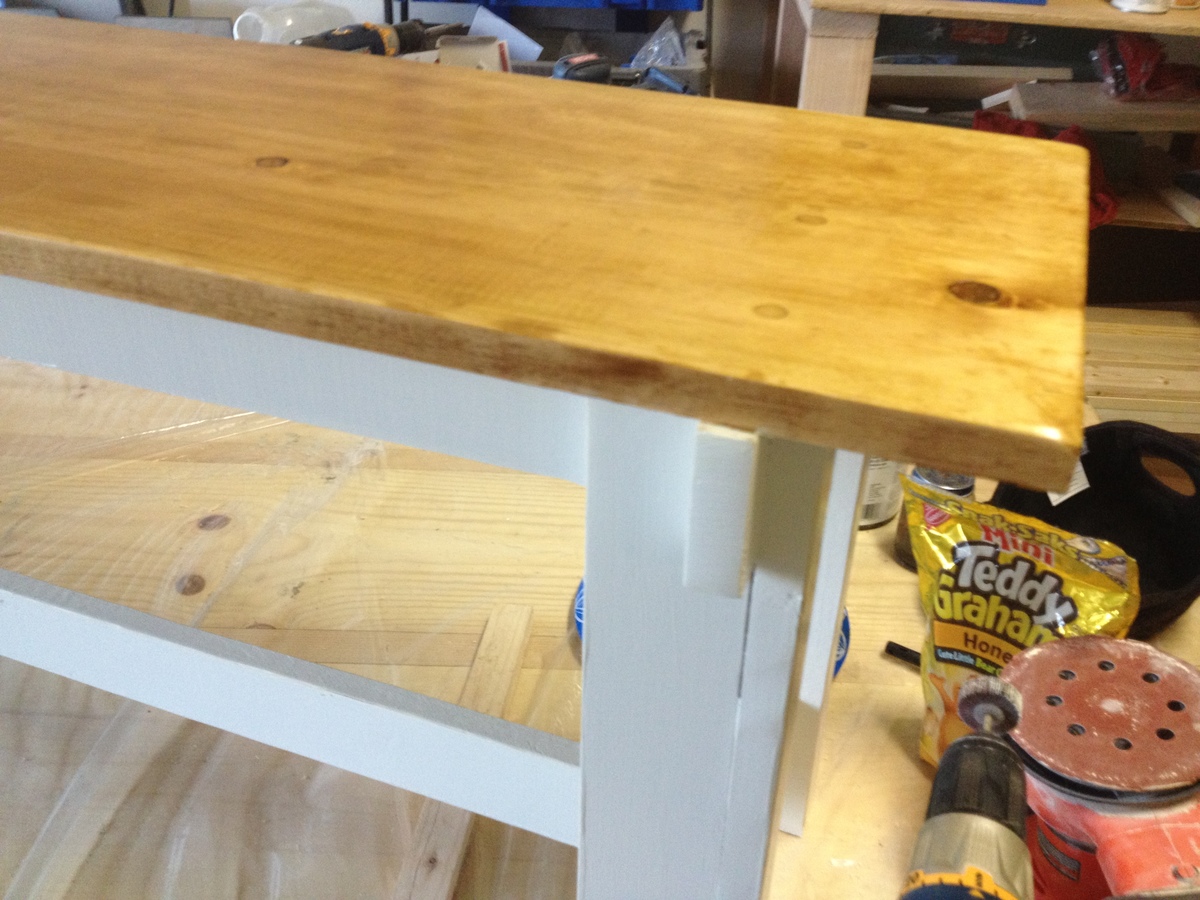
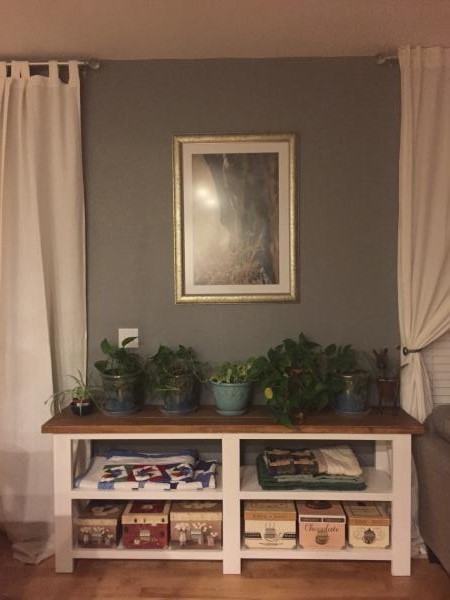
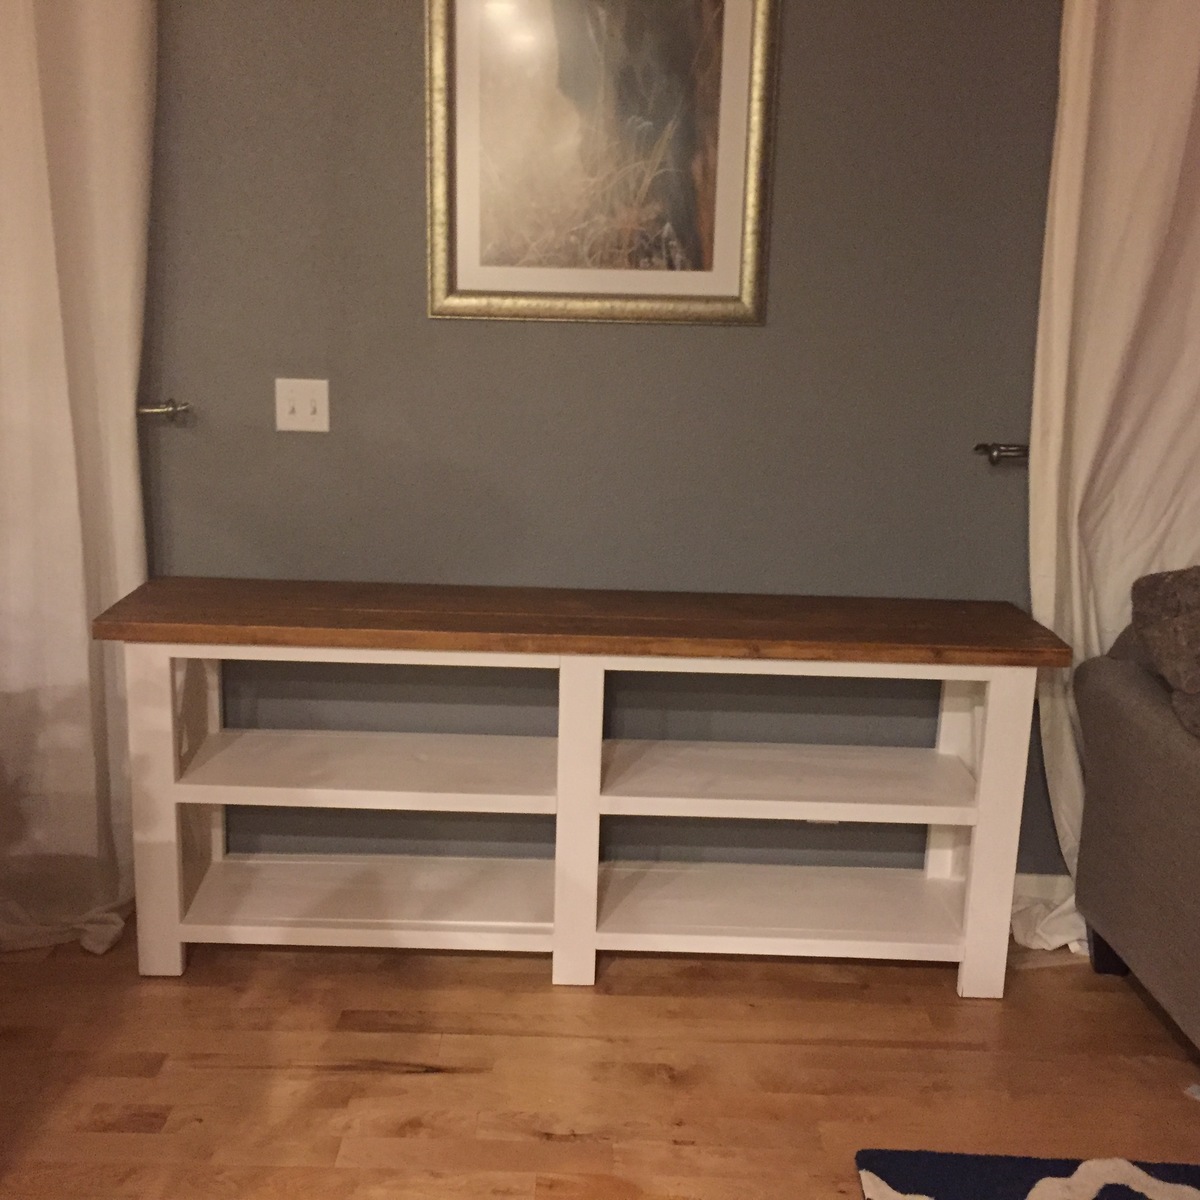
One of my first projects and I really felt like I had good cuts, however it was still a real challenge for me. I ended up doing the bottom in white to hide some of the errors. In the end I am happy with the resultes. 

Built from Plan(s)
Estimated Cost
$150
Estimated Time Investment
Weekend Project (10-20 Hours)
Finish Used
White paint, honey mini wax poly
Recommended Skill Level
Intermediate

Modern outdoor sofa

Submitted by Anonymous (not verified) on Mon, 02/25/2019 - 19:56

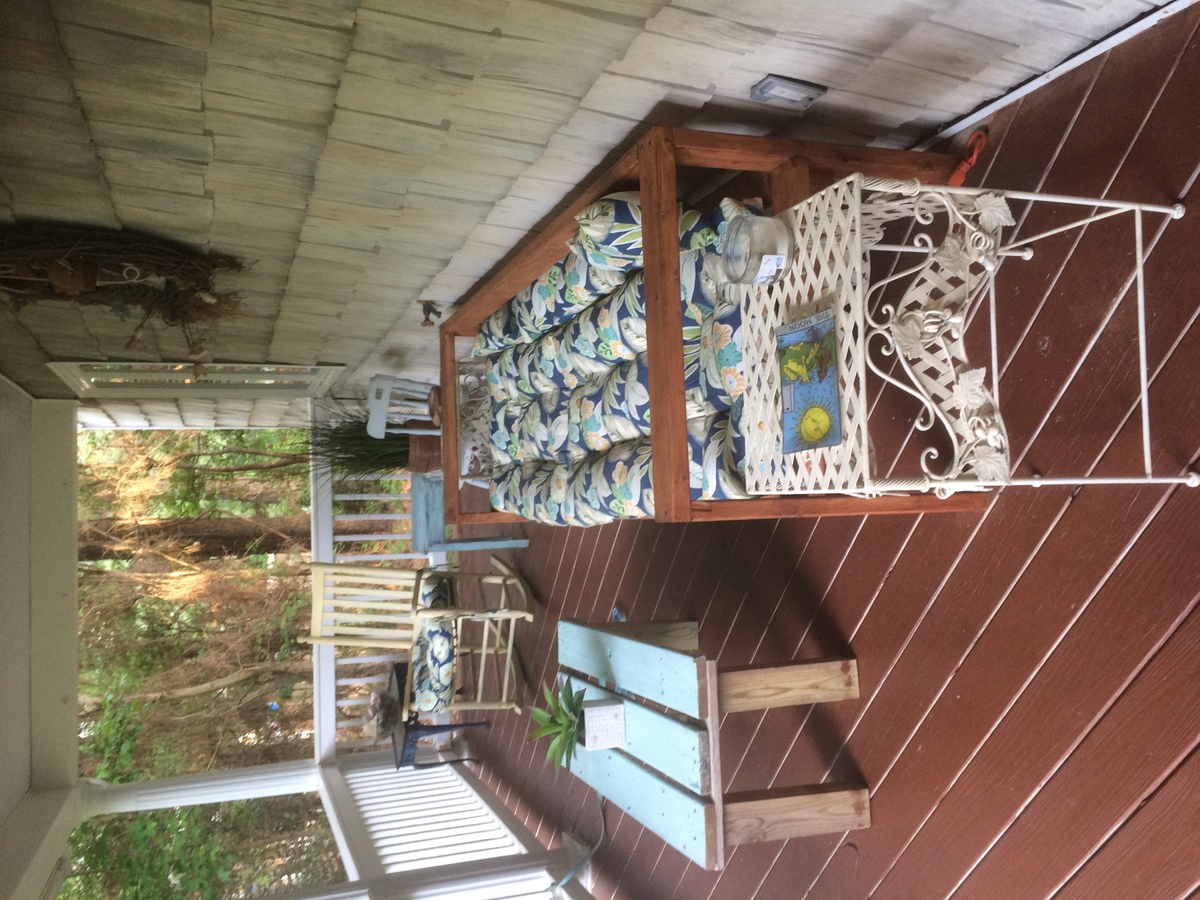
I built it from pine 2x4s. I bought outdoor chair cushions and they work great.

Estimated Time Investment
Afternoon Project (3-6 Hours)
Recommended Skill Level
Beginner

Tower

Submitted by bmarielee on Thu, 10/06/2011 - 13:21

My son loves his tower! We didn't attempt the curved sides, but made it work by adding a door with a toy steering wheel instead :)

Built from Plan(s)
Recommended Skill Level
Intermediate

Comments

Amanda Rhoads (not verified)

Wed, 12/05/2012 - 18:58

I love the paint and steering wheel! I'm making this now and, first time using a jigsaw, my arches look awful! I think I'll just go with them but this was a good innovation.

Buildingmom2

Fri, 07/05/2013 - 16:09

Love the wheel (and the paint job is fantastic). I am just wondering where you bought the wheel mount. Is it 12"? We'd like to do a similar one.

We put a chalk board and a dry erase board on our outside panels. :)

Toddler Closet Cubby

Solid wood is an amazing material because it can be cut, re-shaped, extended, filled, sanded, stained, painted, and essentially re-used almost endlessly.

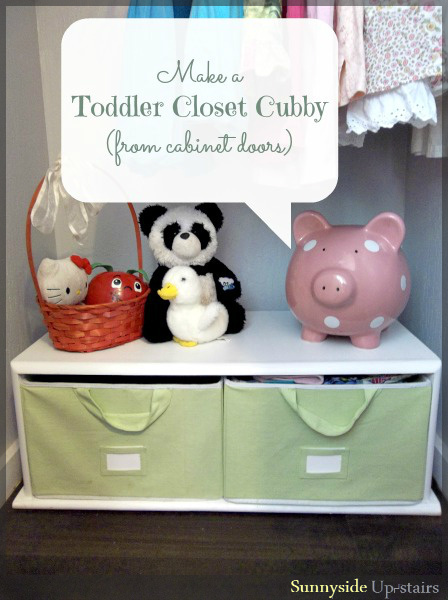
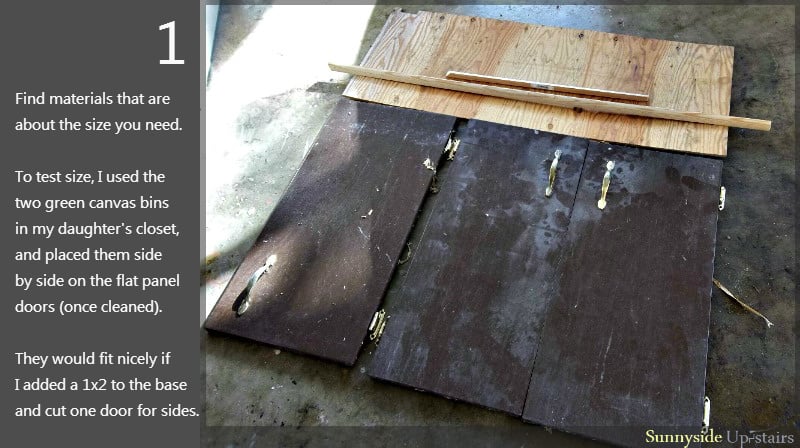
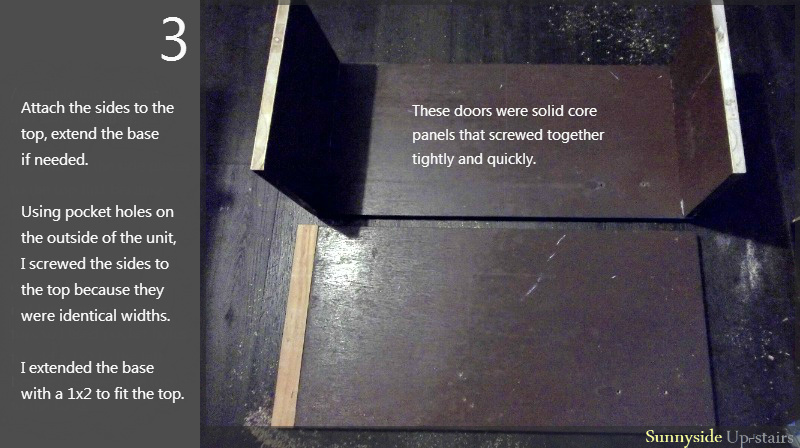
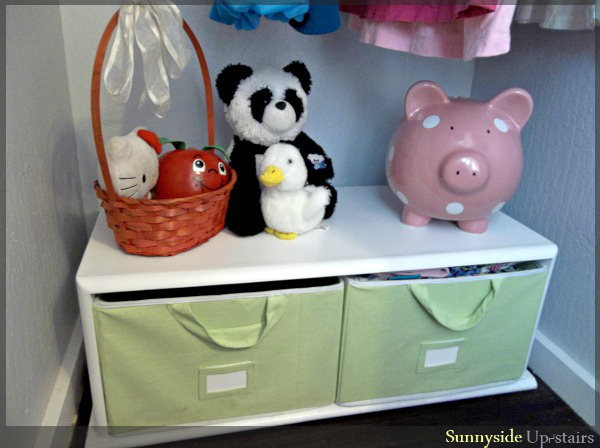
Last week, I took old cabinet doors (from when we gutted the mouse-hole kitchen cabinets that used to be in our apartment before we moved in) and turn them into a free cubby for my daughter's closet. :)

Estimated Cost
$0, with new purchases, $20 estimate
Estimated Time Investment
Afternoon Project (3-6 Hours)
Finish Used
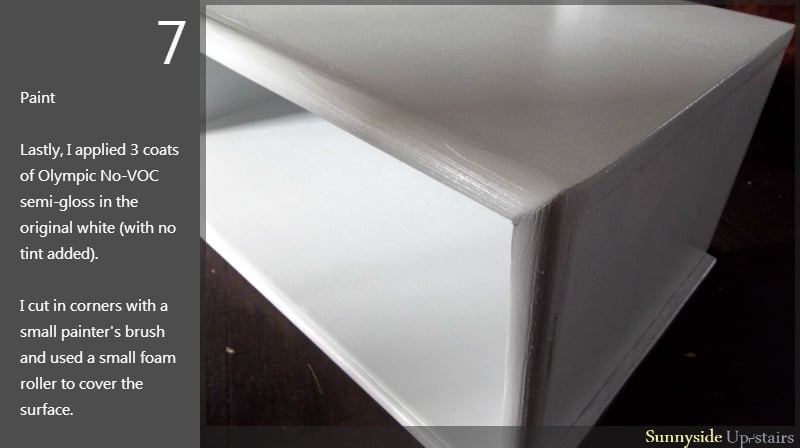
3 coats Olympic No-VOC semi-glass straight from the paint can.
Small paint brush for cut-ins, foam roller for surface coverage. Allow recommended dry time between re-coats.
Recommended Skill Level
Beginner

Comments

JoanneS

Mon, 10/07/2013 - 19:43

Beautiful Cubby from old doors! The trim adds elegance with the white color and it fits perfectly. Looks adorable! :)

My First Project

Submitted by cshandyman on Mon, 12/28/2015 - 15:10

I used Poplar for the top and Pine for everyting else.  Only took about two hours from start to finish.  This is my first project using a Kreg Jig and now I don't know why I didn't get one of these years ago! 

Estimated Cost
Total cost was $175. Can be done for less, but I upgraded the top to Poplar which cost more.
Estimated Time Investment
Afternoon Project (3-6 Hours)
Finish Used
Minwax Golden Oak Stain and MInwax Gloss Poly. Satin finish interior white paint for the remainder. I applied two coats of stain and paint and three coats of Poly.
Recommended Skill Level
Beginner

So easy, so quick, so awesome drawer organizers

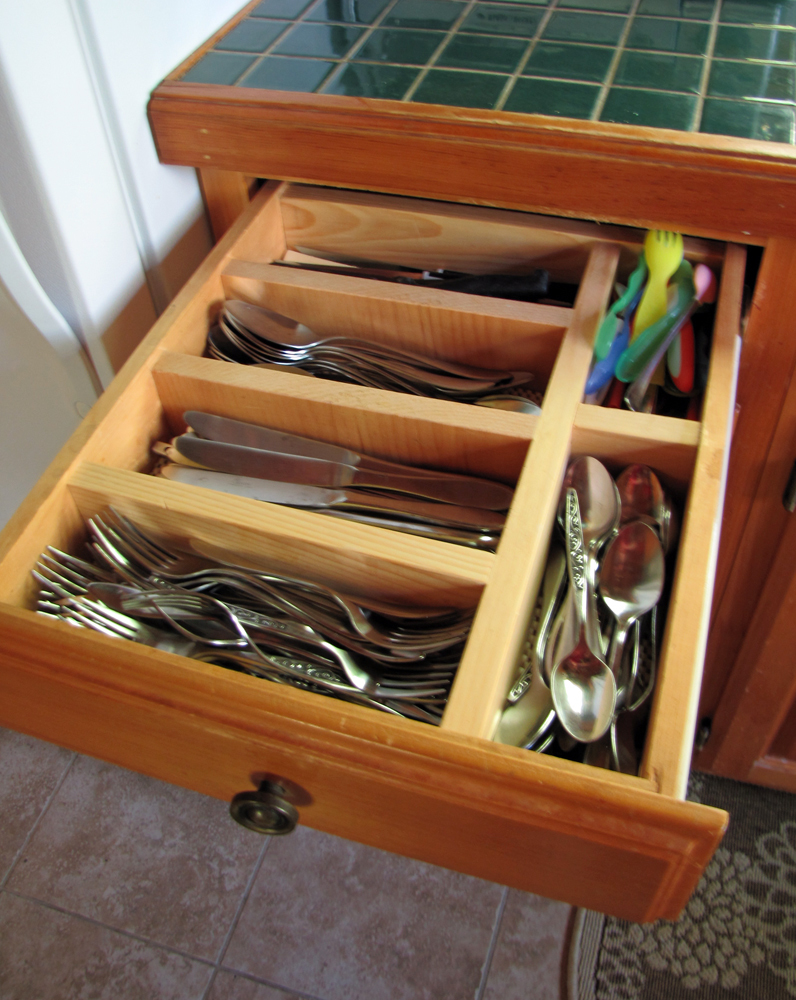
Had some scraps hanging around and thought I would try using Ana's plan to organize the mess. Wow. What a difference. So nice to build something to fit your space rather than working around a preformed, plastic or metal utensil holder. Thank you Ana!

Estimated Time Investment
An Hour or Two (0-2 Hours)
Finish Used
just sanded to get rid of rough edges and added a coat of poly. done.
Recommended Skill Level
Starter Project

Comments

Hannah Canopy Bed

Submitted by FSTASFCK on Wed, 10/09/2013 - 18:48

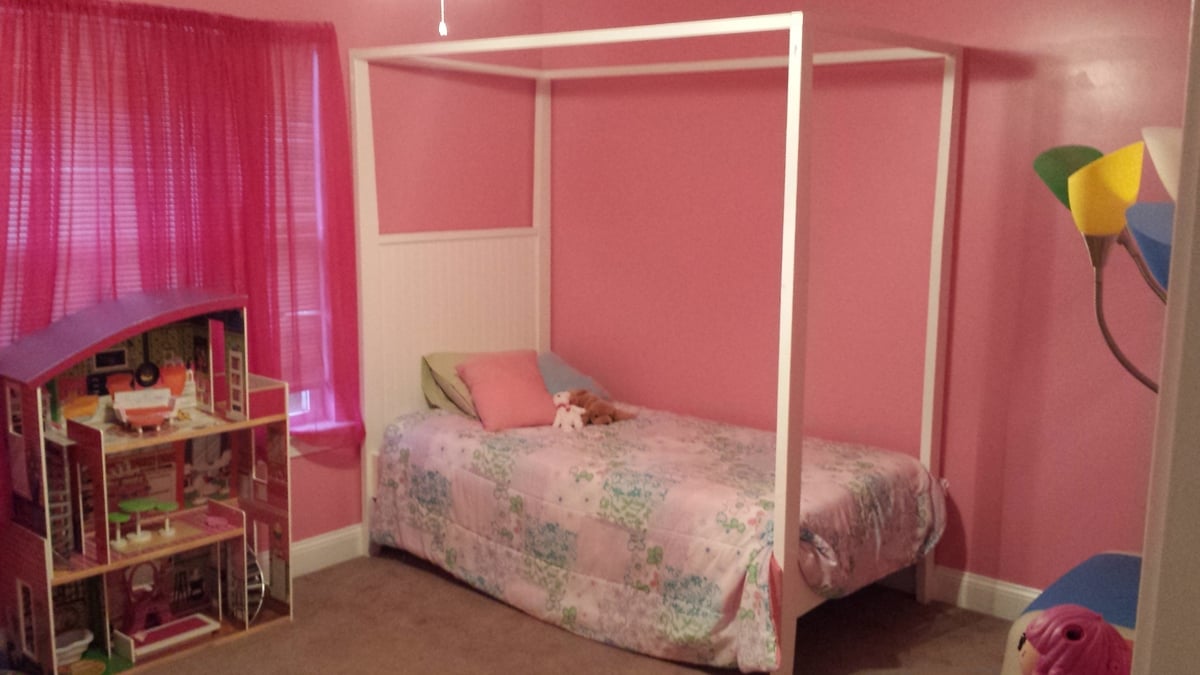
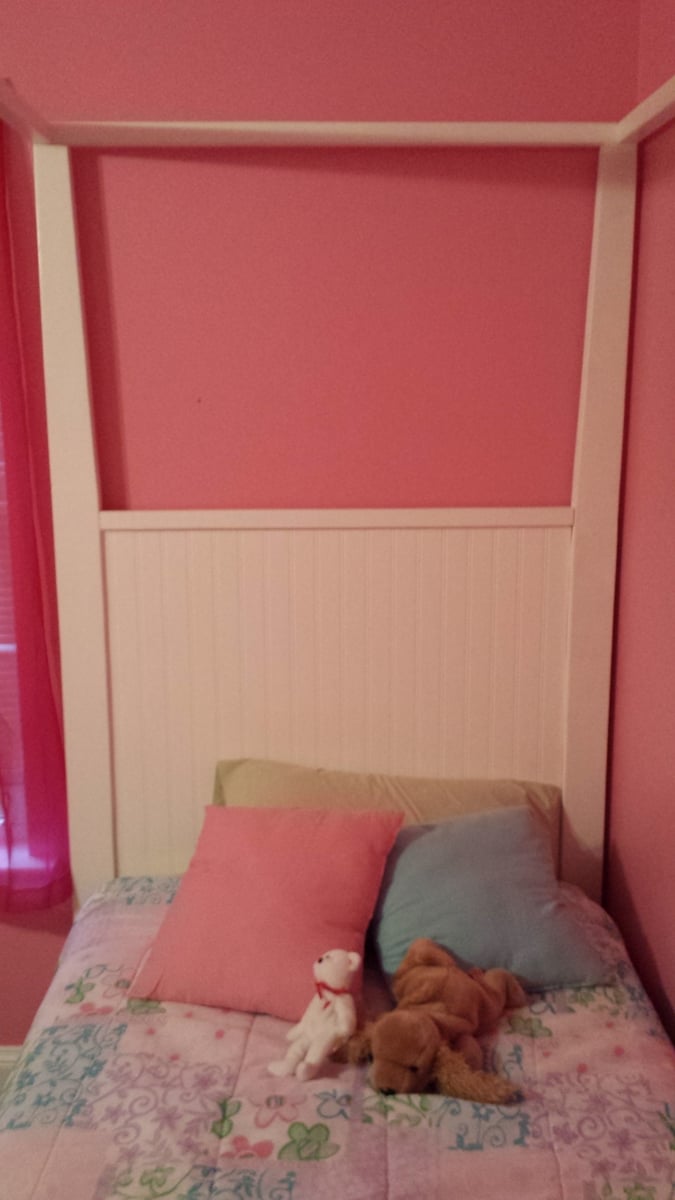
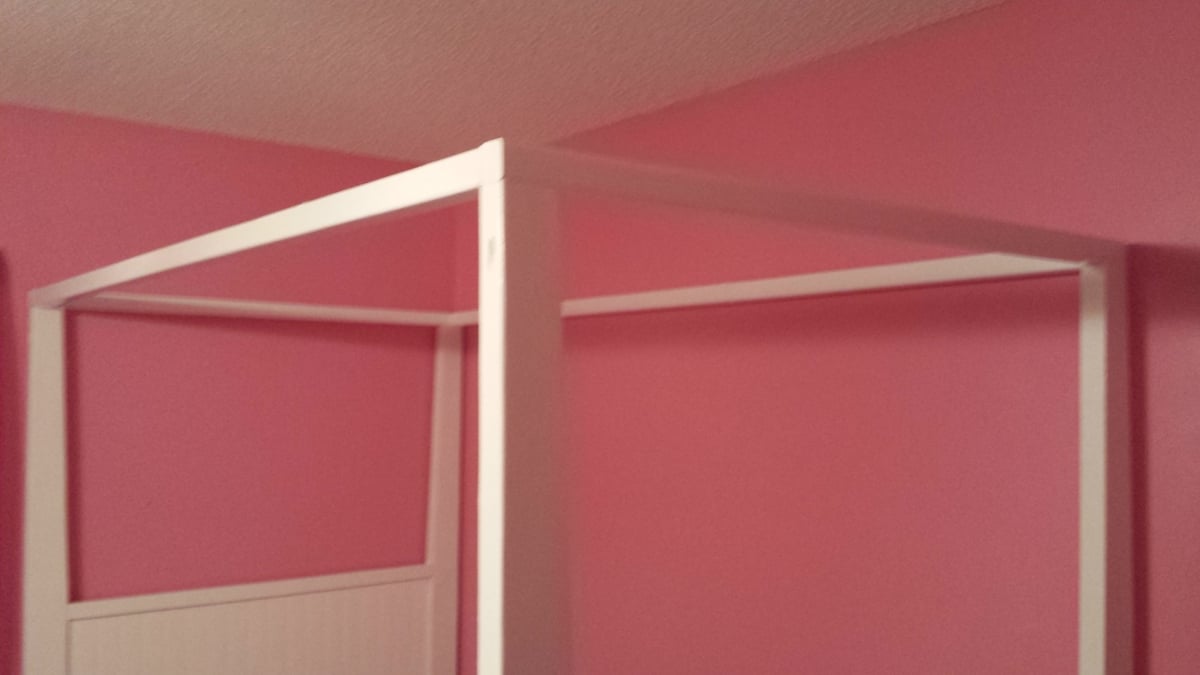
Utilizing the Hannah Canopy Bed plans, I made 2 changes that I am really glad I made. First, I added bead board to the headboard to give it a little style instead of the flat plywood. Second, I used 2x4's on all 4 corners because I could not find any 2x3's that were anywhere close to being straight. Overall I love the final project! It was nice, simple, and quick to get it all put together!

Built from Plan(s)
Estimated Time Investment
Weekend Project (10-20 Hours)
Finish Used
Painted white
Recommended Skill Level
Beginner

Perfect Side Table for the Kitchen

Submitted by Anonymous (not verified) on Wed, 12/30/2015 - 07:48

The only difficult part of this plan was making sure all the cuts were precise and fit together as they should.

Built from Plan(s)
Estimated Cost
$100
Estimated Time Investment
Day Project (6-9 Hours)
Finish Used
Stain is MIniwax Provincial, with 3 coats of Poly.
Recommended Skill Level
Beginner

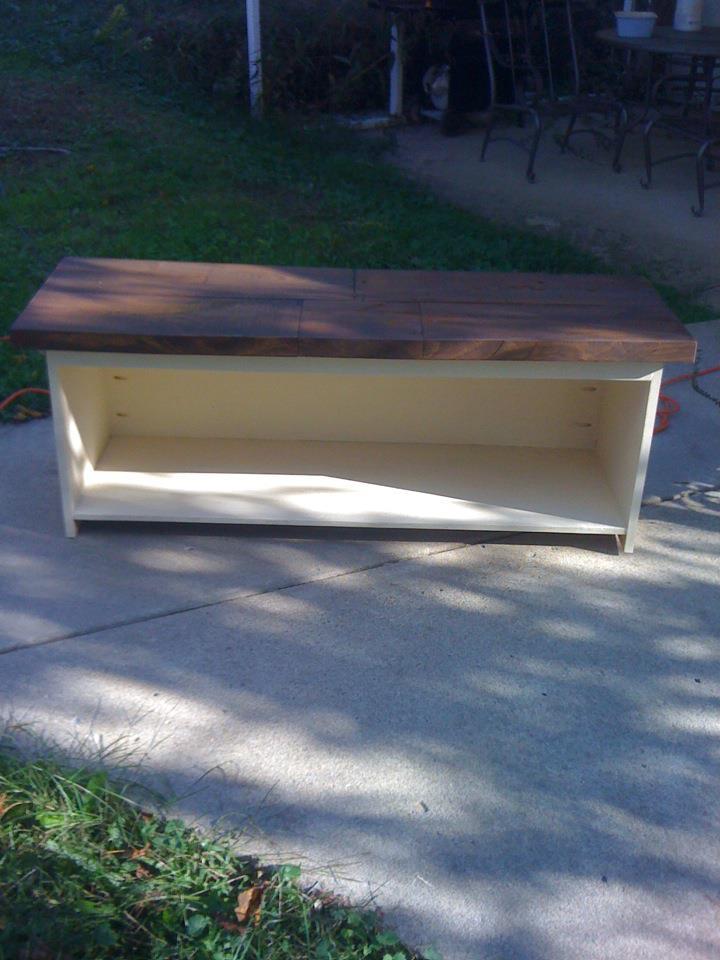
My first wood project thank you Ana!

Submitted by Anonymous (not verified) on Sun, 03/10/2019 - 10:51

This is my first wood project, and first time using a Kregg jig.  A HUGE THANK YOU TO ANA!  Next is the matching end table and then outside chairs and a pagoda.  

Jeff F.

Finish Used
Grey minute wax stain, and white antique wash fr the bottom.
Recommended Skill Level
Starter Project

Kitchen Table Storage Bench

Submitted by Sailor0411 on Mon, 10/17/2011 - 06:47

I built this storage bench and my wife stained and painted it. It is for use at the kitchen table as well as have storage for baskets underneath. This is my 1st project I have used my Kreg Jig on. Absolutely love it!!!

Built from Plan(s)
Estimated Time Investment
Weekend Project (10-20 Hours)
Finish Used
Maple Finish with mixed paint to match our kitchen table for bottom.
Recommended Skill Level
Beginner

Comments

ken

Tue, 04/24/2012 - 08:54

I was thinking about building mine with the top having some over hang and like how yours turned out. Did you lay the boards on top of another piece used to make the top or where they laid on the open top and screwed to the sides?

Table and bench design

Submitted by Anonymous (not verified) on Fri, 03/15/2019 - 05:51

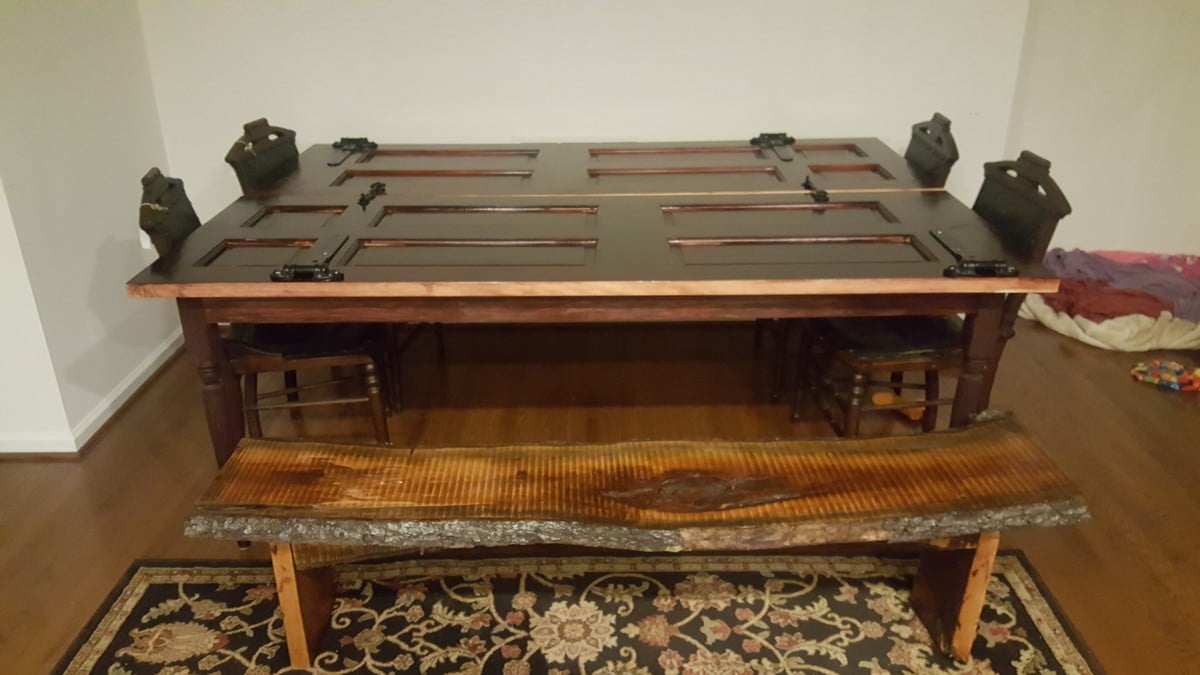
Okay, I hope you like this... it was the second and third thing I ever built!!! The table is made from 2 doors hinged together with accent hinges screwed on top. In the middle there are locks (hook and latch) for design. The frame is oak. measures 81X 56 and fits a good 10 people around.


The bench is an old cherry tree slab that someone I know did not want. its about 72 inches long and it is slighly curved. I ushed a shilac and kept the same color....  I just sanded it down.

Estimated Cost
250.00 (table)

bench was even less because the wood was free and I reused some stain from a previous projects.
Estimated Time Investment
Weekend Project (10-20 Hours)
Finish Used
black cherry, mahogany, and shilac
Recommended Skill Level
Beginner

4x4 Truss Beam Table

Submitted by Anonymous (not verified) on Tue, 02/07/2023 - 12:39

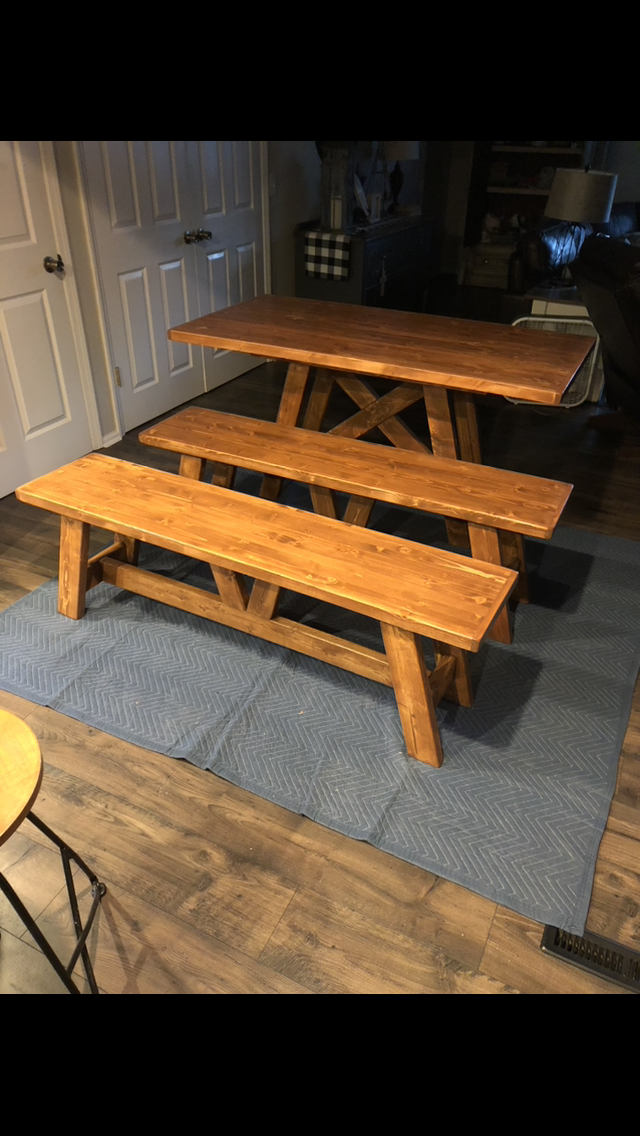
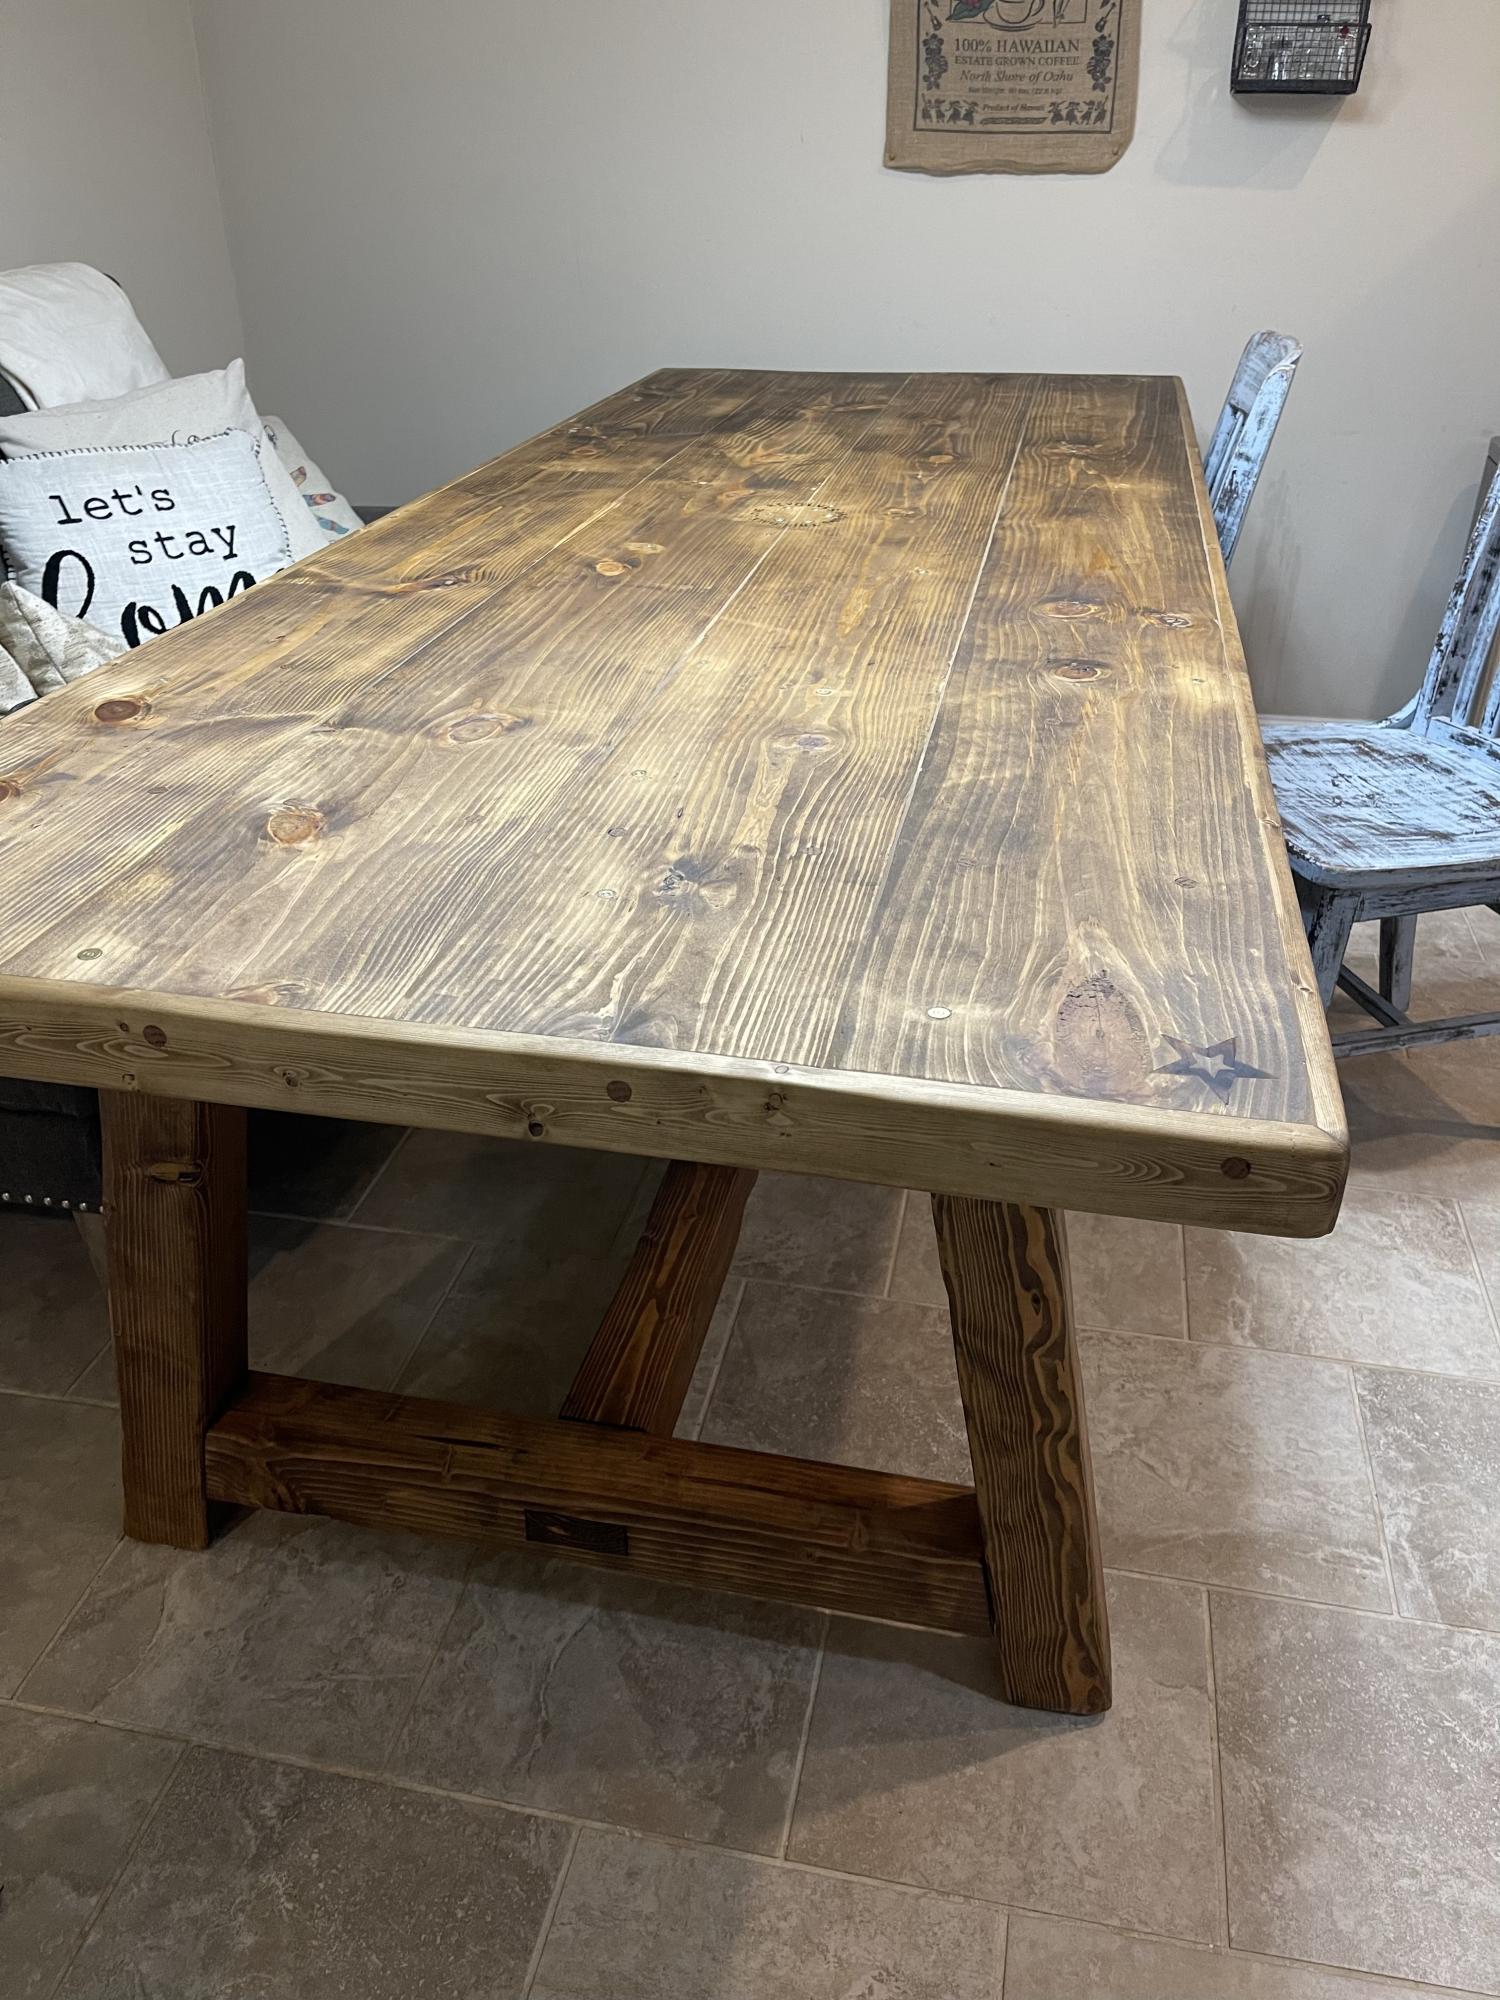
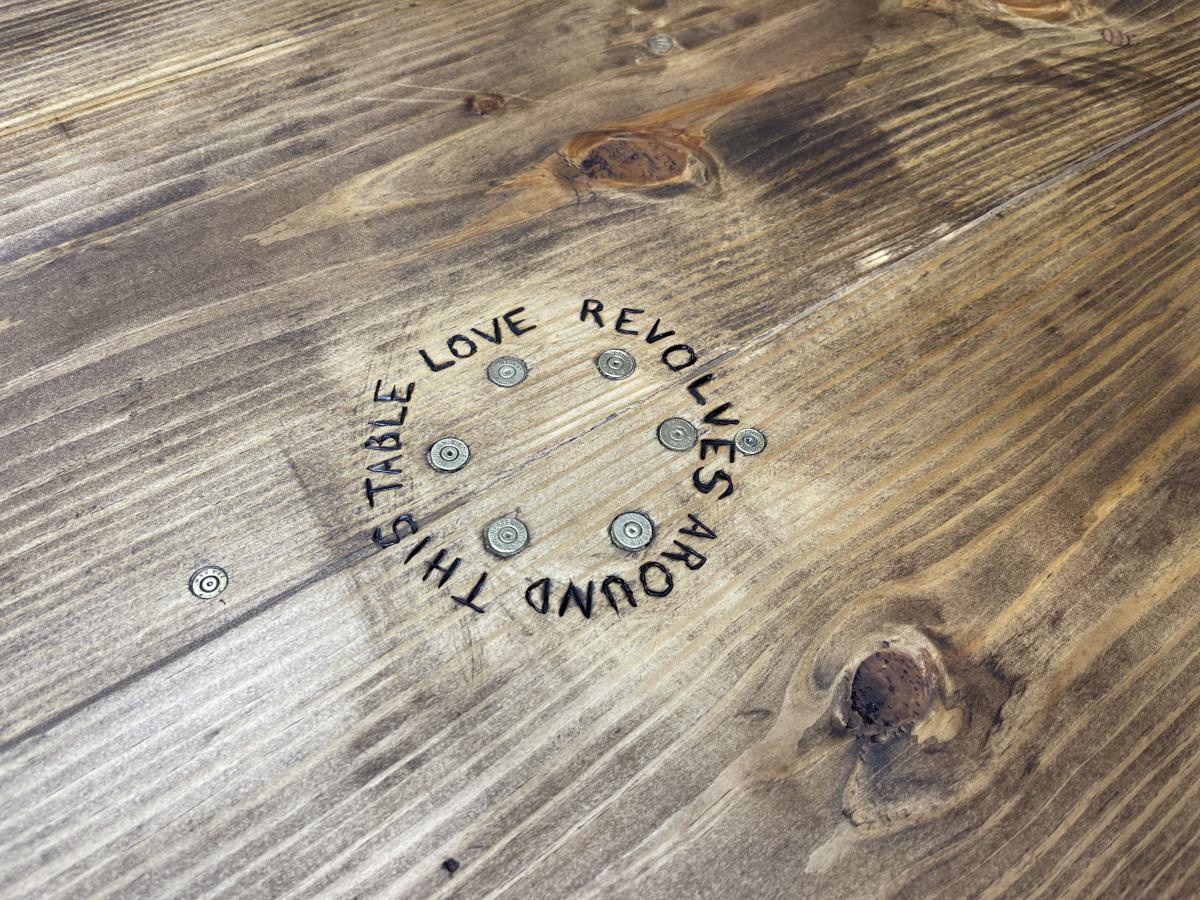
We stuck with th original plans, but instead of making table ends, we did full 2x10x8 boards and capped it with 1/3’s. We filled in the gaps in the wood with stainable wood filler. We also used a 1/2@ Forstner bit and recessed the screws and used wooden dowels to cover the screw holes. It gives it a beautiful finish. We also enjoy our pew pews, so we recessed .40, .45, .223, and .22 empty shells into the table. My husband wood burnt a message in the center of the table, then we sealed it all with one step minwax finish in mission oak.

Built from Plan(s)

Comments

Storage Shelf

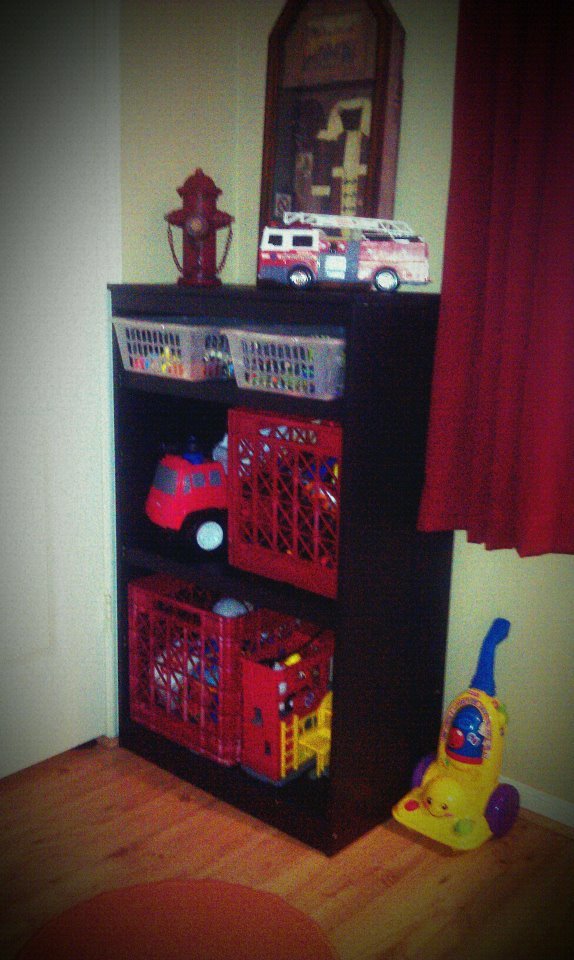
After replacing that trashed out IKEA dresser with the fire fighter style locker in the boys room I started taking apart said dresser to put out on heavy trash day. It was then I realized that while it wasnt the BEST materials, the top and sides were actually not all that bad. As it was the piece was too wide for the space I was looking to fill, so I did a little trim of the top, replaced the supports and framing and rebuilt this into a shelving unit.

I bought a couple 1x2s to frame shelf supports and actually used the base of the drawers as a shelf.

My neighbor across the street is a DJ and has about 100 million plastic crates in his garage that he is getting rid of (they used to hold his vinyl). So I took a few and have been finding uses for them. I spray painted 2 of them red and used them as the basis for where to attach the shelves.
I also had a couple of other baskets for toys that were just the right size for the small top shelf. I just need to go back and paint those red too.

Estimated Cost
just a couple bucks for those 1x2s
Estimated Time Investment
Afternoon Project (3-6 Hours)
Recommended Skill Level
Beginner

Bench

Submitted by vic b on Wed, 10/16/2013 - 14:25

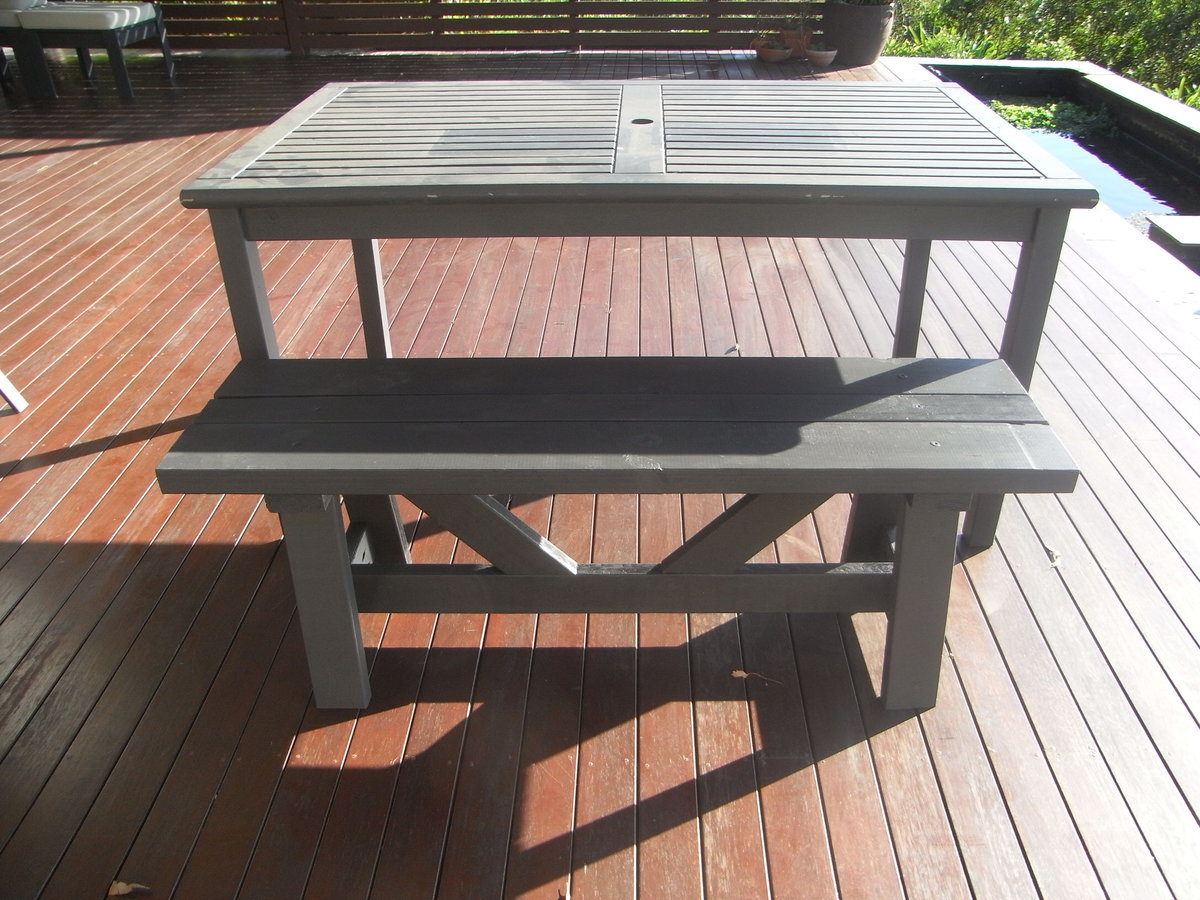
Love this bench, you can fit lots of kids on it and it is very sturdy.

Built from Plan(s)
Estimated Cost
$0
Estimated Time Investment
An Hour or Two (0-2 Hours)
Finish Used
Left over treated pine framing timber from our garage construction.
Recommended Skill Level
Intermediate

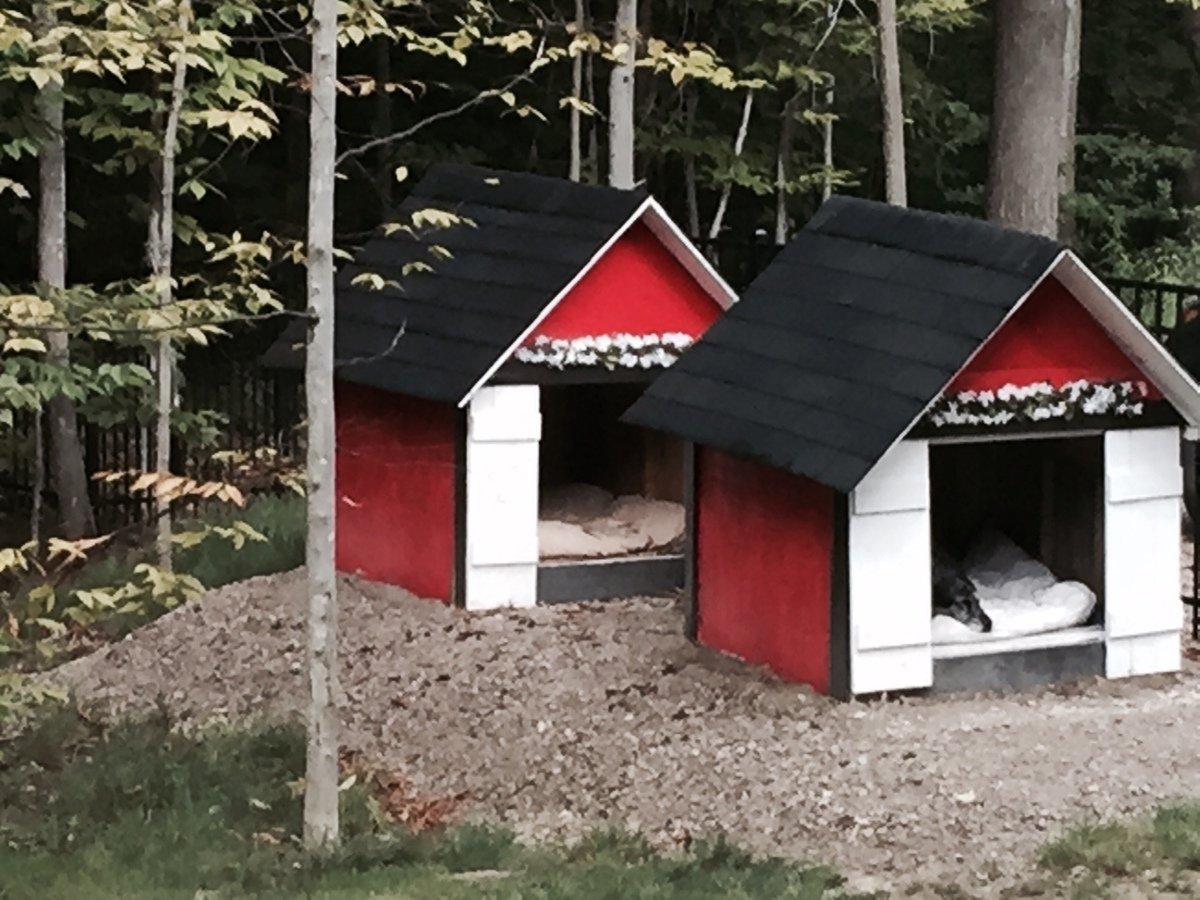
Double-dogged

Submitted by Anonymous (not verified) on Sun, 01/03/2016 - 09:47

Two big dogs, so two big houses . Long project but so cute. Don't worry, they are inside /outside dogs...

Estimated Time Investment
Week Long Project (20 Hours or More)
Finish Used
Outdoor stain, asphalt shingles, daisy chains.
Recommended Skill Level
Advanced

CA King Farmhouse Bed

Submitted by Anonymous (not verified) on Fri, 03/22/2019 - 09:39

This was my husband's 3rd or 4th Ana White project.  We also had to go back for mre wood as the shopping list was not complete.  

Estimated Cost
$350
Estimated Time Investment
Week Long Project (20 Hours or More)
Recommended Skill Level
Intermediate

Comments