Handmade by Trenton
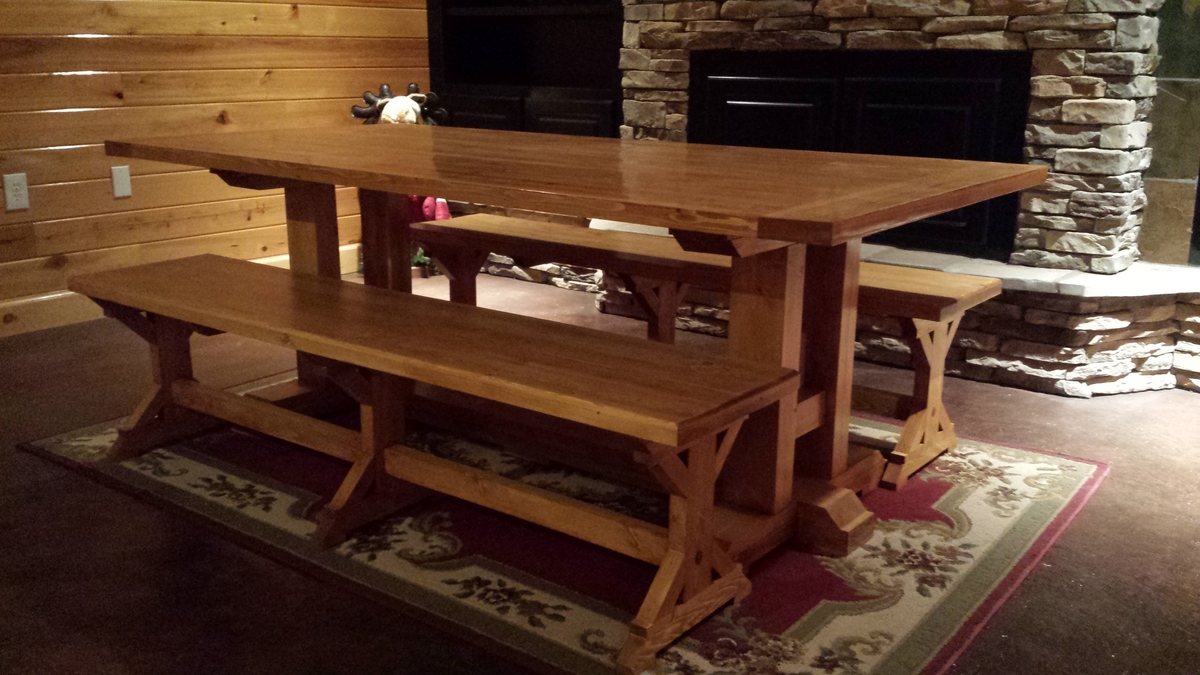
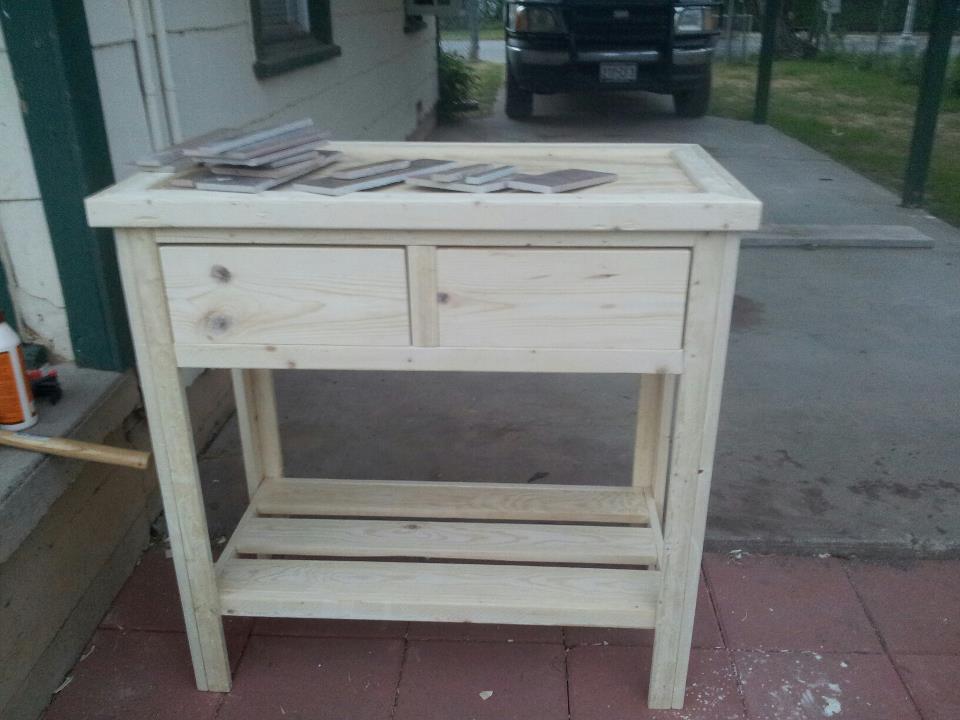
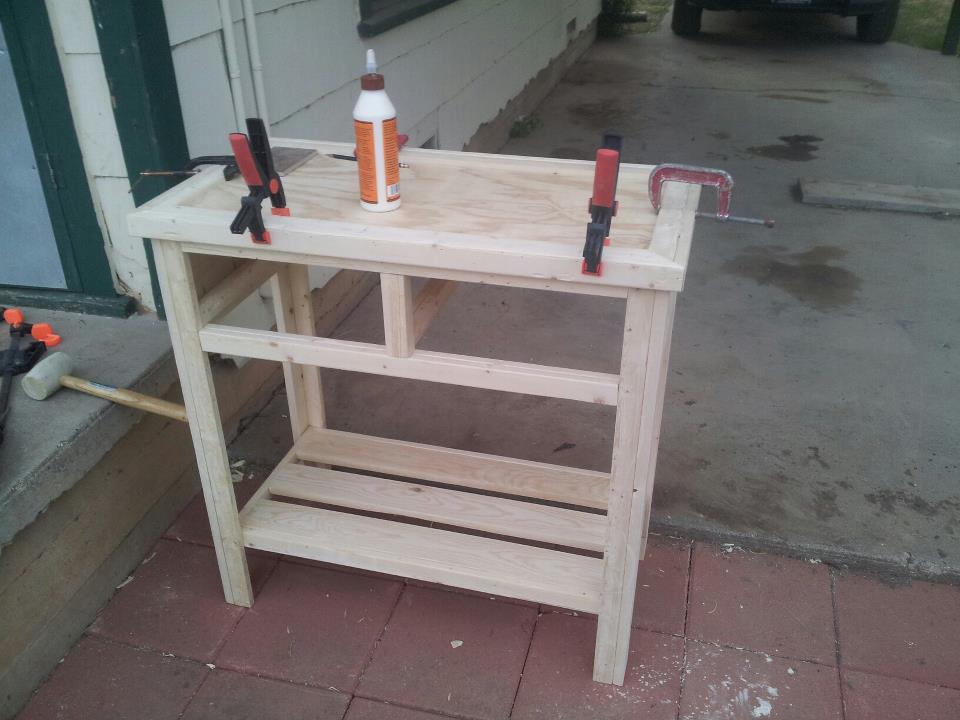
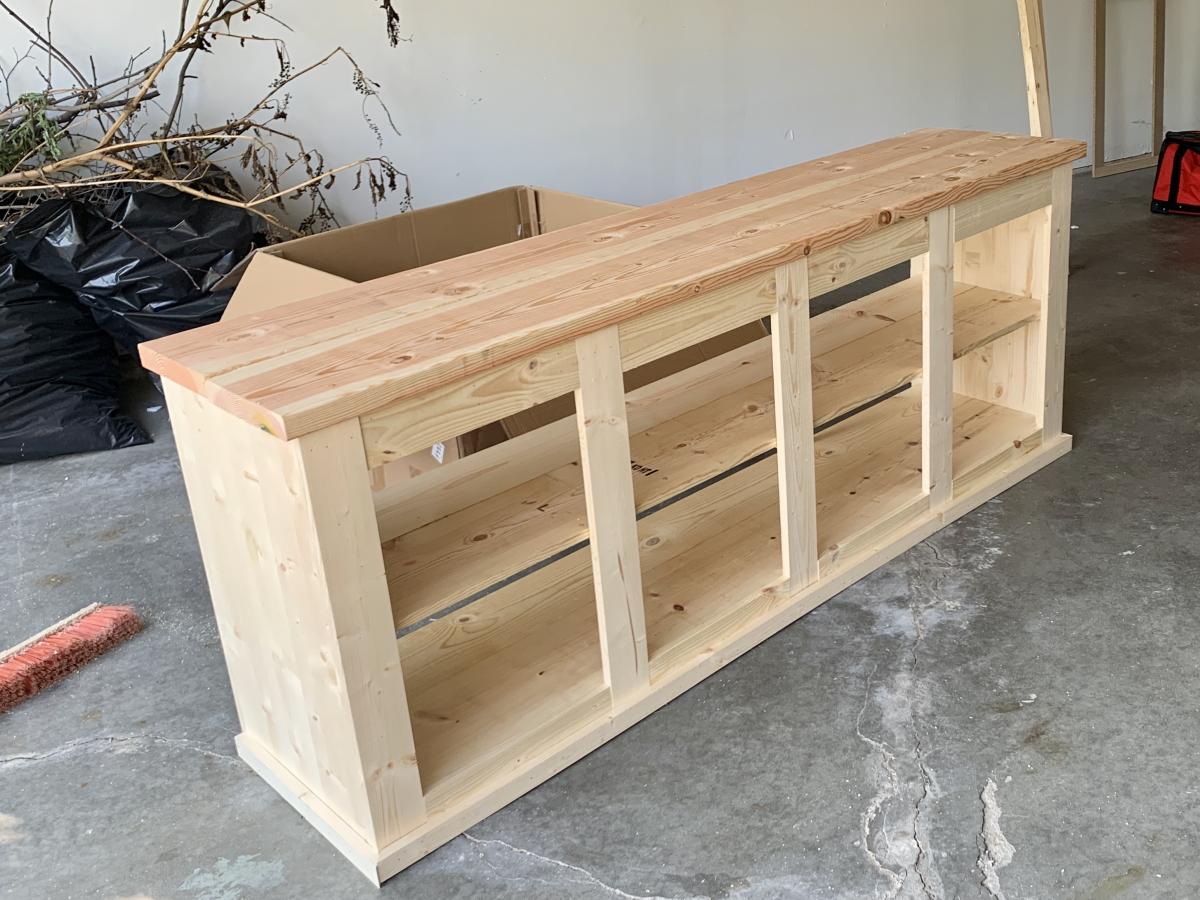
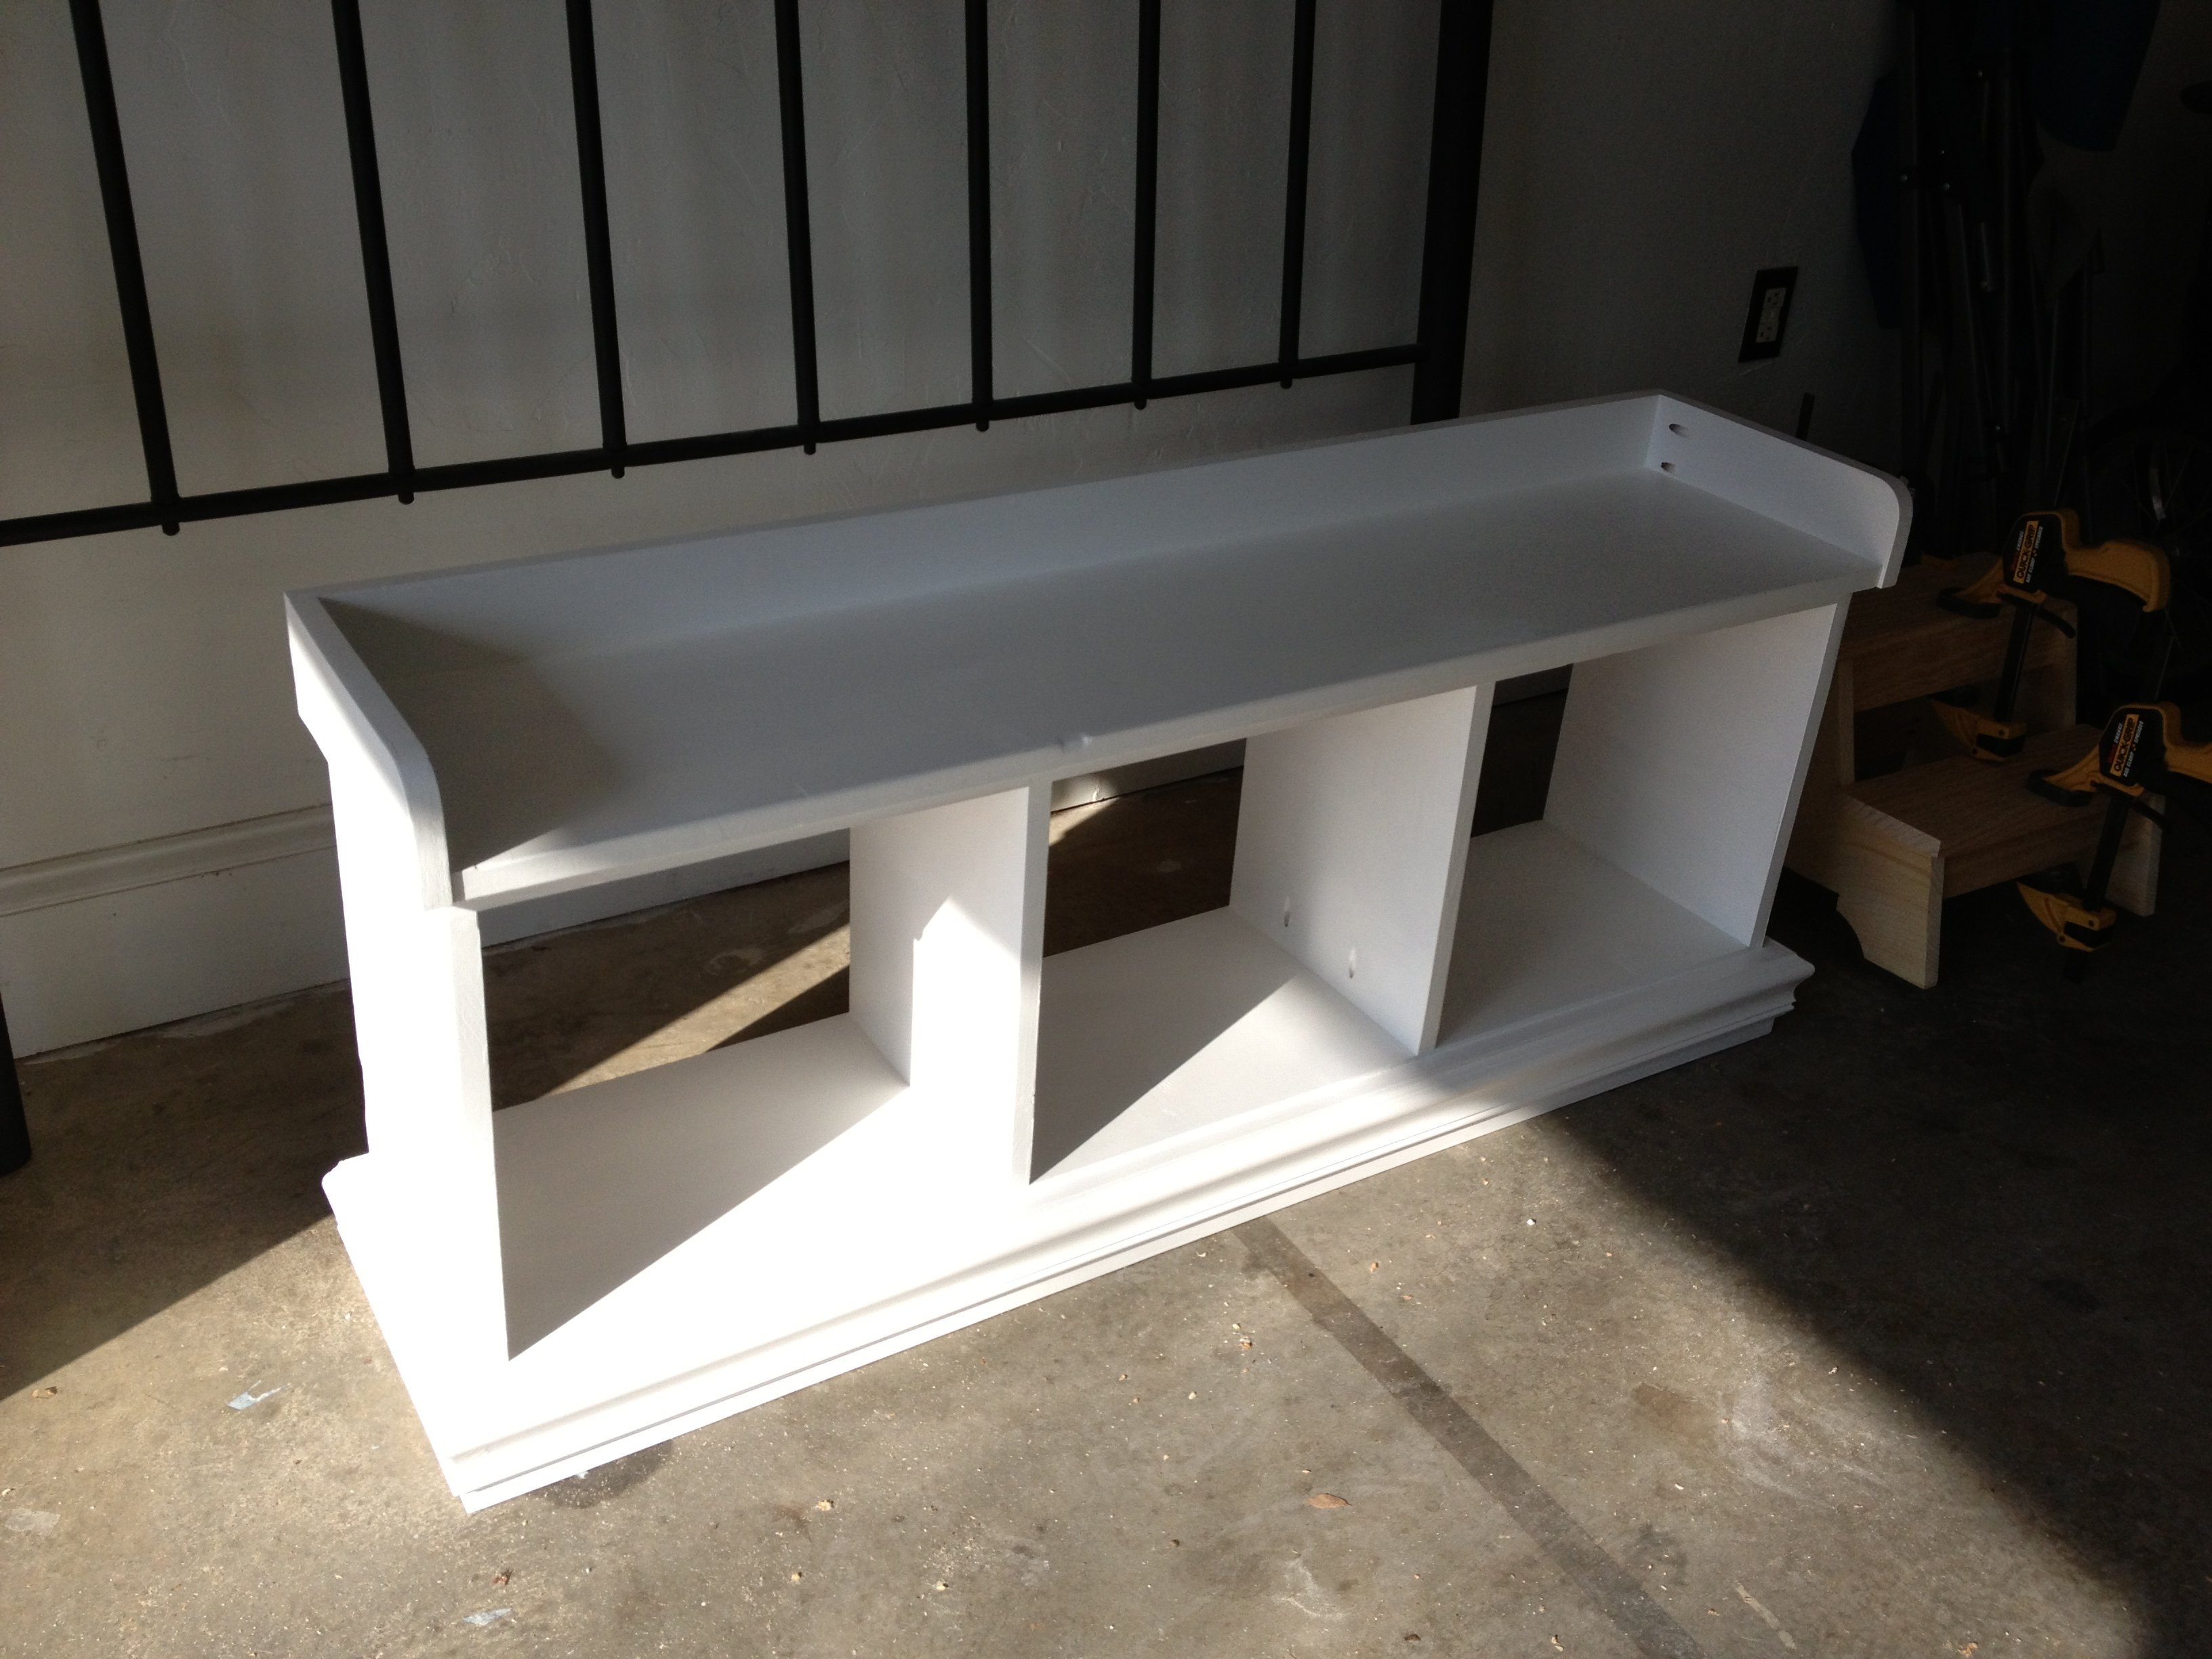
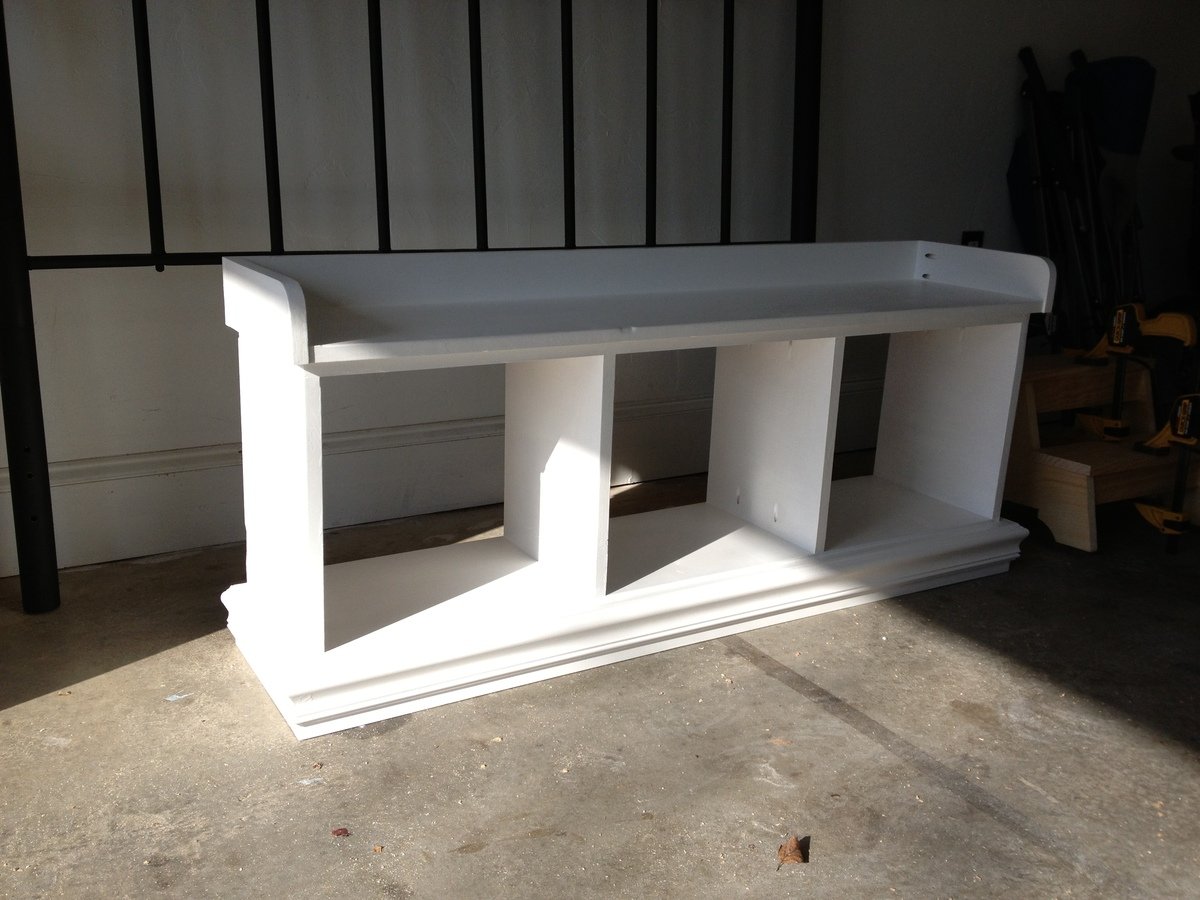
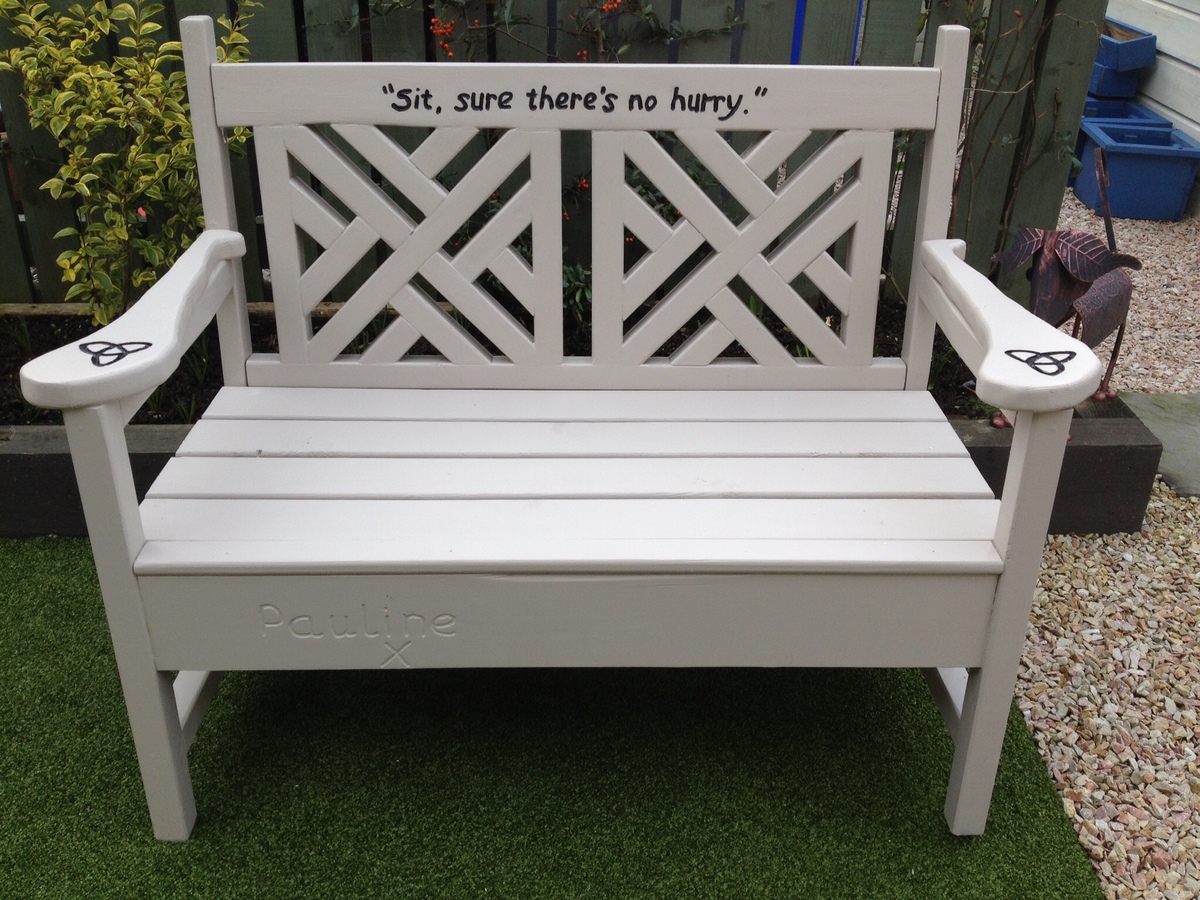
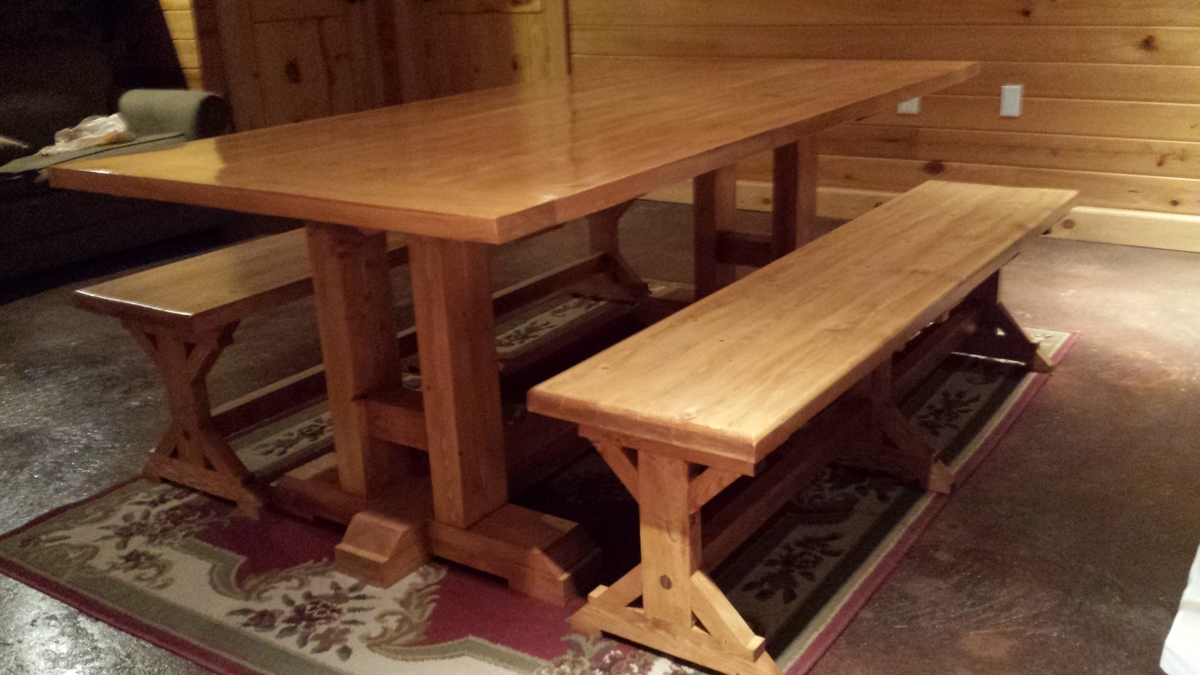
These made the perfect benches for my first farmhouse table.
After spending most of our budget on patios and grass this summer, we needed some furniture. These plans worked perfectly for our space and were so easy to build.
Another weekend project this time built for my brother and his girlfriend. I lowered the console from 37” down to 31” to accommodate a more natural seated eye level for TV viewing. This one was left natural so that they could paint and distress themselves.
After building a small dinghy, and a slightly longer pirogue, I was ready to build something else. I was looking at another boat, but to save my marriage my lovely wife suggested something more... practical. So my summer project was a surprise loft bed for my 12 year old son. He was staying with his grandparents for most of the summer so I had a month or so to work on it. This was my first piece of furniture and I'm very proud of it.
I did modify the plans a bit. I added a shelf to use as a nightstand, because you need a place for your water bottle, book, tissues, etc.
I made the desktop significantly deeper so that it was more useable.
I moved the ladder to the end of the bed and made it wider.
I added a towel bar to one end.
I added a drawer under the desktop.
and lastly I put corkboard on the side of the bookcase.
Sat, 11/24/2012 - 09:23
He was excited. It replaced one of those cheap metal loft beds you can buy at Wal-mart. The old bed was kind of wobbly and made creeky noises every time he moved. he loves having bookshelves and a nightstand. I'd have posted his exited face photo but I ran out of photo slots. =)
I also made him a locker to go with it. So there were no excuses for not hanging up his jacket.
I love this site!
Sun, 03/08/2015 - 10:20
I am getting ready to build my 5 yr old a loft bed. I have been searching for a design I want to use and I would like to more or less use yours, if that's okay? I don't want to use one of the kids designs because I want it to grow with her. I want to add stairs and a higher banister. I'll probably paint it white or something.
Modded the cheap, easy console table for a taller, longer and less deep table with bottom shelf. This particular table ended up being relatively expensive, though. I ended up using poplar since the pine at Big Blue was in horrid shape; pieces were cupped, bowed and splintered. If I was going to make a good looking table -- I needed to start with good looking materials.
I needed a console table to go under a painting that hides my power box. At most, I could spare about 10" of space deep, but had plenty of space side to side, With just a few mods to the basic plan, I bought really nice poplar since knot free = less sanding :-)
I used my Kreg jig to make pocket holes to put this table together; even though it's very long and not very deep, it's very, very sturdy. I added a small shelf using some leftover hardwood plywood that I had from another job, then glued a little scroll on the apron for some extra oomph. I'll probably use some milkpaint, distress it, coat it with poly and it'll be done. I think it looks beautiful!
I built this as a christmas present for my daughter. Three stories was a bit too large, so I modified the plans a bit and cut out the bottom floor.
This was basically half of the entry way palns (I didn't make the top piece). I am yet to have a cushion made for the top but it looks great at the foot of our bed.
This was my largest project to date. Took me a LOT longer than I thought it would (big chunks of 4 weekends, plus sneaking in some time during the week), but enjoyed the process. The devil is in the details as always. The raw dog 2x6's took me hours upon hours to sand down to an acceptable state of smoothness. For the ladder, I kinda winged it and made it straight. My kids' room is really small, so every extra bit of square footage matters. My oldest is 5 and is fine going up and down. My youngest is 3 and hasn't quite figured it out yet, but that's probably for the best anyway. I also winged it a bit on the guardrails. I used pocket screws wherever possible in the joinery. I was planning on painting this since I knew staining/sealing would be a pain. But in the end, I'm glad I took the time (even though I was hating life during the staining). The kids are thrilled with the results. And I am VERY grateful for the plans you provided Ana! Thank you!
This was my first woodworking project ever. No woodworking experience at all and very little experience with power tools. I am super inspired now and have tons of other ideas lined up.
This was my first big project. I made one of Ana's planters to get my feet wet. I changed the dimensions a bit. I made it counter height and shorter in length. I accidentally bought larger wood for the top, so it's a bit heavy. I built the top on the deck after I put the base together to save time and my back. I went with a Behr solid color stain. I had some frustrating moments but I am thrilled with the results. You can't buy a solid wood table for $150!
I absolutely love it. I can't wait to make more furniture.
My wife told me she would like a pair of matching dog crates built to fit the space between the wall and the dryer in our laundry room. I built her two crates (25L x 17W x 18H) and painted them to match the colors in the laundry room. They fit the open space exactly and sit on top of each other. The entire project took about 2 days to finish and set me back around $80. They seem to work perfectly for our dogs, both of whom are on the smaller size of medium. They really tie the space together and add a wow factor to an other wise normal laundry room.
Just changed the back a tiny bit. My nieces and nephews love these! Thanks for the great plans.
Wed, 09/17/2014 - 15:25
Basic kitchen island
Combined a few different plans from Ana White and made a tiletop coffee table and matching end table.
TV console is next :)
I built this as a memory bench in honour of my father who died on 27th January 2016. Because of you Ana you gave me the confidence to start building furniture. But because of him I had the skills and desire.
I modified the Emersen nightstand plans to use edge-joined 1x6s instead of 3/4” plywood since I didn’t have a great way to cut 15 1/2” widths of plywood. I eliminated the face frame, used a 1x8 for the drawer face, and used 14” euro slides for the drawer. This was my first time making anything with a drawer and I was a little nervous about it but it works perfectly! One nightstand down, one to go!