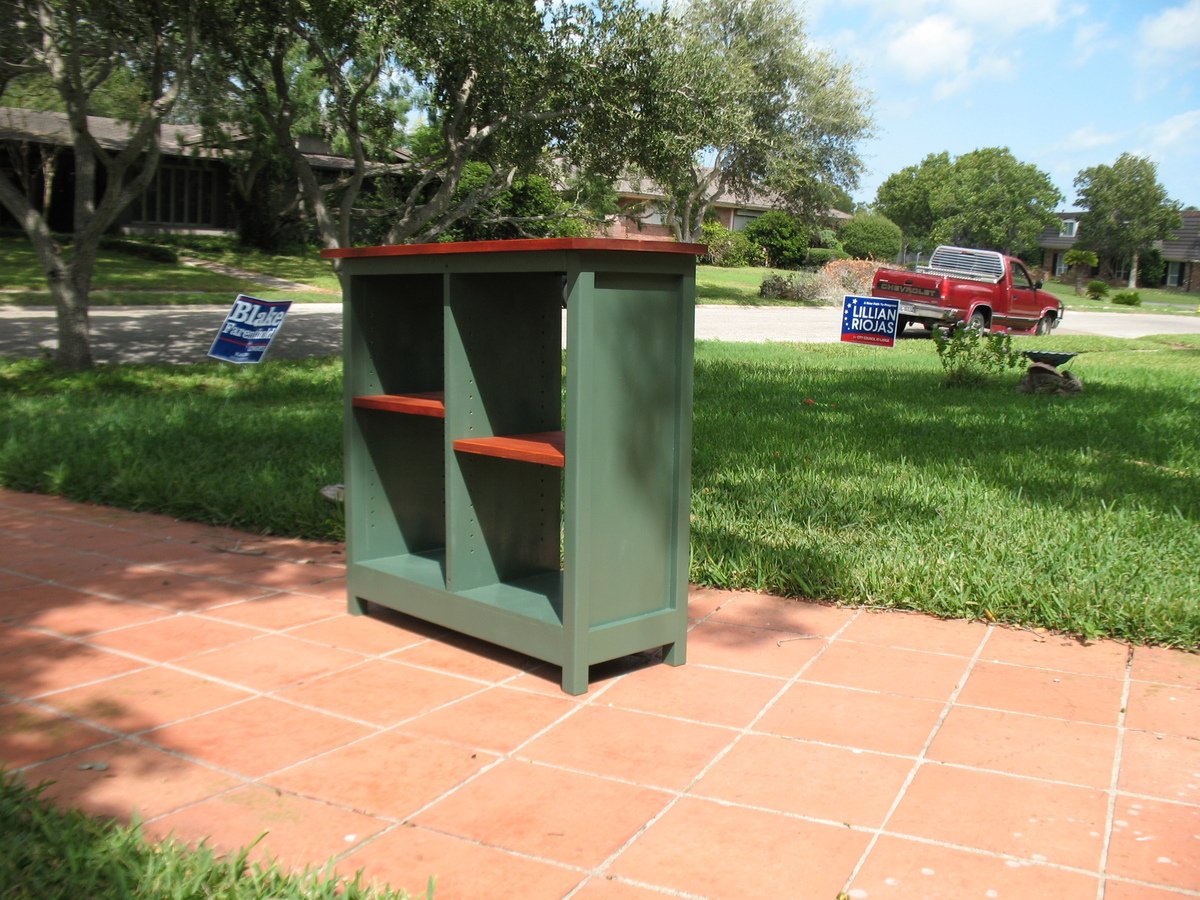
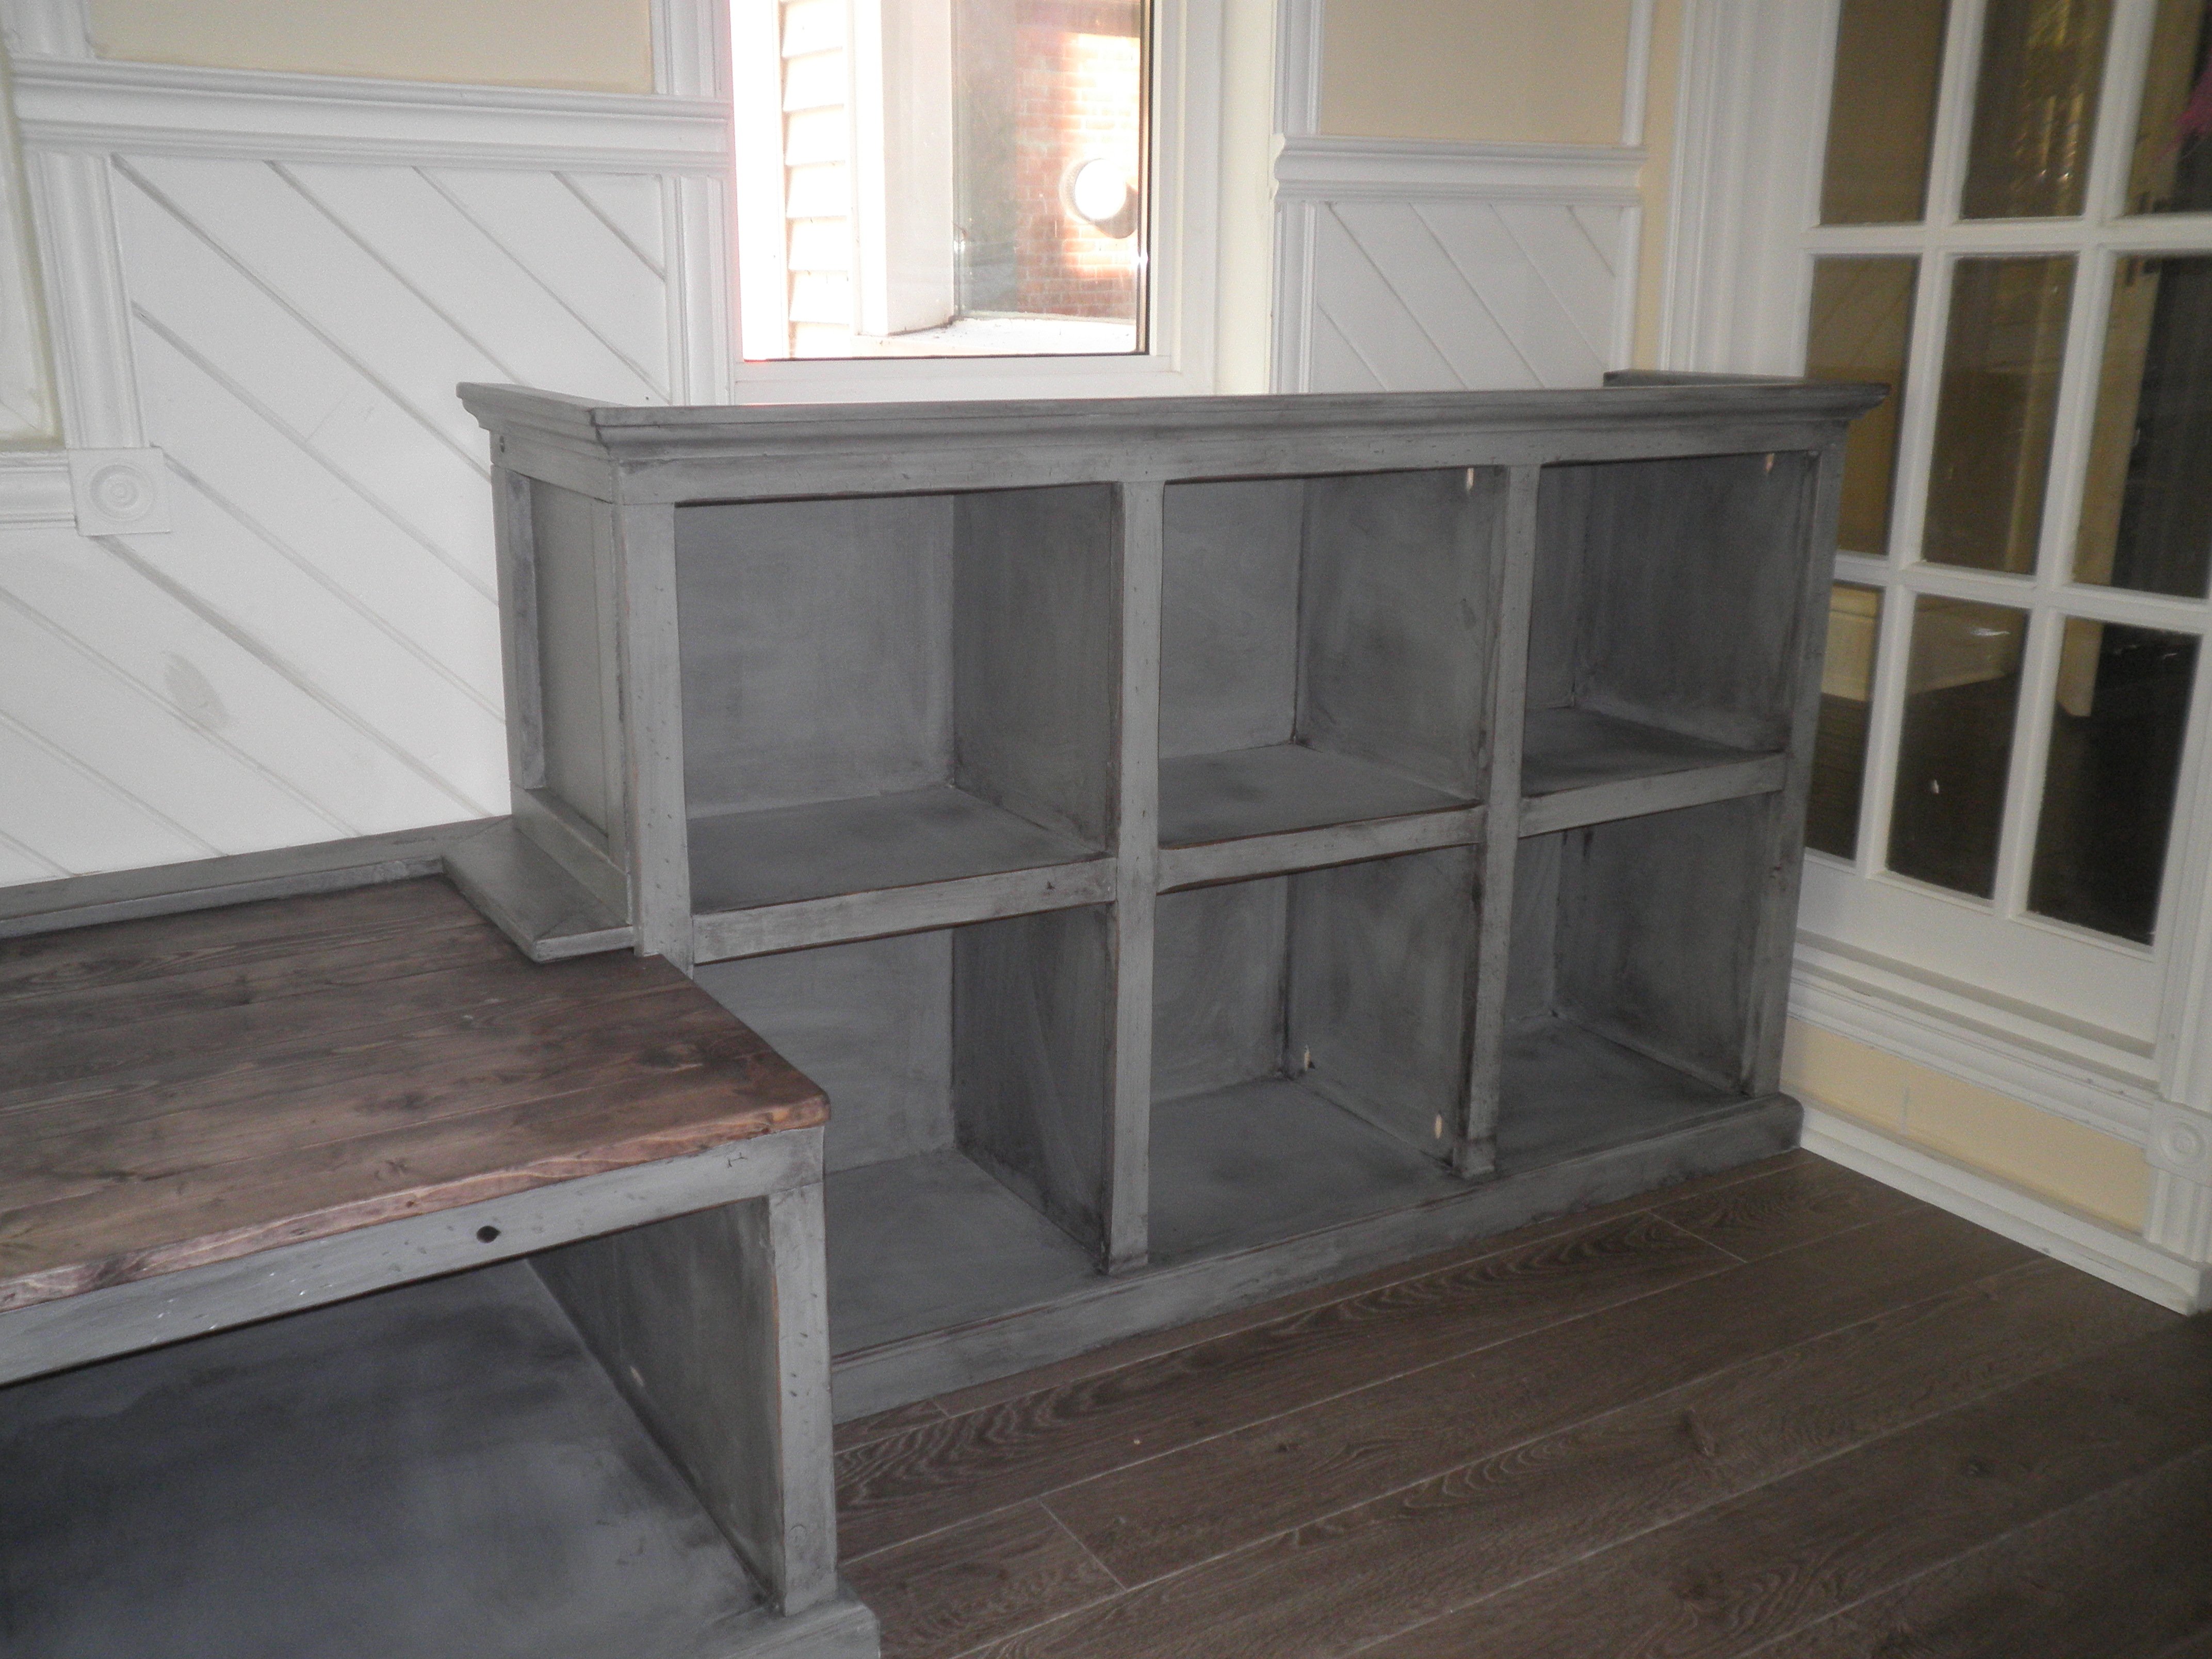
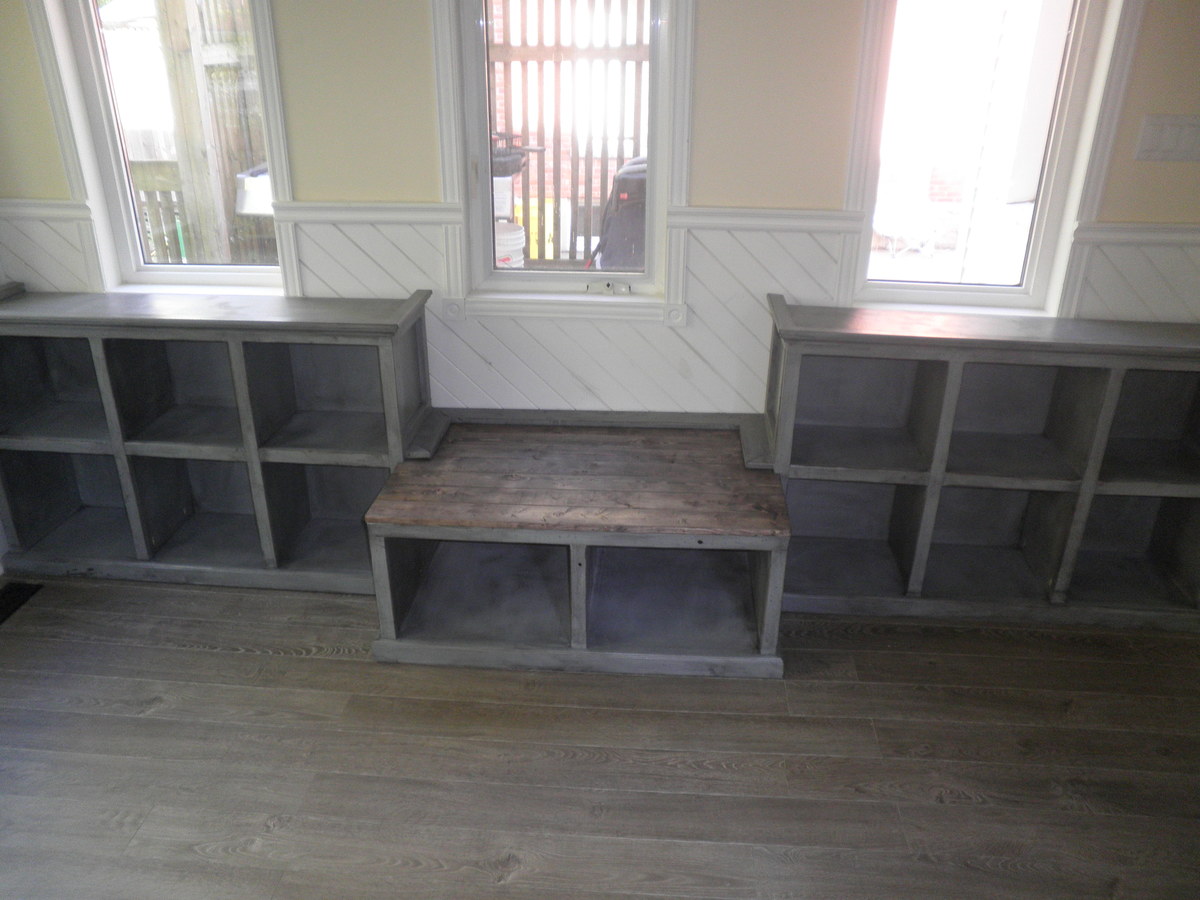
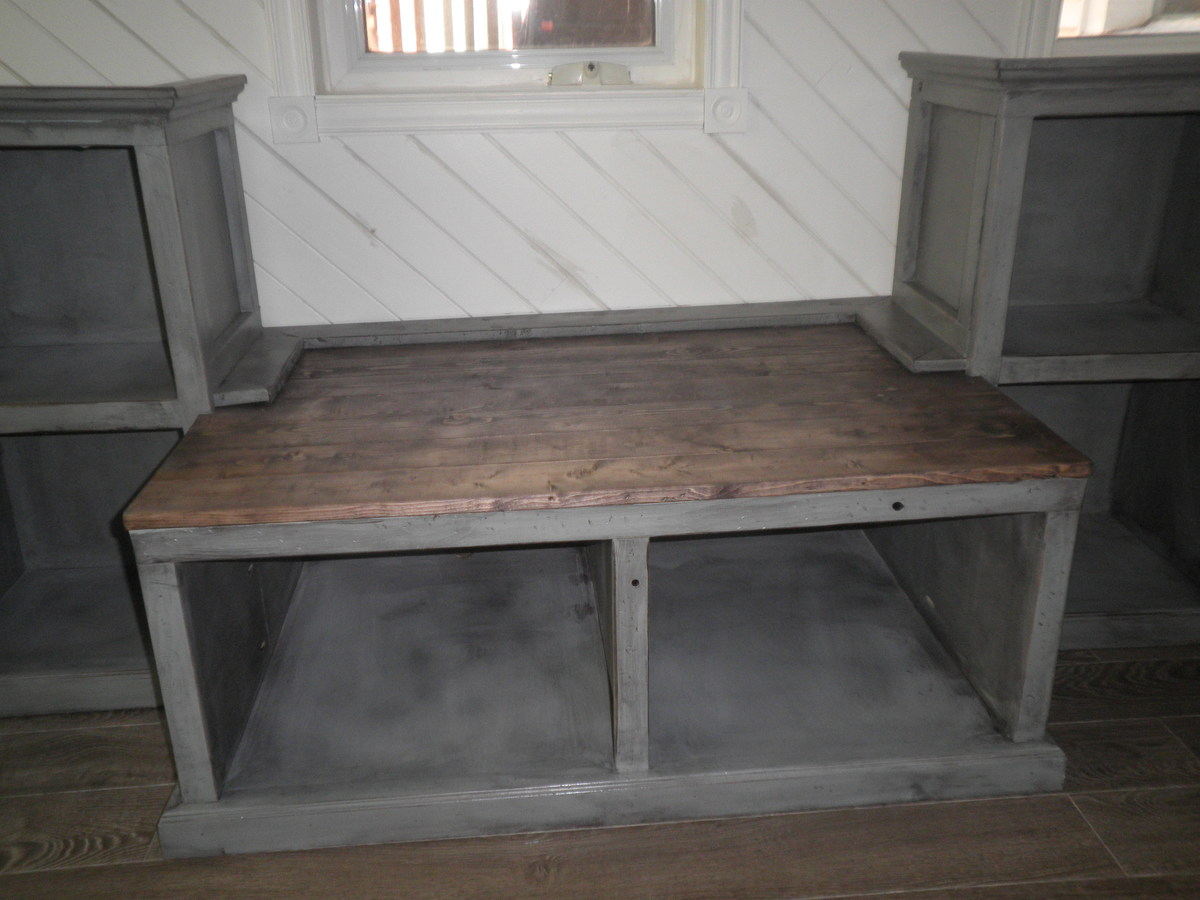
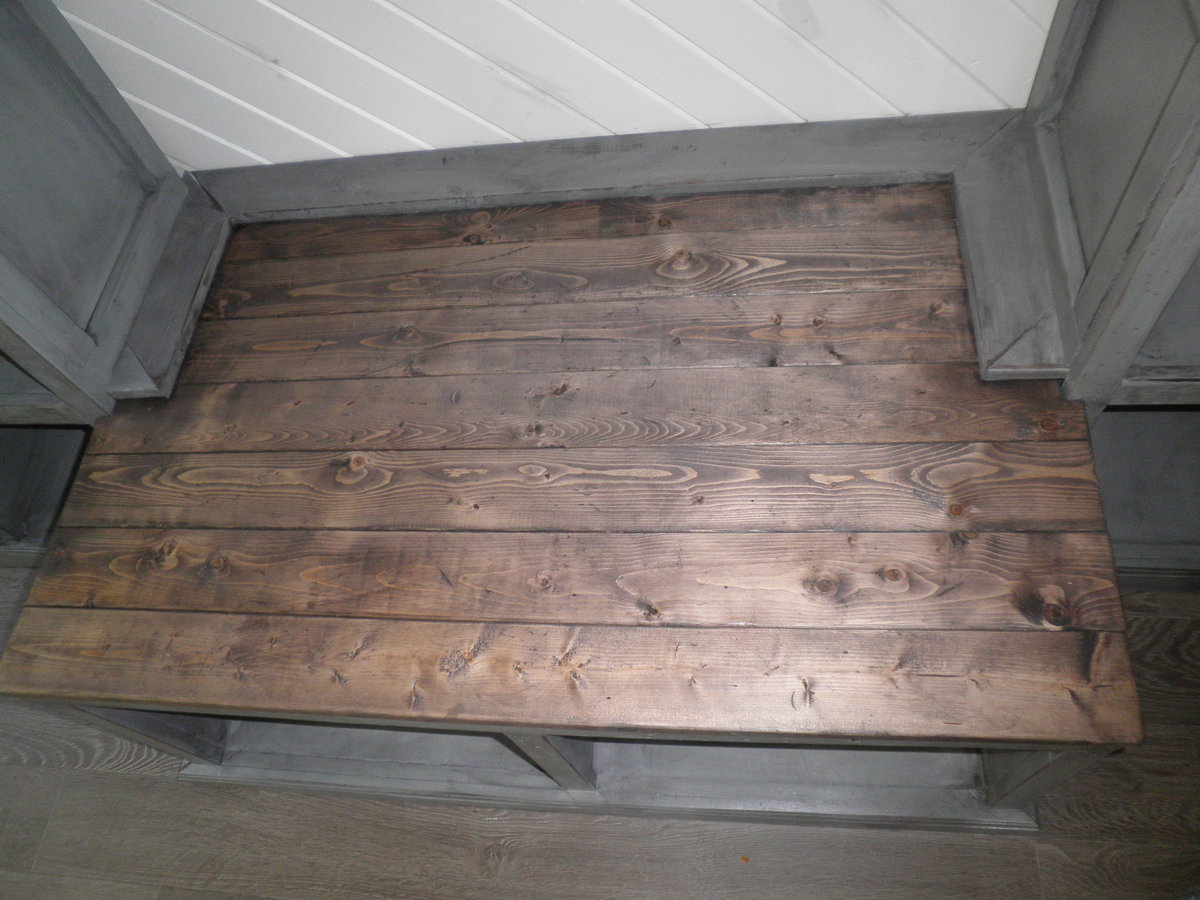
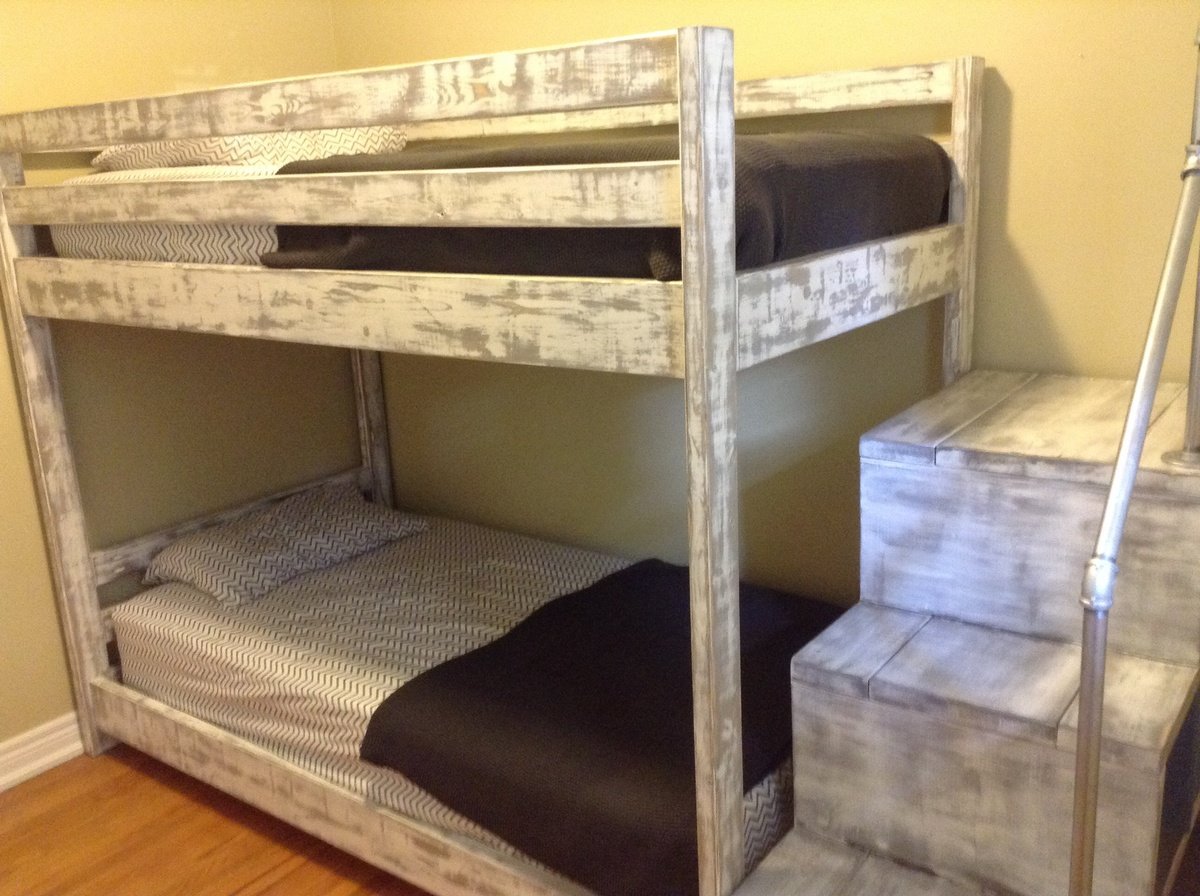
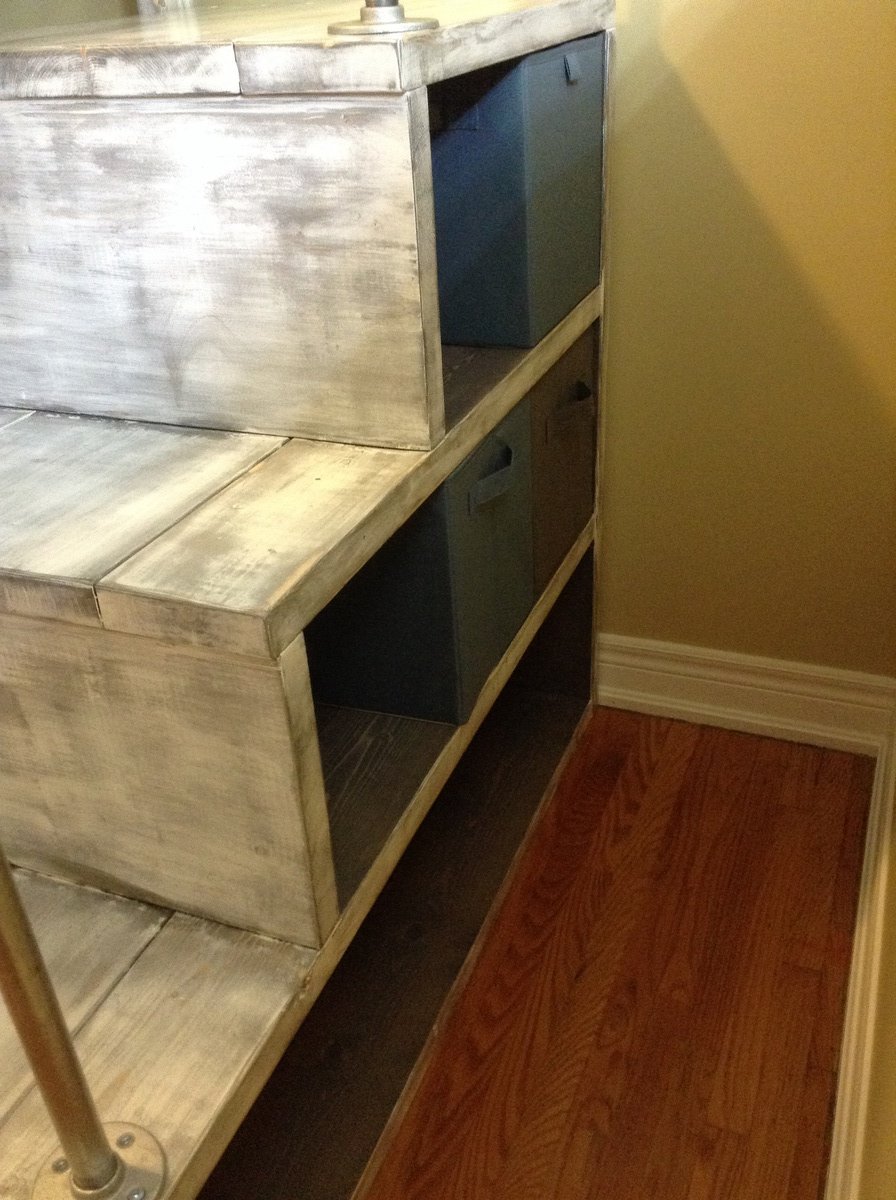
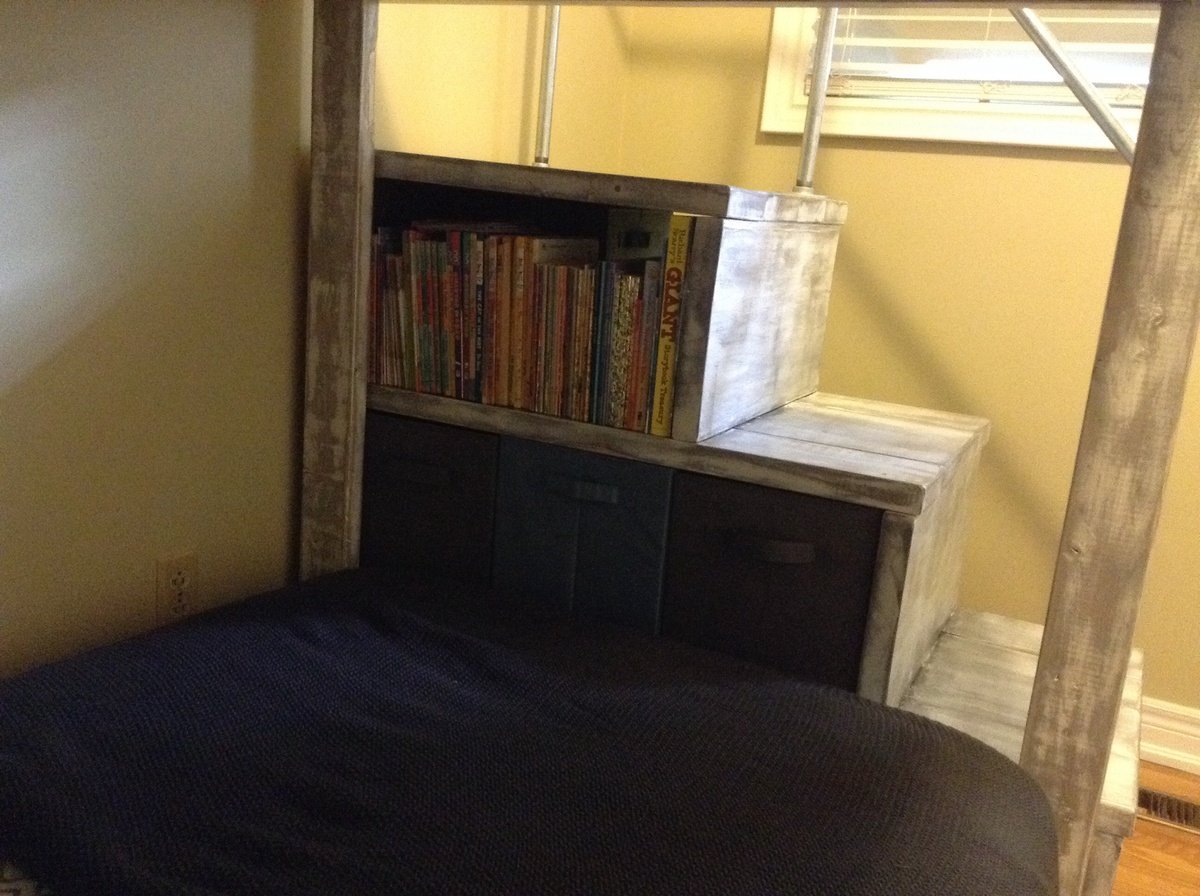
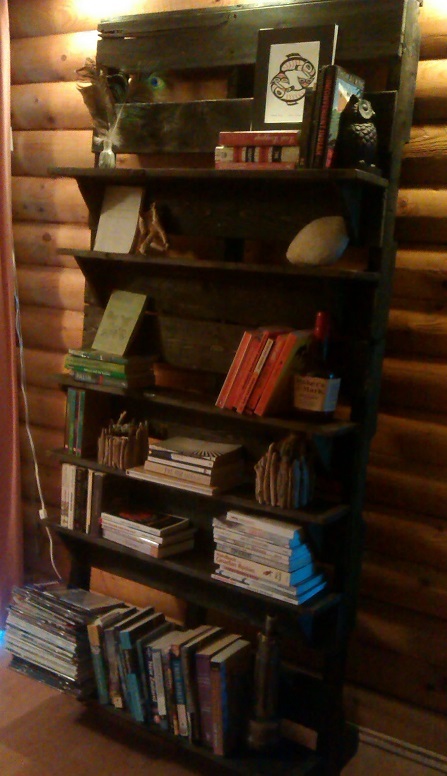
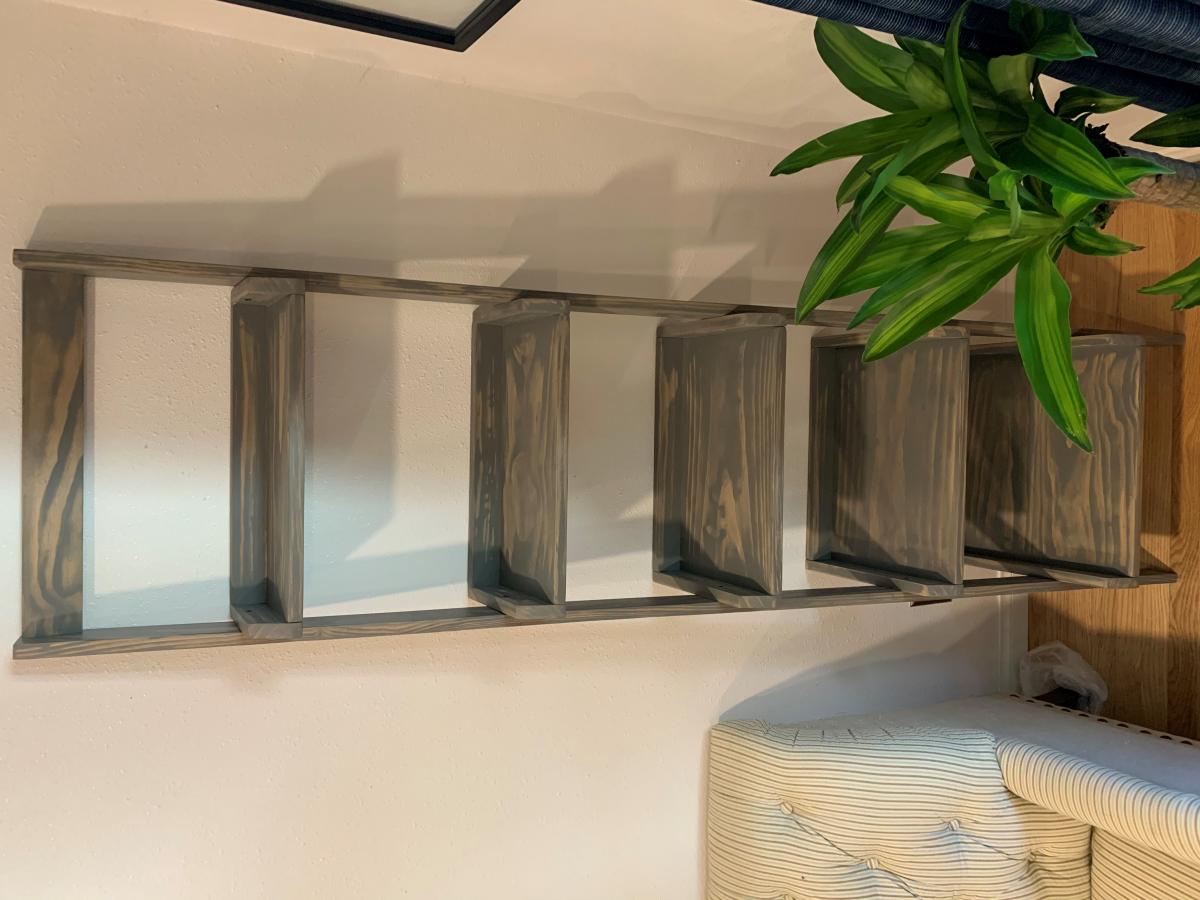
My Version - 4 Cubby Bookshelf
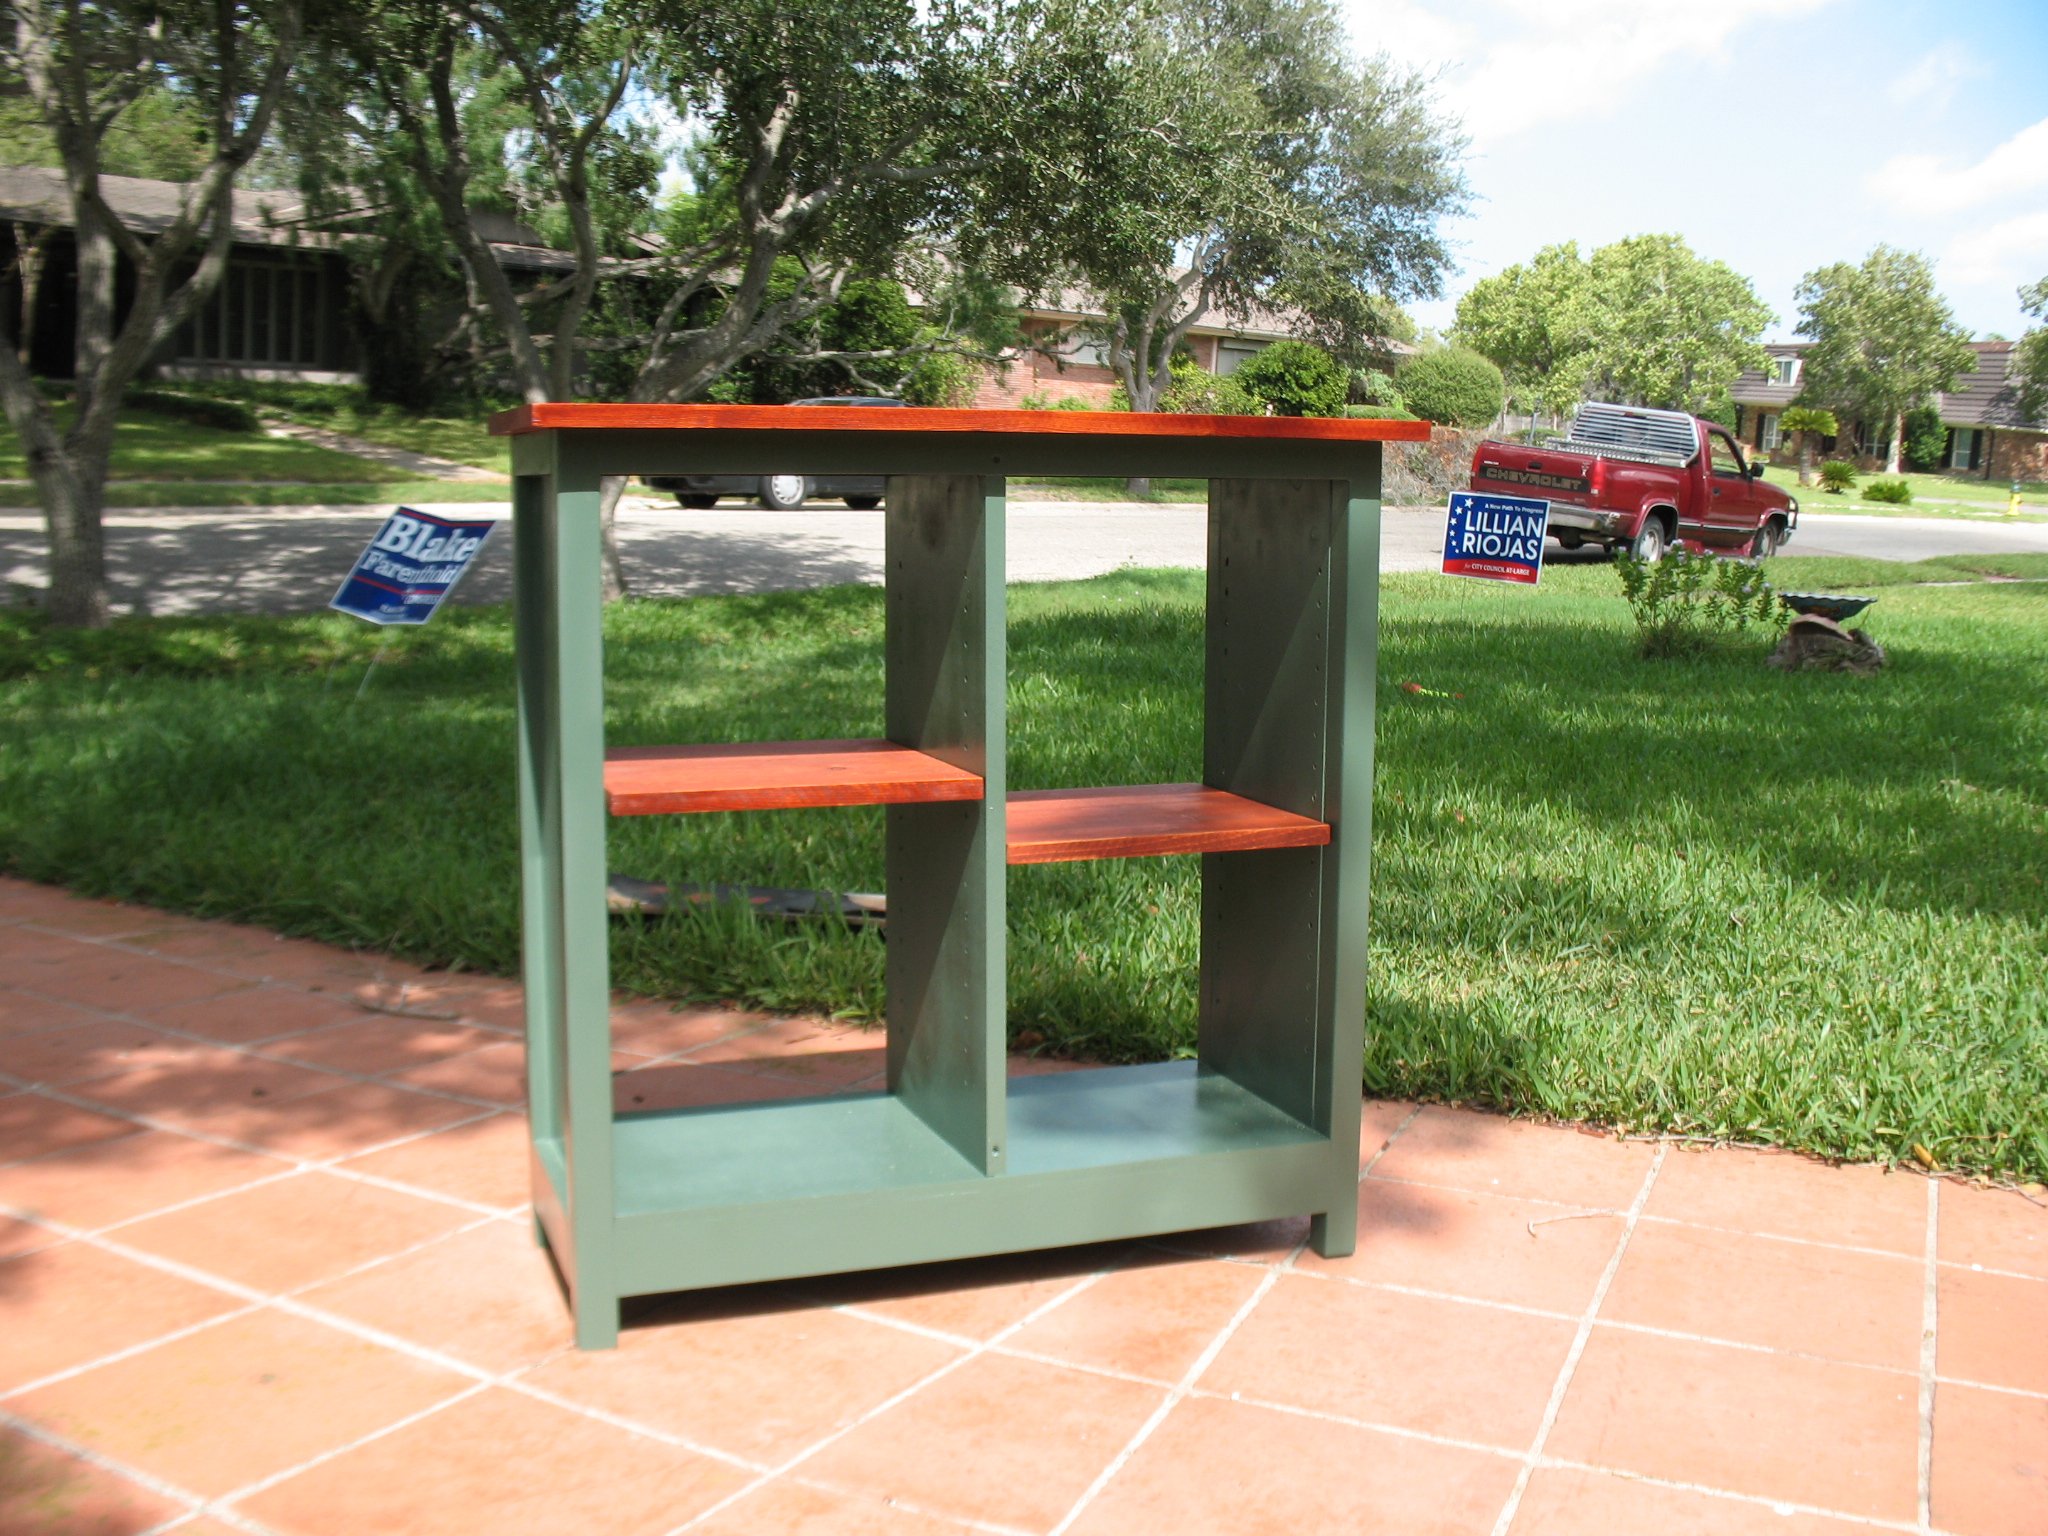
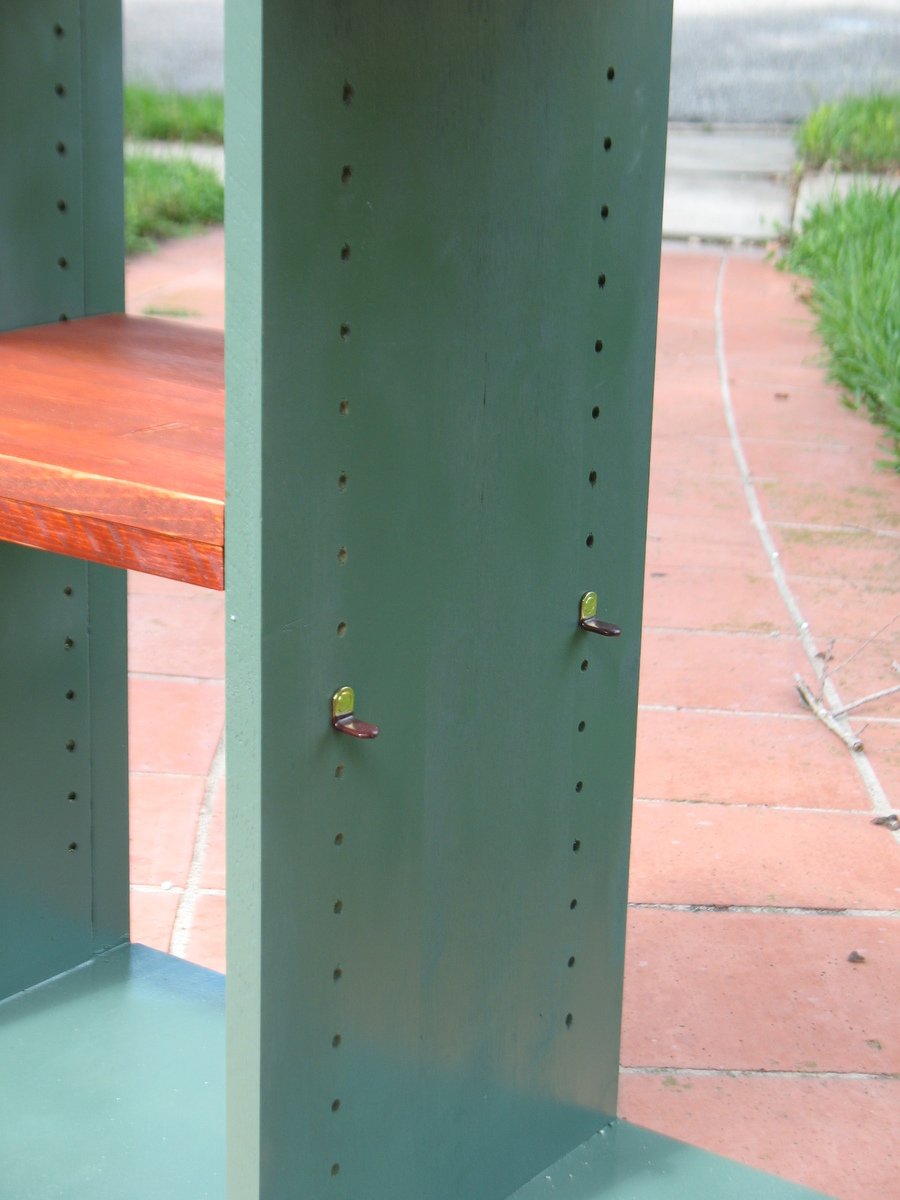
I was inspired by Ana's 4 Hole Cubby Bookshelf and a bookshelf I saw on line one night. So I incorporated the two somewhat. I took stair parts for the corner legs and connected them to form a frame with 1x3 on the bottom and 1x2 around the top. Then installed the inside side walls such that the ends are inset. I added a top with an inch or so of overhang on the sides and front. I also made the two shelves adjustable with my new Kreg Shelf Pin jig. It was so easy and accurate. Dimensions are about the same as the 4 Hole Cubby but I admit I winged it at times. Came out very nice and now the wife wants to add another shelf and I think there is plenty of room.
Built from Plan(s)
Estimated Cost
About $50. I overbought the wood and the legs and top cost $16 so I think $50 is a good guess.
Estimated Time Investment
Day Project (6-9 Hours)
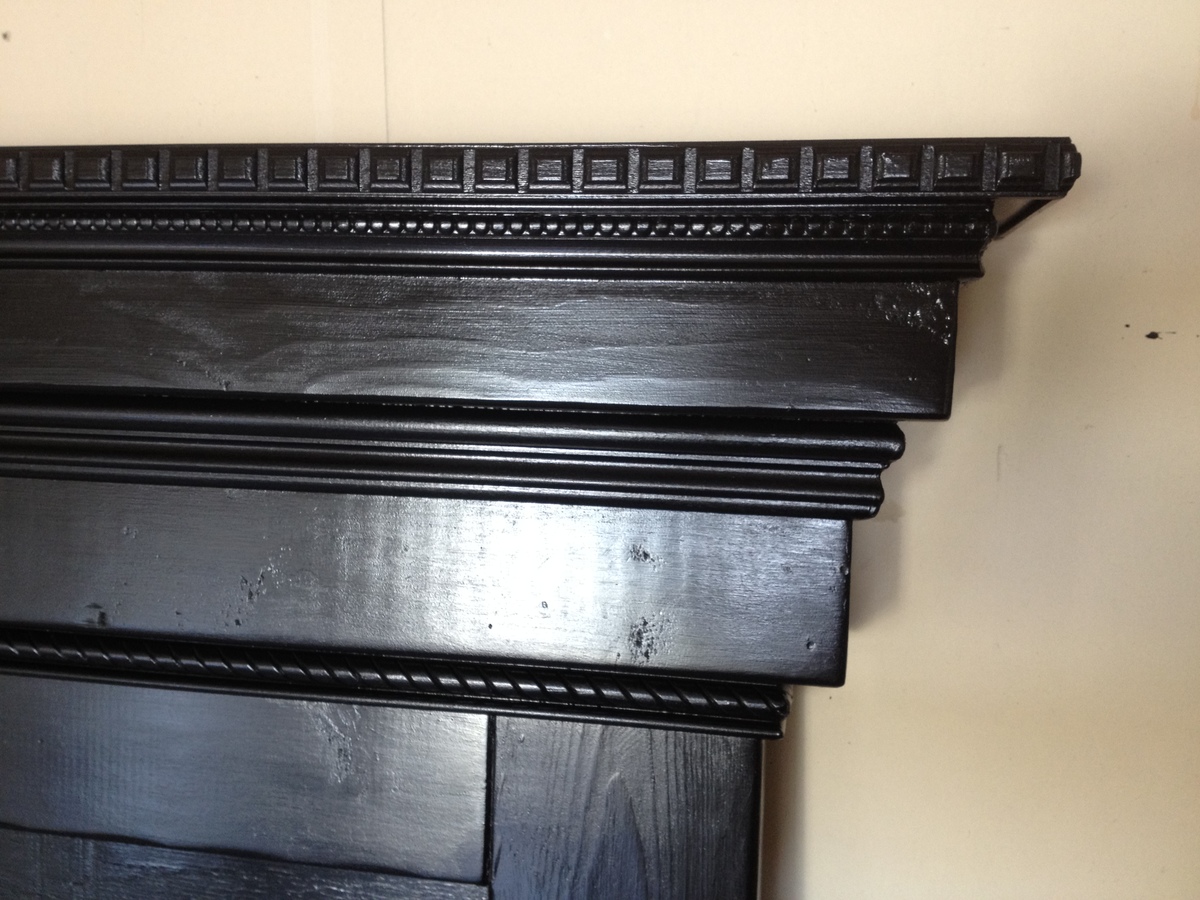
Finish Used
Stain - Minwax Gunstock 231
Paint - Rust-o-leum Moss Green enamel spray
Paint - Rust-o-leum Moss Green enamel spray
Recommended Skill Level
Intermediate


Comments
Jake
Fri, 10/05/2012 - 04:50
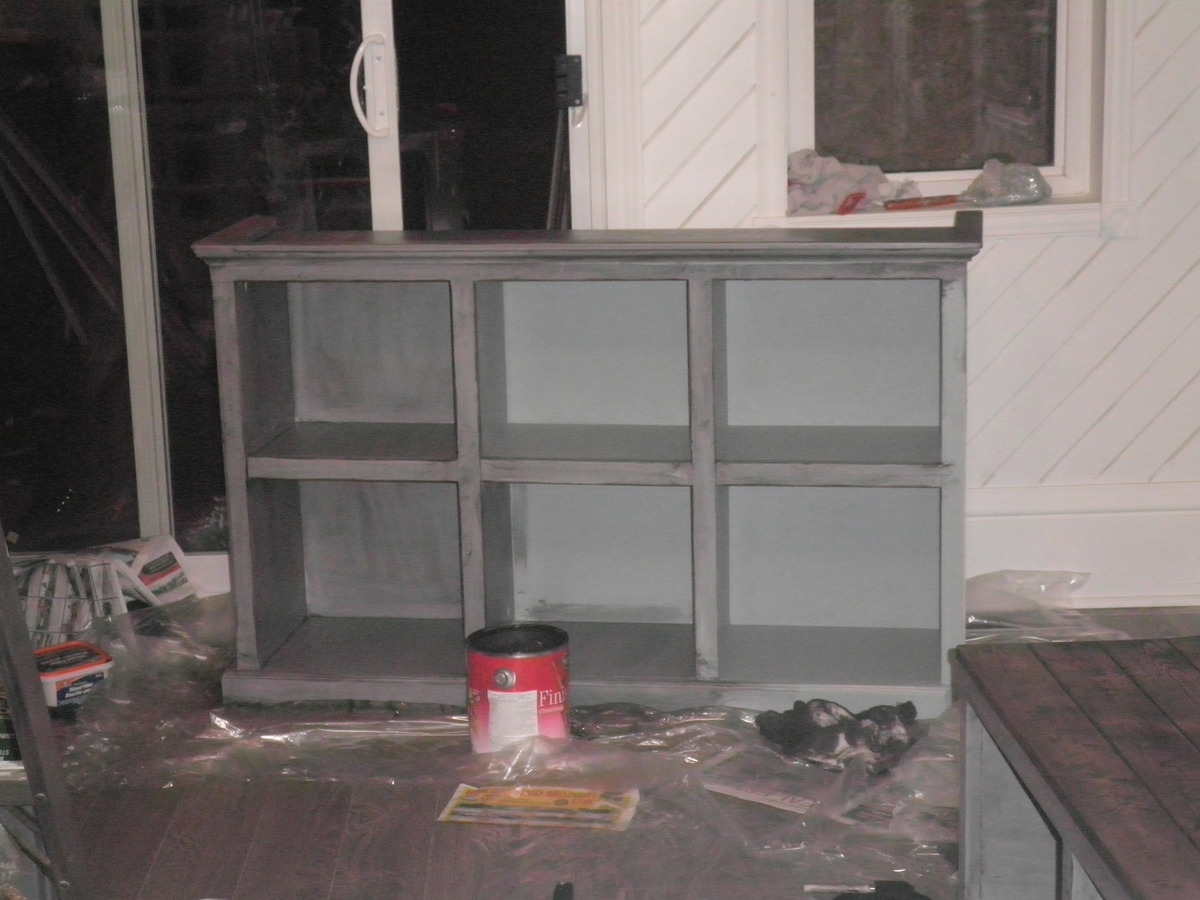
I Cannot Tell A Lie
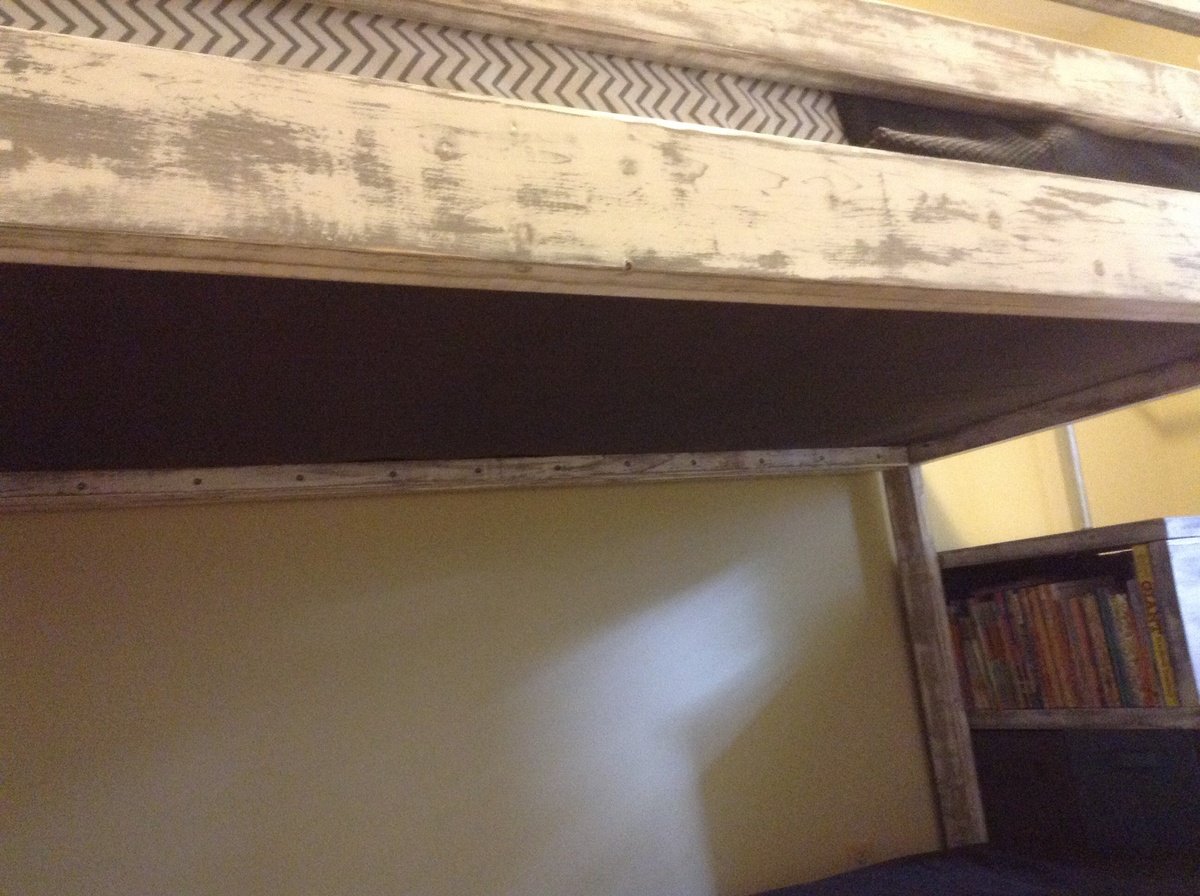
If you have not noticed I put the top on facing the back of the bookshelf. How stupid can I be? I'll answer that question. I am often stupid but at least not dangerous. I will add trim to the front to hide the stuff I don't want you to see and then post a new photo.