Desk X Build
Full timelapse and thoughts in the imgur album.
This is one of my favorite things i've built yet. Its cute, small, and sturdy!
I love my new photo ledges. I had a huge space on my wall and these ledges are perfect. The ledges were so easy to make. I got a kreg jig for my birthday (I never thought I would ask for a tool for a birthday present) and I have gotten so much use out of it. I saw similar ledges at pottery barn for 10 times the cost of this DIY project. I saved so much with these ledges. The kreg jig has already paid for itself. The ledges make it super easy to switch out photos and I love being able to display so many fun photos. Everyone who sees these ledges loves them!! This was my first project. Thanks Ana for the great plans!
I used the rustic x coffee table for my inspiration for this project. I found the mechanism for the lift top table on the web and was able to work it into my design. I used oak plywood for the top instead of the 2x6's and trimmed out the rough edge, however, I have thought about redoing the top with the 2x6's to match my tv stand and end table. I am still really happy with the way it turned out though. After posting this I decided to upgrade the top as I had described and I am way happier with the look of it!!
Tue, 01/19/2016 - 13:19
Great job with this project, it looks amazing. Thanks for sharing!
Wed, 04/13/2016 - 10:43
Where did you find the mechanism for the lift top table on the web & how much was it I would like to try this project.
A Montessori (full size) bed made for my grandson Jack’s 1st Birthday.
Bookshelf for my son.
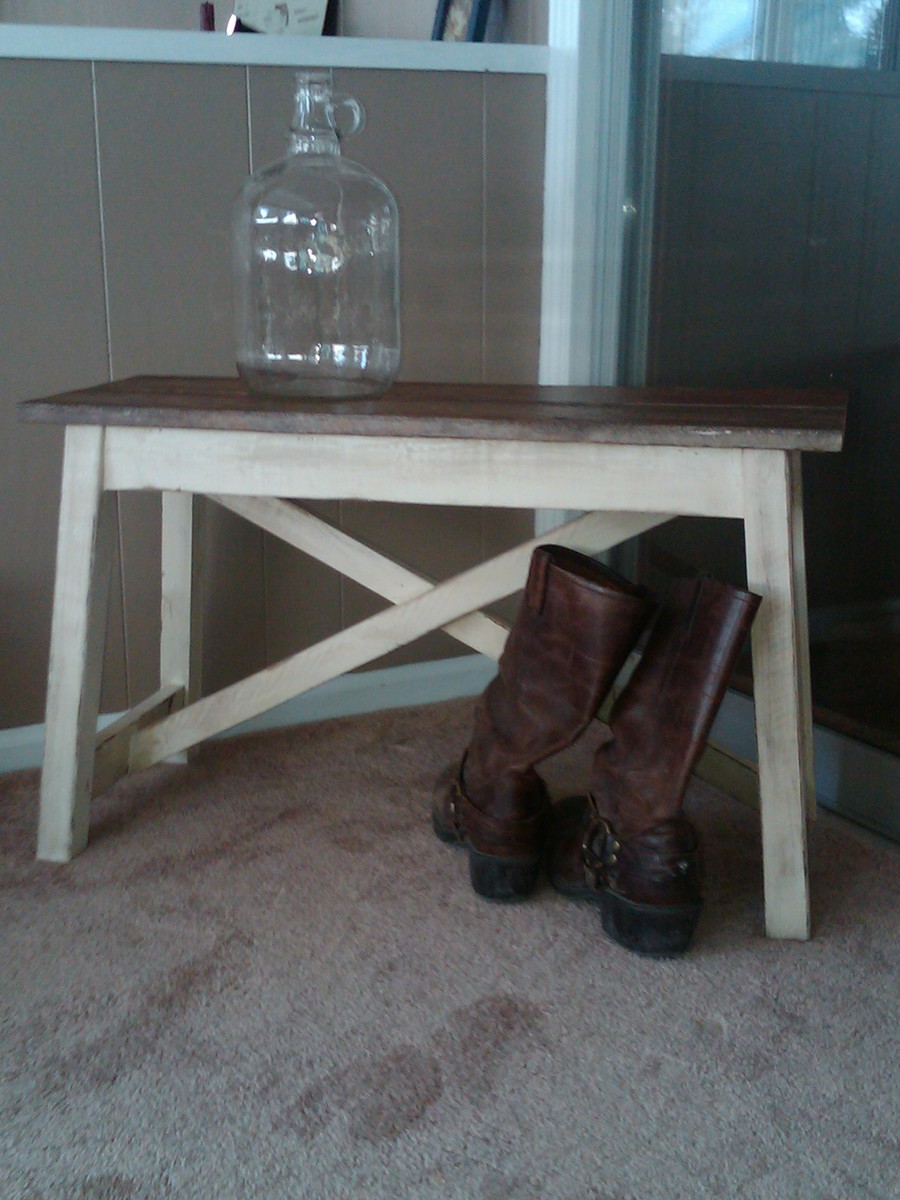
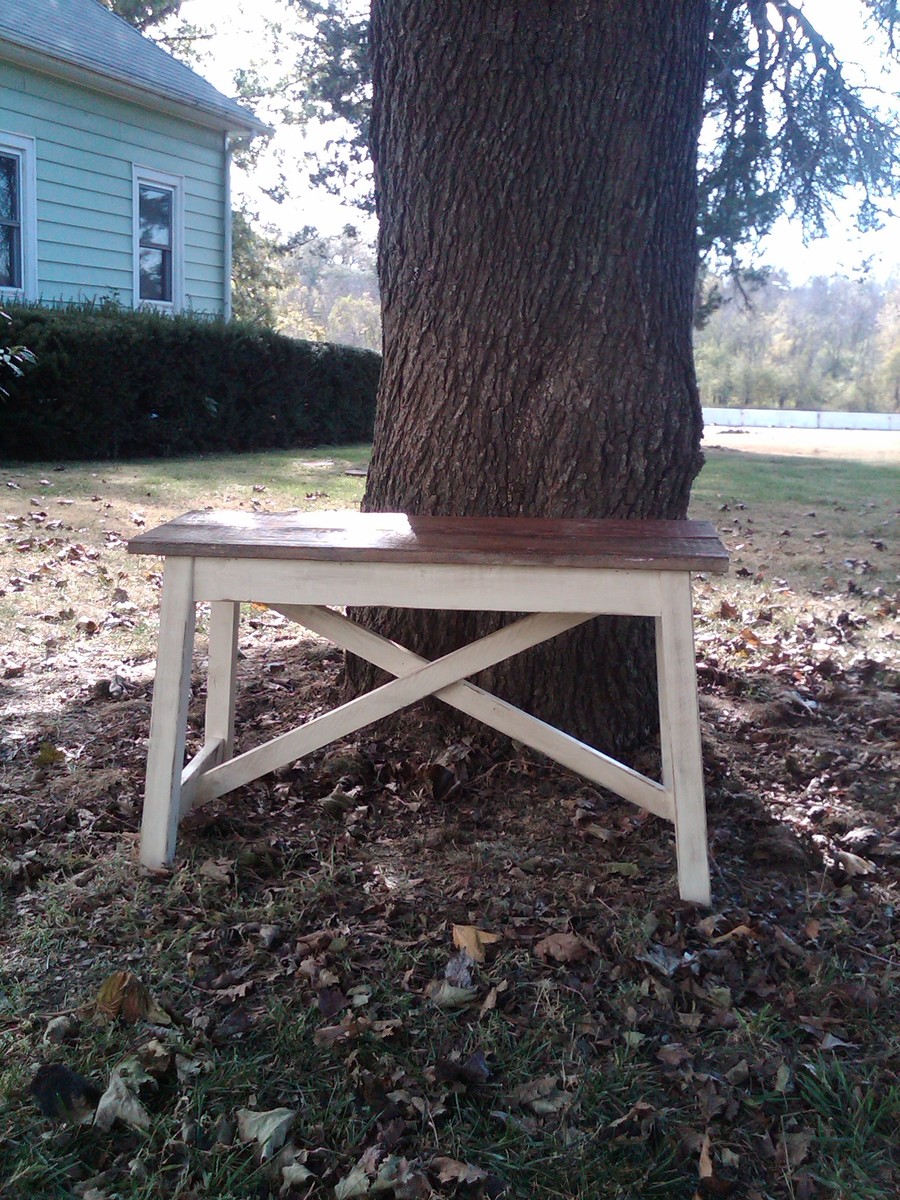
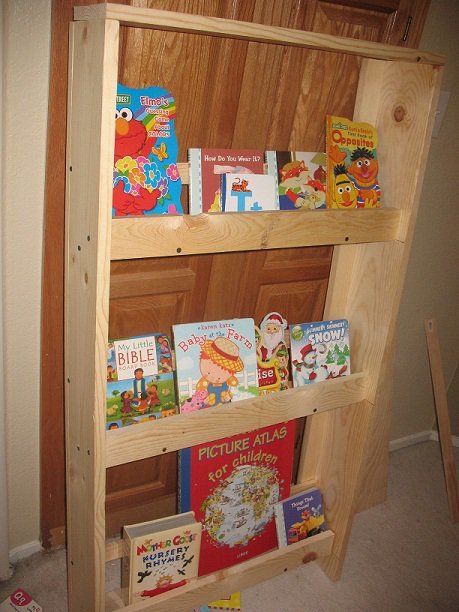
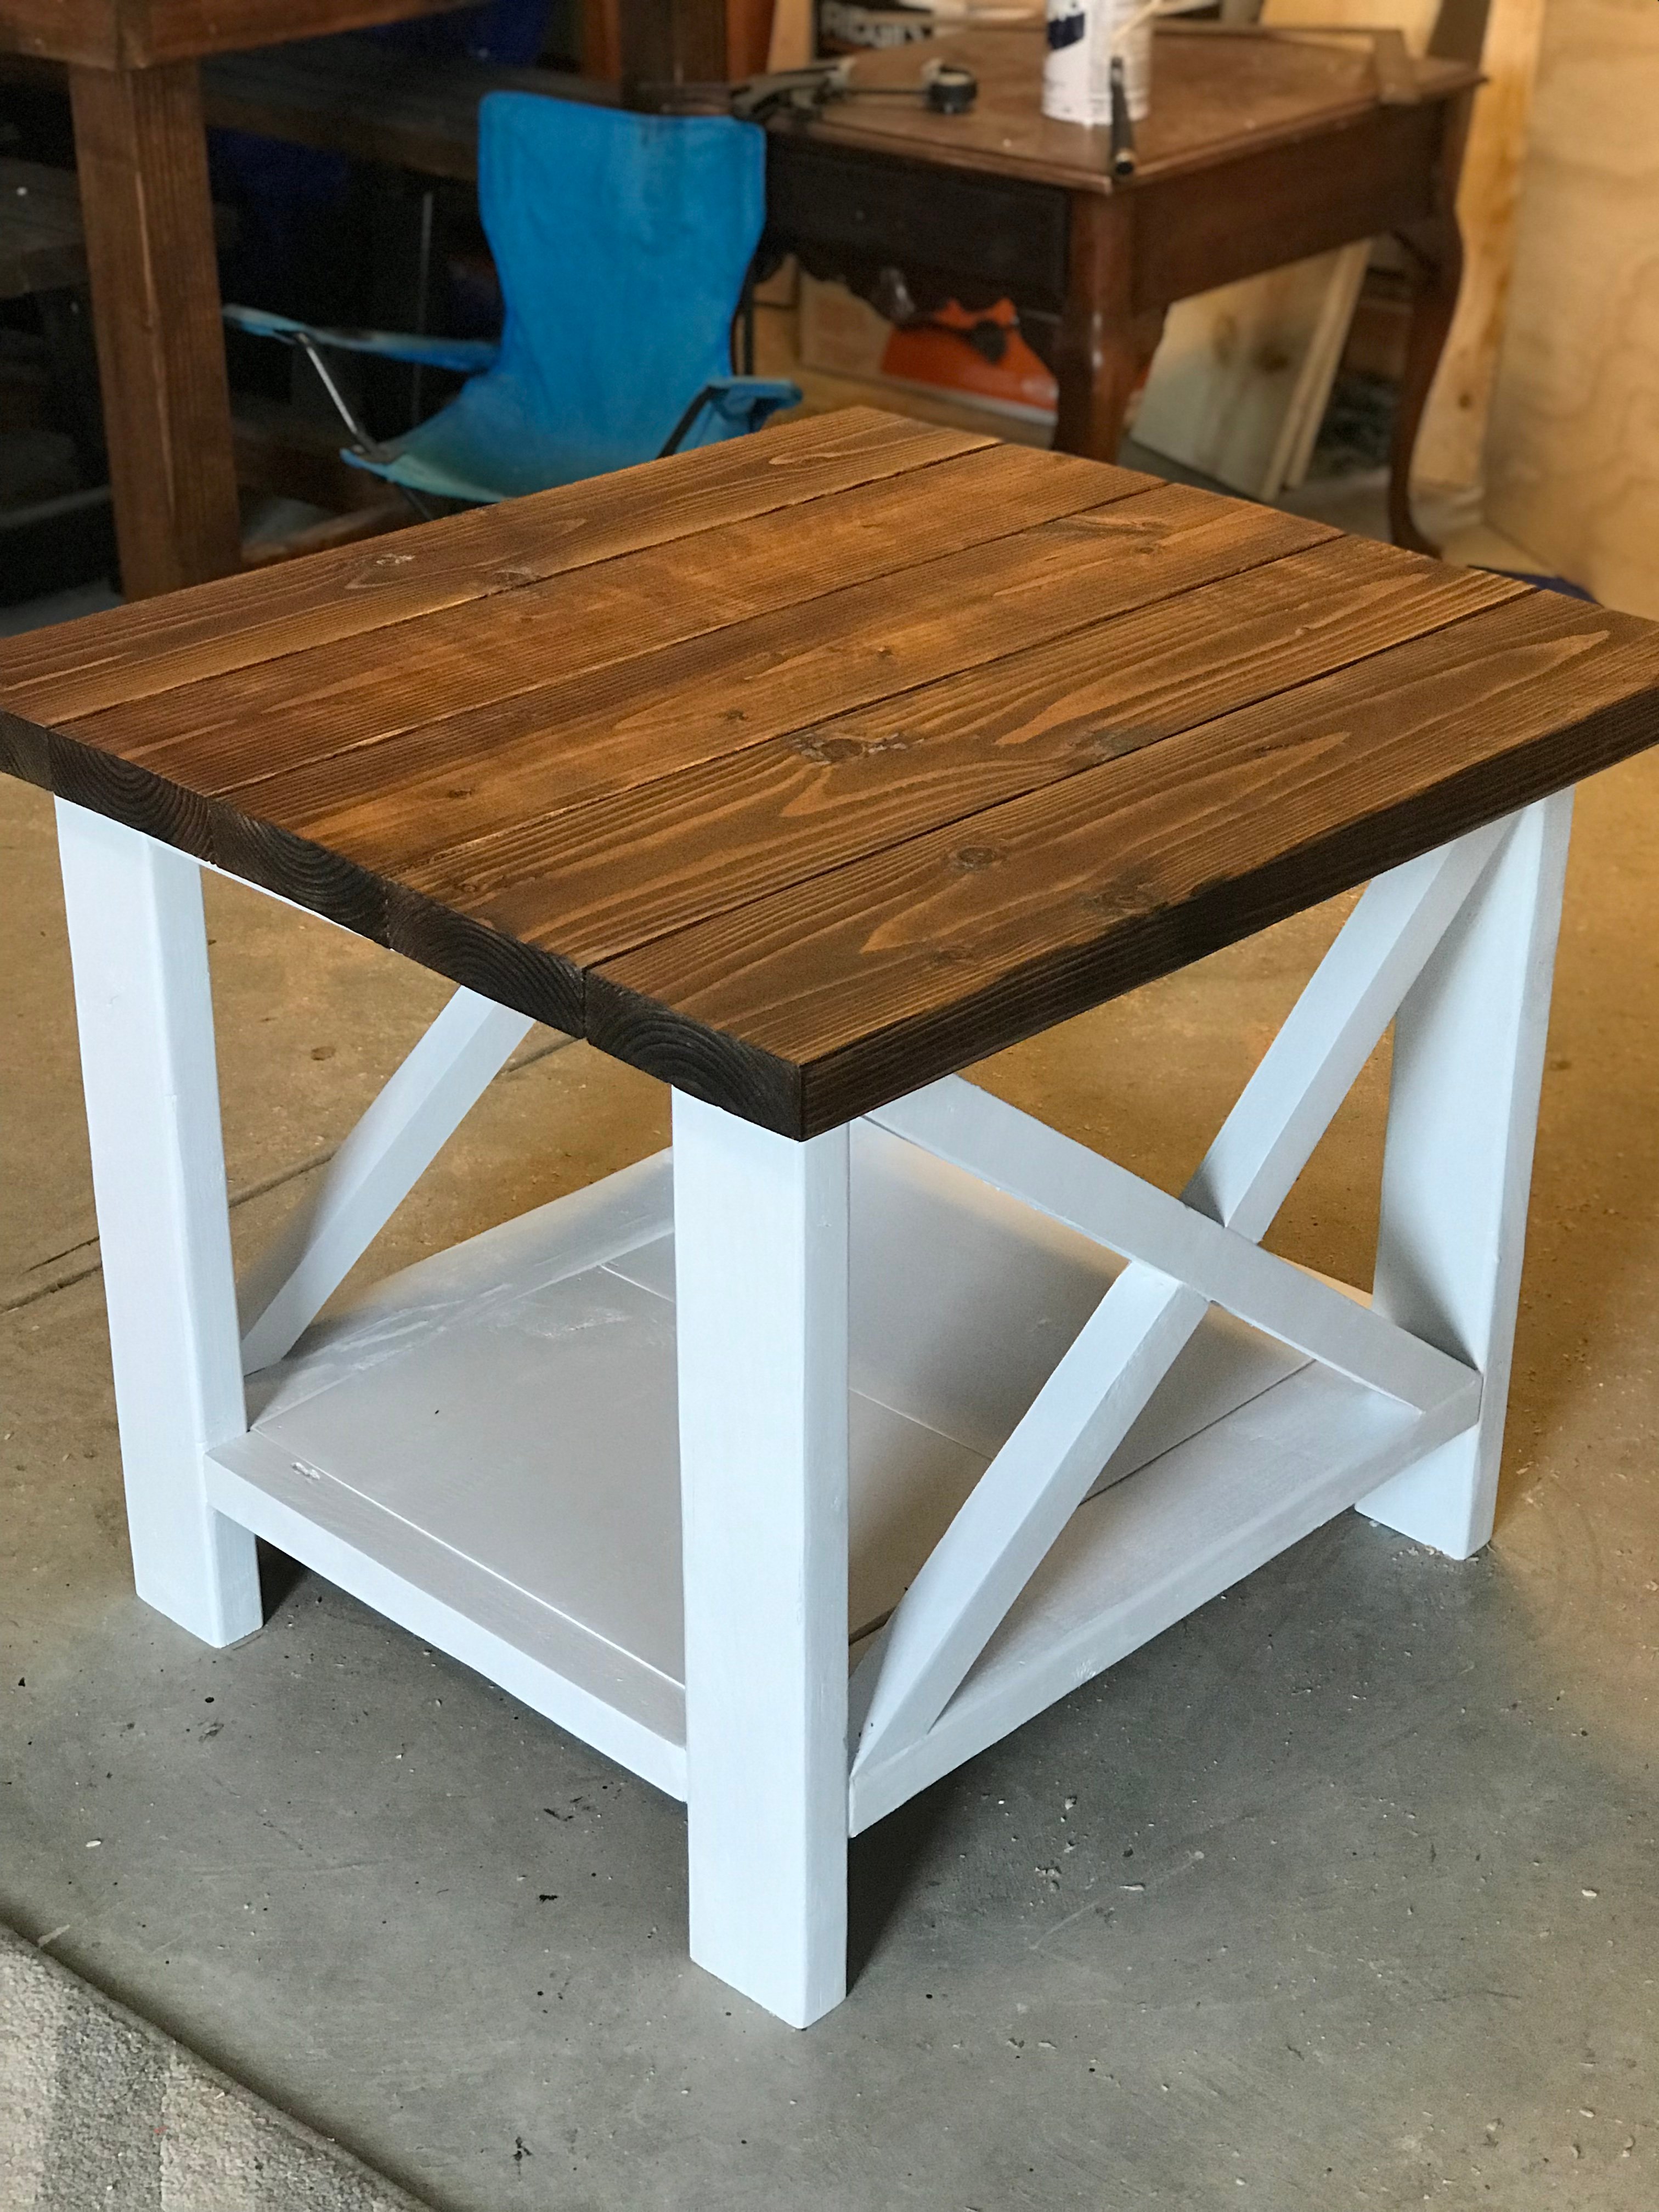
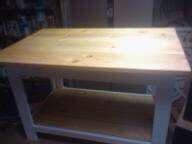
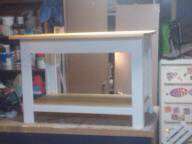
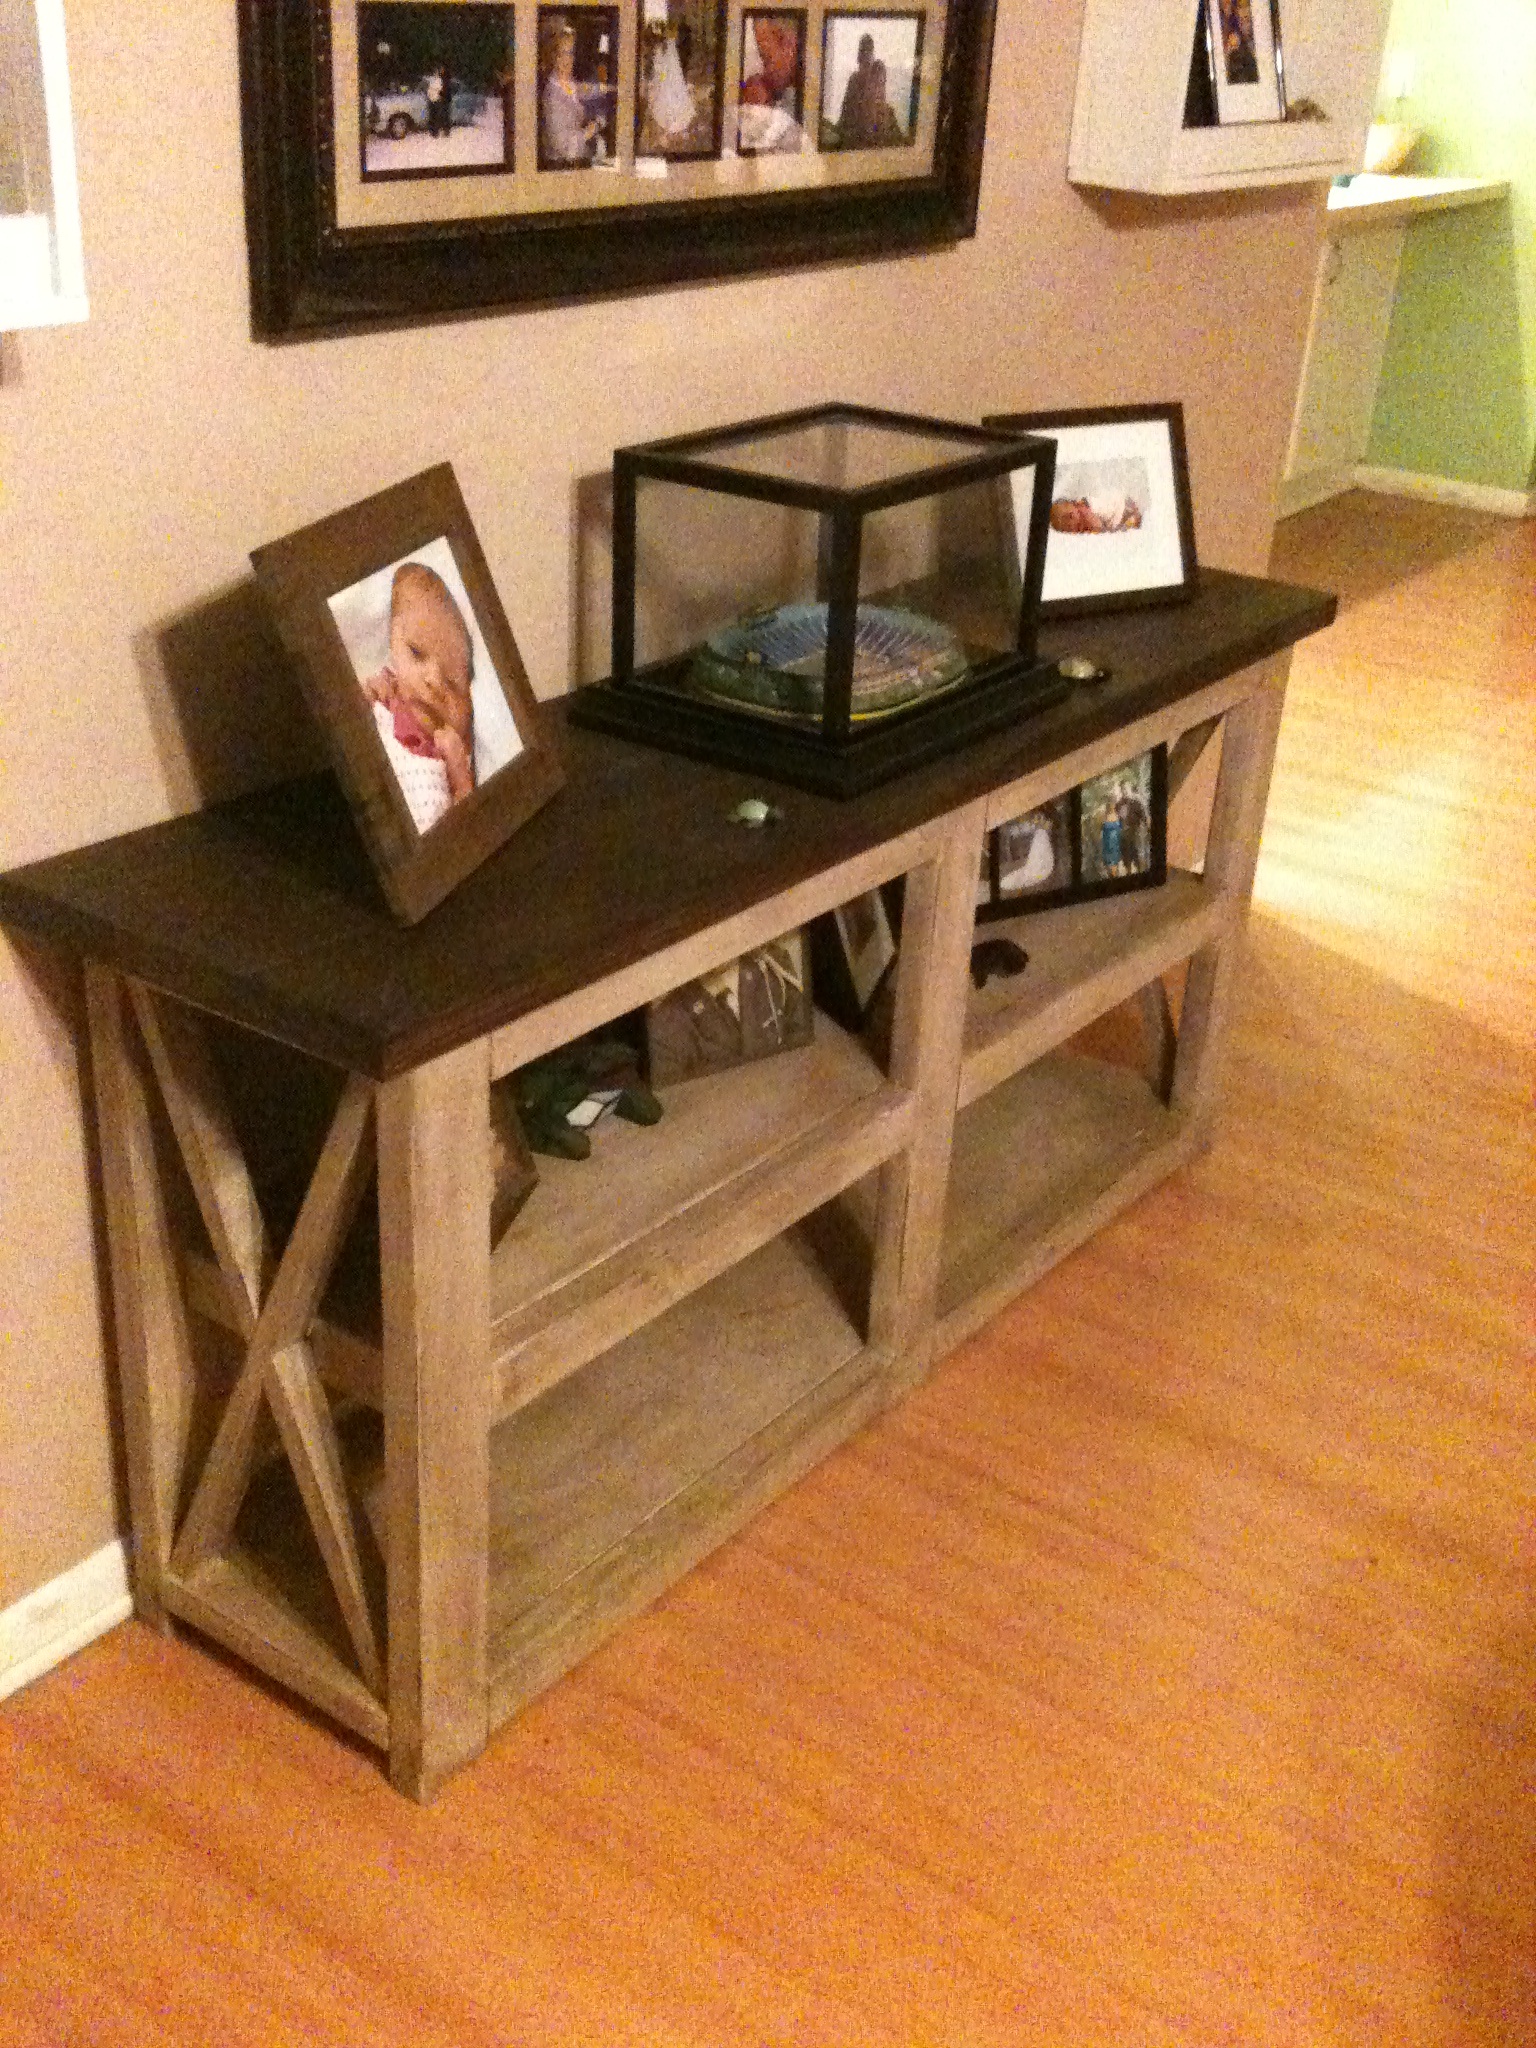
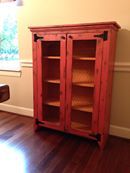
This was my first build and I think it turned out pretty nice. I had been considering a new bookshelf for my daughter's room for some time because the one we had was large and clunky. This takes up significantly less floor space which makes her room seem so much larger.
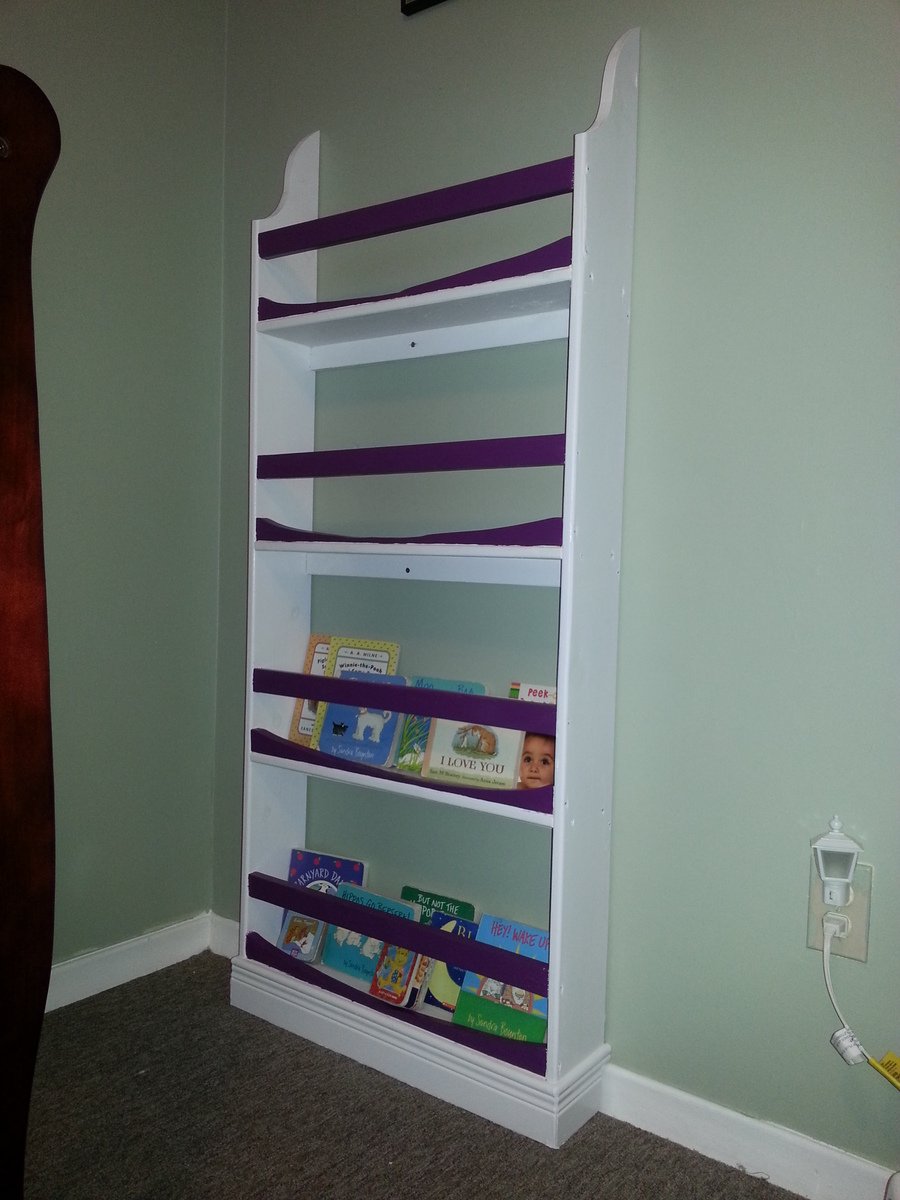
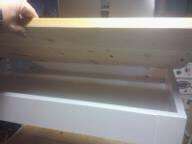
The hardest part of this I found was cutting the arches out of the 1x2s. I noticed a lot of other people omitted that part, but I thought it was a neat way to add some interest so I really wanted to keep it. Unfortunately, they aren't exactly symmetrical and the cuts were very jagged. But I knew I was going for a dark paint in those spots so with a little bit of sanding you can barely tell.
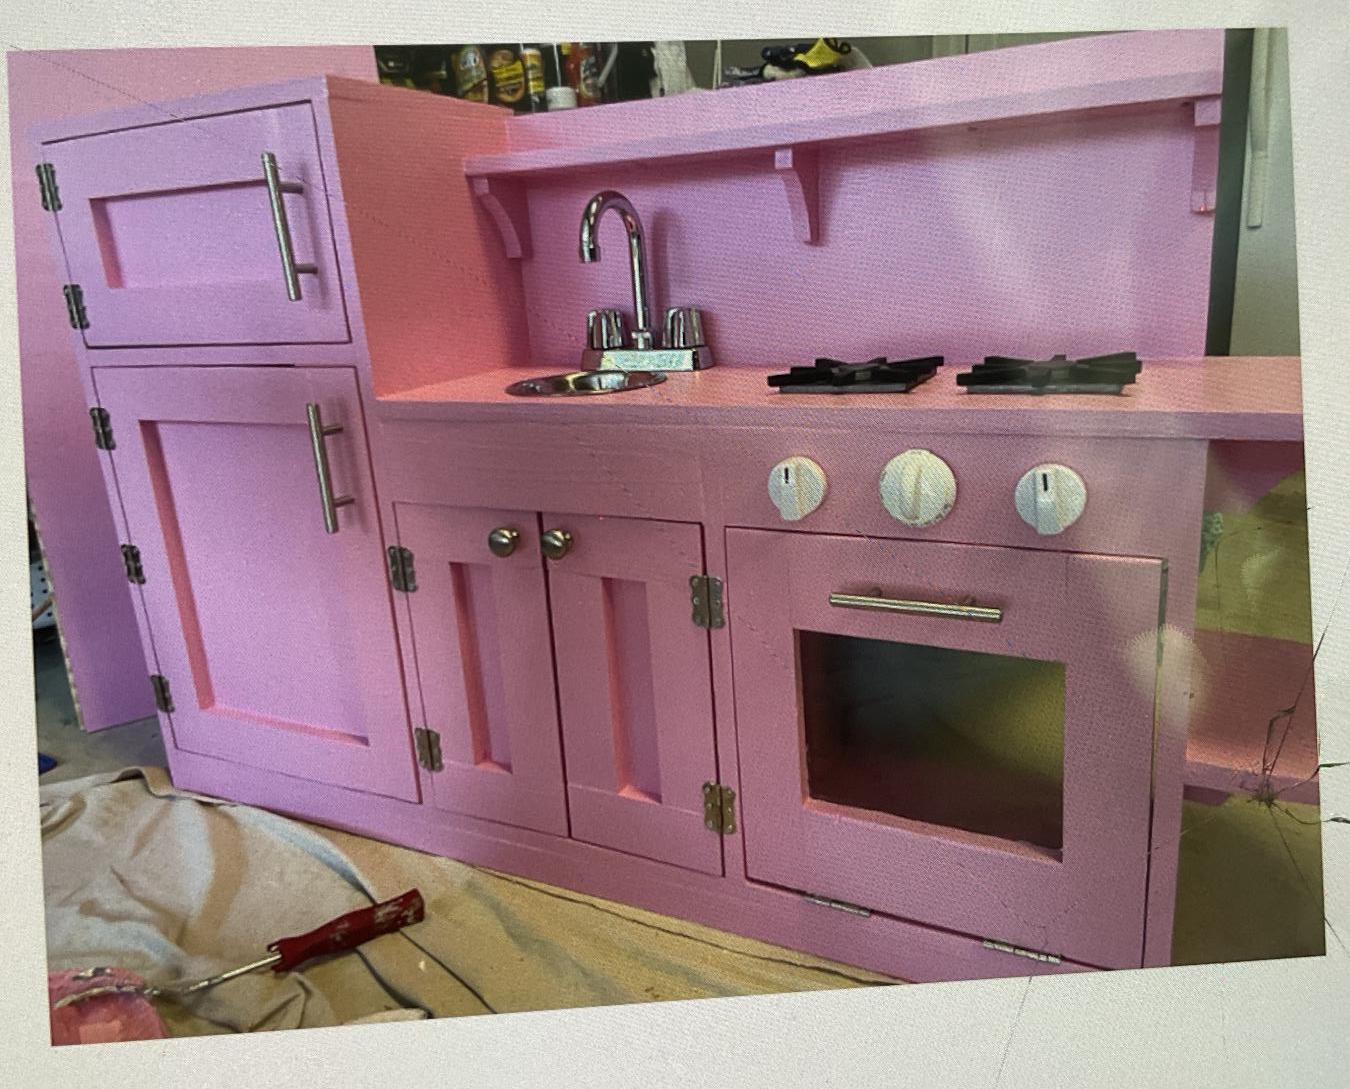
Speaking of paint, I didn't realize how much even a small quart was going to cost me, and I bought two colours! But it was definitely worth it I think. The white with plum purple accents is really sharp, and my daughter loves it. In fact, I'm already planning on building a complete bedroom set for her in the same colour scheme. Hopefully it works out.
Thanks for taking a look! :)
Sat, 04/19/2014 - 06:19
Love the accent colour!!
I've been trying to figure out how to throw in a pop colour, this is it! Thanks!
built ins for my office-based on basic bookcase plans, and pieces from rustic bookcase plans. I got a kreg pocket hole jig for this one- best money ever spent!!! My husband didn't think I could do it but I did! ❤️❤️❤️
Great project . Easy plan to read .
We got idea from here, but we had to make our own plan for table to make it fit in to our home.. and we just love it :)
more in my blog http://kellarinkatkoissa.blogspot.se/2013/10/tee-se-itse.html
Sat, 06/20/2015 - 11:18
about how long did you make your table so that you could fit 3 chairs on each side?
you table is stunning
I needed more storage in my small kitchen so I modified this cart to 42 x 20 x 96. One shelf has a sliding drawer. I am very new to all of this so I mistakenly overlooked accounting for the side ends of the shelves in my calculations. I left them off, but may go back and insert 1 x 2 to complete them. Not sure yet.
I made these tables from the Ana White plans but for the side table I made it a bit larger to fit the space it was going to be going in. Stained the top varathane Dark Walnut and the bottom I painted white.
Granddaughter wanted a Pink kitchen for Christmas, so what does Meemaw do ?? She goes to your website and does her research. I completed this kitchen in probably less than 2 weeks.
She abstained loved it, and no one in the family could believe Meemaw built this…
Many thanks..
Fri, 03/10/2023 - 13:27
This is adorable, you are an amazing Meemaw, thank you for sharing!
Needed a sturdy coffee table and this plan was perfect. Doubles as a bench, extra storage in the hidden cubby underneath the flip top, holds football fiesta platters, beers, and when the parties not in full swing, I'm using as a sewing table as well. Love it. Used my Kreg jig for entire assembly so super sturdy and easy too. Modifications: 1x6 Pine boards, jigged together. love the look of pine and after assembly, meticulously sanded so feels like one piece of wood. Used the hidden hinges. Bottom shelf I made out of leftover 1x4's, to match the top. width is 36 inches. Had to fit in a tiny living room. Did add support to the bottom shelf, 2 1x2's under the 1x4's....my dog has already crawled onto the shelf.
Wed, 11/23/2011 - 04:25
Awesome job!!! Love it!!!
The natural wood look with the white looks so sharp!!!
Sun, 02/05/2012 - 02:36
thank you so much! Glad you liked it, I love the contrast too!
Since it's essentially a holder for hubby's beer and snacks this kind of top can take a lot of abuse and still look great
Tue, 02/21/2012 - 18:57
I love the look of this augmented plan. The 1x6 boards looks super sleek.
Can I ask you a question? I'm building this bench as my very first building project, and so far it is quite wobbly. I attached the shelves with one pocket hole in each corner through the shelf piece. You mentioned that yours is super sturdy. How did you attach the shelves?
Thanks! - Victoria
Wed, 02/22/2012 - 22:57
Victoria,
I made each side as a frame, looked like 2 rectangles and 2 squares. Those were both kregged together...then I put those frames, front, back and 2 sides together kregging those together. The shelves are all kregged in too. I don't know if that helps or not. I've used mine for extra seating.
good luck, angie
I love this site. We needed new furniture in are house and didn't want to spend a bunch of money. Finding the Rustic x plans was a life saver.
I am very excited to post this project .
I used the Schoolhouse Chair with Writing Pad Desk Plan exactly and did not stain the wood. Just gave it a coat of PU and there it is .
Its not a perfect project (since I used a Jigsaw ... Yes I did as no other tools were available :() but carefully cut them straight using guide.
As a first-timer I am happy with the result... sort of... But Thanks for inspiring Ana & Jaime !!!
I saw these plans several months ago and finally got the time I wanted to make it. I chose oak because it’s the best and prettiest stained. I love the way it turned out!
Fri, 03/17/2023 - 19:49
Absolutely beautiful, love the finish! Thank you for sharing.
I went round and round trying to figure out what type of shelving to install in our kitchen to go above a cabinet below that will be topped with a rough live edge pine slab (not yet completed). I stumbled across your industrial chic shelves post, found an old board laying around the yard and whalla! As always, thanks for this amazing site!!
Thu, 12/22/2011 - 12:44
Hi! Love how your shelves turned out. I was just wondering how much weight these shelves would hold. Looking at yours with plates on them, it seems like they hold quite a lot!
Did you use larger L-brackets or the same size that Ana used?
Thanks for posting your shelves!
I am built two of these cupboards for my dining room. I am calling them pie safes though. Making two added twice the work but I only had to think through the steps once.
I changed the size and style of the Pottery Barn plan to fit our space and match the Fancy Hall Tree that we recently completed. We think it came out great so wanted to share.
I work at a lumber yard, and this was built with "garbage" door jambs.