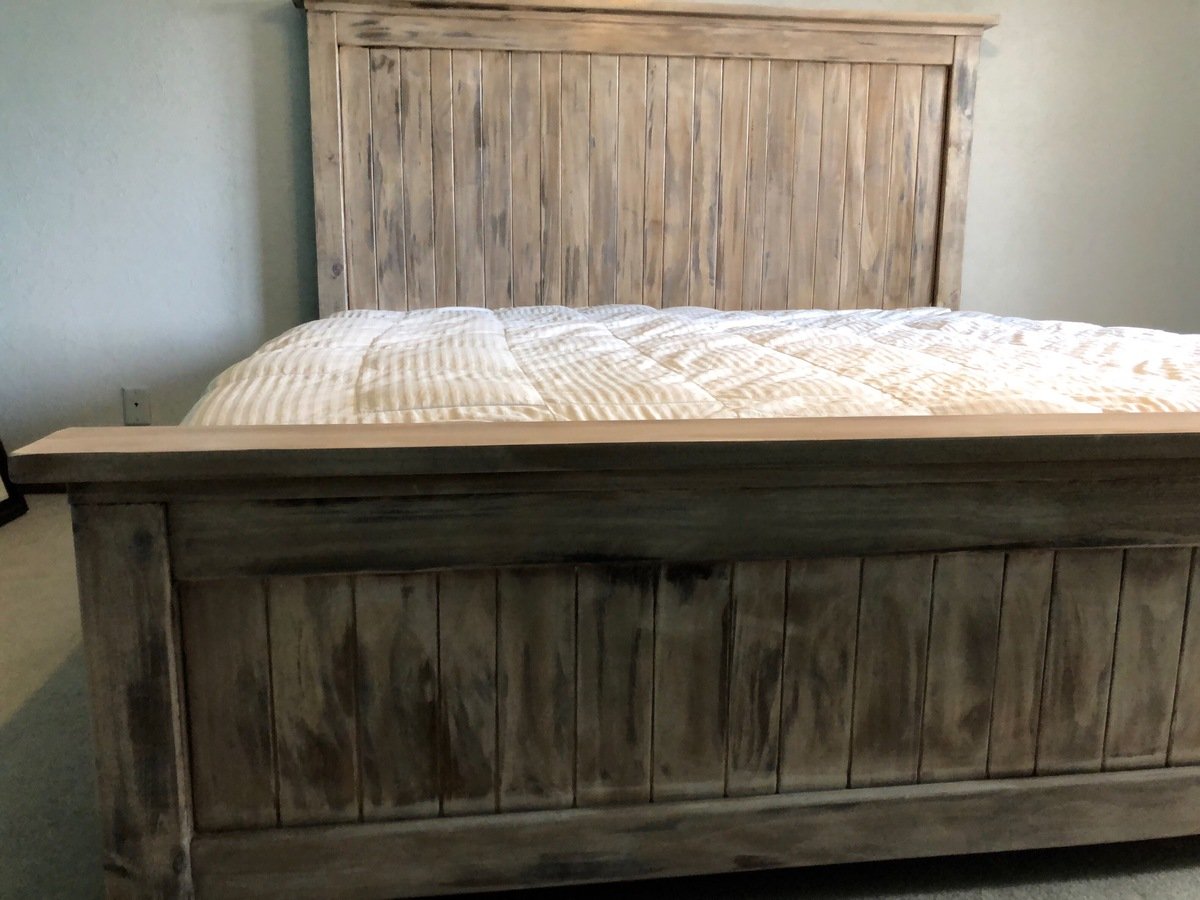
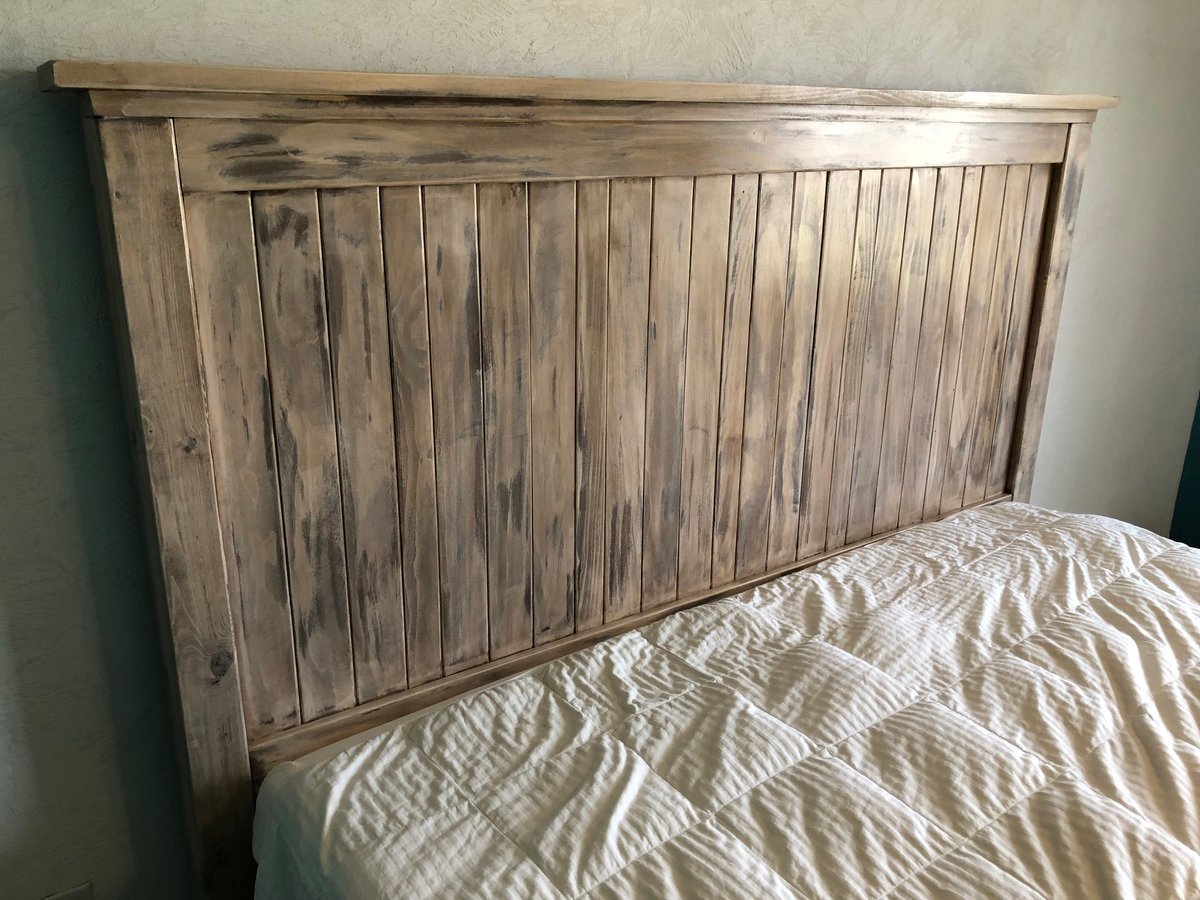
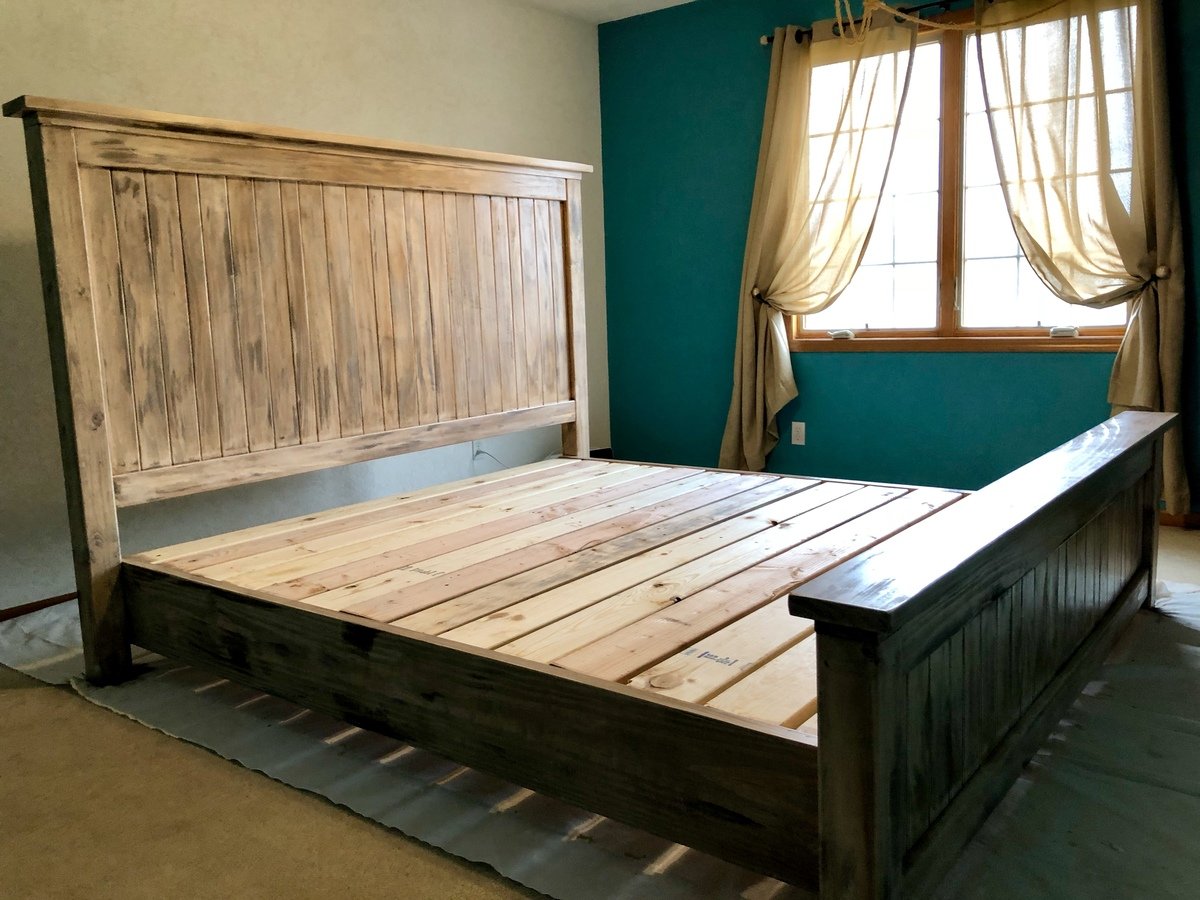
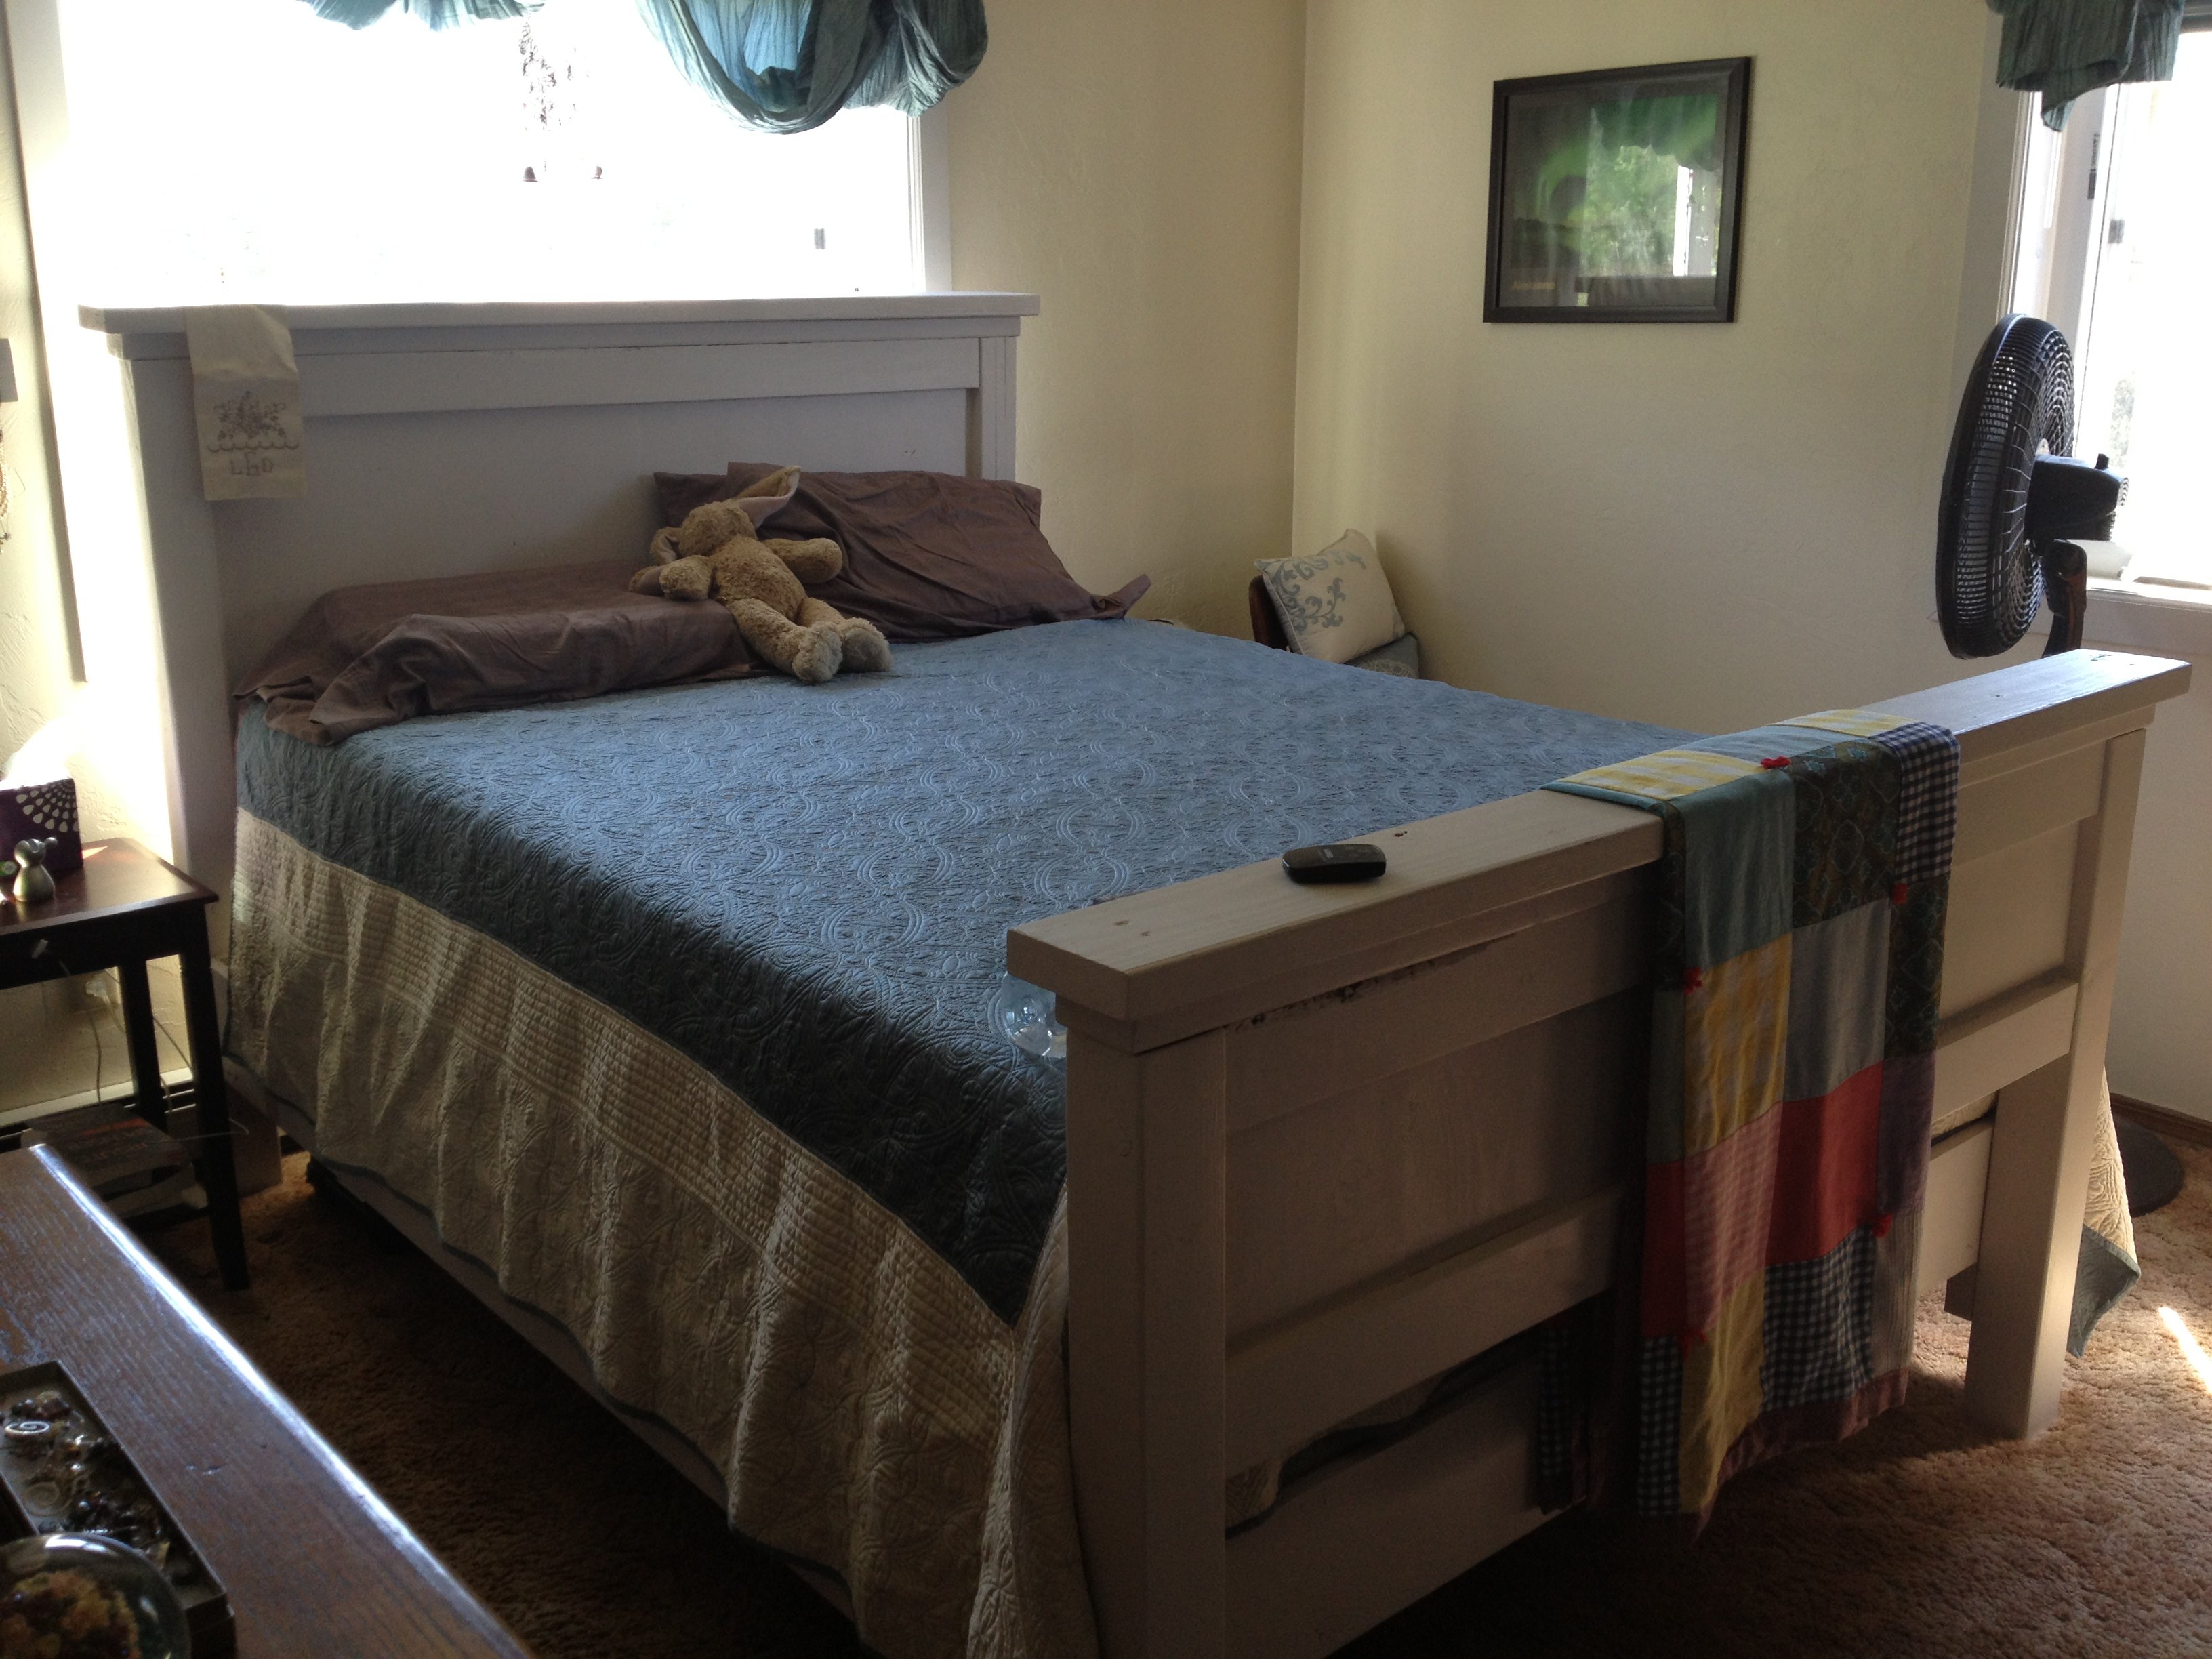
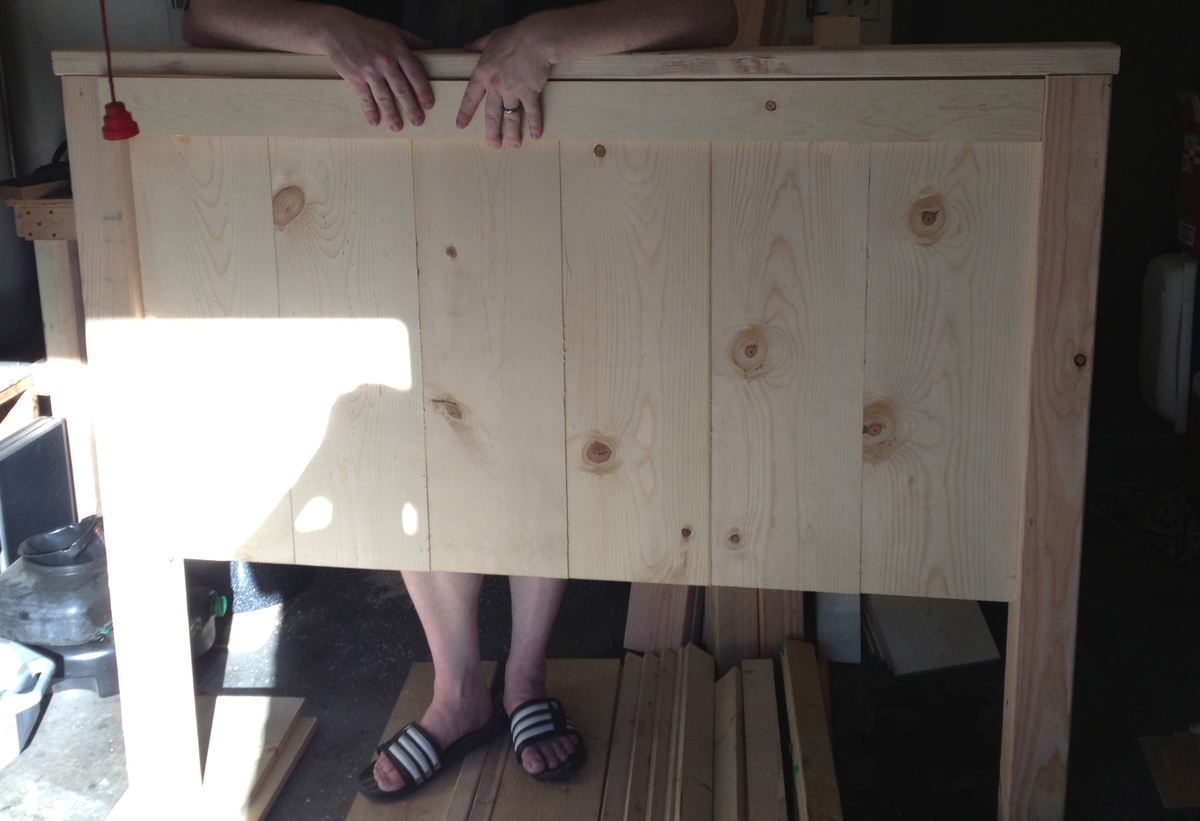
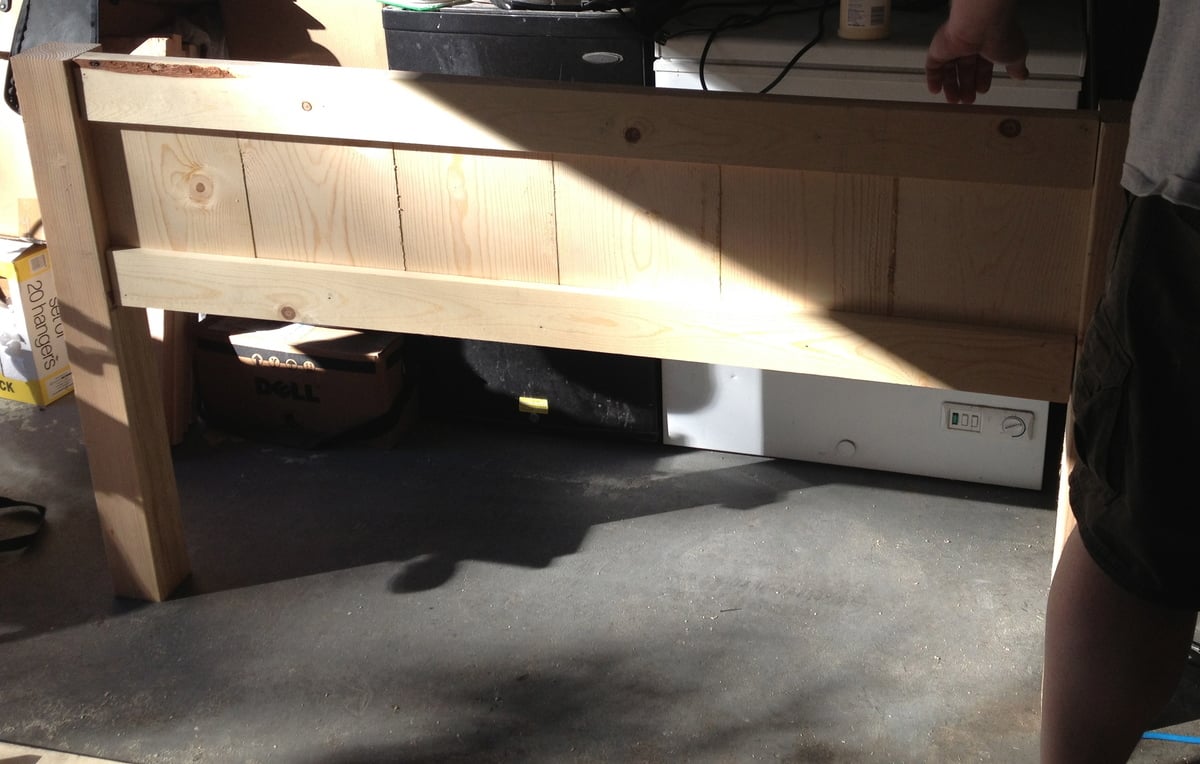
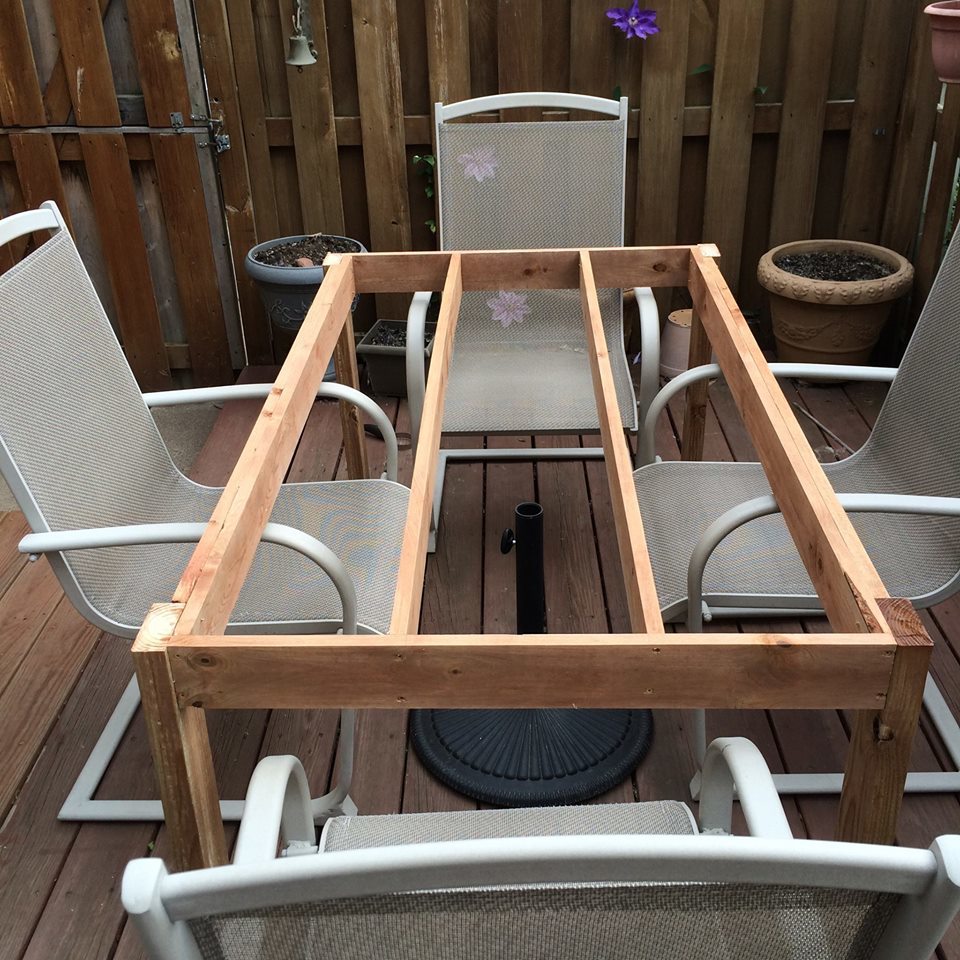
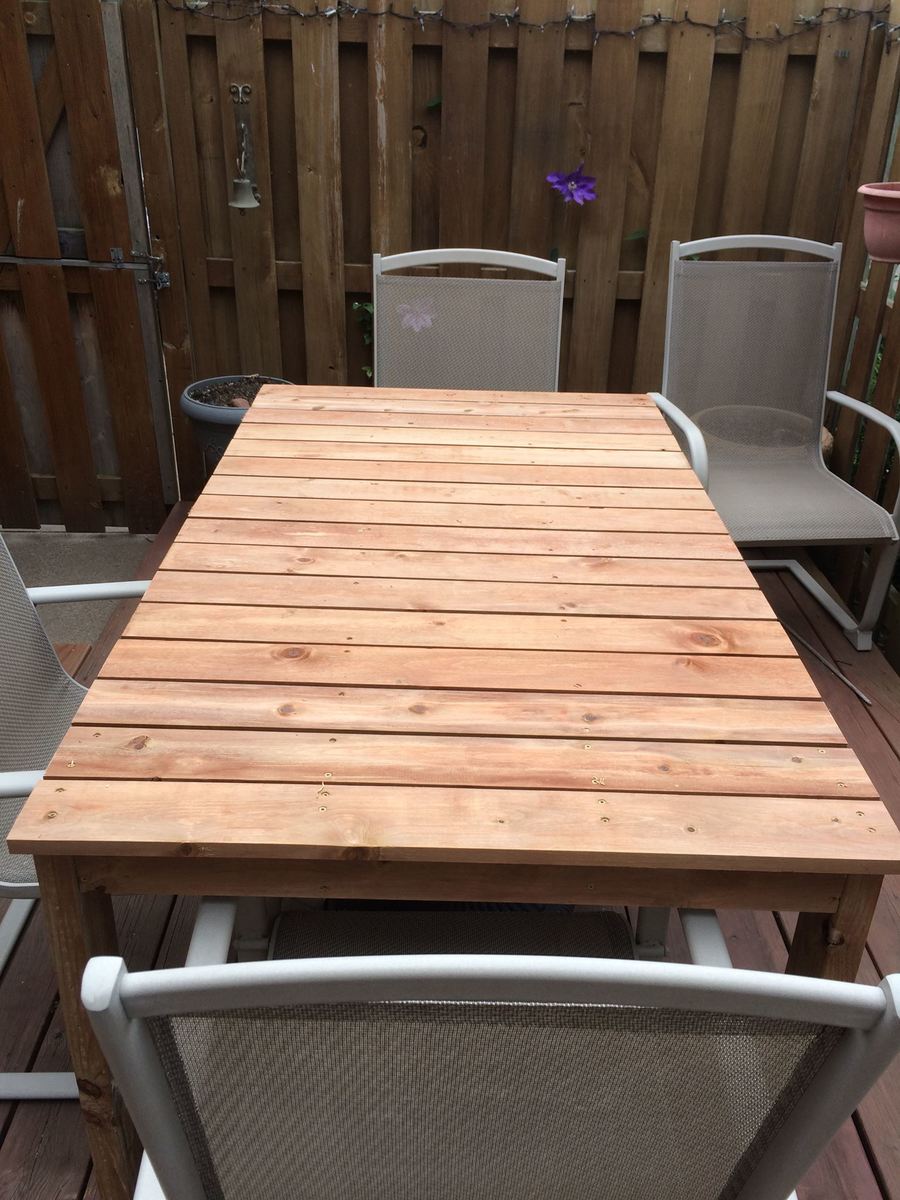
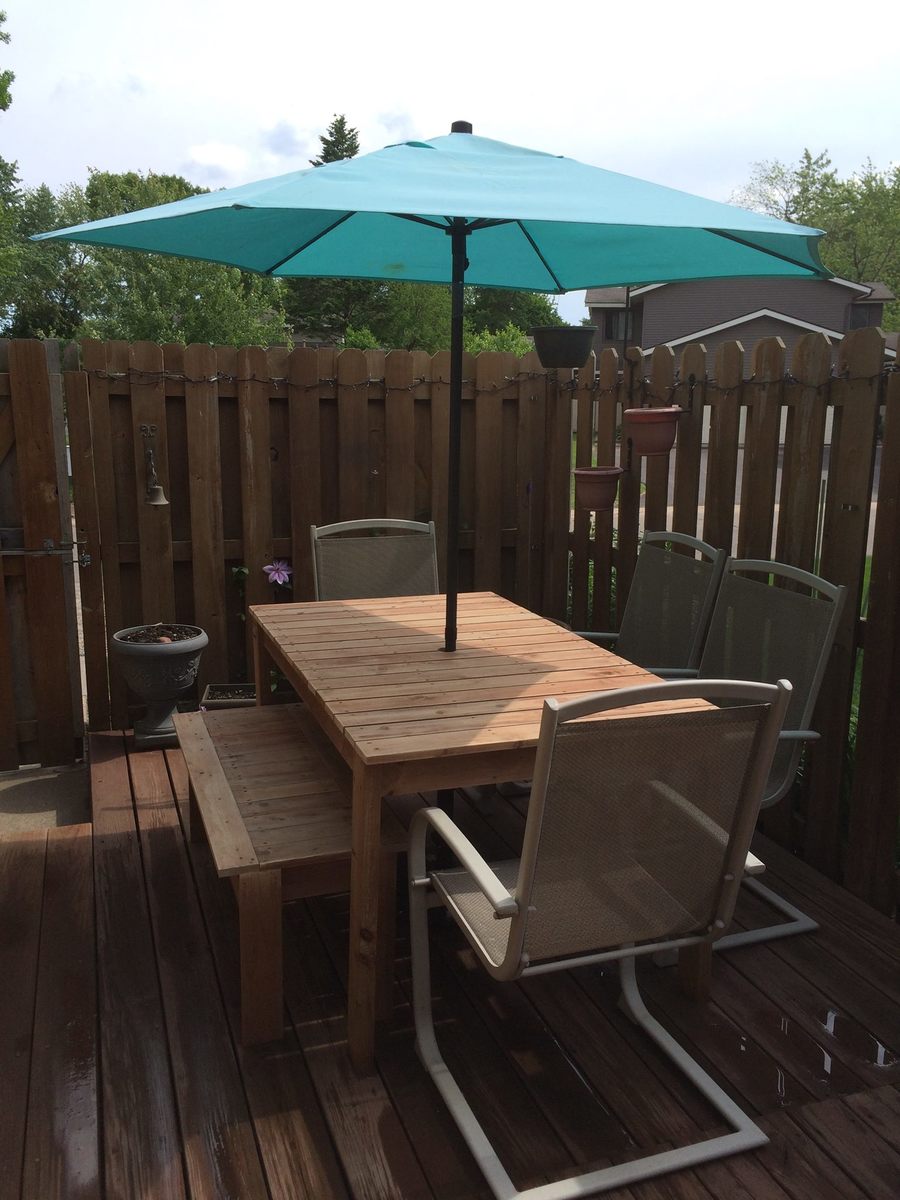
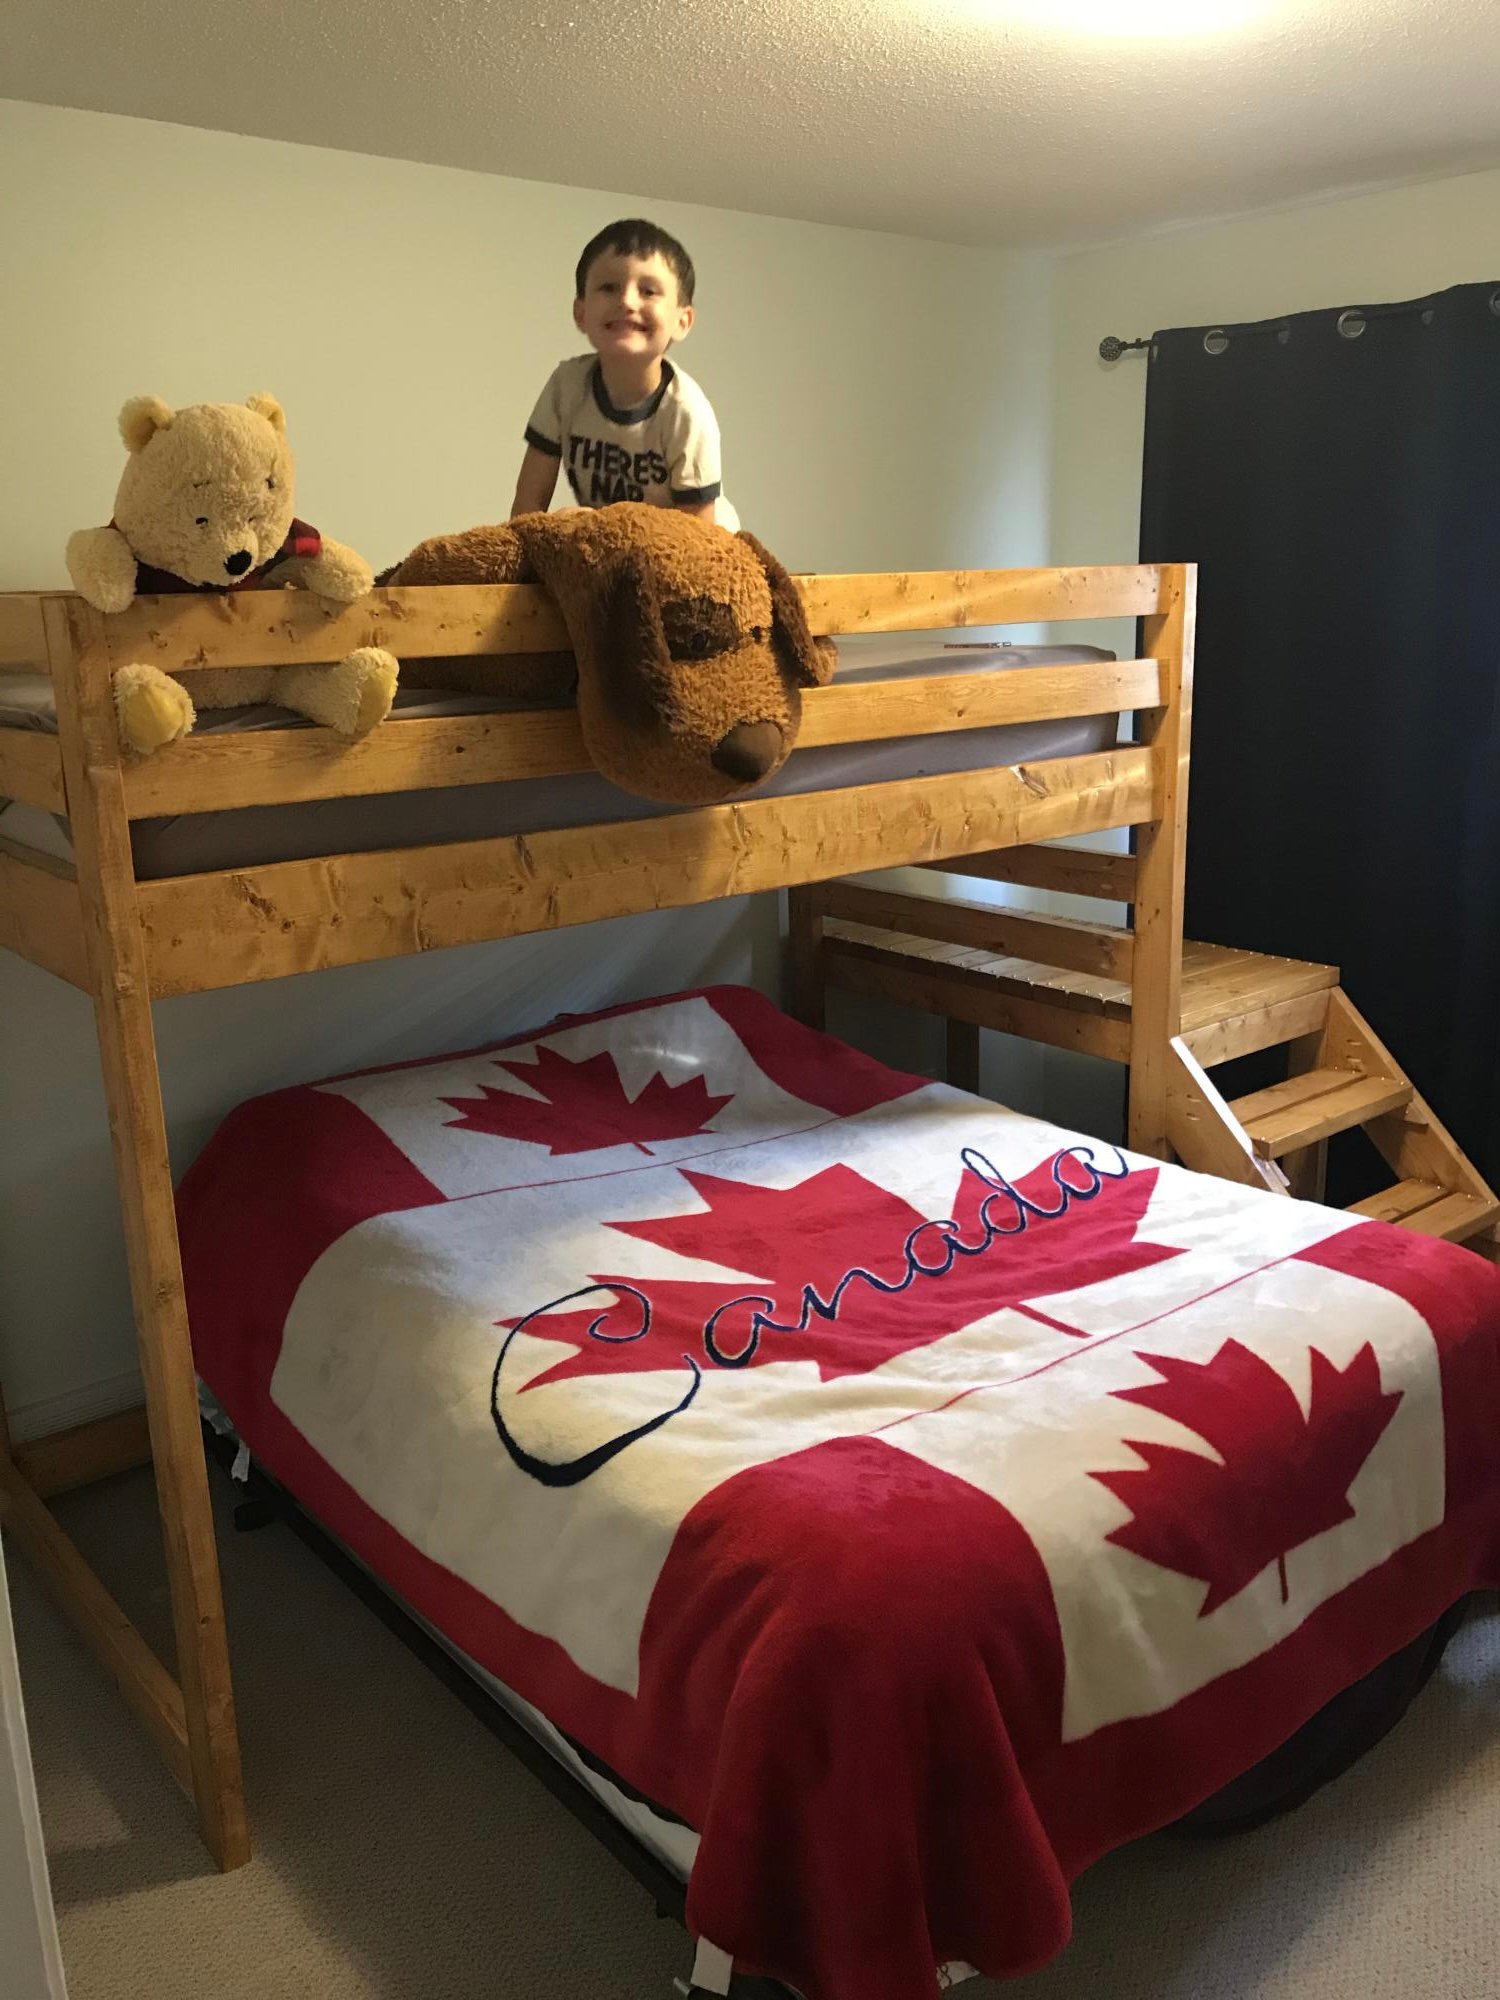
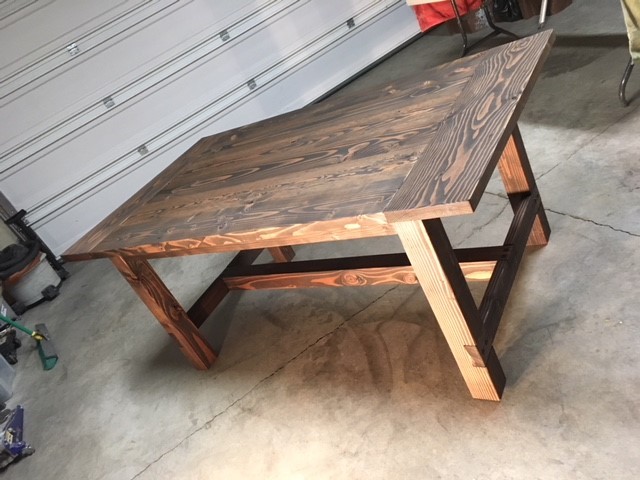
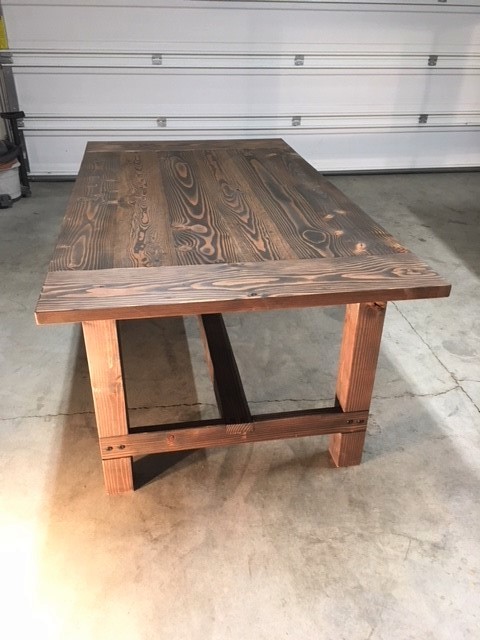
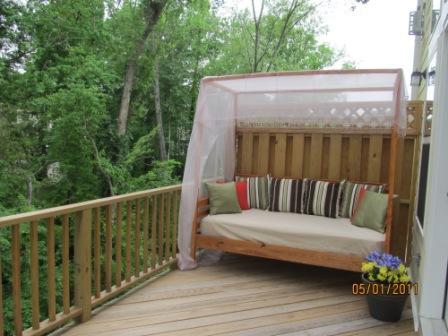
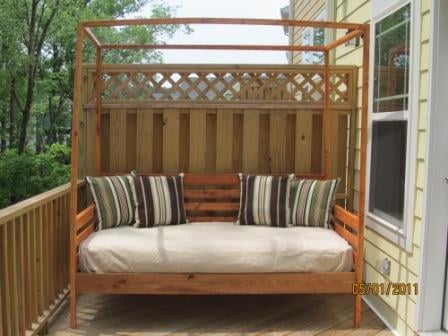
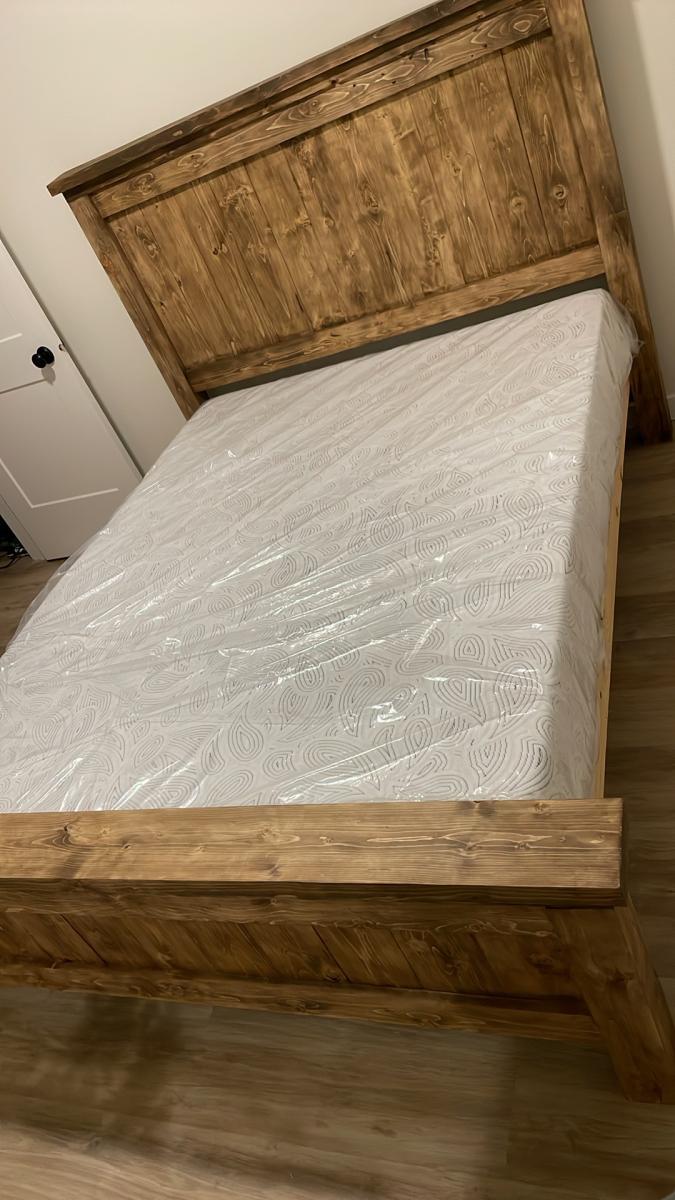
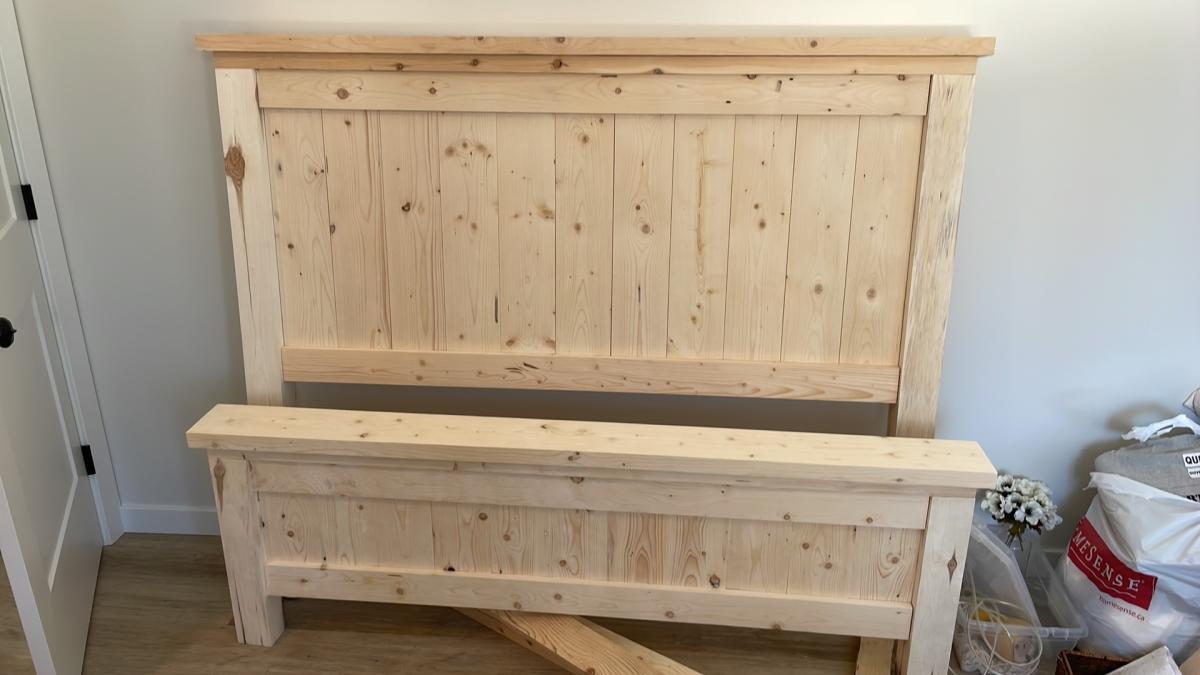
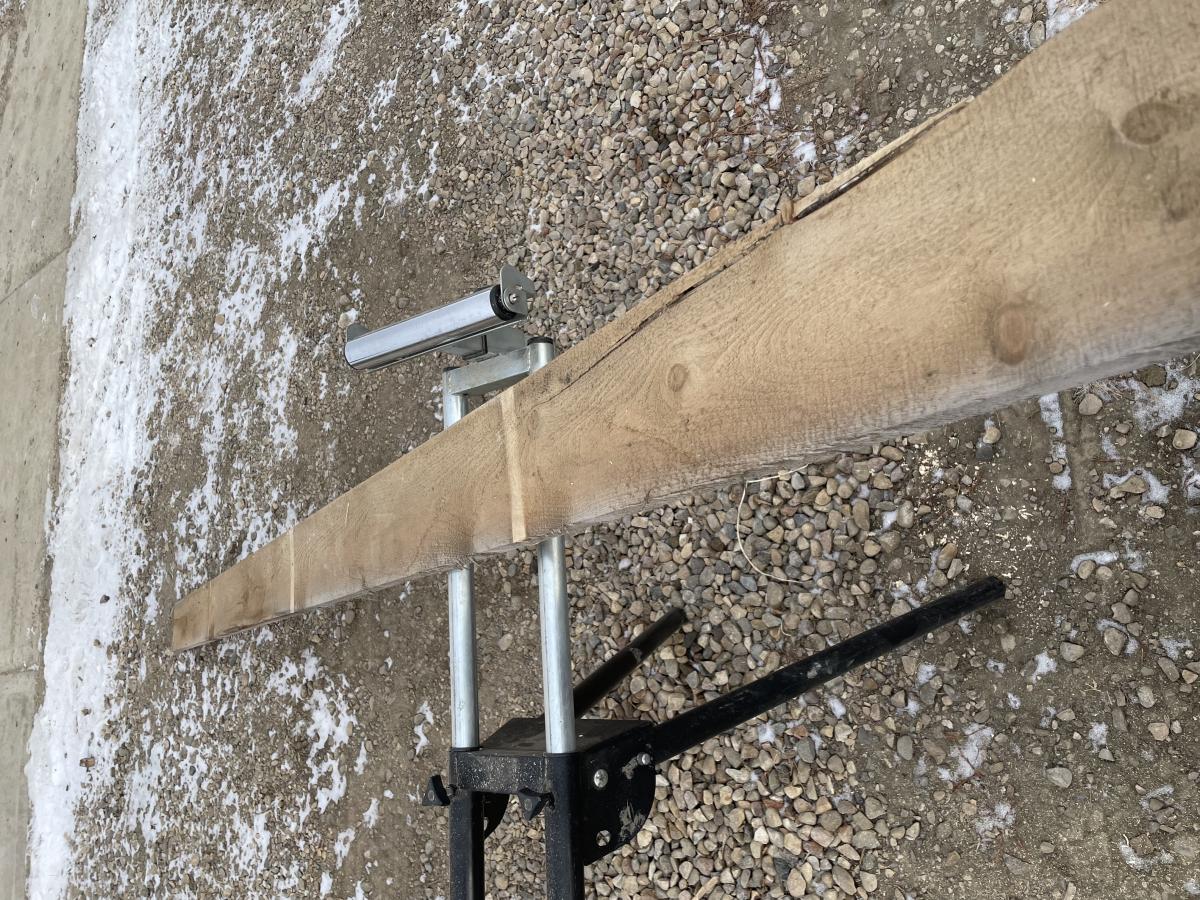
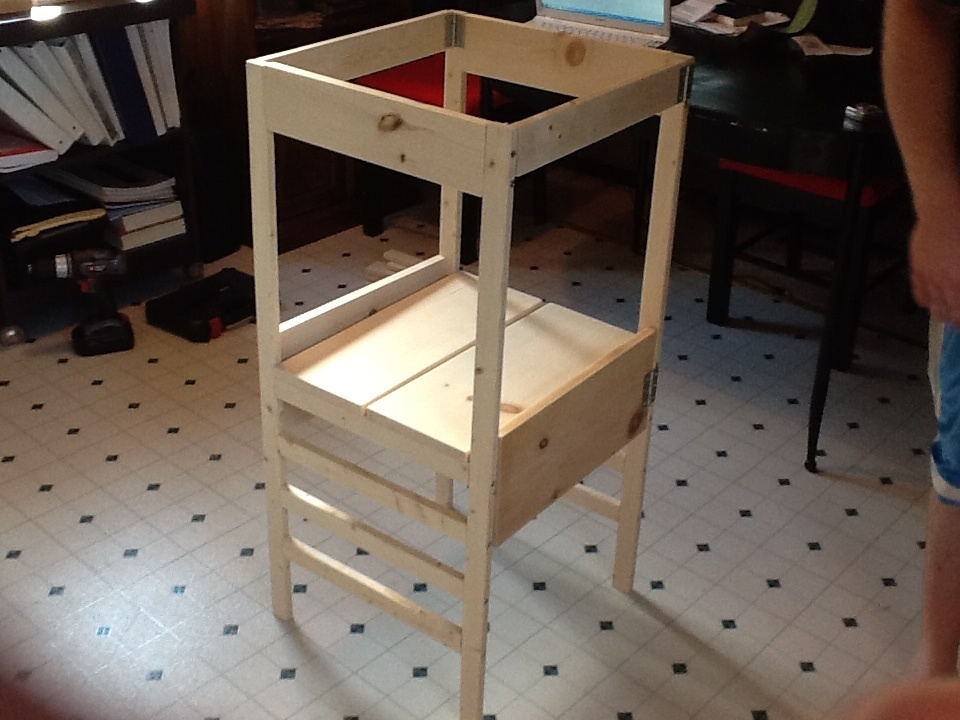
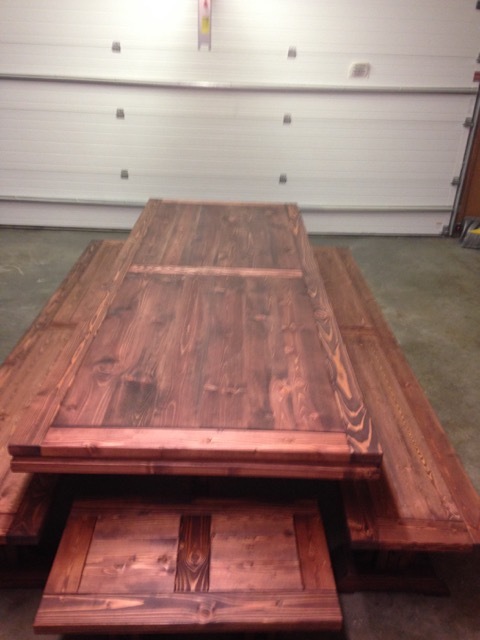
This is my first venture into woodworking/carpentry. Since I did not want to shell out too much money for lumber, I used untreated pine (worst wood they say to use) for the daybed and used an exterior wood stain (with uv protection) to seal the wood. I also did not invest in power tools and used a hammer and wood saw to cut and nail everything together. As I cannot sew, I waterproofed the mattress by sandwiching it between two plastic mattress covers (dollar store) and duct taping the seams. It's not elegant but no one is going to see it. I used a cotton fitted twin sheet (old one) for the cover and found some outdoor pillows for $16 a pair ($8 per pillow and made with solarium fabric). Also as this is placed outside (deck), I'm looking into getting a mosquito net to use over the daybed instead of the bed tent I have on right now.
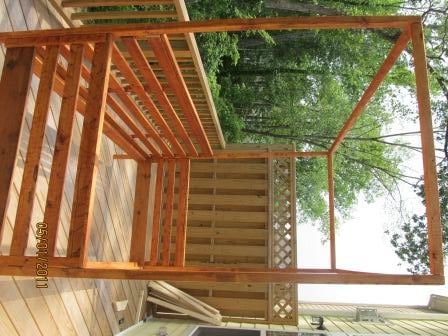
In hindsight, I should have used pressure treated wood for the posts and canopy beams to prevent bending/twisting (I had to re-do 2 posts). If I get 3 years of use for this furniture. I'm a happy camper. Ana, thank you so much for the plan. Kathy thanks for the advice on painting the lumber first.
You guys can do this!
Estimated Cost
$70 for the lumber, $ 40 for stain, sand paper, nails, wood glue, $4 for mattress cover, duct tape
Estimated Time Investment
Week Long Project (20 Hours or More)
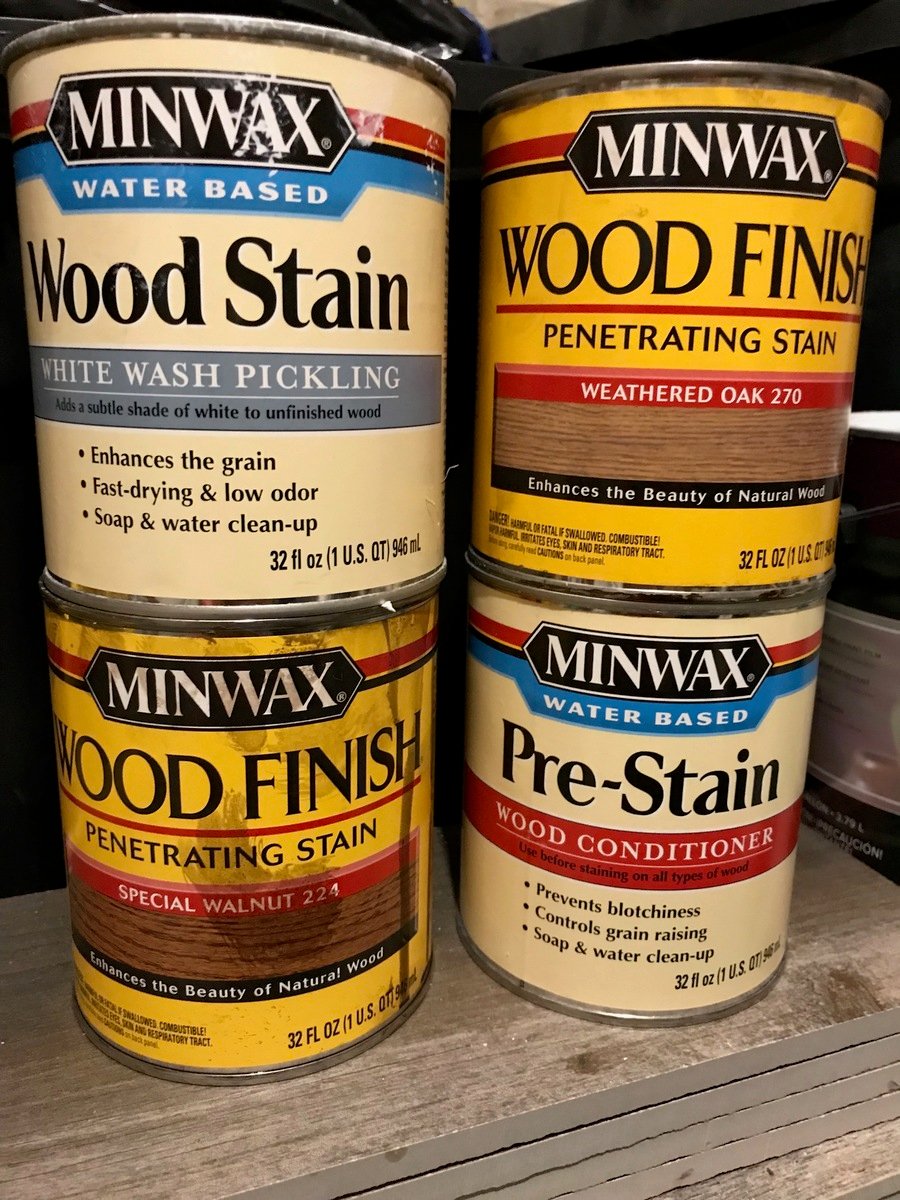
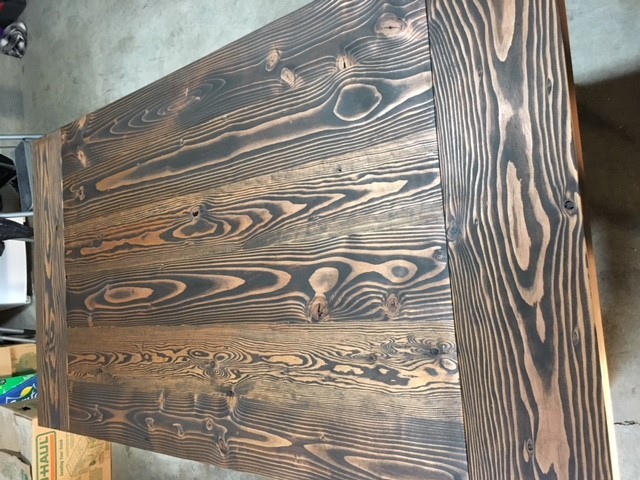
Finish Used
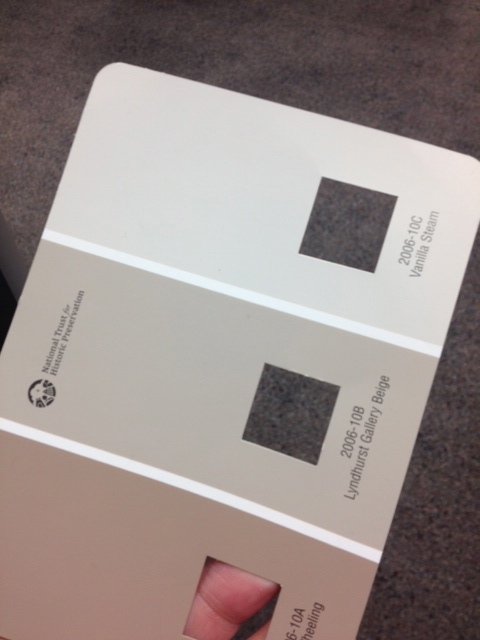
Olympic exterior wood stain with UV protection (oil based).
Recommended Skill Level
Intermediate