Community Brag Posts

Farmhouse Table

I have always helped my dad with projects, but this was the first one I ever did without my dad! The directions were very easy and I had no trouble at all. The table turned out beautiful. I modified it a bit by making it a little longer and using a 1x2 on the ends to cover the rough edges instead of a bread board. I also made 2 benches as we are a family of 10. I have 2 high chairs attached to the end. This table will seat 12 adults comfortably! I am so excited to finally have a big sturdy table. Thank you sooo much for this site. I have a new hobby now! ;o)
Built from Plan(s)
Estimated Cost
I spent around 175 on materials for 2 benches and the table, including the stain.
Estimated Time Investment
Weekend Project (10-20 Hours)
Finish Used
I sanded first with a random orbit sander 80 grit, then a 120, then 220. I wiped everything down with a tack cloth, then stained with special walnut. After 3 coats of stain, I used a clear lacquer. I put about 7 coats of lacquer! That may be overkill, but I have 8 children, 6 of which are boys!
Recommended Skill Level
Beginner
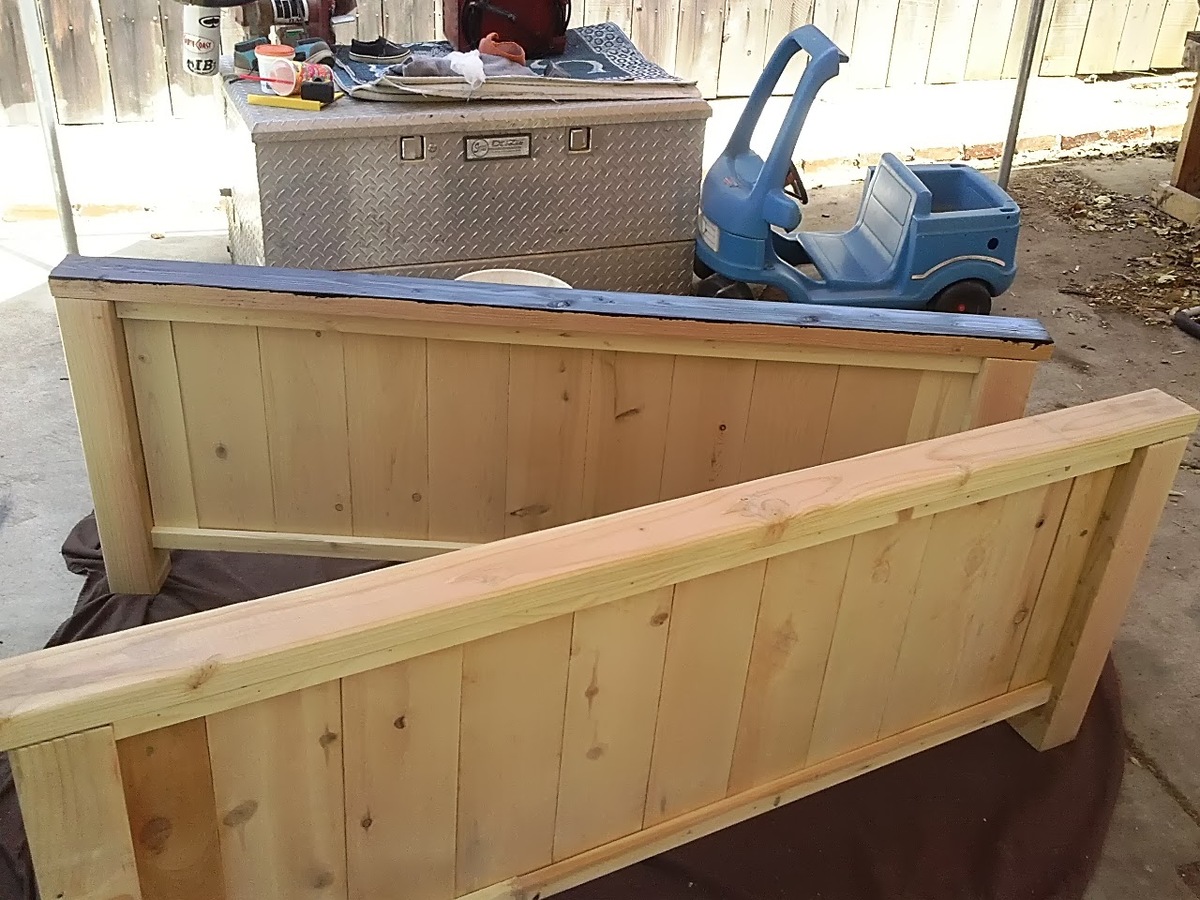
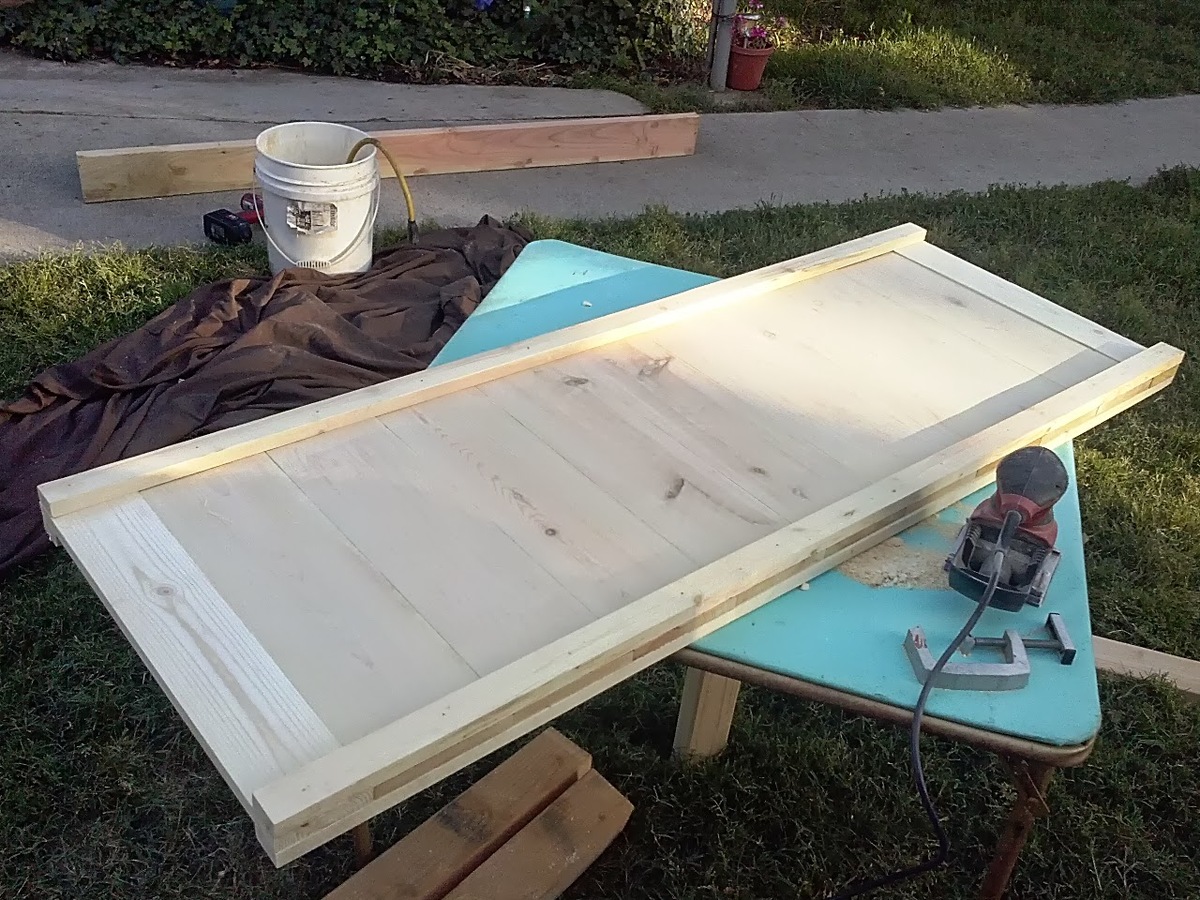
Hailey Platform Bed and headboard +5" in height
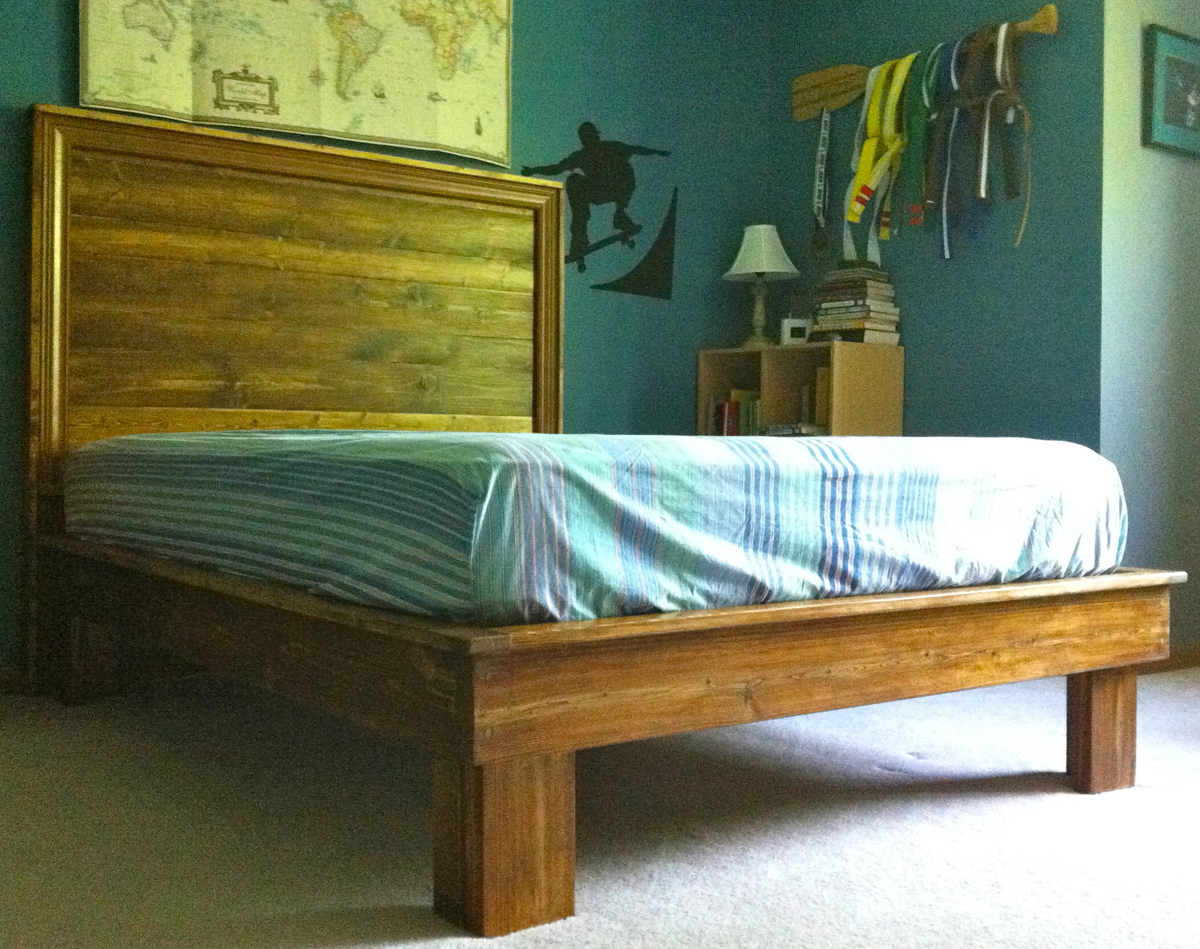
I used the Hailey plans with the following modifications because there's no such thing as TOO sturdy.
Instead of 2x4s on their own, I used the leftover lengths of my 2x6s for legs, joined at the corners (Kreg pocket hole screws) with 2x4s for a chunkier look and a very stable bed.
I made the legs 5" taller than the plans called for. Otherwise, the bed simply seemed like it would be too squat for my tall son.
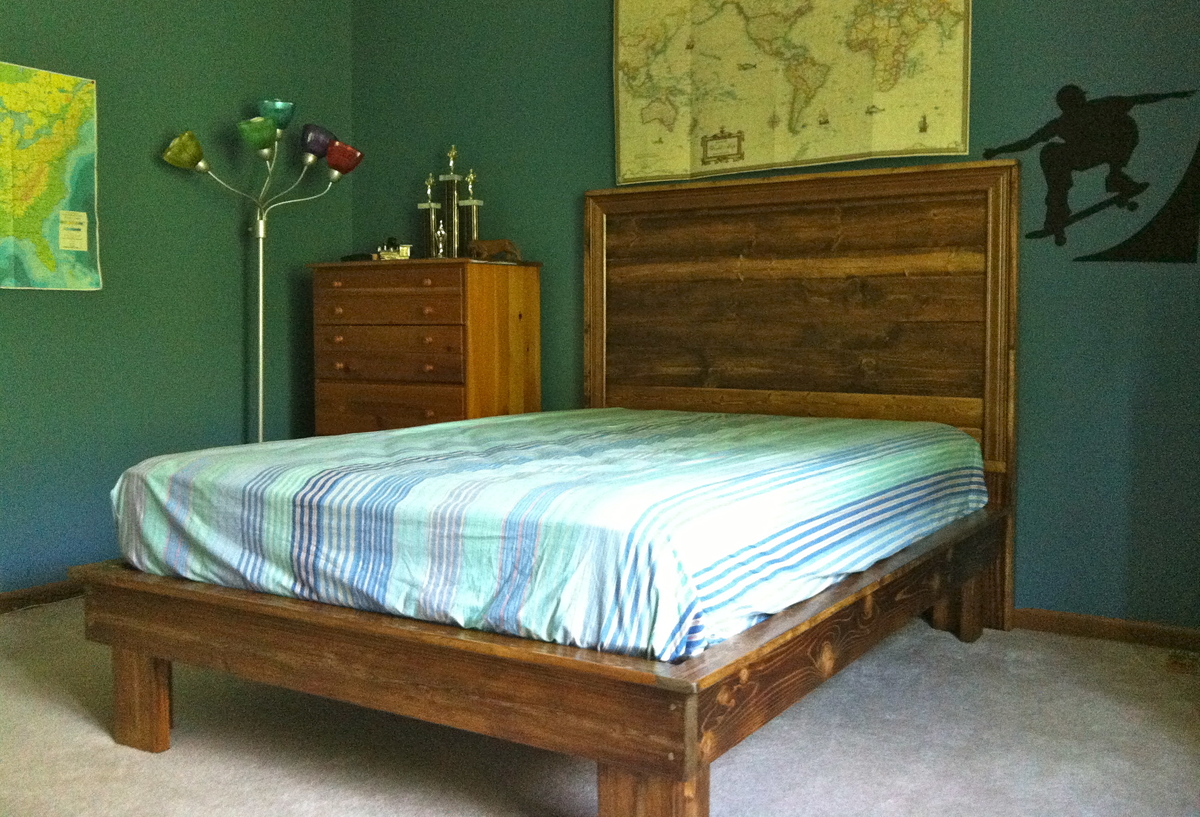
For the casing/trim, which is pricey, I went to the Habitat Re-Store and found two matching pieces for $3.00 a piece.
I deviated from the plan by adding the trim last, after the headboard was otherwise complete. I had considered painting the casement, but decided to leave it all wood-tone, and I'm glad that I did.
The furring strips at my local big blue box store were so terribly warped that I used pine boards instead. This increased the overall price, but decreased frustration and time spent sanding. I work slowly and deliberately as it is, always worried about mis-measuring, so anything I build takes twice as long as anticipated.
With every project I undertake, my wood filler shows and my budget exceeds the amounts in plans and other brag posts. The bed and headboard combined cost me about $230 to build. That's still a great budget, but $80 more than I'd hoped after reading Shanty 2 Chic's inspiring details.
The stain on this bed is Minwax Provincial 211, and I used three coats of Minwax's water-based poly.
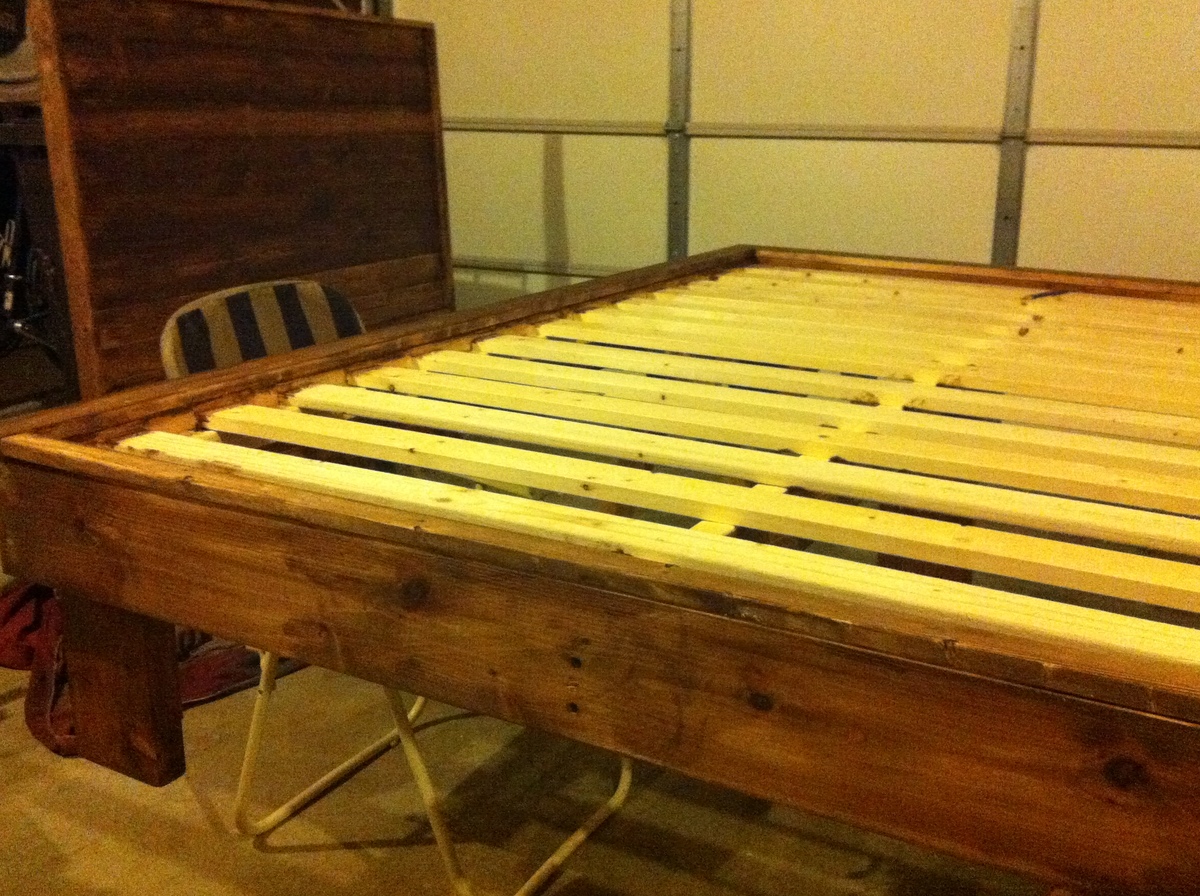
Best of all, my husband and I carried this bed from the garage, up the stairs, around the corner, and into a bedroom while it was fully assembled with legs. (He lost the bet on that one, saying I'd regret wood-gluing it all together ahead of time.)
Built from Plan(s)
Estimated Cost
$230
Estimated Time Investment
Weekend Project (10-20 Hours)
Finish Used
Minwax Provincial 211
Recommended Skill Level
Beginner
Comments

Mini Farmhouse Bedside Table
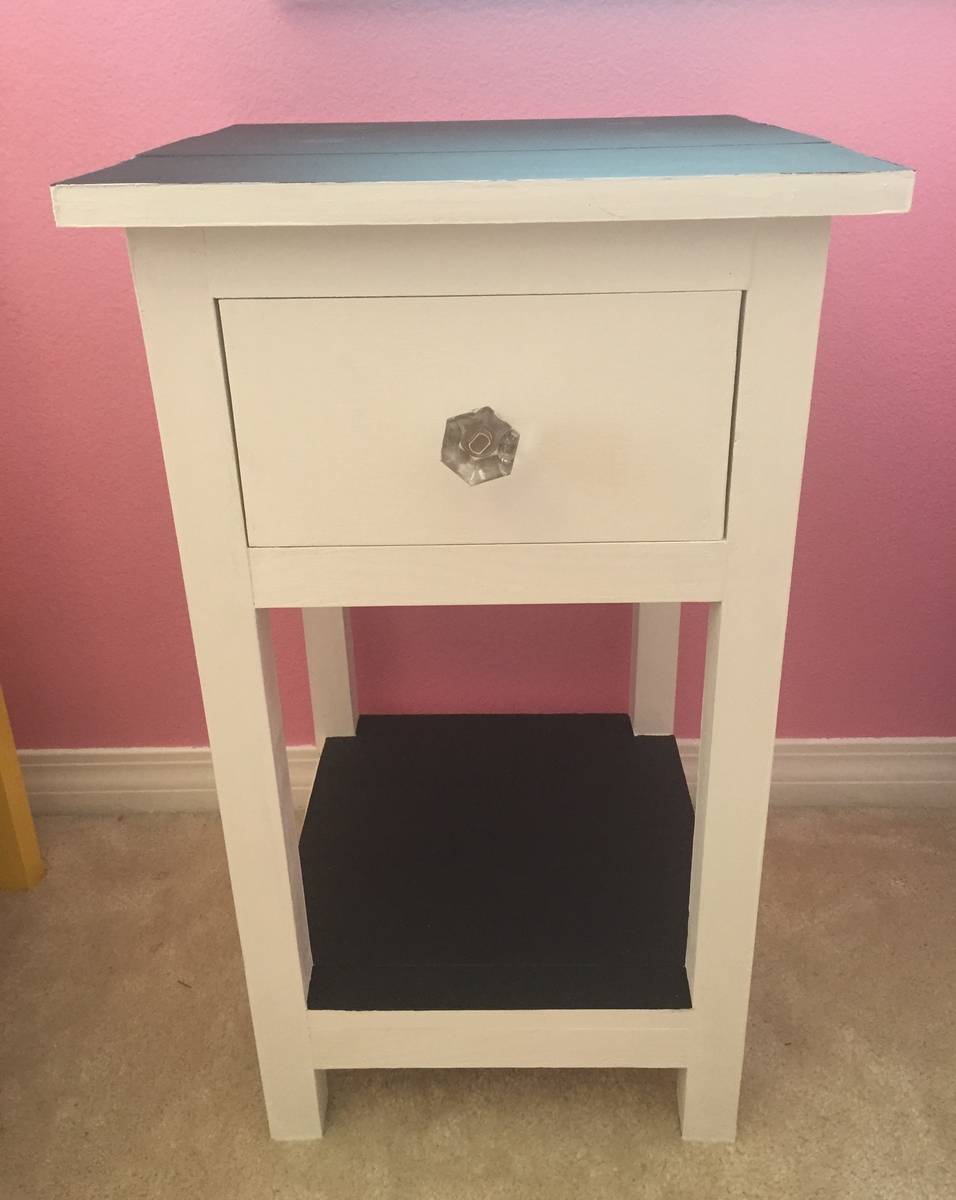
I built this for my daughter's room. It is my second build. It is the perfect size for her room. I used chalkboard paint for the top surfaces. The knob is from Lowe's. Thank you Ana White for providing these fun plans! I am excited to start my next project!!!
Built from Plan(s)
Estimated Time Investment
Day Project (6-9 Hours)
Finish Used
Annie Sloan Pure White Chalk Paint (2 coats). Annie Sloan Clear wax (one coat). Black chalkboard paint from Lowes (2 coats).
Recommended Skill Level
Beginner
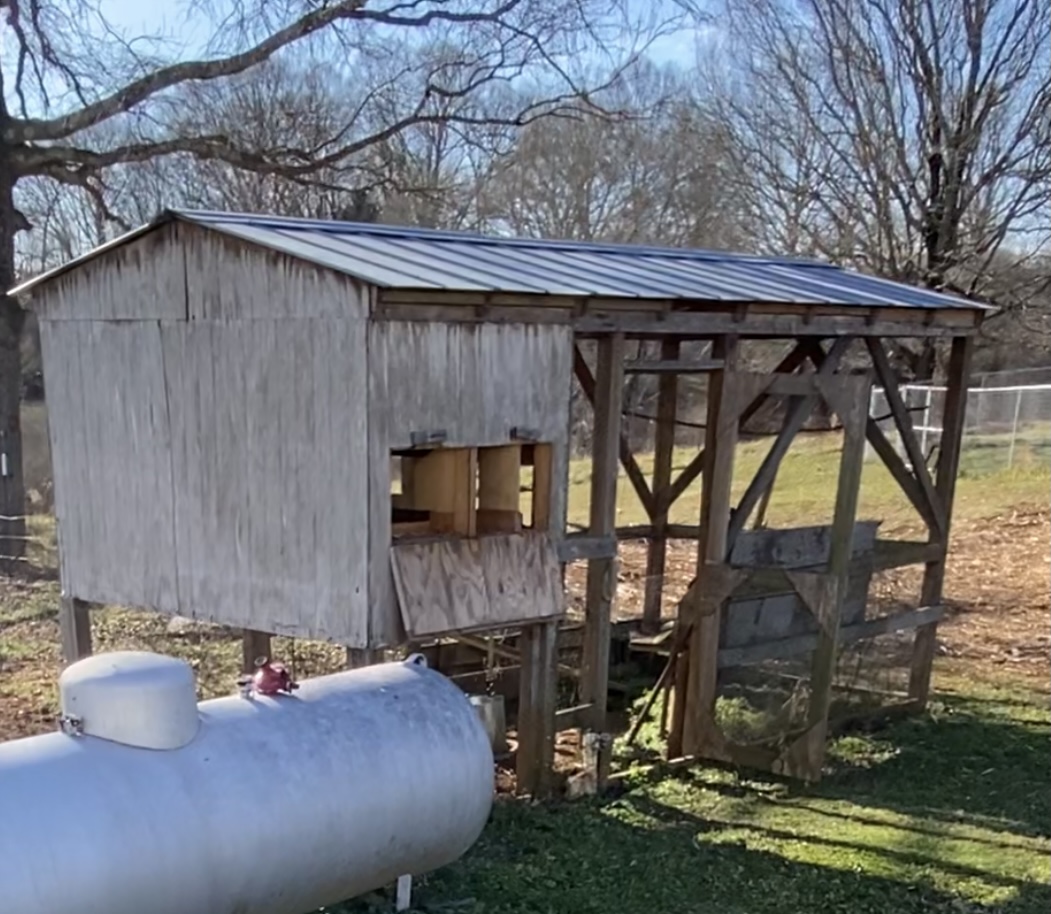
Chicken Coop to Greenhouse
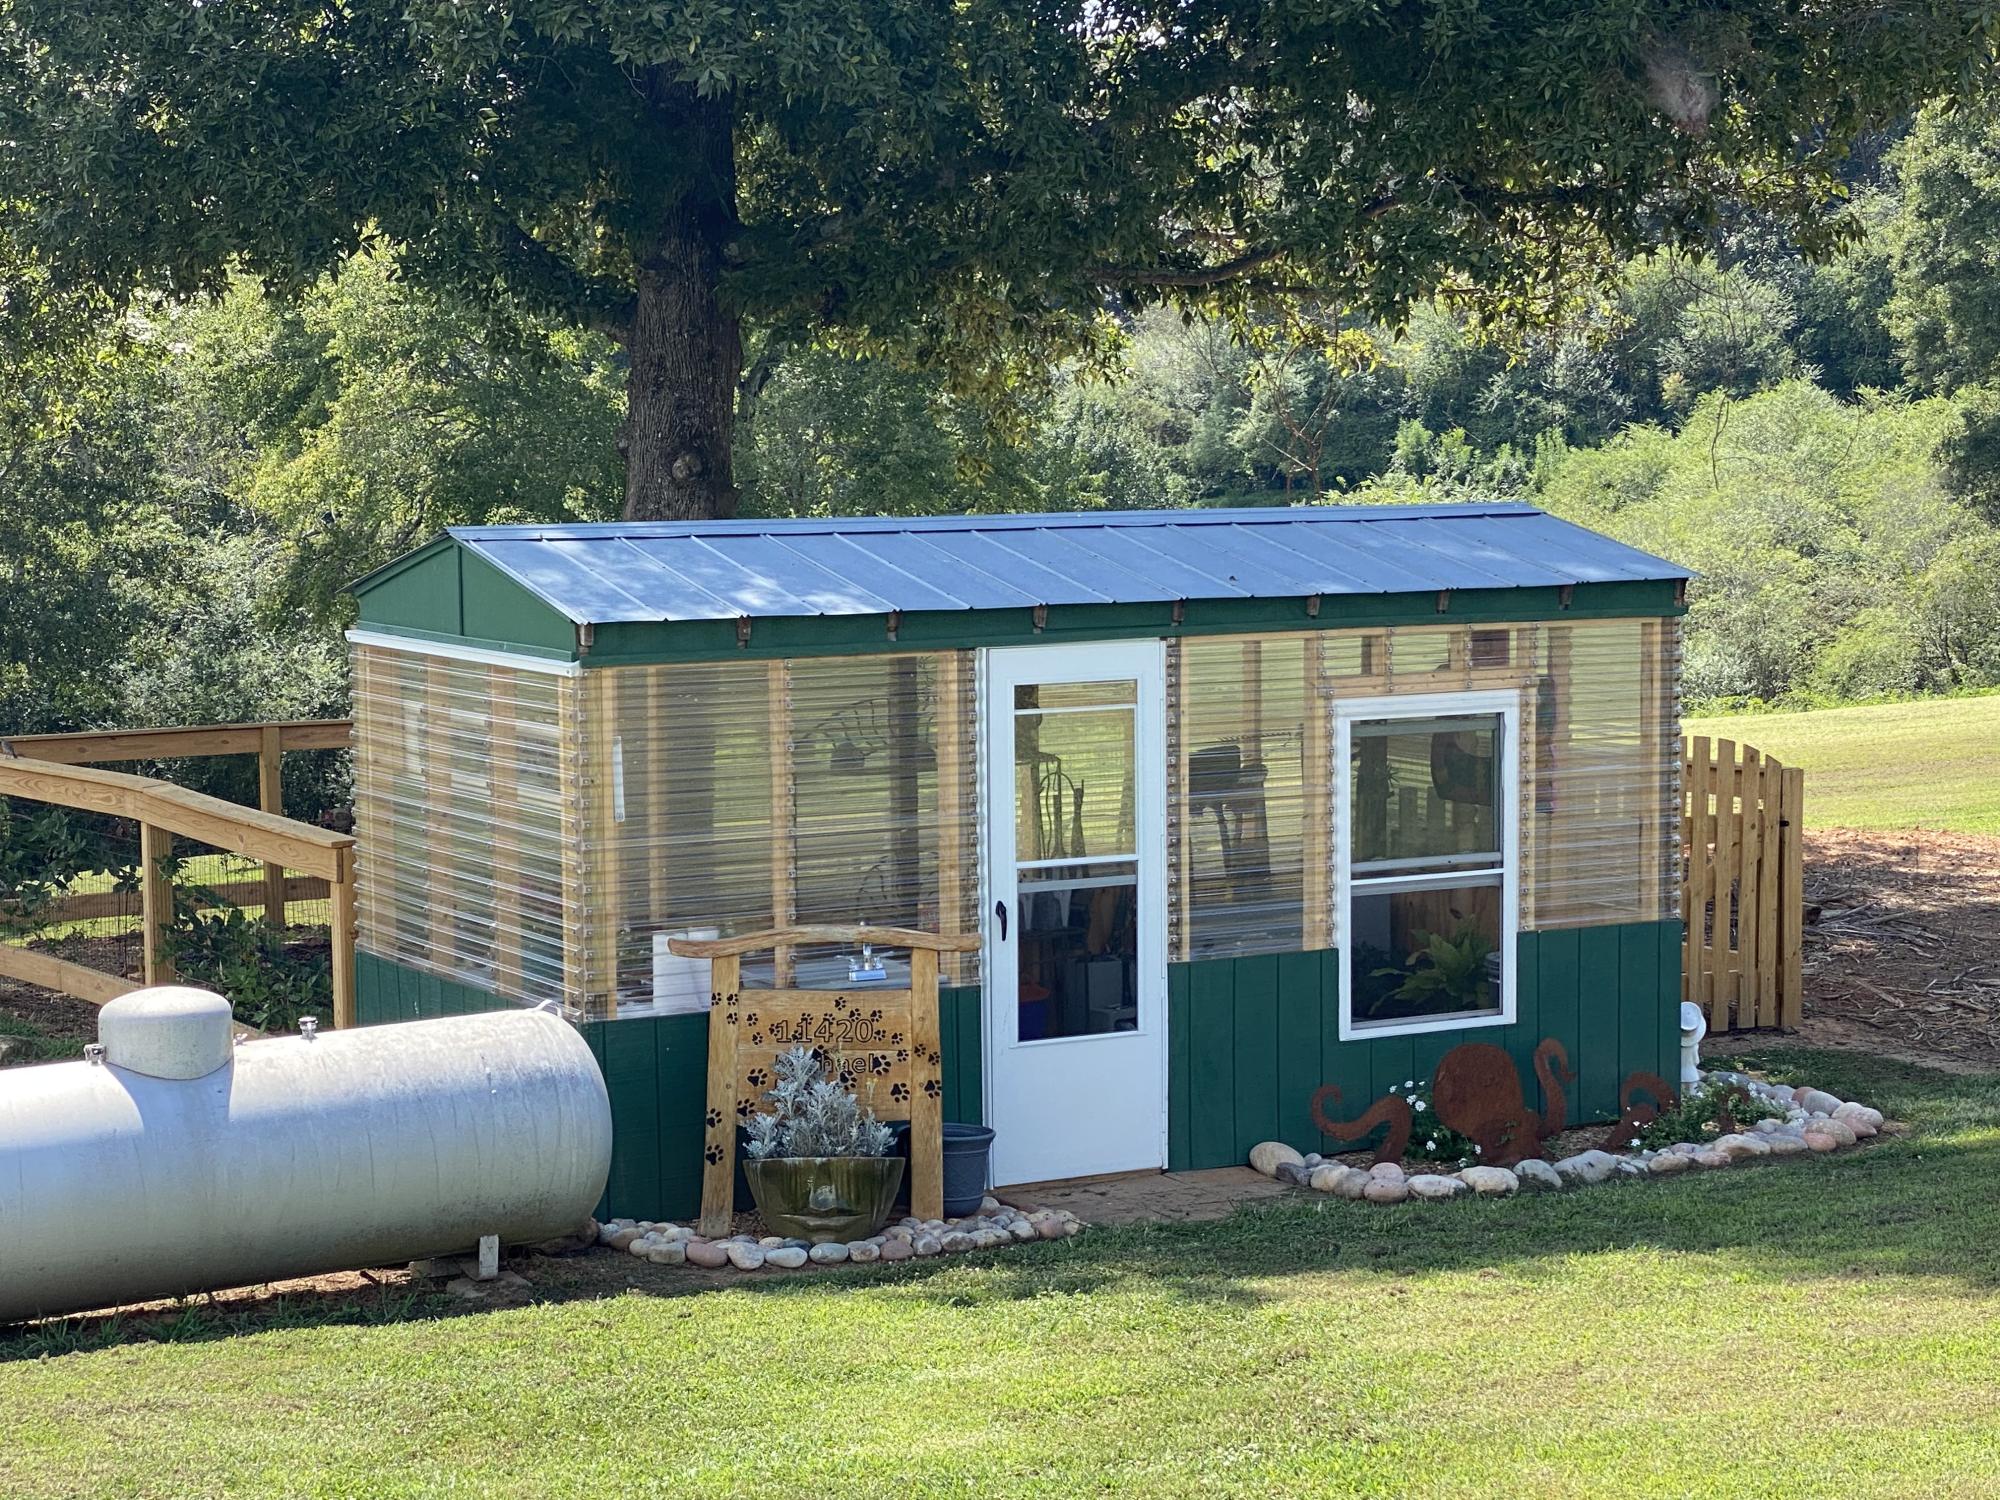
Using a couple of the Ana White Plans and YouTube videos, converted a run-down, Carpenter Bee infested chicken coop into a functional greenhouse with running water and electricity.
Comments
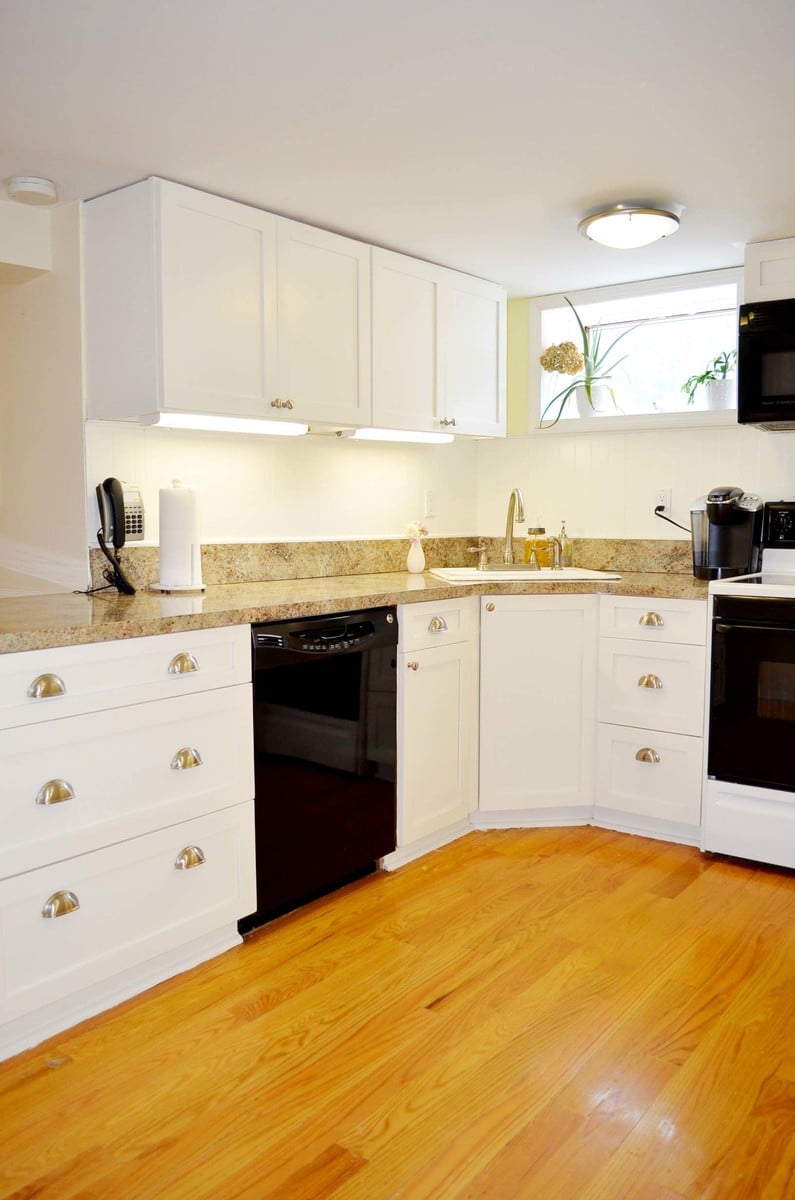
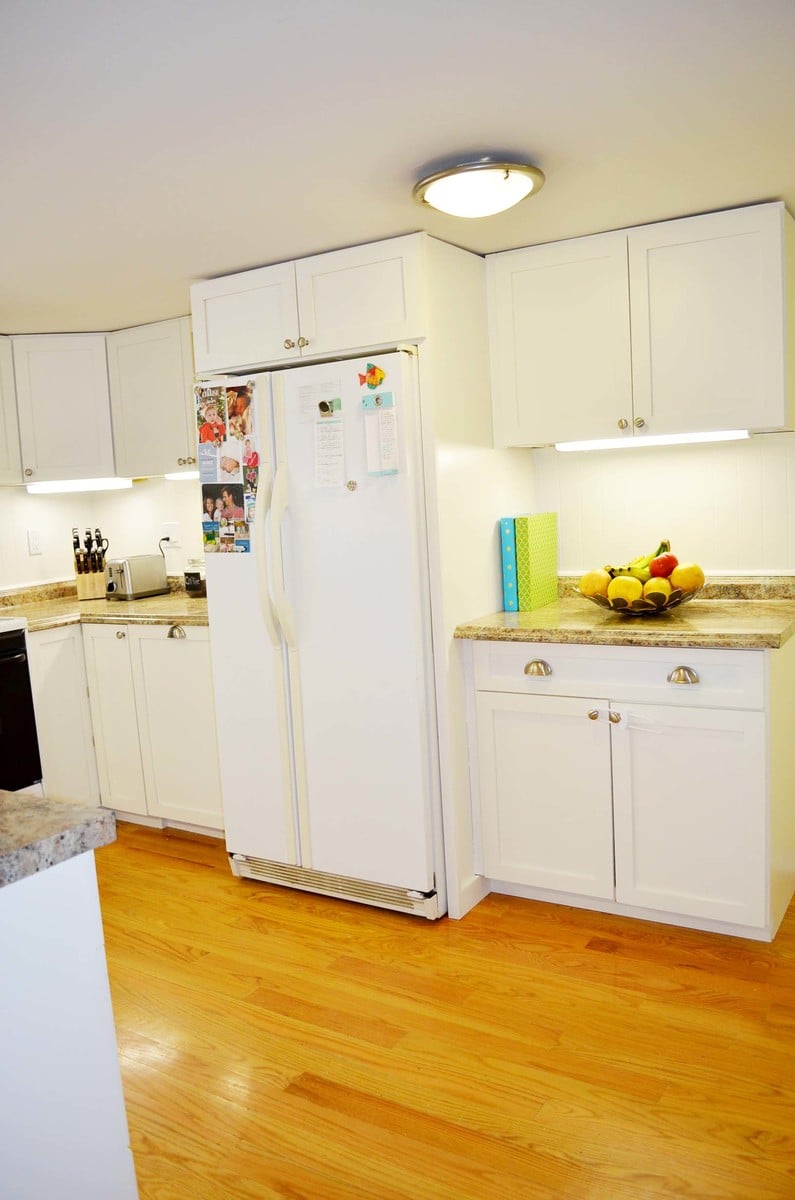
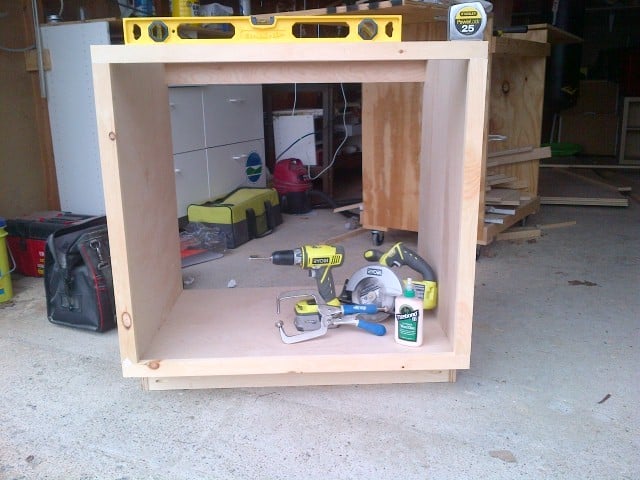
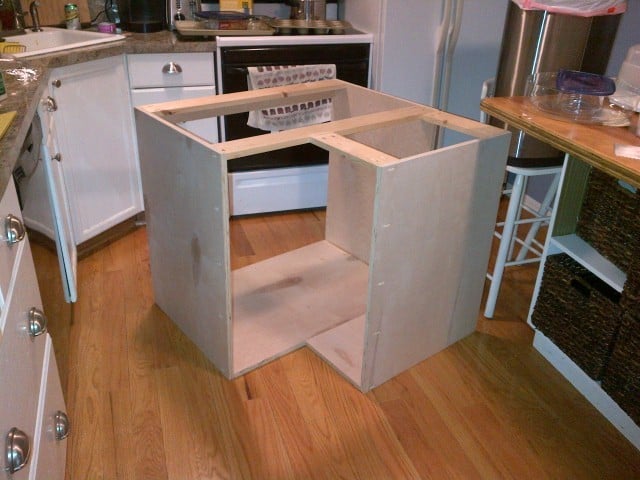
Kitchen Renovation thanks to Ana-White
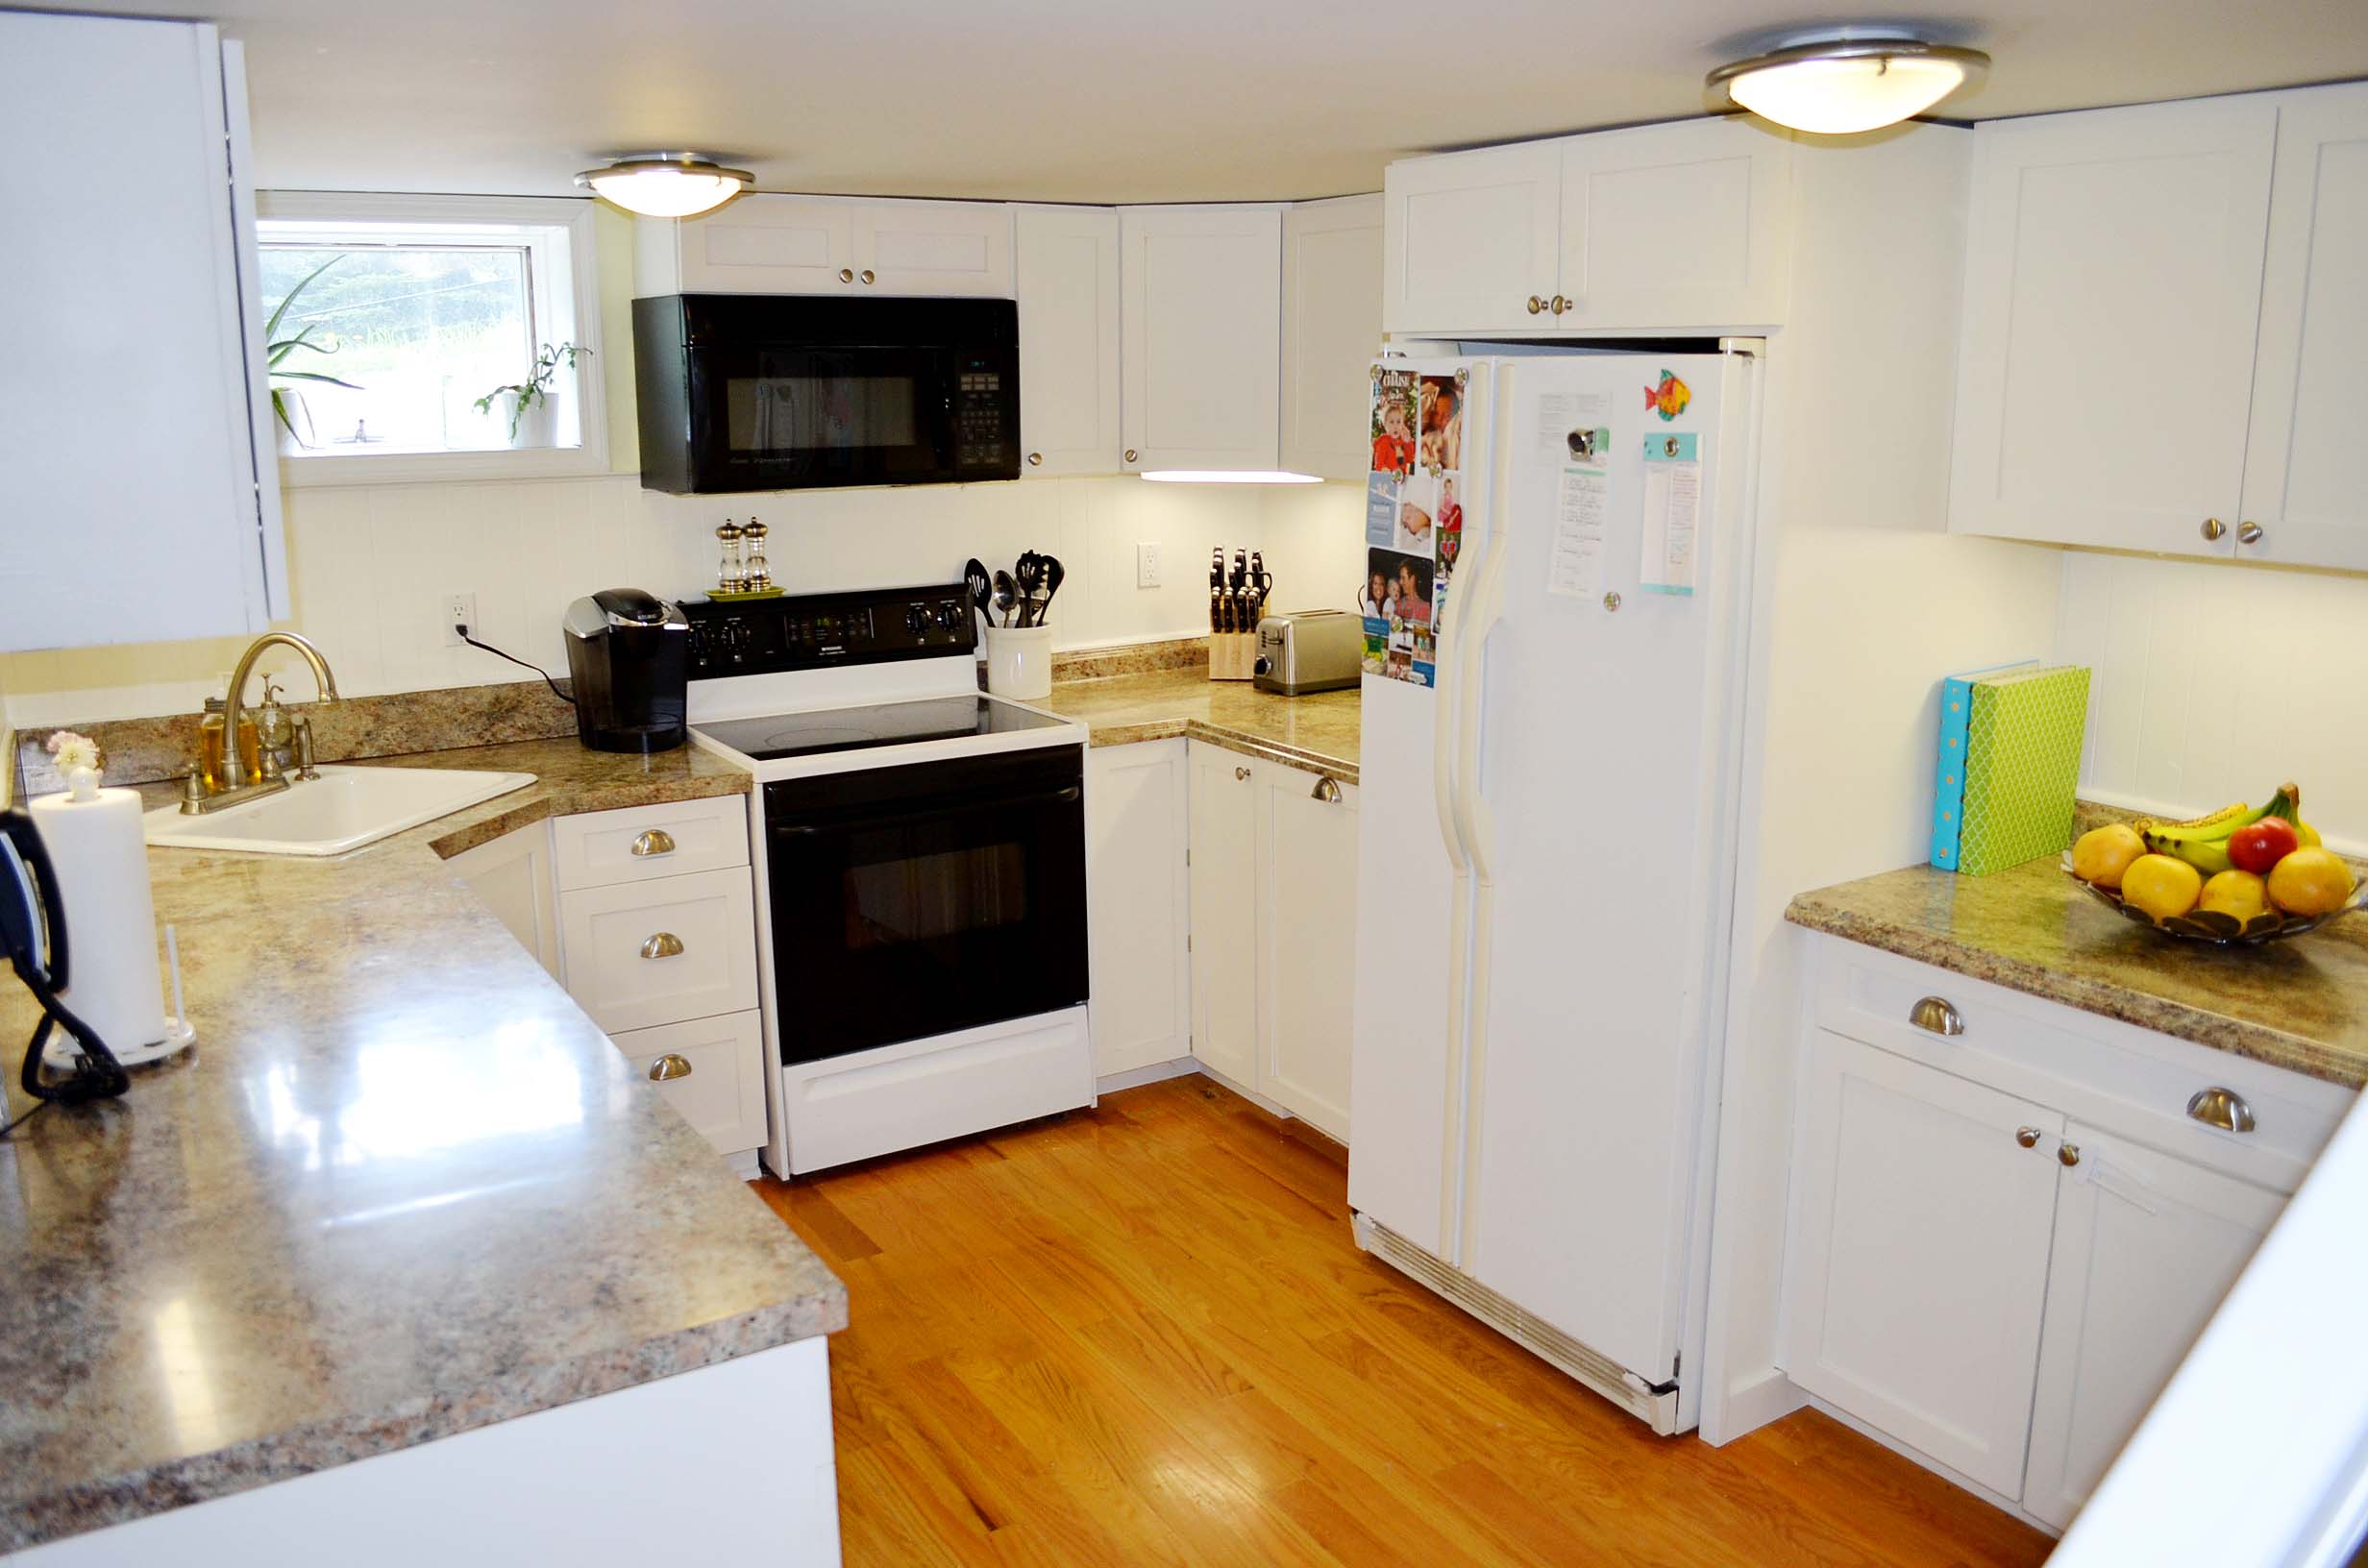
The ongoing saga of our cruddy old kitchen is finally over, for the most part. We attempted the quick fix and failed and now with a little time, knowledge and cash we think we finally got it right. Our ceilings are lower than the average house so we couldn't buy stock cabinets. We custom made everything and added some accessories. All thanks to Ana-White!! You are so awesome!!
For more photos etc... just visit:
http://buckleyjournal.blogspot.com/2013/07/kitchen-reno-redo-20.html

Built from Plan(s)
Estimated Time Investment
Week Long Project (20 Hours or More)
Finish Used
Benjamin-Moore "Dove White" applied with a spray-gun.
Recommended Skill Level
Intermediate
Comments

Tue, 07/16/2013 - 13:45
It's absolutely perfect!
Amazing job, MCBuckle! Off to click over to read more about it


Thu, 07/18/2013 - 23:16
Guts and glory!
You've got guts AND glory! :) Wish I had the confidence a year ago to build our kitchen cabinets. I hired a friend of a friend. It took months for him to build the 5 bases, then he took another job and left our kitchen without doors and drawers. If he doesn't come this weekend like he promised, I'm revving up our circular saw and growing some guts myself.
Thank you for the inspiration. (Oh, I was not able to post a comment on your blog. When it asked me to type in the code to prove I am not a robot or web spider, the submit comment button was missing.)
Fri, 07/19/2013 - 05:48
Thanks Yvonne!
Go for it!! Trust me, if I could do it anybody can.
And thanks for the heads up, I think I fixed the comment issue!

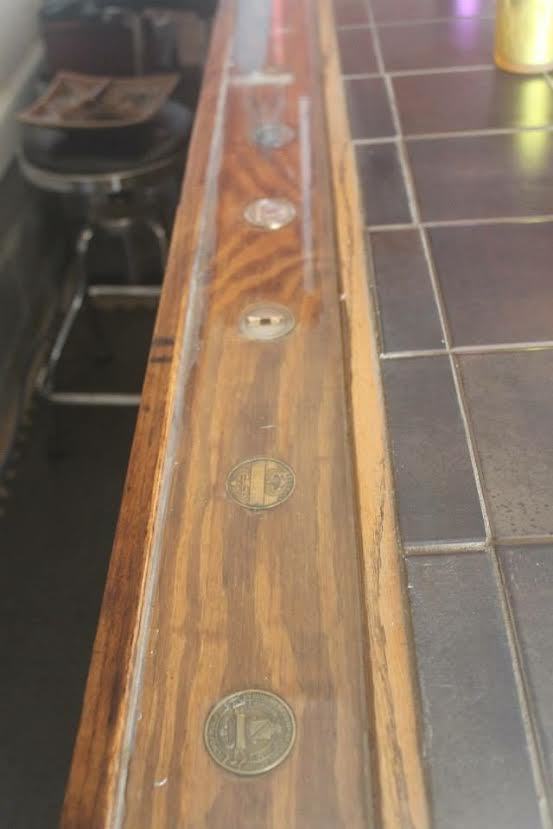
My biggest project to date.
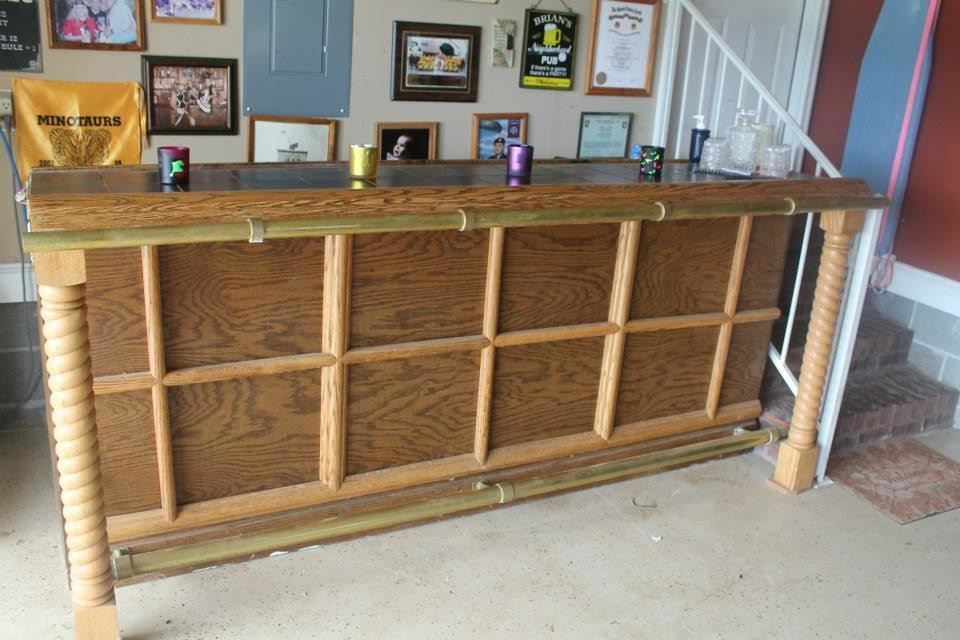
I made this bar several years ago after returning from a deployment to Iraq. I used the spillway as a convenient location for some of my military award coins. At this point I had little in the way of skill so it is rough but everything else being equal, it turned out just fine for the garage man cave.
Estimated Cost
800.00
Estimated Time Investment
Week Long Project (20 Hours or More)
Finish Used
Tile Top, Black Walnut Stain, Light Oak Stain, and Varnish.
Recommended Skill Level
Intermediate
Two Story 18" or American Girl Dollhouse
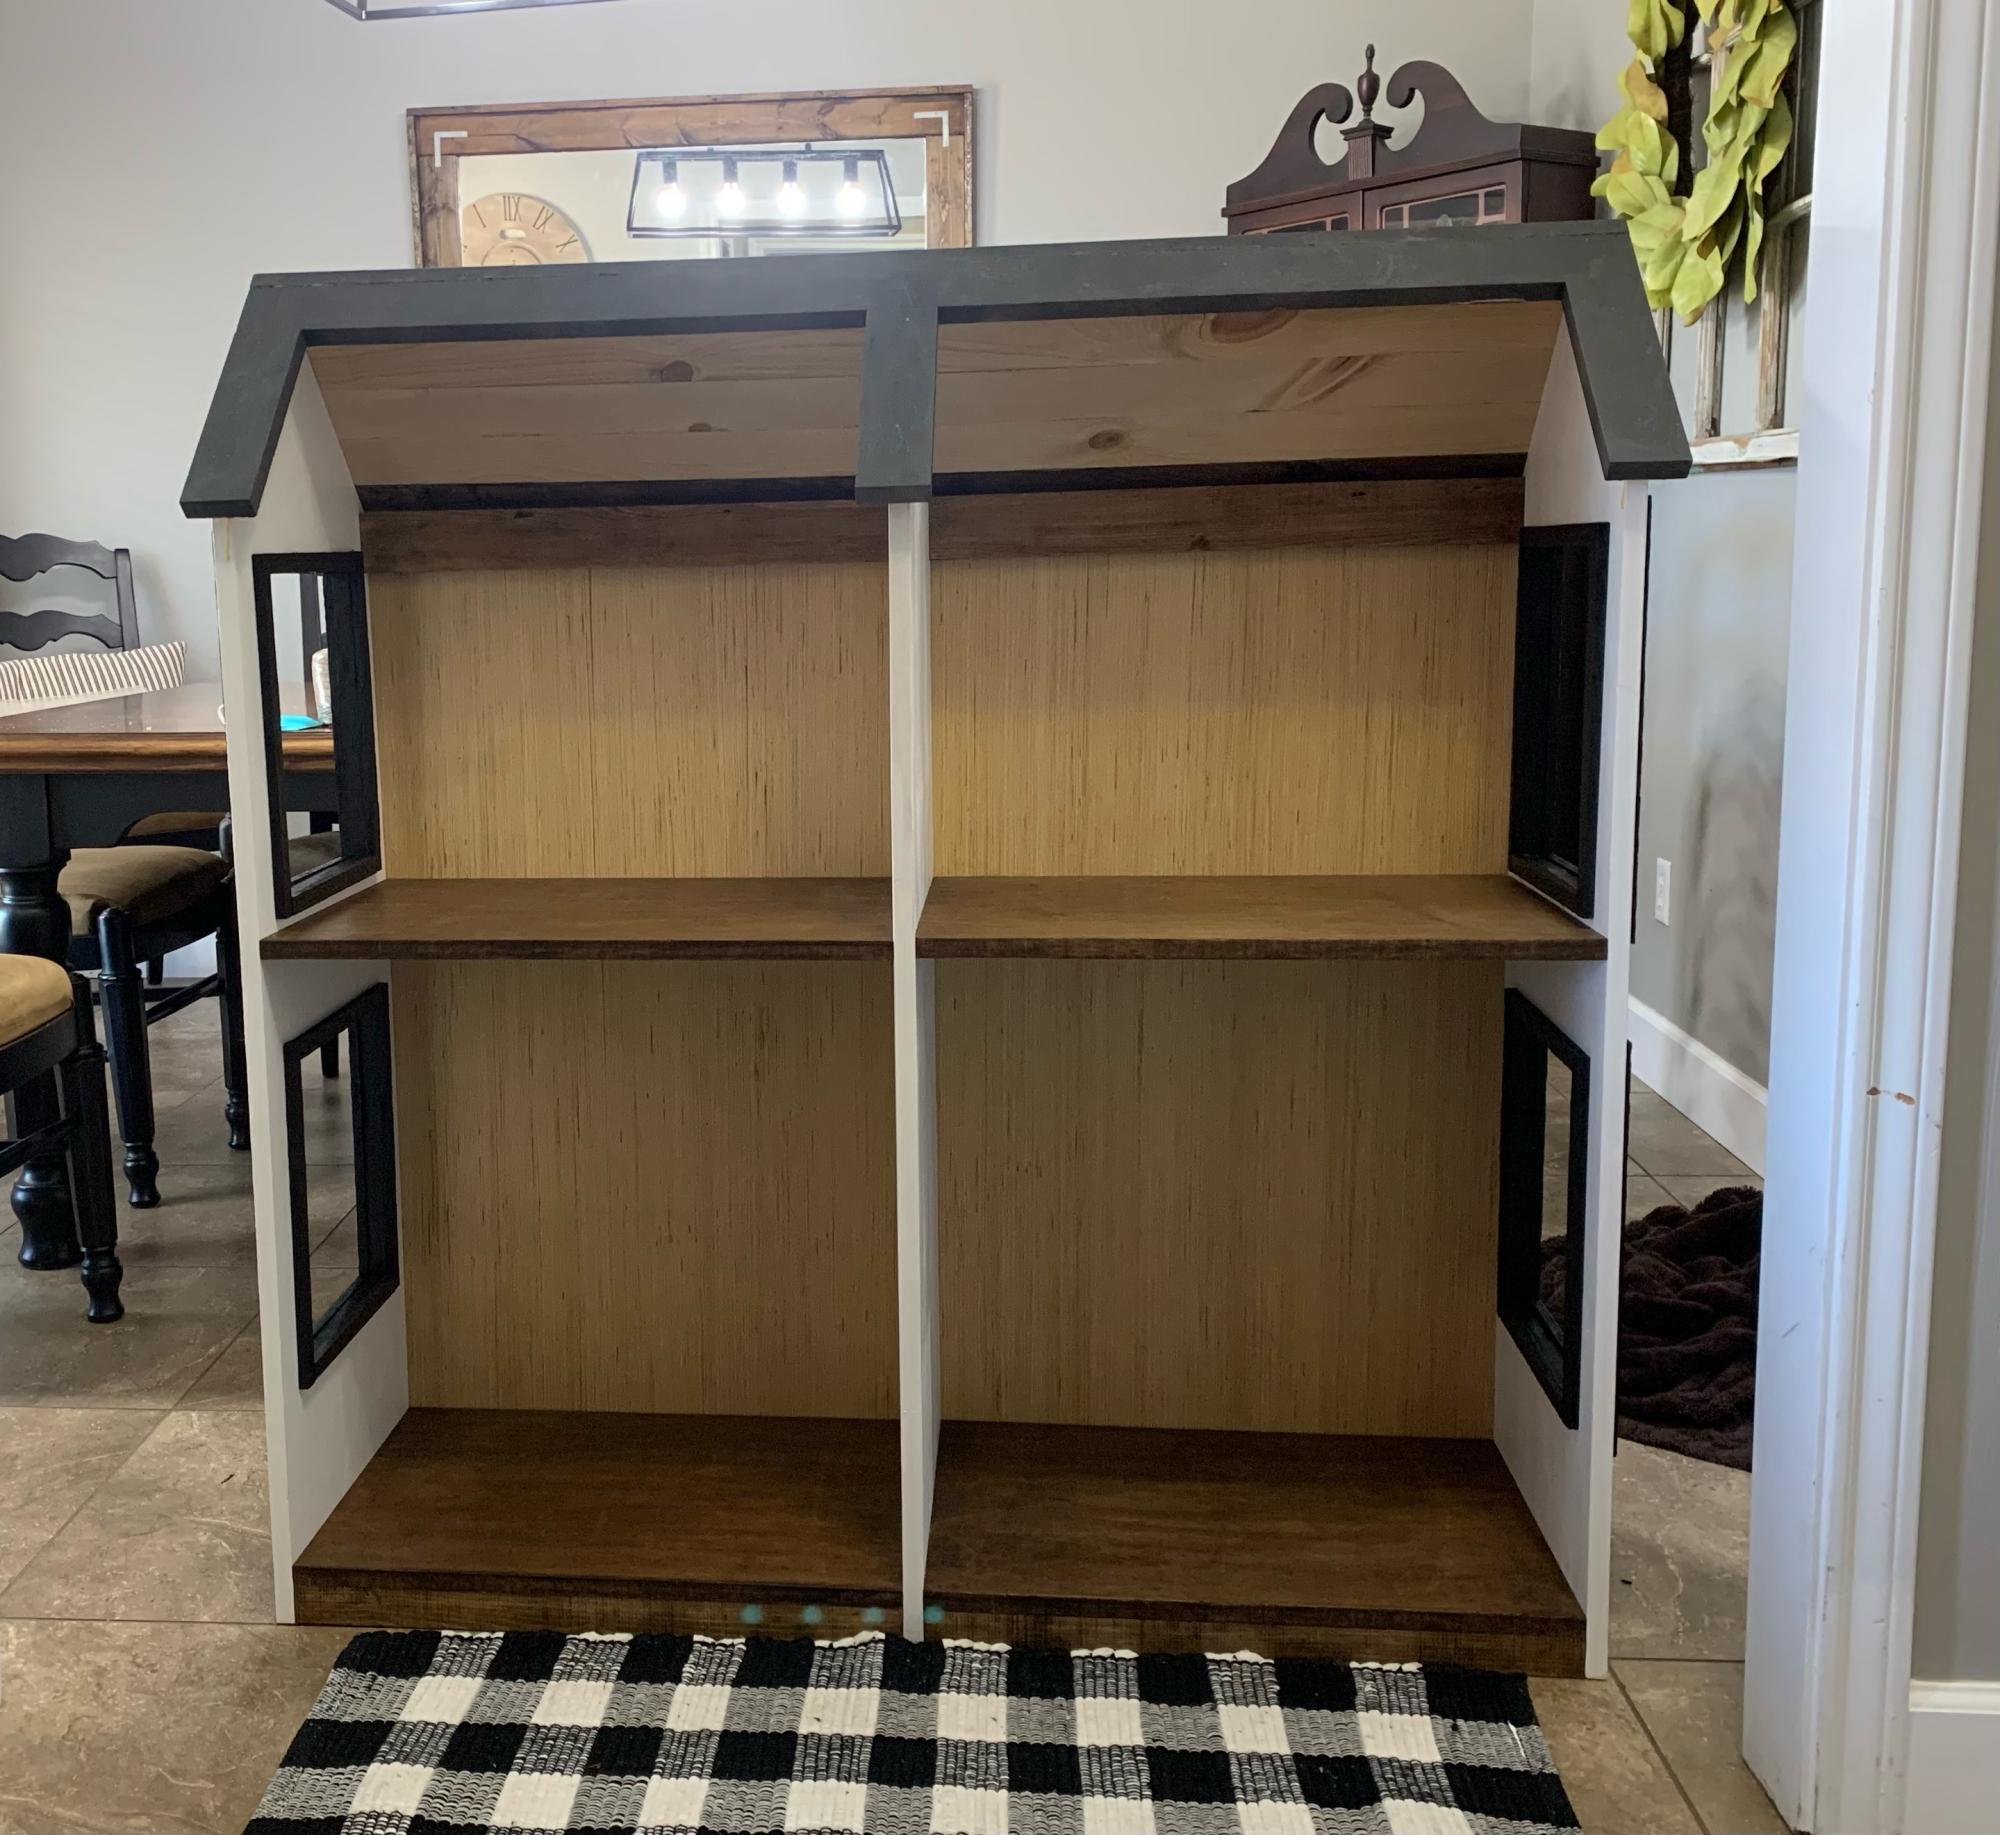
My husband and I made this for our 7 year old granddaughter's birthday. She loved it!! As always, your plans are step by step and easy to follow. Thank you!!!
Built from Plan(s)
Comments
Sat, 02/26/2022 - 10:25
Beautiful dollhouse!
A gift that will be treasured for years! Thank you for sharing:)
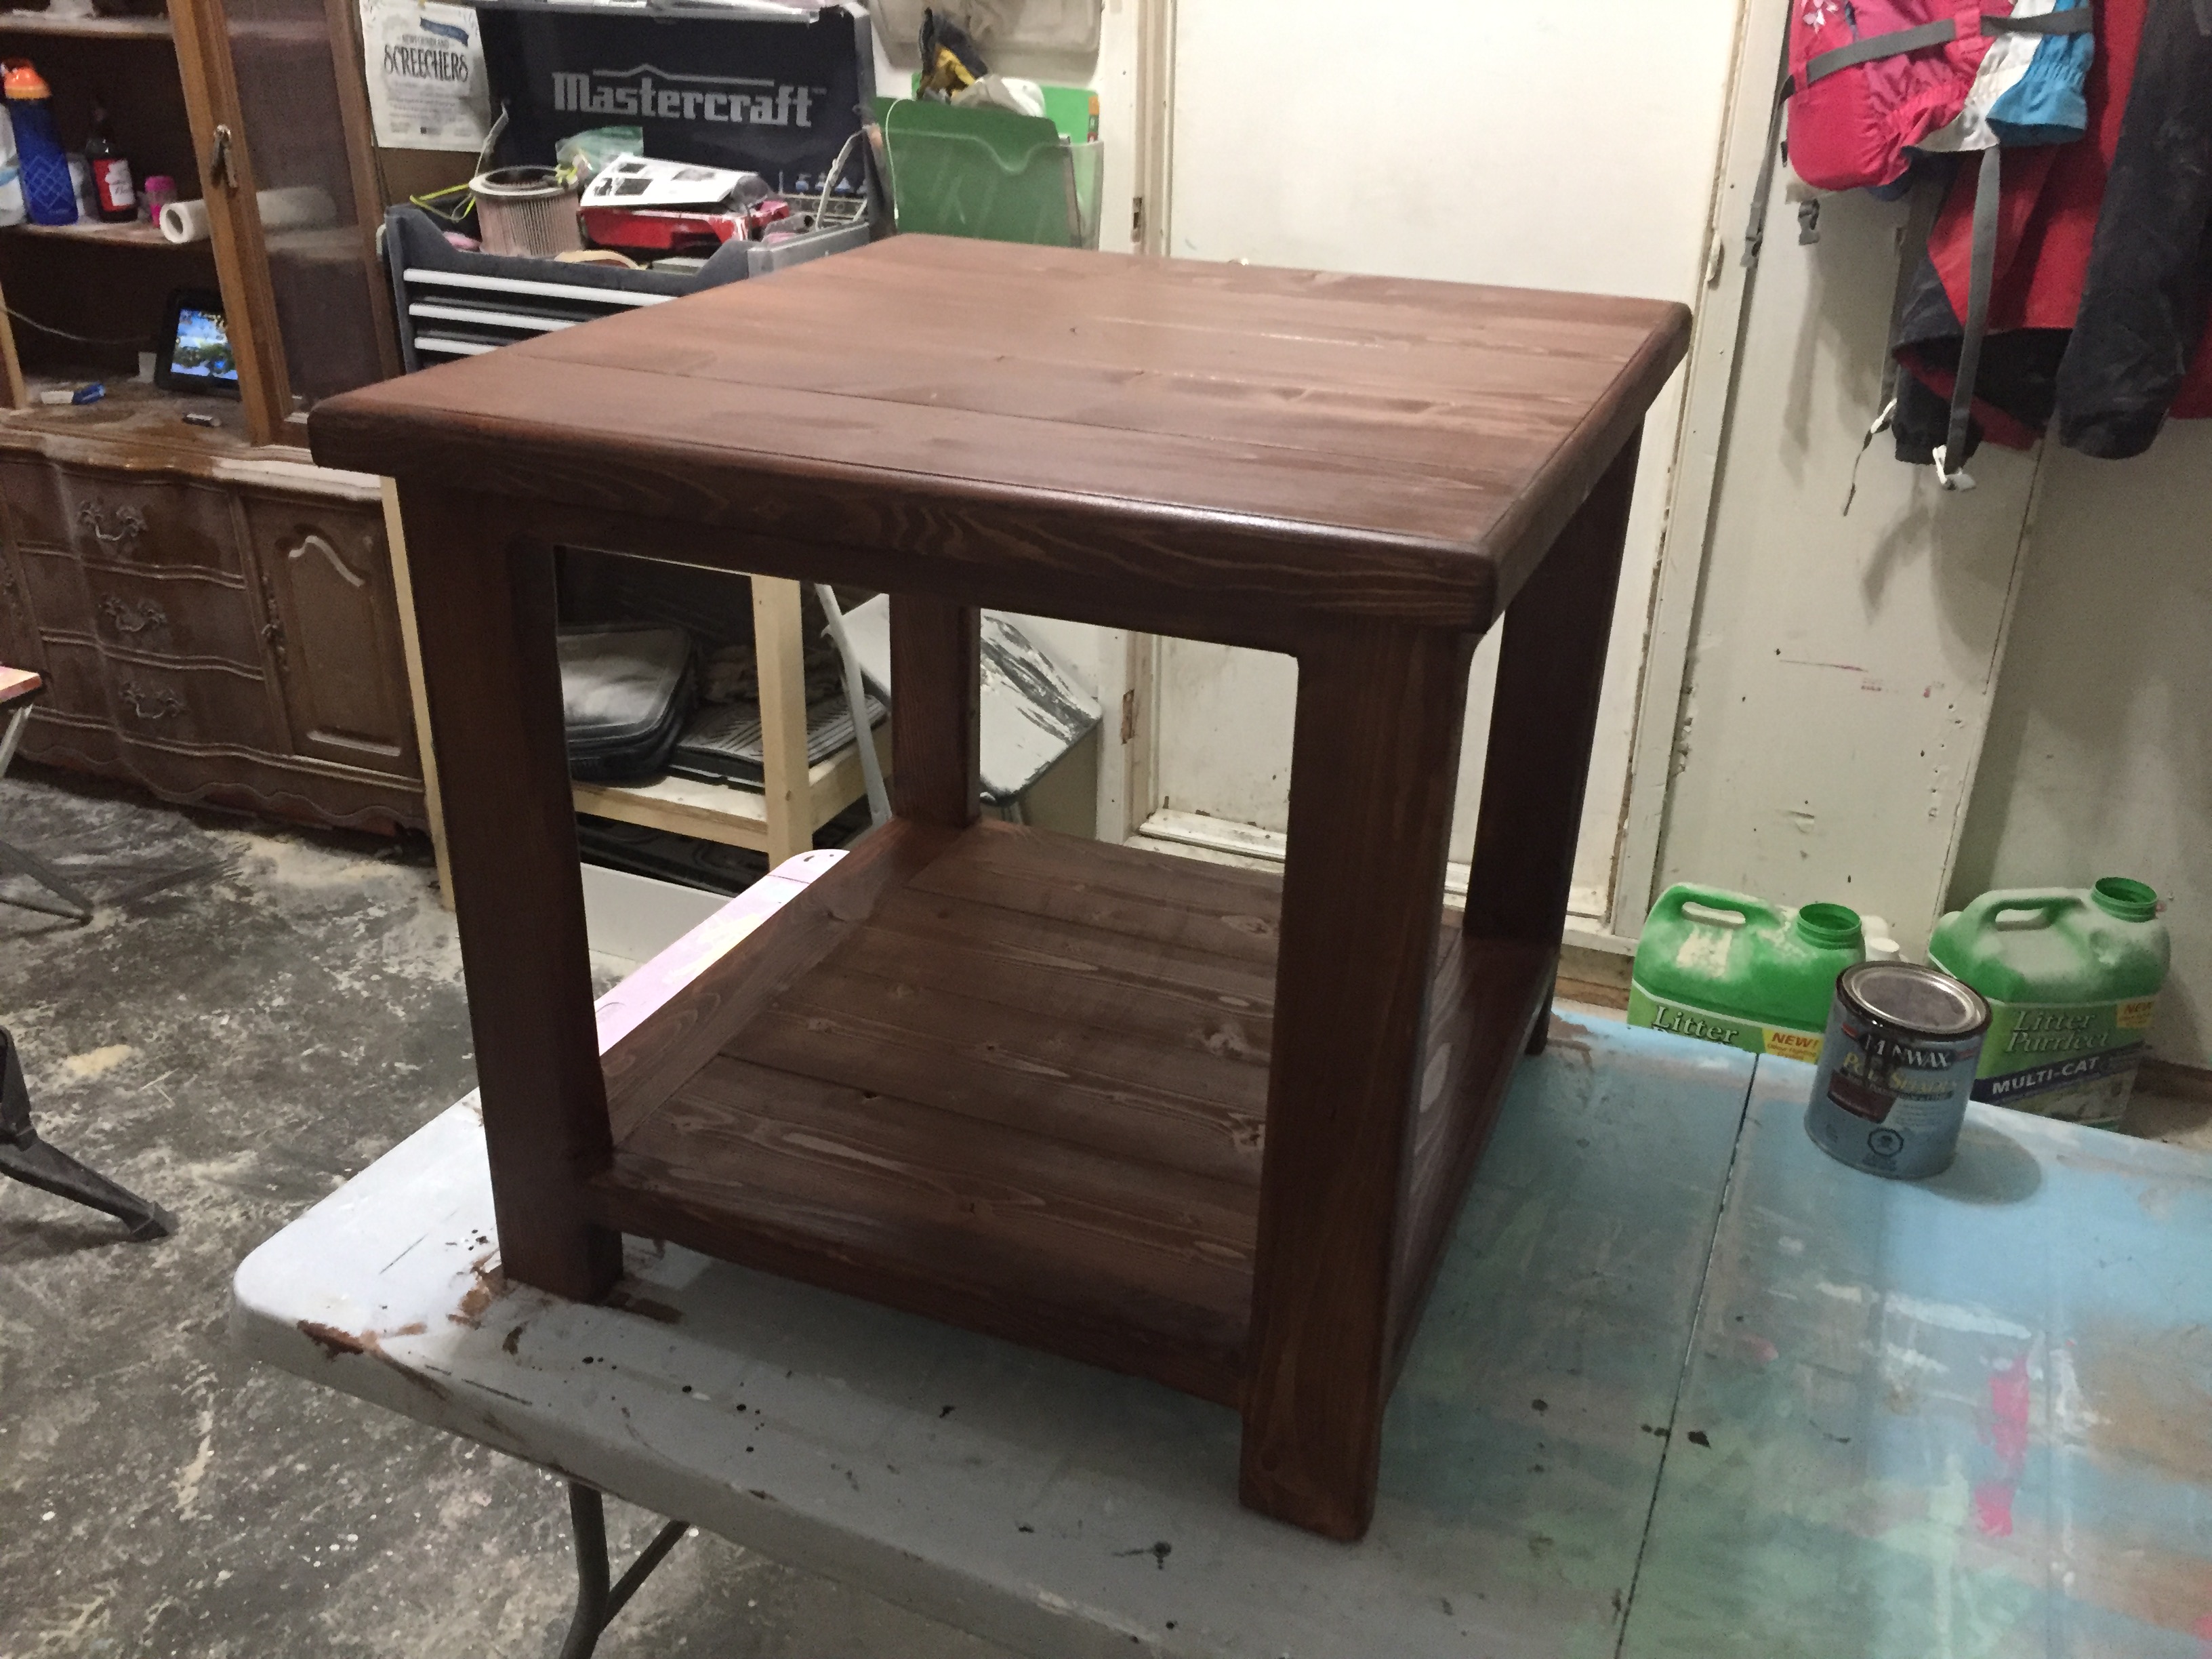
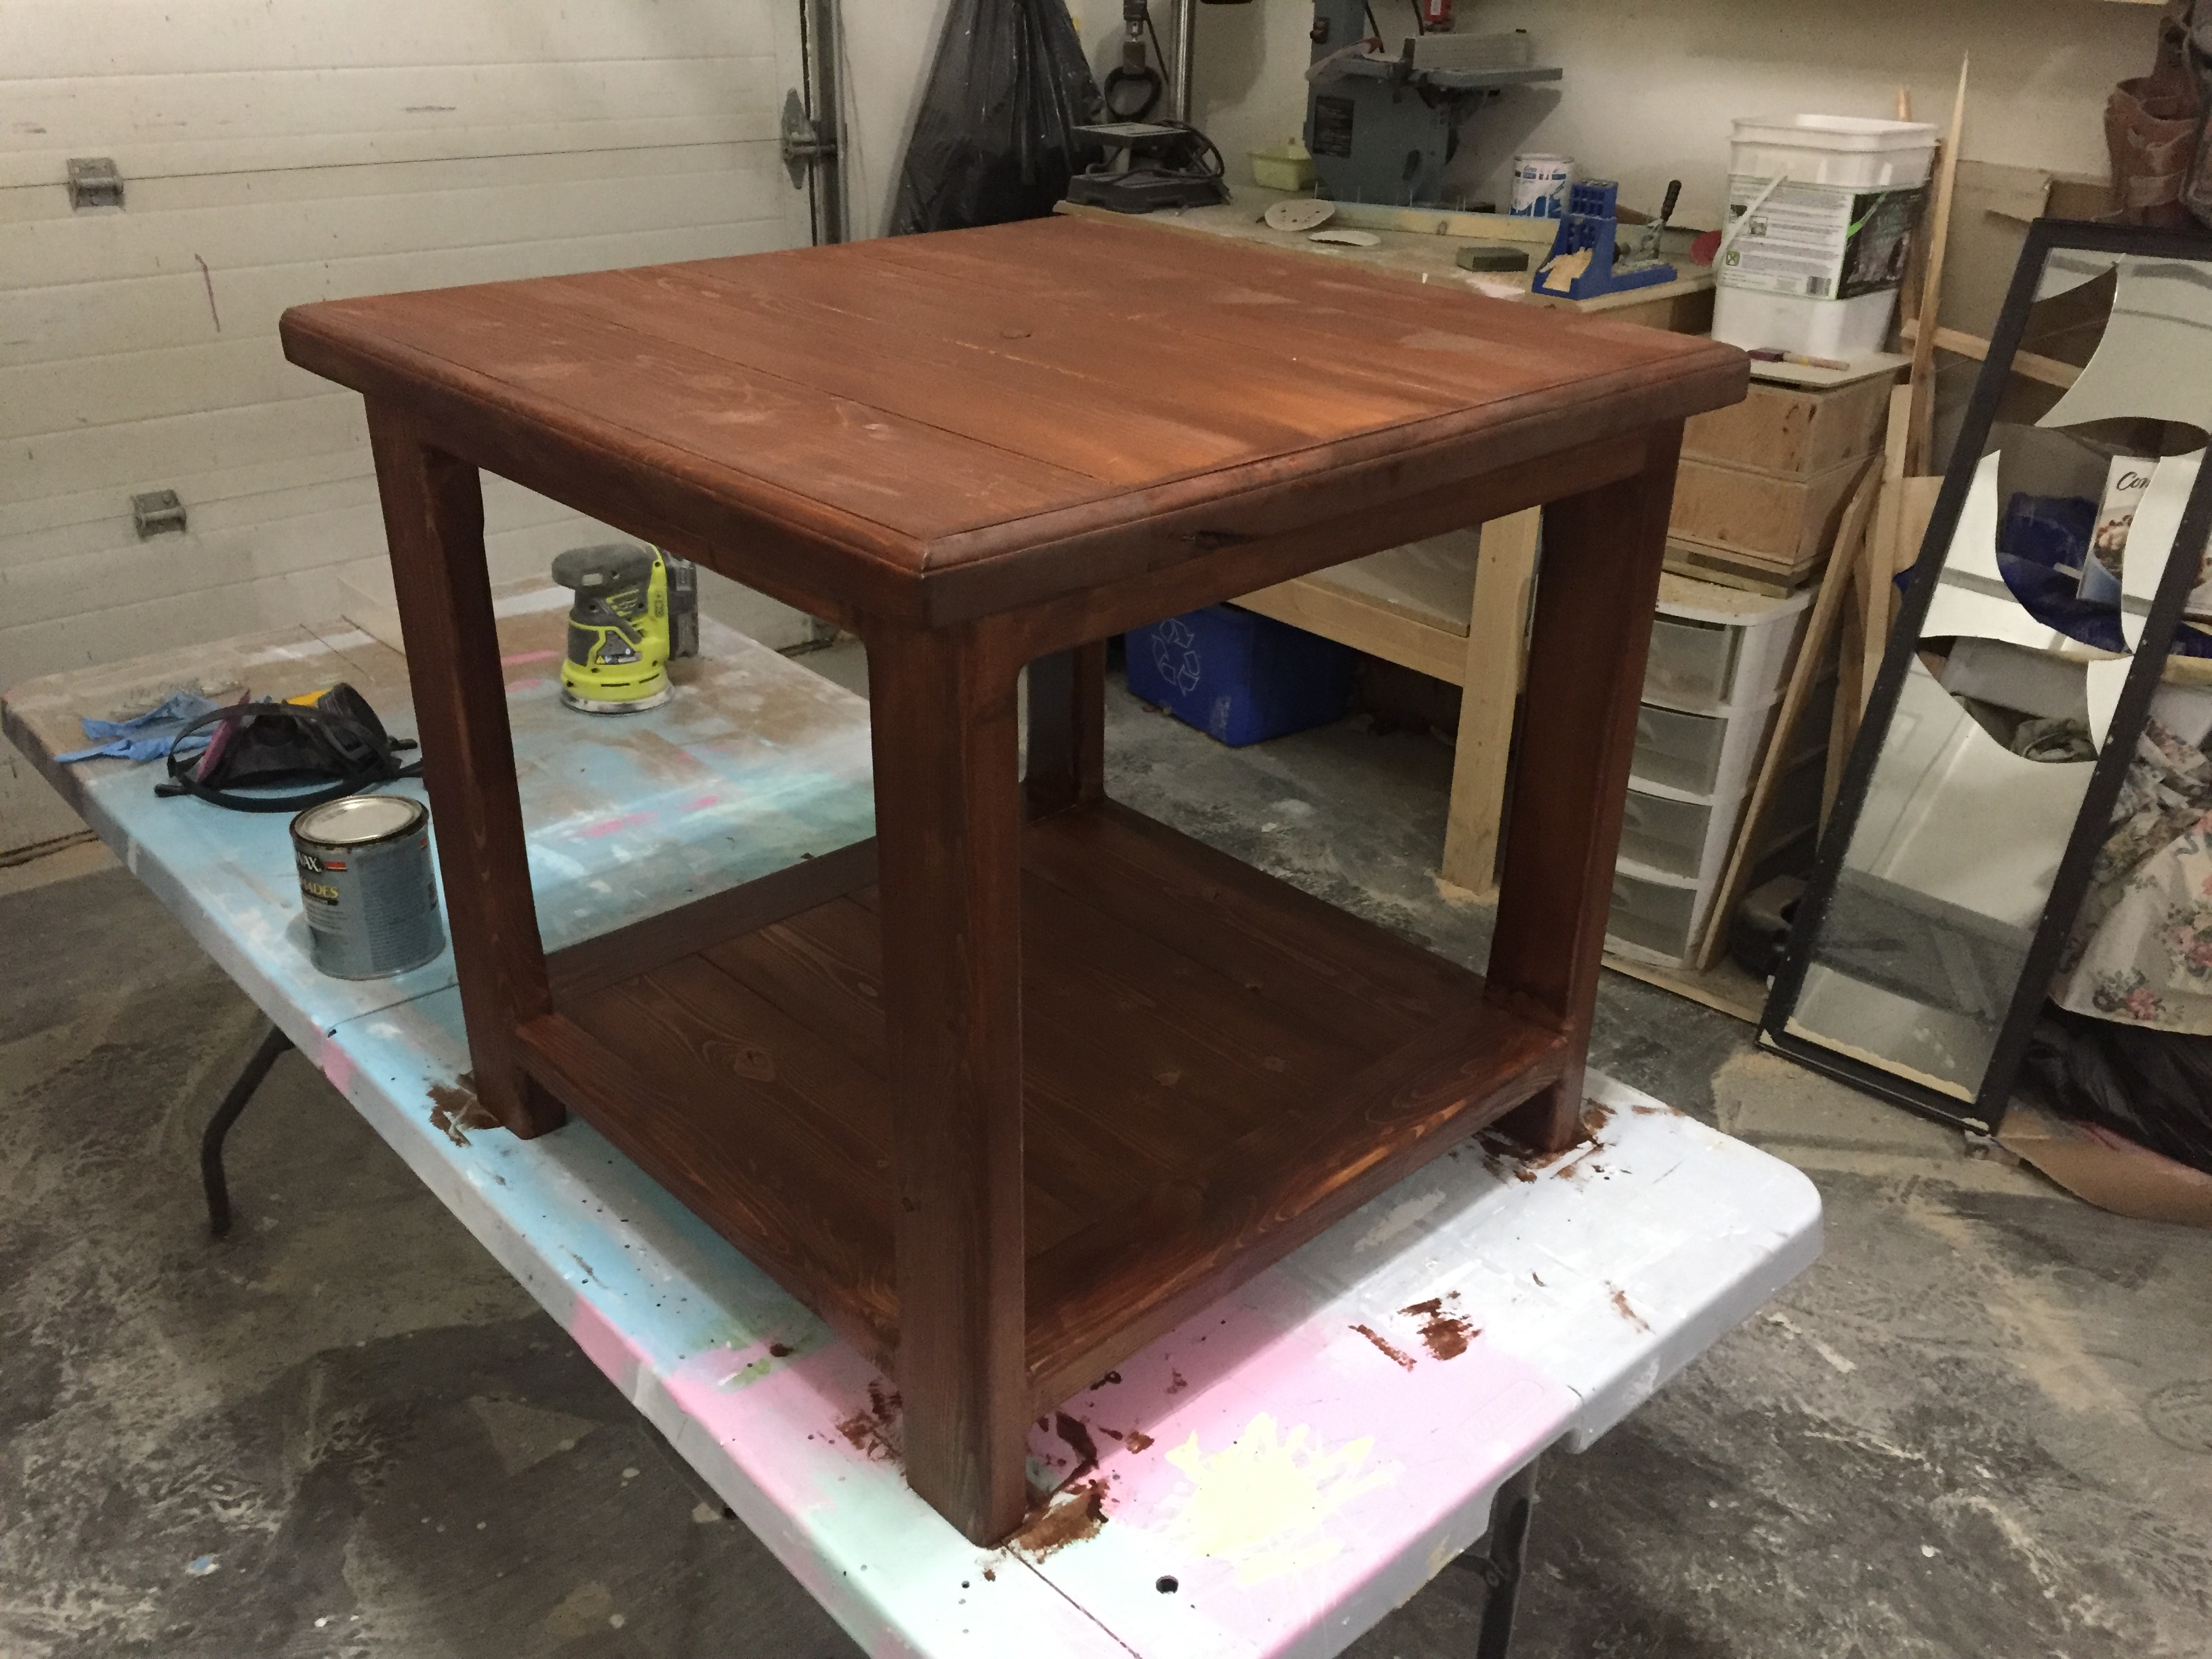
First Tryde Side Table
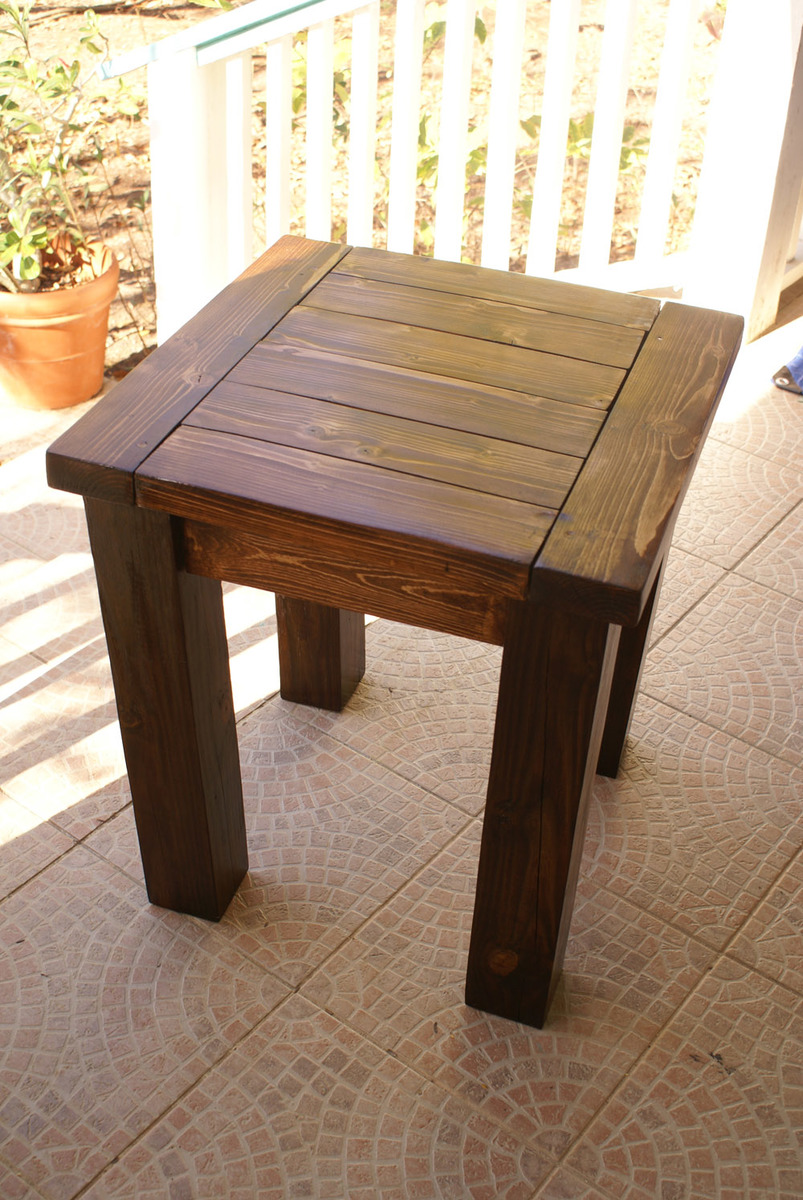
Love the simple look of this collection! This was my first table to do. I will be doing more...such a great and sturdy table. The wood is absolutely beautiful stained too!
Built from Plan(s)
Estimated Cost
$50 (island living cost more)
Estimated Time Investment
Day Project (6-9 Hours)
Finish Used
Nuwood walnut poly stain. Top has 2 coats of glossy poly finish as well, but the legs just had the 2 coats of stain.
Recommended Skill Level
Beginner
Wood Robot

Simple project made from scrap wood.
See Build Instructions here:
http://www.instructables.com/id/Wood-Robot/
Robot Animation:

Estimated Cost
$5
Estimated Time Investment
Afternoon Project (3-6 Hours)
Finish Used
None
Recommended Skill Level
Beginner
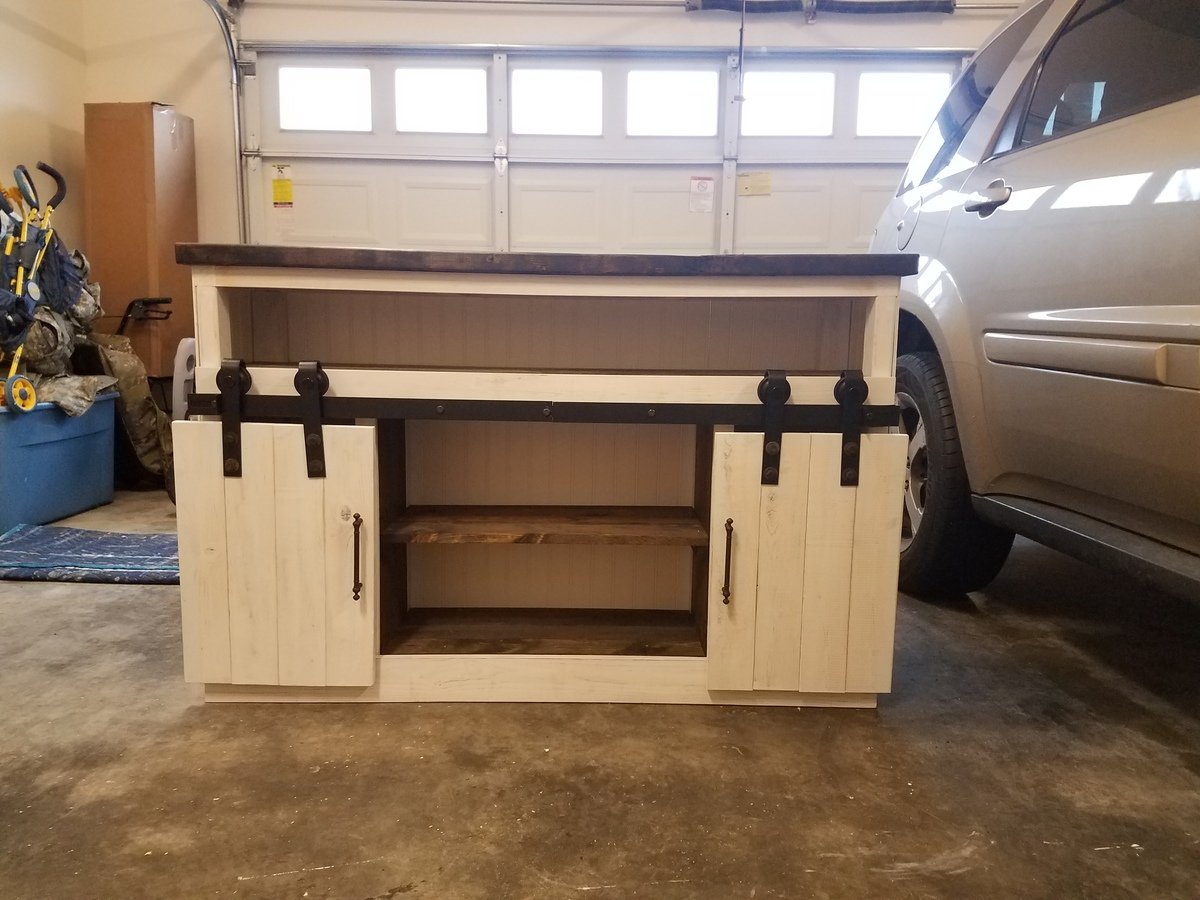
Modified grandy console
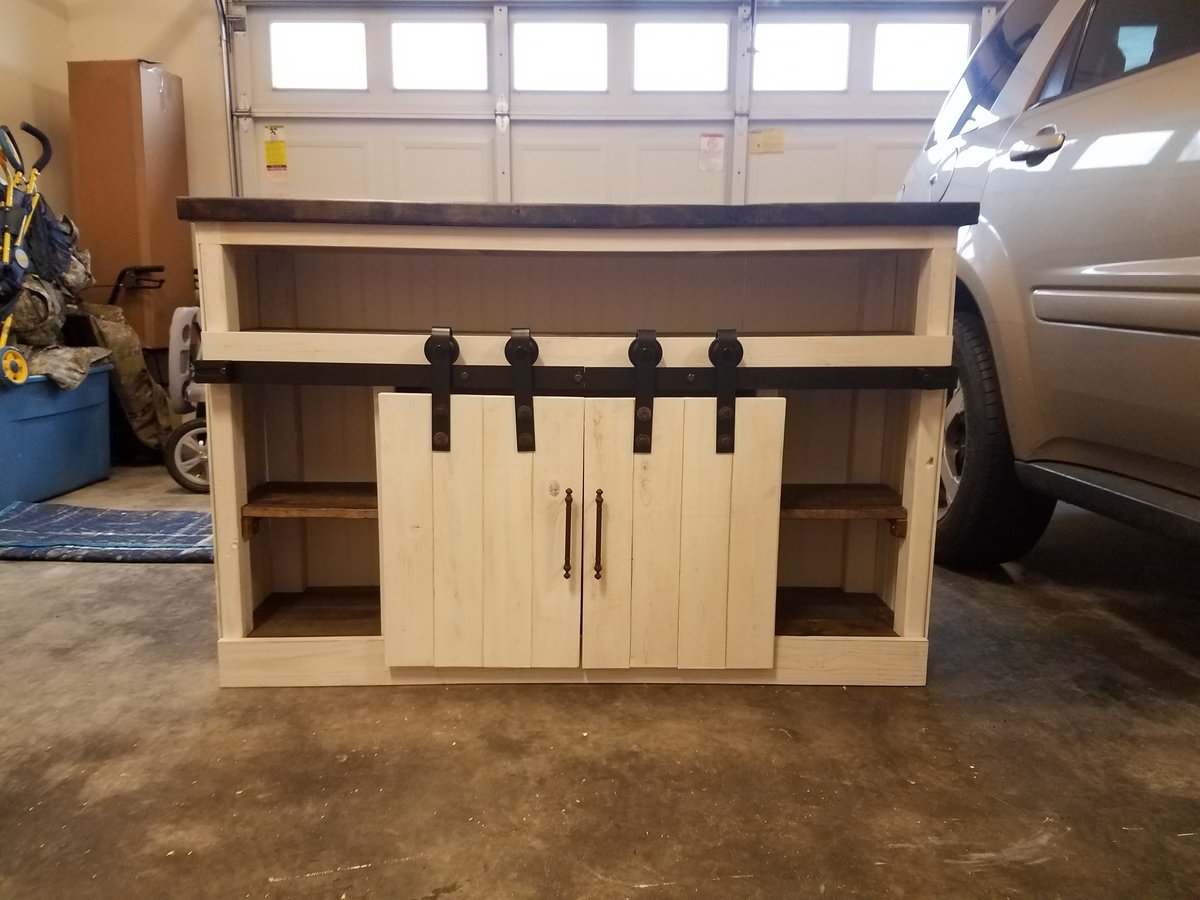
Built a smaller version of the grandy console with slot in the top for a sound bar. This was my first time using barn door hardware. Was a good time.
Built from Plan(s)
Estimated Cost
250 (includes barn door hardware)
Estimated Time Investment
Weekend Project (10-20 Hours)
Finish Used
Jacobean stain anf white paint
Recommended Skill Level
Intermediate
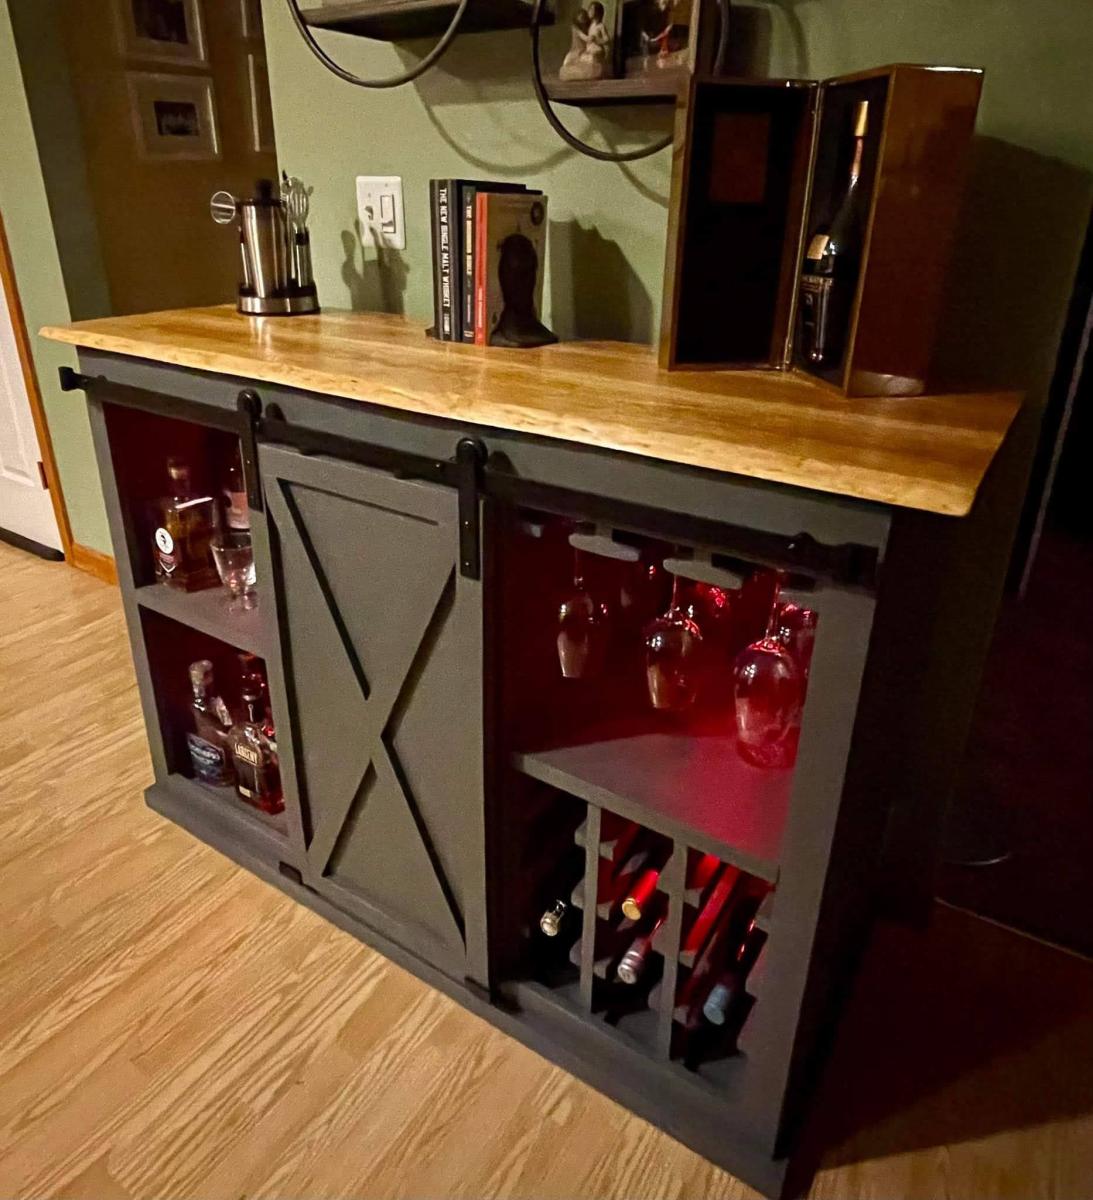
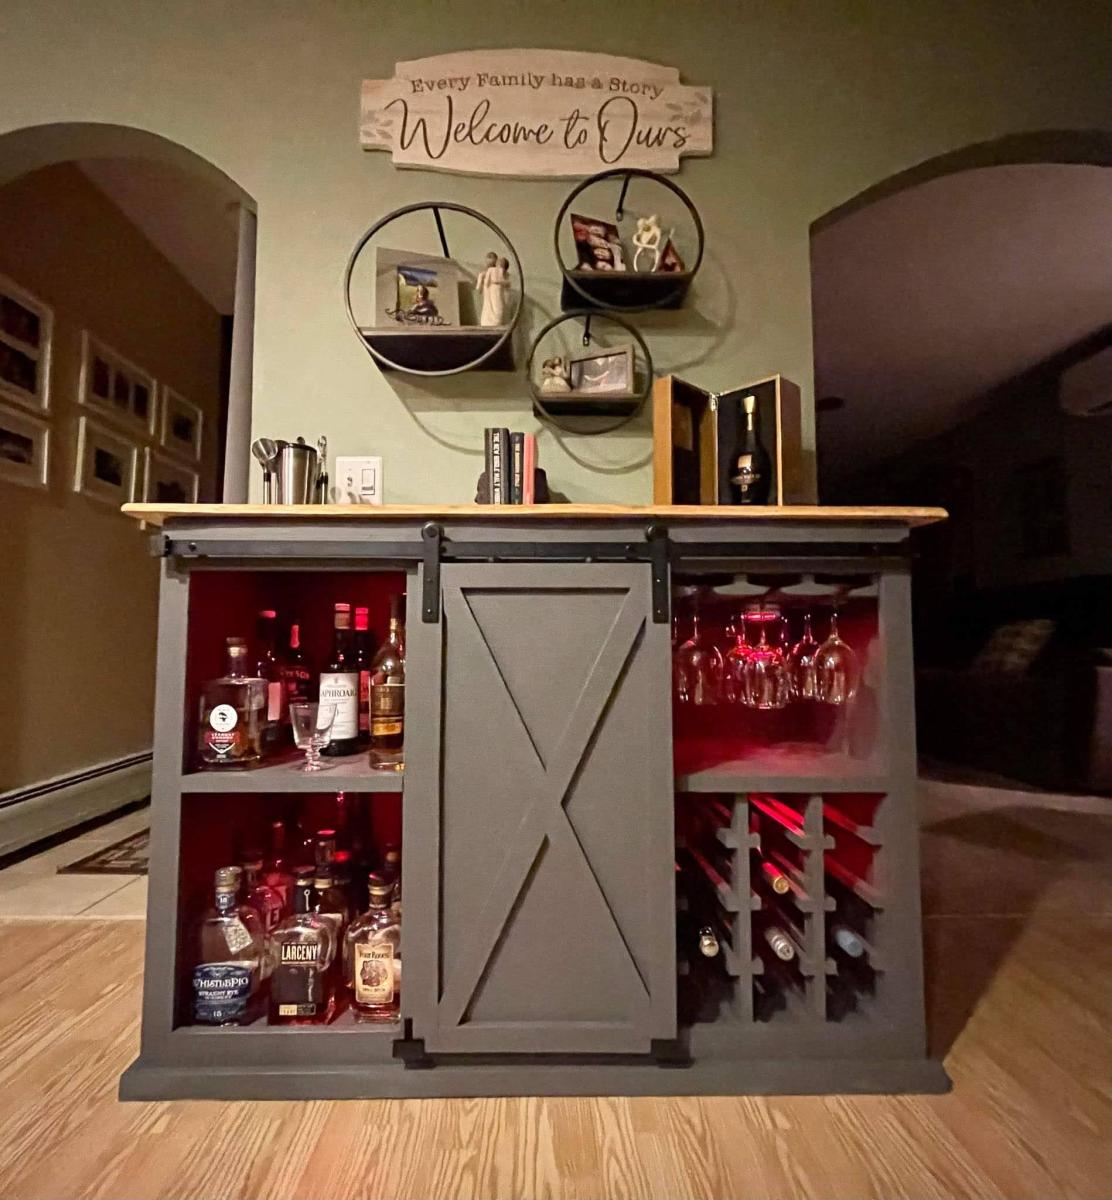
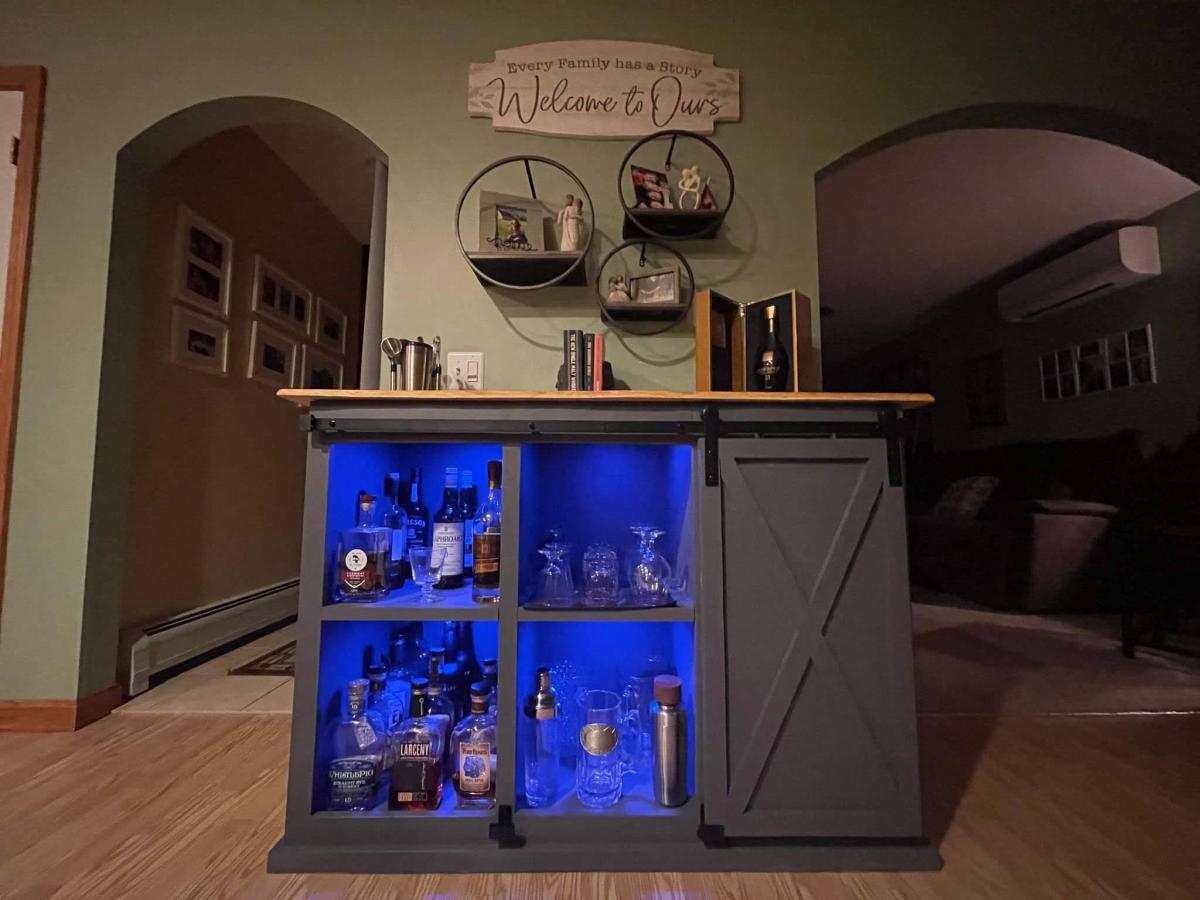
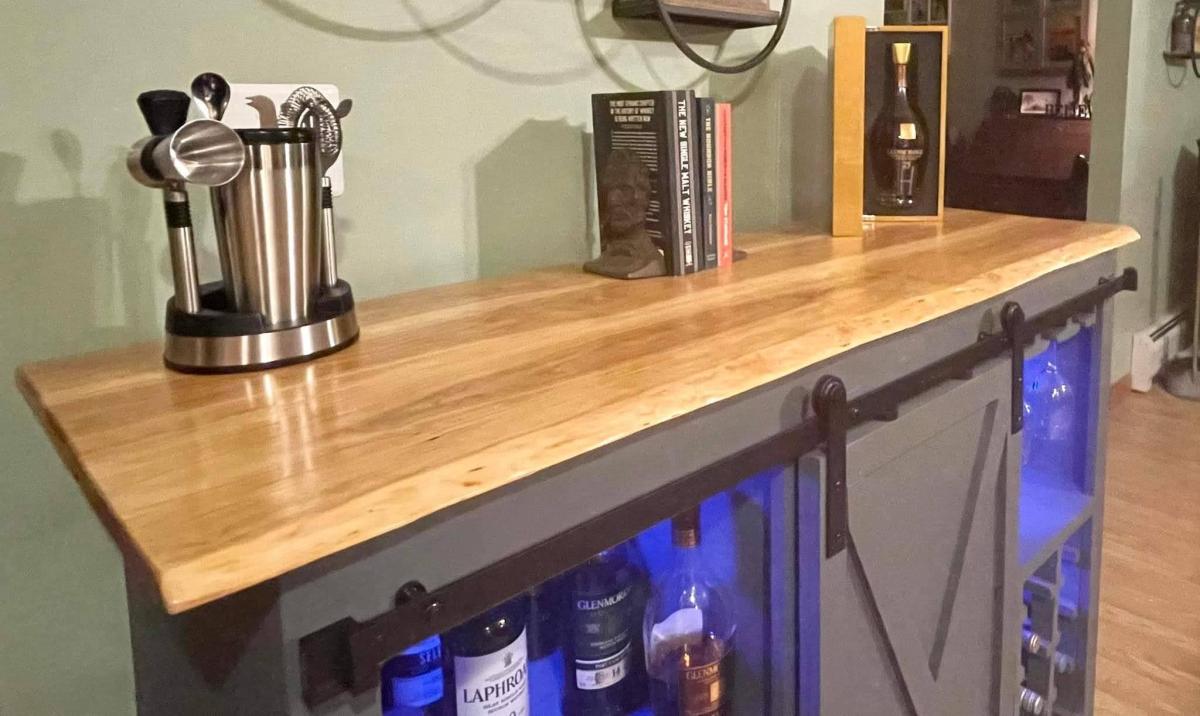
Whiskey/ Wine Bar
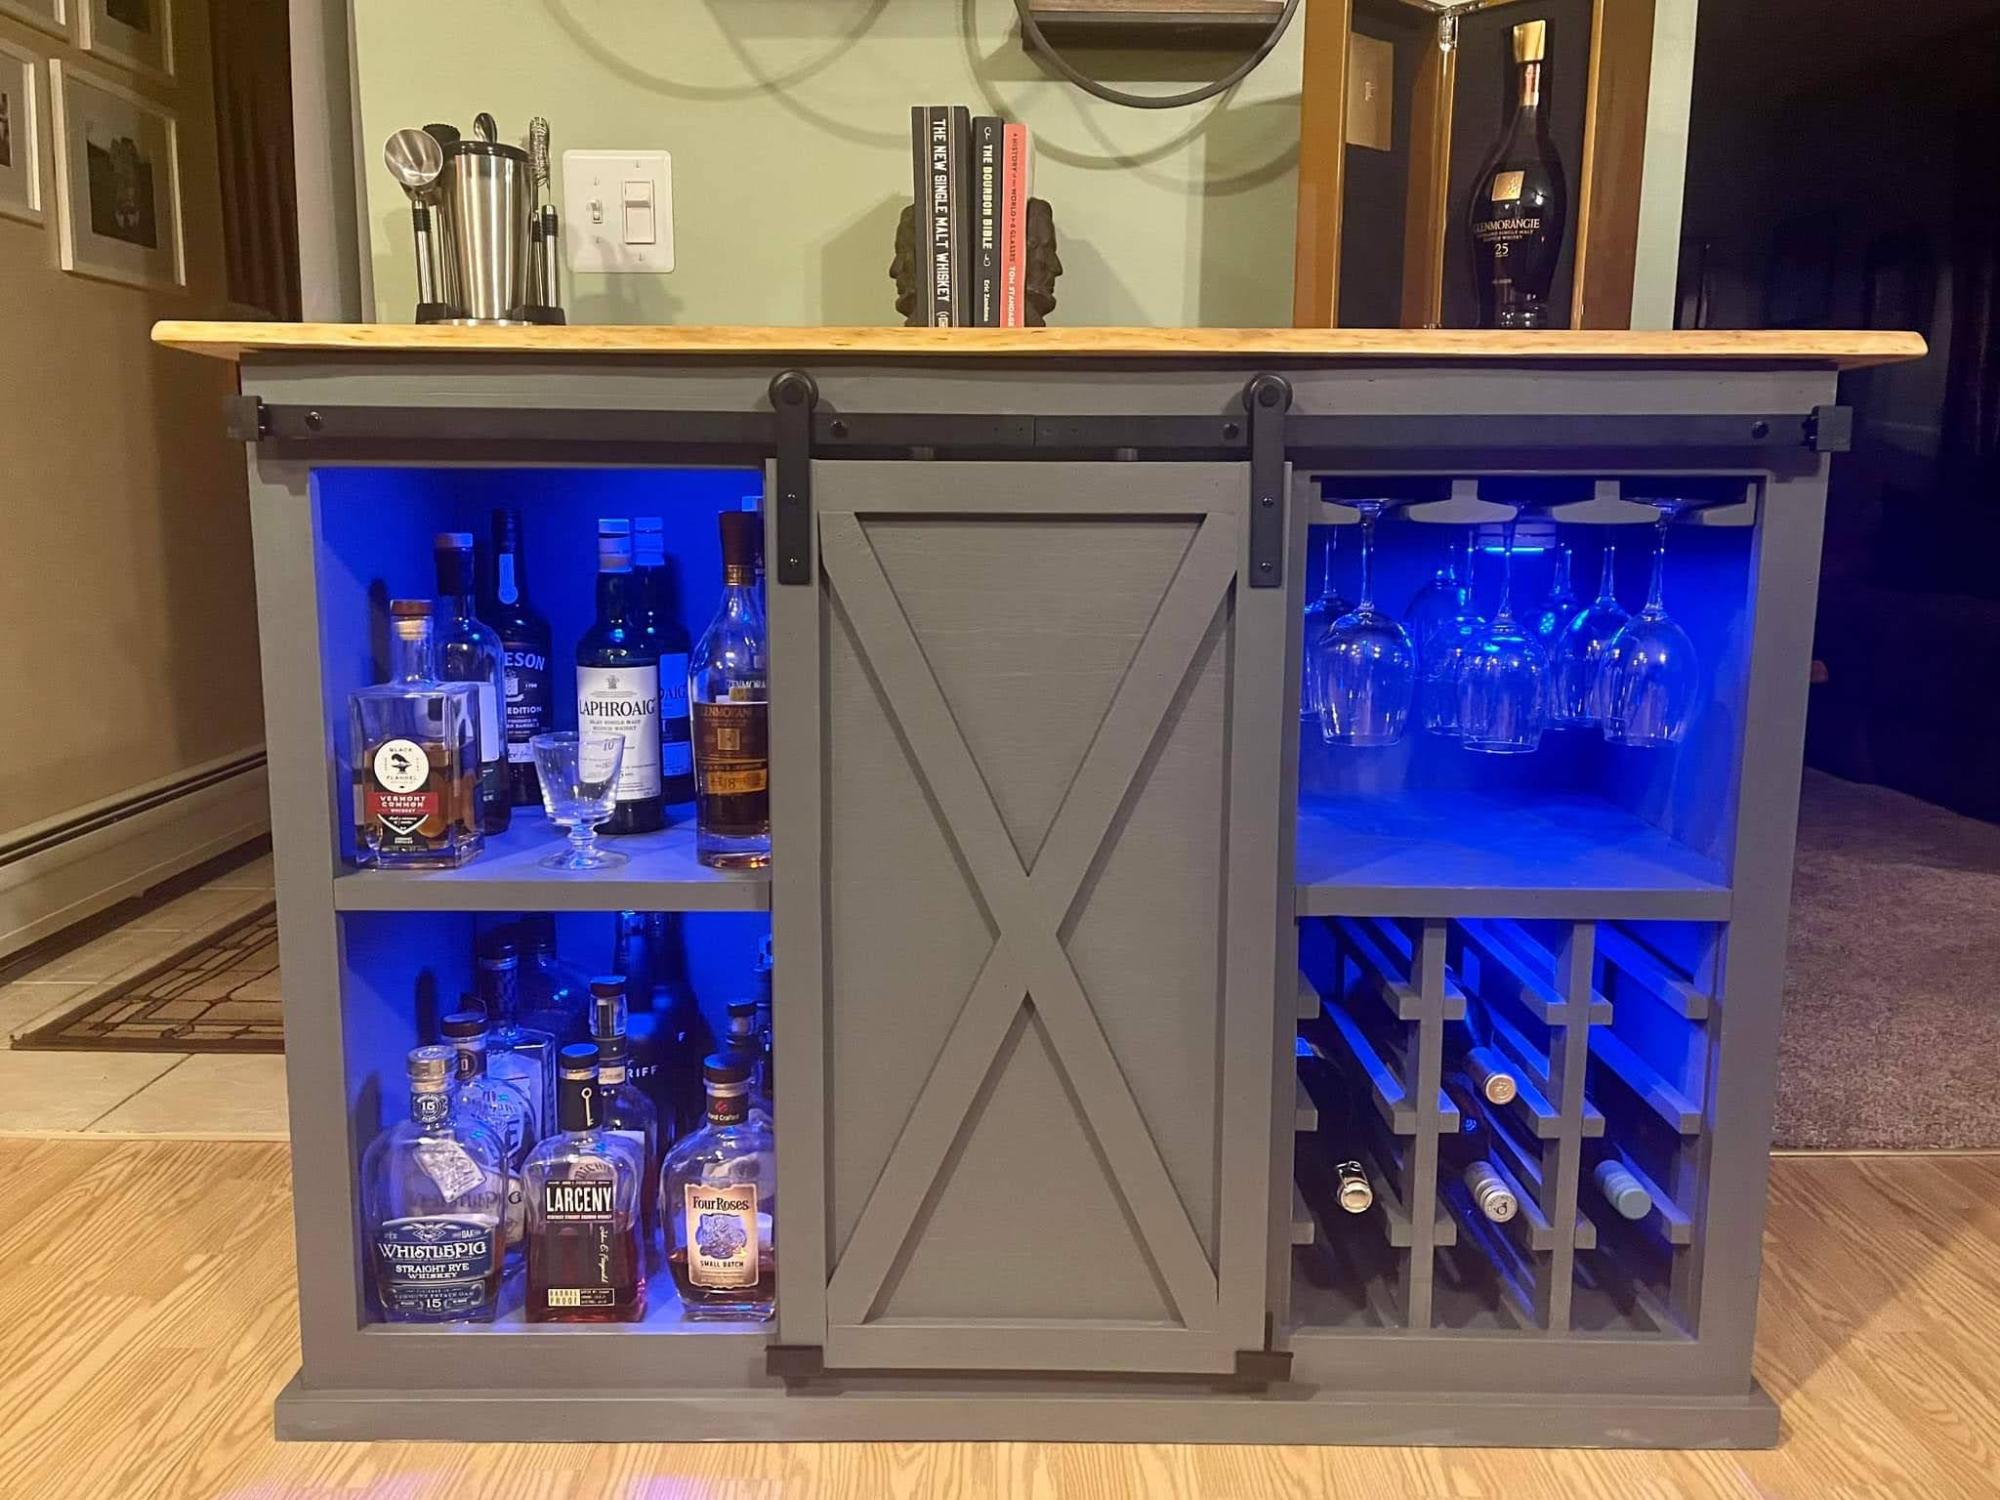
Whiskey on the left, Wine rack & glass holders on the right with storage in the middle. Frame built mostly with Pine, painted with Peppercorn Grey. Cherry tabletop with live edge. Finished with boiled linseed oil and semi-gloss polyurethane. A whiskey Bar should be fun! Stick on lights in each bay battery powered, comes with remote with many color options.
Built from Plan(s)
Comments
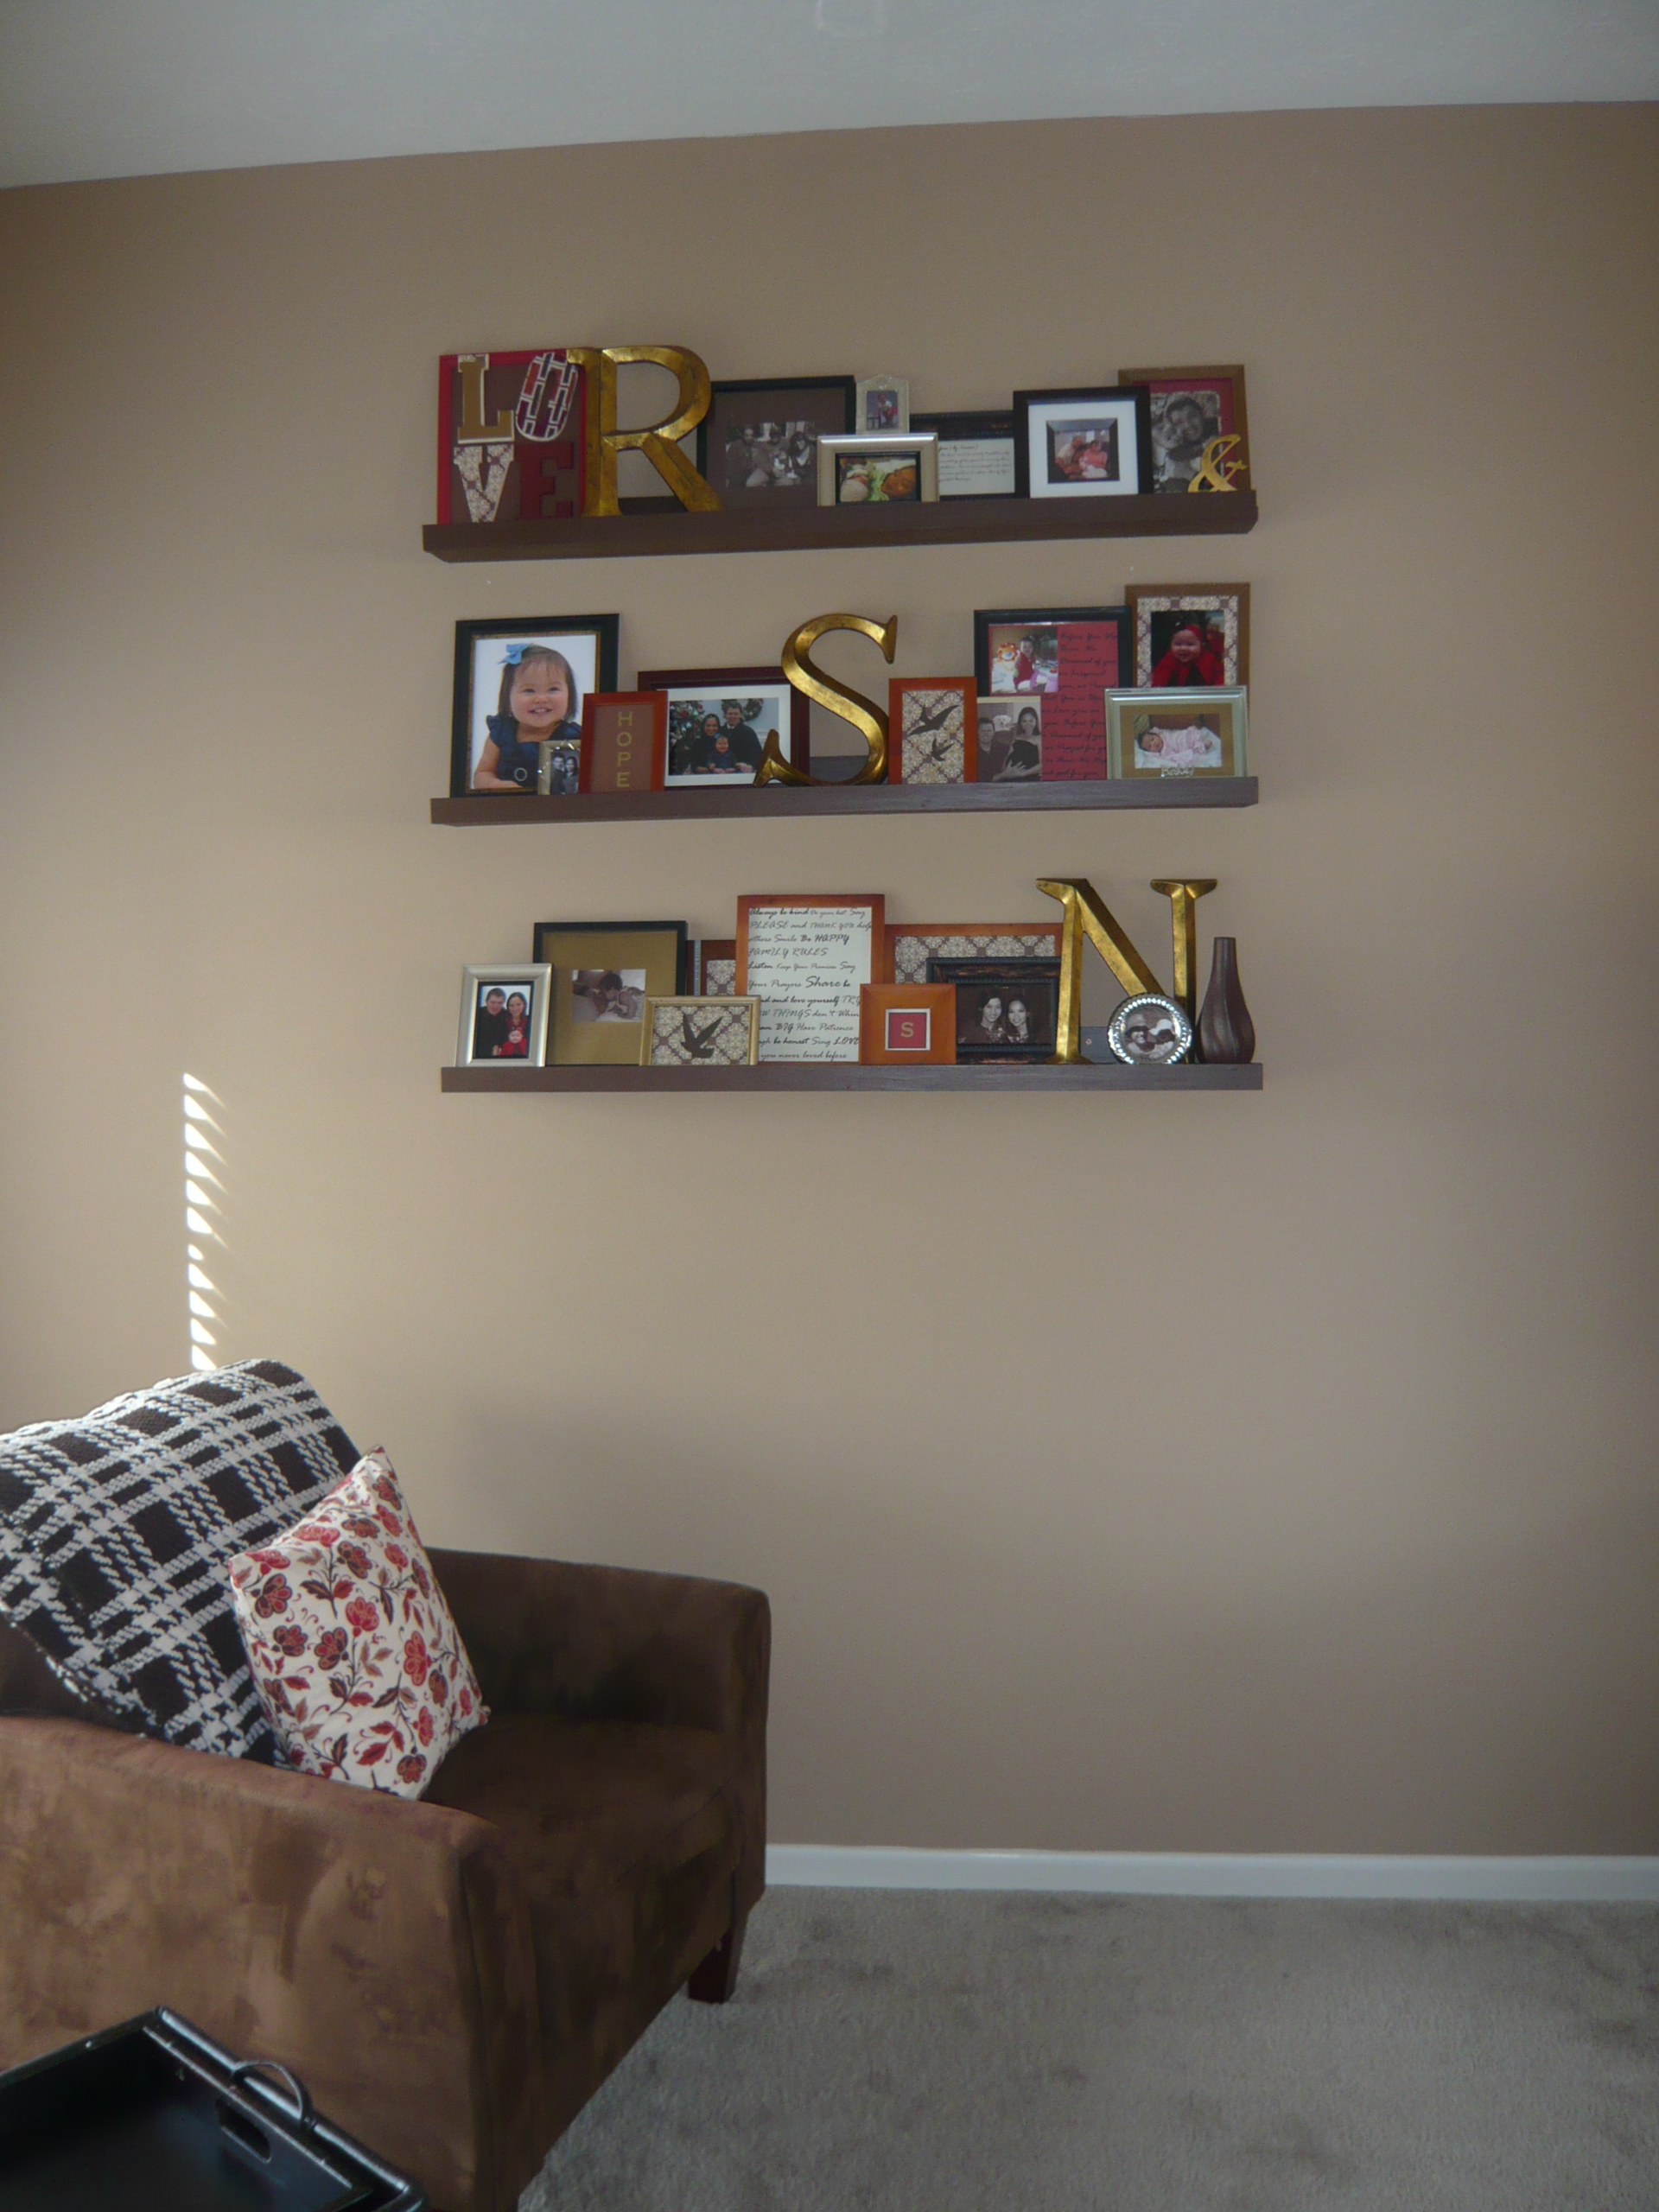
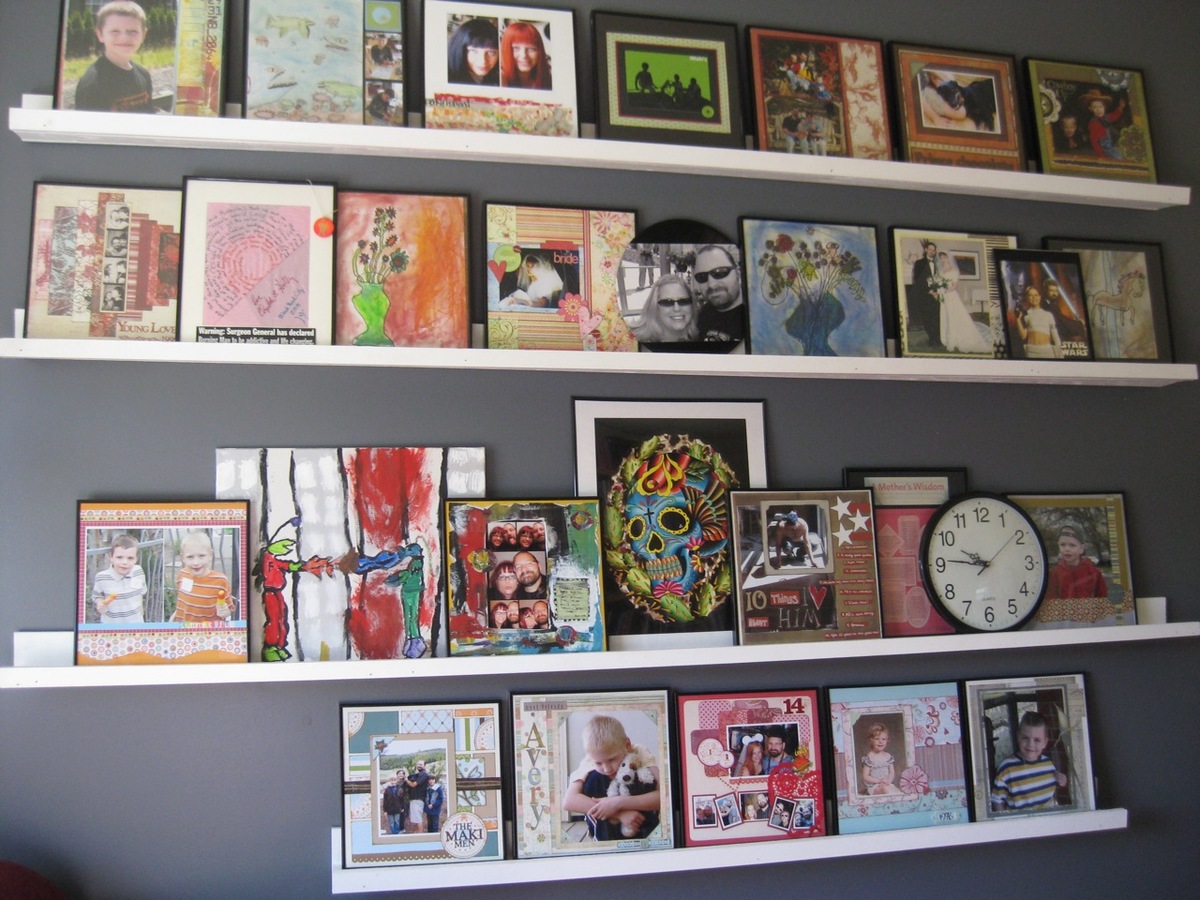
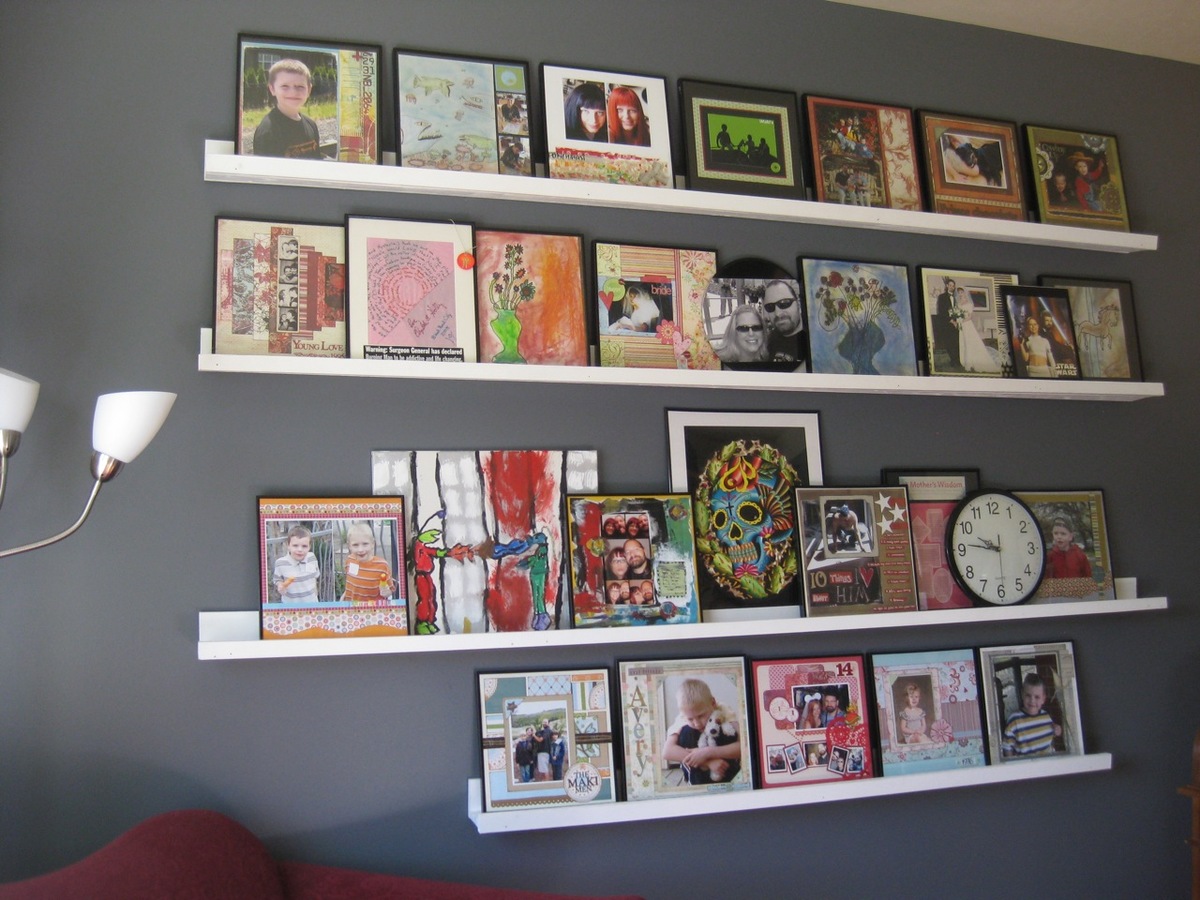
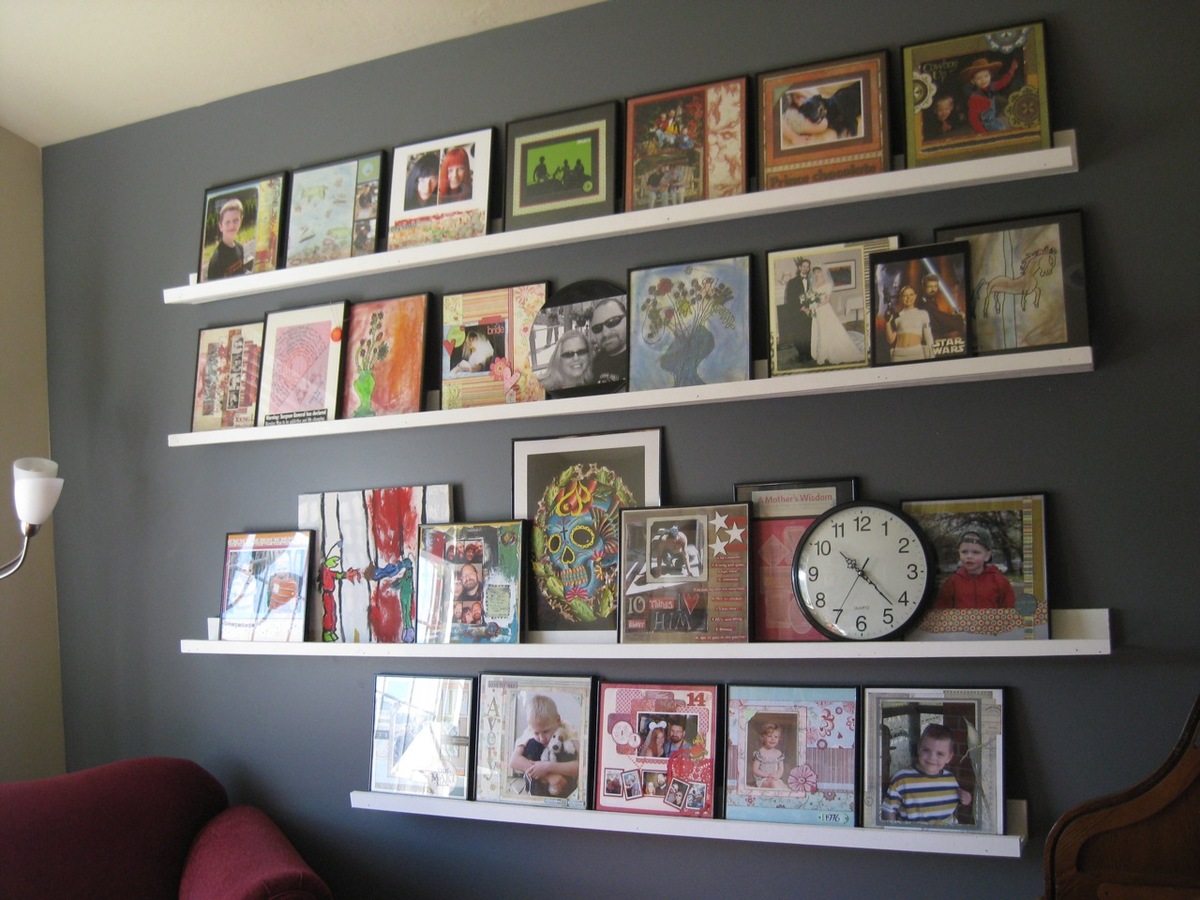
Gallery Shelves: Wall of Awesome
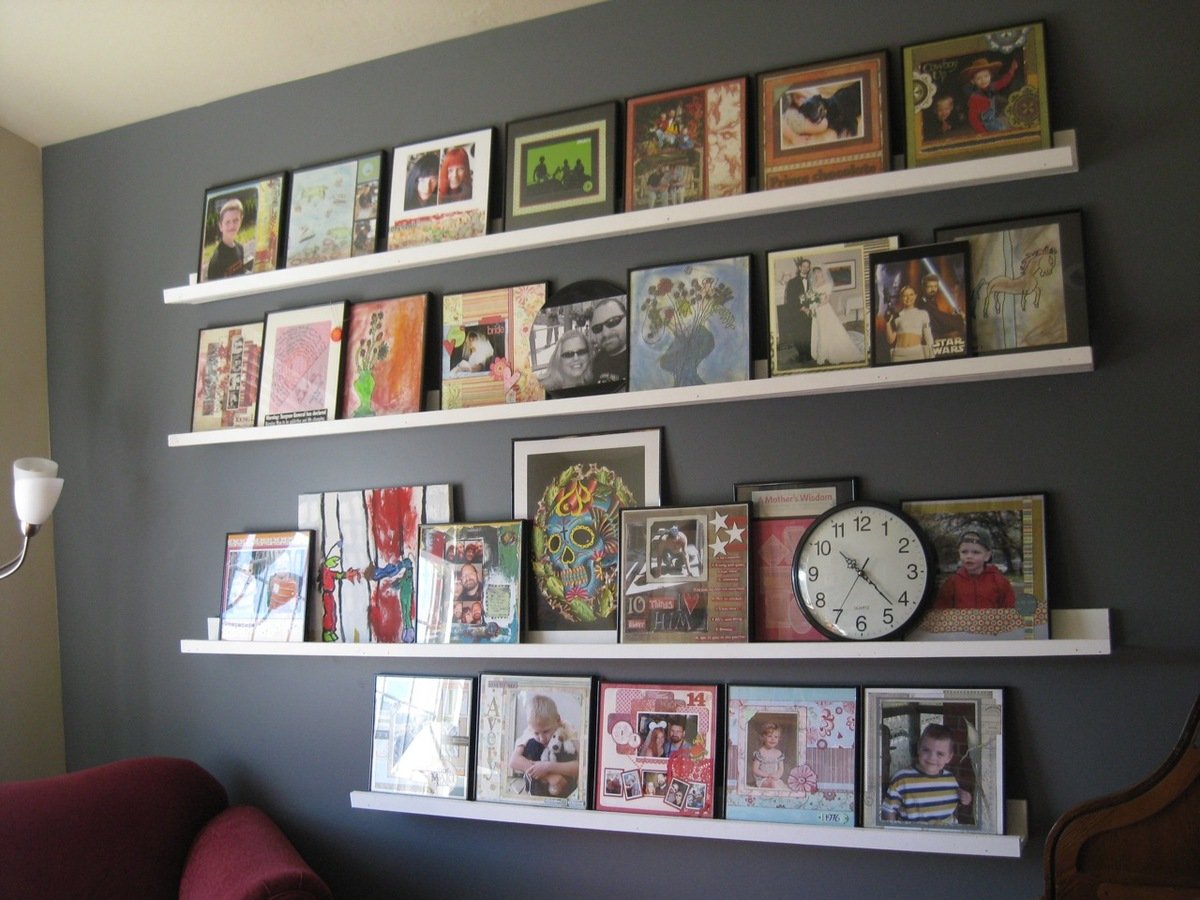
The Gallery Shelves were just the thing to refresh our front room.
Built from Plan(s)
Estimated Cost
Forty Dollars plus Paint (we had paint on hand)
Estimated Time Investment
Day Project (6-9 Hours)
Recommended Skill Level
Intermediate
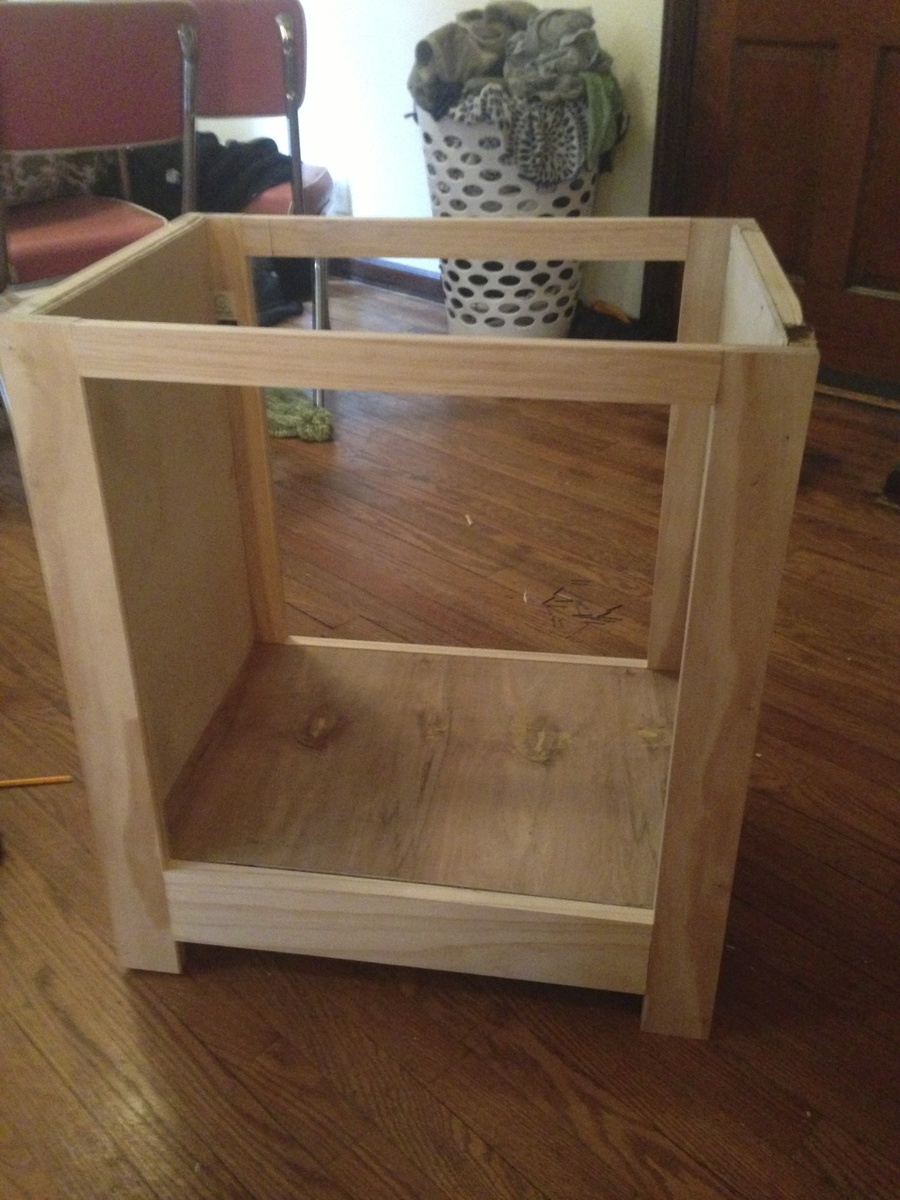
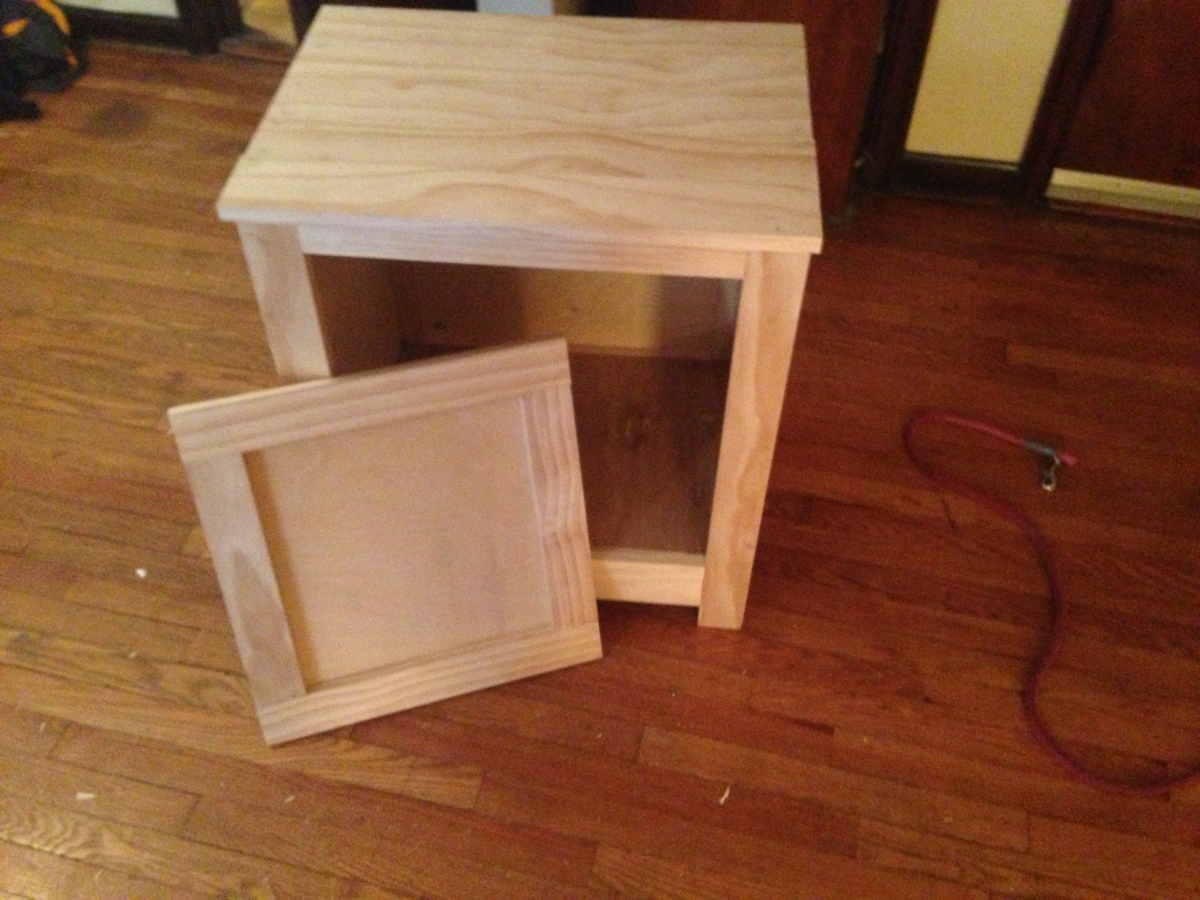
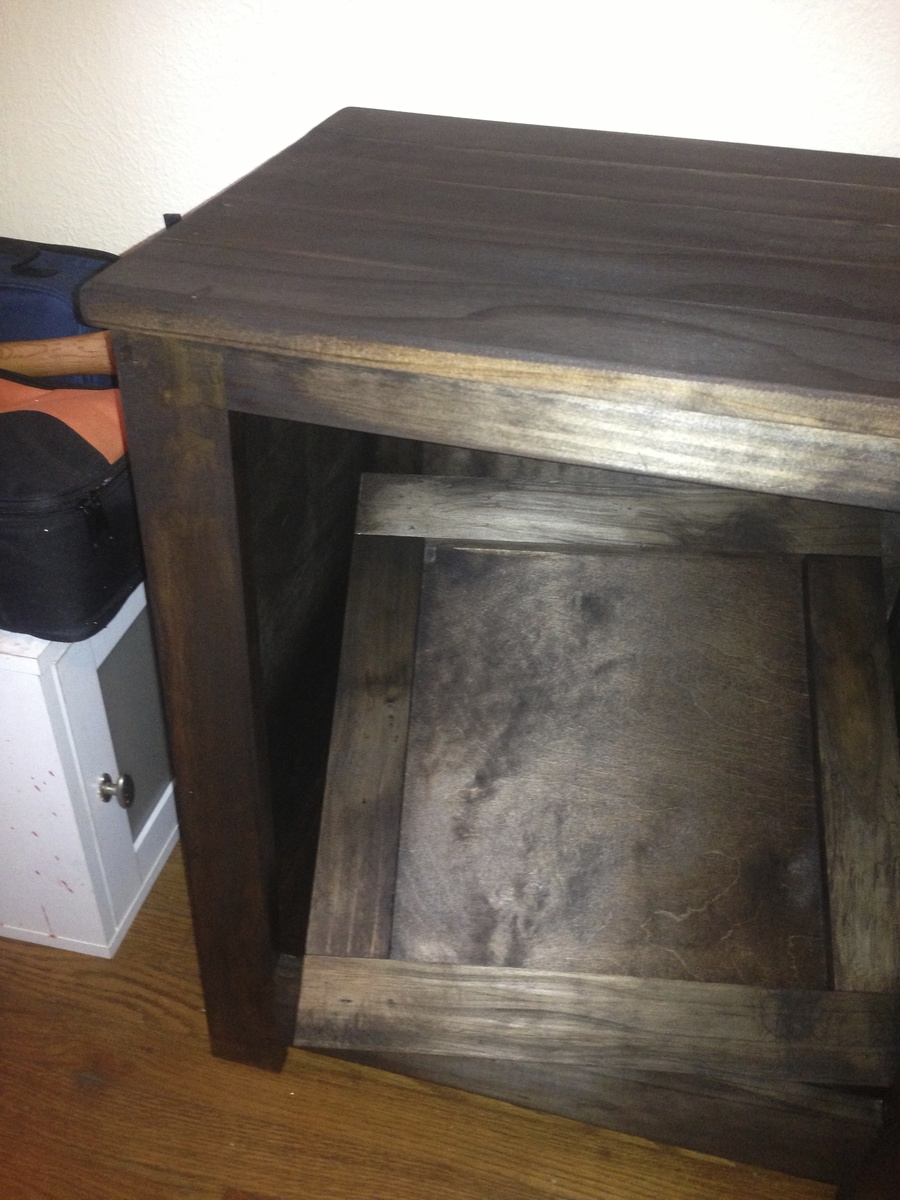
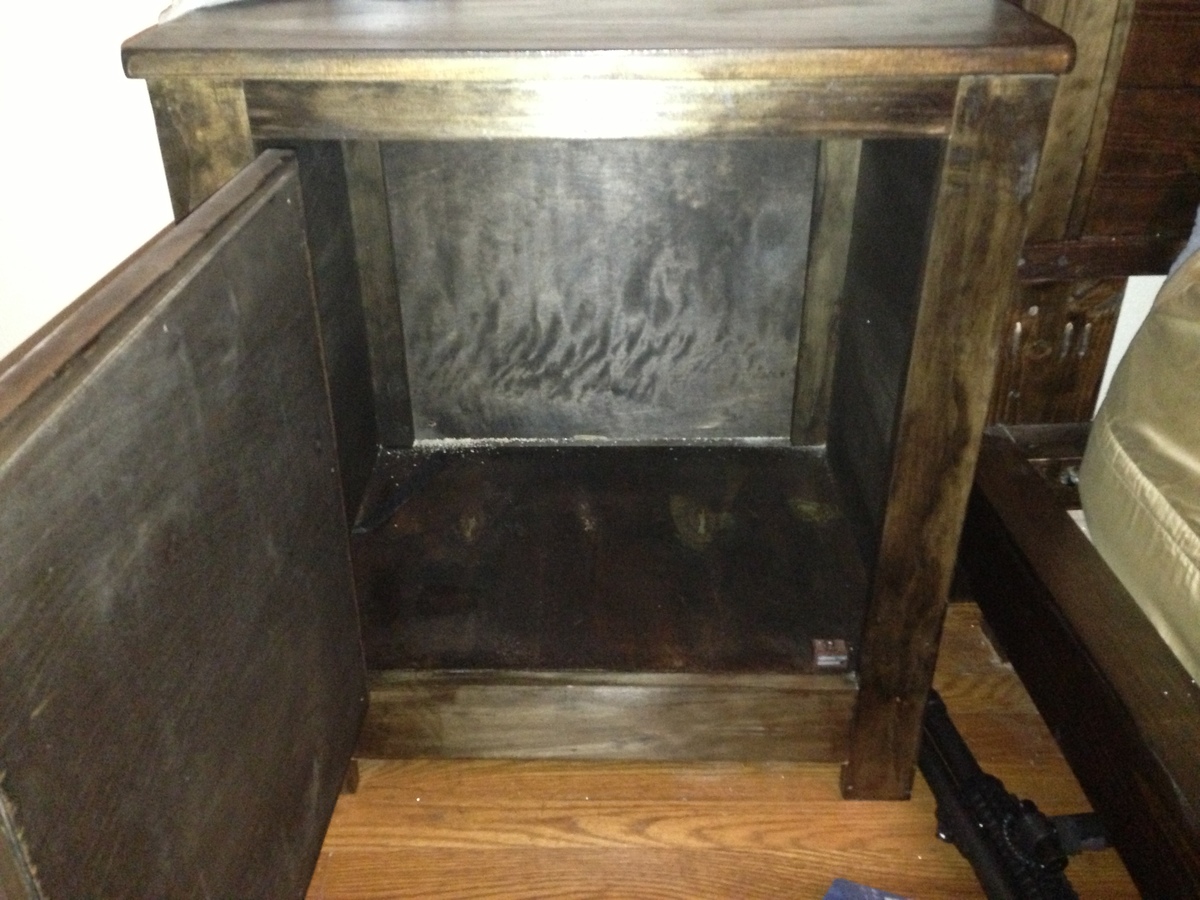
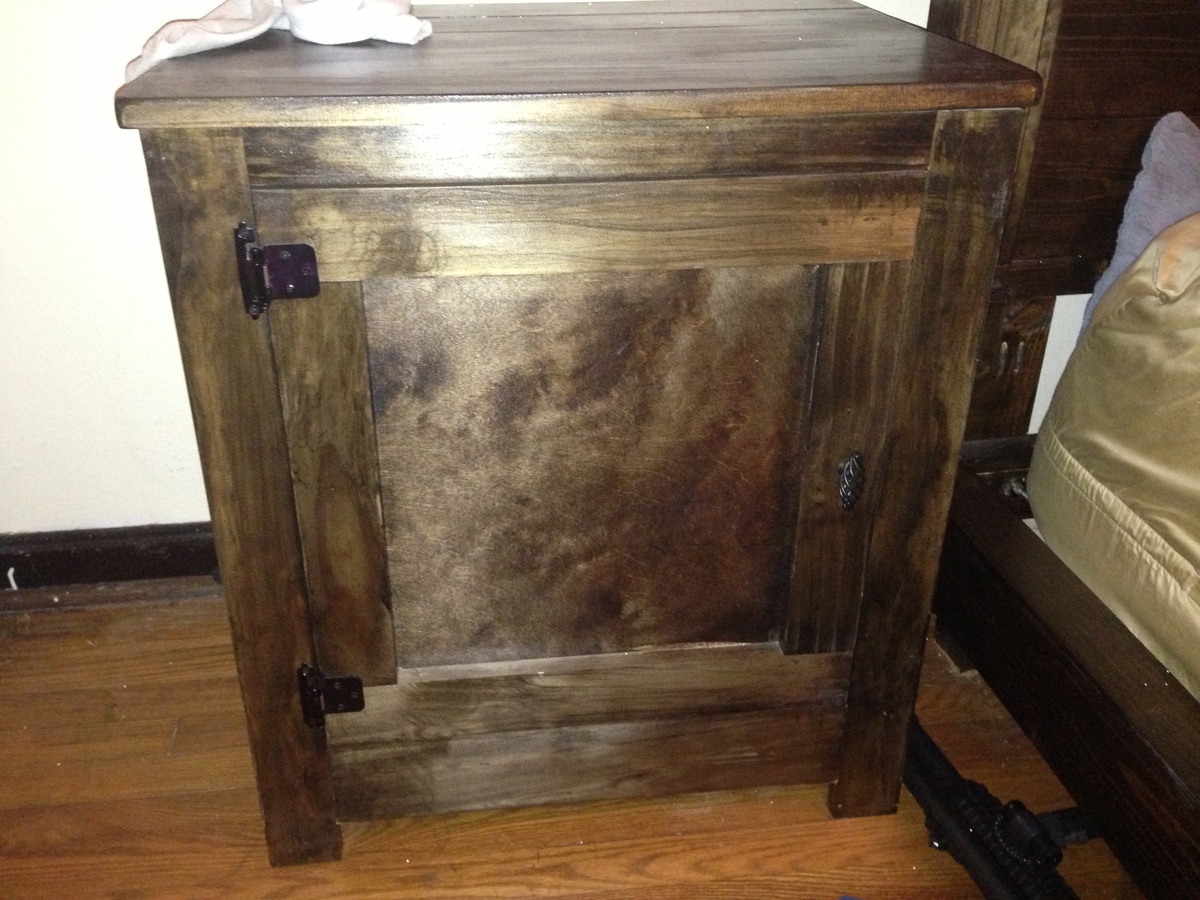
Kentwood Nightstands #My First Project
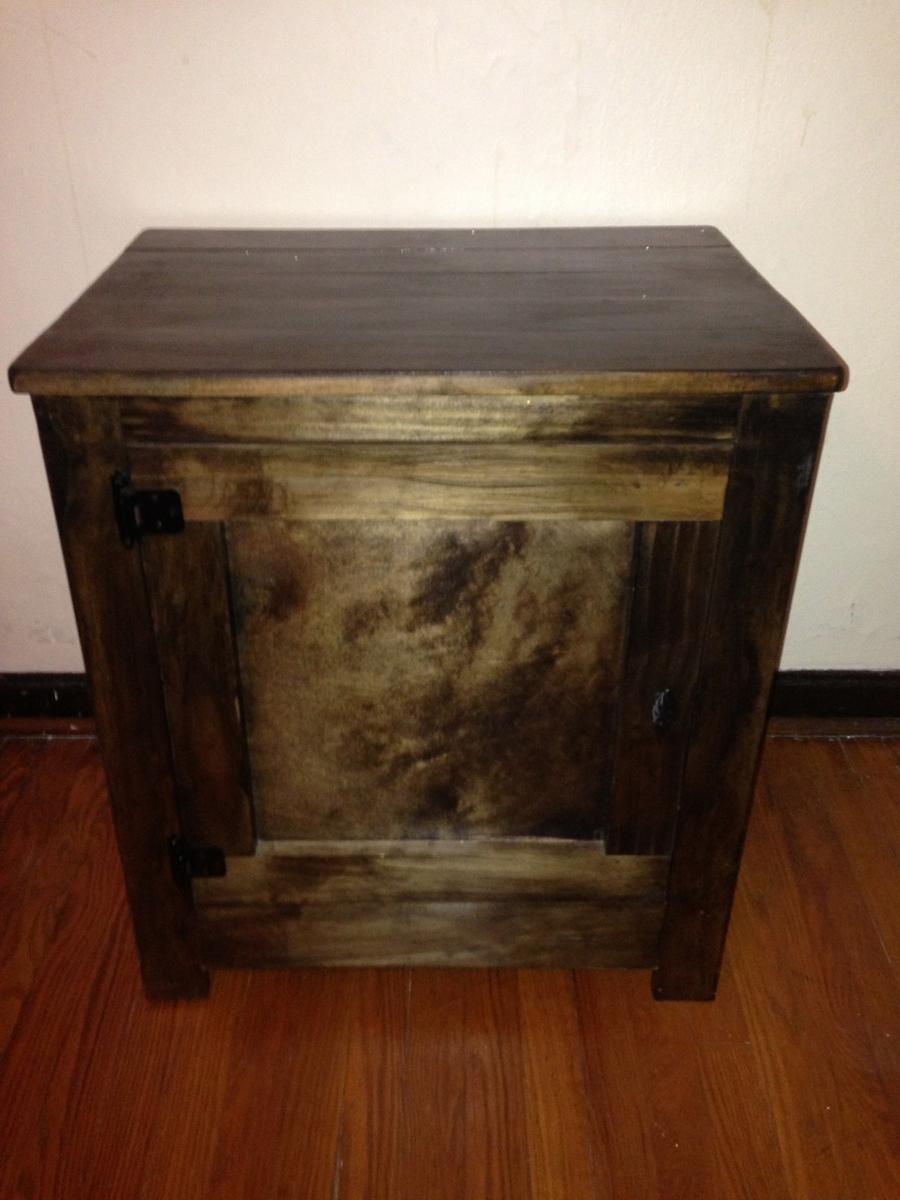
This was my first project I did this many months back and I have just now started to put up brags after getting into building furniture for about 8 months now. This project was much easier than I expected and I did the build out in about two hours. When I did this project all that I had tool wise was a mitre saw, a drill, and a tape measure so if you want a project that uses minimal tools this one would be a great one to start with! I think that I spent around $125 on this bedside table and that number is a little bit higher because I used all premium wood because it was my first project. I stained it with Jacobean oil based stain and then I used the polycrylic finish (both by minwax) which turned out great I think!
Estimated Time Investment
Afternoon Project (3-6 Hours)
Finish Used
Jacobean oil based stain
polycrylic clear coat finish
polycrylic clear coat finish
Recommended Skill Level
Starter Project
Mud Room Family Clothes Closet
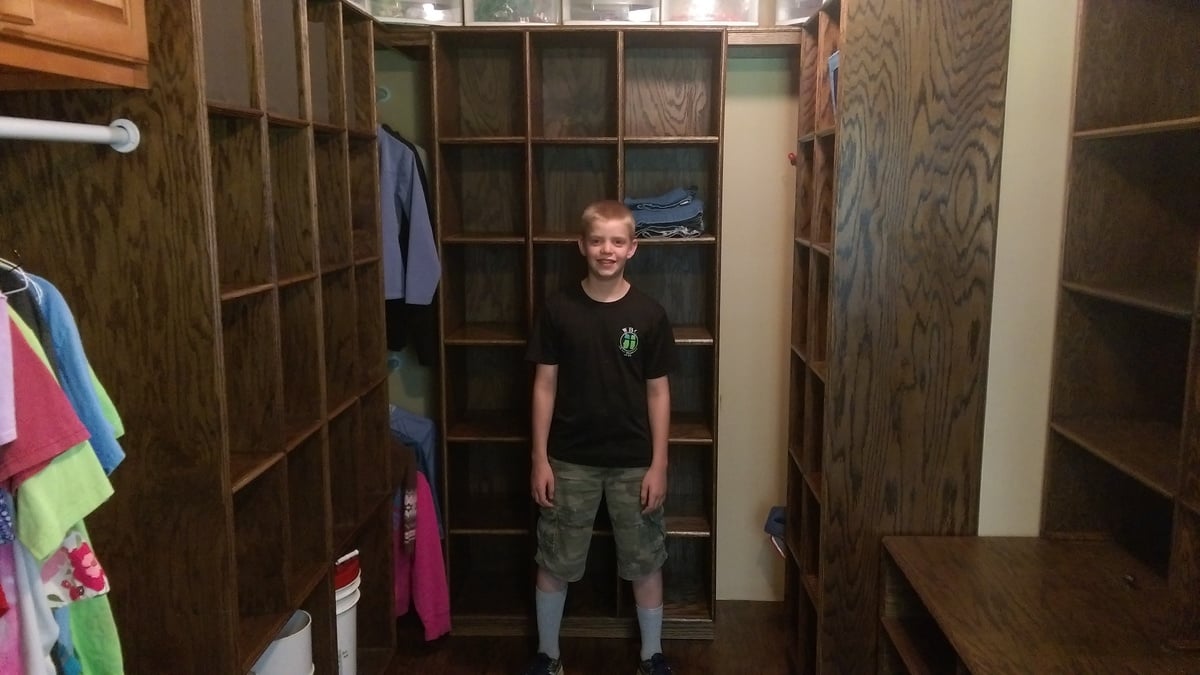
Our son built this based off of these plans. He had to make the corner hanging areas smaller to fit our area, but we were still able to use this space for hanging items.
Built from Plan(s)
Estimated Time Investment
Week Long Project (20 Hours or More)
Recommended Skill Level
Intermediate
Comments
Outdoor Sectional (modified park bench)
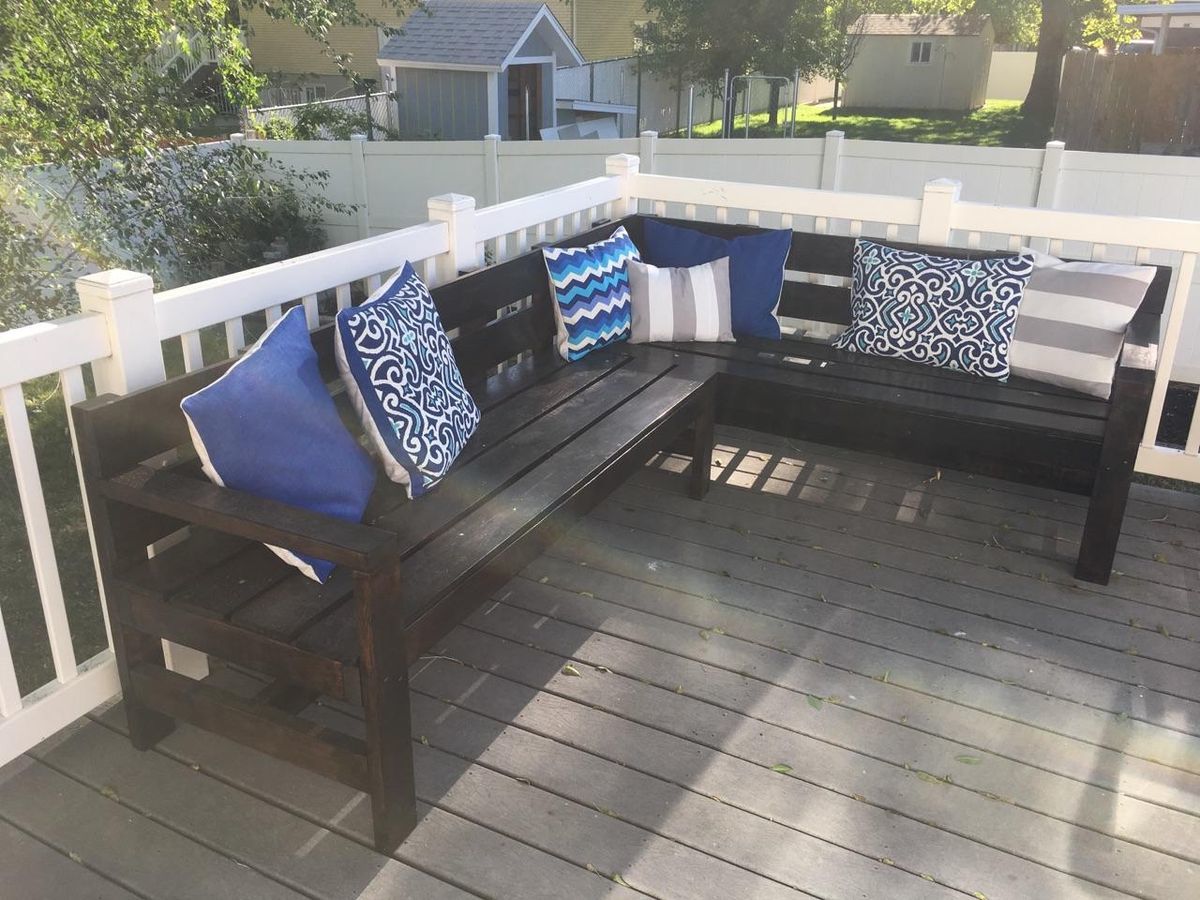
This is a modified version of Ana's park bench. Had a large deck, with plenty of room for a sectional.
I basically built two benches. One with an extended back (to create the back for the side of the second), and modified the front leg to sit under the frame, to allow the second bench to sit flush. I used lag bolts to attach them together on the seat base. Using lag bolts allows it to be easily taken apart for moving.
Built from Plan(s)
Estimated Cost
$100
Estimated Time Investment
Day Project (6-9 Hours)
Finish Used
Finished with Minwax Espress Polystain.
Recommended Skill Level
Intermediate
Comments
These Chairs

Love these chairs!!!
Comments
Deck Chairs

These were so simple, and SO FUN to build! These were done all while having a schools out party, and an evening outdoor movie with kids running wild! I really liked building them, and can't handle how cute they are! I used pocketholes and also brads and glue. Pretty sturdy, but I think I will use harder wood for them next time. We went to a cabin over Memorial Day, and we ended up leaving them for the owner because we thought they were so cute on her deck! My finish was super easy and fast because I wanted them finished so I stained, and dry painted then set them in the front to dry out in the sun, sealed with poly and TADA, DECK CHAIRS!!
Estimated Cost
15.00, maybe?? Including the fabric for both chairs.
Estimated Time Investment
An Hour or Two (0-2 Hours)
Finish Used
Oops paint, and Minwax Dark Walnut. Distressing, it was a super simple finish. I got the fabric at JoAnns and used my coupon 40% off.
Recommended Skill Level
Starter Project
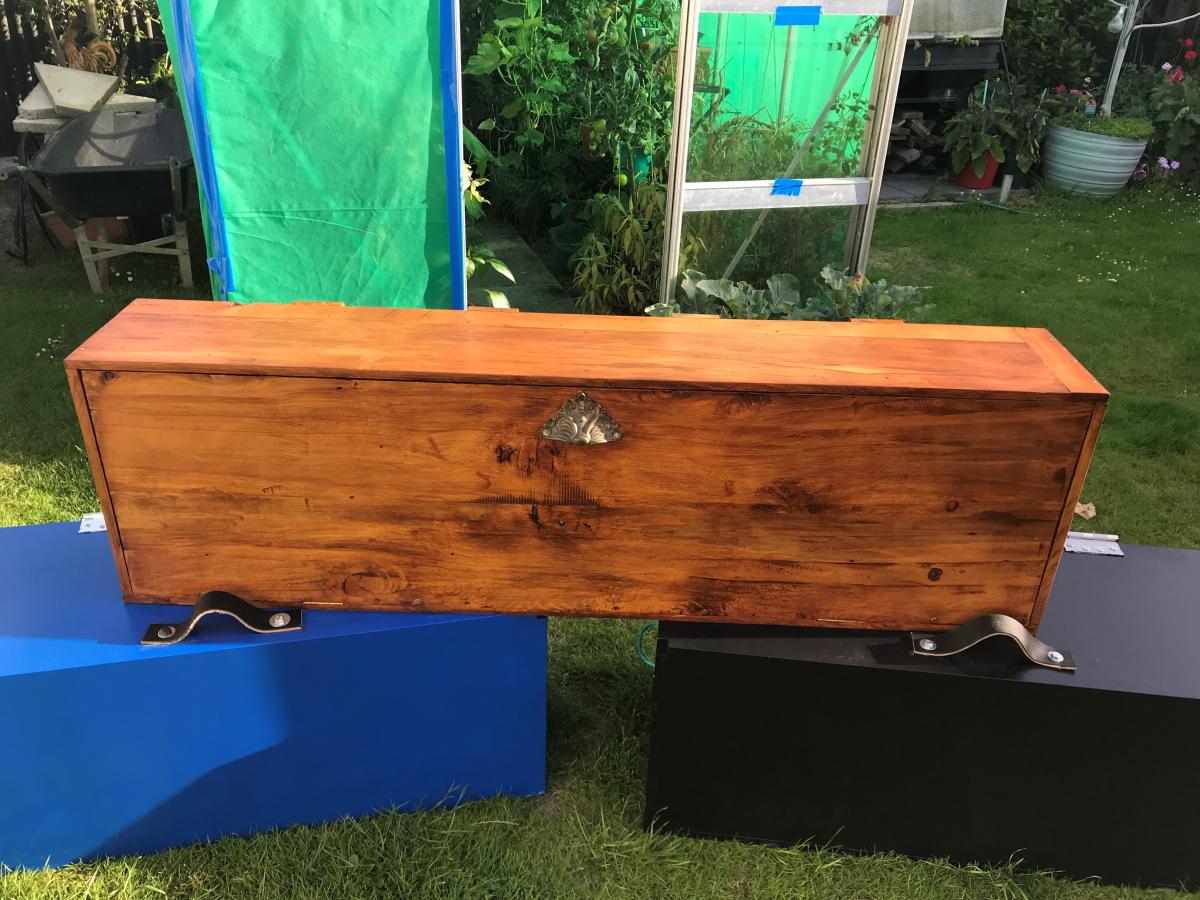
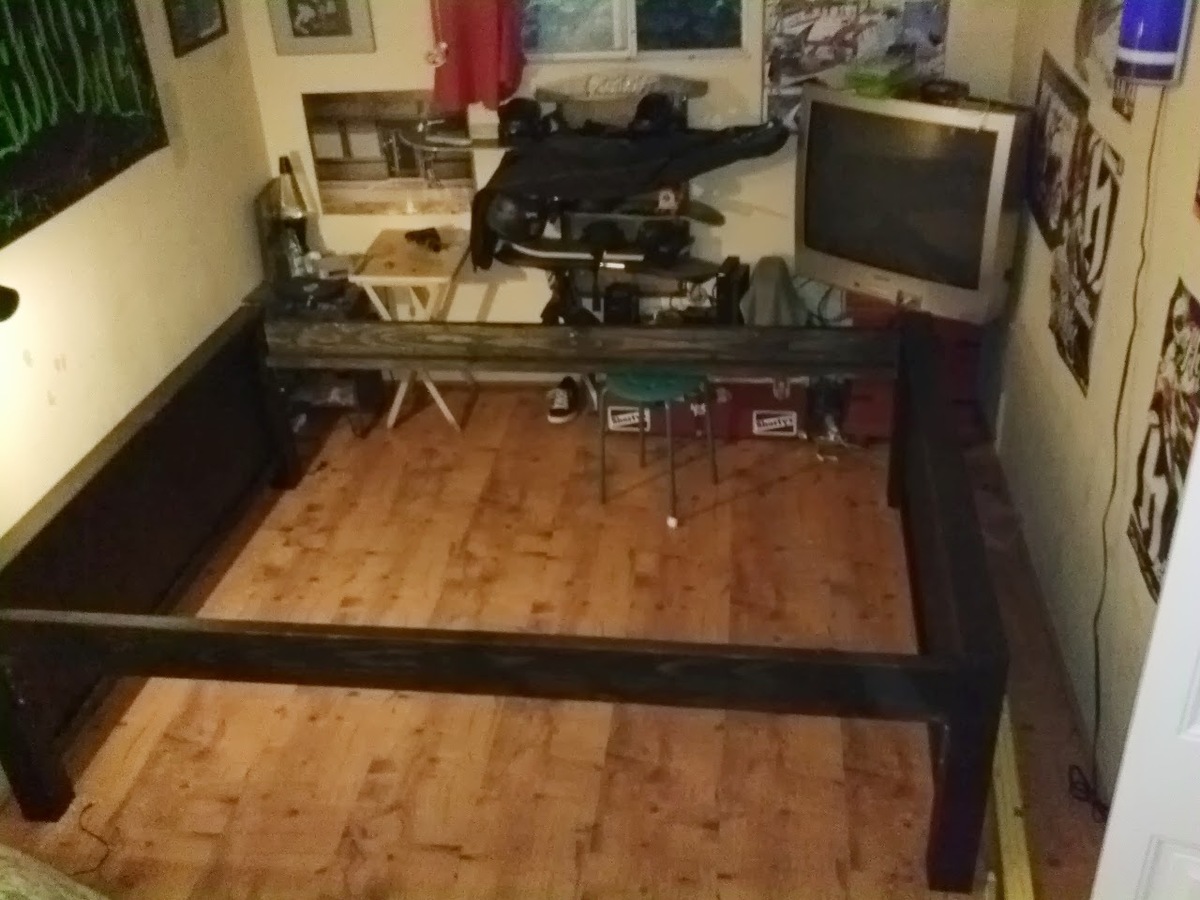
queen sized bed for my twin sized son
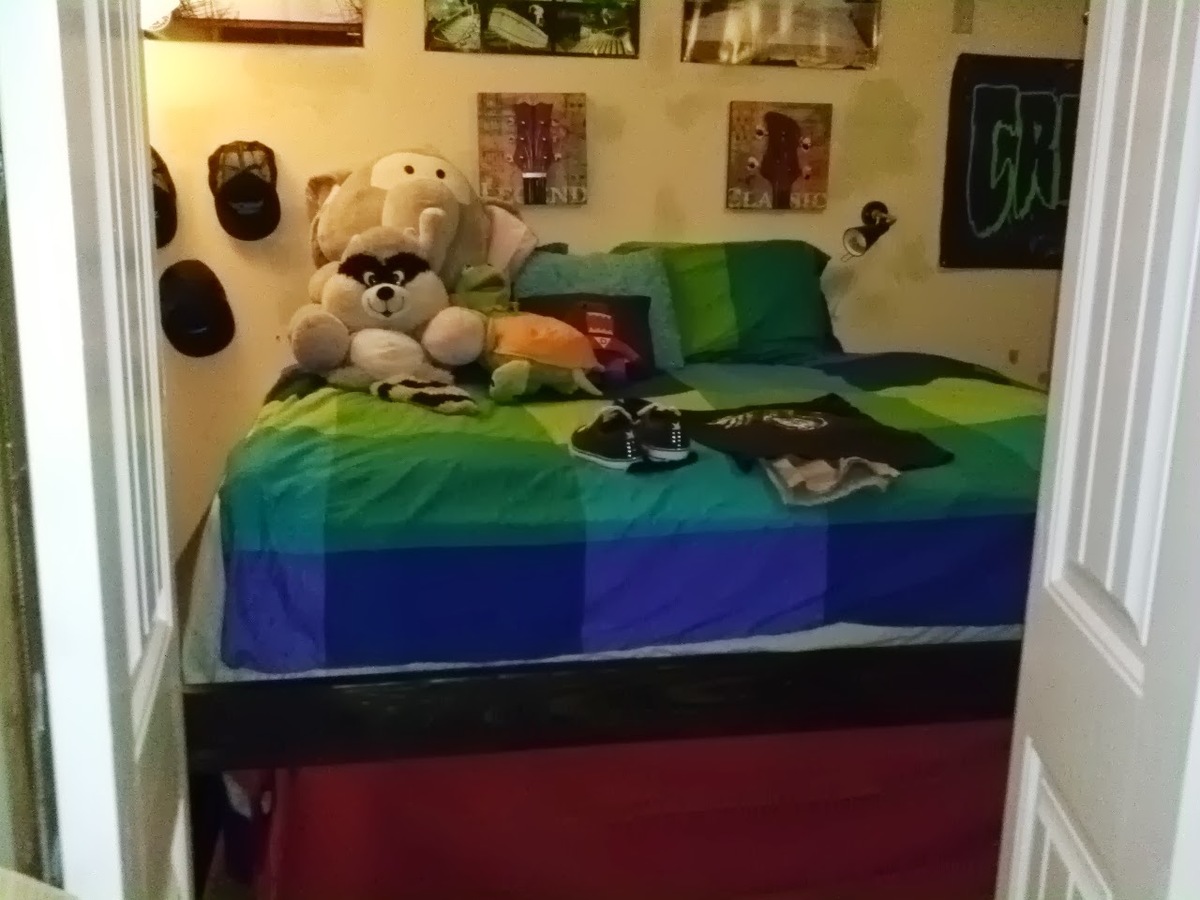
My son wanted a bigger bed so when his friends and cousins sleep over they dont have to squeeze into his twin. My son is 12 by the way, so when I got a king I gave him my queen. I needed to raise it up because I knew I wanted to build a trundle to put under it. This bed is pretty heavy, very sturdy (even with 5 kids sleeping on it or jumping on it) I took the idea from my Malm bed from ikea but its a lot heavier and stronger

Estimated Cost
just under $100
Estimated Time Investment
Day Project (6-9 Hours)
Finish Used
Minwax ebony stain. 2 coats. semi gloss poly spray
Recommended Skill Level
Intermediate