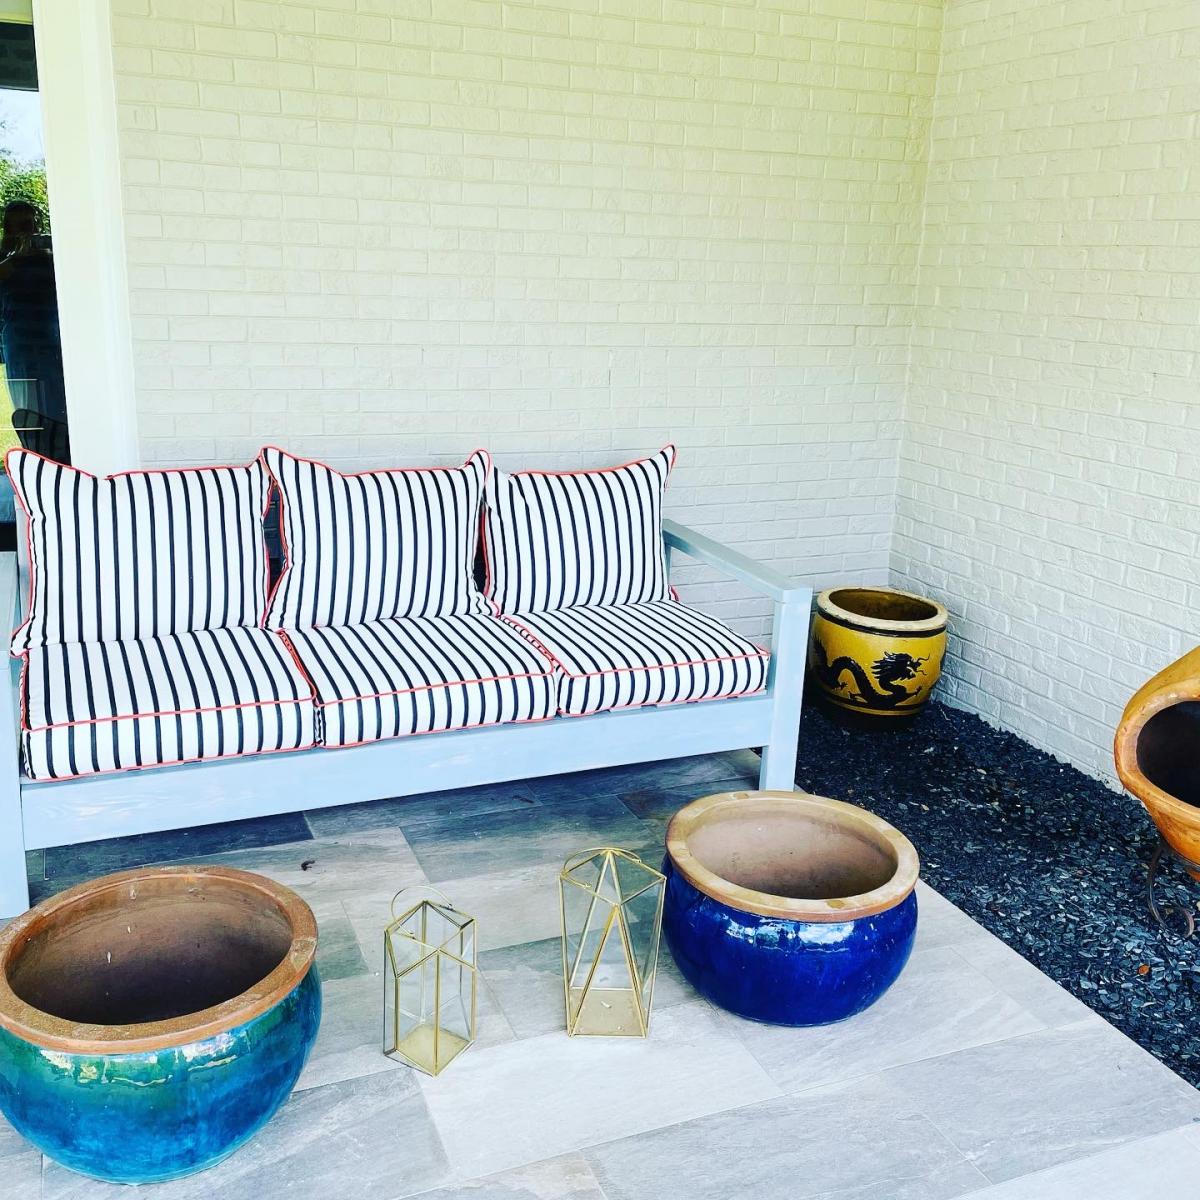
Outdoor sofa and table
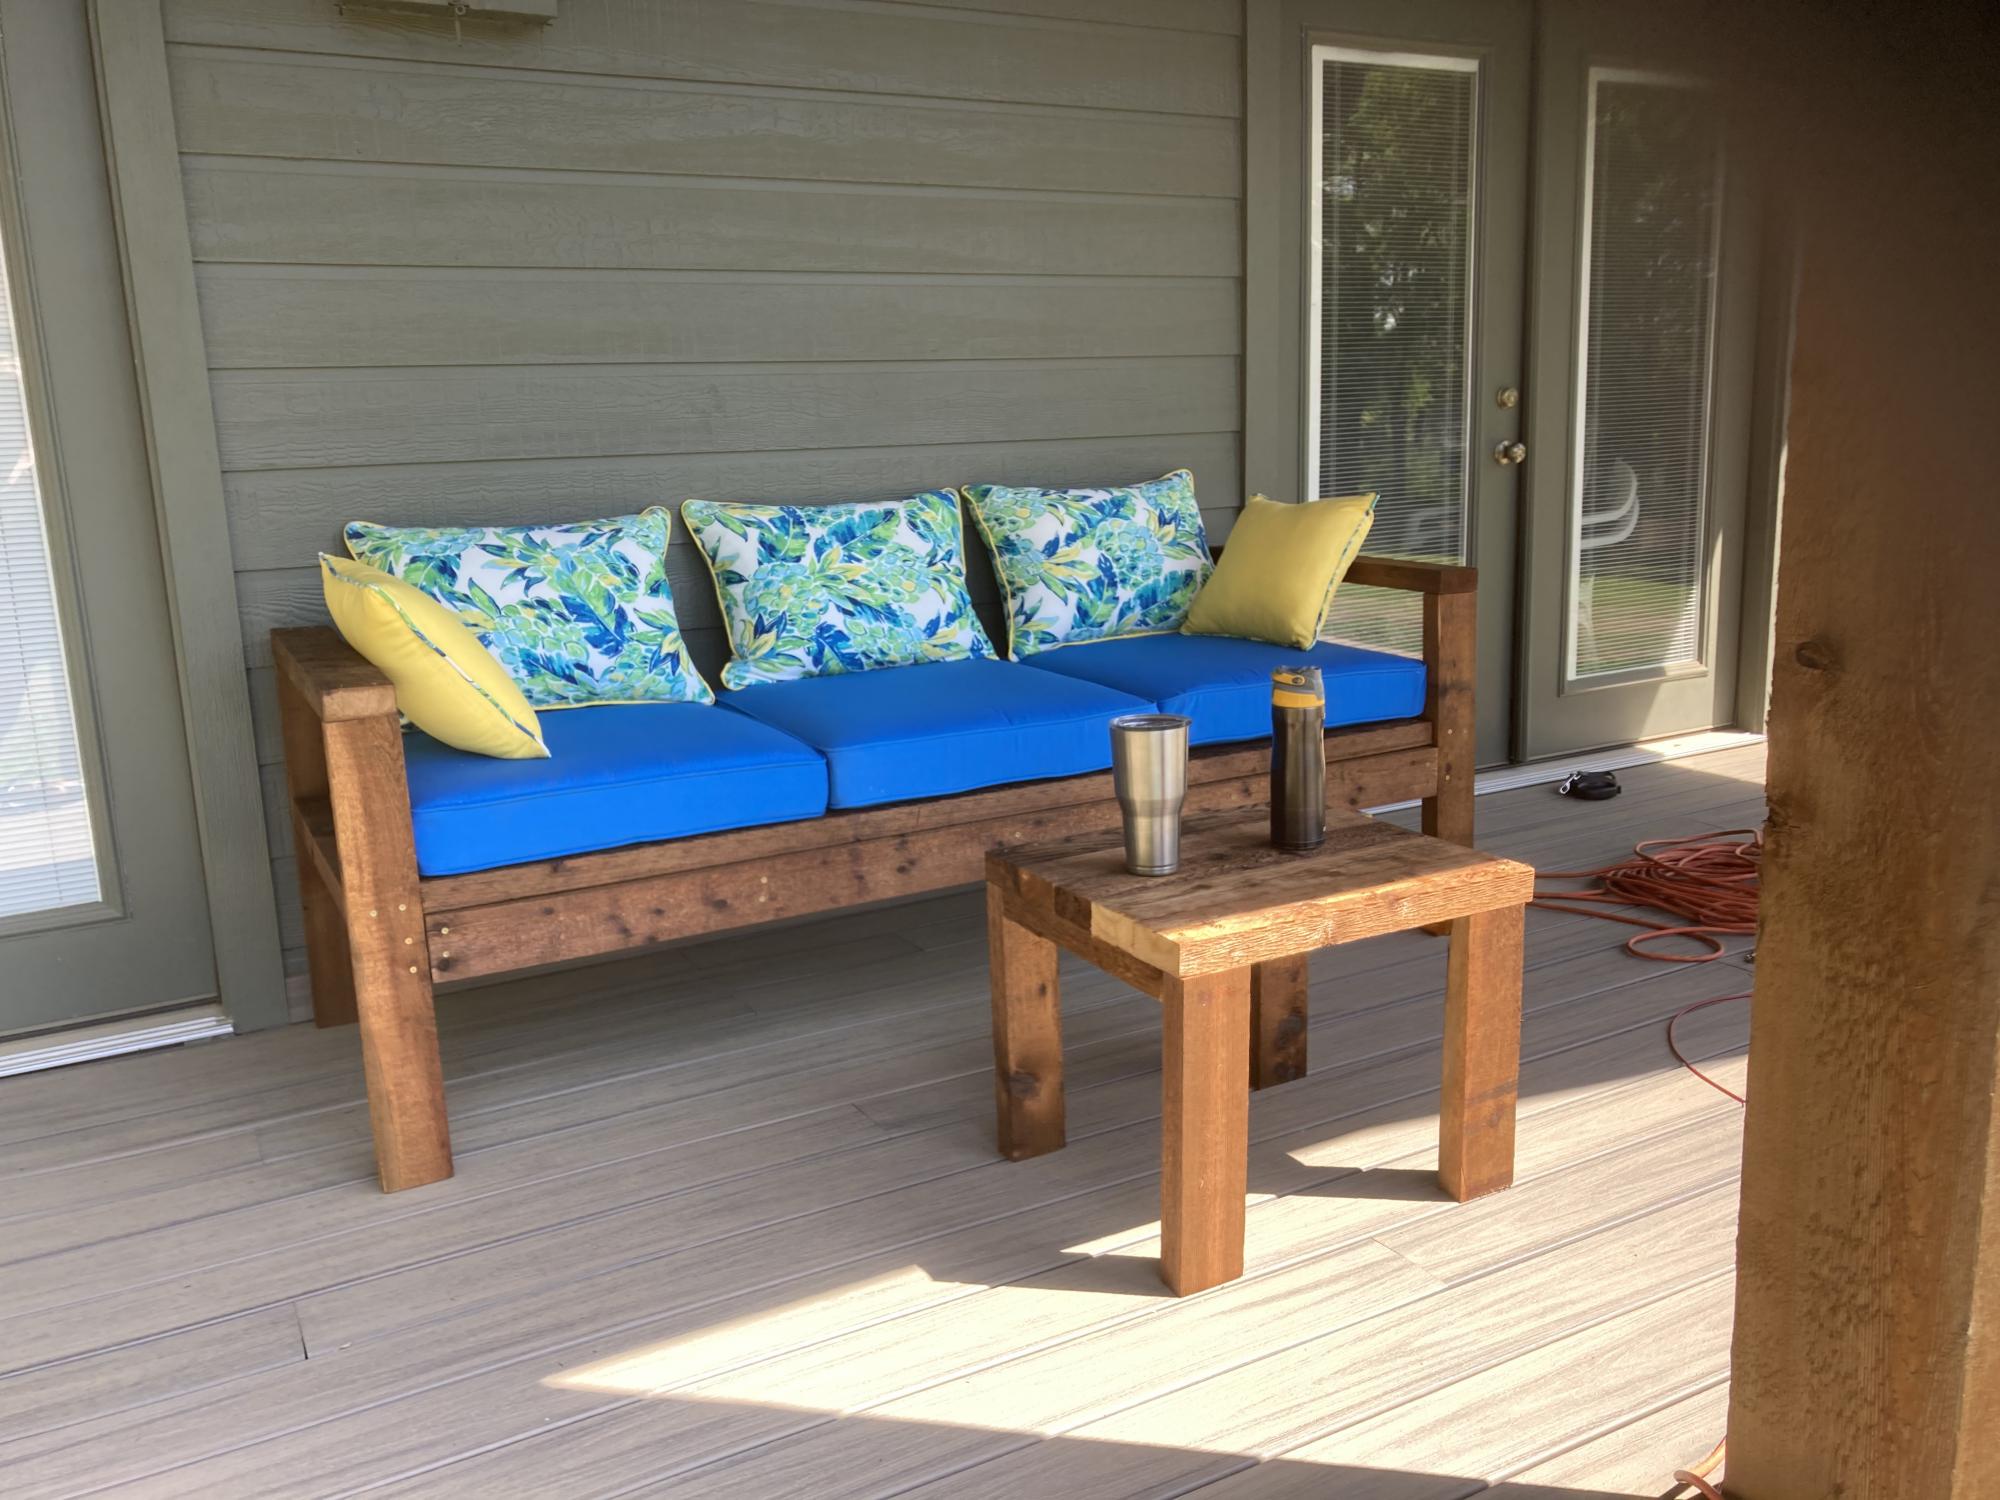
Ana Whites easy to follow plans. Lake house. Love the way it turned out!
Built from Plan(s)
Ana Whites easy to follow plans. Lake house. Love the way it turned out!
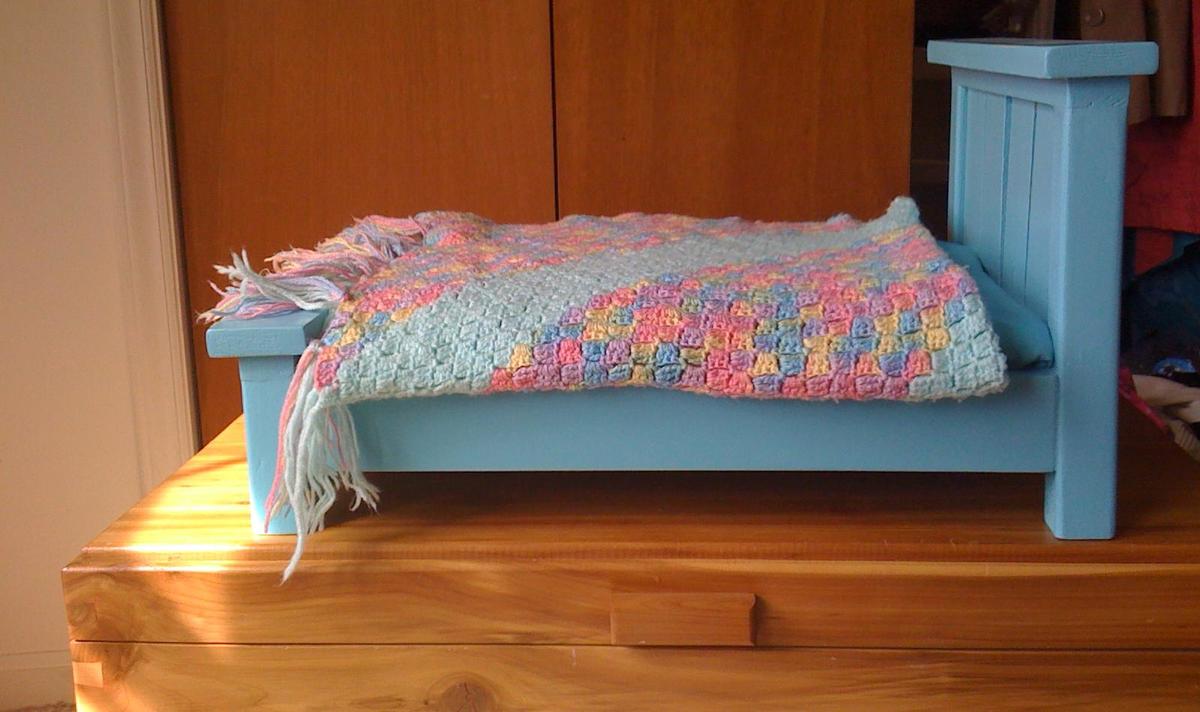
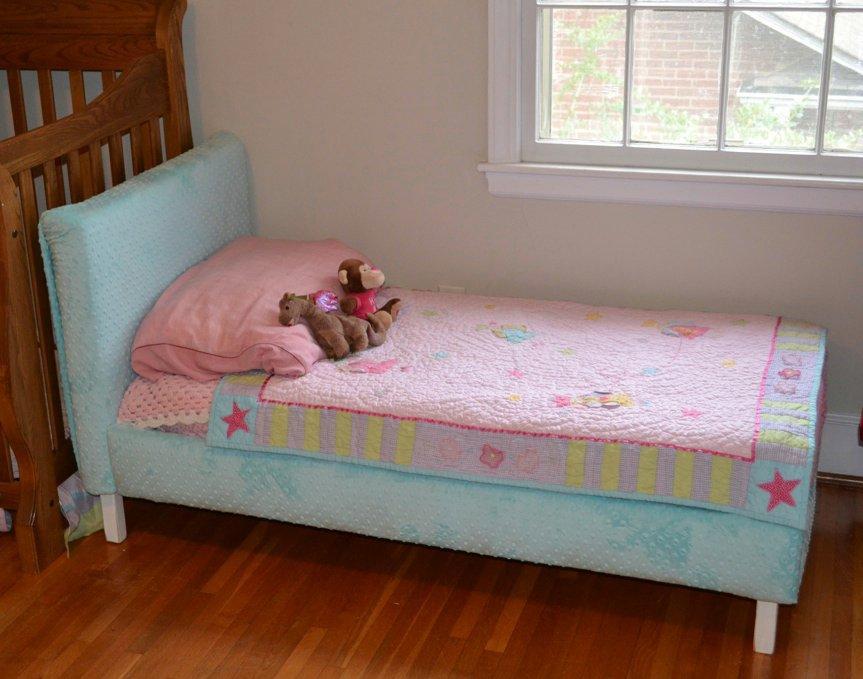
This was my very, very first woodworking project. My daughter and I needed beds, but decided to start small. I’d been scoping out Ana’s plans for weeks or maybe months, and finally, finally worked up the nerve to tackle a project. Everything worked out beautifully. Somehow, I’d been intimidated about the idea of learning how to countersink screws, but with Ana’s directions it was easy! I did get a measurement wrong somewhere and after cutting all the wood, the 5 1×3′s for the panel were too wide for the panel top, so instead I spaced out four of them. My daughter has never liked dolls, so I made the bed thinking that it would be a gift for someone else, but my daughter really, really liked it and wanted to keep it. Now the doll bed lives at the foot of the full-sized bed that we made as our second Ana White project! Now if I could only figure out how to sew a doll-sized pillow… Thank you Ana for making this simple.

My Hubby and I built this bookcase on the livingroom floor on mothers day morning! It was so simple and fun. I had all the wood cut at Lowes and we just had to put it together and paint it!
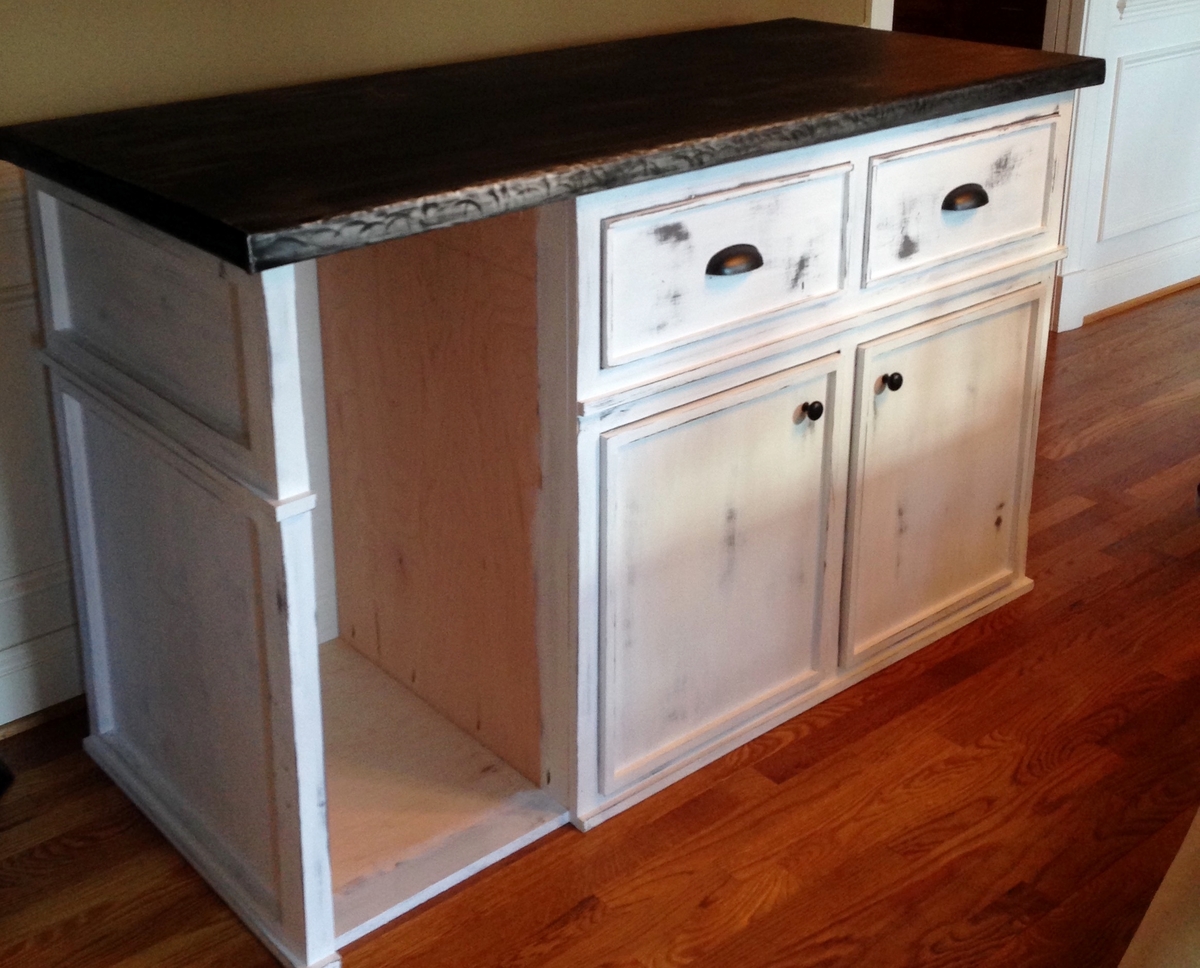
I used the "how to build" from the Shepherd Kitchen Island plan to help me create my own dimensions for this bar... 60" long, 24" deep, 35" high. It has a space on the left for an under counter ice maker and the wine rack is built in inside the right hand cabinet.
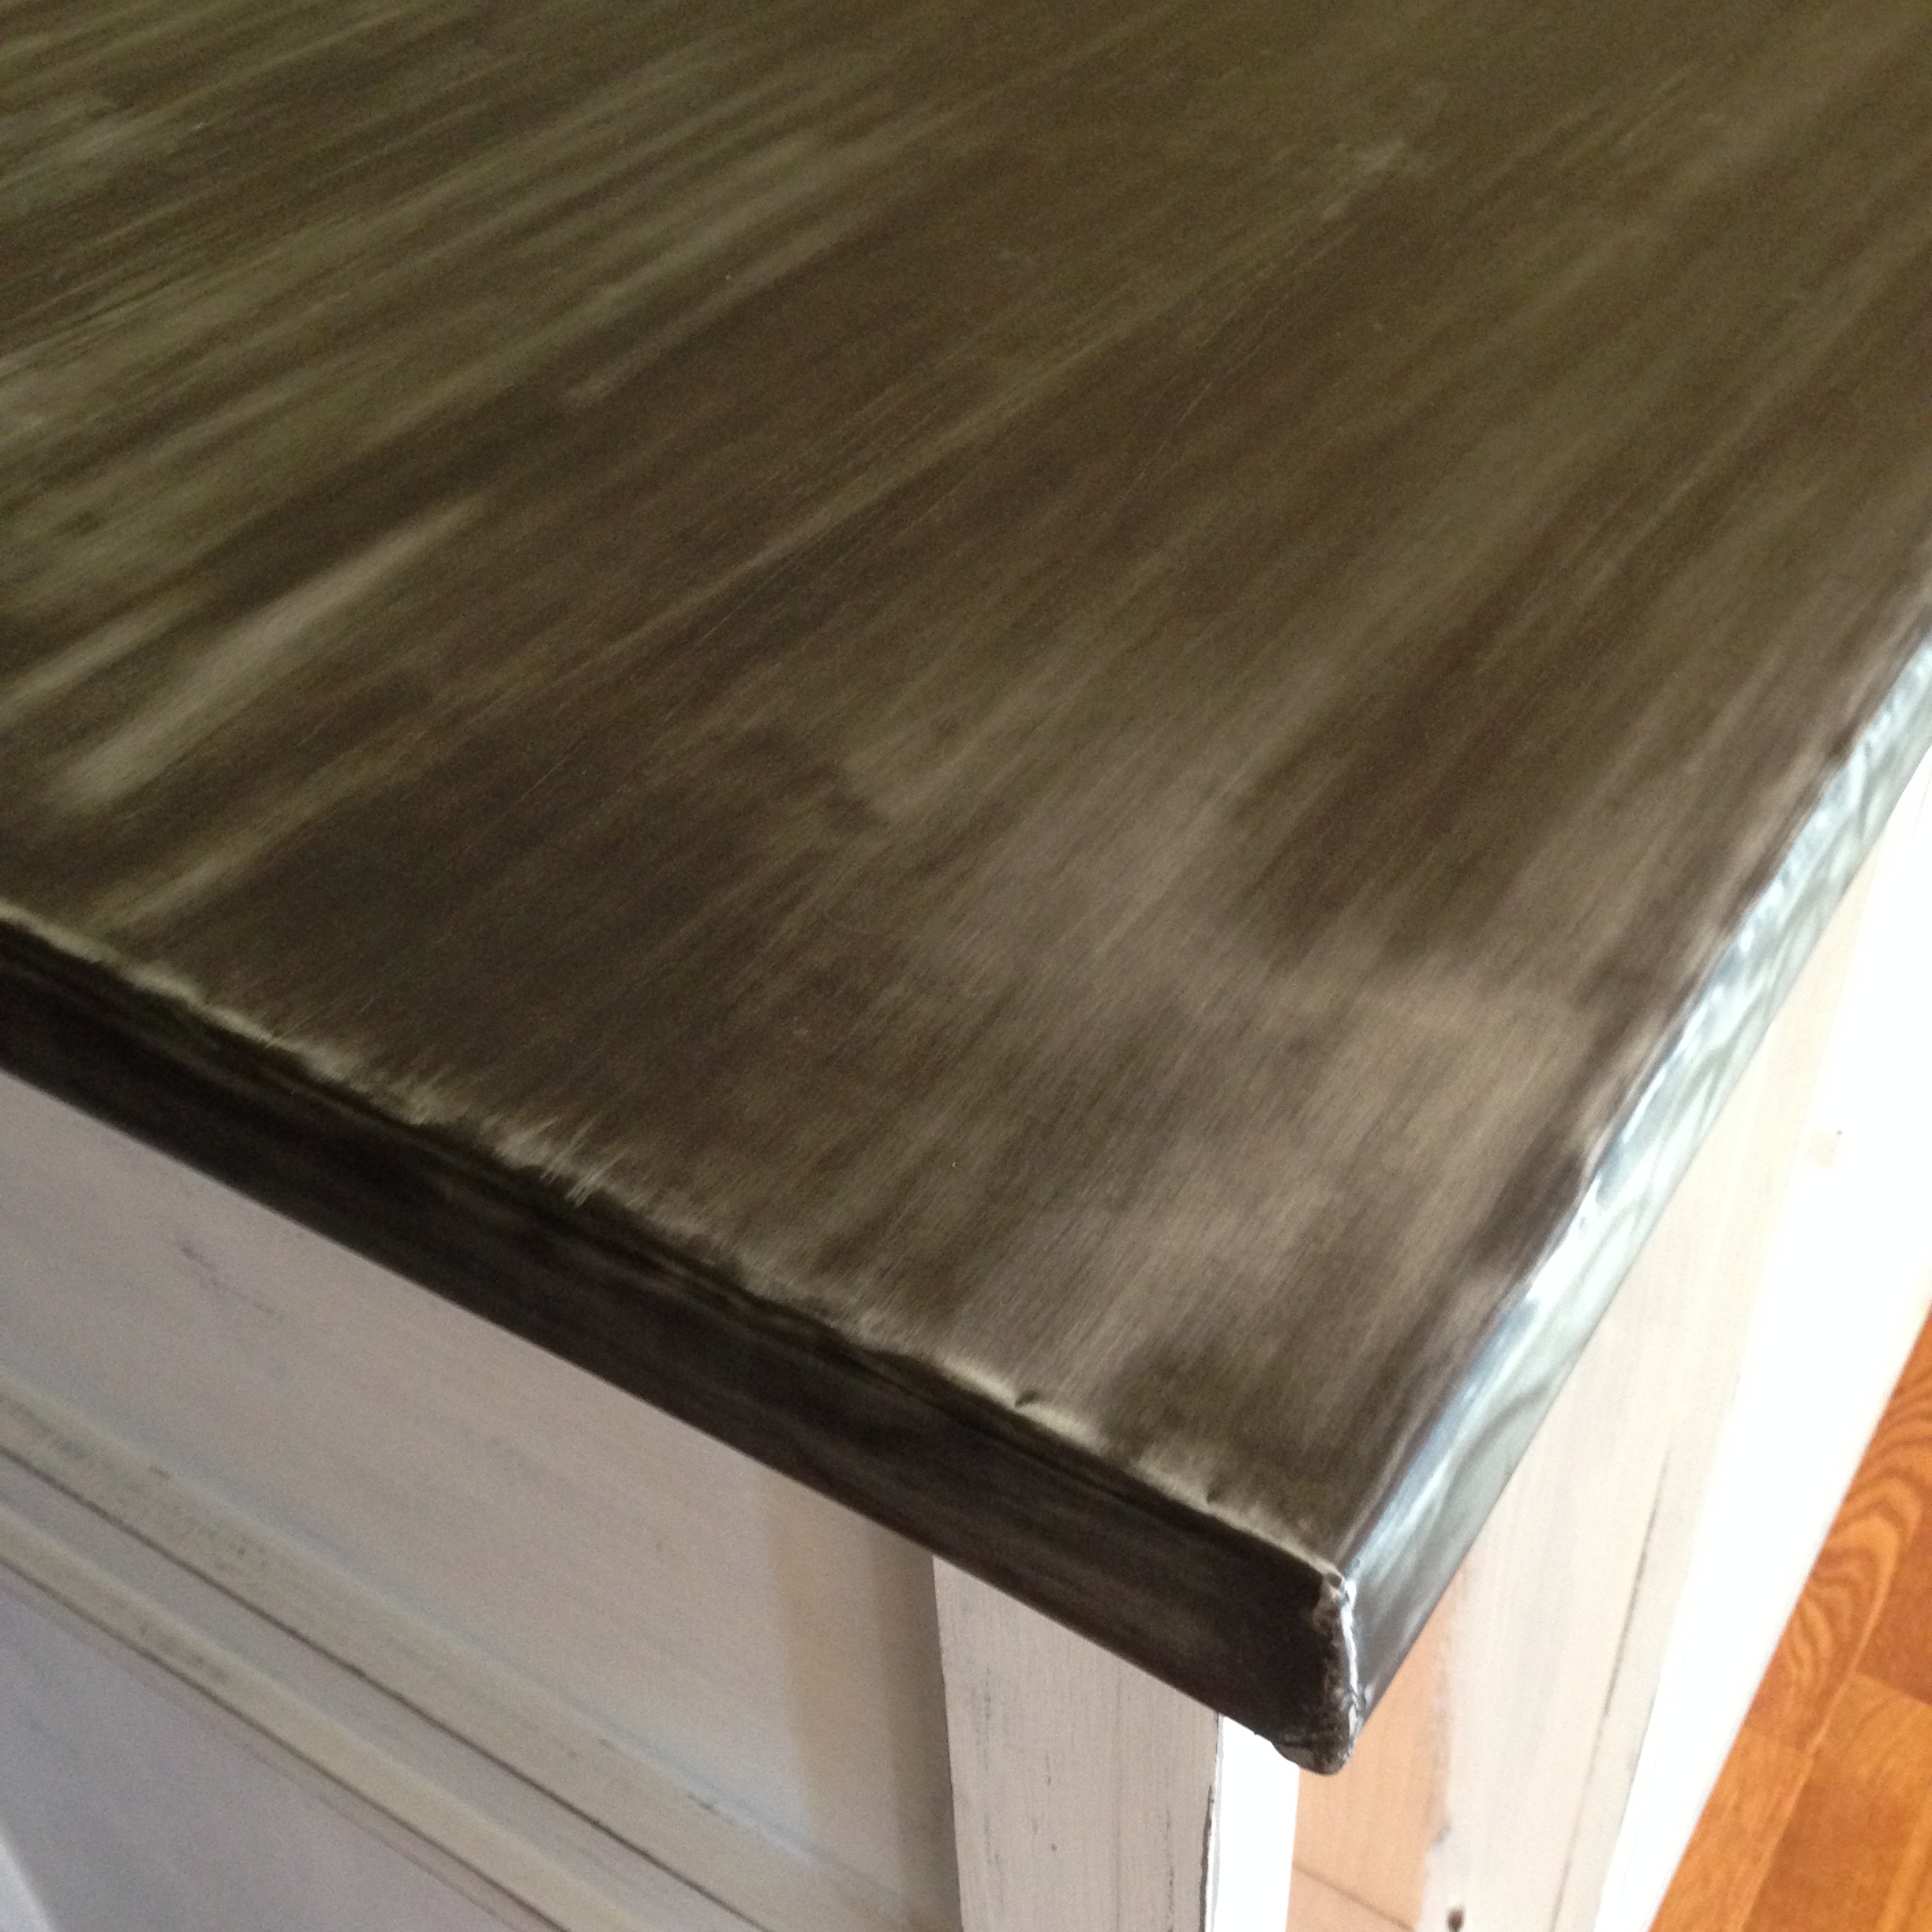
The counter top is plywood covered with a sheet of zinc I bought from rotometals. Fairly easy to do after watching their videos on how to apply and how to patina.

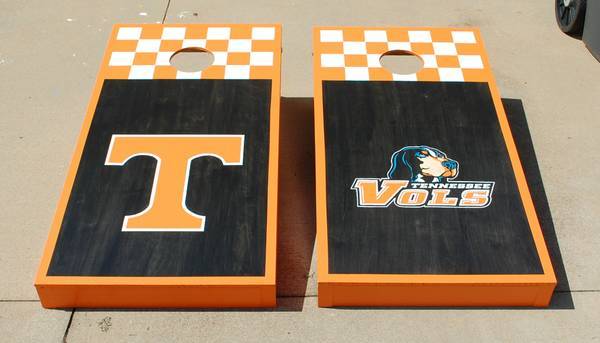
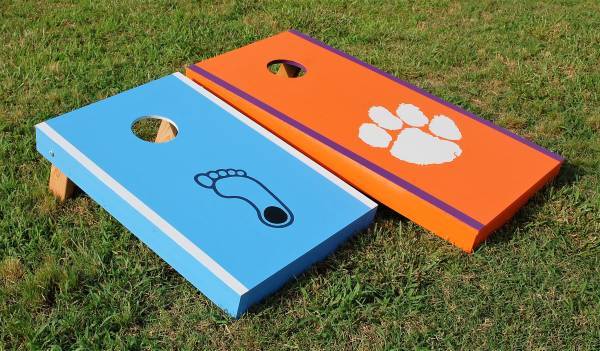
I built them and my husband had painted them all the way down to the logos! Not a thing on them isn't hand painted!
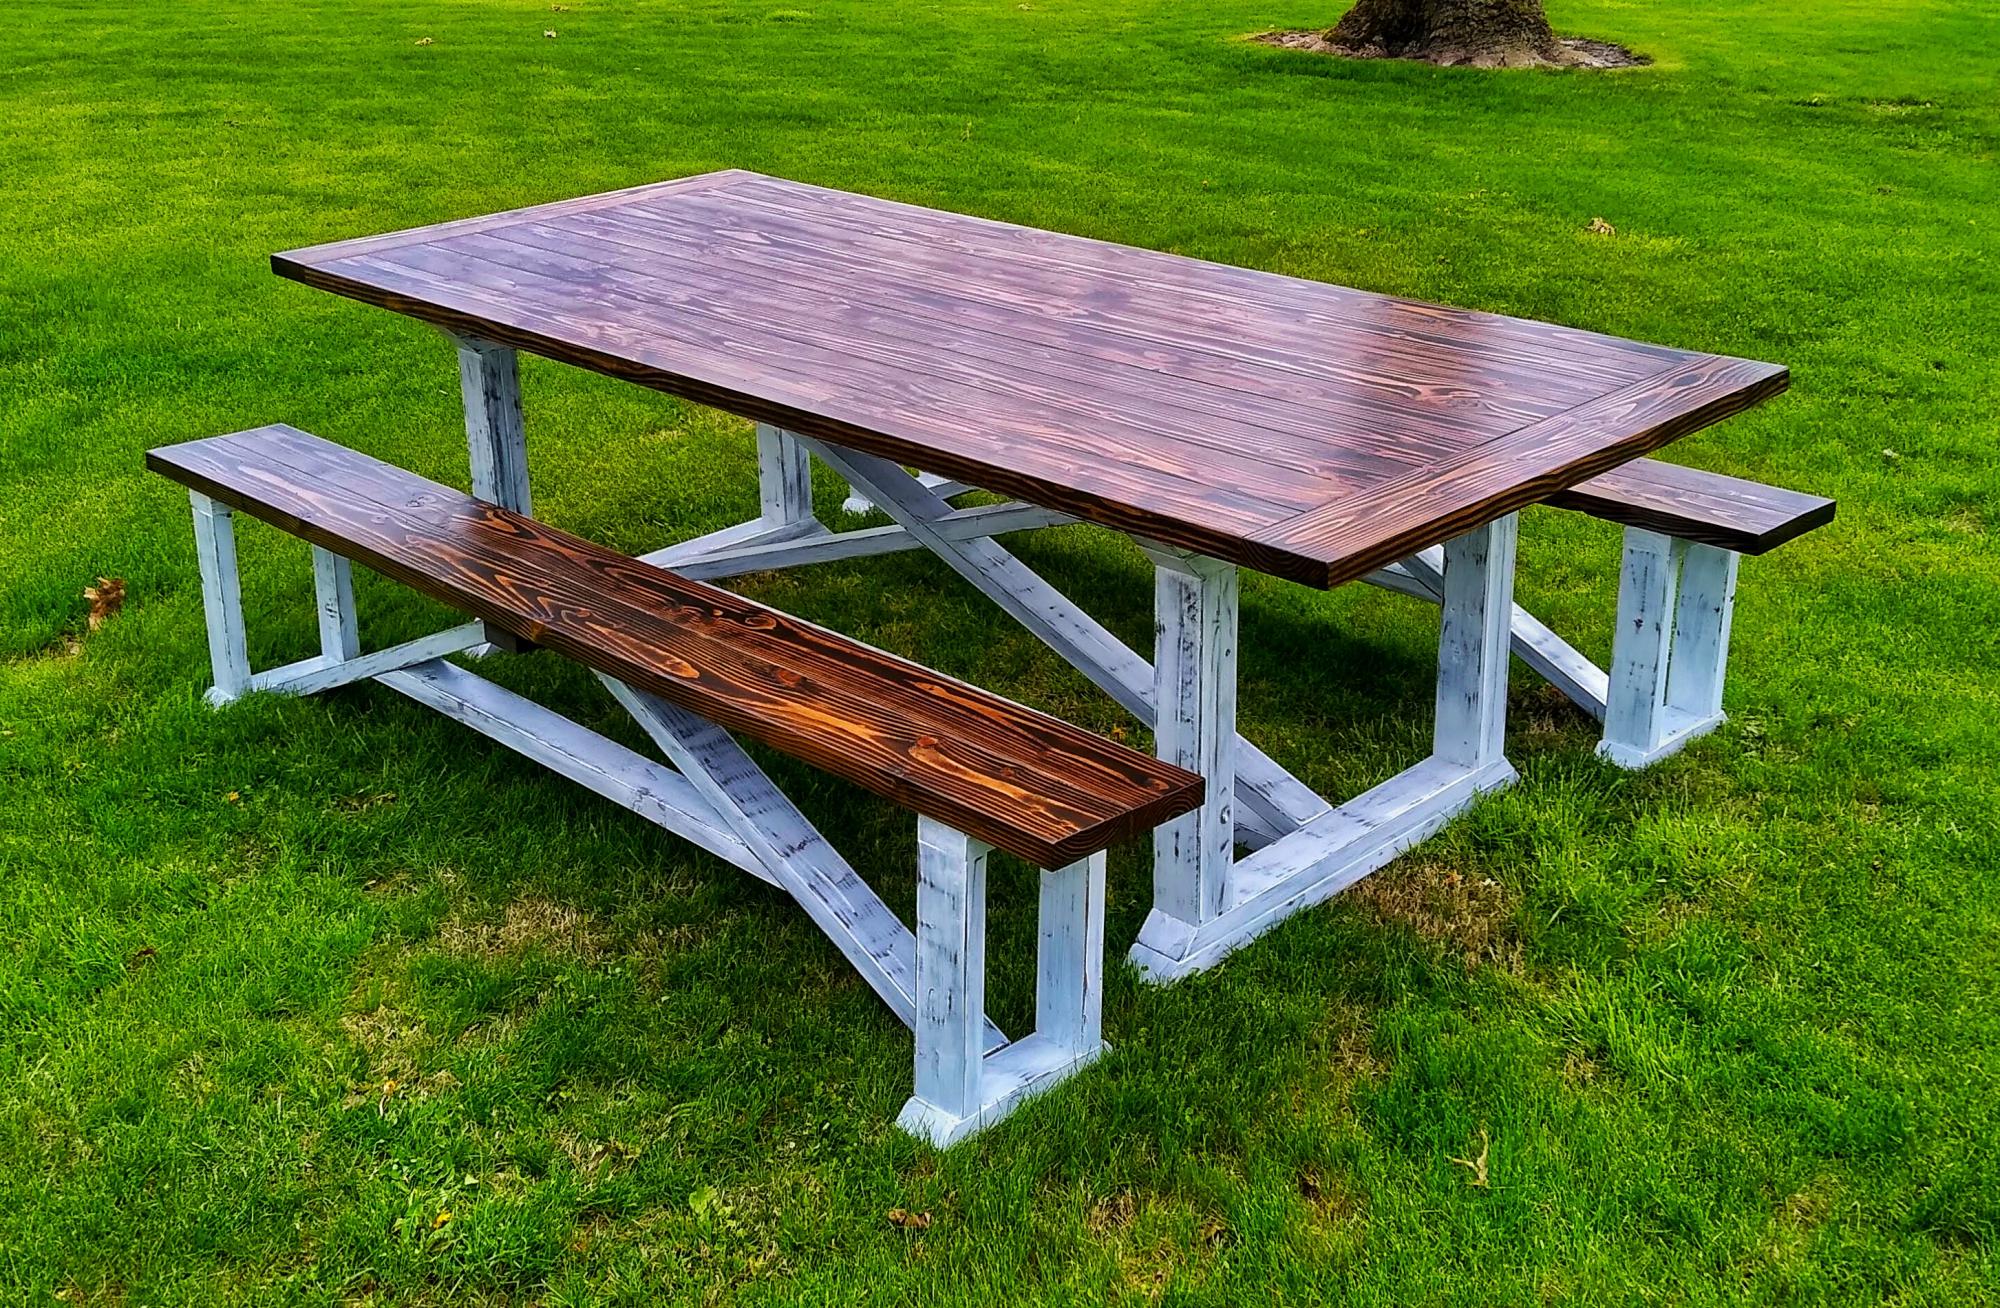
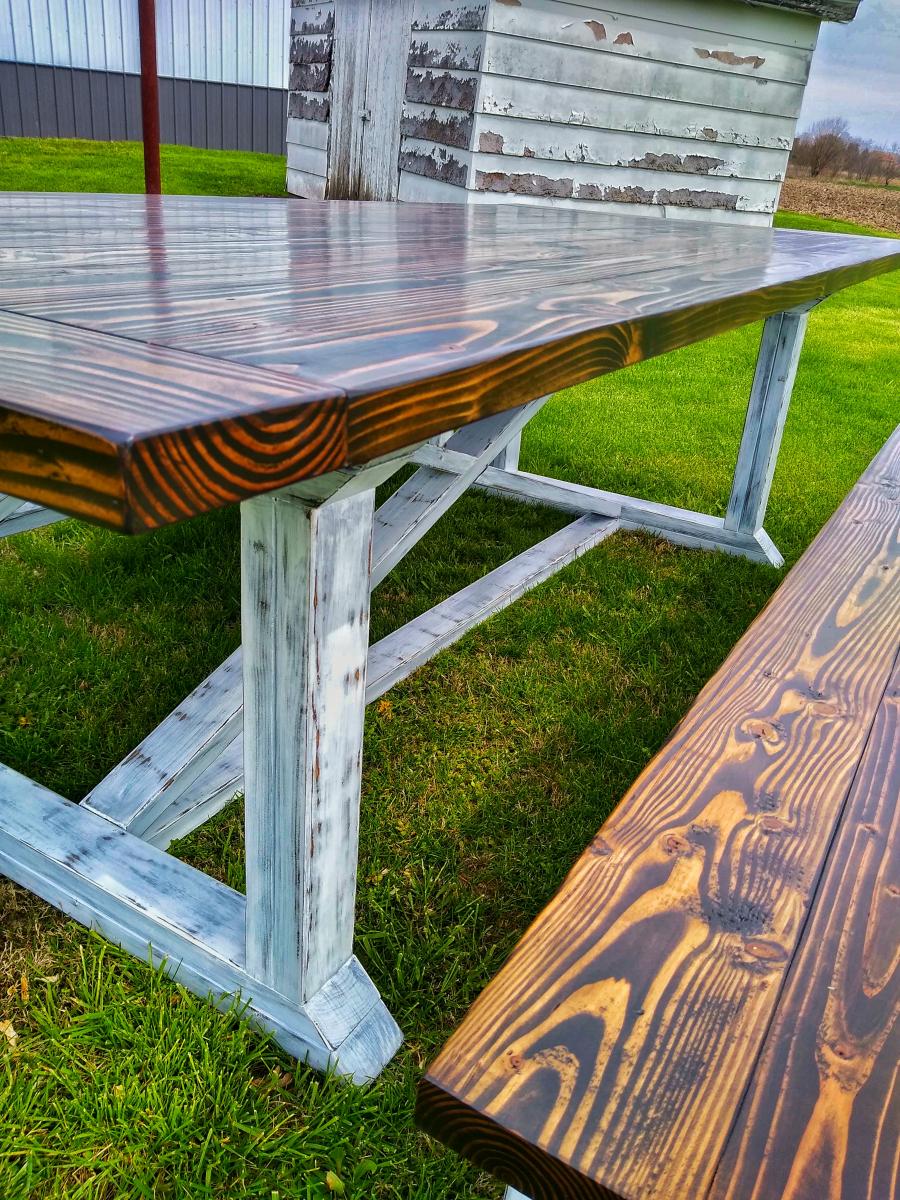
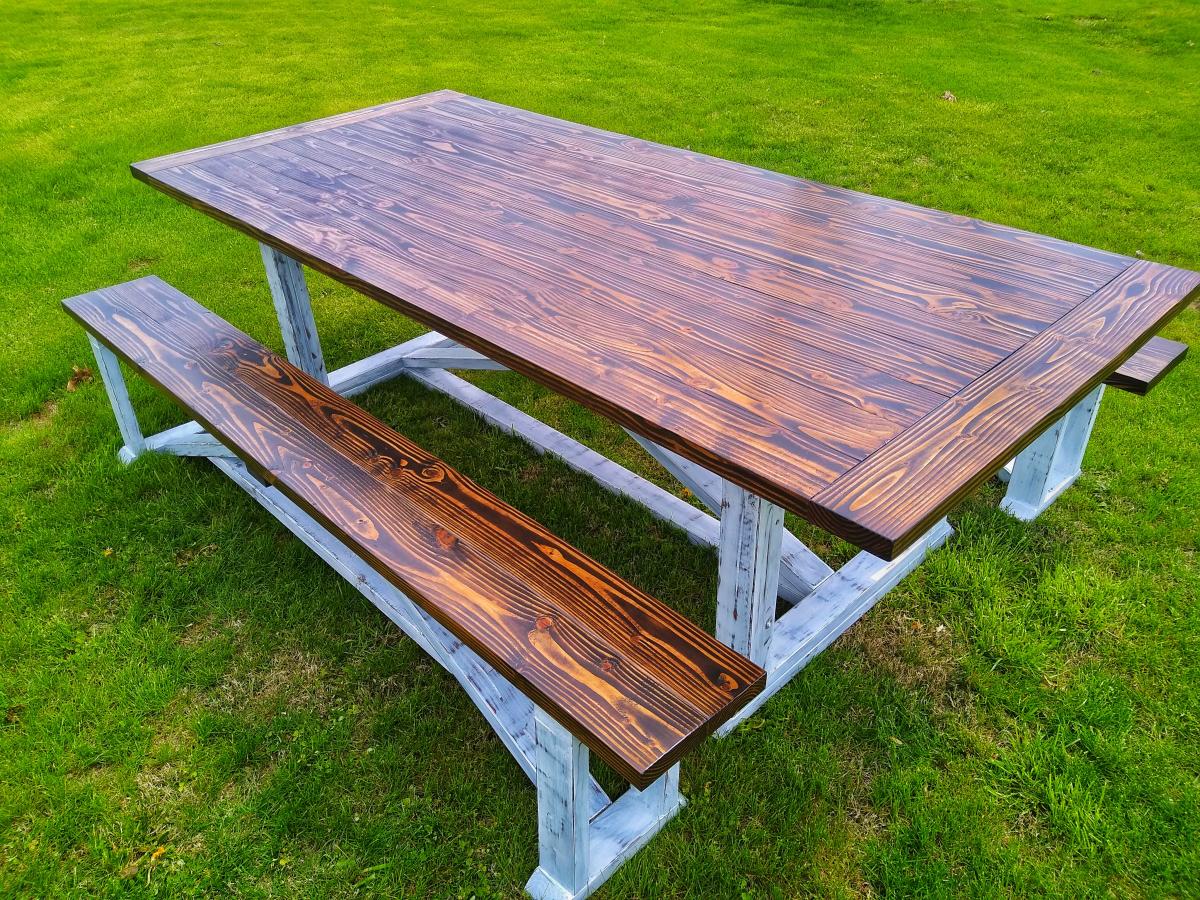
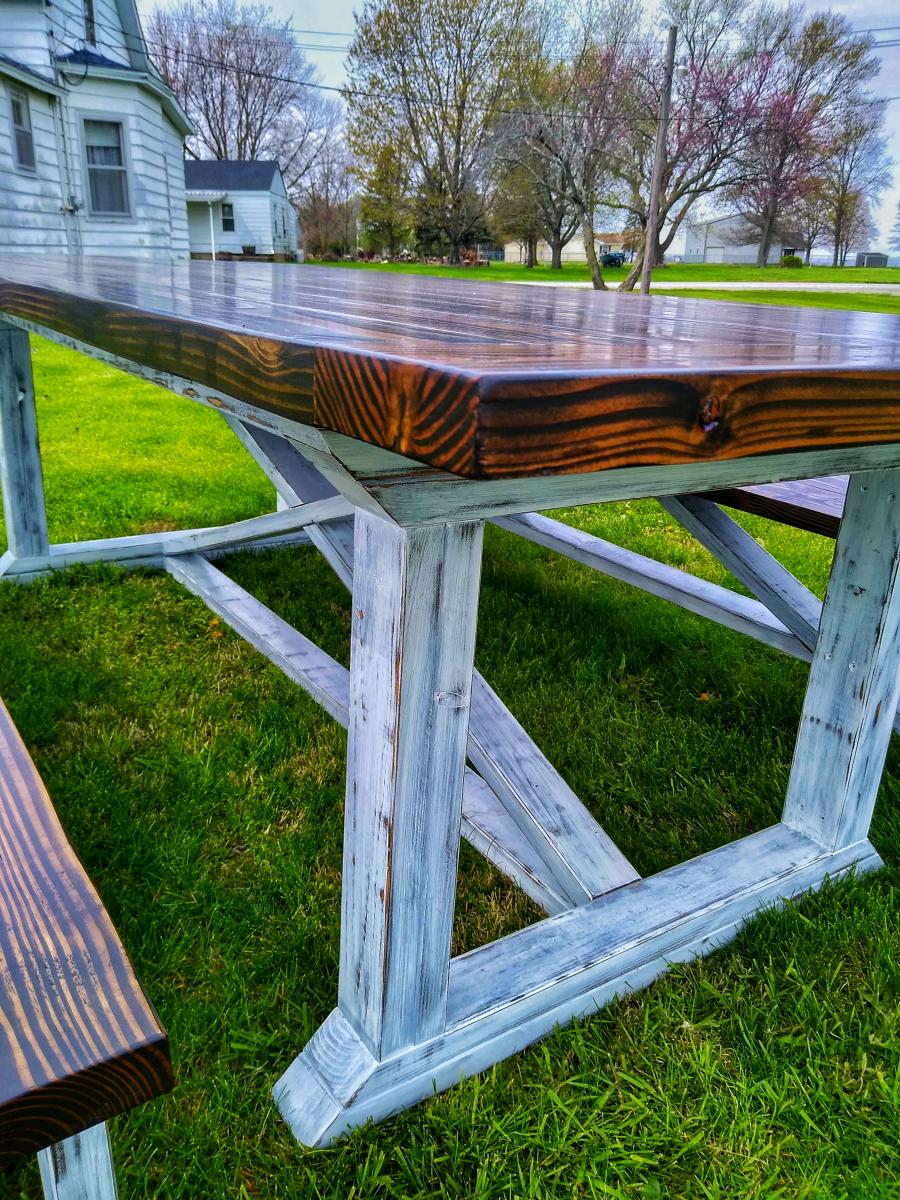
This was my first Farmhouse Table build. 8ft long with 2 benches. Distressed white with True Brown tops.


I had SO MUCH FUN building this play kitchen. I looked at all the different play kitchens on the site and took what I liked. I love bead board and I LOVED the oven light idea. I’m 7 months pregnant and was still able to put this together. My lower back was starting to complain by the end so it is good I finished it up when I did. I used a kreg jig jr. instead of a nailer. For this project I wish I had a nailer, I think it would have been easier. Maybe I’ll get one for Christmas! Up next – the cabin collection!
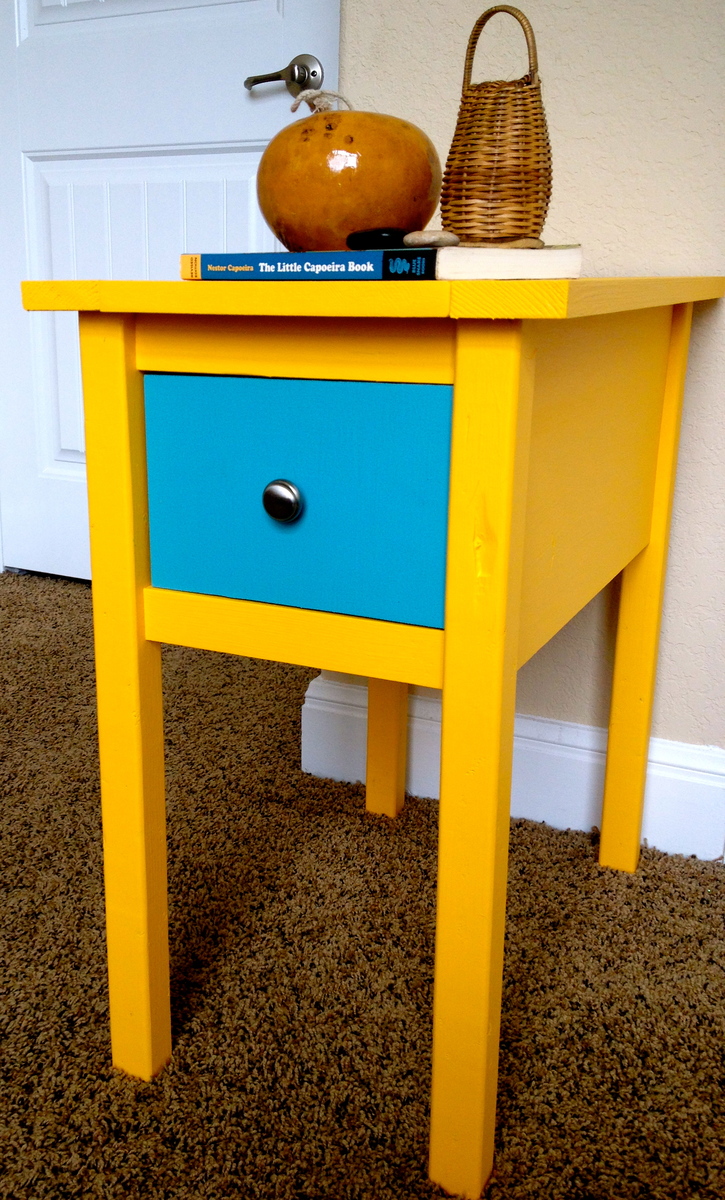
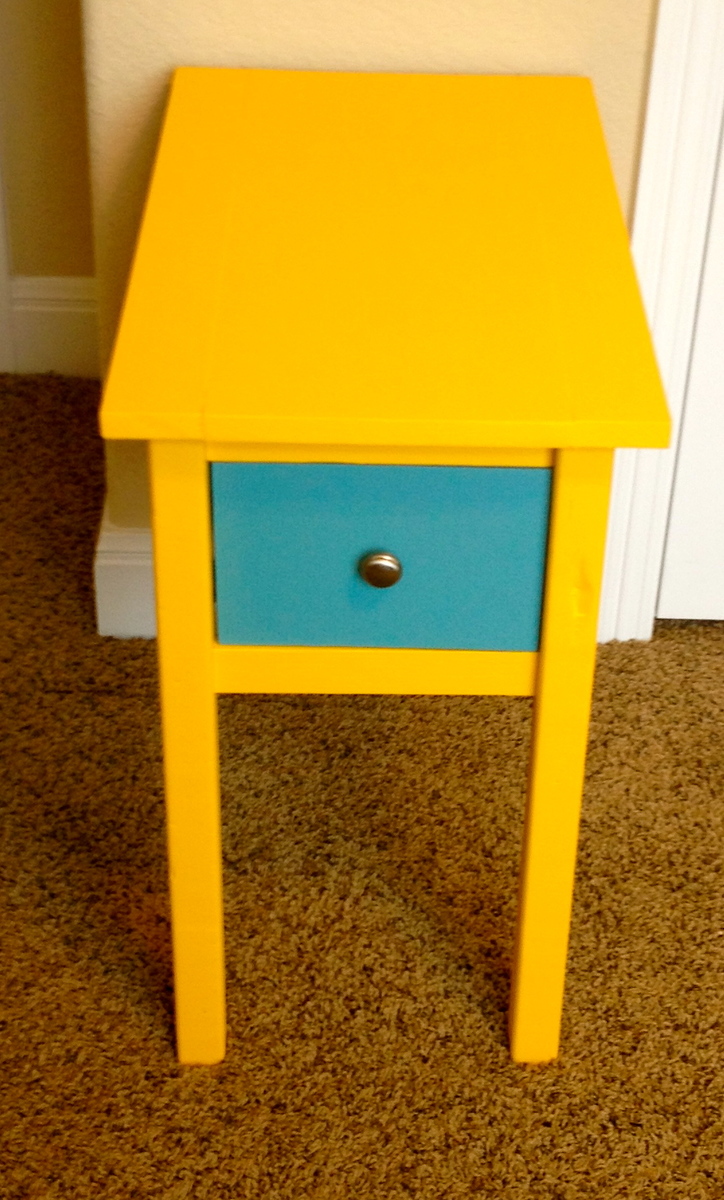
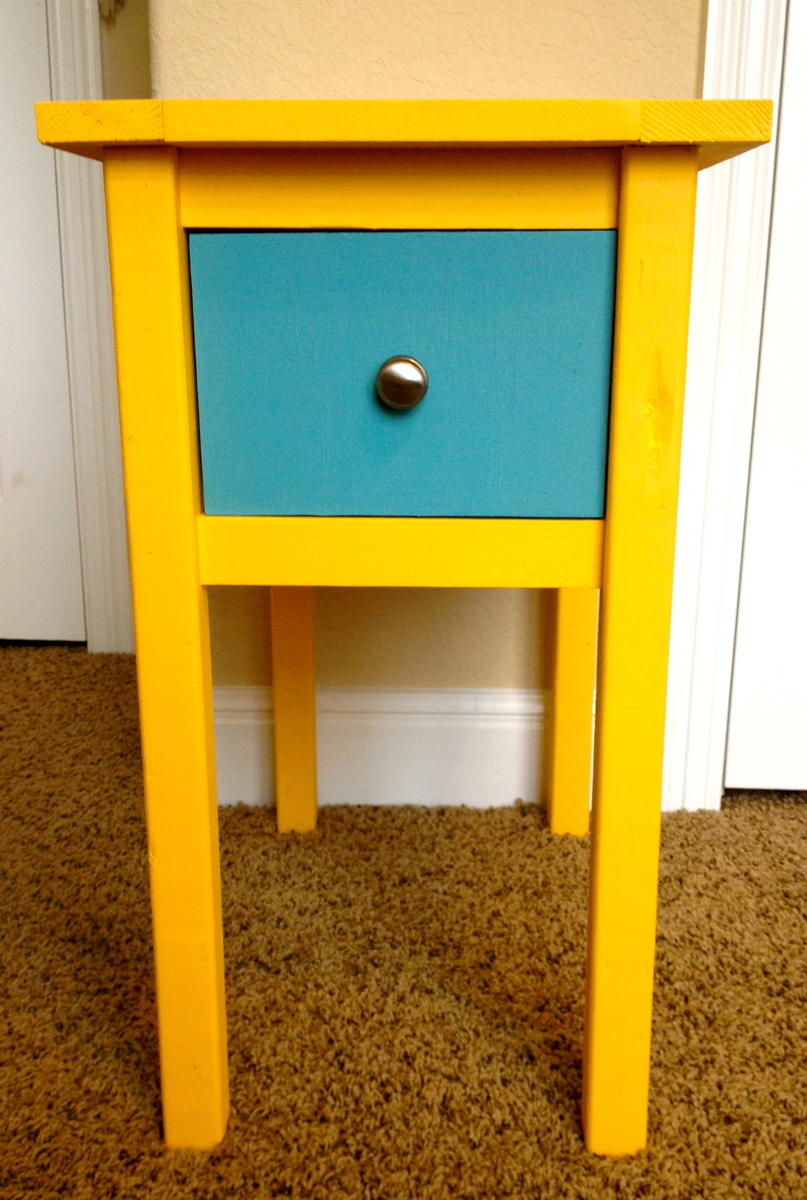
This was my second project I attempted, the hardest part was the drawer! Other than that I think it turned out great!
https://www.etsy.com/listing/152638624/handmade-narrow-end-table
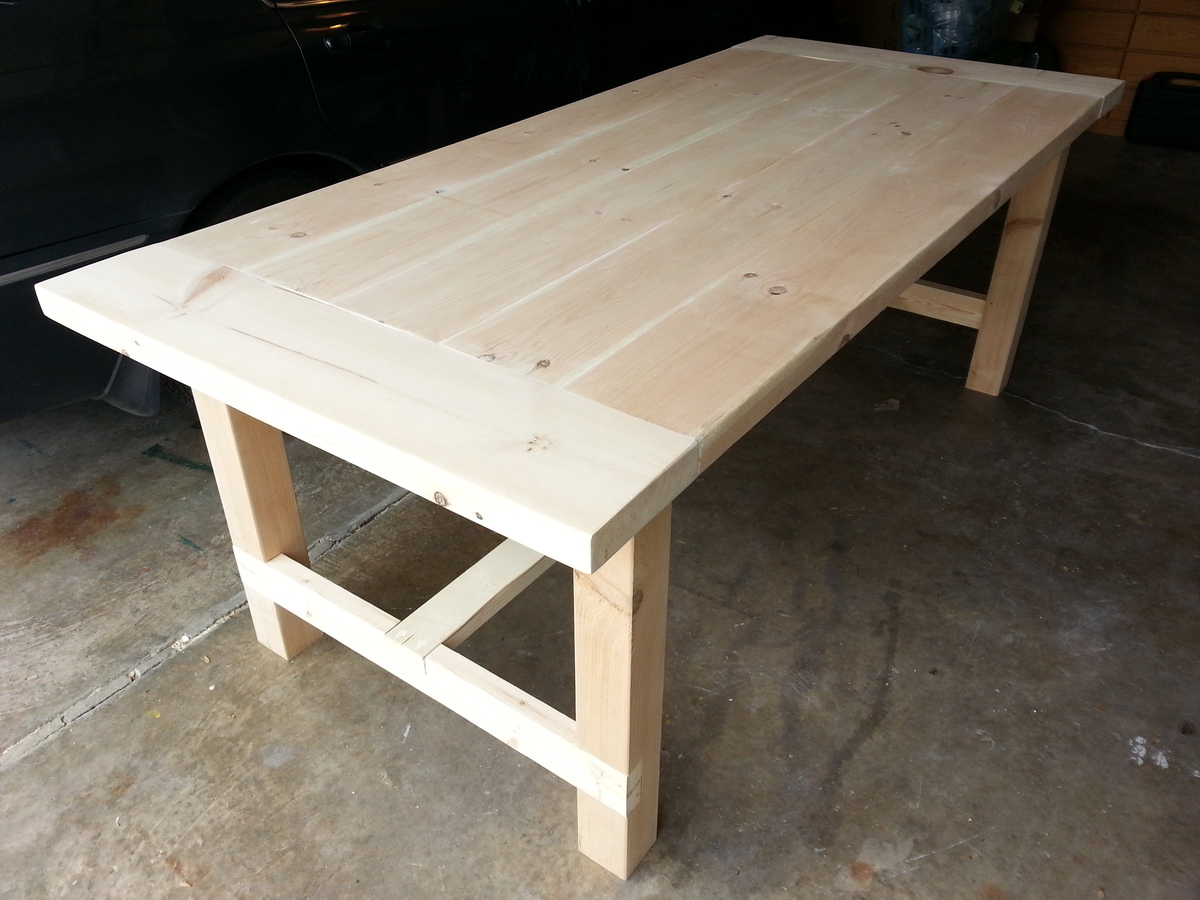
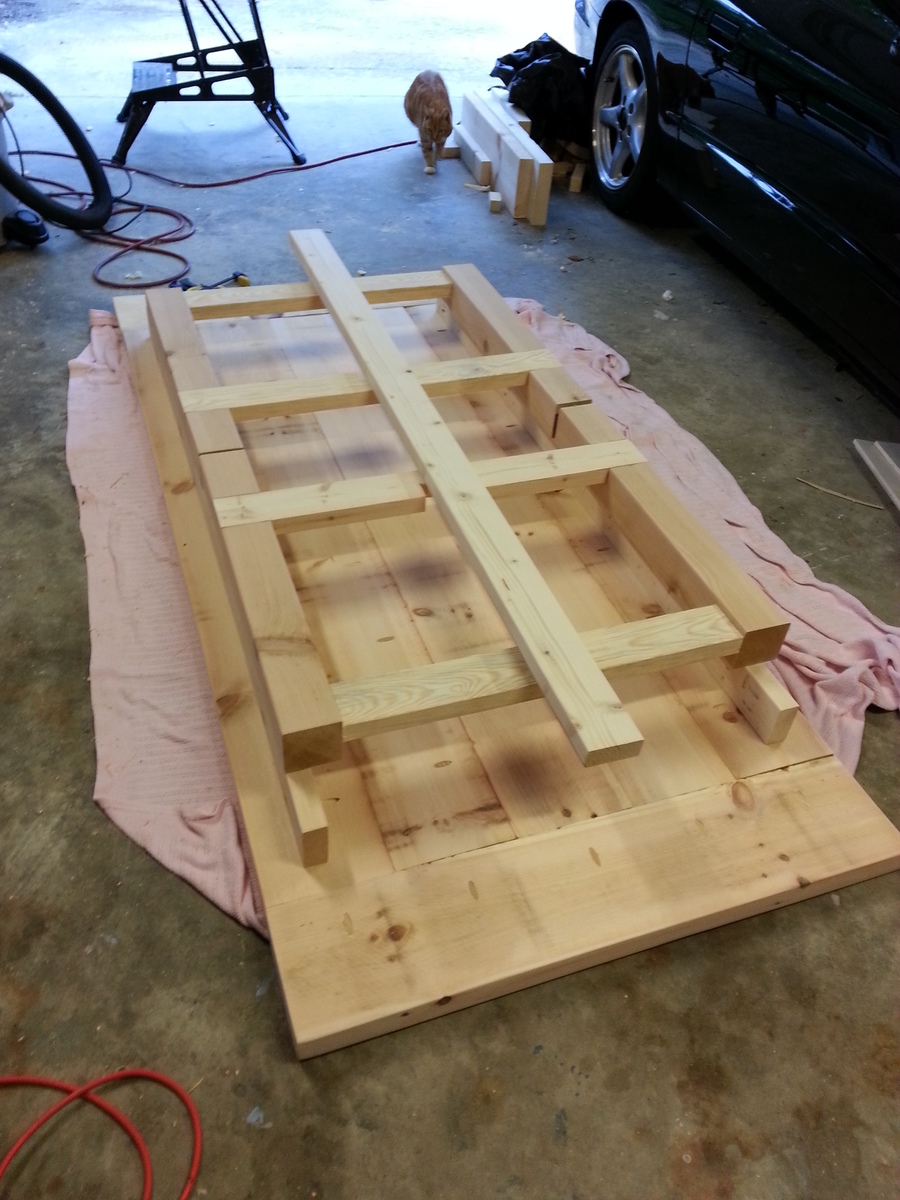
Farmhouse dining room table built for my mom. Unstained.
Table top is 2" White Pine Boards, legs are cedar, and everything else is whitewood studs. Left the leg assemblies and stretcher board unattached for the two hour transport to Charlotte. Attached them with screws and some glue upon arrival. Loved the plan and finished in two days!
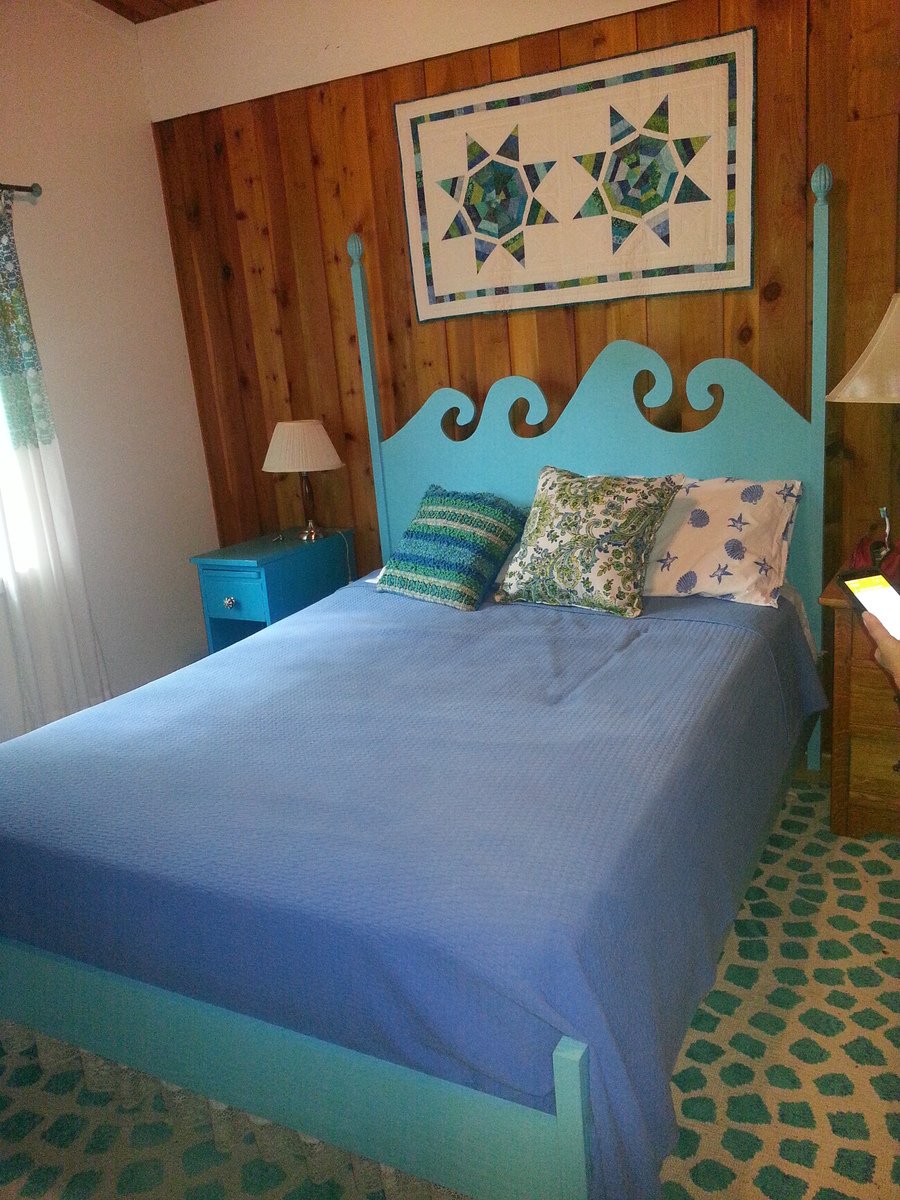
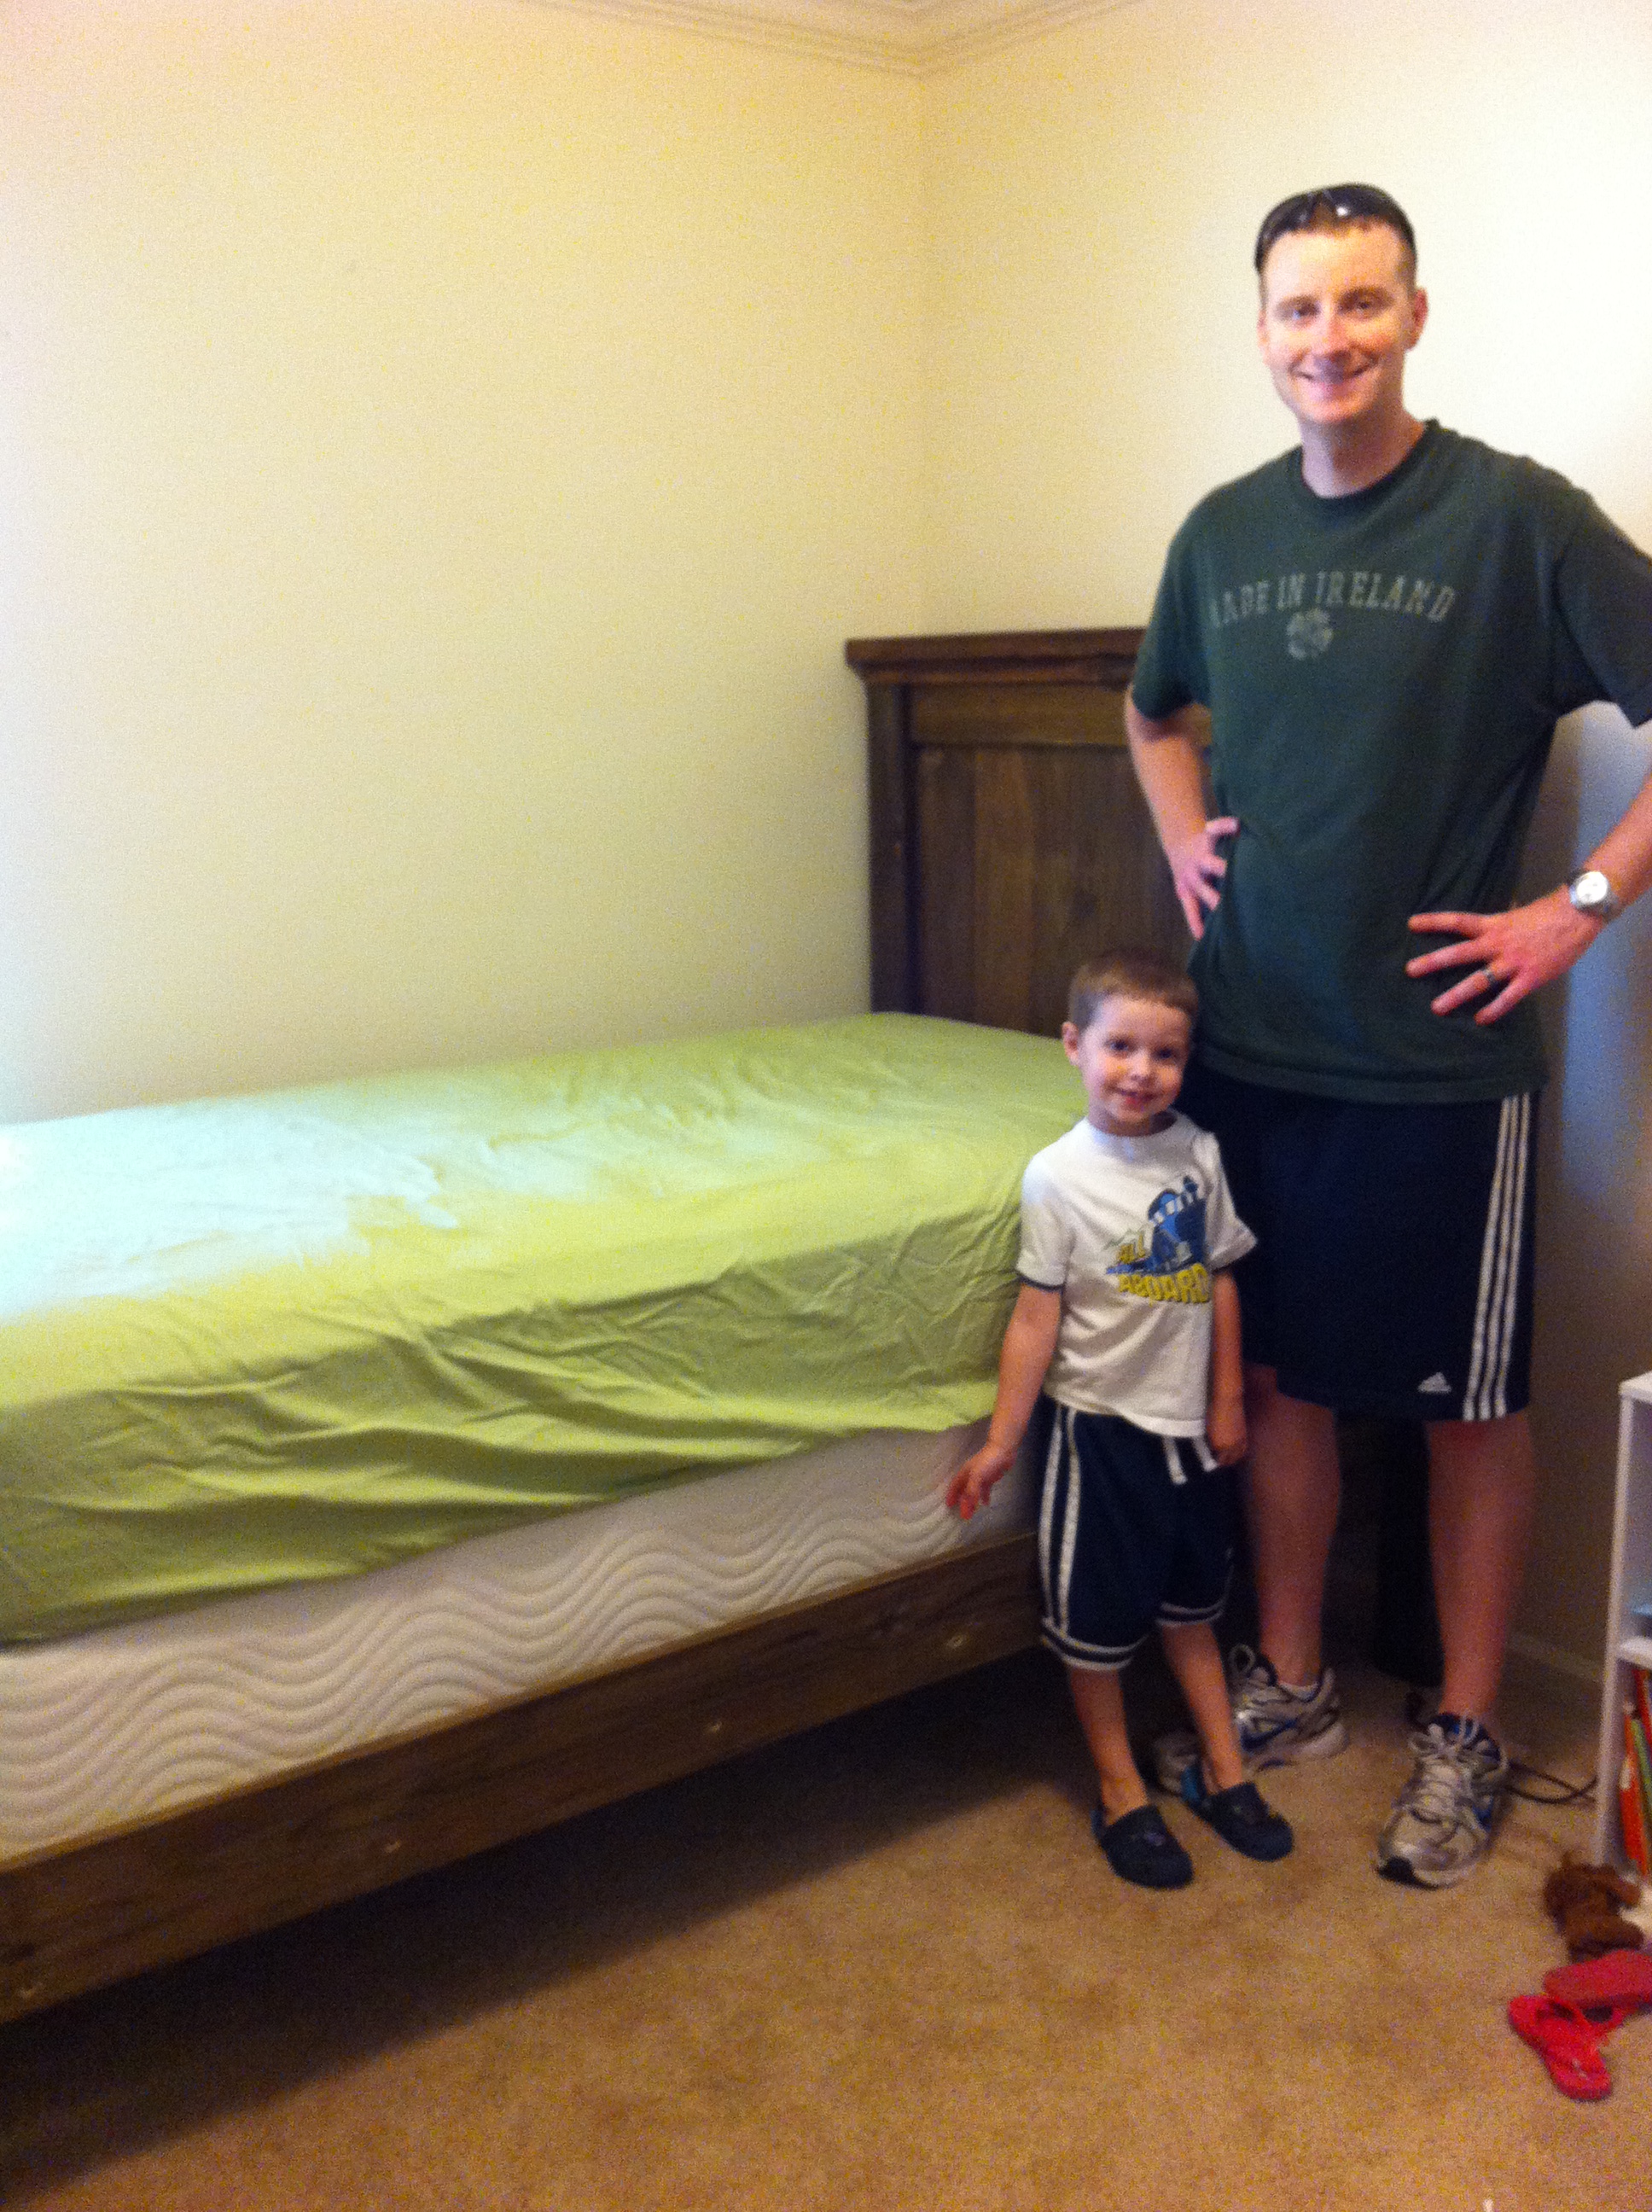
This "pin" was my inspiration (https://www.pinterest.com/pin/540643130244817922/) and I was very happy to have the Hannah canopy plans to modify! The upper canopy was eliminated, a "whimsical wave" was cut in the headboard using a jigsaw, and the foot board posts were shortened. In addition, measurements for the bed were modified to fit a queen size mattress. I used hardwood plywood and hardwood side boards, as I wanted a durable bed. The posts were pine 2x2's as I could not find hardwood of this dimension at my local stores. I also used hardware from the Rockler company (http://www.rockler.com/5-surface-mounted-bed-rail-brackets) to mount the head and foot boards to the side boards, as I wanted to assemble and disassemble the bed easily.

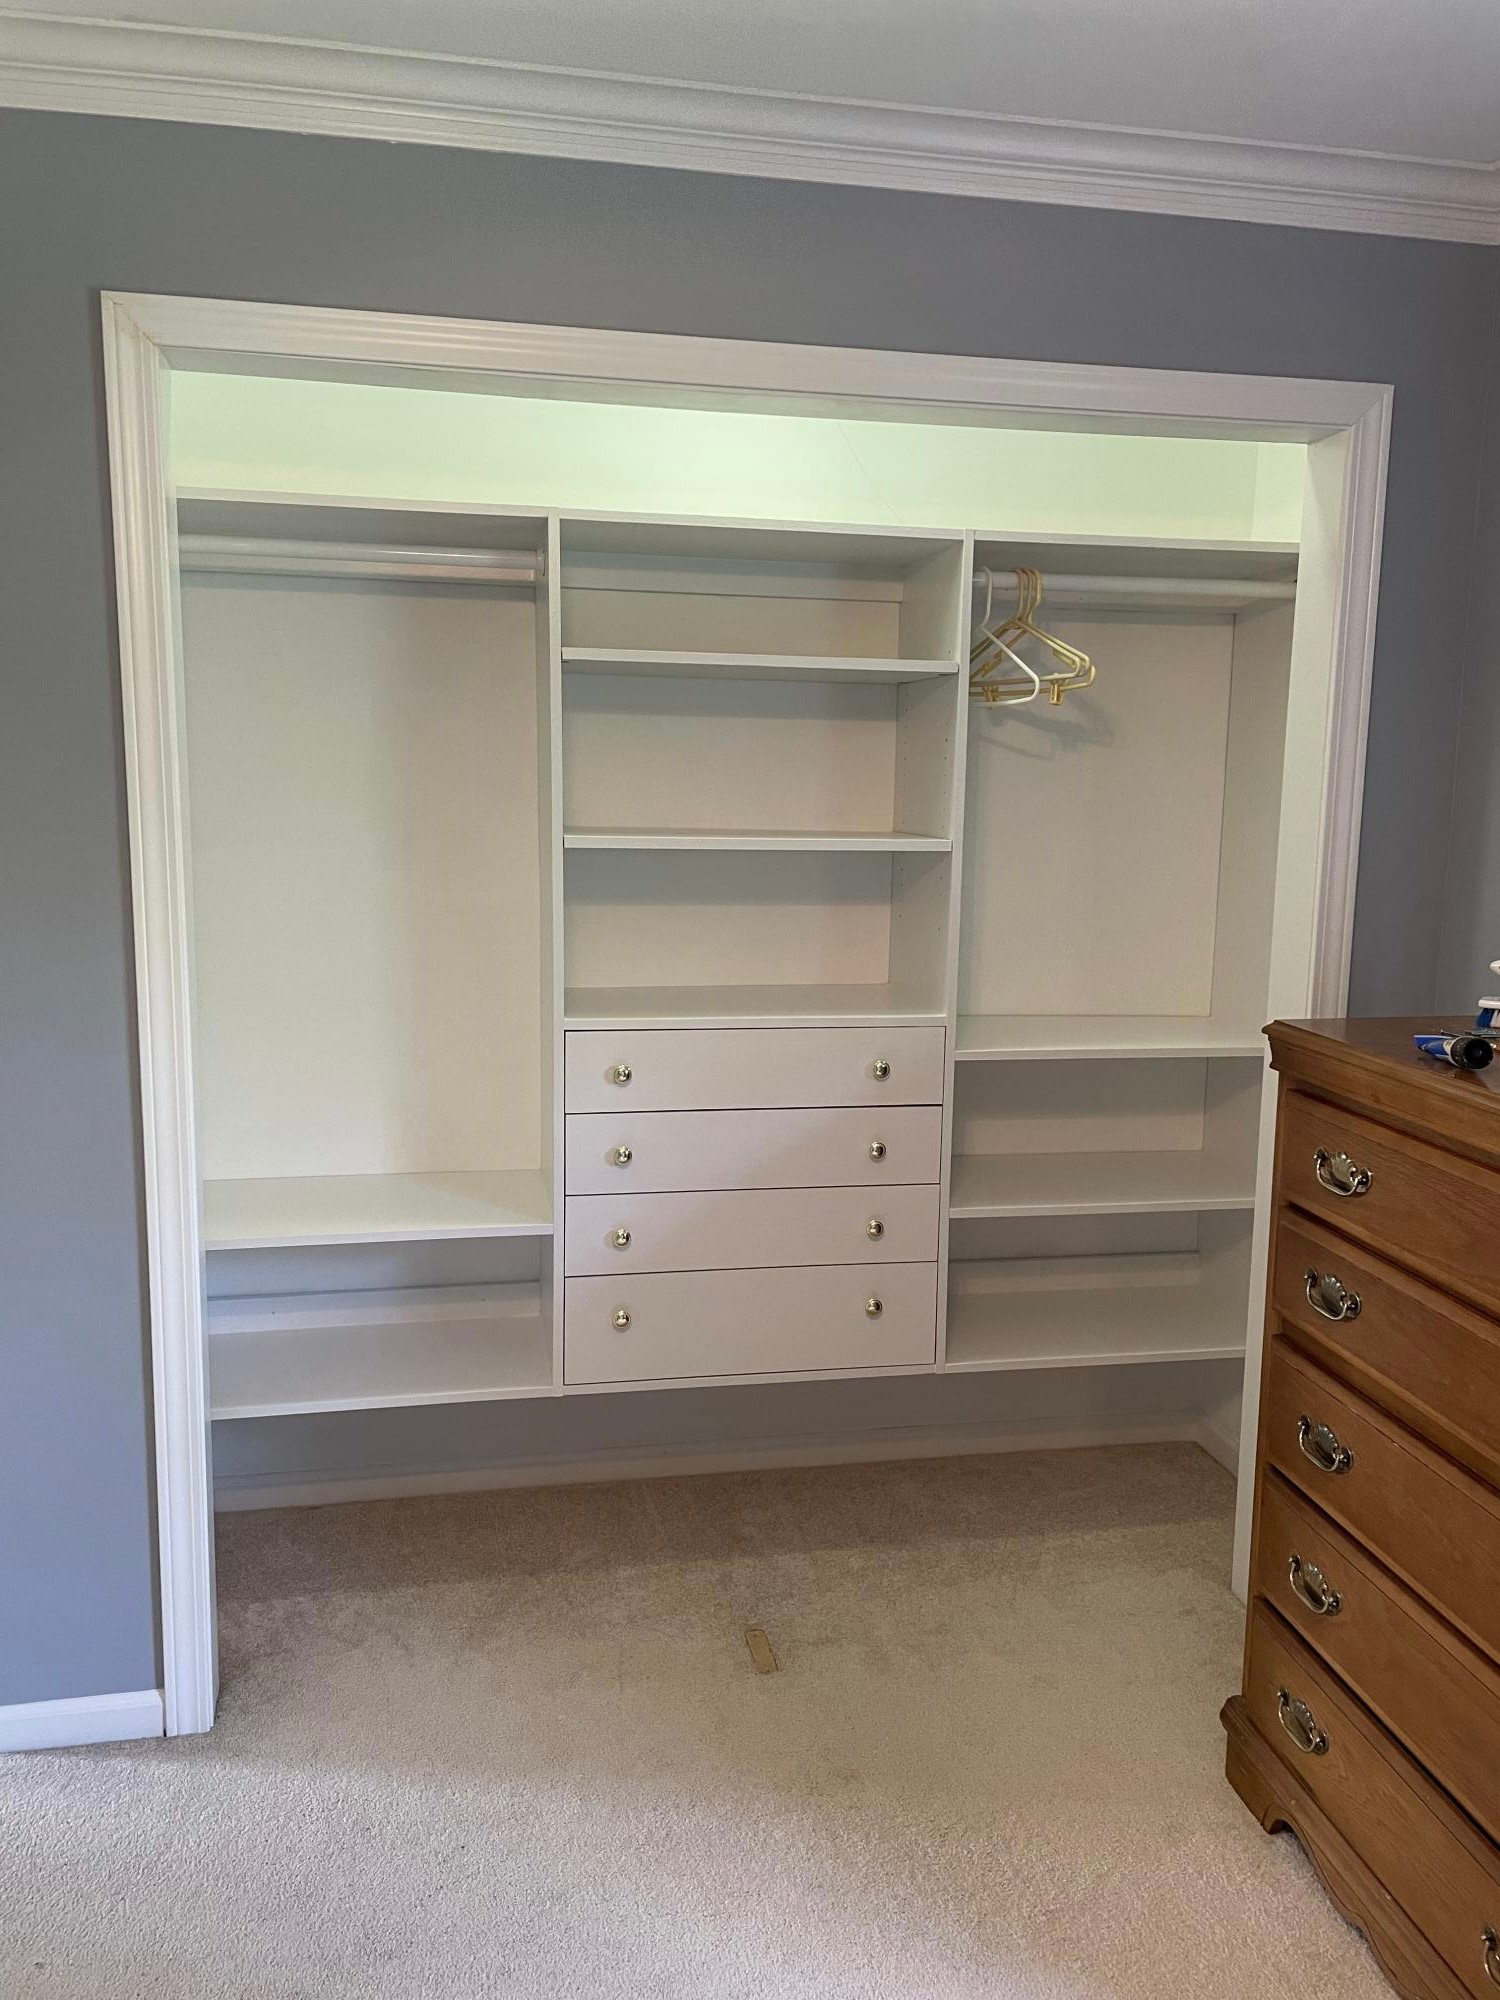
This is a guest bedroom. The closet had 6 panel, colonial bypass doors. The bypass doors leave the center unusable. To save room, I built a dresser in the center. The bypass doors are getting converted to swing doors. I used shelf help to design the project.
Wed, 10/06/2021 - 09:32
Love the built in dresser! Thank you for using Shelf Help, that looks amazing!
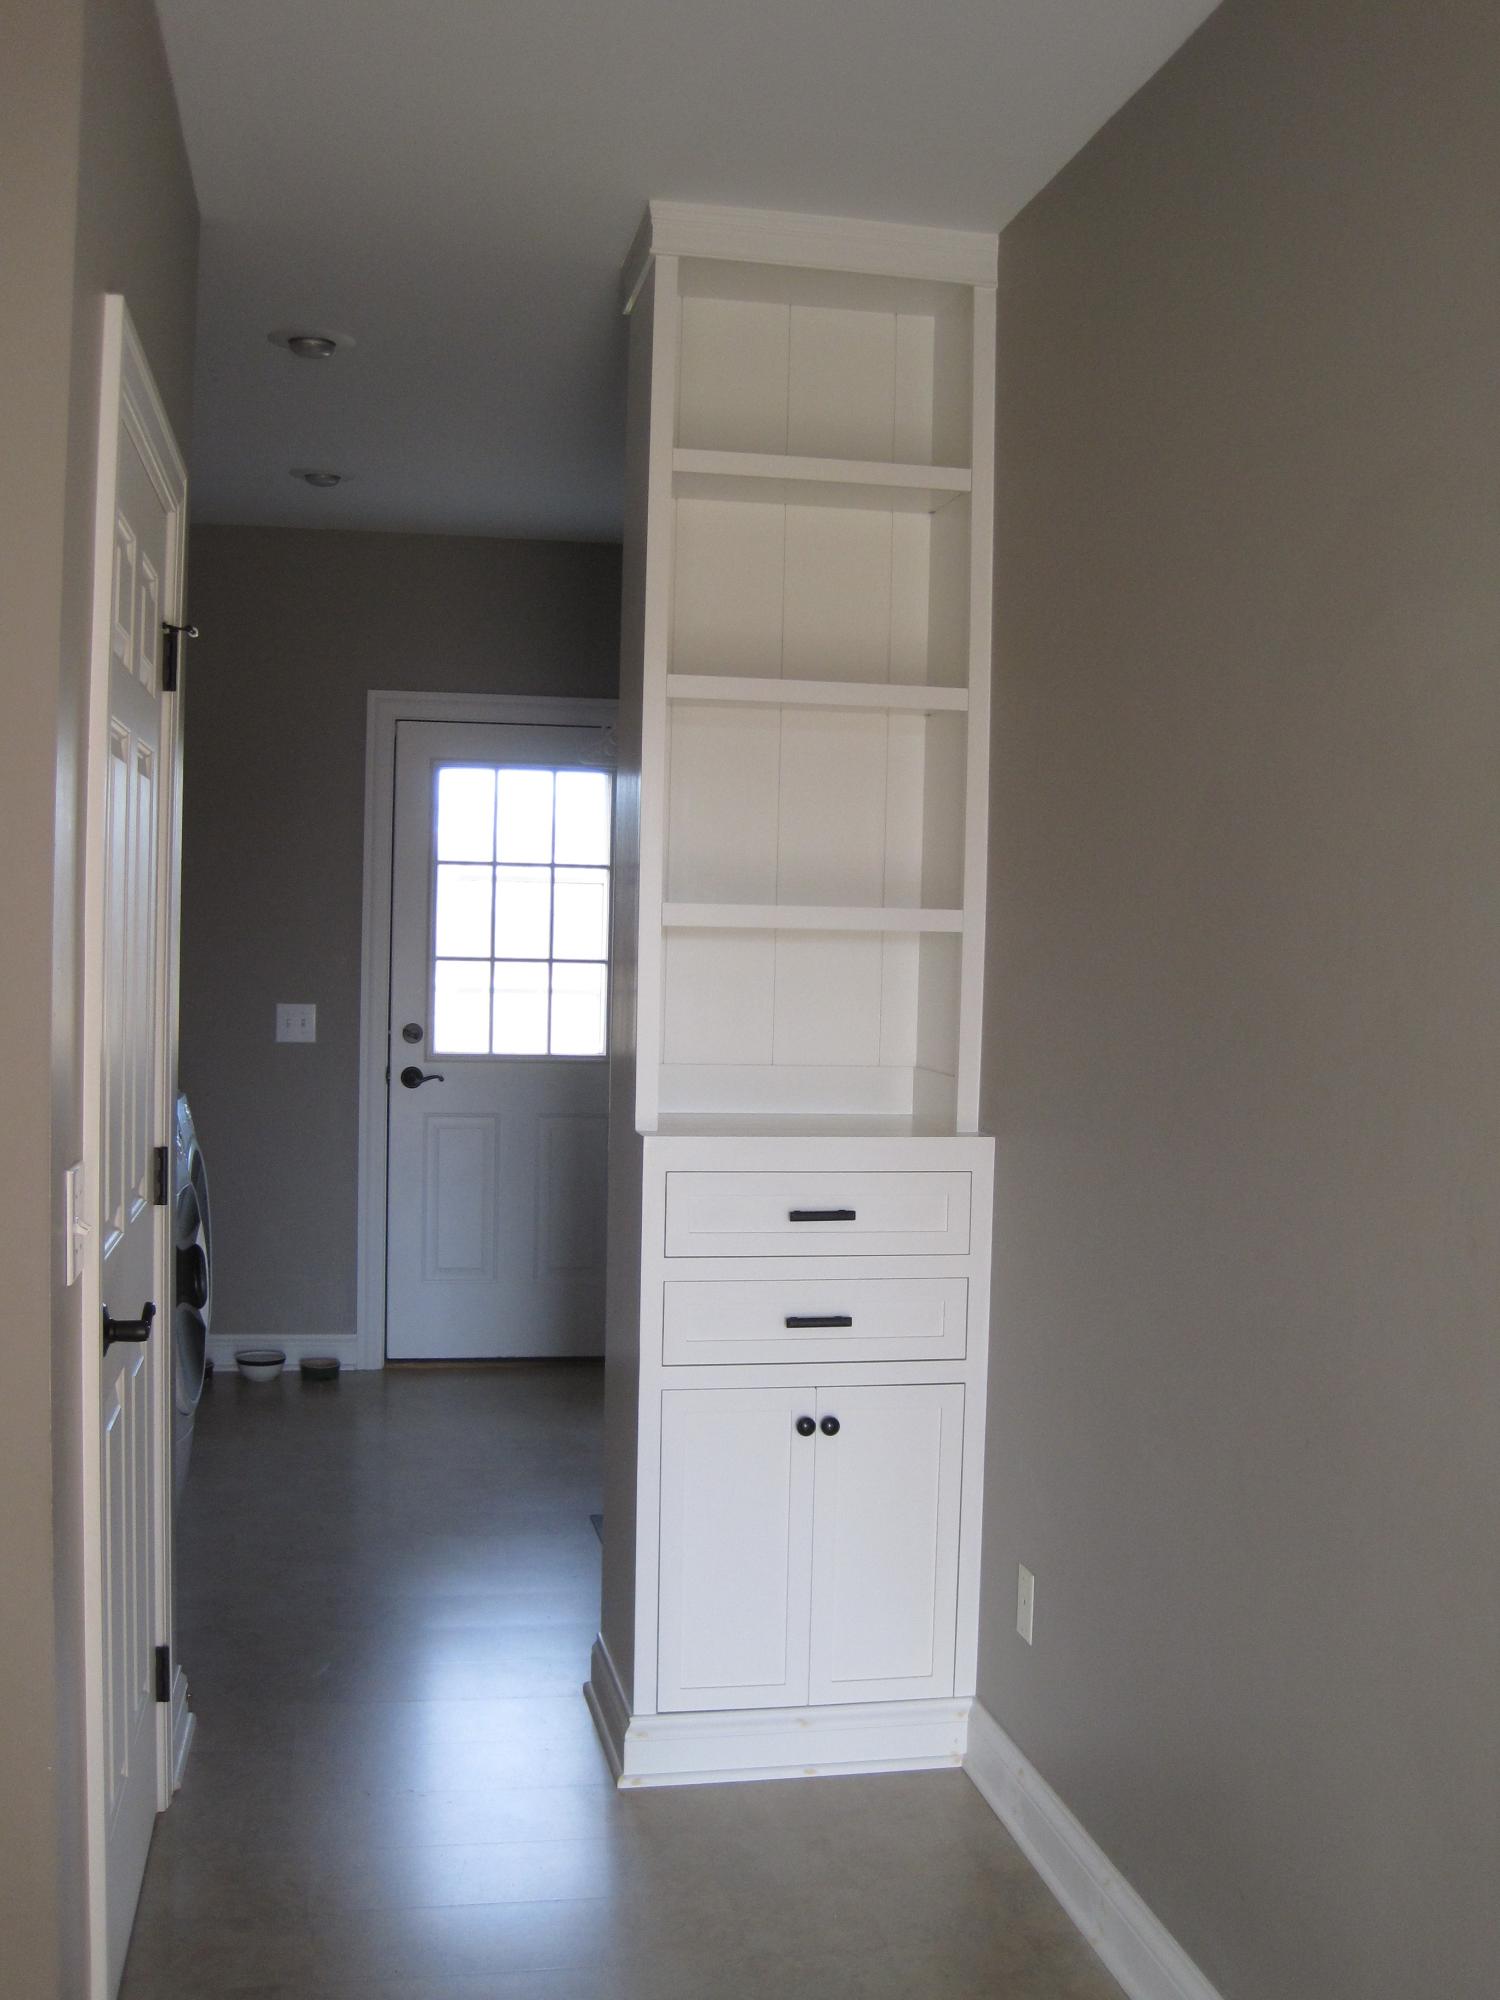
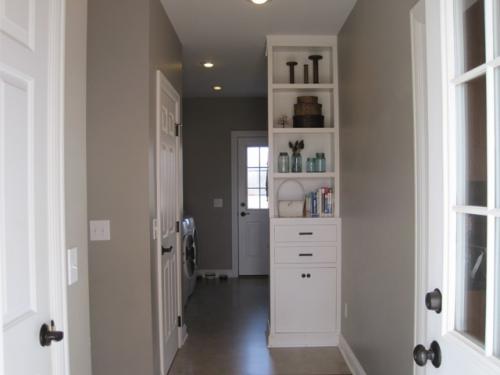
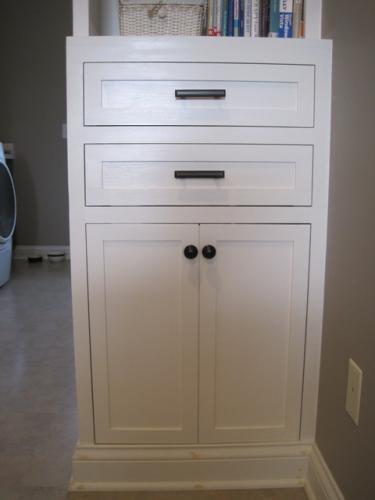
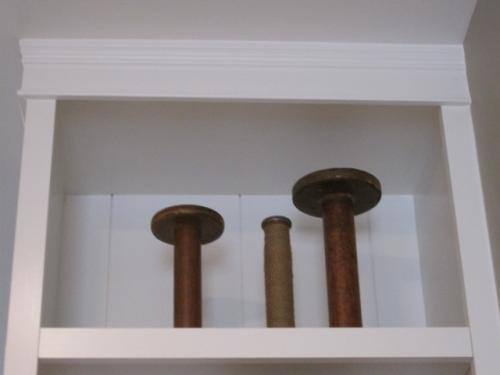
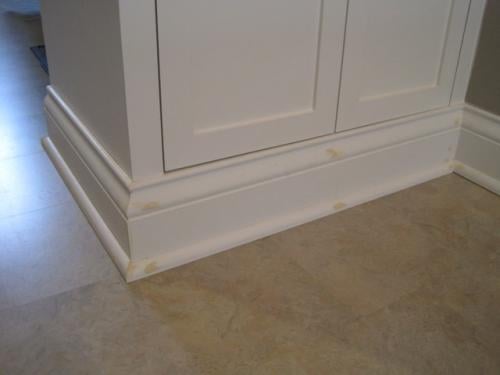
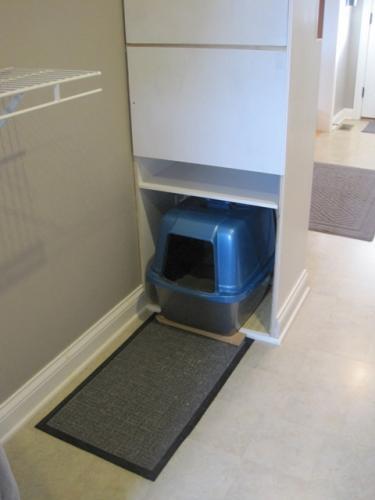
This is my third Ana White project and I modified it quite a bit from the plan. I was inspired by the PB Logan Collection that Ana has a knock off plan of called the Classic Storage Wall and Hutch. You can read more about the whys and hows of this project on my blog pinktoesandpowertools.wordpress.com in the Cabinet and Hutch-laundry room category under woodworking (there are currently 17 posts about this project--yowza!). But the modifications that I made from Ana's plans were that I had to make it less wide, I added two drawers in the cabinet, and I put a back on this that mimics the PB picture (which happens to be the wall behind their open-backed units, not an actual back). The base also hides a cat litter box behind it, so the back is open and the doors do NOT open--they are a fake front. No need to peek in at a litter box and it eliminated the cost of hinges. I learned A LOT during this build! First experiences were: using a circular saw, making a straight cut jig for a circular saw to cut plywood, using a jigsaw, using a compressor and nail gun, cutting crown and base molding miter cuts, tearing out base molding to fit the cabinet, cutting out an electrical outlet in the cabinet and extending the outlet, learning how to remove pneumatic nails that find their way out to the front of your project, and probably more that I can't think of now! The back isn't quite done, but it won't be too much prettier than what the picture shows, and you can see how the litter box looks. I might turn it sideways and cut out a hole in the side--haven't decided on that yet... I am really pleased with how this turned out and I'm excited to start on my next Ana White plan (probably modified, knowing me!).

This is the third project I've done from this site and the first that came out absolutely perfect. The others were GREAT but this one....it just soared.
Took me all of 1 afternoon to build and 3 days to stain and finish. I used Early American by Minwax to match the existing dining room table.
My goal is to build the table that goes with it.
But, for now, this is the perfect addition to the house.
One thing.
The plans for this bench call for 1x4s for the breadboards and that doesn't make sense. I think it's a typo.
You will need extra 2x4s to make the project really soar. But, heck, who can't use an extra 2x4 lying around?
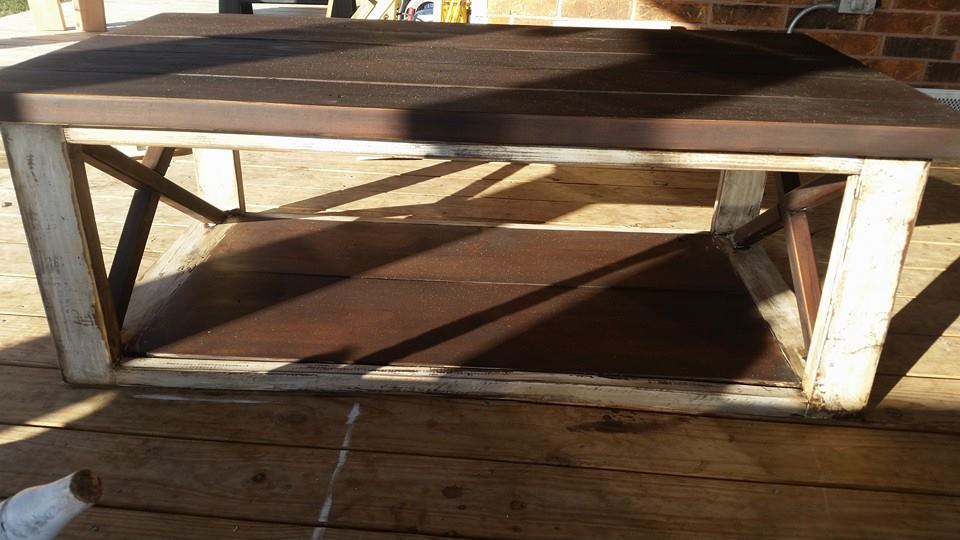
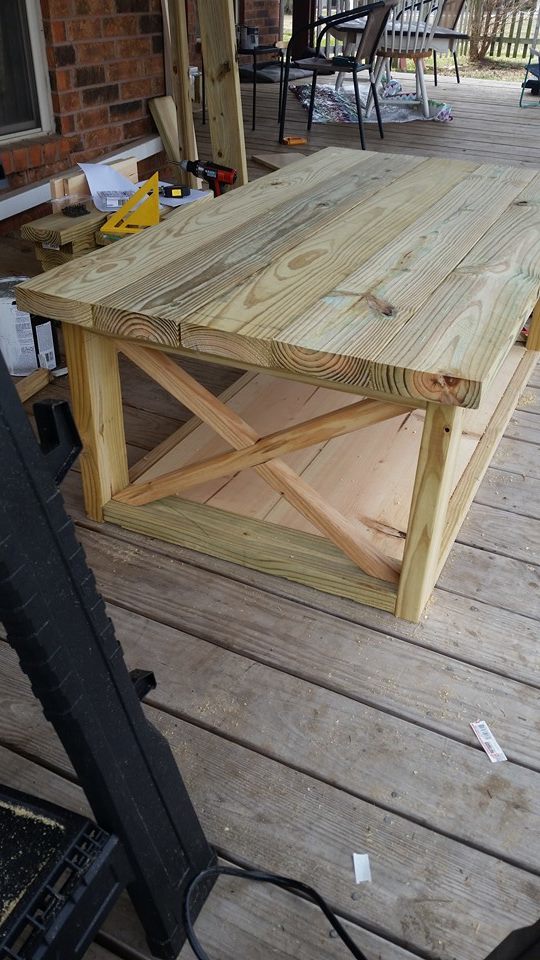
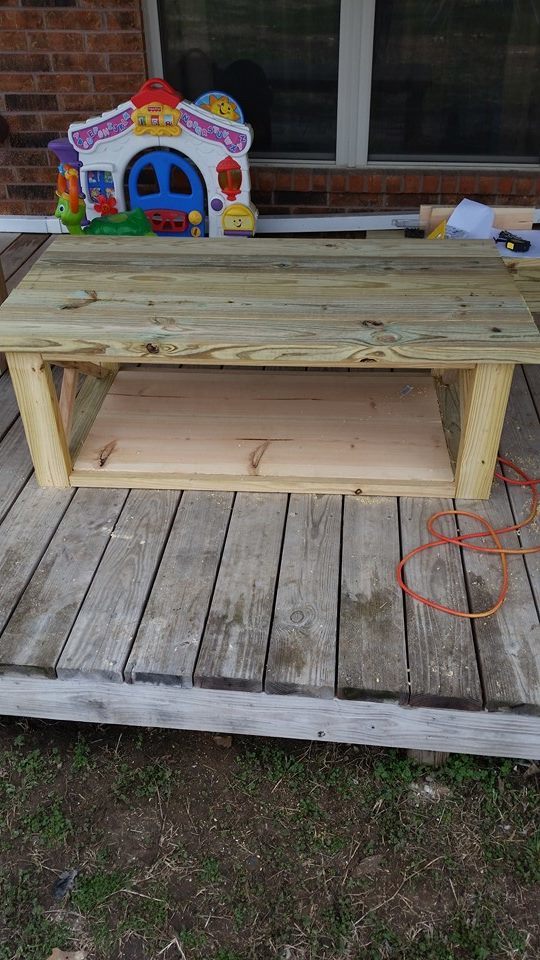
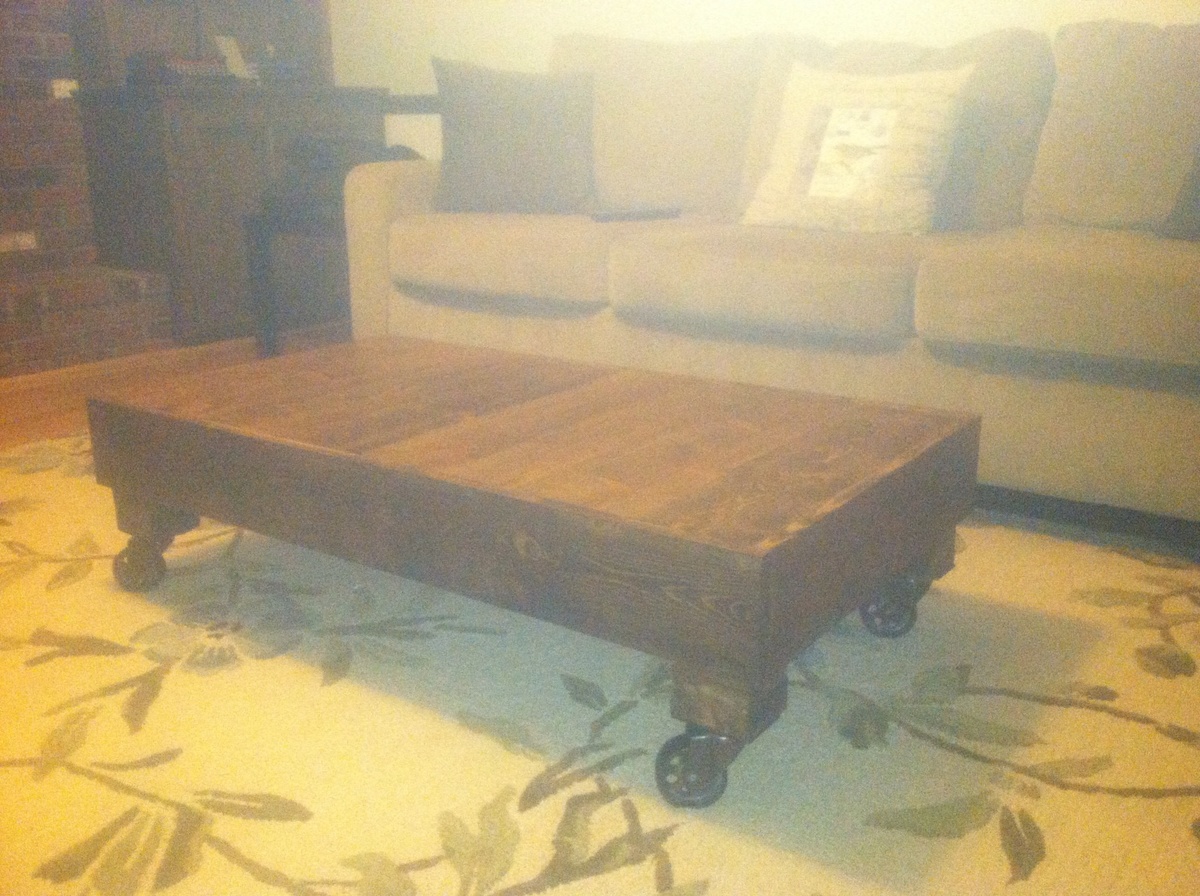
My wife was wanting a new coffee table so I decided to build one instead of goin and buying one. This being really the first somewhat hard wood working project that I had tried it turned out very good. My wife did her handy work on staining and making it look very old and rustic.
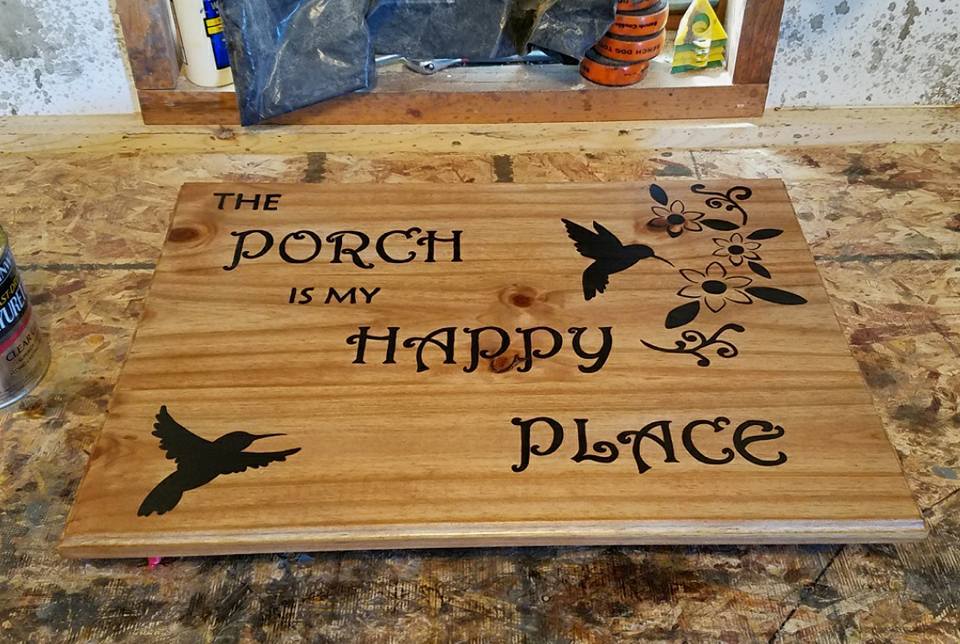
My father asked for a porch sign for his birthday, and as he enjoys sitting and watching the hummingbirds feed, thats the theme I went with. Sign is made with a redwood fence board that was sanded down and biscuit joined together, then given a decorative routered edge. Painted with Rustoleum paint, and given a few coats of spar urethane. Used jute cord on the back to hang the sign with.
First time building and I'm in love with it!
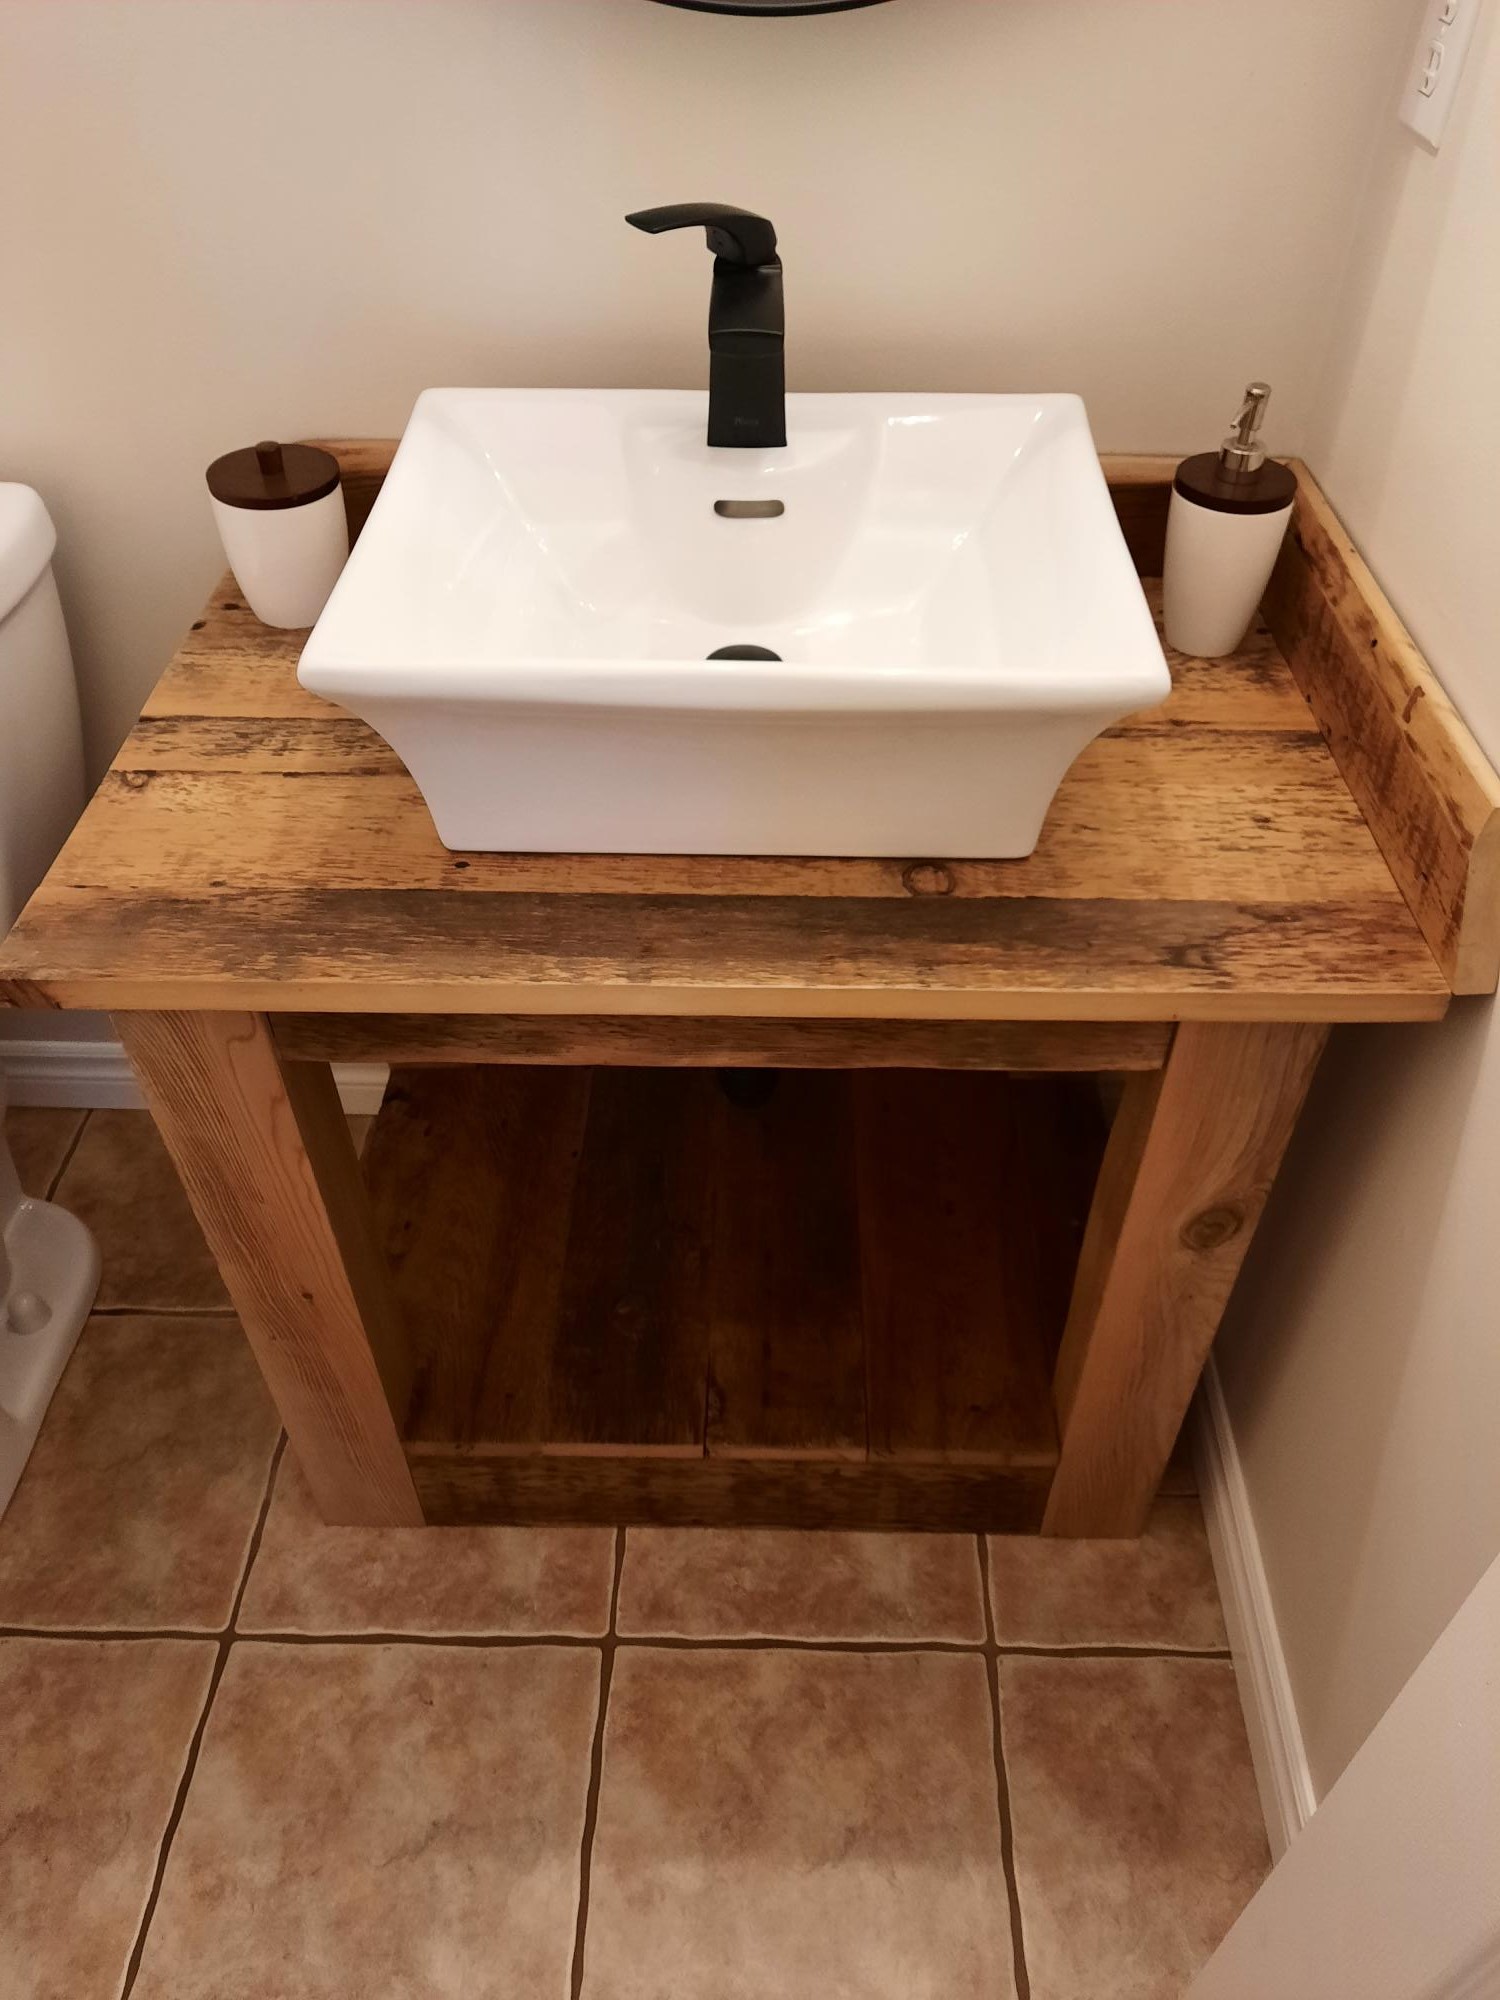
So happy with the finished product. Used 100 yr old barnwood and matte finish with varathane.
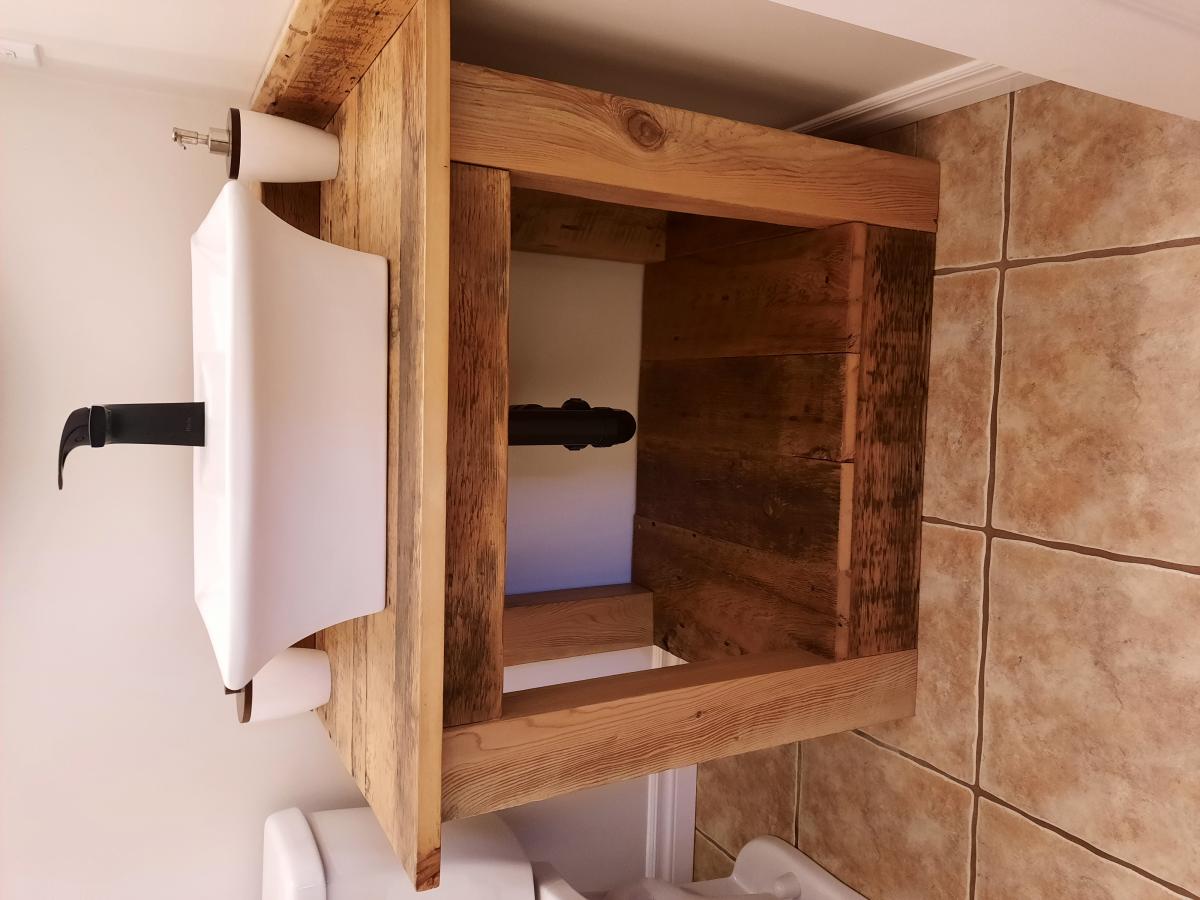
My first "real" project!
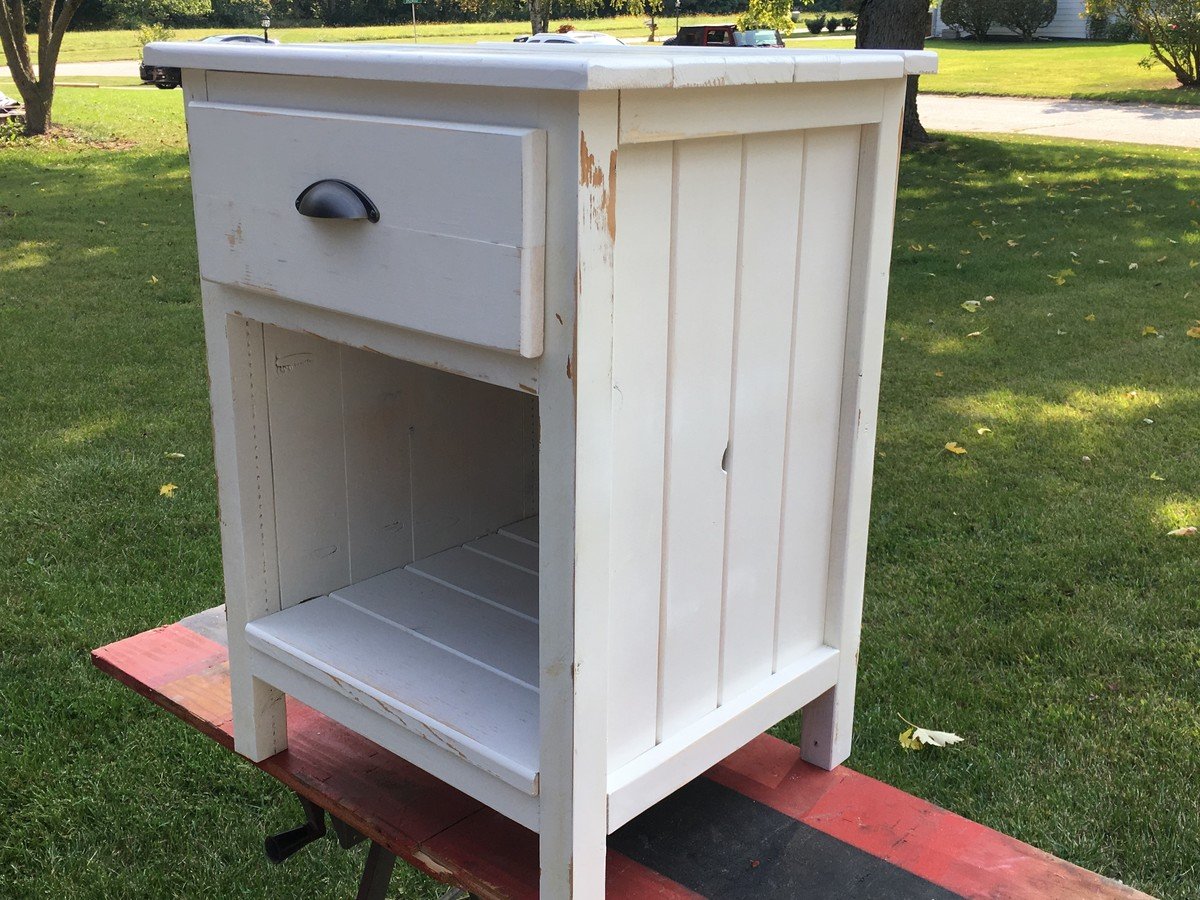
This is my interputation of the Reclaimed Wood Look Bedside Table. I beveled the edges of the of the 1x material and a top drawer with a large cubby beneath. I used a sprayed latex paint then a light sanding to give it the distressed look and the two coats of clear poly.

What a fantastic project!
Color of the stain - colony blue by Behr. Lightly distressed.
Now awaiting cushions!
Updates: cushions arrived!
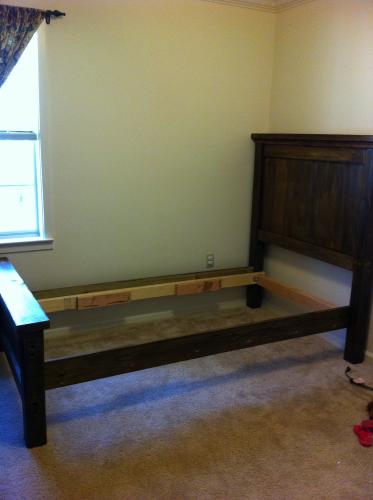
Got it finished. Took a week exactly, with having to work and a few minor setbacks. We LOVE it!! Can't wait to start the next one!!
Comments
Ana White Admin
Wed, 10/06/2021 - 10:31
Extra comfy seating!
Nice and relaxing spot, thanks for sharing!