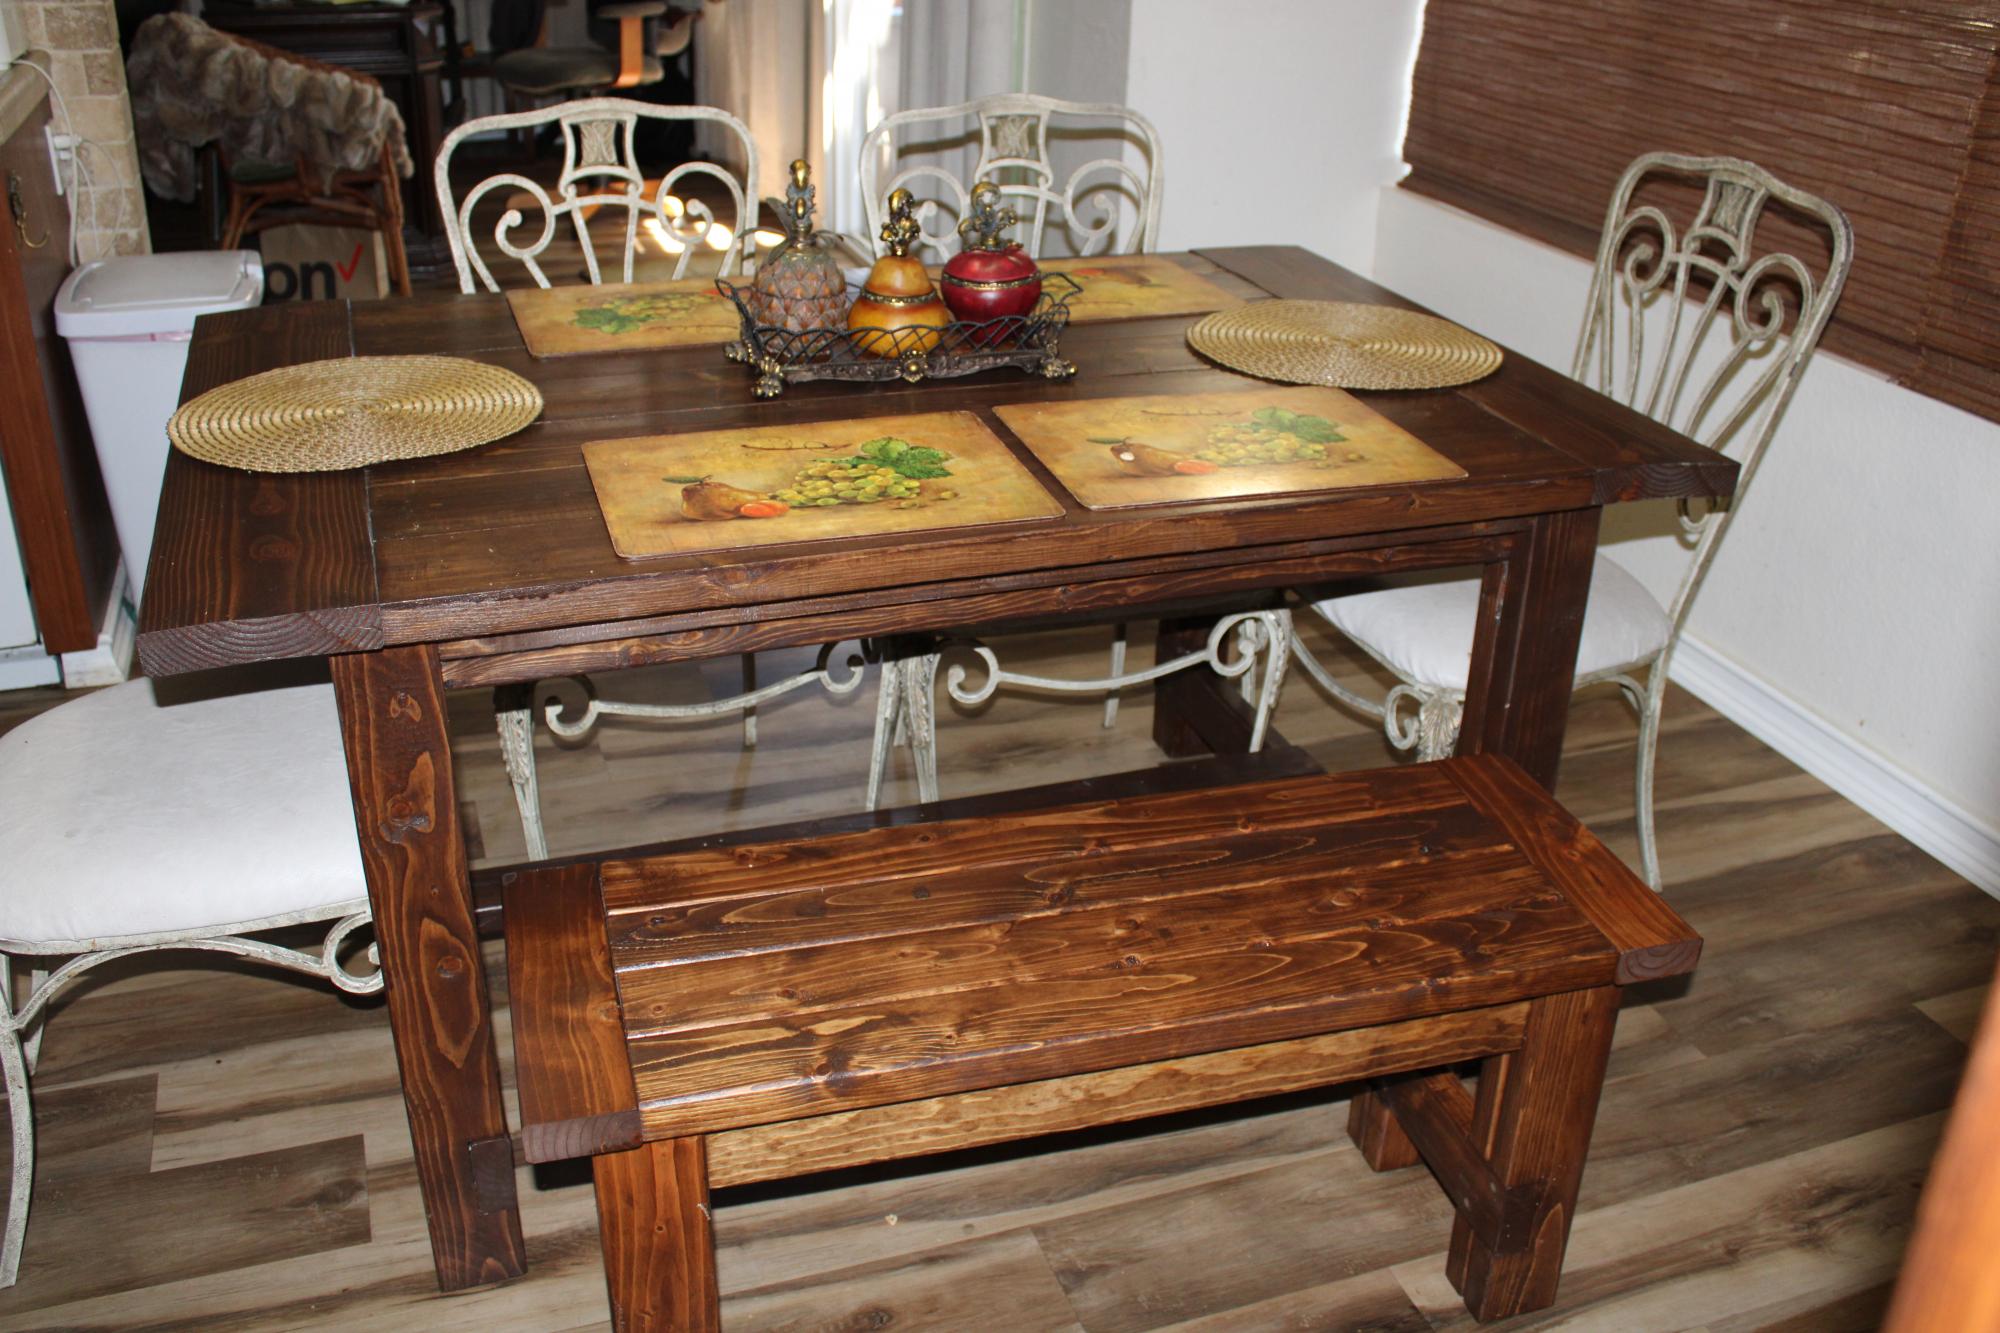
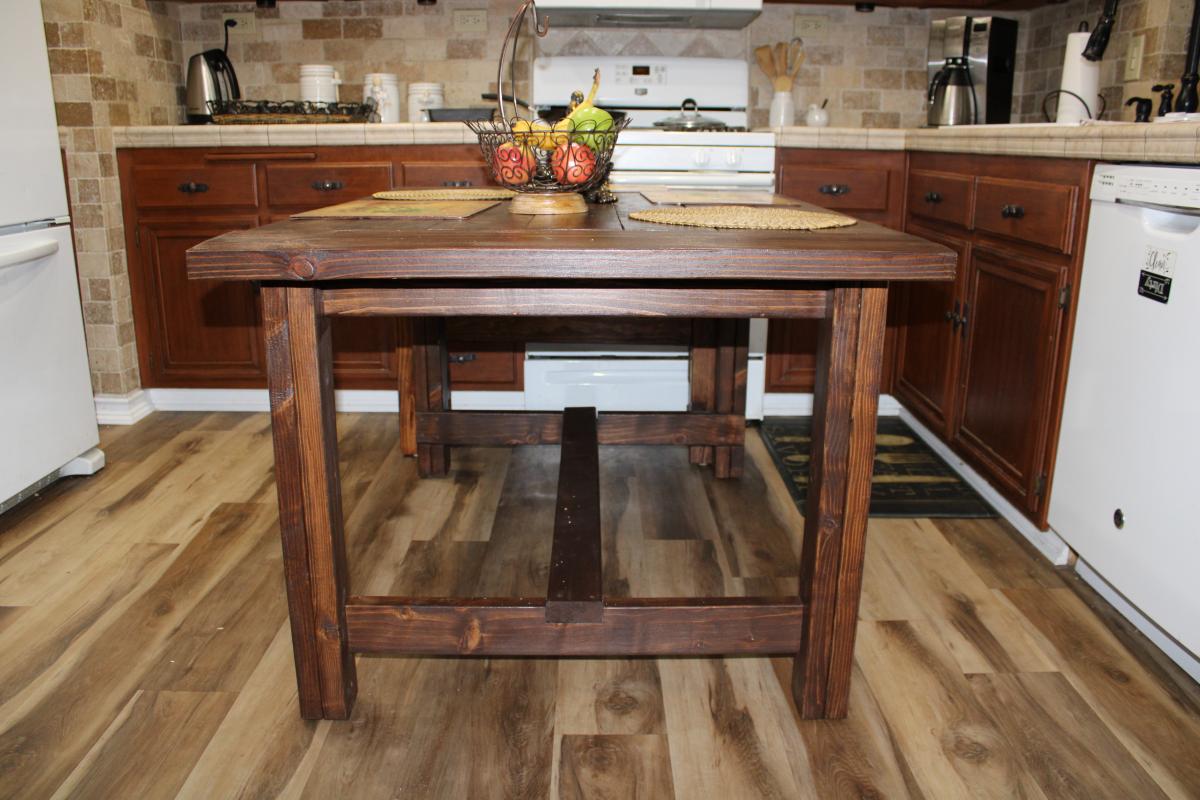
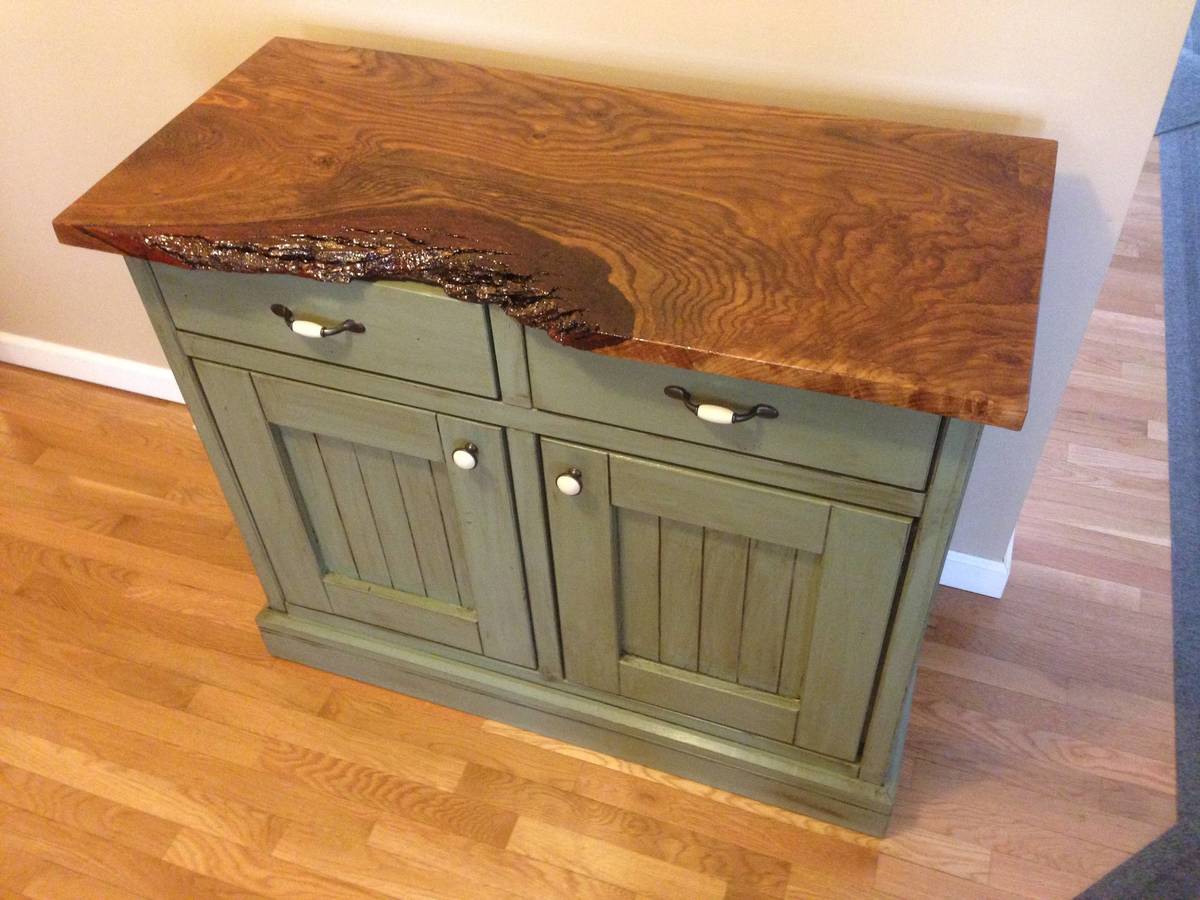
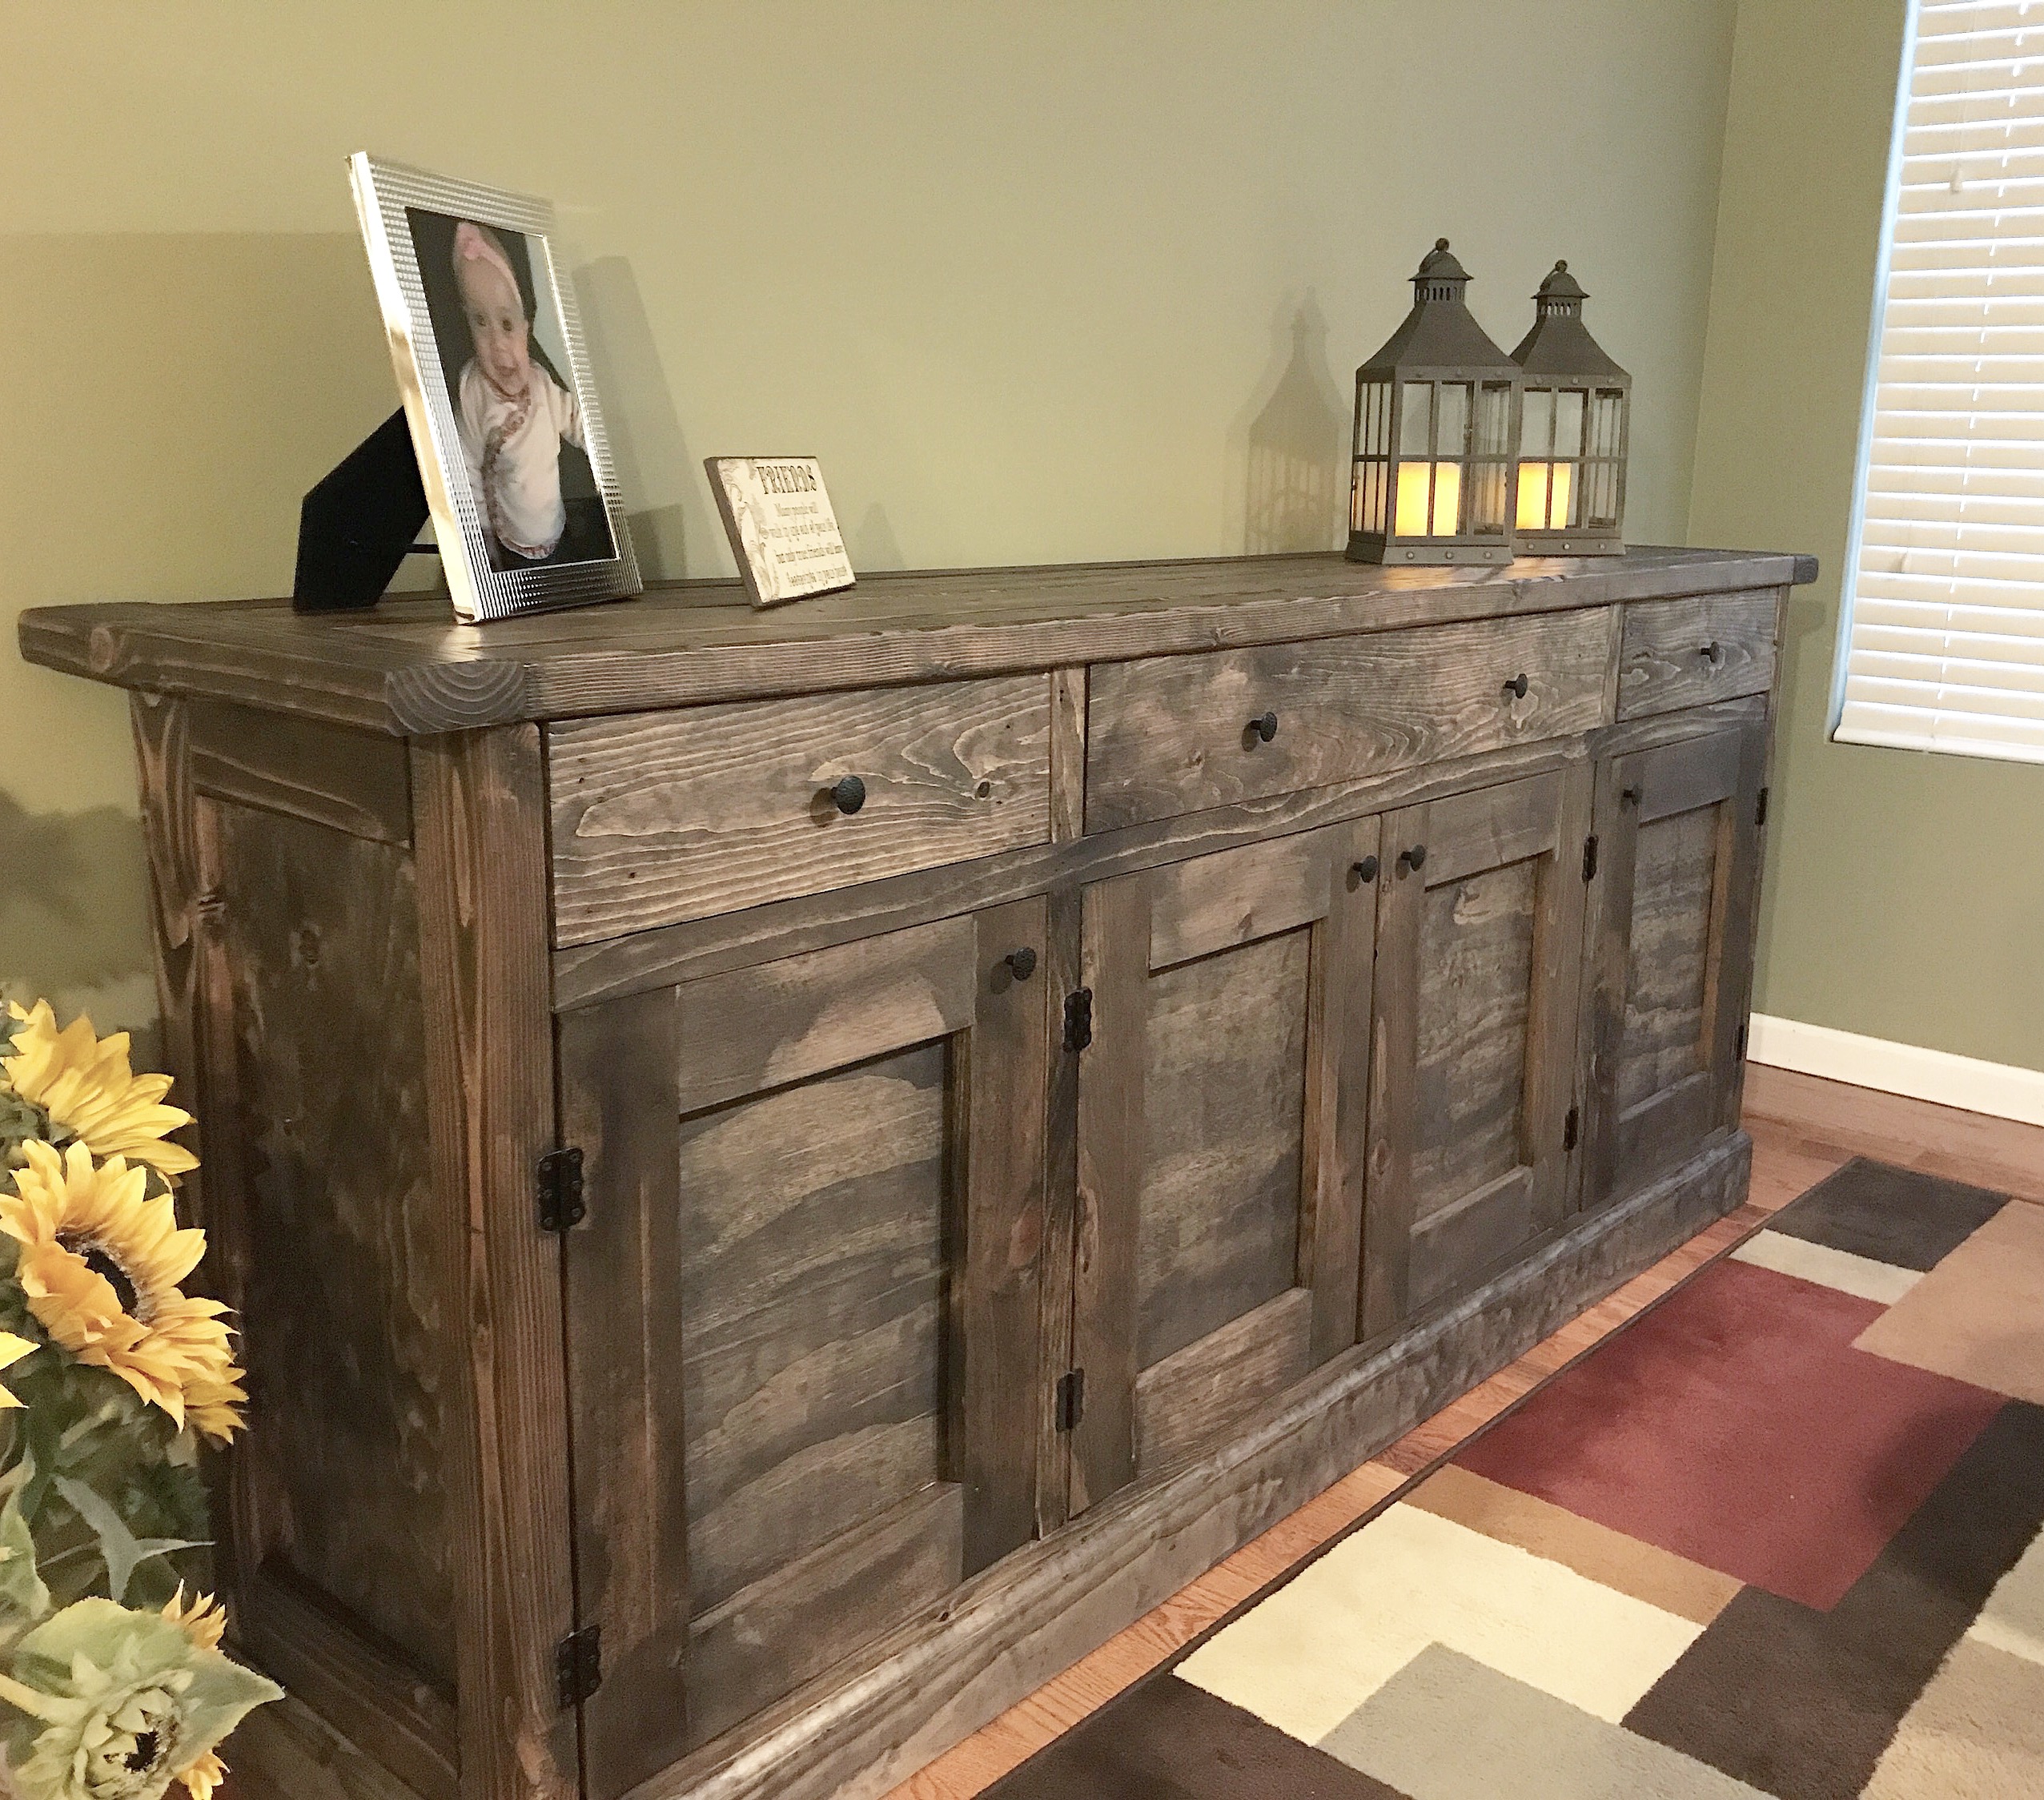
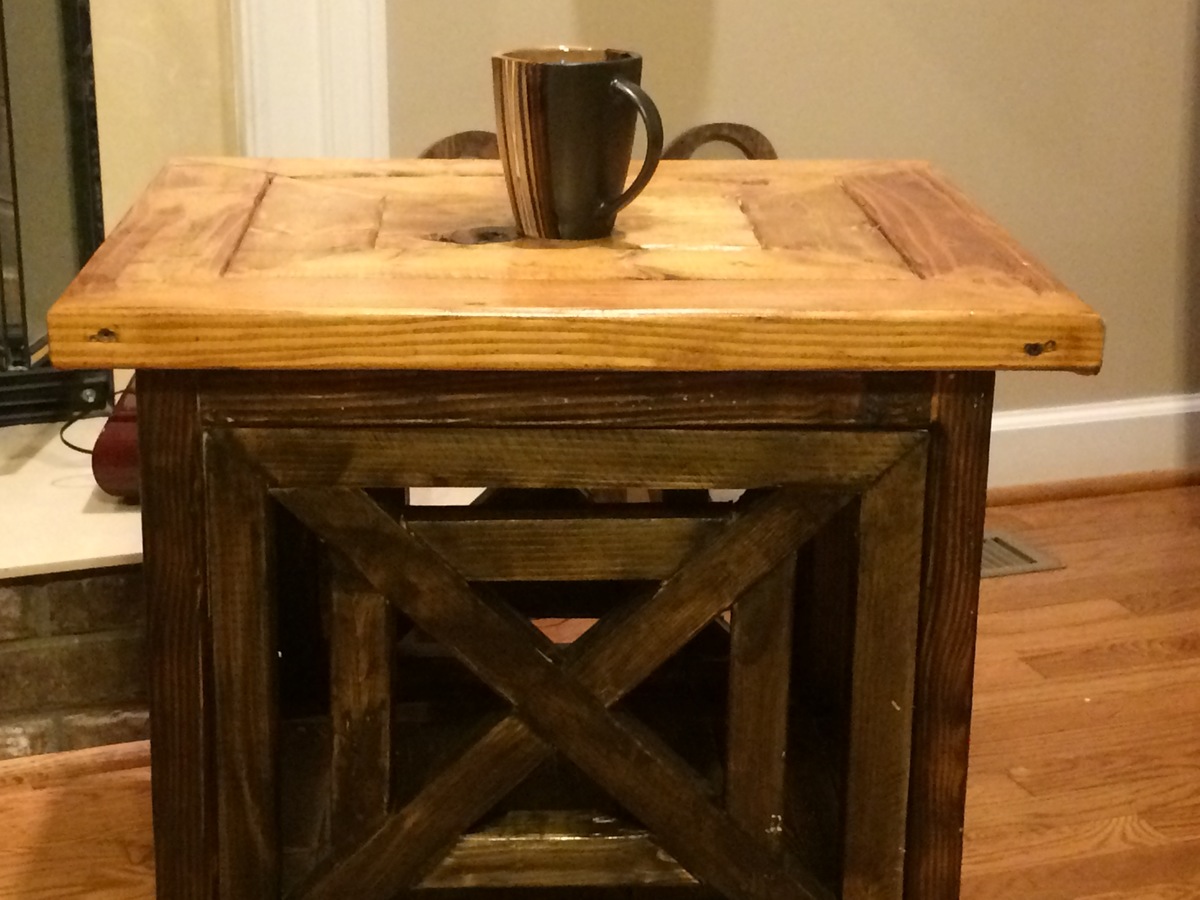
Kitchen Island
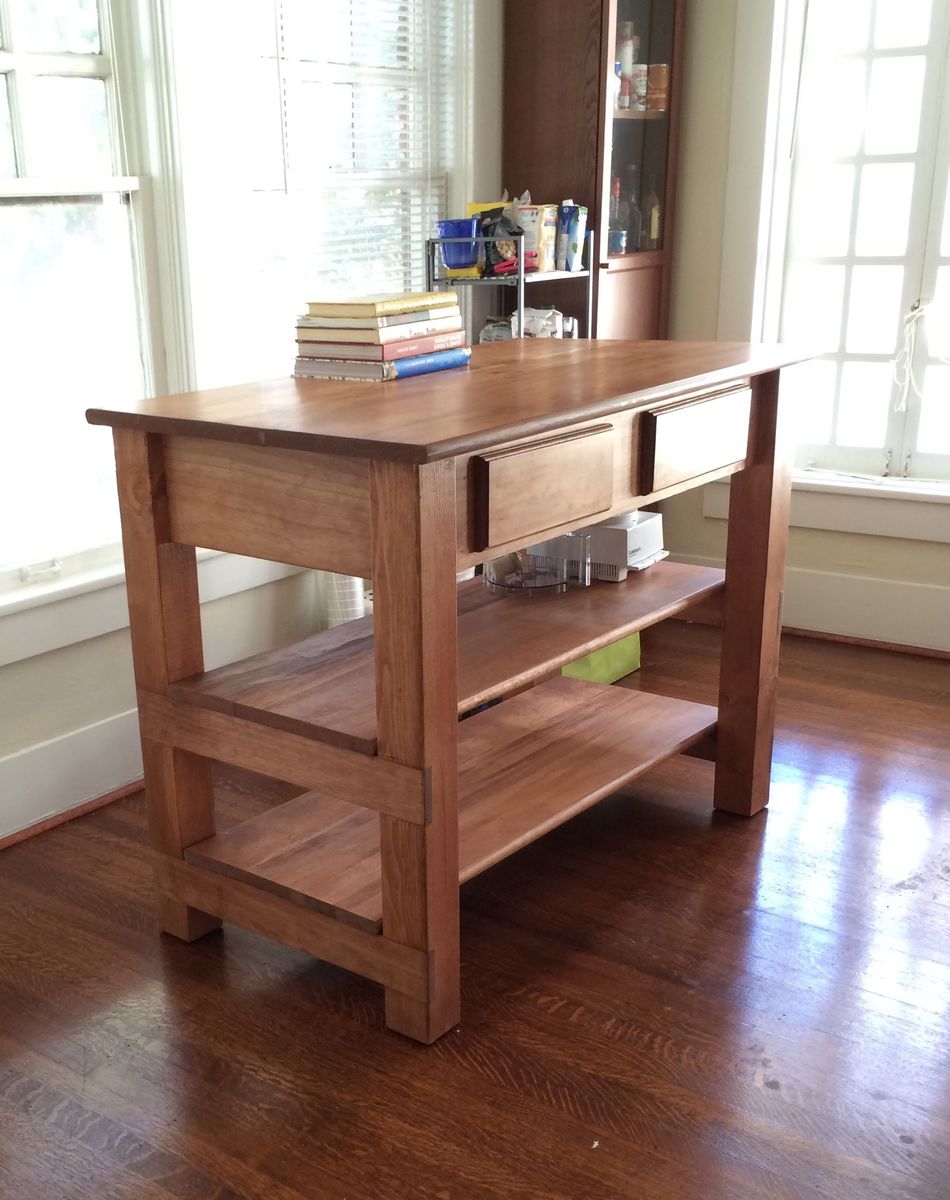
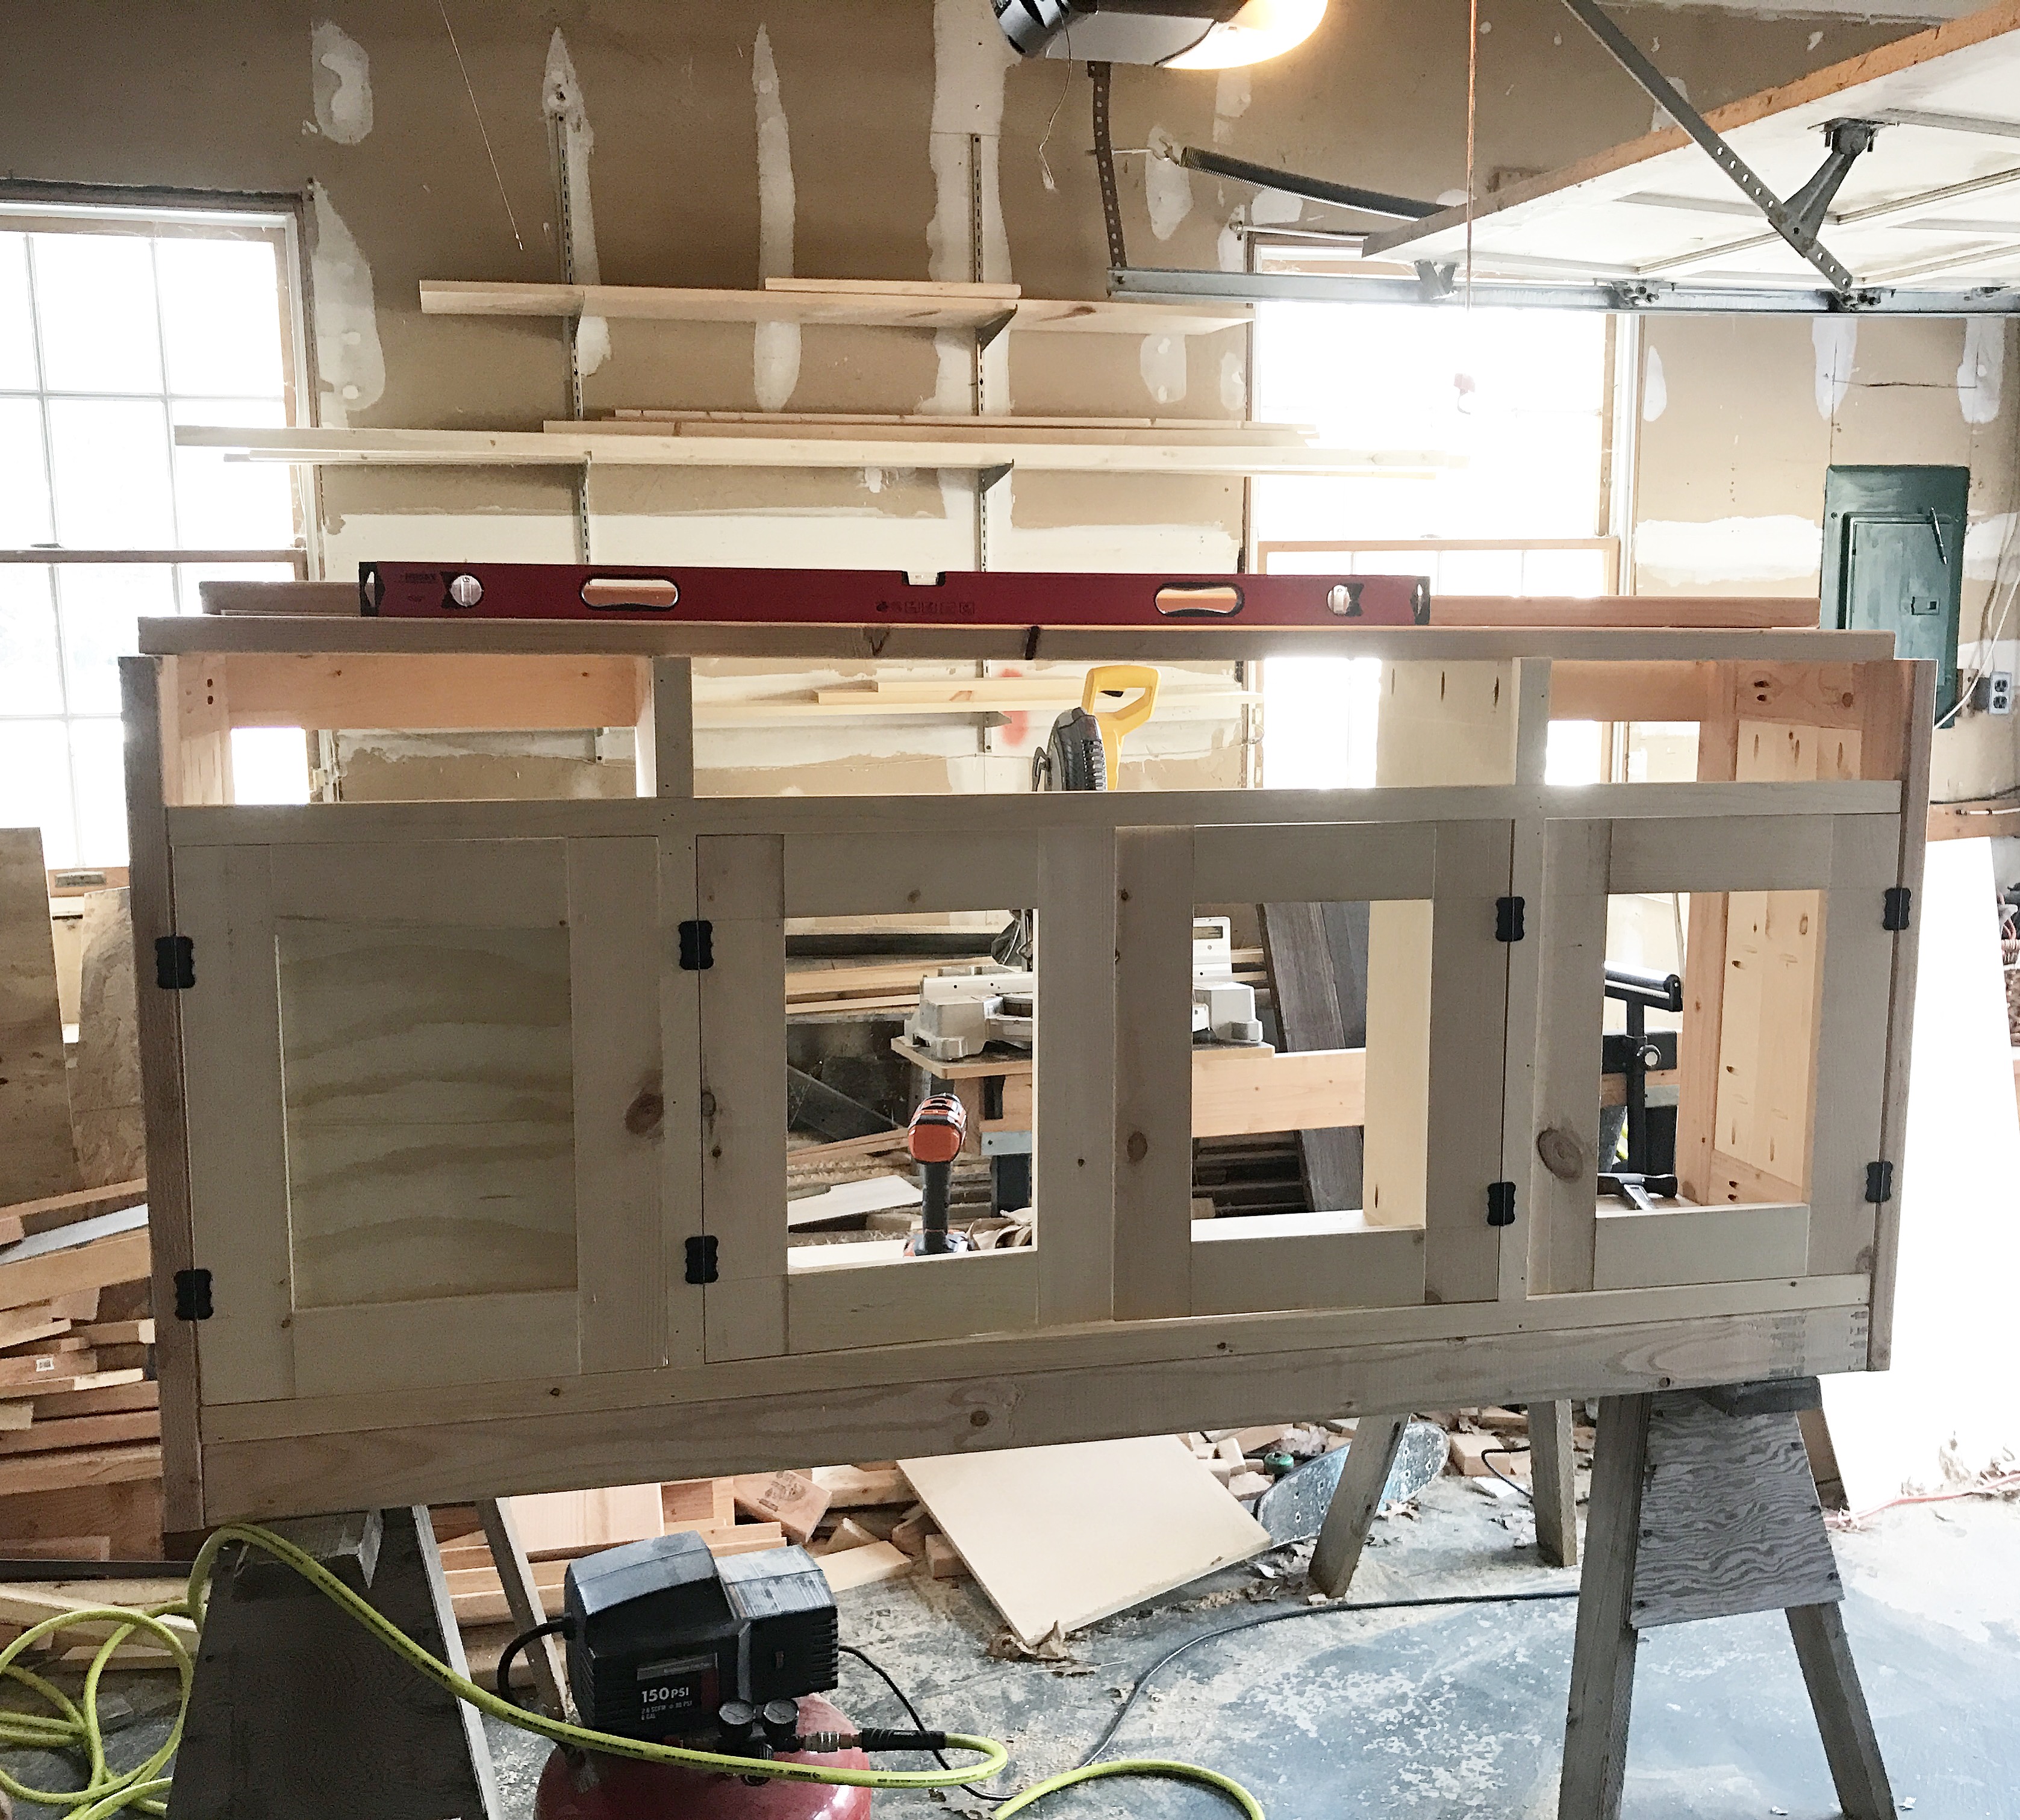
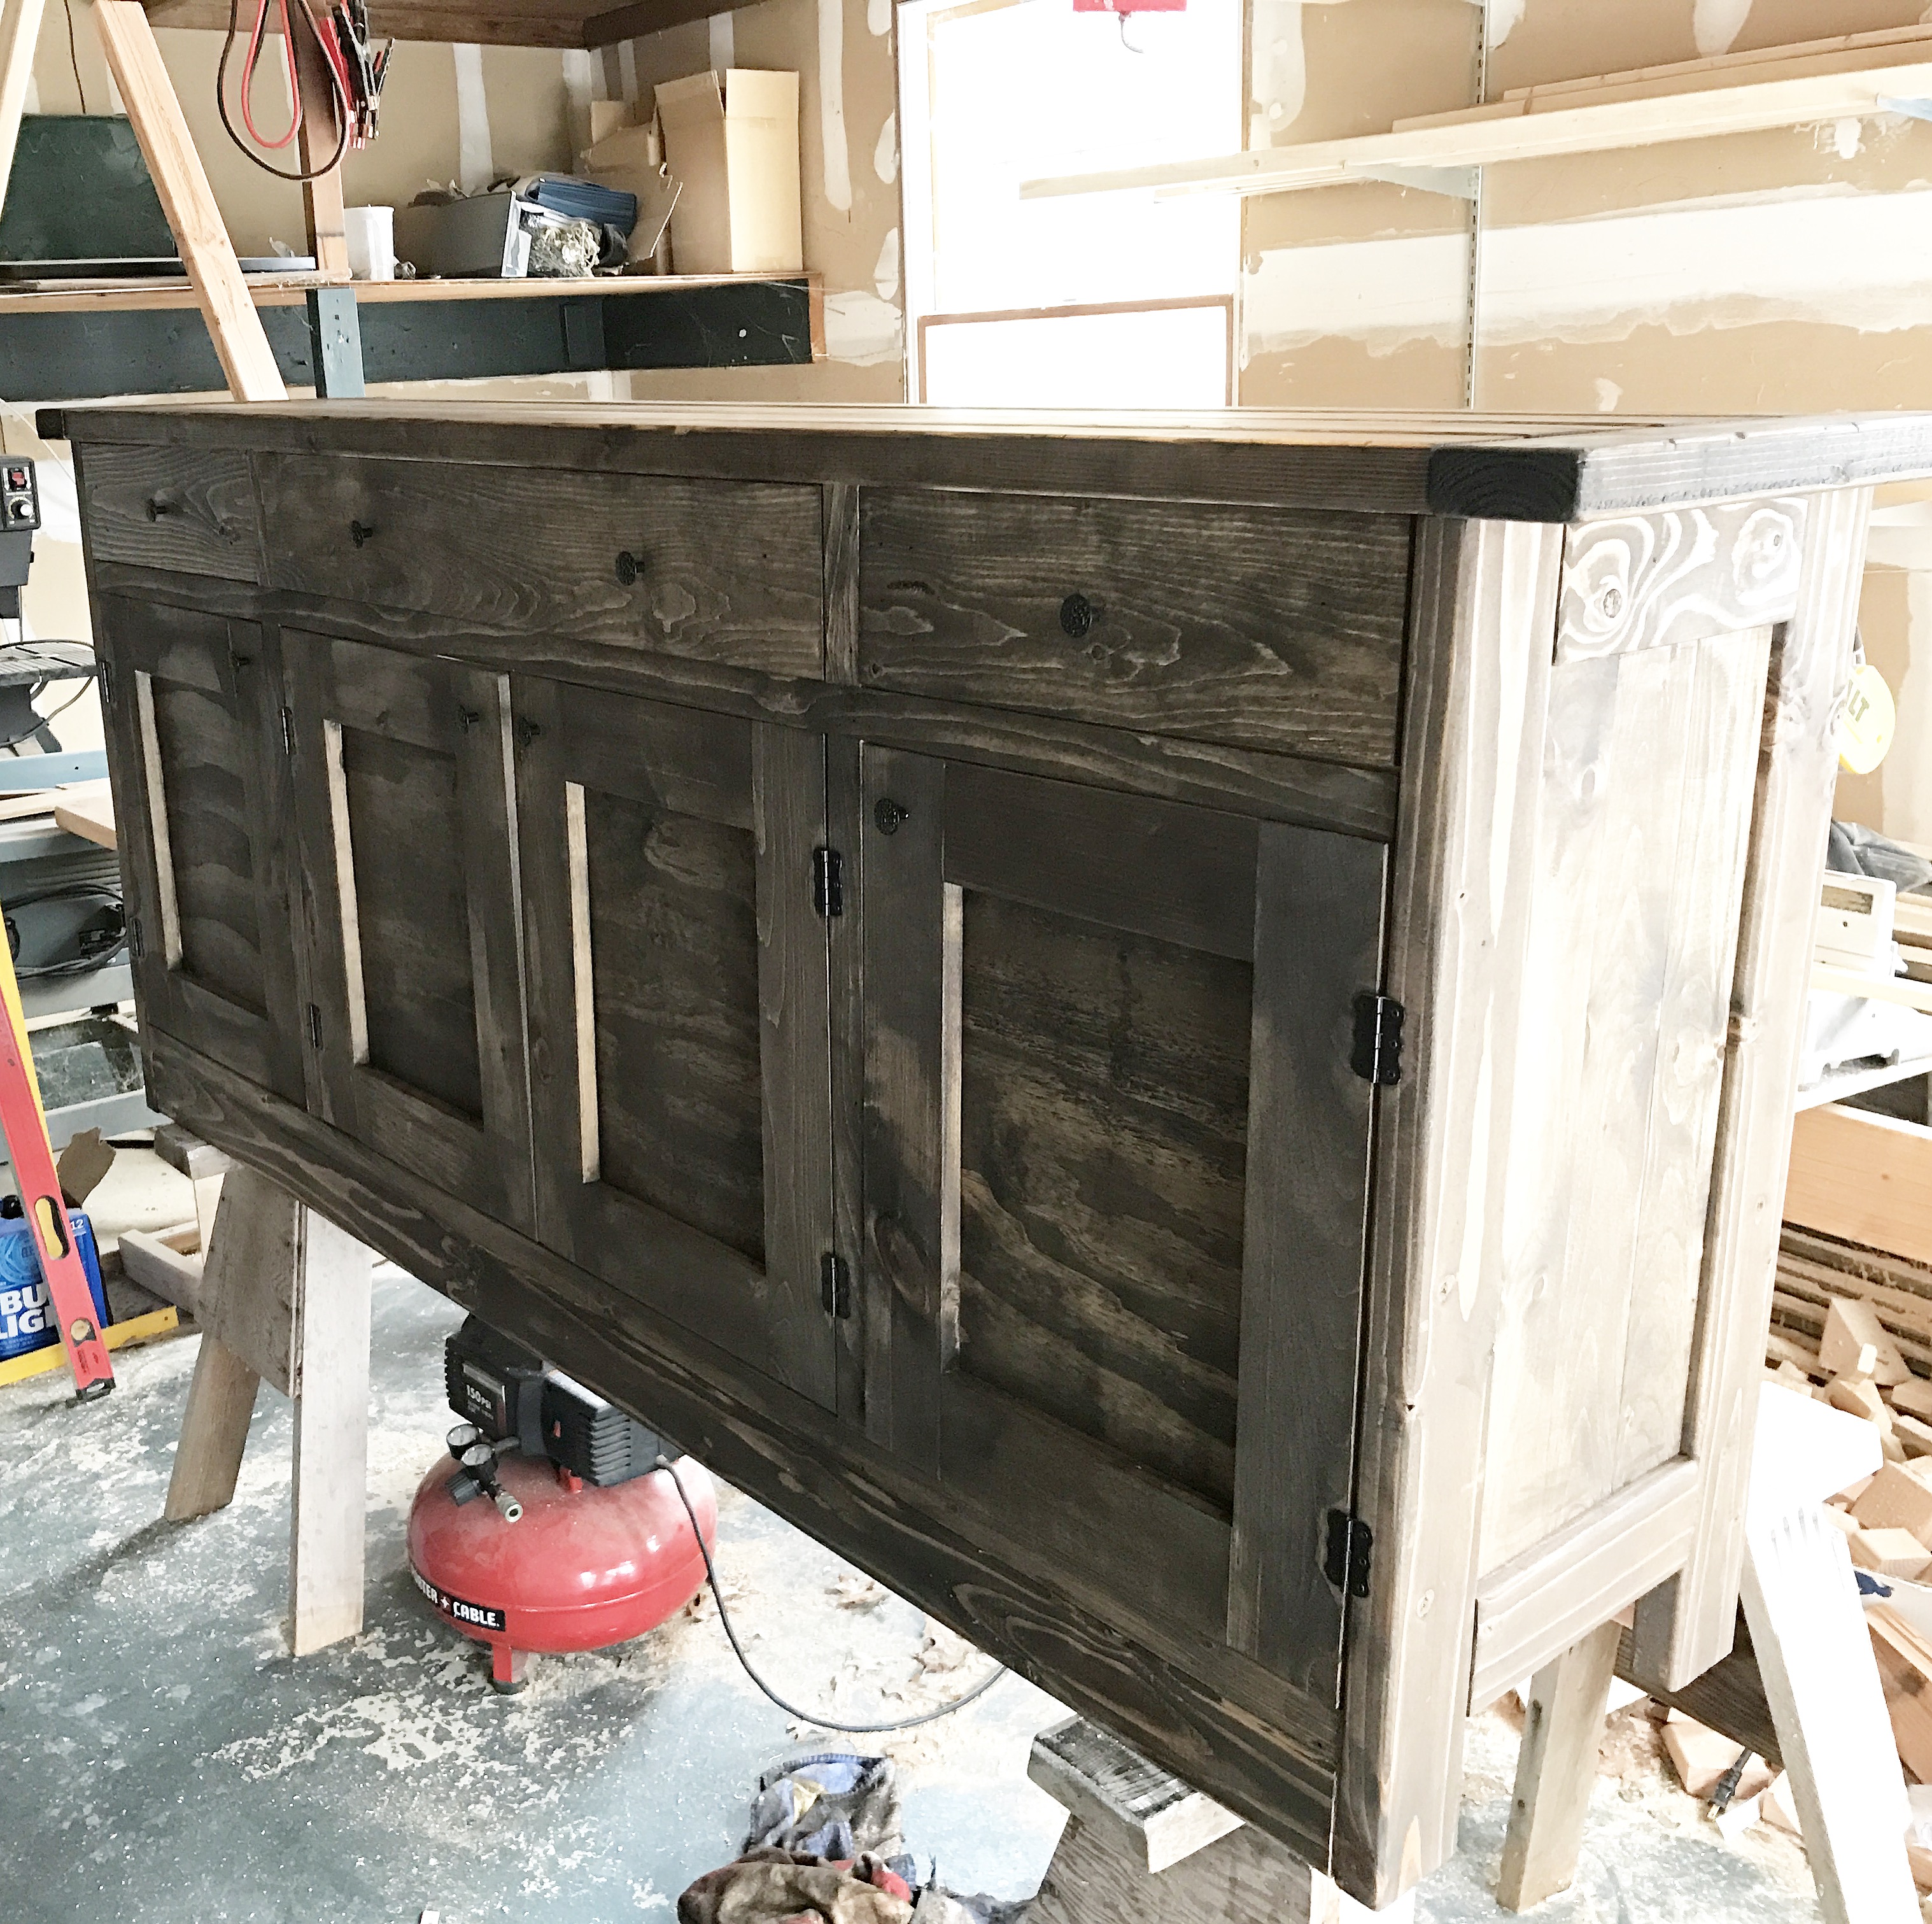
My first attempt at serious home project. My daughter needed a Kitchen Island and purchasing one was out of the question.
Not too tough.
Built from Plan(s)
Estimated Cost
220.00
Estimated Time Investment
Week Long Project (20 Hours or More)
Finish Used
MinWax Cherry stain
Recommended Skill Level
Intermediate