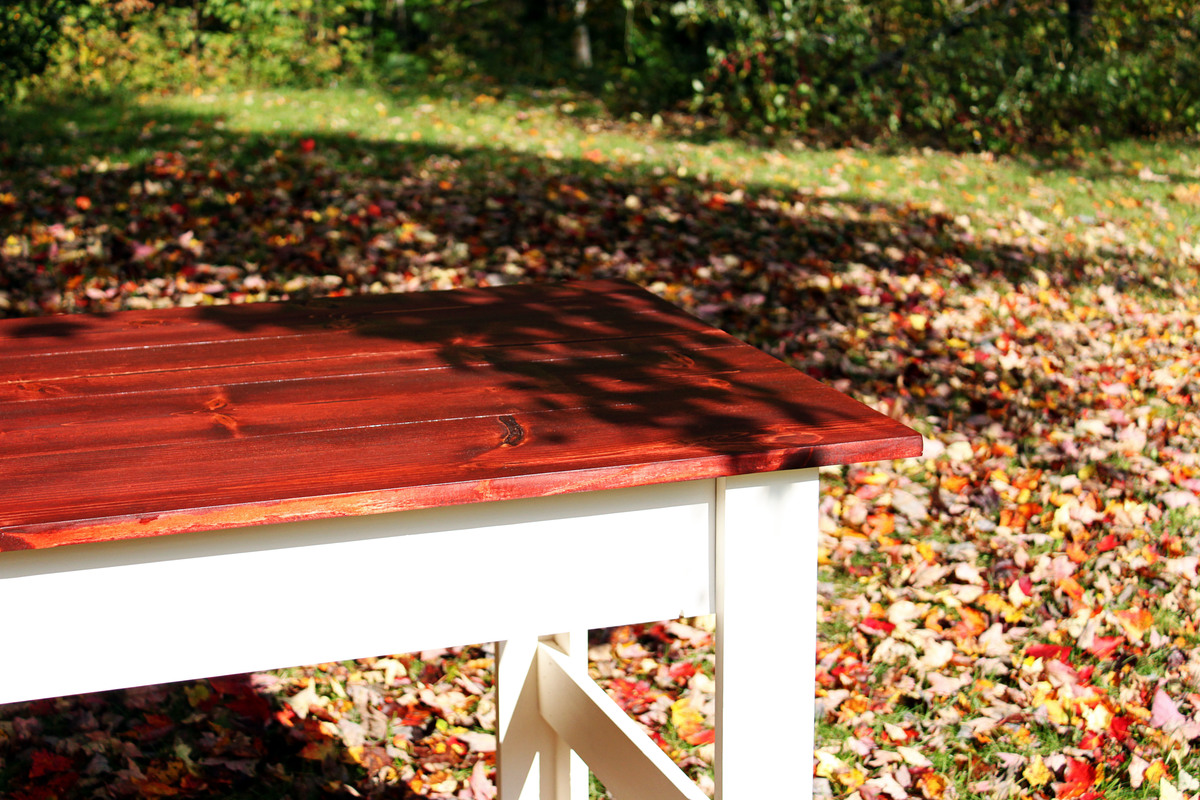
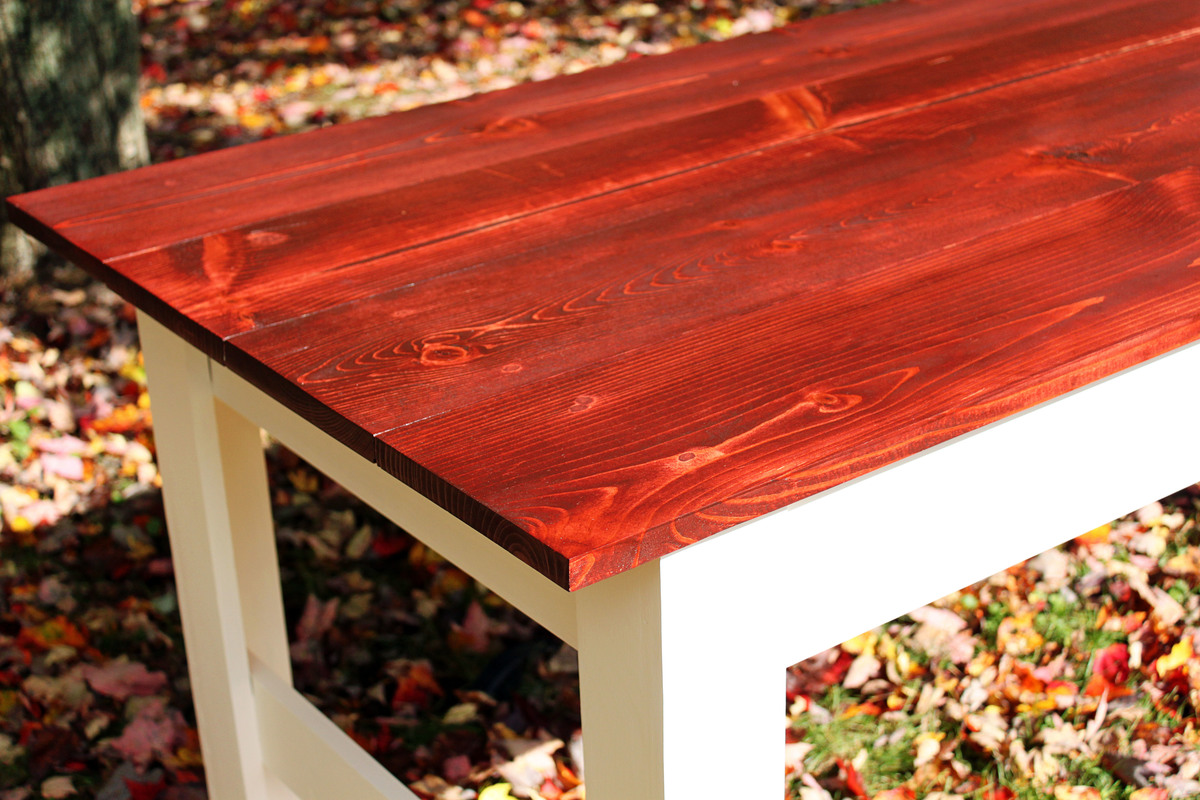
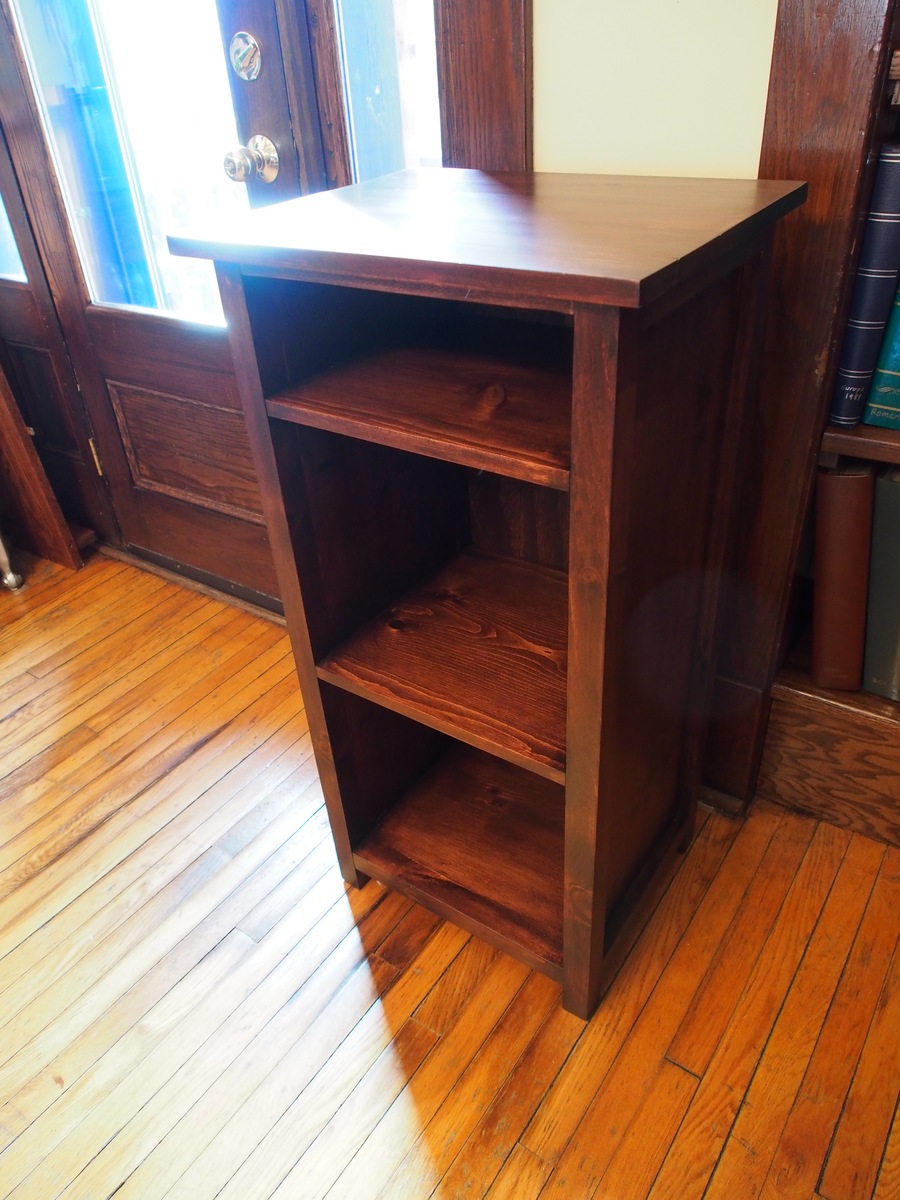
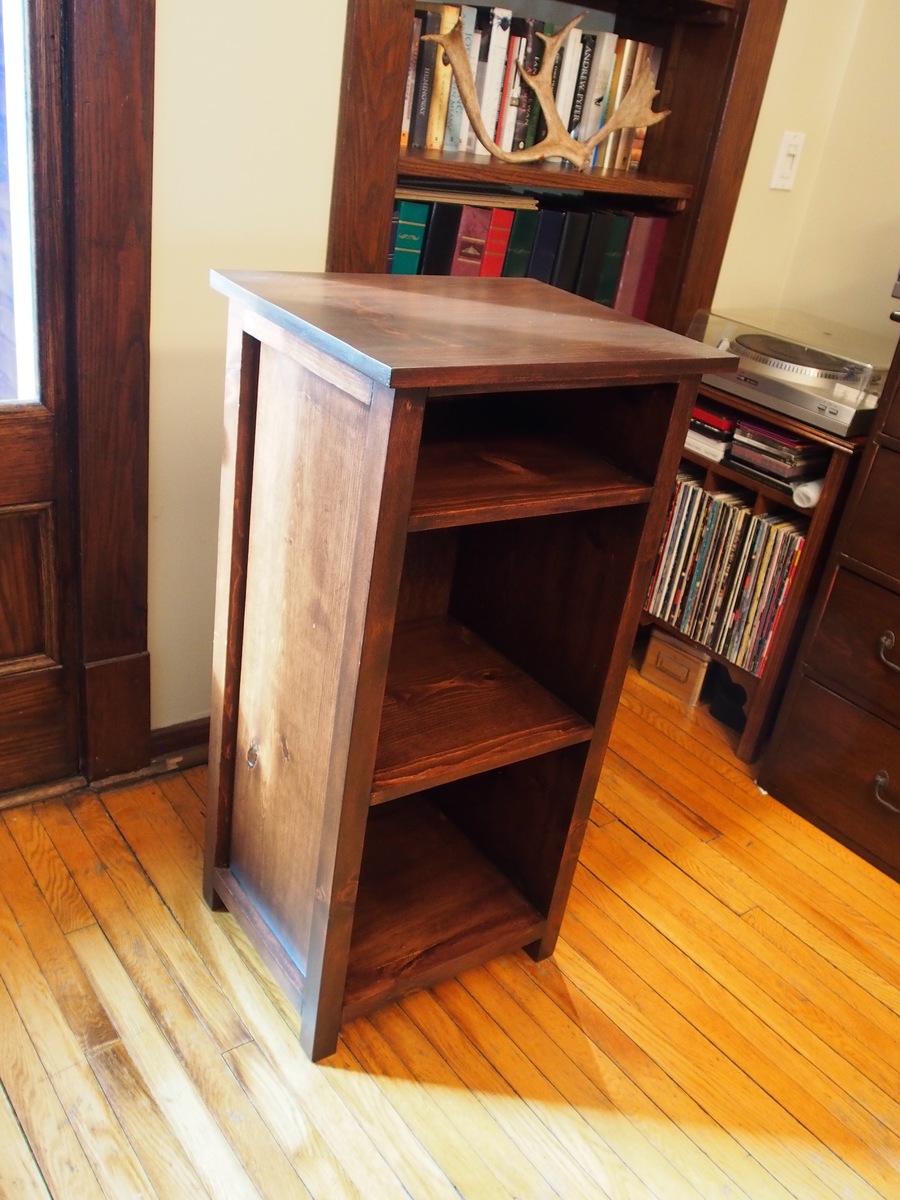
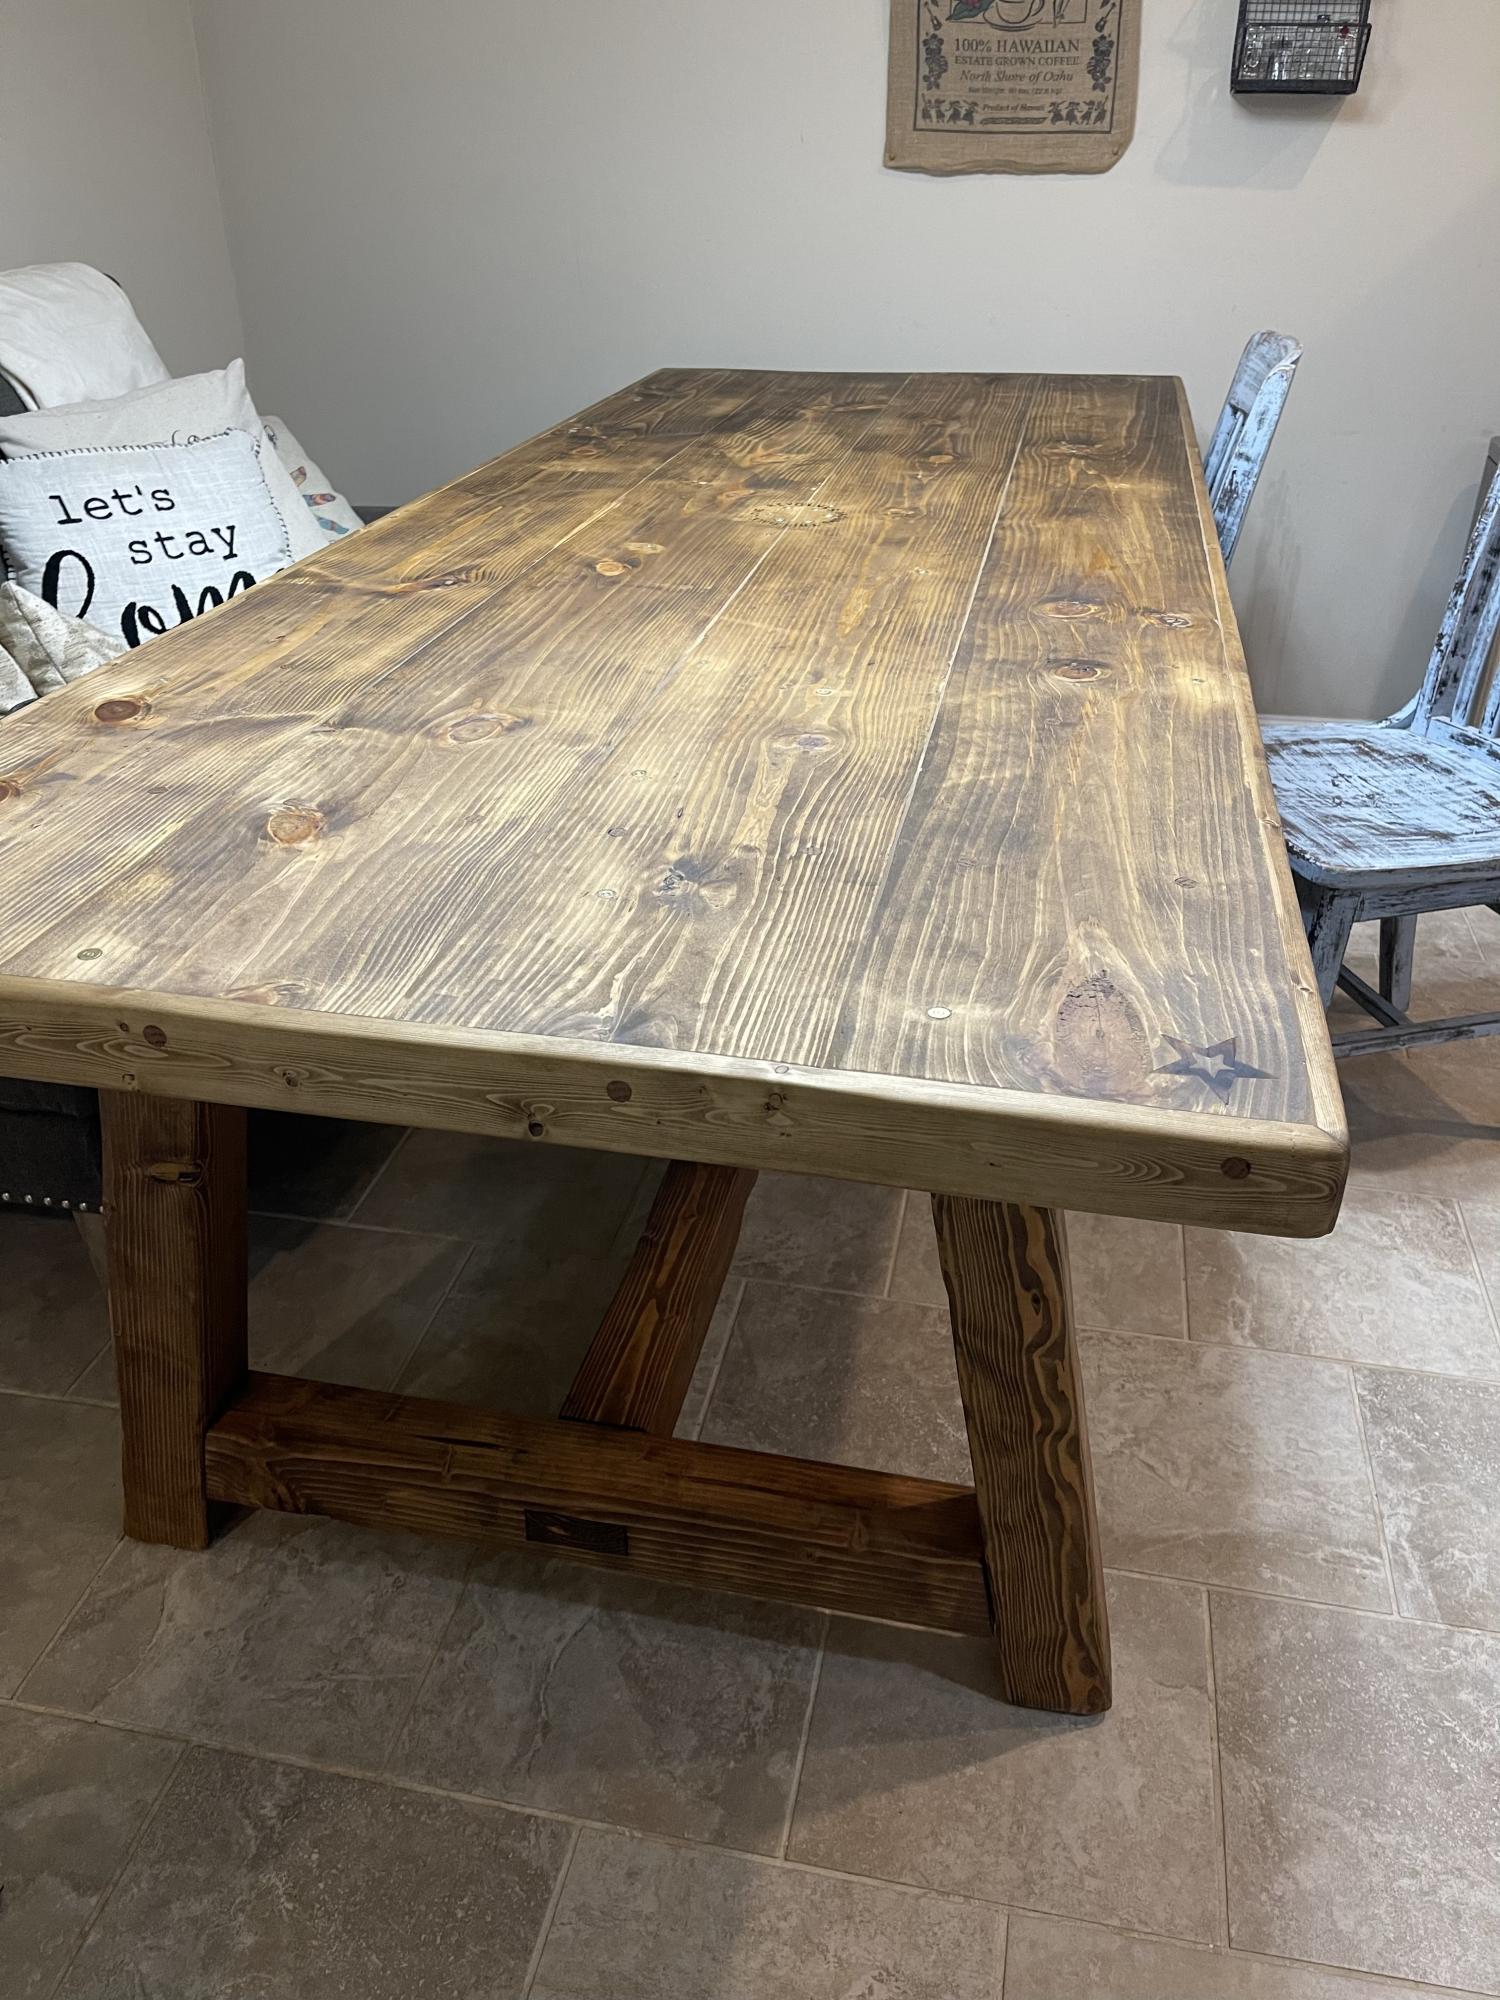
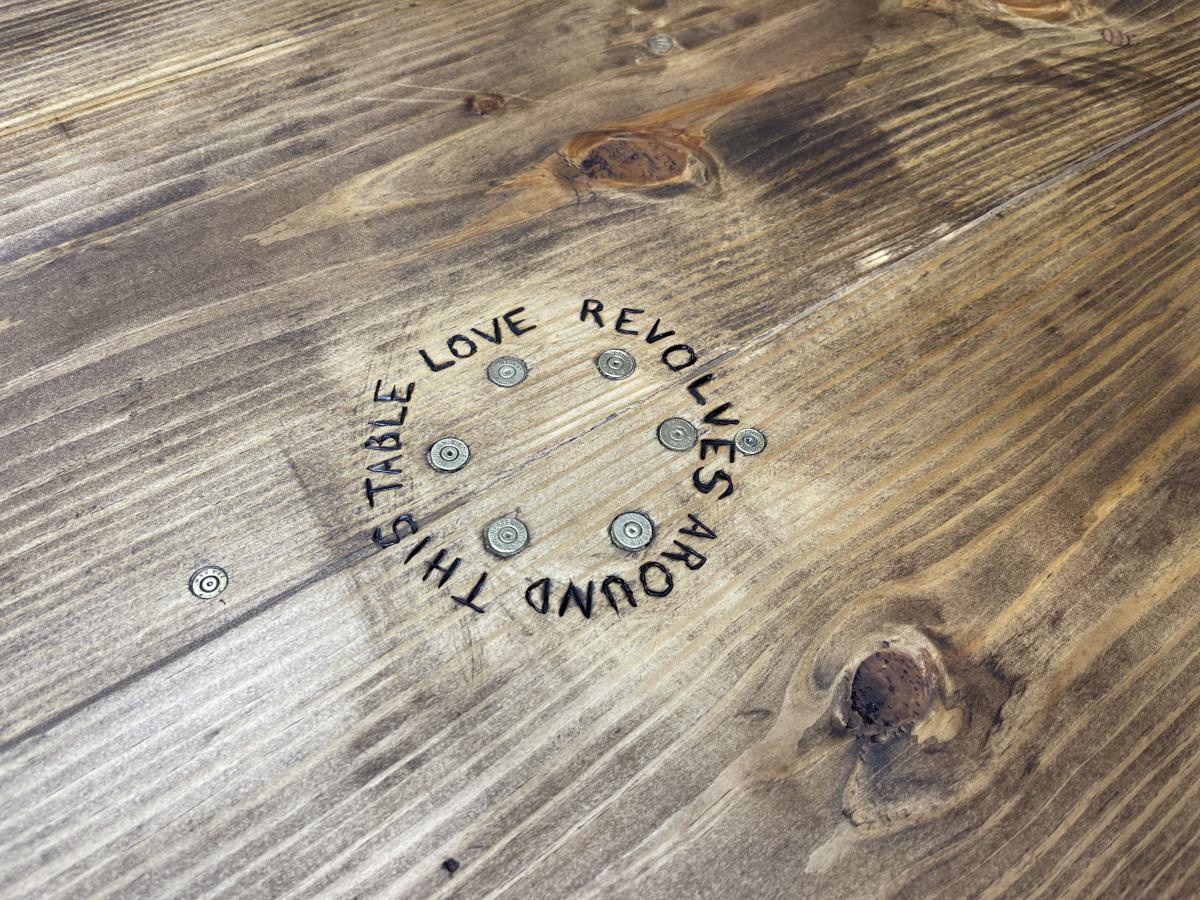
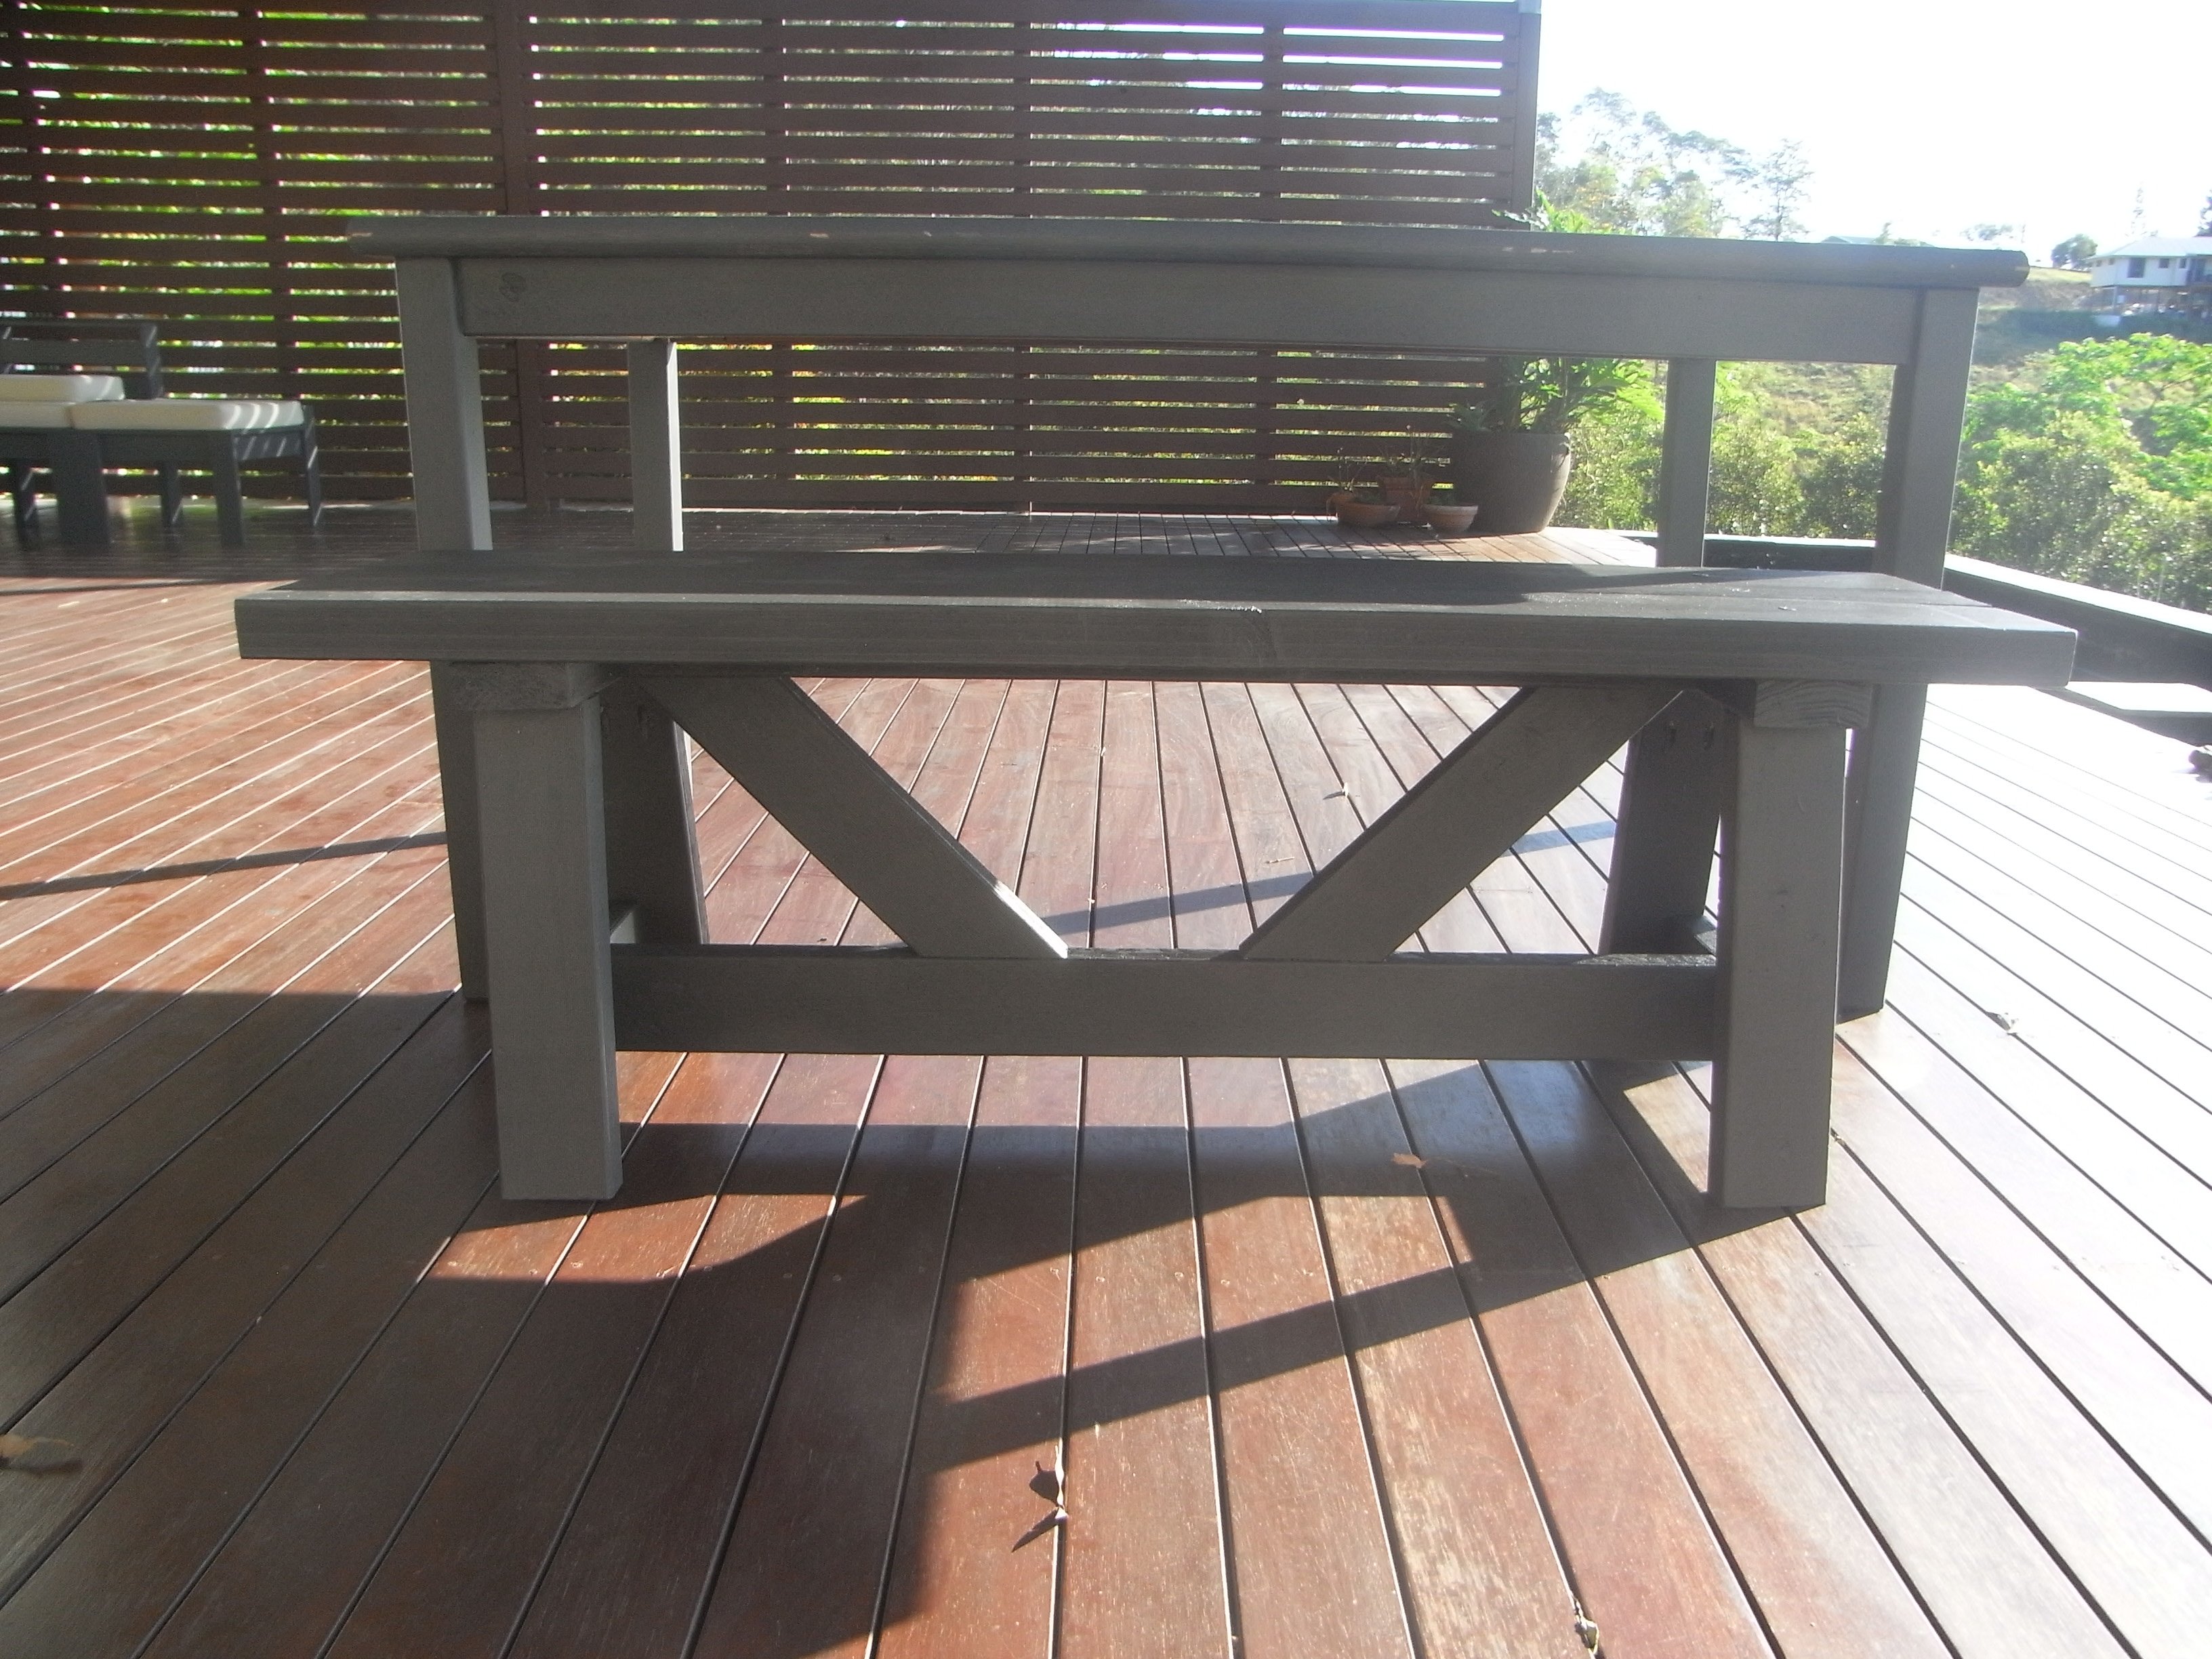
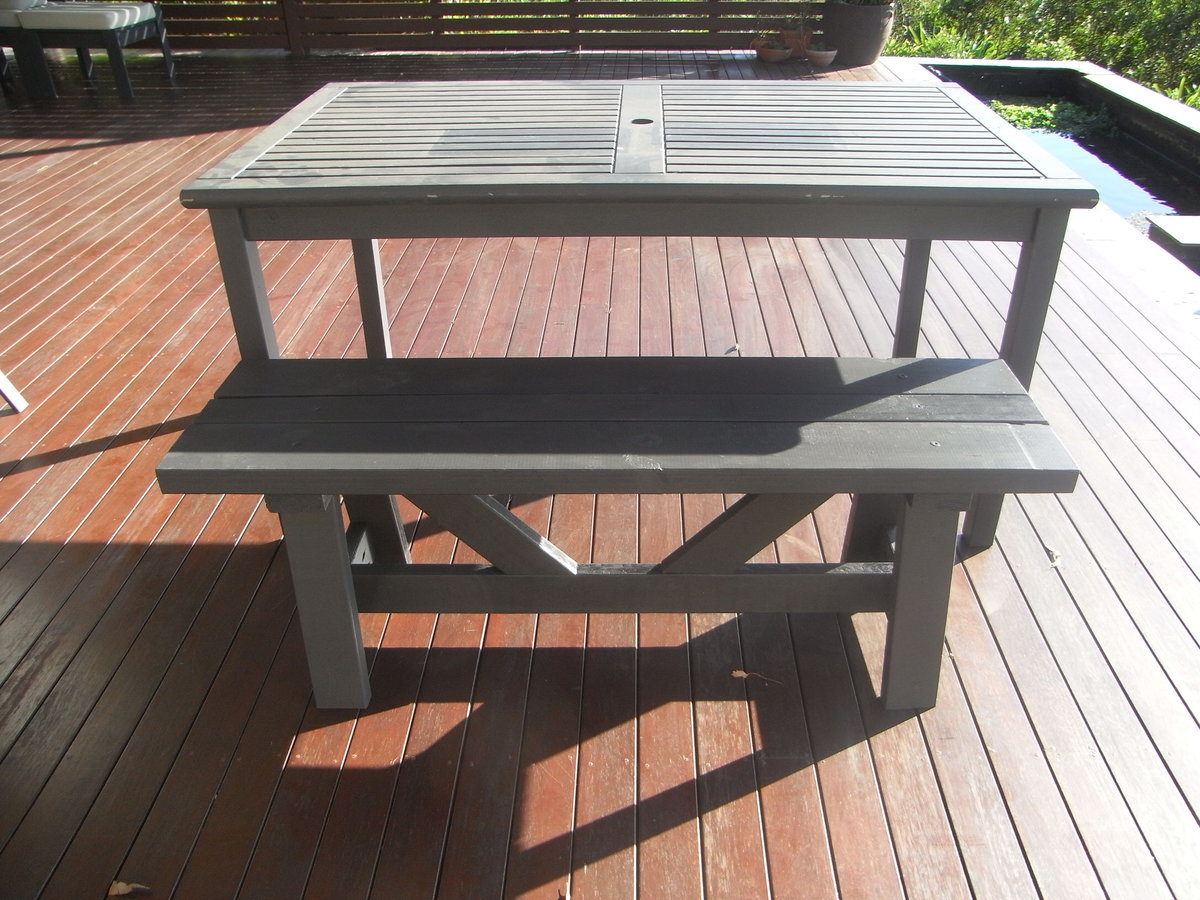
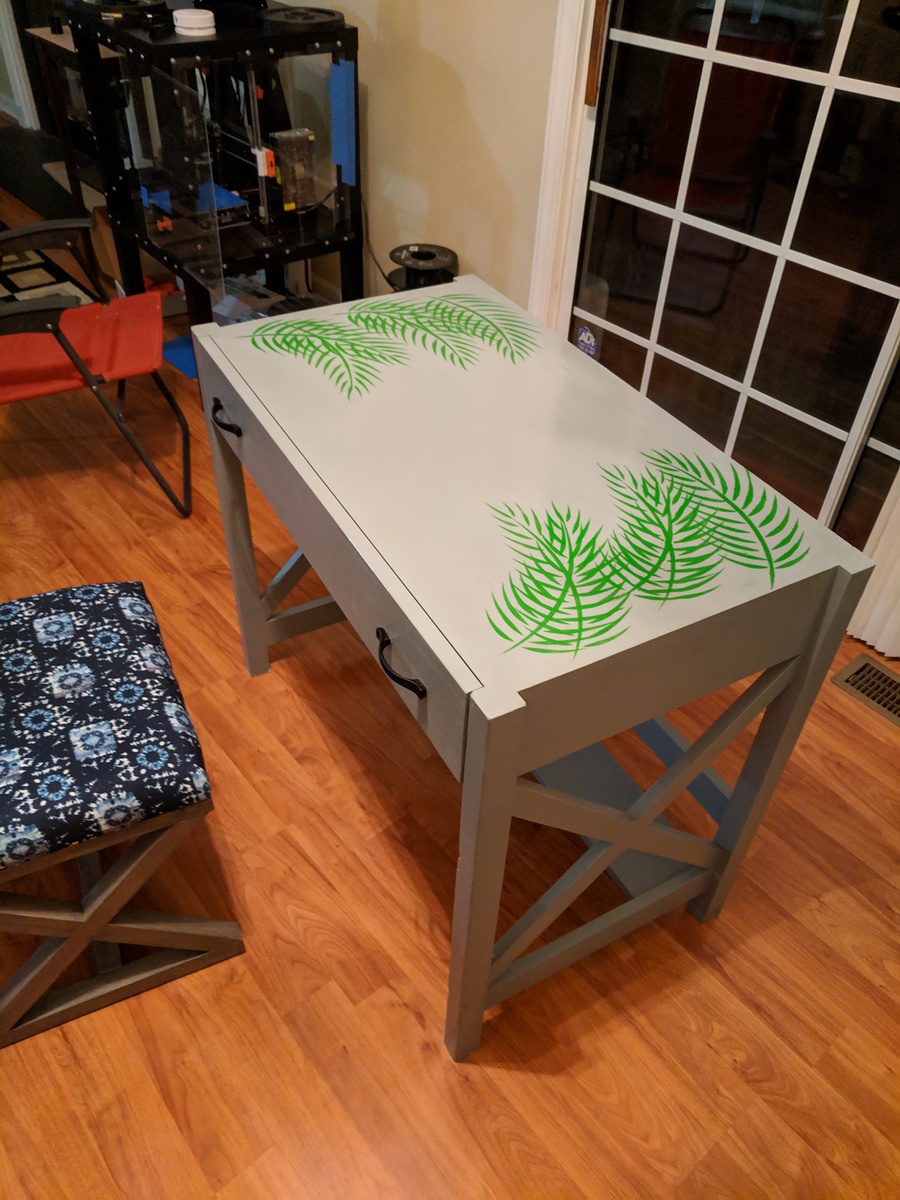
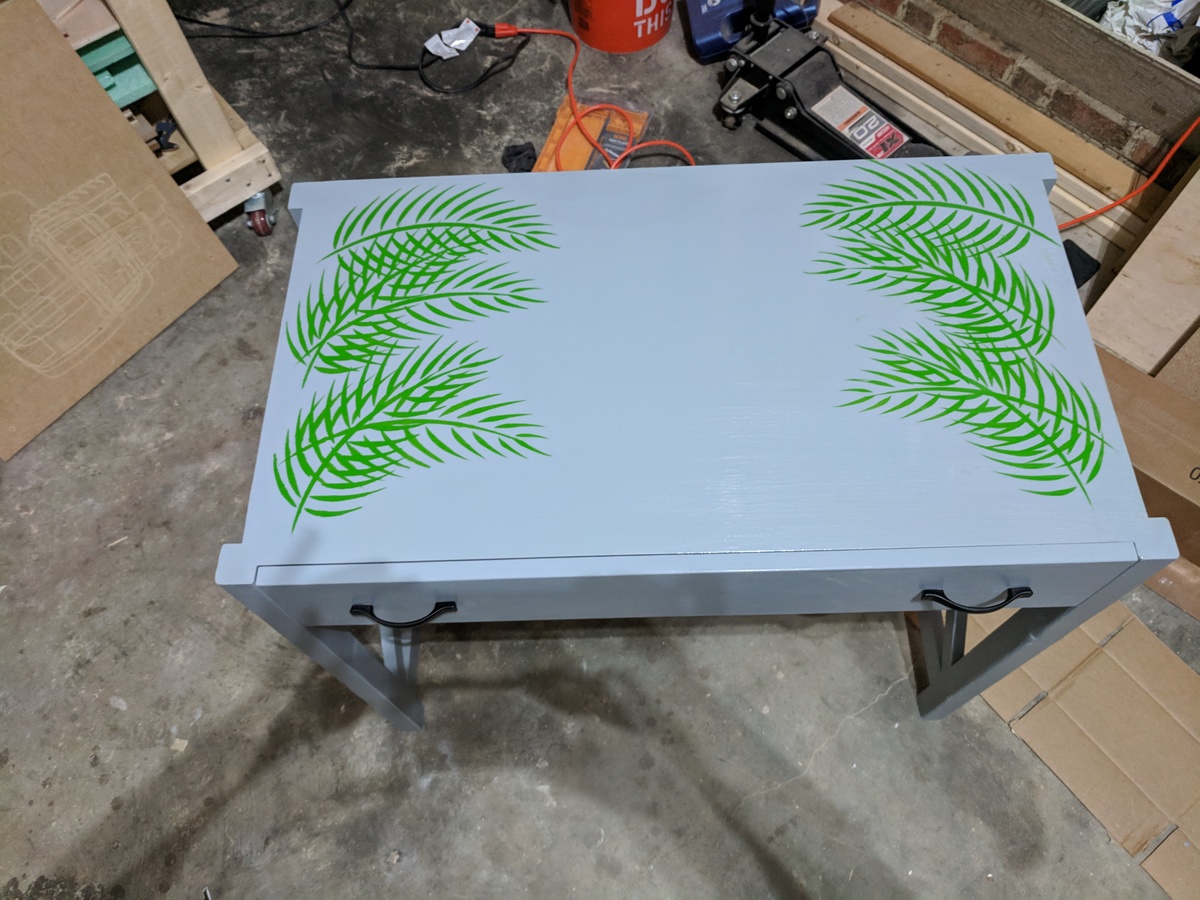
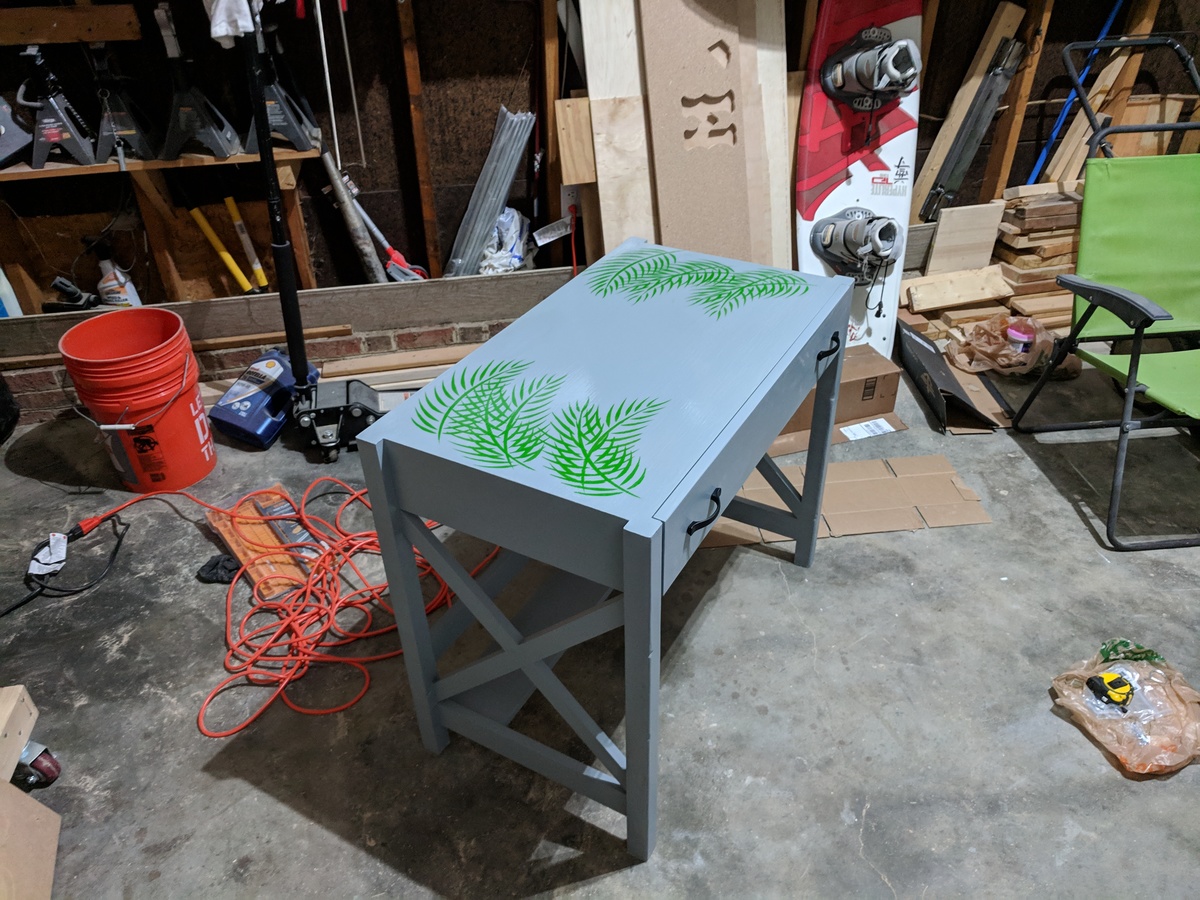
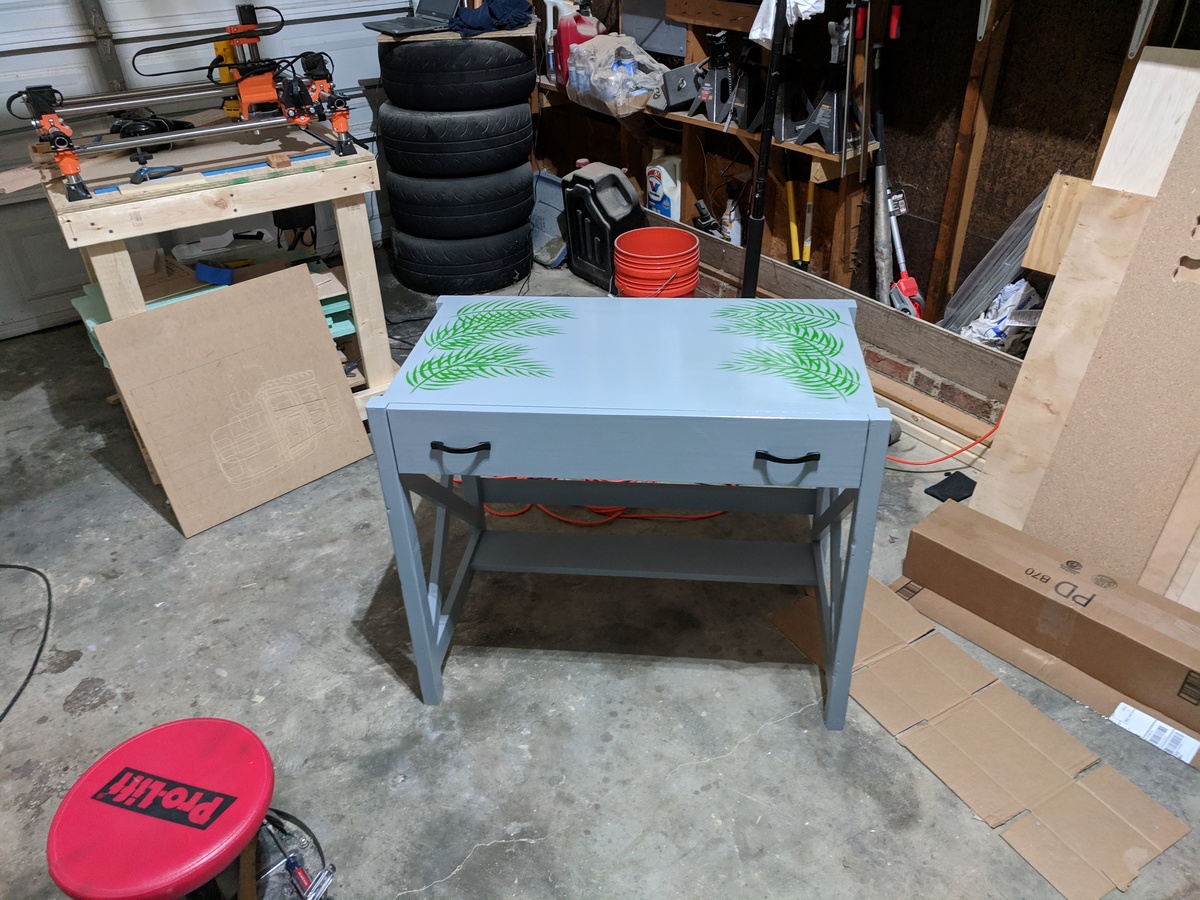
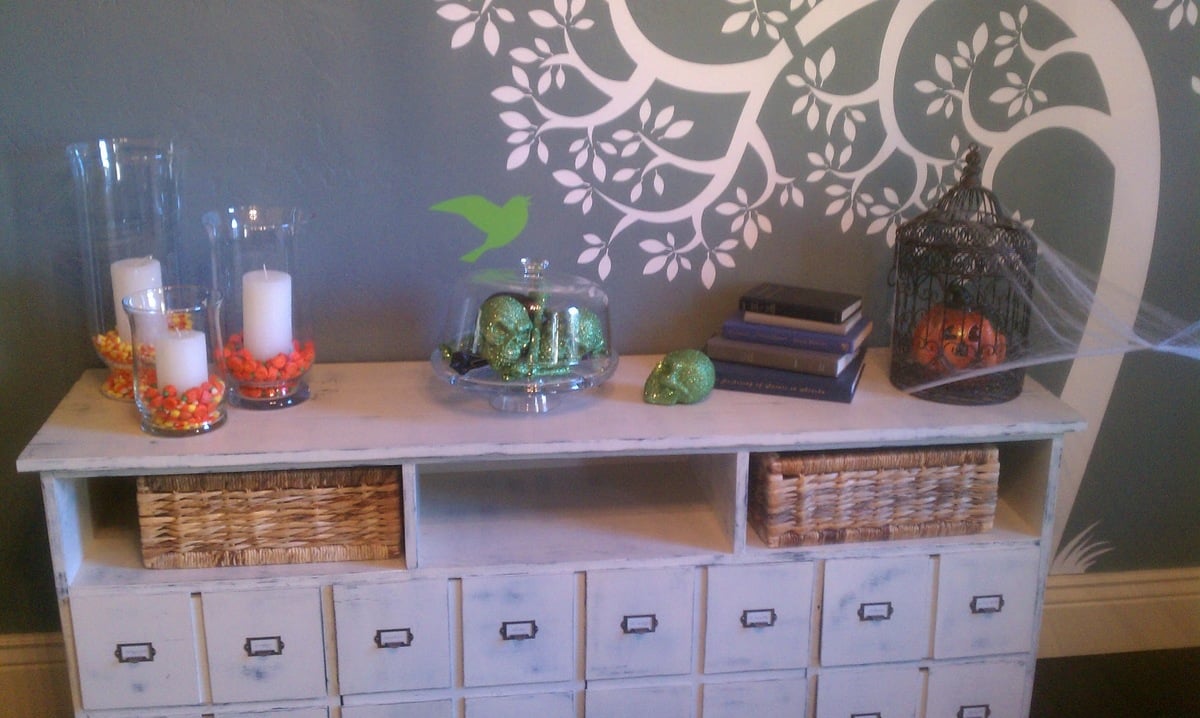
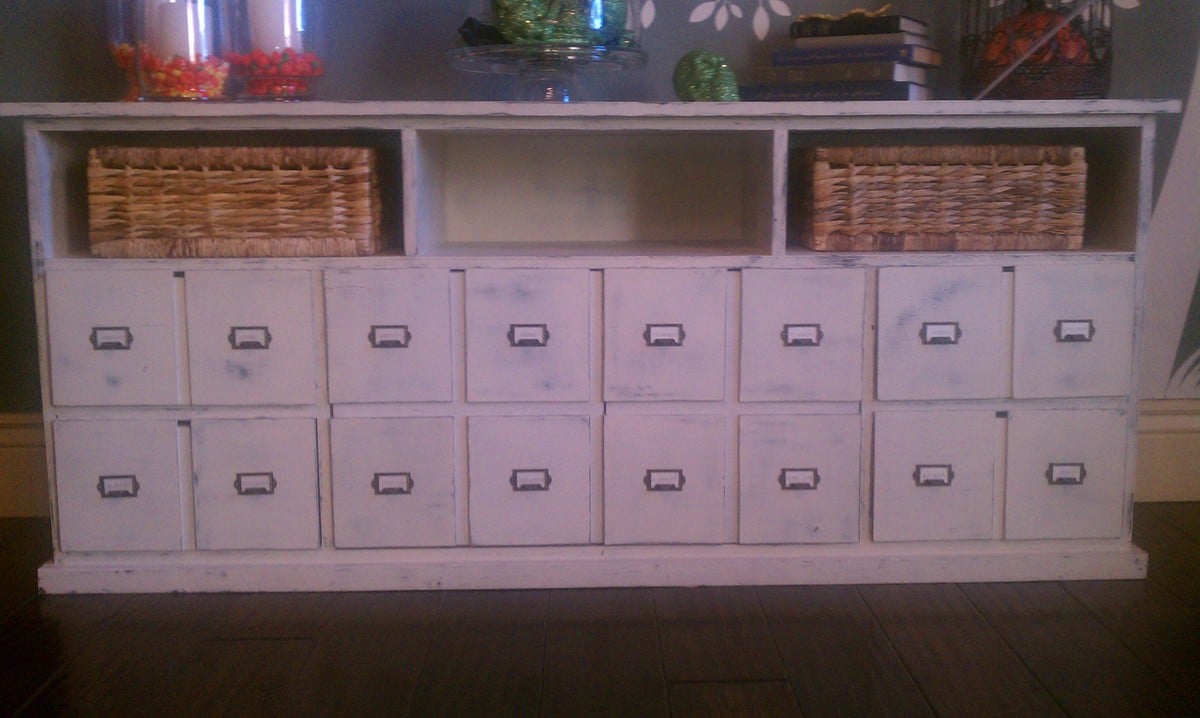
Narrow Farmhouse Sewing Table
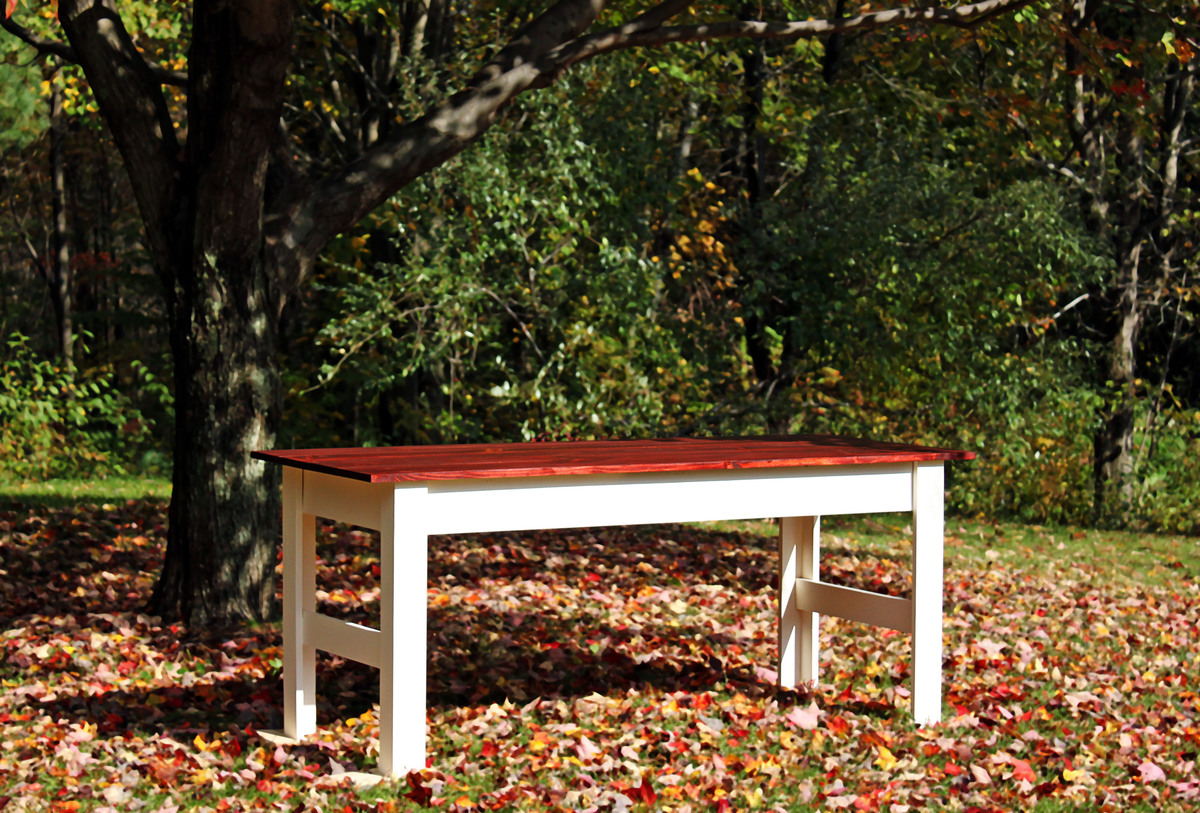
modifications to plans: legs not tapered; shortened table by two feet.
Built from Plan(s)
Estimated Cost
$70
Estimated Time Investment
Afternoon Project (3-6 Hours)
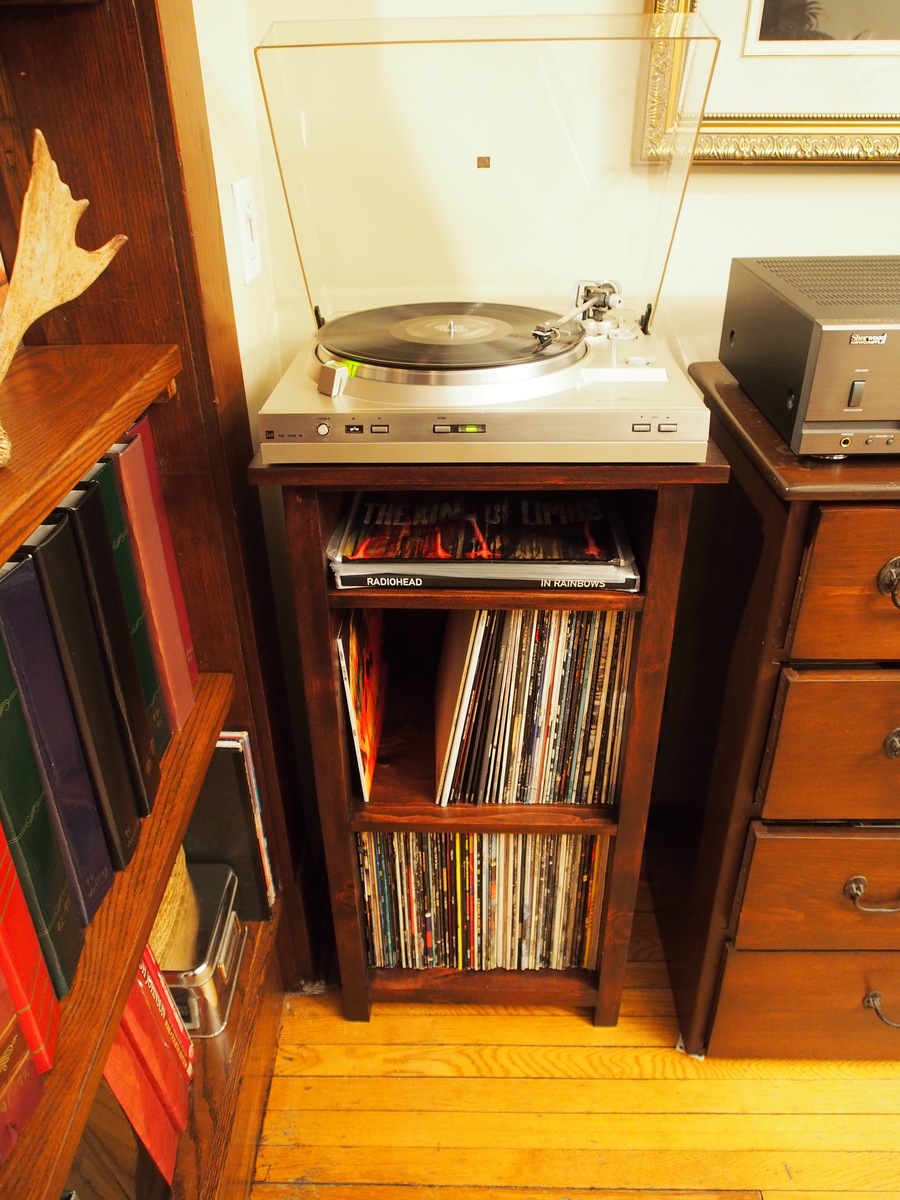
Finish Used
Olde Century Colors in ‘Candlelight’
General Finishes Wood Stain in ‘Georgian Cherry’
General Finishes Gel Topcoat
General Finishes Wood Stain in ‘Georgian Cherry’
General Finishes Gel Topcoat
Recommended Skill Level
Beginner


Comments
isabelle (not verified)
Mon, 10/17/2011 - 13:19
i' love your blog very very
i' love your blog very very very merci