Armoire
Another fun build! I increased the size to 4’W x 7’T and added some drawers! Thanks for your detailed plans.
I built this bench way back in the winter (which really has barely ended) and finally today got it outside for a photo shoot! Notching out the legs was a new thing for me but turned out wonderfully. I look forward to making some for my mother for her gaggle of grandchildren.
Oh and best of all, mine was free to make since I had nasty ol' 2x4's on hand! PERFECT!
Mon, 06/20/2011 - 16:40
Beautiful work! I love the finish on it, with the contrast between the top and legs
Went a little crazy on the pipe project, but love it. My favorite thing is the bench. My husband loves the toilet paper holder.
I modified these plans a little. I added some tongue and groove breadboard ends, and used Rockler table top fasteners to attach the top. I worked on it in my spare time after work a couple days a week for about a month. I'm happy with the overall outcome!
I’ve built 2 of these and on my 3rd now. This is the 2nd one and isn’t a desk obviously but a bench for my Weber BBQ and storage underneath
This chair is the best. We went to a specialty lumber store and picked up some Ipe wood. It was fairly expensive (about $100 for the wood alone) but well worth it! Looks awesome and is really comfortable. We also tested it out and it is very sturdy, however, we did use 2x2 for the frame. We plan on making at least one more matching one soon. Thanks for all the plans!!!
I love this storage bin from plans at morelikehome.net, and it was easy to build, too! It's nice and big, about 21"W x 21"D x 18"H. I selected 3-6 hours as the time spent, but to say closer to six would be about right. I need a large work surface in my sewing room (I'll be building the storage table as well),and a place to store my "stuff".This should be a pretty good start!
I build this last minute for my daughters room makeover. I worked through the night, but got it completed and painted just after sunrise. (I slept good the following night!)
This was so easy to make and it's so sturdy and beautiful. Rough cut cedar using 3" exterior decking screws and wood glue. Had a blast making it with my wife.
I built some French Tuteur’s for the garden.
Fresh and ready for my new raised beds.
I love this headboard :)
We finally completed the tufting portion of the mantel headboard tonight and it looks great! Anna's design was easy to follow and the tufting part was easier than I thought...I followed http://www.cape27blog.com/2013/03/tufted-headboard-tutorial/ for the tufting portion.
Can't wait for the next project!
I built this for the three little ones to get ready for school and have a place to hang their backpacks.
This was a piece made by my husband for our outdoor living/patio area! Love how it turned out--and the walnut top was worth the extra money. Same wood that he used to make a fireplace mantle in the same outdoor area. The plank doors were leftover pieces we used to cover a ceiling, and created a great result. Found the Annie Sloan paint (Parisian Grey, I believe) and wax on a Buy/Sell Facebook site in our neighborhood and saved a little money.
Got a chance this weekend to do our first (good!) woodworking project. Love the chair, gotta head back to Menard's to get some more lumber for chair #2!
We needed a twin XL for our 17 year old grandson. This platform bed was perfect. It didn't take much to change the plans for the XL since it's the same length as a queen bed. We added the center support simply for added strength and changed the legs to make them longer so I can put wheeled drawers underneath the bed for added storage.
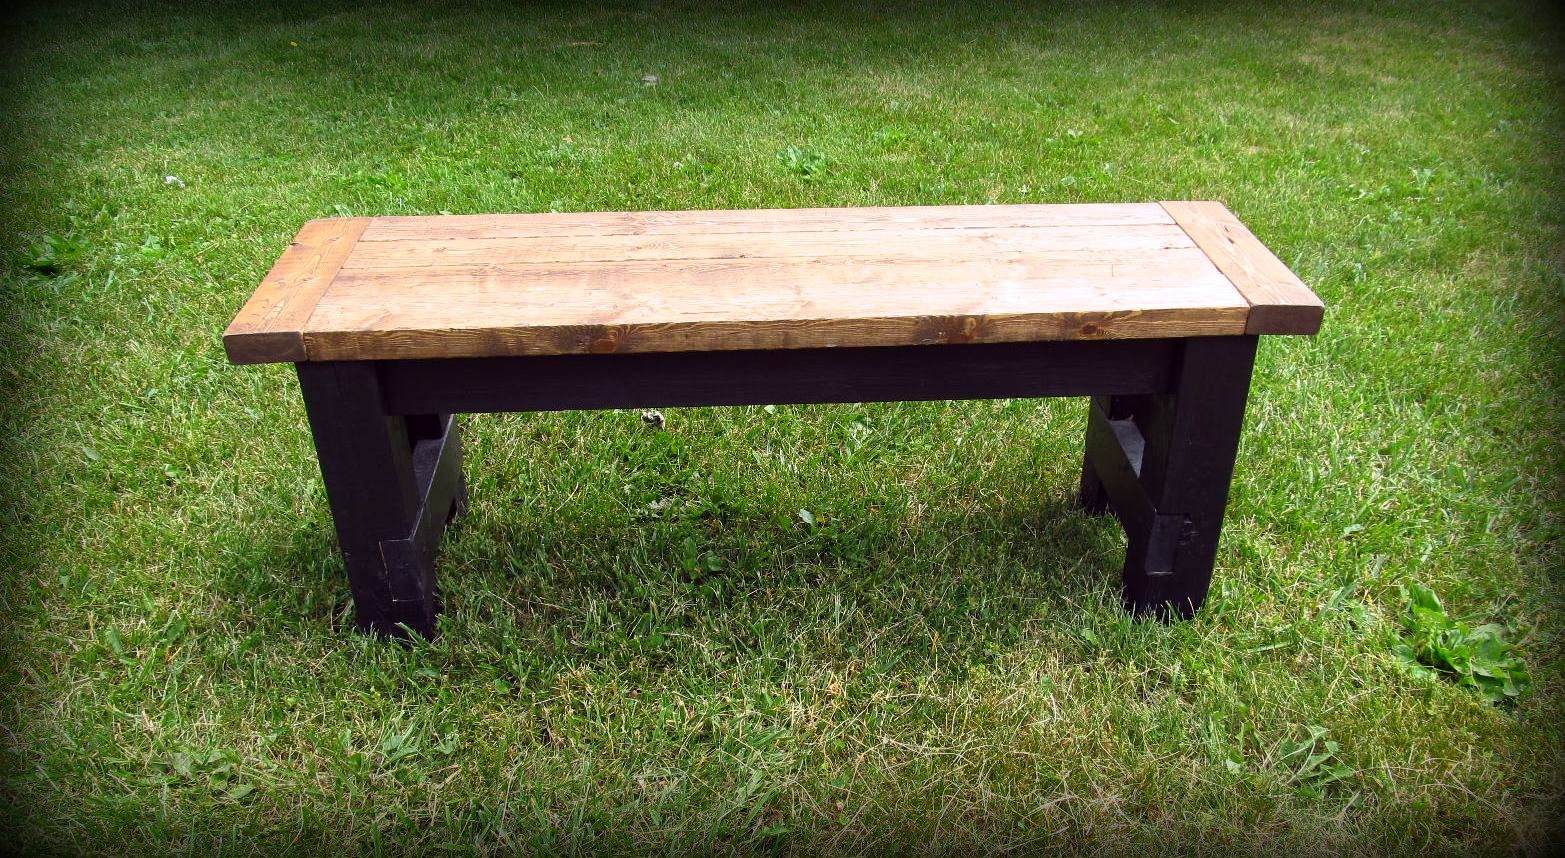
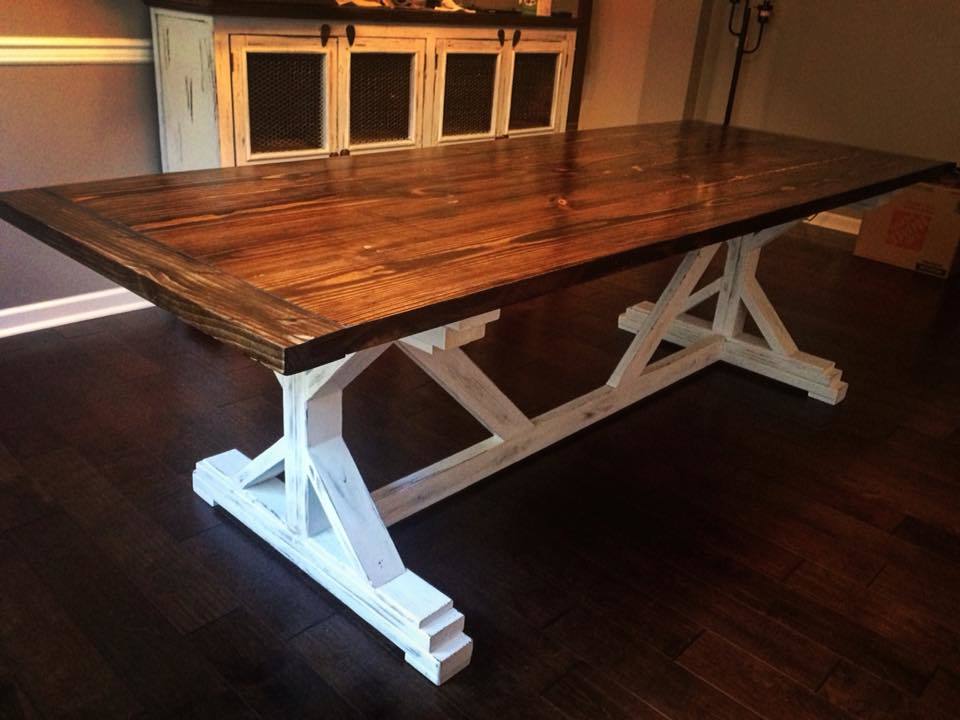
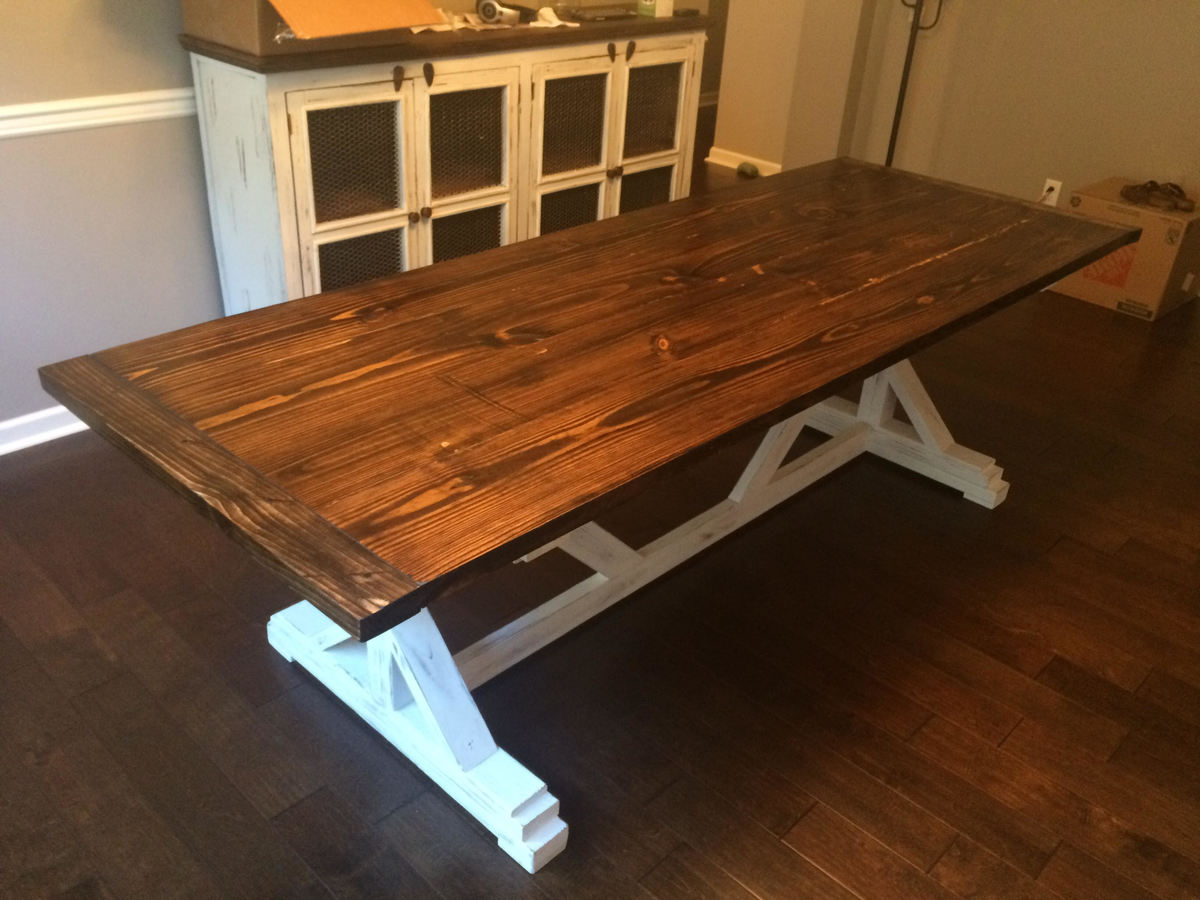
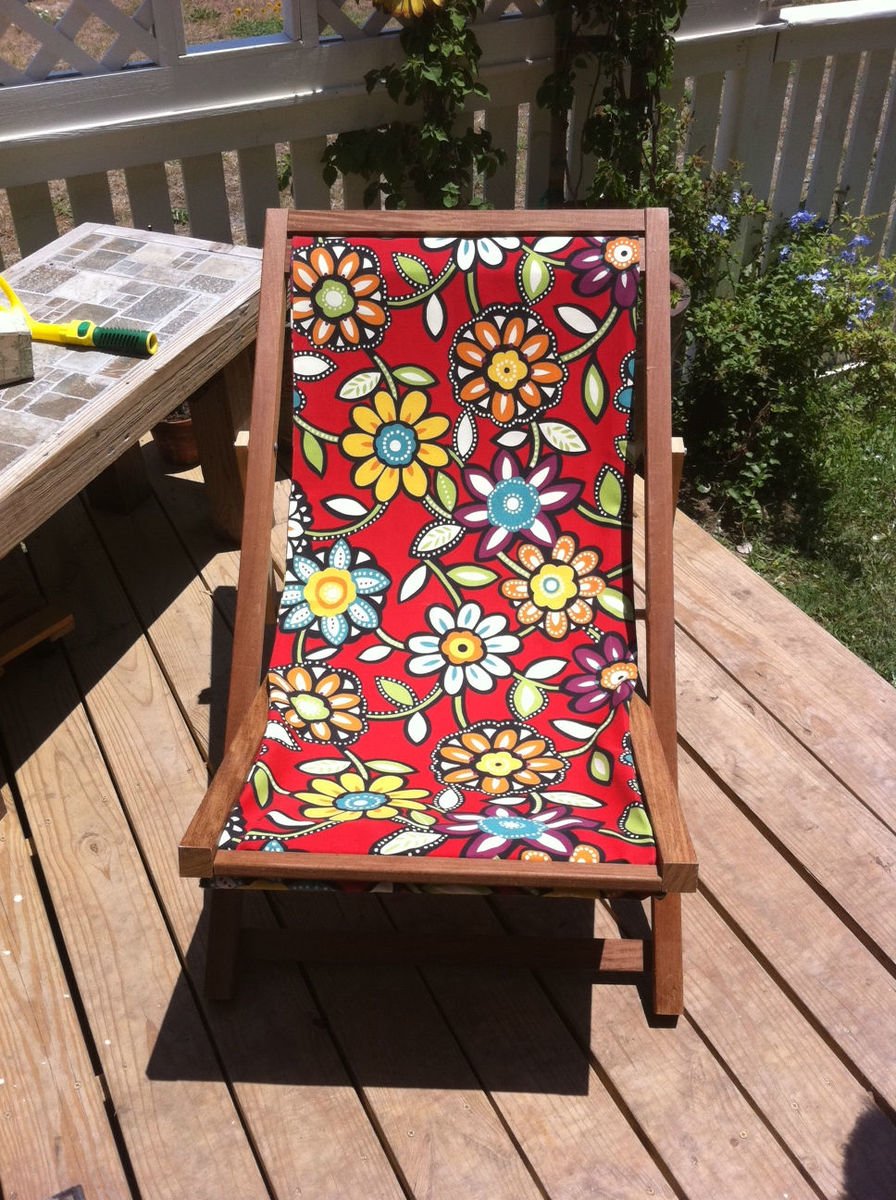
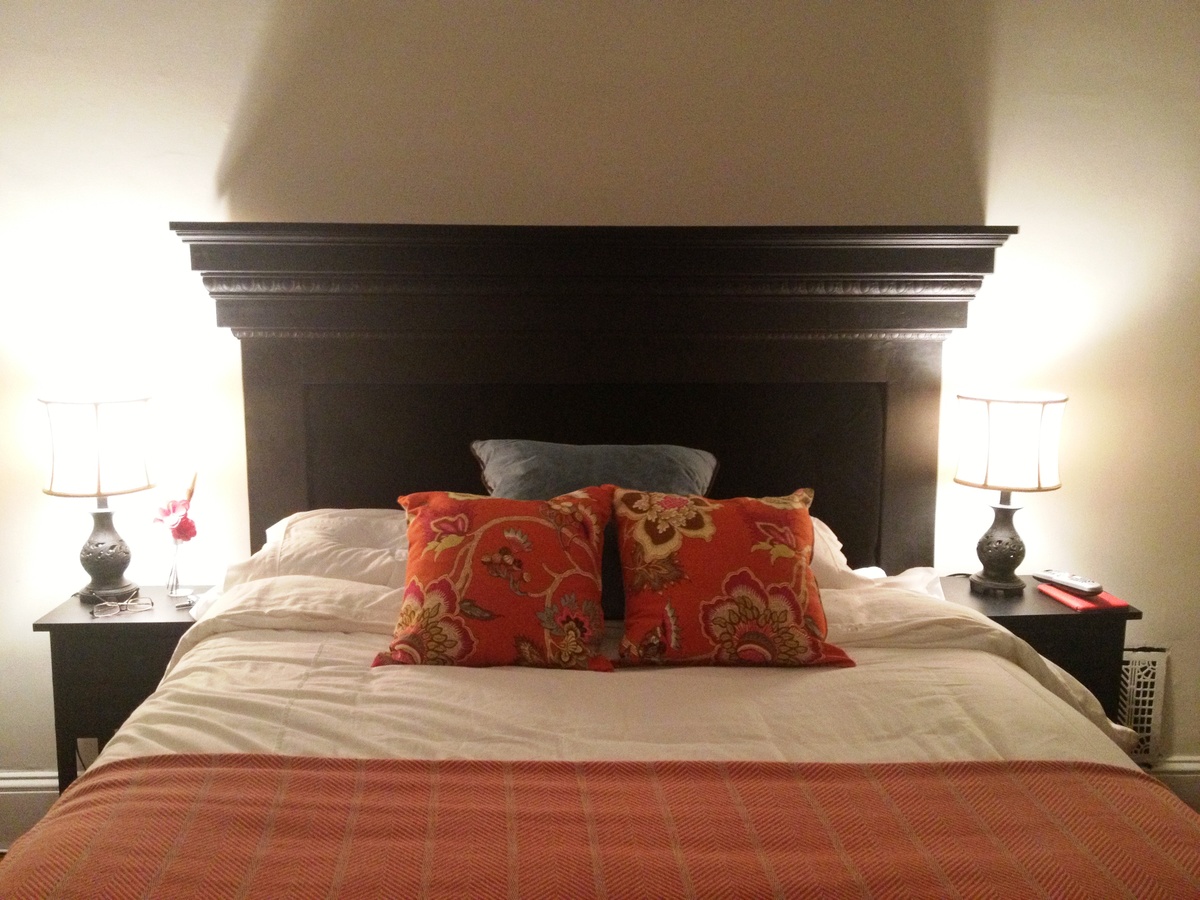
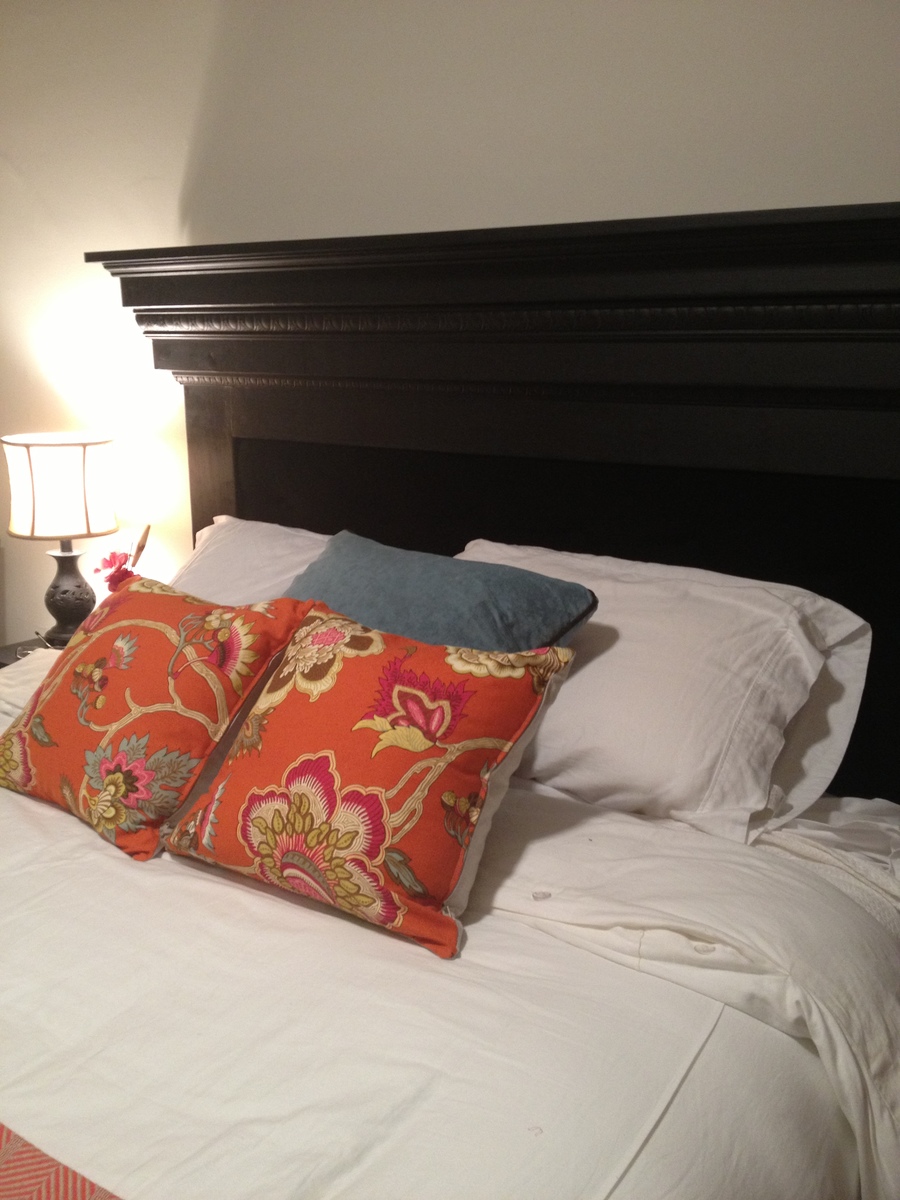
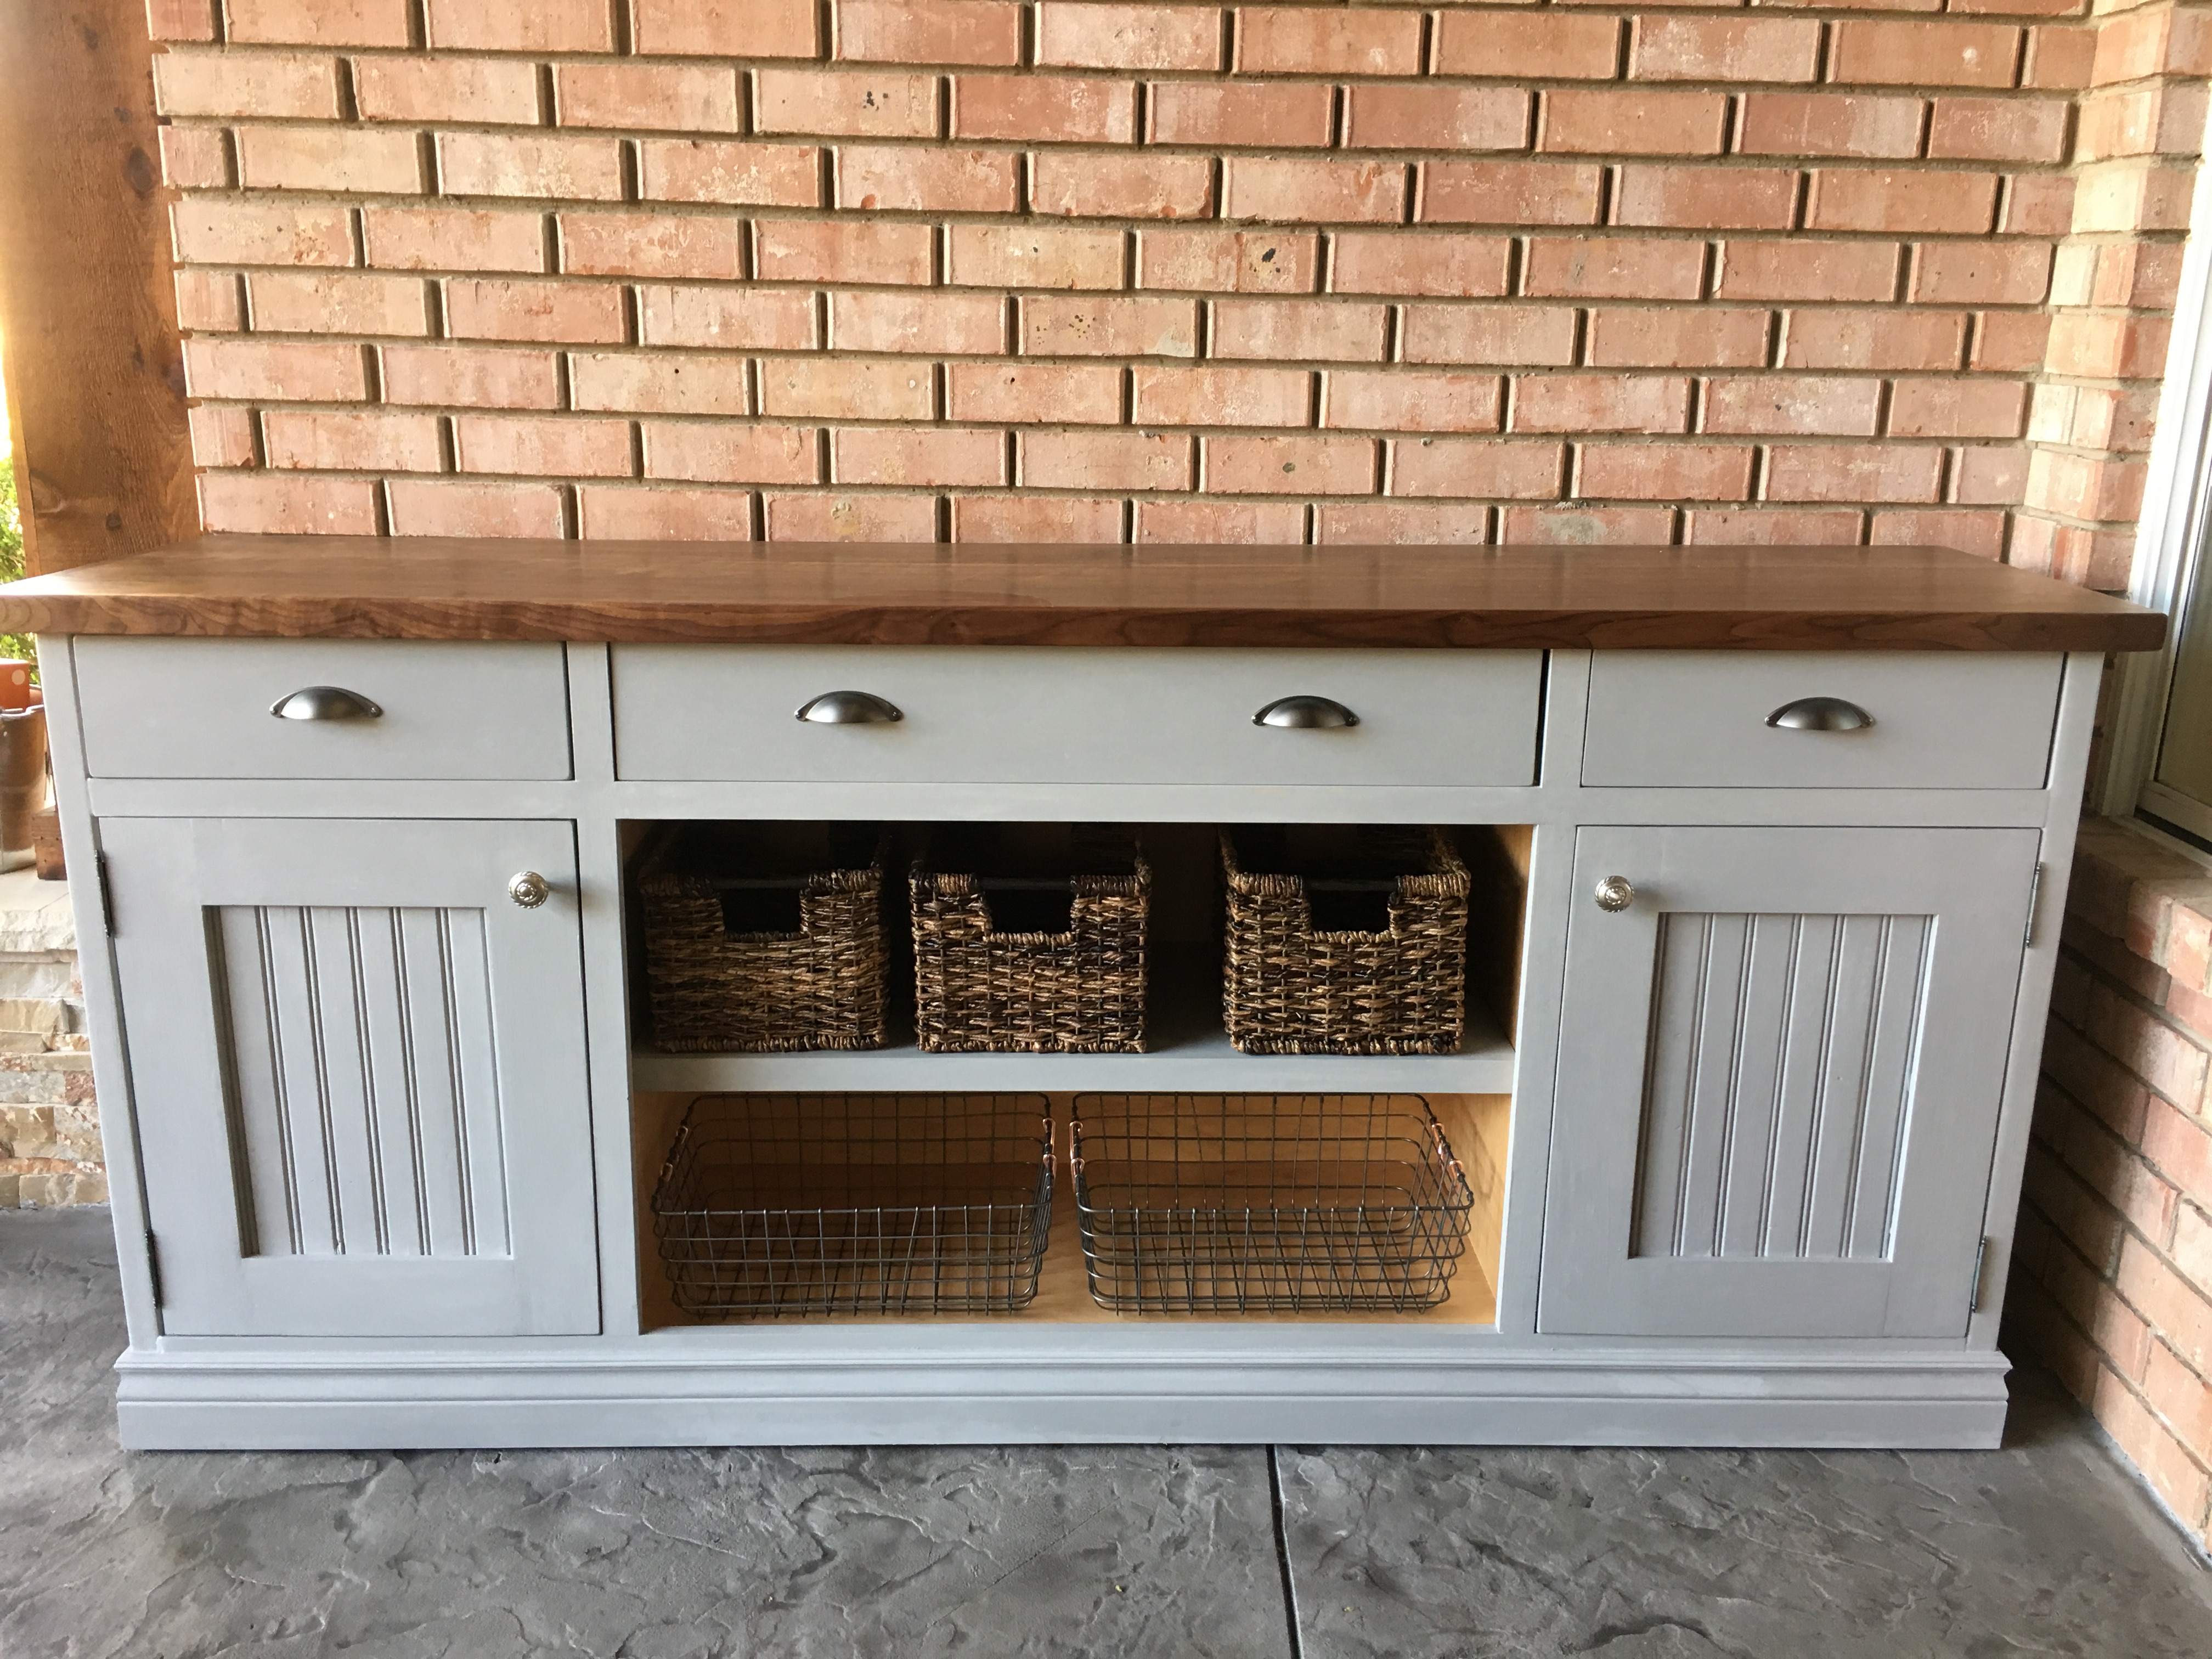
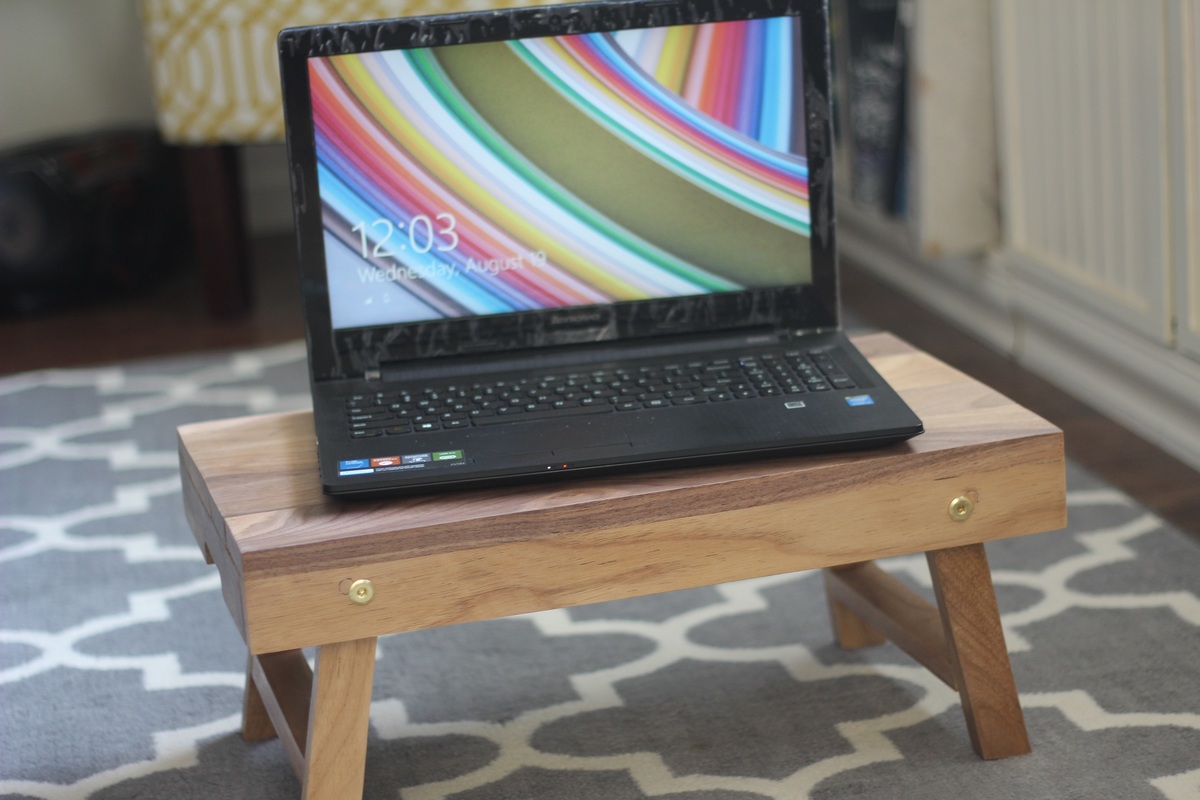
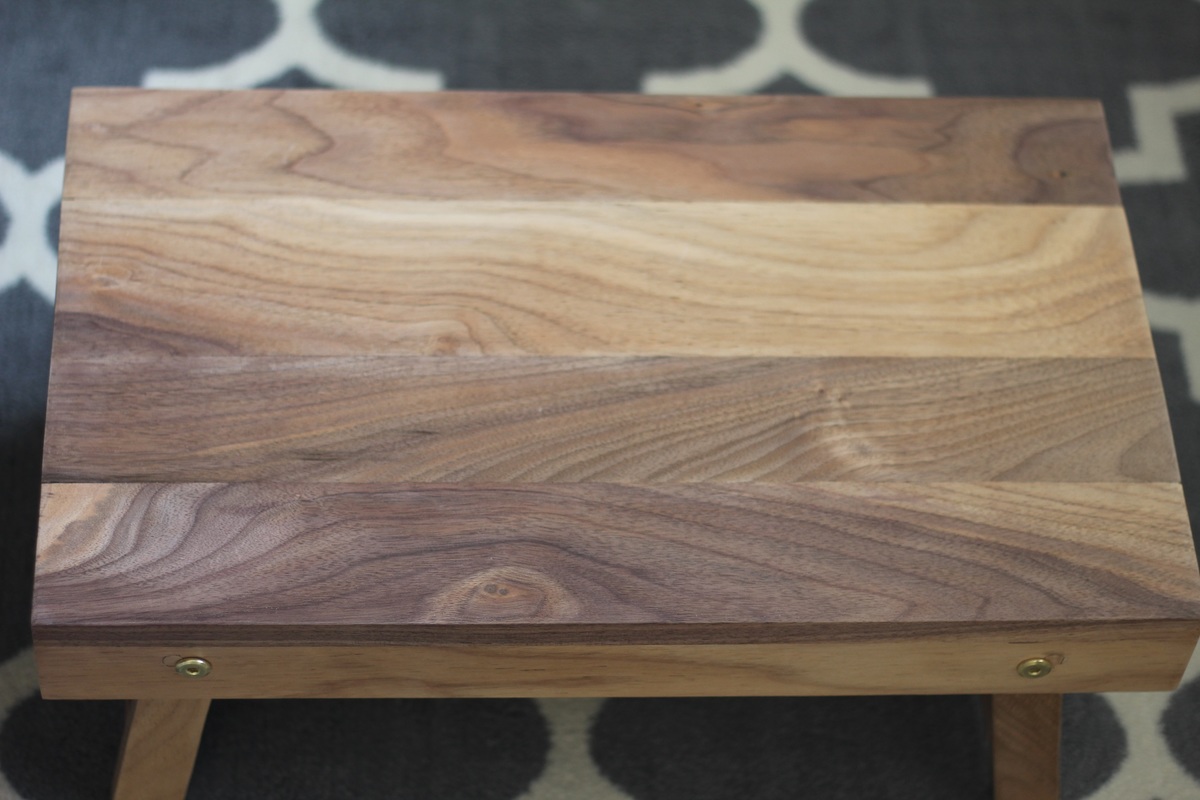
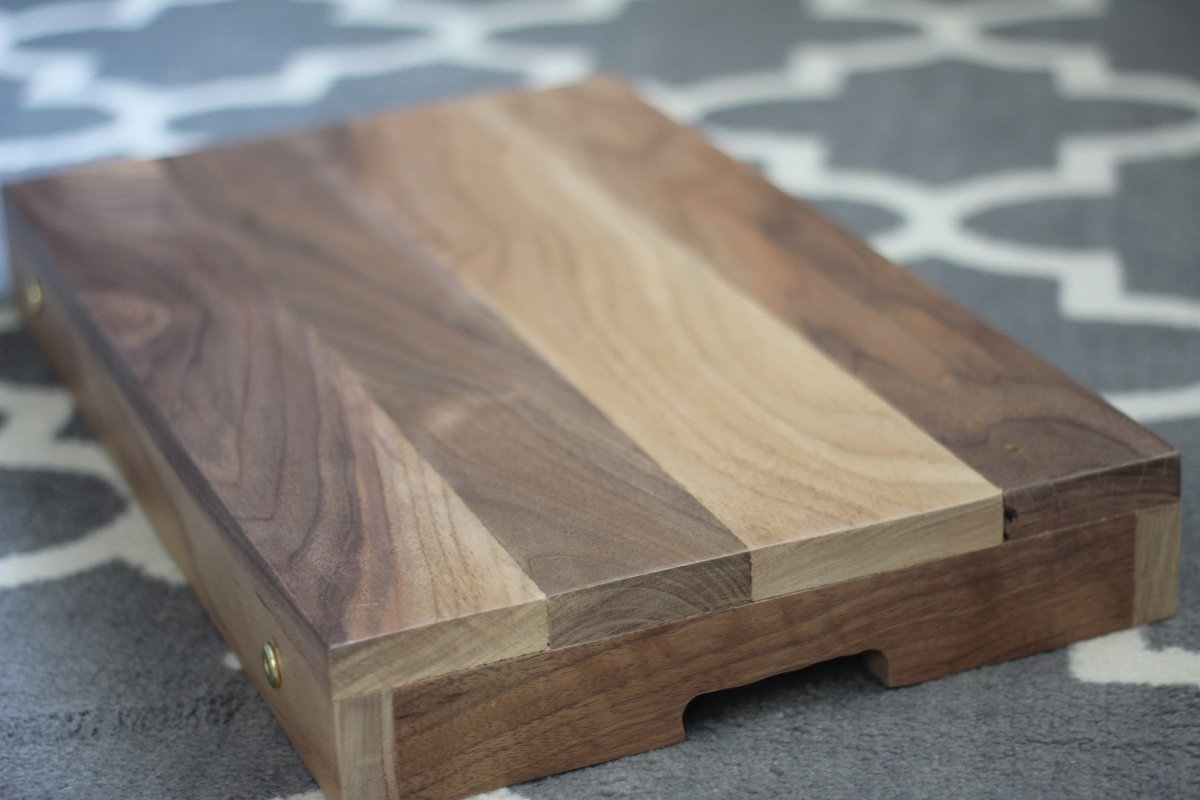
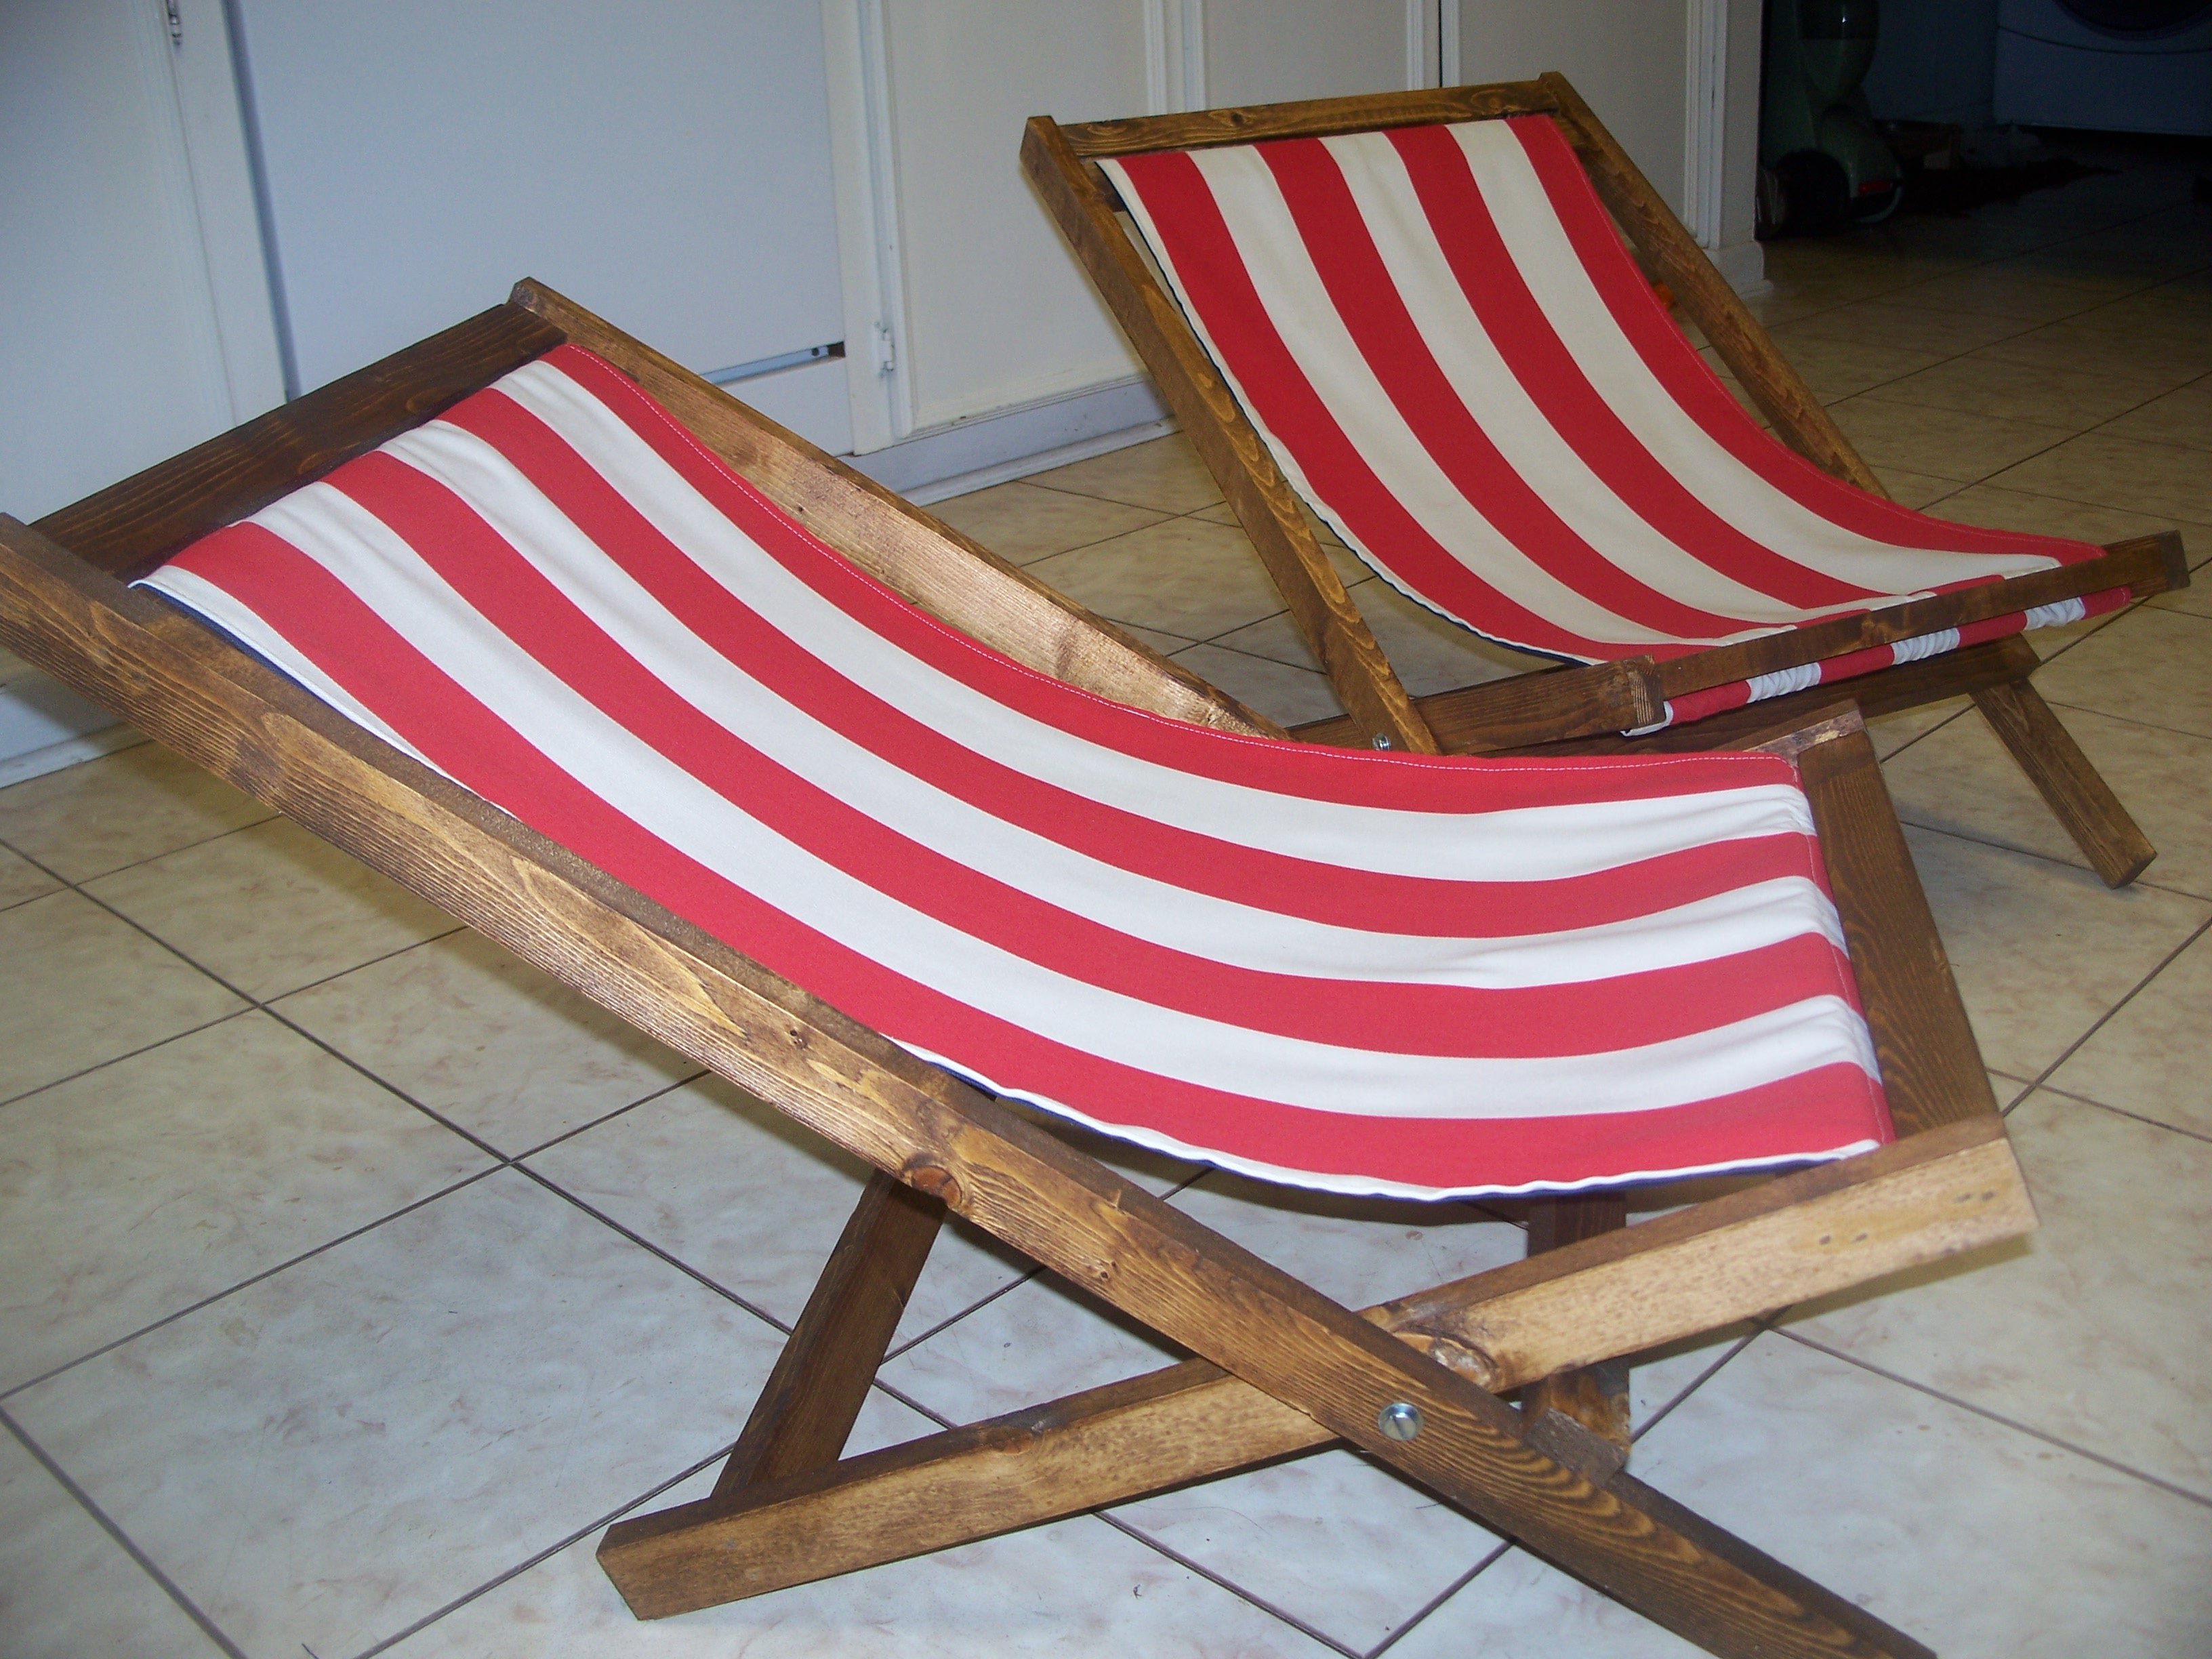
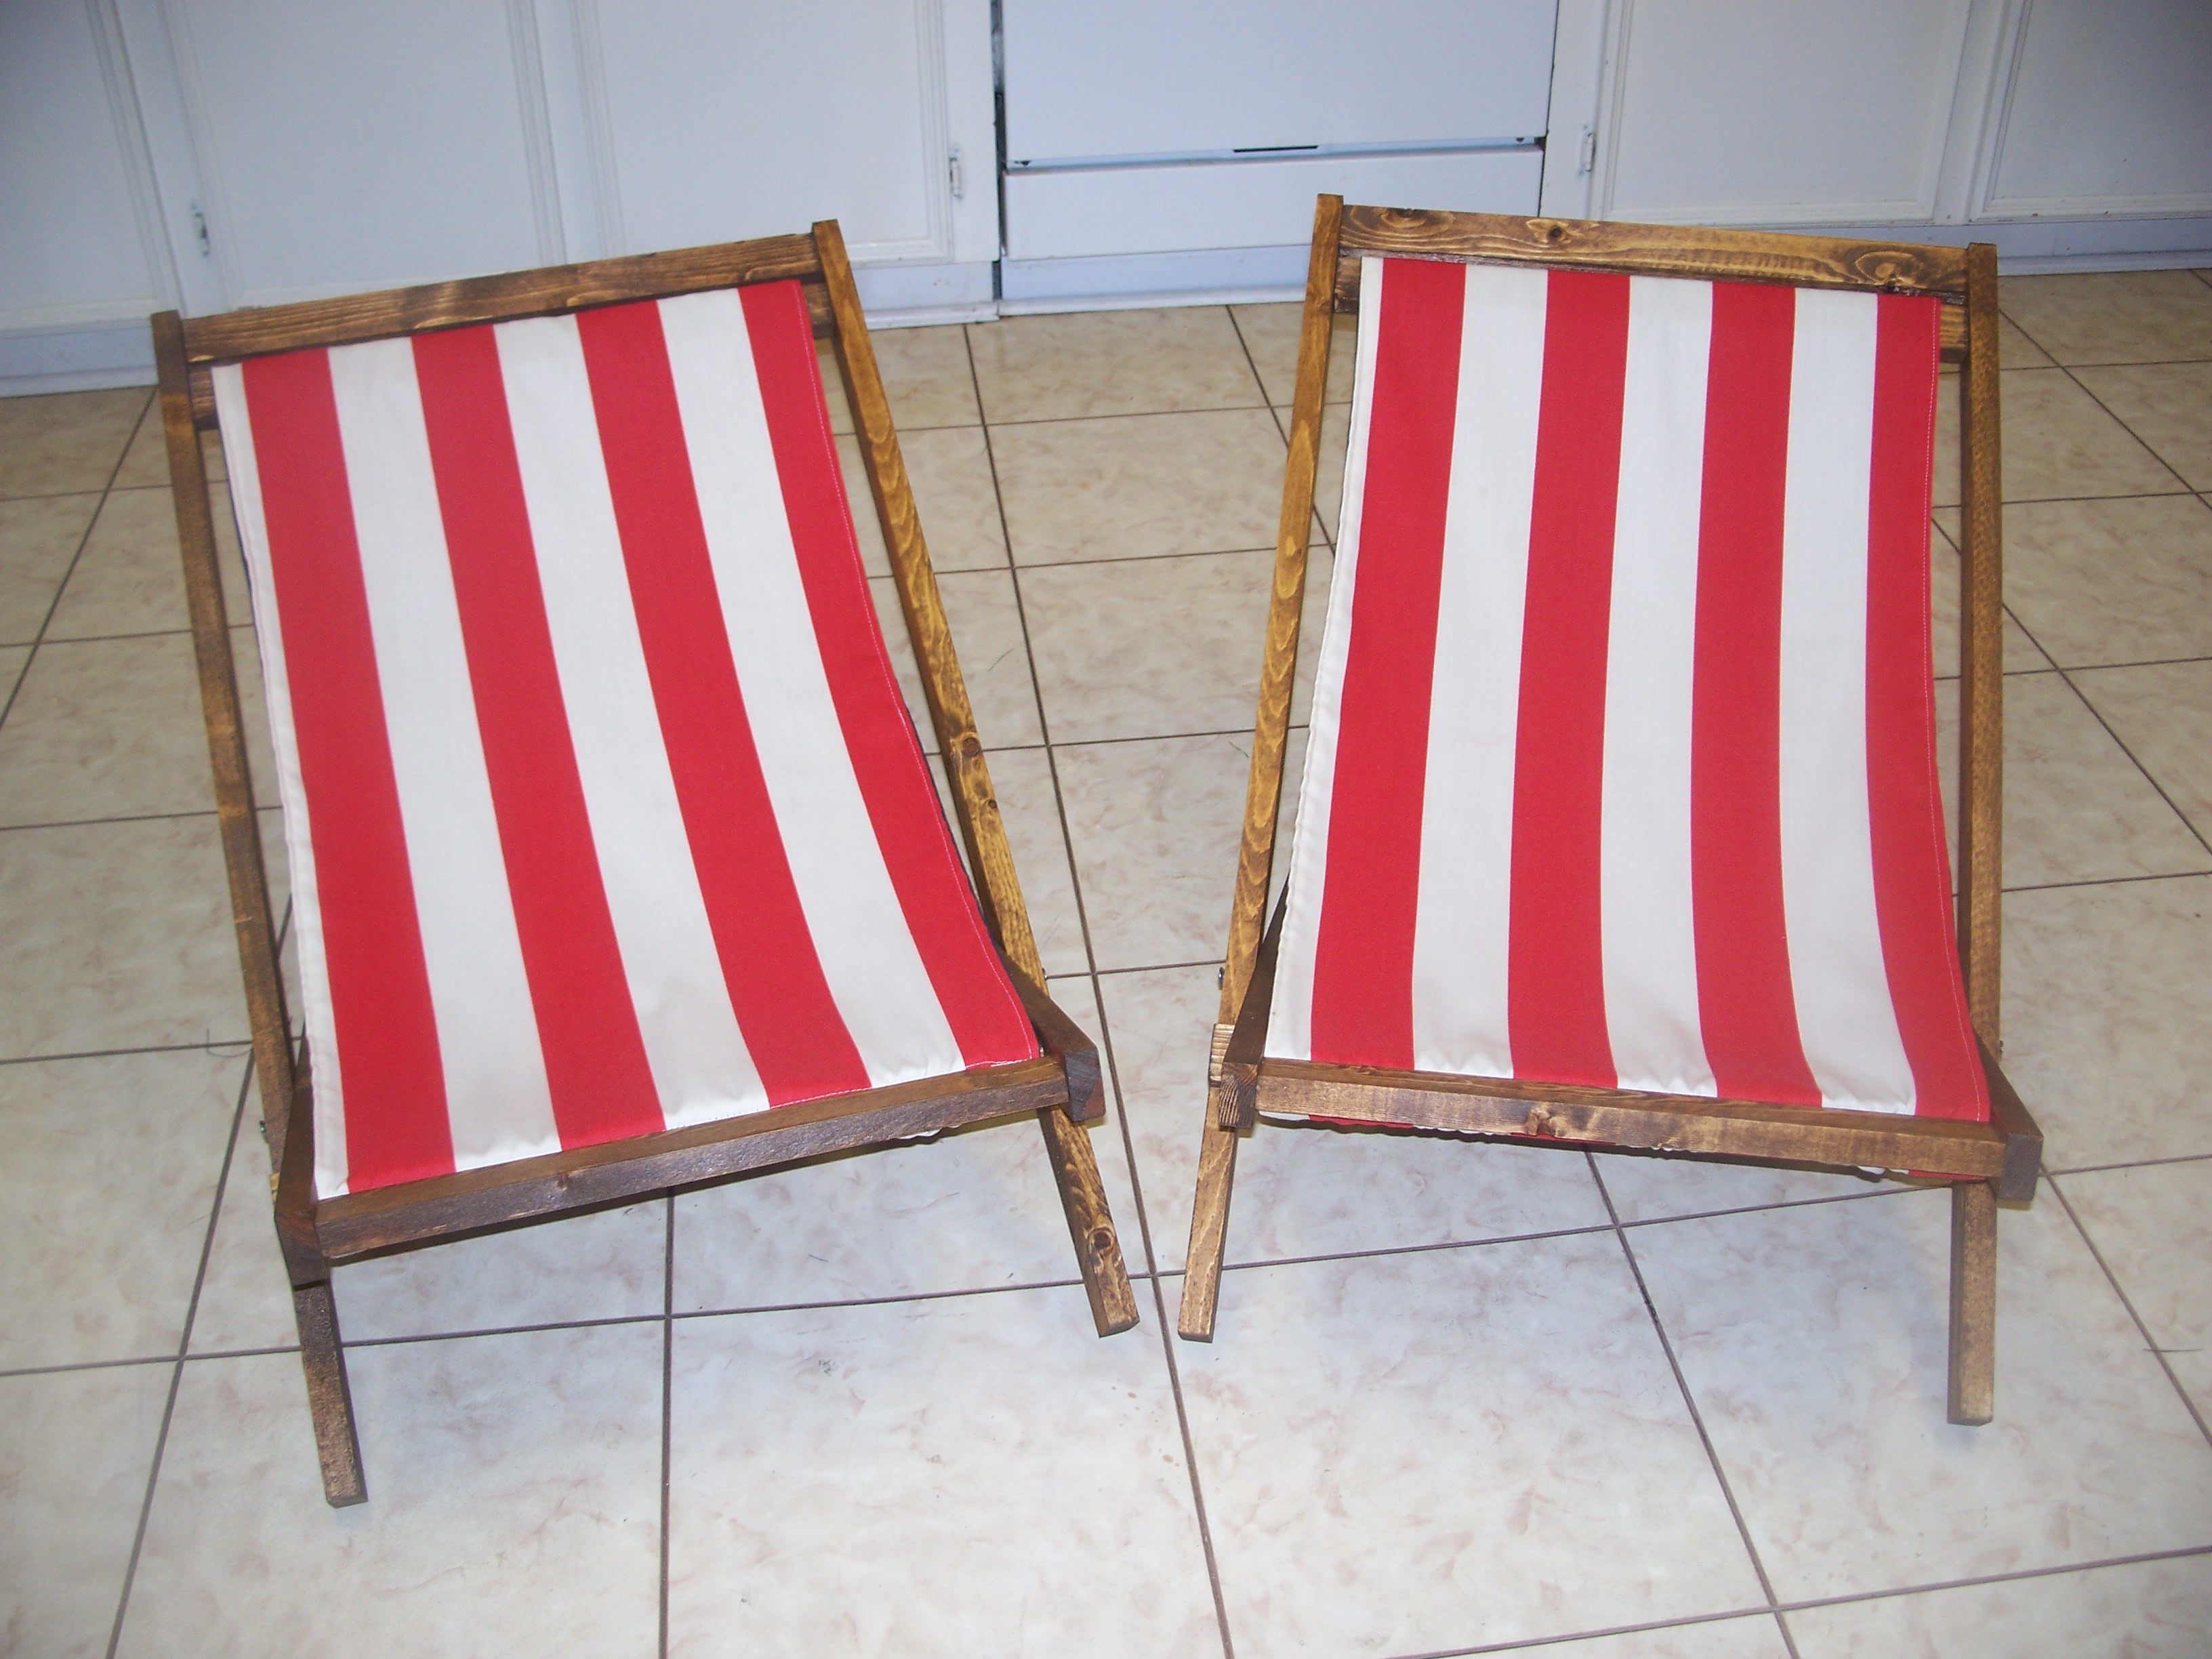
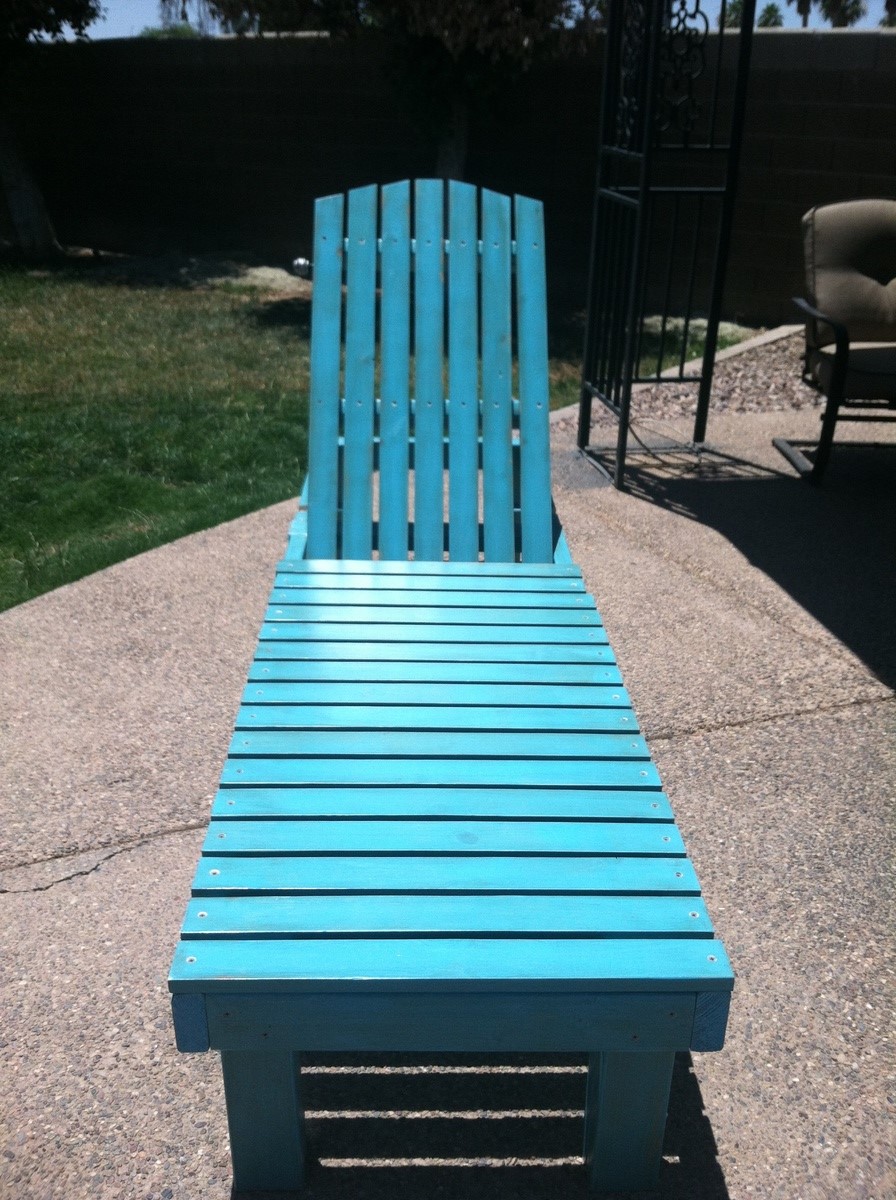
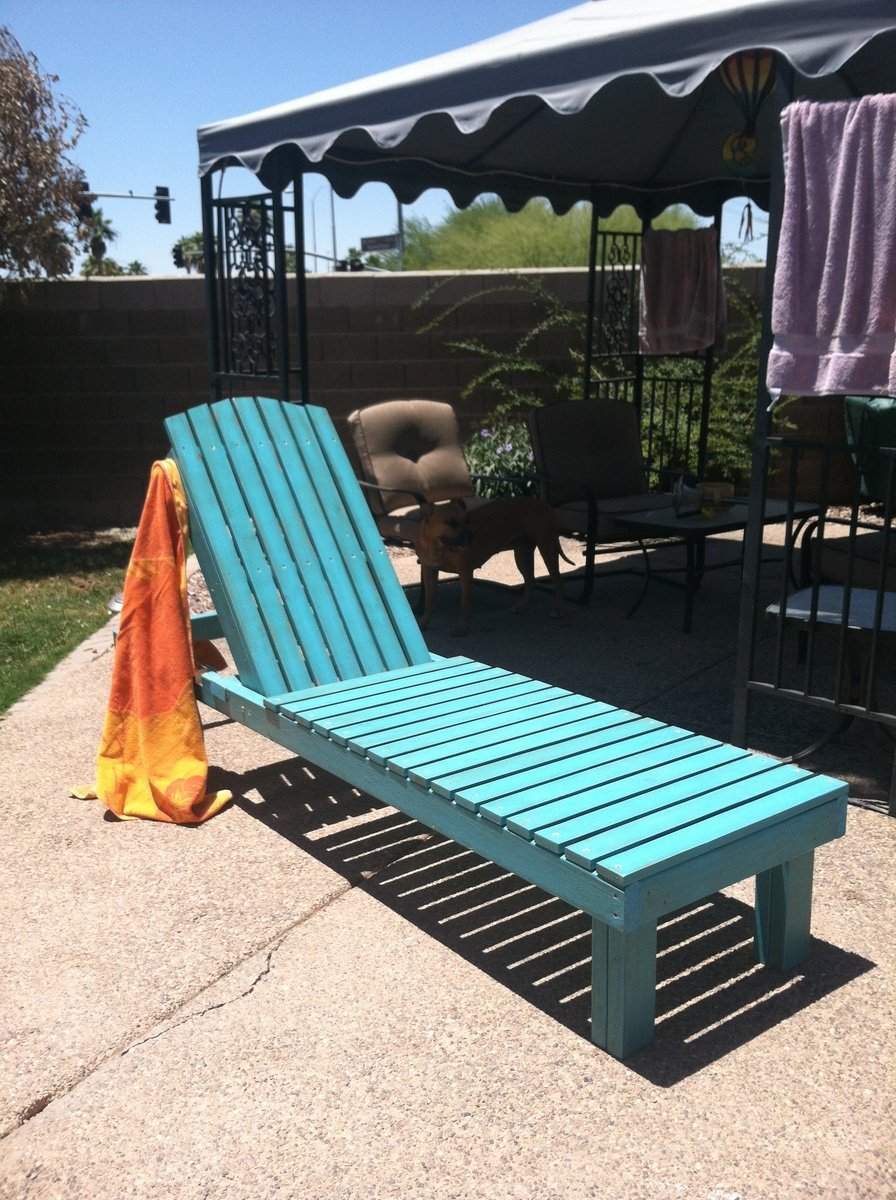
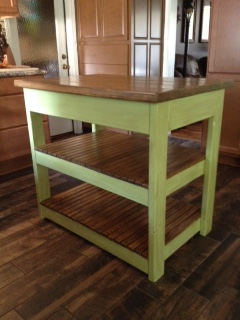
I saw Jen's one board challenge post and realized that some wood I got for free off CL a year ago included the right amount of walnut. This seemed like the perfect plan to utilize this beautiful wood in a worthy way. I did not have a 1x8, so I made a butcher block kind of top, which I think I like even better since the colors and grain vary.
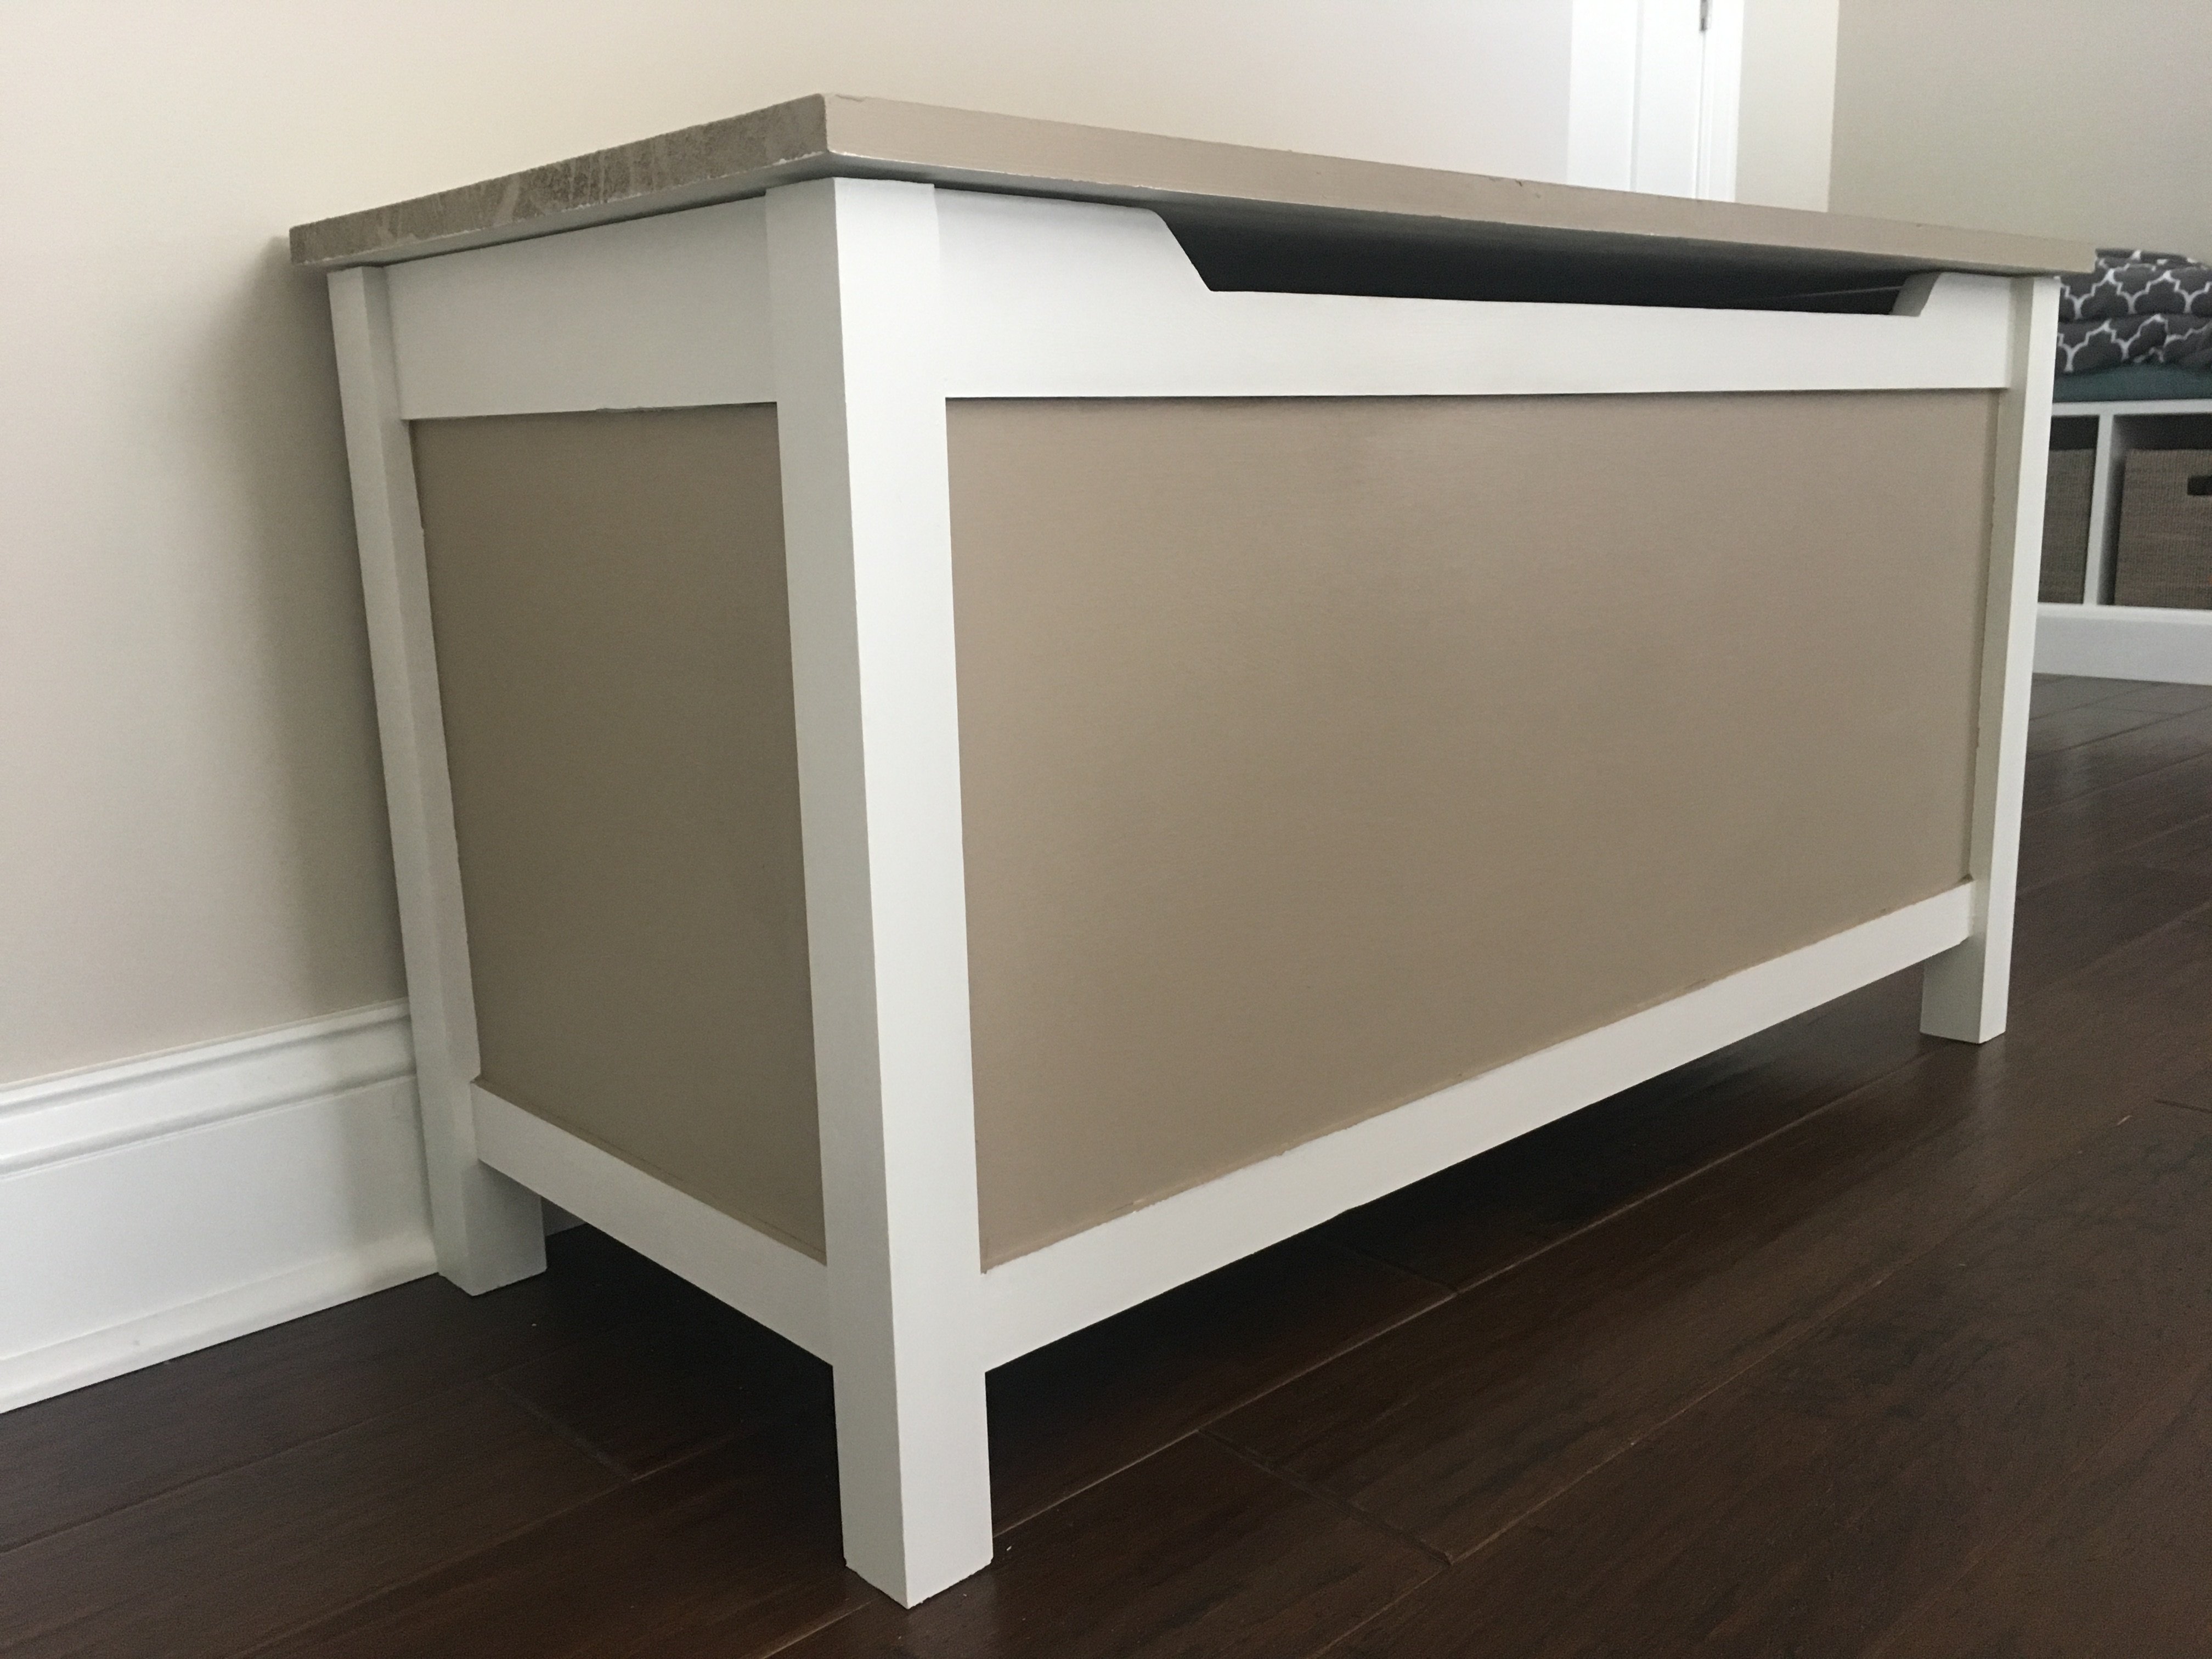
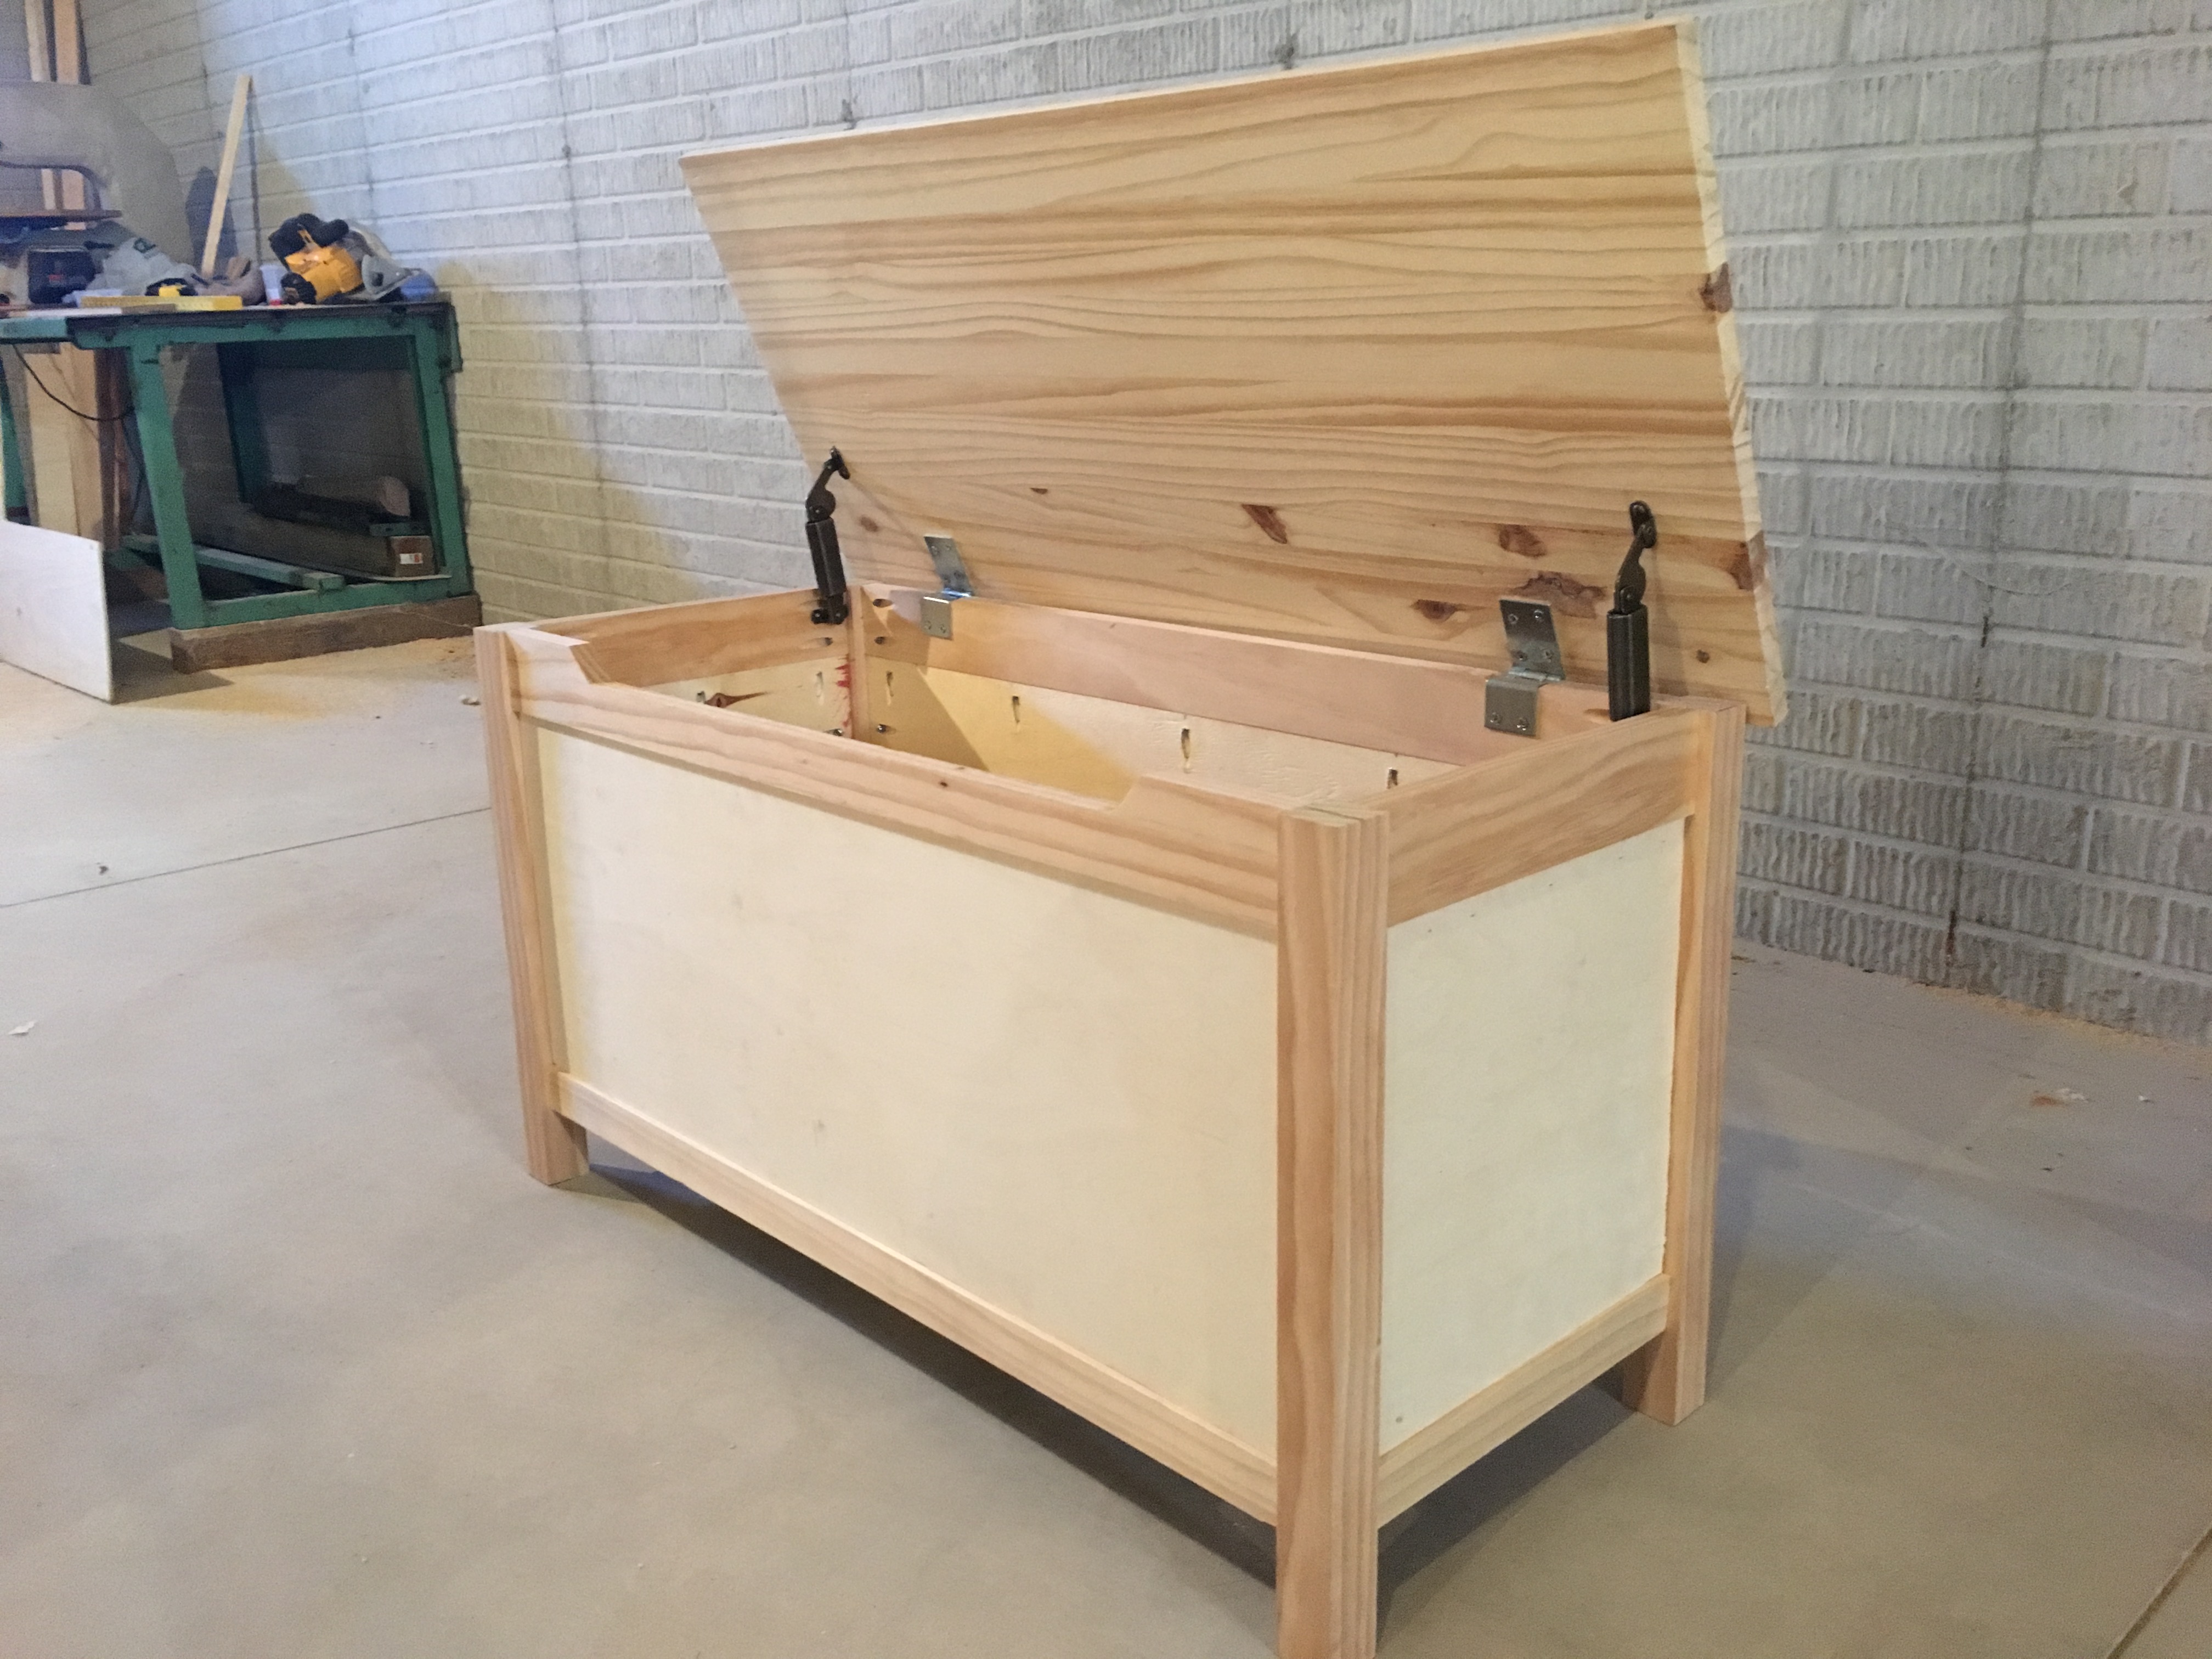
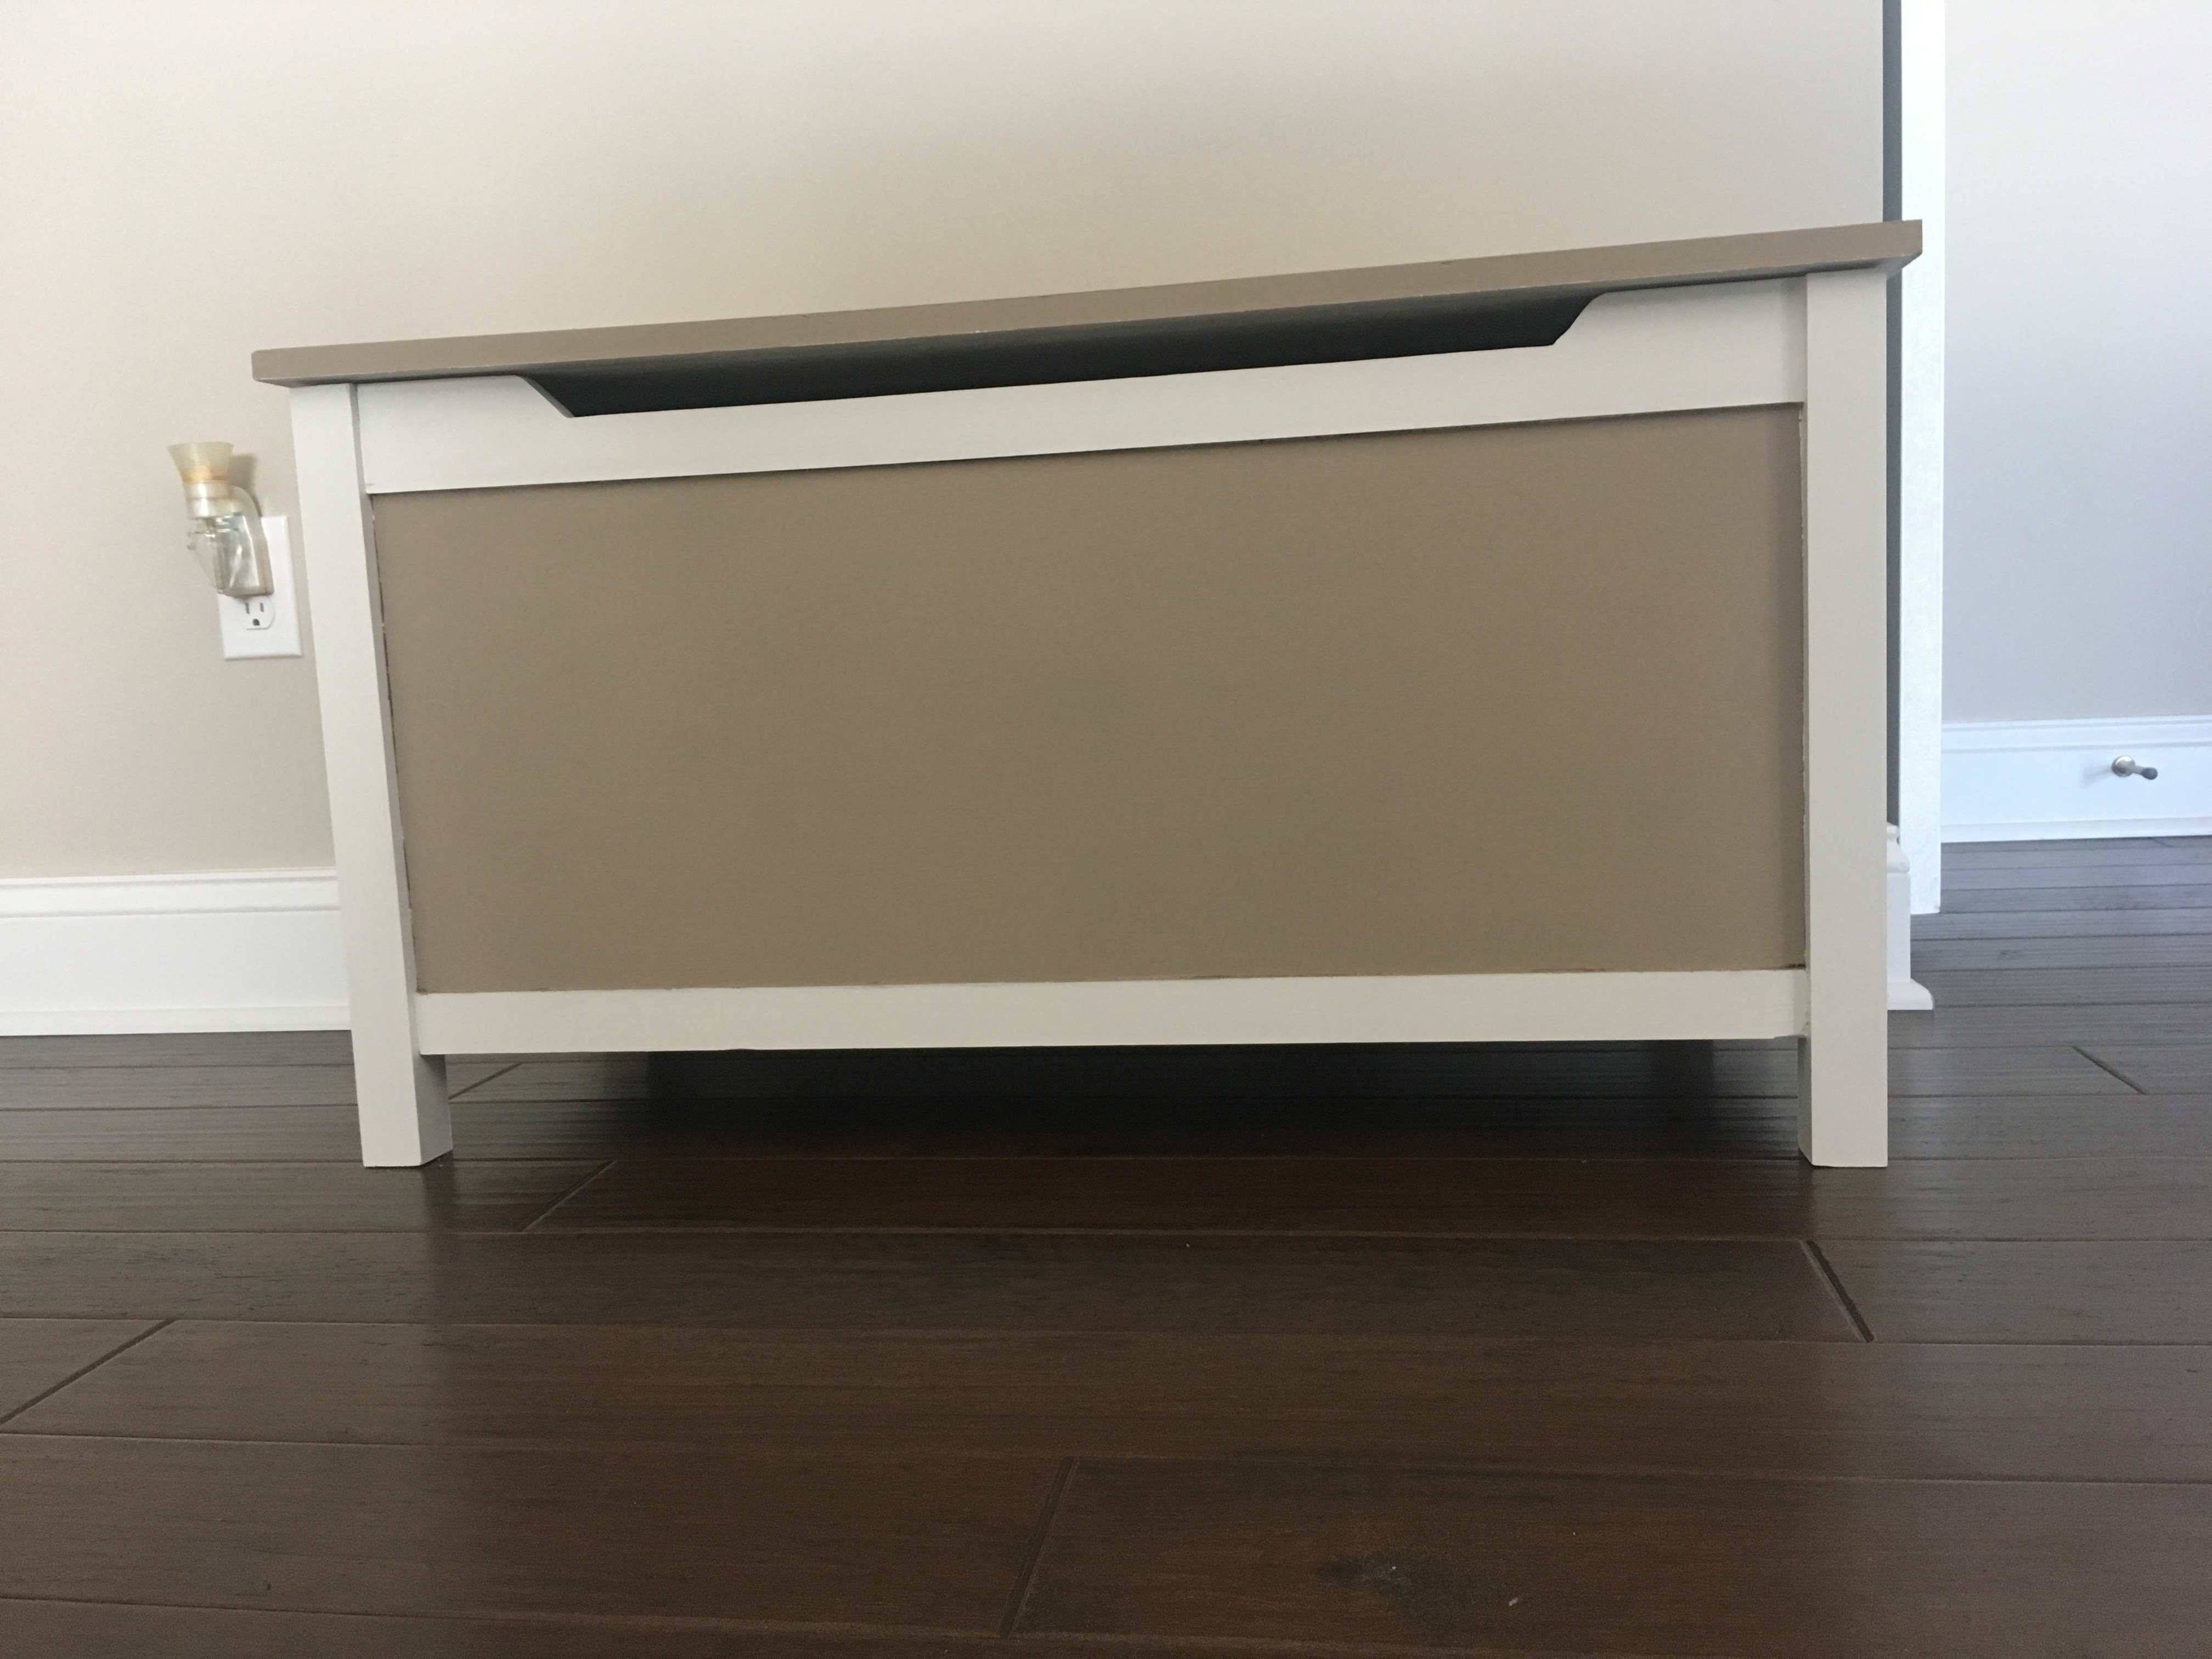
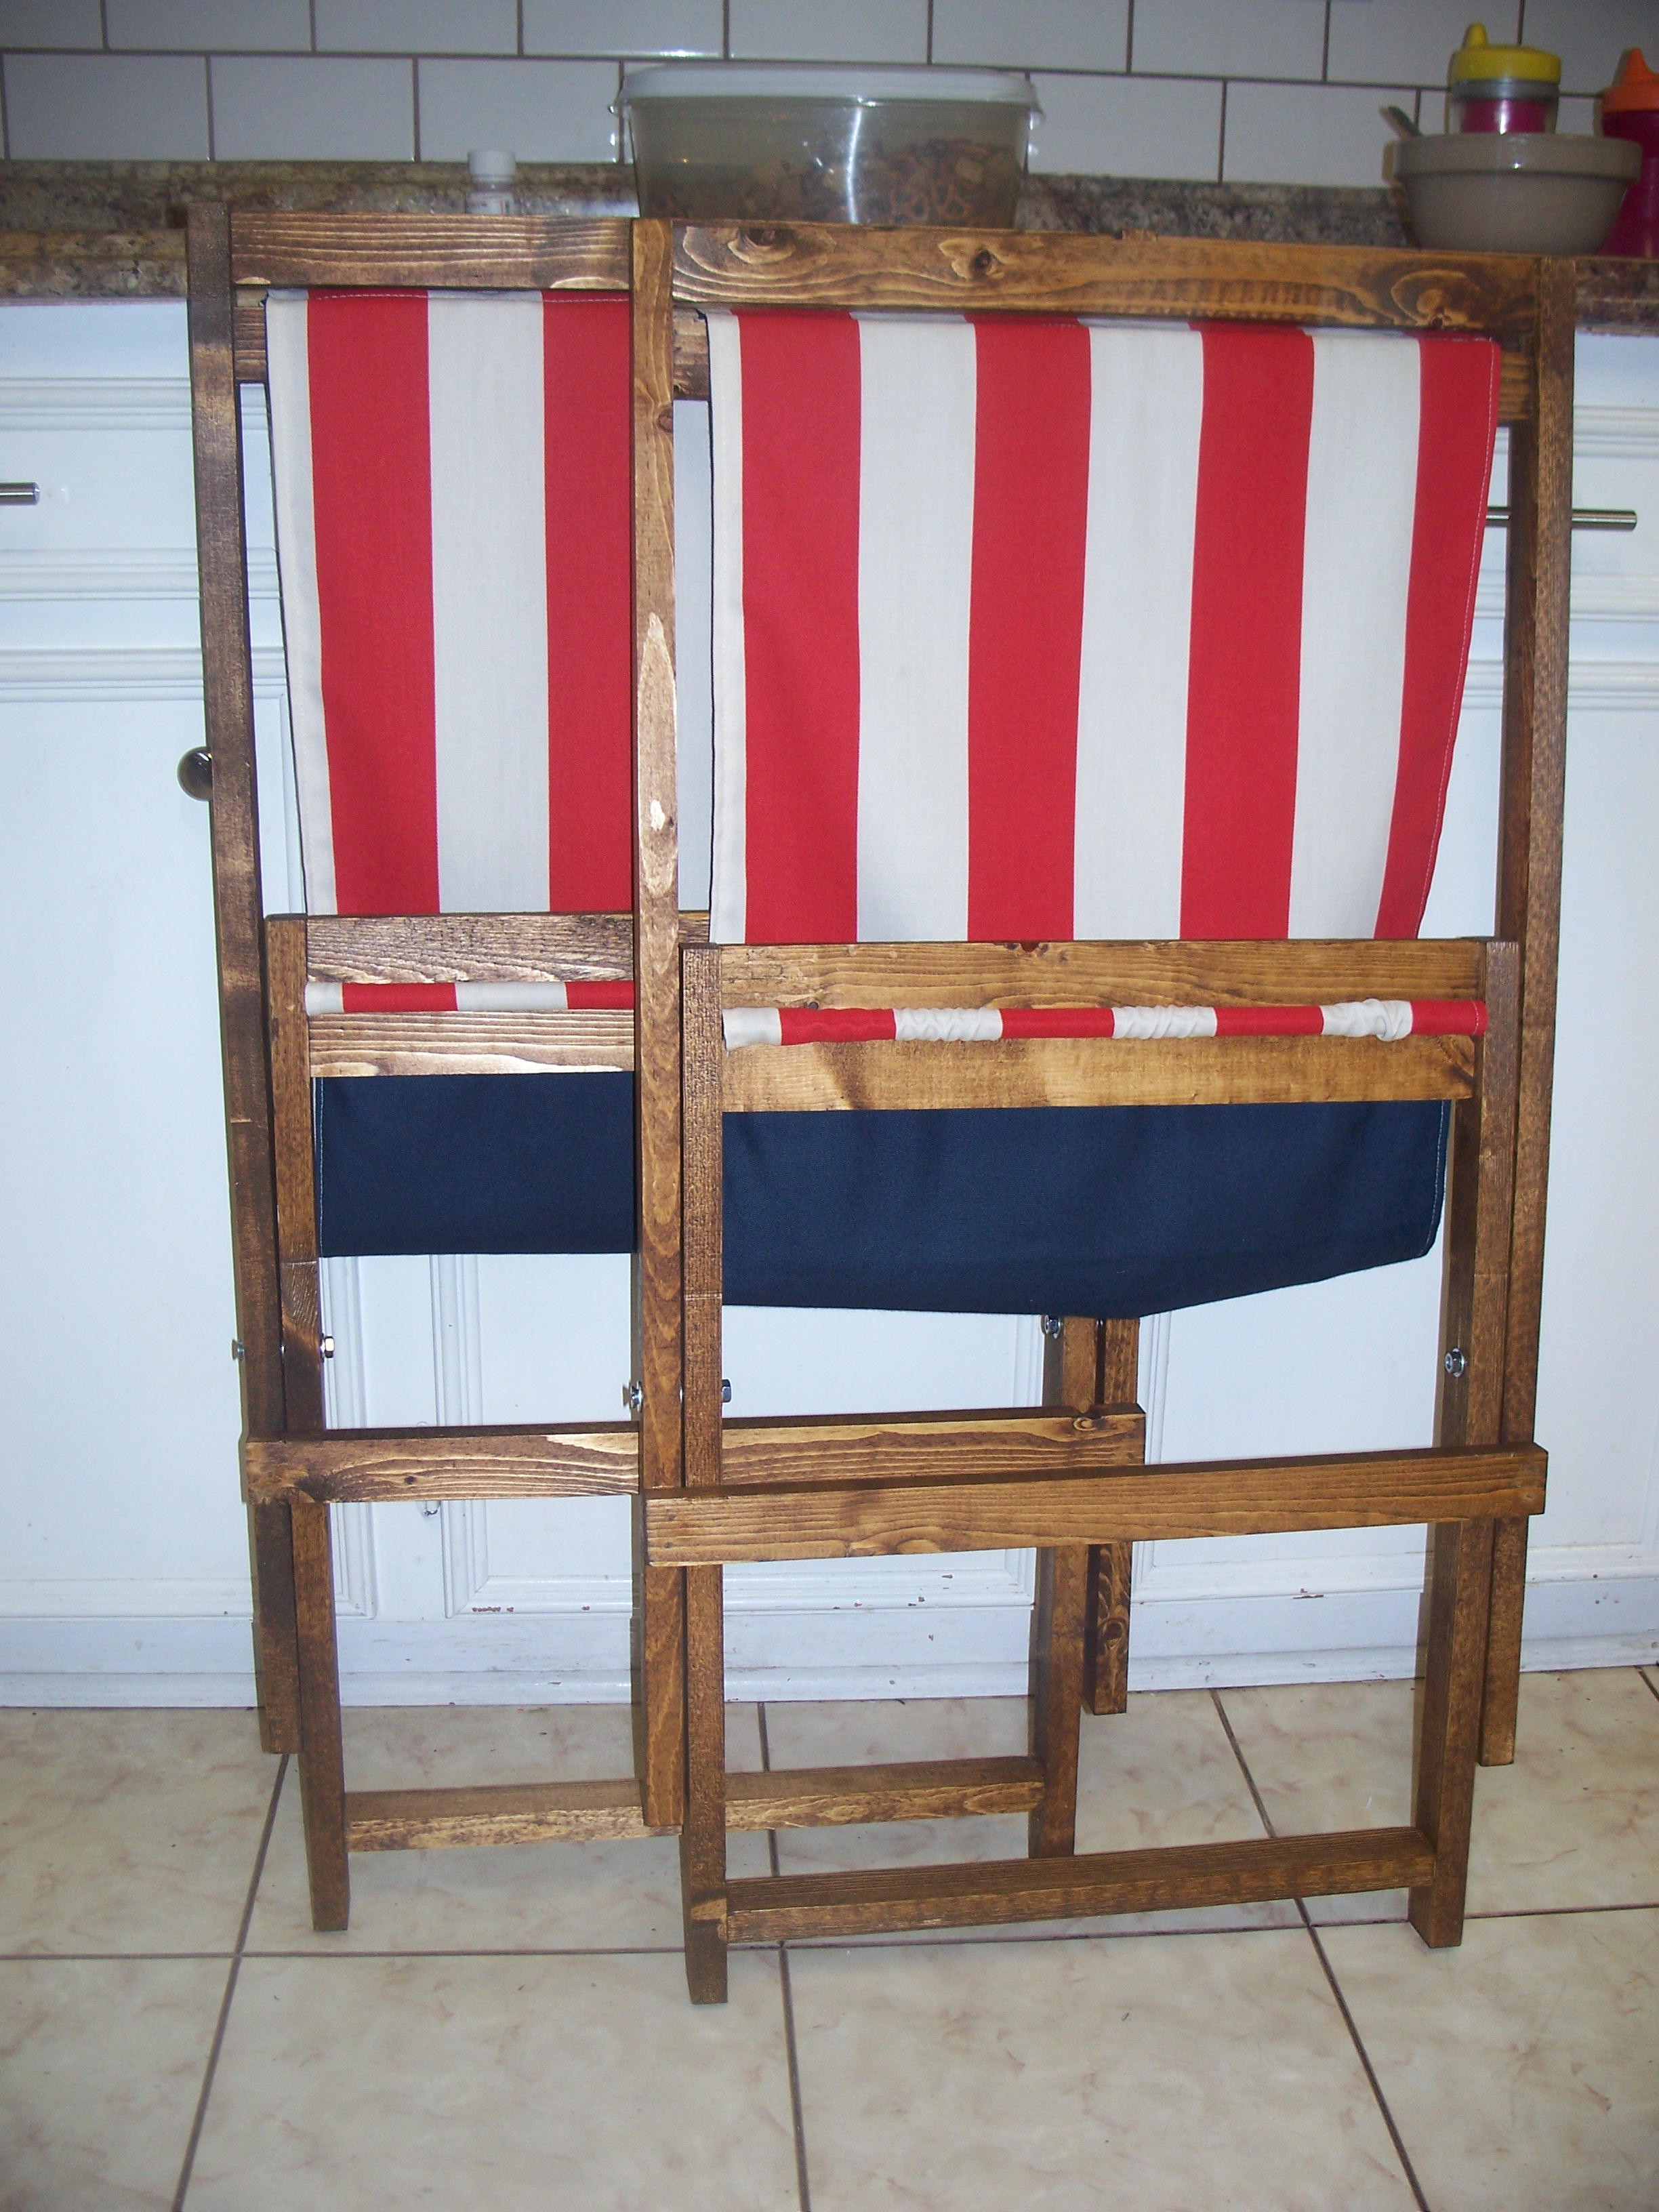
Placement of the connecting bolts is quite tricky and led to some misplaced holes : ( The stop blocks to the side of the legs aren't mentioned in her plan, but pictured, and are recommended in order to stop the legs from splaying too far. I used pocket holes for all joinery and no stain, just poly for the finish. The final coat I watered down some water based poly and wiped on for a smooth finish. Love it!
My wife and I are expecting our first child so I wanted to make a toybox for his toys. I liked the plan that i found on this website since the front piece had the cutout to reduce fingers getting pinched. I also added some spring assisted hinges to make help the lid stay up and also close a little softer than just regular hinges.
My overly ambitious first project, a laundry sorter! (Modified from Shanty2Chic plan: https://www.shanty-2-
My wonderful husband helped me with this project. This was our first project from Ana White plans. This took us longer than we anticipated but I think it was due to the finish and dry time of each layer. We plan on making a second one to give us a set. I added a decorative knob on the back piece to hang a towel from or bag. This was so much fun, a huge money saver and now a one of a kind piece. Thank Ana your site is amazing.
Sat, 08/03/2013 - 18:27
Very cute!! Love the finish and the knob idea too.
Saw this table and wanted to put it in my kitchen, looks great.