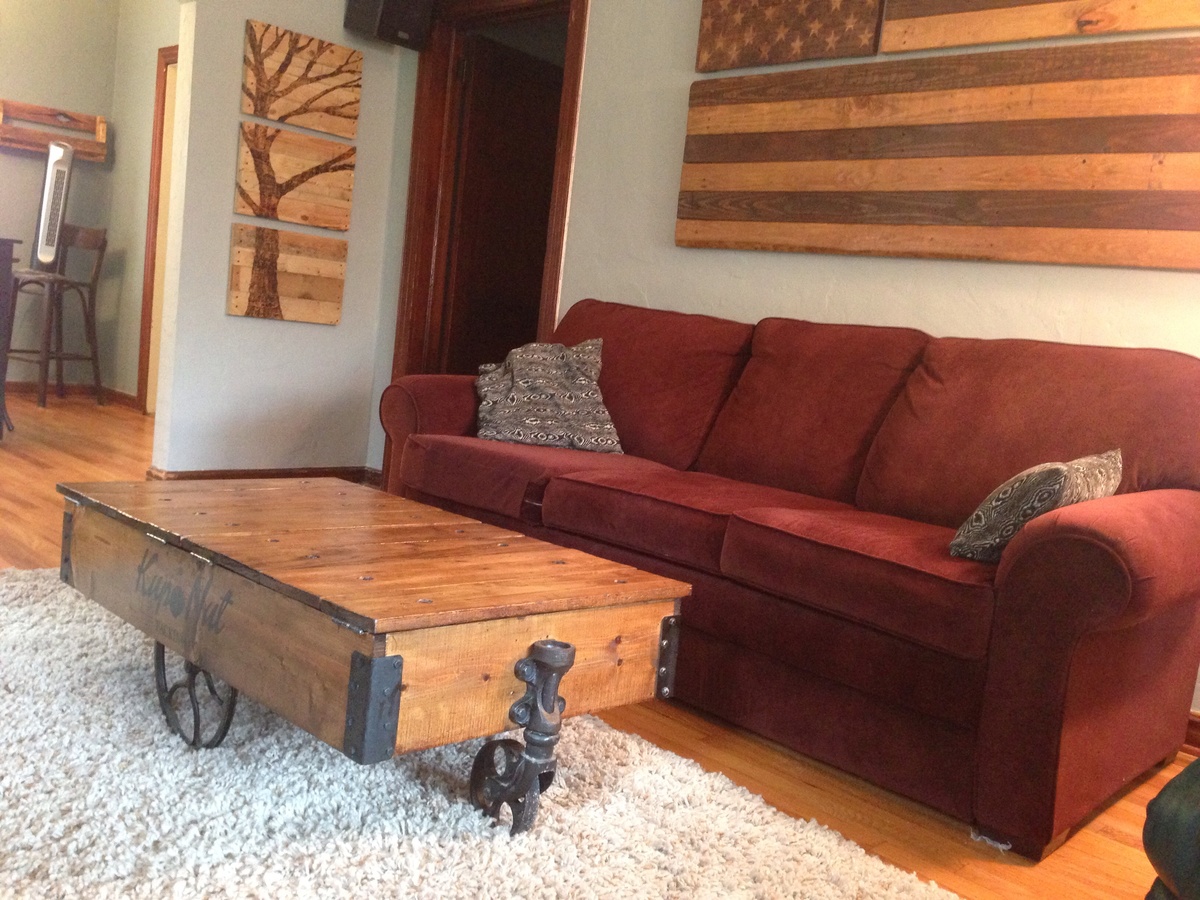
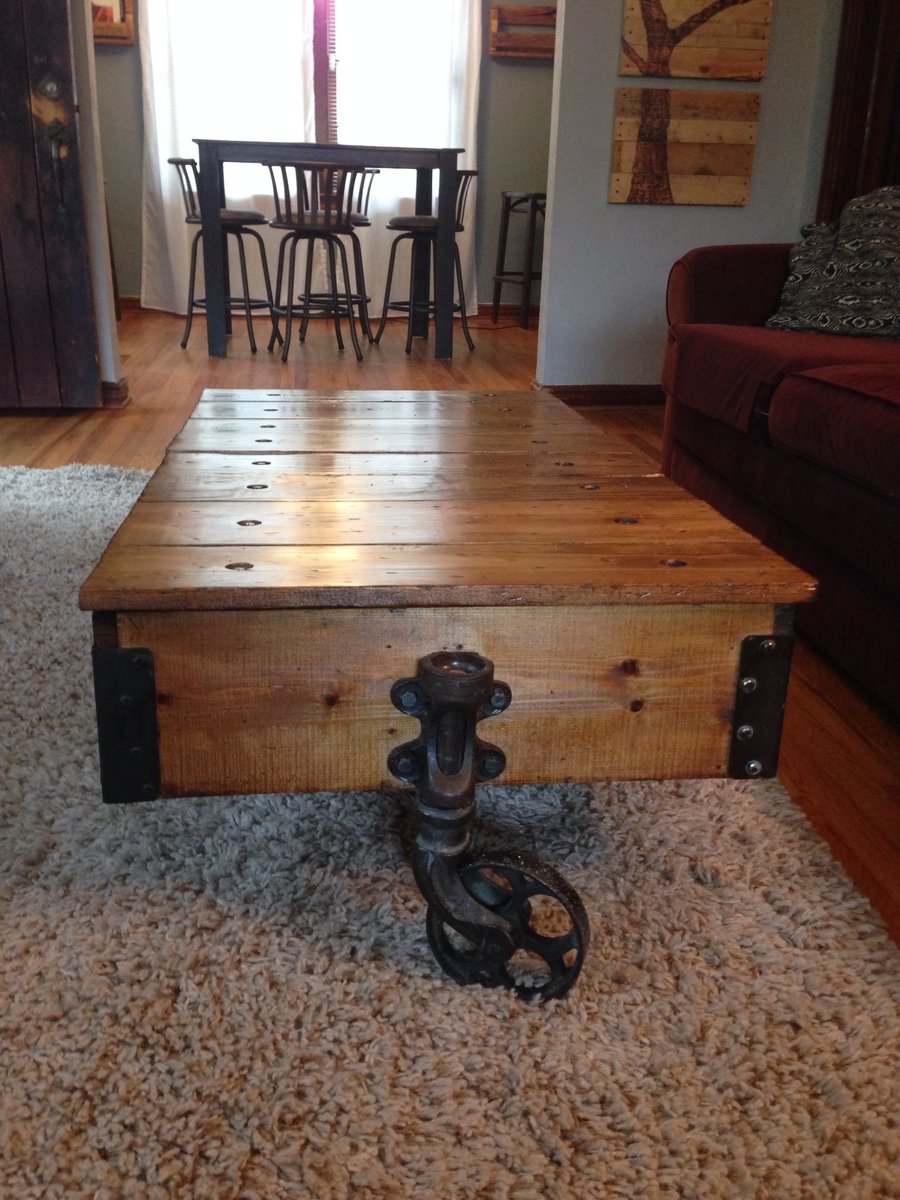
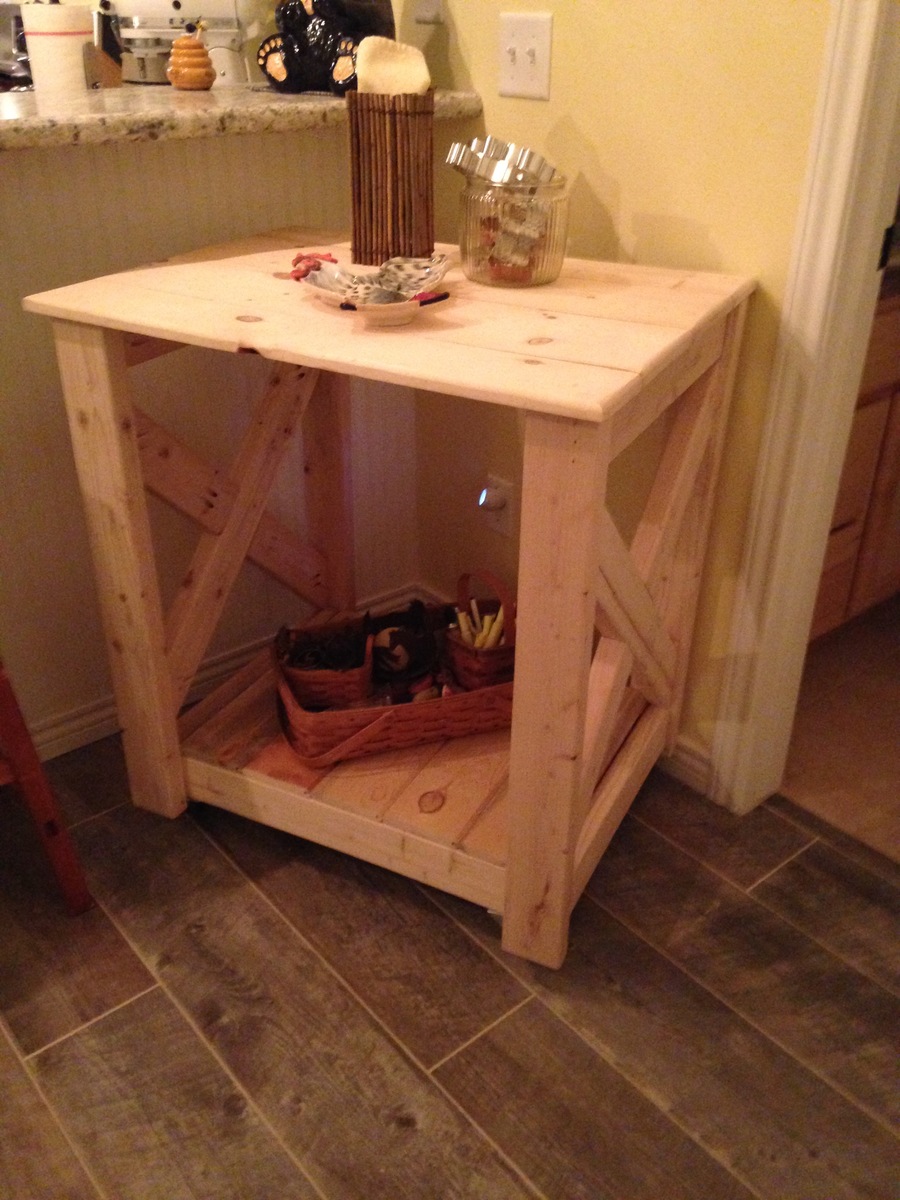
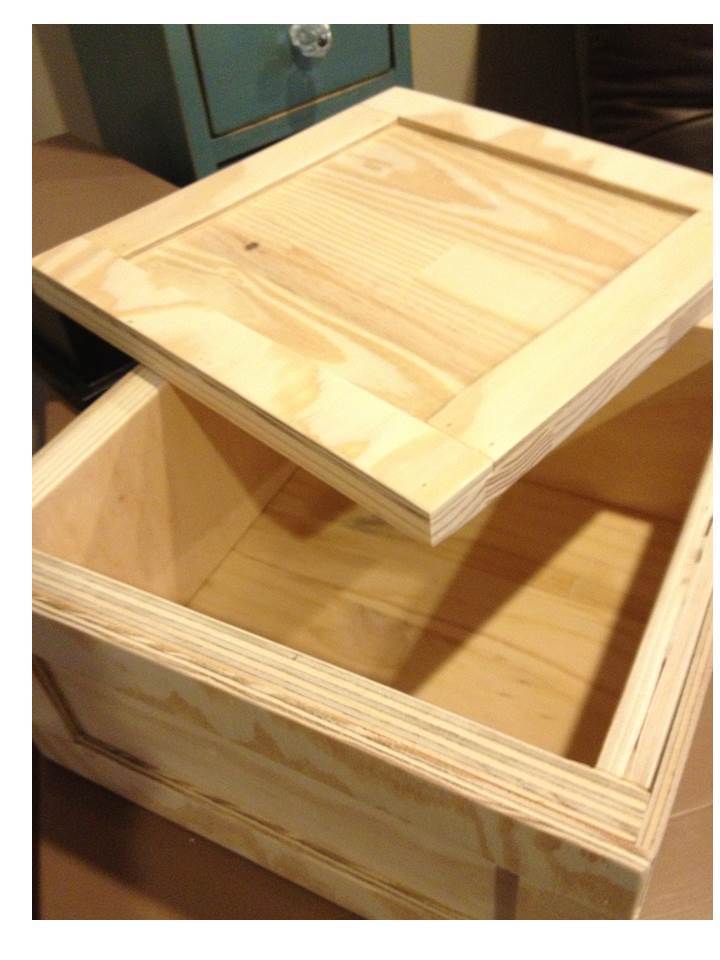
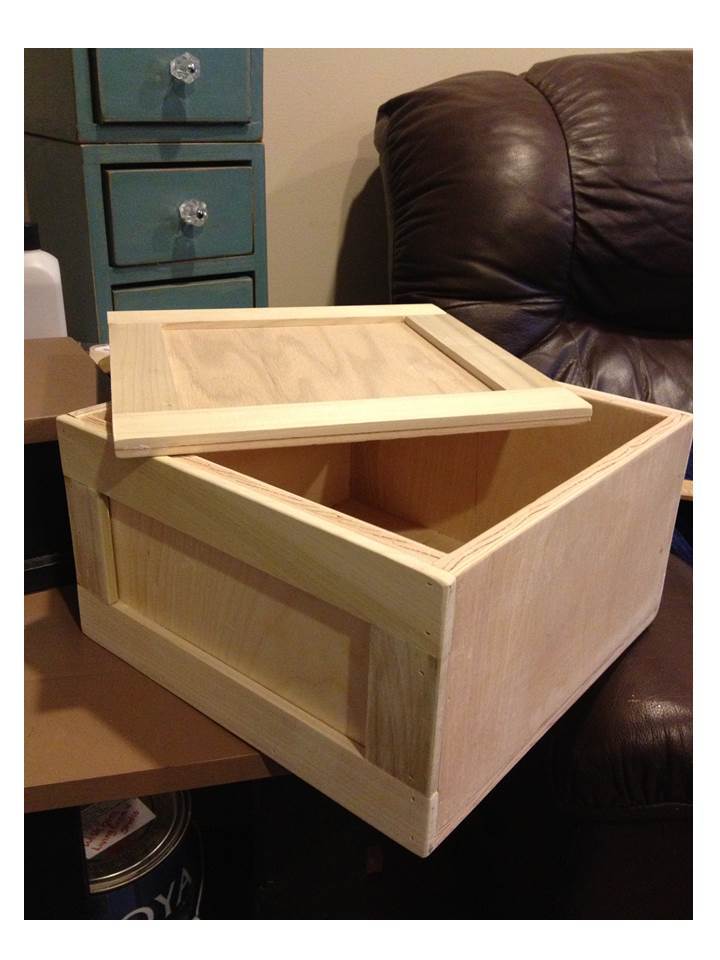
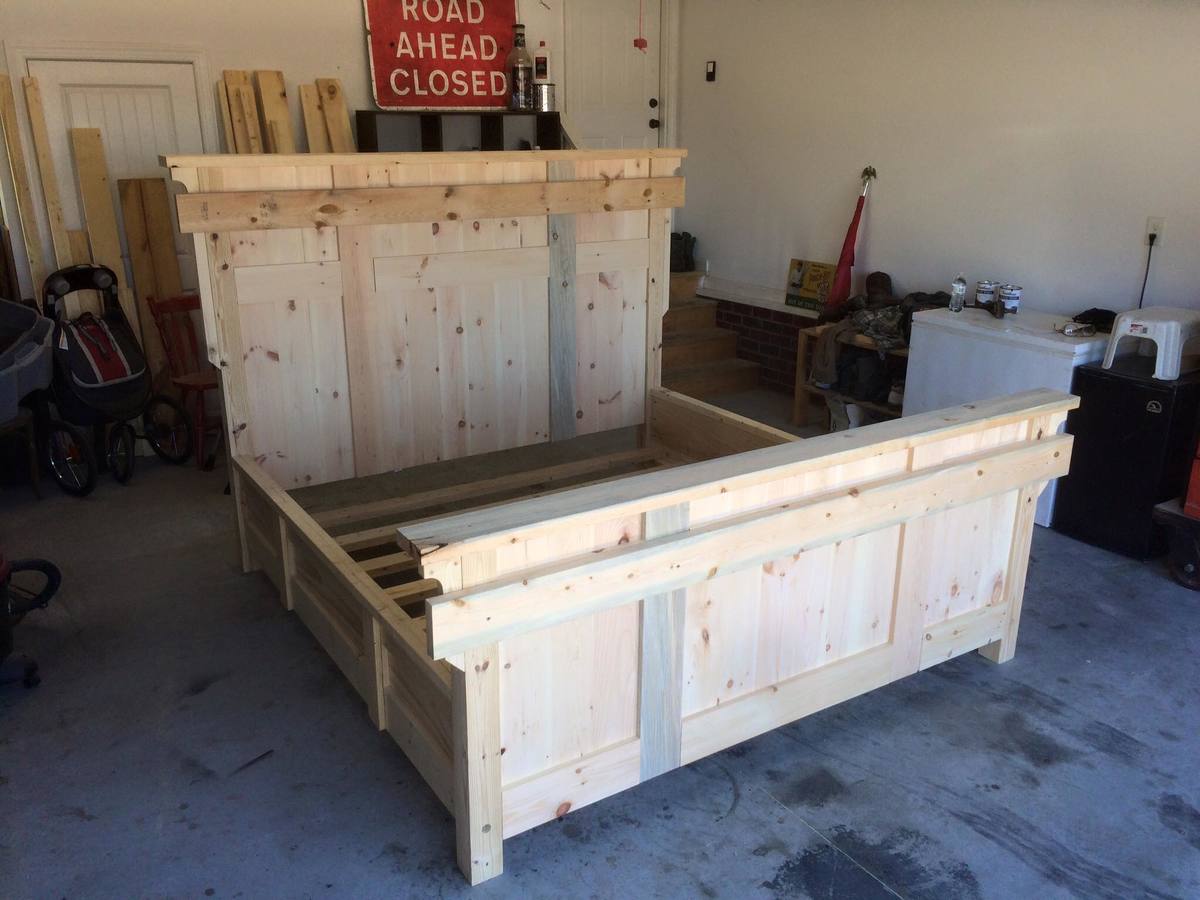
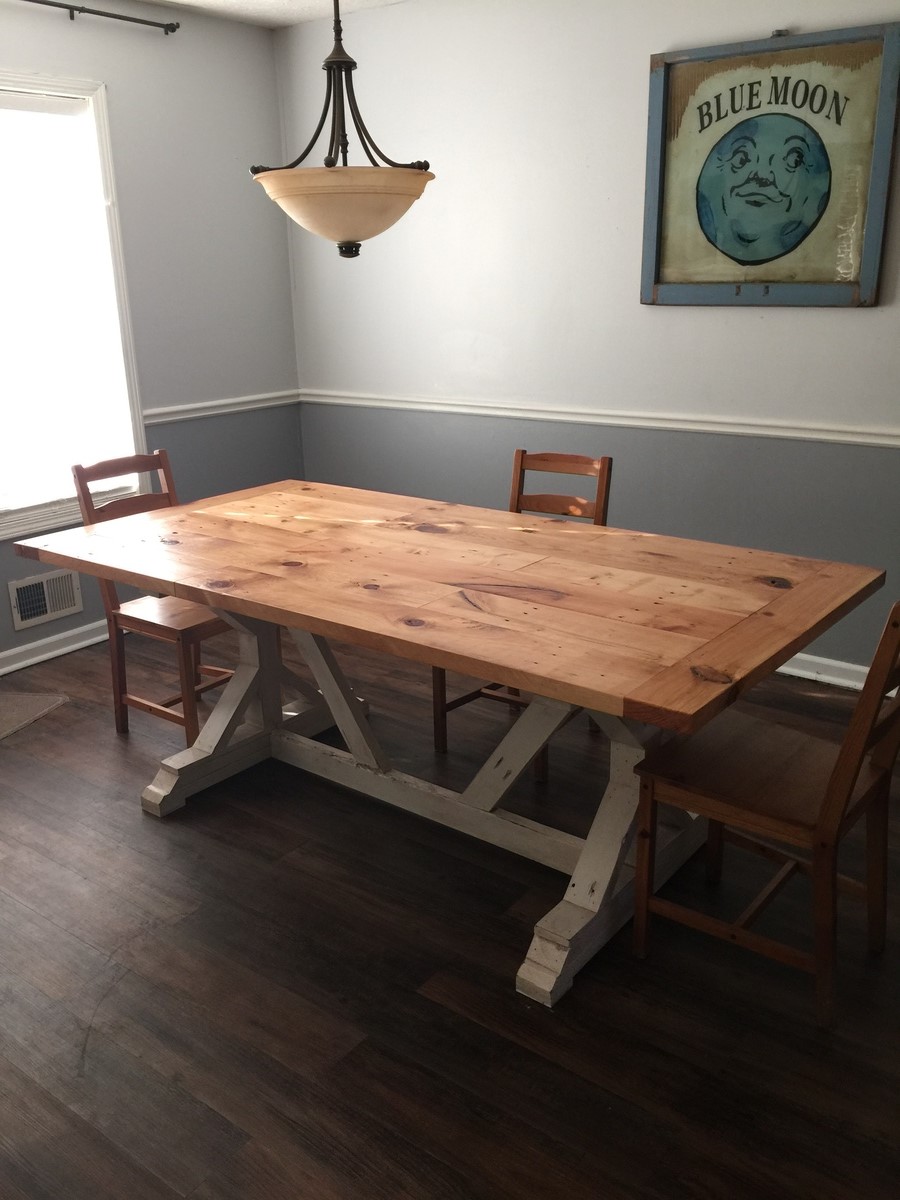
Factory Cart Coffee Table with Storage
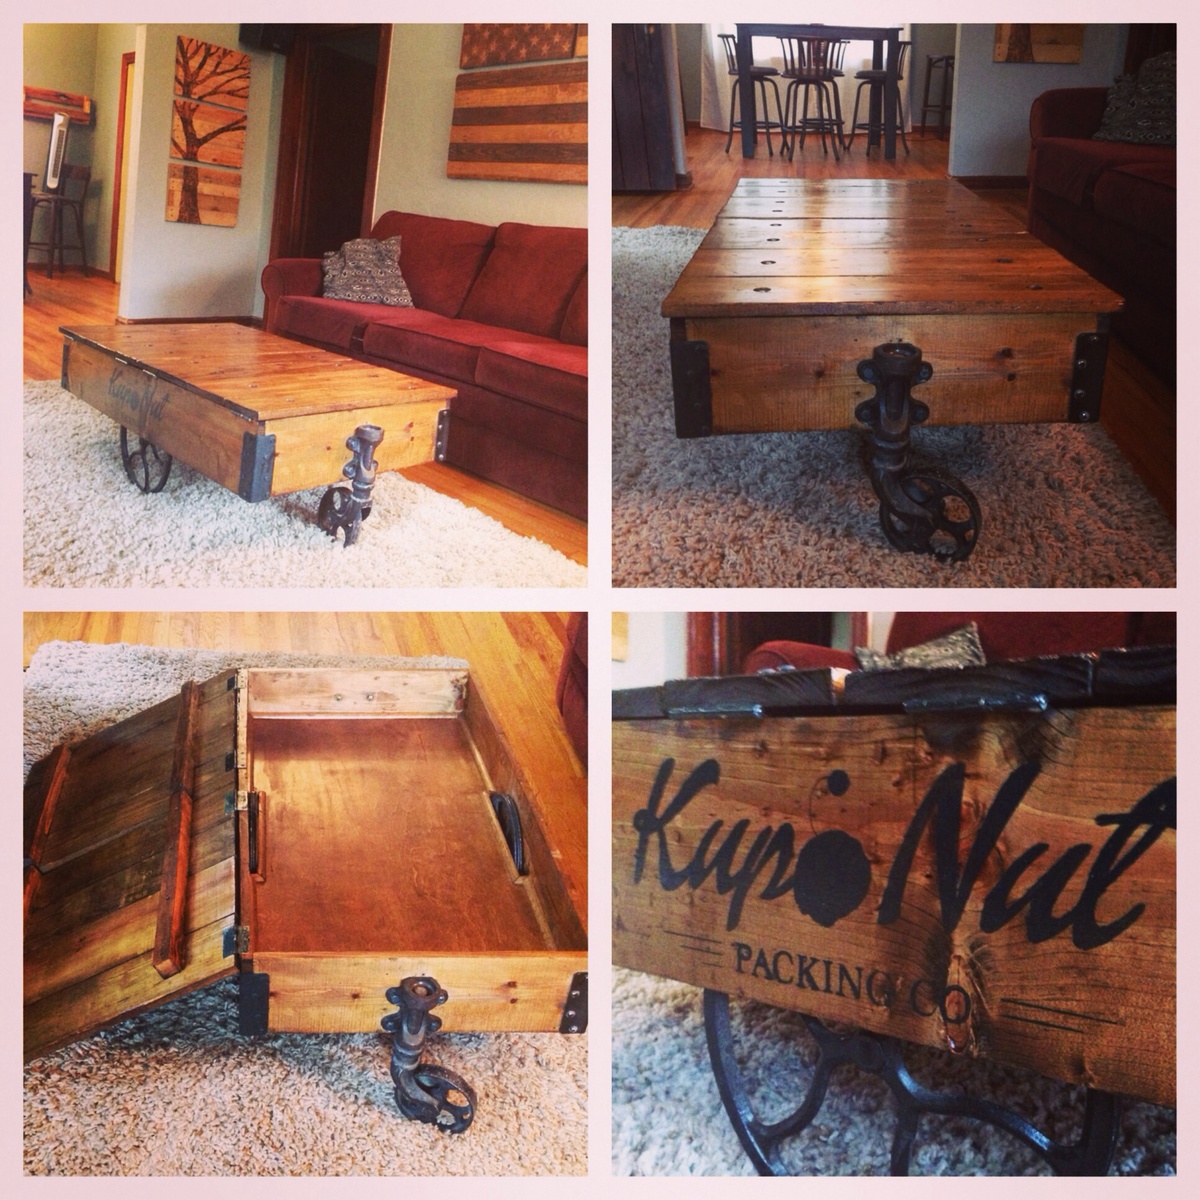
I have been longing to make a factory cart coffee table for years after seeing one in a local antique store in Jacksonville Florida. I started by following the dimensions from Ana Whites table and then decided to make the table top with the ability to open up into storage. I followed the plans and updated with hardware that I (painstakingly) pieced together from various sites online. I love the industrial feel the cast iron hardware brings to this adaptation and cannot wait to start building matching end tables. Thank you Ana for the inspiration!
Built from Plan(s)
Estimated Cost
$200
Estimated Time Investment
Week Long Project (20 Hours or More)
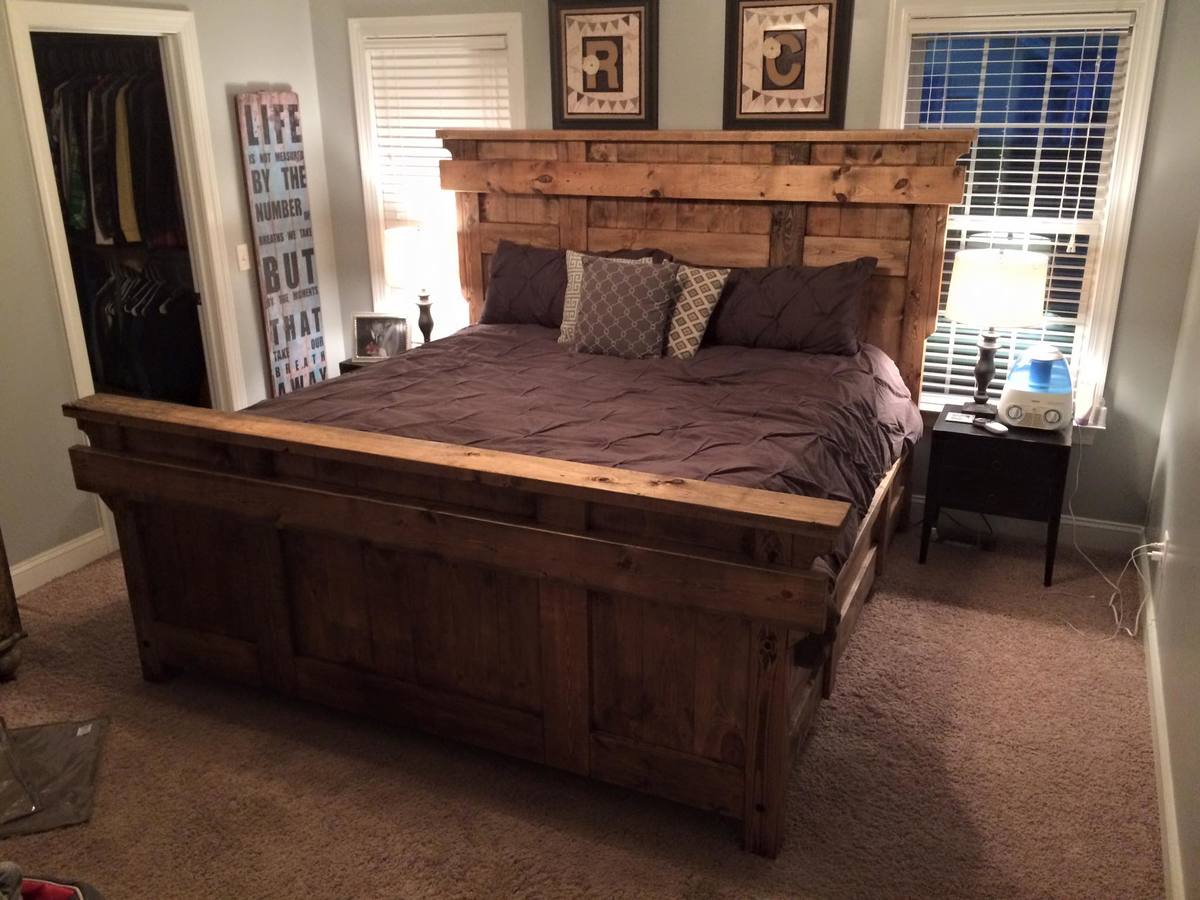
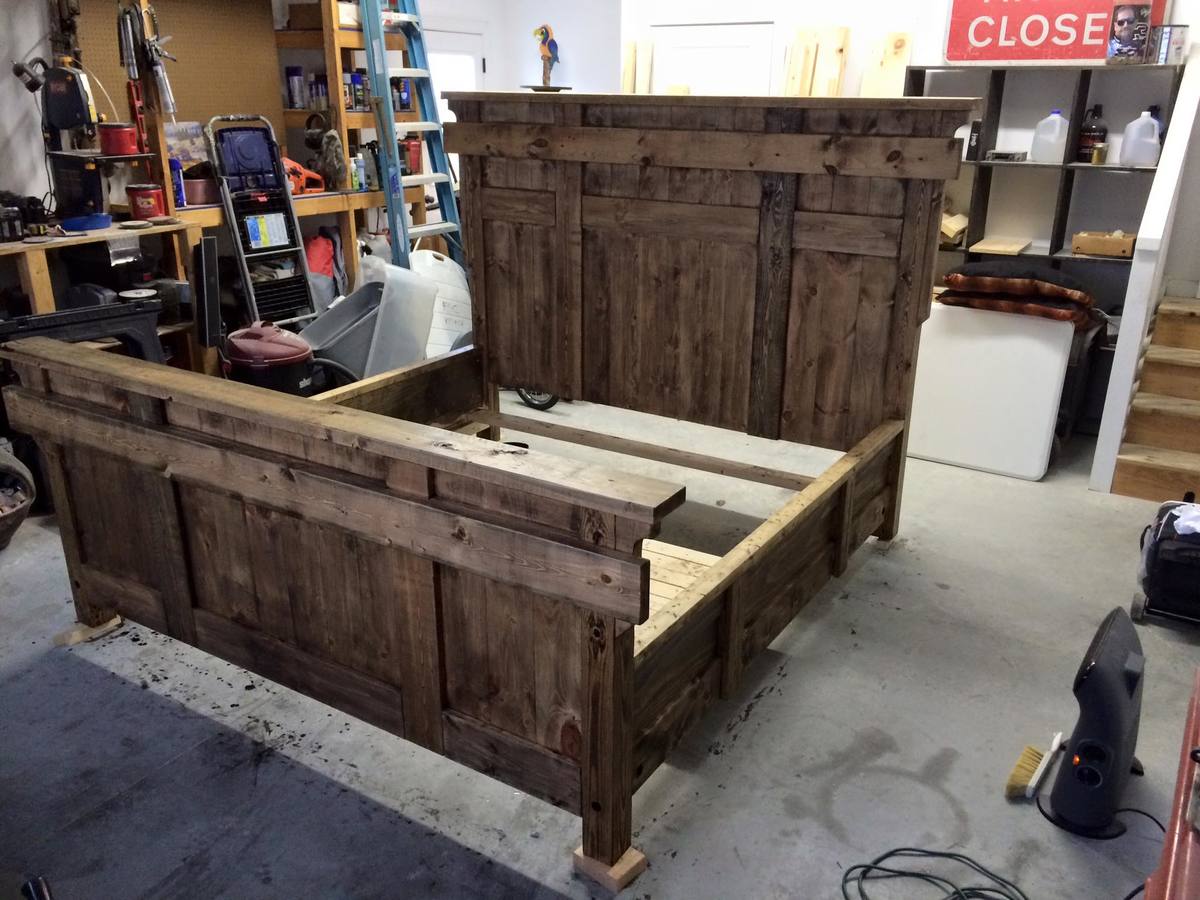
Finish Used
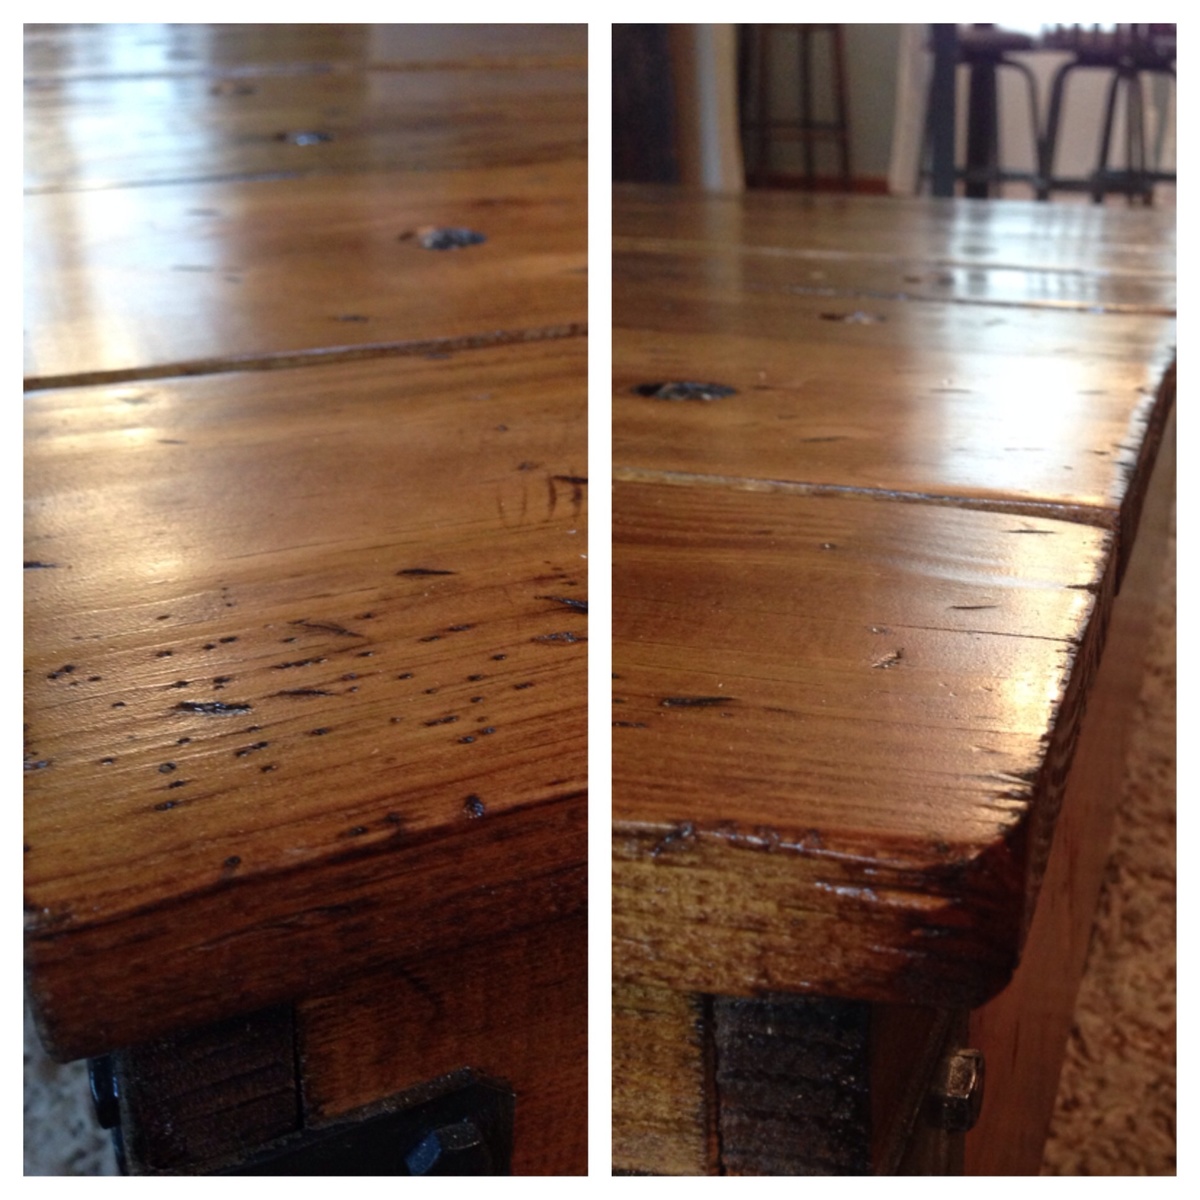
Minwax provincial stain for the primary and minwax espresso to detail the distressing and edges. Finished with 4 coats of minwax water based polyurethane
Recommended Skill Level
Intermediate


Comments
spiceylg
Wed, 11/06/2013 - 12:32
Fabulous!
This came out gorgeous!
jahnkekong
Wed, 11/06/2013 - 17:11
awesome!
Could you share any details about how you finished the wheels? I have a cart I am trying to refinish but stalling out on the cast iron parts. I really don't want to paint them, and I don't want them to rust.
Just noticed the Kupo Nut reference! I love it!
In reply to awesome! by jahnkekong
TongueAndTeak
Wed, 11/06/2013 - 19:16
Hardware finishing
Thank you so much for catching the Kupo nut reference! Haha I only felt it was fitting to add a little nerd flair :) rust oleum has a hammered black paint that also doubles as a rust inhibitor so it worked perfectly to touch up the cast iron parts and keep that rustic feel to the hardware. I finished with a clear top coat as I'm sure that I will end up constantly kicking the wheels by accident haha.
jahnkekong
Wed, 11/06/2013 - 19:51
Thanks so much, Kupo! ;0)
Thanks so much, Kupo! ;0) This is motivating me to FINALLY finish my project. Maybe I'll have my own brag post soon!
Cyber Sapp
Wed, 12/04/2013 - 18:45
Hardware
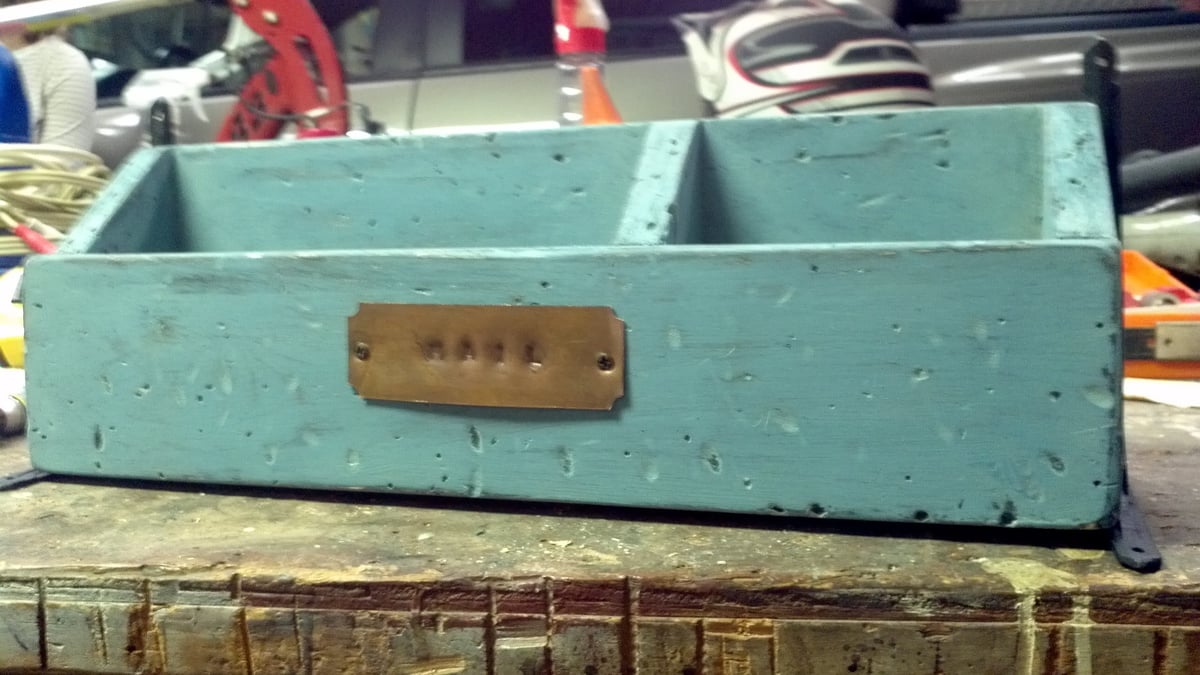
I know you mentioned it was painstaking to find all of hardware, but can you share where you found the front casters? Also how did you put your stamp on it? I'm knew to woodworking so please excuse my ignorance.
In reply to Hardware by Cyber Sapp
TongueAndTeak
Wed, 12/04/2013 - 19:18
Hardware Update
Hi cyber sapp! I was able to piece them together from eBay and etsy items. I searched for key words: "antique cast iron caster" or "factory/industrial cart wheel" and you should be able to find ones that work. I held out for the best deals I could. Be prepared to search quite a lot if you want to find the best deal.
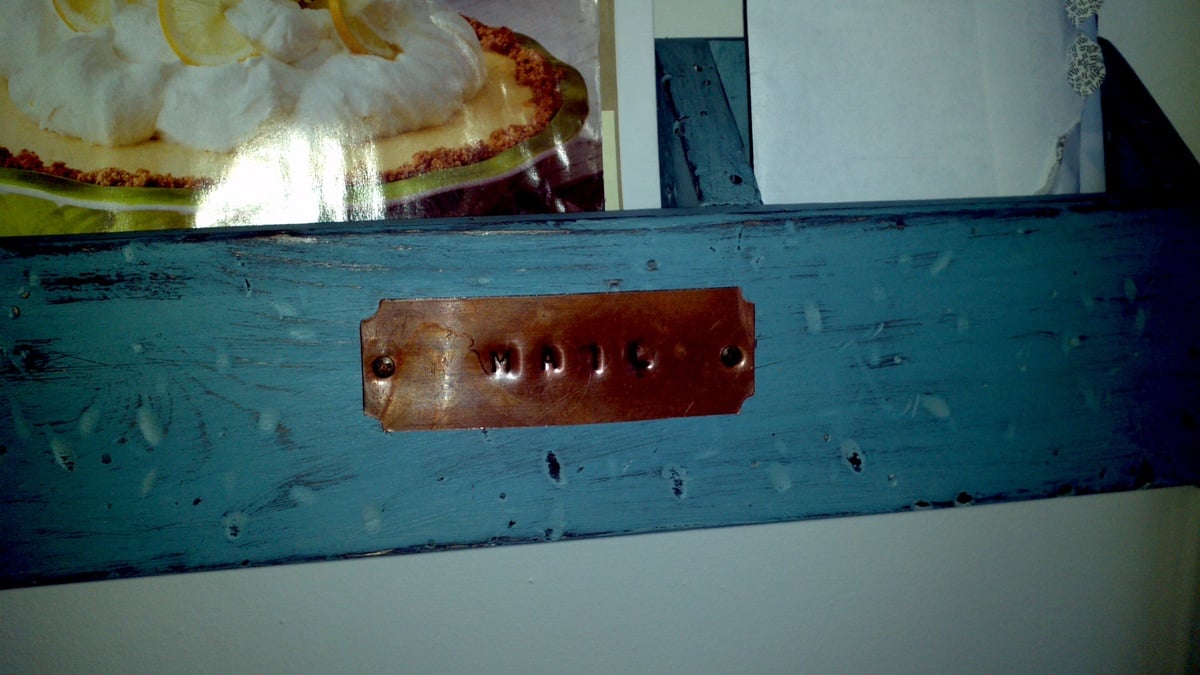
As far as the decal is concerned, I created the template on illustrator and used it as a template to paint the decal on. I checked online and saw a few examples of transferring images on to wood that will probably be easier than hand painting. Hope this helps!!
Cyber Sapp
Wed, 12/04/2013 - 22:25
Thanks for the quick response
Thanks for the update. I made one similar to your modifications. I'm using storage too, I will share once I get the soft close installed. I'm looking for something that want slam fingers when it is closed. I also used Walnut to build it. It is solid like a tank with the hardwood, but came out pretty good. I made a few minor mistakes and now want to make one closer to yours.
In reply to Thanks for the quick response by Cyber Sapp
TongueAndTeak
Tue, 12/17/2013 - 21:19
Oh wow I bet the walnut looks
Oh wow I bet the walnut looks amazing!!! That's a serious upgrade! Can't wait to see it!
Mandymoochops
Mon, 12/16/2013 - 23:30
What an amazing job you did,
What an amazing job you did, I'm still holding out for my end wheels too and you are so right about search search search. It doesn't help being in Canada with shipping costing so much for these too.
Love love love, well done
In reply to What an amazing job you did, by Mandymoochops
TongueAndTeak
Tue, 12/17/2013 - 21:23
Thank you very much!! I do
Thank you very much!! I do not envy you right now as the search took me forever to find the right wheel that matched one I already had. I have had good luck in the past asking eBay sellers about changing to flat rate shipping options. Not sure if they have that option for shipping internationally but it never hurts to try! Keep up the good fight as the wheels REALLY pay off in the end.
Dlamota2052
Thu, 03/26/2020 - 04:52
Beautiful linberry table!
Very nice.....building one if my own with modifications,!