Community Brag Posts

Octagon Picnic Table

Submitted by athingvall on Thu, 02/07/2019 - 15:05

My 11 year old daughter and I built this table in a weekend for a fundraising auction for her school.  We changed out 2x6 for 5/4x4 Cedar.  We also fixed nailers on the underside so no screws show.  The table was a fun project to work together on and for Taylar to learn to use power tools.  BTW the table raised $700.00 for her school, I would say that is awesome.  Thanks Anna for the plans!!

Estimated Cost
220$
Estimated Time Investment
Weekend Project (10-20 Hours)
Finish Used
Spar Urethane
Recommended Skill Level
Intermediate

Comments

Pantry Storage Spice Rack

Submitted by redhead_61 on Mon, 09/19/2011 - 21:49

I am kind of a visual organizational neat freak and I have been annoyed by all the little things taking up good shelf space in my pantry for a long time now. This just kept getting pushed down the list ya know, not a major project. Anyway, grabbed an extra board at the store the other day and knocked this one out. I LOVE it. I made it short because I want to build a trash bag holder for the bottom half of the door. We'll see how long it takes me. I did use a 1x4 instead of Ana's plan which uses a 1x6. I only needed small things to put in here.

Built from Plan(s)
Estimated Cost
$5
Estimated Time Investment
An Hour or Two (0-2 Hours)
Finish Used
White Paint
Recommended Skill Level
Starter Project

Comments

SingleMomThriving

Tue, 09/20/2011 - 10:04

Looks like the 1x4 was a perfect fit for all those little items, especially the wraps which get pushed to the back all the time and the pasta boxes. I feel some inspiration coming on.....

lianatempera

Tue, 09/20/2011 - 14:16

This is awesome. I should probably do this for my pantry, as well. Thanks for the inspiration!

Cindy from Indiana (not verified)

Wed, 09/21/2011 - 09:31

I love it! Great price,too!

I especially love how the design corals all those pesky little things that always seem to get pushed all the way to the back of my cabinets and drawers.

I'm definitely putting this on my list of things to build!

Cindy from Indiana

Jen Pedro

Wed, 09/21/2011 - 13:34

I assume your door is the usual hollow pantry door. What type of anchors did you use to hold the shelves in place? Did you use standard wall anchors with your screws?

Looks great!

redhead_61

Thu, 09/22/2011 - 08:19

I just got an anchor that looked like it had a little more 'umph' to it. It is called a Cobra Tripple Grip. It looked like it had a section that popped open a little more once the screw went in. I thought that might hold it a little more securely. I feel no movement when I jiggle it at all.

Chris A (not verified)

Sun, 01/15/2012 - 08:29

Very nice project.
Just came along looking for a storage shelf and I saw your door shelf. Going to build one of these for sure, sick of the little wire ones we have falling down every other day.

Greenheart Bathroom Vanities

I've been working on these bathroom vanities for a family building a home. These are made of gorgeous Greenheart lumber. I have only worked with pine and spruce up to this point, but this wood is truly stunning. It has been quite the adjustment to work with, and I've broken my share of bits and screws :)

All of these together took me about a week to complete. Had I been working with a softer wood it would have taken no time hardly, but the hardwood....that's a whole other ballgame to me!

They will be adding 2'' thick concrete counter-tops on these when they get installed. I love the simplicity of their look!

Built from Plan(s)
Estimated Cost
No idea on what this wood costs (and the costs to get it to where I live)
Estimated Time Investment
Week Long Project (20 Hours or More)
Finish Used
Unfinished in these photos. They are still trying to decide the final finish.
Recommended Skill Level
Intermediate

Comments

NimbleShopper

Tue, 10/01/2013 - 07:35

These vanities are beautiful. It would be really neat if you could add pictures when they are installed with the counter tops! I am contemplating replacing a vanity with a DIY one, and I love seeing how other people have made things beautiful with their own 2 hands.

Chunky leg bedframe

Submitted by Anonymous (not verified) on Tue, 02/12/2019 - 17:43

I got tired of sleeping on the floor like college kids, but I didn’t want to buy a junky particle board bedframe. My husband and I are novice woodworkers. Even still, we bought the lumber around noon and managed to finish the whole project in about 5-6 hours! We used a Kreg jig for the first time and it was pretty simple. I am really pleased with how this turned out, and I can’t wait to try more of Ana’s plans in the future.

Estimated Cost
$100 including the cost of pockethole screws and finishing nails.
Estimated Time Investment
Day Project (6-9 Hours)
Recommended Skill Level
Beginner

Outdoor chair frames and coffee table

I built a set of chairs and a coffee table for our newly designed outdoor area. These look amazing and people love sitting on them and hanging out outside our house.

Comments

Seasonal And Holiday

Clara table and $4 chair

Submitted by newtowood on Mon, 09/26/2011 - 15:44

This was a gift to my good friends son. She said he needed a desk for his homework, but I hear he's using it as a dinner table. :) It was a fun project.

Built from Plan(s)
Estimated Cost
$15-$20
Estimated Time Investment
Day Project (6-9 Hours)
Finish Used
Sanded, primer, paint, stenciled
Recommended Skill Level
Starter Project

Comments

Reclaimed from 100 year old farmhouse

Submitted by Richard714 on Thu, 10/03/2013 - 07:27

I was so excited to see this plan and knew what to do with the wood I had recently acquired when an old home was being destroyed near my house.
Love the site and the projects are too much fun!

Estimated Time Investment
Week Long Project (20 Hours or More)
Finish Used
Lacquer over danish oil
Recommended Skill Level
Intermediate

Comments

Pottery Barn knock off

Submitted by Anonymous (not verified) on Wed, 12/23/2015 - 12:13

I painted mine black and distressed it. Stained the top and distressed parts with MinWax American Walnut poly stain. Hardware from Van Dykes Restores. Used piano spring loaded lid supports for lid.

Built from Plan(s)
Estimated Cost
$110
Estimated Time Investment
Weekend Project (10-20 Hours)
Finish Used
Minwax poly
Recommended Skill Level
Intermediate

Pub style farmhouse table

Submitted by Anonymous (not verified) on Sat, 01/14/2023 - 09:51

Made this for my daughters family spent hours upon hours on that finish!

Comments

Barn Beam Shelf

Submitted by amym on Sun, 10/02/2011 - 12:01

These shelves were easy to make and are sturdy also. I haven't gotten frames for my pictures yet - I was so excited to hang up my shelf.

Built from Plan(s)
Estimated Time Investment
Afternoon Project (3-6 Hours)
Recommended Skill Level
Beginner

Rustic X coffee table and end tables

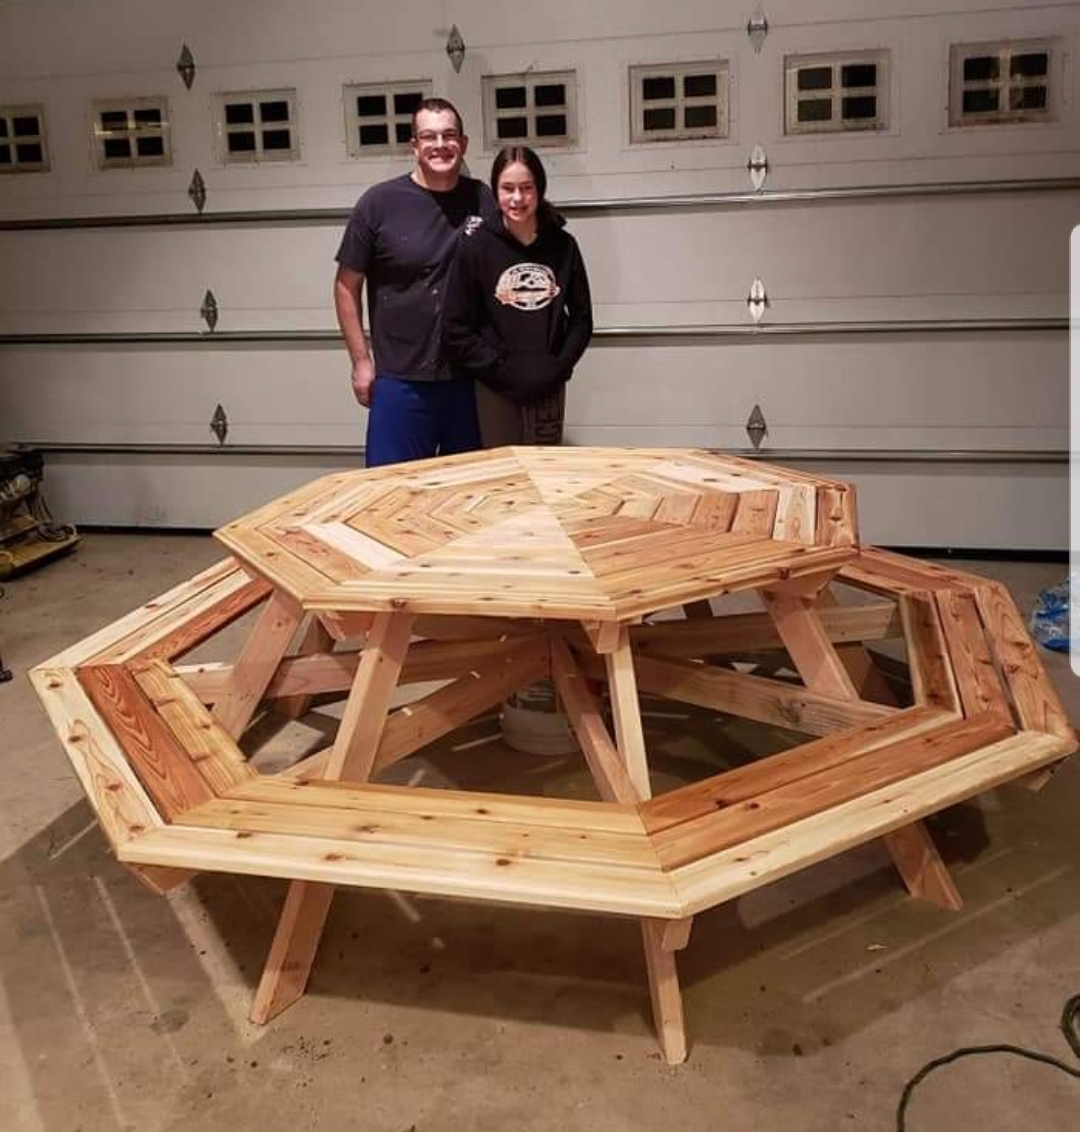
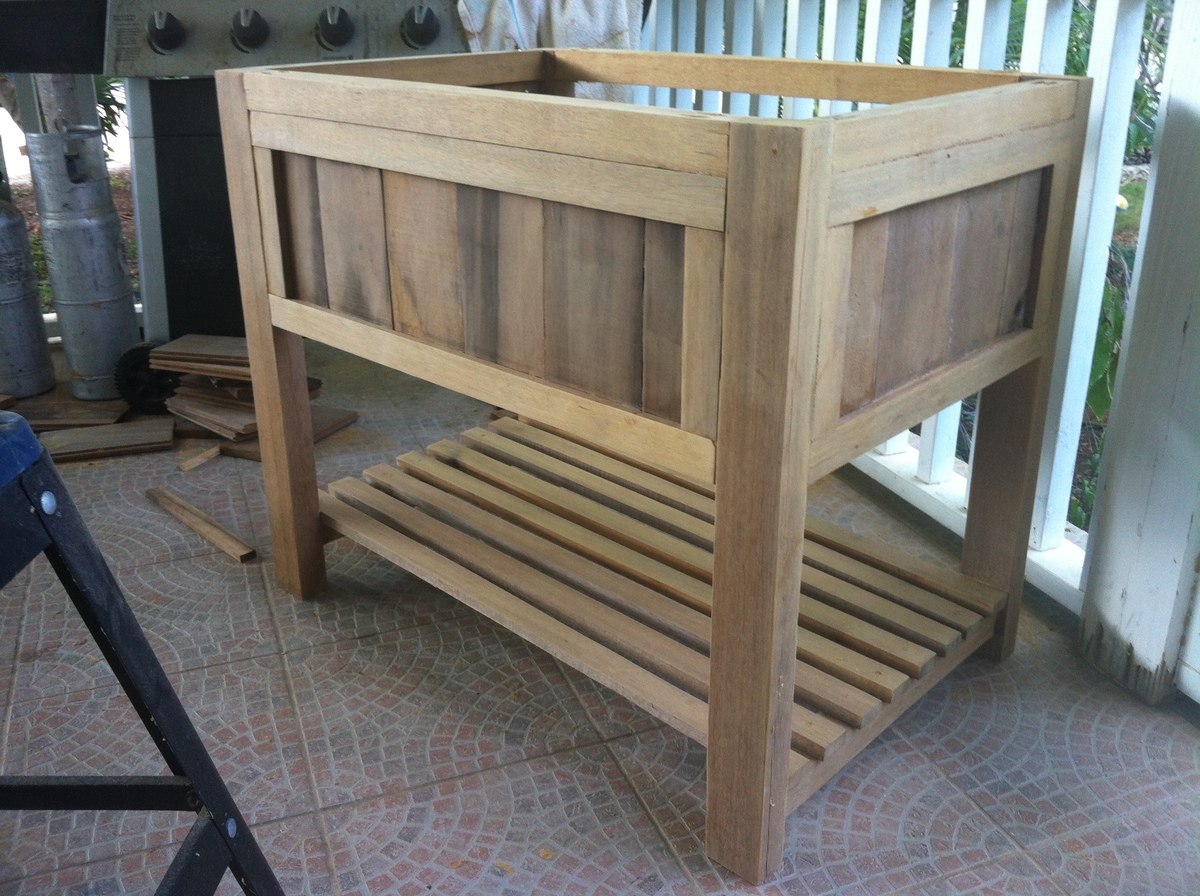
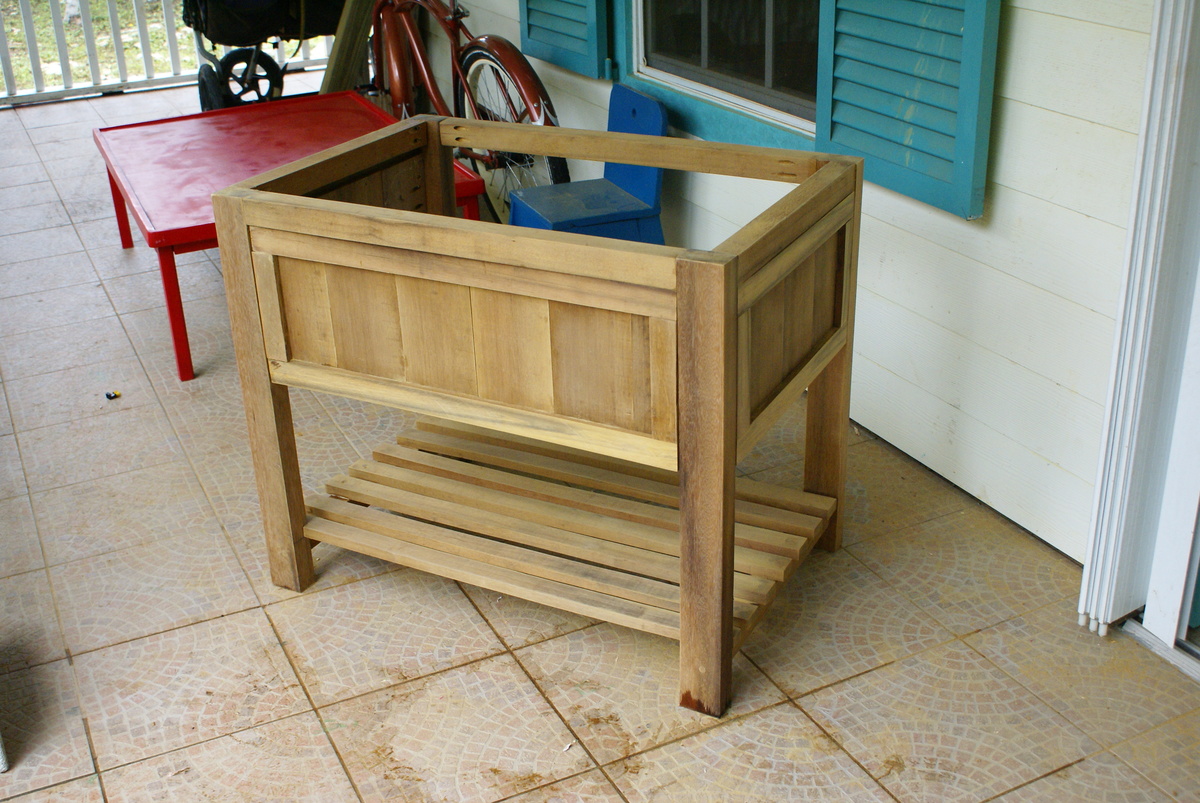
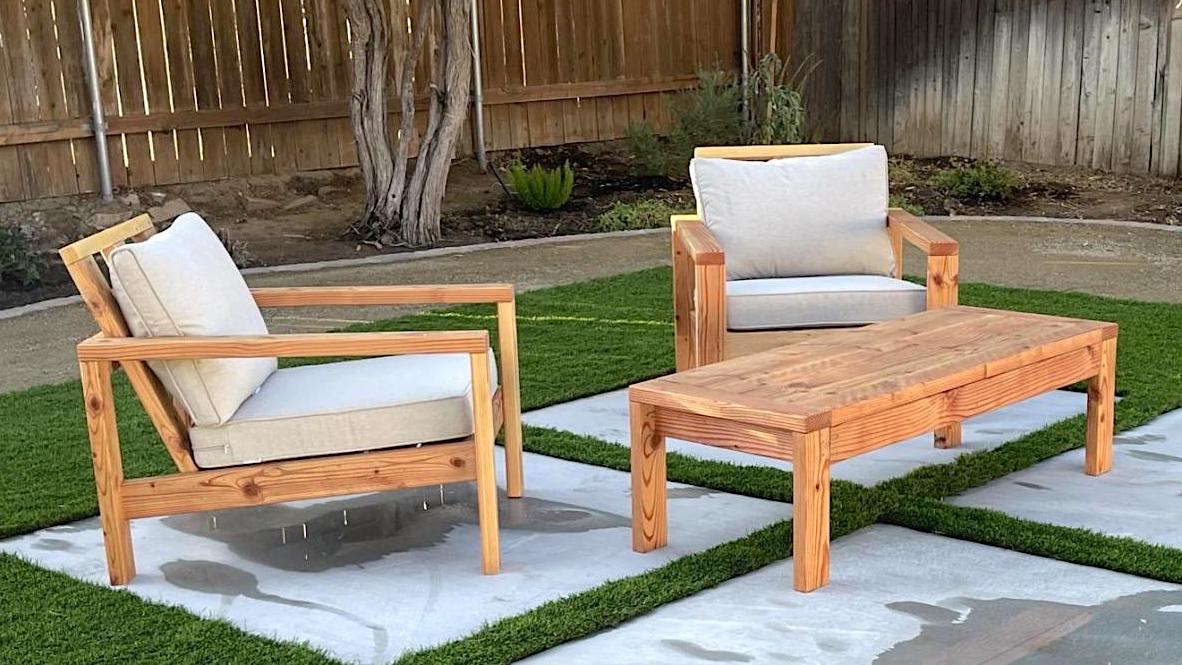
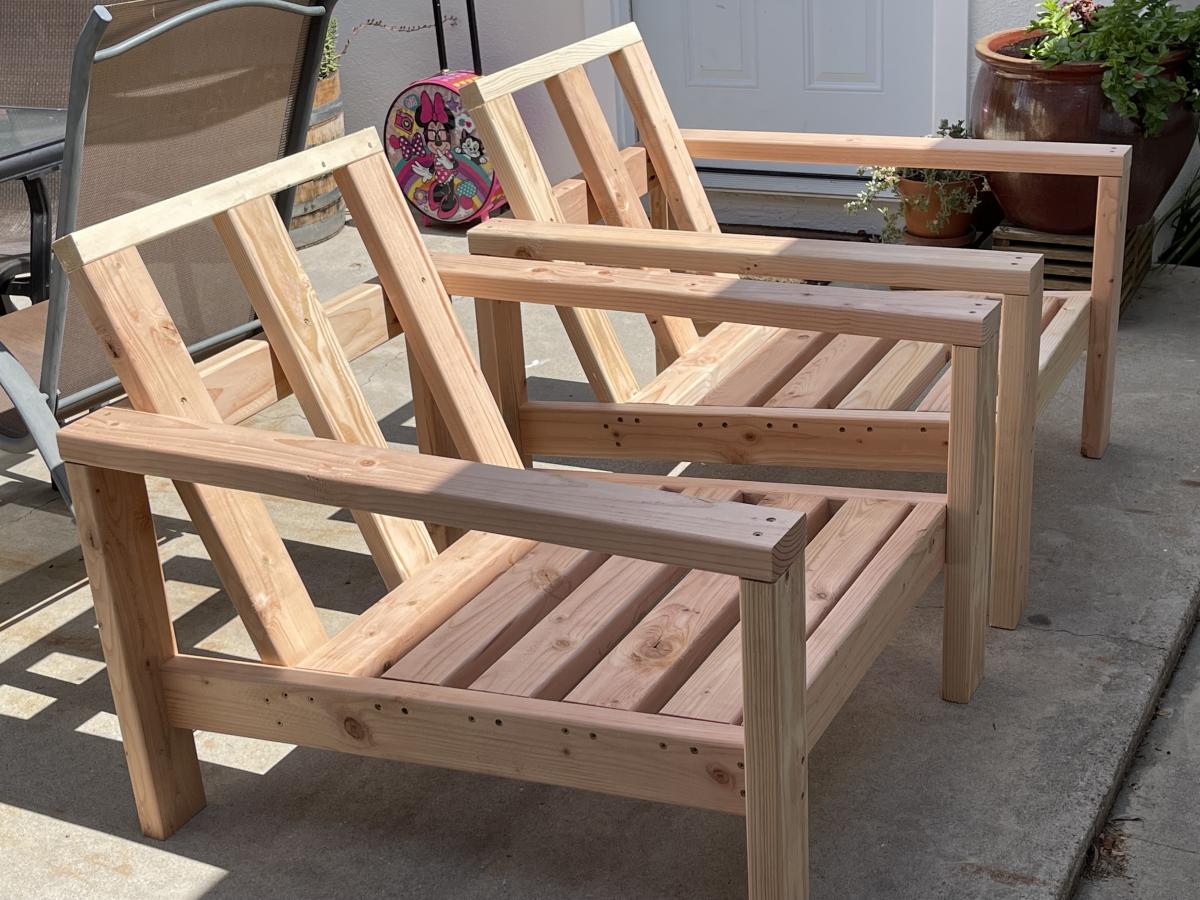
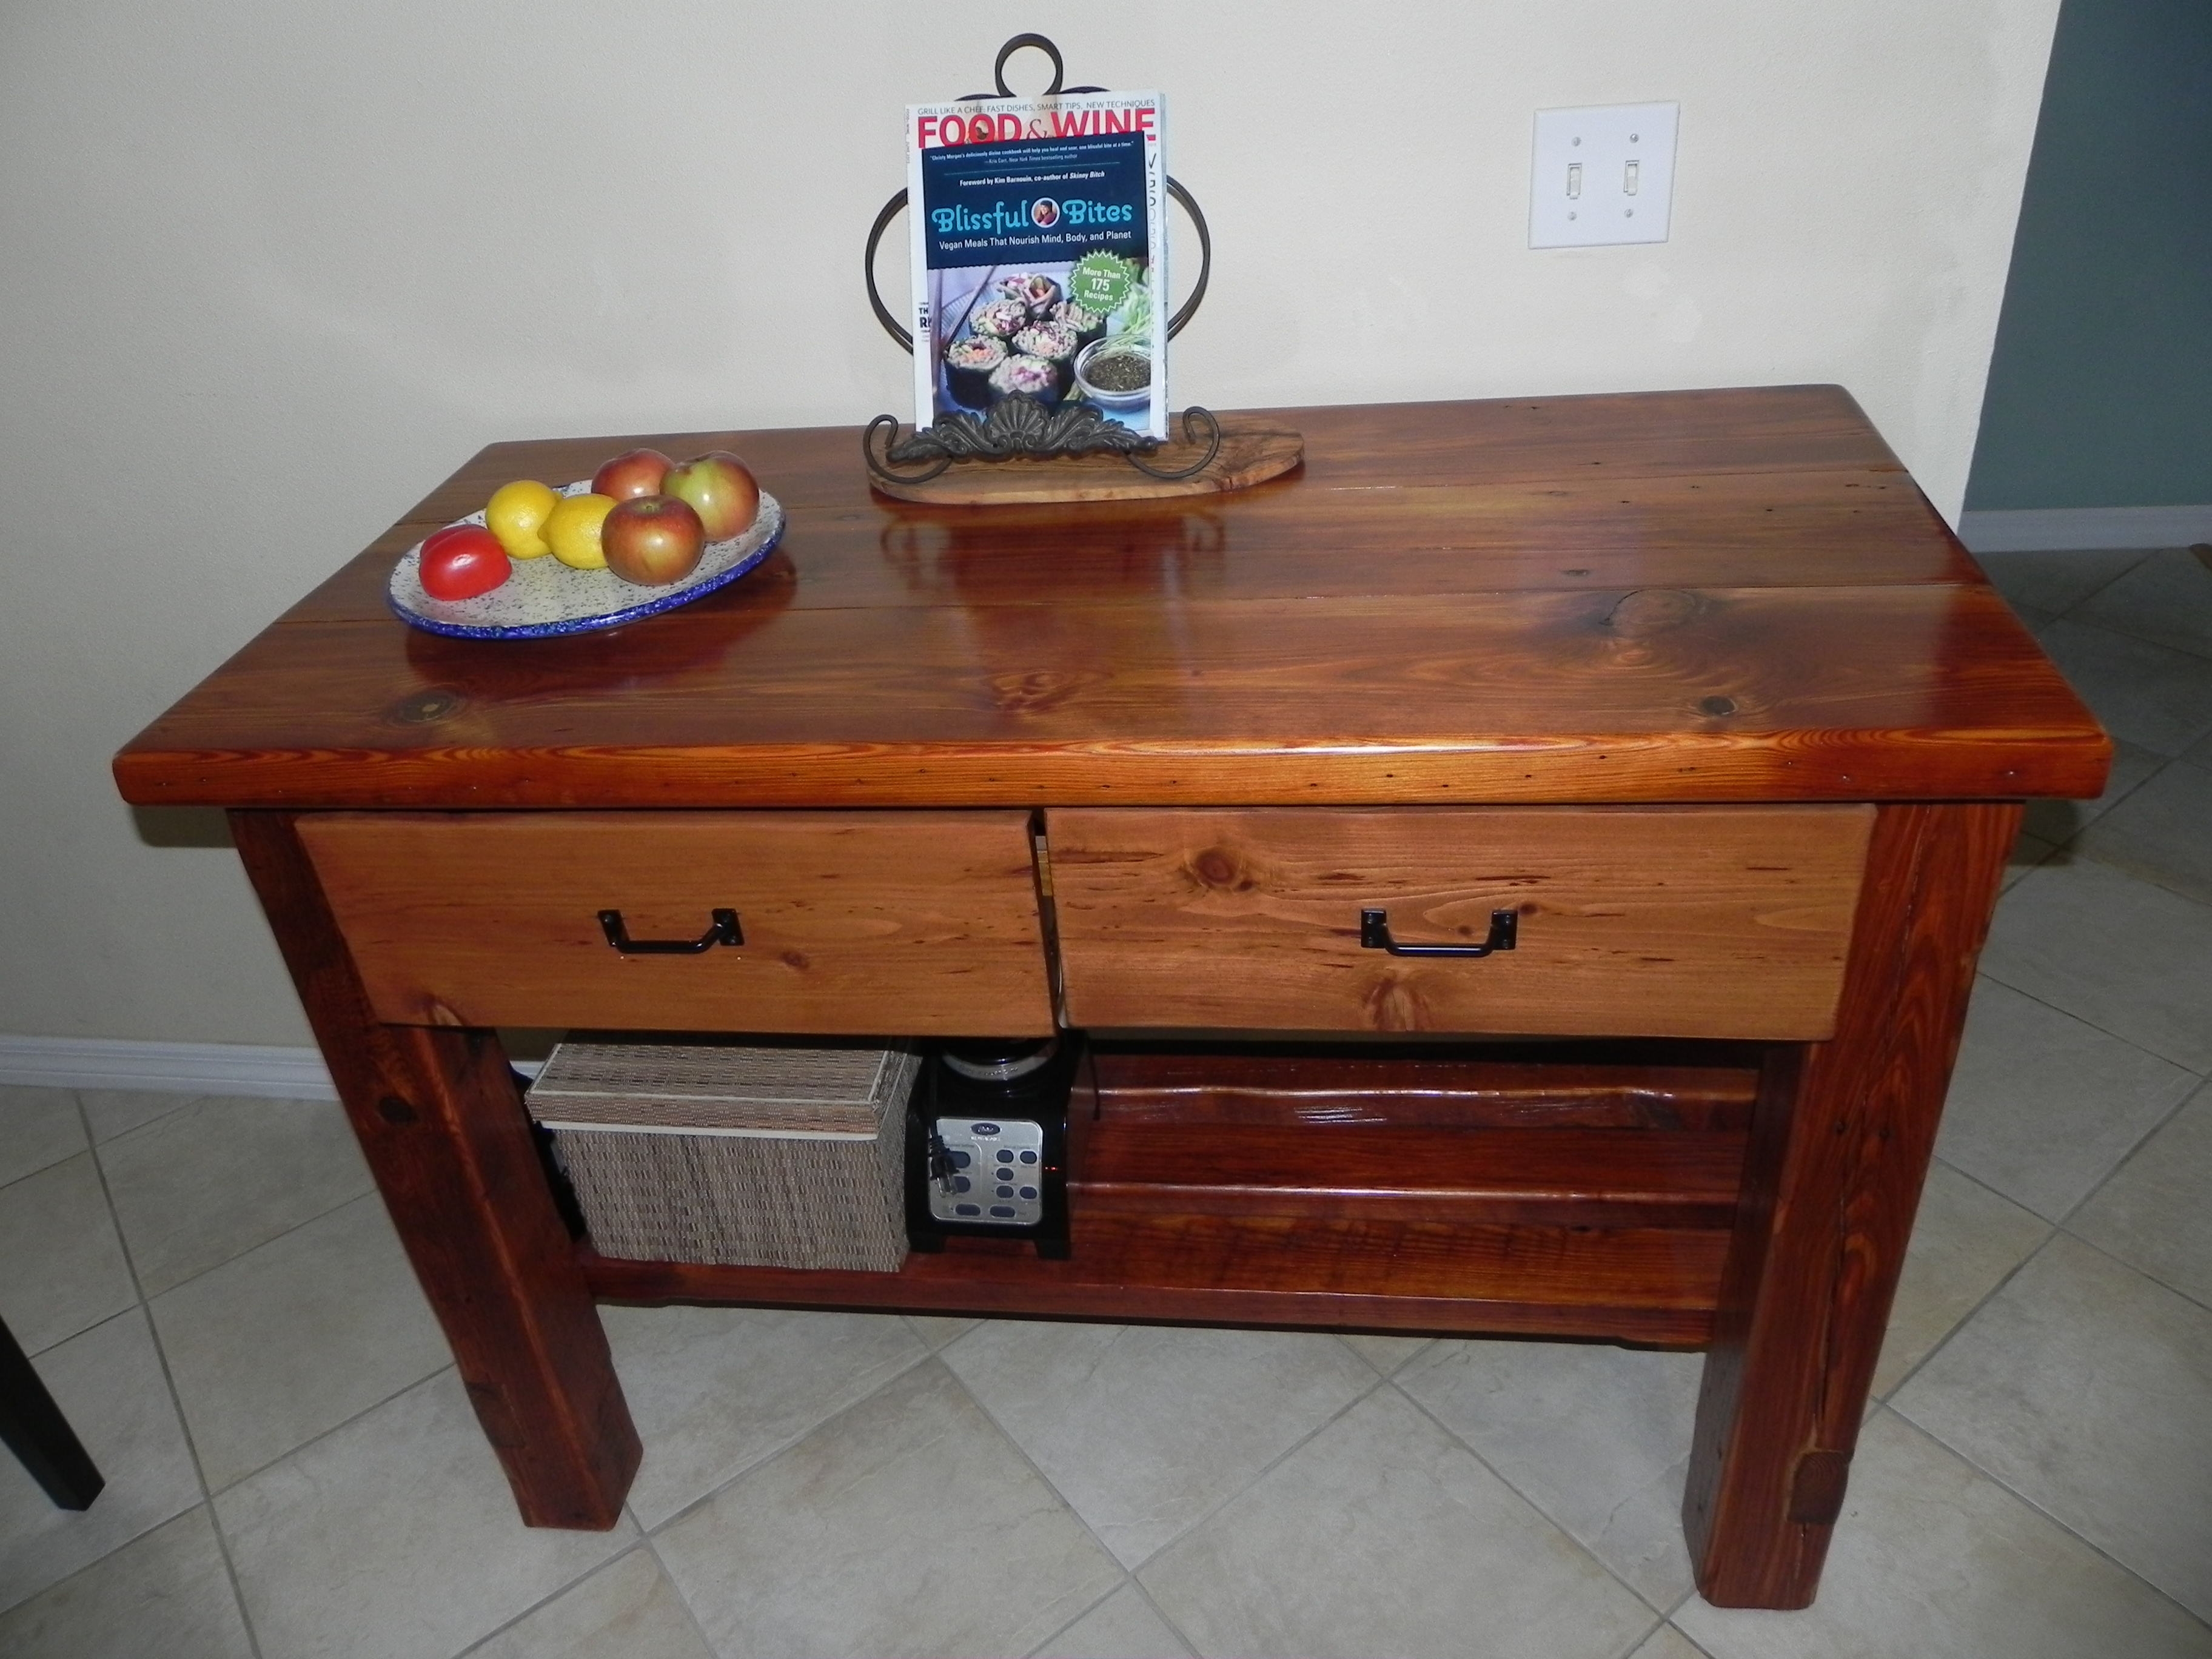
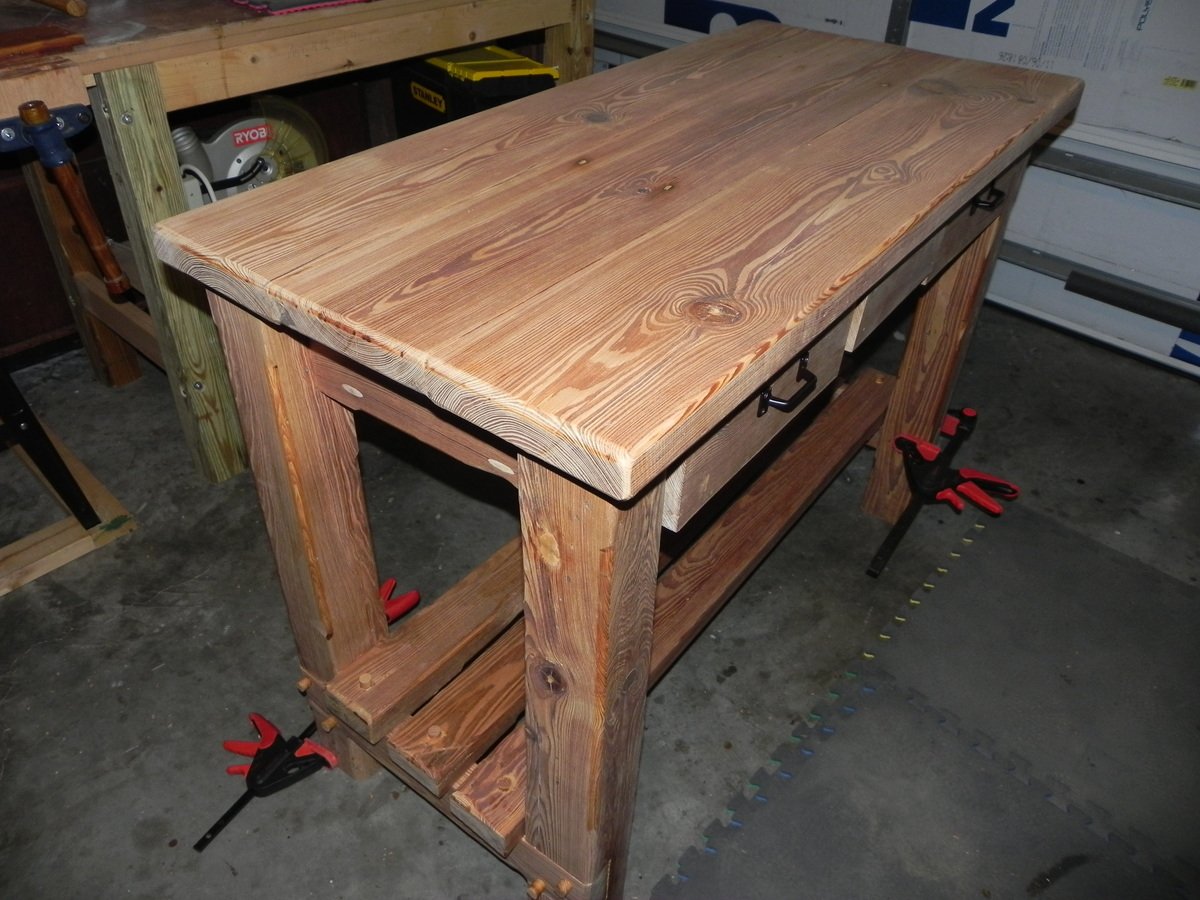
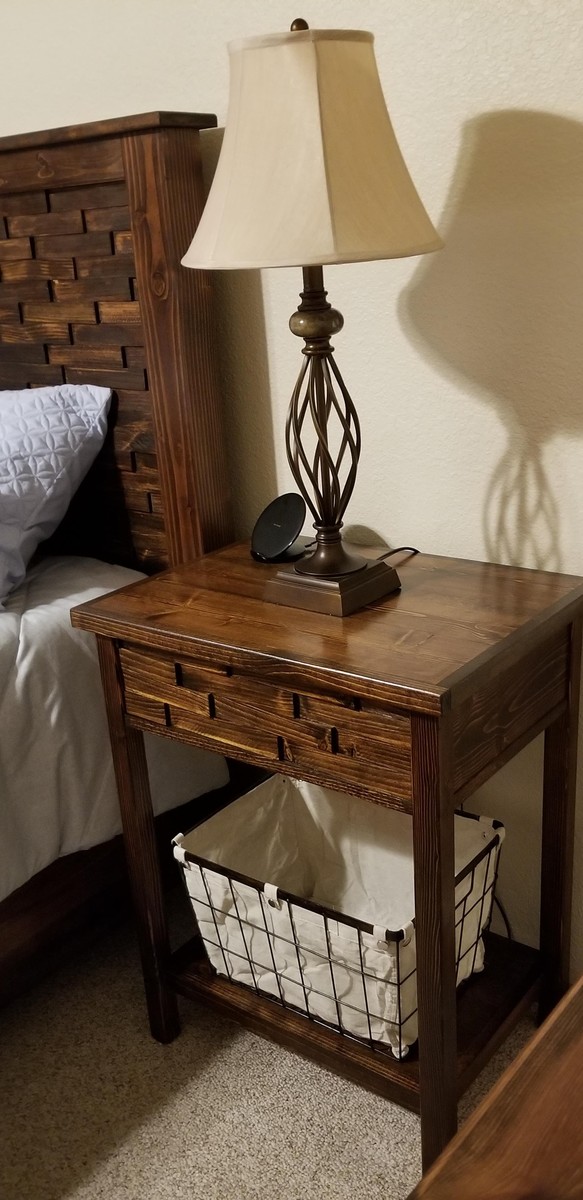
WOW this was our first build. We had some money to get started so went and bought new miter saw and sander, kreg jig, basically everything we needed to build it. Tools aside we spend only about $100 on the lumber to build the coffee table and 2 side tables.

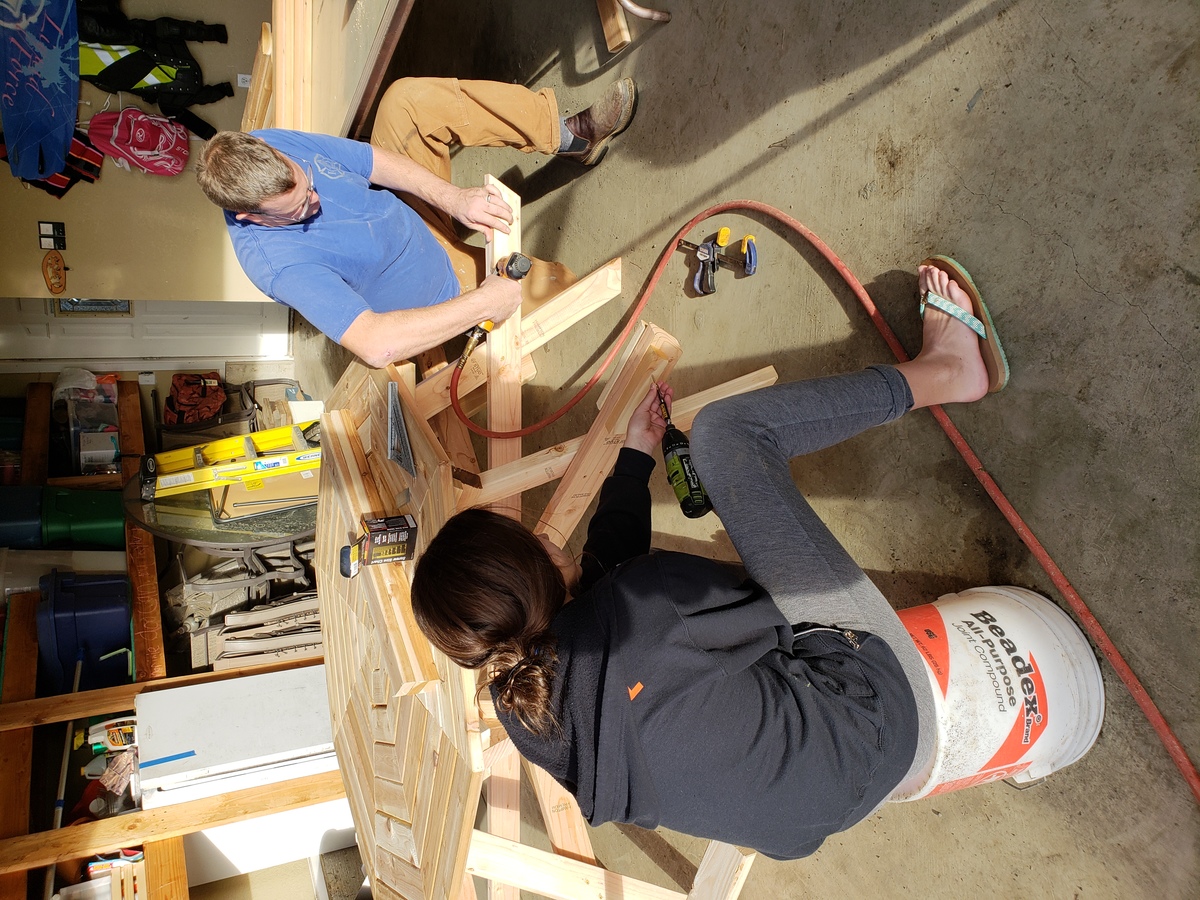
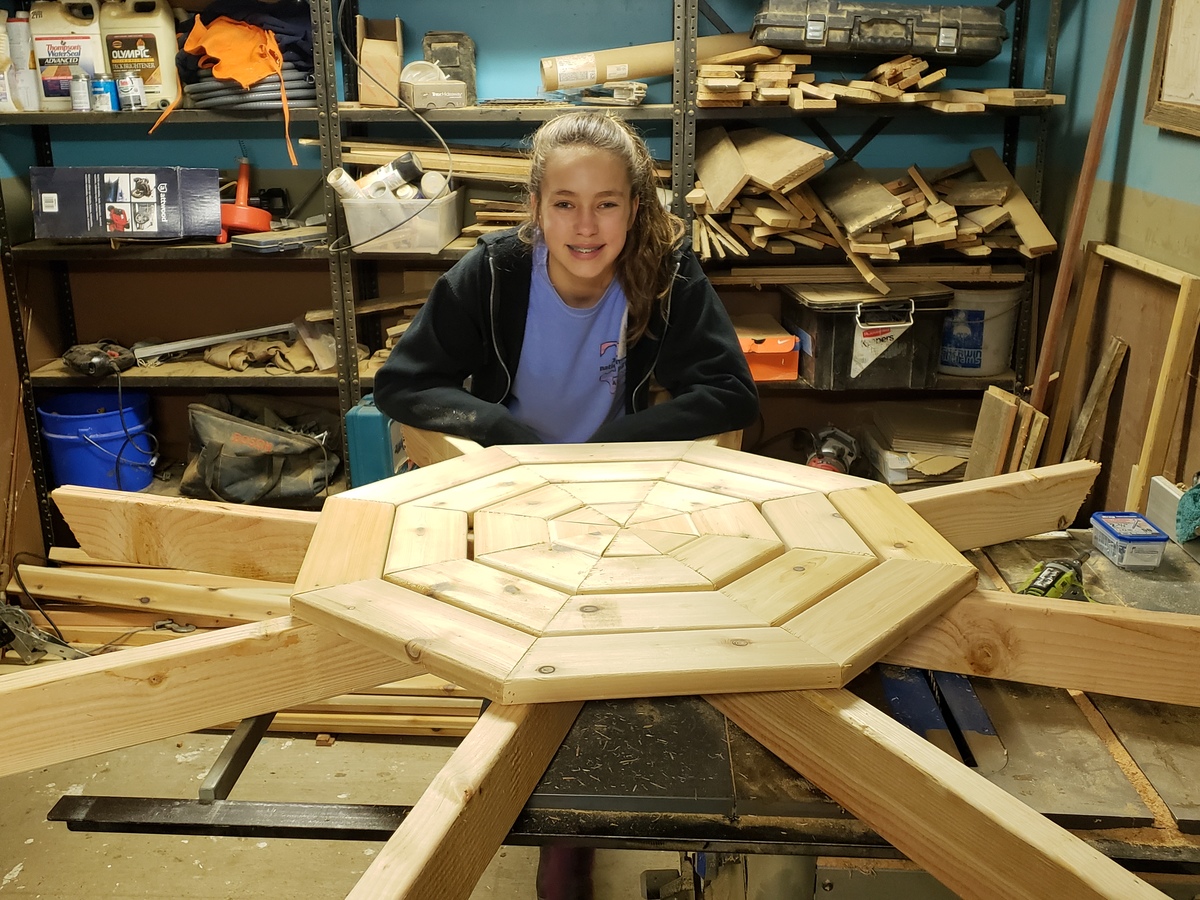
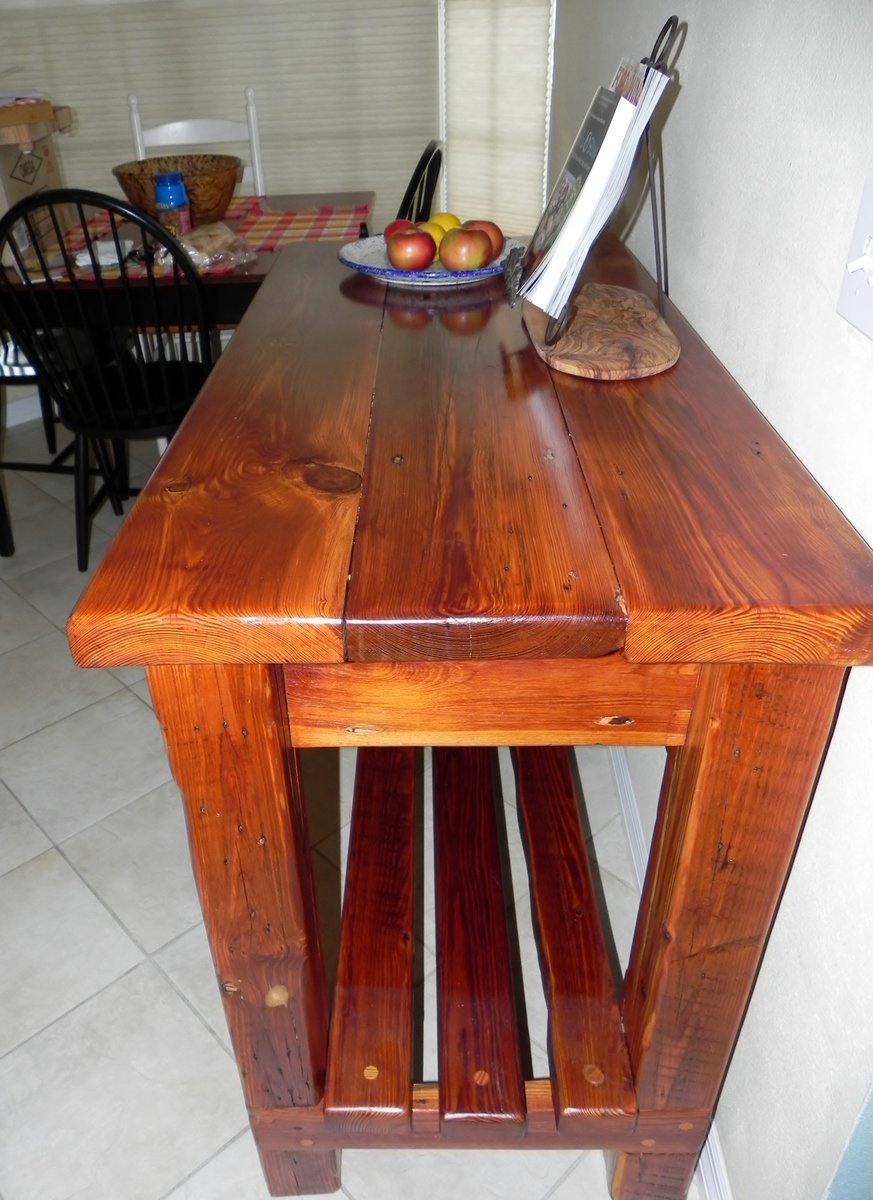
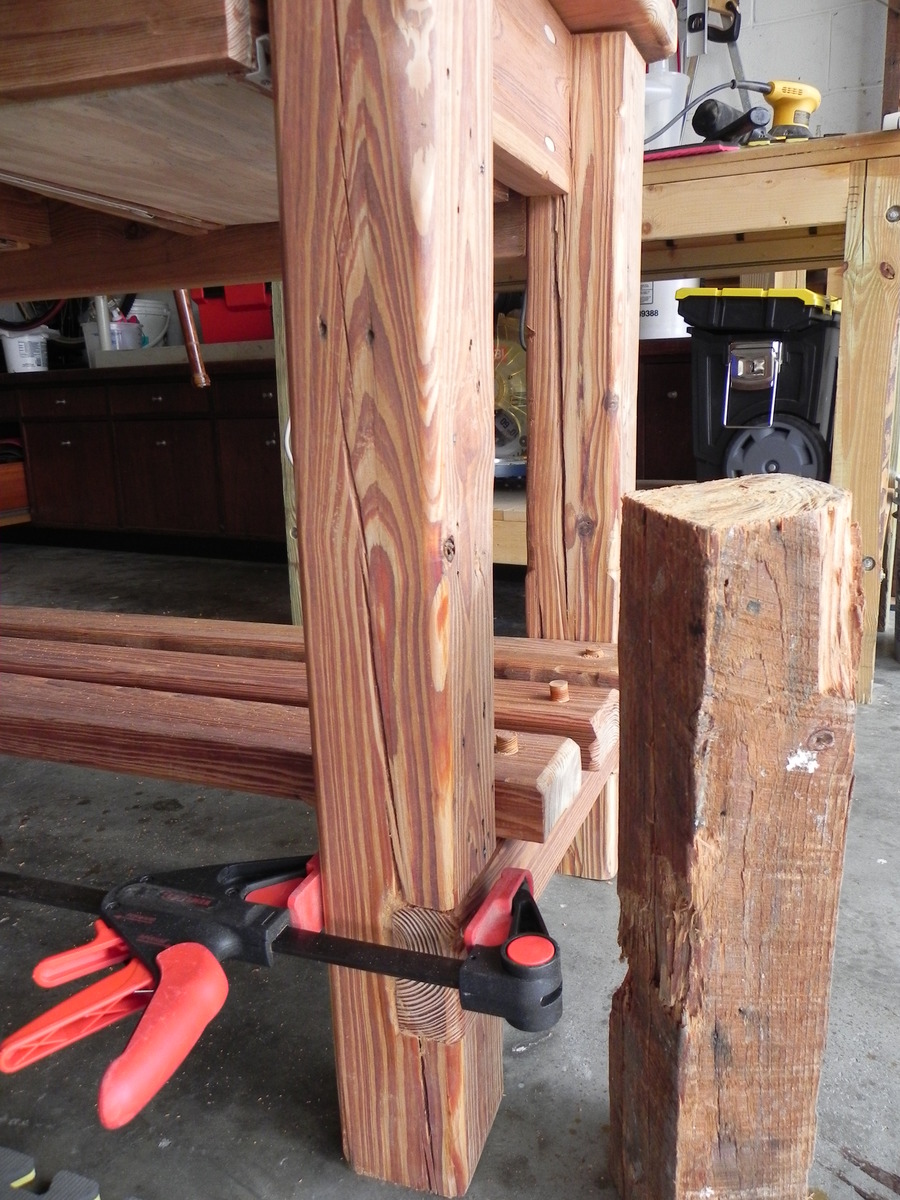
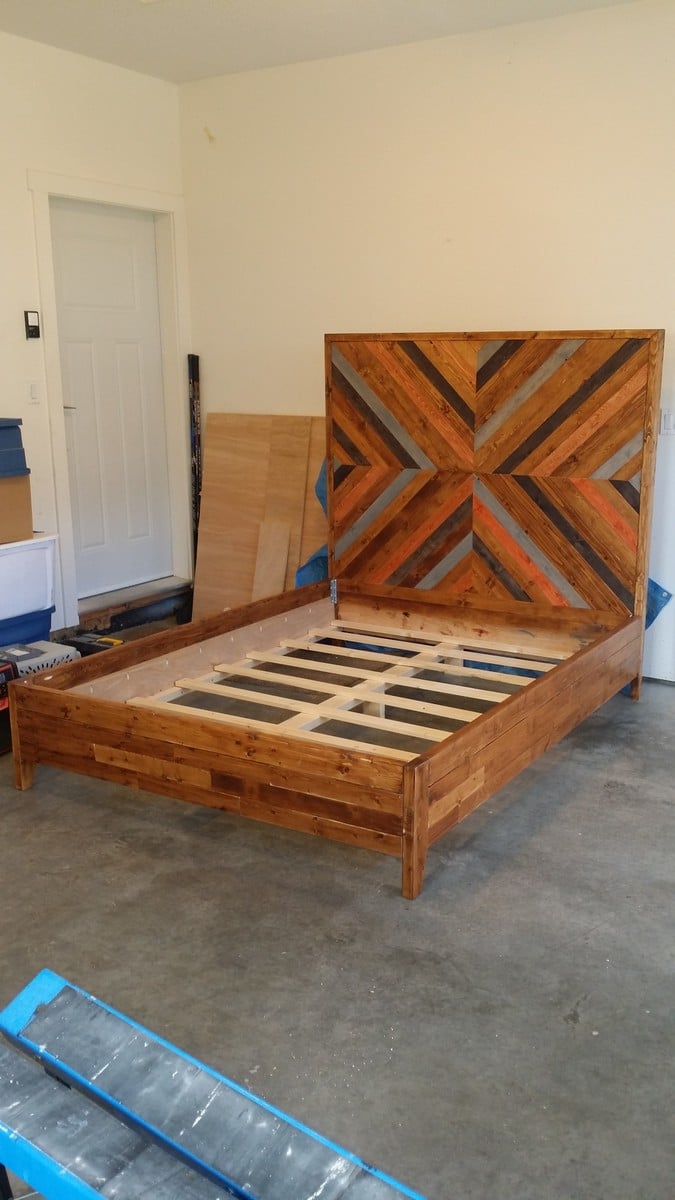
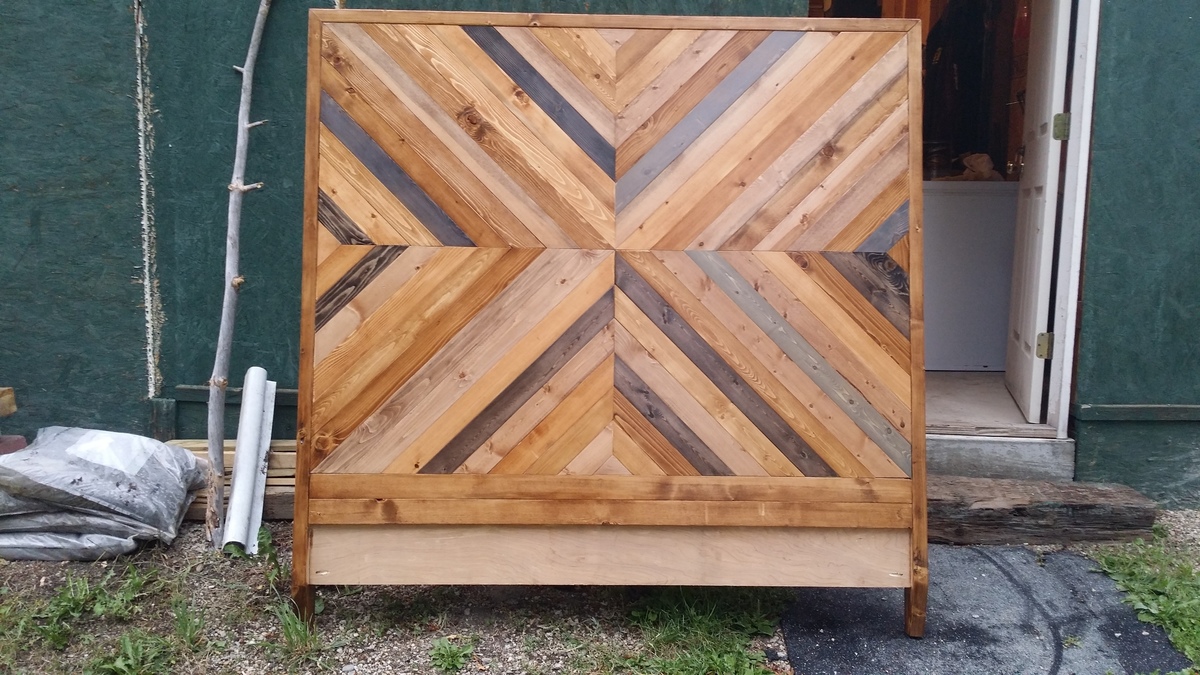
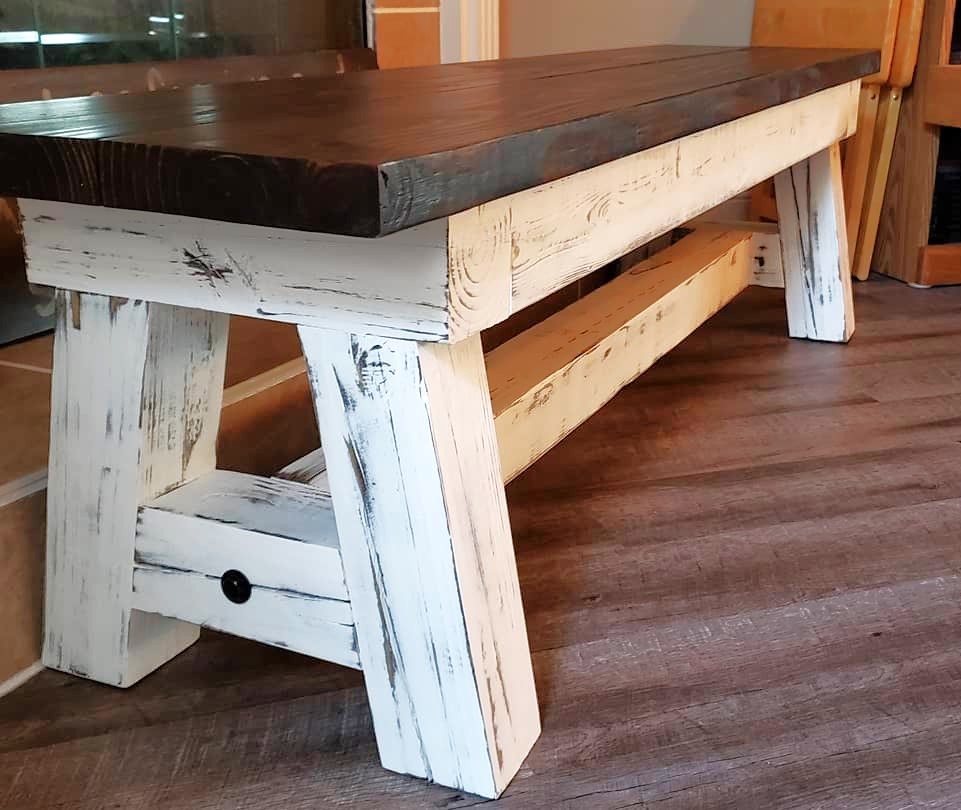
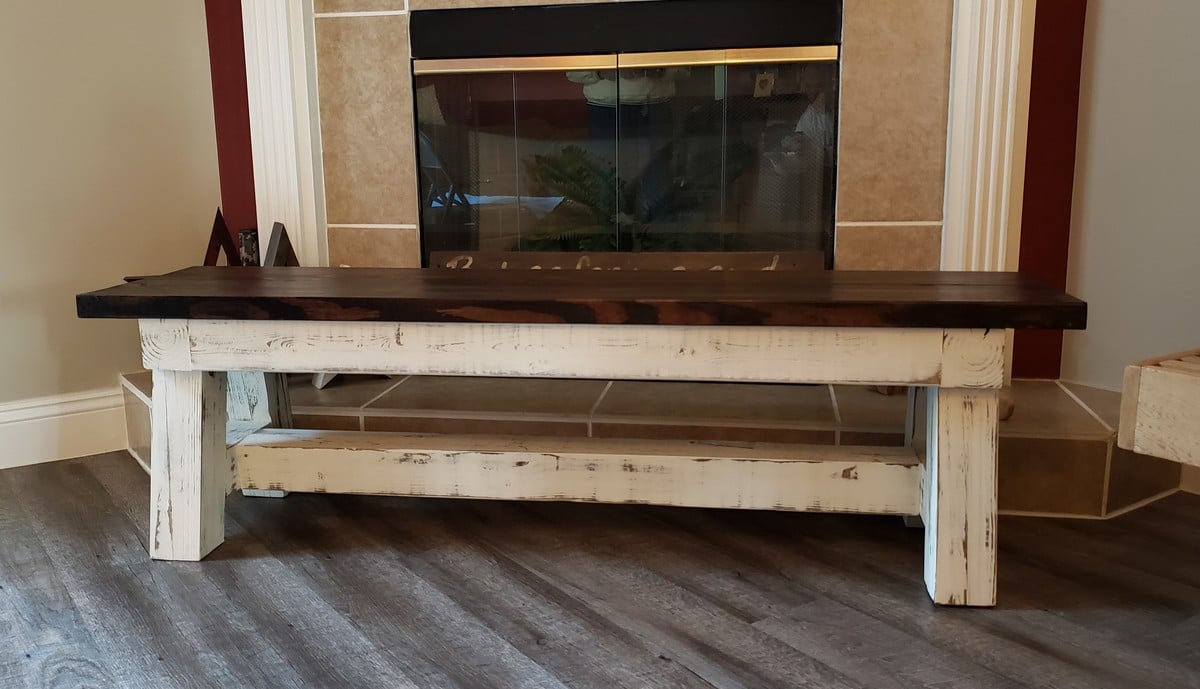
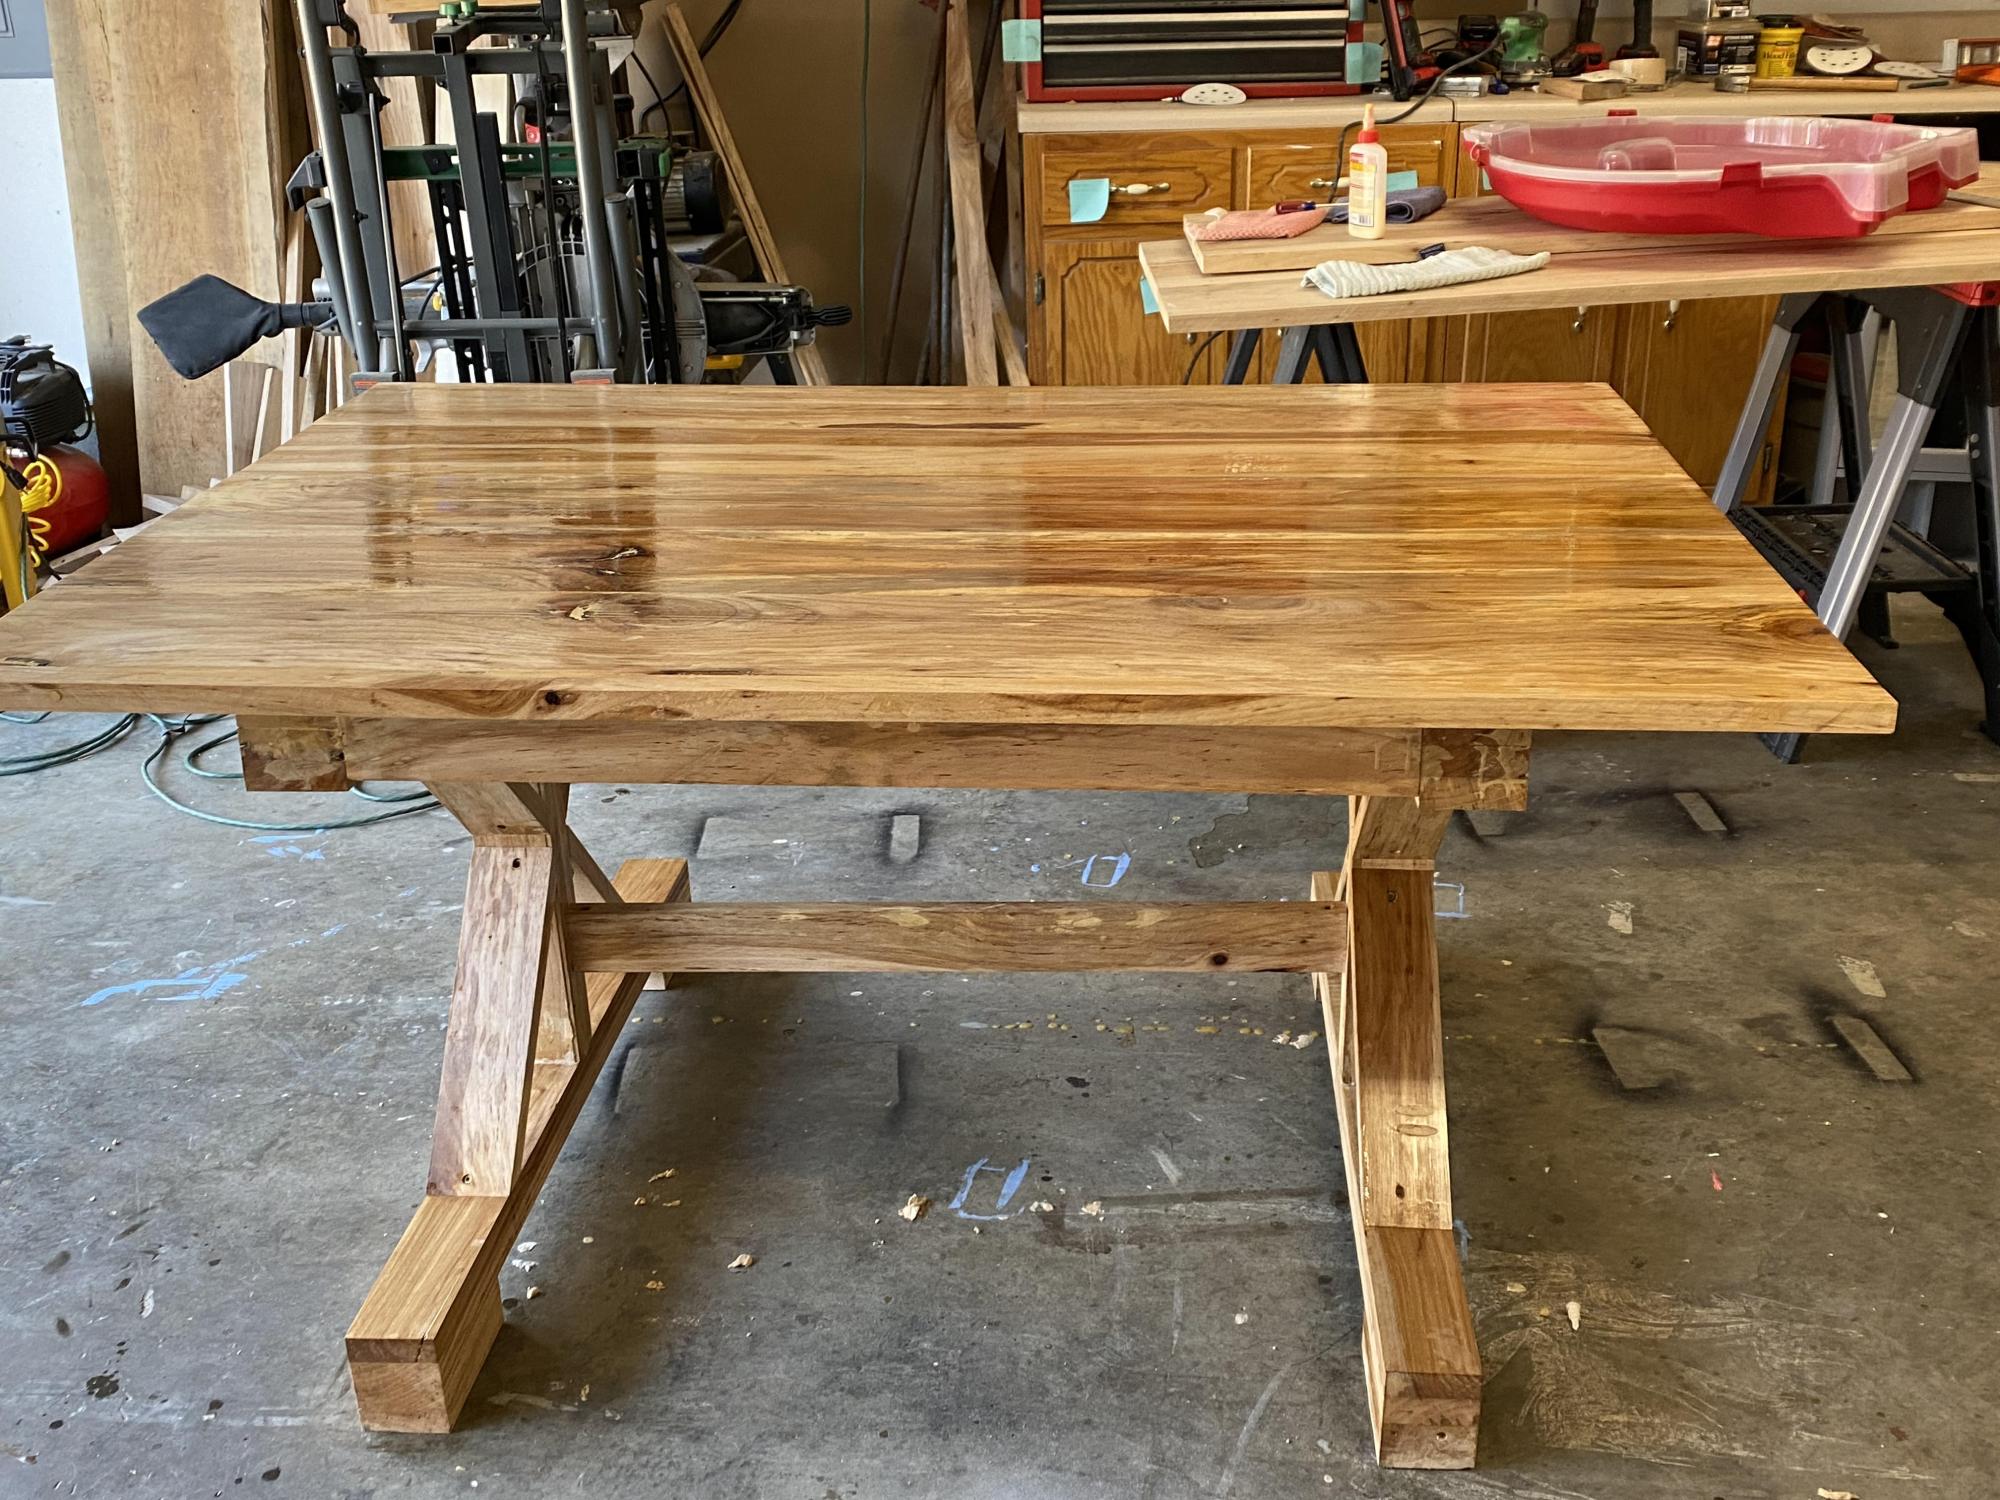
Eric cut notches in the X instead of using 2 separate pieces for the other side, so they fit together like a puzzle piece. it was a learning experience of trial and error, but he got better and better each time.

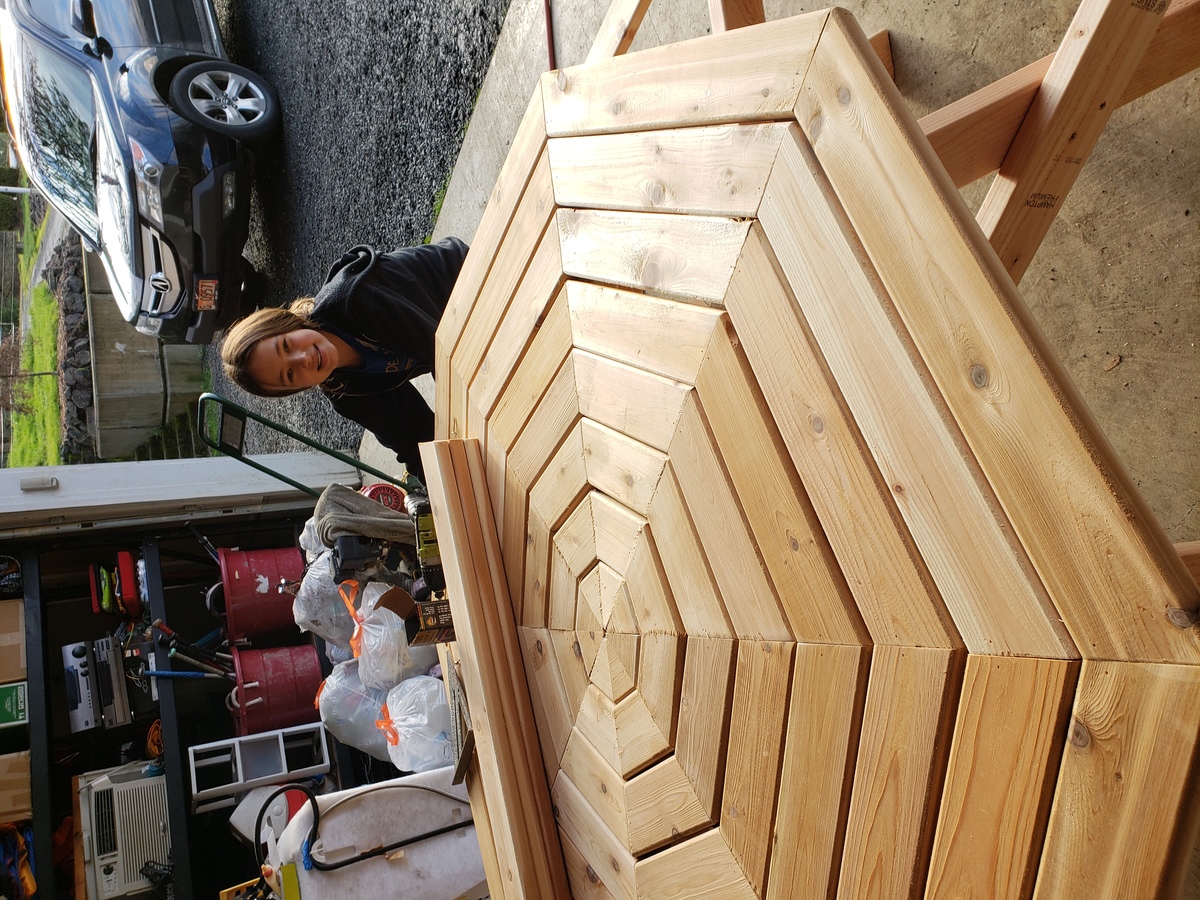
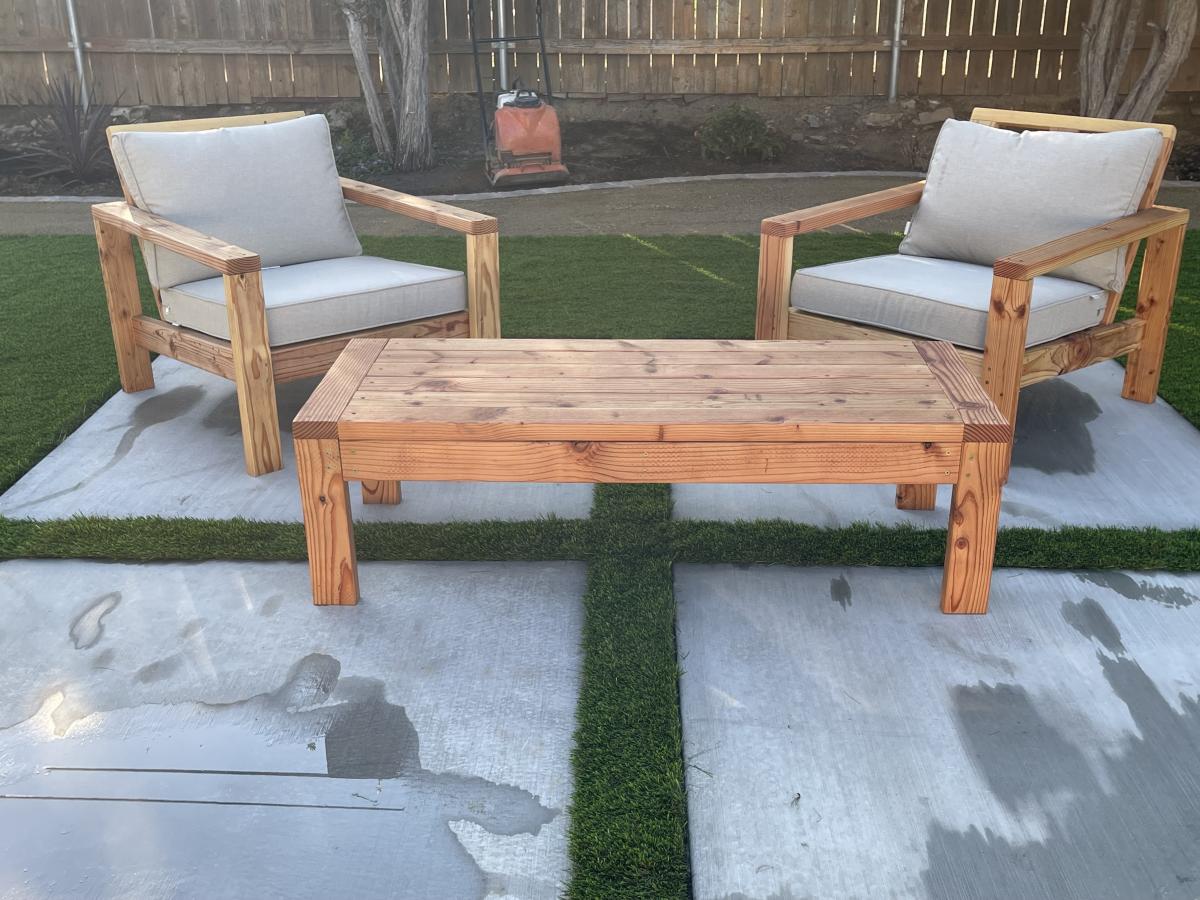
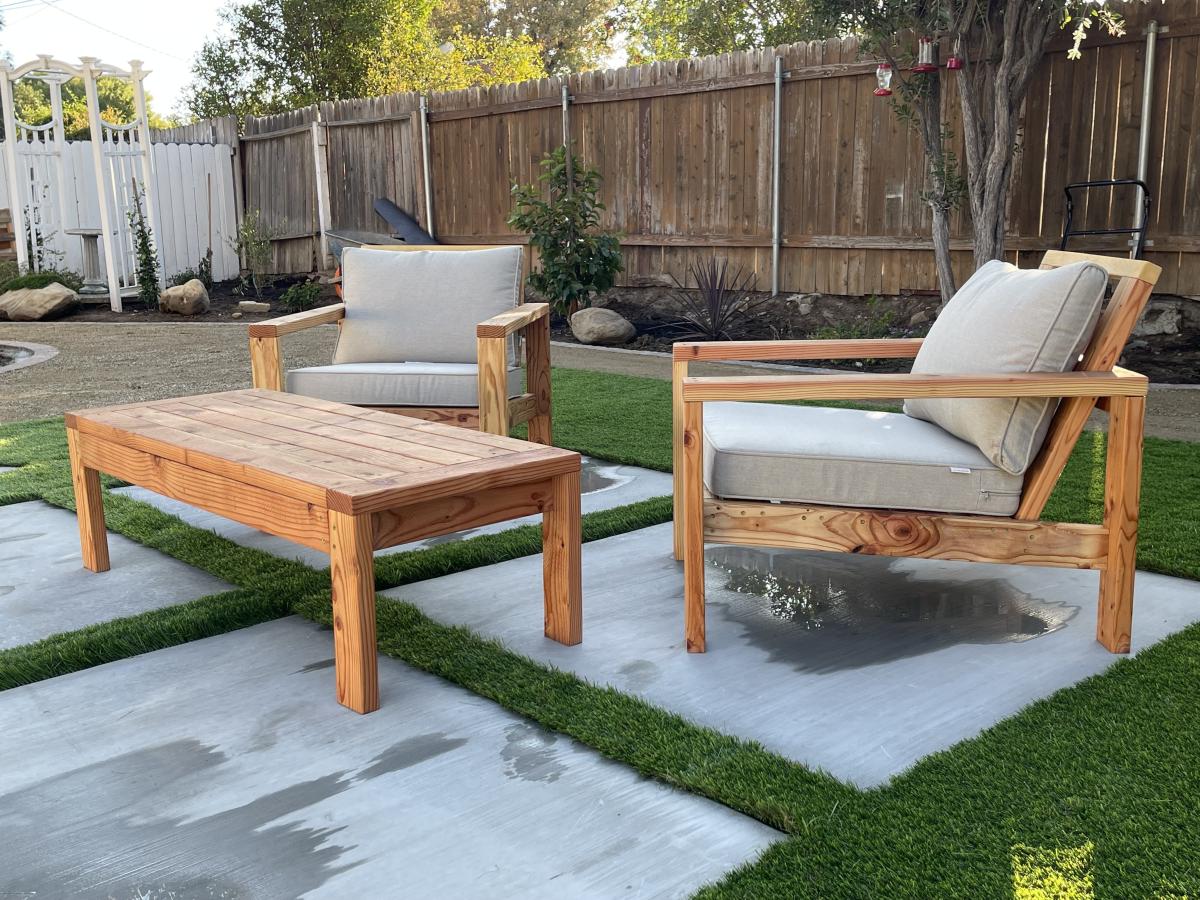
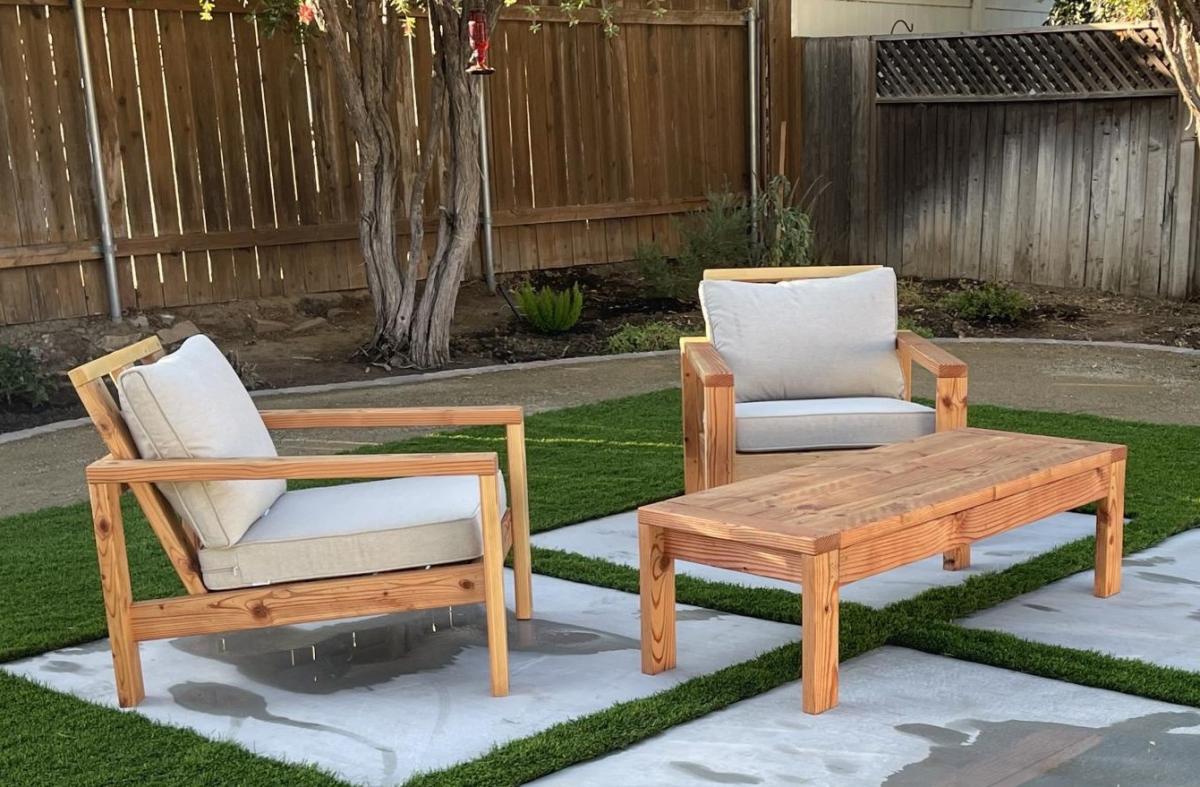
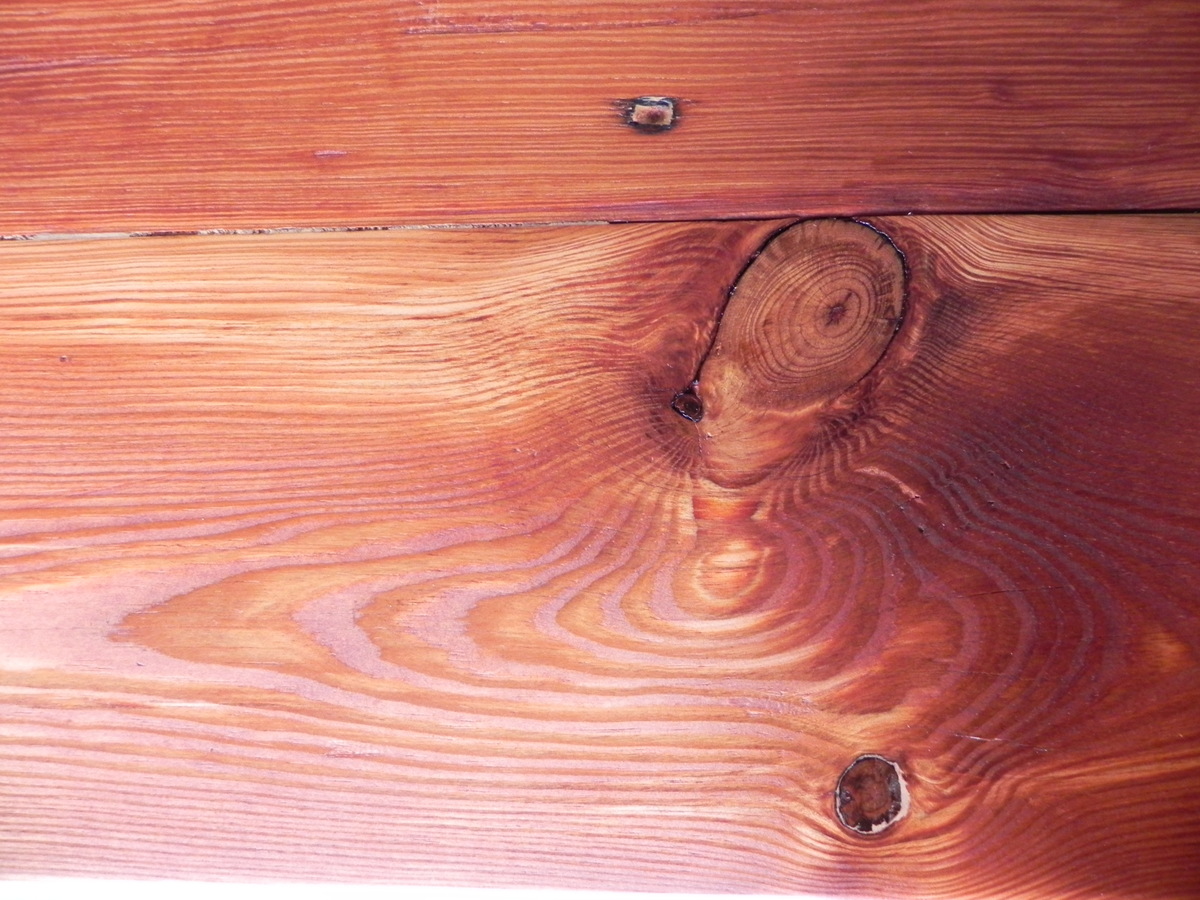
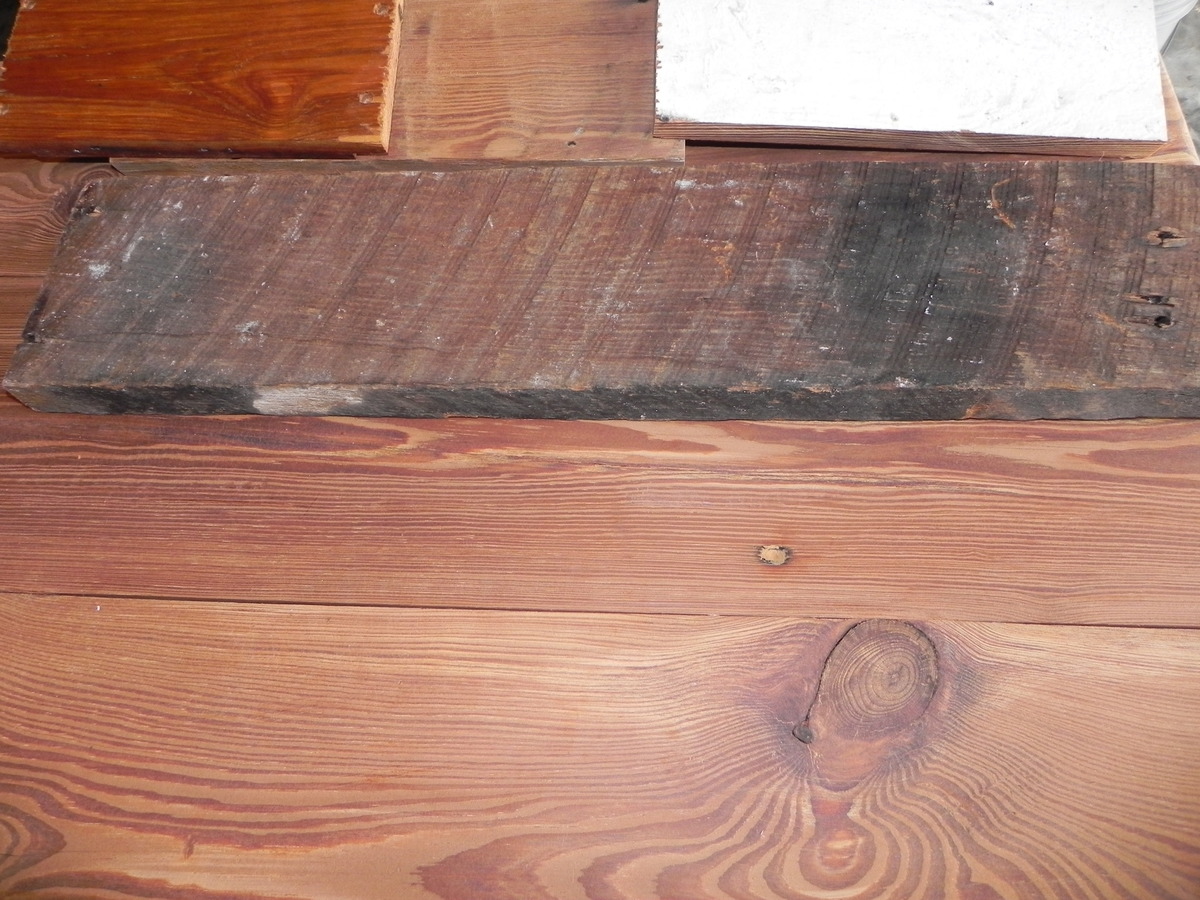
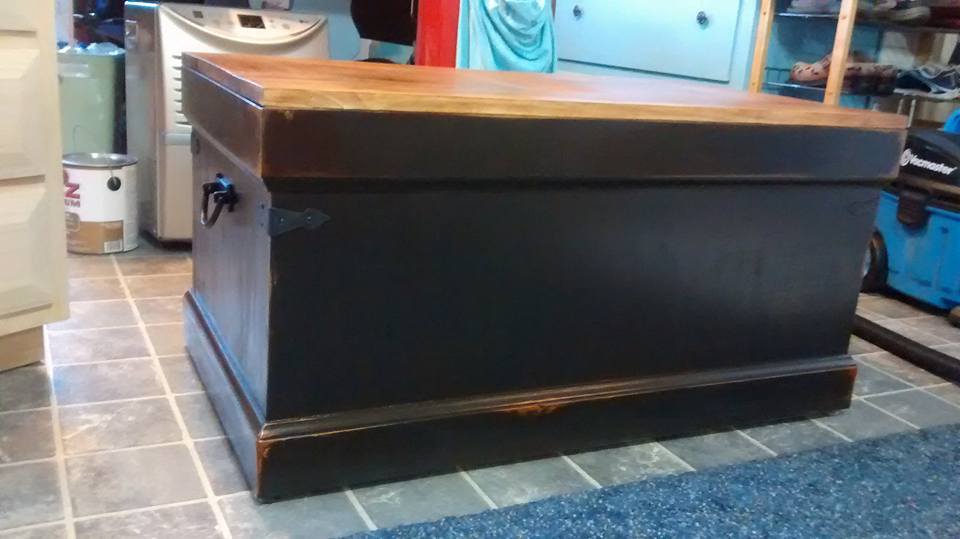
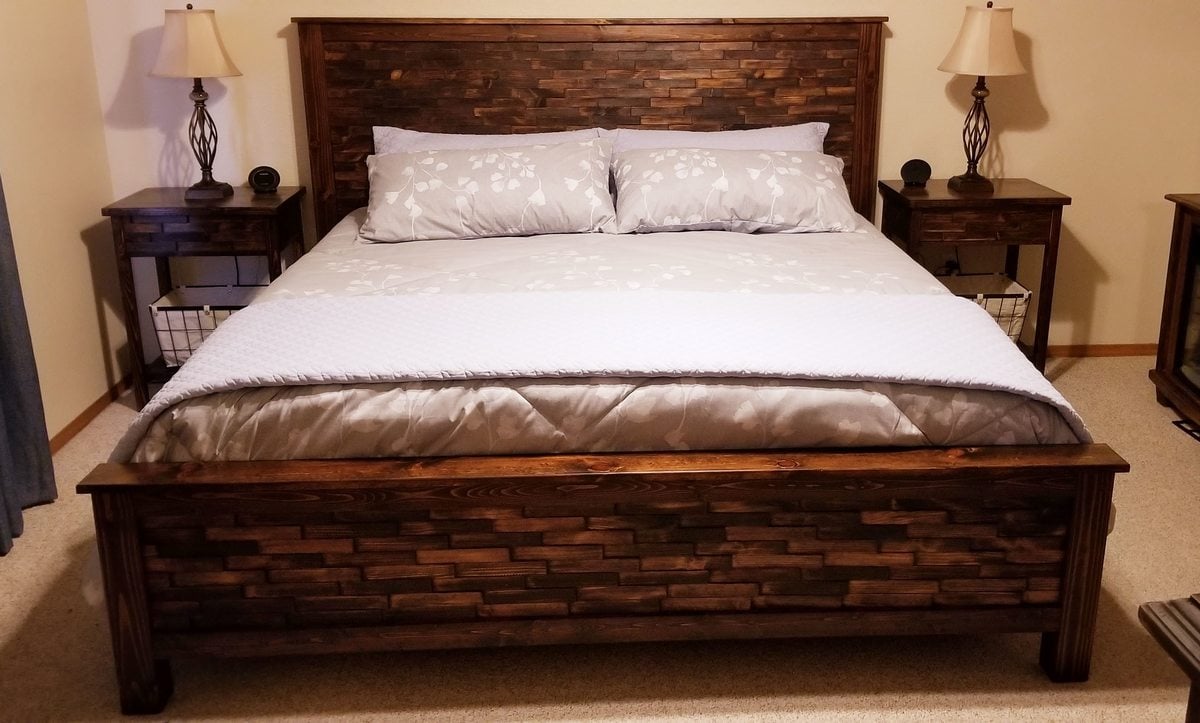
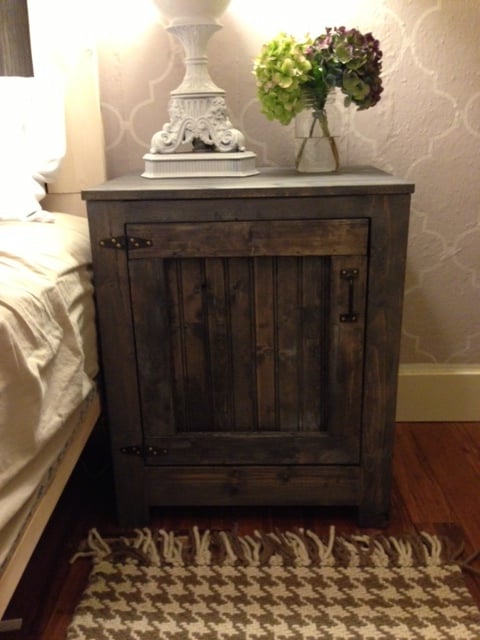
For the finish i used the tutorial of dissolving steel wool in vinegar and then added a coat of strong coffee which made an ugly green-gray color. I happened to have picked up a can of "autumn" wood stain that when applied made the color pop and look amazing. (thank goodness because i was so frustrated and wanted to give up) when we do this again (cuz i just sold the set we made) i will be better at sanding everything nice and smooth, and do staining/painting of the Xs and the top separately before putting everything together.

I dont recommend the steel wool and vinegar stain, it smelled terrible and was hard to apply because it was watery and ran a lot plus you cant see the color develop for a long time so its hard to see what was wet and what wasn't. yuk. The Minwax "gray" stain they just released would most likely work a lot better. those small can of stains for $6 are big enough for all 3 pieces we built so really i don't think i saved money buying the steel wool and vinegar.

Anyway this was way fun! Cant wait to build again :)

Estimated Cost
$100 of lumber, $500 of power tools and supplies
Estimated Time Investment
Weekend Project (10-20 Hours)
Finish Used
steel wool and vingear, plus a coat of coffee, then a coat of Rustoleum Autumn stain, coat of spray-can poly
Recommended Skill Level
Beginner

West Elm Knockof Chevron Queen Bed

Submitted by jpurp on Sat, 12/26/2015 - 21:33

I pretty much just followed the plans.  It turned out a bit more colourful that I expected but I've already sold it so I guess its okay.  I'm going to make another one with a bit more toned down colours.  I also created a matching night stand.  I didn't follow any plan.  Just used the ideas from the bed build.

Estimated Time Investment
Week Long Project (20 Hours or More)
Finish Used
Old Masters Wiping stain in Provincial, Cherry, Cedar, Weathered gray, Ebony
Recommended Skill Level
Intermediate

Bedroom Set

Submitted by Anonymous (not verified) on Mon, 02/25/2019 - 20:19

King Bed made with wood shims. Matching nightstands and mirror

Estimated Cost
$500
Estimated Time Investment
Week Long Project (20 Hours or More)
Finish Used
MinWax "honey" stain with semi-gloss polyurethane
Recommended Skill Level
Intermediate

You box

Mostly built from cedar plywood.

Had to reinvent the lid. Used panels instead of the recommended panel boards

Built from Plan(s)

Comments

Connor's Table

Submitted by Anonymous (not verified) on Mon, 12/28/2015 - 17:03

Clara table with chalkboard top.

Built from Plan(s)
Estimated Cost
$100
Estimated Time Investment
Week Long Project (20 Hours or More)
Finish Used
Paint
Recommended Skill Level
Beginner

Truss bench

Submitted by Anonymous (not verified) on Wed, 03/06/2019 - 15:08

This was an easy fun project for me! Alot of first finish wise, really like how it turned out, and so does the Mrs.

Built from Plan(s)
Estimated Cost
$50
Estimated Time Investment
Weekend Project (10-20 Hours)
Finish Used
Minwax stain & spar.
Recommended Skill Level
Intermediate

Farmhouse dining room table

Submitted by Anonymous (not verified) on Mon, 01/30/2023 - 08:25

This table started out with several pieces of rough pecan slabs. I planed the lumber and created the table. It is finished with teak oil.

Built from Plan(s)

Comments

Twin Farmhouse Bed

This was made with the Farmhouse Bed Plan.
Woodworking runs in my family, but this is my first item built from scratch.

We decided to leave it bare for a while. It looks beautiful as is.

Built from Plan(s)
Estimated Cost
Right around $100 for all wood and screws needed. Mattress was $200 and bedding was $60
Estimated Time Investment
Weekend Project (10-20 Hours)
Recommended Skill Level
Beginner

Comments

jbayer80

Mon, 01/07/2013 - 07:24

I will be building this with modifications to the headboard. I'm going to put baseball bats in-between the 4x4's as the header.

Kentwood Nightstand

Submitted by Hippychic on Wed, 10/09/2013 - 19:01

Kentwood night stand and matching headboard!

Estimated Time Investment
Afternoon Project (3-6 Hours)
Finish Used
custom
Recommended Skill Level
Beginner