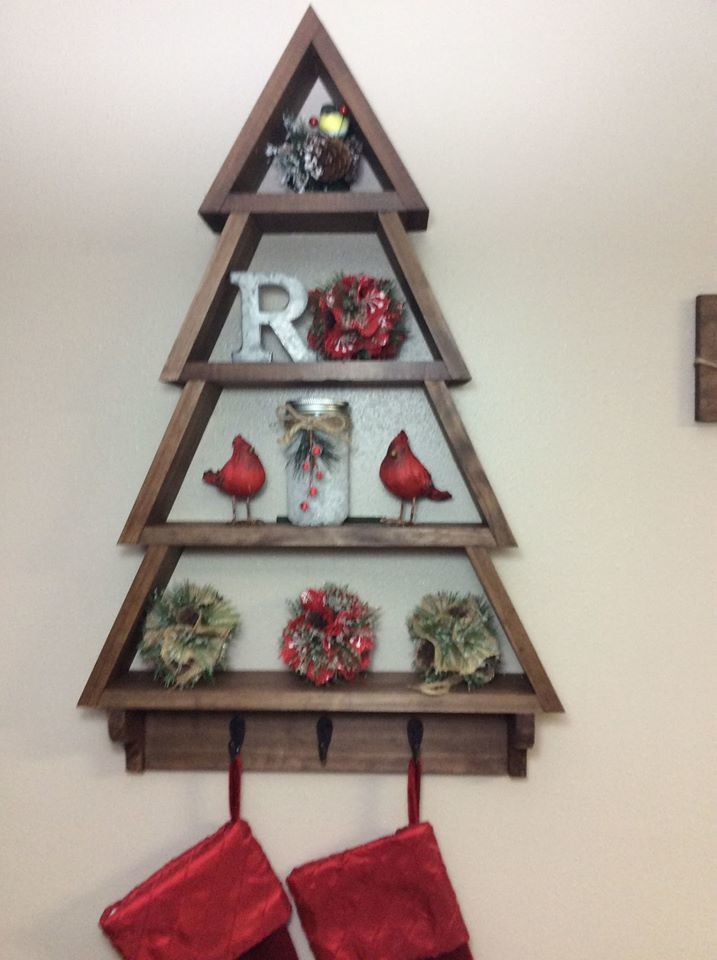
Christmas Stocking stand
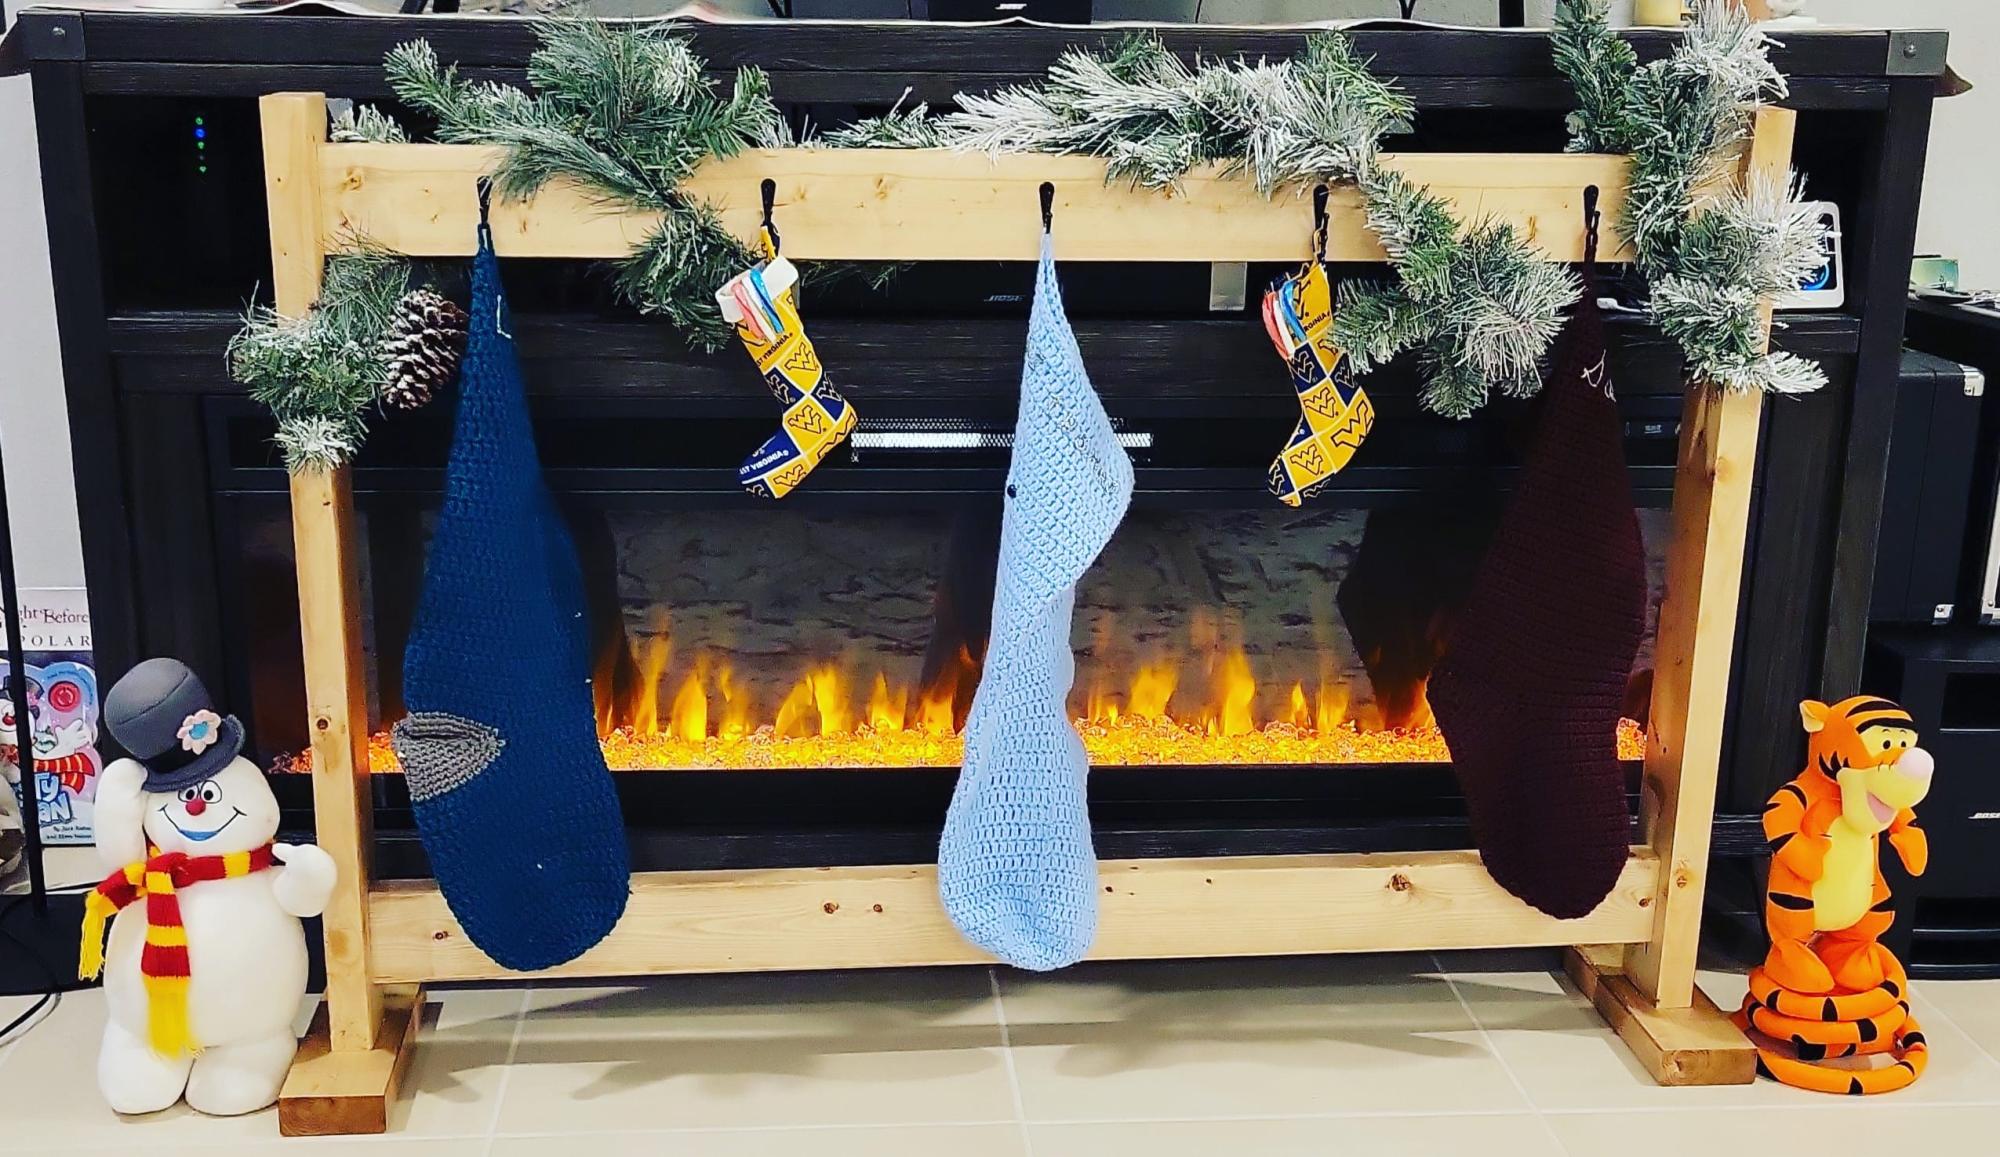
I enjoyed making this. The kids love it and it goes great in front of the fireplace.
#Todays_Spare_Time
Built from Plan(s)
I enjoyed making this. The kids love it and it goes great in front of the fireplace.
#Todays_Spare_Time
I built this from wood scraps. I saw one at Walmart online but thought it was too small. I built this to suit my tall toddler.

Thu, 09/29/2011 - 12:17
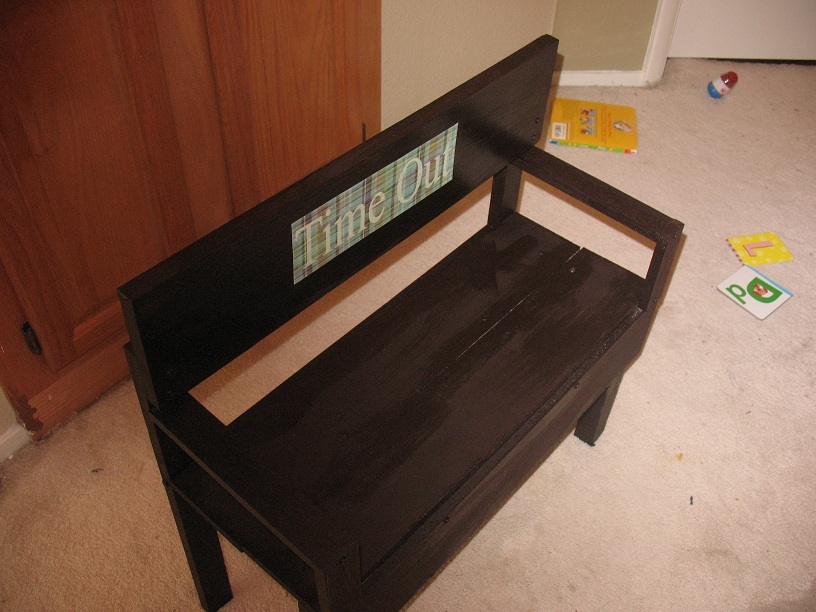
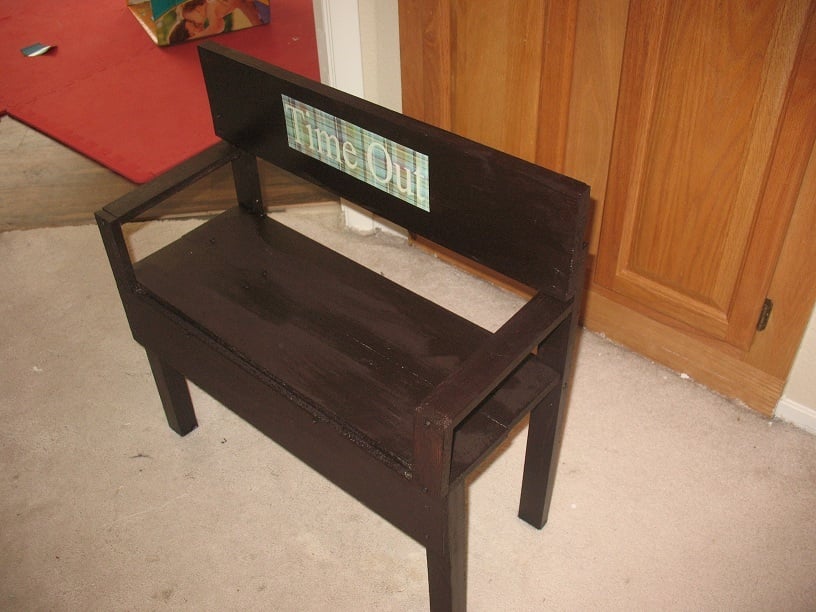
That looks awesome! I wouldn't have even thought to make one for time out! I think you're onto something! :-)
In reply to That looks awesome! I by Lady Goats
Thu, 11/03/2011 - 21:39
thanks so much! I saw it at walmart but wanted to make one a little bigger to fit a wall.
here is the walmart one
http://www.walmart.com/ip/Time-Out-Bench/12343327
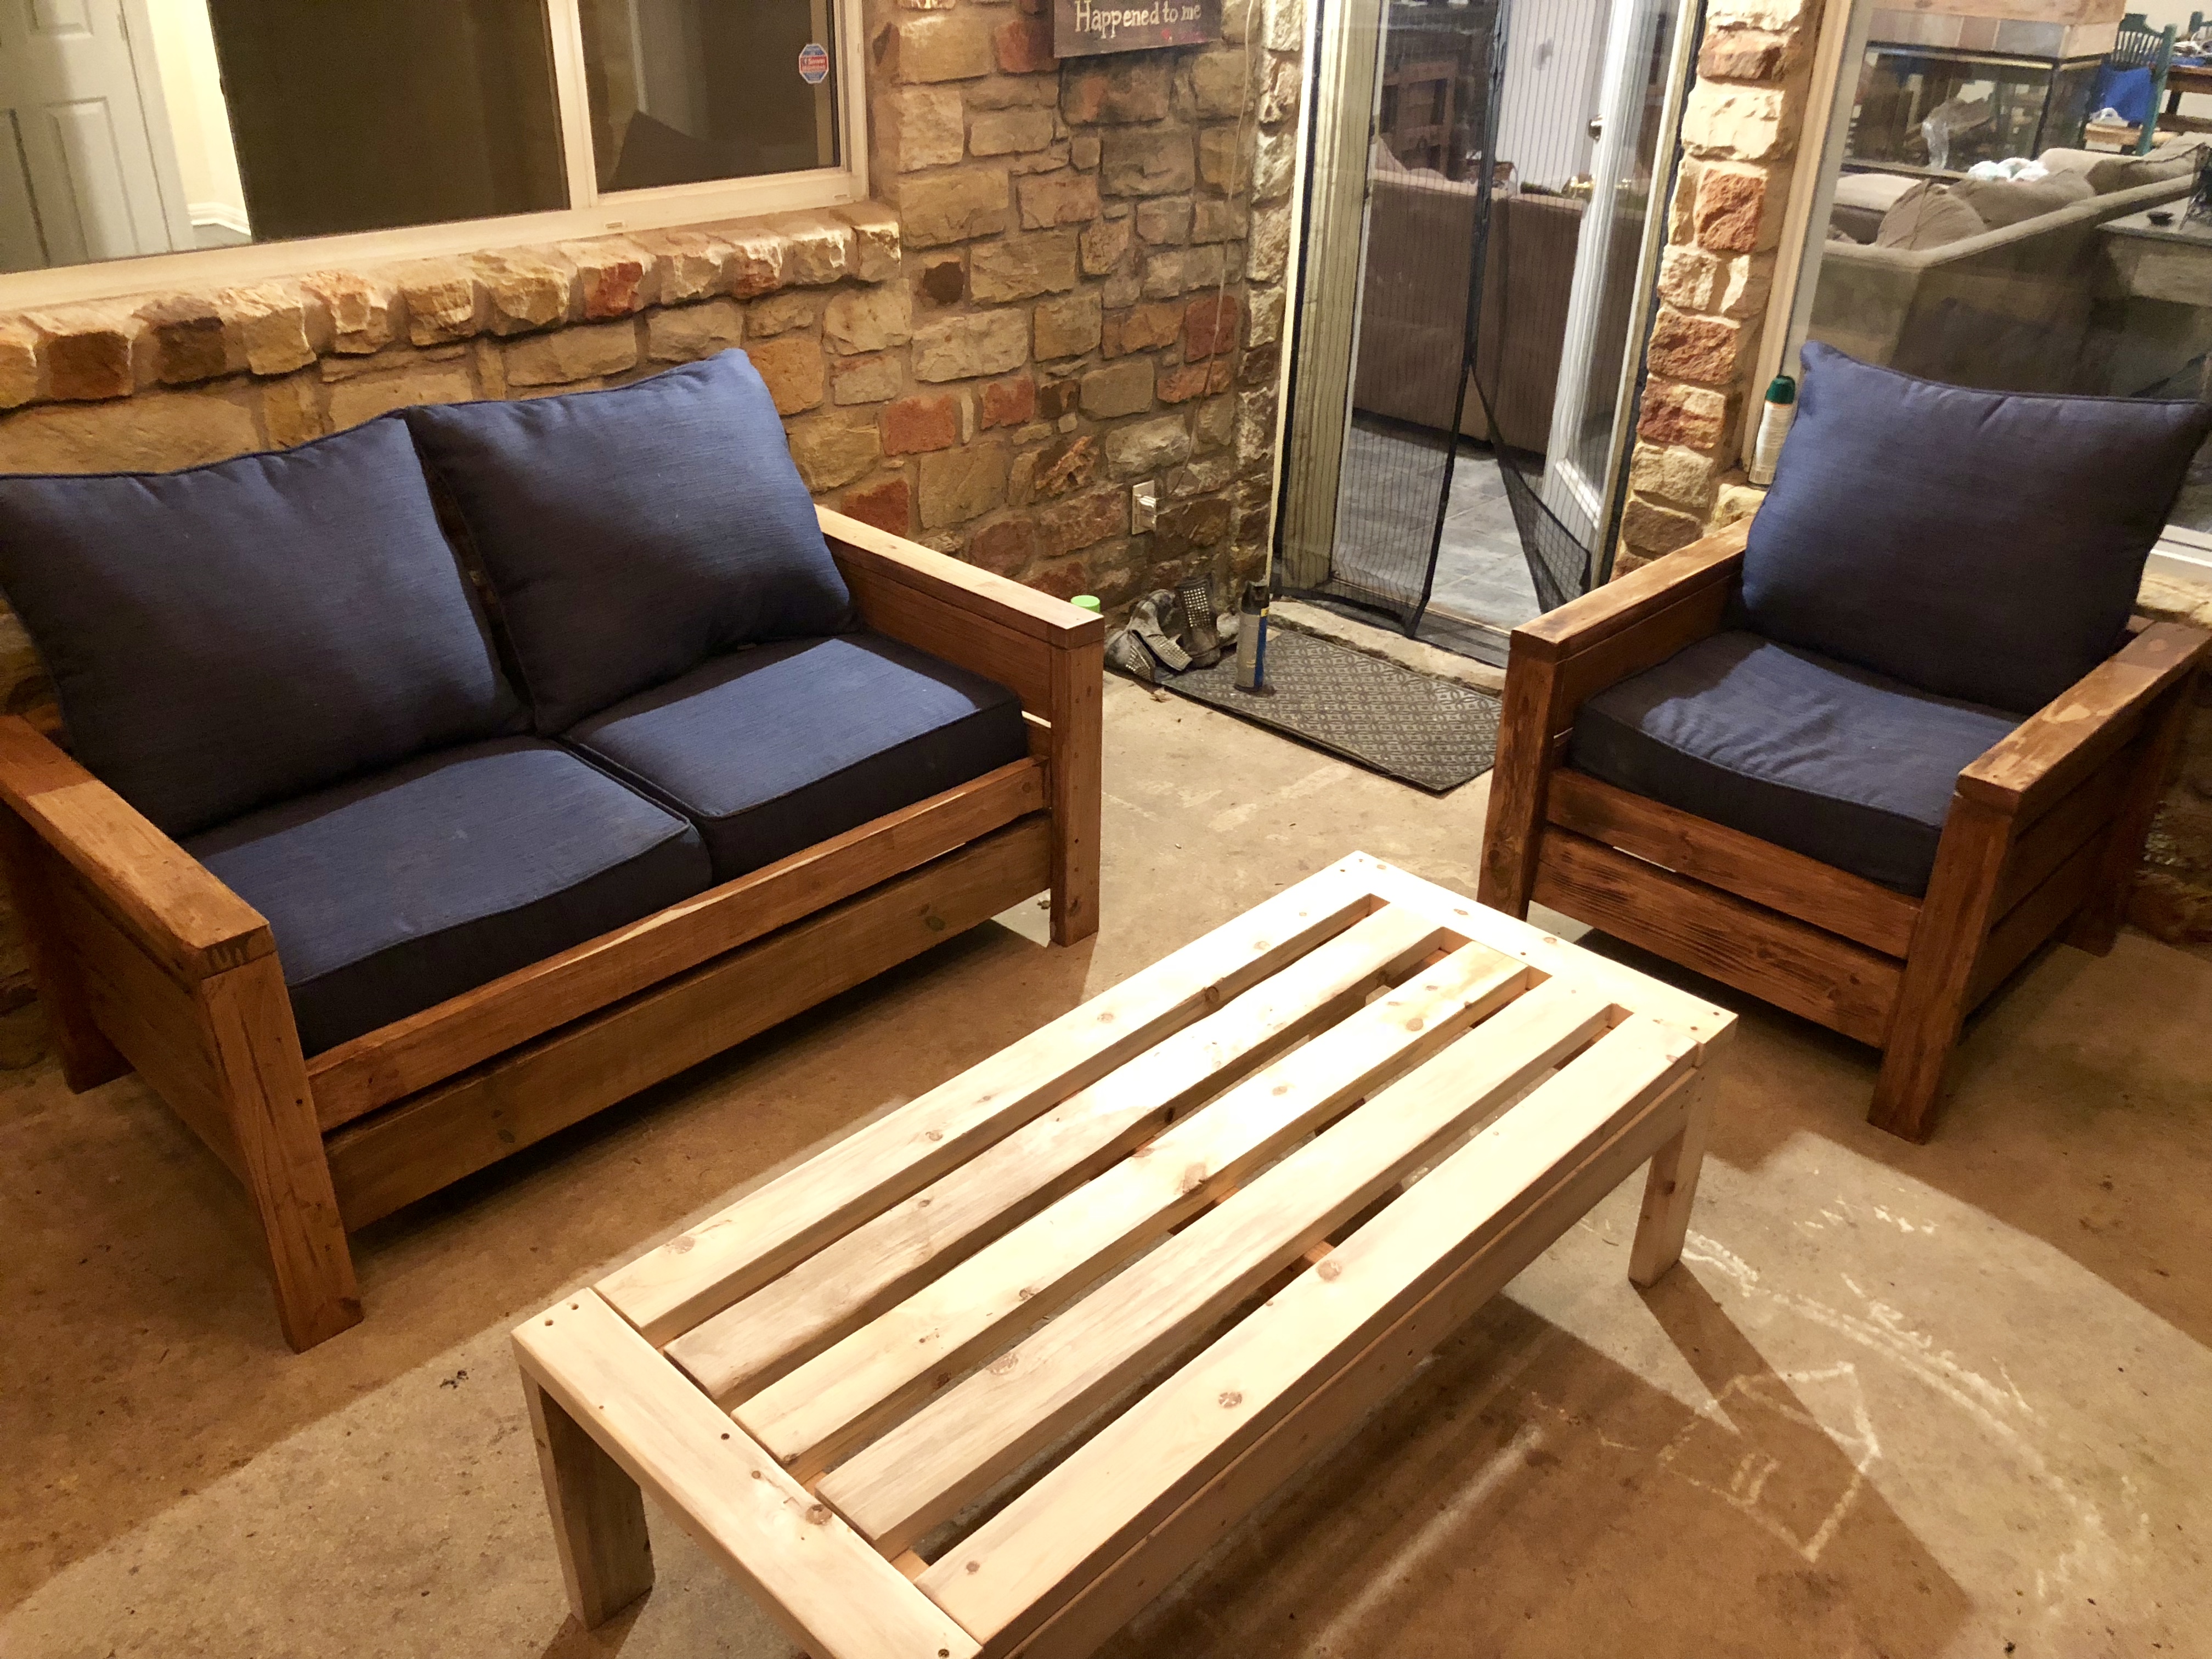
2x4s and a kreg jig is all you need!
We loved making this project, I even learned how to work with angles.
What a fast, fun, and FUNCTIONAL project! I did lower the seat height, as I think it allows you to sink into them a bit more -- especially with the cushions I had for them (which BTW, were on sale at Lowe's for $14.99/each.. normally like $60, I think). Thanks ANA, for making yet another project such a breeze!
photos sent in via email from Leanne
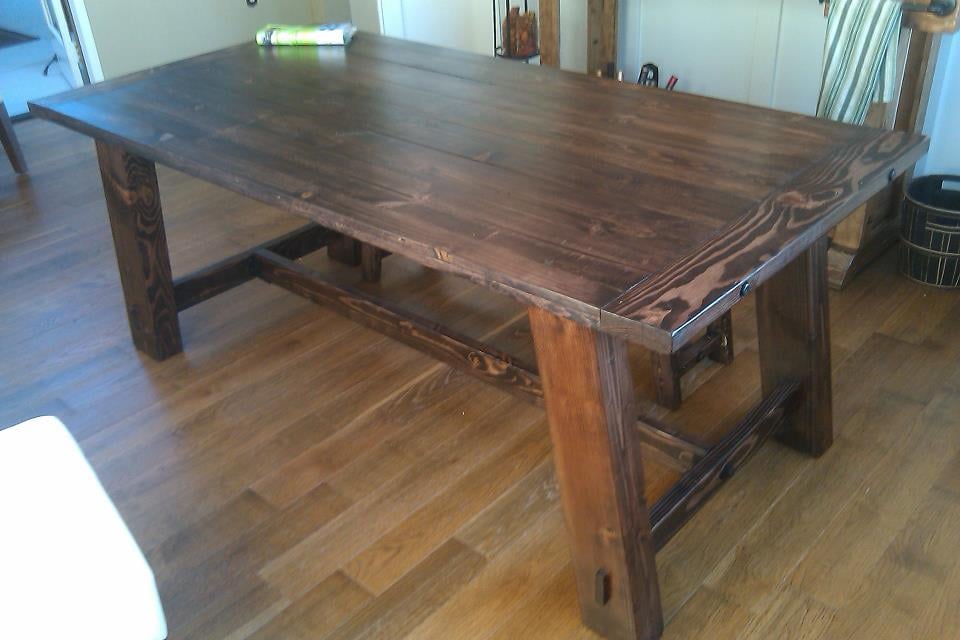
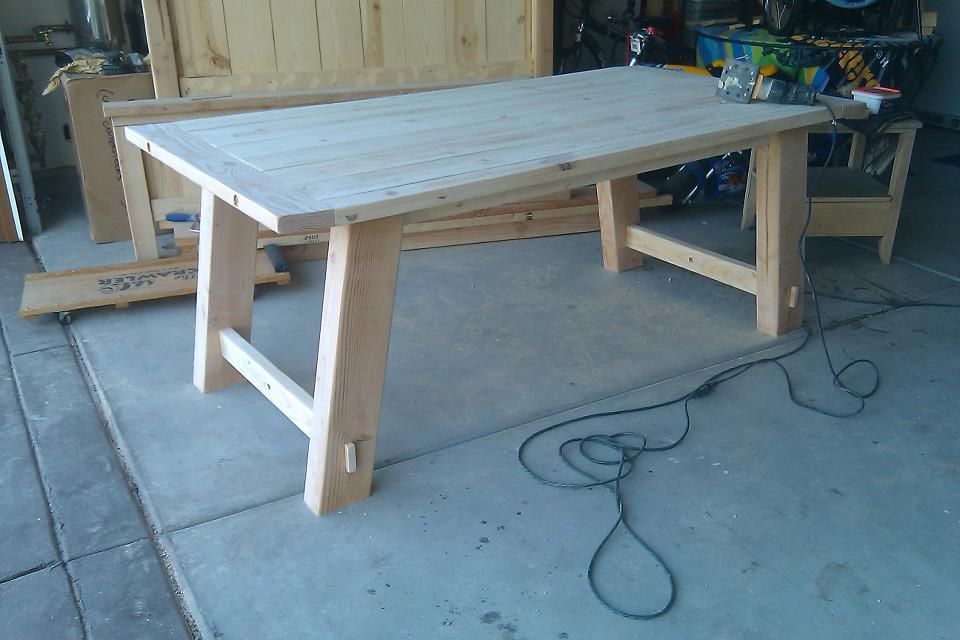
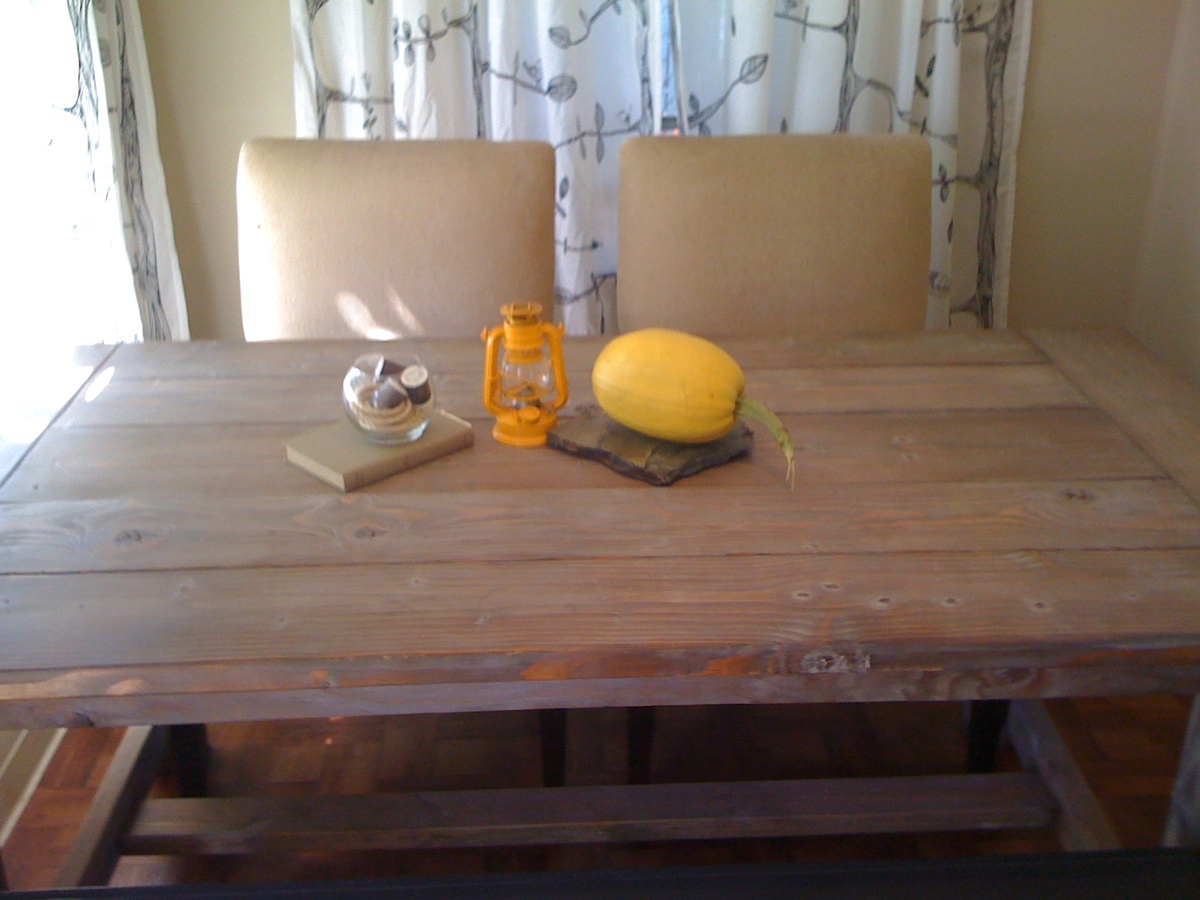
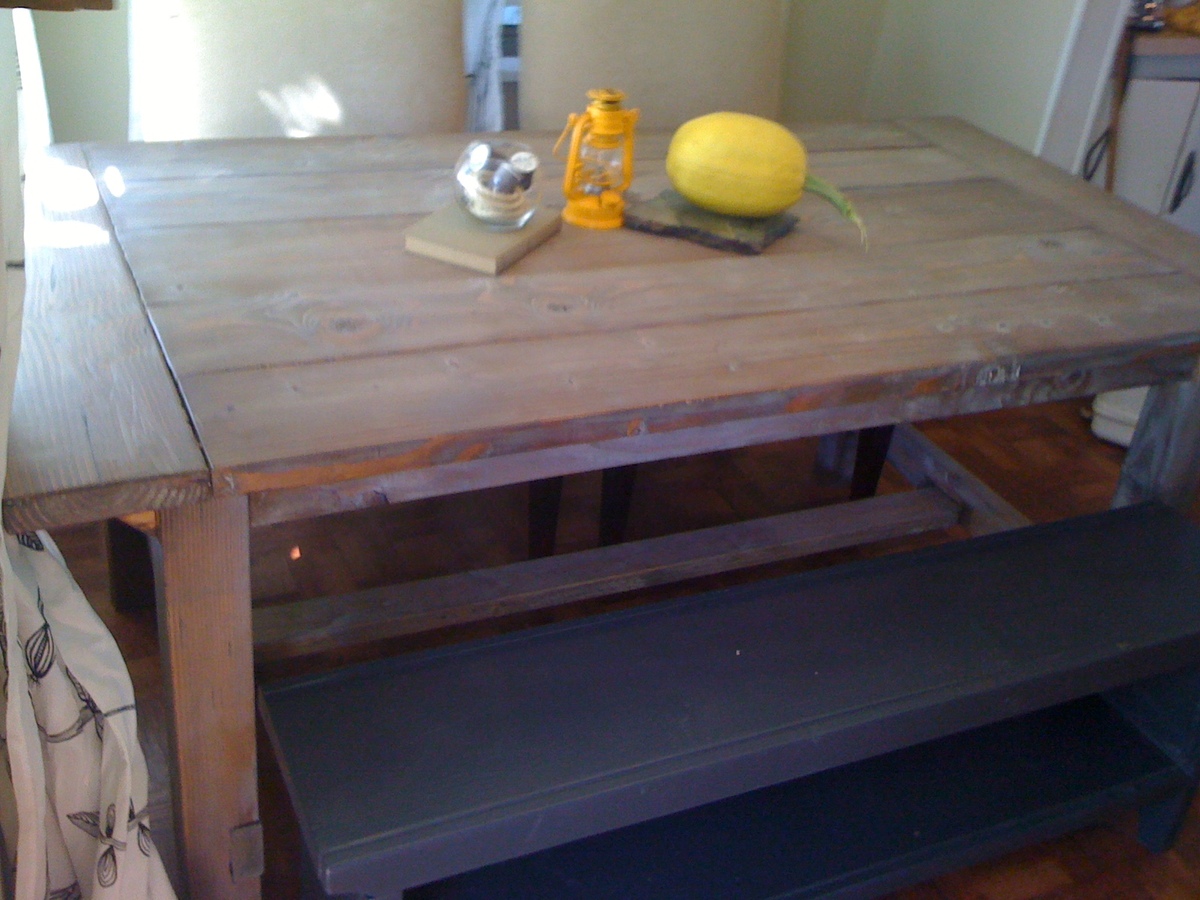
I built this table using a hybrid approach; I used Ana's plans as a loose guideline (leg angles) and drafted the rest using the dimensions supplied at Pottery Barn's website (for the fixed table, not the extendable version).
Wed, 09/14/2011 - 18:11
This is beautiful! Love it. Thanks for the detailed information.
Wed, 09/14/2011 - 23:04
This is awesome. I'm finishing up my first project (floor to ceiling bookcases) and looking for a dining room table to make next. This just might be the one. Thanks for sharing!
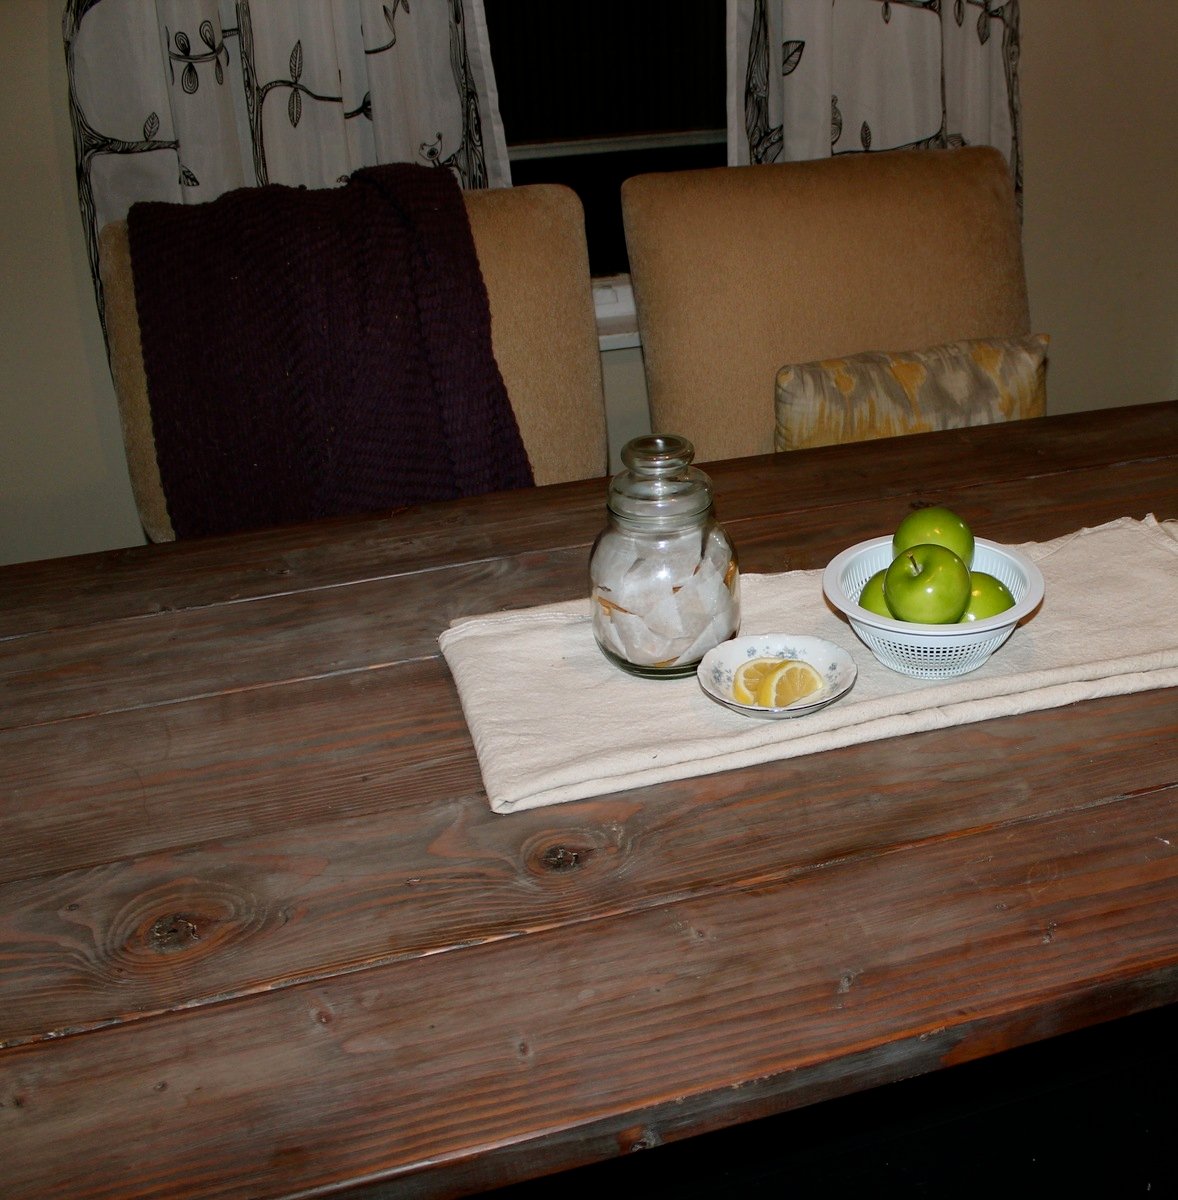
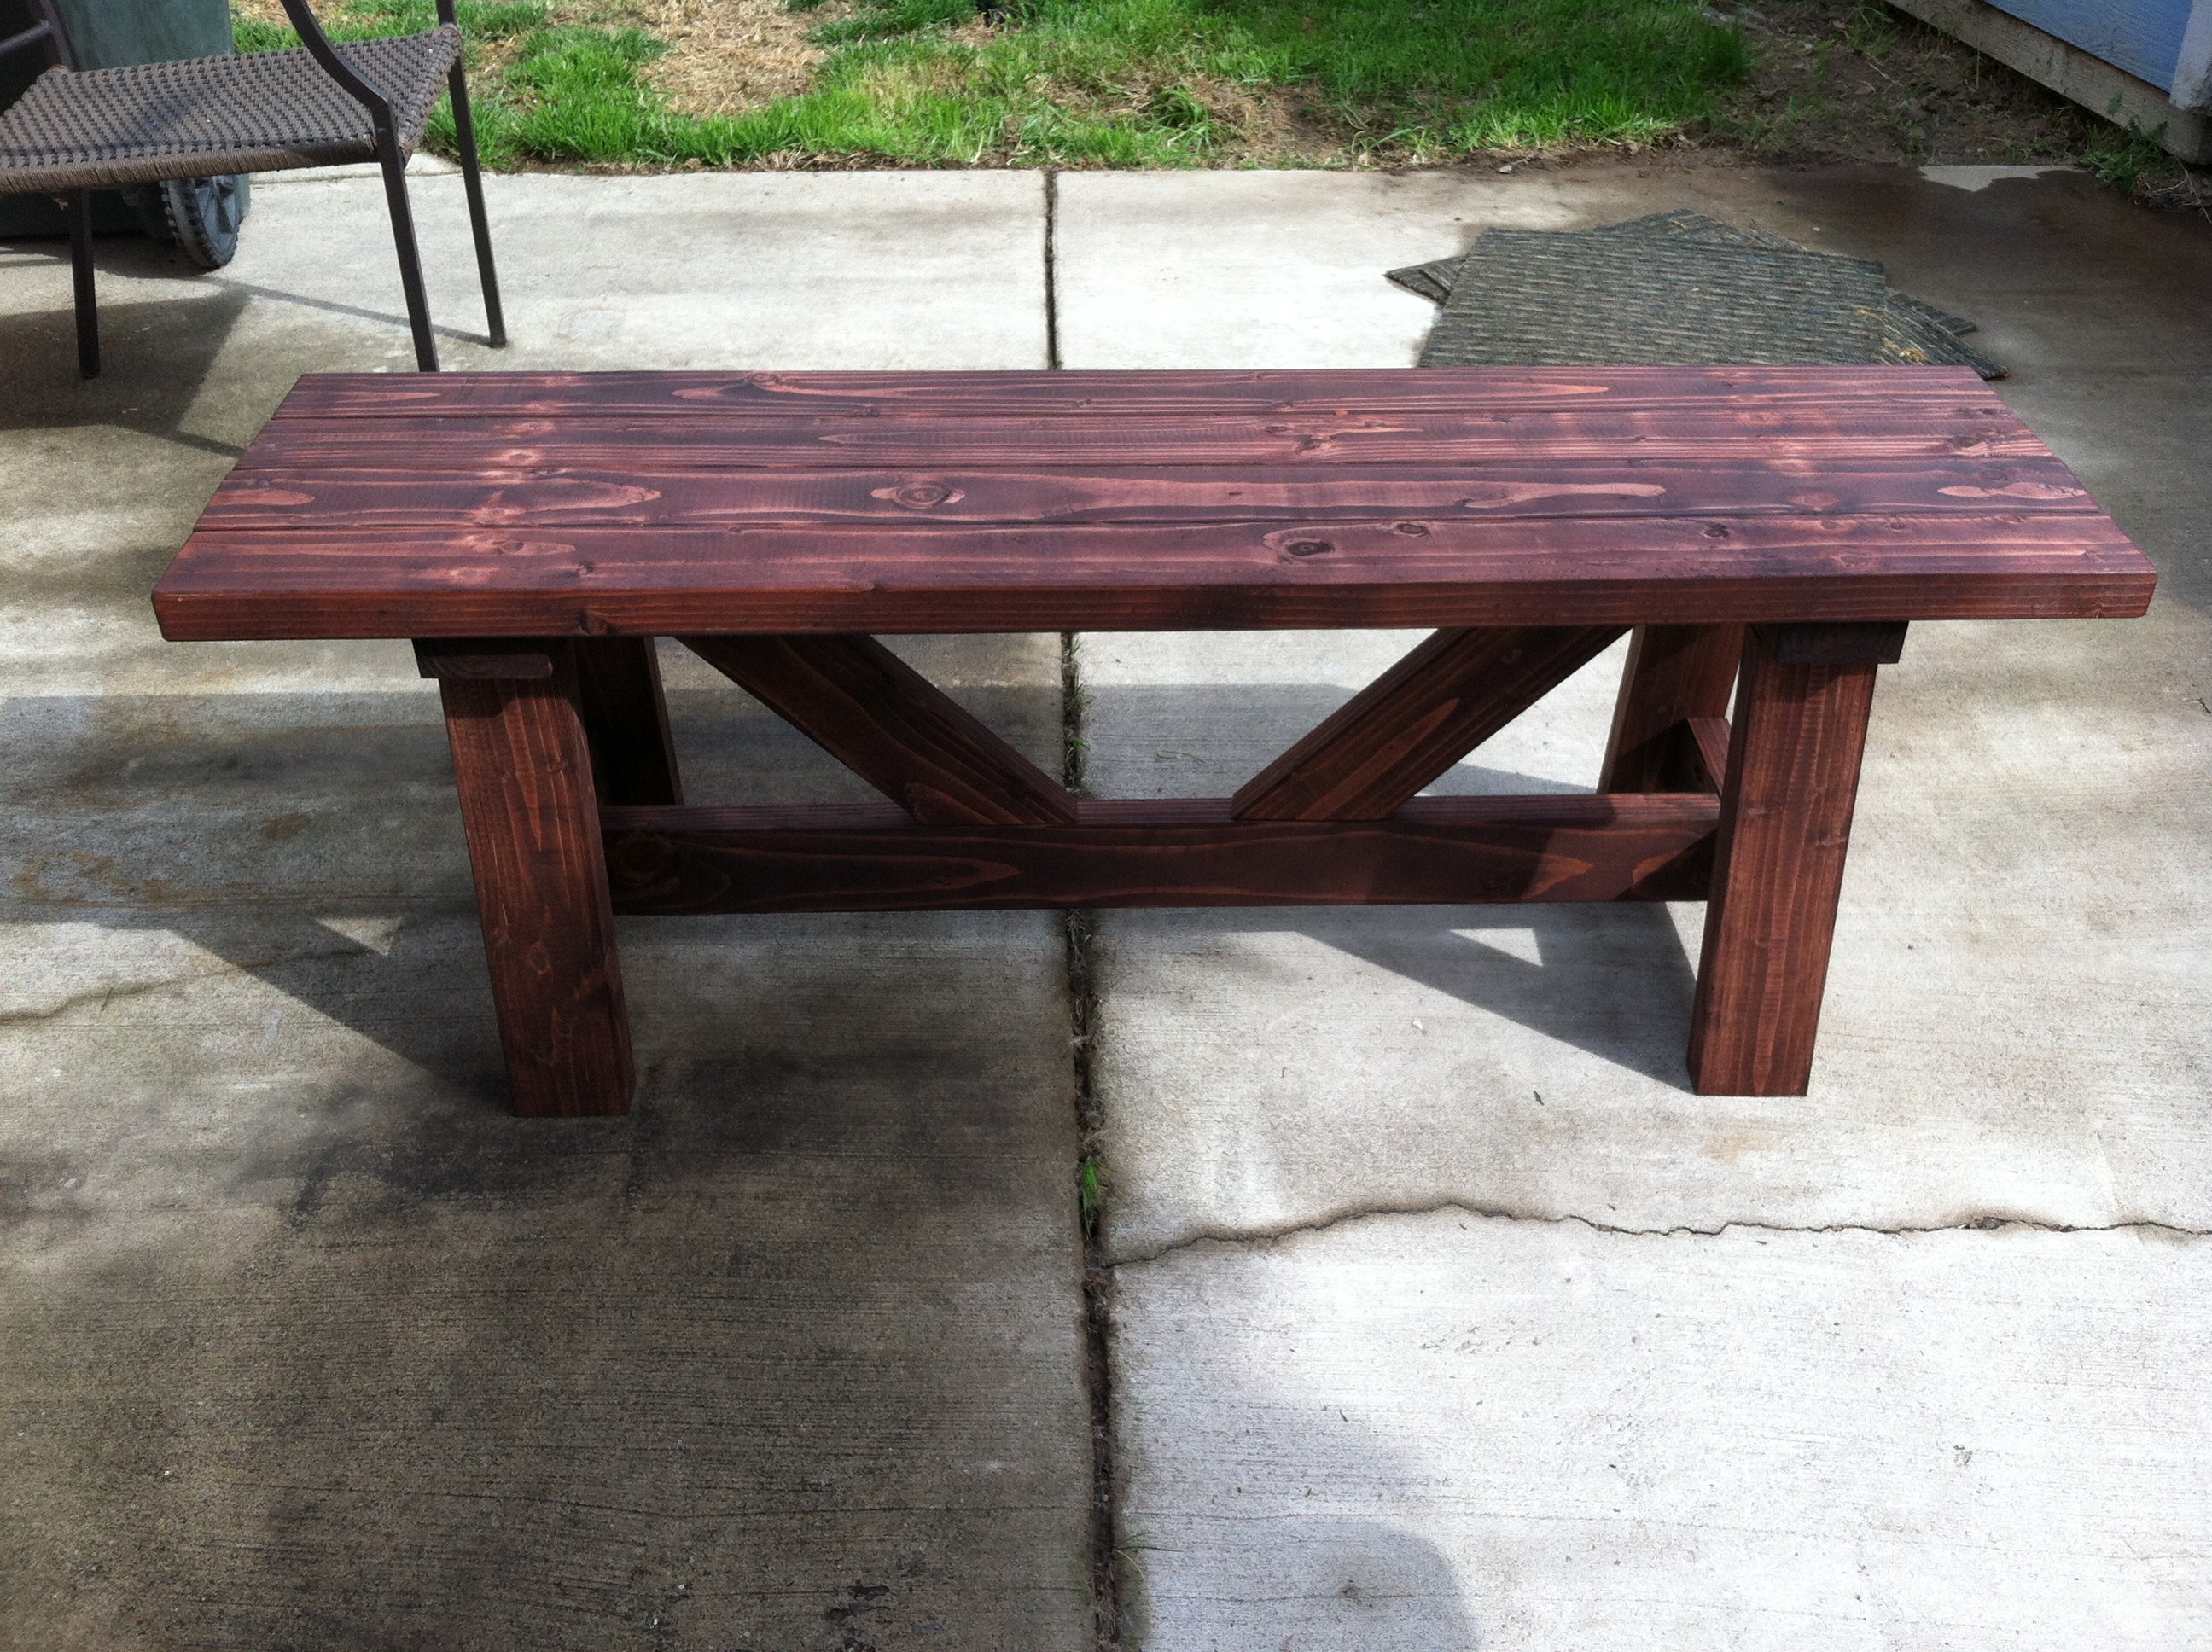
This Harvest table is the heart of our home. It was one of the first furniture projects we ever completed and my favorite finish to date. The night we spontaneously decided to buy lumber and build this table we had a lot of unexected visitors. We were out in the driveway working and a bunch of friends dropped by randomly so we all took a hand in building this table. It was so much fun. Spontaneous building party.
When I finished it it was my first time using a belt sander which wound up gouging some of the wood. The table top is super smooth but very rustic and I LOVE IT. I started with pre-stain conditioner, then cherry stain which I hated, then early american mixed with dark walnut. At this point it looked pretty lovely but I wanted it to look aged and gray so I lime waxed, dark waxed and buffed the whole surface of this piece. It turned out so special and you can see some red notes from the cherry stain and those are my favorite moments on this table.
Thanks again Ana.
** updated with a few better photos on 11/21

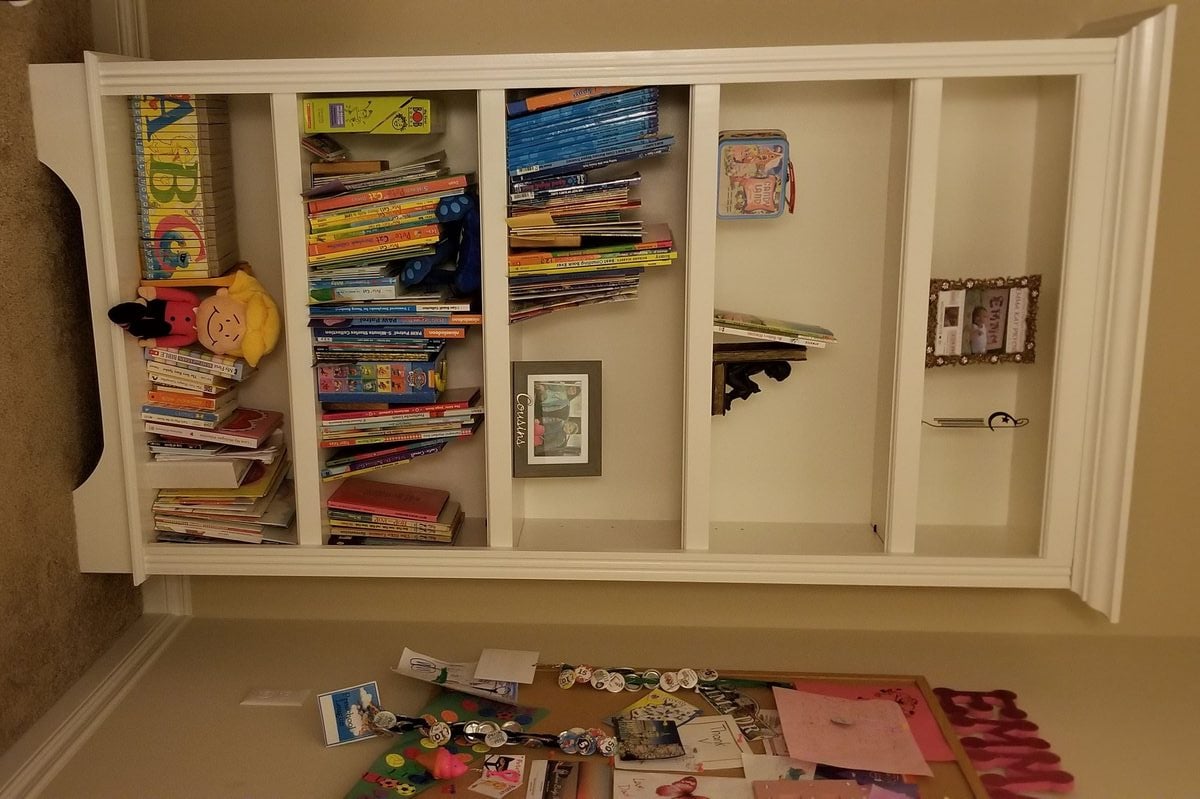
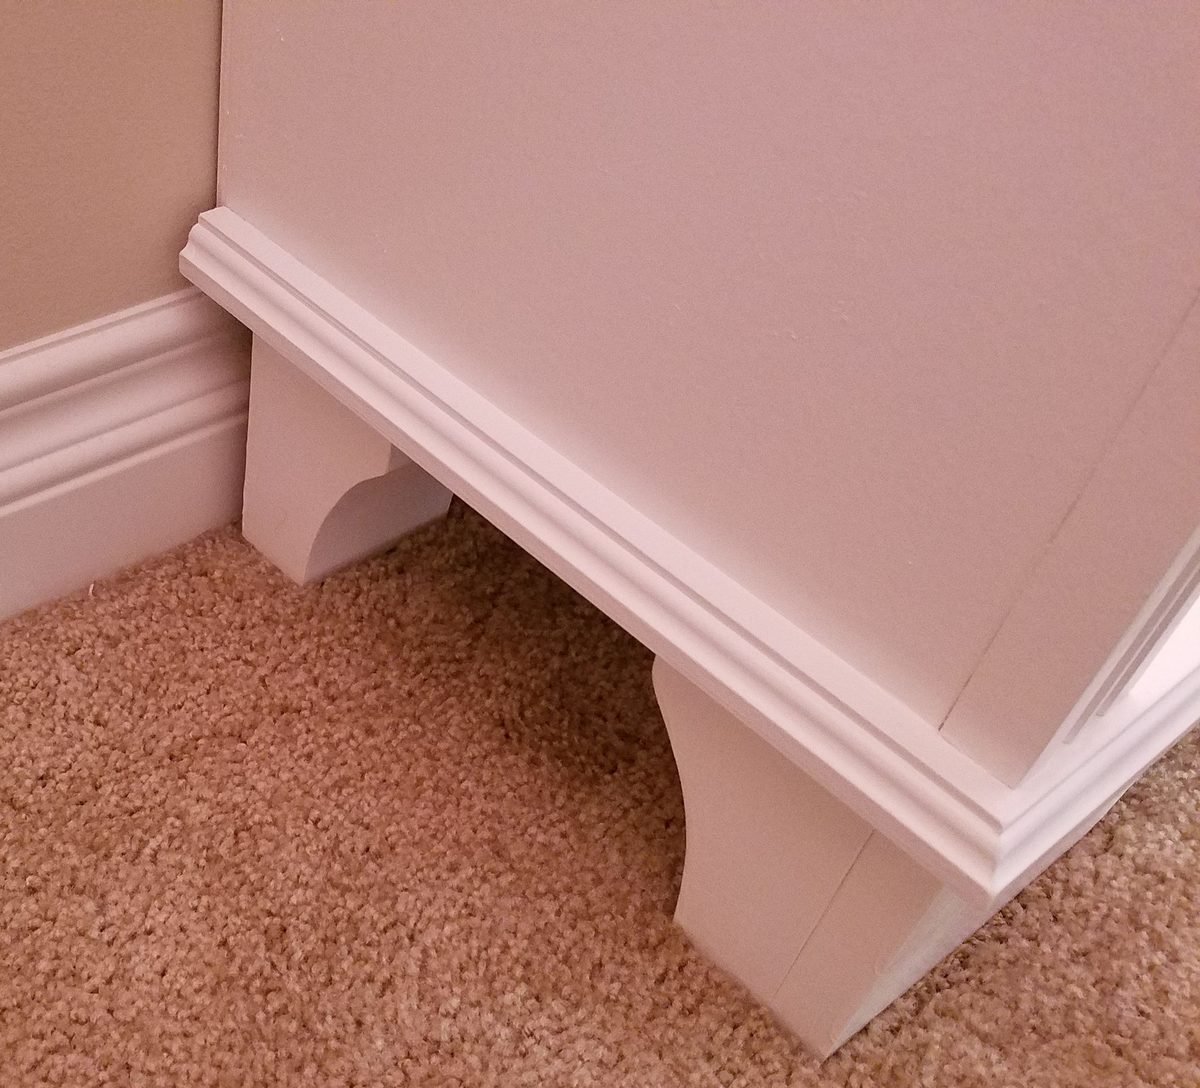
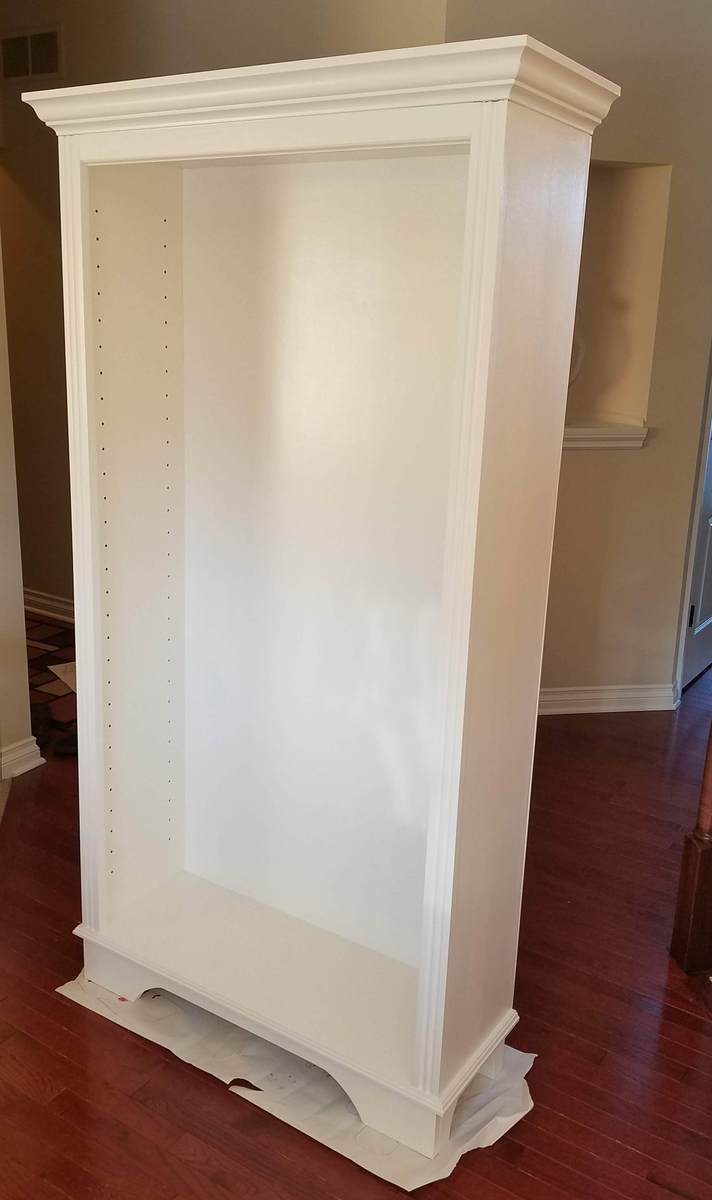
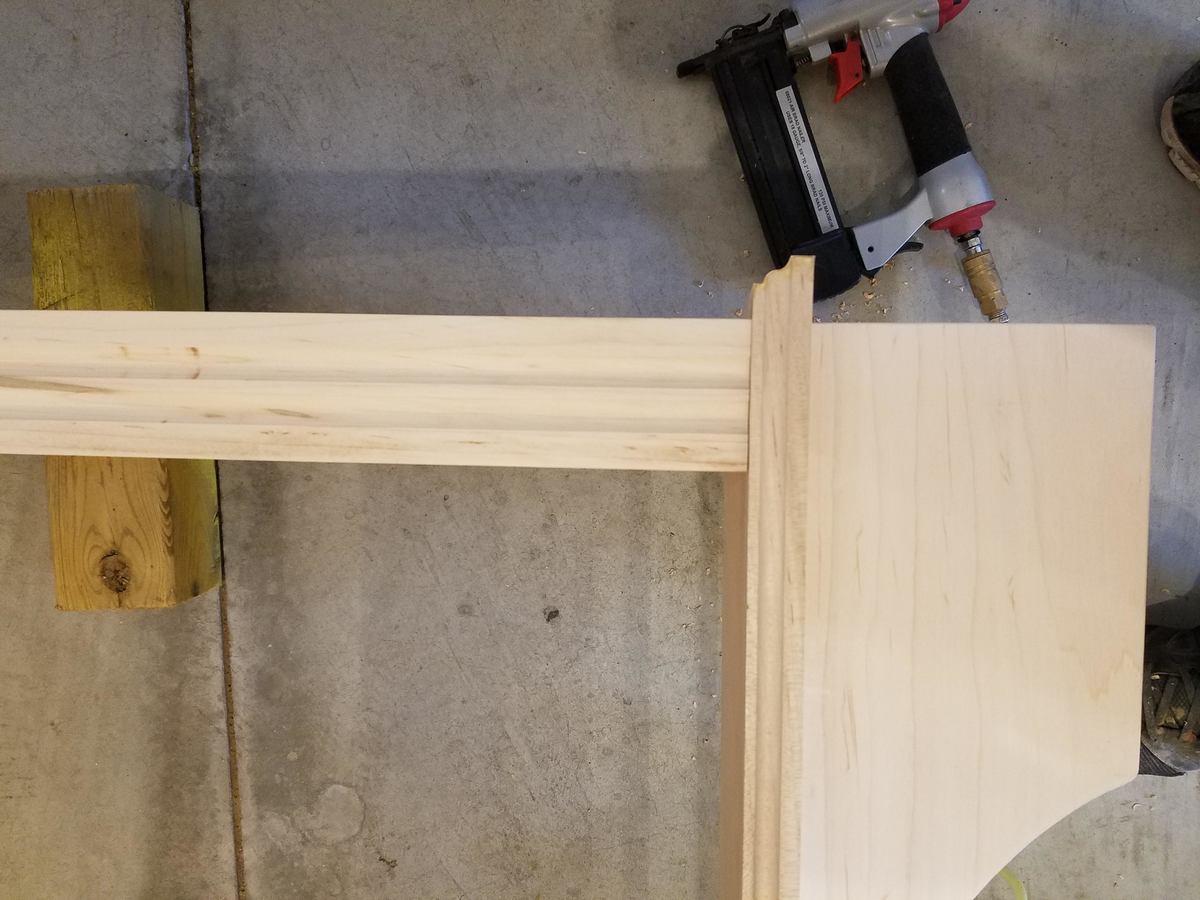
Just finished this maple bookcase with fluted trim for my daughter's room. I chose all maple trim even though it's painted because I wanted a good hardwood with low grain that would look good for decades to come. Full build details are on my website. Router bits used were a roman ogee and a core box bit.
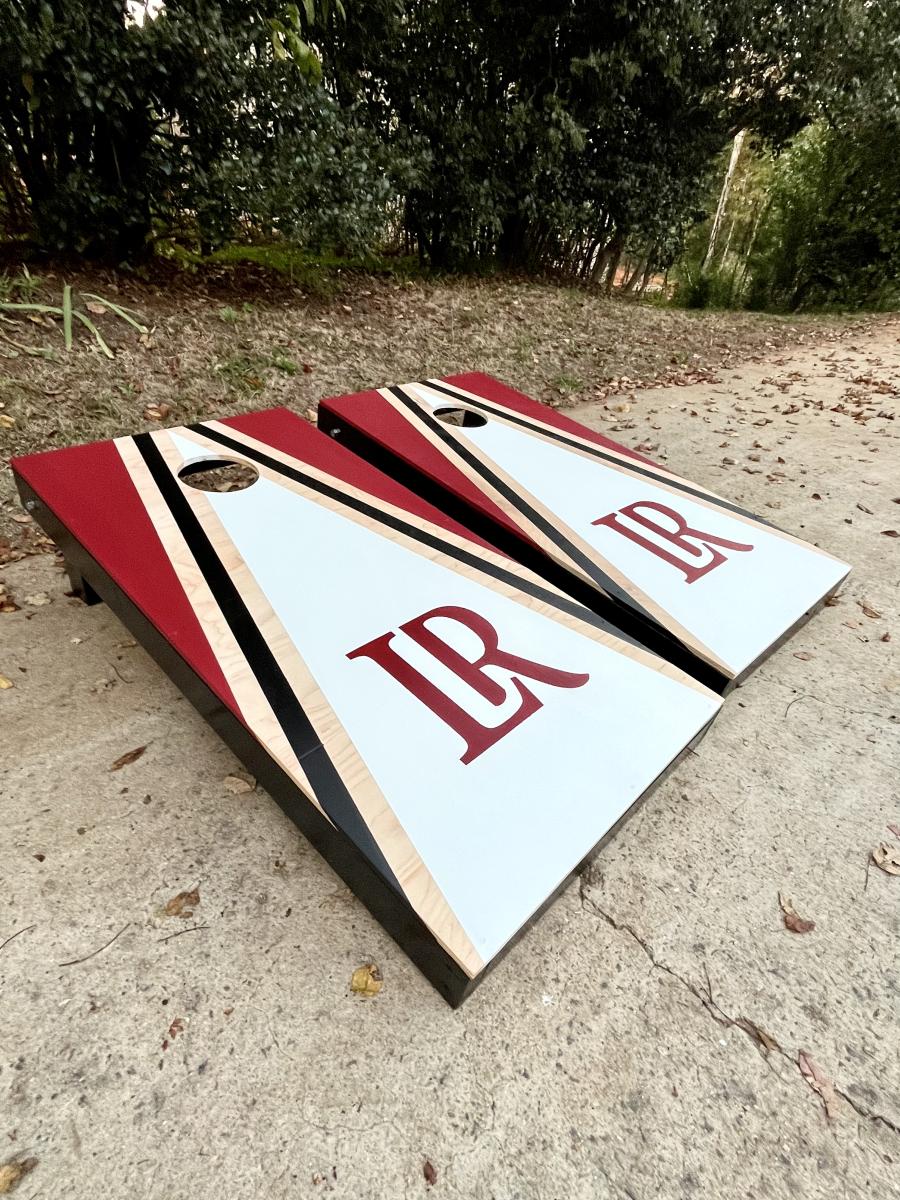
Thank you for helping me make my first set of cornhole boards! Super easy steps to follow and I love how they turned out!!!


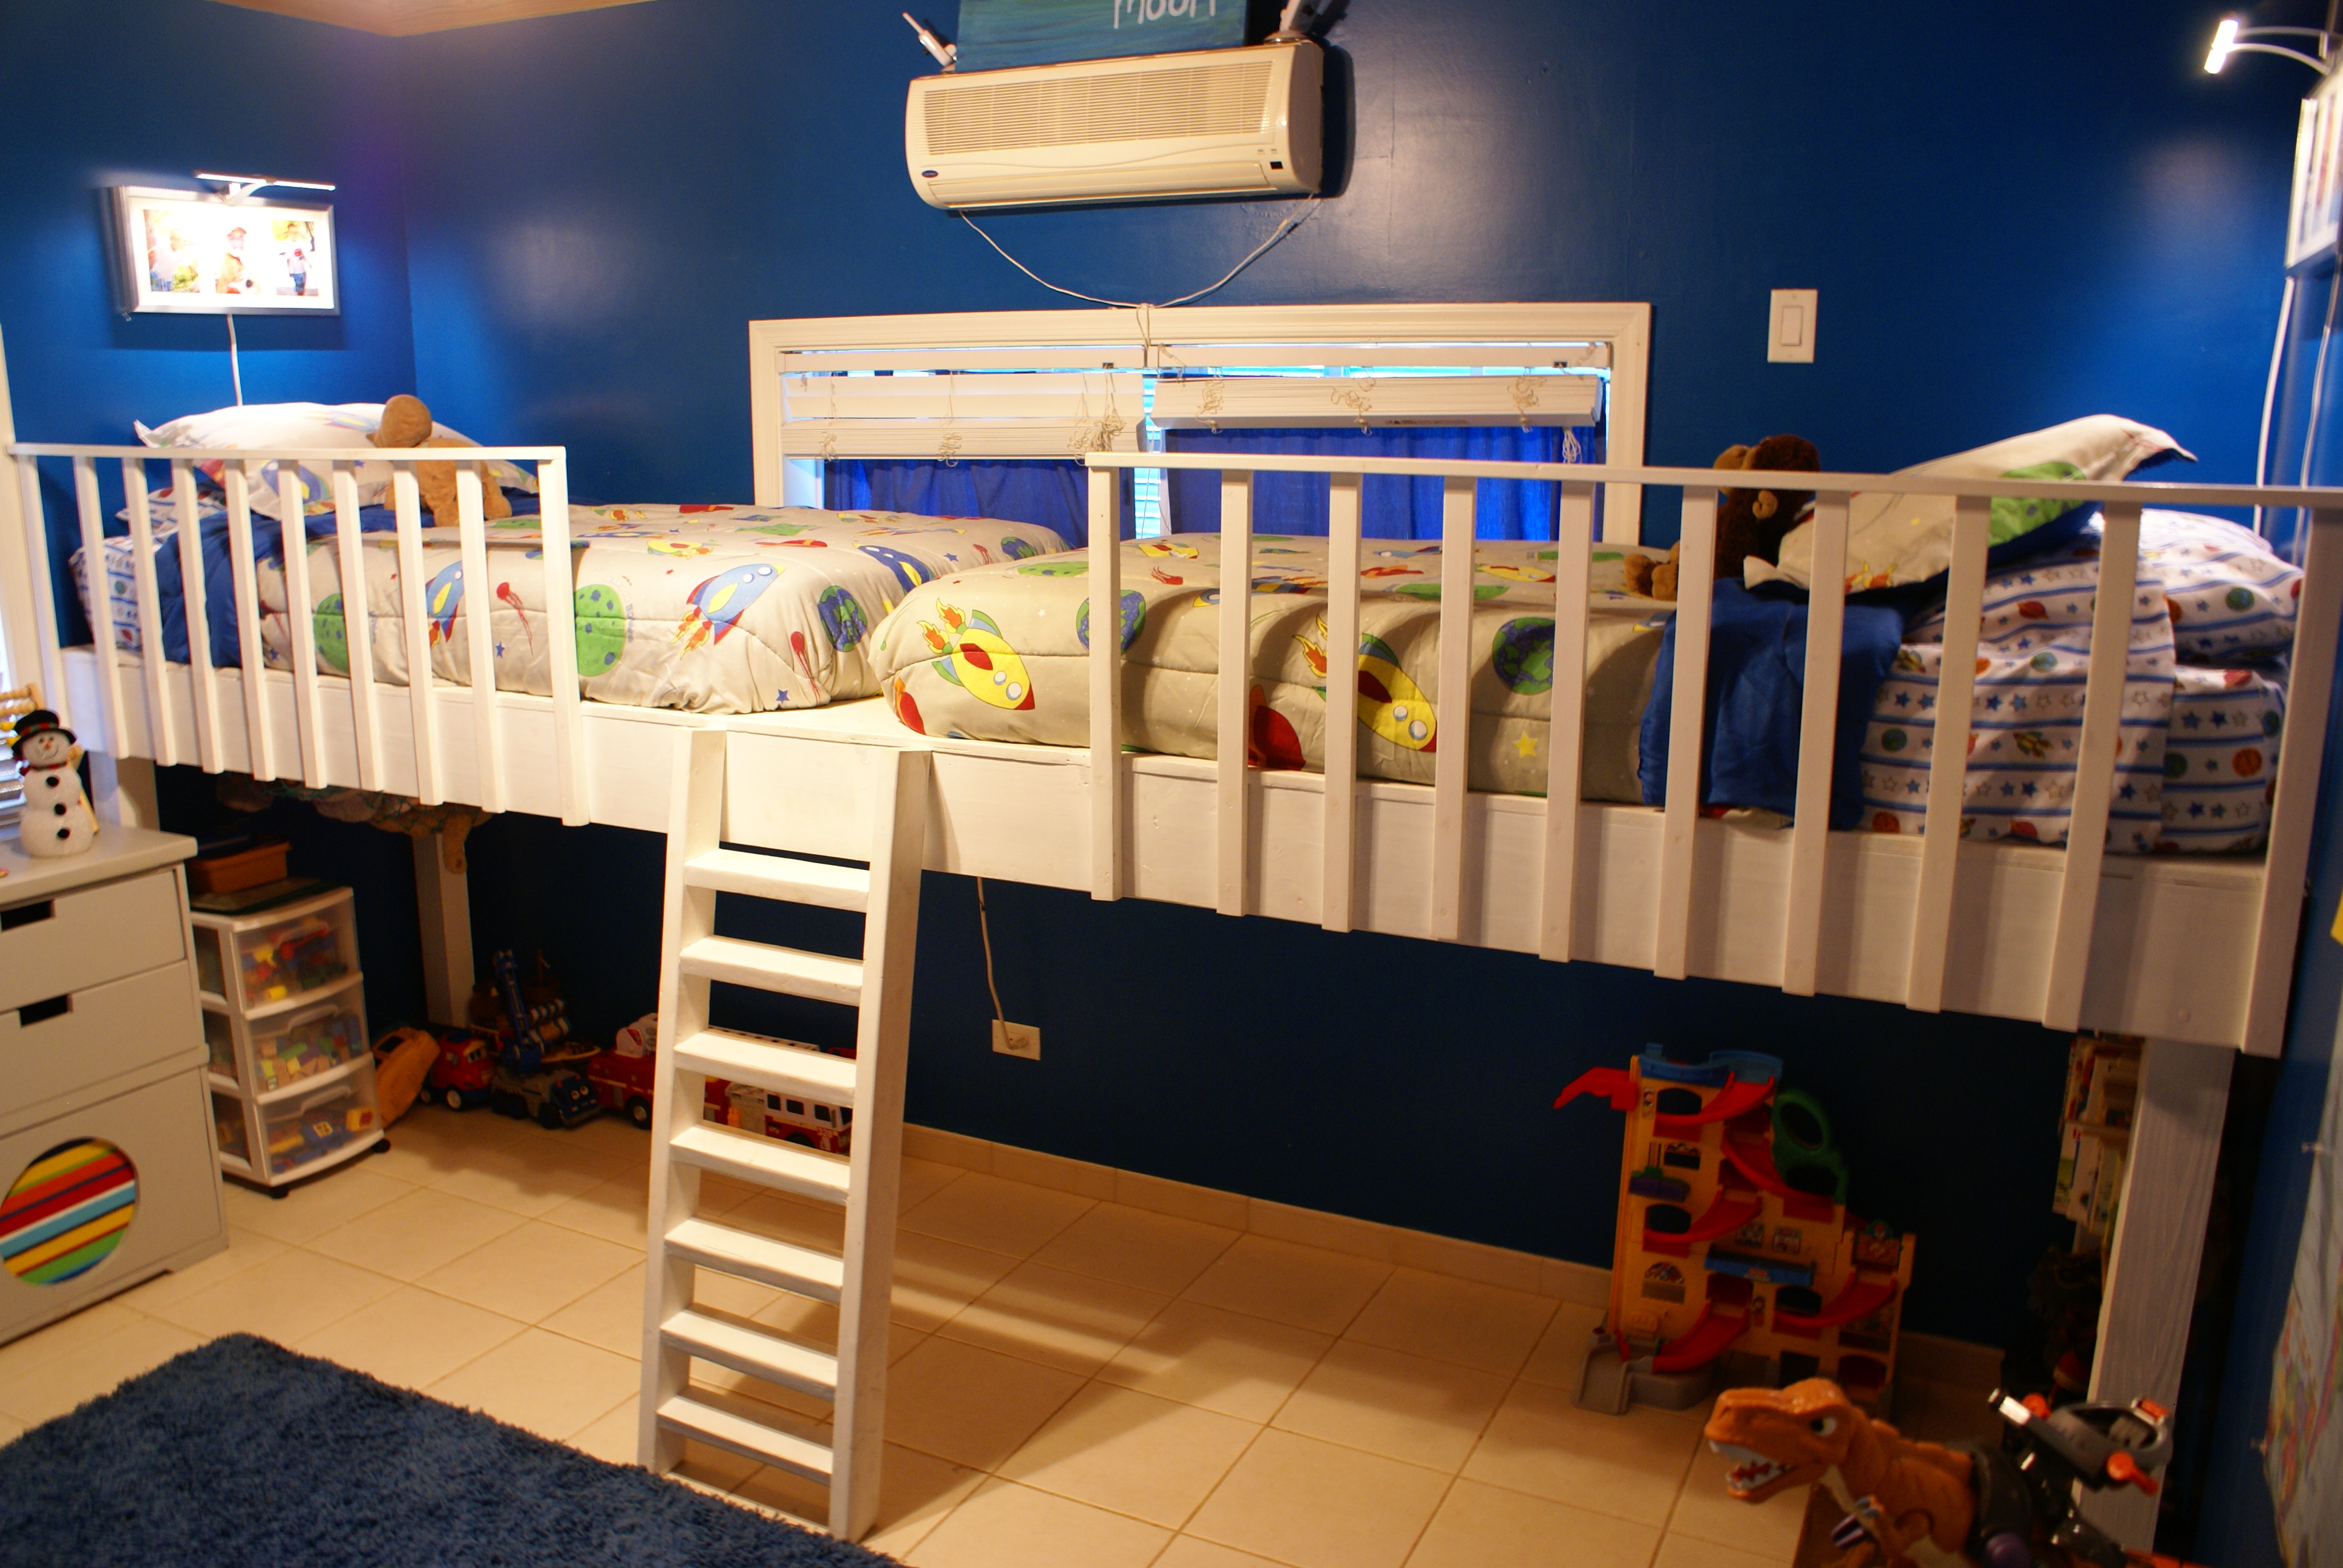
I saw the idea for this bed on Pinterest originally. It linked to a blog that had the step by step plan (http://www.thehandmadehome.net/2011/08/how-to-build-a-loft/). However, I would have never even approached the idea or project without a few of Ana's plans under my belt first. I have gained so much confidence in my building on this site, and will always be a HUGE fan here :) Thank you Ana for all the fantastic plans you continue to share!
I still want to finish out and make the under bed area more fun and creative with curtains and such, but we LOVE having the full floor in the room for our play area. My boys absolutely love their bed!!
Wed, 10/02/2013 - 13:07
I'll bet the boys are thrilled with this. It's great to have that extra play room!
I am curious, though, how the center of the loft bed is supported.
In reply to Looks great! by sgilly
Wed, 10/02/2013 - 18:38
Hey Sue, I went and found the old link to the plans for this and added it to the brag post. Or here it is also: http://www.thehandmadehome.net/2011/08/how-to-build-a-loft/ Underneath is a bunch of 2x4's spaced to support the platform, but the big 2x8's are the main strength. They are monsters! We've had a bunch of kids and adults up there for story time, and never once has it felt unstable or wobbly. Hopefully the link will help. It has way more photos that I have here.
Thu, 07/28/2016 - 15:47
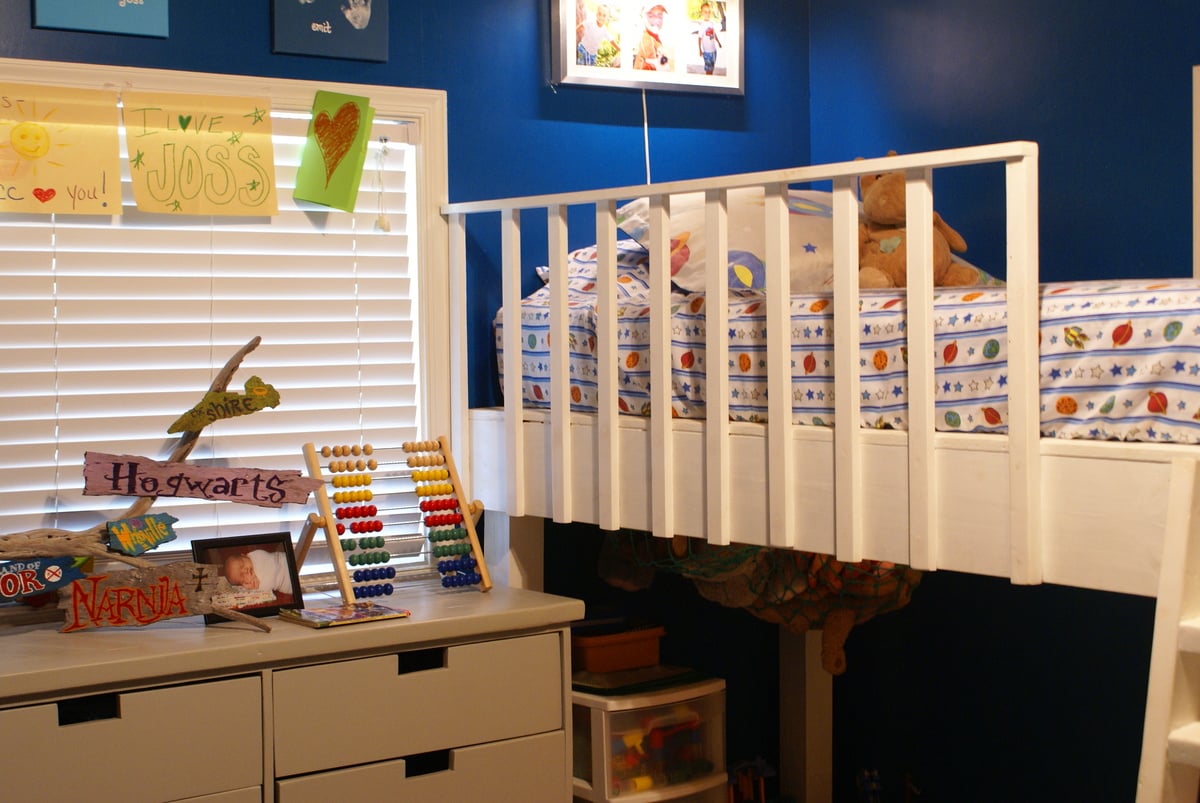
I am going to attempt to make this bed in a couple of weeks for my daughters. The handmade home directions only show the rope ladder. We want to make the ladder similar to your pictures above. Could you tell me how you made yours please and thank you?
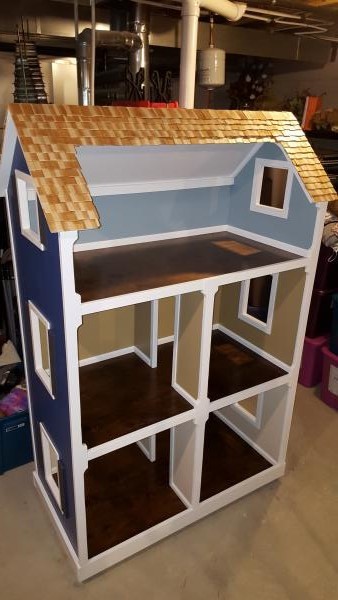
Built this from Ana's plan. Made a few small floor changes and added casing, baseboard, trim and cedar shake shingles.

Mon, 12/21/2015 - 15:22
I love all the attention to details here. It's a beautiful dollhouse.
Wed, 12/23/2015 - 15:07
Thank you for the kind comments. I really appreciate your work putting the plans out there for others to follow, Ana! My father is a high end custom homebuilder and made a house for my 3 sisters 20 years ago for Christmas. I thought if I'm going to do this, I might as well go all in and try to make something grandpa would be proud of. It is for my 2 girls, ages 8 and 11. The 11 year old still plays with dolls. I'm trying to hold onto her youth as long as I can! Again, many thanks. -Shane
Wed, 12/23/2015 - 15:12
Thank you for the kind comments. My father is a high end custom home builder and made a house for my 3 sisters 20 years ago for Christmas. I thought that if I was going to make a house I should go all in on something to make grandpa proud. I am very grateful, Ana, for your posting of the plans on the web for others to imitate! The house is for my 8 and 11 year old daughters. The 11 year old still plays with dolls and we are trying to hold on to her youth as long as we can. With thanks and gratitude, Shane
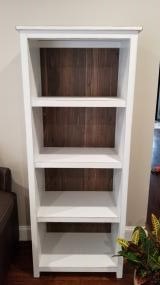
Bookcase followed plans exactly, finished in rustoleum white, varathane carbon gray stain for back paneling.
Finished with satin oil based poly to add some protection.
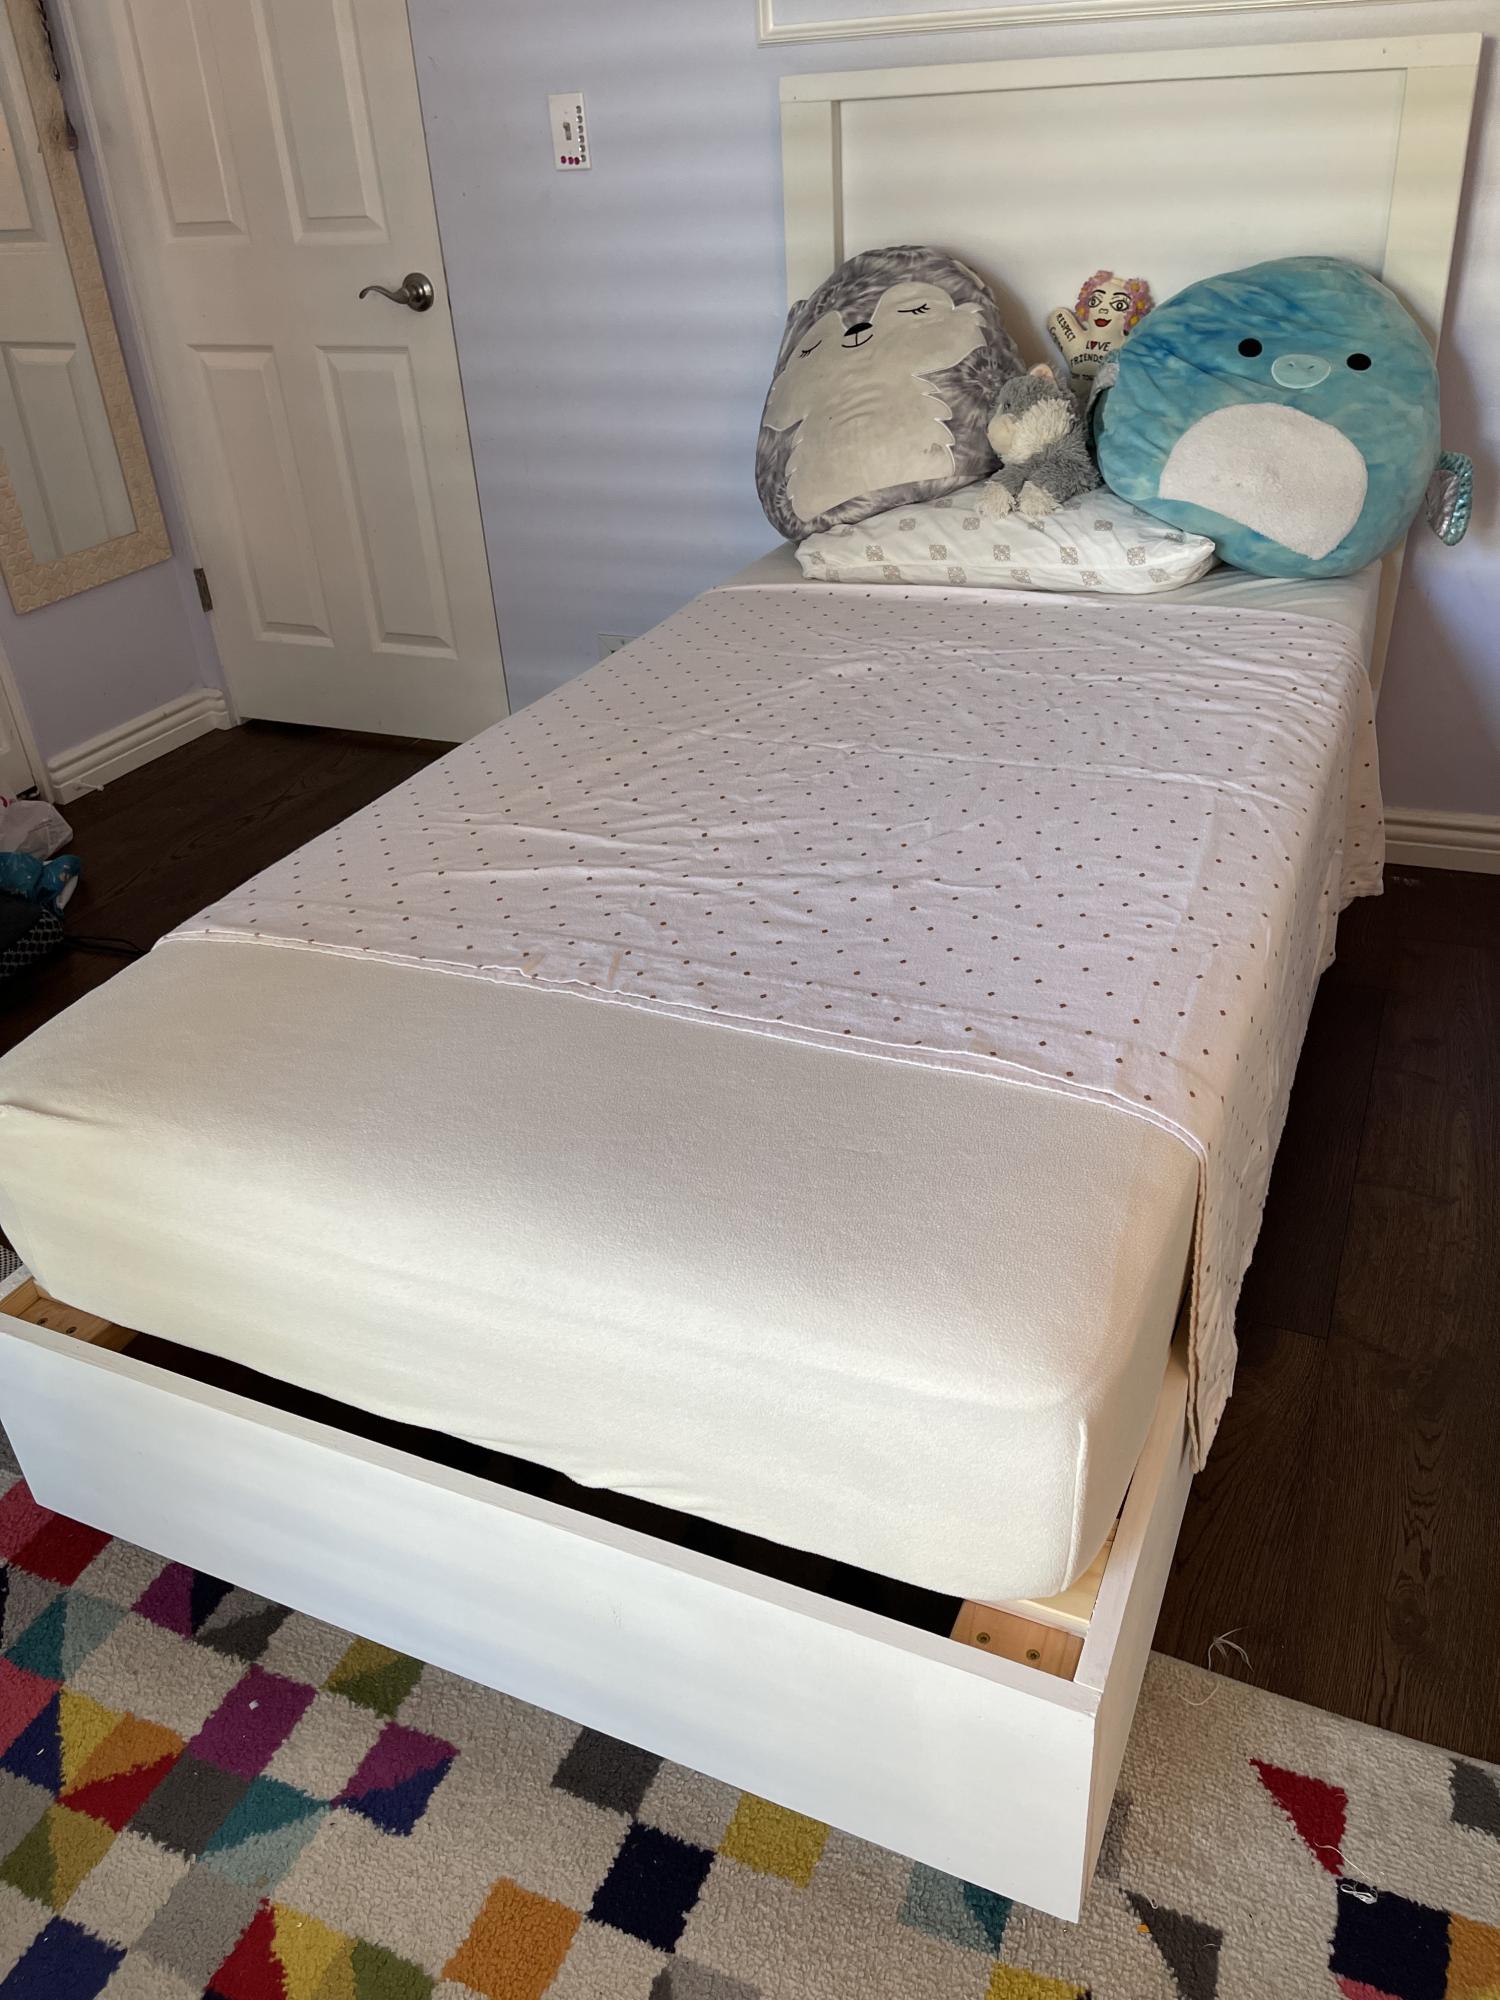
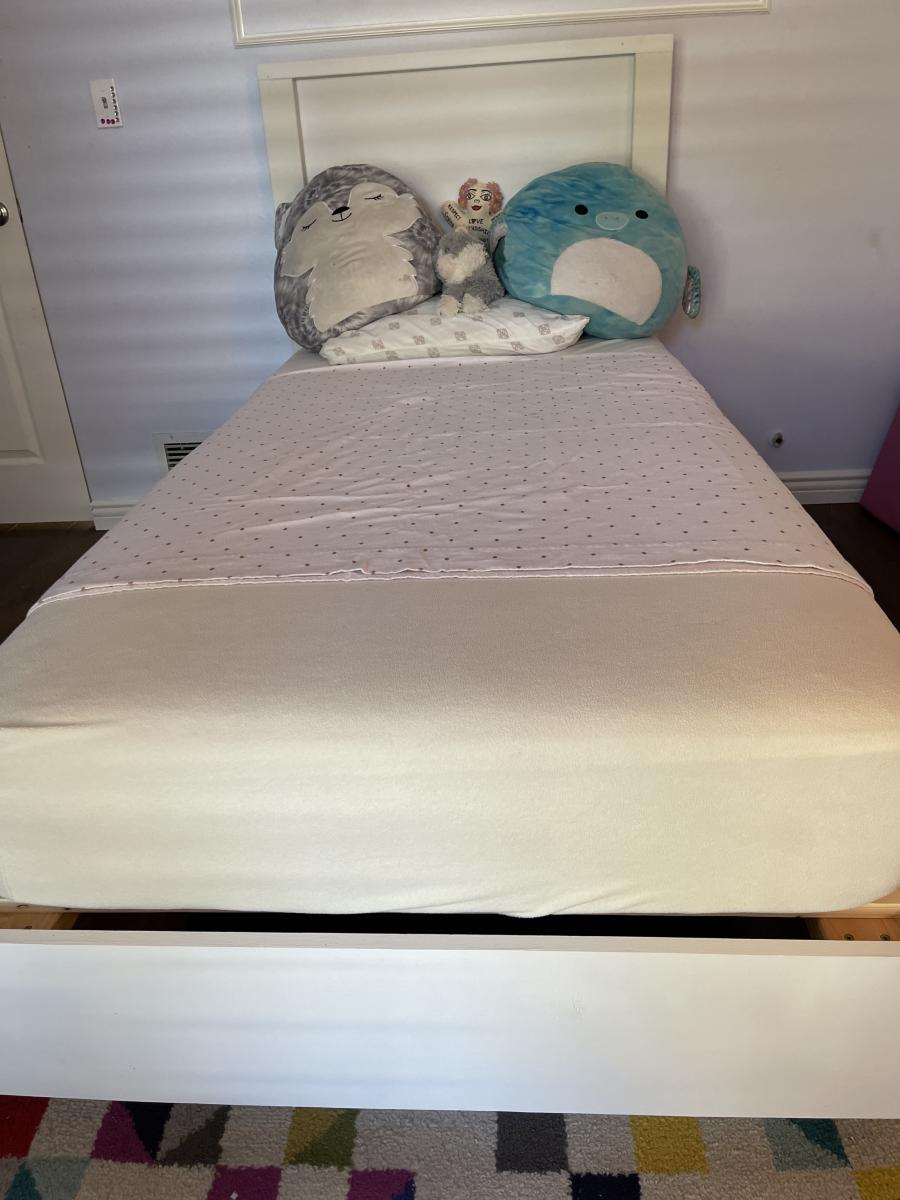
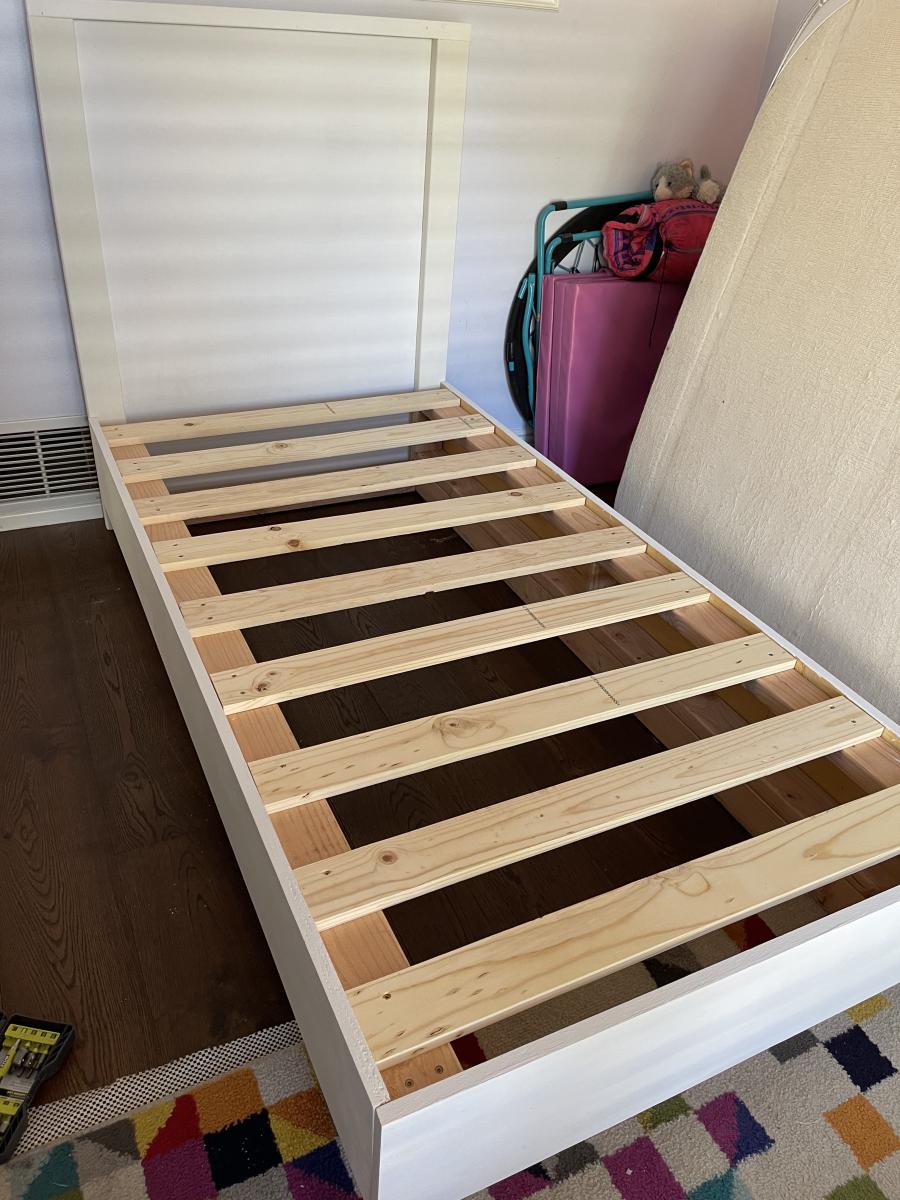
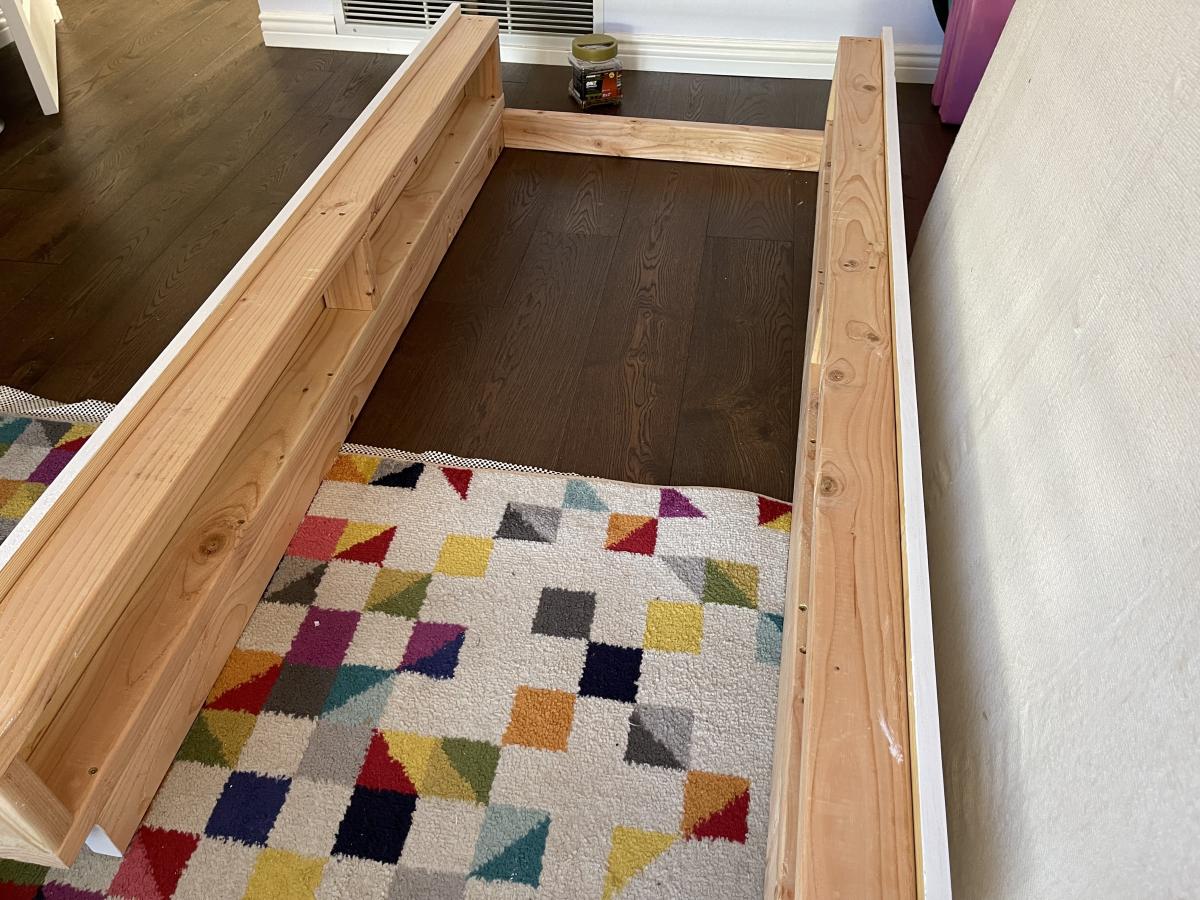
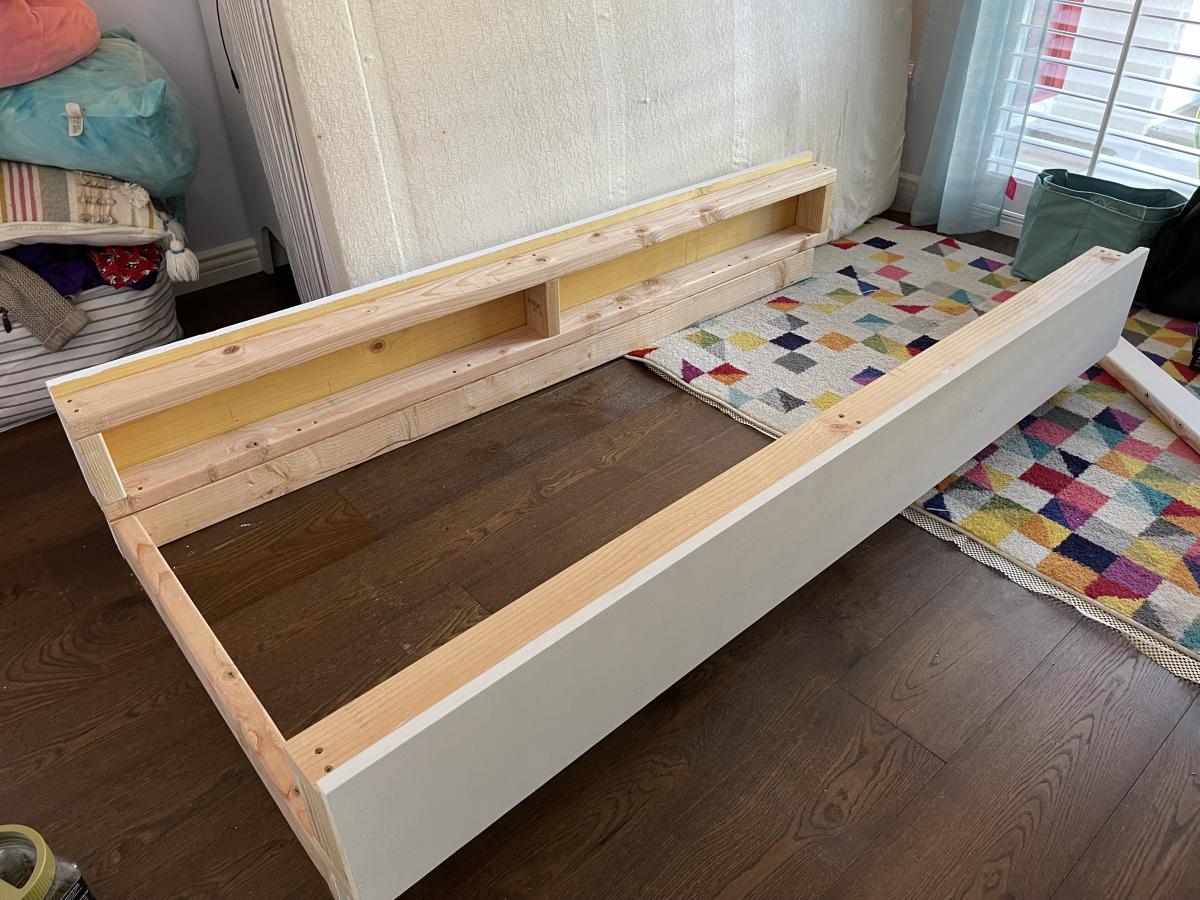
I built a floating bed using Ana's plans. In my case, I built a twin size bed which now my daughter enjoys every night. The bed turned out beautiful and very sturdy.
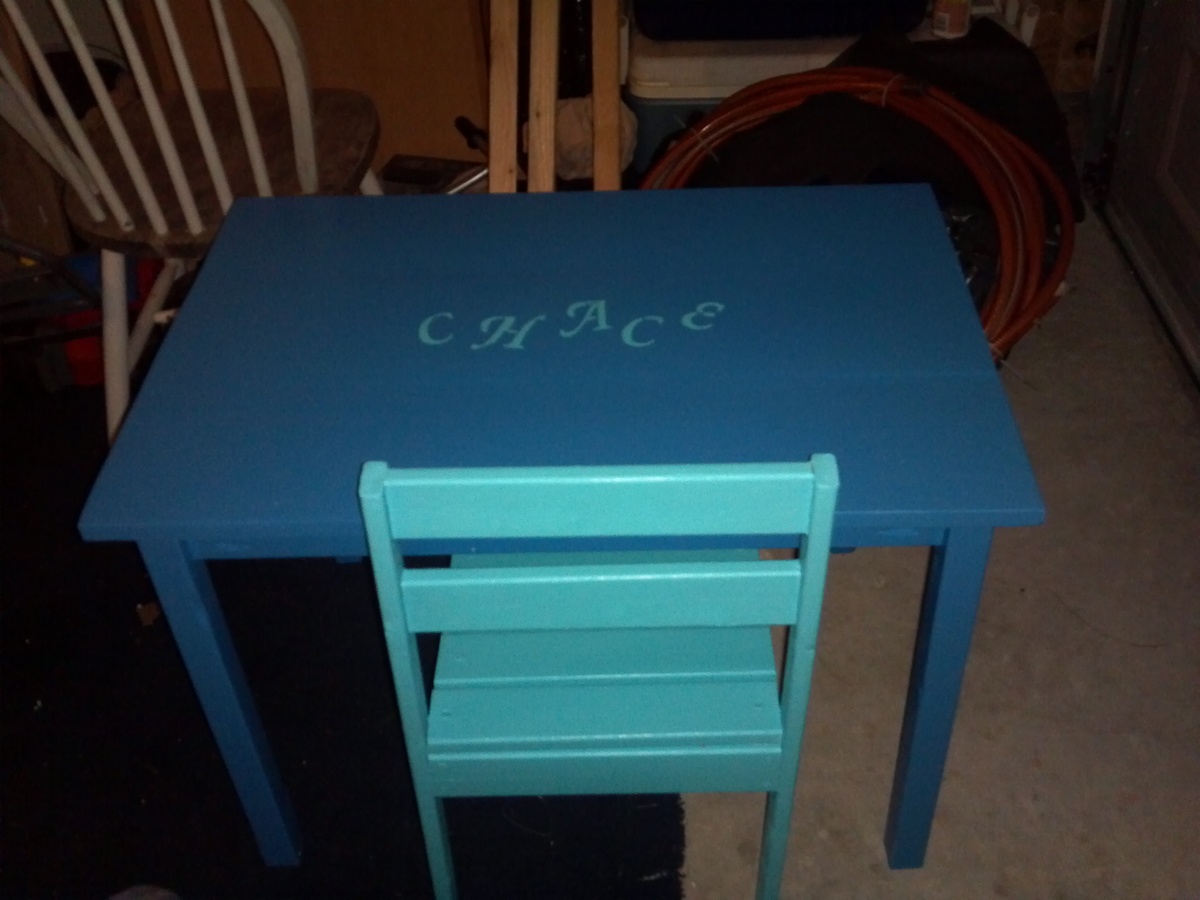
This was a gift to my good friends son. She said he needed a desk for his homework, but I hear he's using it as a dinner table. :) It was a fun project.

I decided to build the art table and use it as a lego table instead. I had a piece of 3/4" maple plywood left over from a previous project, so the only thing that I had to buy were the 1x4's and lego plates.


Thu, 02/02/2017 - 10:42
This is an awesome build! Your little one is too cute!
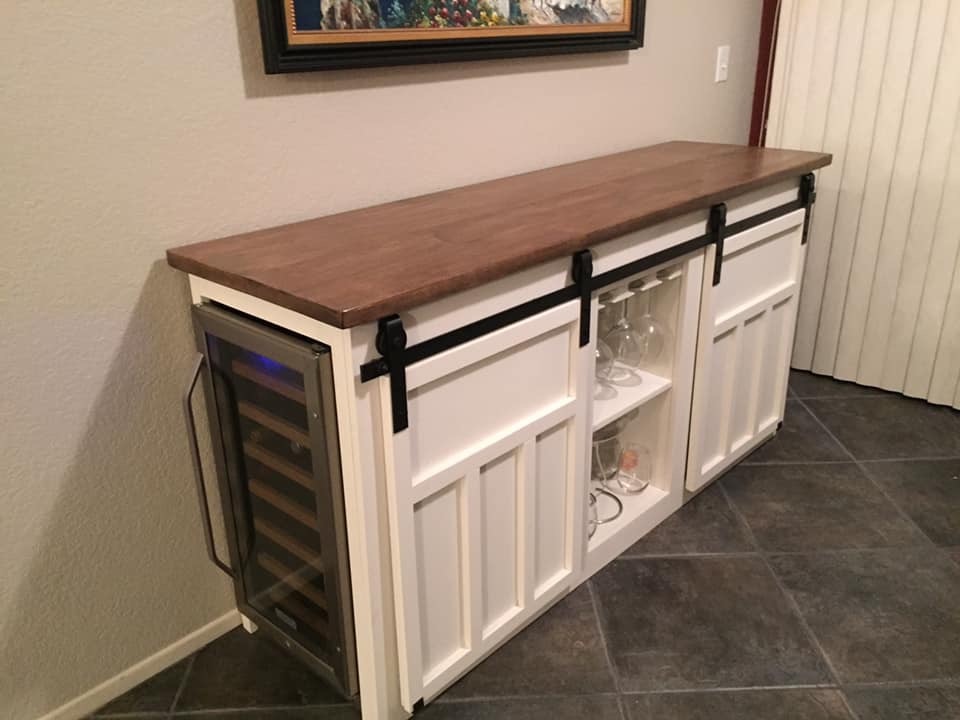
Used Maple on top with pine for the frame. Thanks Ana-White!
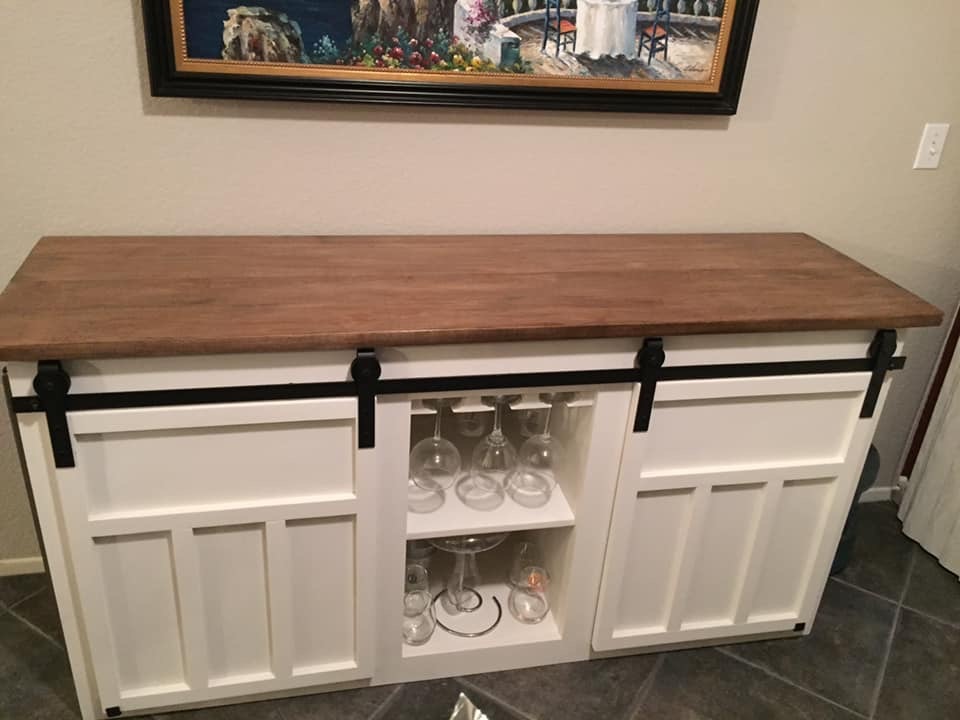
Mon, 07/01/2019 - 14:05
Oh wow, I love this version of this console! You did such a great job customizing it to your needs ☺
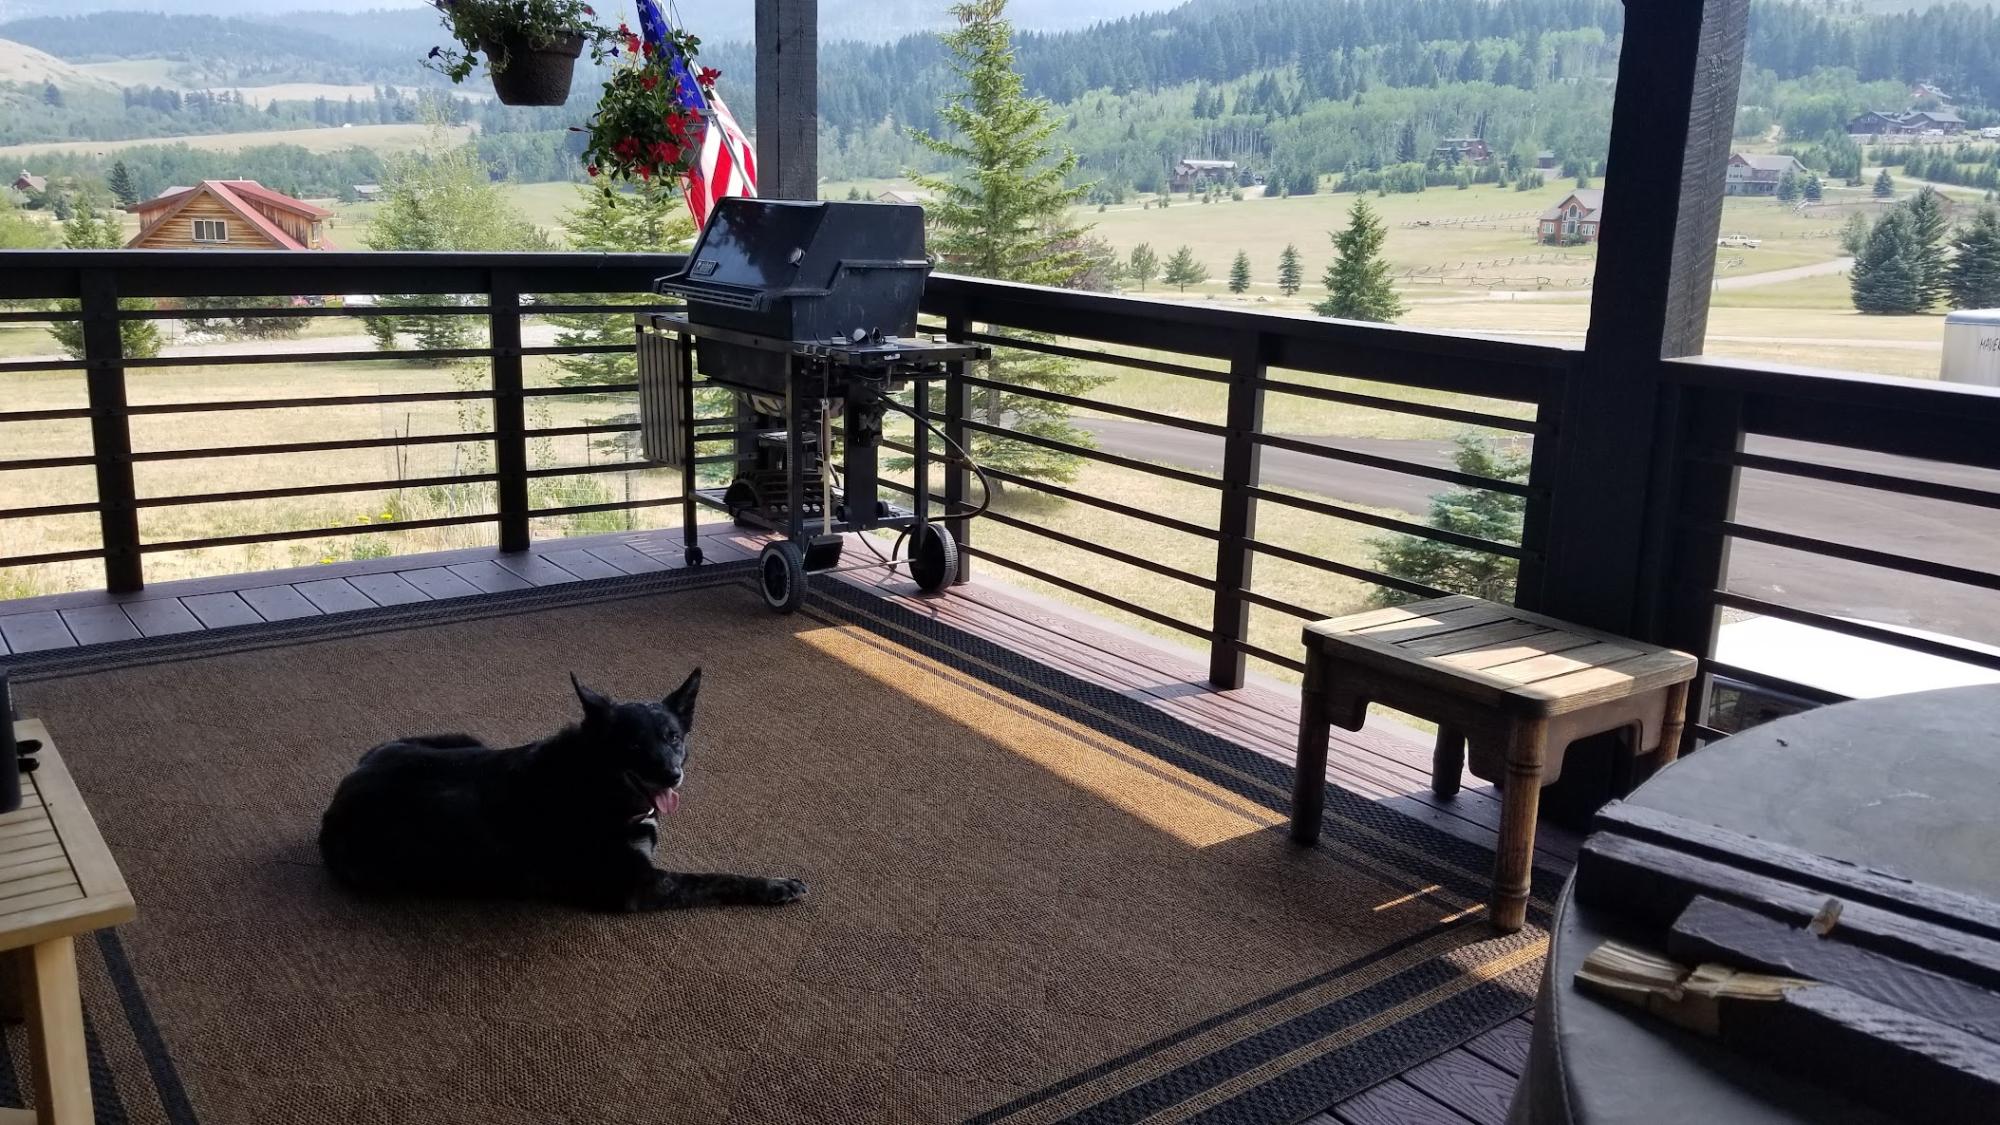
Inspired by the modern farmhouse railing we decided to install the same style on our deck. Our old railing was aged an deteriorated. The project took about two weekends, one to treat the metal with black magic, another to build the actual railing. We love how it looks!
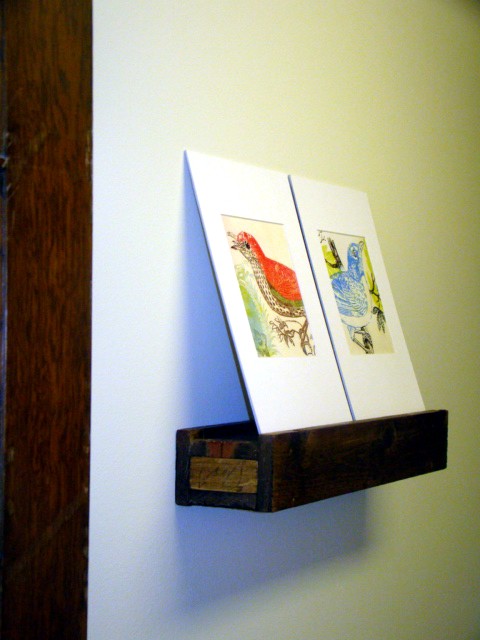
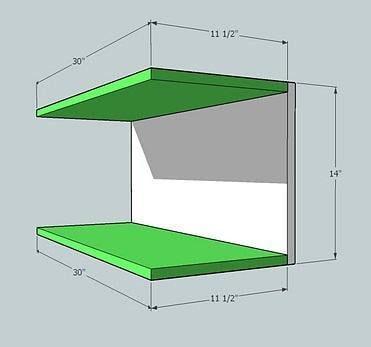
These shelves were easy to make and are sturdy also. I haven't gotten frames for my pictures yet - I was so excited to hang up my shelf.
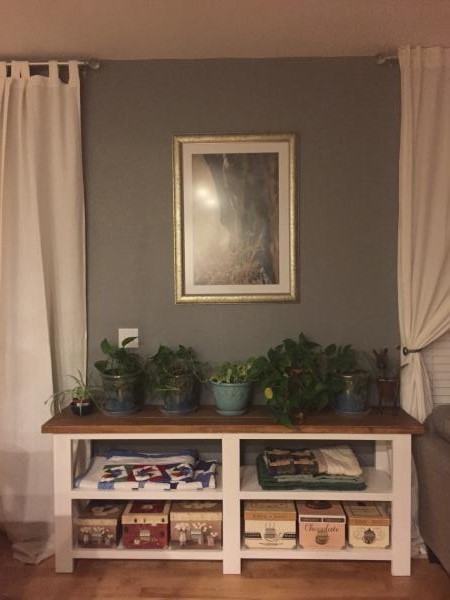
One of my first projects and I really felt like I had good cuts, however it was still a real challenge for me. I ended up doing the bottom in white to hide some of the errors. In the end I am happy with the resultes.
Comments
Ana White Admin
Fri, 12/09/2022 - 22:32
So Festive!
Thank you for sharing, it looks amazing!