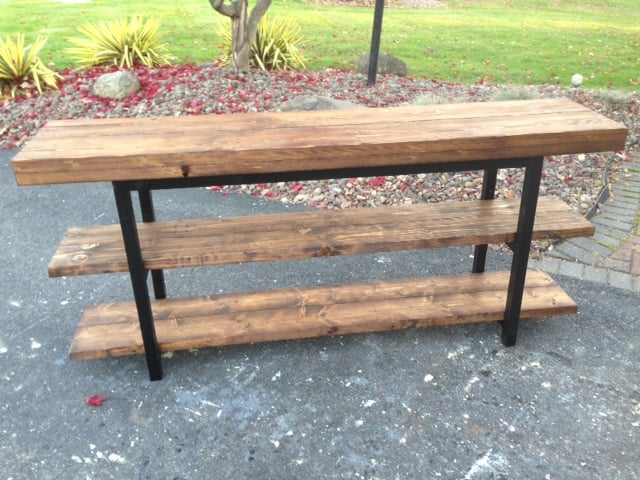
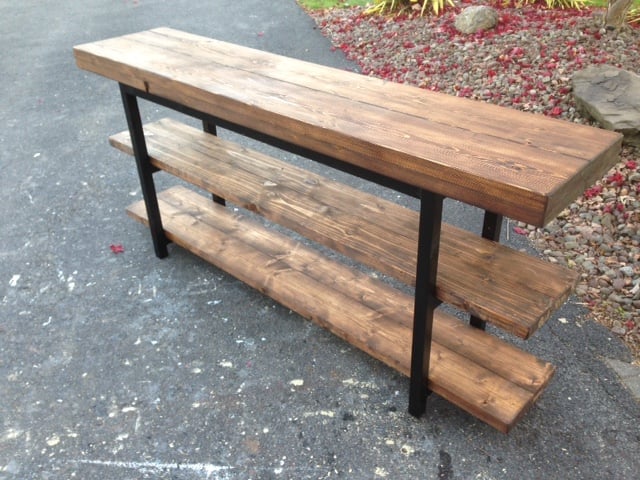
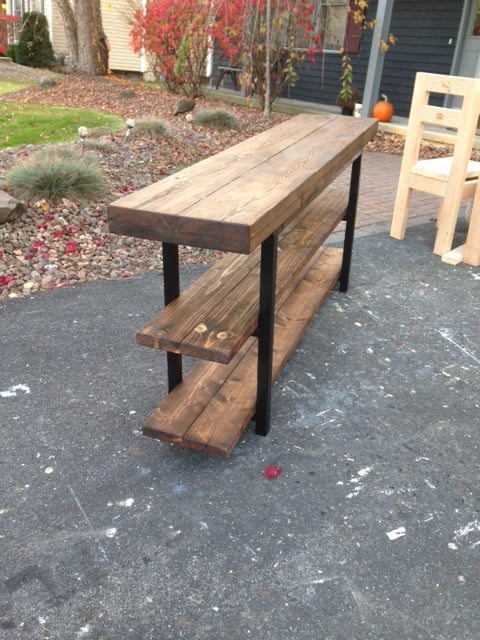
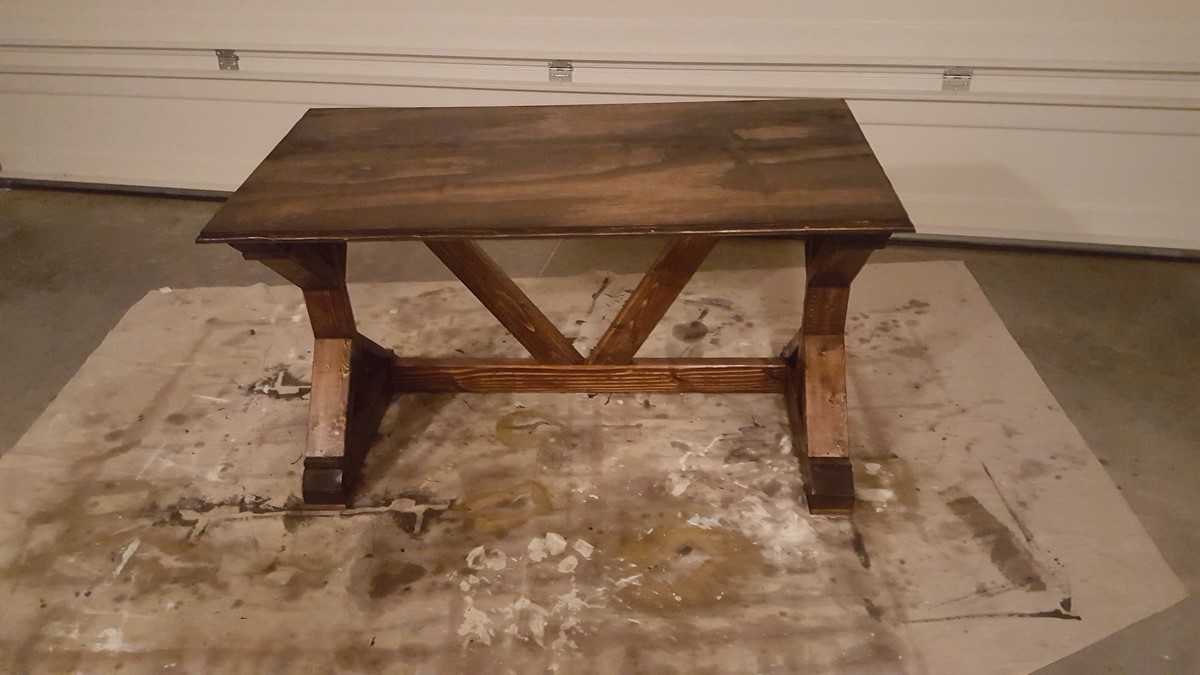
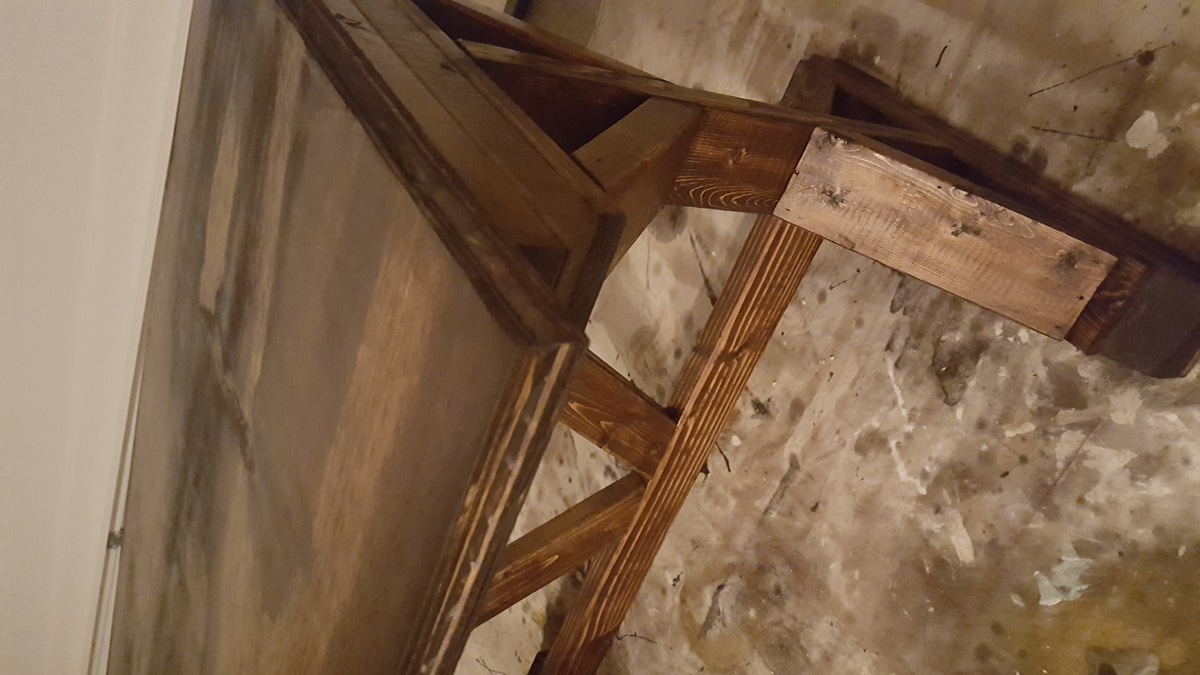
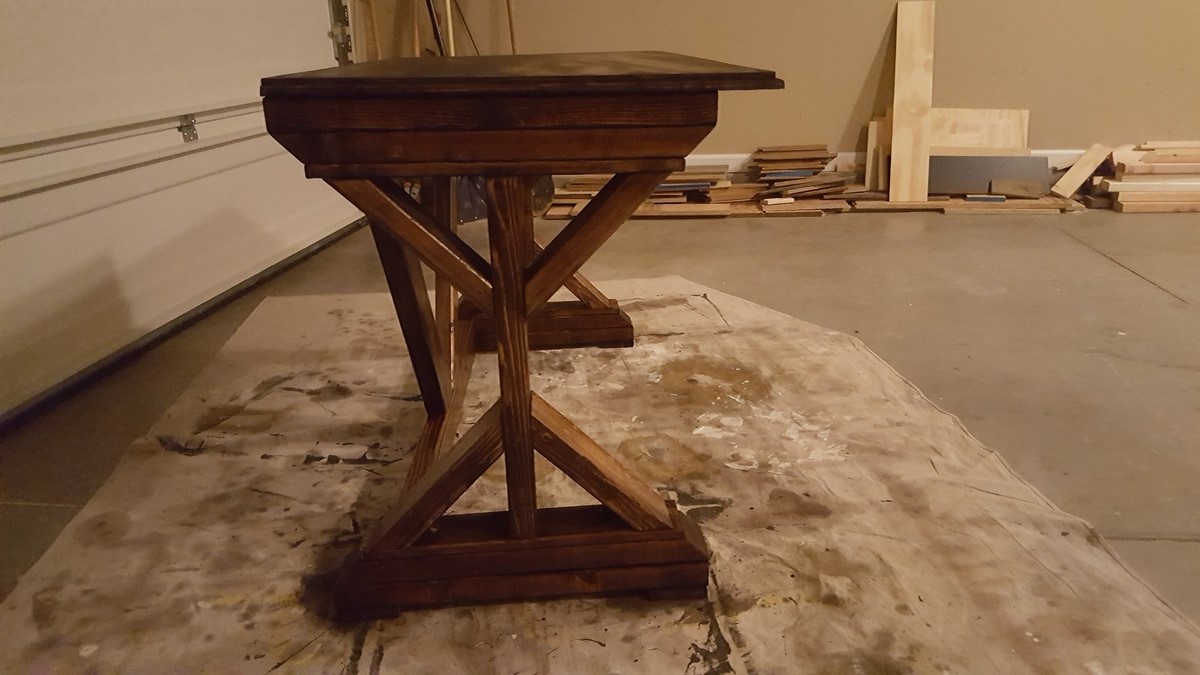
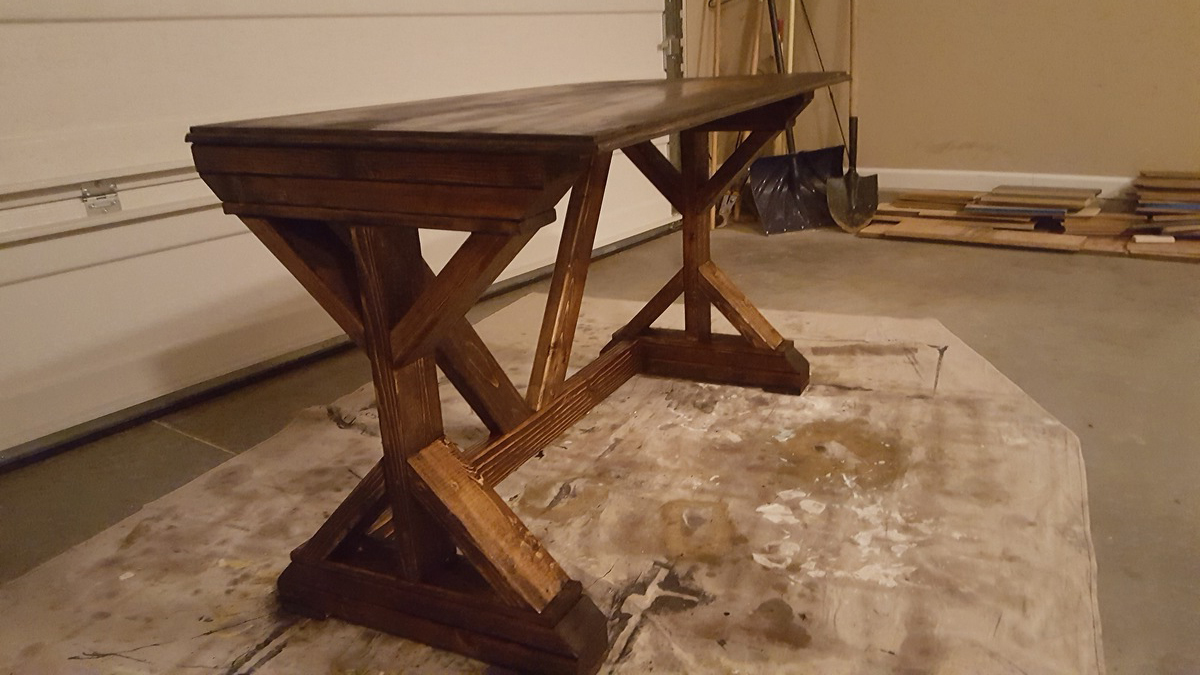
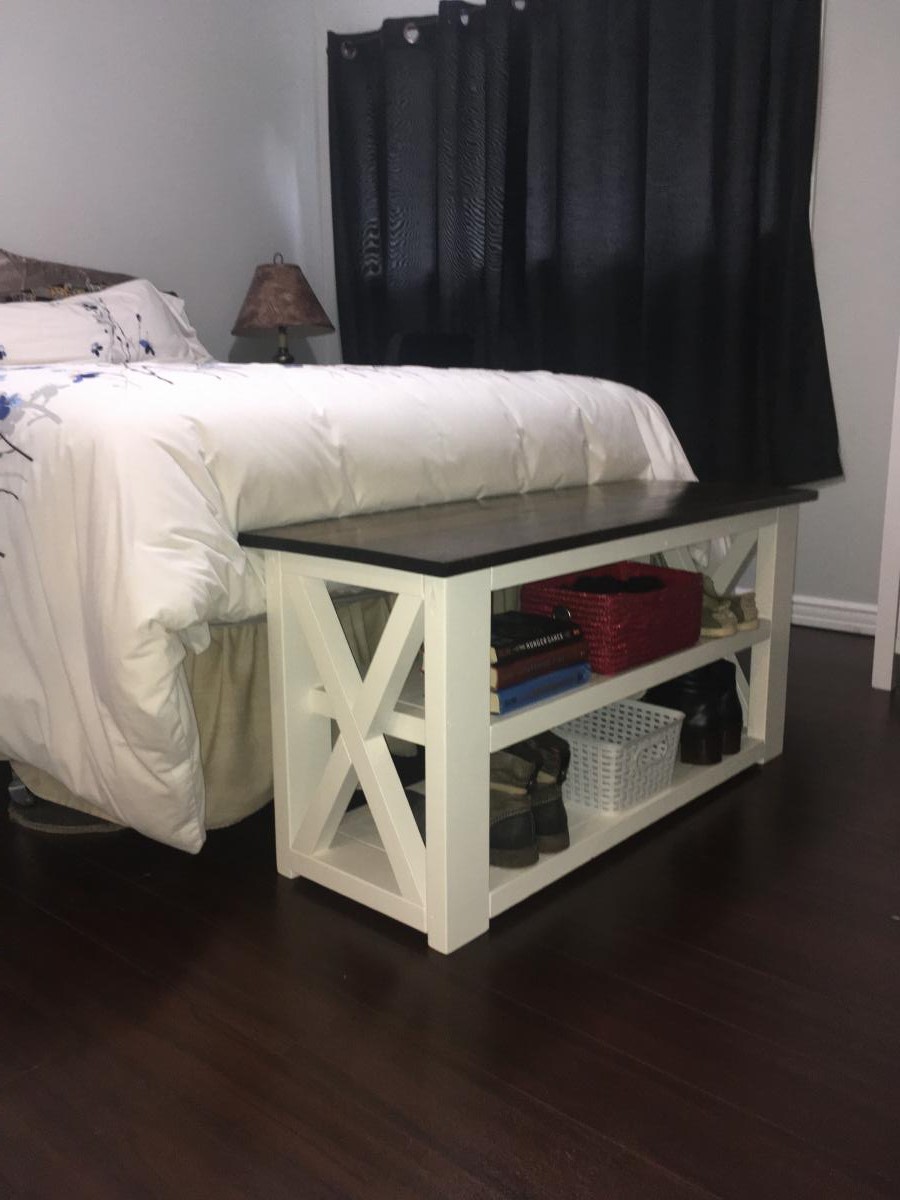
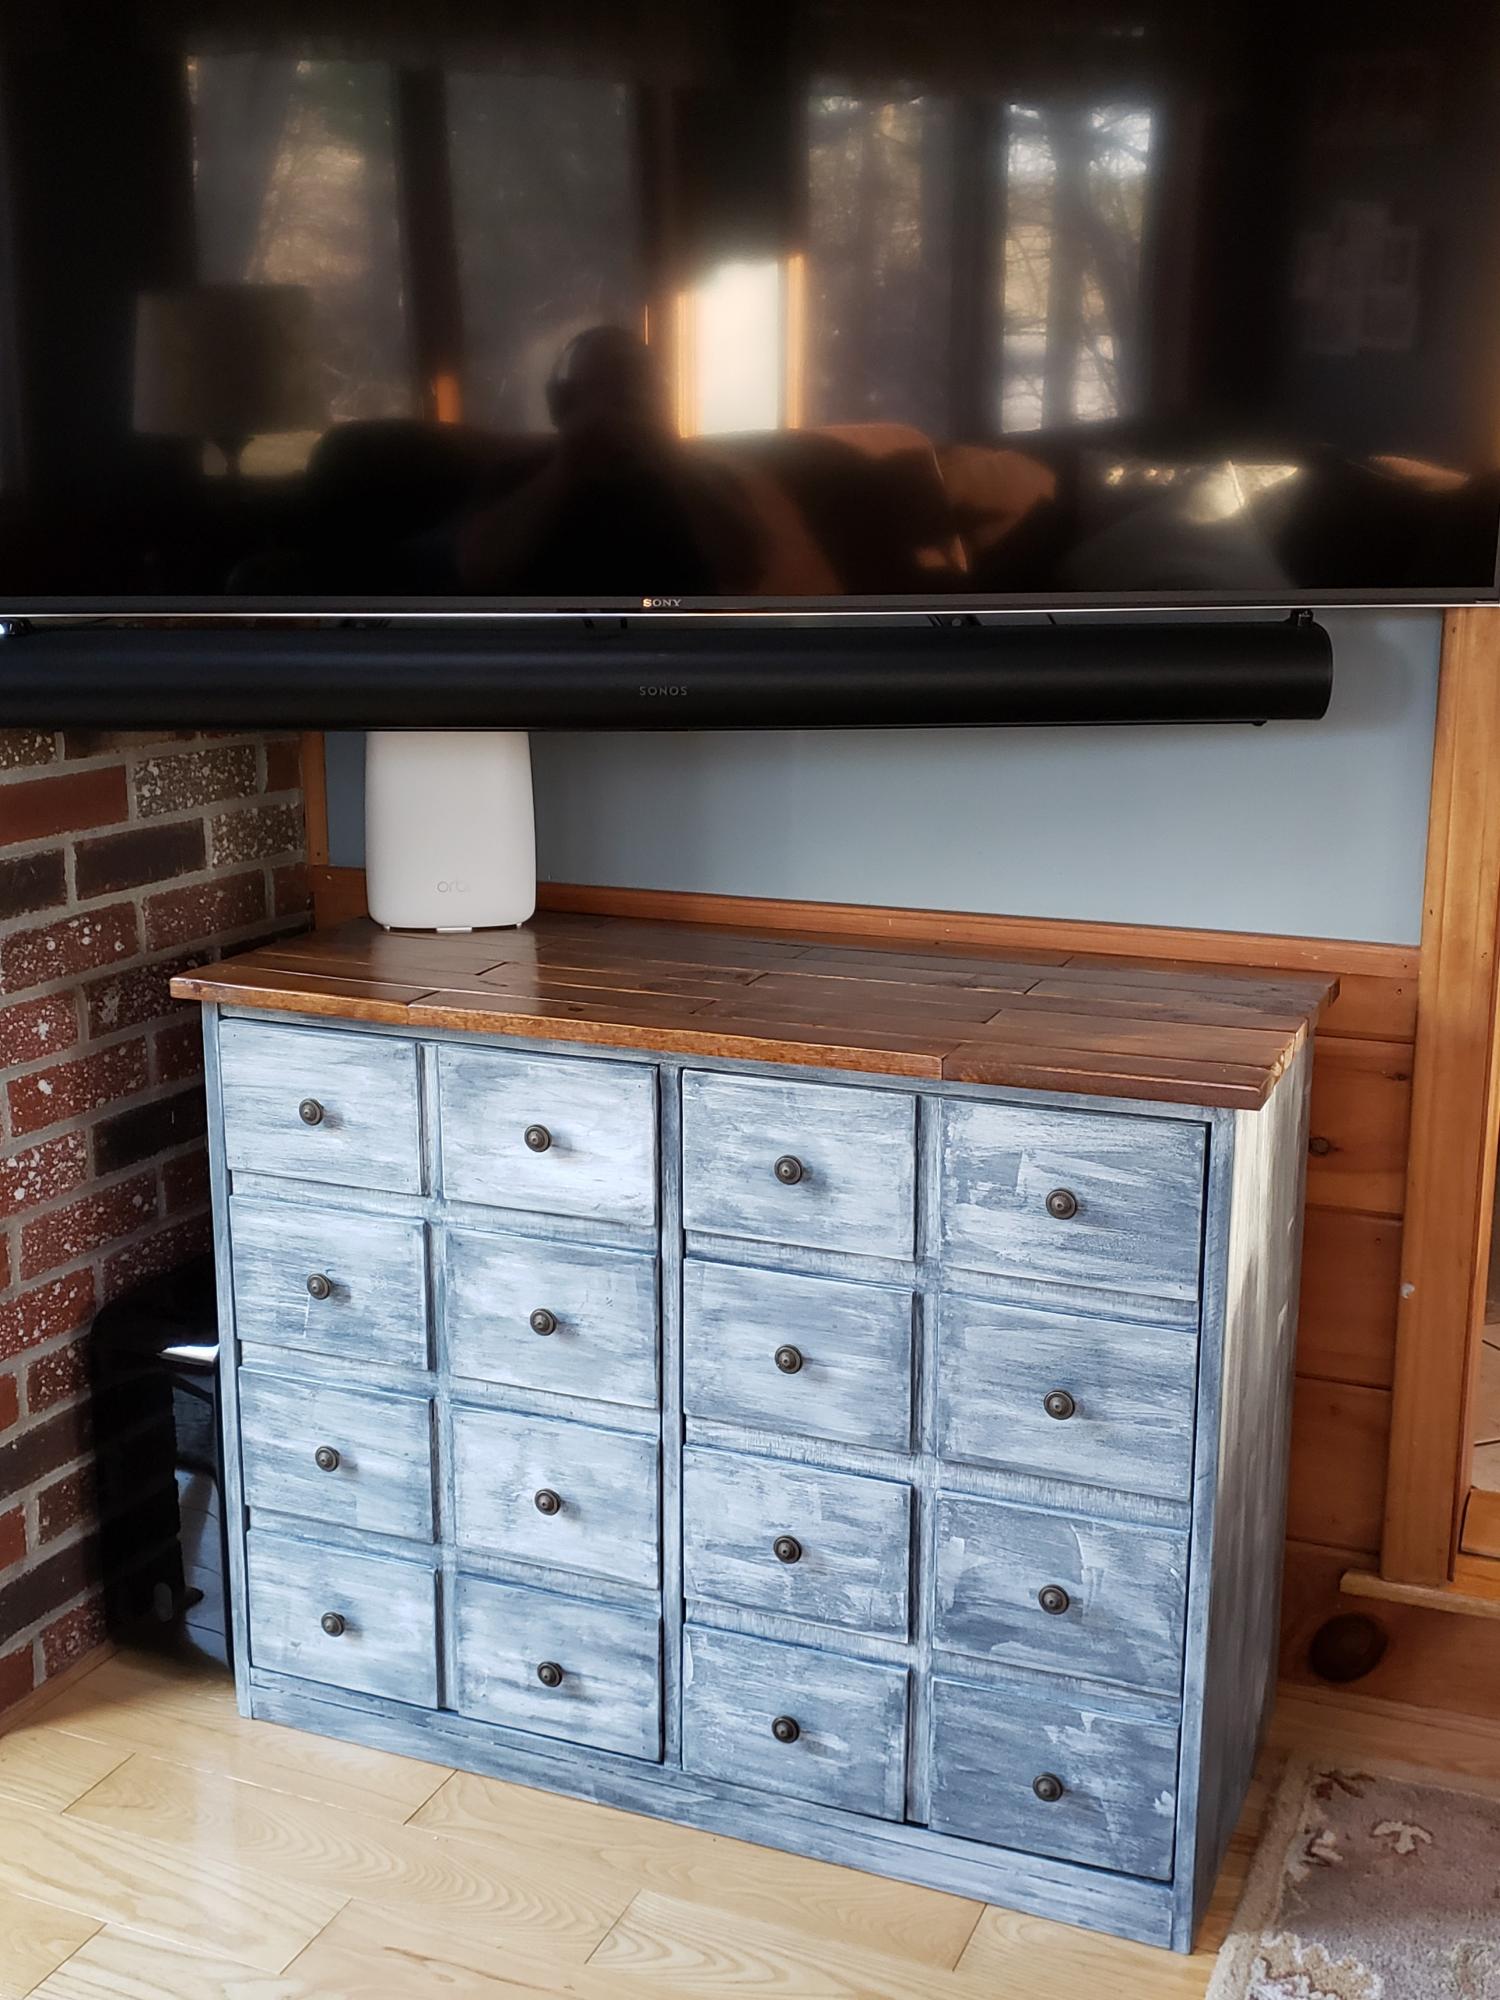
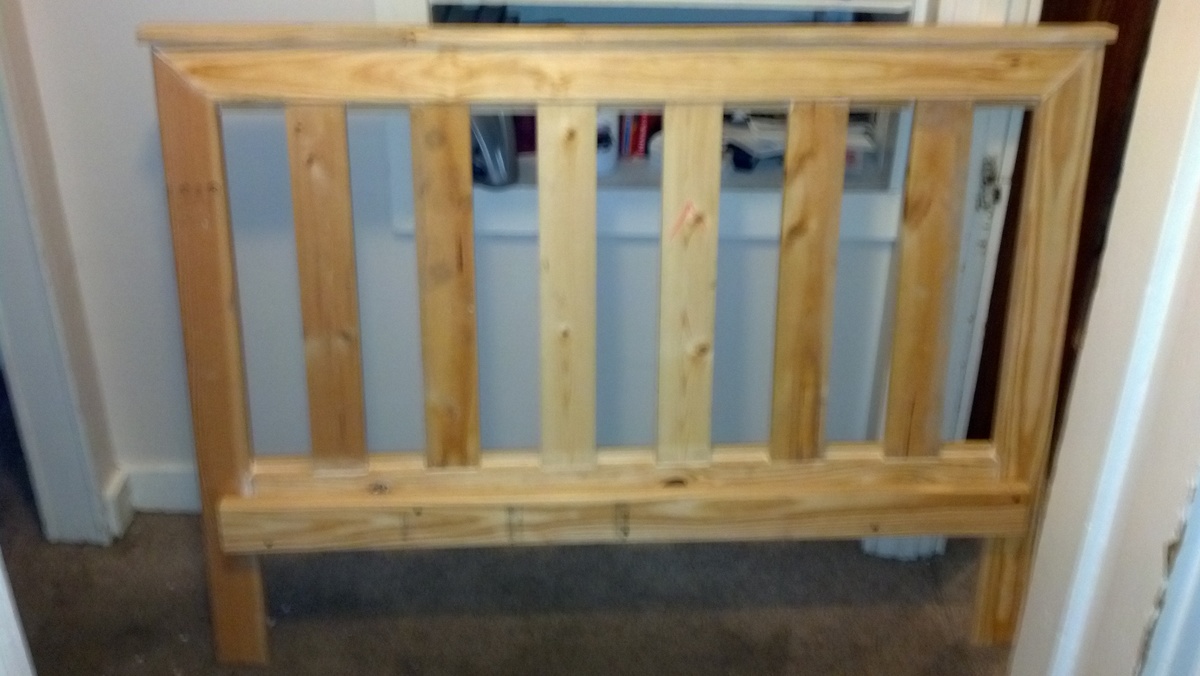
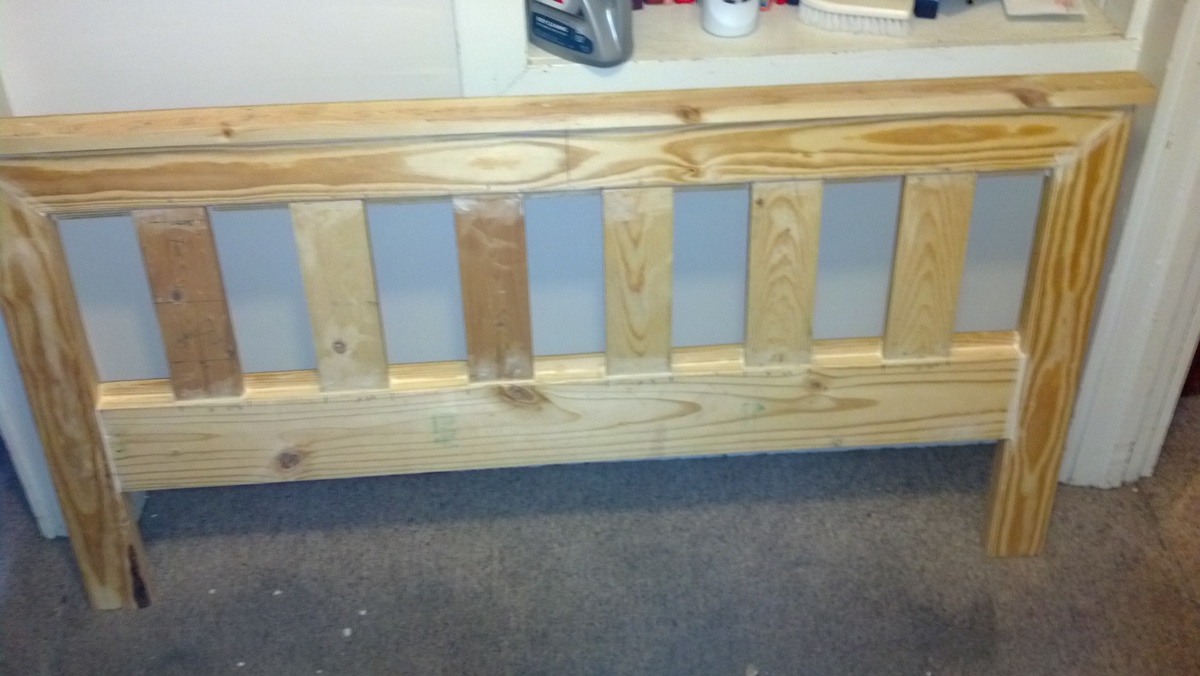
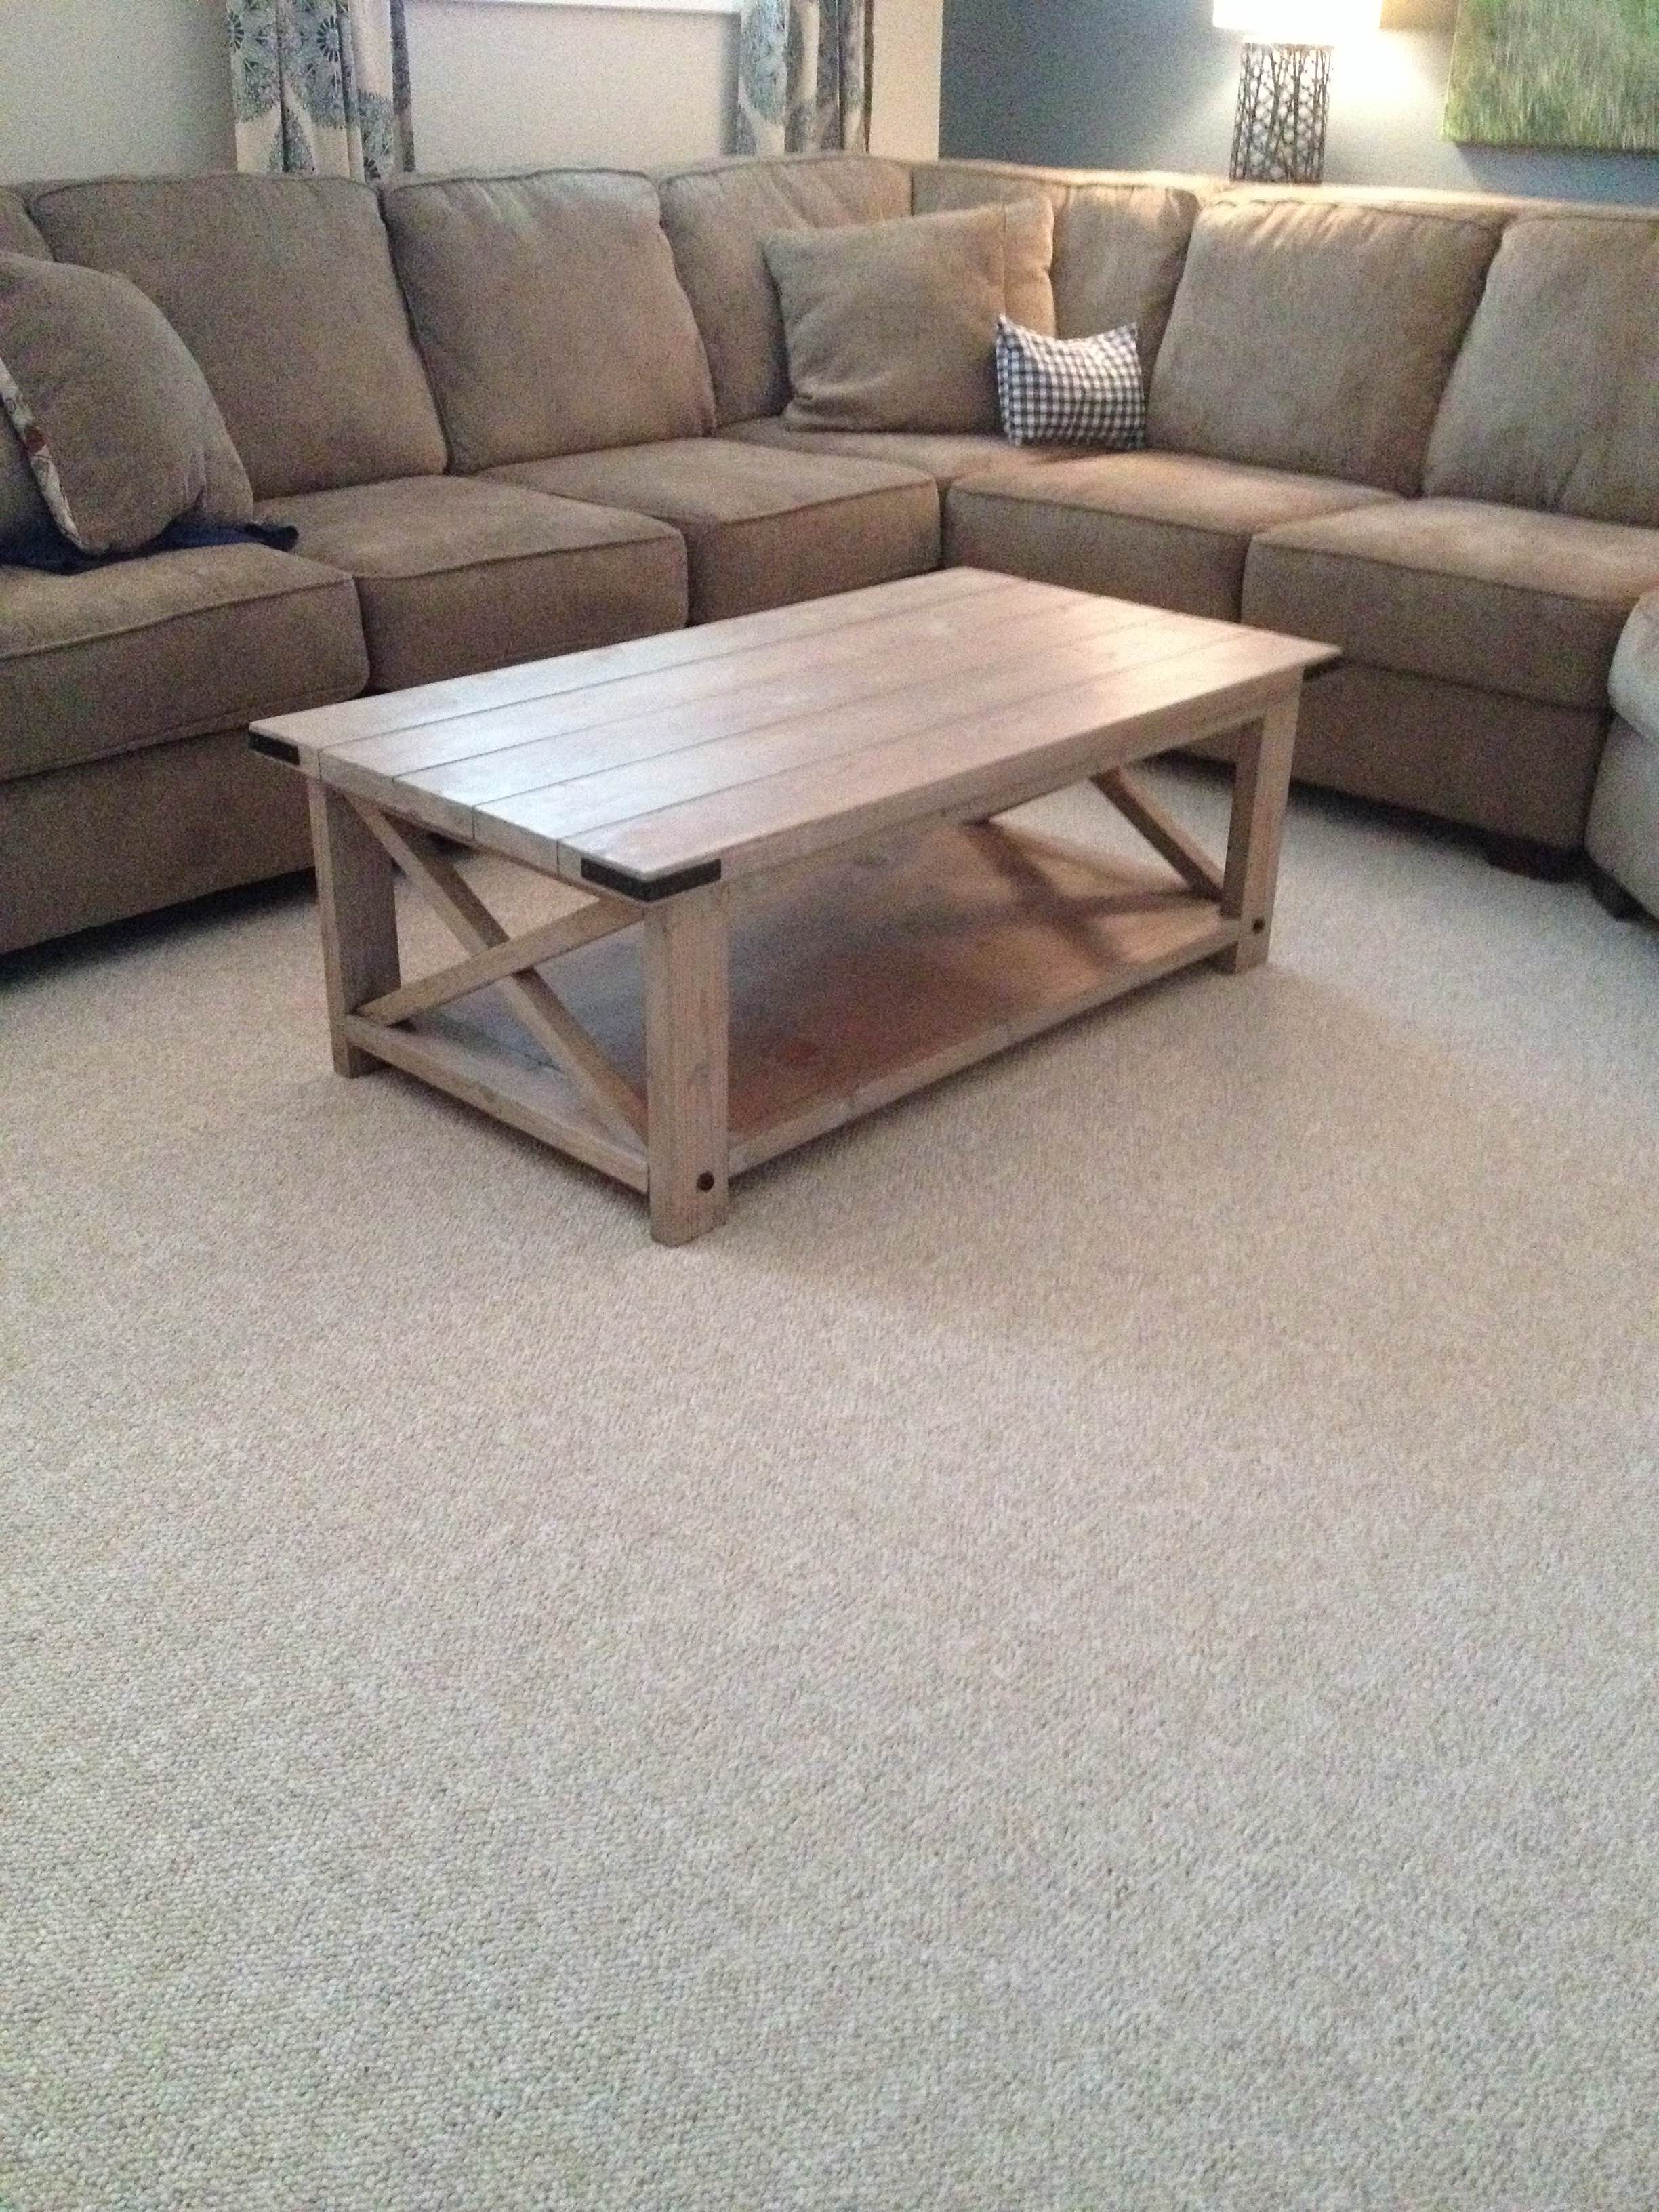
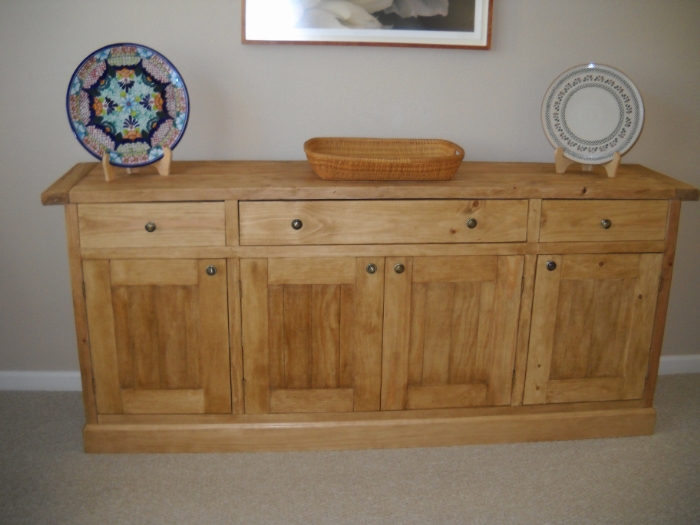
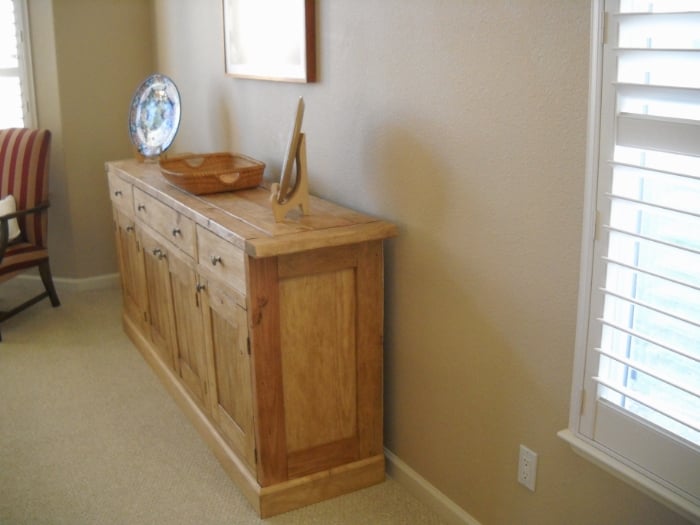
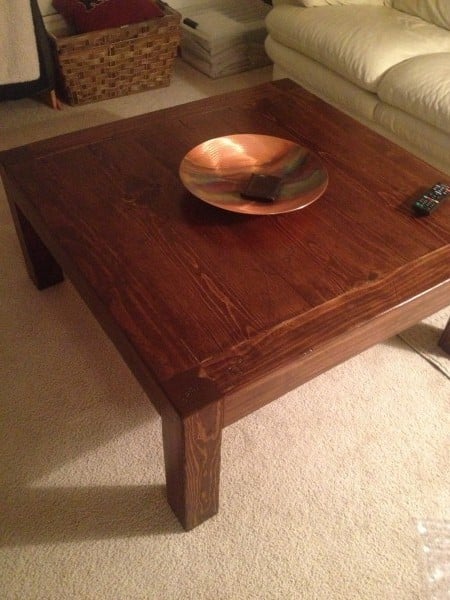
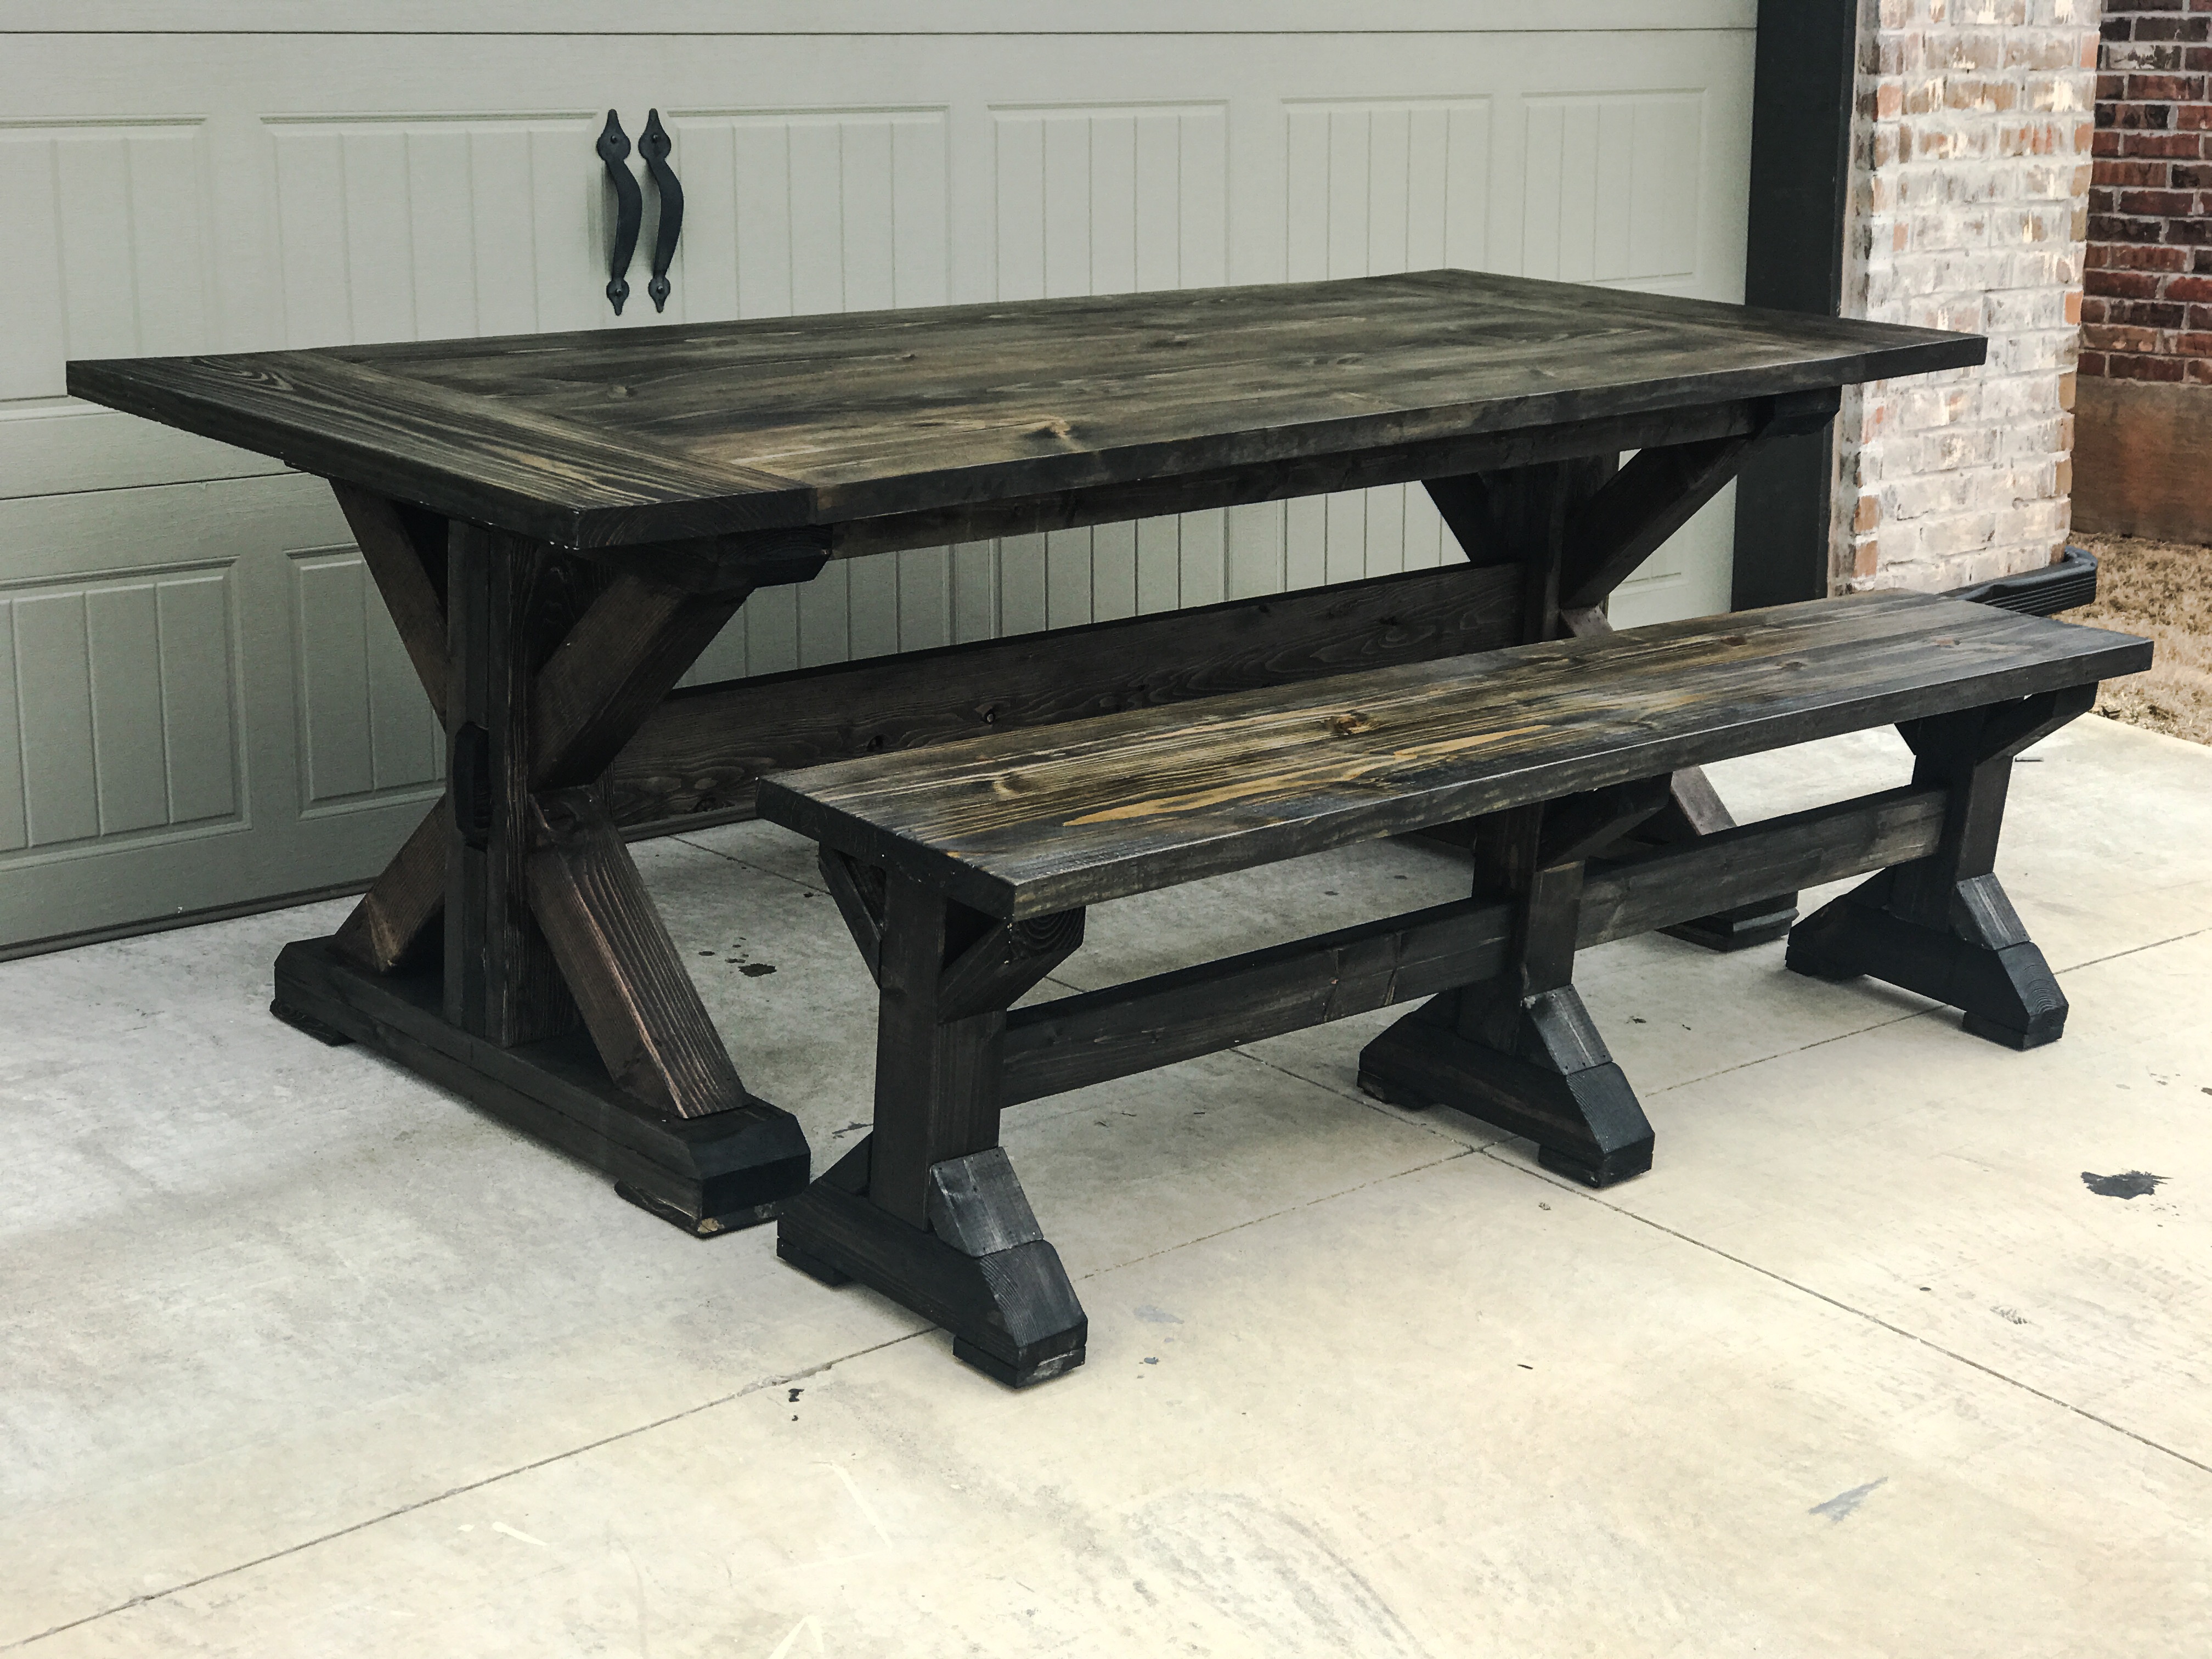
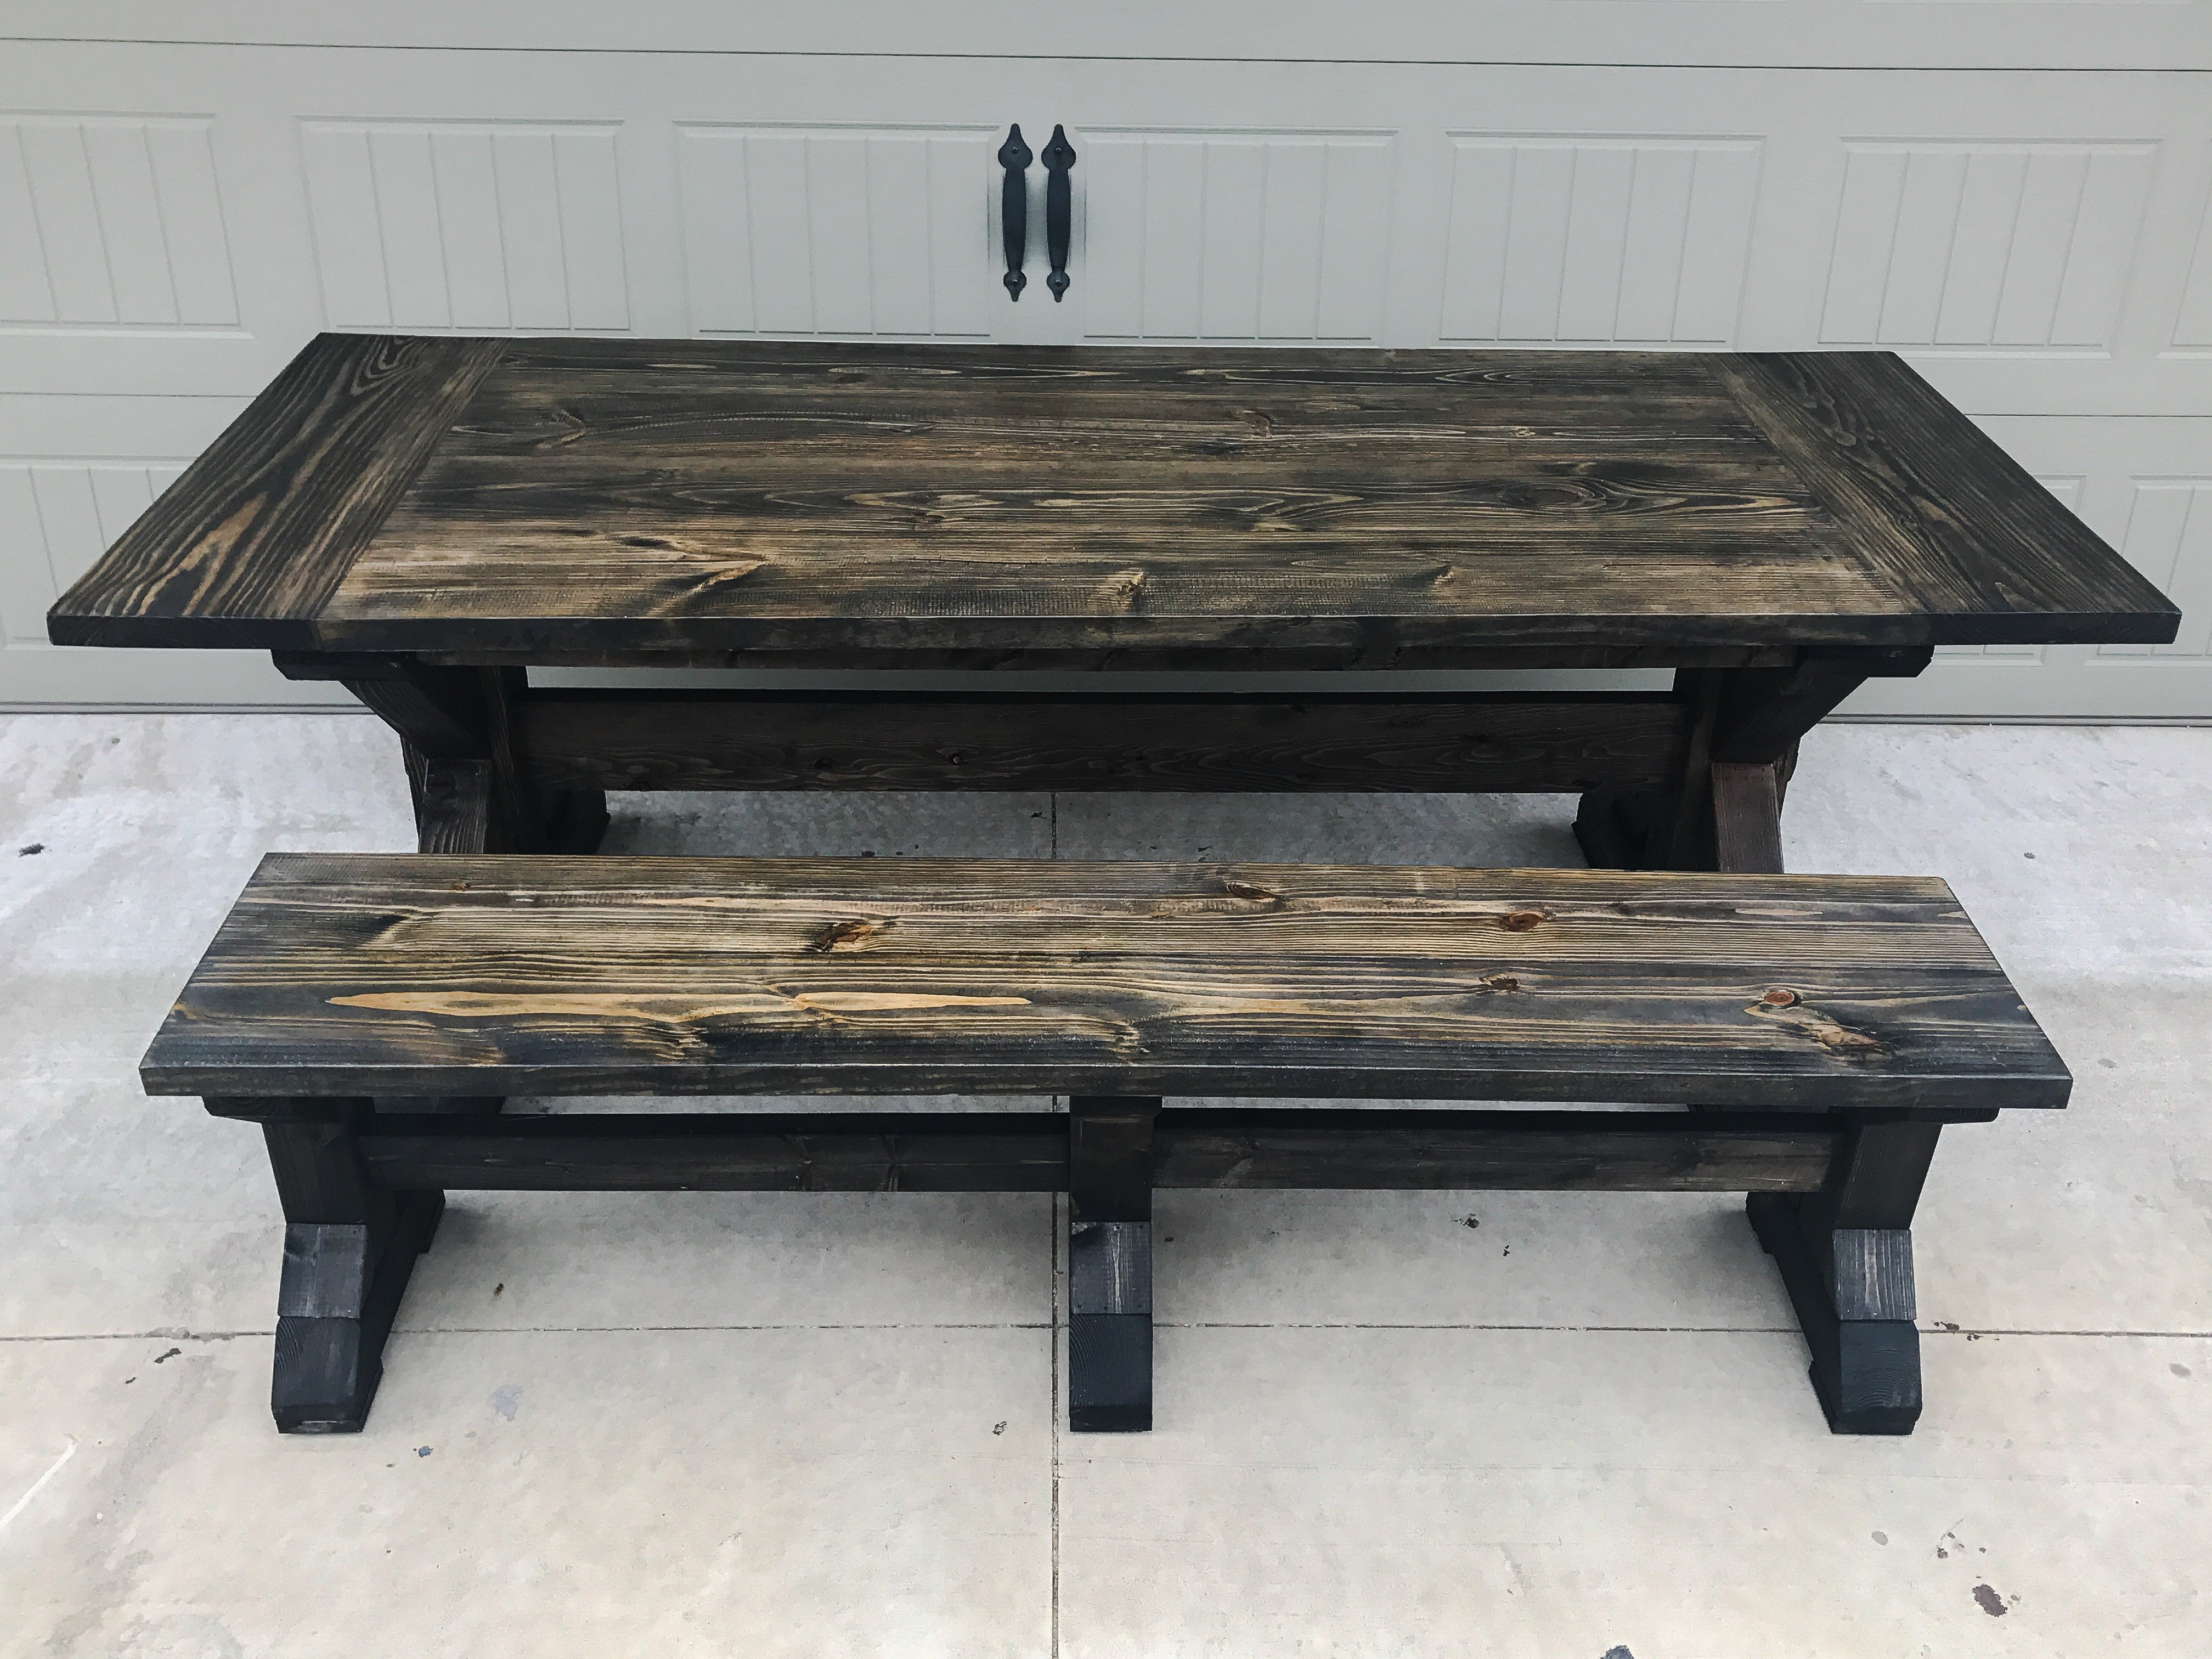
My first table with raw edge table top
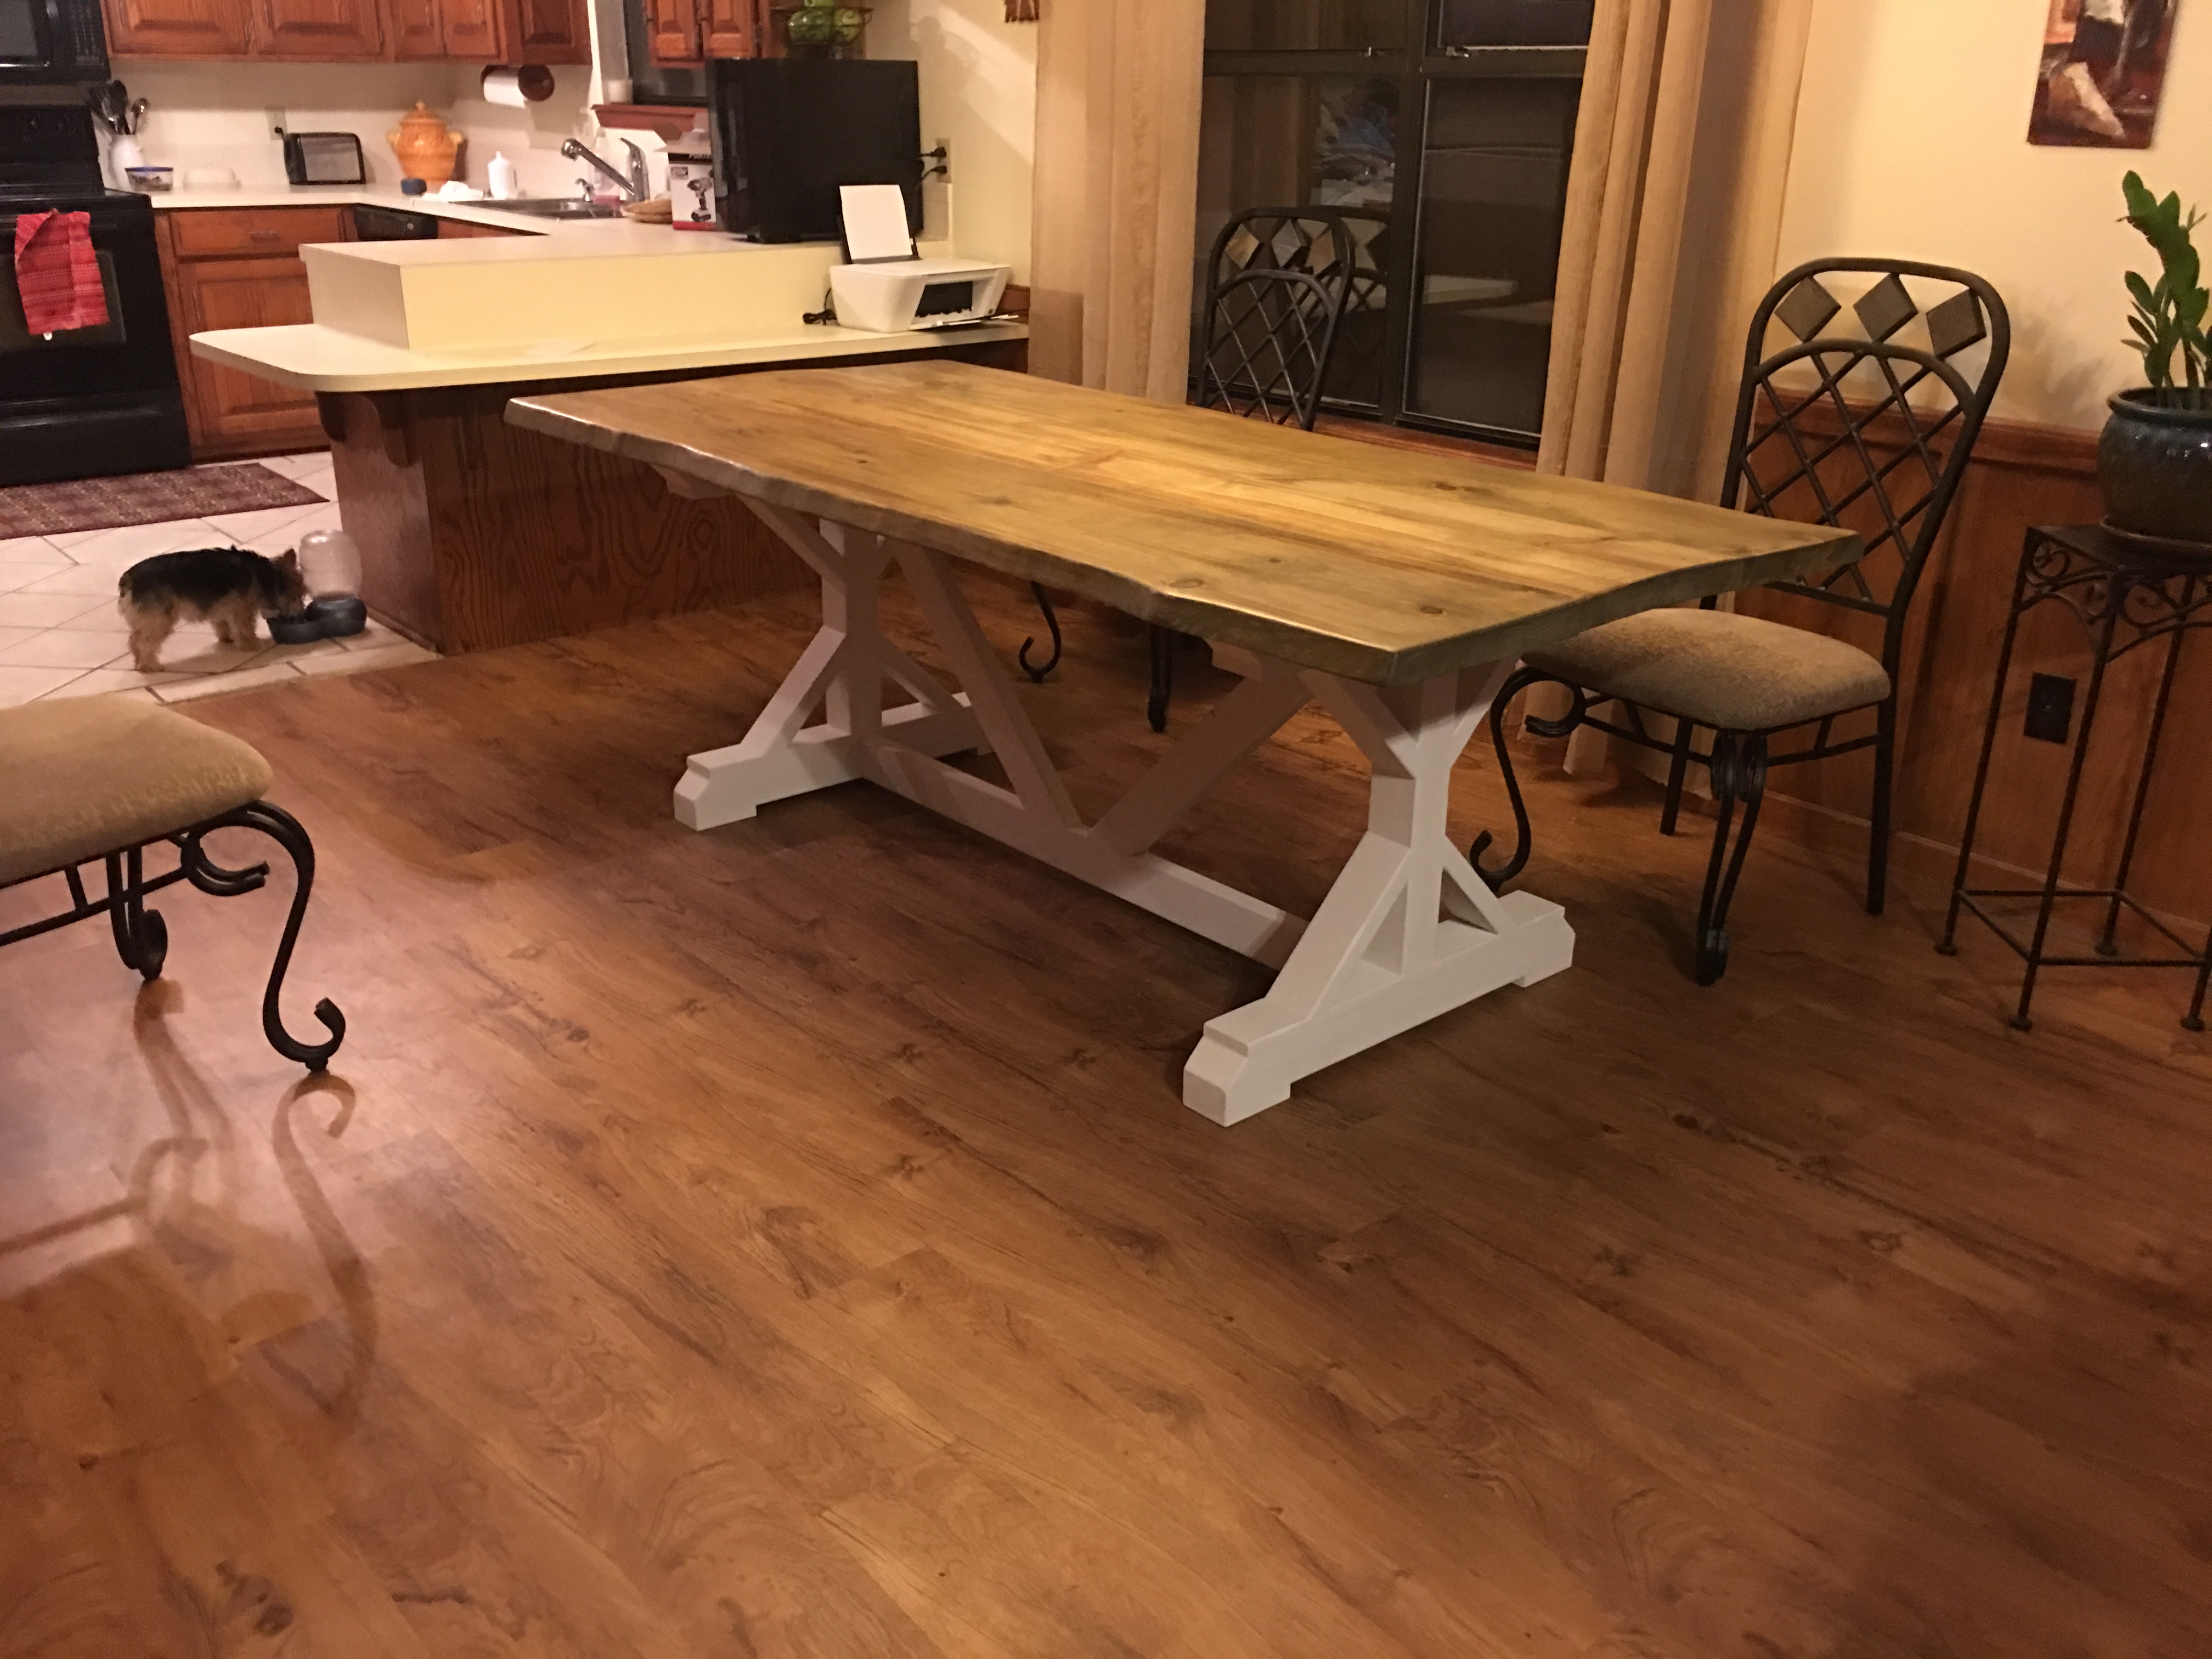
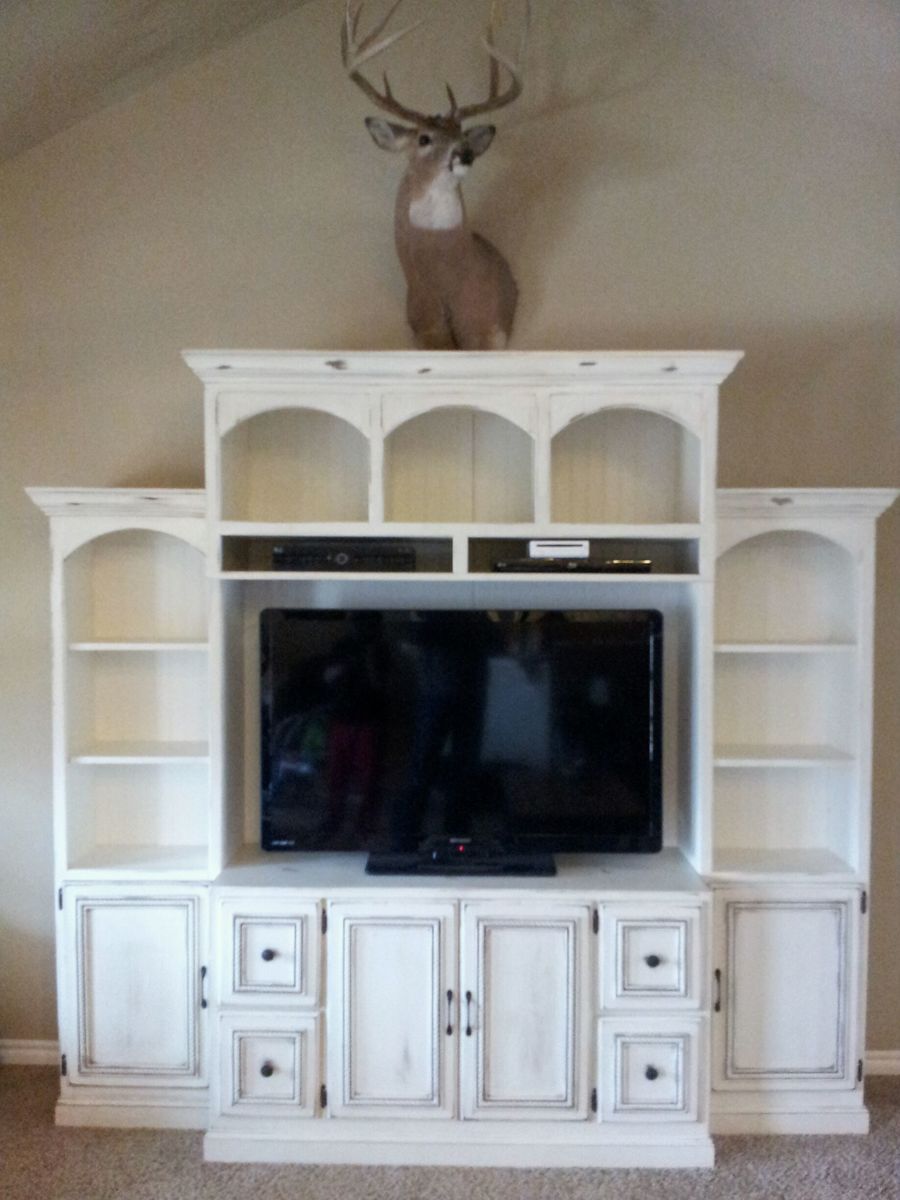
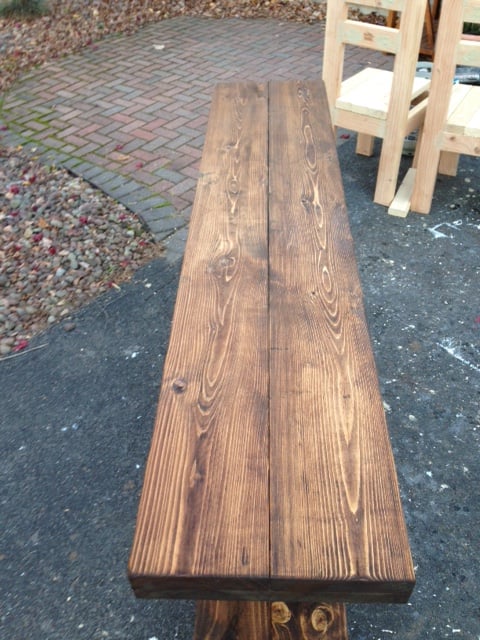
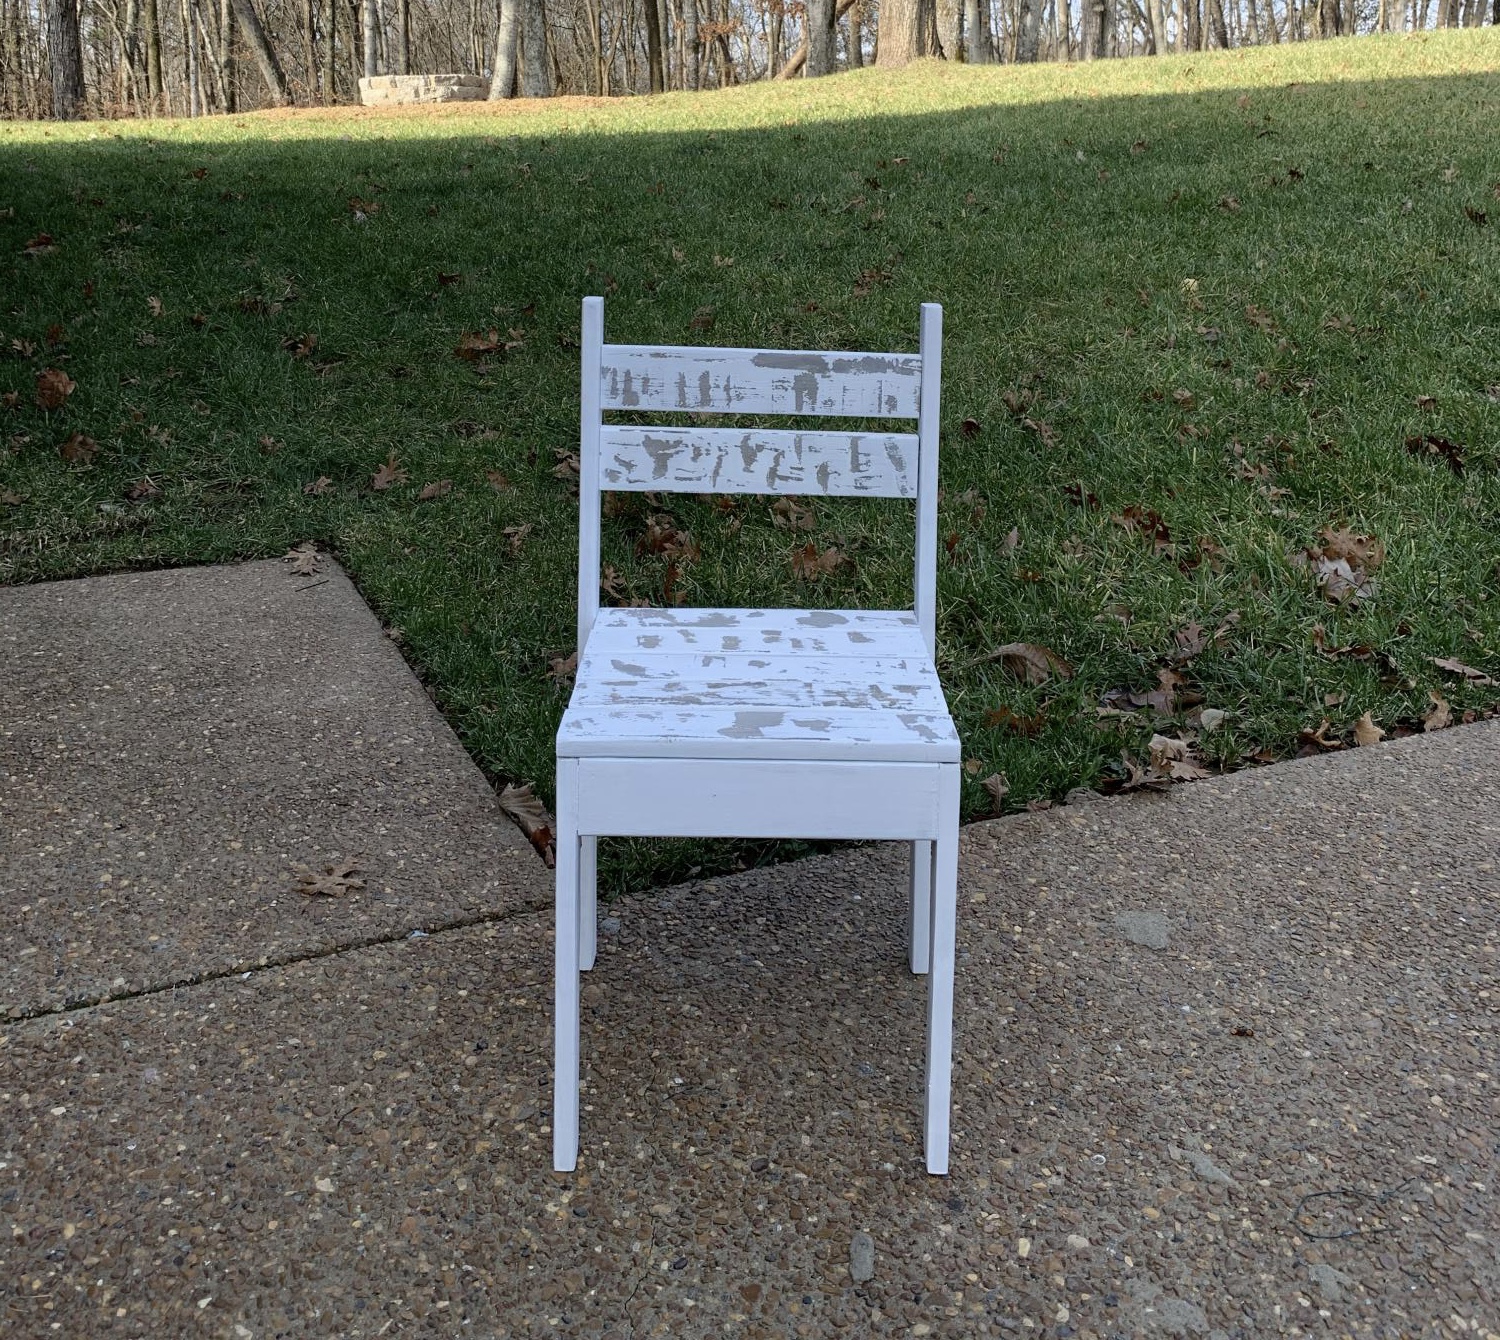
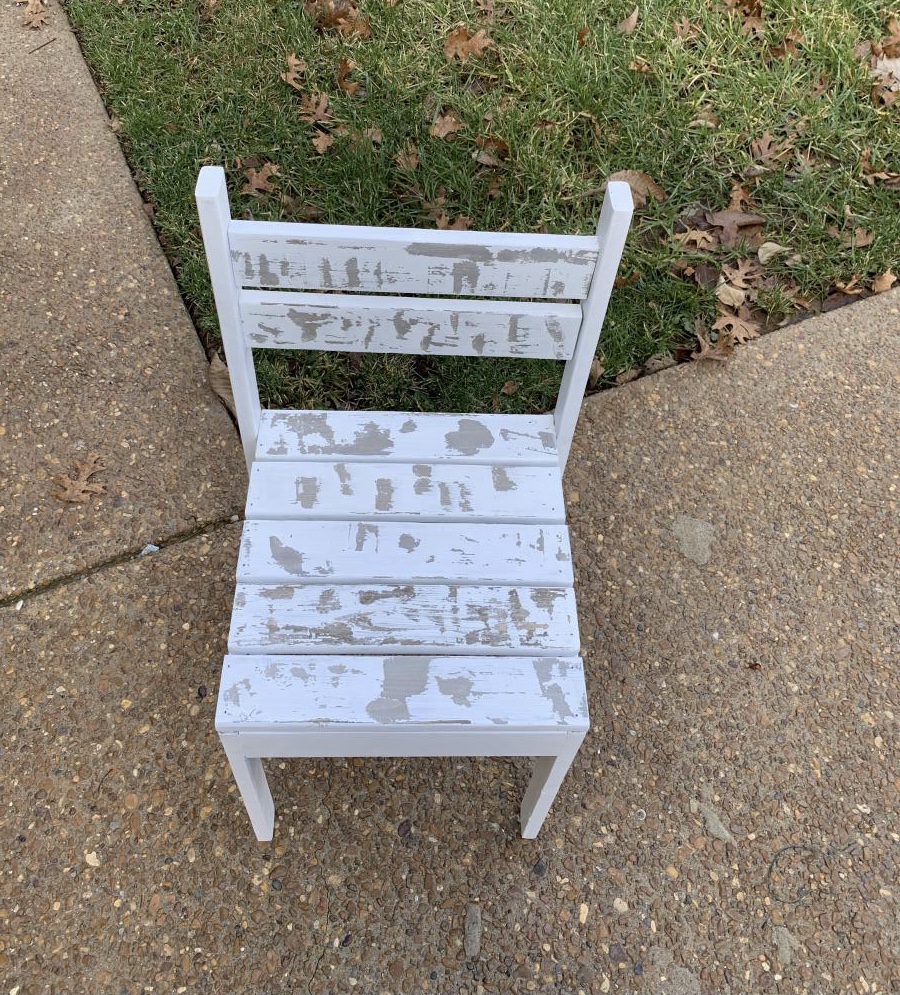
First table!! I used all white pine that was milled over 45 years ago cut my own lumber out of this wood and the table top was made with 3 pieces of wood to make the top. Bench is being made now!

Estimated Cost
$350
Estimated Time Investment
Week Long Project (20 Hours or More)
Finish Used
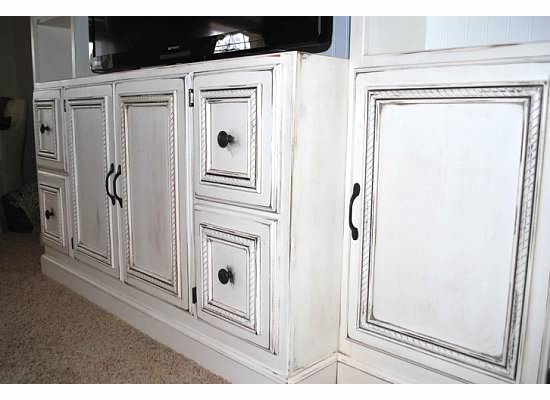
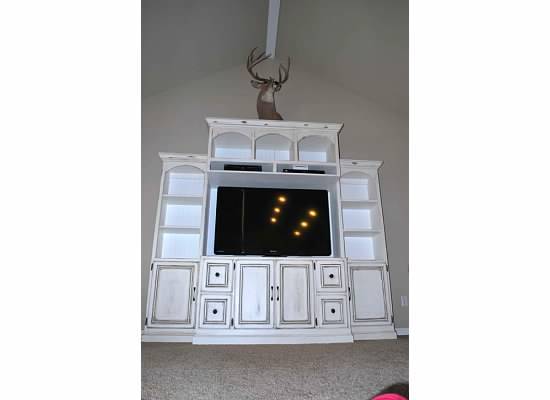
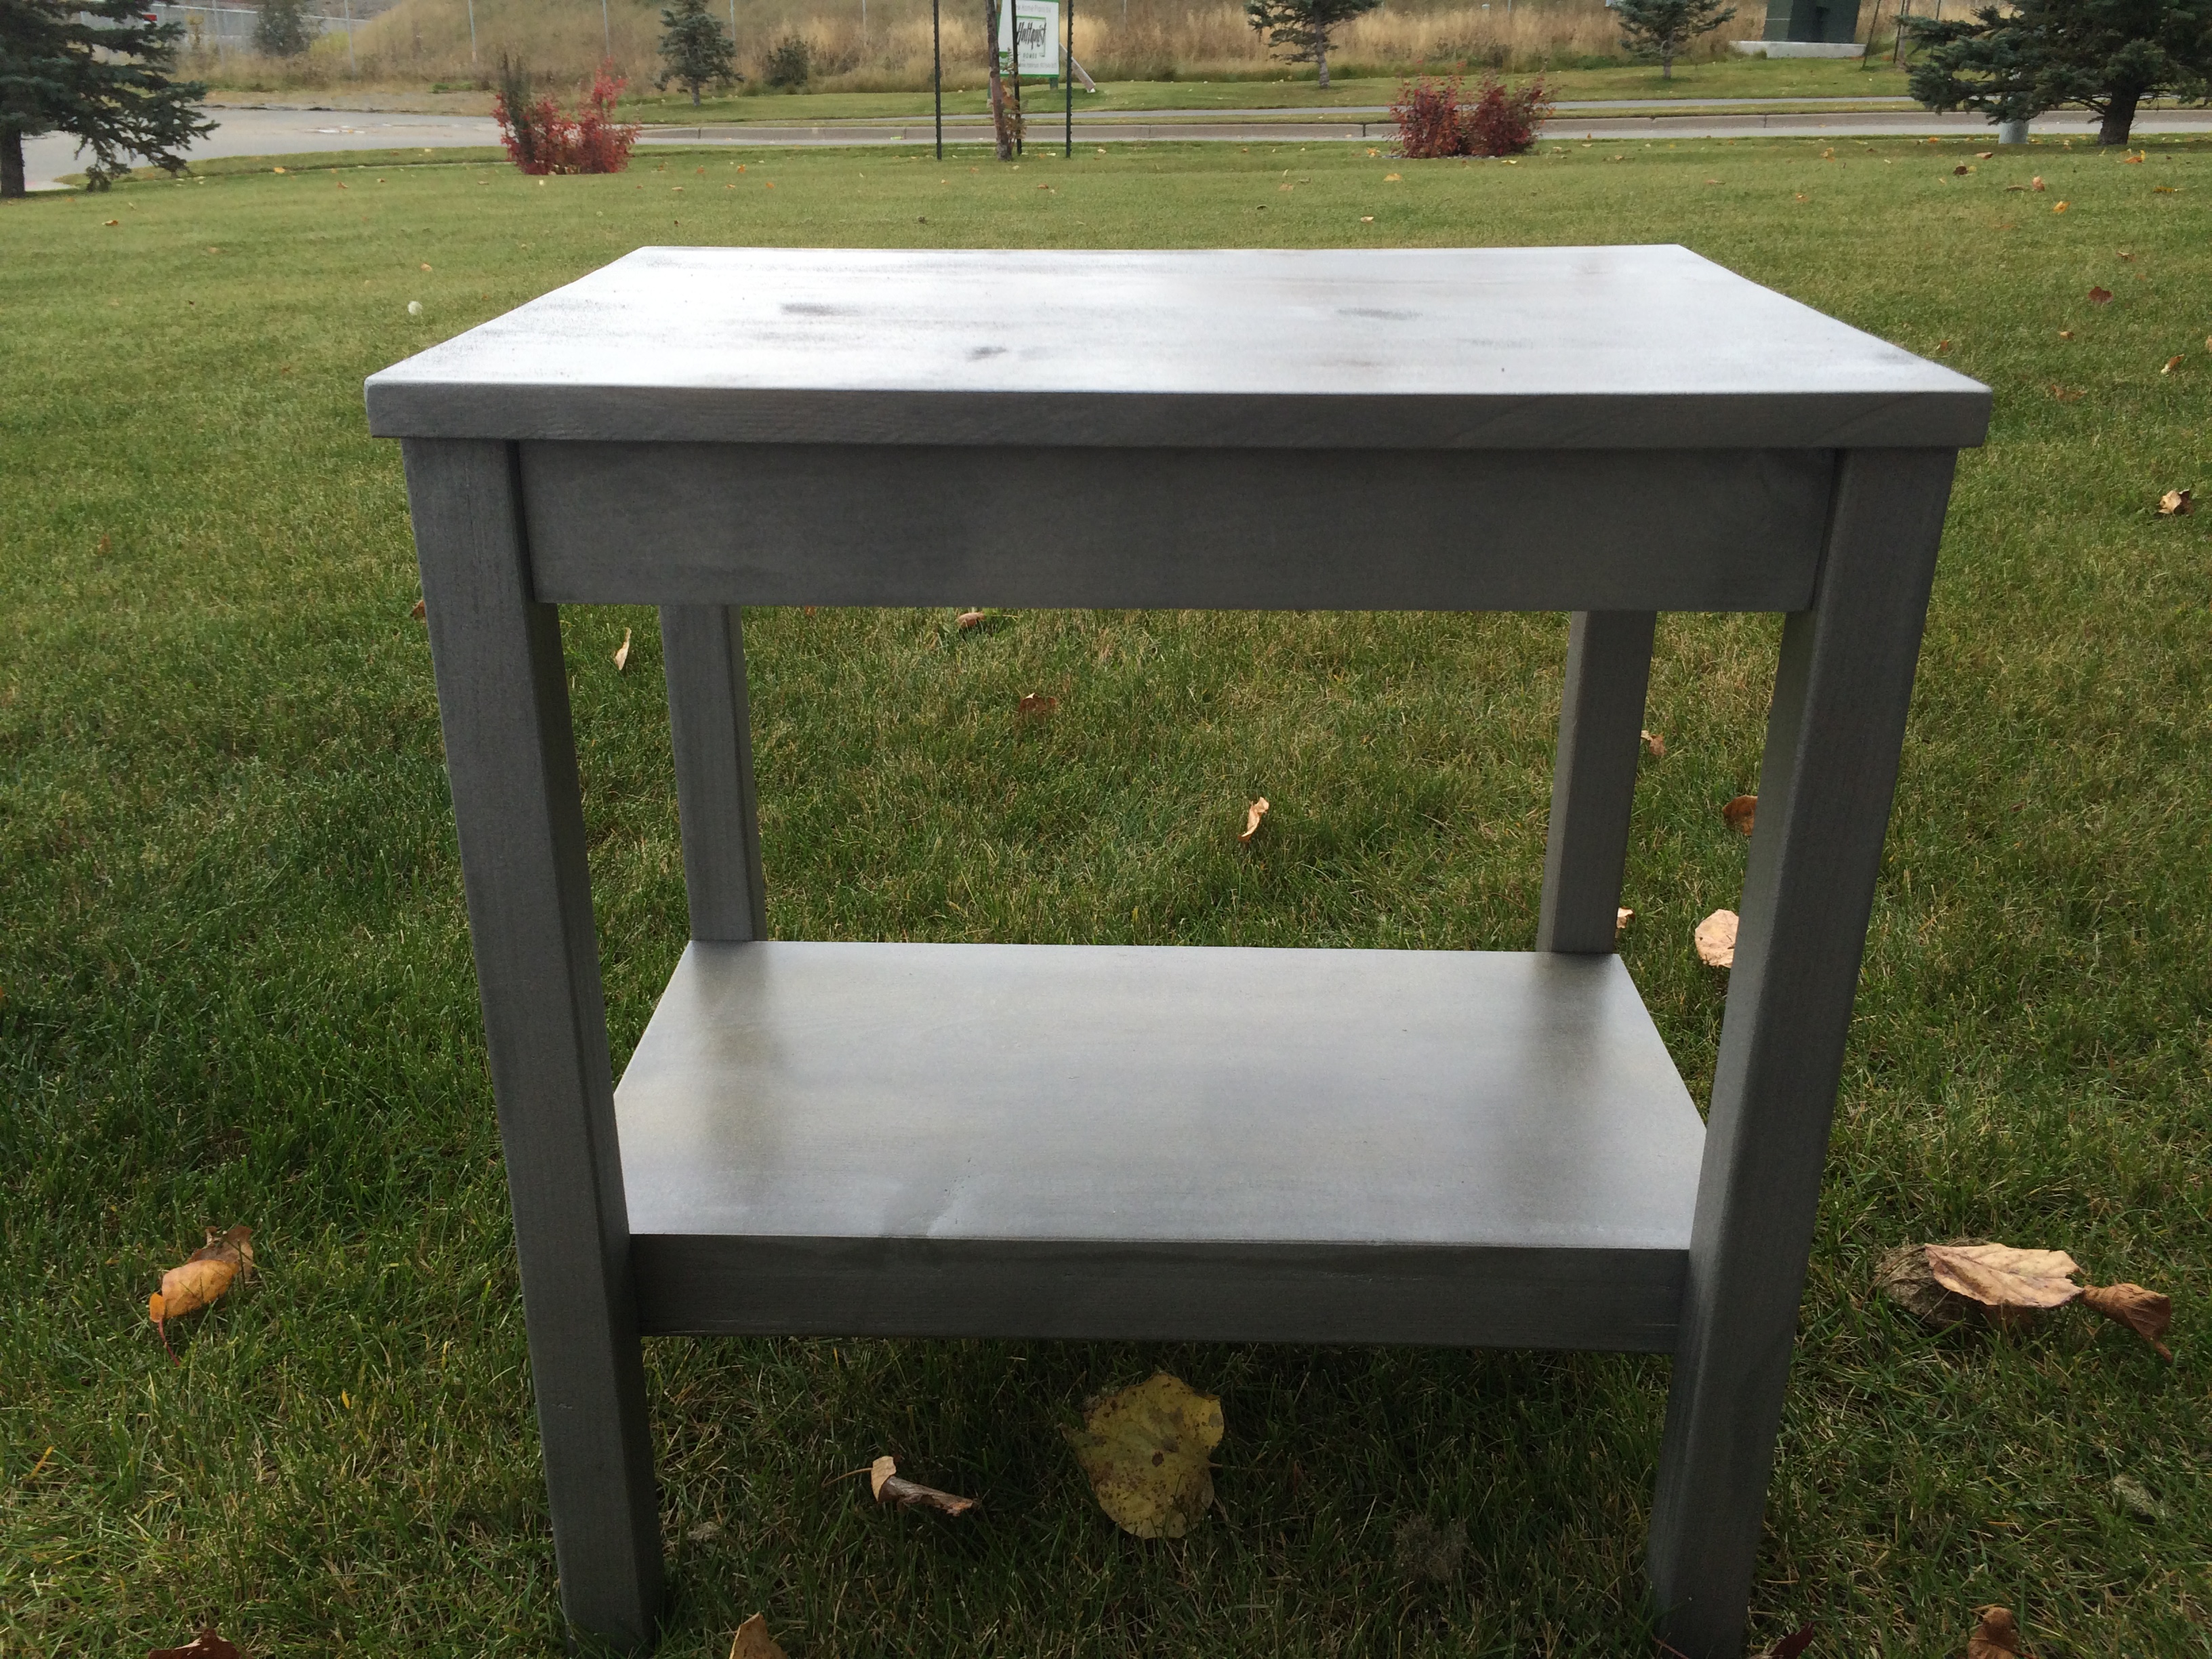
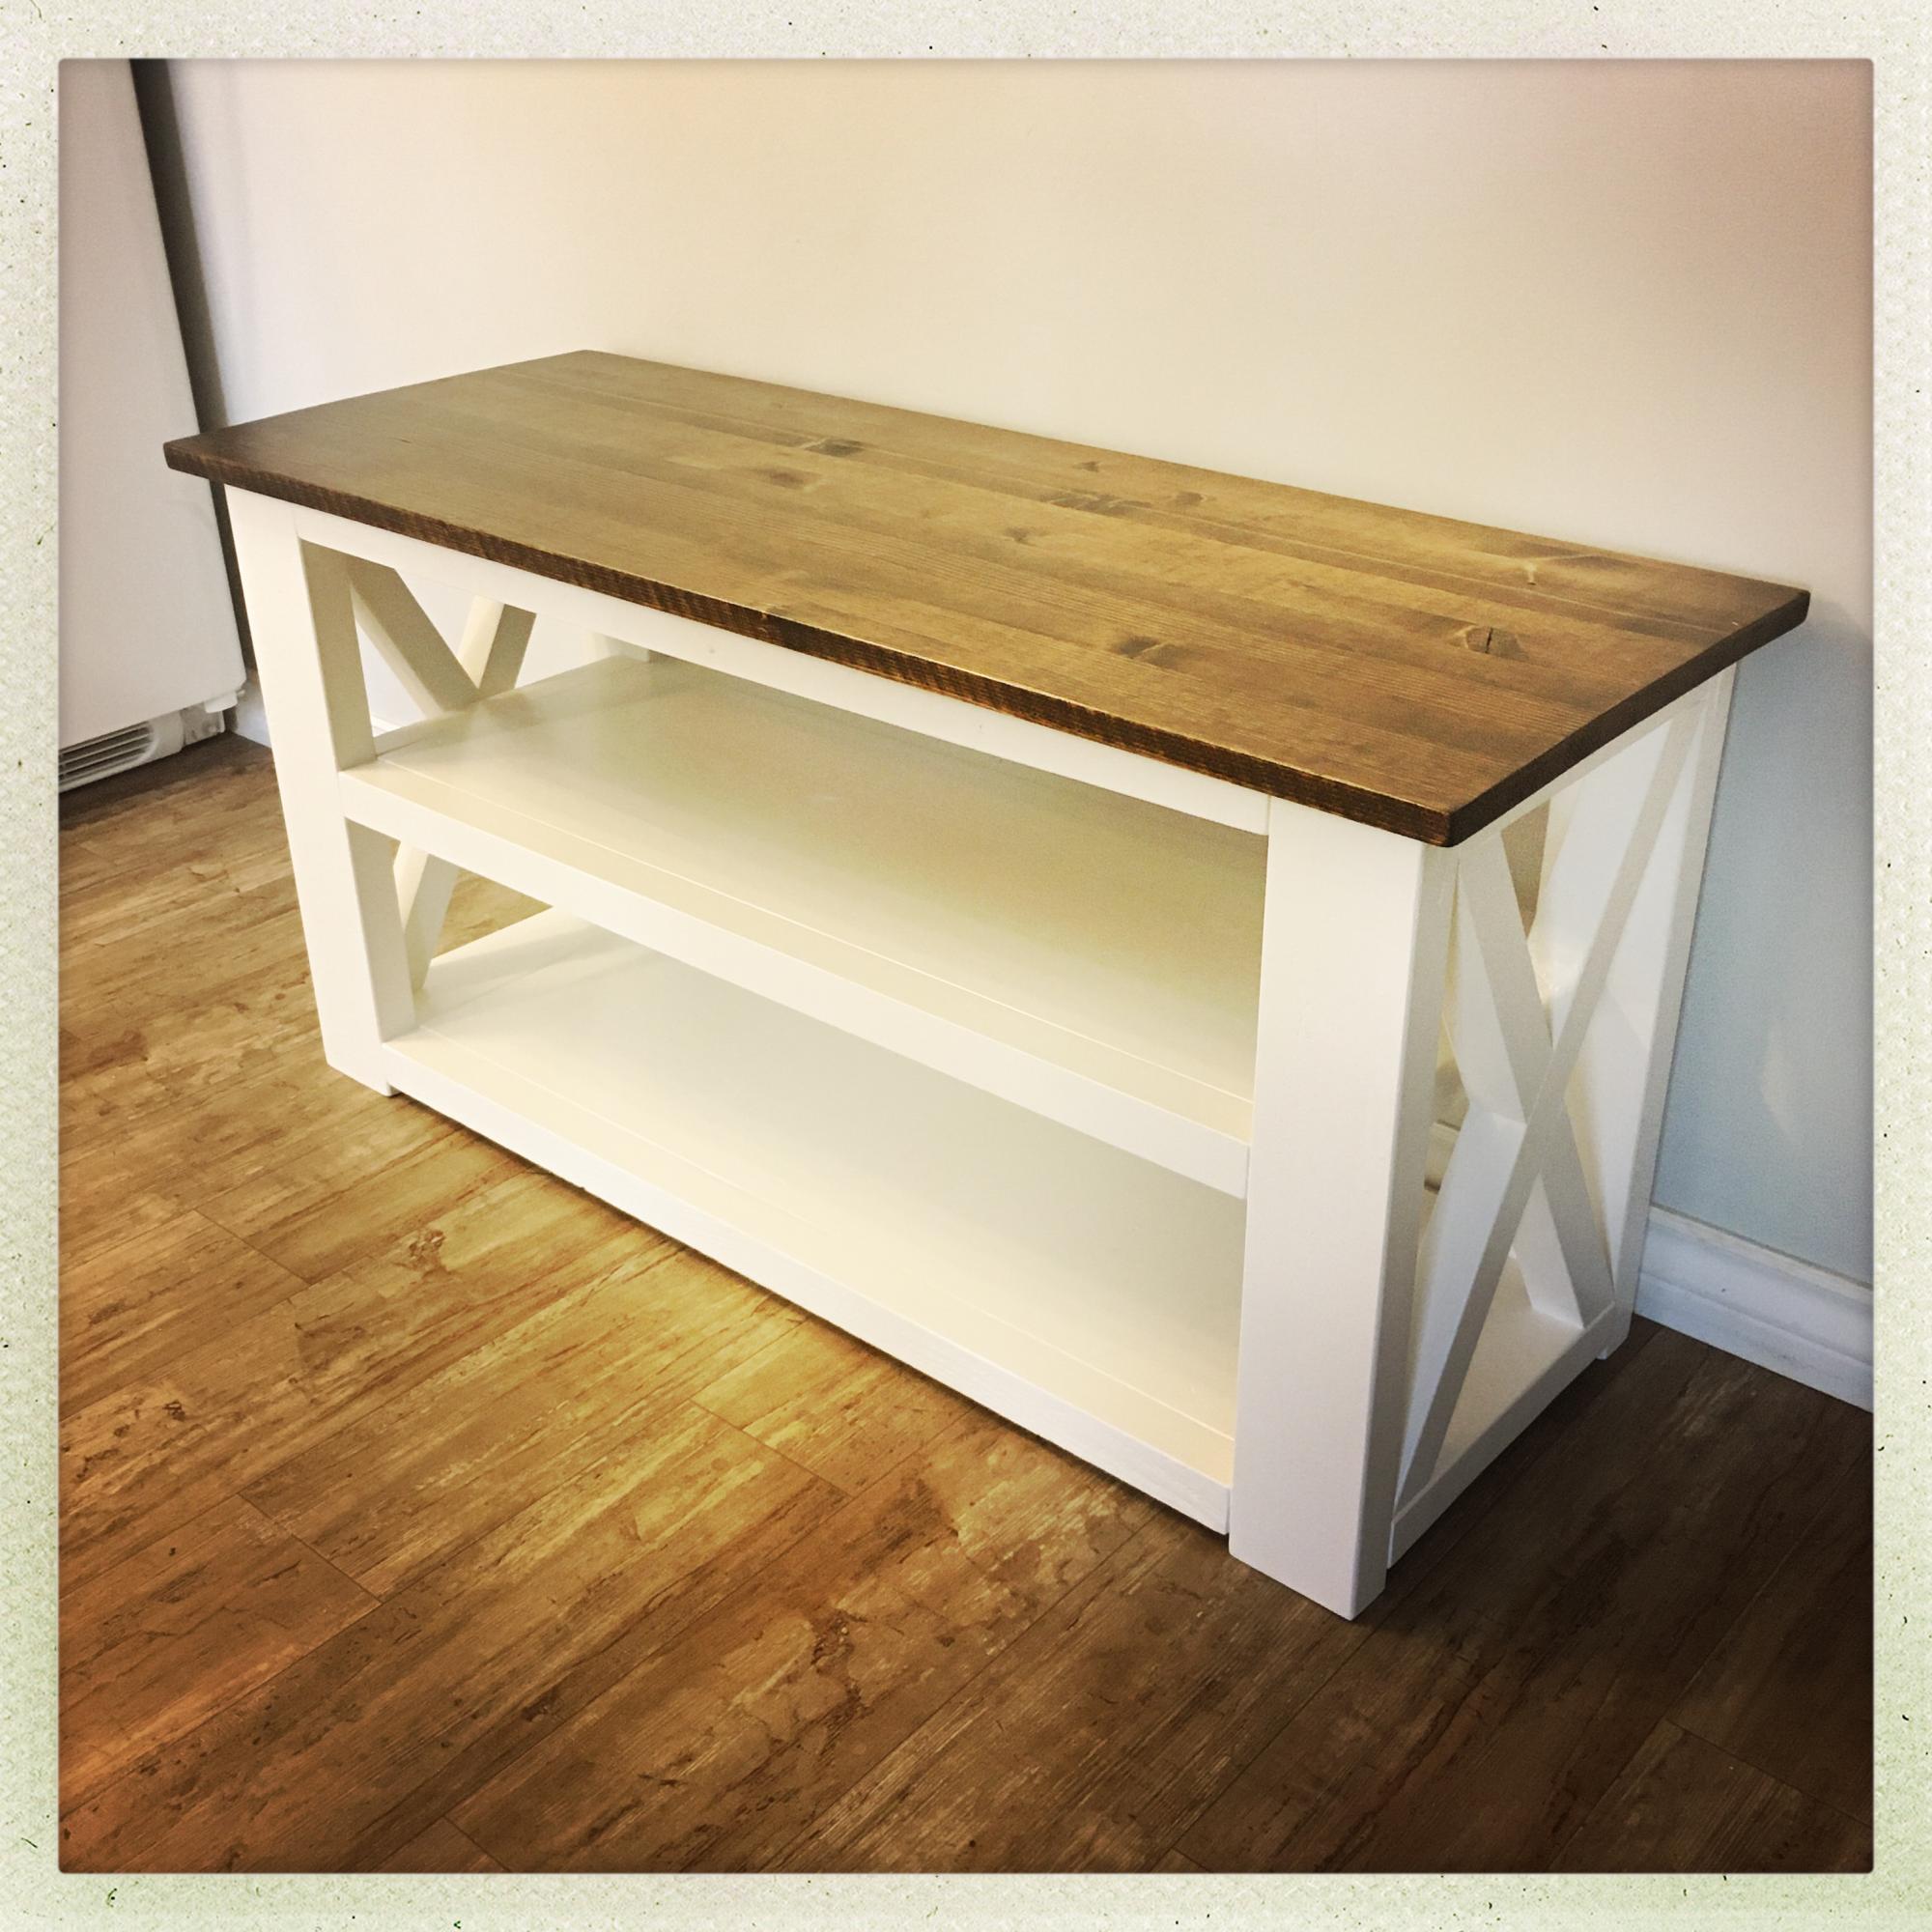
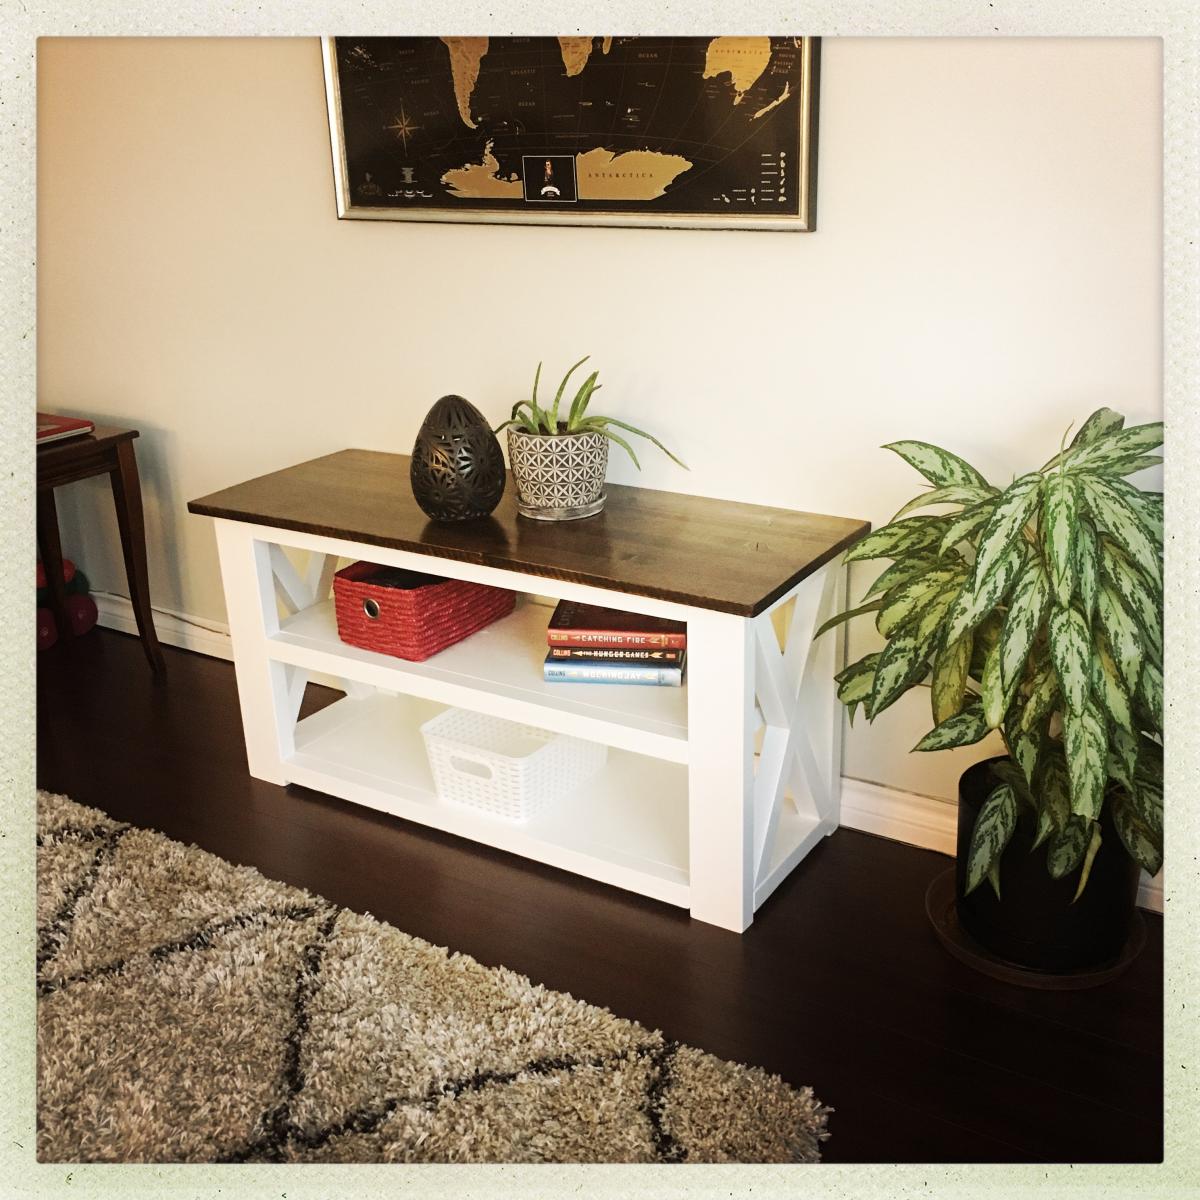
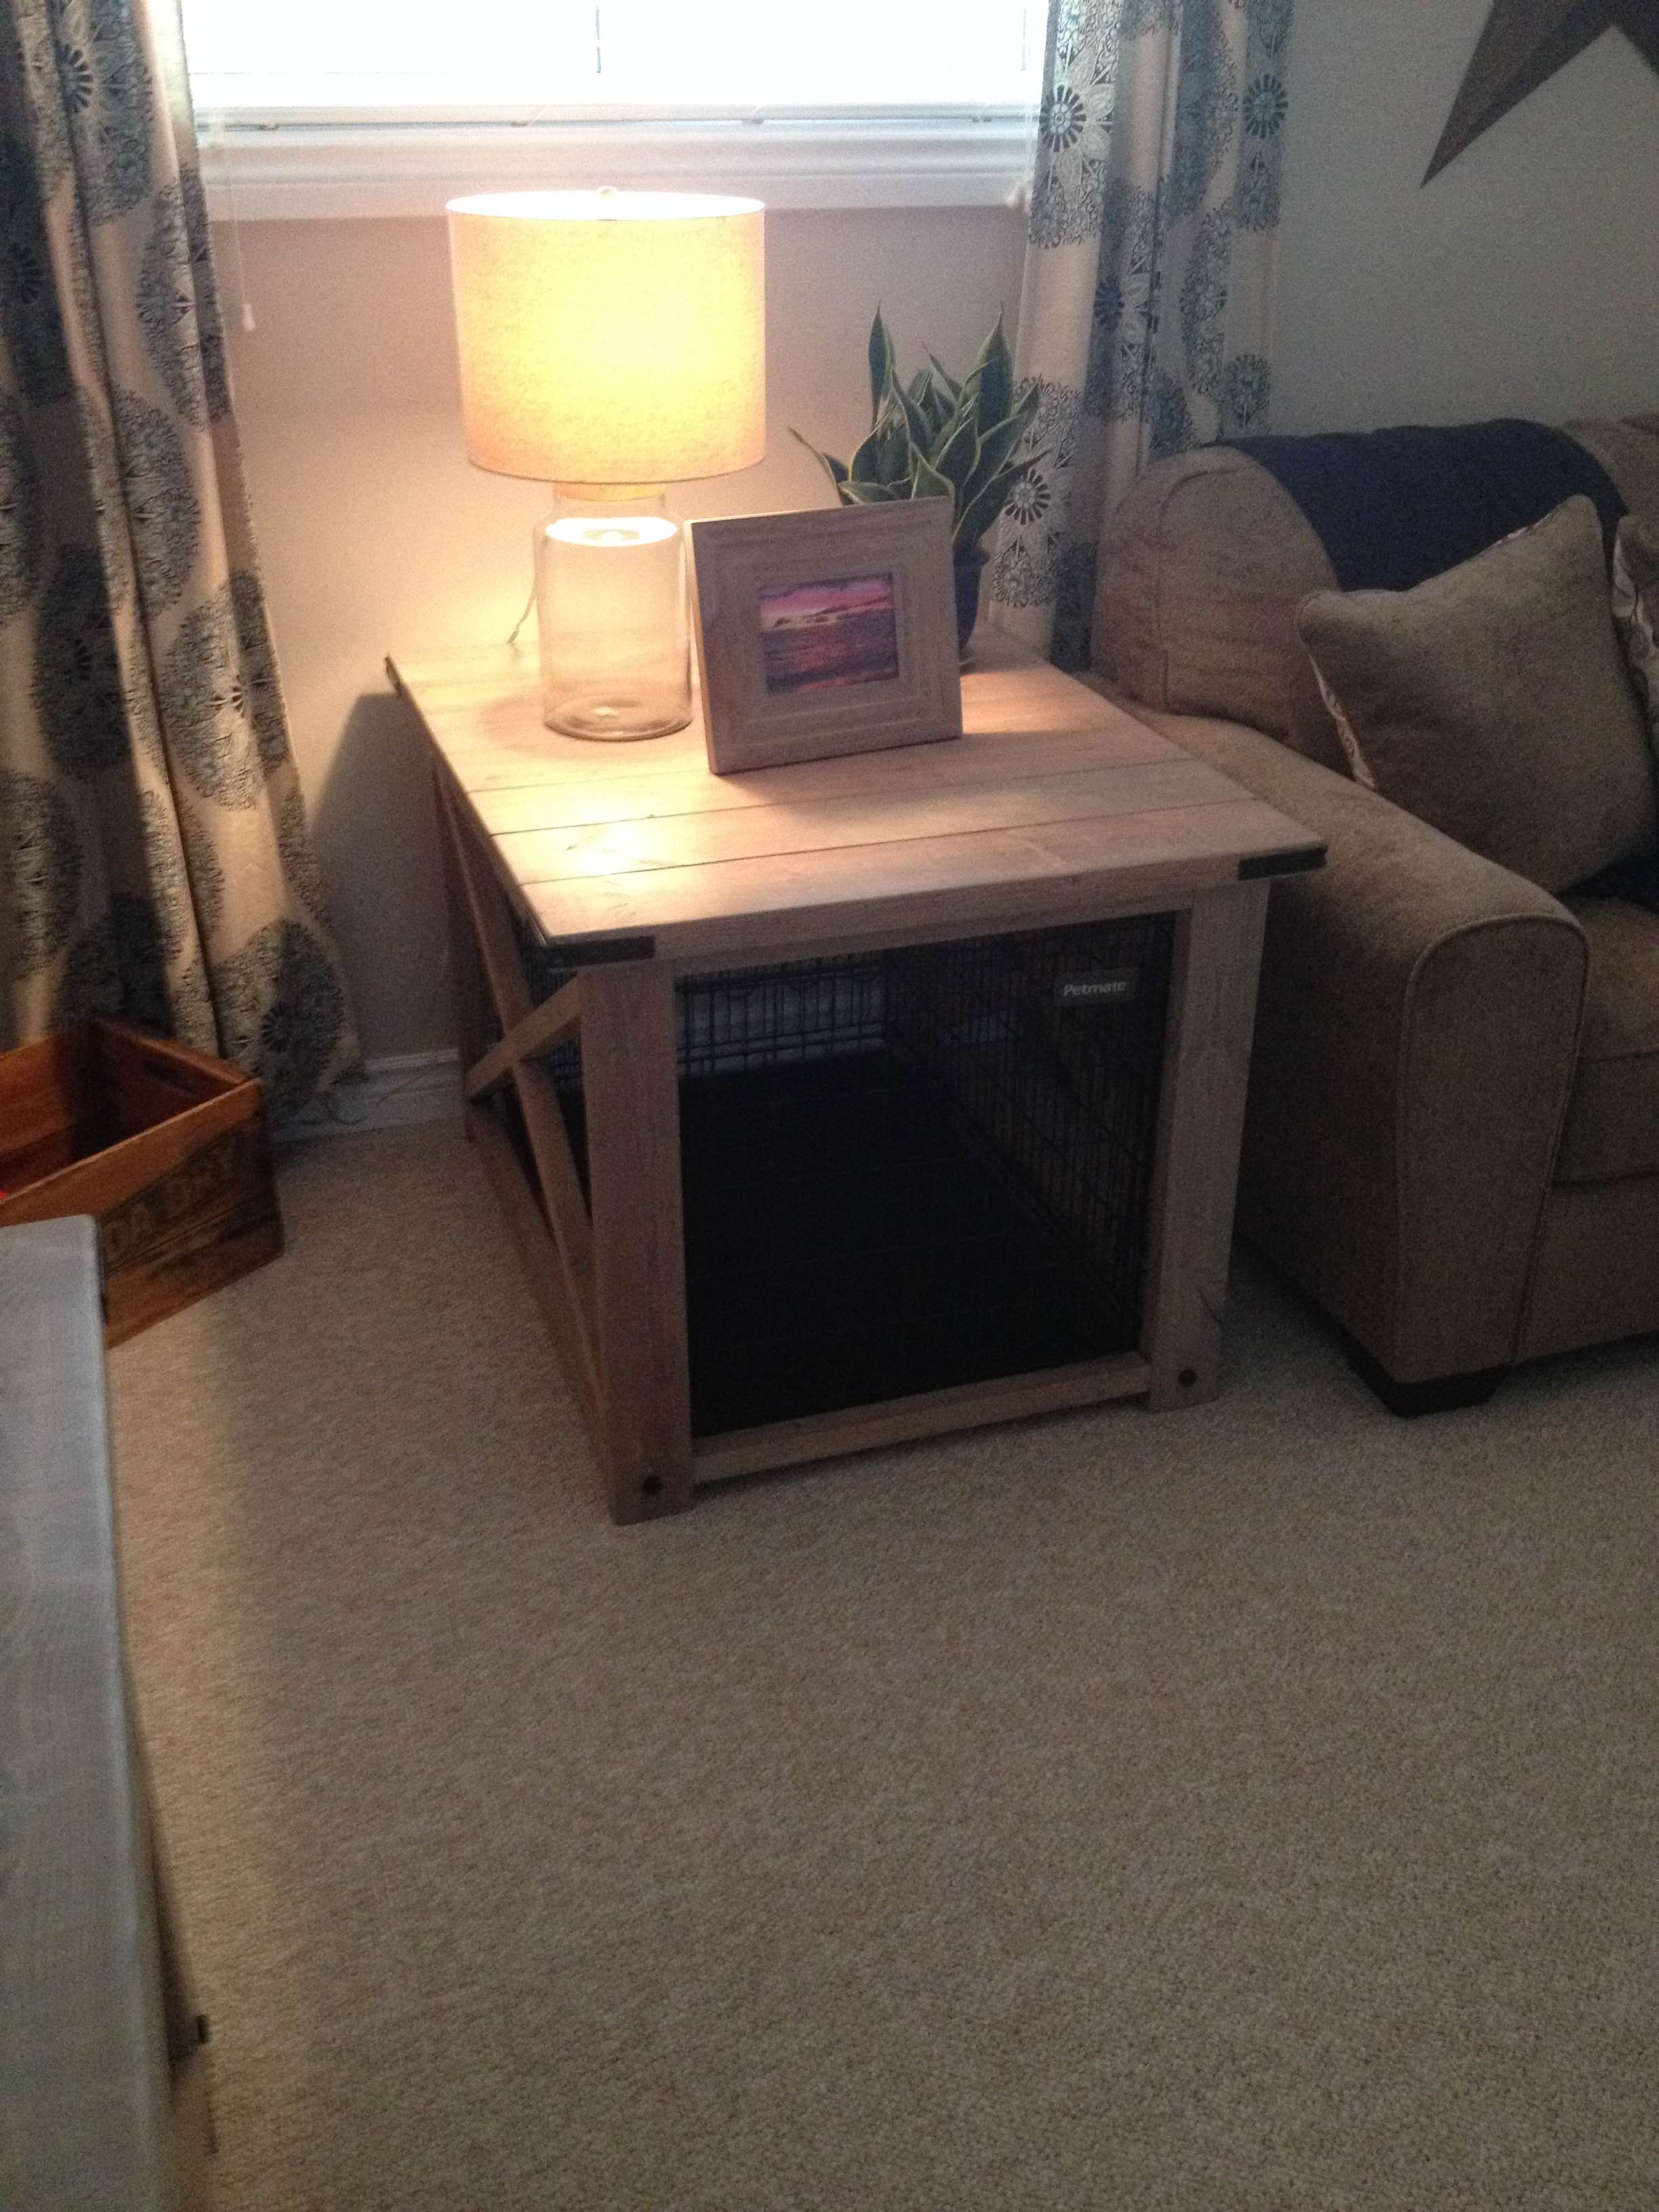
White chalk paint and drift wood stain
Recommended Skill Level
Intermediate