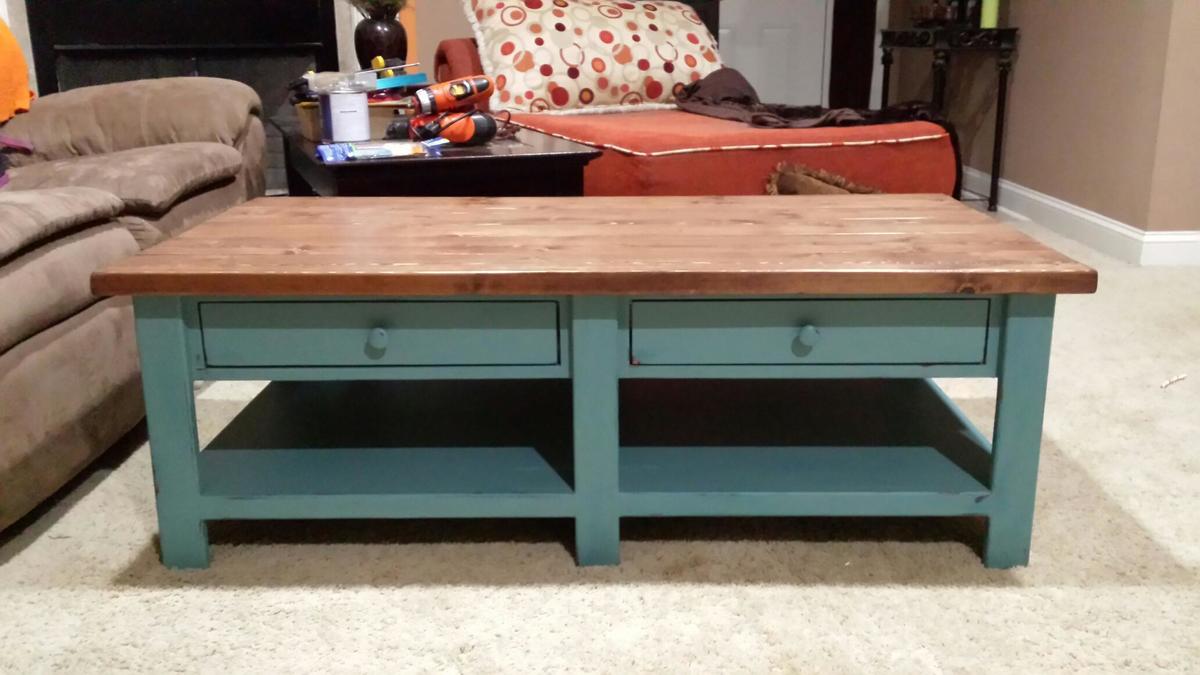
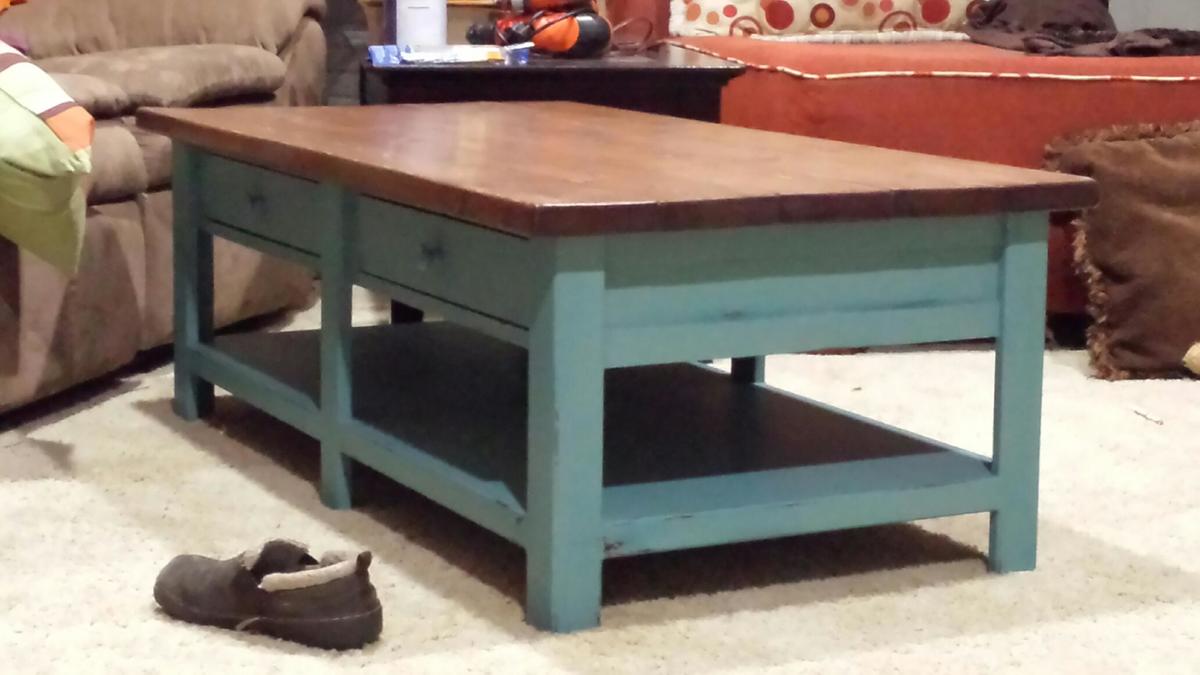
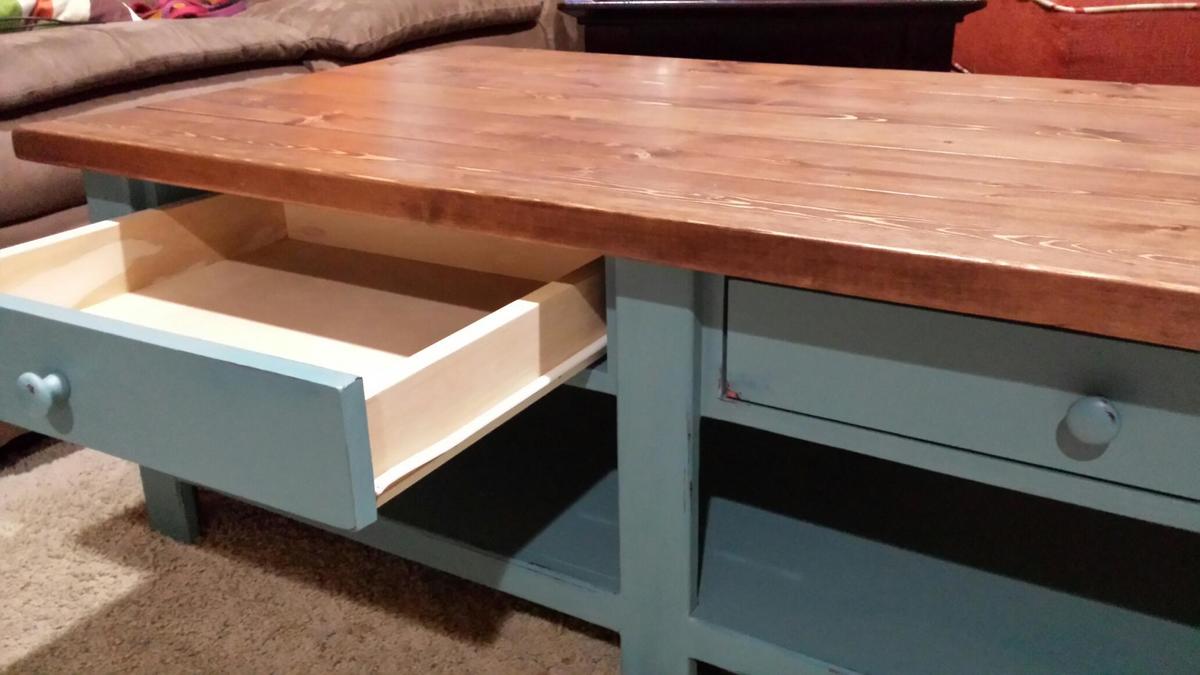
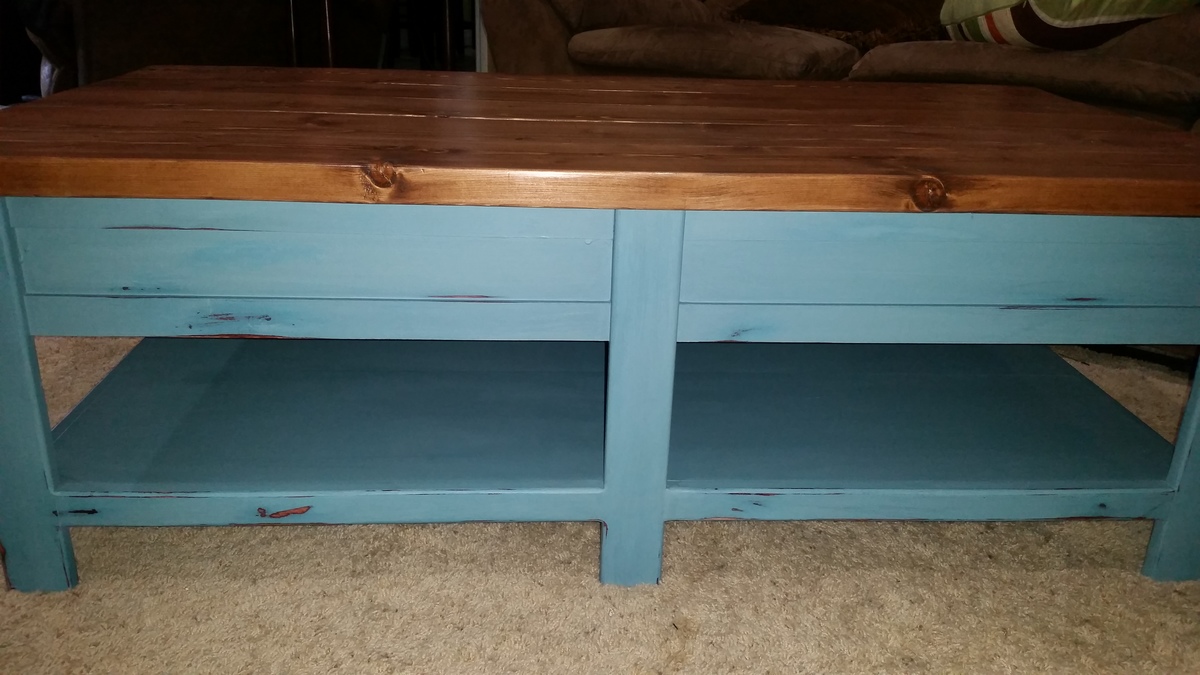
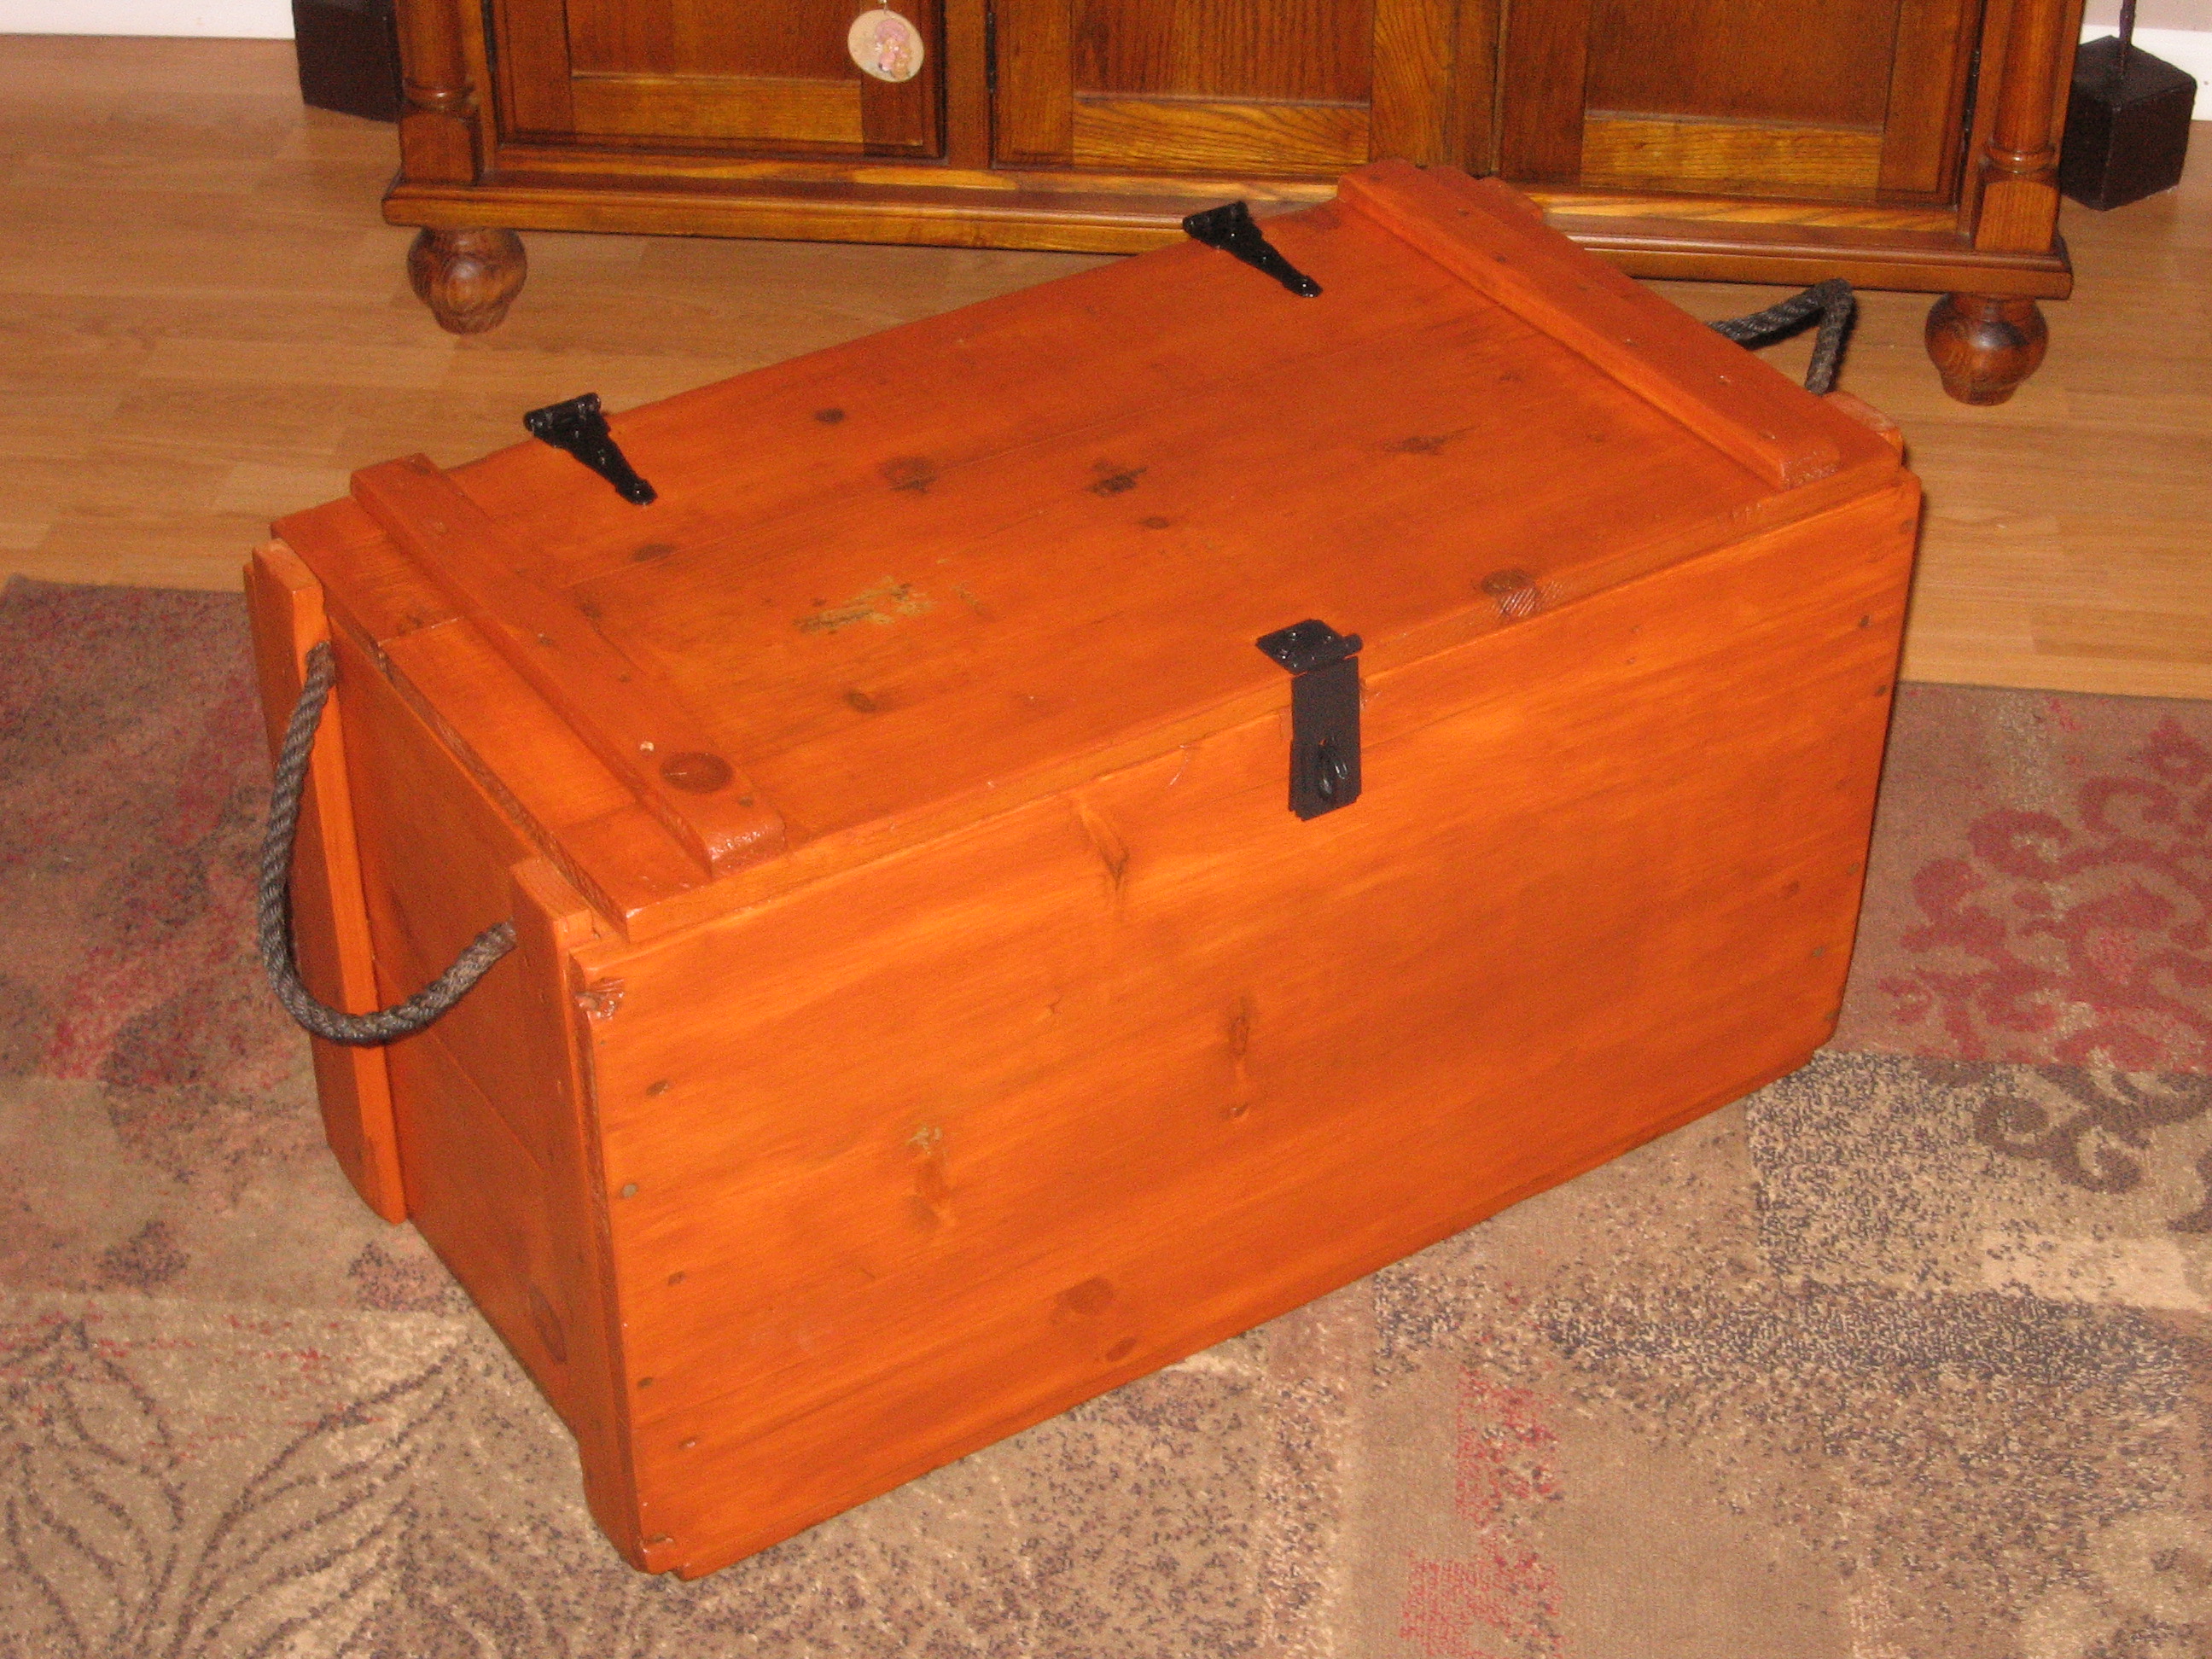
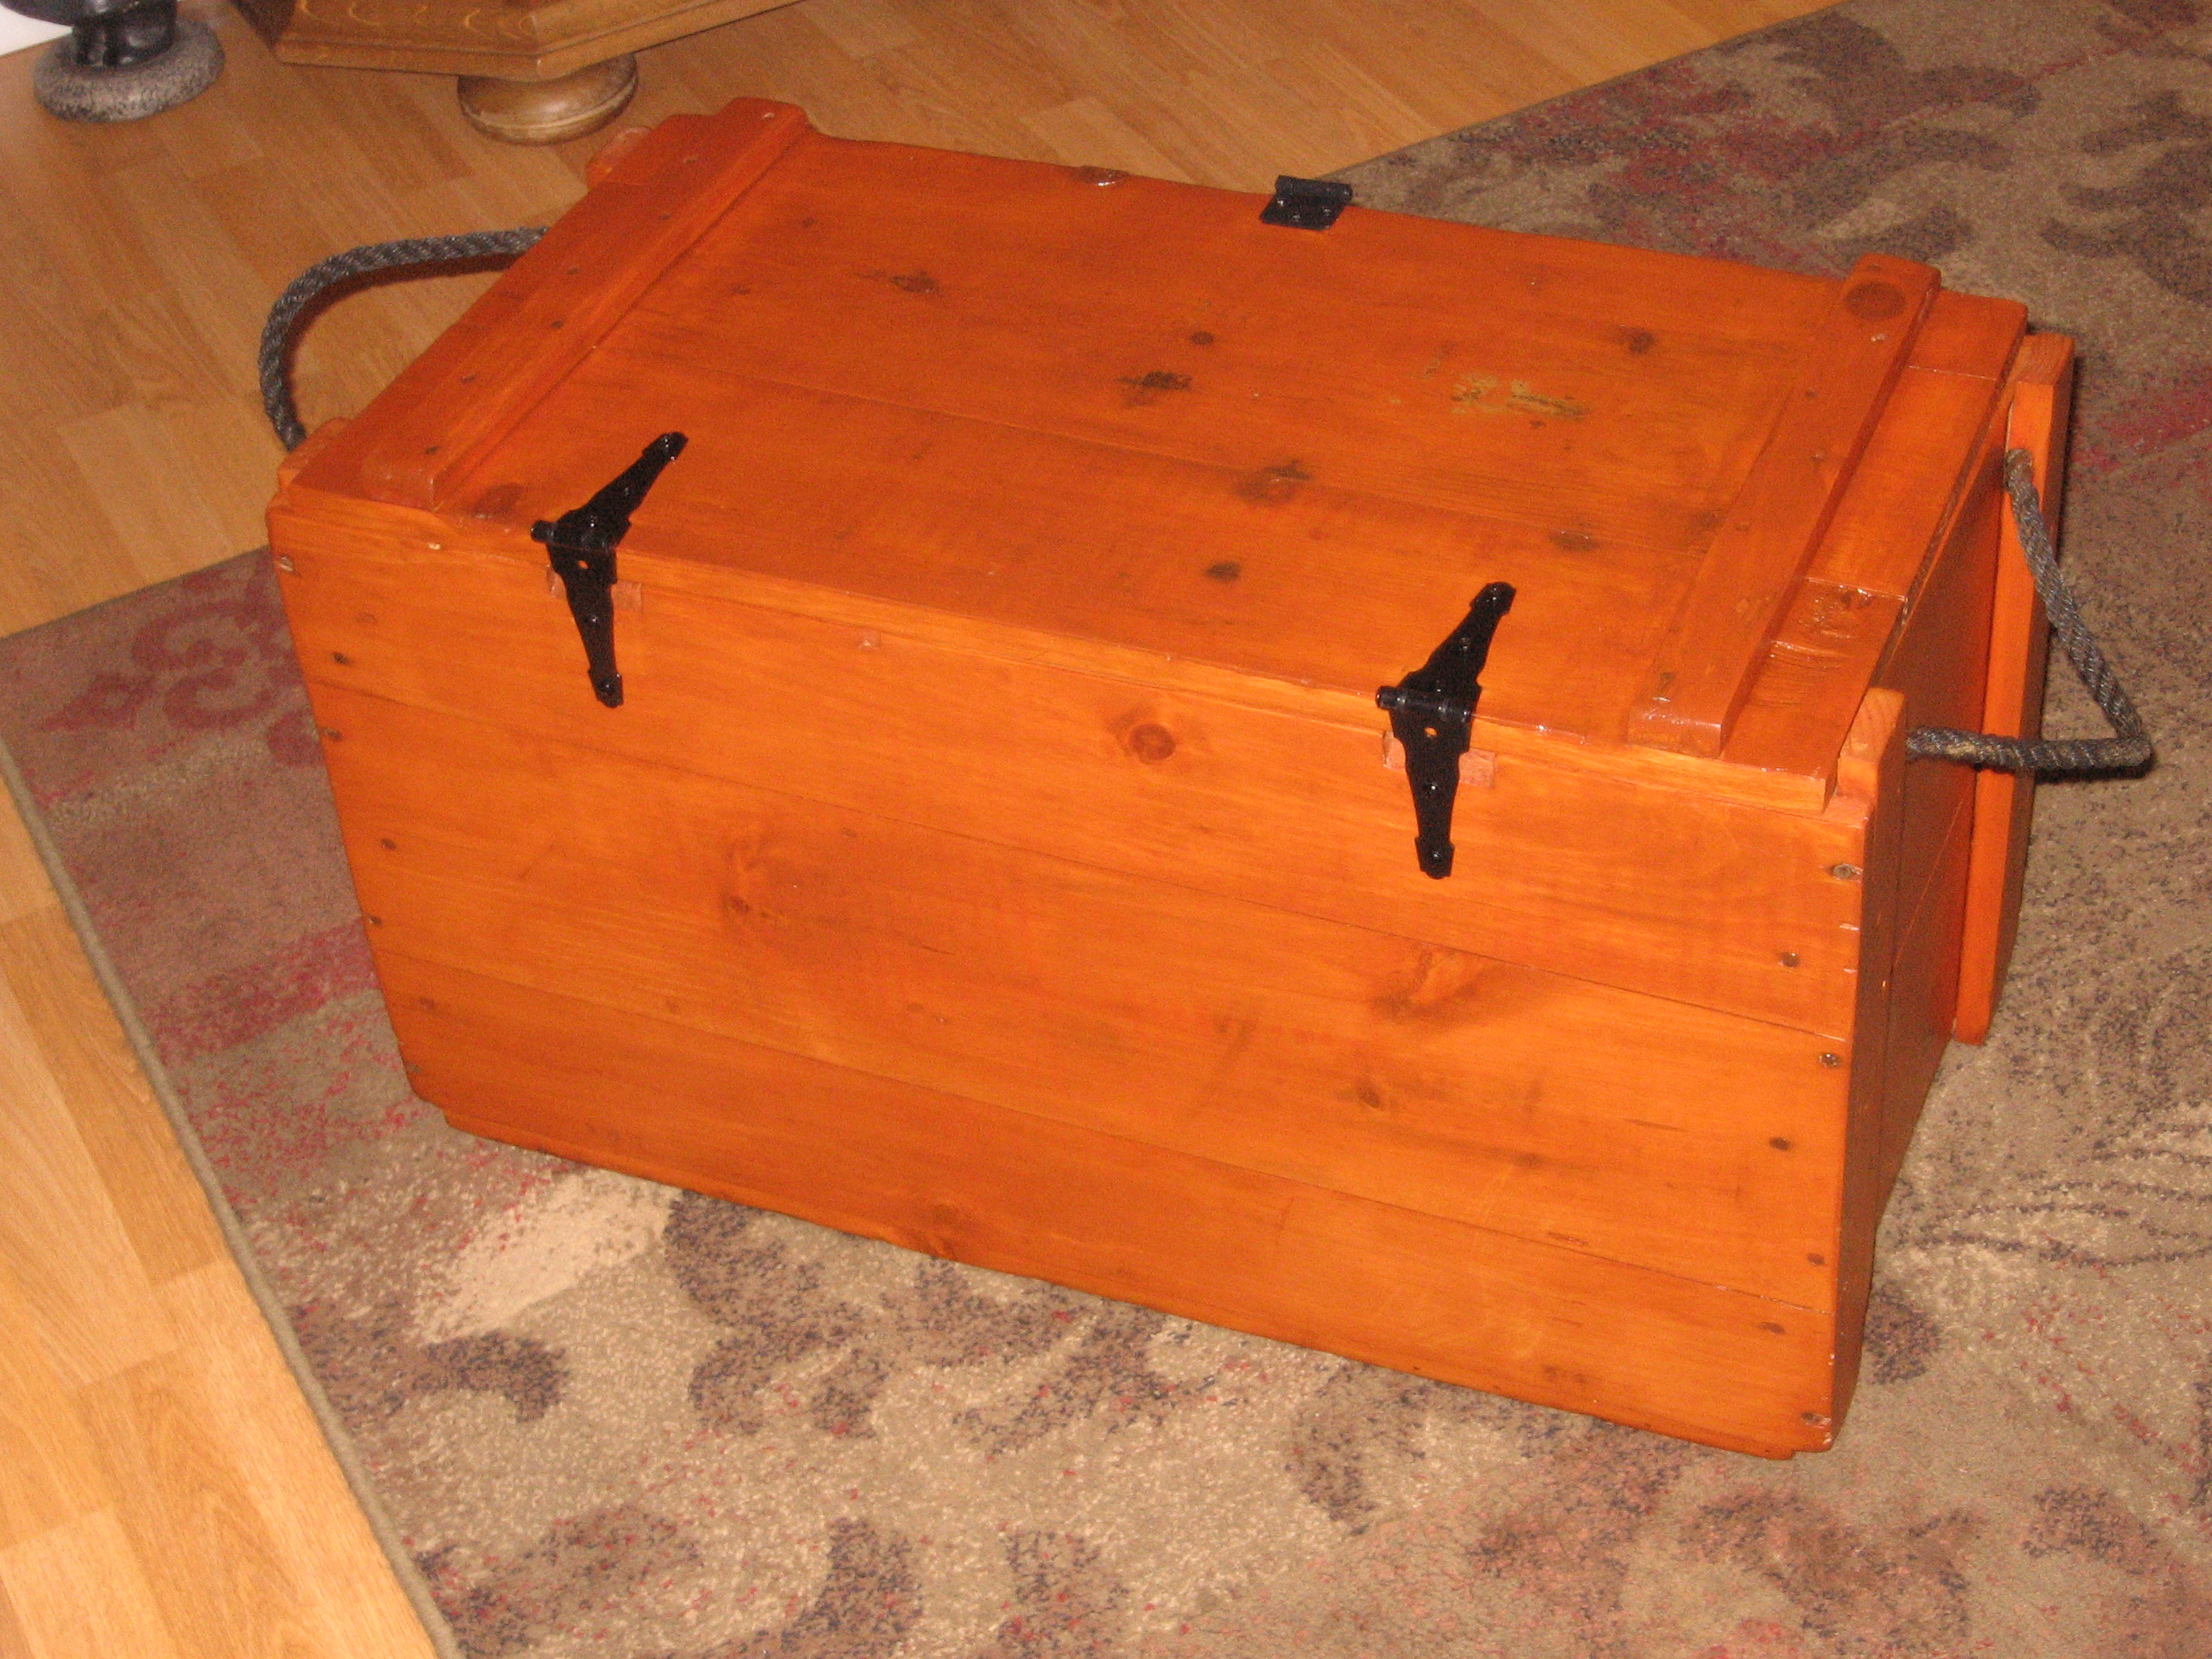
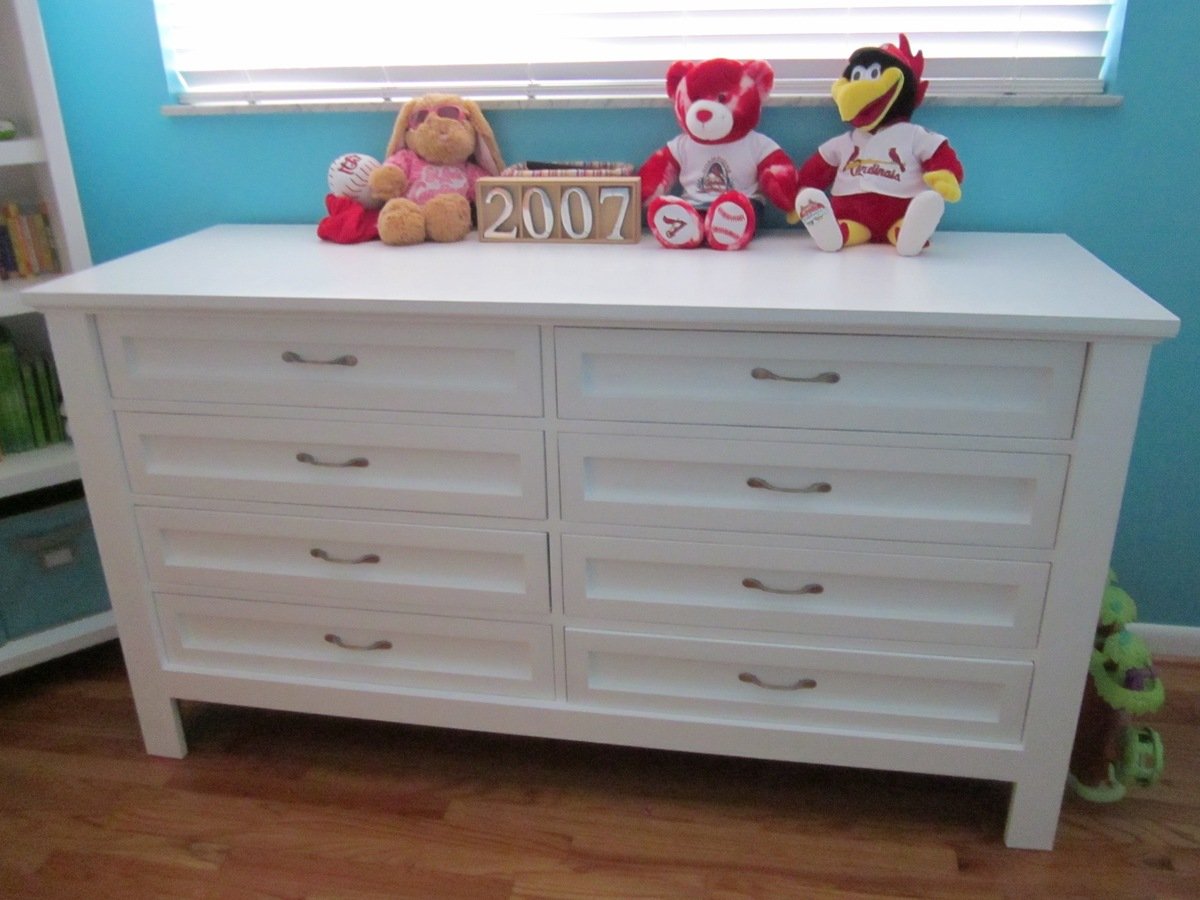
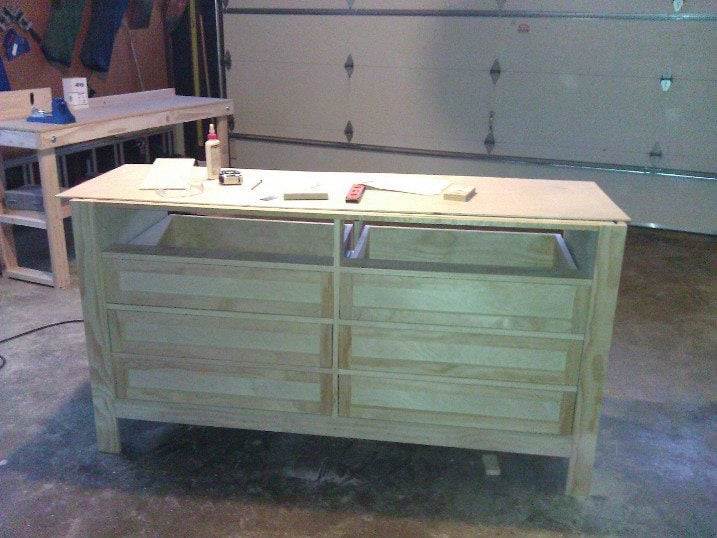
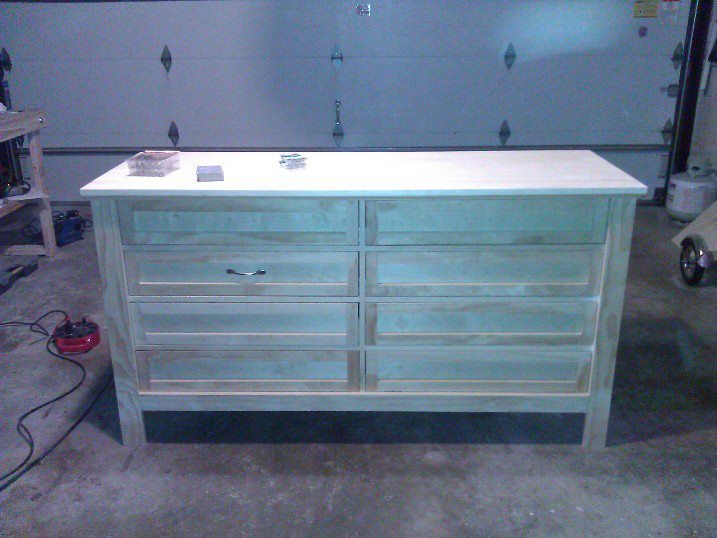
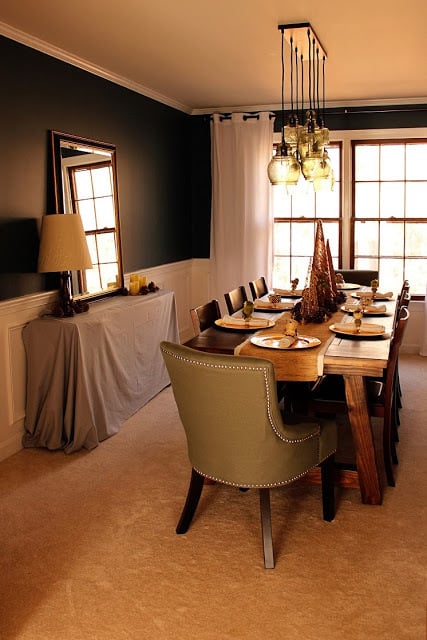
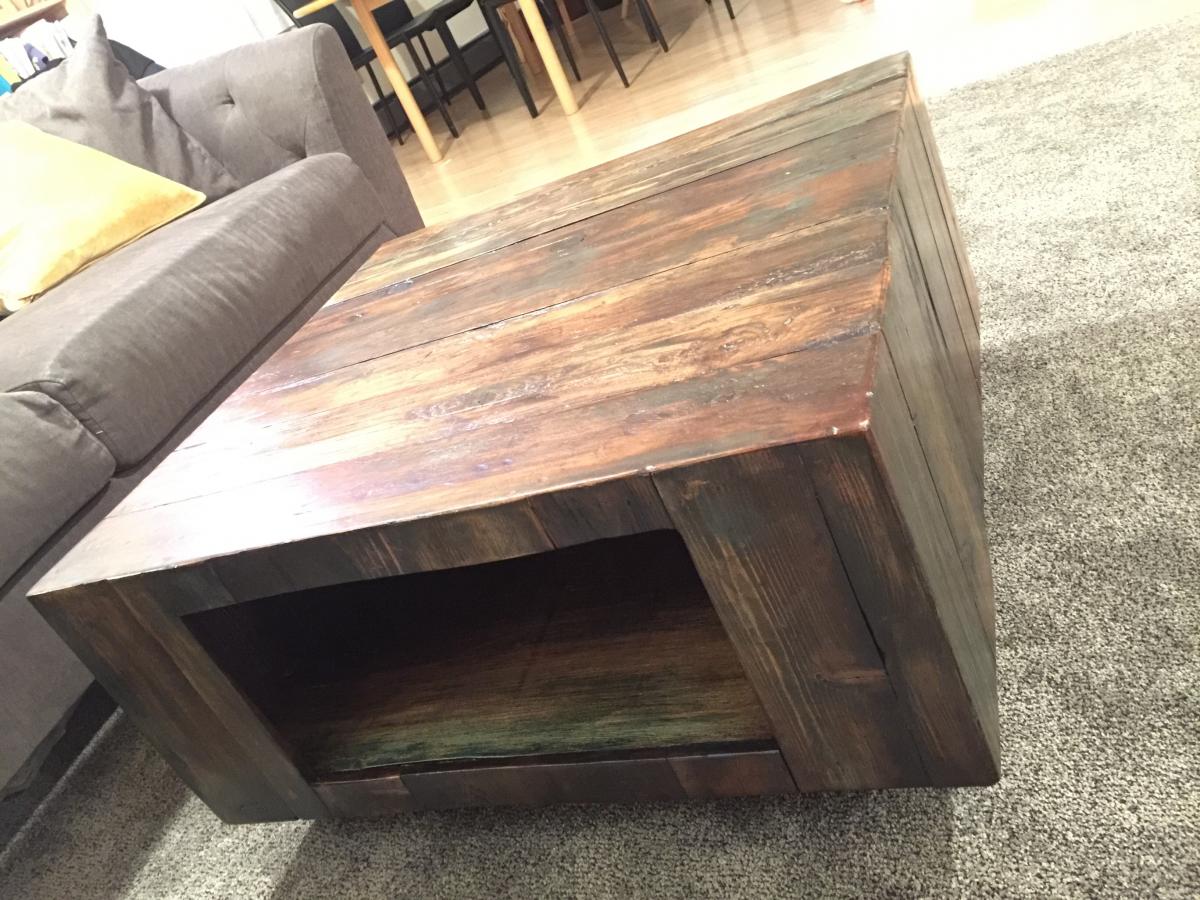
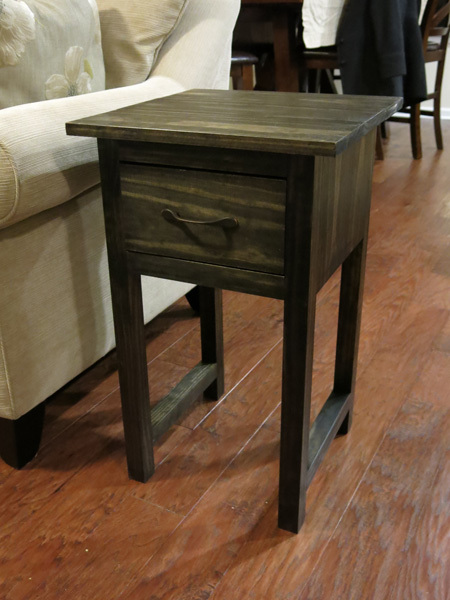
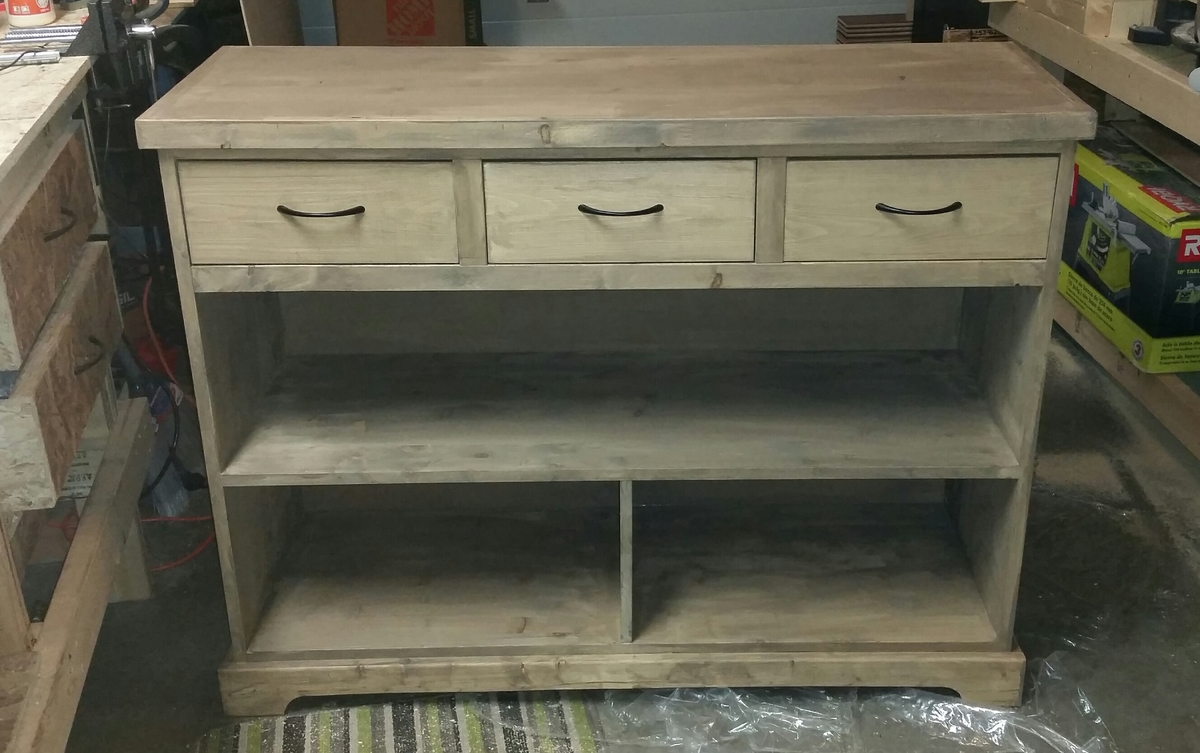
Benchright Coffee Table
This was my first build other than some outdoor chairs. I learned tons while building and I got to spend time with my sister doing it. Also learned about chalk paint and other finishes from big sis.
Built from Plan(s)
Estimated Cost
$75 I used 1 4' x 8' sheet of pine cabinet plywood for everything but the top to bring the cost down from $150.
Estimated Time Investment
Weekend Project (10-20 Hours)
Finish Used
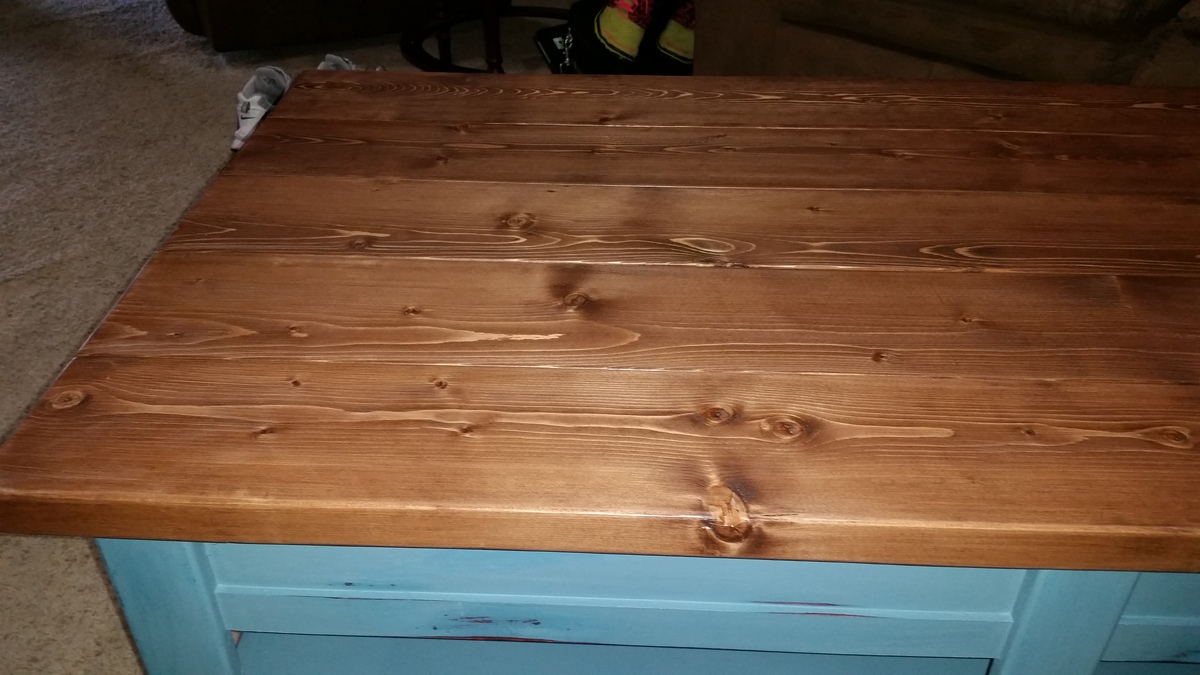
General finishes Georgian cherry gel stain. Blue coral chalk paint. minwax early American stain with general finishes gel topcoat for top.
Recommended Skill Level
Beginner


Comments
Ana White Admin
Thu, 02/25/2016 - 21:38
So pretty!
Thank you for sharing, cannot wait to see your next project!